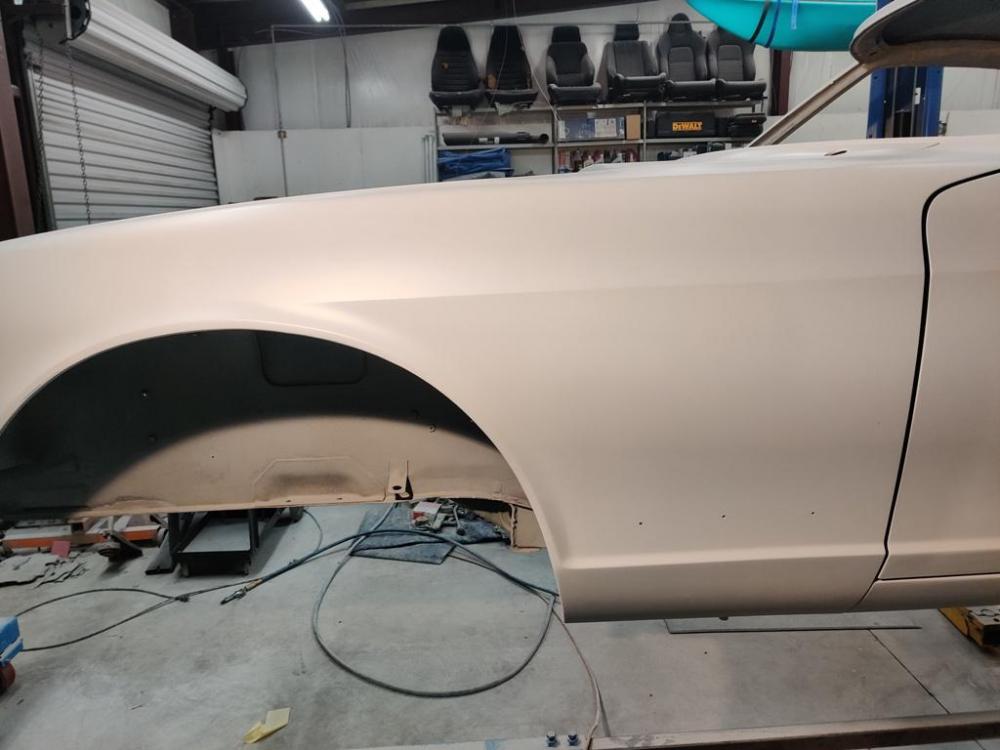
I took about a week and a half off and went to Florida for vacation. Lots of beach, swimming, and biking. Felt good to set aside this thing for a while. I am back on it now with blocking and primer application continuing. Getting panels near perfect is really a lot of work.
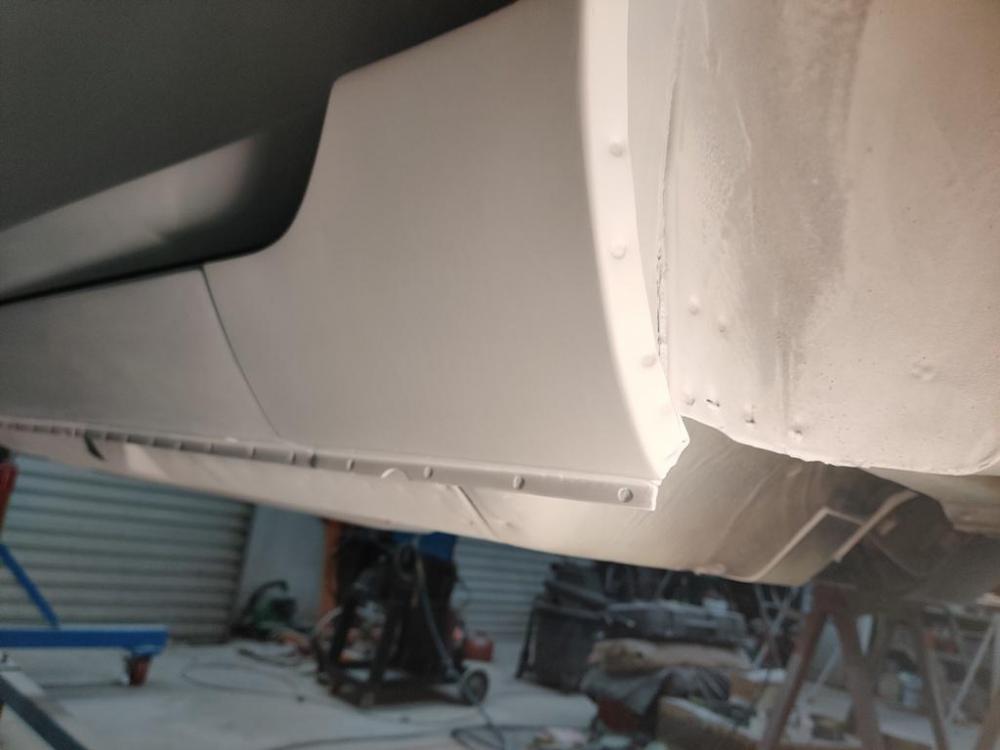
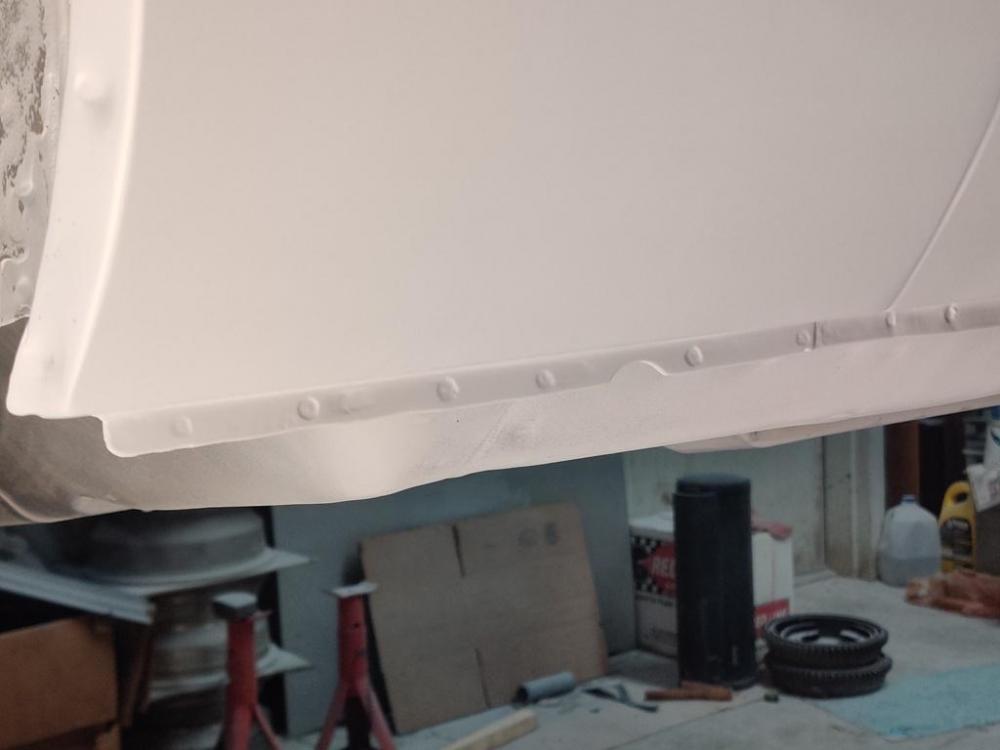
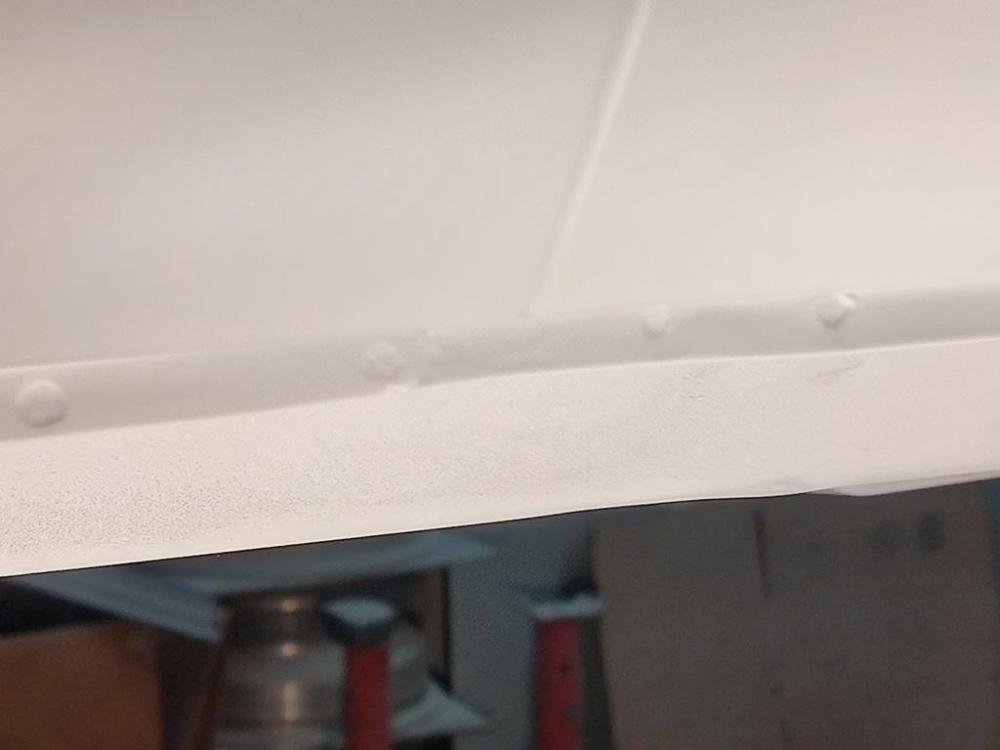
How do you like my spot "welds"? 🙂
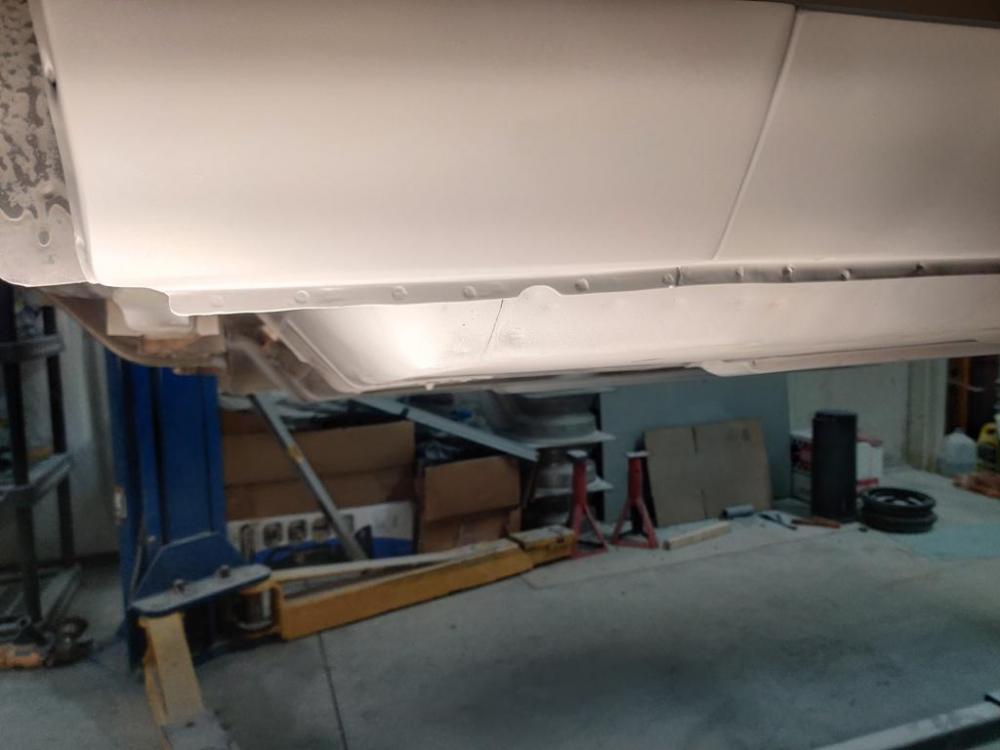
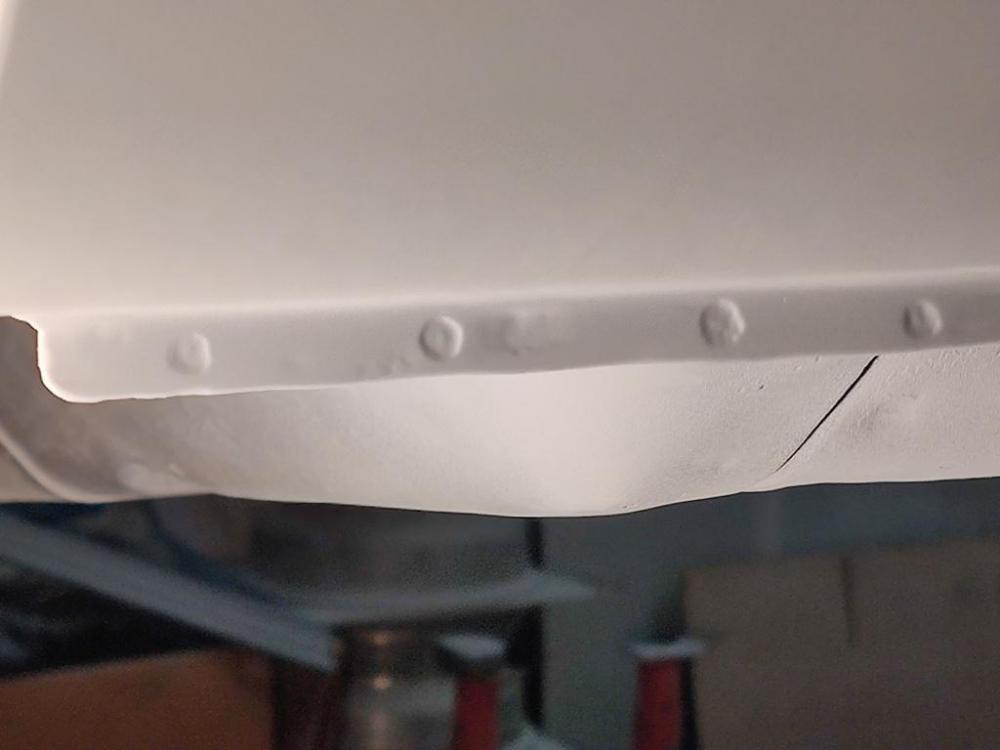
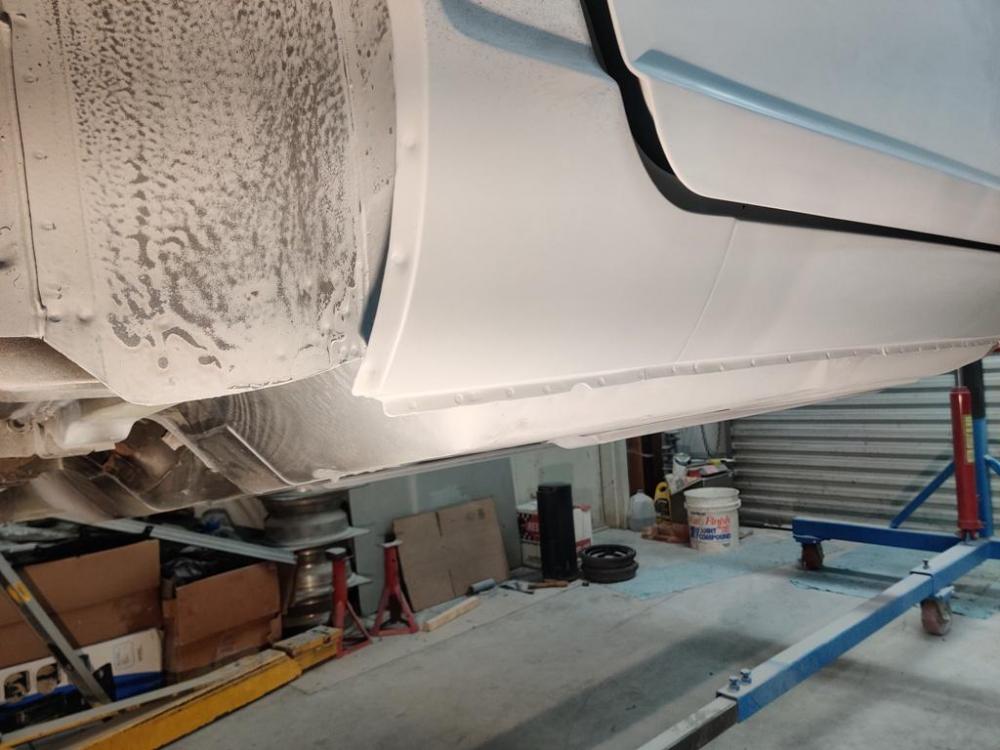
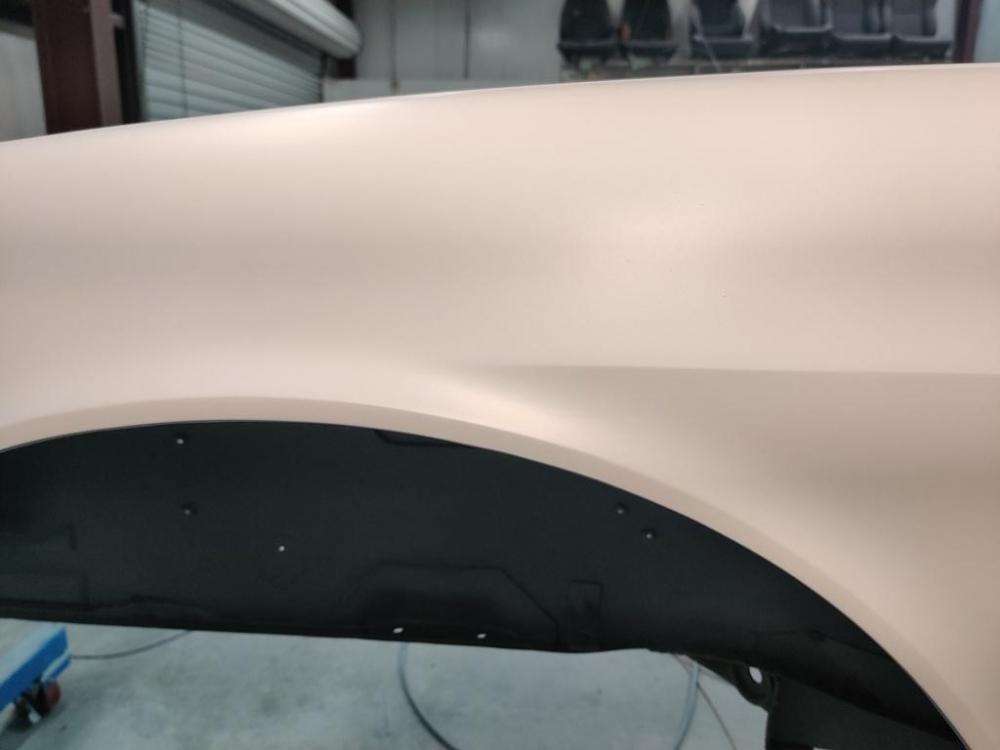
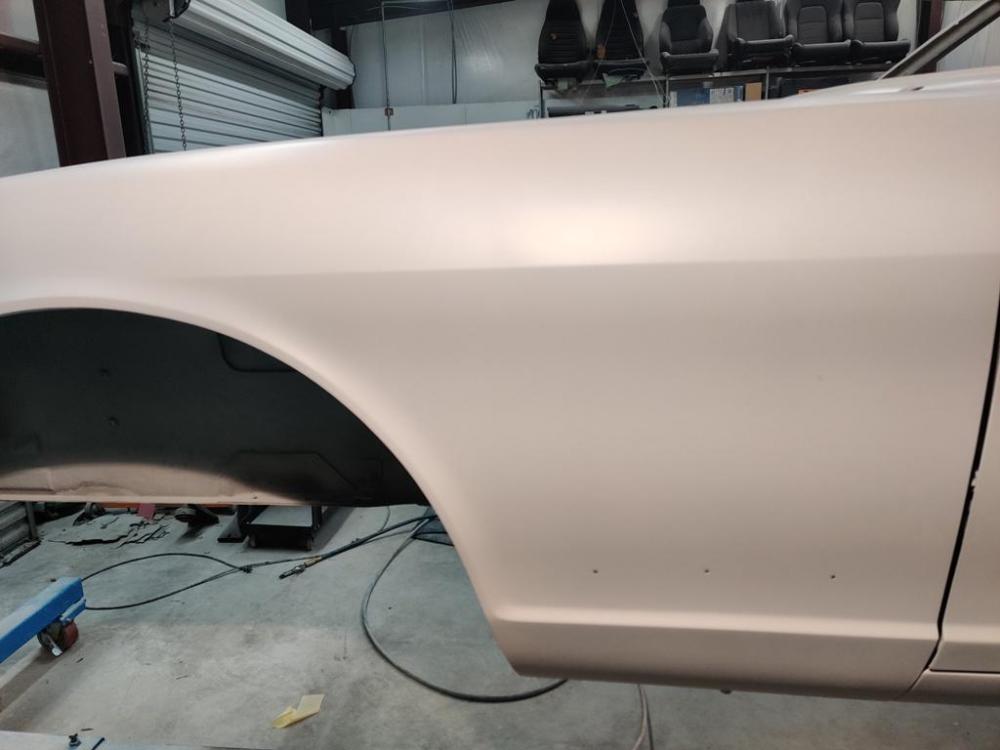
You may recall that I used the Mig welder to attach the cover panels (reused most of the original on right side, and fabricated a new one for the left). I used rosette welds on the bottom edge (drilled holes and filled them in with weld). However, I want the original look here on this bottom edge. Looks pretty good, right?
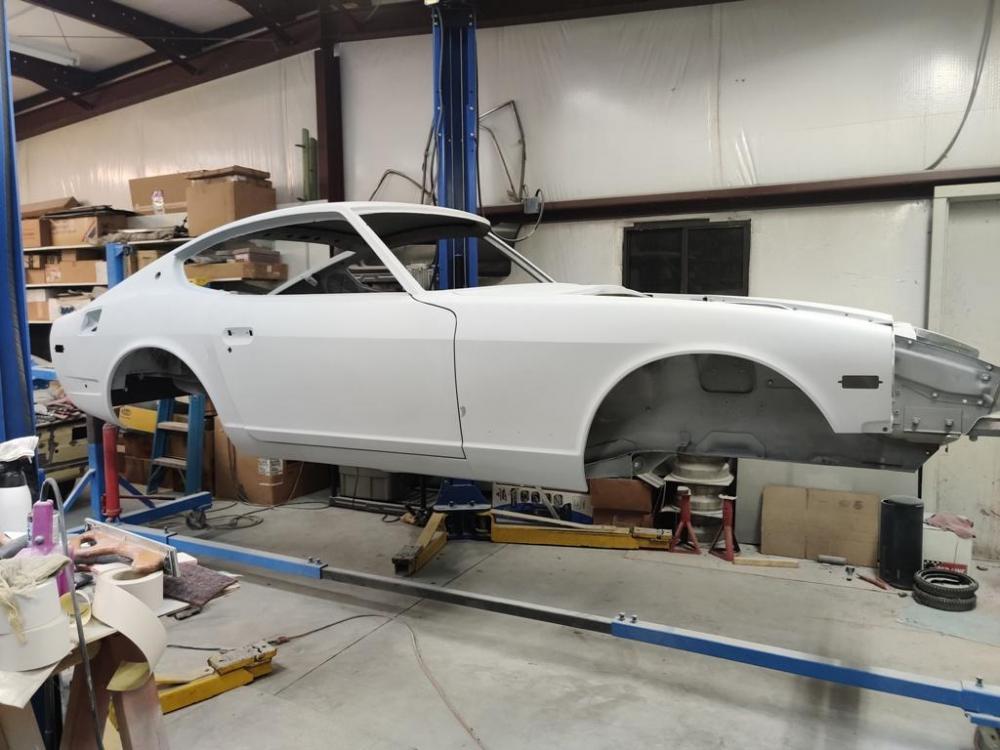
All of the ones on the bottom edge where the quarter panel attaches to the rocker panel are fake. In the third picture just above, the two on the left of the visible joint are fake, the two on the right are authentic factory welds. To create the fake ones, I waited until I had applied many coats of primer as normal part of doing the body work. Then, in the original factory locations, I used a dremel tool and a round cutter bit to remove a circle of the primer back down to the base metal. And then I followed that up with another coat or two of primer. The spot welds on the wheel opening flange are authentic factory ones. Only the ones along the bottom edge where the quarter panel attaches to the rocker are fake. Authentic ones pick up again in front of the visible edge where the quarter panel to rocker panel transition occurs.
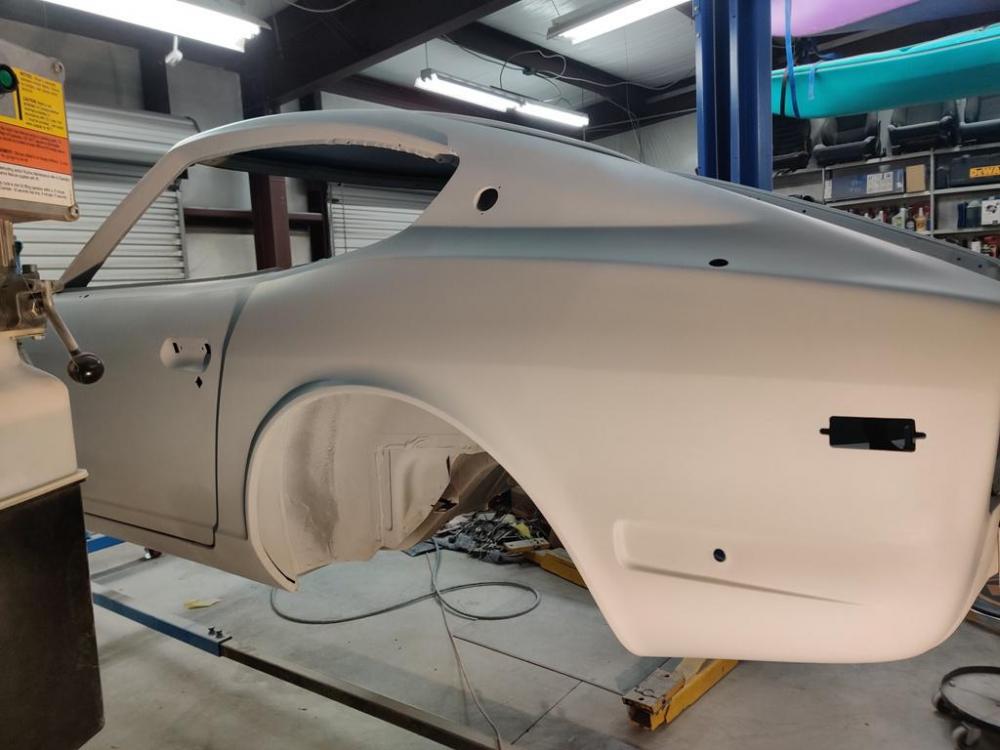
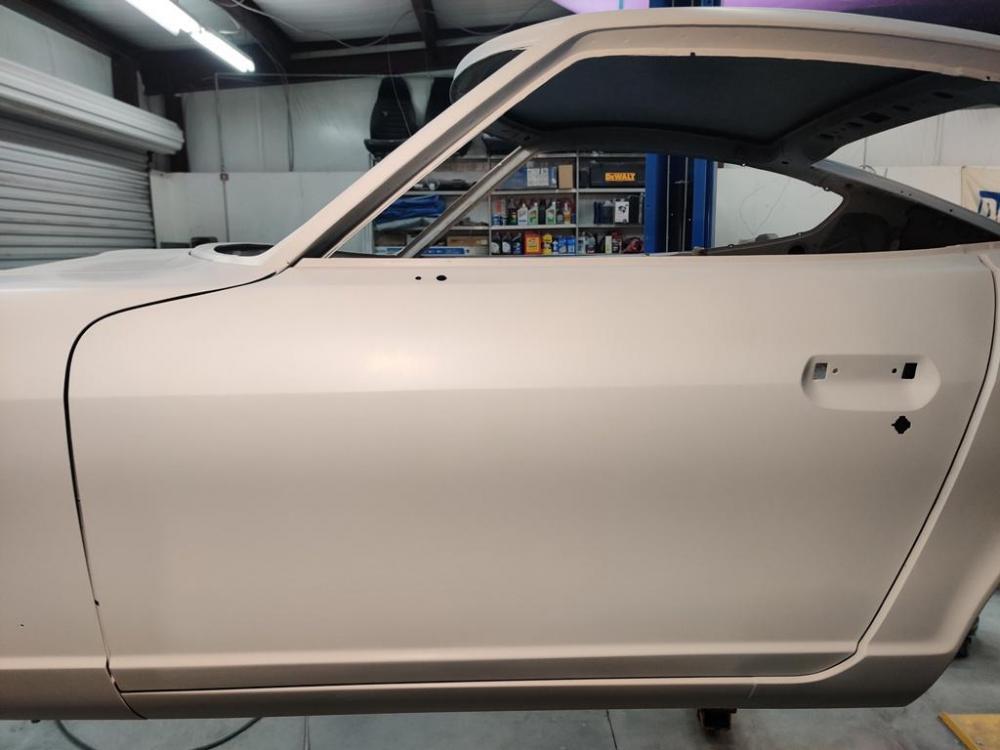
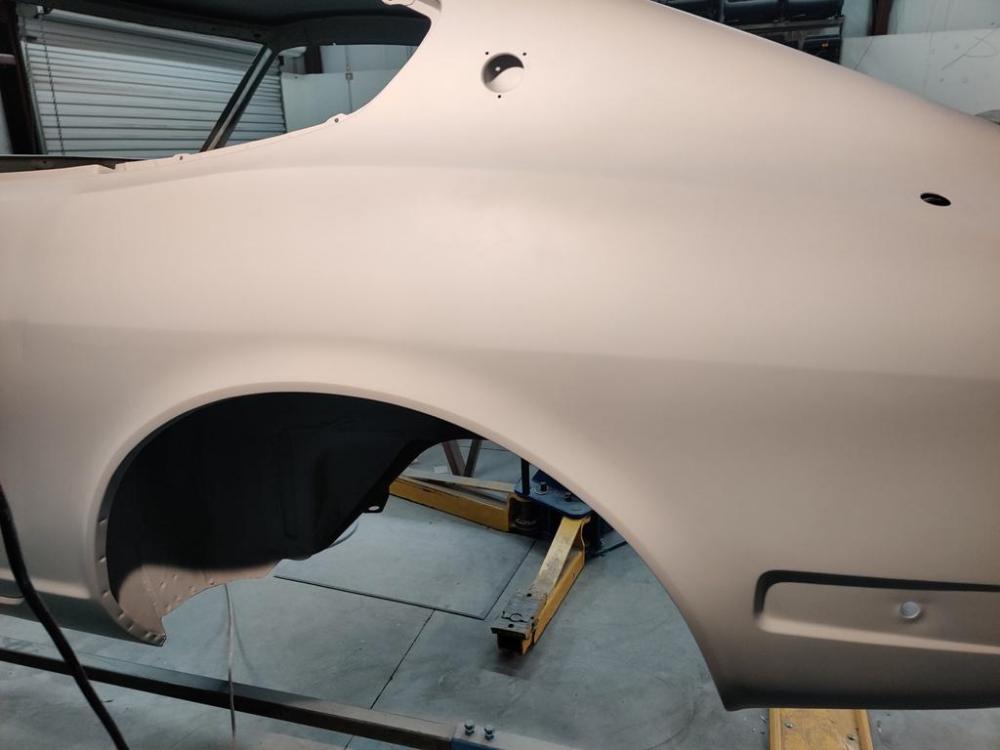
The belt line is looking much better now. I like how they have turned out. I won't have to give this line much more attention before painting. This is the case for both sides of the car, from fender, to door, to quarter panel.
I still have some low spots on the passenger fender and door to eliminate. After that, I should be able to prep the underneath of the car for undercoating. The tail light panel hasn't been worked yet because of the interference with the rotisserie. That will need attention before I can send the body assembly to the paint shop.
 Subscriber
 5Points271Posts