Leaderboard
-
grannyknot
Free Member2Points5,158Posts -
zclocks
Free Member2Points311Posts -

Dave WM
Free Member2Points3,591Posts -
cargears
Free Member1Points6Posts


Popular Content
Showing content with the highest reputation on 08/21/2020 in all areas
-
Cool Ill get em shipped out tomorrow. I thought the buyer of the other set was you when it sold, so maybe someone else was reading the thread here. Thanks!1 point
-
1 pointMSA ceramic header, ports matched to the head. All day long. The heat reduction is unbelievable. And it sounds great. Lug it and it's quiet. Turn more rpms it will get louder for sure but it's a fantastic sound. I have the 2.5" full exhaust from MSA also on both of my Zs. Best bang for the bucks IMO. I will say my 2.8 needed a $20 resonator installed but my 2.4 sounds wonderful without the resonator. I have not read info on the Arizona product but the Pacesetter, like Zed Head says, does not have the correct flange thickness.1 point
-
1 pointNice rotisserie! Like rturbo mentioned you need to get all suspect areas down to bare metal so you can see what you're dealing with. Get an aggressive wire wheel for your angle grinder like the one in the pic. I think the rad support will come out nicely without removing it, the bottoms of the rockers don't look bad so you might get lucky on those ugly spots on the pinch welds and sills. One of those $40 Harbor Freight bore-scopes are great for looking into the rockers and dogleg areas before you start drilling out spot welds. The floor pans don't look too bad, the transition area where your feet are always needs a custom patch anyway and you might get away with just a section patch on the P/S floor pan rail, you'll know more when you cut it out.
 1 point
 -
1 pointHAhaha.. reminds me of a neighbour.. (he could not hit a nail with a hammer ) He askt me to look at his fresh installed battery (By HIM!) in his caravan.... He had the isolating caps still ON the poles and had to open the clamps a whole lot to get them on... he askt me why it did'nt work... wow man... then it's terribly difficult to keep the face straight!1 point
-
1 pointSure do! And I apologize they are still sitting there like that!!1 point
-
1 pointSome good news maybe the reporting will be accurate again https://www.google.com/amp/s/www.wsj.com/amp/articles/troubled-covid-19-data-system-returning-to-cdc-11597945770 Sent from my iPhone using Tapatalk1 point
-
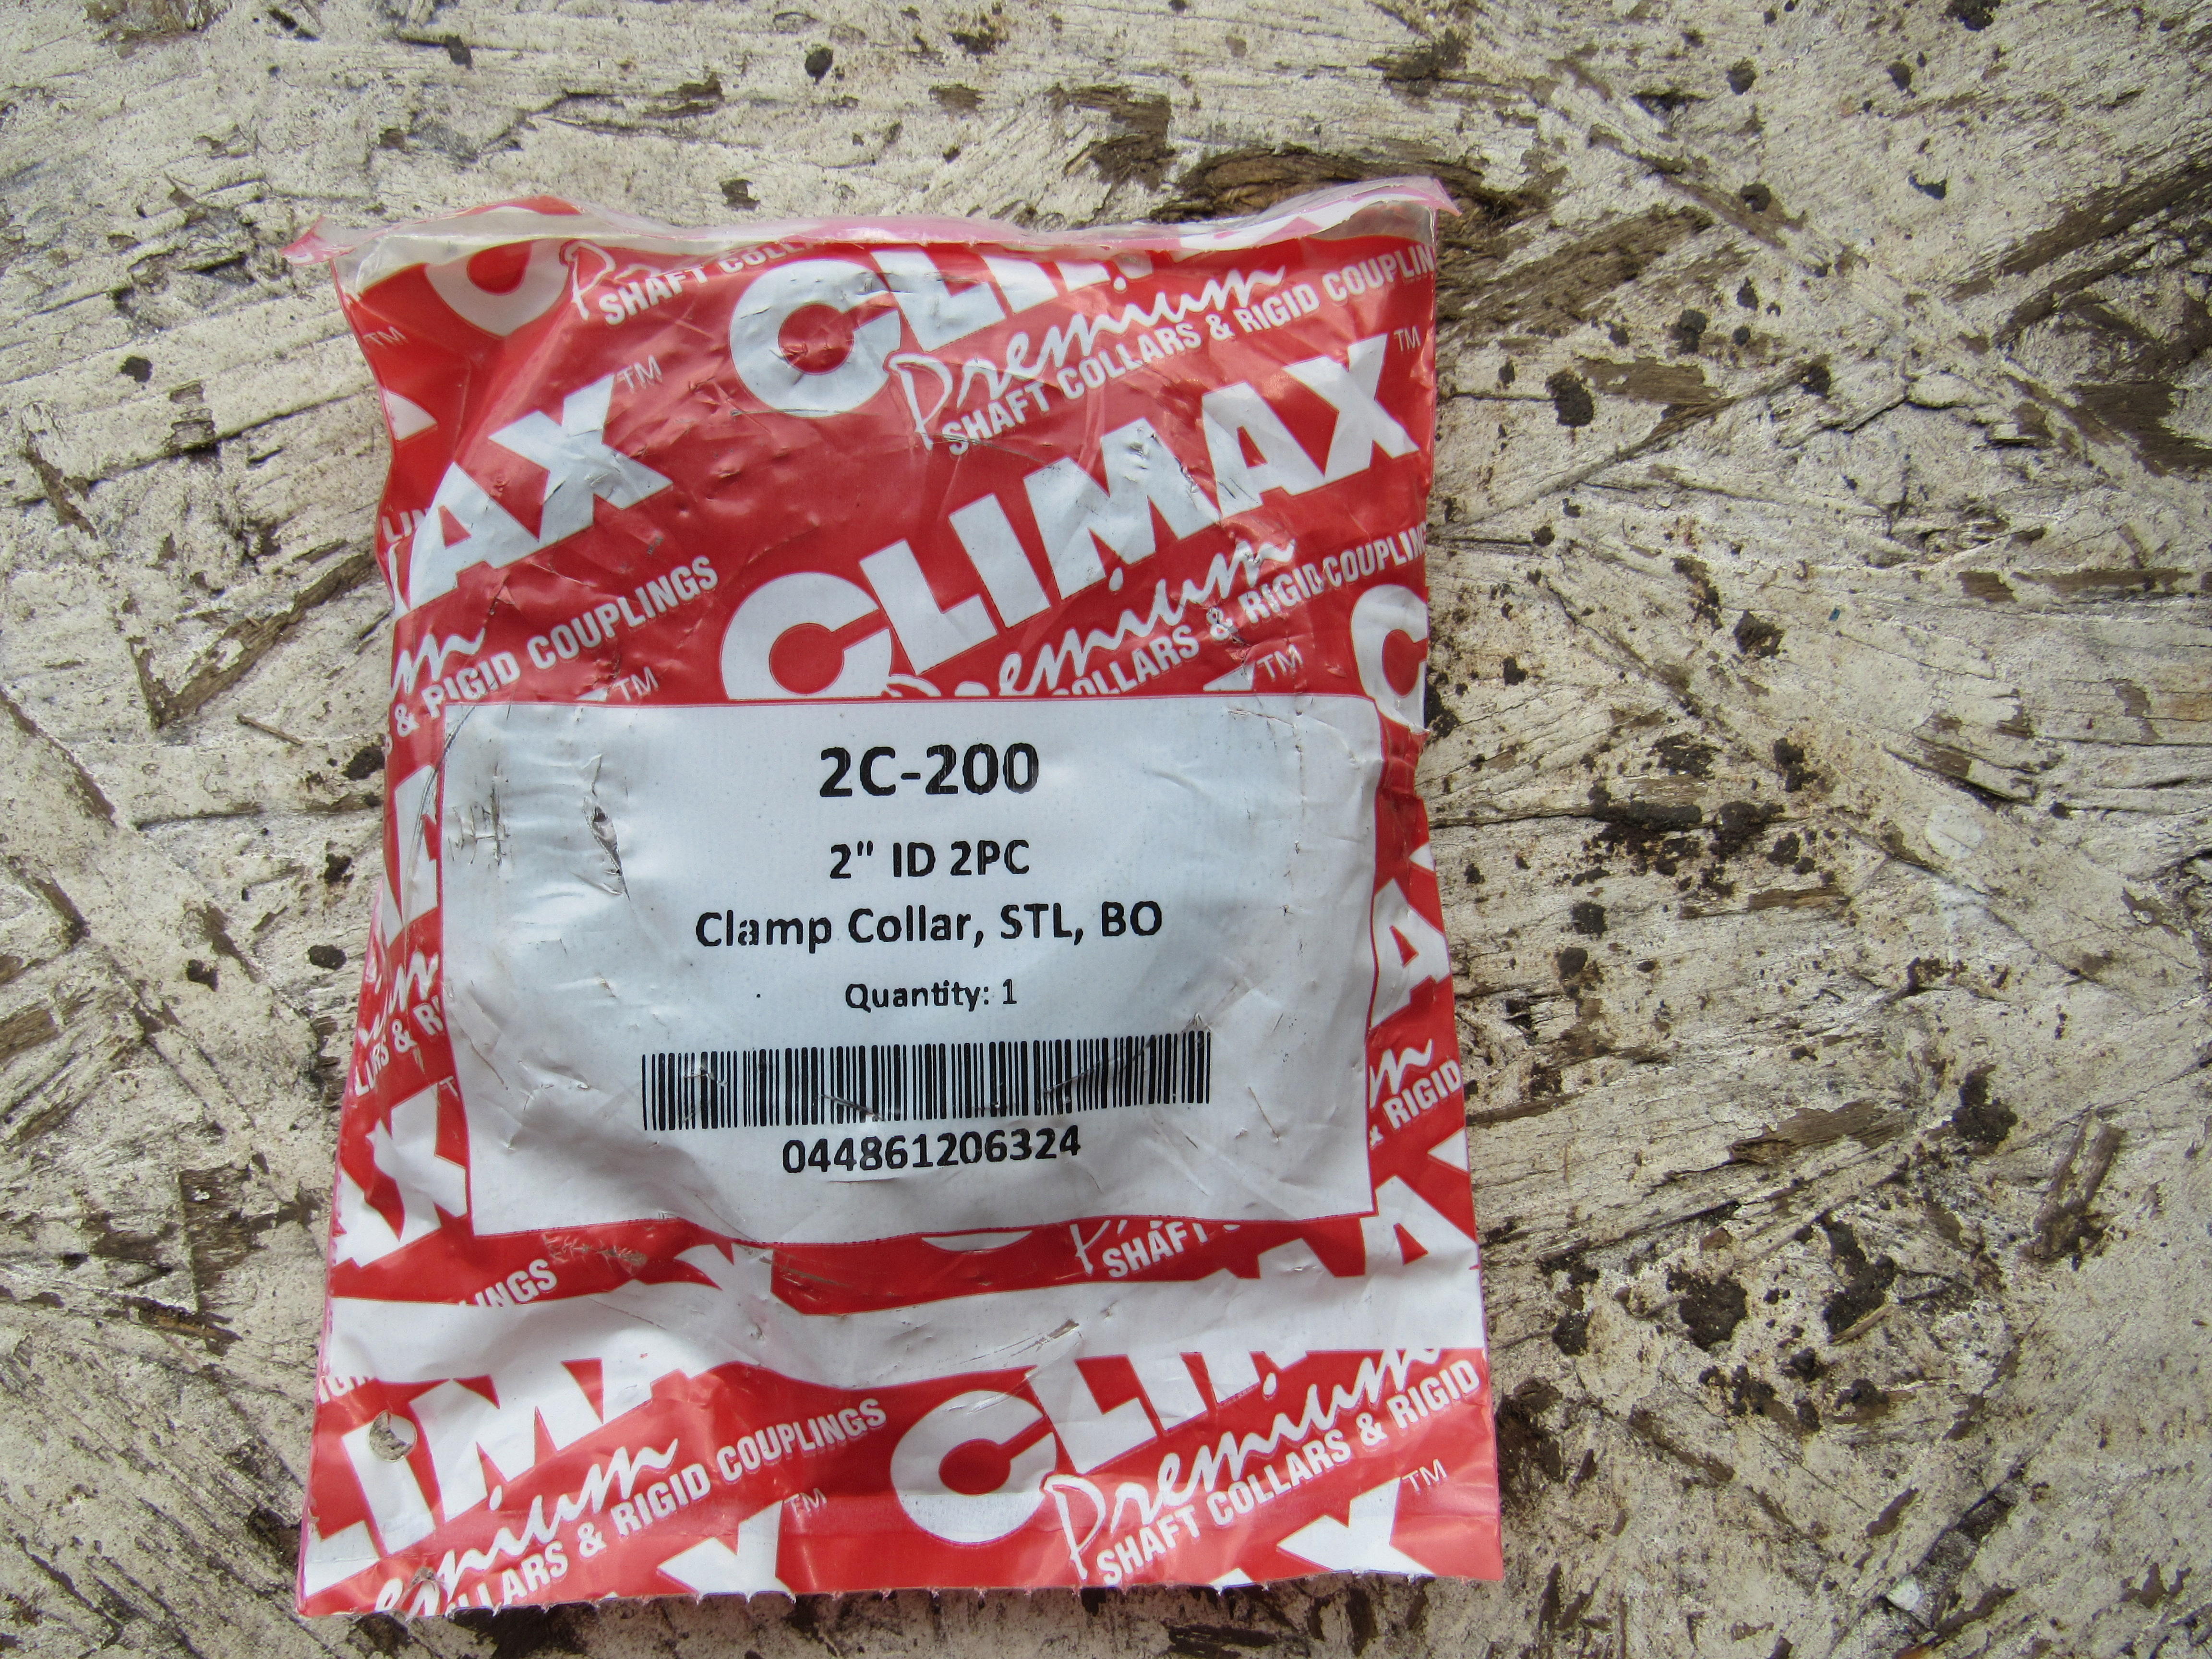
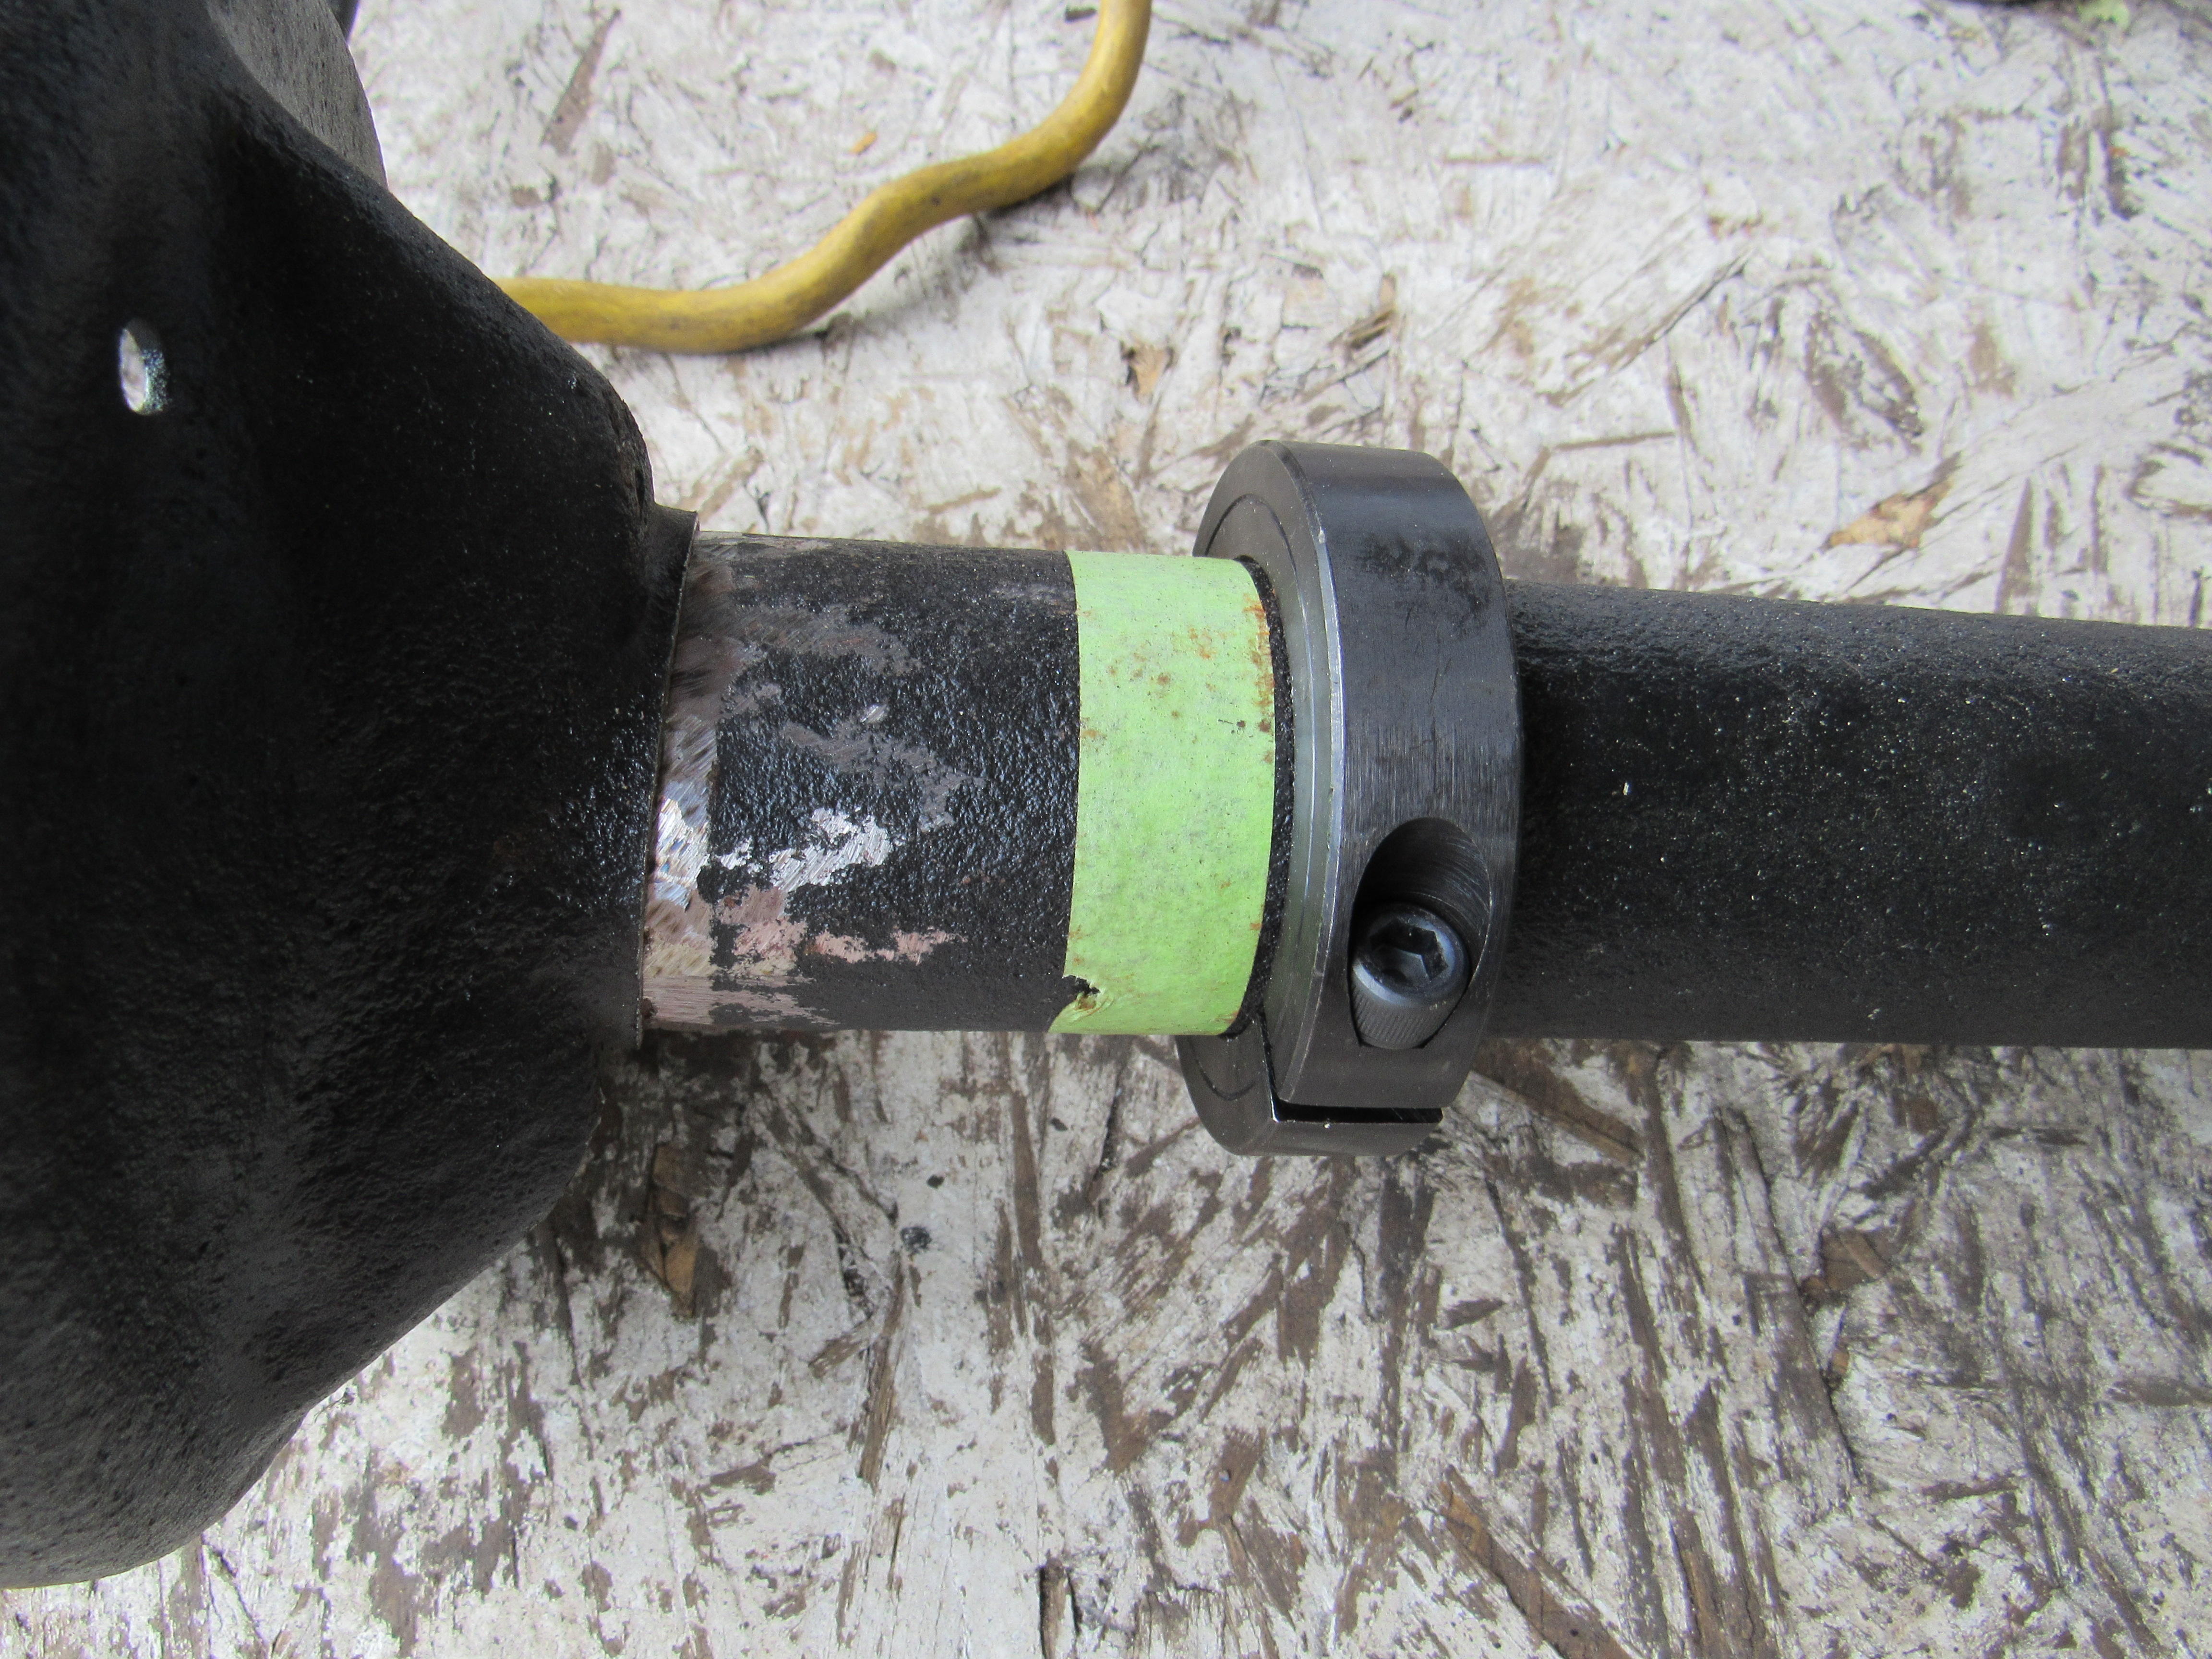
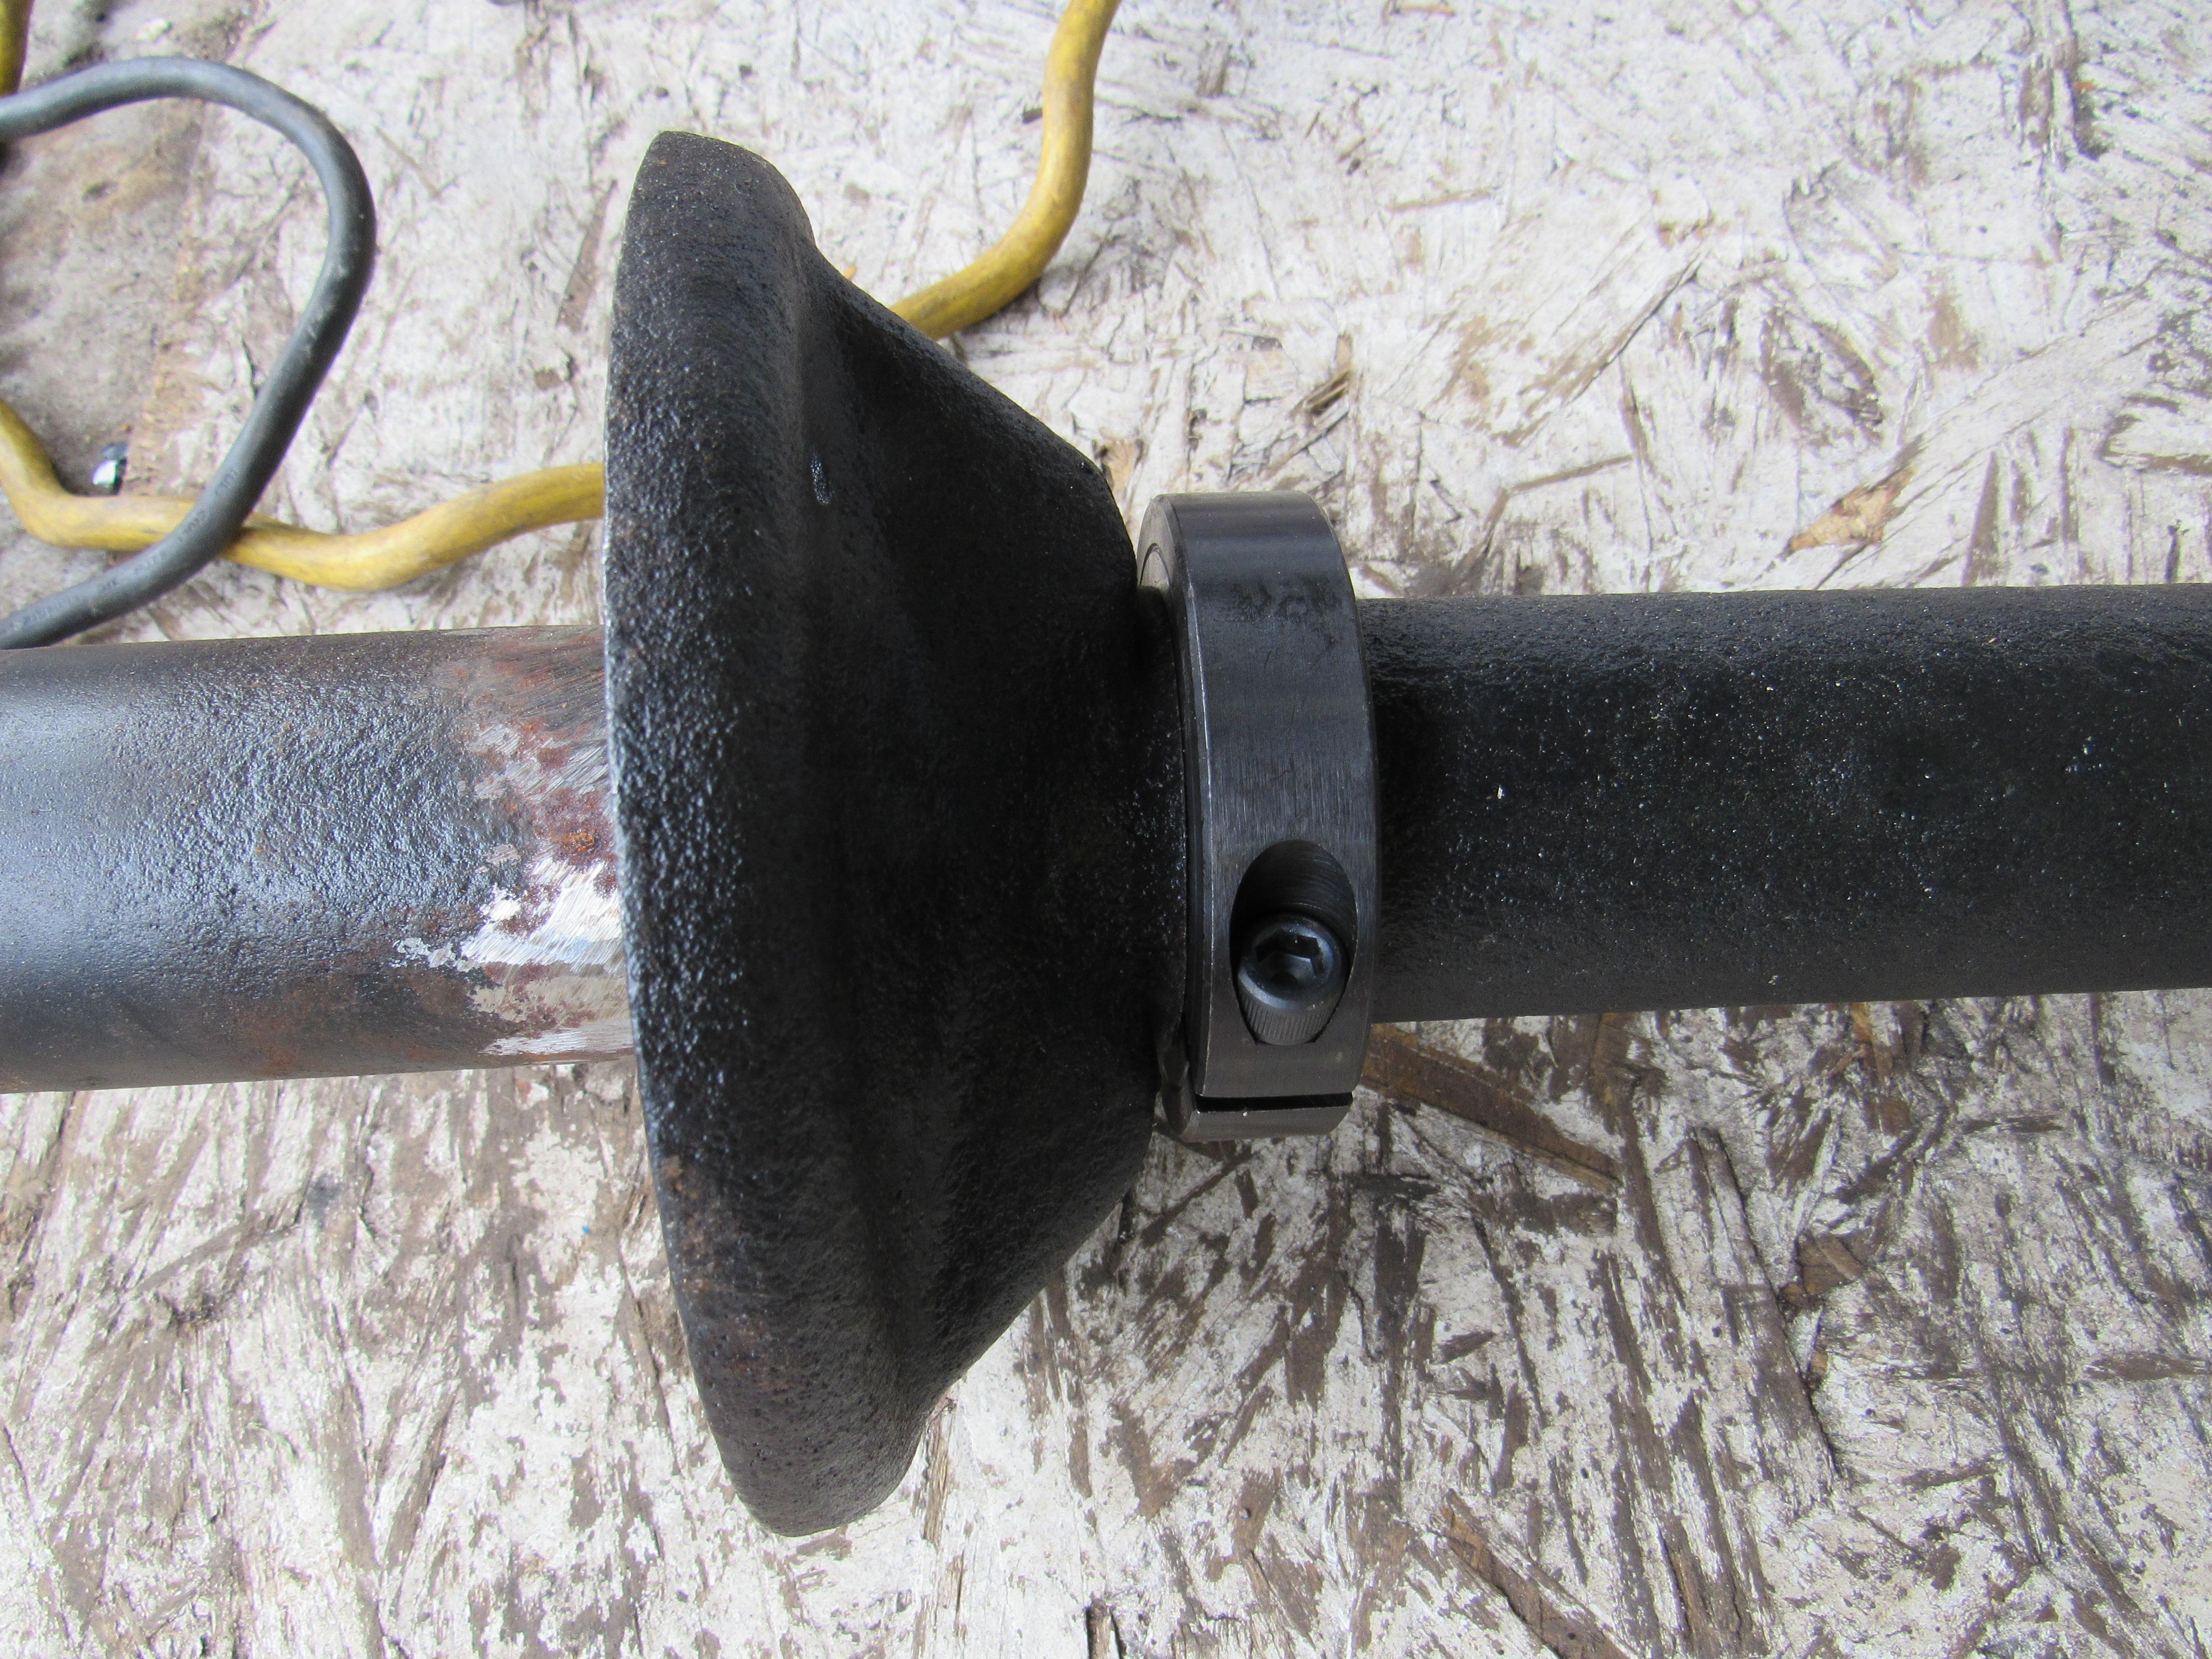
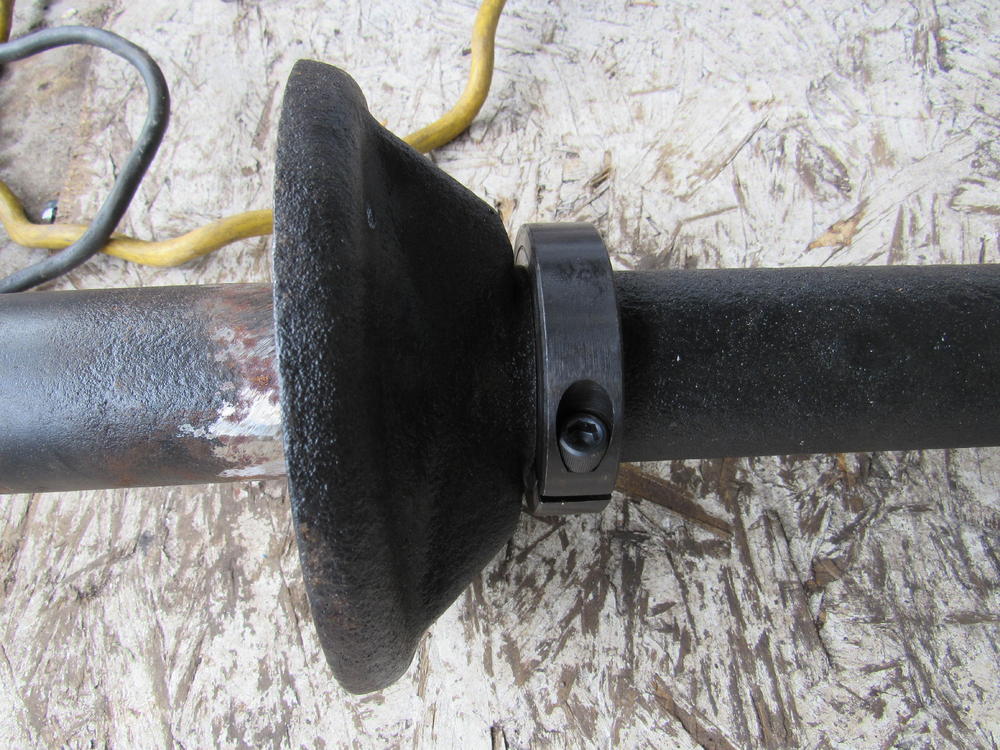
1 pointCO, you don't need to weld the perch and hope that you have picked the right height, you can mount the perches on split collars and raise and lower them until you're satisfied they are perfect and then weld them. In fact the split collars clamp with such force that you could tack the perch to one side of the collar and leave it at that.


 1 point
 -
1 pointBut isn't the Z the most excellent automobile from which to siphon gas? There's hardly another that gives you such quick and trouble-free access! (As a side note - I have to emissions check my 260Z every year here in the Phoenix area. The twits at the emissions station have NO WAY to check my gas cap. I love seeing them take it off, scratch their heads, shrug their shoulders, put it back on, and PASS the gas cap because they can't test it! You have to take joy in life where you can find it...)1 point
-
1 pointTry JK Electronics in Westminster , Orange county CA or the best is Torrance electronics in Torrance Ca on Carson street. Also" ALL electronics" in Van Nuys Ca.They are on line and only take electronic orders.1 point
-
1 pointThe clock pendulum should work no mater what position you put the clock in. Your problem is the caps and the transistor. Replace them with exact values as marked. If you replace just one then everything might return to normal and then later the other cap(s) may fail. If the coils are good then everything should work. DO NOT start bending or tweaking anything. If you replace the components, 3 caps and transistor, the clock will work as usual. As I said before if you over heat the coil wires you can destroy the coils. There are other problems with the 76-78 mechanisms because plastic gears were used. However, replacing the 4 components mentioned should correct the problem.1 point
-
1 pointI think I hope I may have it. I was able to duplicate the sound by locking the steering wheel, wheels up, push hard 9/6 one way to "set it" then pull back and pop. I found the control arm bolt (17mm) less than torqued to spec (I got a socket on one side a wrench on the other) I could turn it pretty easy, not loose mind you but def not uga uga uga tight. any way tightened it up, check the other side (it was fine) and could no longer duplicate the pop with the car wheels up. Again too late to test drive tonight have to go clean up and call it a day. I think I intentionally delay testing like this so I can at least think I have if fixed. Will check in the morning and report back. So anyone else forget to tight the control arm bolts and if so do you recall any odd clunking sounds?1 point
-
1 pointI am pretty down with being around animals so doubt it would bother me. We are planning a trip up that whole area to scout various small towns. Only real needs are a good kitchen to keep the boss happy and a shop with enough room for a lift for me. Seems the biggest concession is the mountain towns are far from publix, the boss not to happy about that. Ingals shows up a lot, looks like a kind of publix (grew up in so florida, publix was huge down there).1 point
-
Before tearing the car completely apart sometime next year, I’m trying to repair, retrofit, modify, optimize a few things. As the car wasn’t that nice to drive, first thing was to remove the cut springs and replace them by some new ones of the same brand. Of course it now looks a bit high, imho, but it drives way better. Cut springs had no preload at all, dampers had only about 3/4 inch of travel and the slightest compression would let it sit on it’s bumpstops. For comparision: As it sits with the new springs, the rear is OK, the front would aesthetically benefit of a slight drop. I also removed the worn aftermarket steering wheel and fitted my Nardi ‘deep’ which I had laying around. Unfortunately I did not have a matching horn button. I’m not sure what steering wheel I’ll mount after the resto, I'm tending towards a Datsun Compe wheel or a Nardi black and wood. I sourced a non series 1 driveshaft, moustache bar and rear transverse link. This is all thats needed to change the rear drivetrain to the later geometry. While at it I also changed the diff support for a hangingt RT diffmount. No more diff straps or rubber bumpers for Tosbo. In my quest to optimize the driving sensation a bit more, the car needed a rear swaybar. As it hadn’t any at all. I ordered a complete ST suspensions swaybar set from the US. And the biggie, something most will probably not understand. I got rid of the Webers. I love simple things, things that can be mended during a road trip, things that are set and forget and most of all, things that are driveable under pretty much every condition. So I removed my 40DCOEs and got myself a set of nicely refurbed Hitachi 4screws with an early airbox. And yes, the car drives a lot smoother with minimal load (under 2500rpm) and around town with the stock SU. As I had 1 240Z with SU and this one with Webers, it was easy to compare. And I just prefered driving the SU. Above 5000rpm the Webers are way better though. As for the issue with the uneven front/rear drop: The easiest way to gain a bit more low at the front an be able to dial in a bit of camber are some camber plates from SilverMine, which are in fact just Mookeh camber plates with studs mounted in the right pattern which lower the car approx 3/4 of an inch without sacrificing preload or shock travel. Mounted everything up and dialed it in at -1.6° camber and some mild toe-in. Car drives so much better with the new setup (Vogtland, ST swaybars, camber tops, excentric inner LCA bushes. Next thing needing attention: I have a slight slack and clonk when accelerating/decelerating somewhere in my drivetrain. U-joints are all good, diffmount has bees swapped to RT, engine mounts have been renewed. Hopefully I'll find the culpript. Let's cross fingers it's not the gearbox.1 point
-
Now comes the REAL WORKOUT, getting the rest of the cover on. I placed the foam back in place and for the better part of an hour and a half I pulled, tugged, and persuaded the cover on. This is where the plastic would have helped a lot. In the end I got it on but took plenty of breaks in between. Looking back on it I am thinking I should have glued the foam to the seat back, especially around the edge where it is supposed to sit on top of the seat round bar. Next you will be securing the material down with the tangs just like on the bottom cushion. Originally the seat had the front of the cover laid down first and then the rear of the cover placed over it. The original cover did not have the extra little flap on the back to cover the tangs so I went the opposite direction, I put the rear of the cover down first and then the front. My thought was since more pressure would be on the front of the cover I would want to tangs working in a direction to secure it. To start you need to straighten your tangs again if they are not. Starting at the center and with the reinforced edge of the material for the back pull it over the tang, cut a small slot with your utility knife, and push the material all way down. This went fairly well and I was pleased with how the back looked. The front of the cover put up a real fight and I employed the help of my wife to hold the seat down while I pulled up on the front of the cover and eventually hammer down each tang as I went along. As you can see the material does not wrap around the sides 100%. I believe a few factors contribute to this, first the foam and seat covers are made by two different companies. Second, everything is new and while flexible its’ just not flexible enough. However the exposed area will never be seen once installed. If you have a method of making yours fit better by all means try it. I did not want to remove the cover after all the work to get it on and attempt to trim the foam back so I left it as-is. Stand back and marvel at your work. The home stretch! Locate the holes for the bolts that attached the hinge hardware and cut a small X over them. Push the material down as the material will split and hug bolt holes. I started with the bottom cushion fitting everything a little loose at first. I also would only cut one hole at a time, once I cut I would install a bolt in to it. Once all the connecting points on the hinges were bolted in place I tightened everything down. The end result is a fully restored seat for your Z car ready for many miles and years of enjoyment. Overall I am very pleased with the covers, foam, and work I put in to it. The area on the side of headrest is not as tight as I would like it to be. Adding more foam here might be a possibility the next time around. When it sits in the car on a warm day it may help as well. If you have any questions feel free to reach out to me and I will do my best to answer them.1 point