Leaderboard
-
Captain Obvious
Free Member3Points10,081Posts -

Dave WM
Free Member2Points3,591Posts -
AZ-240z
Free Member2Points956Posts -
26th-Z
Free Member1Points5,264Posts


Popular Content
Showing content with the highest reputation on 07/26/2020 in all areas
-
3 pointsSteve, LOL. No. I'm talking about the balancing act between the changing resistances of the thermistor and the bulb filament. I measured the filament resistance of a couple of the 3.4W bulbs from the Z. When cold, the resistance is about 5.4 Ohms. If you calculate the power that bulb will consume when connected to a 12V source, you get about 31 Watts. 31 Watts!!! And the current that would flow through that 5.4 Ohm "resistor" would be about 2.4A!! However, it doesn't work that way. The resistance of the bulb filament increases significantly when it heats up and glows. That's what I meant a while ago about the bulb being a PTC. To show this effect, I connected the bulbs to a 12V source and measure the current draw while the bulb was lit. It was 220 to 240 mA. And if you back calculate the filament resistance, you find that the resistance has increased about tenfold from 5.4 Ohms to about 50 Ohms. So as the resistance of the thermistor decreases (allowing more current flow), the resistance of the bulb goes up (disallowing more current flow). That's the balancing act I was talking about. It's just a light bulb and a thermistor and it's giving me a headache. HAHA!!3 points
-
I would use a little fiberglass instead of plastic filler on the weld beads at the lower edge of the door. The fiberglass is much more water resistant than plastic filler1 point
-
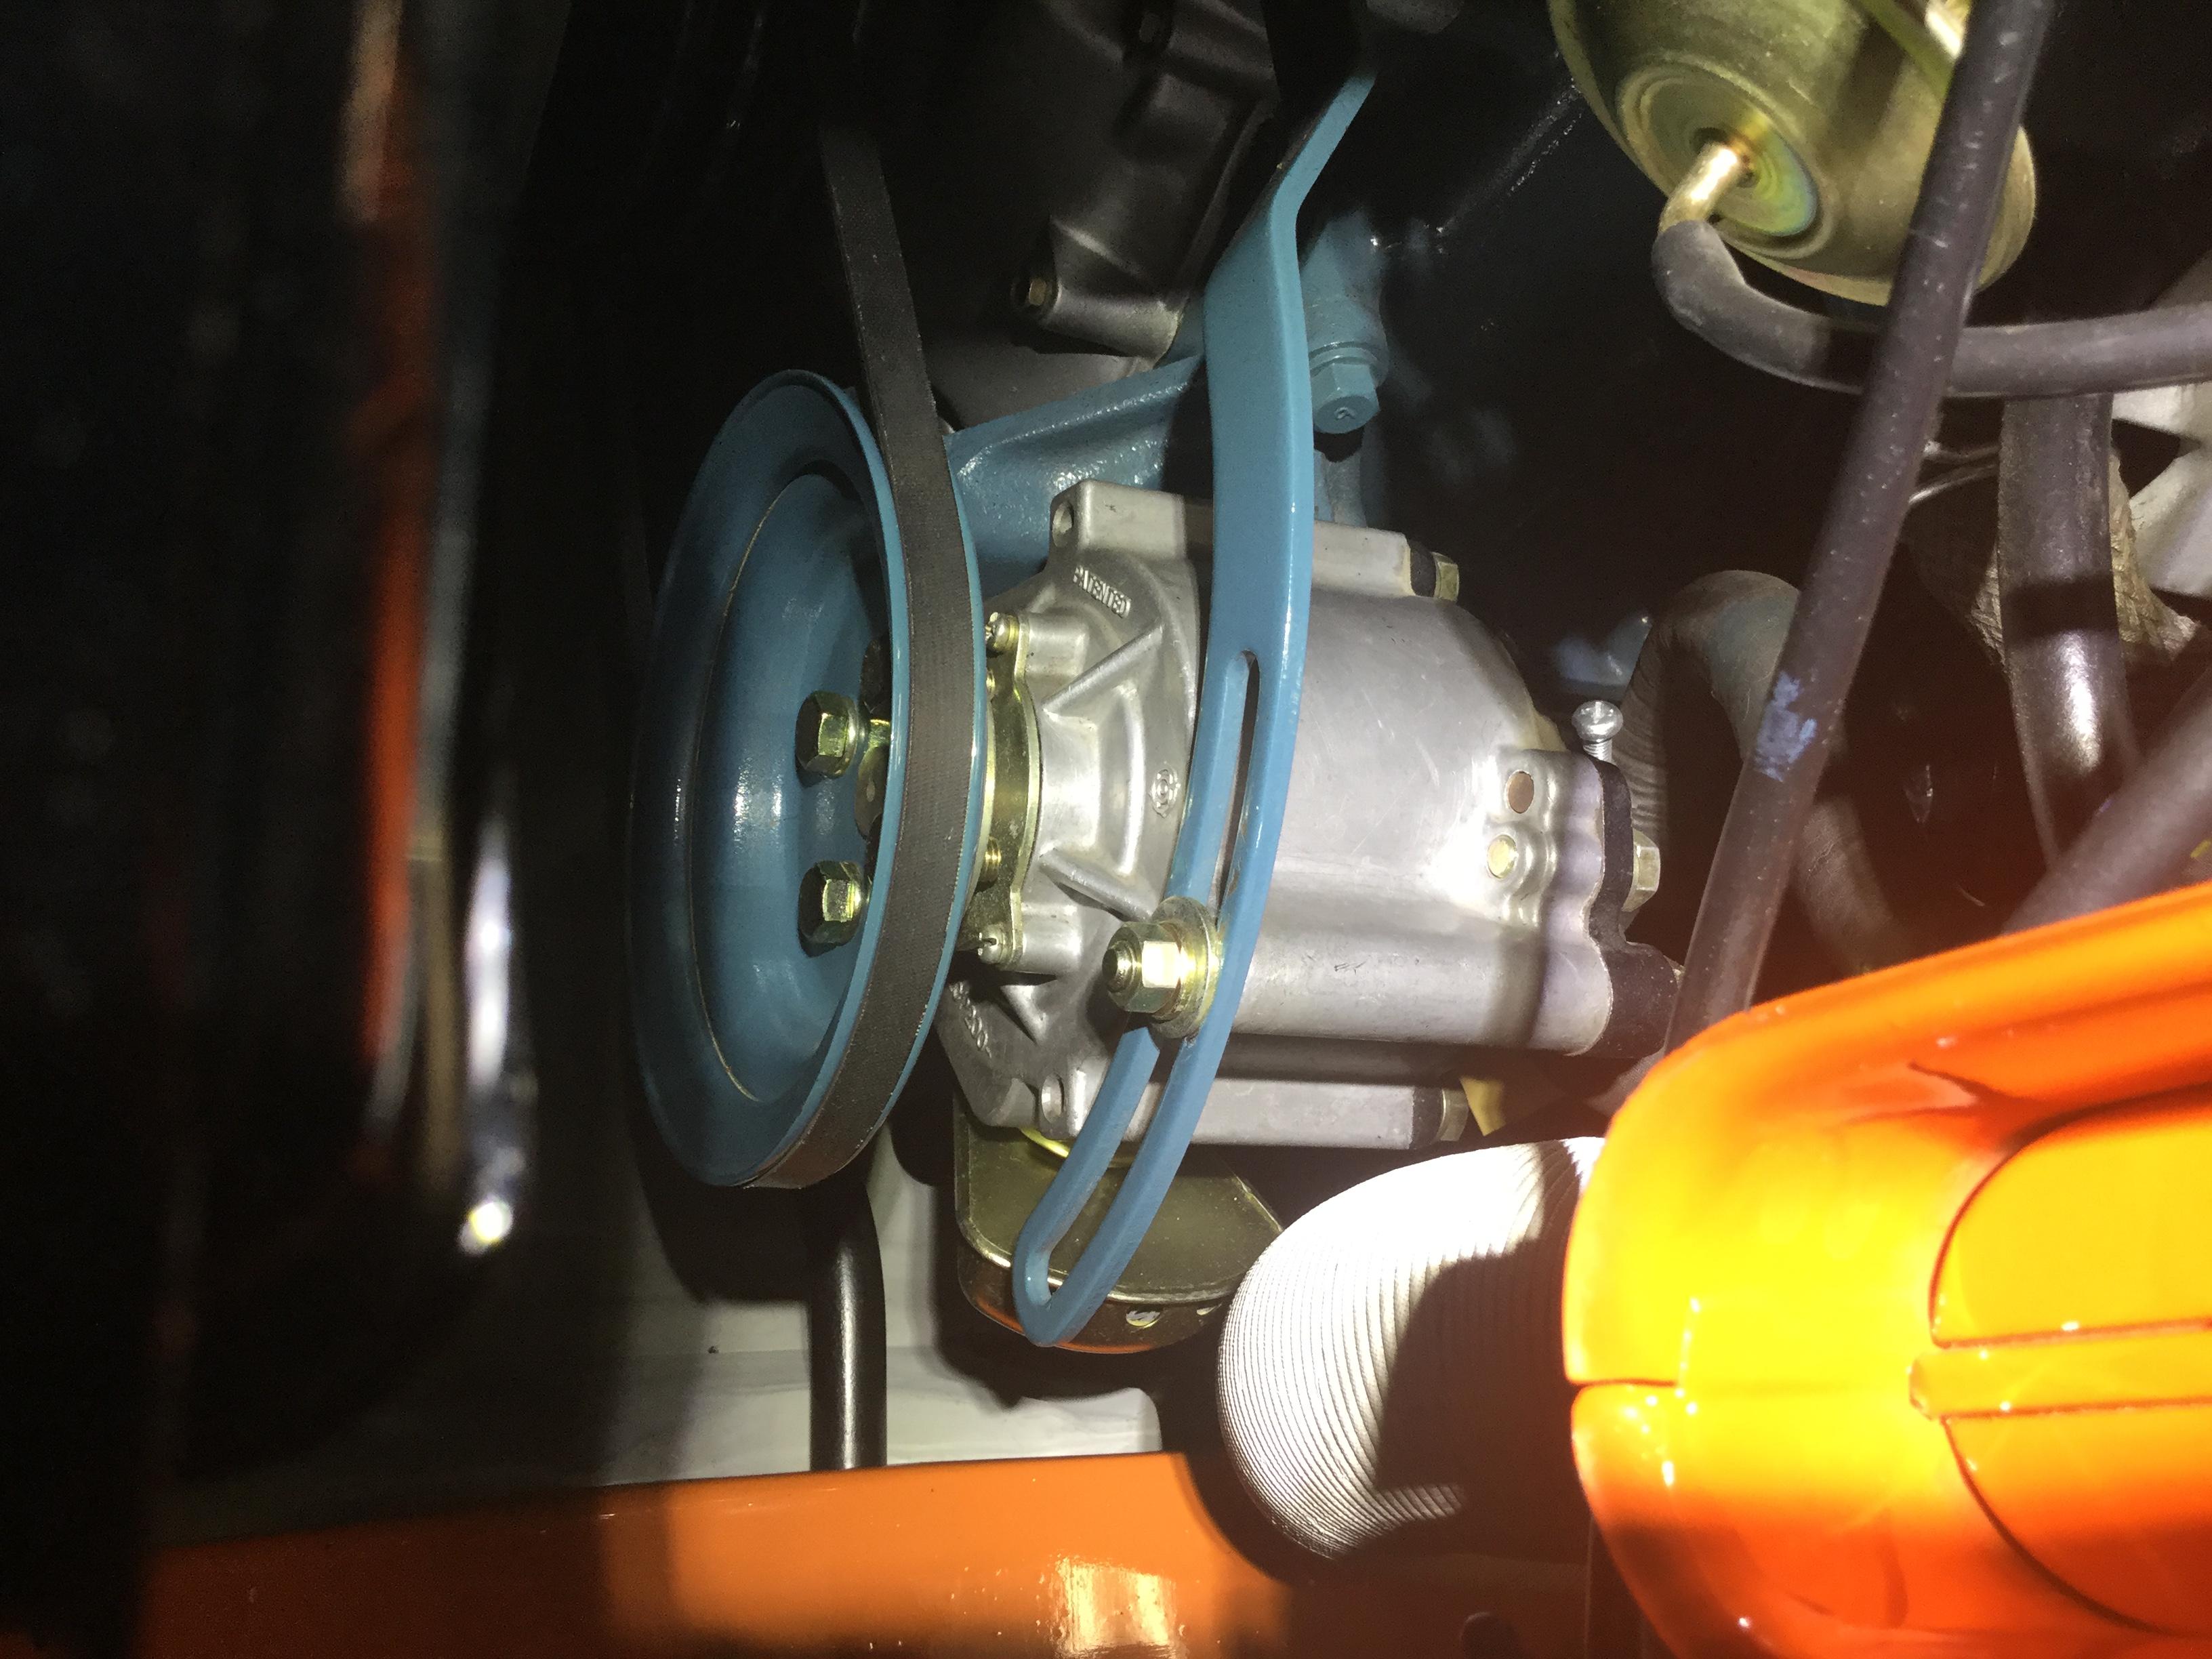
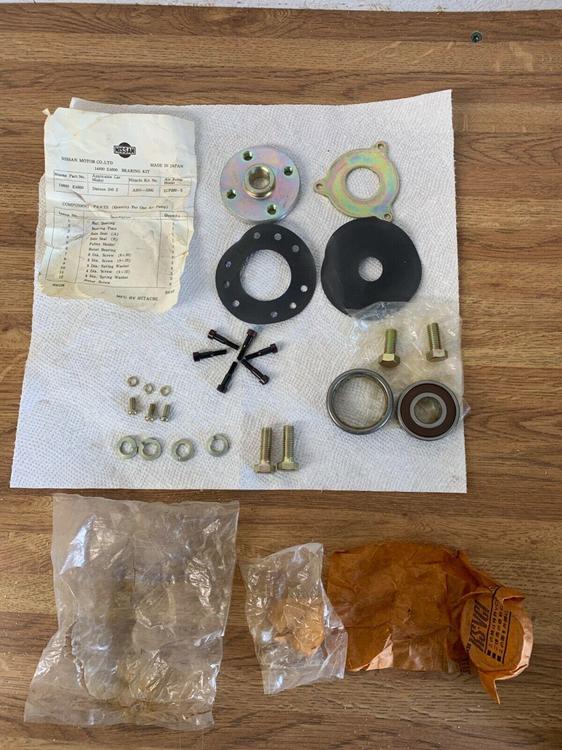
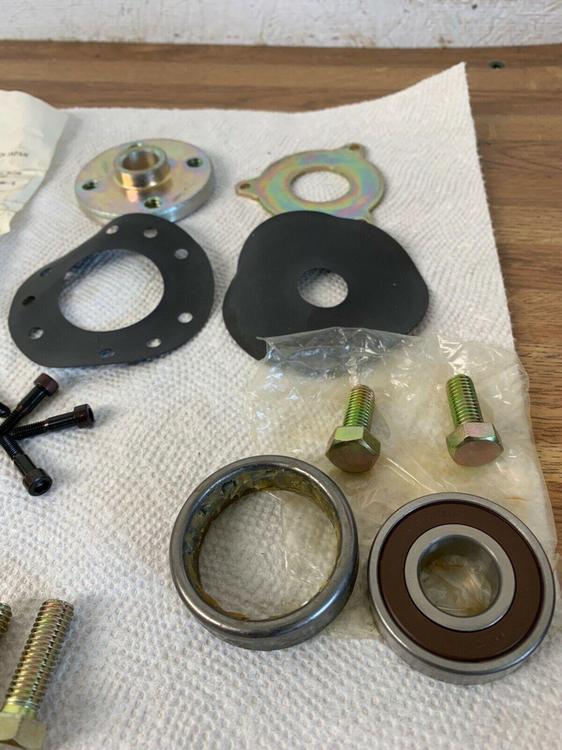
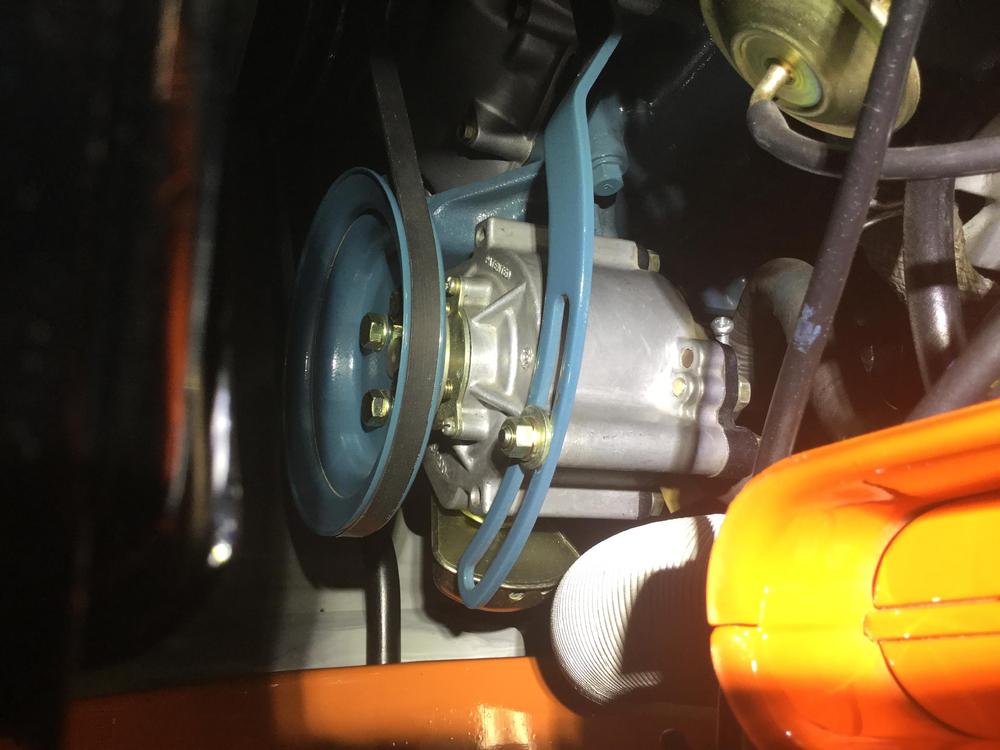
NOS repair kit I hoovered somewhere. Plating and colours may be helpful to this thread.
 1 point
 -
1 pointI don't remember us having specs. Carl Beck sent the company a set of the Euro Spec II springs to test, as I remember. I believe they're about 15% stiffer than stock US springs. I have a set of those on my car now. They tend to make the car sit higher than it should, due to the the effect of modern gas pressurized strut inserts that didn't exist in the original 240Z.1 point
-
Turns out mine is not working, was working awhile ago. Spent the day trouble shooting. Back prob the connector at the center console. Key on fuel in tank disconnect the lamp and you should get 12v at the back prob (with out the load of the lamp you get the full battery voltage due to the high impedance of the DVM). Plug the light back in and the 12 drops down to about 20-30 millivolts (again back probing the connector from the lamp the harness that is under the dash). I next pull the sending unit. Tip remove the tank mount by the fuel pump but leave the tank in place. This will give you way more room to work around the sending unit ring (this is with the side mount sending units). Visual of the thermistor can shows a fine layer of corrosion where it snaps in. I remove the thermistor can clean both the can and the retaining clip with some fine sand paper, Try it again this time with the sending unit outside of tank. It works but not as well as I like plus I see some intermittent drops of the voltage while I monitor the back probes. down to zero... hmm must be a break in the circuit. I noticed the can has a small wire that comes out the bottom and is not firmly attached. I presume this is the electrical ground for the thermistor. I solder that to the can bottom. Much better action now. I am posting up a video will link here when done.1 point
-
This is great! I just bought one that will need to be restored. Supposed to arrive Monday.1 point
-
1 point
-
+ 2 on all of the above. This is mine which must have been judged to be correct at the 2012 ZCON.
 1 point
 -
+1 on getting the correct Datsun blue from Mike McGinnis, ZCCA approved!
 1 point
 -
Sounds right to me Jerry. That would match what I have observed and done on my resto's. Mike McGinnis would have the ZCCA correct Datsun blue. (middle of page) Ask Mike for confirmation of the smog pump back plate color when you call him with your order. http://www.zzxdatsun.com/catRequests.php1 point
-
its a resistor that changes resistance with temp. So you have a constant current flowing thru it (its in series with the bulb to the battery). Current is always flowing generating some heat in the thermistor, but since its immersed in fuel the heat it soaked away keeping the temp cool and the resistance too high to allow enough current to flow and thereby causing the light to be seen (there is always a small current flowing thru the filament, just not enough to cause it to glow). With the gas gone, the thermistor no longer has its heat sink, so it starts to heat up, resulting in more current to flow (and more heat by the way) until the is a large enough flow in the series with the lamp for it to begin to glow. You need the correct incandescent style bulb for it to work, including the correct wattage bulb. Its a VERY simply circuit as long as the correct bulb is used.1 point