Leaderboard
-
dmorales-bello
Free Member4Points627Posts -

wheee!
Free Member3Points4,607Posts -
.JPG.cfcada9cf1c1b502df3f5f2f2ca3ff36.JPG)
SteveJ
Free Member2Points9,646Posts -
26th-Z
Free Member2Points5,264Posts


Popular Content
Showing content with the highest reputation on 06/06/2020 in all areas
-
4 pointsNot being satisfied with the "plump" look that resulted from my first attempt, I decided to be more radical and opened the visors again, took out all the foam I had added and all the factory green foam pads as well. I started with the now totally empty visor skins and prepared a "sandwich" consisting of a single piece of black 10mm thick high density foam precisely cut to shape, covered with a single layer of 2mm sheet of the same foam on each side. I beveled the edges a bit before reinserting into the visor skins. Closed up the same way as before. I'm super satisfied with the much improved flatness and stock appearance. Sent from my SM-N950U using Tapatalk4 points
-
2 pointsThose fans: Bart, the metal fan is indeed painted "whale tusk white" and it is not plated. They were not properly balanced from the factory and at the higher revolutions offered by the engine, in a sports car, had a tendency to cause undue wear to the water pump bearings. By the way they are constructed, they had a tendency to throw a blade causing significant damage. That's why they were replaced with the nylon fans. The nylon fans flexed and self balanced and they didn't throw blades. If you plan to use the metal fan system, I highly recommend that you have it balanced and inspected for metal fatigue at the rivet joints. When you have your example balanced, you will be able to determine if the one blade you refer to is sanded for that purpose or not. If it is, then don't let anybody give you any crap for it!2 points
-
The first things to do: Check the fuse as @zKarspointed out. Consider trying to clean the fuse contacts. (Disconnect the battery before attempting this.) Roll up a small piece of 800 to 1000 grit sandpaper and rub it where the fuse box holds the fuse, or use a wire brush on a dremel tool. Take apart connectors C-3, C-4, and C-5 and spray them liberally with contact cleaner such as Caig Deoxit. They could have seen some corrosion from water infiltration.2 points
-
2 points
-
Hi all, This weekend I finally got around to tracking down that last vacuum leak -- in the pneumatics of the HVAC control apparatus. (I had previously identified a leak through the vacuum line leading through the firewall from the vacuum solenoids or "magnet valves" -- righthand/passenger side of hood compartment.) The larger source of the leak was immediately apparent. In their infinite wisdom, Nissan put a splice in the vacuum line in the righthand/passenger dash area. It's shown in the factory service manual diagrams. It seems like that's just more to go wrong, but I'm sure there was an assembly line rationale behind the splice. In my own case, I had three splices, apparently from repairs by the previous owner. The tubing was starting to rot and had split over one of the splice connectors, then falling off. So I did a quick fix of the splice and found that I still had a vacuum leak. Not surprising. Anyway, I had to tear into the dash to track down the remaining leak and to replace old tubing with new. (Joy!) The center console on my '78 didn't come out as nicely as I had remembered on my '75, but I got it out. No leaks in any of the vacuum actuators in the system. The leak was definitely in the vacuum selector valve. It looked as though I could simply remove it from the bottom of the control assembly, but I wasn't sure. I figured I'd be better off taking the conservative approach and removing the entire control assembly before worrying about the vacuum selector valve. This gave me the opportunity to clean and lube it, but in hindsight I would have left it in place, only removing the vacuum selector valve. There are too many things to take loose and reconnect, and the assembly doesn't really come out without a bit of a fight. Once I had the vacuum selector valve out, I was able to confirm that, yup, it leaked. It seemed like a rather simple construction -- and was. It consists of two metal plates faced against each other, sealed with vacuum grease. The design of the valve is such that it vents air to the actuators to allow them to relax. The problem is that dirt is sucked into the valve and combines with the grease over time, eventually resulting in accumulated gunk that doesn't seal the two plates together very well. Anyway, the valve disassembles very easily. Just remove the little c-clip on the shaft, and the valve disassembles into 5 parts -- the two plates, the shaft, the clip, and a spring (on the outside of the assembly, pressing the plates together). There was a bit of scoring on mine from the dirt, but it was very minor. I just cleaned the two plates, lubricated lightly with silicone vacuum grease, and reassembled. Note that there is a recess in the middle, right around the shaft. I packed that recess with extra grease to feed out over time. In the original assembly process, Nissan had apparently not packed this area. After reassembling, to my delight, the assembly was vacuum-tight. I reassembled the whole mess, properly adjusting the cables, and found that the HVAC system worked perfectly and my engine had no remaining vacuum leaks. Yea! Here's what I would have done differently -- things that the factory service manual doesn't tell you: Rather than taking out the entire HVAC control assembly, I would have removed the vacuum selector valve from the bottom of the assembly. The cleaning/lubing of the remainder of the control assembly simply isn't important enough to go through the headaches of R&R. To do this, I recommend the following procedure, and I'd advise penciling it in on the appropriate page of the factory service manual (page AC-31 of my 1978 manual): (1) Turn the mode lever to "defrost" (far right position). (2) Remove the two screws retaining the vacuum selector valve, and remove through the bottom of the assembly (very easy). Be careful not to turn the two plates (also very easy). Note that the selector valve could install either the way you took it out or 180 deg turned. I'm pretty sure from the construction of the valve that it would make no difference how it is turned during reassembly. Note also that the drawing of the vacuum selector valve in the factory service manual is not accurate, at least on my car. The nipples are located in different positions. Perhaps there is more than one configuration of valve. (3) Note when you remove the valve that the top and bottom plates have alignment pointers on their outer radius. In the "defrost" position, these pointers should be aligned. At least that's how it is on my valve. Again, there may be different configurations. If the arrows don't align, then make your own alignment marks. (4) Disassemble, clean, re-lube, and reassemble valve. Use silicone vacuum grease or (silicone brake grease?). (5) Realign the plates using the alignment arrows. (6) Without rotating the plates, reinstall into the assembly, gently meshing the gears together. (7) Check the final alignment with the air selector lever now in the A/C position (far left). In this position, the S nipple should be completely vacuum tight, and the other three nipples should vent to the outside. I believe this is the only position where this would be true. One final note: One of my "magnet valves" is bad in the engine compartment. It is the primary one that evacuates the reservoir when the HVAC system is turned on. When the system is turned off, it is supposed to vent air back into the HVAC pneumatic system (note: edited as per below), thereby relieving the vacuum on the entire system. (There is a little filter on the bottom of the valve.) In my car, someone had bypassed that valve. I was worried that with a healthy vacuum and no leaks that the vacuum actuators might remain actuated when the system was turned off. However, the design of the vacuum selector valve does vent air back to the actuators when the system is off. I suppose the vacuum reservoir does hold a vacuum when the system is in the A/C position and the HVAC system is shut off. I presume that's not a problem. Anyway, I hope this posting saves someone a few headaches. Peace, Sarah1 point
-
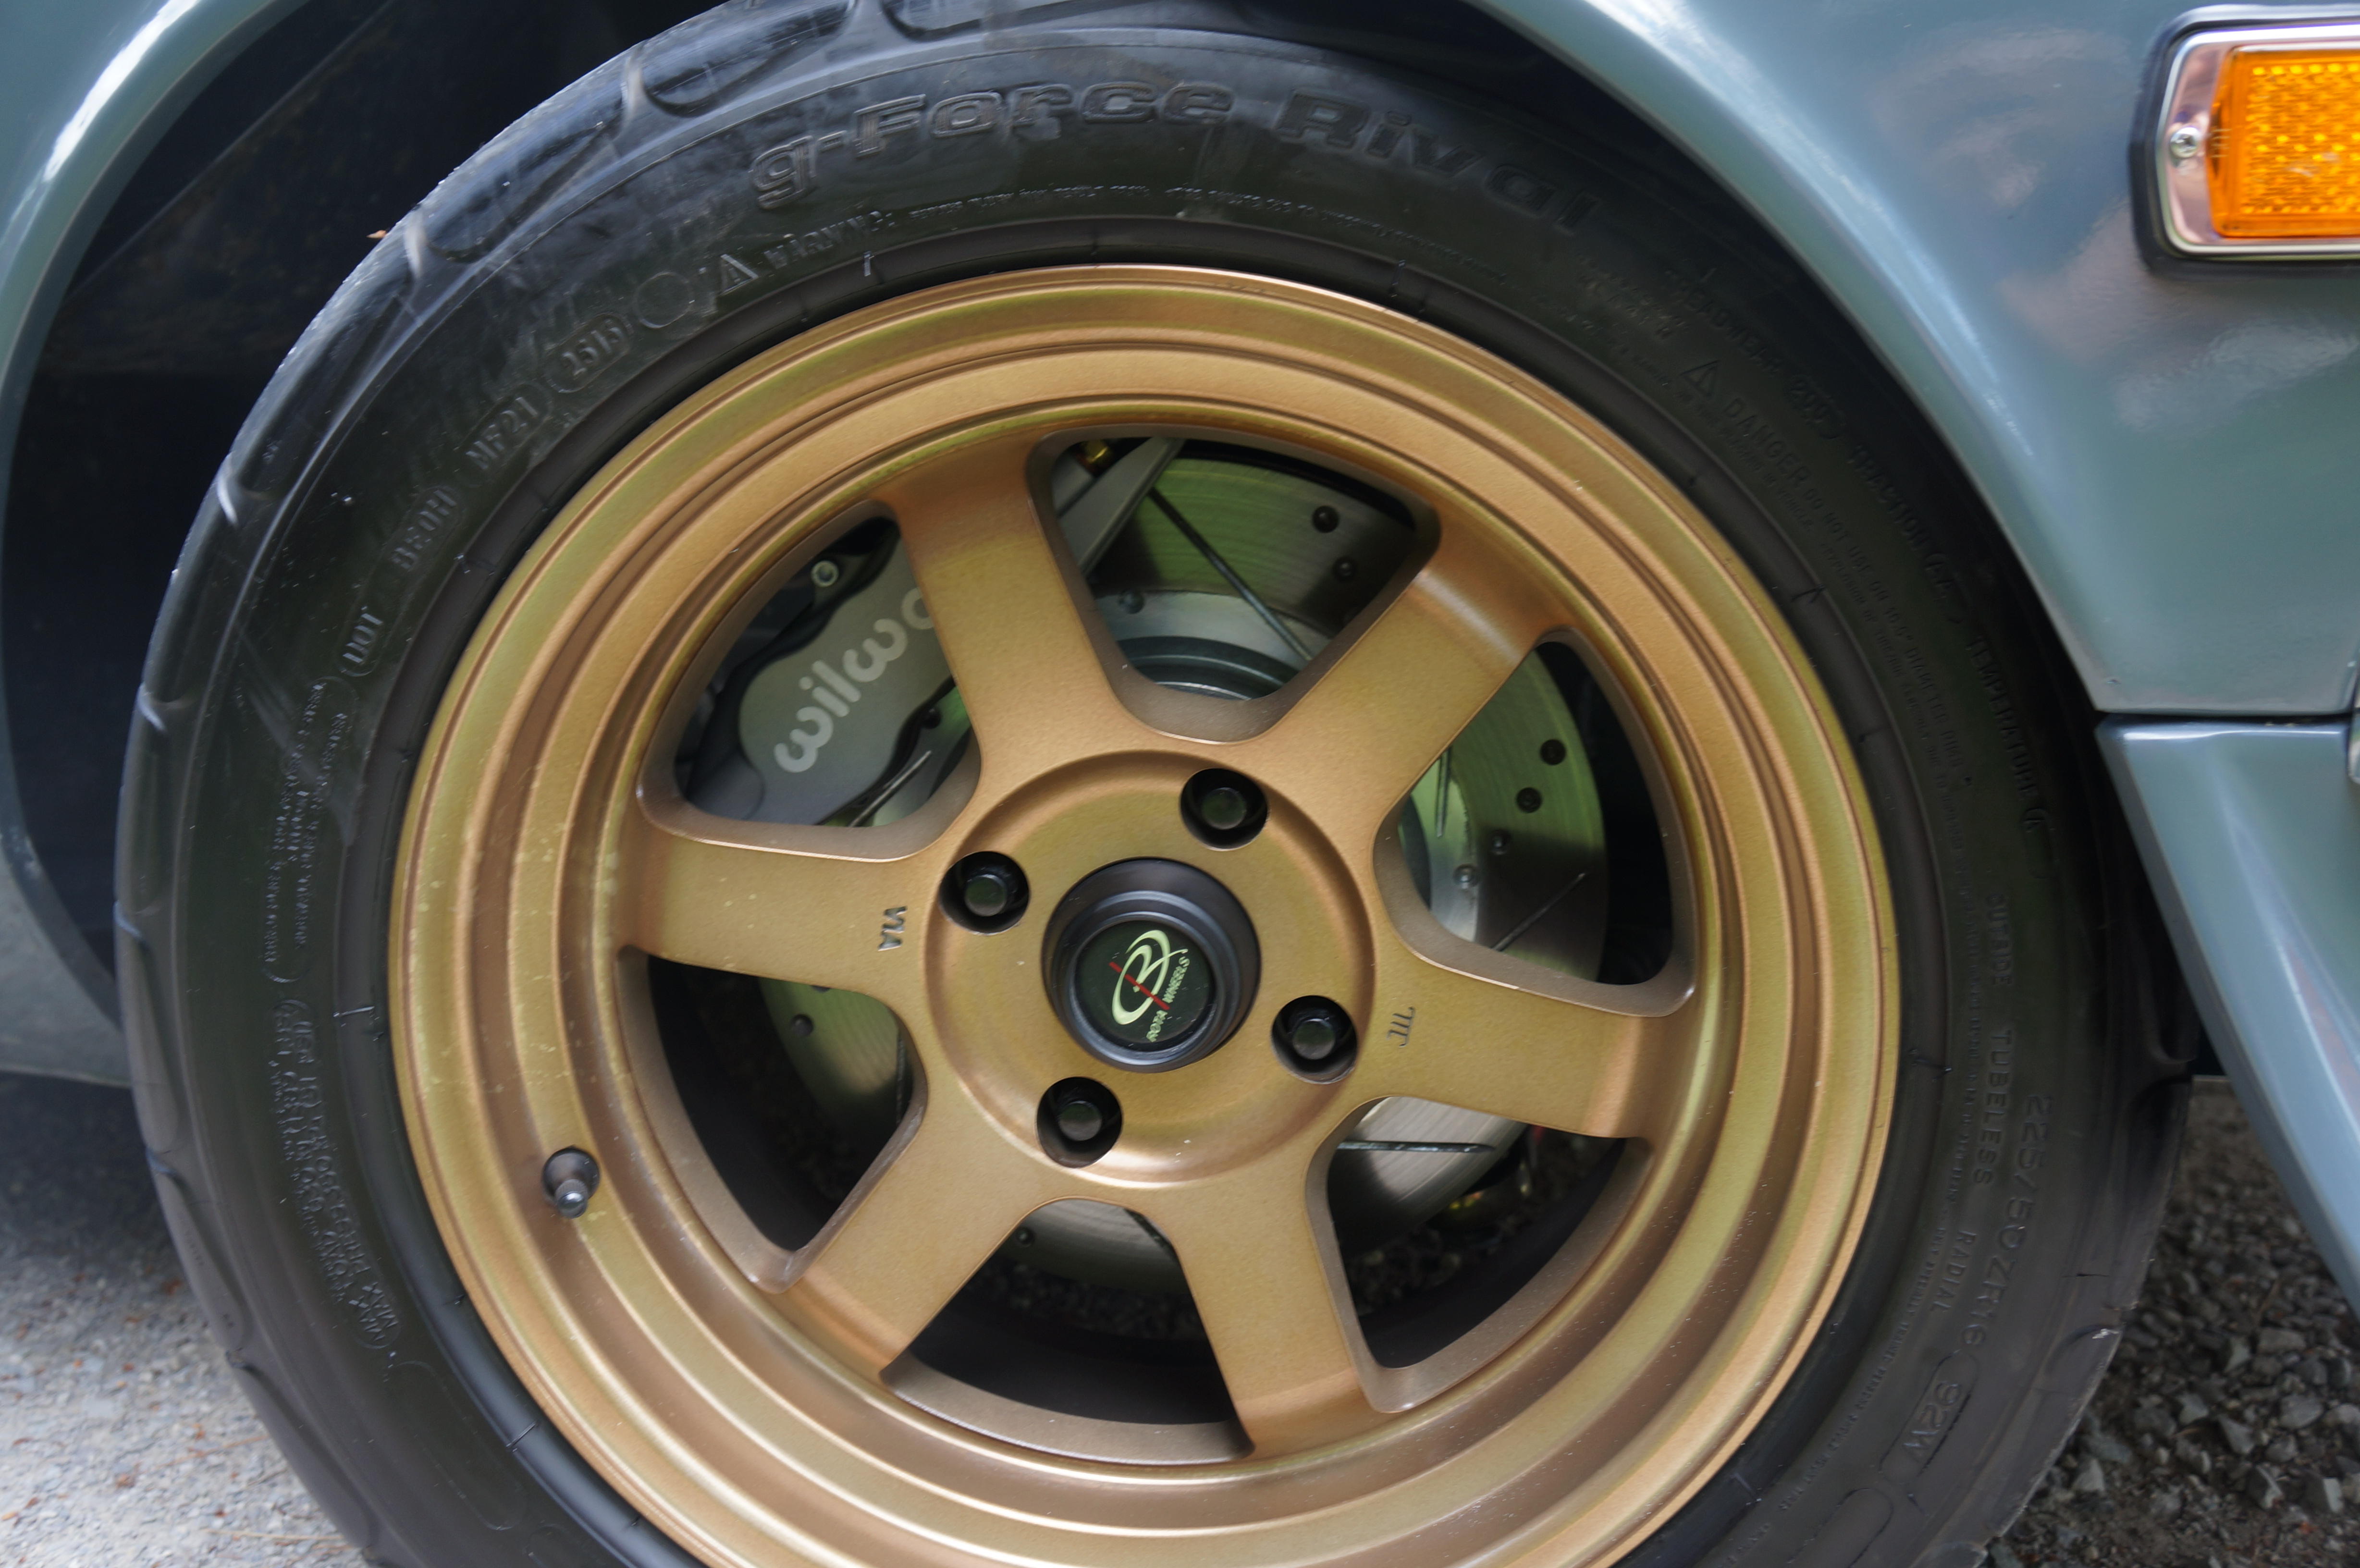
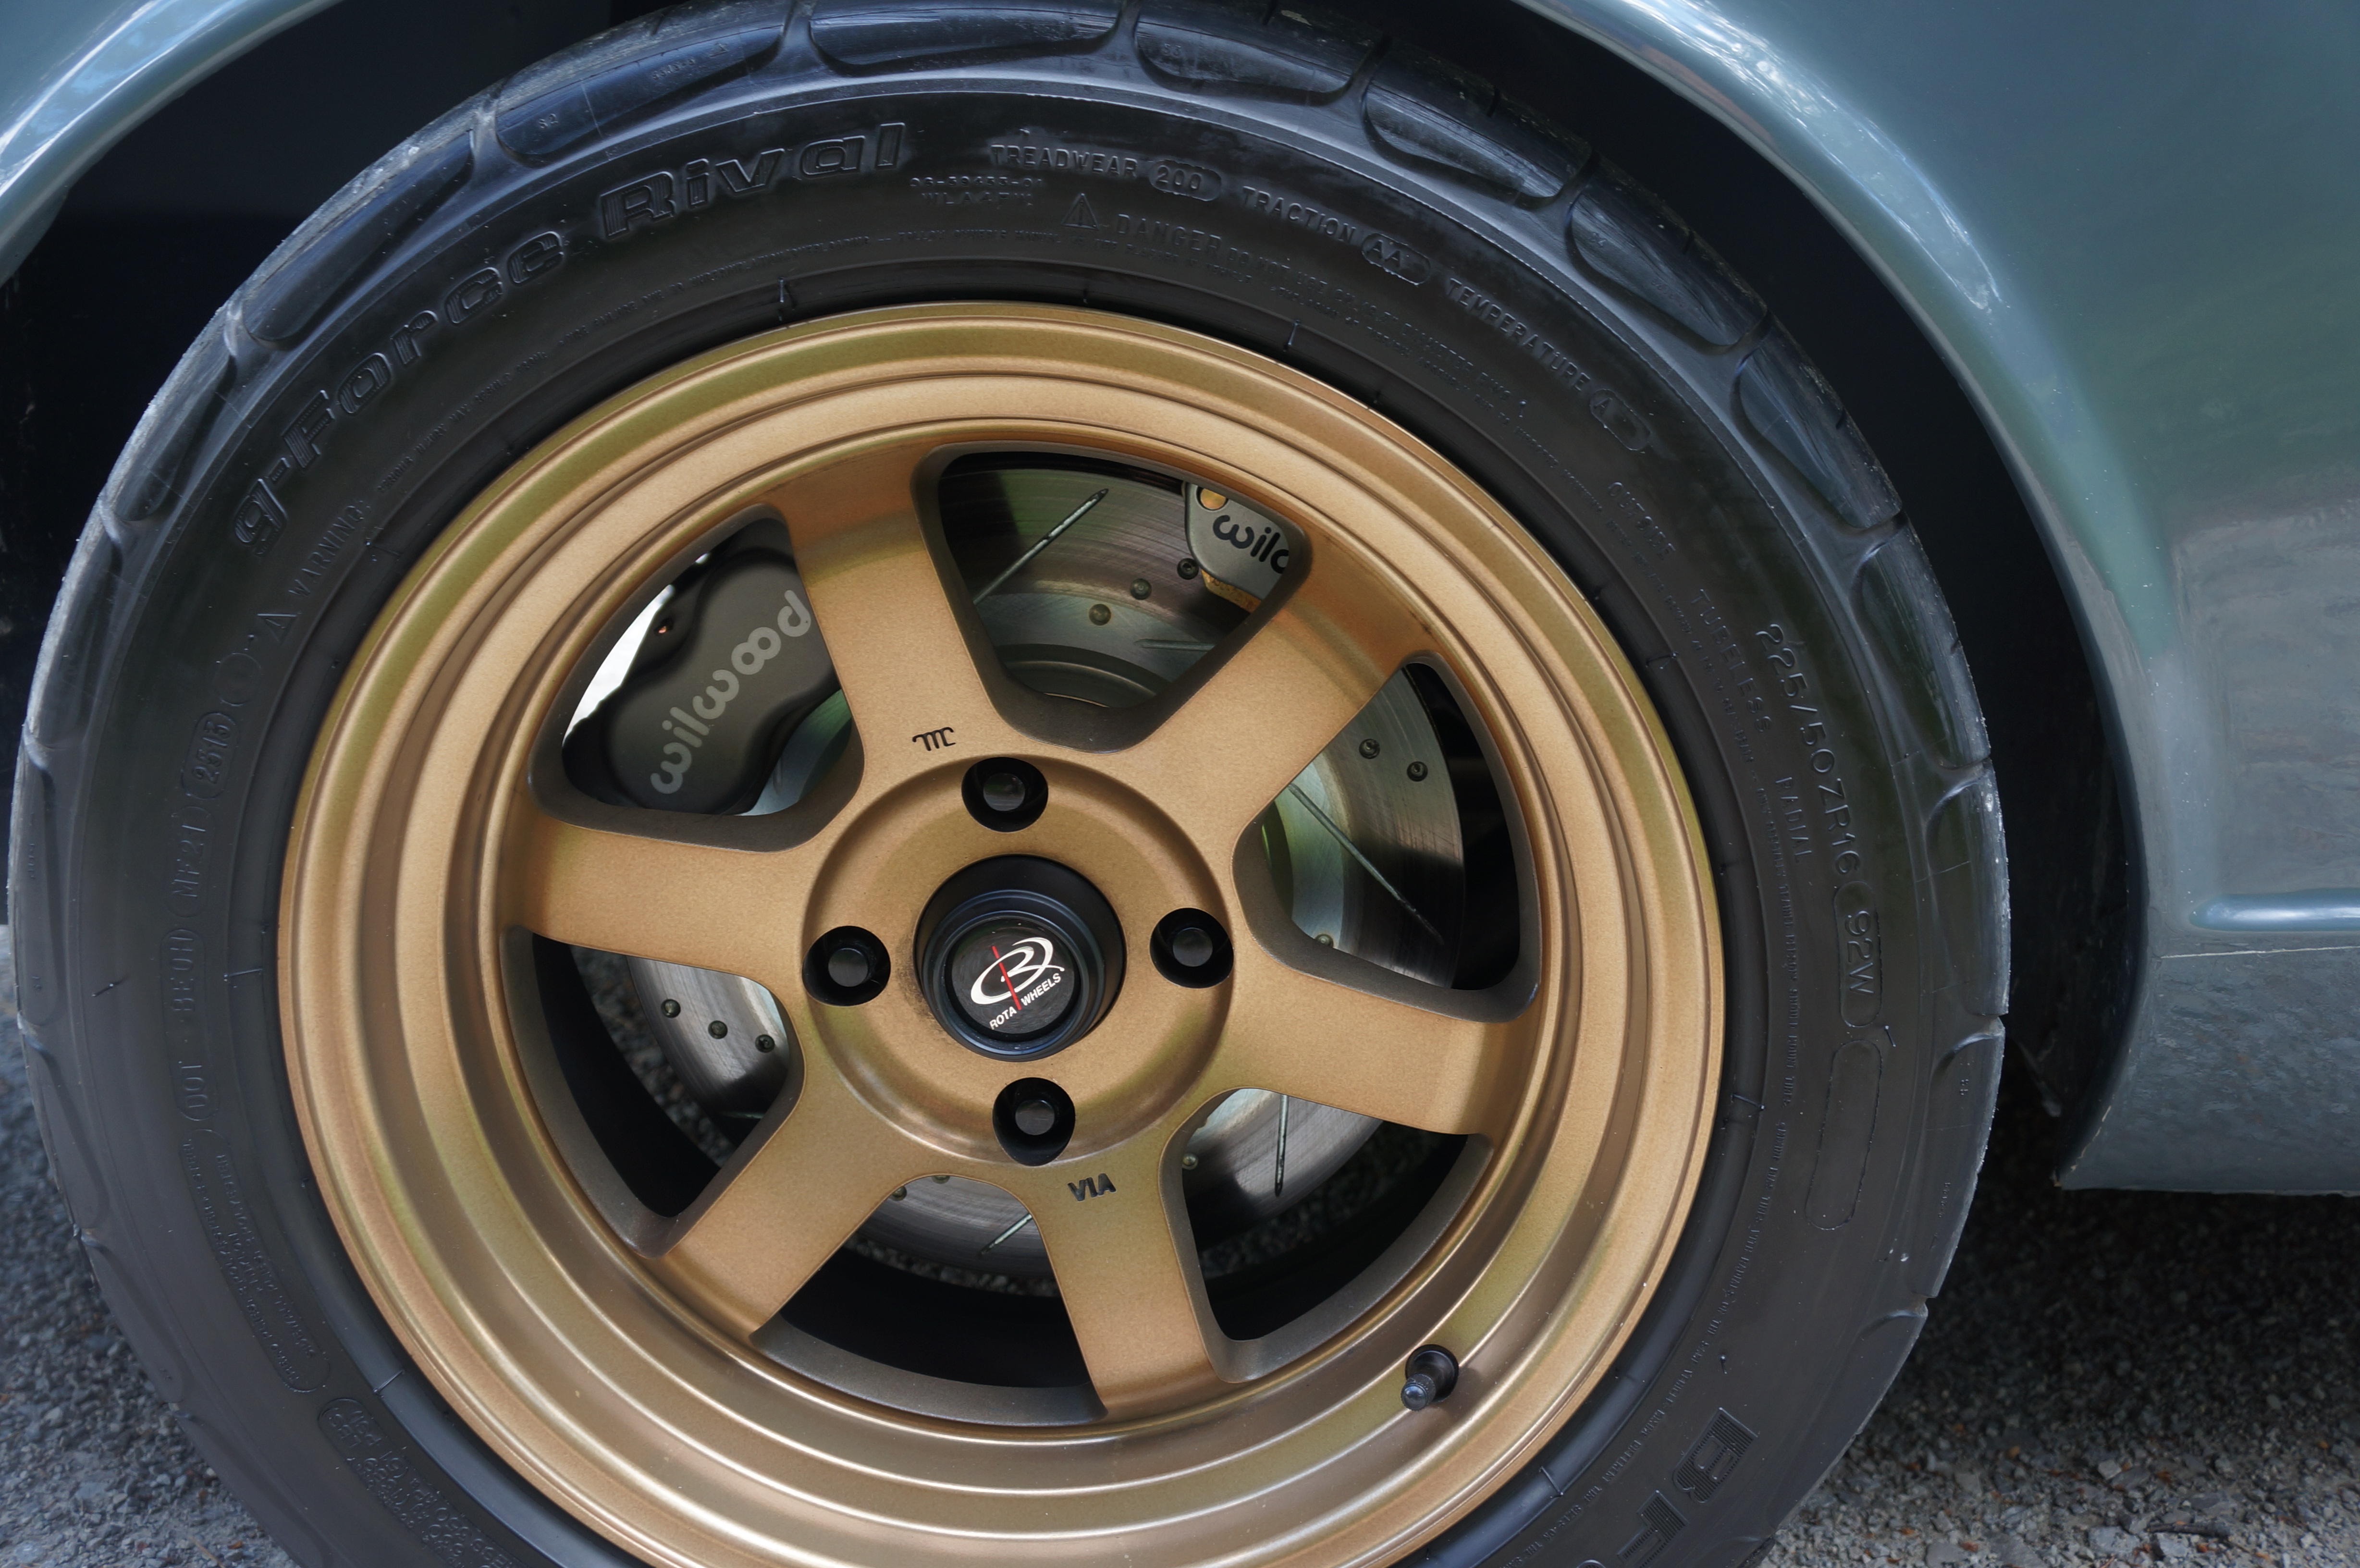
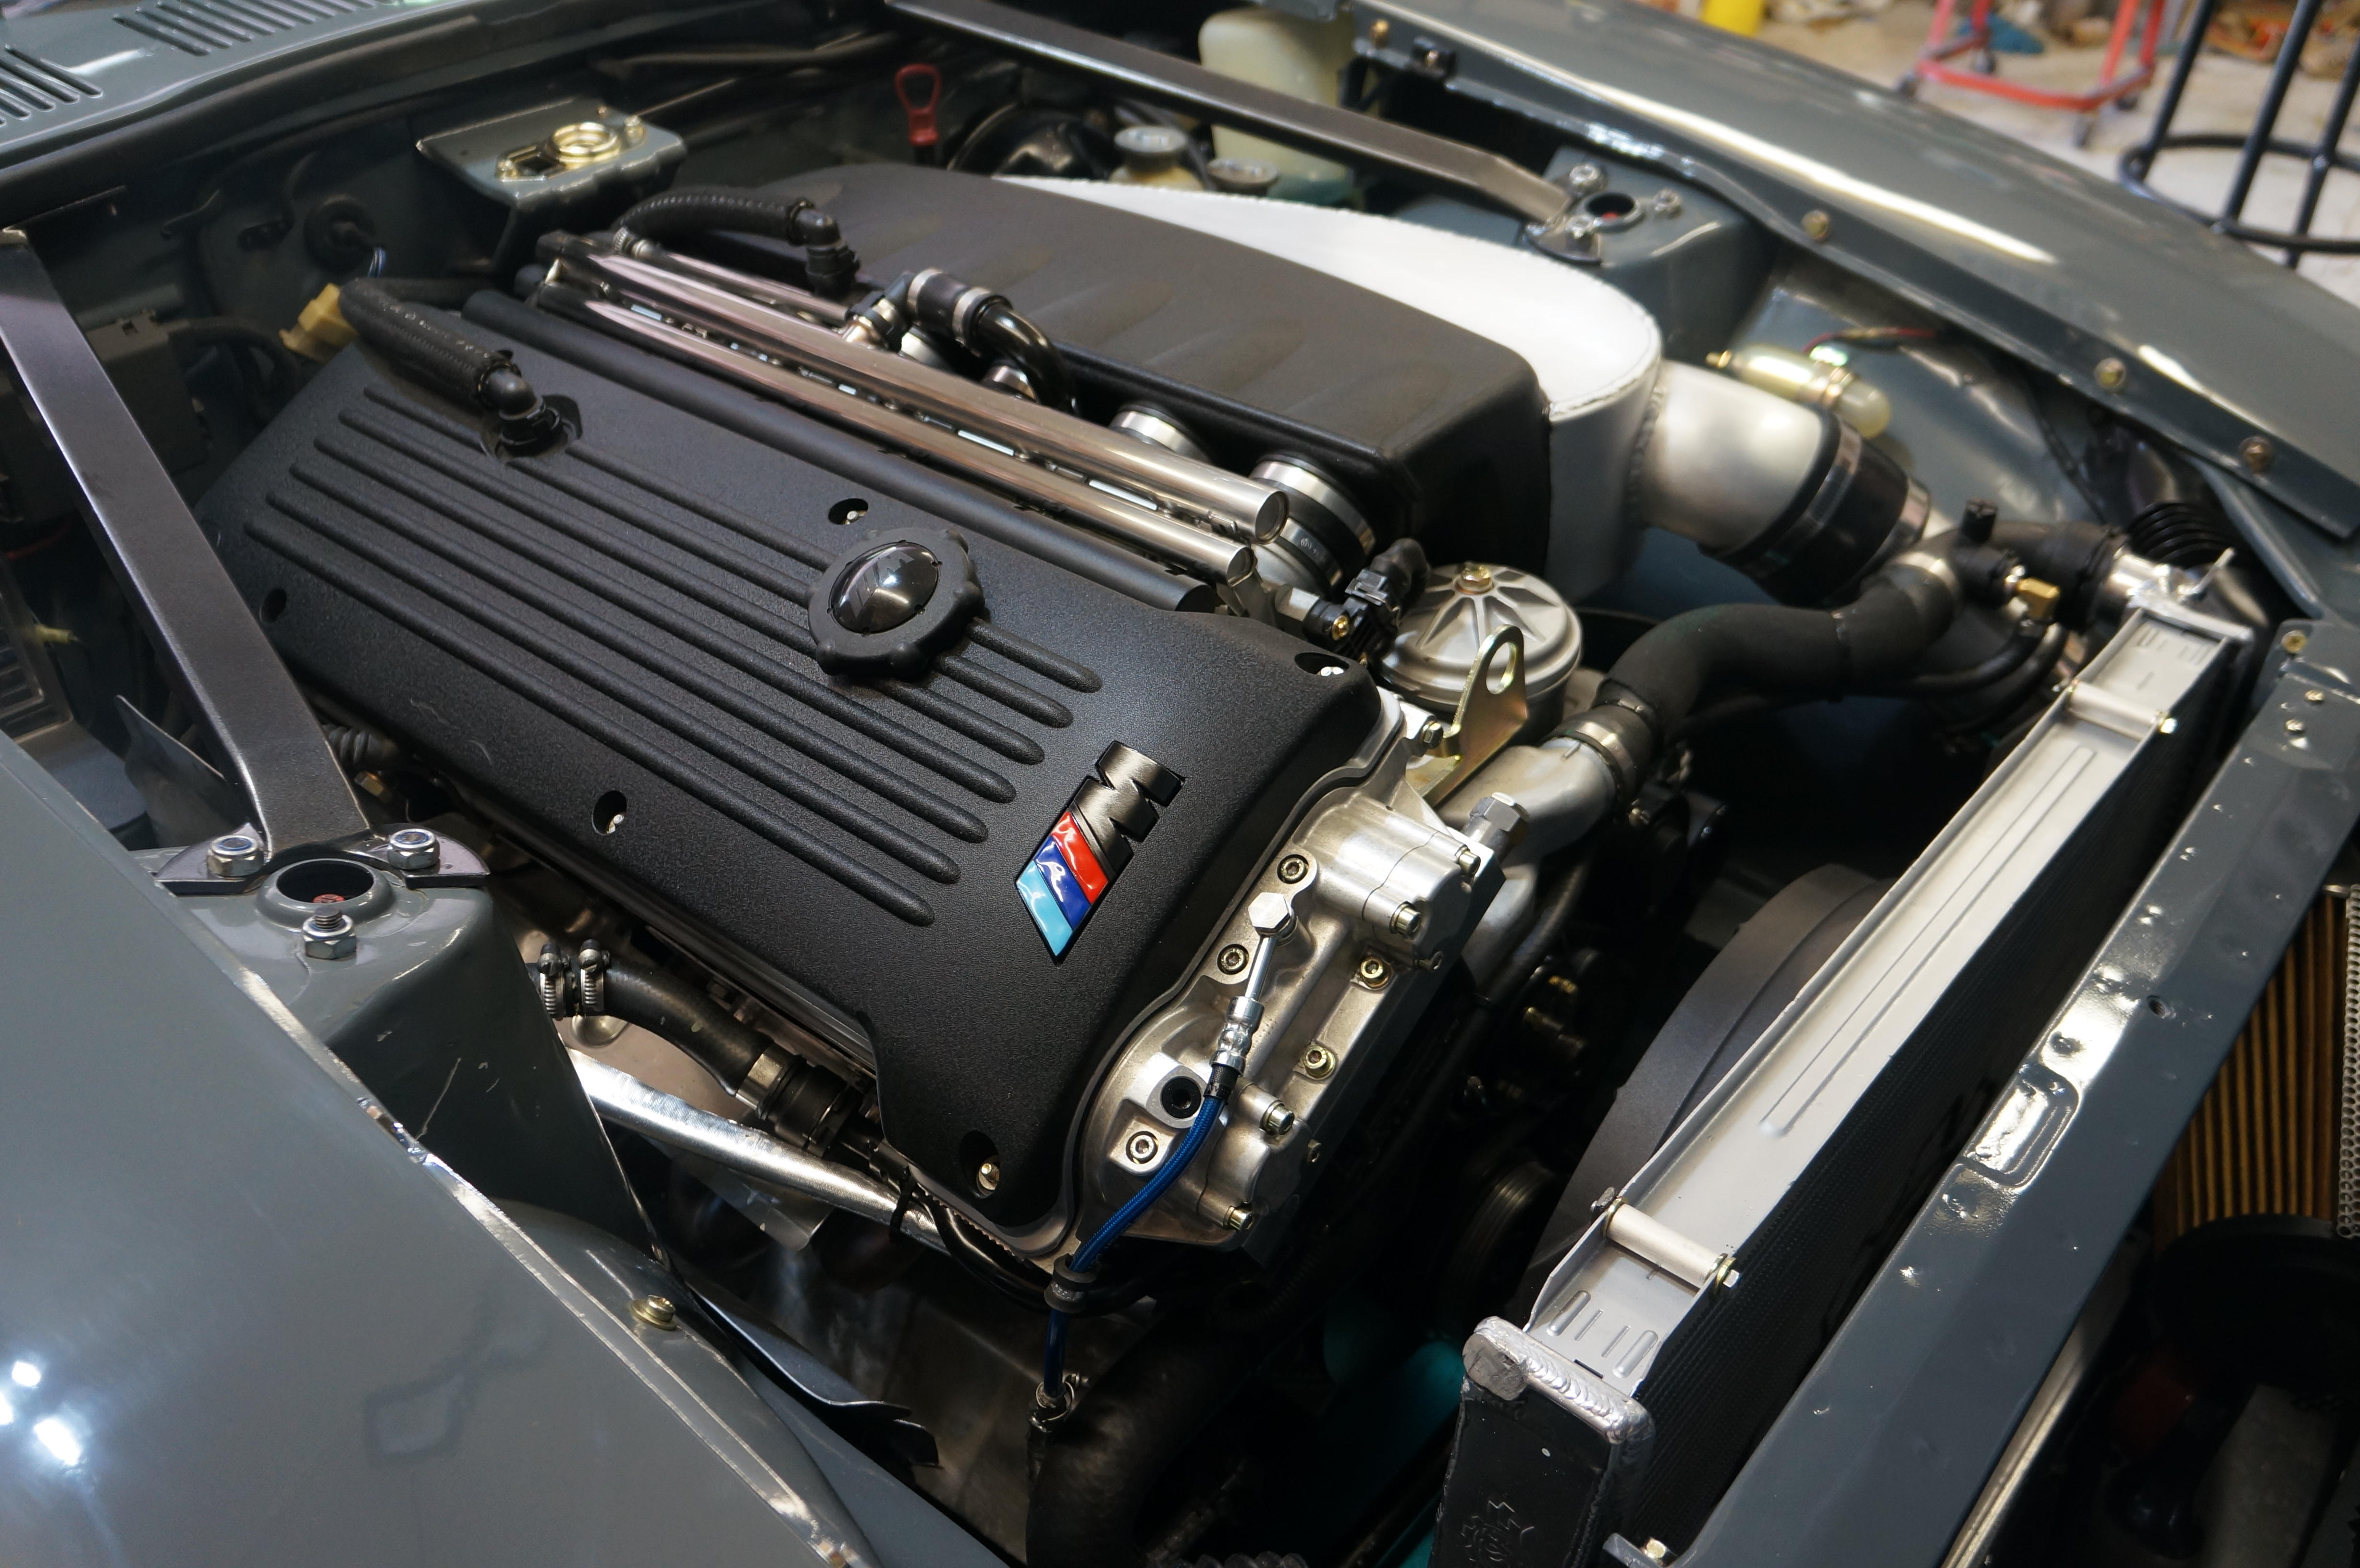
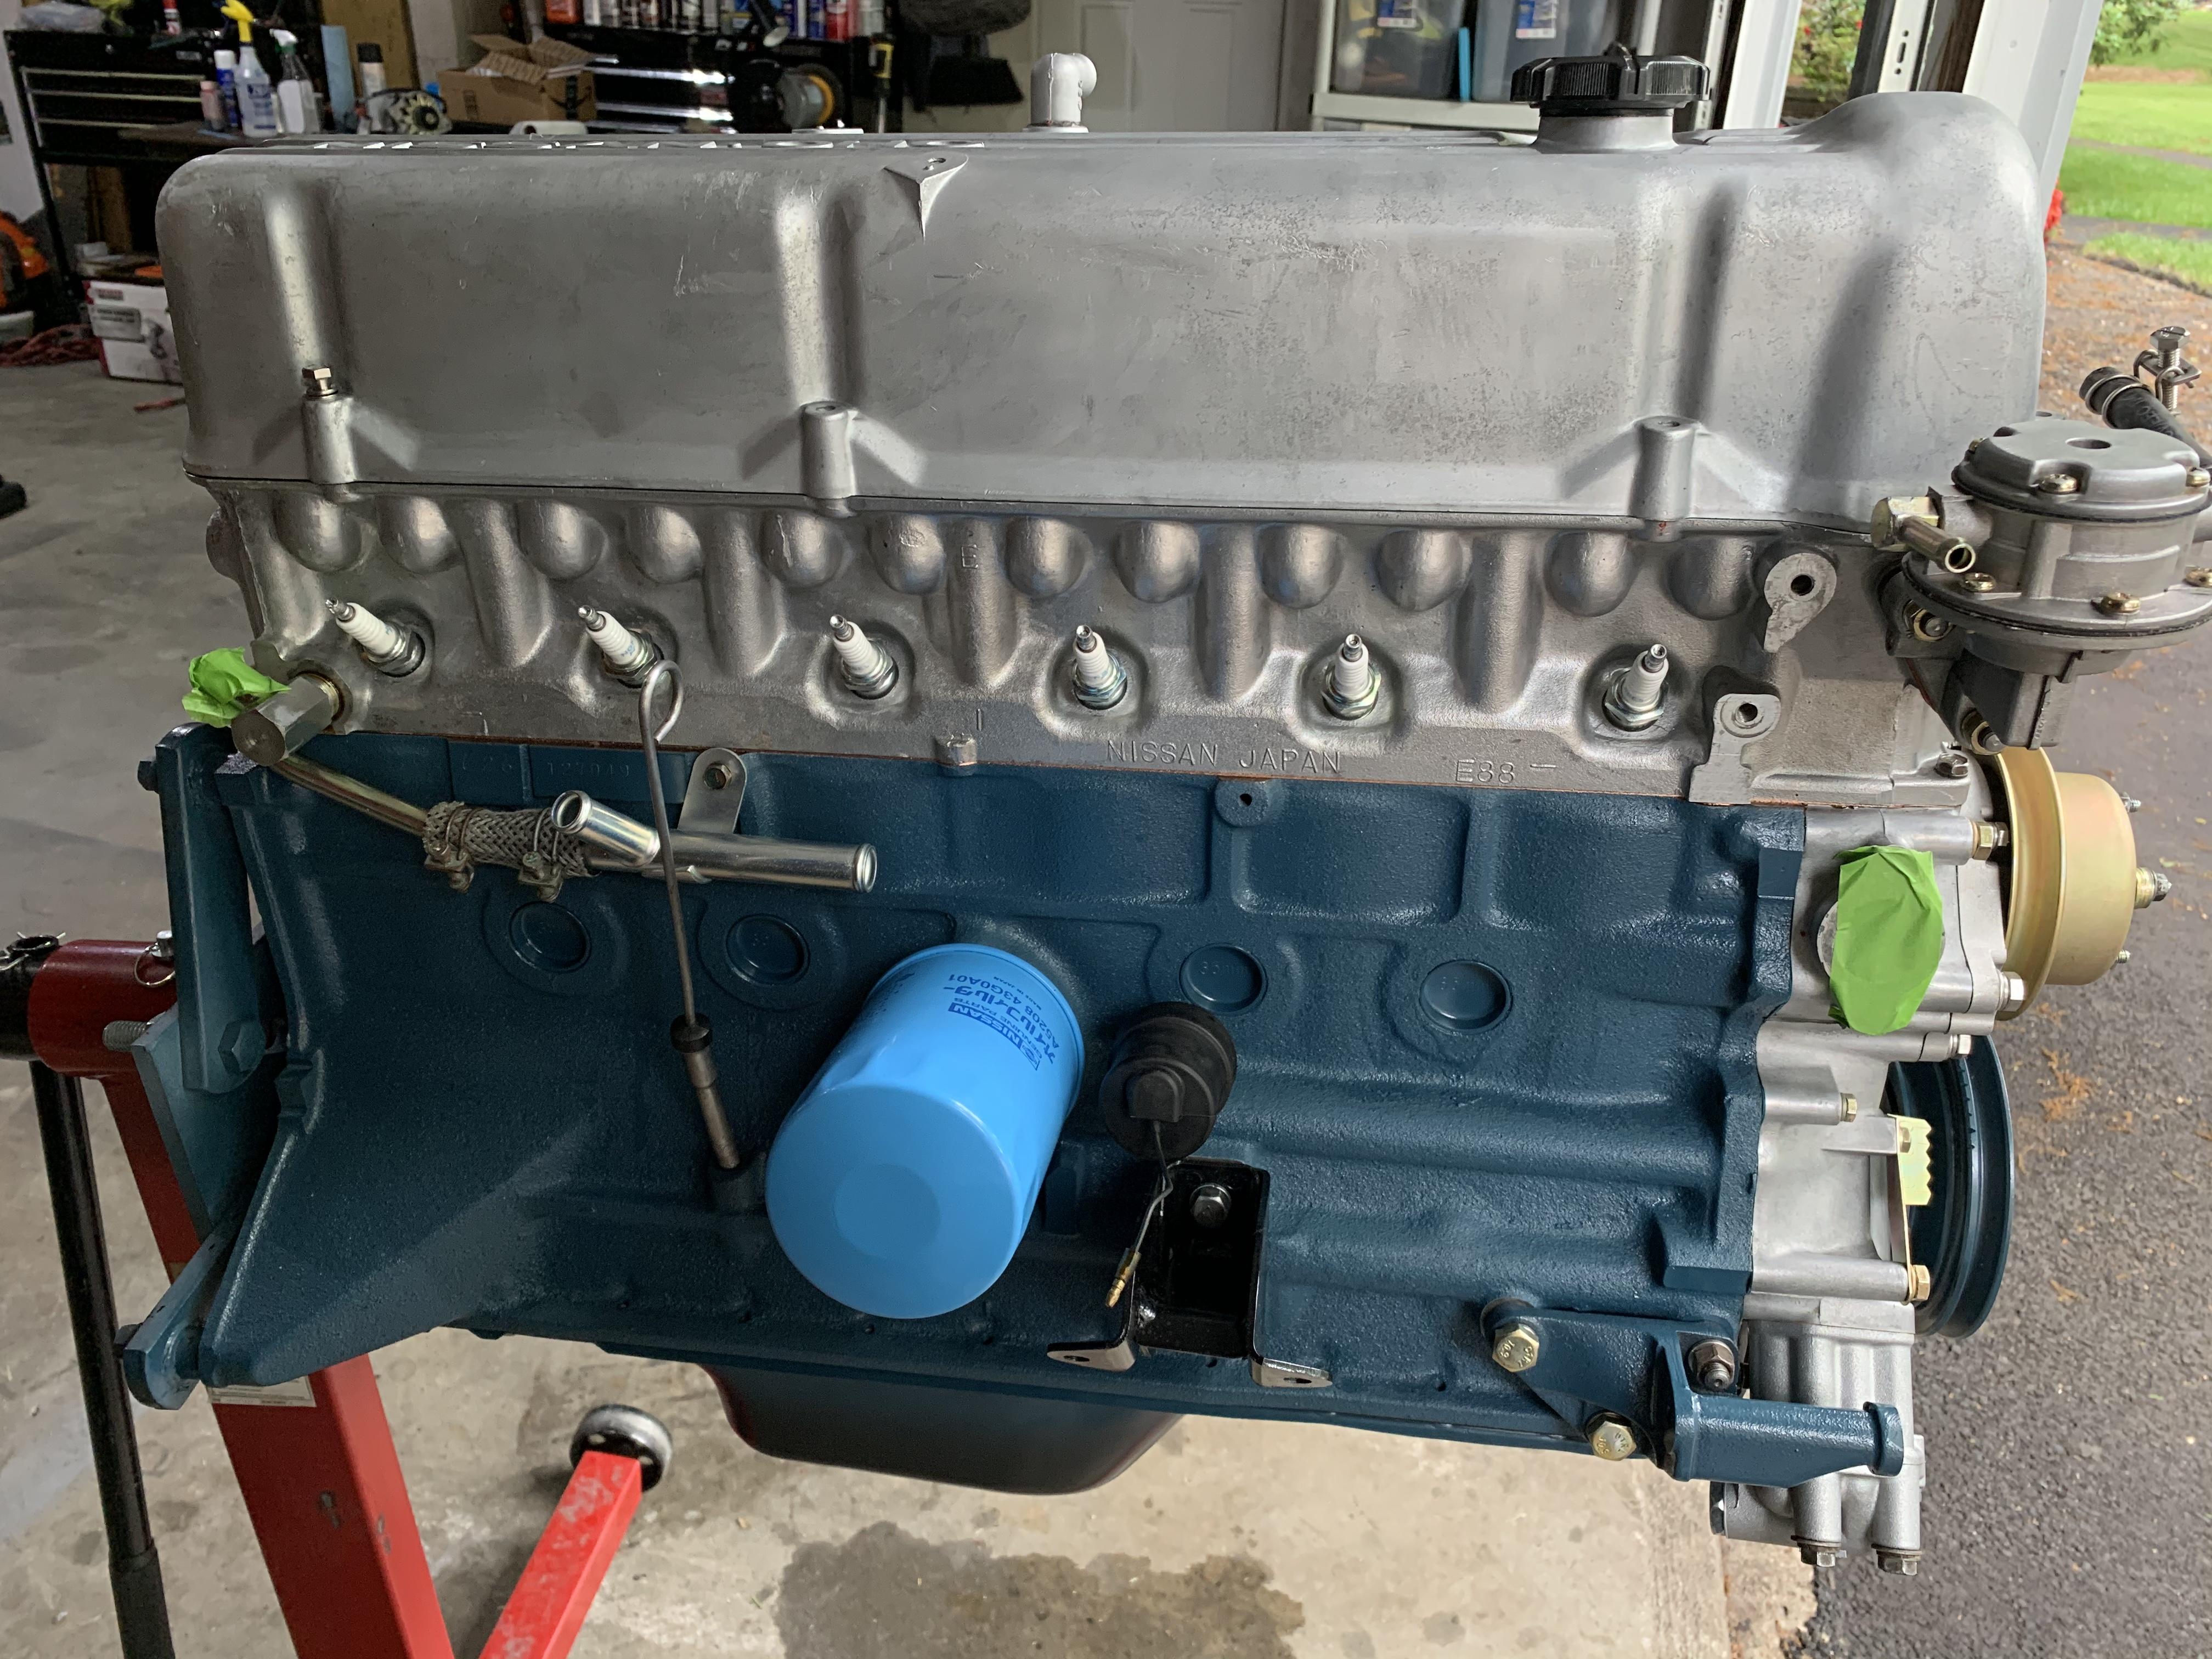
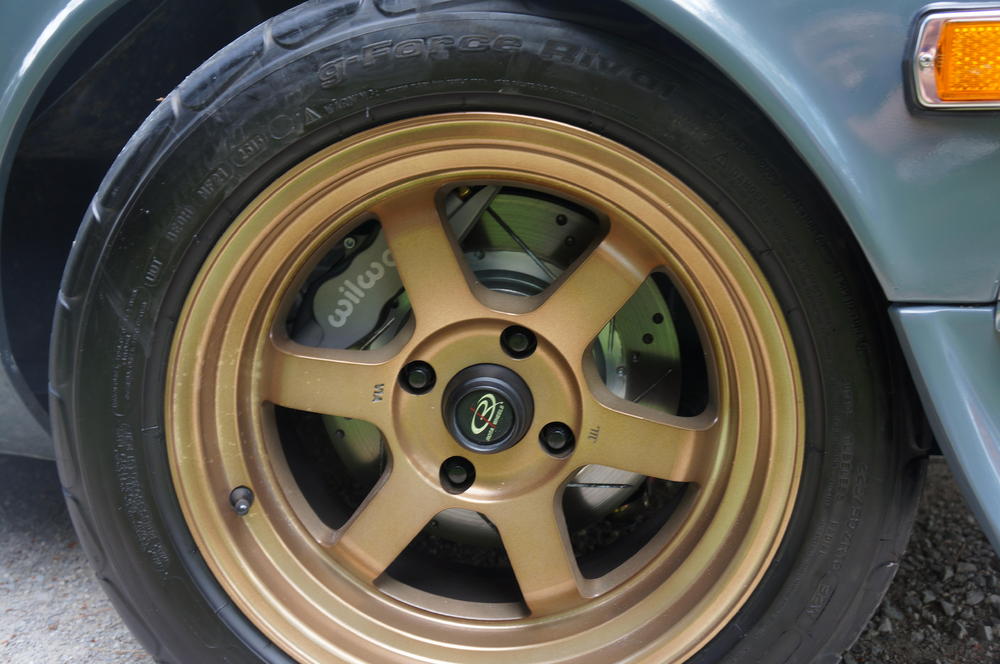
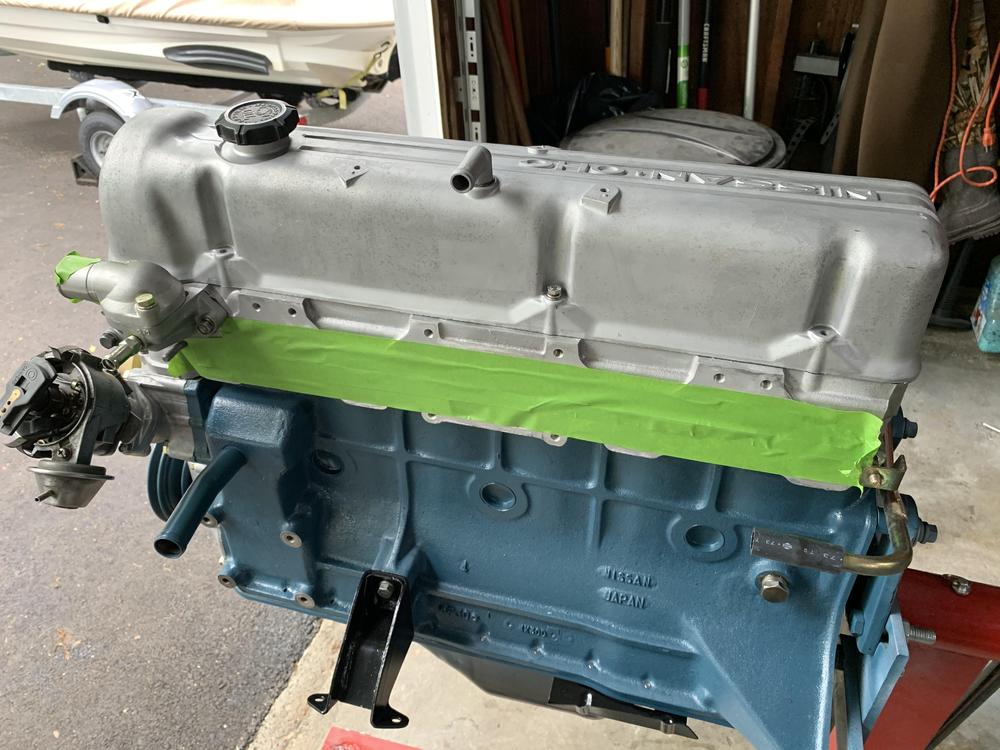
So all the conclusions I made in the last post on May 16th are all wrong, air is not a good substitute for brake fluid when testing The Wilwood prop valve acted exactly as you would assume it would with each turn cutting off a bit more pressure until the minimum was reached. - the first configuration was 15/16" MC straight through to the calipers with NO prop valve and I assume no vacuum booster assist as the engine was not running. 1200 psi pushing as hard as I could. - the second configuration was with the stock 240z prop valve installed, 600 psi pushing as hard as I could. - the third was with the Wilwood 260-12627 prop valve installed and the stock prop valve removed, you’ll notice that with the Wilwood prop valve installed with the valve wide open there is a 100 psi decrease in the total pressure down to 1100 psi from 1200 in the 1st video. wide open, 1100psi 1 turn closed, 1050psi 2 turns 950psi 3 turns 950psi 4 turns 875psi 5 turns 750psi 6 turns 750psi 7 turns 650psi 8 turns 600psi 9 turns 600psi 10 turns 575psi 10.5 turns 575psi I took it out for a run with the prop valve turned all the way closed to 575psi and I that’s just about right. I made some videos of the 3 tests and they are here if interested, https://forums.hybridz.org/topic/131534-wilwood-proportioning-valve/?tab=comments#comment-1221616 With the brakes mostly sorted and I should mention the braking action is fantastic, 2-3x better than the Toyota/Maxima combo, I started working on the fault codes? There are a few ghost codes for things the ECU doesn't control anymore and will get a round to scrubbing those off but the Bank 1 O2 sensor is reading bad but it's brand new. I'm going to install the used O2 sensor the engine came with to see if that makes a difference and the engine keeps wanting to stall when I come to a stop, that's only real problem at the moment. My on-going hunt for more power is now over, the few times I have stepped on it, it has scared the crap out of me, the acceleration is insane in a car this light. Love it. First pic, just a little hint of what's under the hood. .


 1 point
 -
1 pointRebuild Hood hinges are on! Finally it's good again very happy with the result ?
 1 point
 -
While I do partly wish mine was as thorough a resto as yours, it has been almost 3 years, and I want to get on the road this year. I feel like I spent enough time and money properly fixing the metal and removing the rust, and anything else can still be improved upon later!1 point
-
1 pointI took off the paint. I have stickers, pics, and a story to tell. Still looks nice since it was protected all this time.

 1 point
 -
I just stumbled upon this thread. Two of my favorite cars: Z's and M's. Good work.1 point
-
Honestly, I see more cars at shows north of $50,000 in restoration costs WITHOUT labour factored in, I'm not surprised anymore. It will always be cheaper to buy someone else's finished product than to do it yourself....1 point