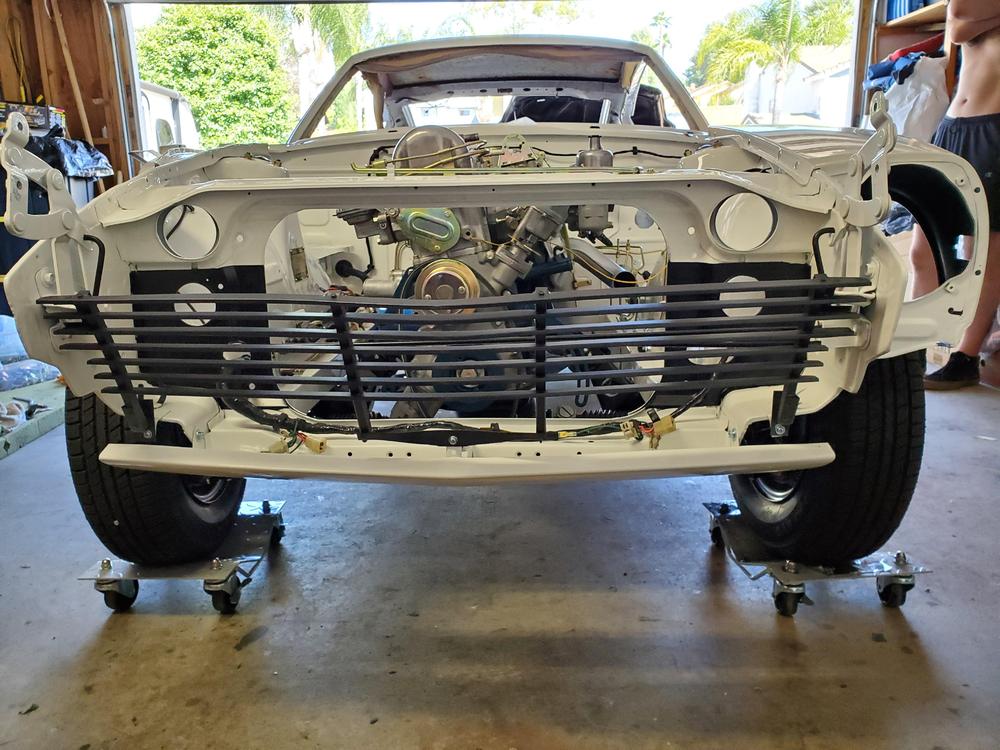
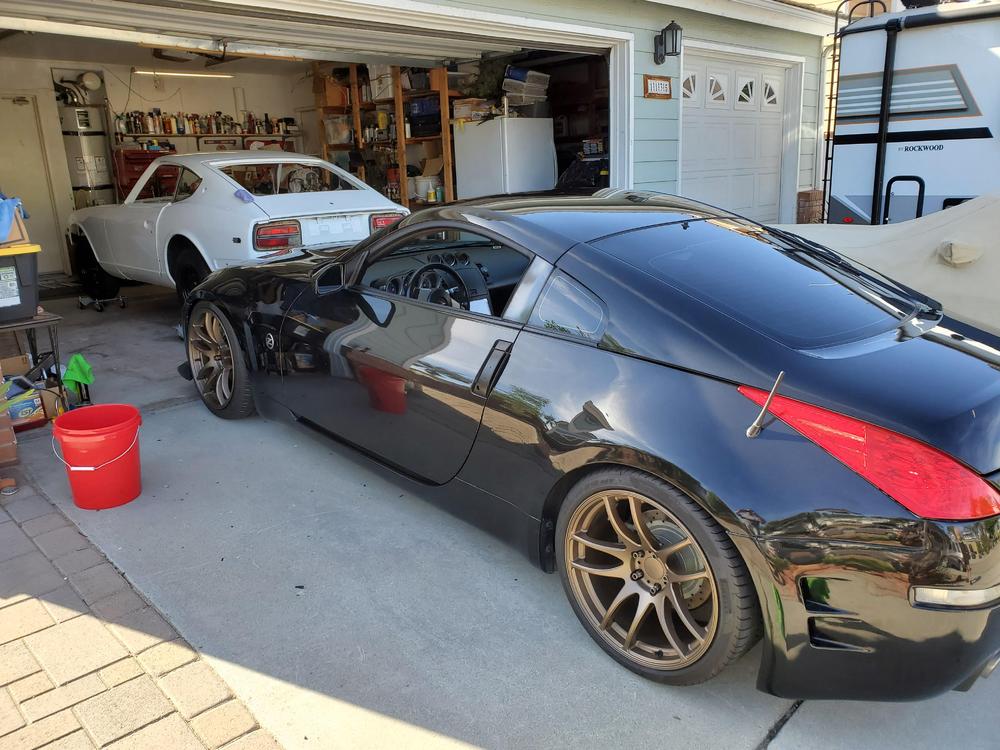
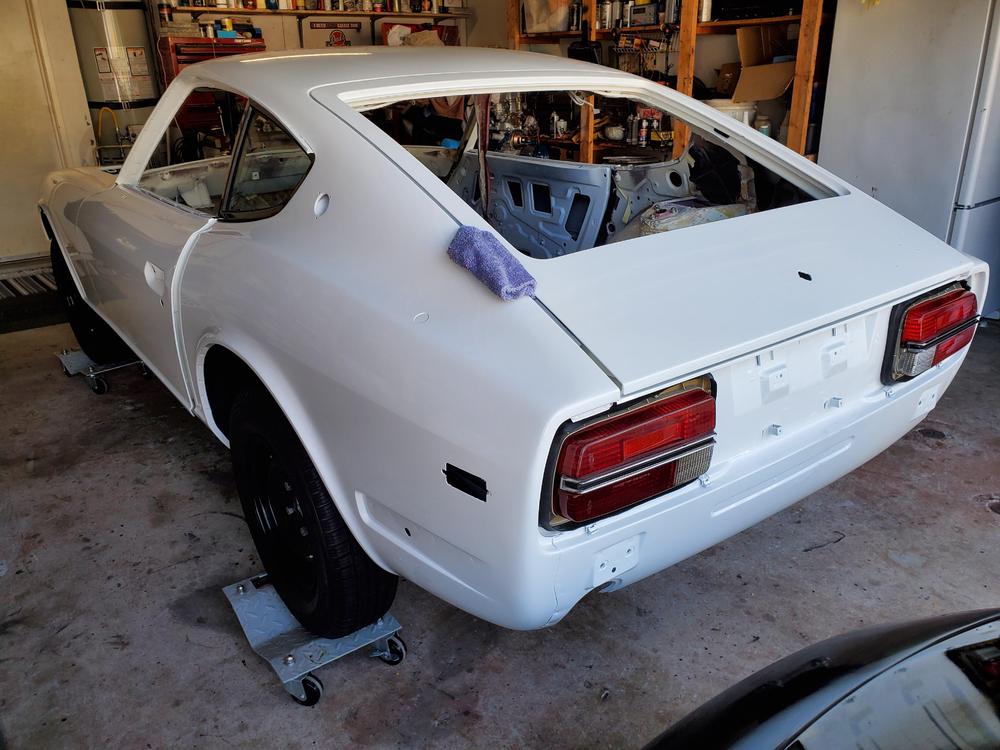
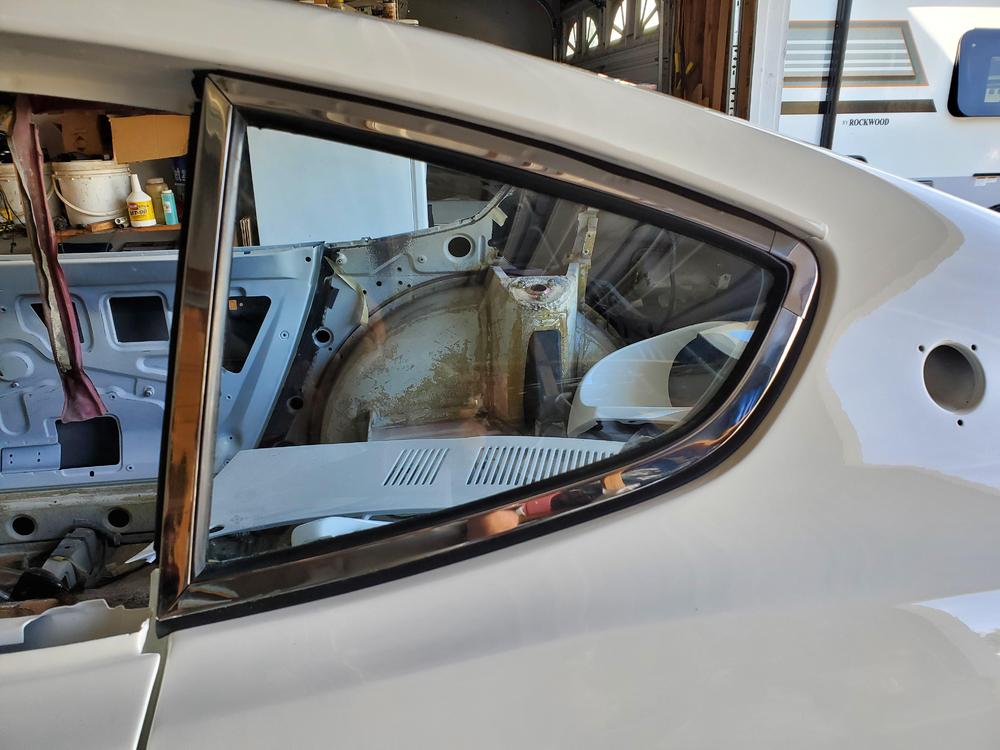
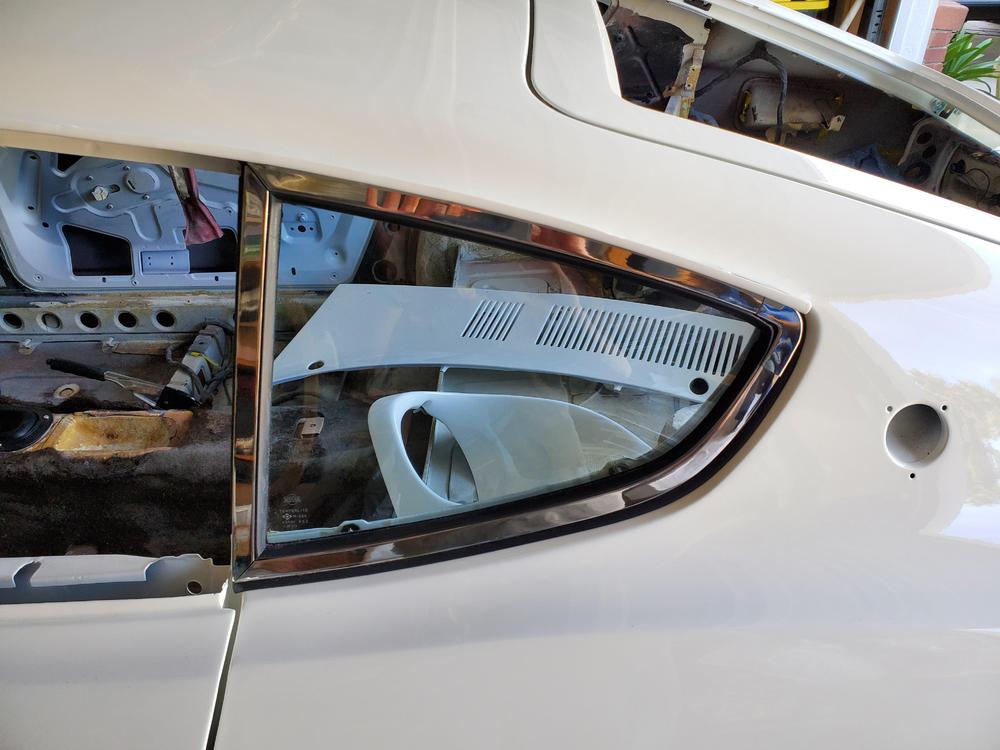
I am again reminded how how inefficient I am at doing high quality bodywork. I am now on my third "last" application of high build primer. I am obviously repeating this process too much. I don't know how many coats I have put on the body now. If I had to guess, I am at like... a coat of epoxy primer, a layer of body filler, (then a round of sanding), another coat of epoxy primer, more body filler, (another round of sanding), two full coats of high solids primer, (more sanding), spot primer in low areas along with another 2 full coats of primer on the body (5 coats in areas), (yet another round of sanding), and now, two more full coats of primer with certain low spots getting a total of 4 more coats. I have run out of my gallon of HS primer. A gallon without hardener costs $360. So... this is a very expensive way to build up low spots. Take my own advice. Apply as skim coat of bondo to the whole panel and then sand it down one time. Apply several coats of high build primer, and then guide coat and sand that to perfection. This will save you massive amounts of time and money.
And again, I will certainly experiment with spray filler with the next time I do a full respray on an old project car.
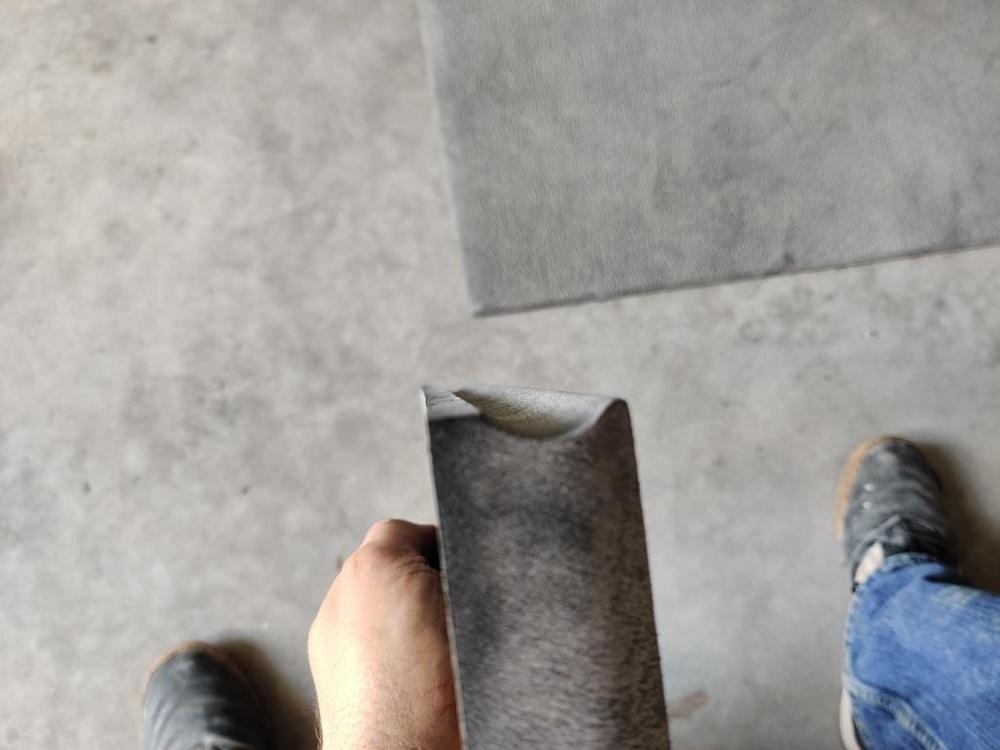
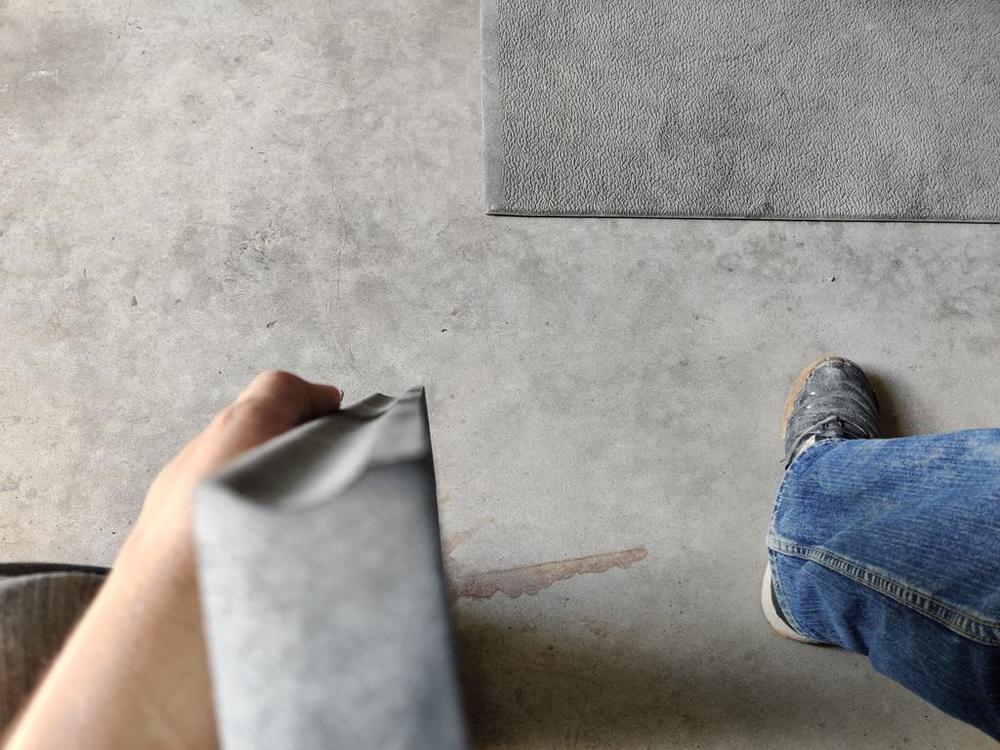
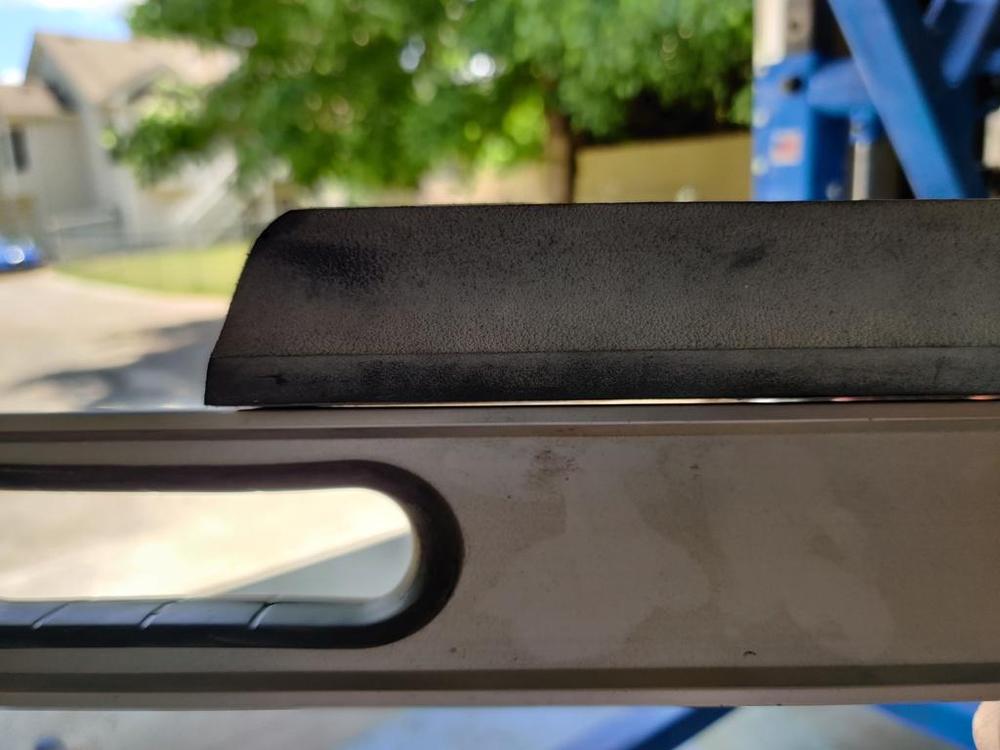
With all that said, I have learned a couple of things that might be helpful to others. First, I can now say from an experienced standpoint, don't use commercially available sanding blocks as they come straight out of the box. I have bought several, and most of them have needed to have their sanding surfaces "trued". Take a look at this Durablock, for example:
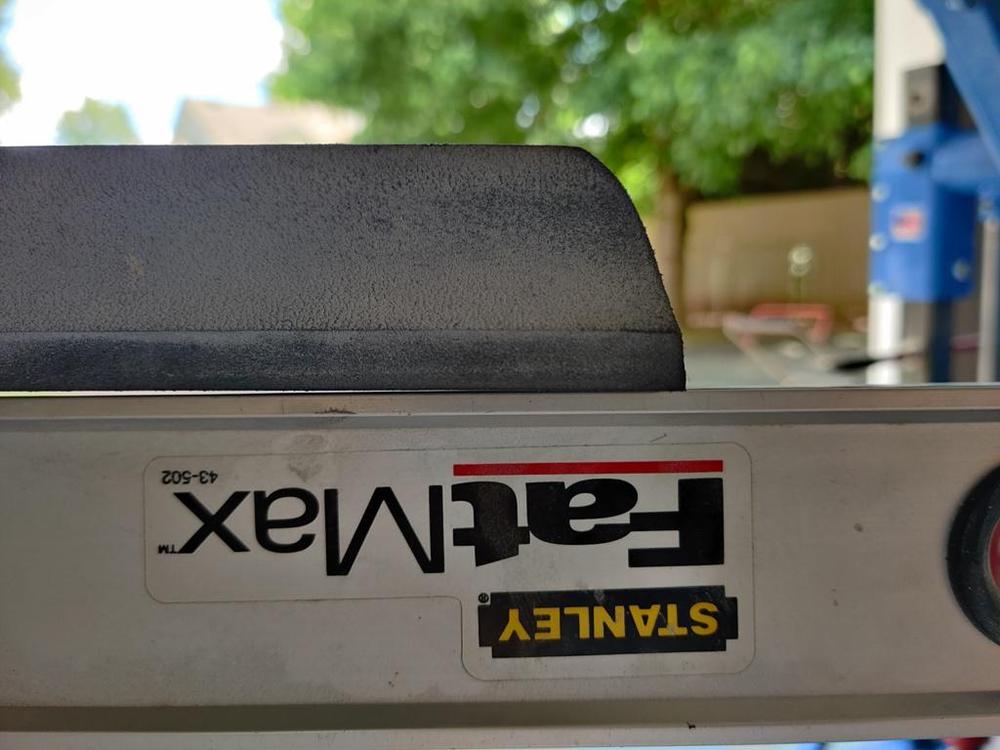
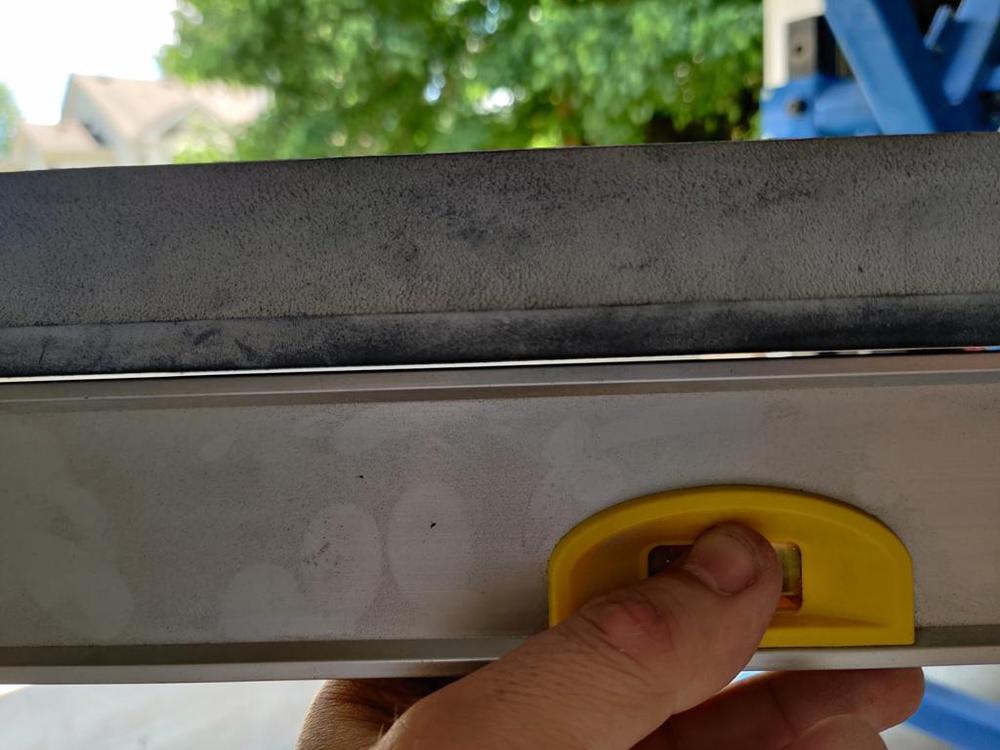
Hard to see from those angles... but here it is on a long level:
Durablocks are "pretty firm", but they are also easily bent with standard sanding pressure. So, you can imagine how flat your panel would not get when using this. With light pressure, it sand with more pressure at each end. Hard pressure will allow it to conform a bit to the panel's existing surface. Softer foams are even more problematic. They can be useful in various contours, but they should not be used on large flat areas, not if you are trying for perfection. For those areas, use rigid sanding blocks. A block of wood that has been sanded flat is a great choice!
Switching gears a little bit, (I find it best to rest my shoulders, elbows, and hands after 17 hours of sanding time over two days of the weekend), it is about time to put the new sound deadening mat in. I have choices! Not sure how I will proceed just yet.
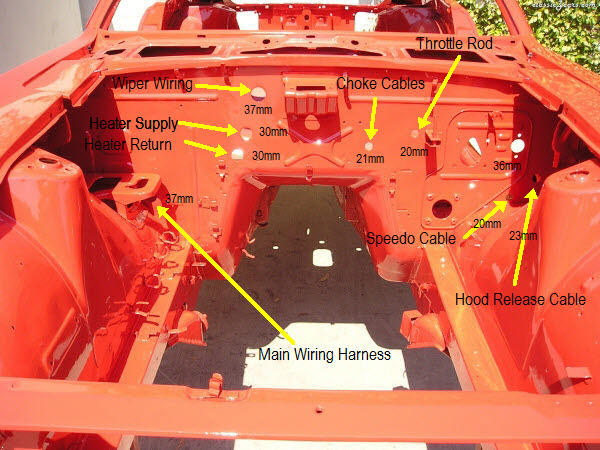
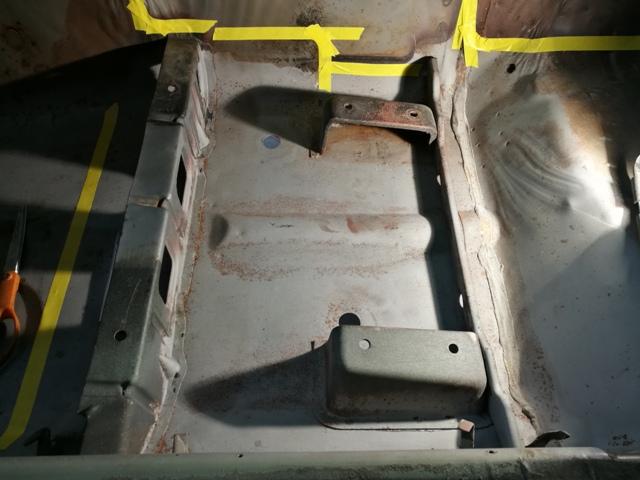
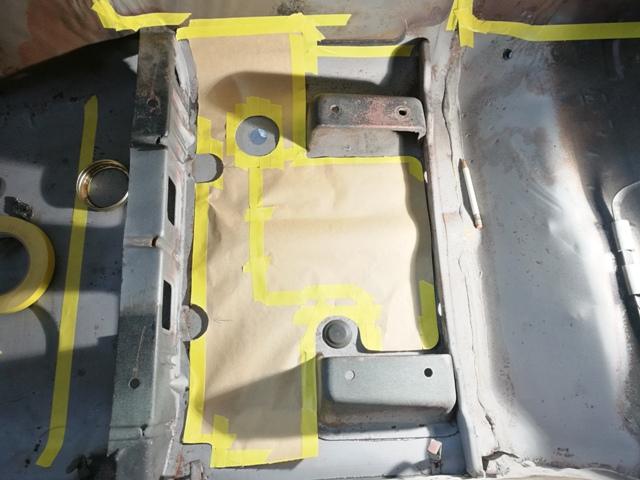
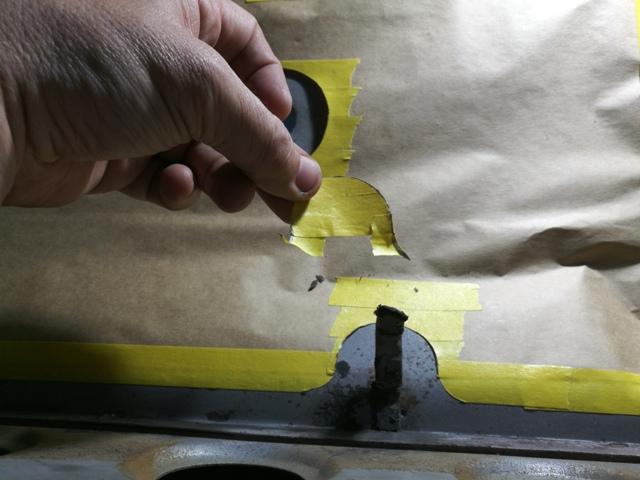
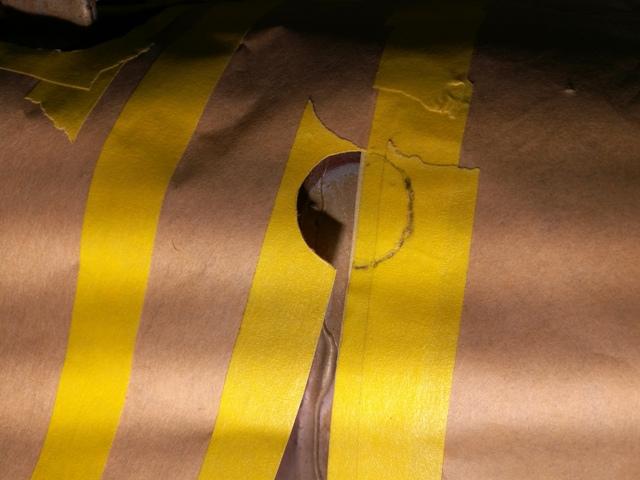
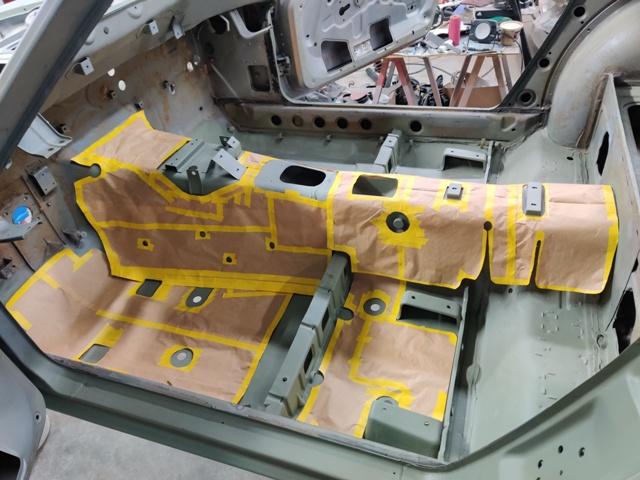
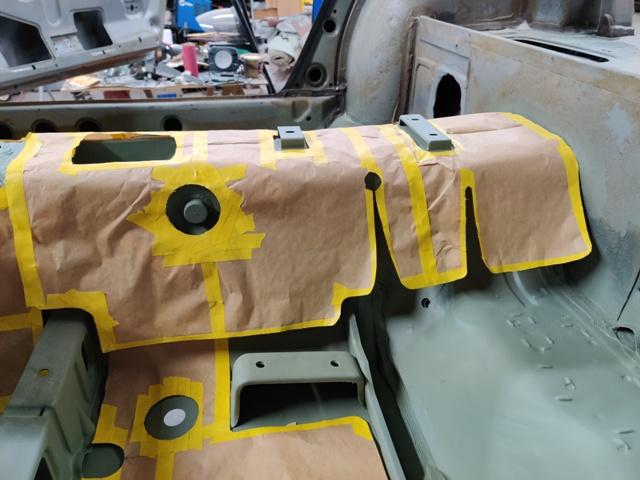
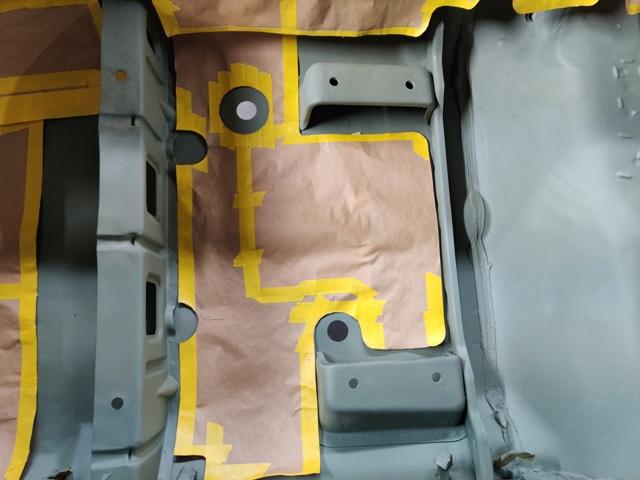
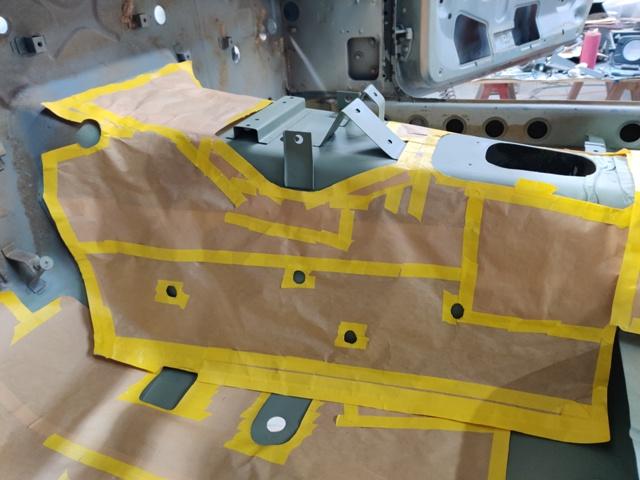
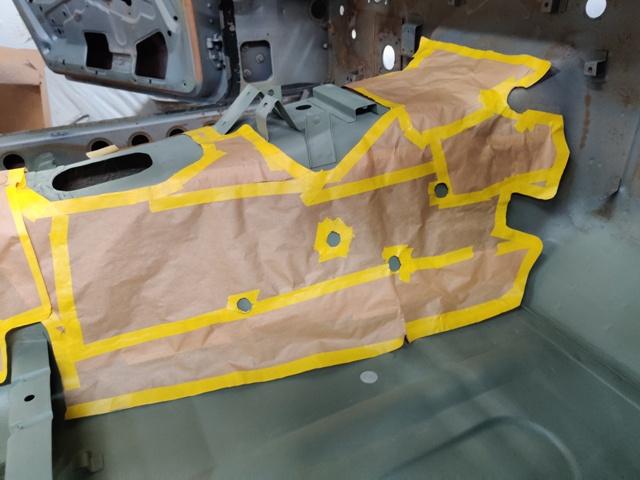
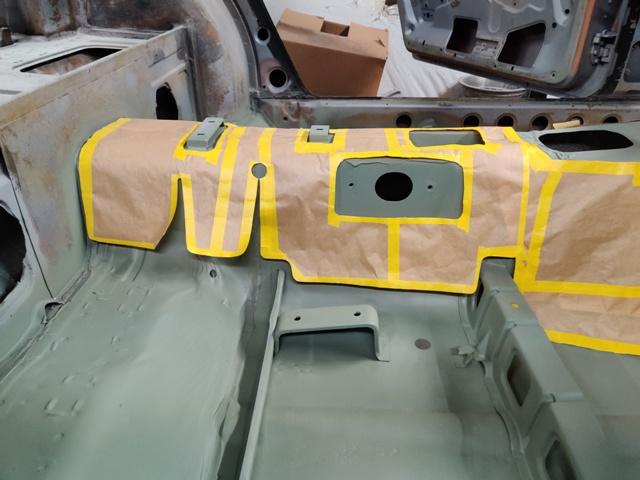
I don't think I have yet shared the pics showing my template creation. When I bought the car, the tar mat was gone from the floor surfaces and almost half of the tunnel. I spent many hours marking off lines (based on paint lines and existing tar mat pieces). As the tar mats are applied from the factory before primer and paint, some of the pattern was easily determined by looking at where there was over spray and where there was not. Other than those two things, I stared at pics online to determine the shape in areas I could not decipher. The templates are made from masking paper and masking tape.
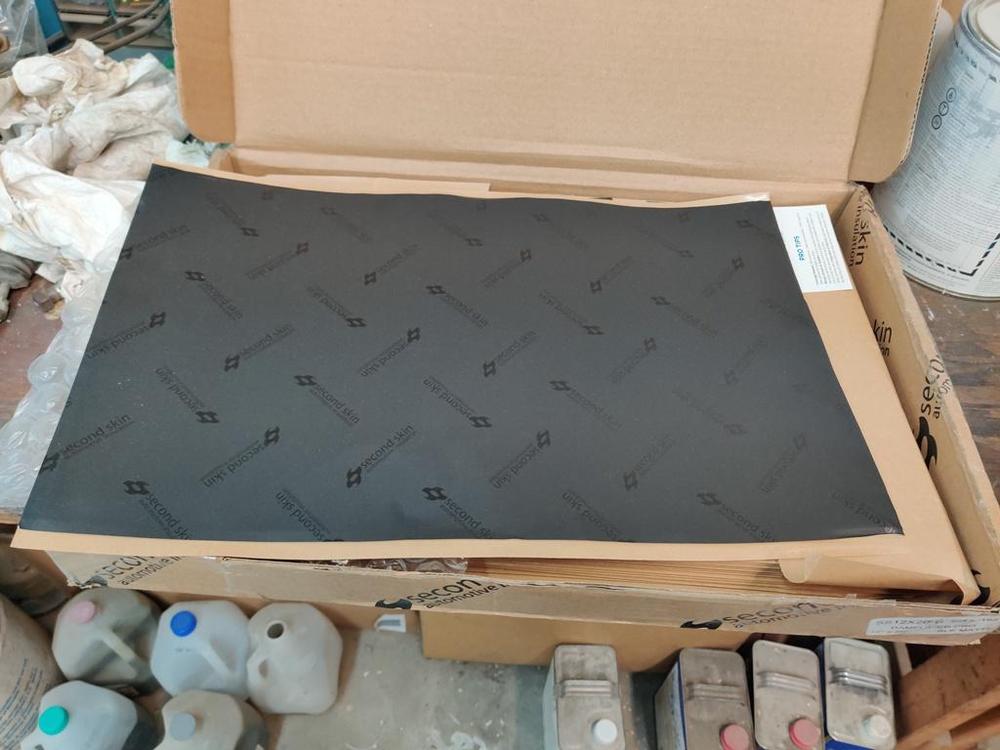
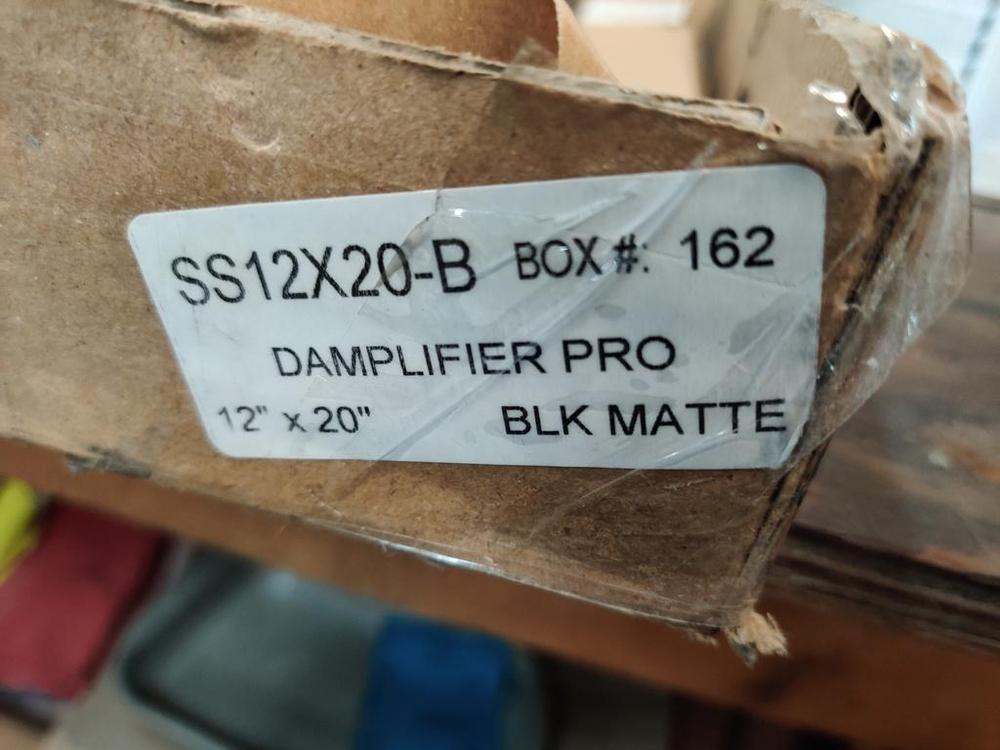
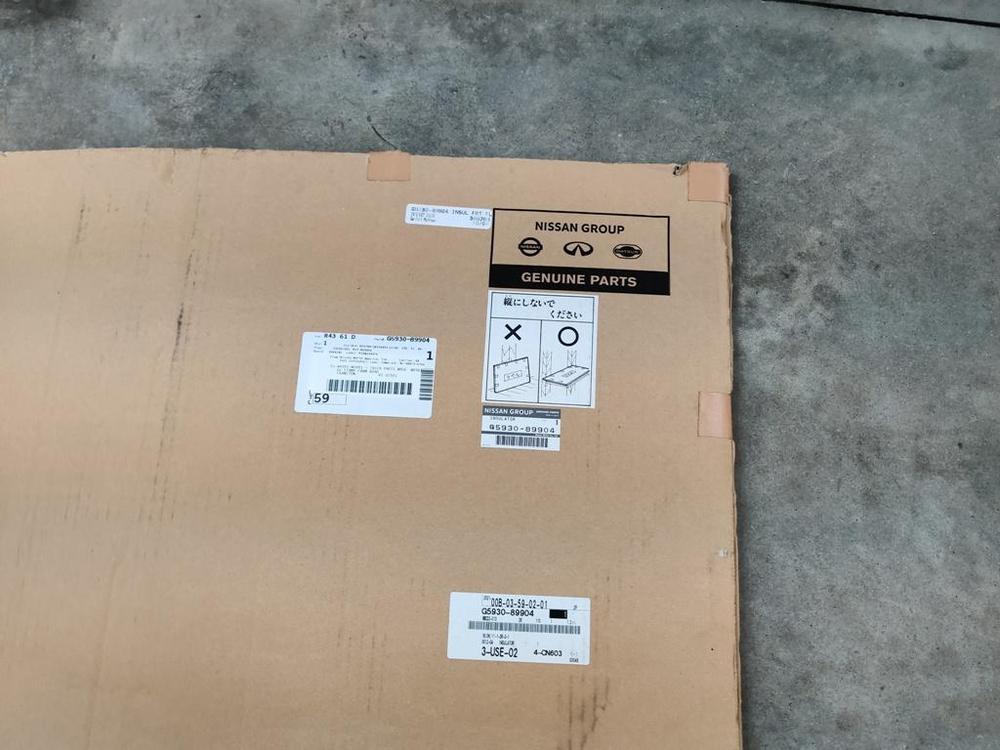
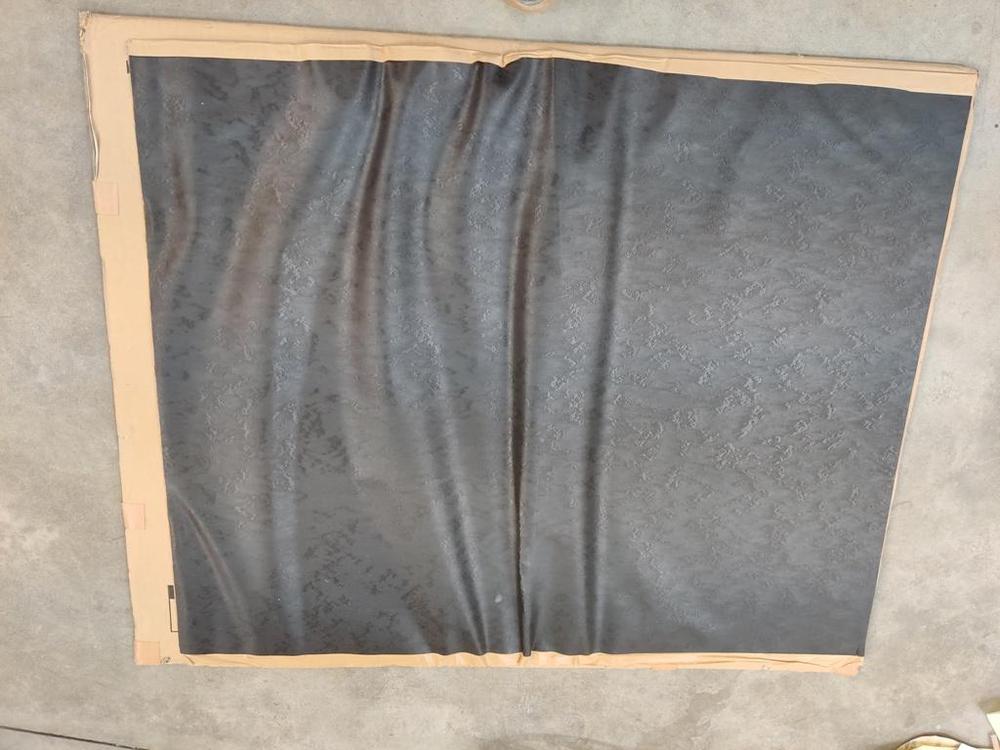
Regarding sound deadening, I originally planned to put the OEM stuff that I was able to source, but it is only about .060" thick. The original bits I have (mostly from the tunnel) are more like .130" thick. So, I could try to double up (I have four sheets like the OEM one pictured, which should lay down flat and be usable after sitting in the sun for a bit. However, being that we are now 50 years later than the original build date, there is some stuff on the market now like Damplifier Pro. It is a butyl rubber product (no asphalt - and not bitumen) with a thick piece of aluminum foil on the top. It would be far better for sound dampening and for heat insulation.
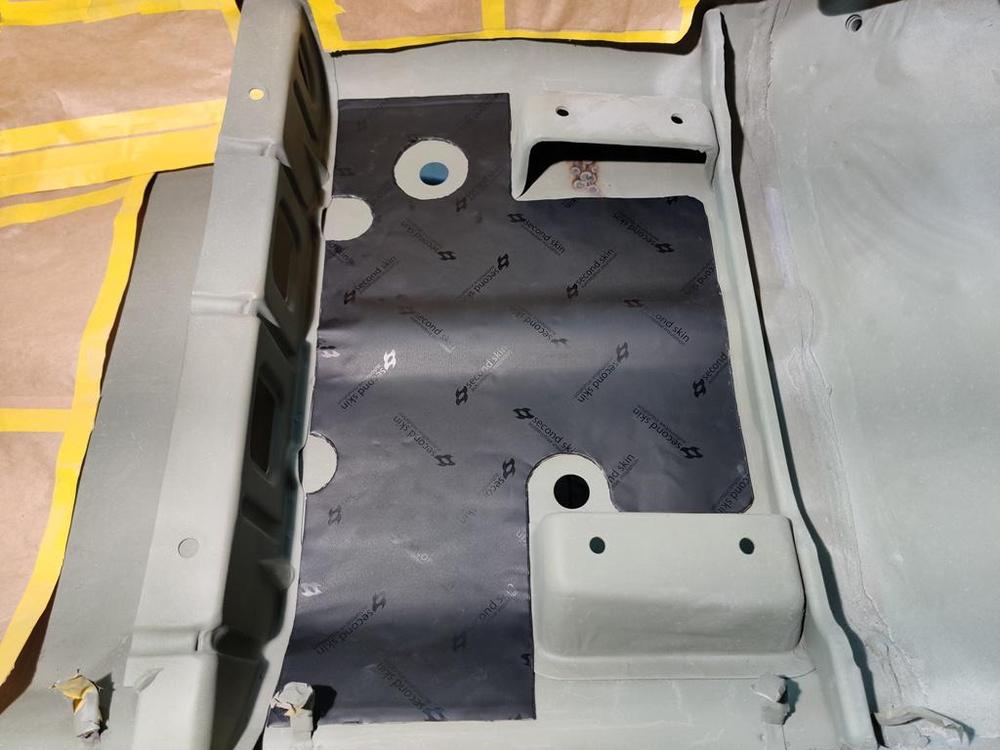
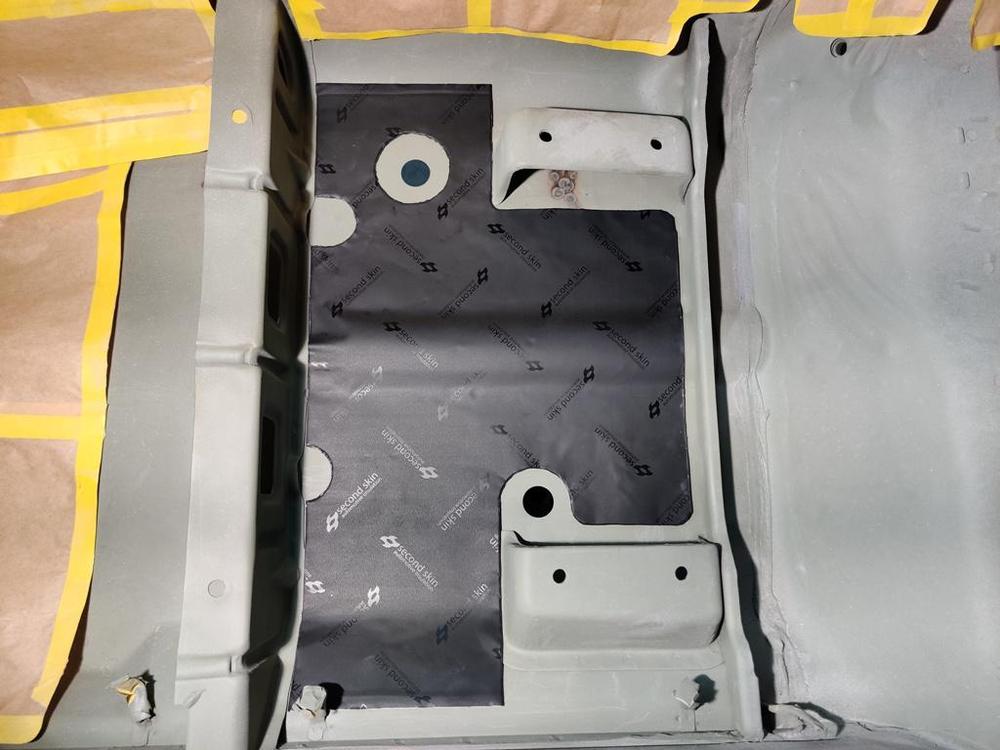
I used my template and cut one piece for under the driver seat. It is not glued in place yet however.
I will think on how to proceed some more.
 Subscriber
 1Points1,935Posts


