Leaderboard
-

Mike
Administrator6Points23,065Posts -
Captain Obvious
Free Member5Points10,081Posts -
jfa.series1
 Subscriber
 5Points2,734Posts
 -
zKars
Subscriber2Points3,770Posts


Popular Content
Showing content with the highest reputation on 03/02/2020 in Posts
-
Have I mentioned that one of the transmissions I've been into, I was into so many times that I could do a whole disassembly and reassembly blindfolded. I did it once just to prove I could. Simple three speed box, and I was into it way more times than I should have been. And it was all my fault.3 points
-
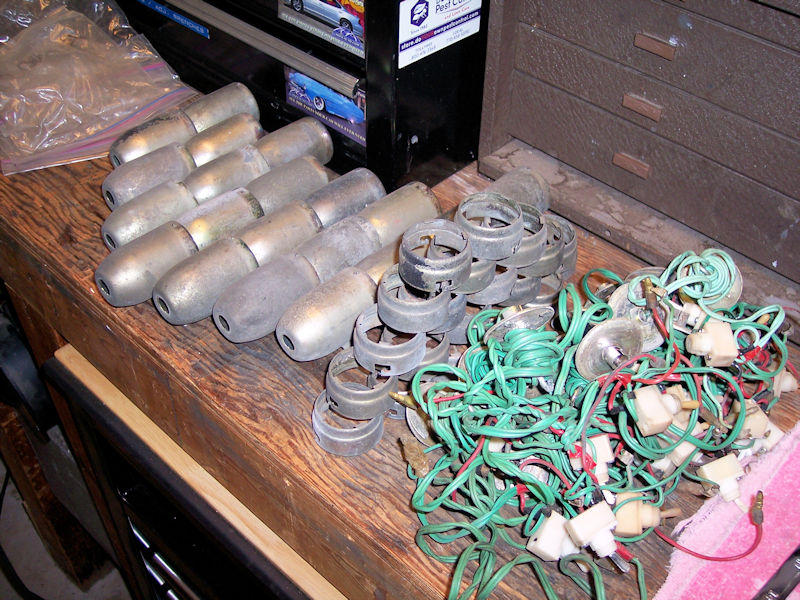
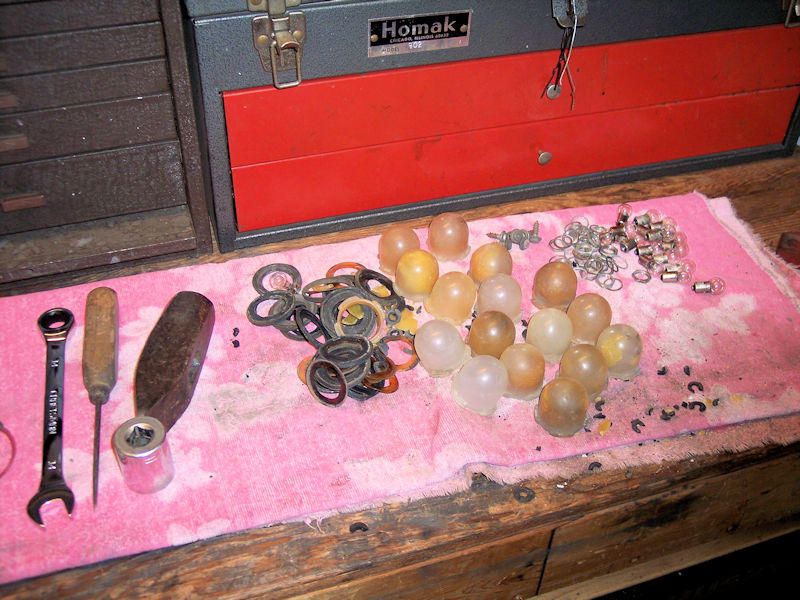
2 pointsI pulled this nest of inspection lights out of the garage attic stash yesterday. By moving quickly, I was able to get them de-fanged before any harm was done! ?

 2 points
 -
2 pointsI’d remove it - one less thing to go bad . Cleans up the wiring . Just me2 points
-
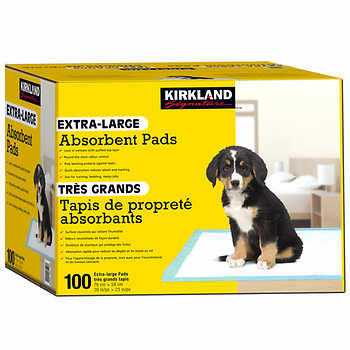
A buddy of mine with pets and a similar love of cars put me onto a great shop convenience and floor maintenance idea. Puppy Pads. Let's face it. If you have a Datsun, you have dribbles under your Datsun. If you take the engine out for example, you forget to cap the heater coolant pipes on the engine, and even though you drained the rad, when you tip the engine as it comes out, antifreeze hits the floor in great quantities. (I myself have never done this... I just imagine it's an issue). Puppy pad absorbent sheets are utterly fantastic. Big (30x23inch), cheap, super absorbent, did I mention cheap? 100 pads are $25 CAD at Costco. I used to use newspapers, but I no longer get a paper newspaper, so I've been scrounging for newsprint in dumpsters or begging from strangers at bus stops "Hey buddy, you done with that paper?" I did learn a few new words for "No!" however. Big enough to put under a transmission you happen to be rebuilding, under the engine when you're changing oil or draining the rad. Under me when I sitting on a dirty floor. Whatever! I even stuffed one under my big 60 gal air compressor when I open the drain valve to release condensed water. One pad holds a couple of quarts of water I swear. There. That's my "Hint's from Heloise" for today. Keep that floor clean!
 2 points
 -
Just bought a complete motor & trans from a 83 ZX Turbo $800 Including all harnesses and Ecu.2 points
-
1 pointNot to my knowledge. Our good friend @S30Driver has substituted modern switches with a metal toggle with success.1 point
-
1 pointUpdate: just got my first items back from powder coating. The parts came back perfect. Was $100 to sandblast, prep and powder coat all these items. Time to install. Sent from my iPhone using Tapatalk1 point
-
1 pointMy early 71 was flapless too. It's my understanding that closing the flap routed warm air (heated by the engine) into the carbs to prevent the carbs from icing up in freezing weather. Never had that problem with my Z. However my 521 pickup (downdraft carb) did have that problem when it was damp out and just below freezing.1 point
-
1 pointI had the 280ZX distributor working on a 260Z and a 240Z with the ballast resistor. On the 260Z I later bypassed the ballast resistor.1 point
-
1 point
-
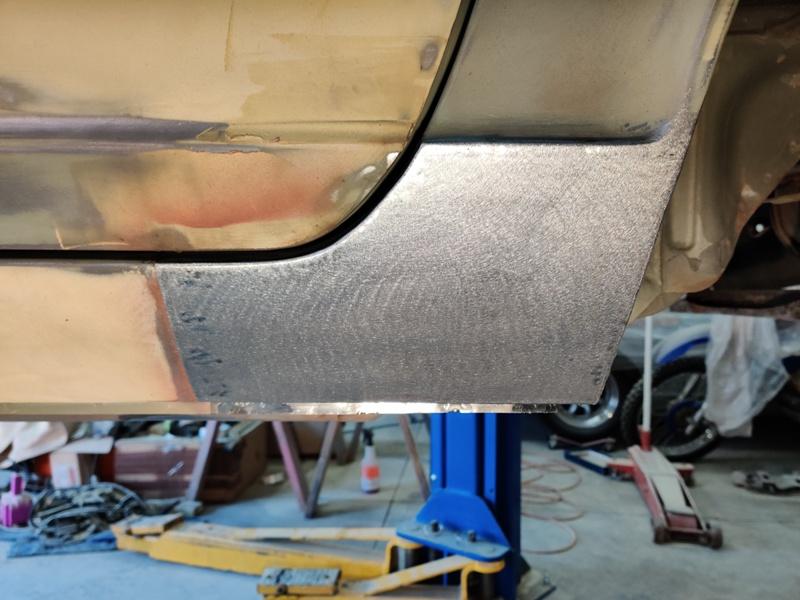
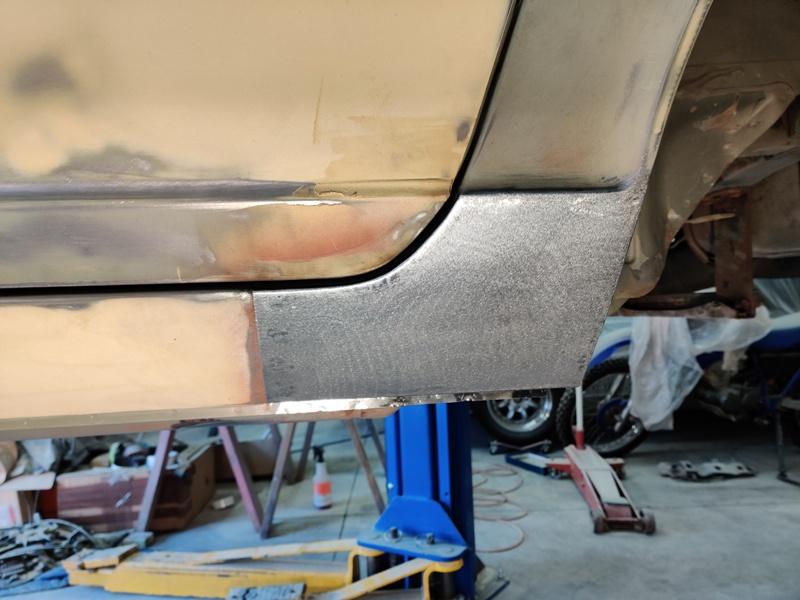
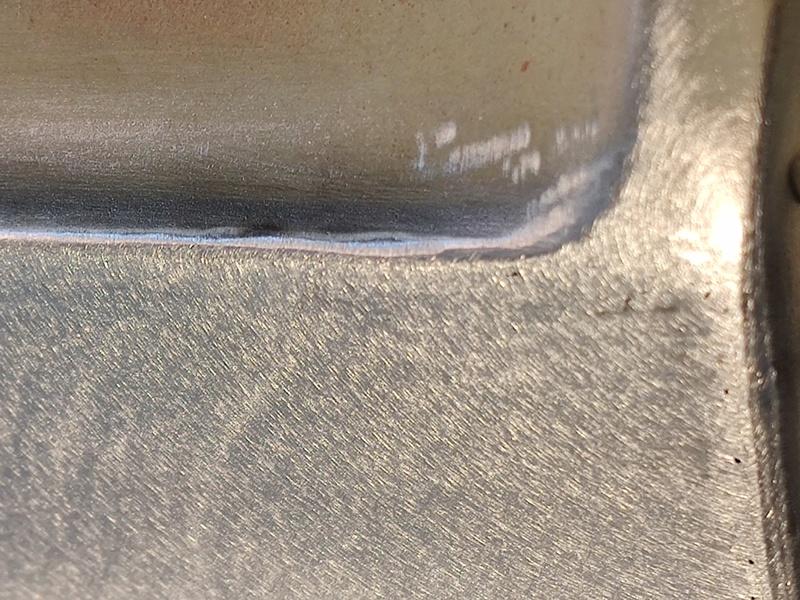
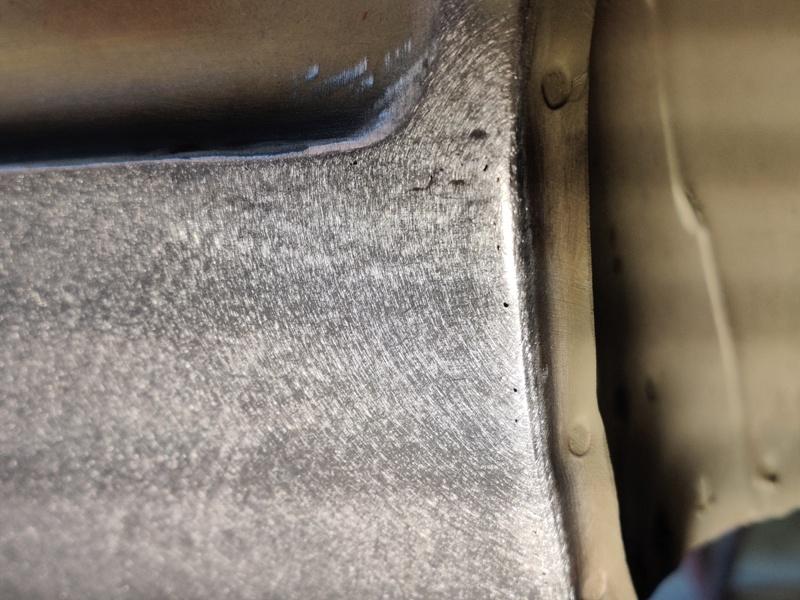
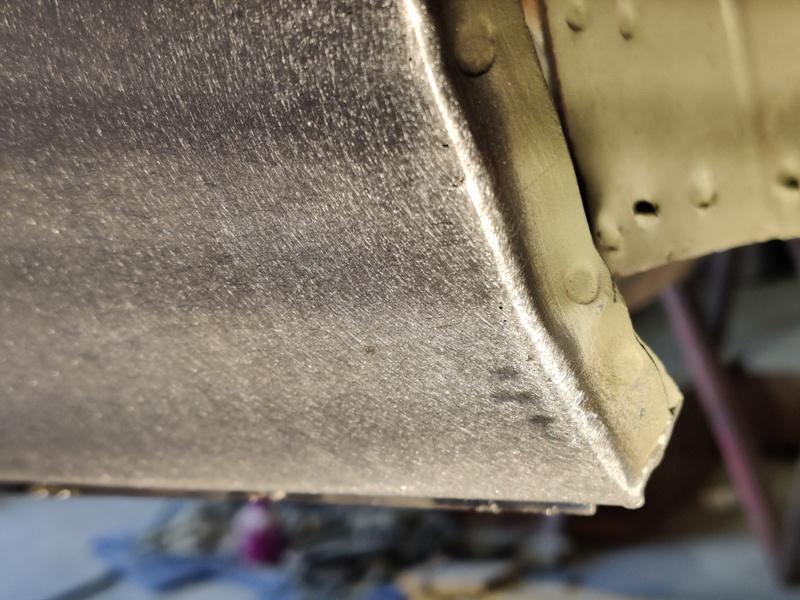
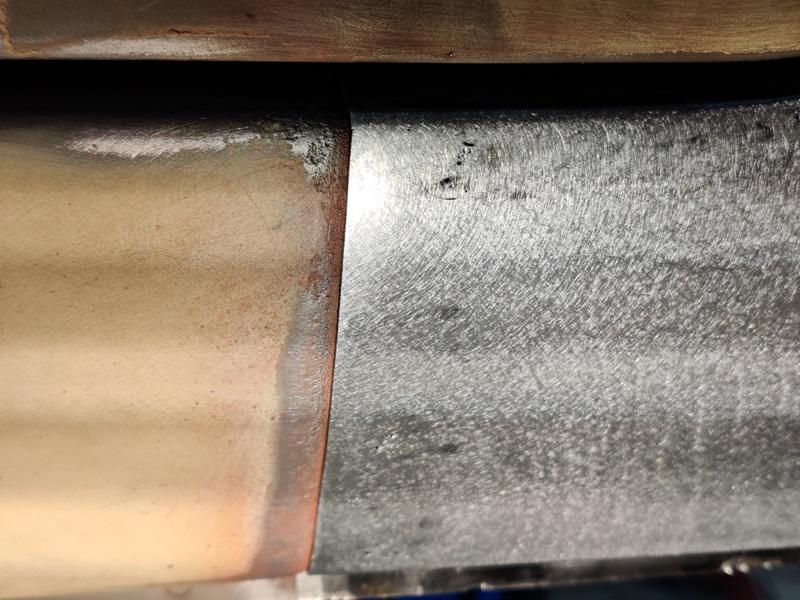
Nothing like spending another 12 hours this weekend out in the garage, mostly doing body work. The outer replacement panel came out super nice, in my opinion. Extra effort (and time) making the old and new panels line up perfectly so neither is higher or lower along the edge to be welded really helps make the finished area after grinding look much nicer, and take less filler. Also, on the driver side I made the cut to the old panel just below the little radius curve and sharp bend that make up the lower body line. Making the cut here and welding here is better because the bend gives this area of the panel some strength as opposed to where I cut it on the passenger side. There I cut about and inch or so below that bend, and when I was welding the old panel back, this flat area wanted to shrink and pull inwards. I had to keep tapping it from the inside to push it back out as I tack welded. Welded and ground, door gap altered... around dog leg curve on quarter panel to match door edge radius Distortion was minimal with this, my second try, and weld seams are hard to see after finishing with 80 grit on a DA sander: All that work to save a couple of factory spot welds! Middle pic - where new piece rosette welds (4 of them) to rocker, and last pic showing finish along radius. Final door gap will be corrected with very small amounts of filler and primer. Getting close to spraying epoxy primer over all the exterior, but it is supposed to rain here all week!
 1 point
 -
1 point
-
1 pointThey advance the timing based on temperature, just like the 280Z distributors do, using the ignition module instead of the two pickup coils in the distributor. It's shown on page EL-26 of the 1983 FSM. I'd post a picture but there's something wrong with the forum. Out of storage space, I believe. "Image could not be saved. Please contact us for assistance." "Upload failed". @Mike1 point
-
1 pointI look at them from time to time but they seem comparable or higher than the price I get by drop shipping parts at the Montana border, driving down and picking it up. (Math: 6-8 hours depending on the border wait plus $80 fuel plus a few $ storage fees plus GST at the border. So it works for big ticket stuff, heavy stuff, stuff that won't ship to Canada at all, or stuff that ships free in the 48). We make a run 3-4 times a year. @wheee! could play too but I think this "Pony Express" is a little too slow for his liking....1 point
-
That's why I decided to purchase one, so we could get some clear idea of how well this would work or not work. I'm willing to be a guinea pig for this.1 point
-
1 pointThe VIN on the BAT car is 4684 which puts it in the right range for the early style air filter. The OE metal fan on my car was a creamy white - not bright white.1 point
-
1 pointOngoing collection of parts. A package arrived from MSA Friday. $500 USD equals $1000 CDN by the time exchange, taxes and shipping eat my wallet. - Received a full 10 piece sewn and molded carpet kit - full roof liner and vinyl trim kit - leather shift boot - leather ebrake boot - floor mats - rubber gas flap - rubber gas door and door handle bumpers - ebrake boot screws The list of items I still need is getting smaller.1 point
-
1 pointMy BS detector goes off loud when I see those too although I don't have any specific tell to point to that is a clear indication they are repros. I do worry that it seems the people who are making these are simply getting better at fixing their mistakes and making the repros harder to distinguish from the original versions. I suspect the chatter here pointing out the differences is allowing them to monitor this thread (and maybe others like it) and use the info within to improve the parts. Double edge sword... Better repros that are virtually indistinguishable from the originals are a good thing. But if they are sold claiming to be NOS parts made by the original manufacturer, it's a lie and should not be allowed.1 point
-
1 pointTo clean the tank without blasting, I built a tank rotisserie, and used that to spin the tank while cleaning it out. I used muriatic acid, diluted 50/50 with warm water, twice, followed by a neutralizing wash with baking soda and water, followed by numerous rinses with water until it ran out clean. There are a number of other threads describing the process. For media, I counted out 150 machine nuts (it's what I had on hand), and dumped them in the tank before cleaning. Afterward, I shook the tank around and made sure that 150 nuts came out. ?1 point
-
1 pointGents, in the future please refrain from responding to spammers in the forum and use the "report post" feature. I have tools and methods in the back-end that can usually help me determine if this is a spam bot or a real user. Just assuming this kind of user is a spammer on the front-end doesn't work. He could have been a valid user who was just trying to be friendly. However, in this case, I was 50/50 split on my decision. His profile looked legit but the red-flag was his posts were very general and the email address was questionable. It had nothing to do with our Facebook SSO or other integrations. Remember, I have tools that can help me solve the kinds of issues, so please report posts so I can look into it. Thank you! Mike1 point
-
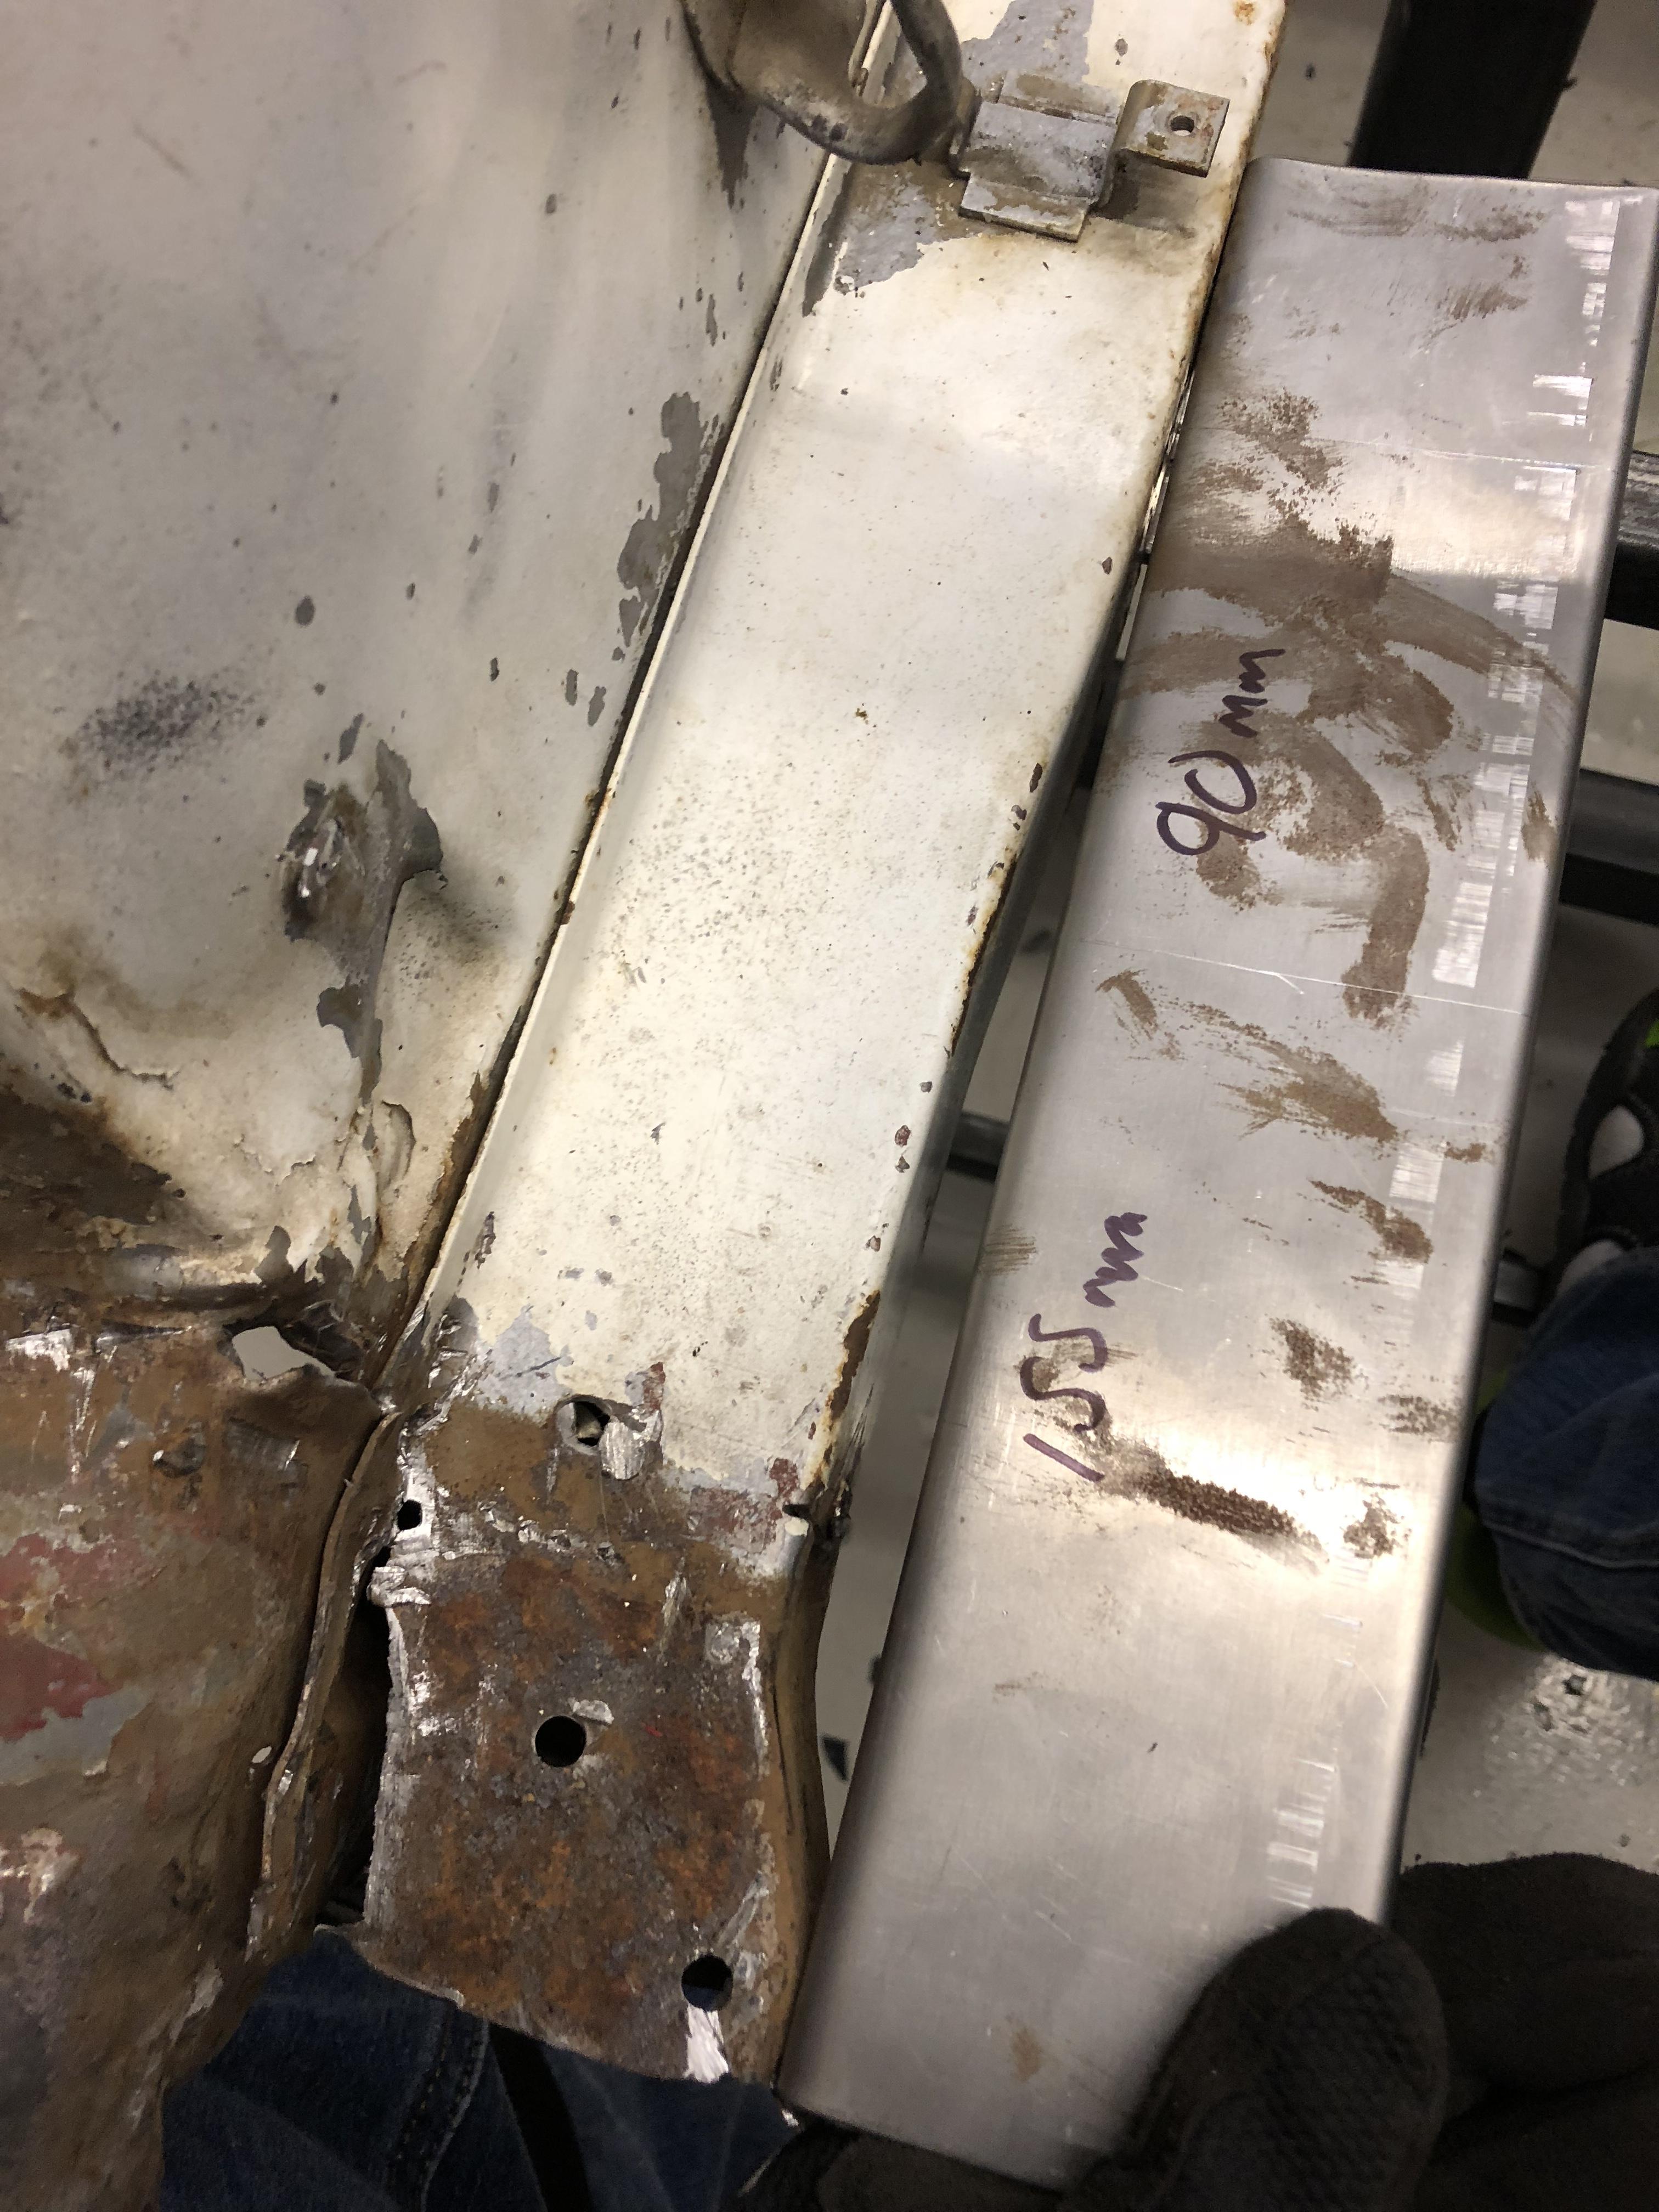
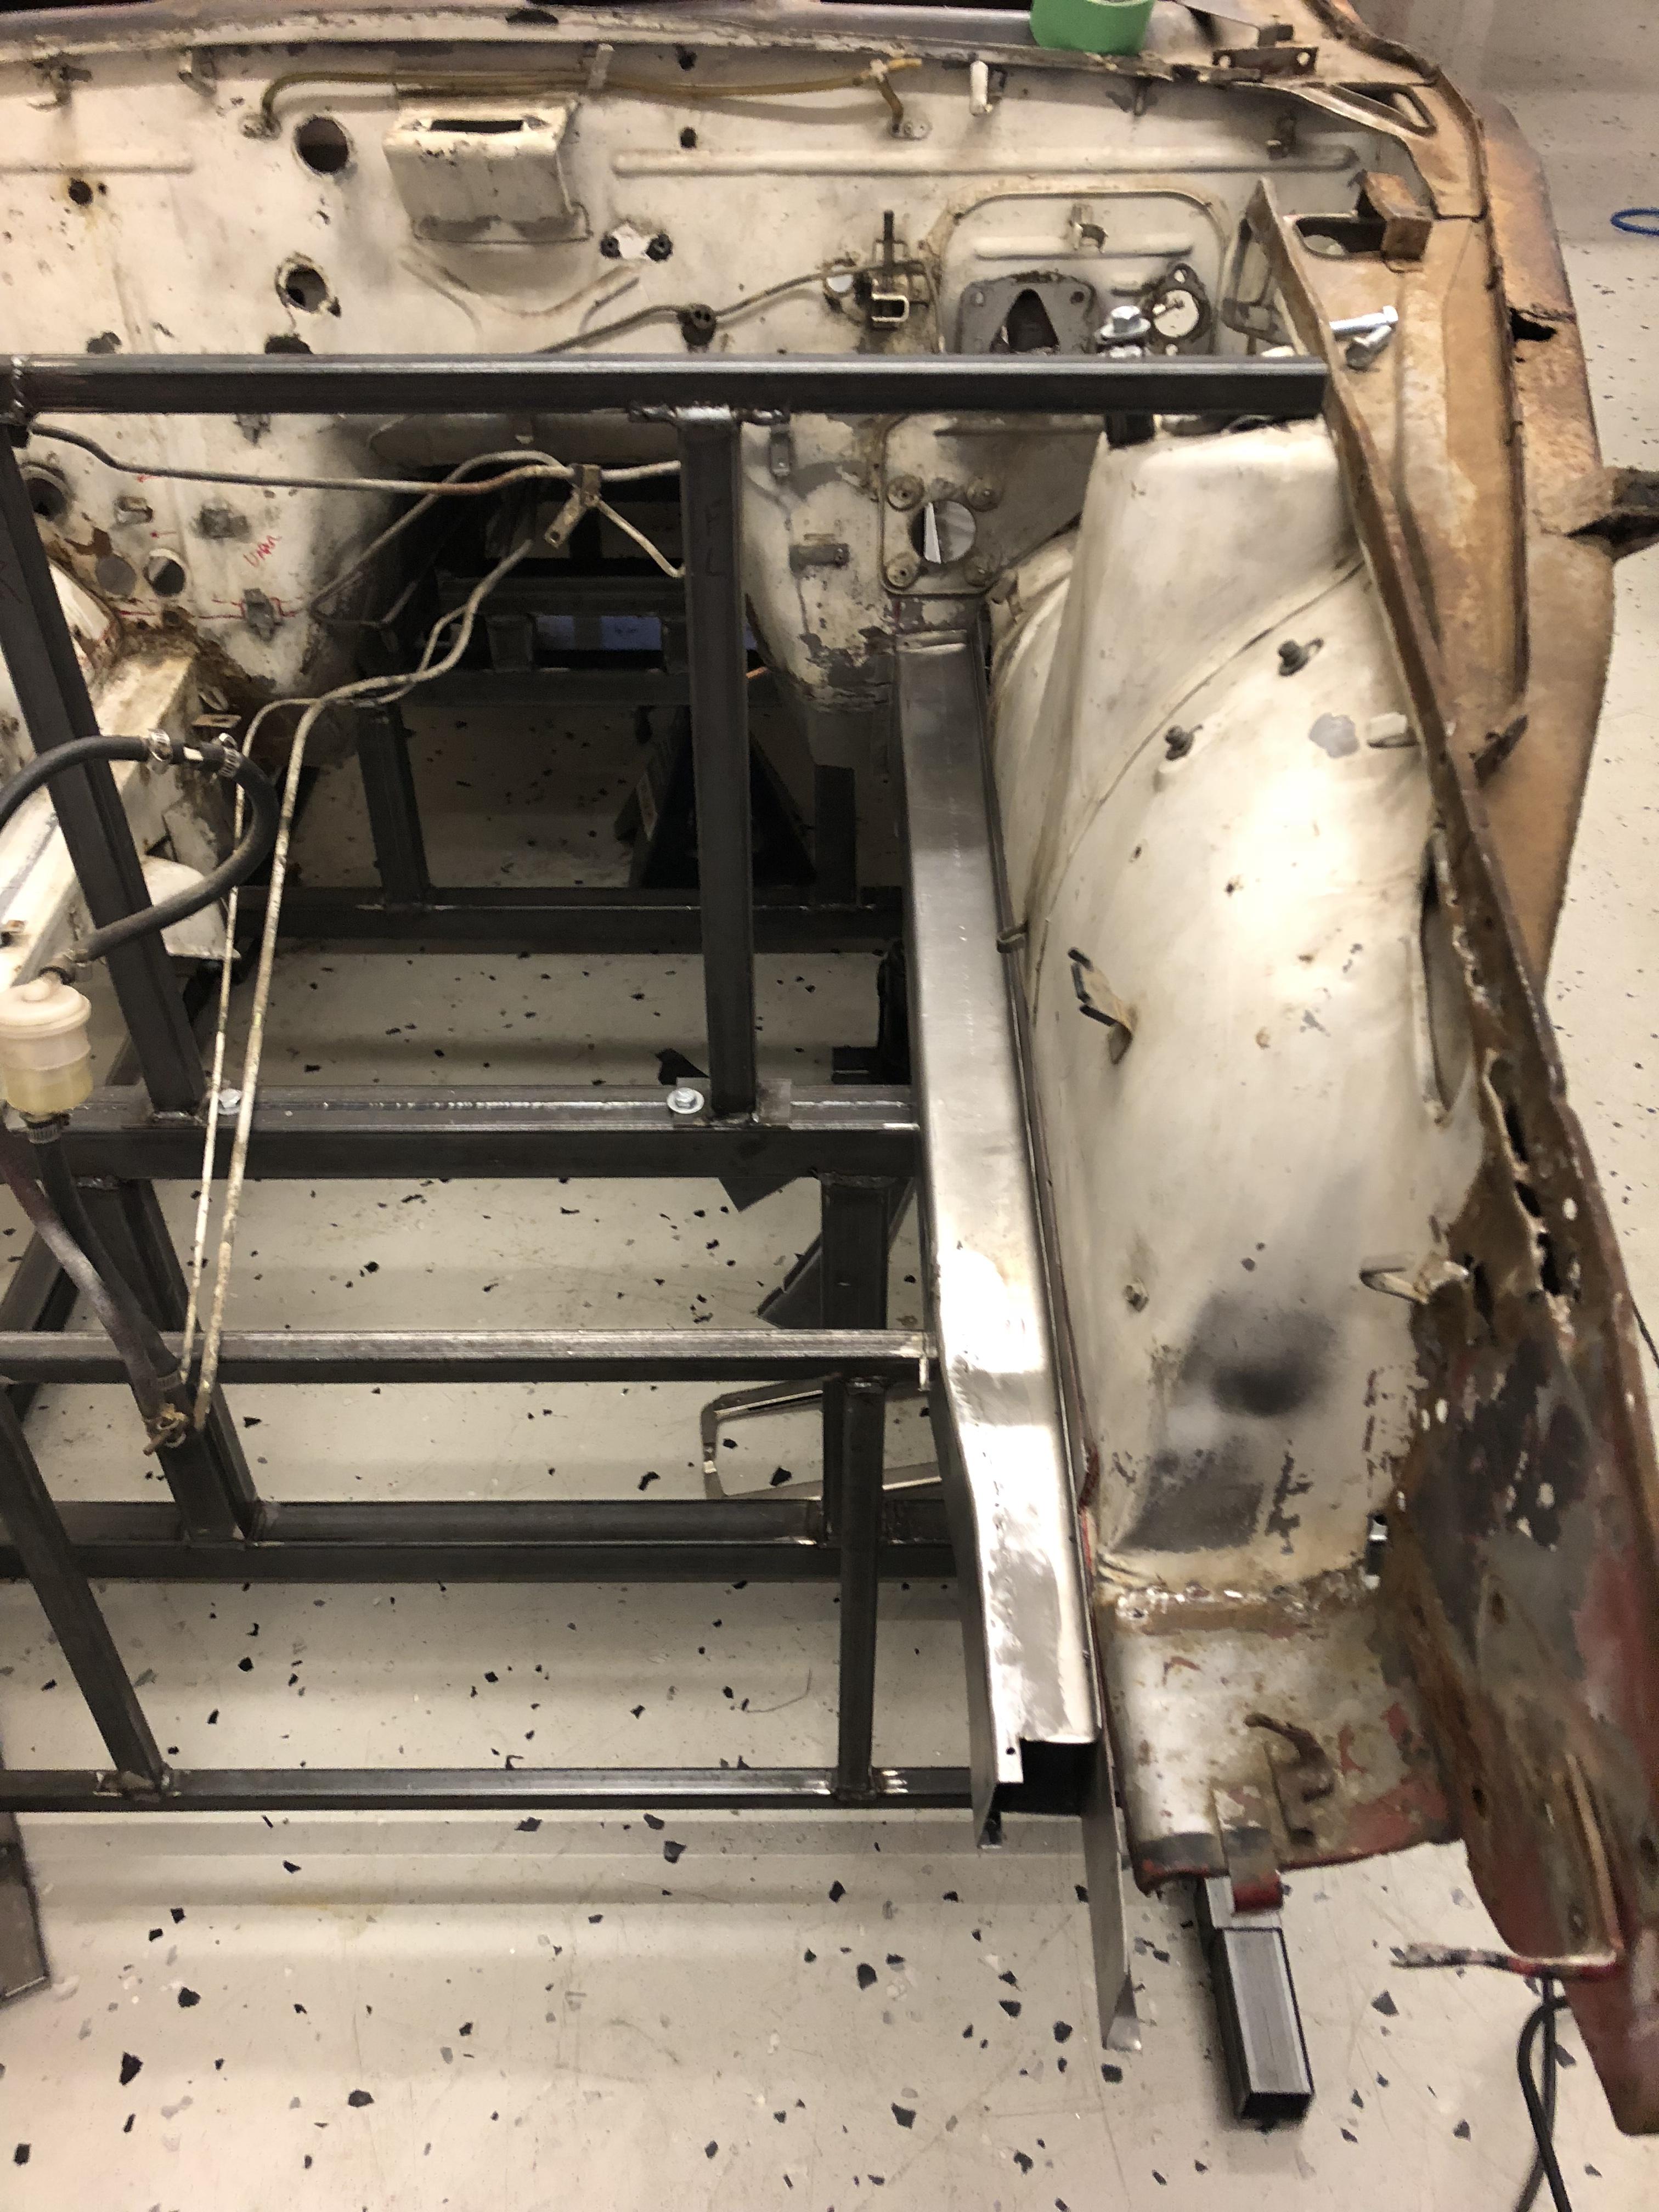
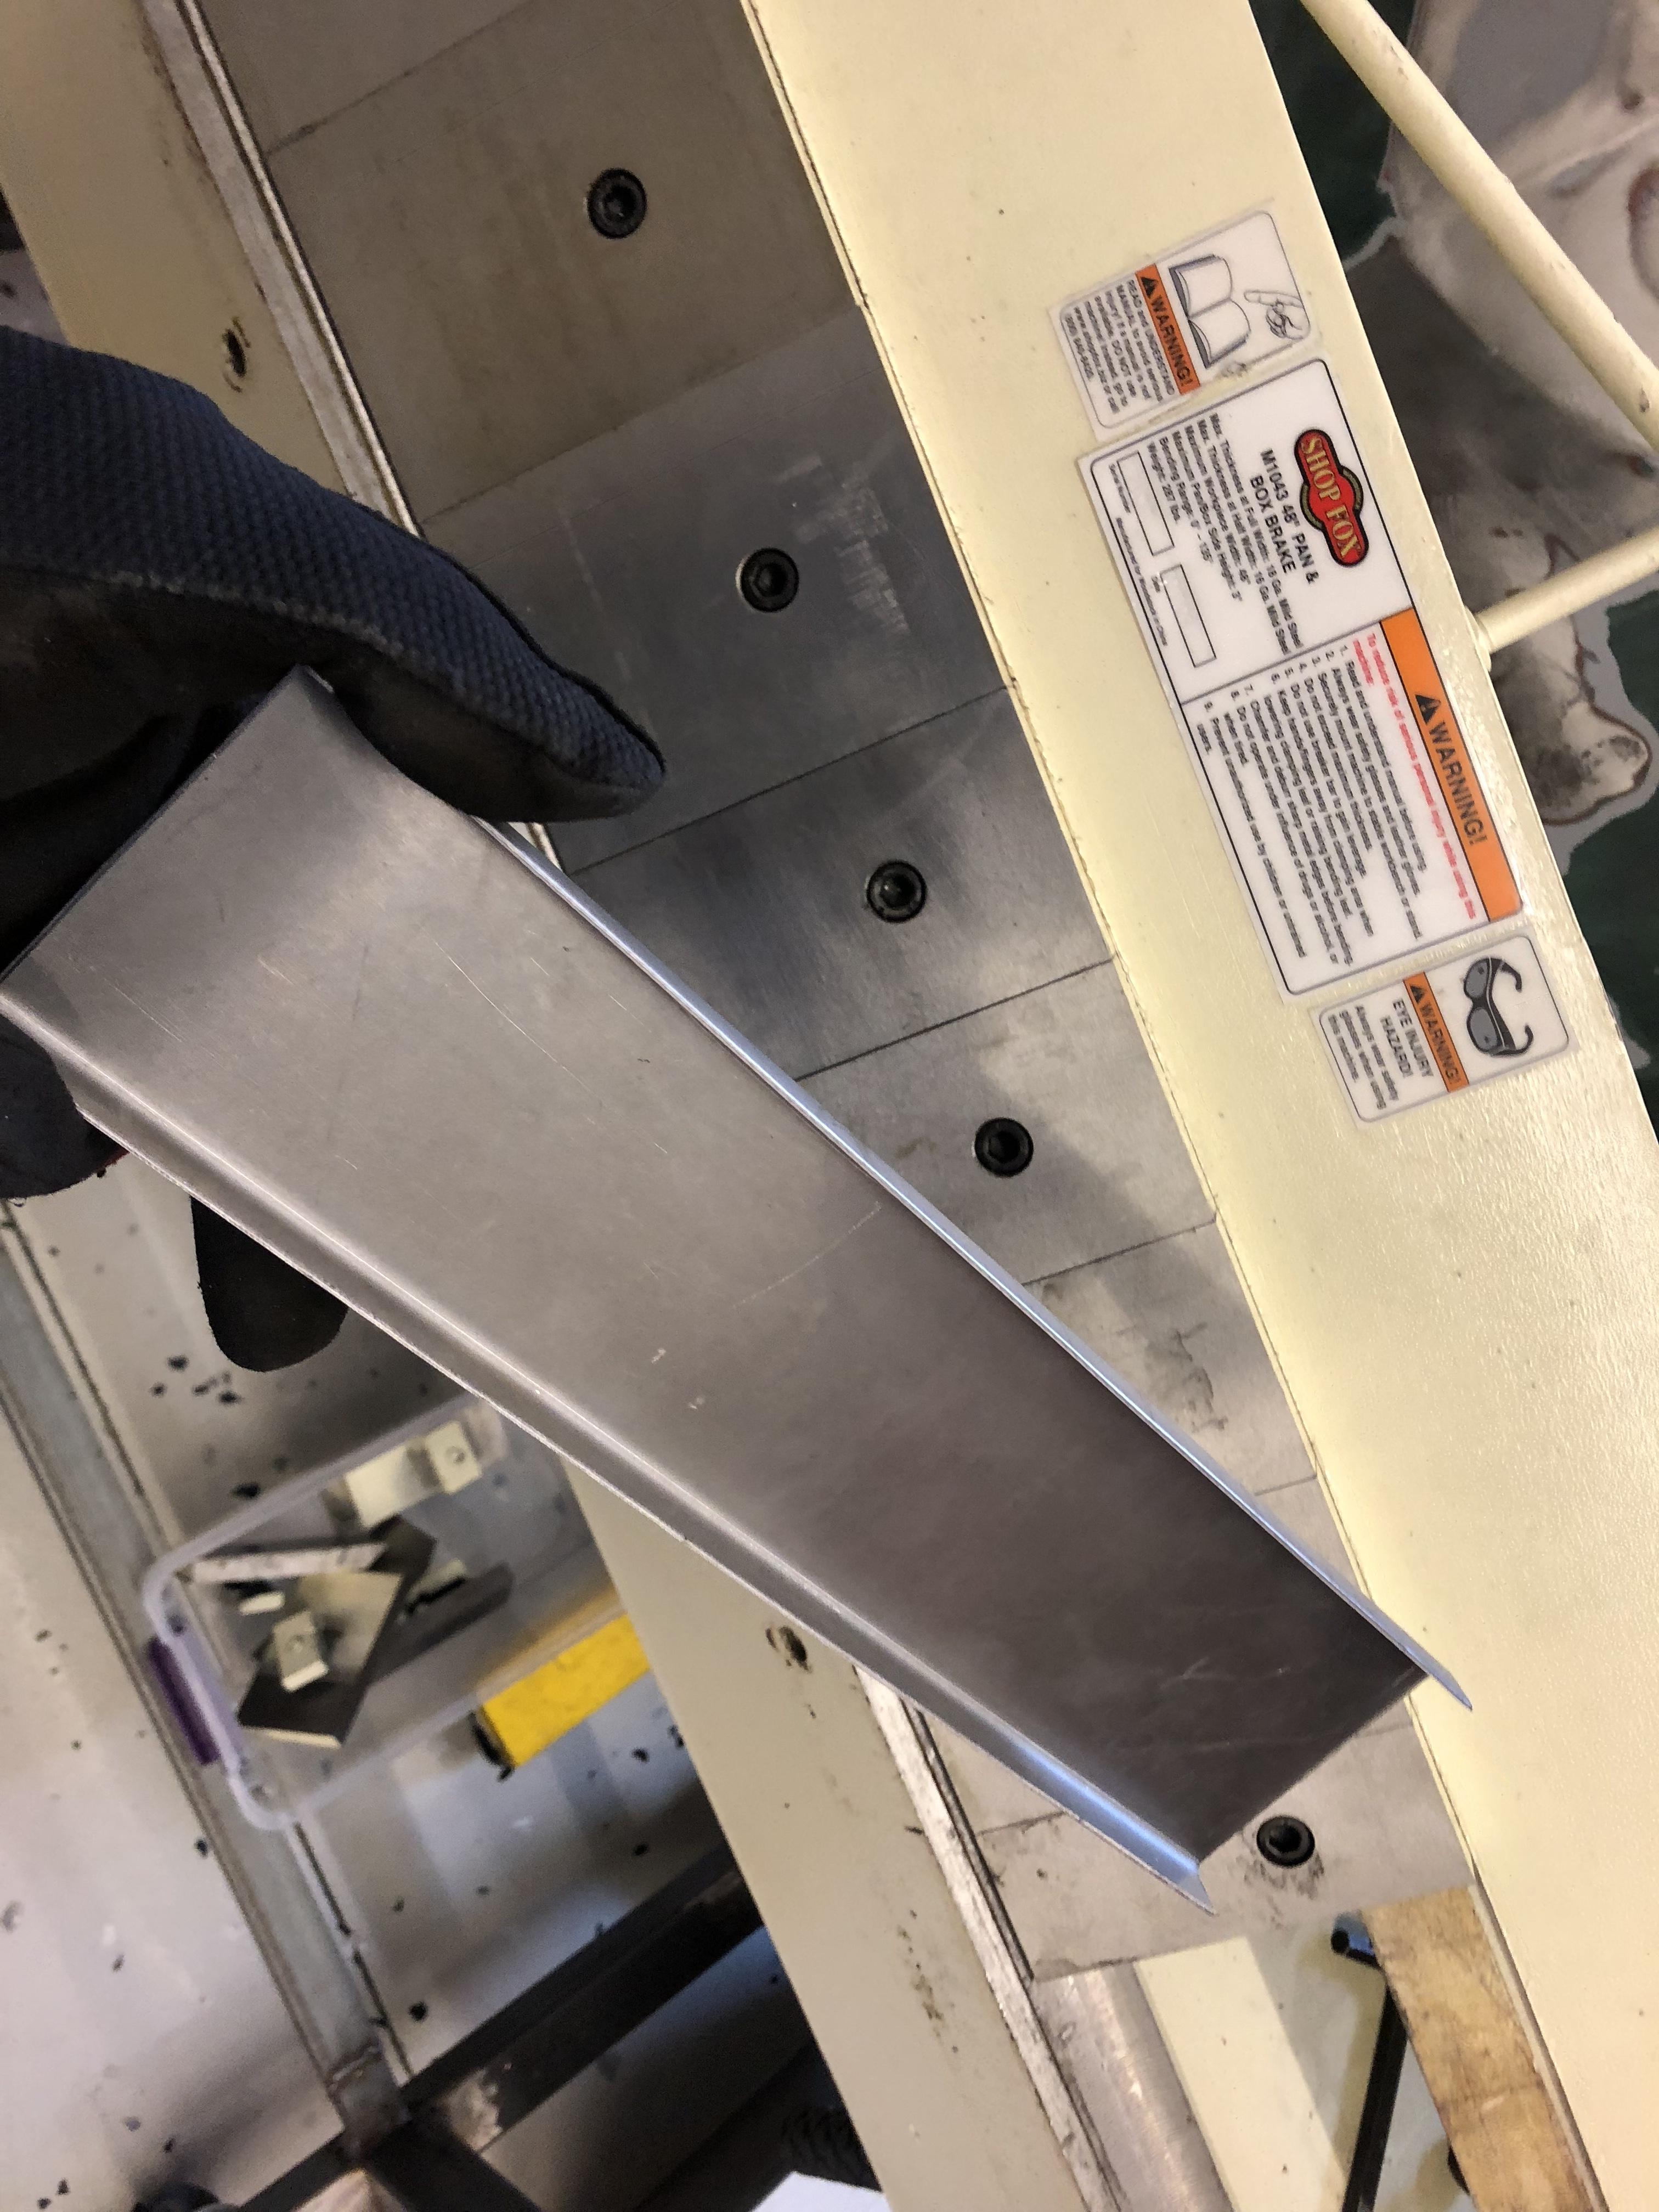
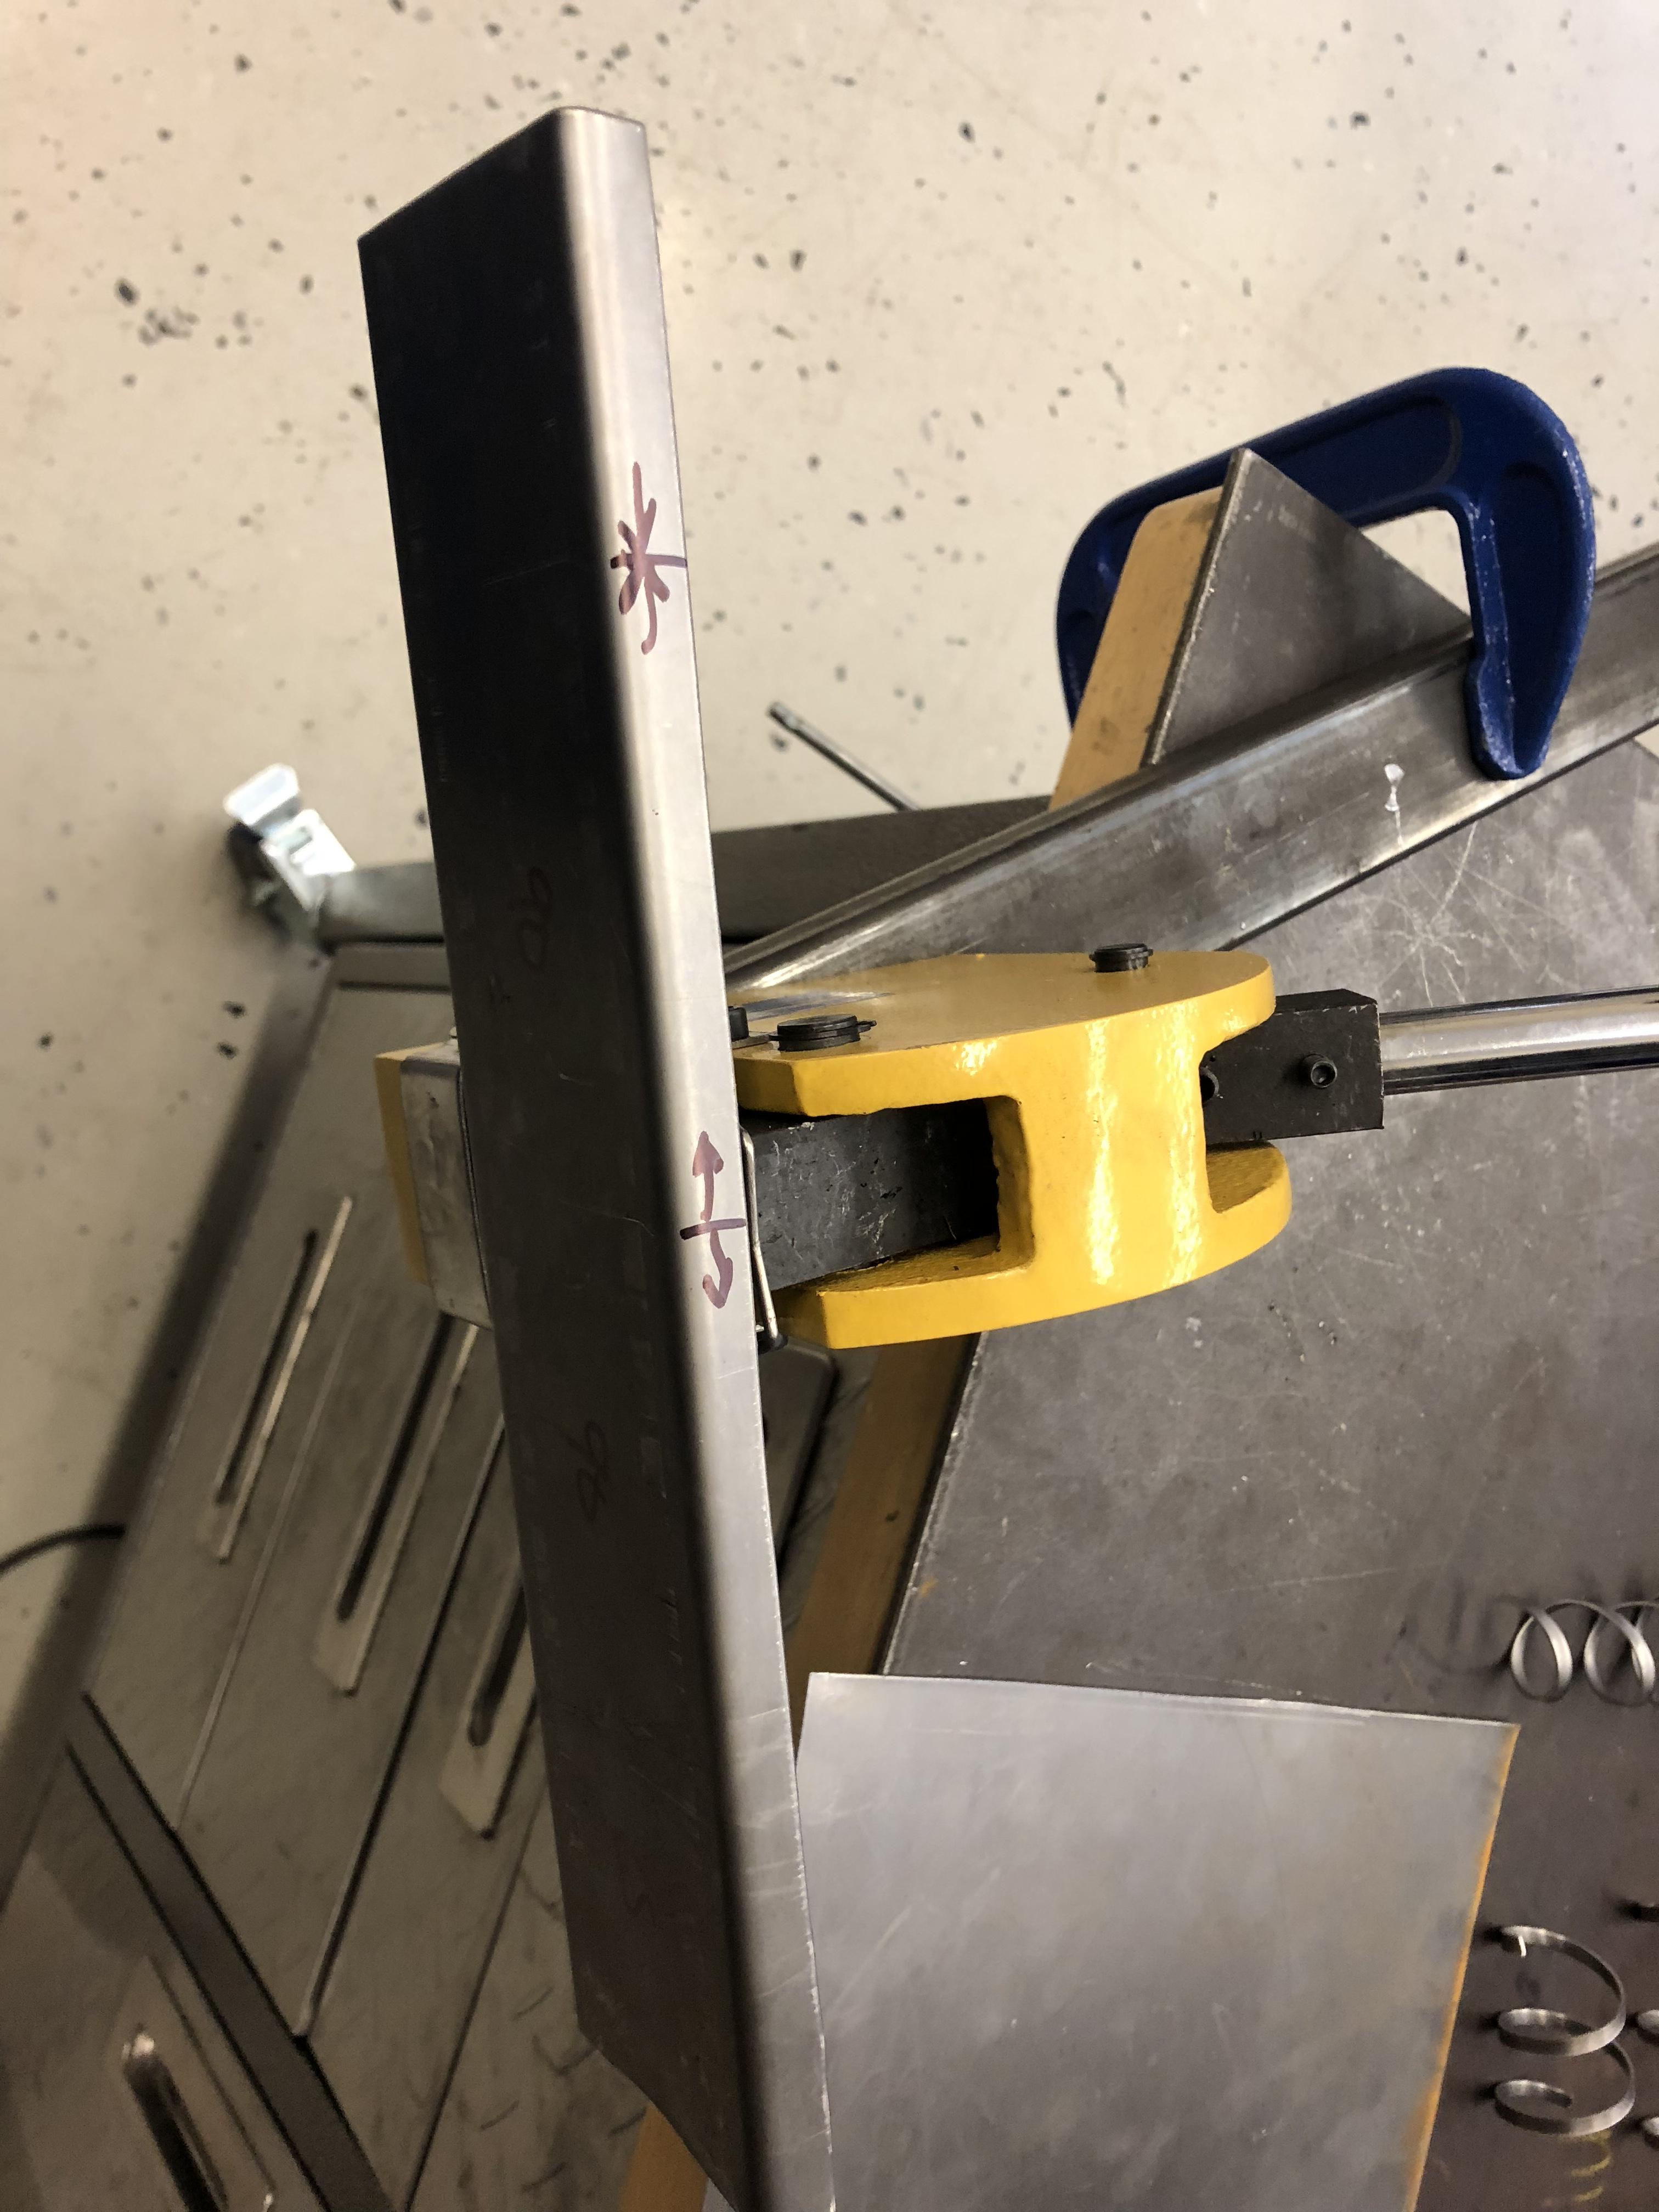
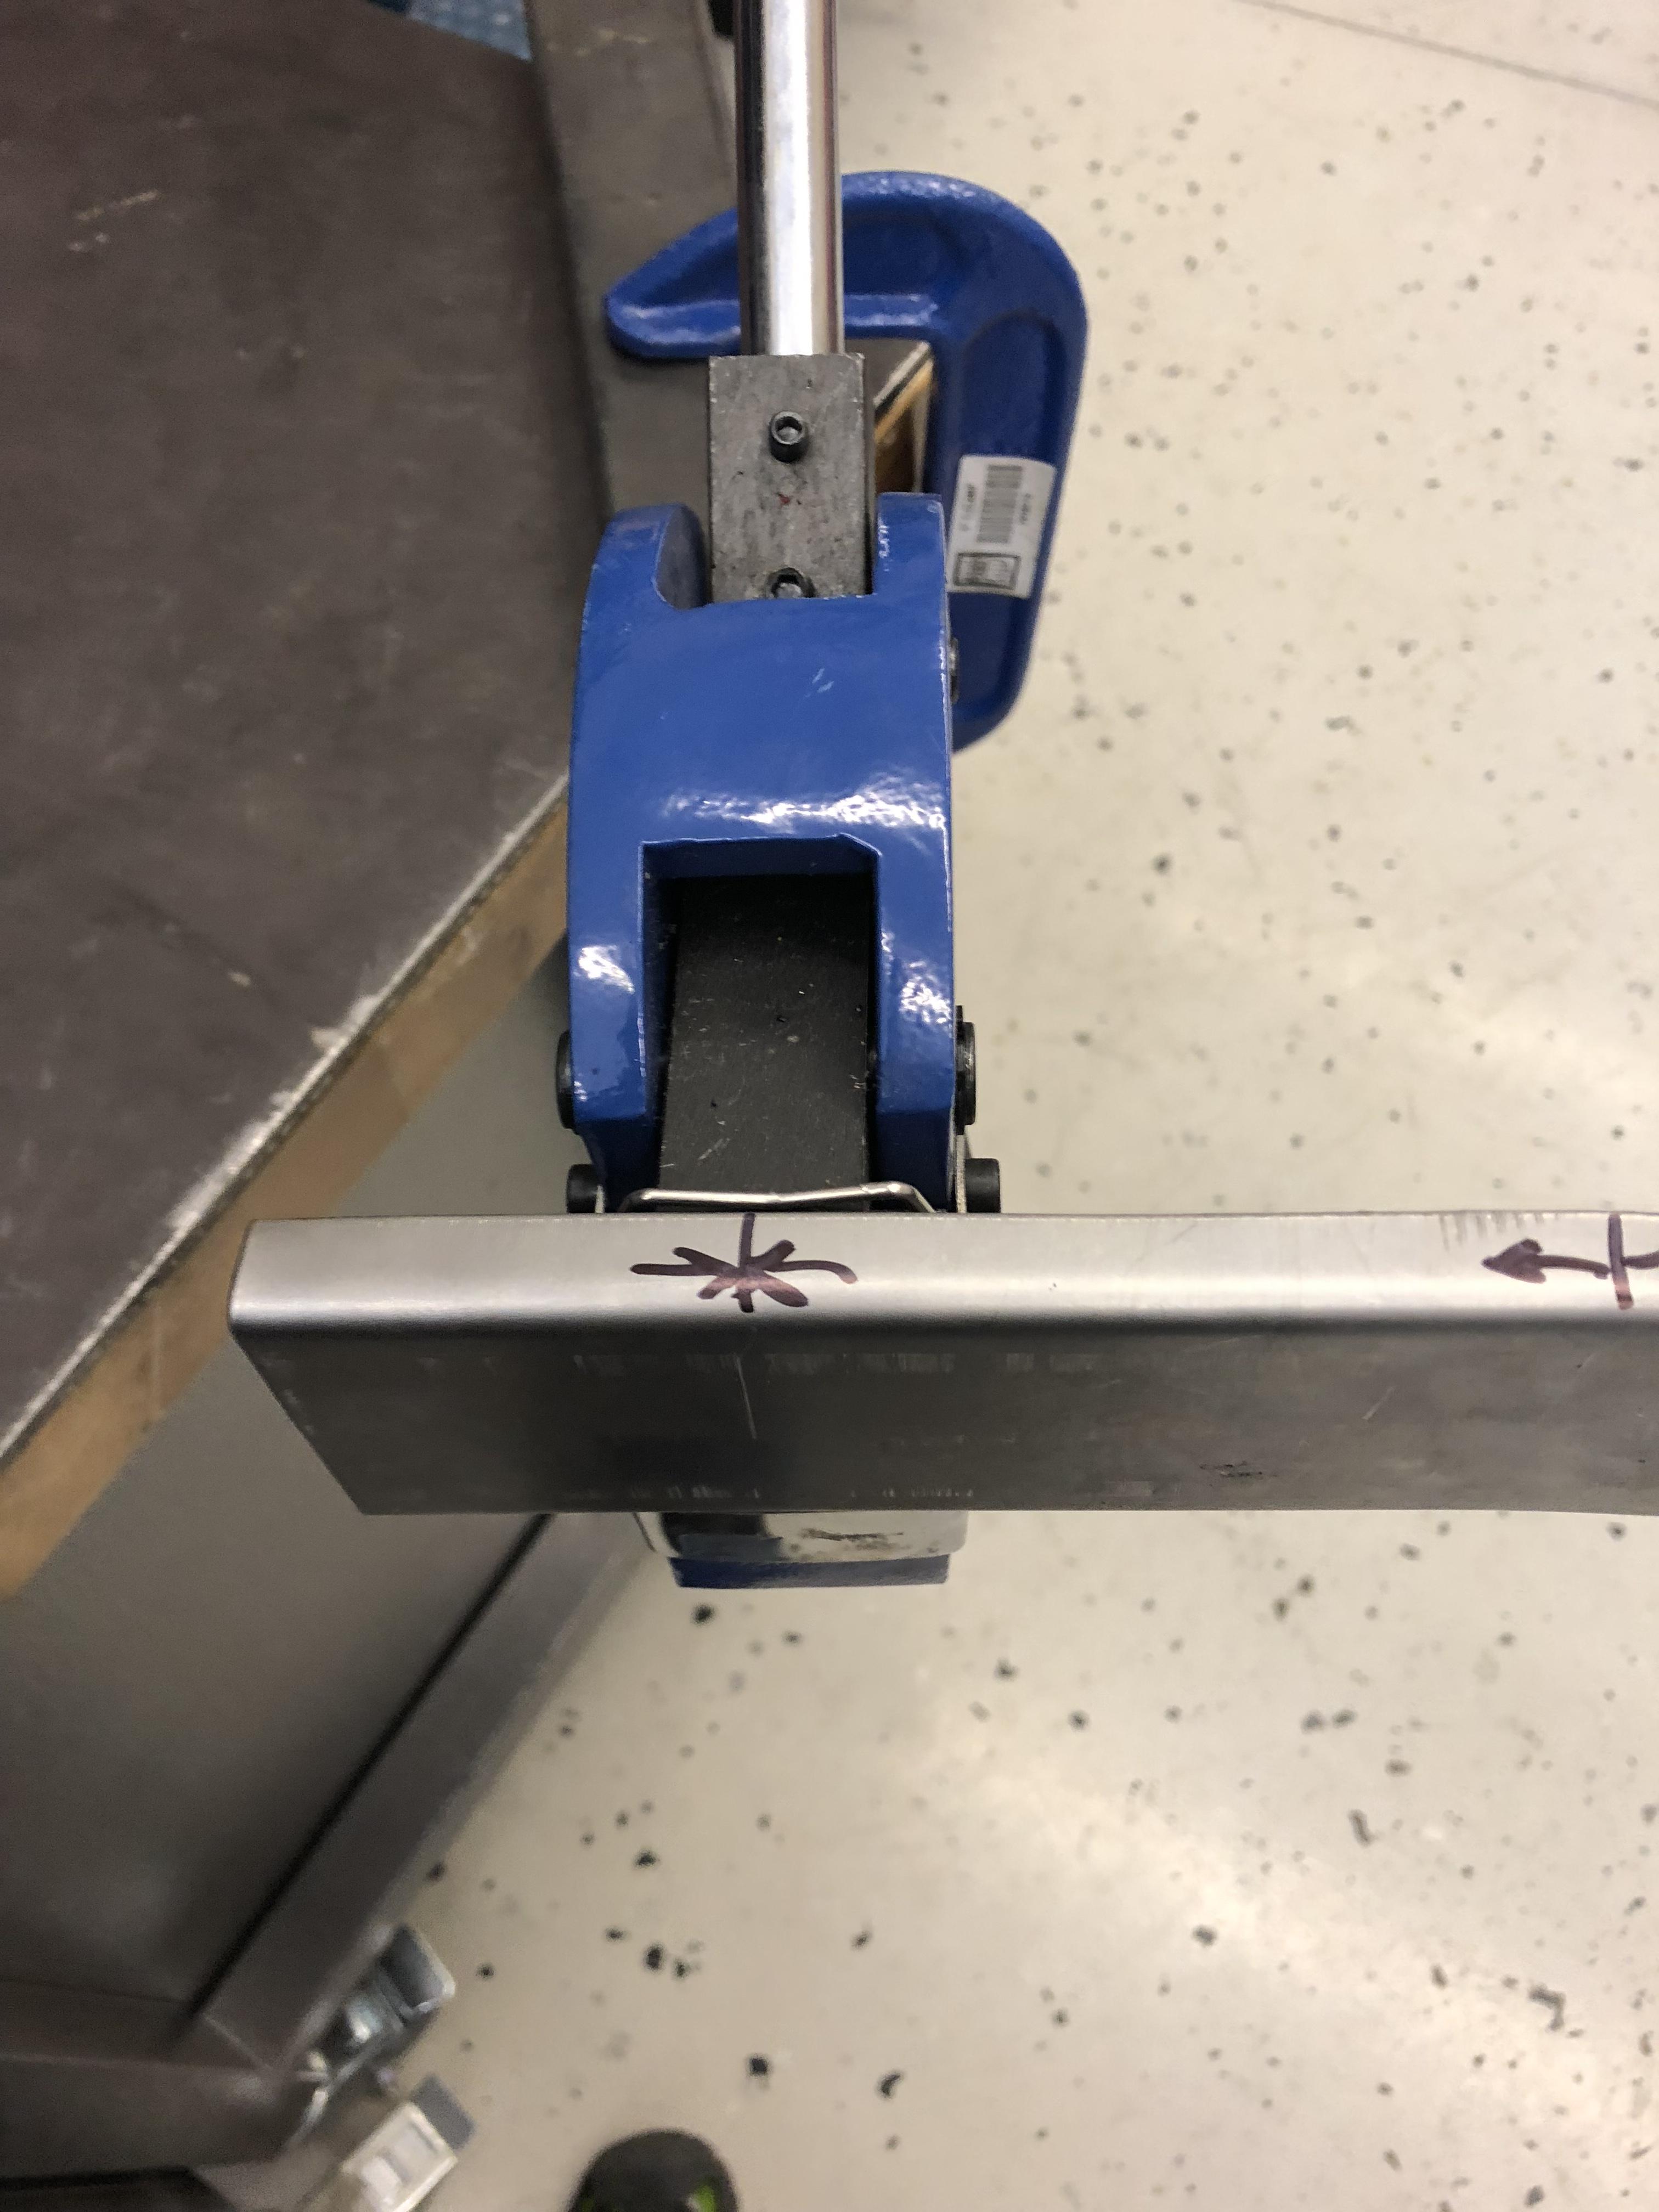
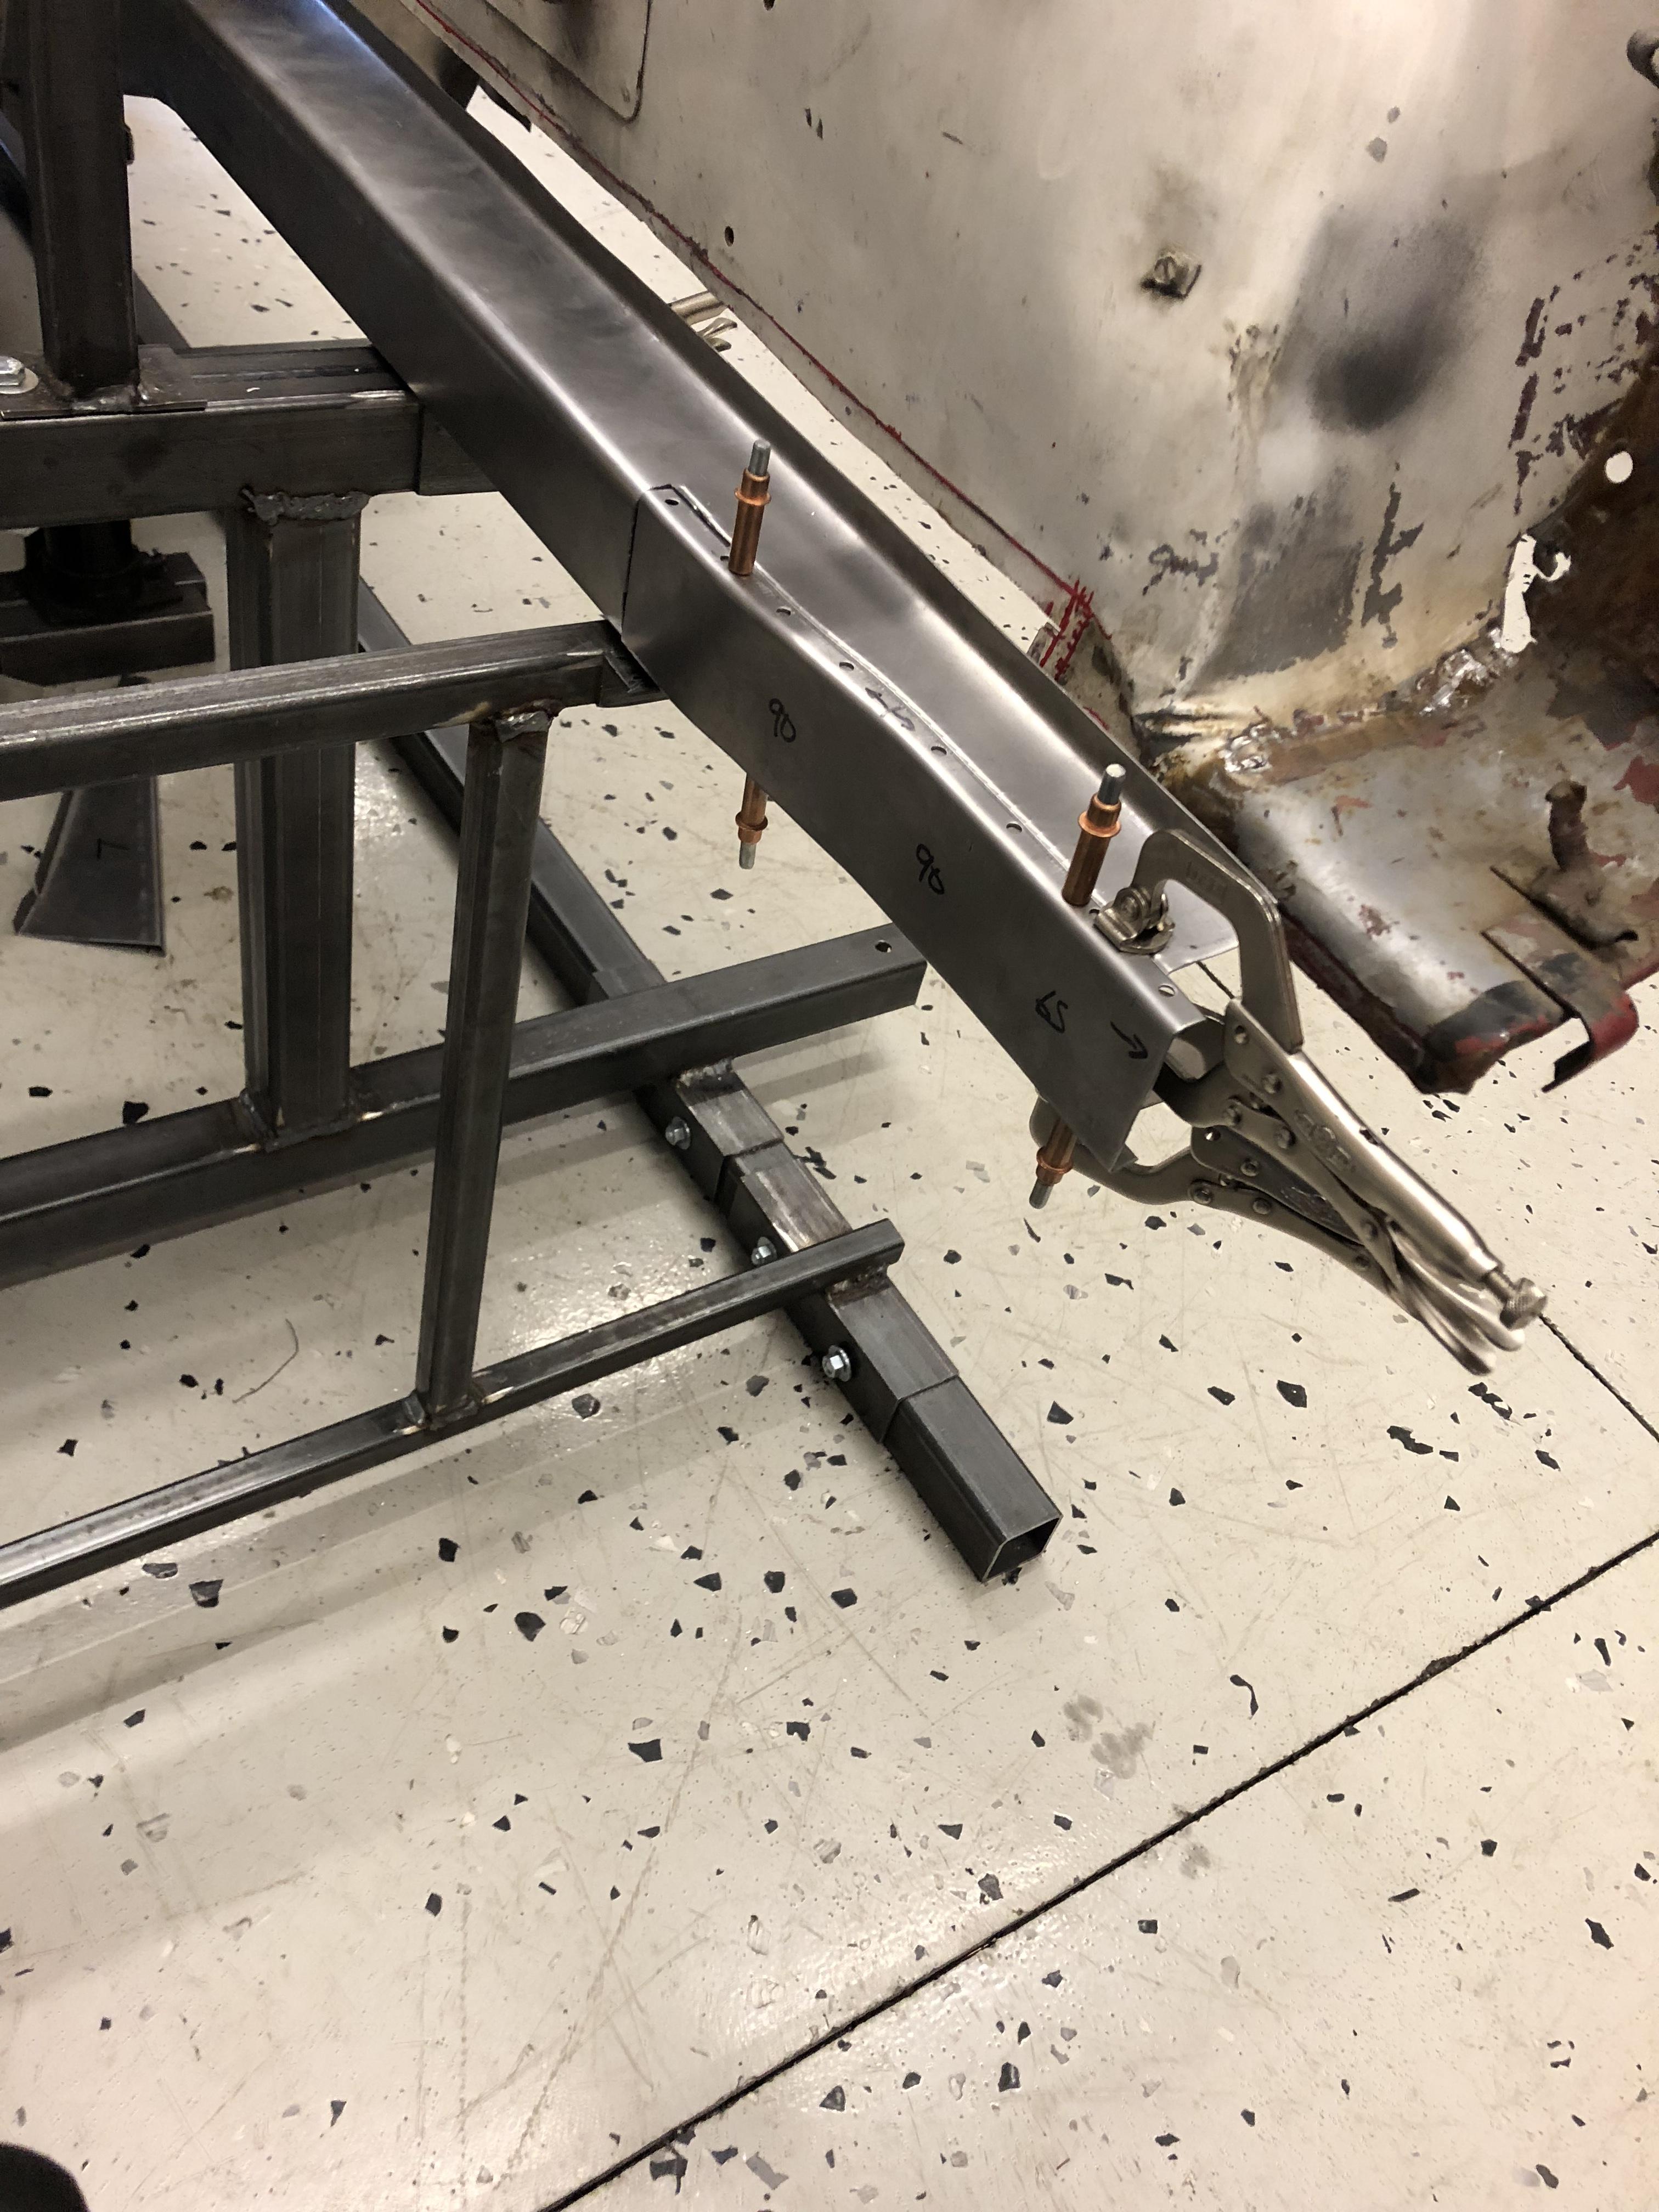
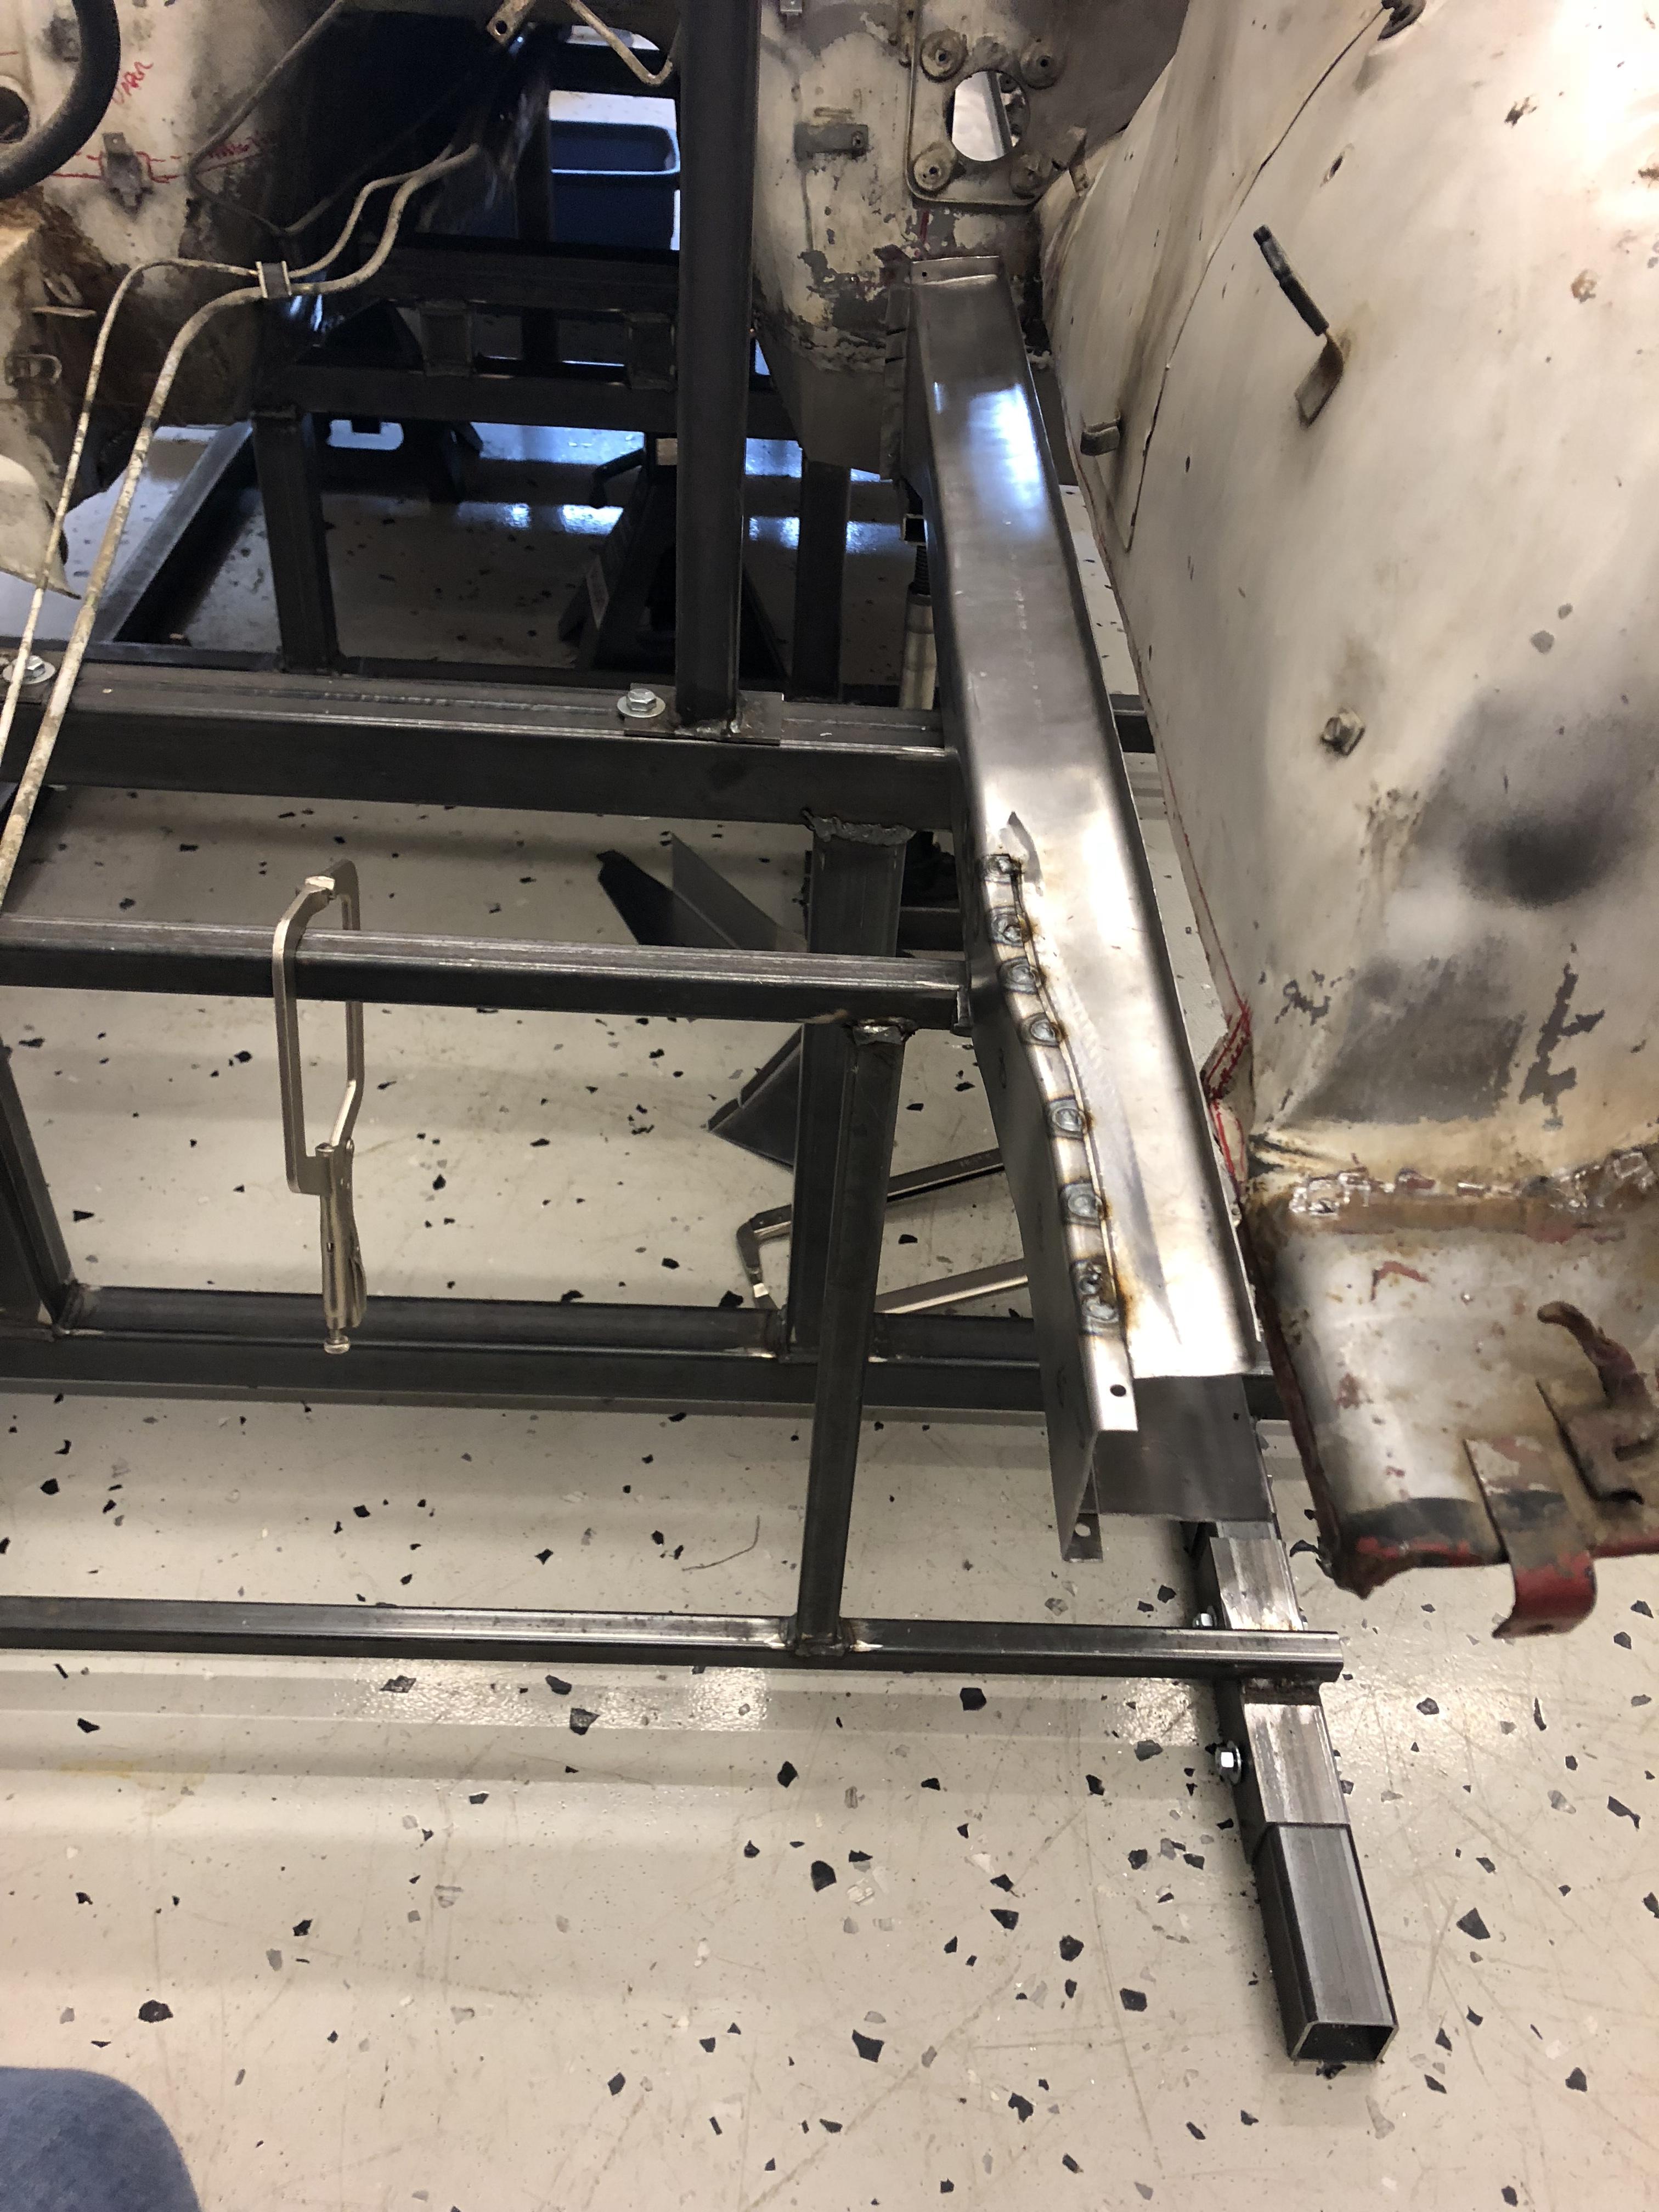
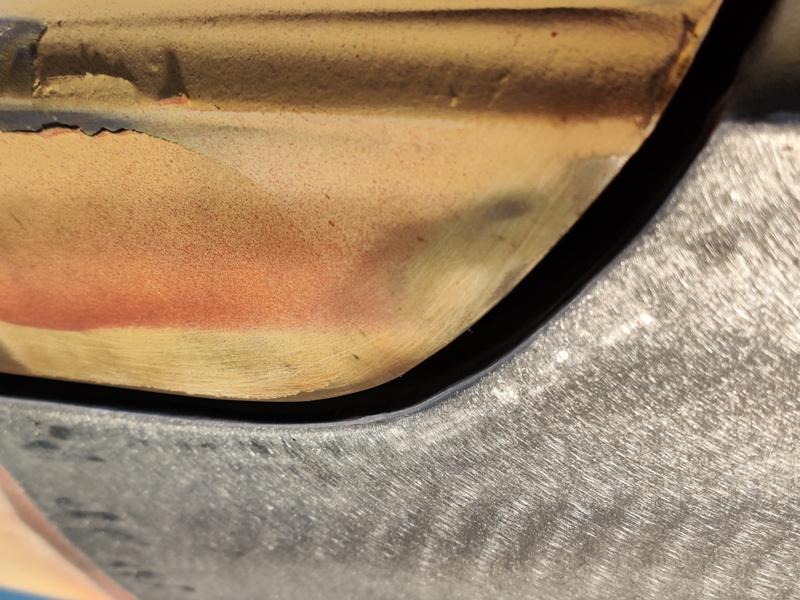
1 pointSo the factory rails narrow in quite a bit just before the radiator guide to accommodate the width of the rad .... Initially I thought that the additional width wouldn’t be important, but I decided keep my options open and replicate the factory design. So I had to trim and cap my rails. Here is ‘how it turned out .... Basically I made a cap using the shrinker stretcher, cut the rail and and welded it in as follows: Almost done the drivers side!


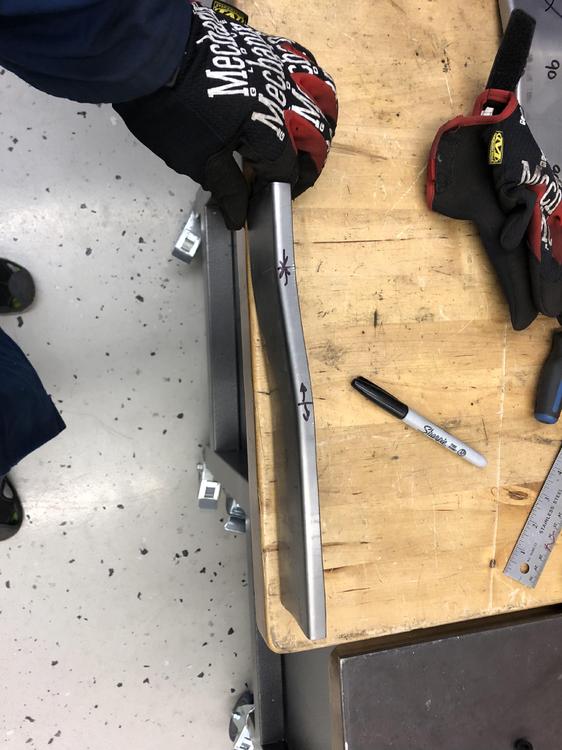
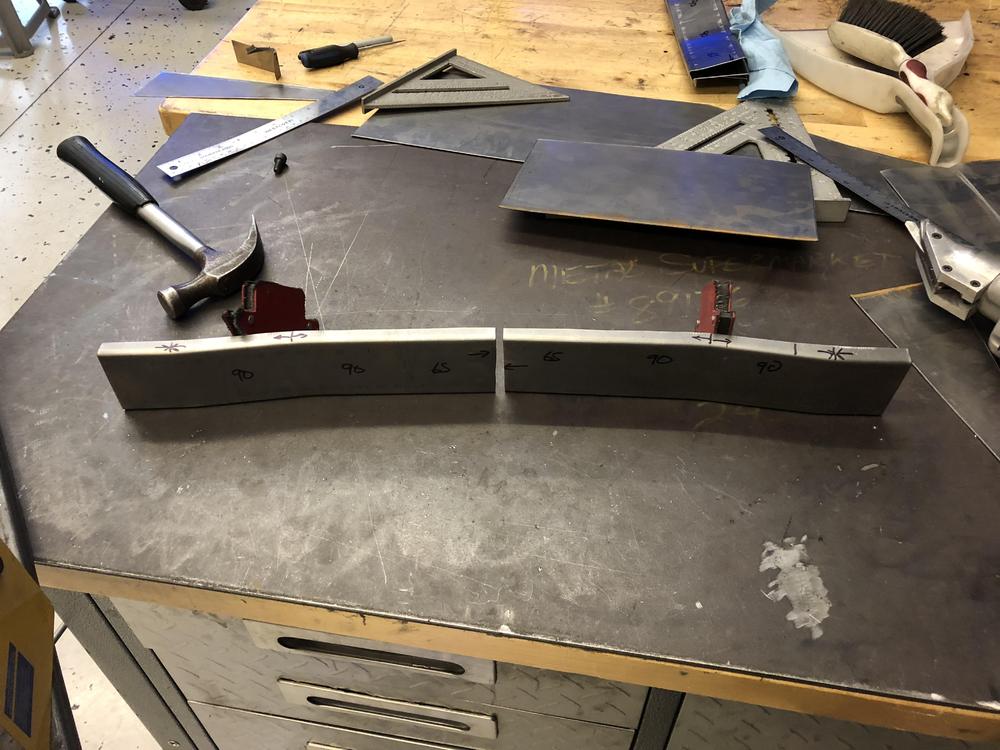
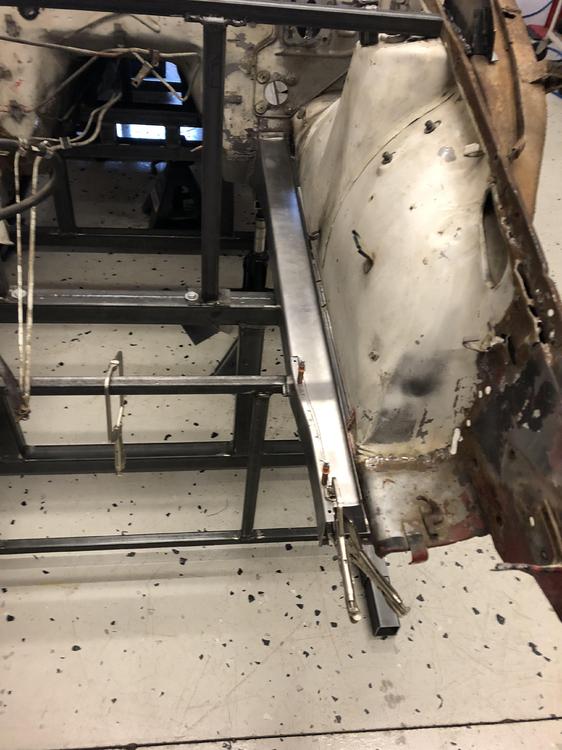
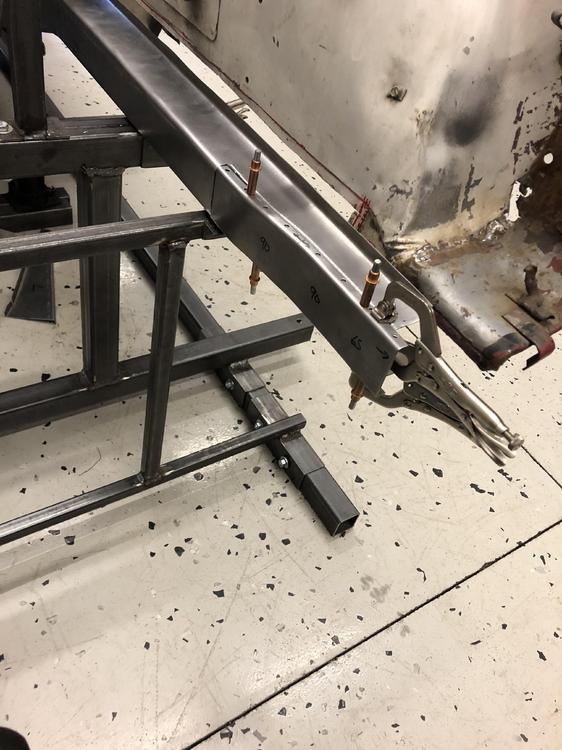

 1 point