


Leaderboard
-
Captain Obvious
Free Member8Points10,081Posts -
motorman7
 Subscriber
 3Points2,228Posts
 -
conedodger
Free Member3Points12,513Posts -

kats
Free Member2Points2,215Posts


Popular Content
Showing content with the highest reputation on 07/17/2017 in all areas
-
3 points
-
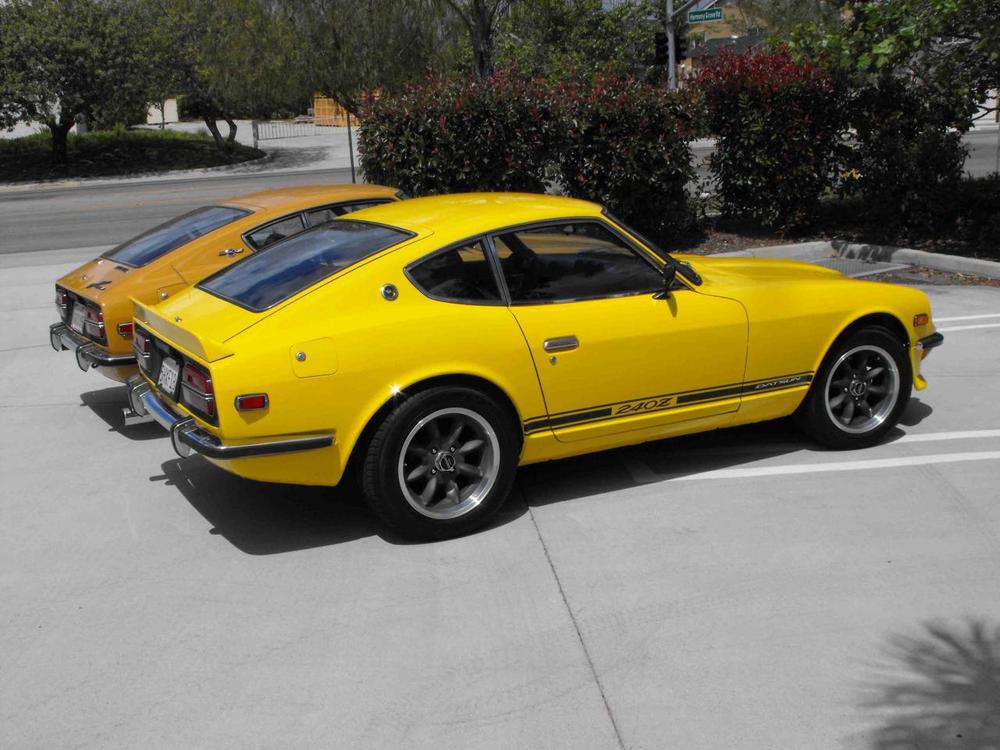
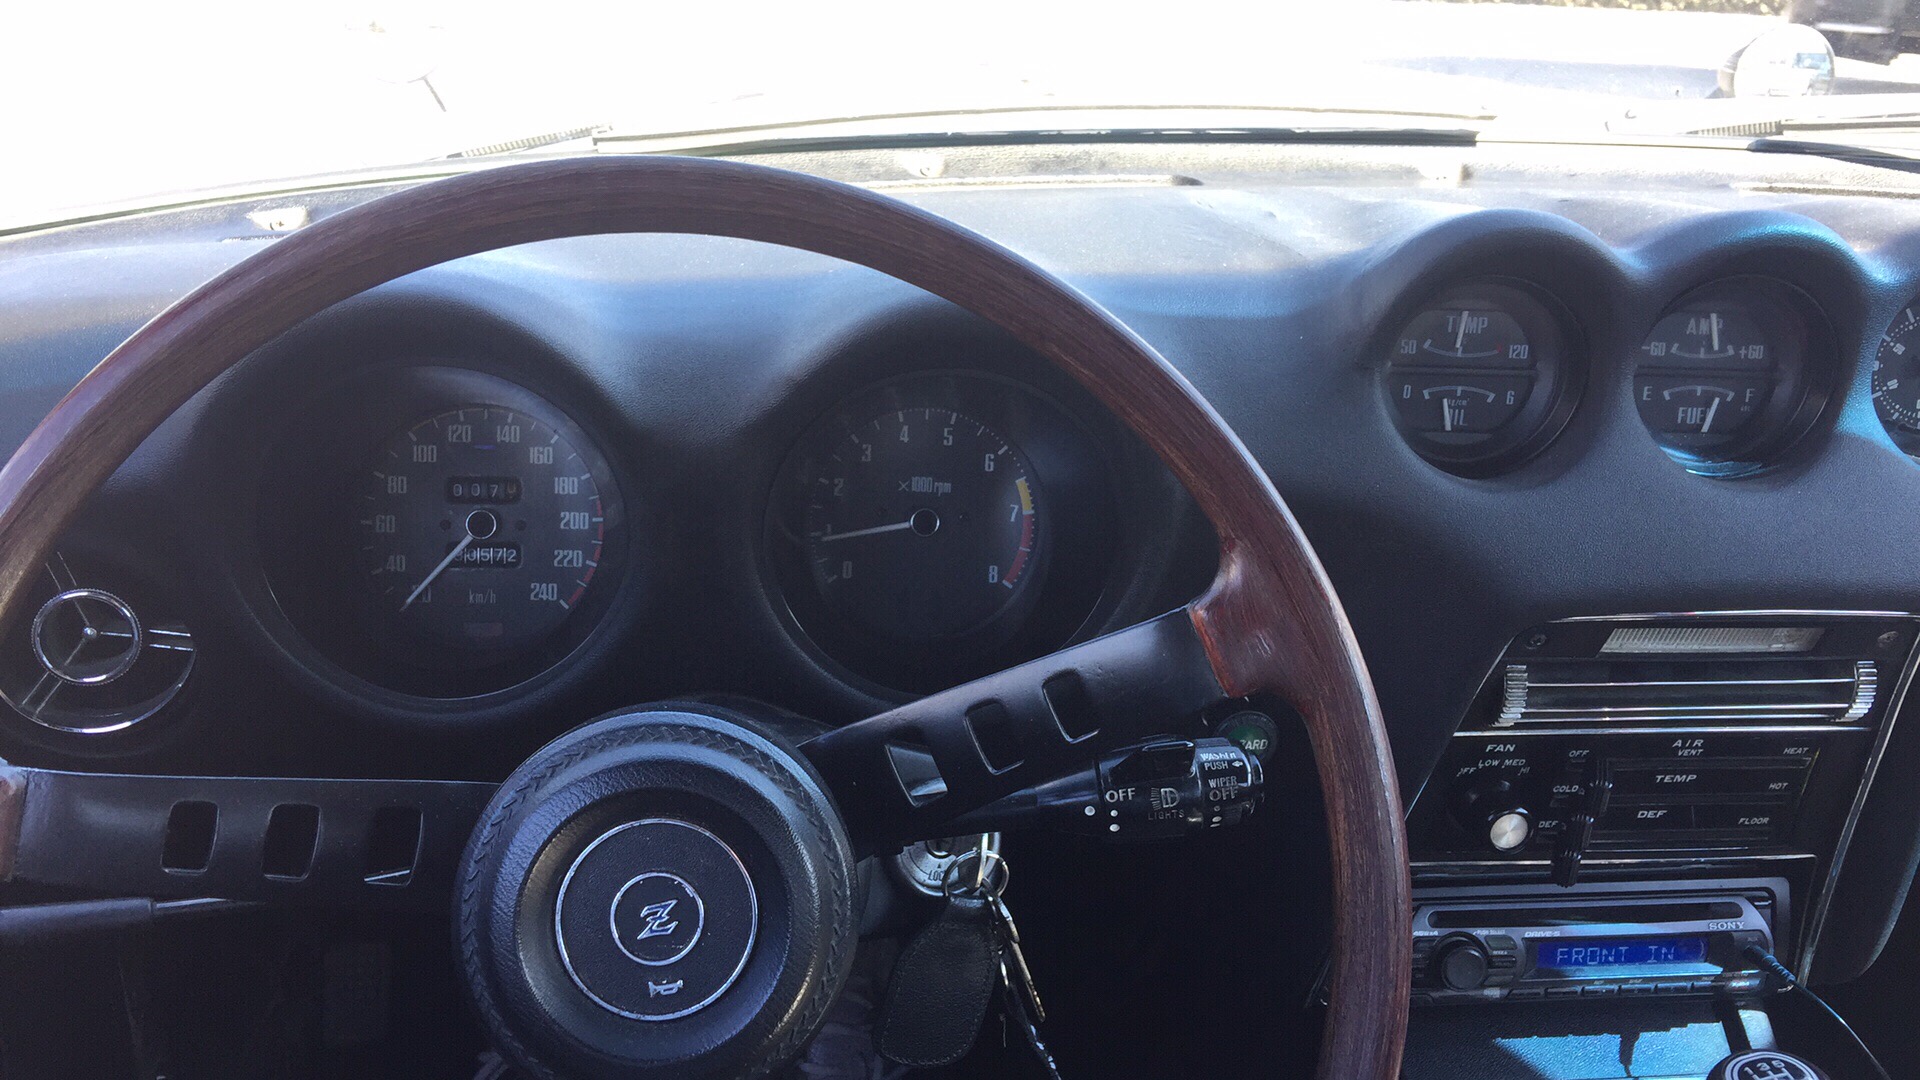
2 pointsHi moelk, Nice horn pad ! And 240km speedometer, Celsius water/kg oil gage, rally clock, looks like your car has JDM flavor. Kats2 points
-
1 pointI am leaning towards this one. It is 25 lumens, in cool white with 90 degree beam angle. https://www.superbrightleds.com/moreinfo/instrument-panel-light-bulb/ba9s-led-bulb-4-led-ba9s-retrofit-car-classic-car-bulbs/6/ The Eiko also seems like a good option for incandescent with the 4 Watts. I am leaning toward the brighter LED with the longer life. Pricewise, it is just a bit more, but I like the fact that the LED would be longer lasting and maybe a bit brighter.1 point
-
1 pointThese look interesting: https://www.superbrightleds.com/vehicle/1972-nissan-240z-instrument-panel-light-bulb?make=55&model=61&scc_id=1364&year=1972 Says they work with the standard dimmer. Also, long lasting. This looks like a good option and could be cheaper than the Motorsport 4 Watt incandescents. PS: the photobucket images are not coming through.1 point
-
1 pointDon't you think FULL beer cans would be worth more to me than empty ones????1 point
-
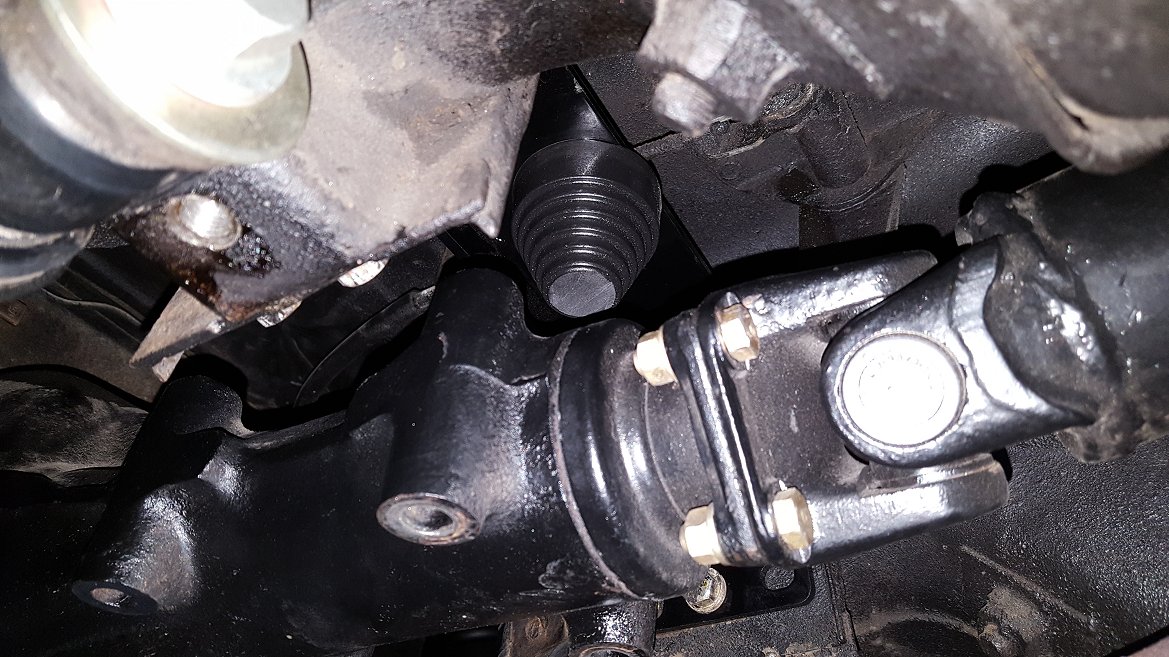
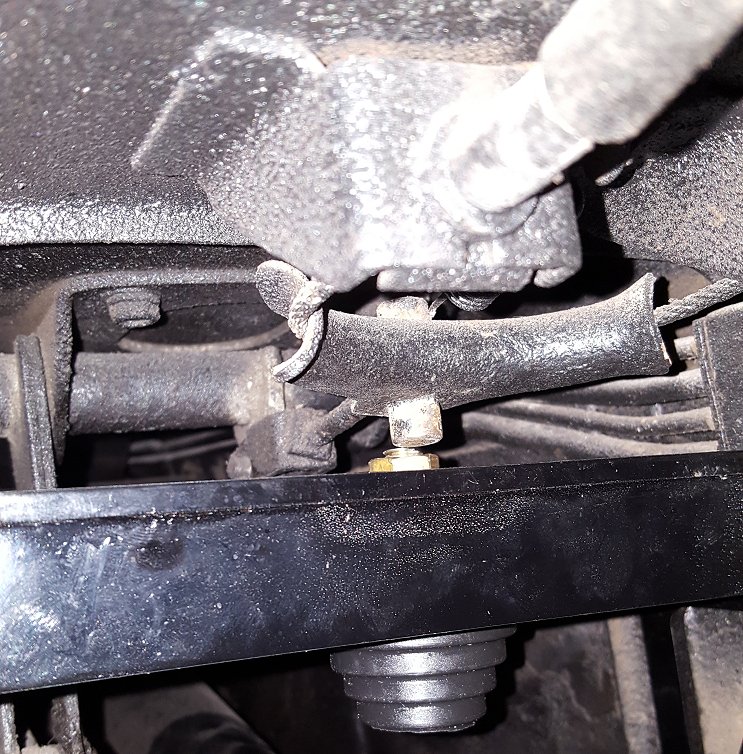
Glad to help. Only reason I even thought of it was because I had removed the same brace not long ago. I took the cheaters way out and put blocks under the tires to keep the suspension loaded while I had the back end up high enough to get under there.1 point
-
1 pointJason, Yes, I have a set but you'll have to prise one out of my cold, dead hand. Originals are not replaceable! I've shown them to a few engineering shops, most of whom don't want to know. Apparently they'd need to make a special fixture to crimp the 60 degree collar onto the nut *just right* (so that it spins freely), and minimum 5,000 off. Nuts.1 point
-
1 point
-
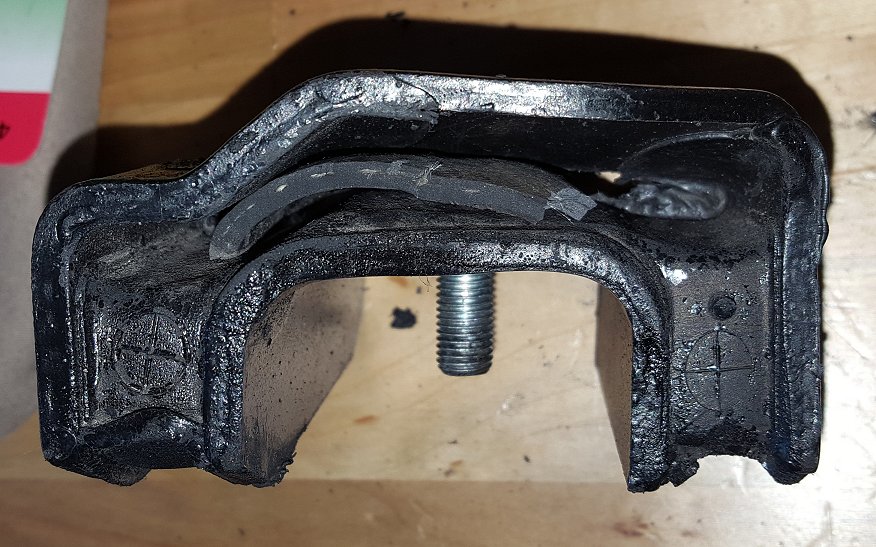
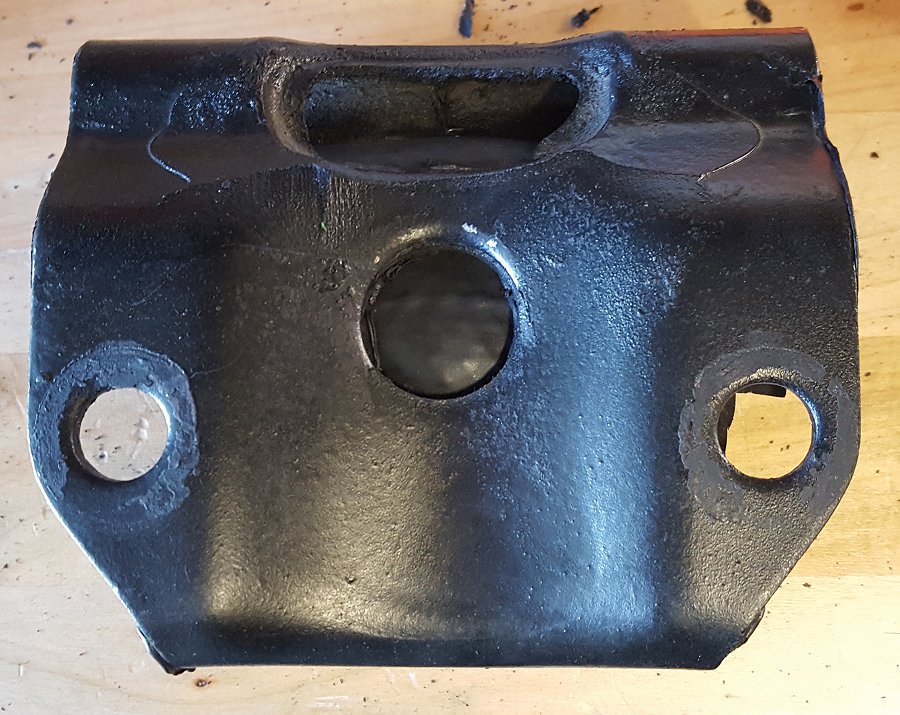
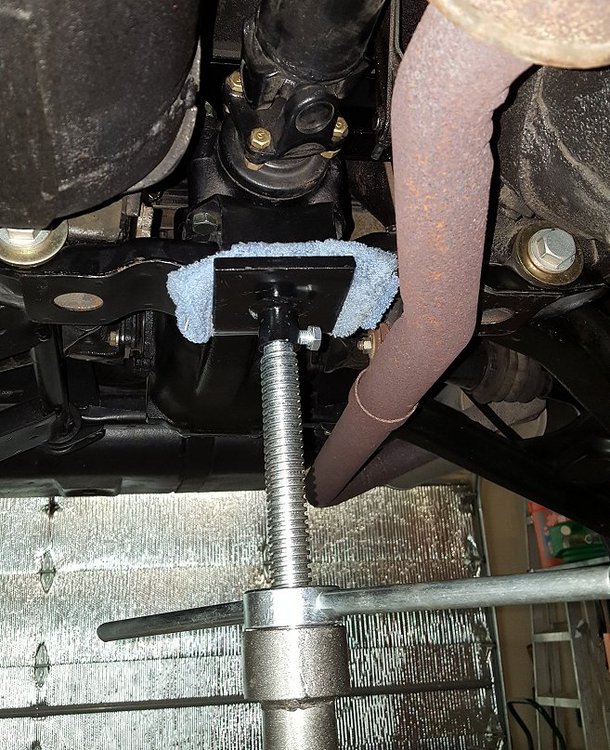
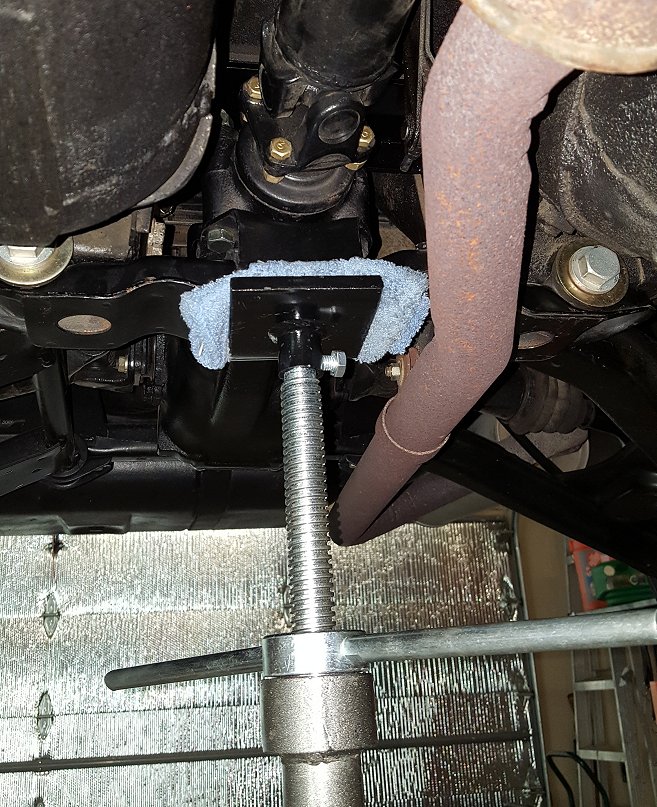
1 point1 pointWow! This thread has really taken off. Once again the Z community is out in force. Well GOOD NEWS! I solved MY rear diff clunk (yours may be different). I went back to my original "diff sandwich" setup but with a small update. First, using another member's suggestion I cut a piece of heater hose and inserted it in between the two plates of the lower diff mount. This took some real effort as I used a large flat head screw driver to pry open the mount enough to get the piece of heater hose in. As I talked about it later with Mike W, it probably would have been easier to put it on the diff so it was held in place while I worked on it. Either way, its in and you can see it in the pictures below. Next I had ordered a new snubber bushing for my RT mount a few weeks ago. If anyone is wondering they are made by Prothane and are part number 19-1318-BL. Got 'em on Amazon for $17.61 shipped for two as they are sold in pairs. Just like I did with my old '72 240z, I only cut off one layer of the bushing. I also cut the threaded stud down to clear the parking brake mechanism. Using my adjustable safety stand I was able to push up on the cross member to get all four bolts in over half way, then working from side to side I tightened in equal steps and torqued anything down. With everything buttoned up I did a once over on all the other suspension fasteners to make sure they nice and tight and they were. Down came the car for a test drive, success! Just cruising around and doing some spirited driver revealed no clunks or noises. The only time I heard anything was when I drove it really hard, almost approaching abuse I could hear and feel the rear drive line make a thump/thud sound but not quite a clunk. I think it was just from drive train shock from hard driving. I never drive the car like this so in my opinion I think everything is good as the drive line now feels rock solid. I do not get any noise or vibration from this setup either. If you have any questions please post them and I will do my best to address them.


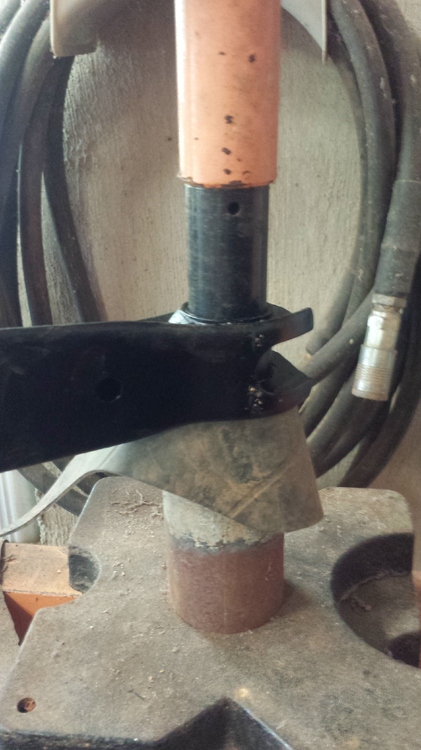
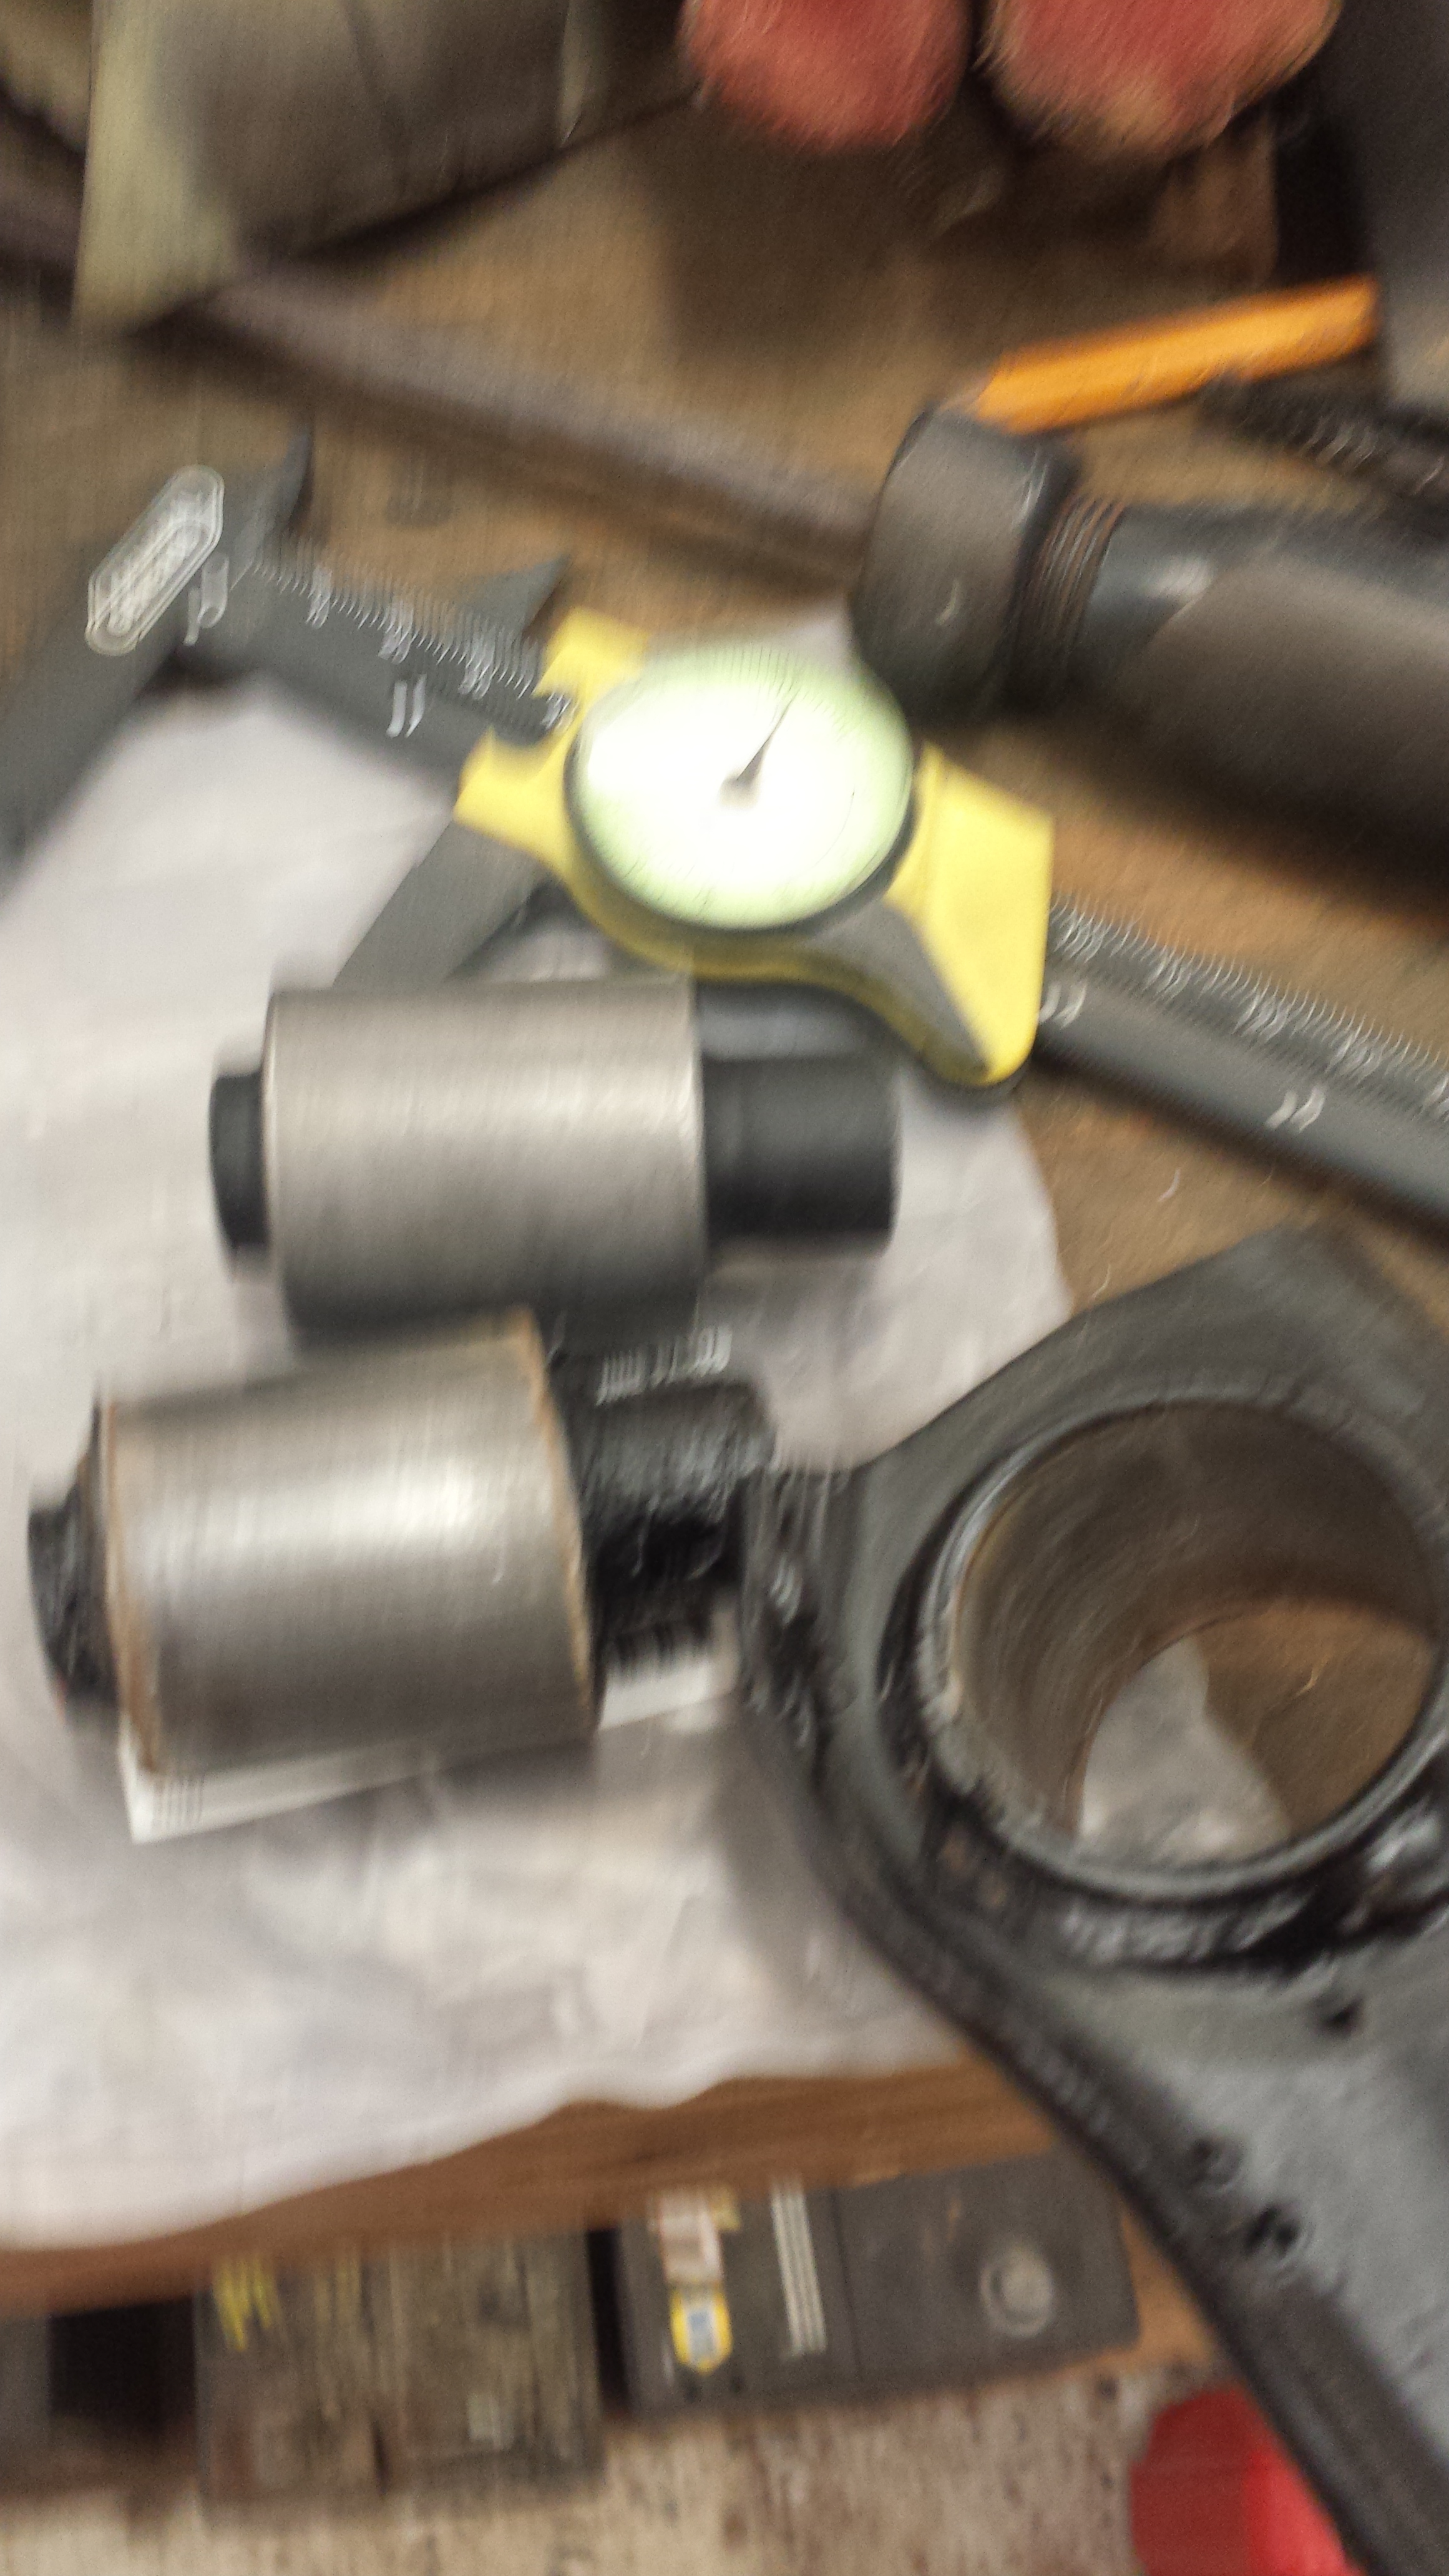
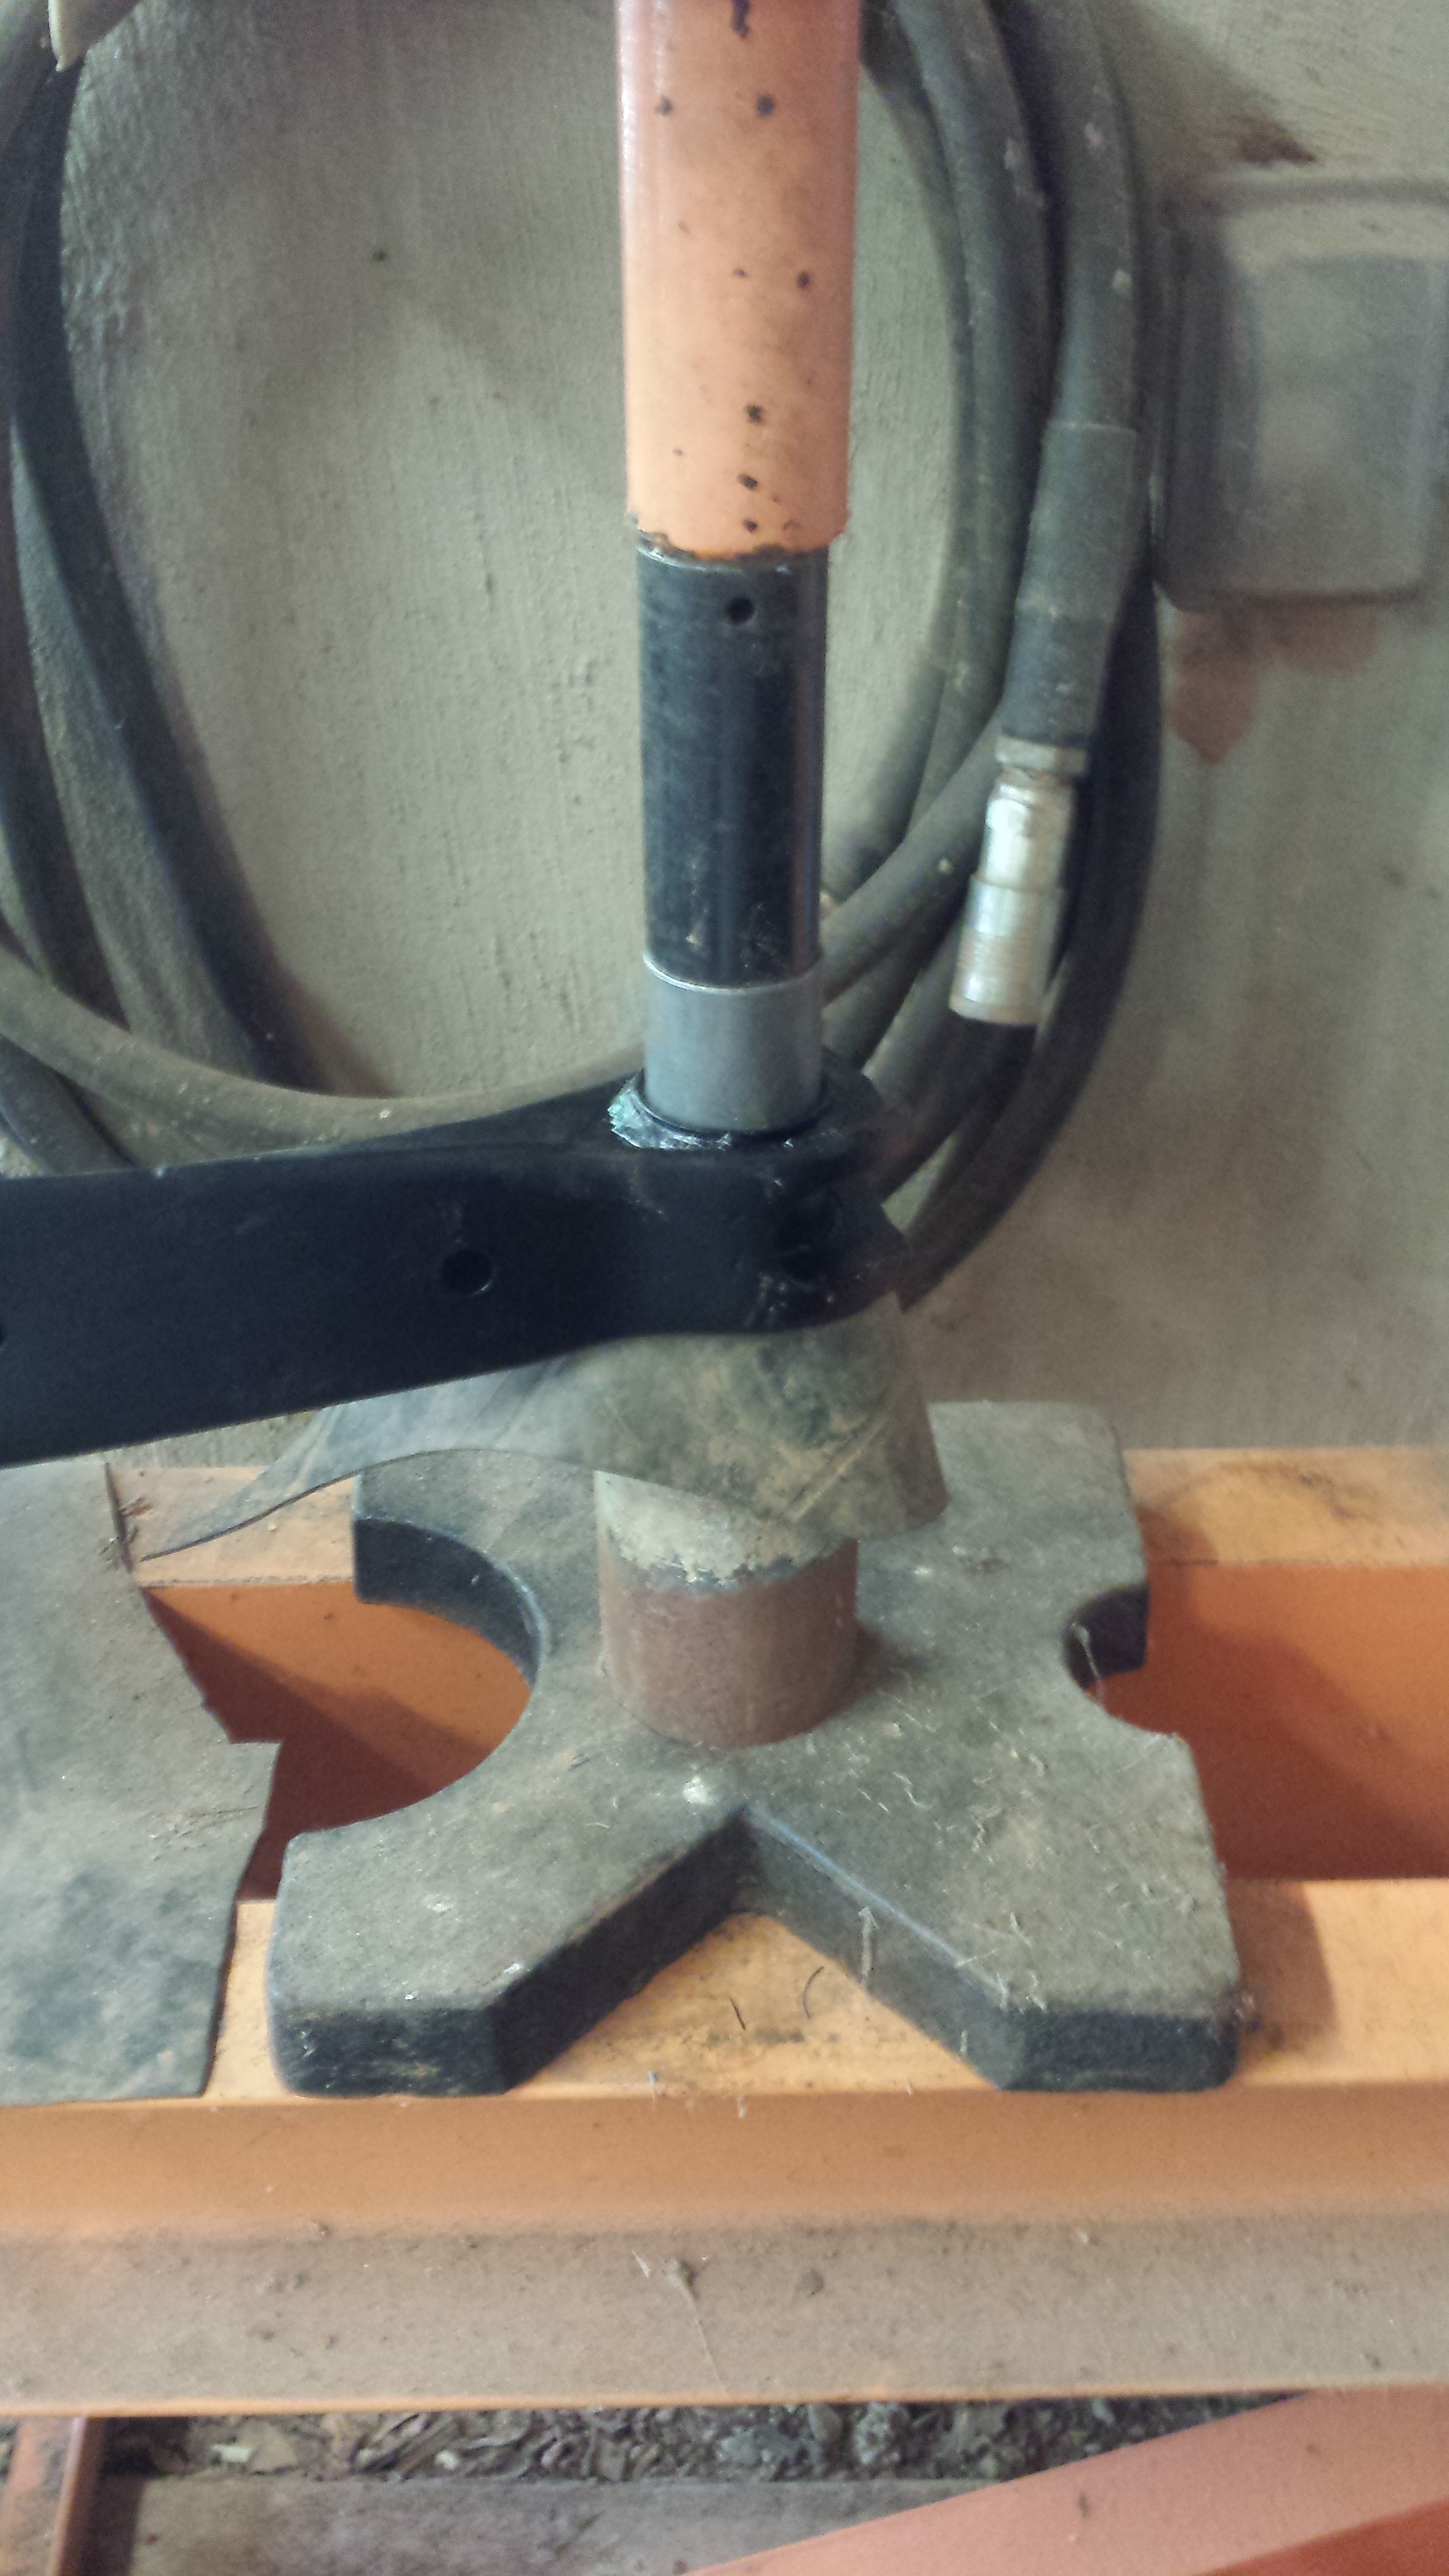
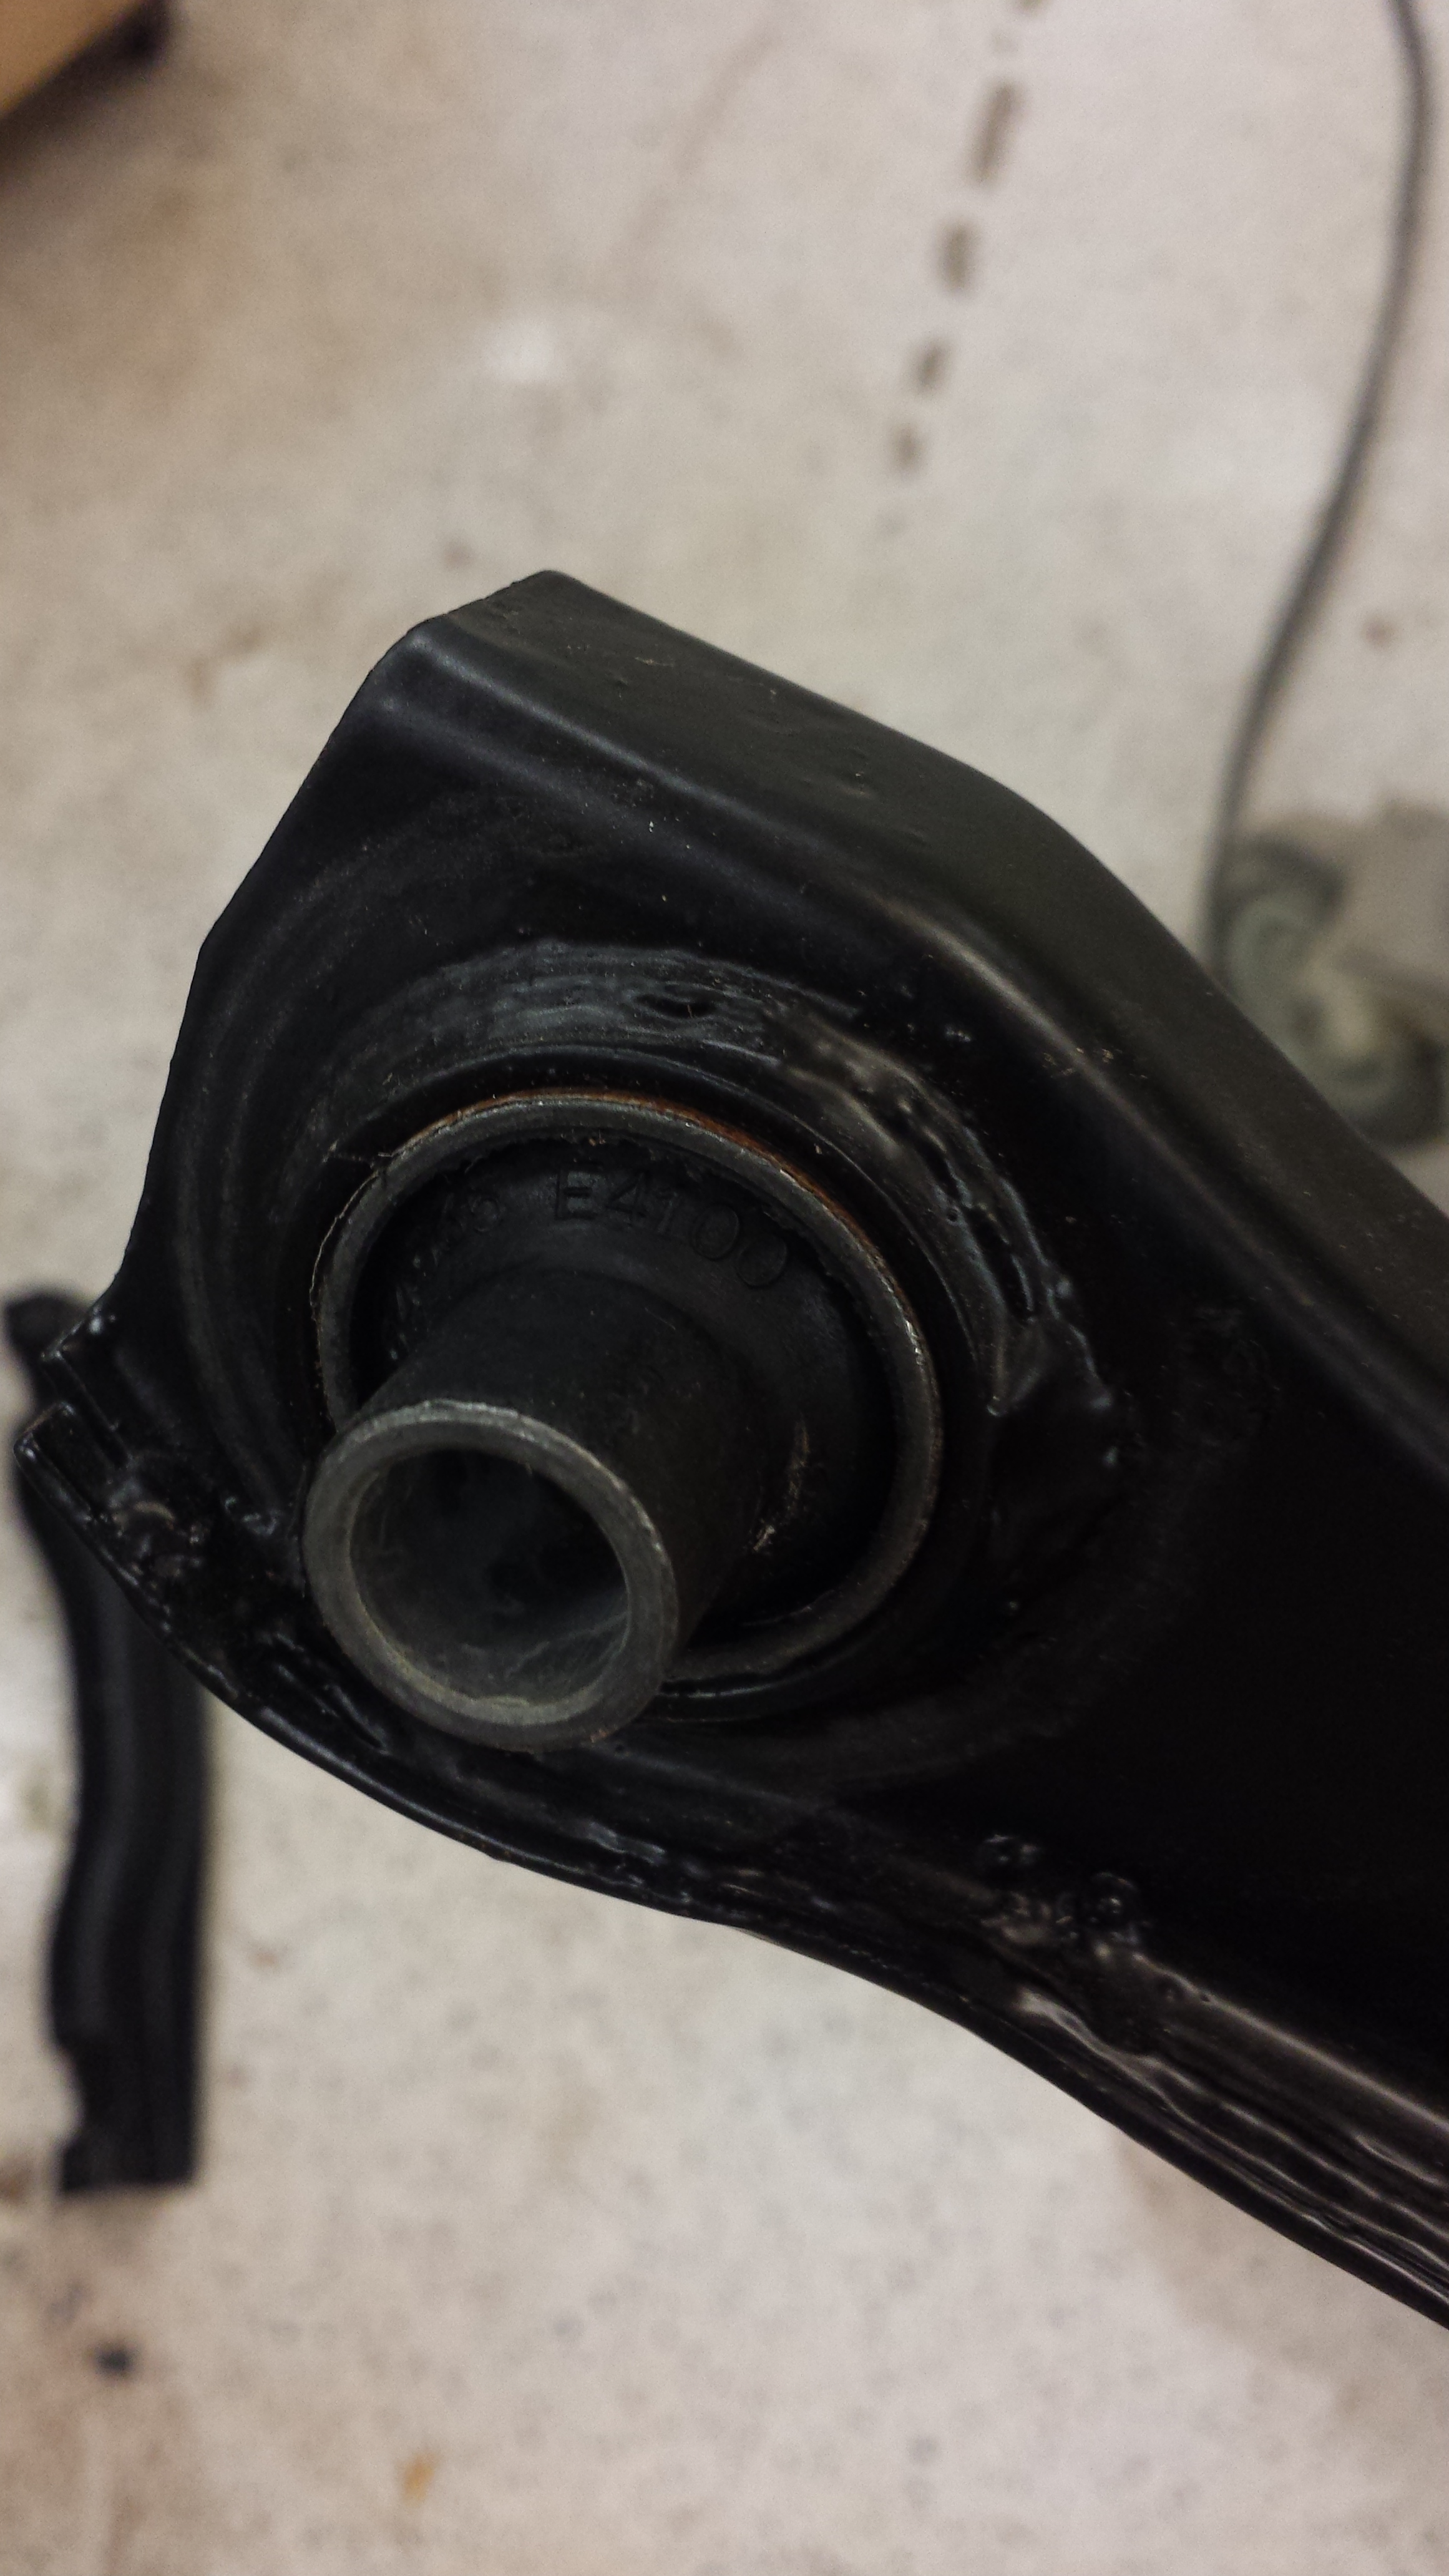
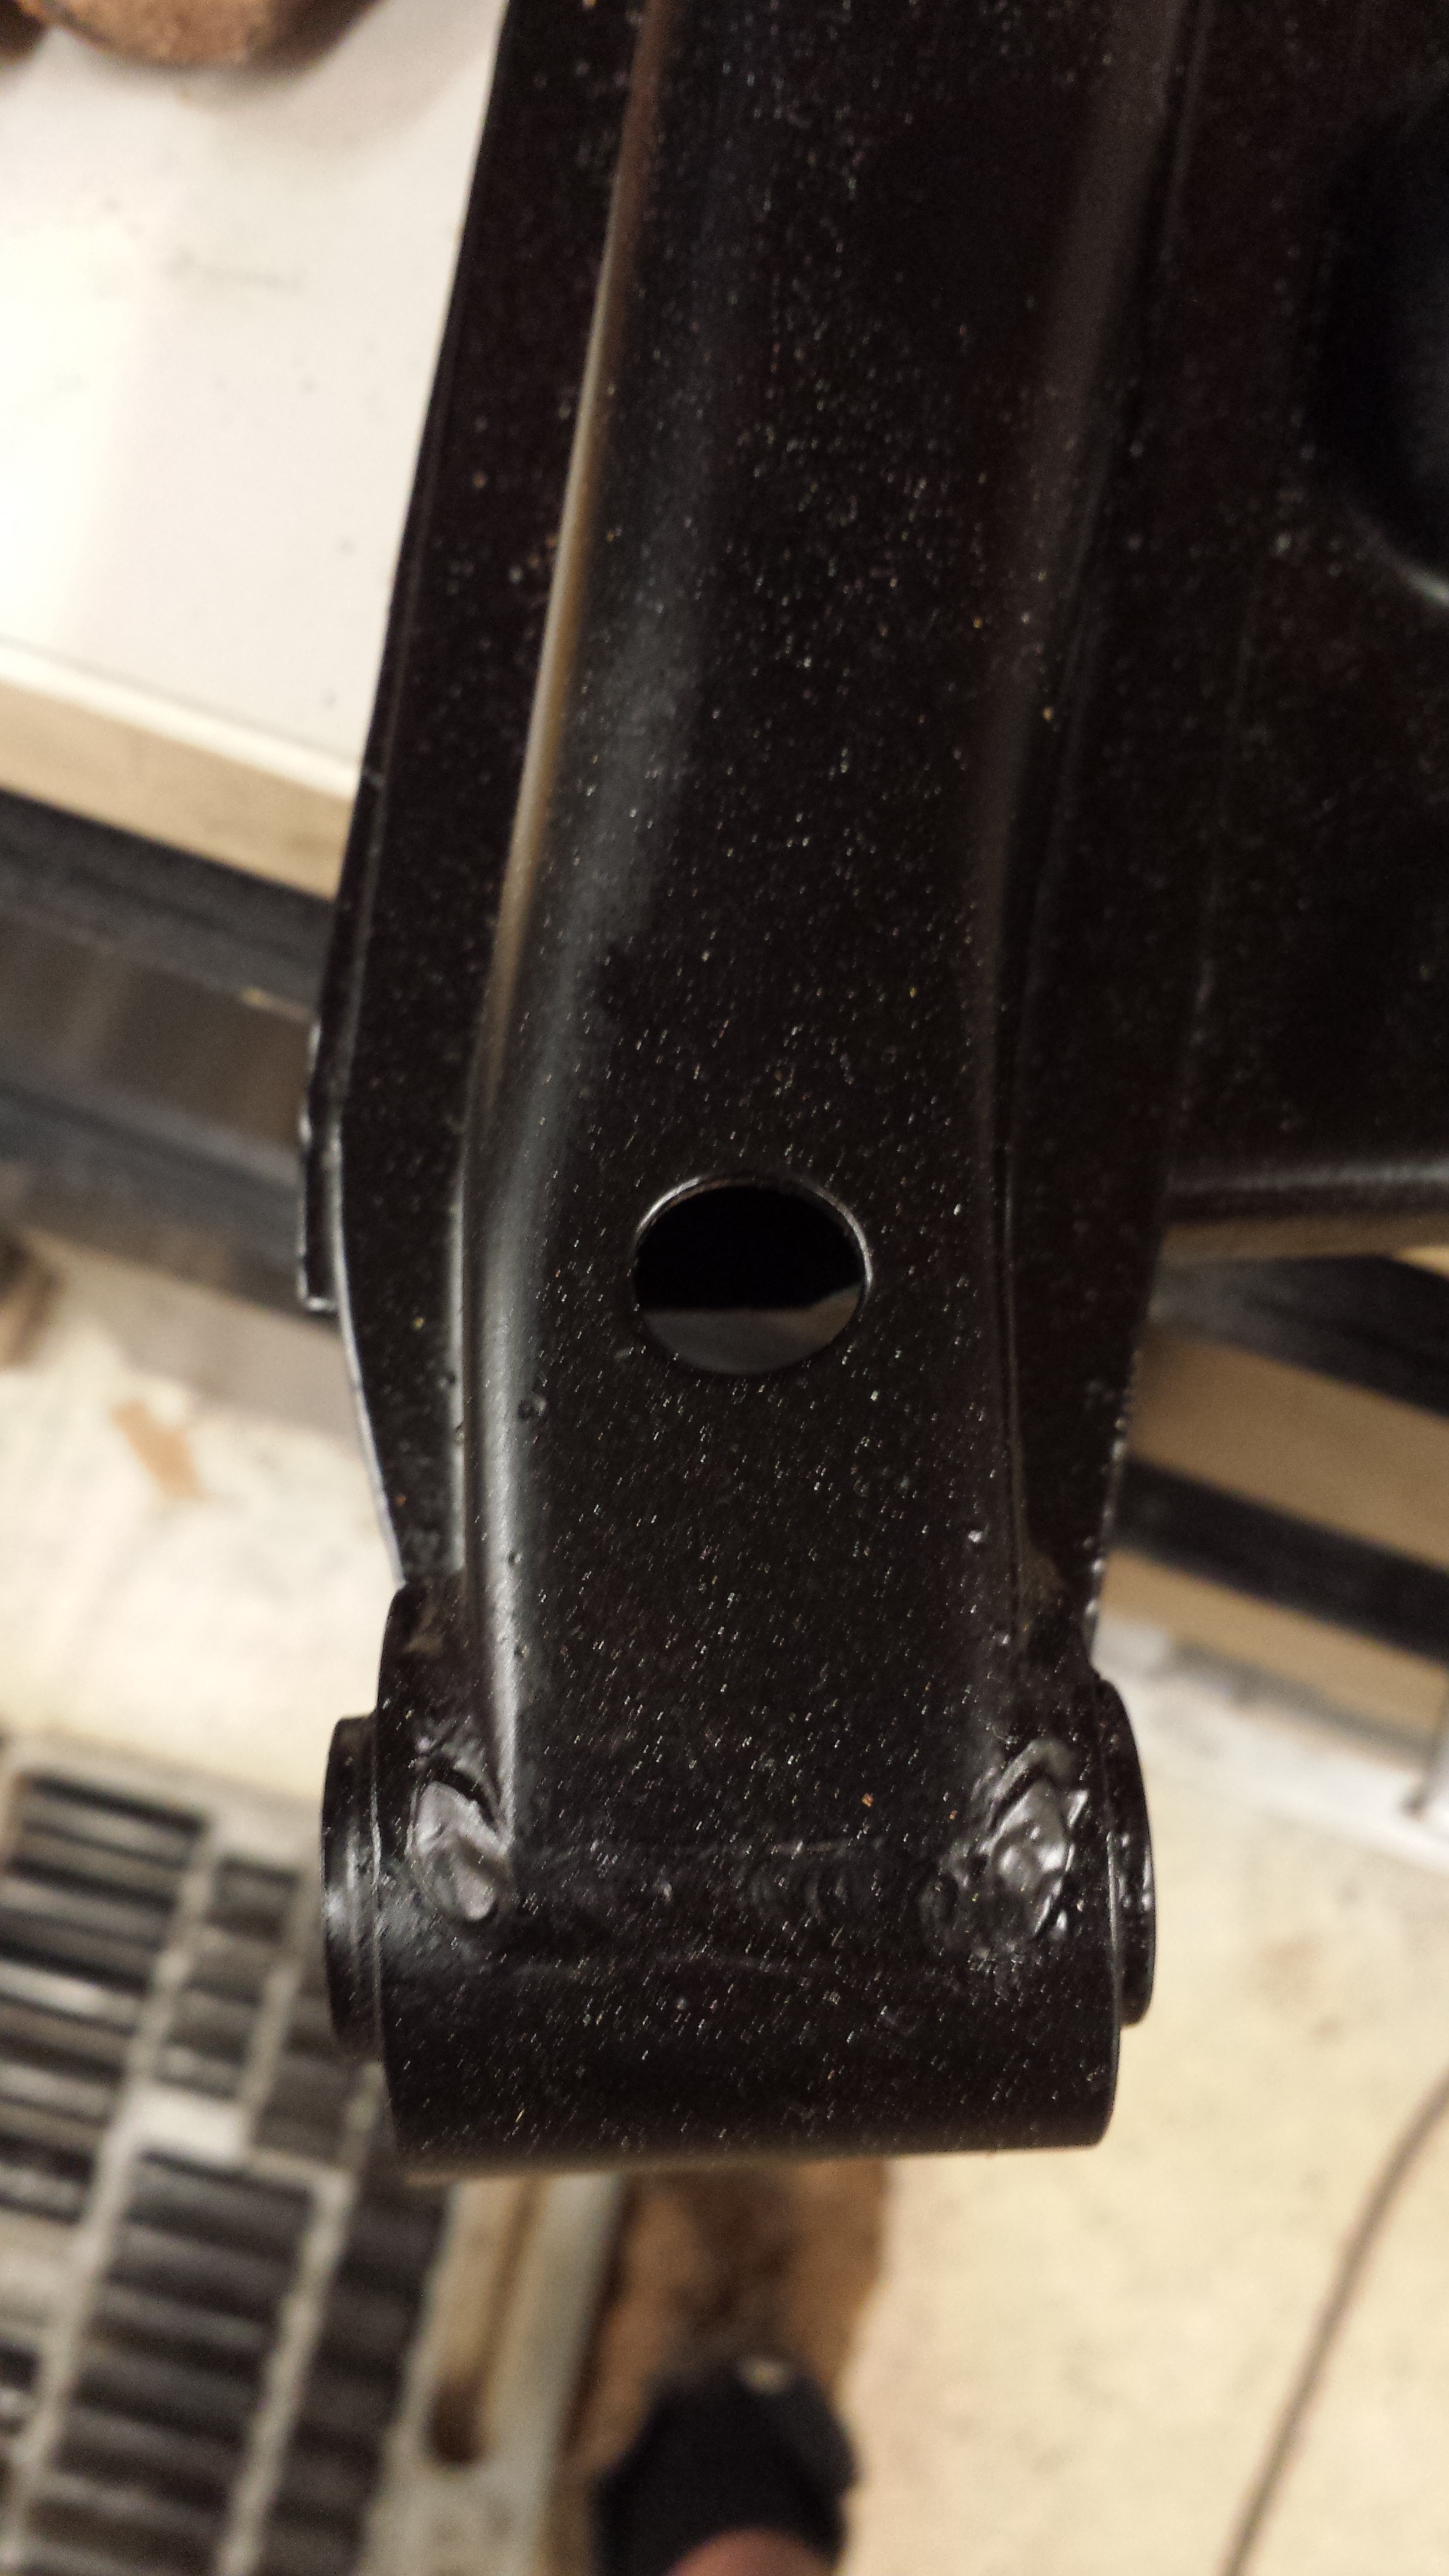
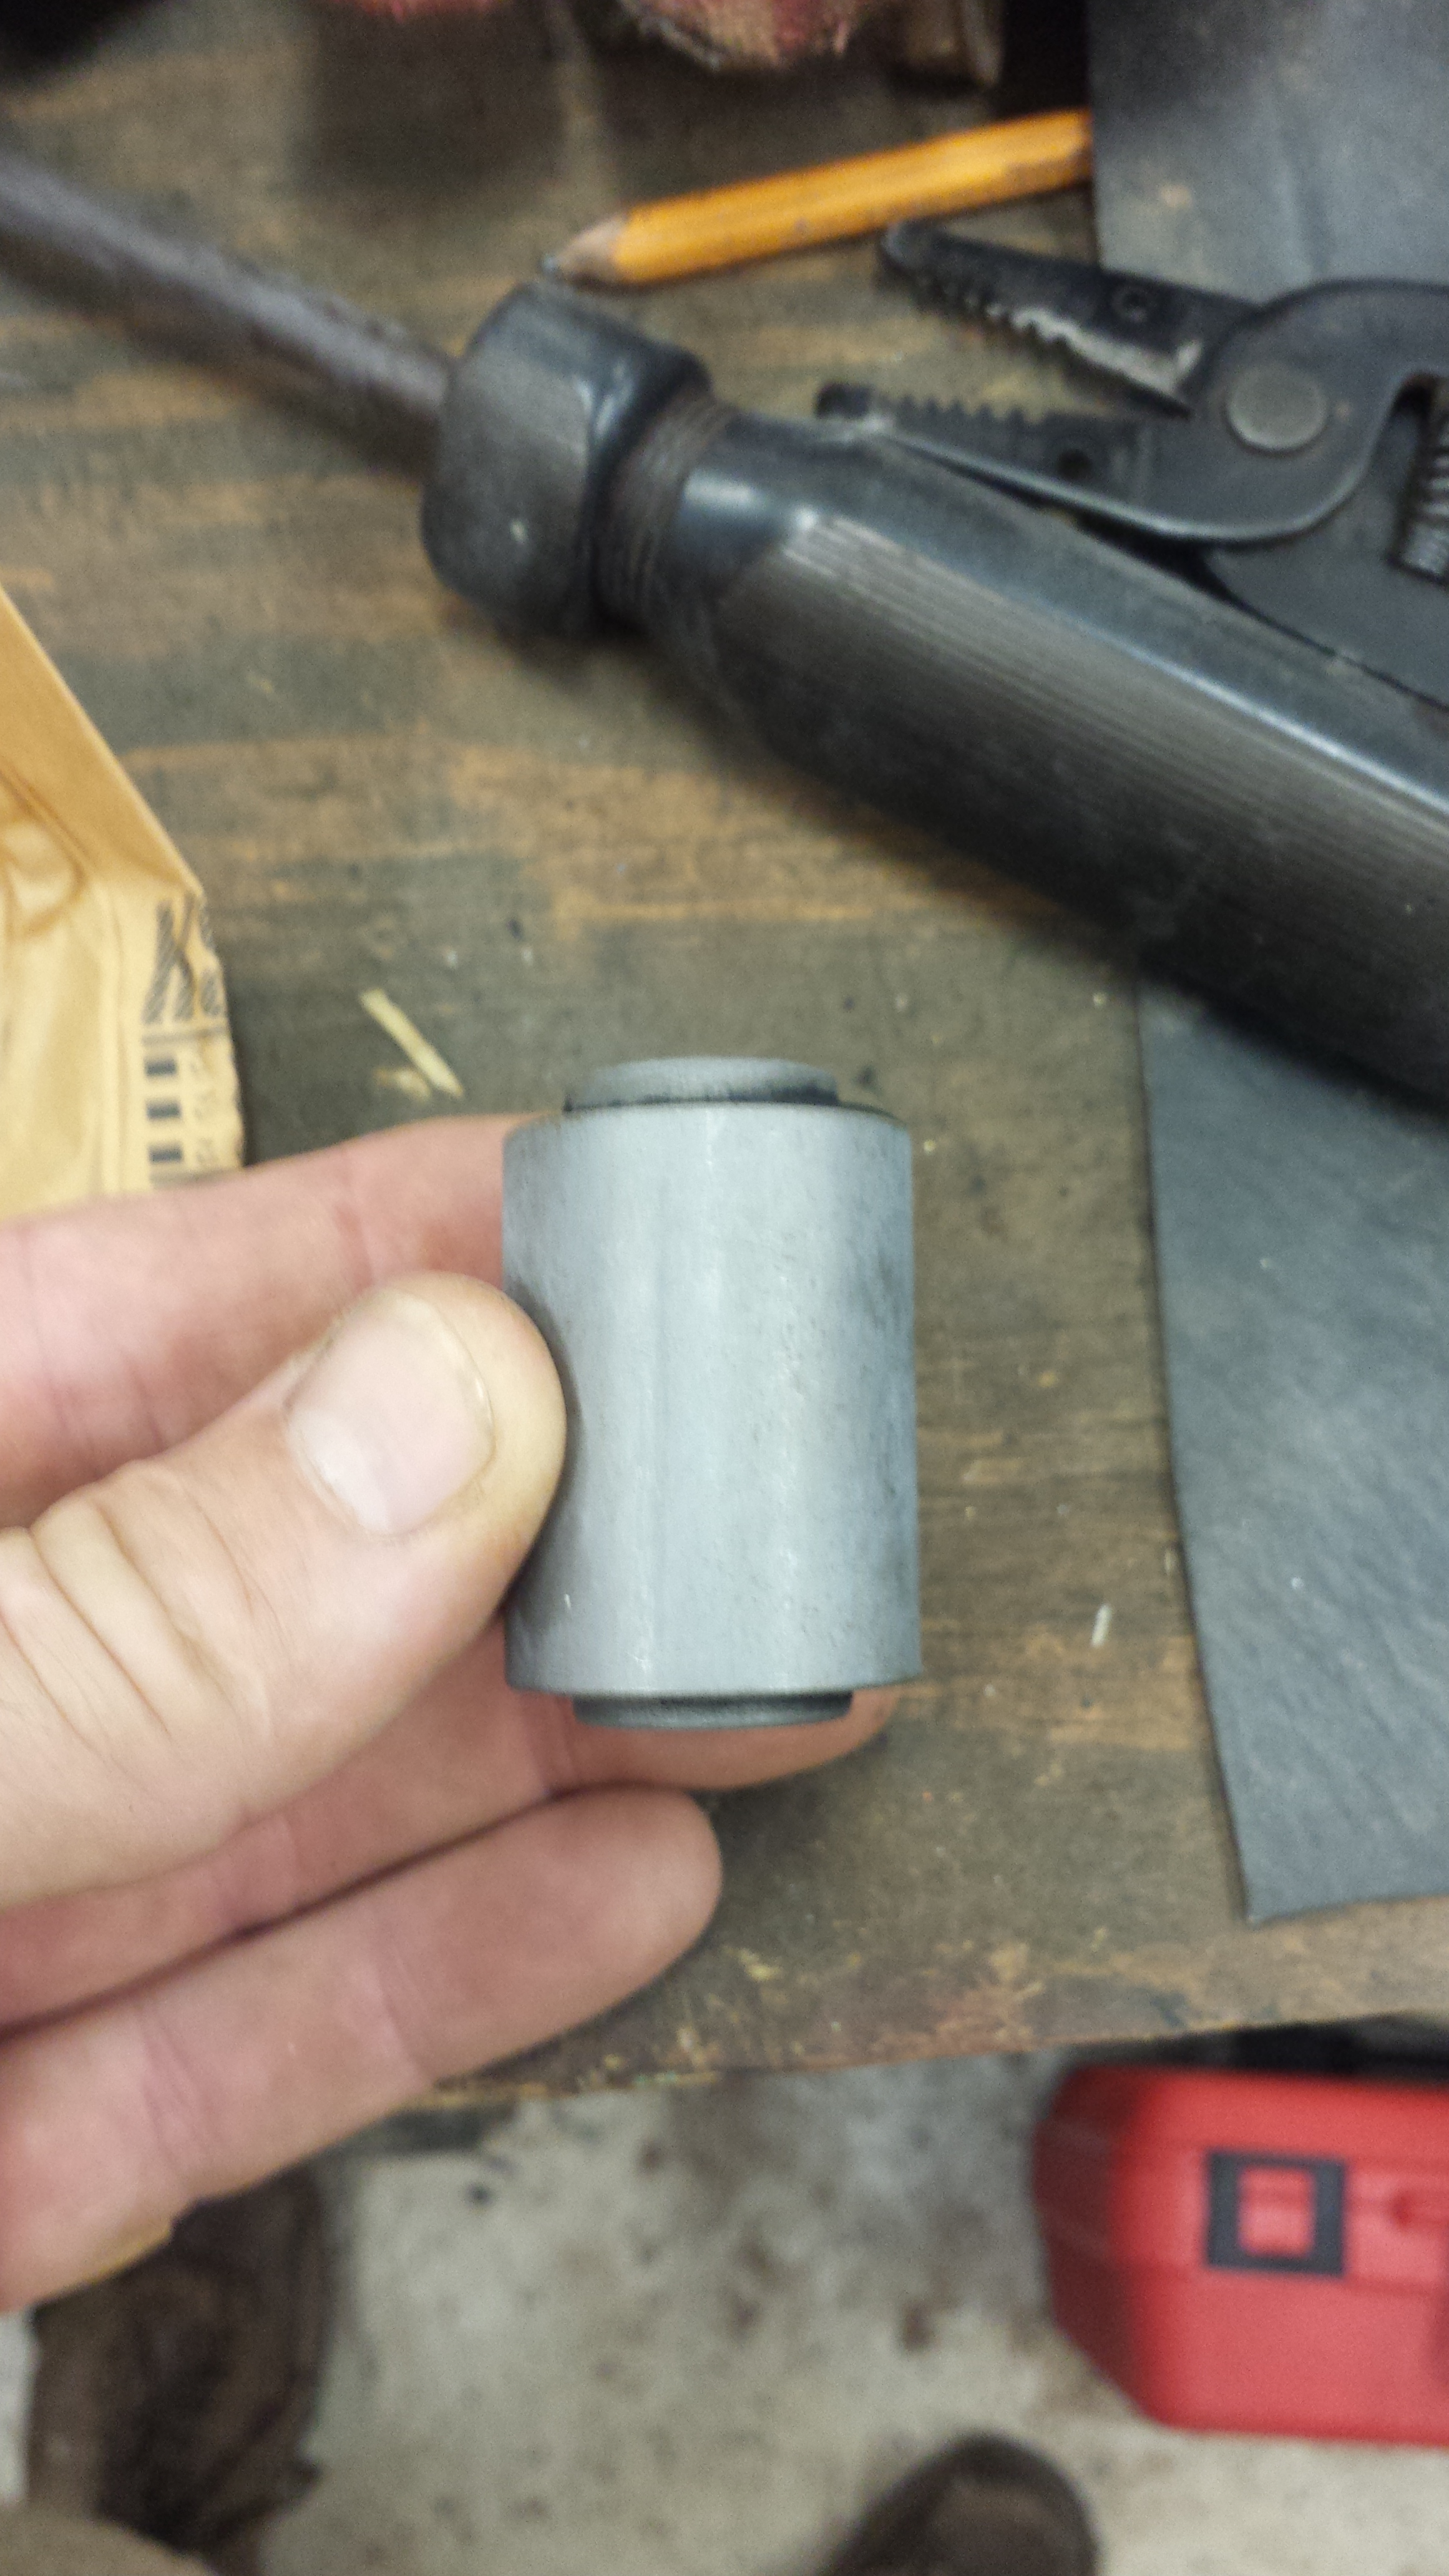
 1 point1 pointI've got them, also have a new set of yellow springs to try when I feel like experimenting, so maybe. It's running the best it has in a long time though. It would cream its former self in a drag race. It ran mid-16's a few years ago at S.I.R. (with a lucky perfect light) which beat Car & Drivers test of a 240Z automatic by 2 secs, and it's not a race car by any means. Now I've got better size tires for the quarter mile and it's running much better so I think I can get to the mid-15's if I have a good light. That's what C&D got with a 4-speed and they may have burned up a clutch on the borrowed car to do it. Maybe next spring in Tucson. If it goes much faster they'll make me wear a helmet. Now I've got to replace the alternator before it eats a bearing, and get a new radio installed. Oh yeah, and work. Next time I have the air cleaners off I want to test those plungers. I expect there's something going on with at least one of them.1 point1 pointI've often heard that a typical car manufactured in North America will cross an international boundary five times during the course of manufacture. Last week I found out why. Last week I was replacing front wheel bearings and seals on my 240. The local Nissan dealer, bless 'em, had what I needed, specifically an inner bearing, an outer bearing and a seal. So I'm buying parts in Canada for a Japanese car. I get three packages, all marked SKF - a Swedish bearing manufacturer. The seal is made in Taiwan, the inner bearing Brazil, and the outer bearing China. Nothing made in Sweden, Japan, or North America. Must be a good time to be in the shipping business.1 point1 pointHi Kats, Glad to help! I'll draw up a sketch showing what I believe the manufacturing process to be. And one last thought on the stopper... The only thing that should stop that nut from going on any further is the tapered angled surface of the nut should contact a matching angled surface down inside the lug stud hole in the wheel. The four angled surfaces on the four nuts are what locates and centers the wheel properly on the car.1 point1 pointOk, did the front control arm bushings today New bushing. Manufactured the beginning of this year evidently Pressing the old on out. A piece of 2" pipe with some rubber on top and an impact socket to press it out Sorry for the blurry picture. I guess I moved. Both old bushings out. I was surprised there was very little rust but the car spent most of it's life in the South West Pressing the new one in Done. The first one didn't take very long. The second one took 7 minutes start to finish. No real problems... Now the new problem is the rear control arms. I have a socket that would be large enough to press against but there is really not a good way to set the arm so you can press against it. How have others done it? The original bushings are offset on the rear control arms like the Captain said. About .014" to the outside and .010" on the inside You can see it on the new bushing too
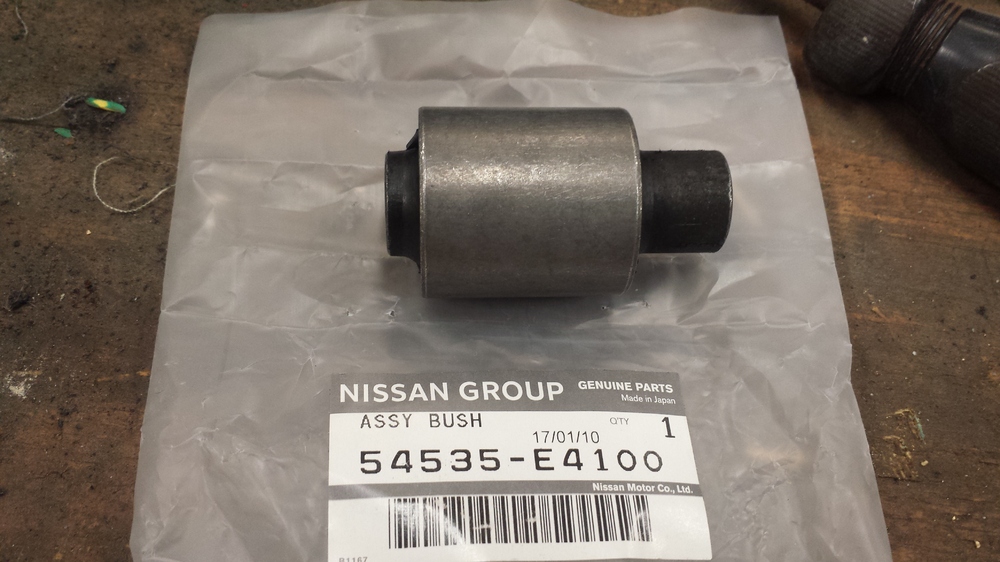


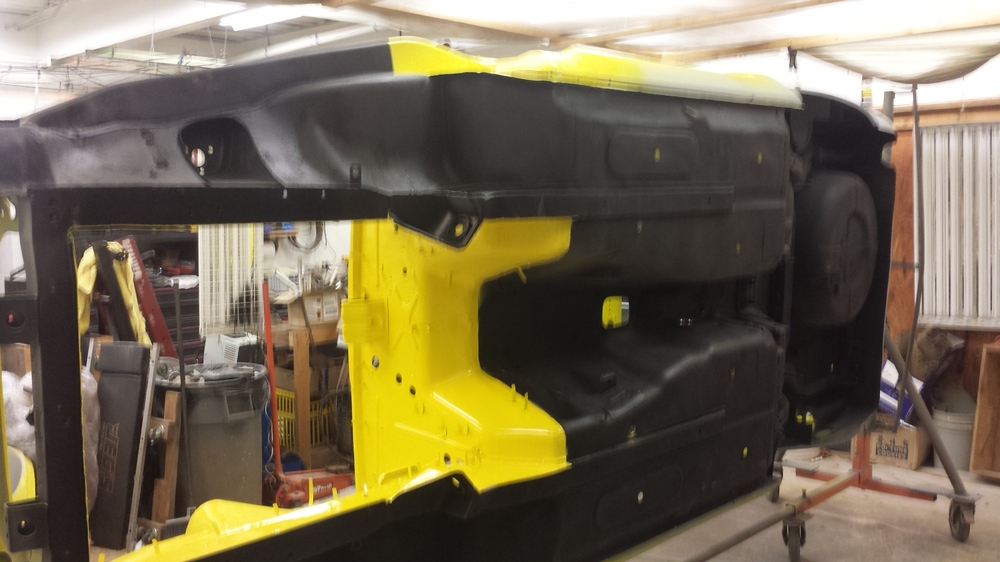
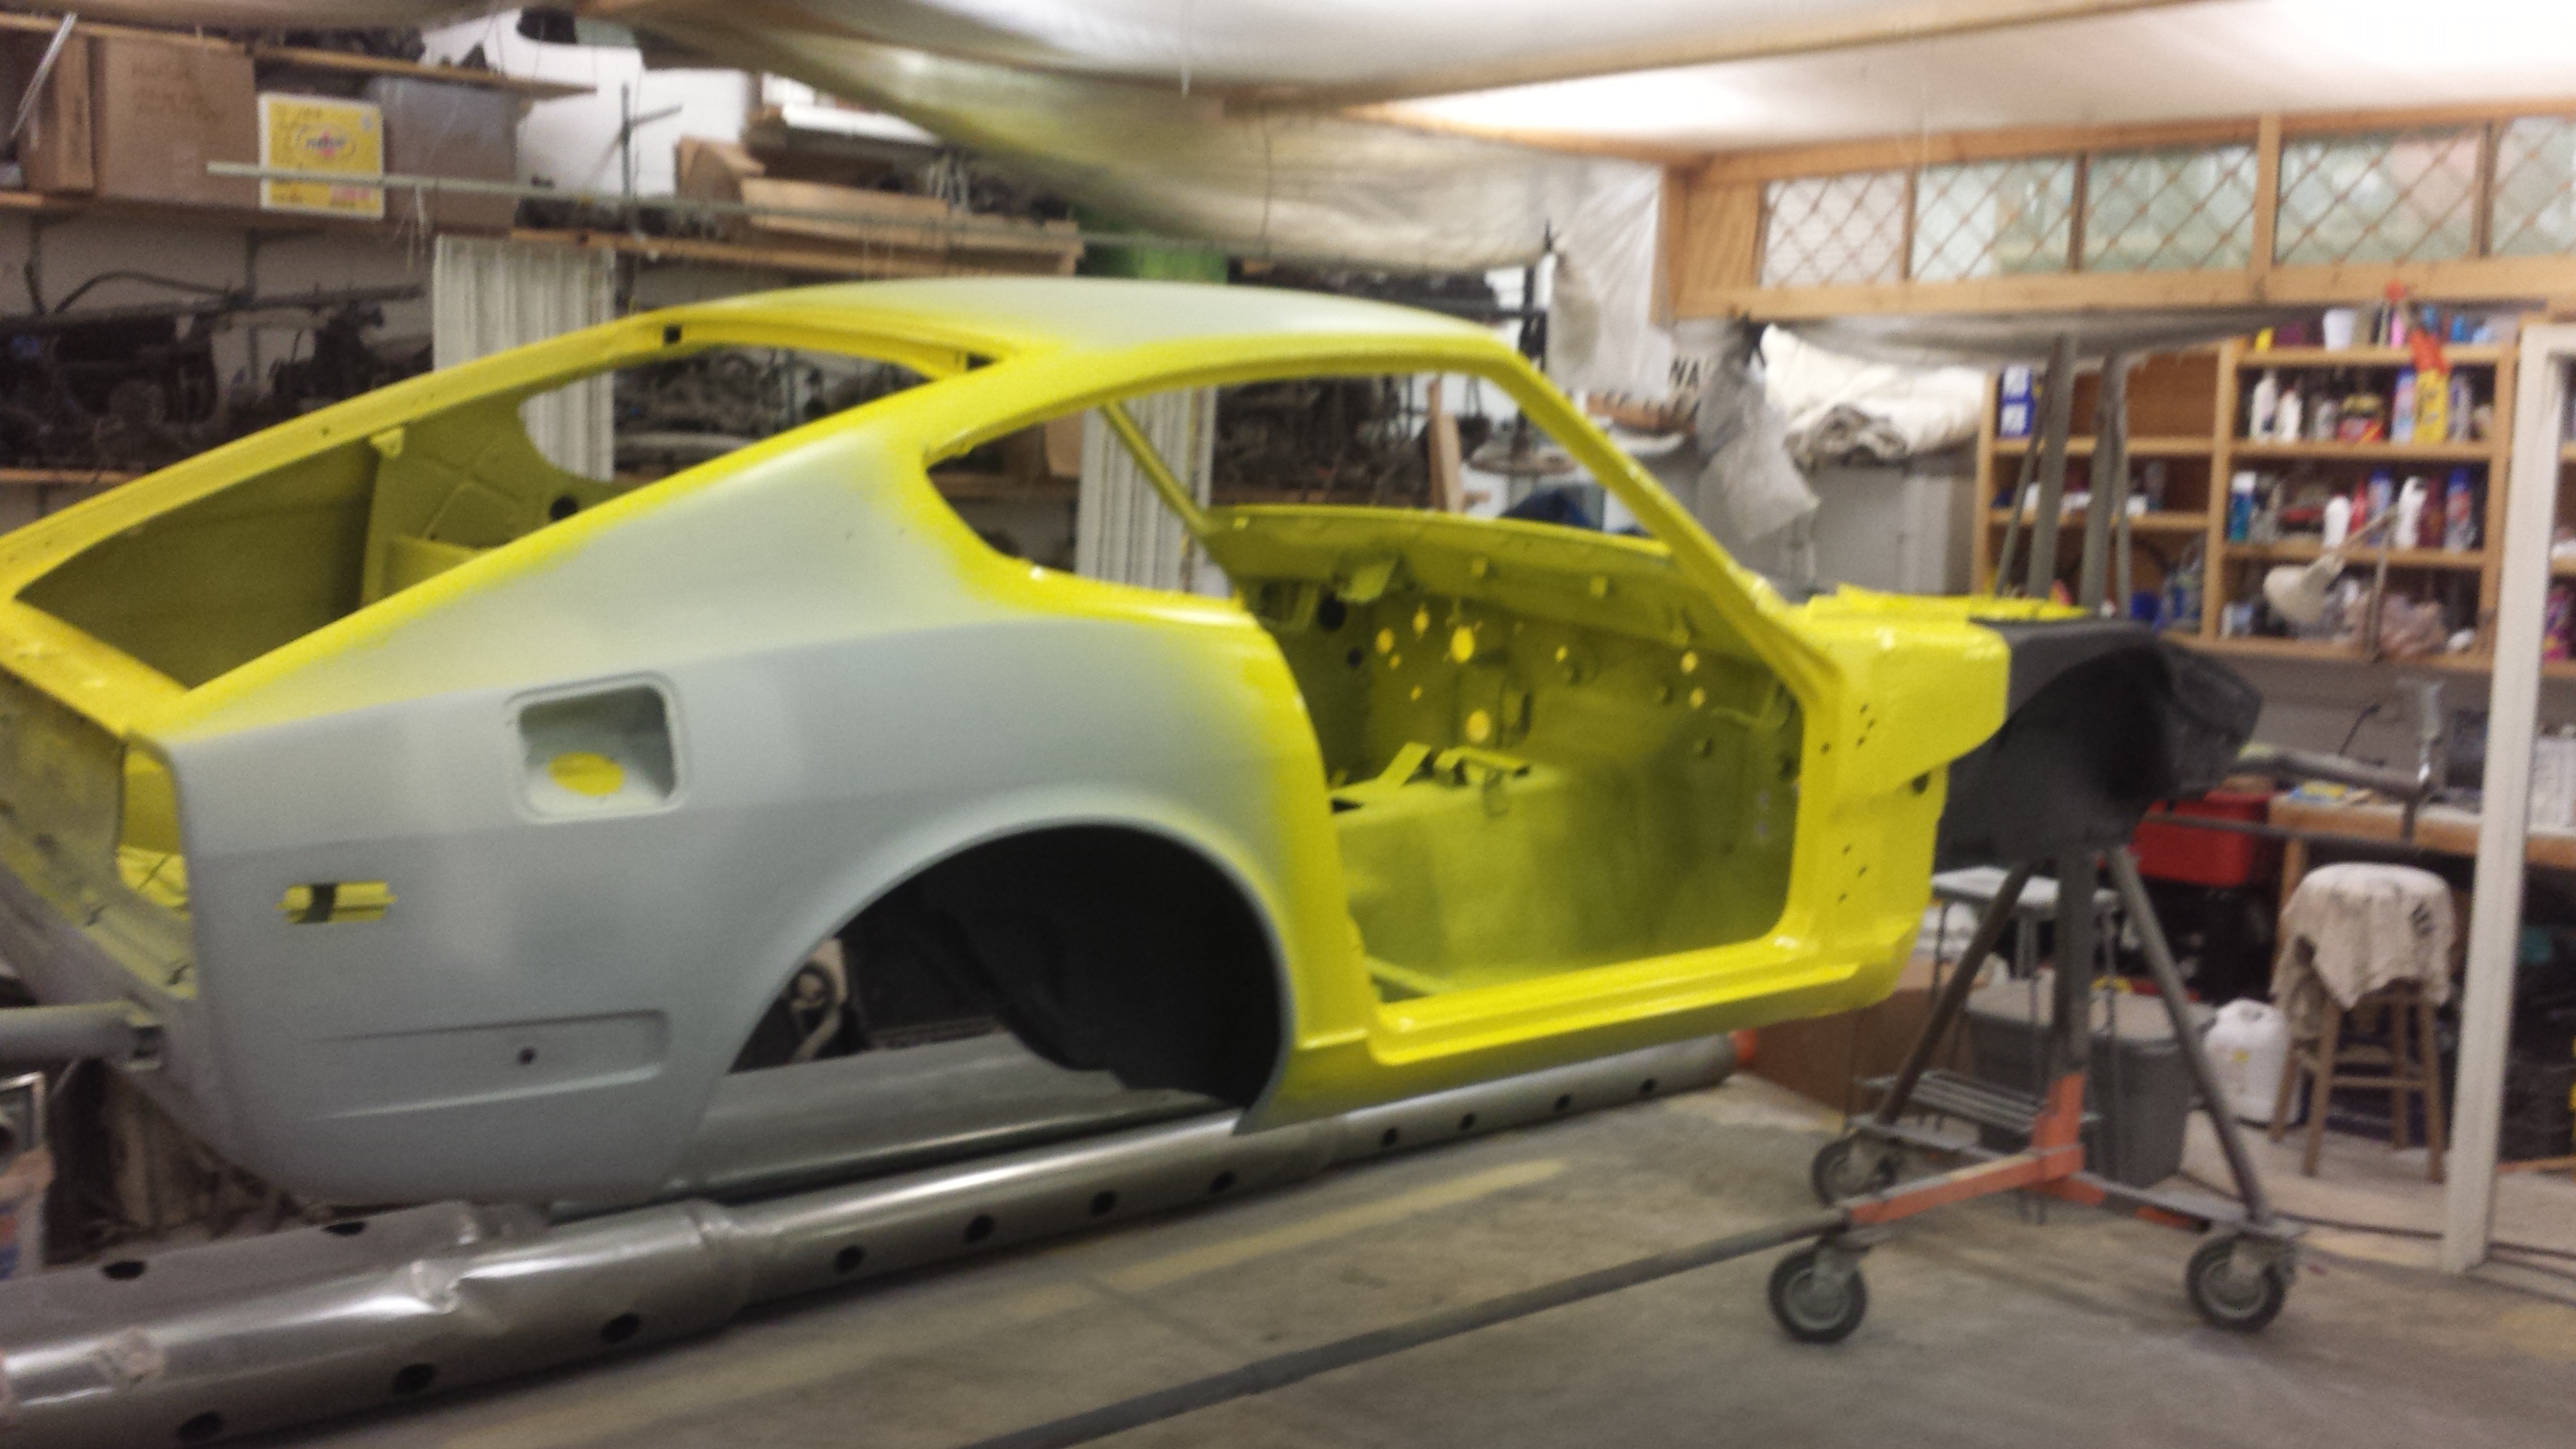
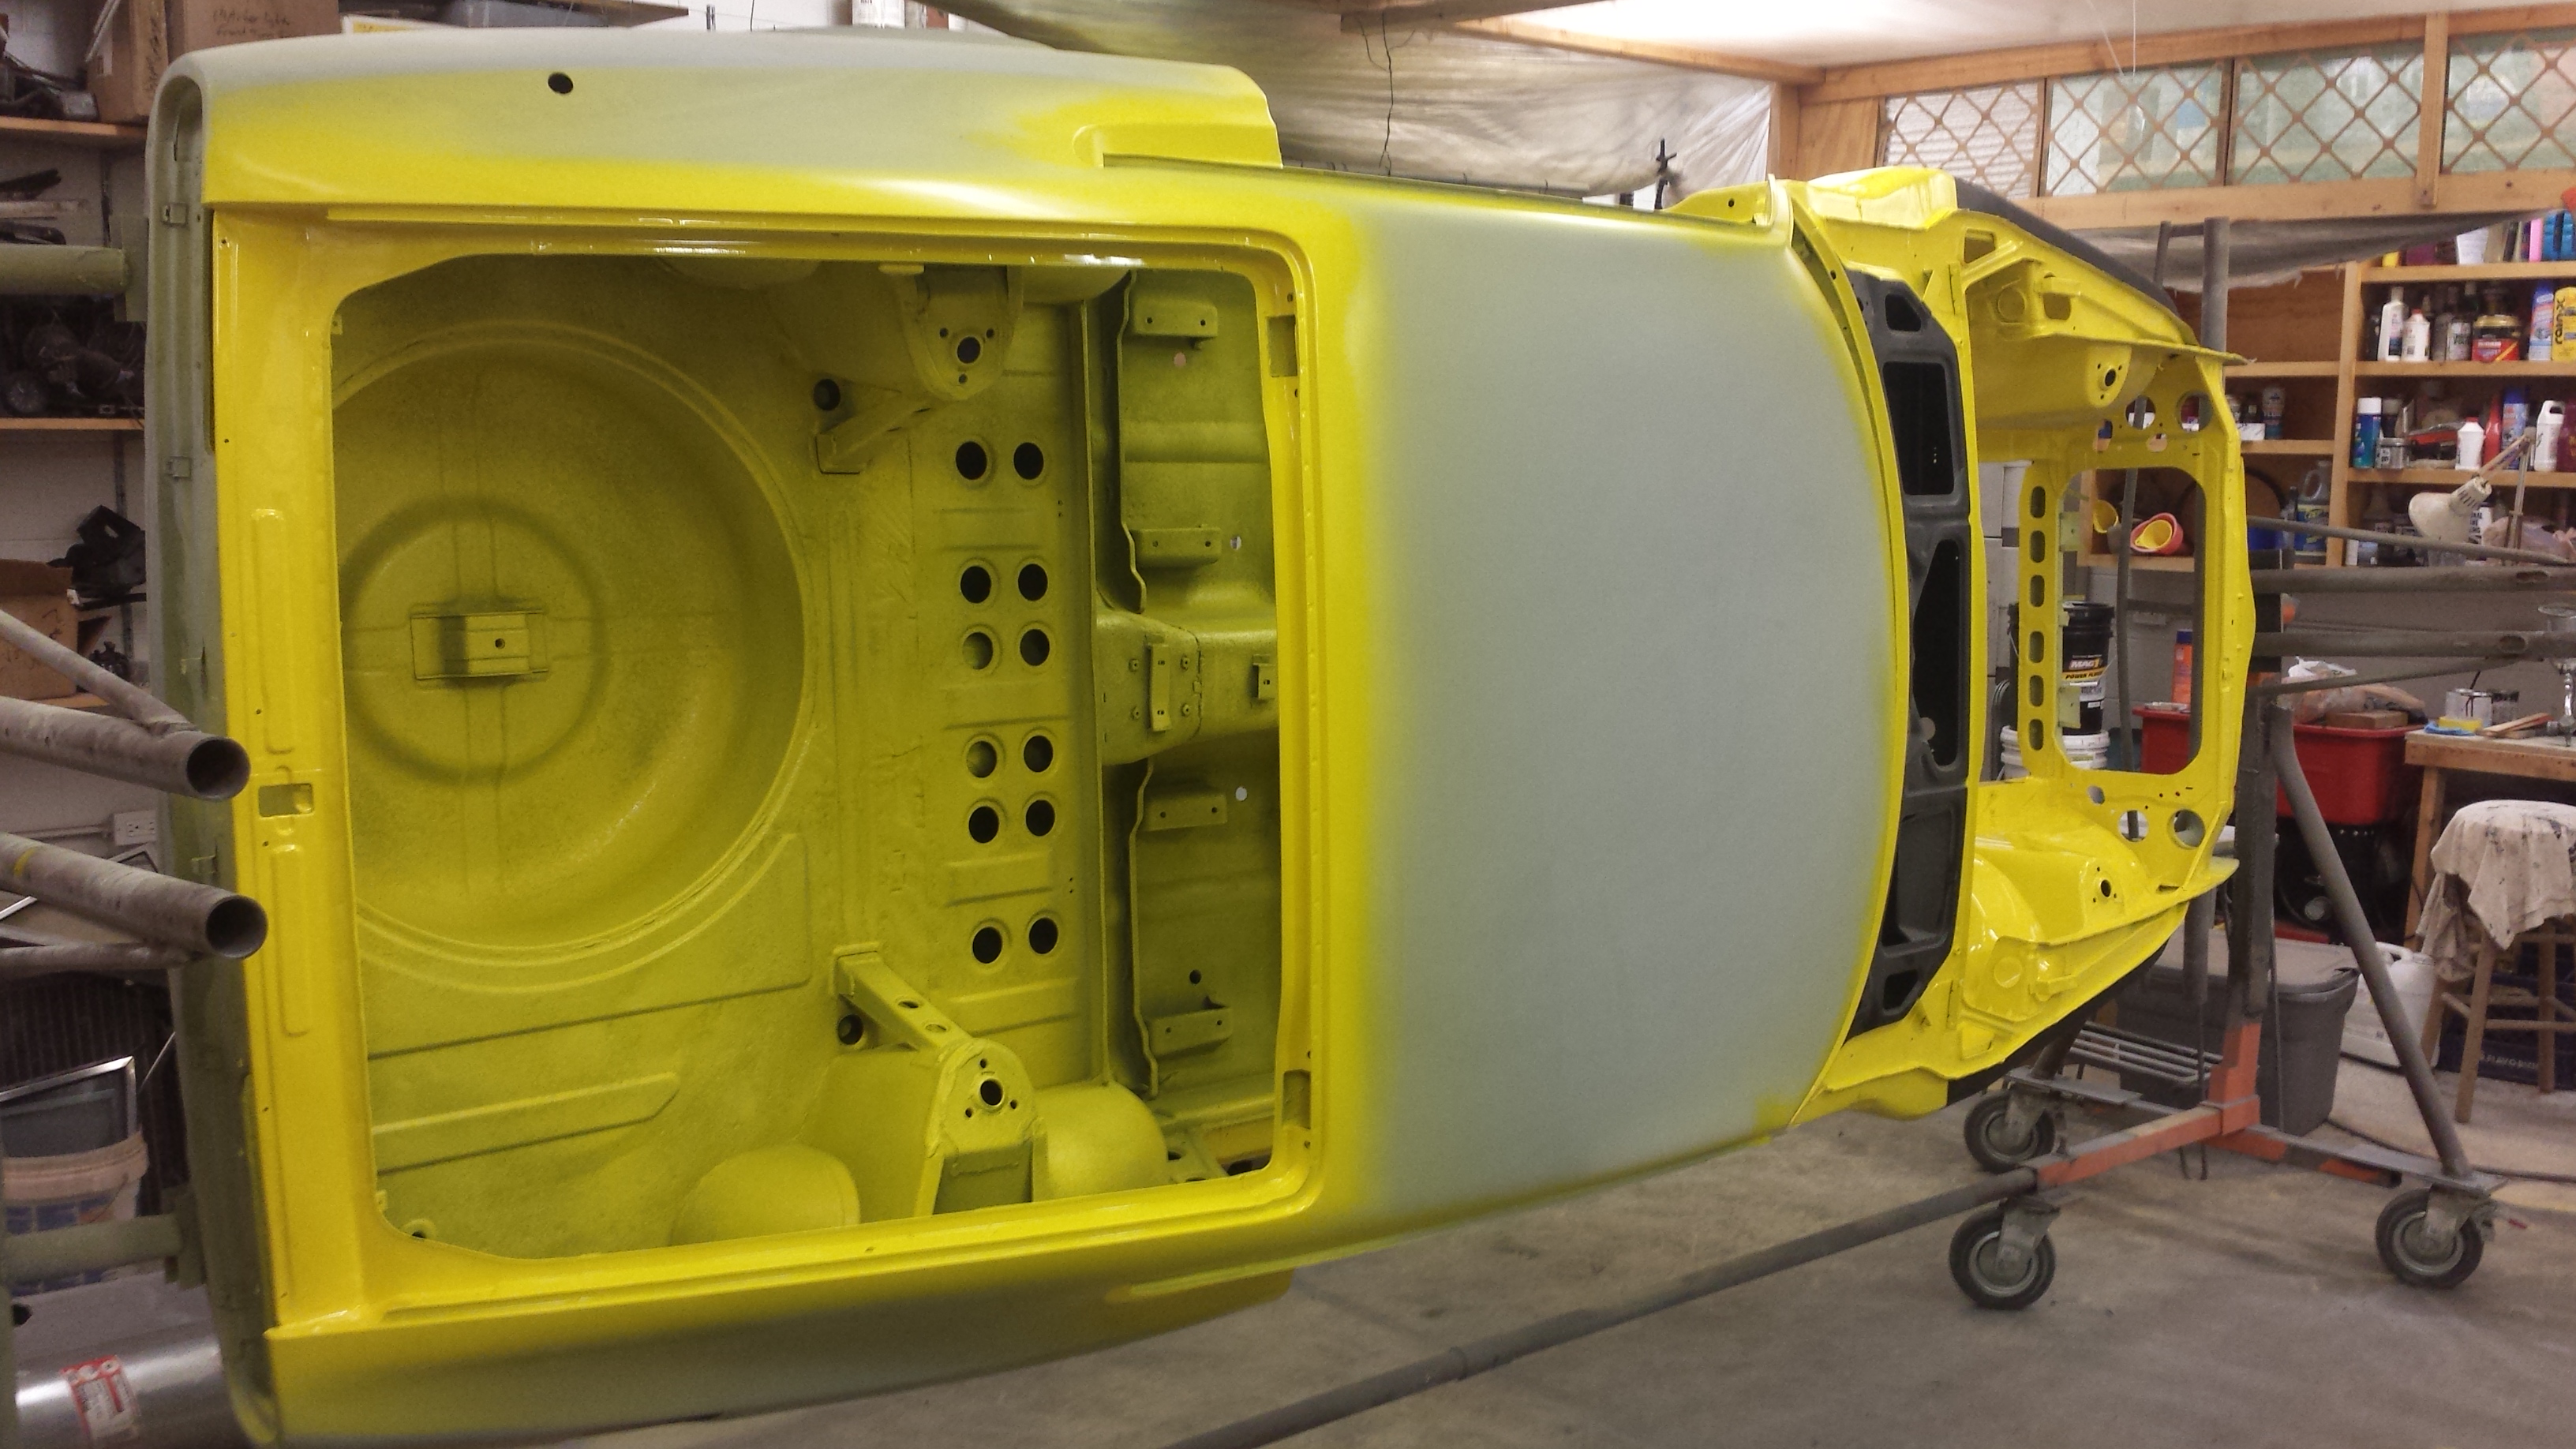
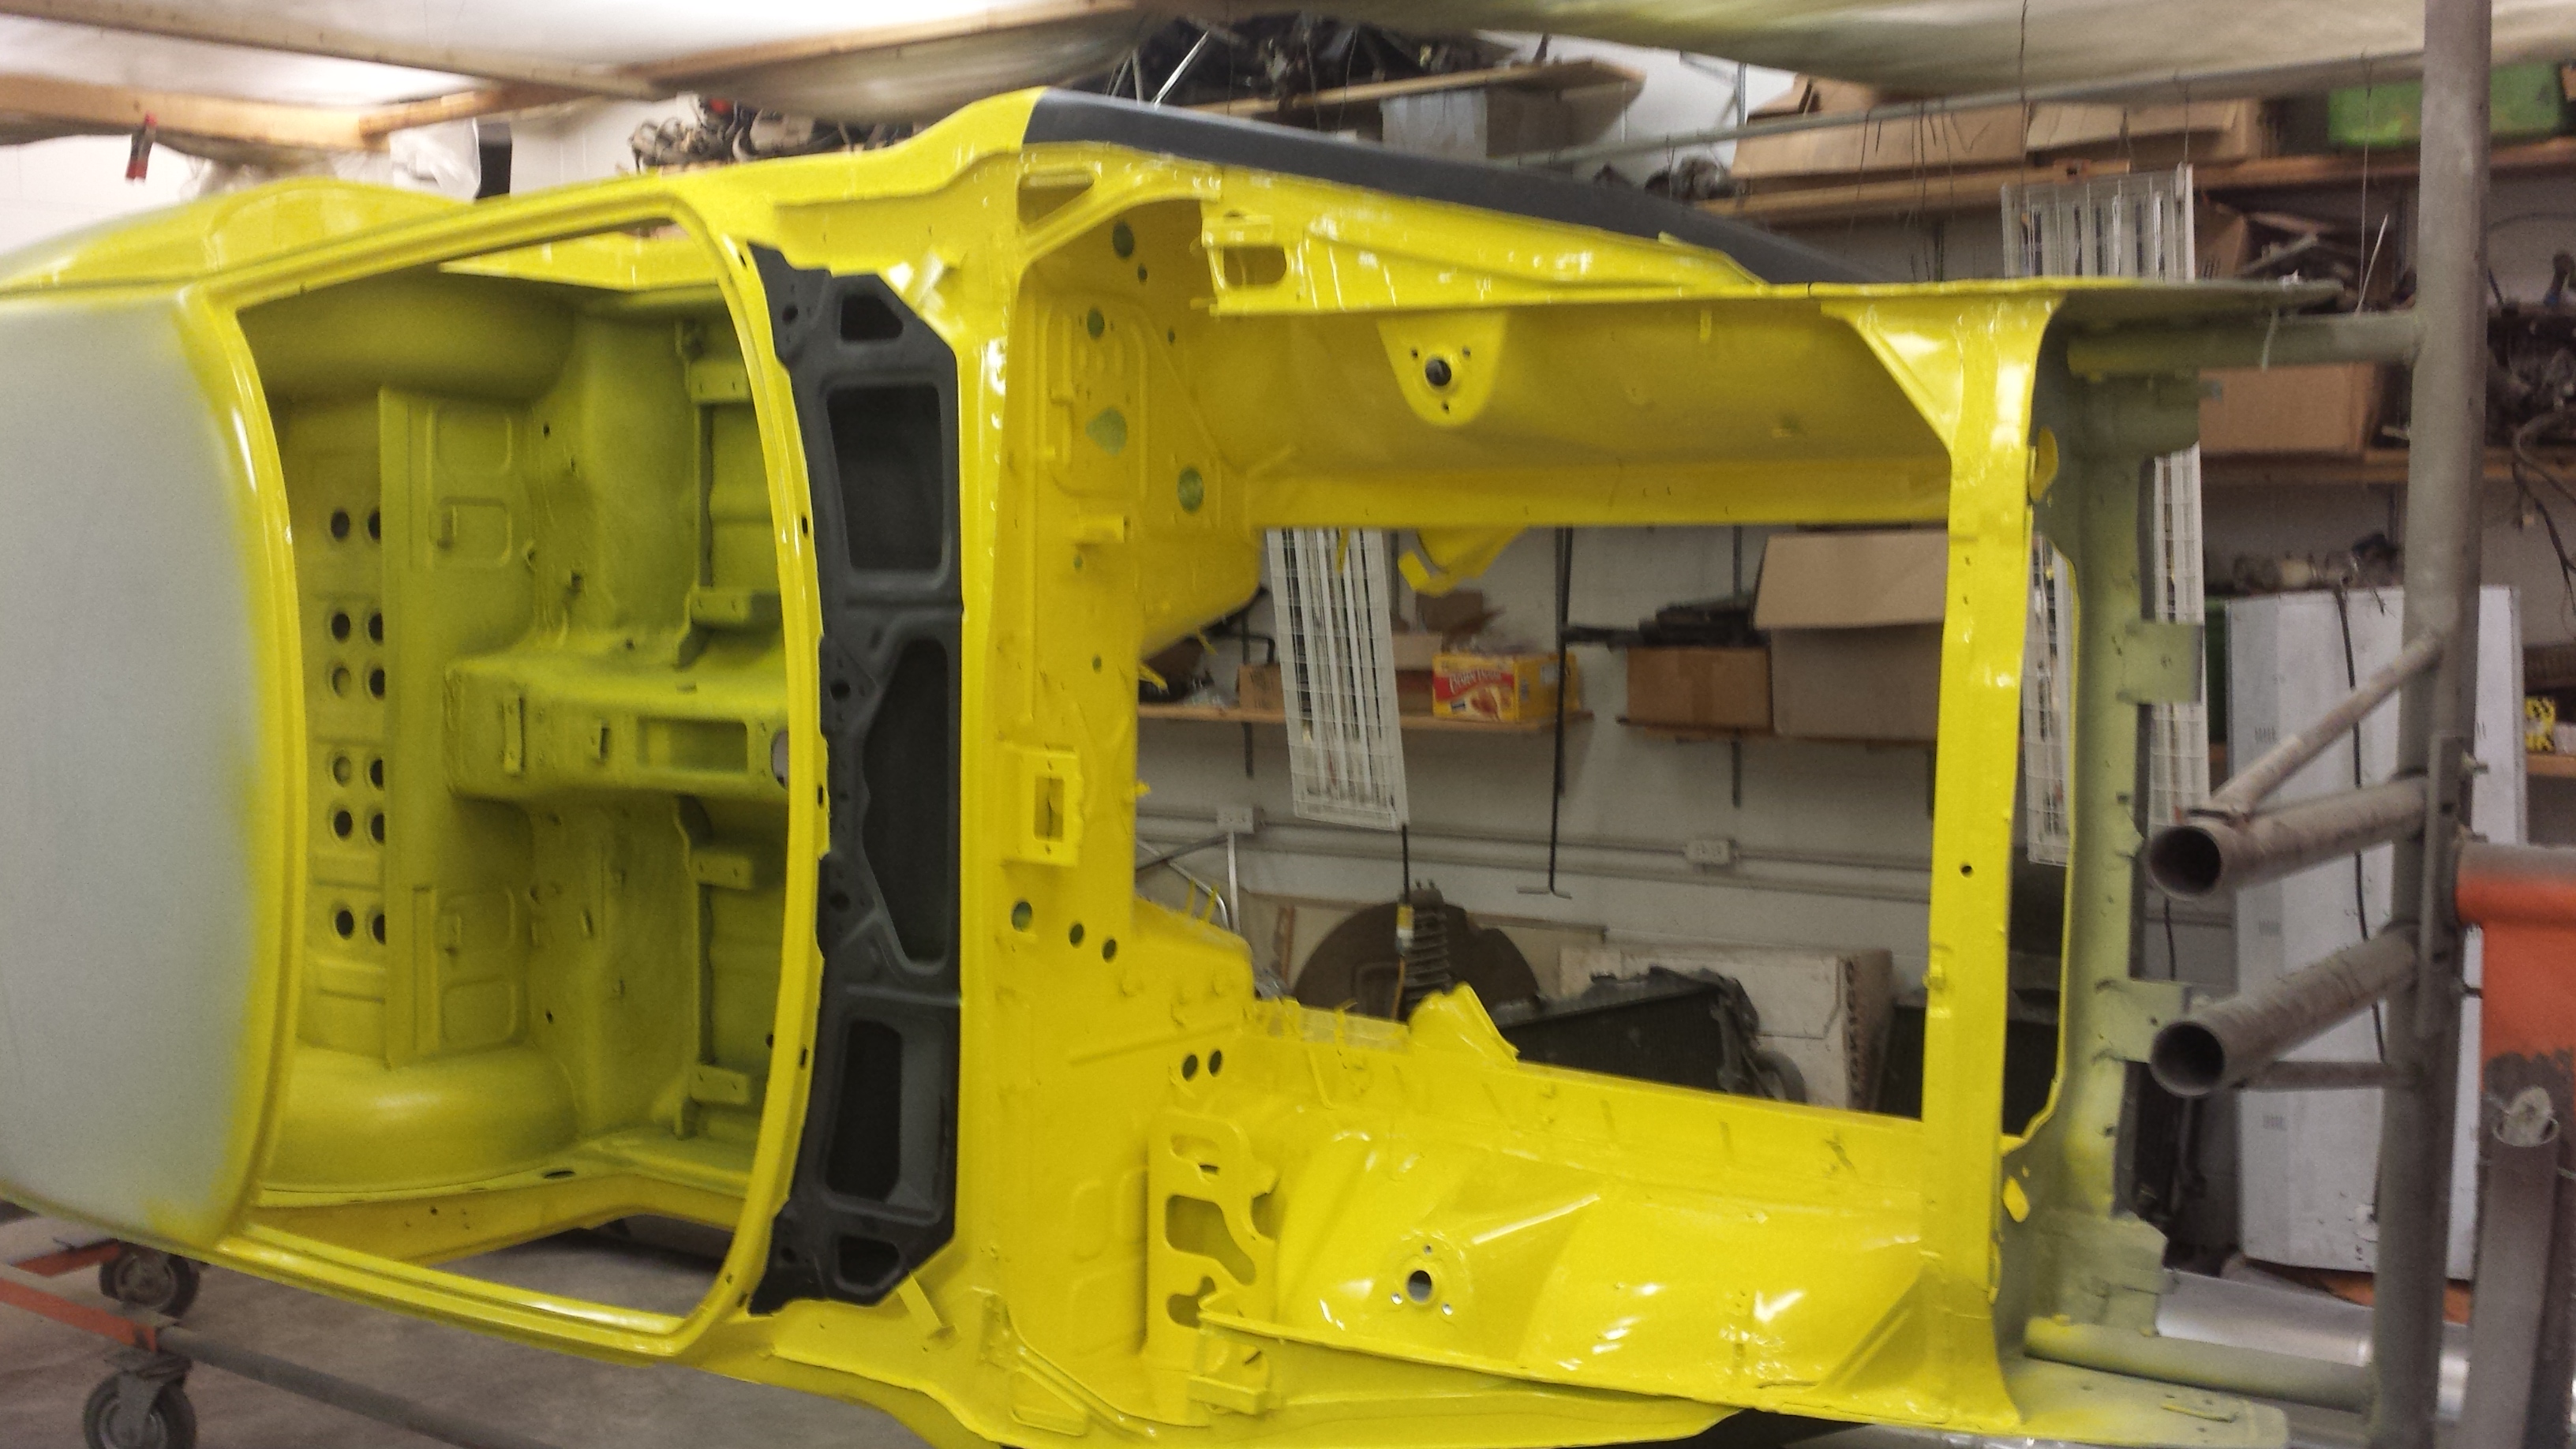
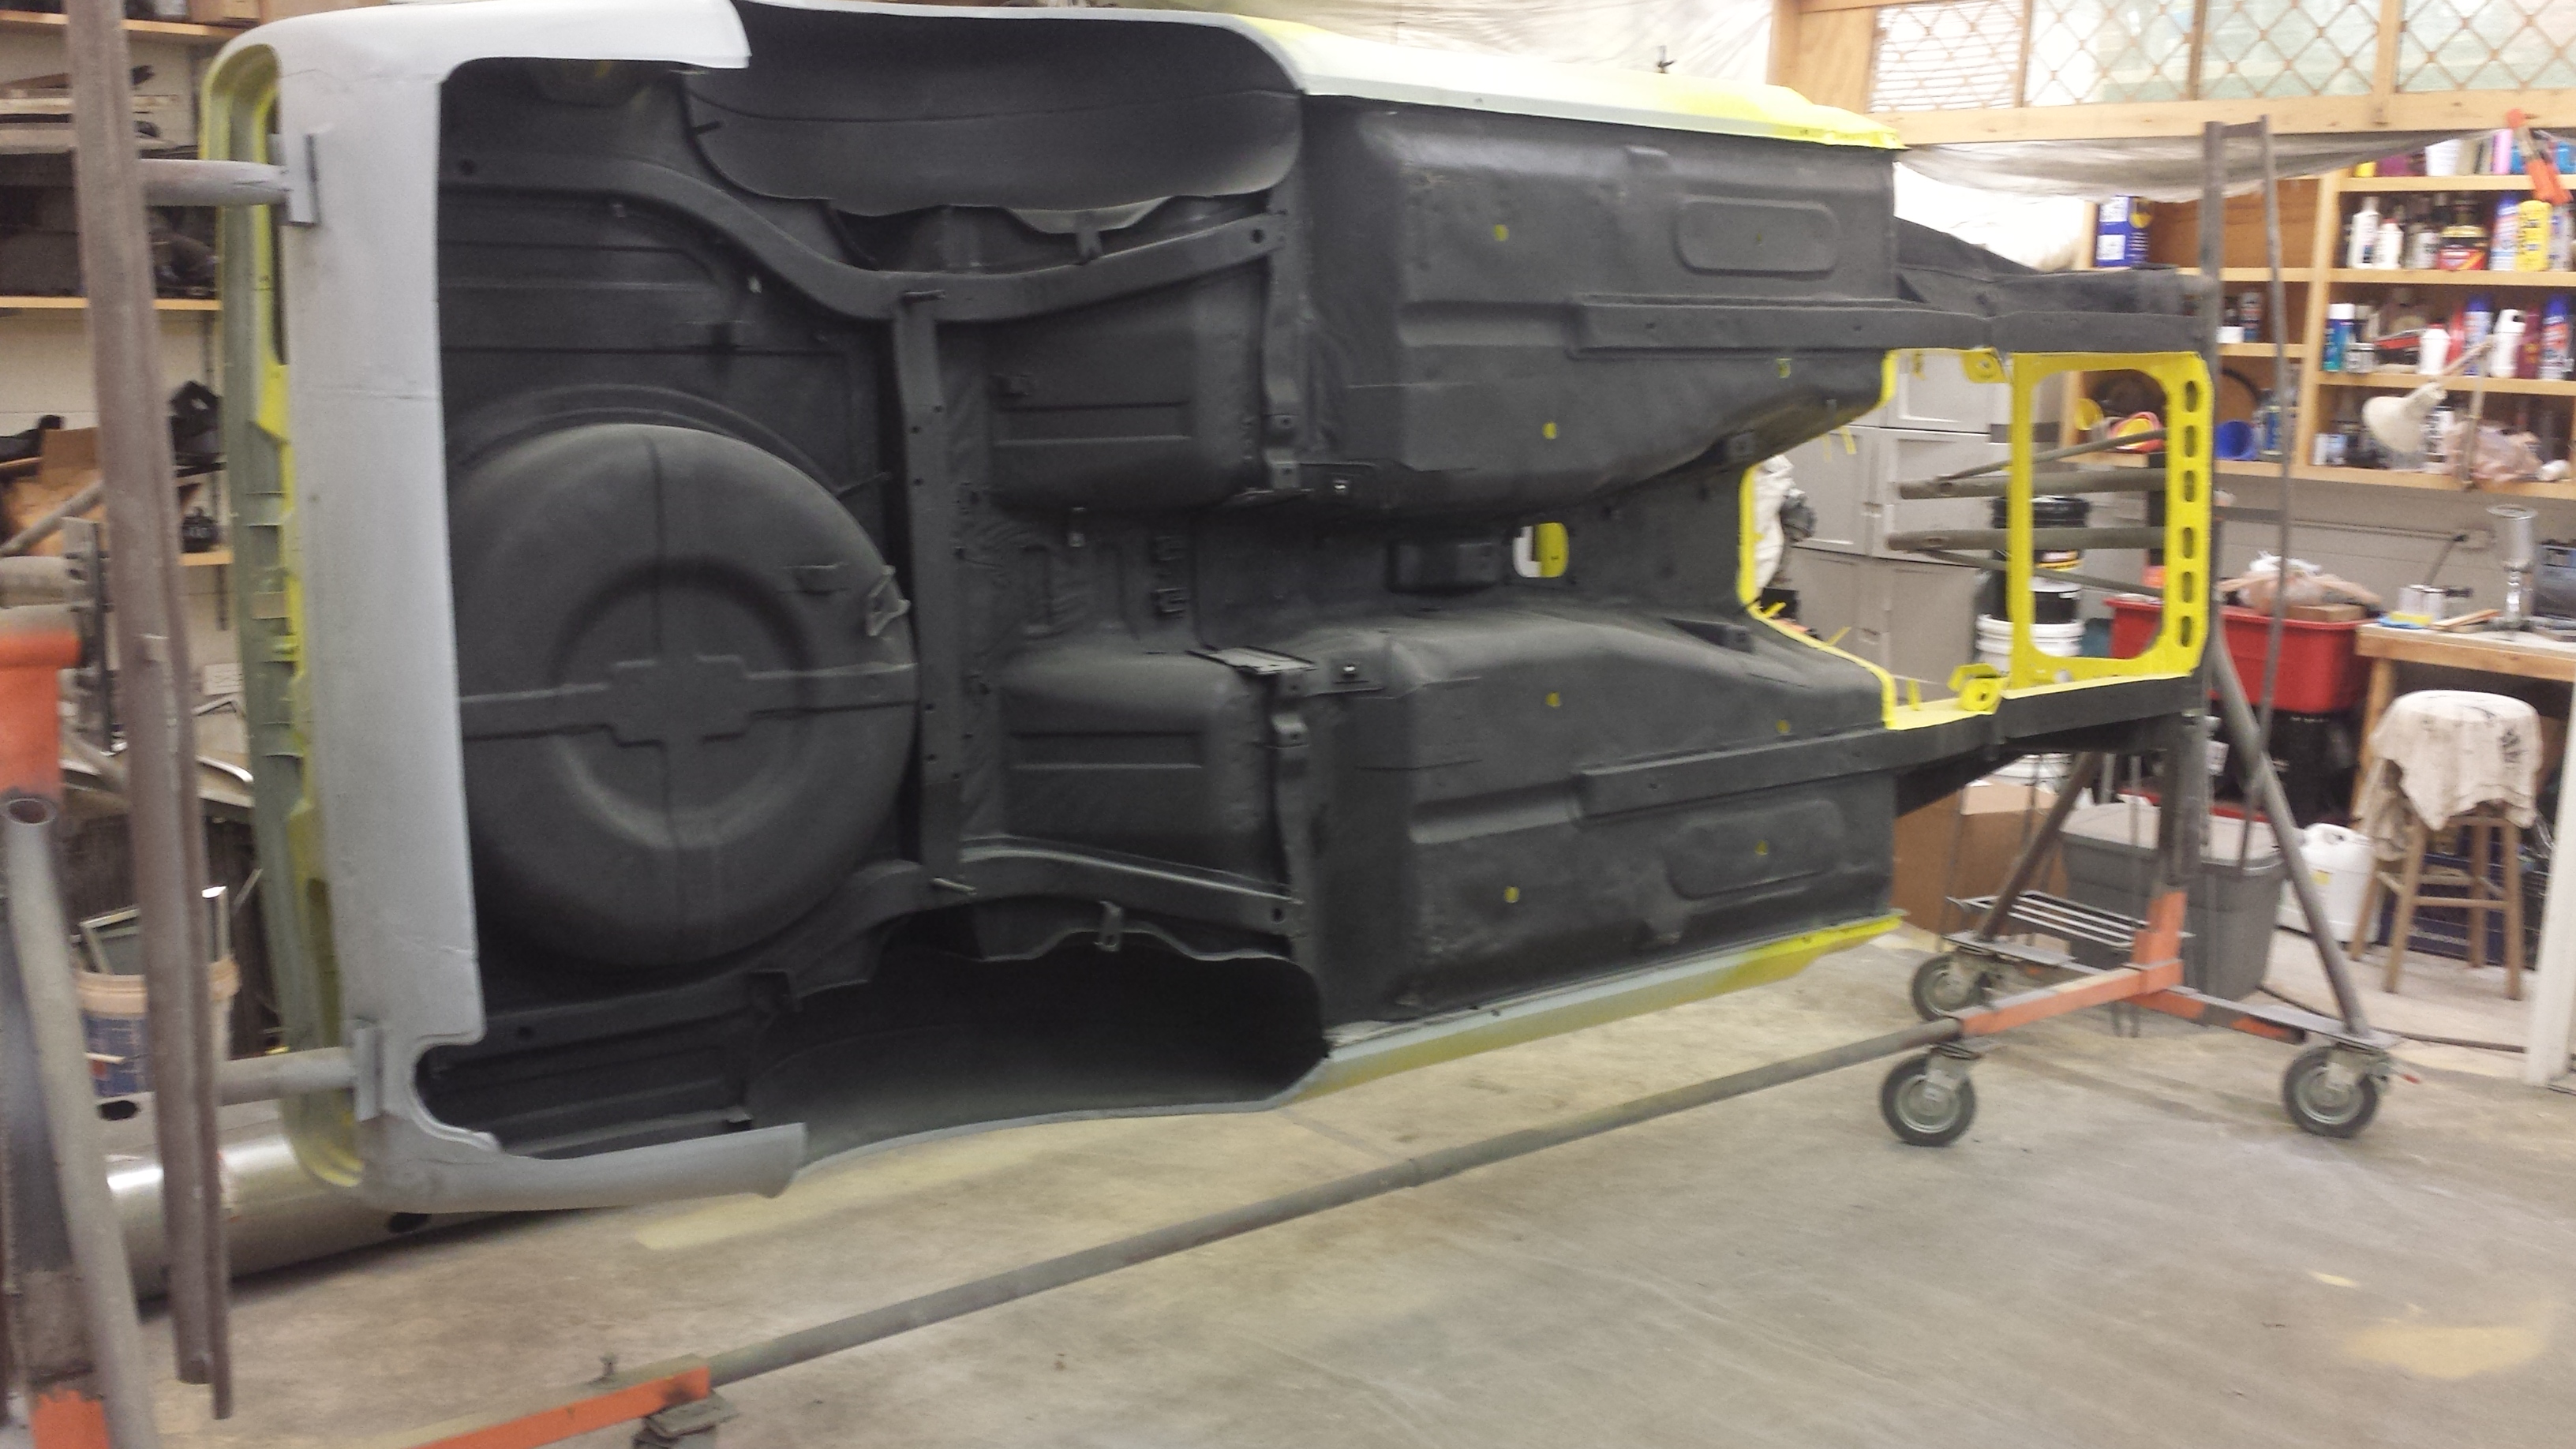
 1 point1 point1 pointHi Kats, That's not a stopper, and in use, that surface should not be making contact with anything. Those lug nuts are actually made from two pieces. They machine the threaded portion as one piece, and the tapered section is actually a ring of separate material that is pressed on later. The surface you labeled as stopper is actually the end shoulder of the surface onto which the tapered ring is pressed on. They could have cut the whole thing from just one piece of material, but I suspect they made it out of two pieces because it's easier, and cheaper (since it requires less material with less waste in the form of chips from the turning operations). They probably started with hex rod for the inner part (that way they didn't have to machine the hex), but because of starting from hex rod, they couldn't have any feature larger in diameter than that hex, unless it came from a different piece of material. So they used a larger round rod and cut the tapered section from that, and then joined the two parts together at the end and plated them.1 point1 pointThe car is looking great. Nice job on the welding and undercoating, and I love that color....'Ticket me Yellow' I think it is called.
 1 point1 pointWell it's been a little over a year and I am trying to get moving again. I have 15 months until Zcon Atlanta... This is the way the car currently sits I ordered $200 in bushings from Courtesy yesterday. I need to start working on getting the wheels back under it. Finding all the hardware is an issue. I need to try to figure out which bolts go where. I don't know that I have them all plated either
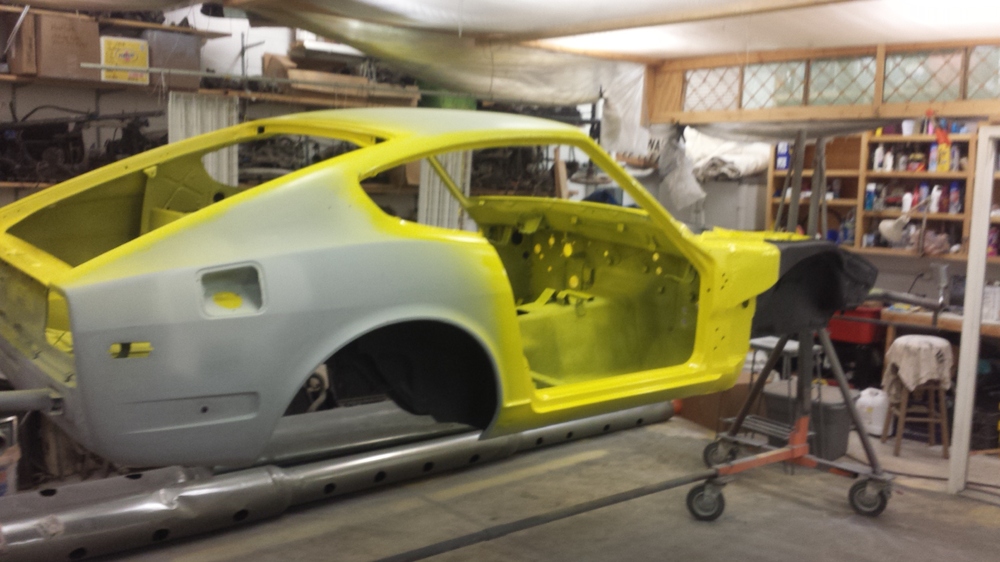


 1 point


Important Information
By using this site, you agree to our Privacy Policy and Guidelines. We have placed cookies on your device to help make this website better. You can adjust your cookie settings, otherwise we'll assume you're okay to continue.