Leaderboard
-
Matthew Abate
Free Member5Points1,204Posts -
Mike W
Free Member4Points453Posts -

siteunseen
Free Member3Points15,115Posts -
Takhli
Free Member1Points45Posts


Popular Content
Showing content with the highest reputation on 01/25/2017 in all areas
-
2 pointsI spoke to the owner this evening and he said the series 1 emblems would not fit flat enough I guess so he went back to OE style. Such a nice guy, I wish now I'd given him the car. 8^) Hopefully we'll see each other at ZCON in Austin. Fingers crossed I will be there to see him along with the Memphis crew. I will supply the bar napkins for Captain Obvious to school me on coolant flow. If we run out of napkins I'll grab some hotel towels or bed sheets. I seriously doubt a lack of beer napkins though.2 points
-
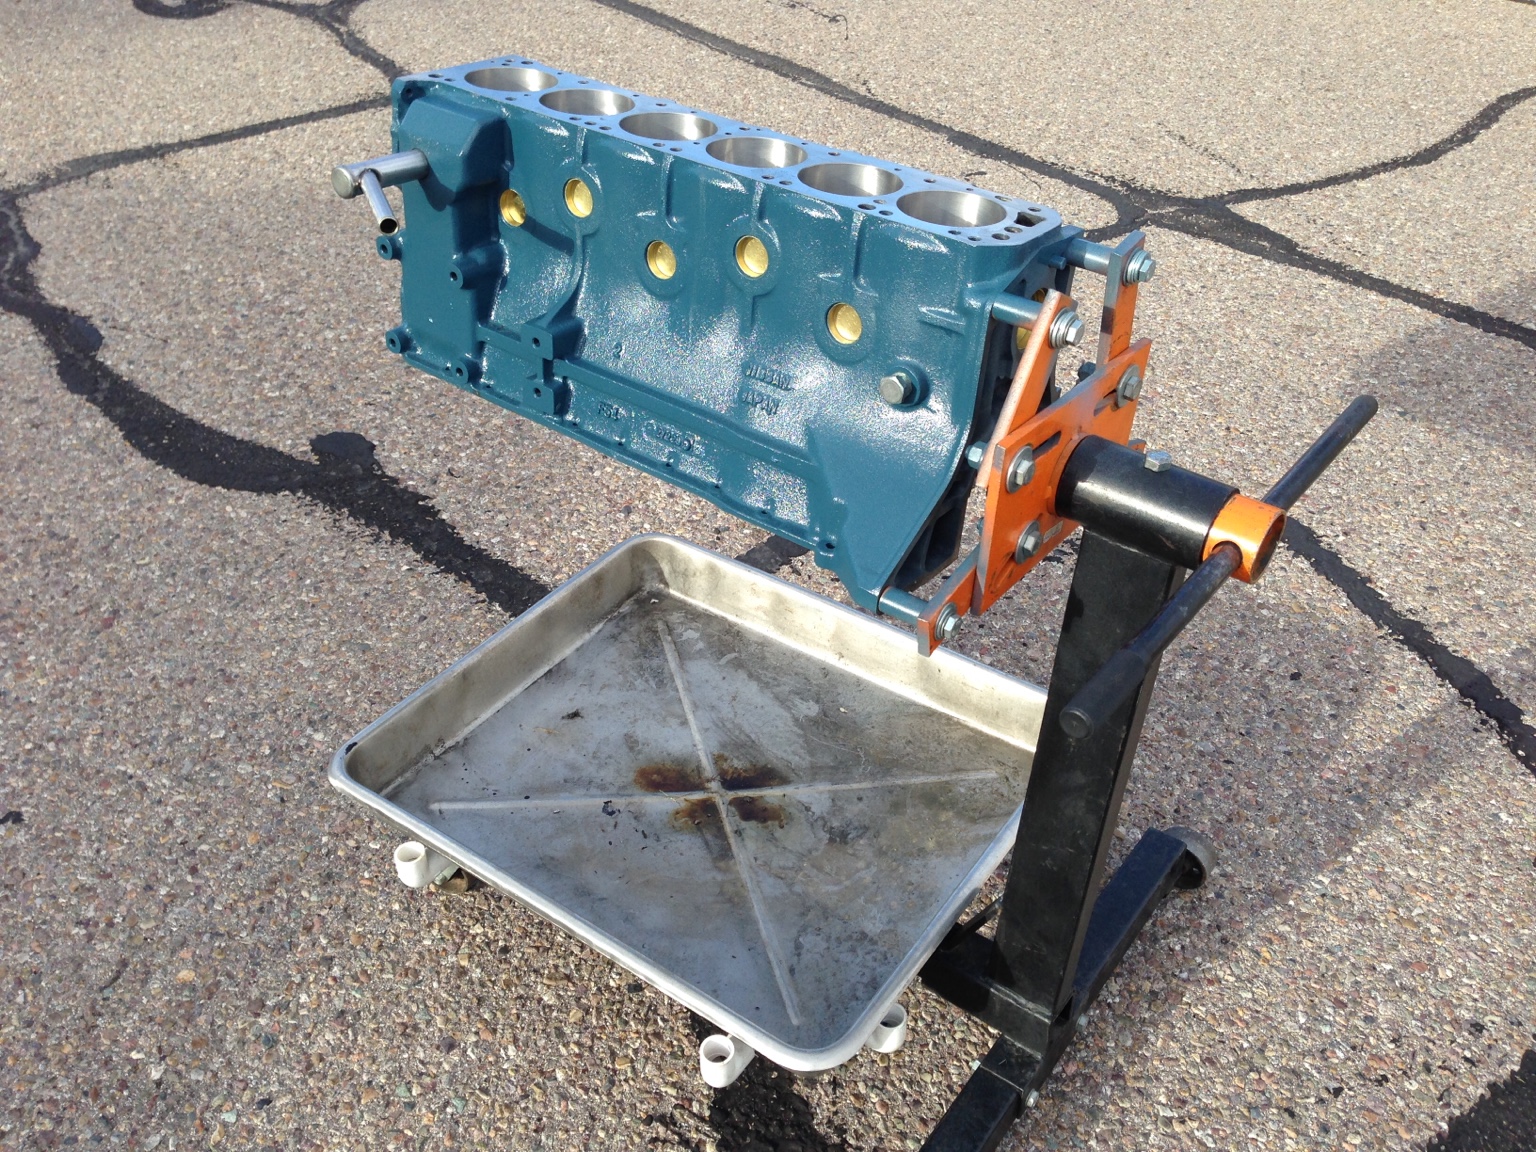
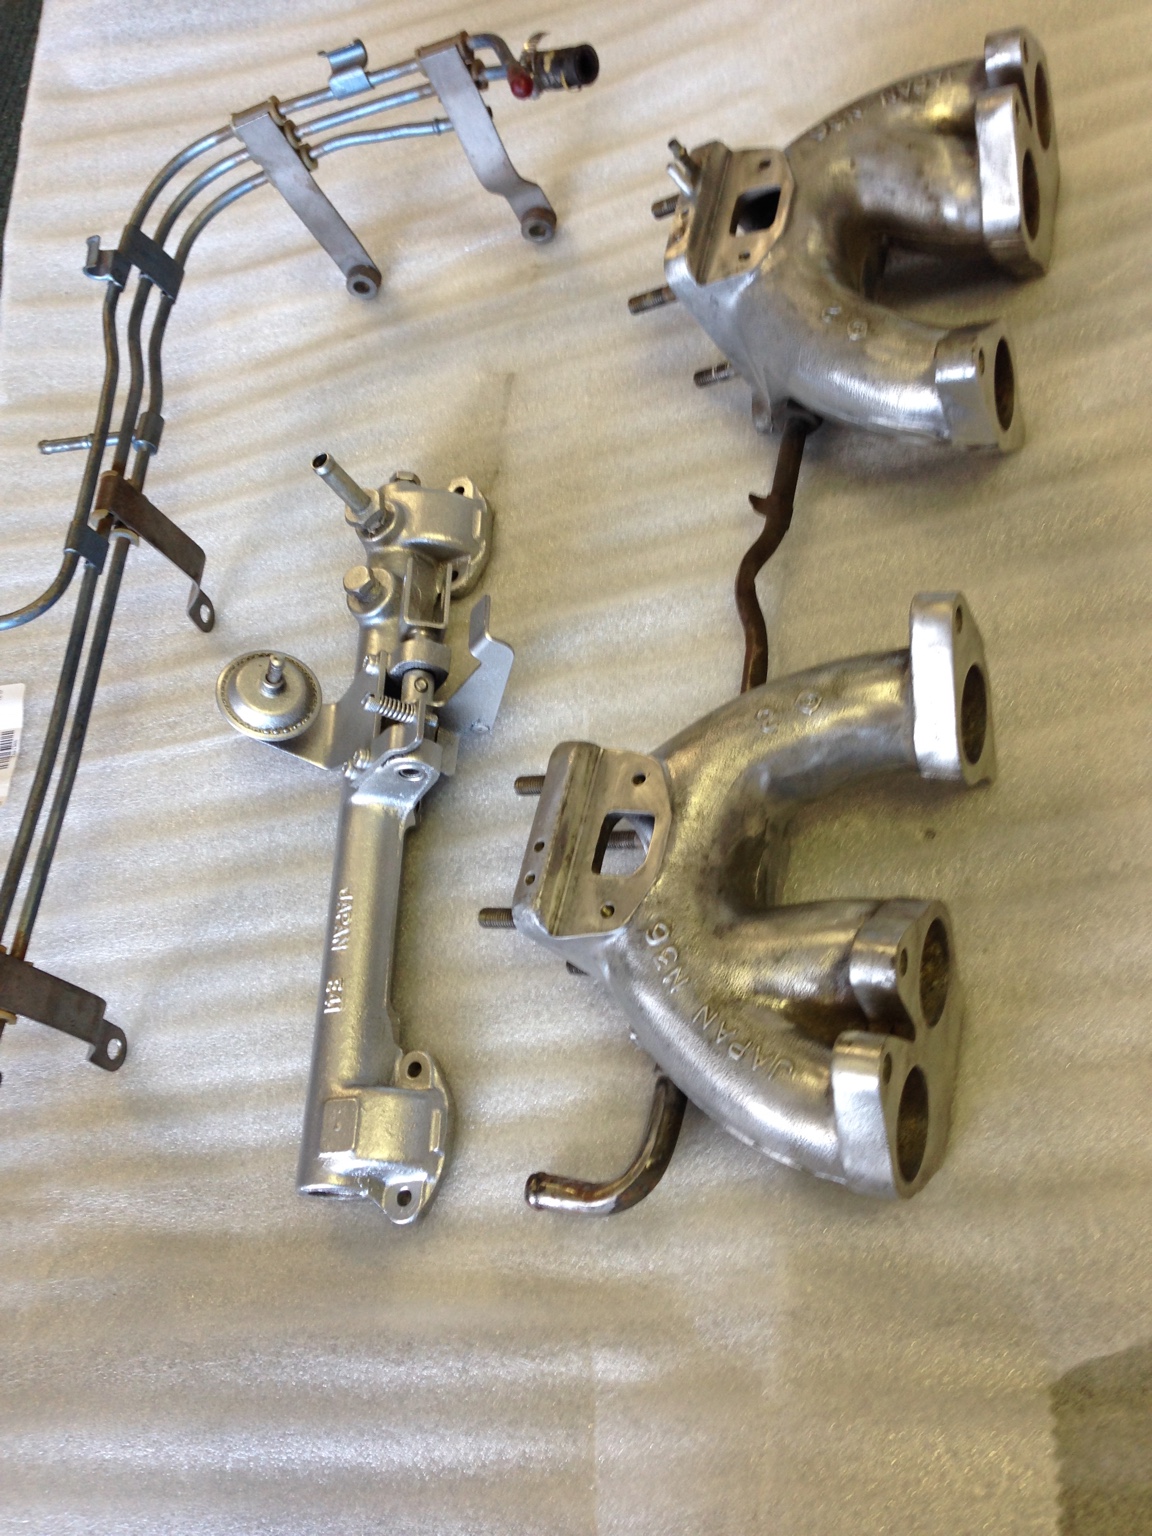
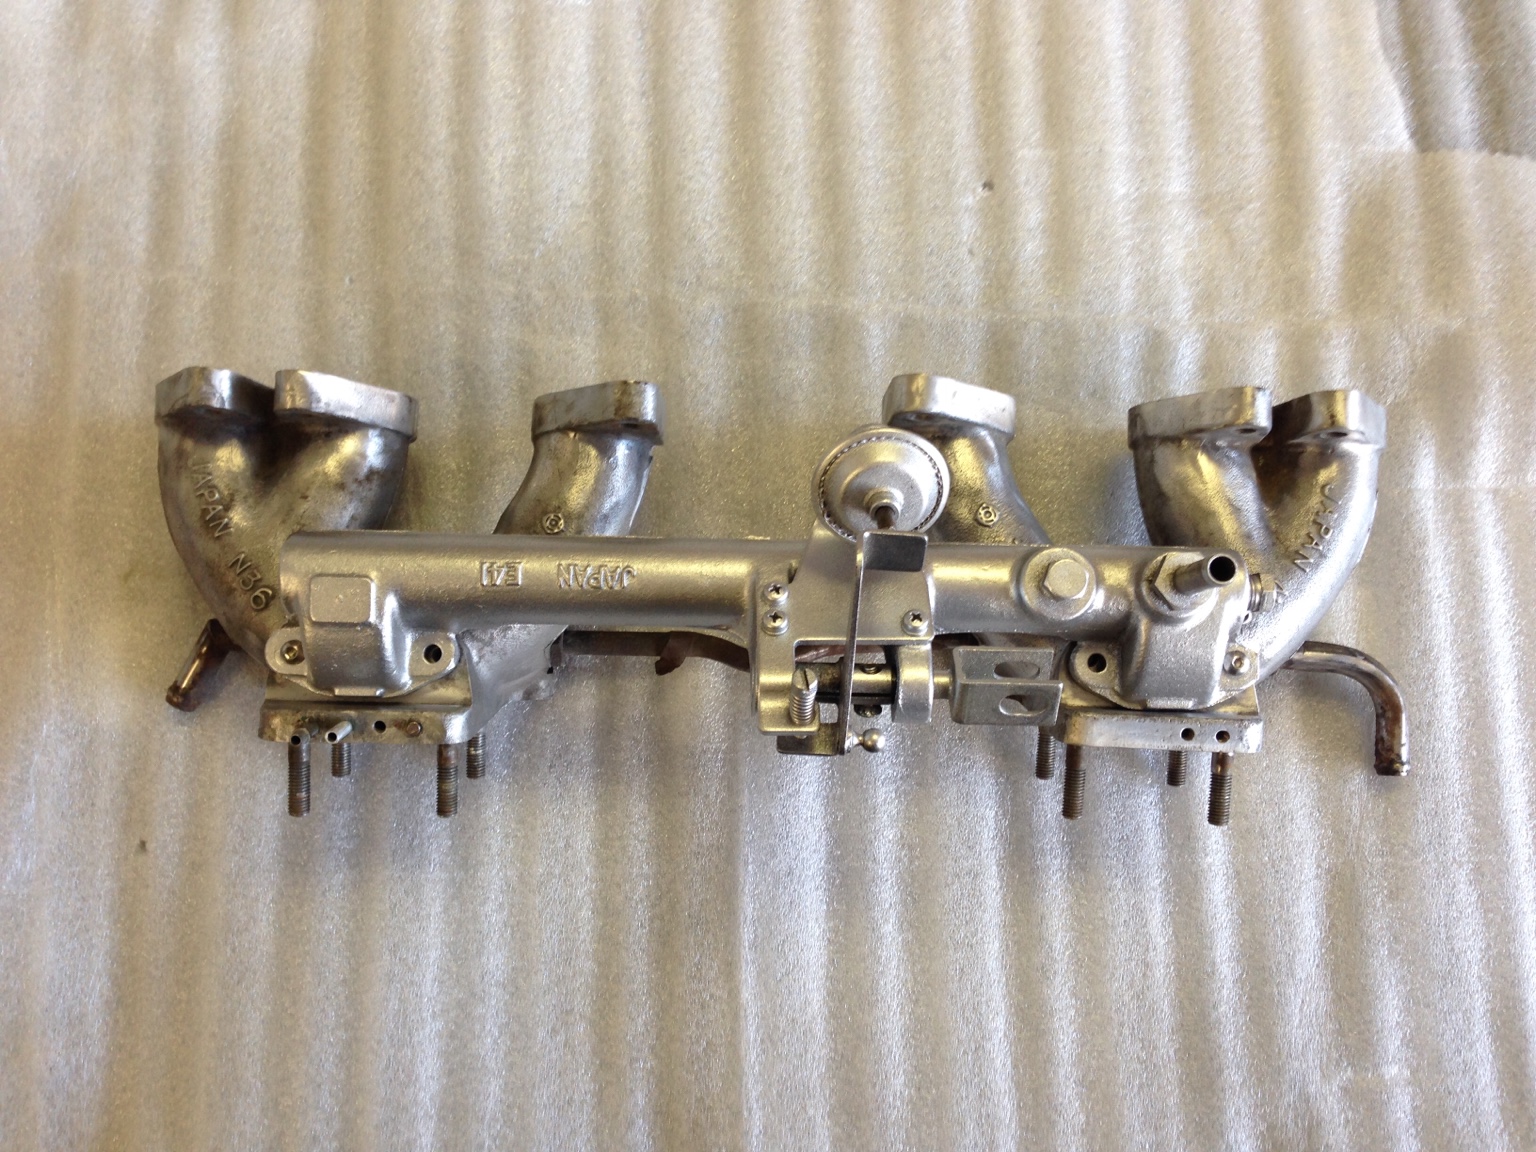
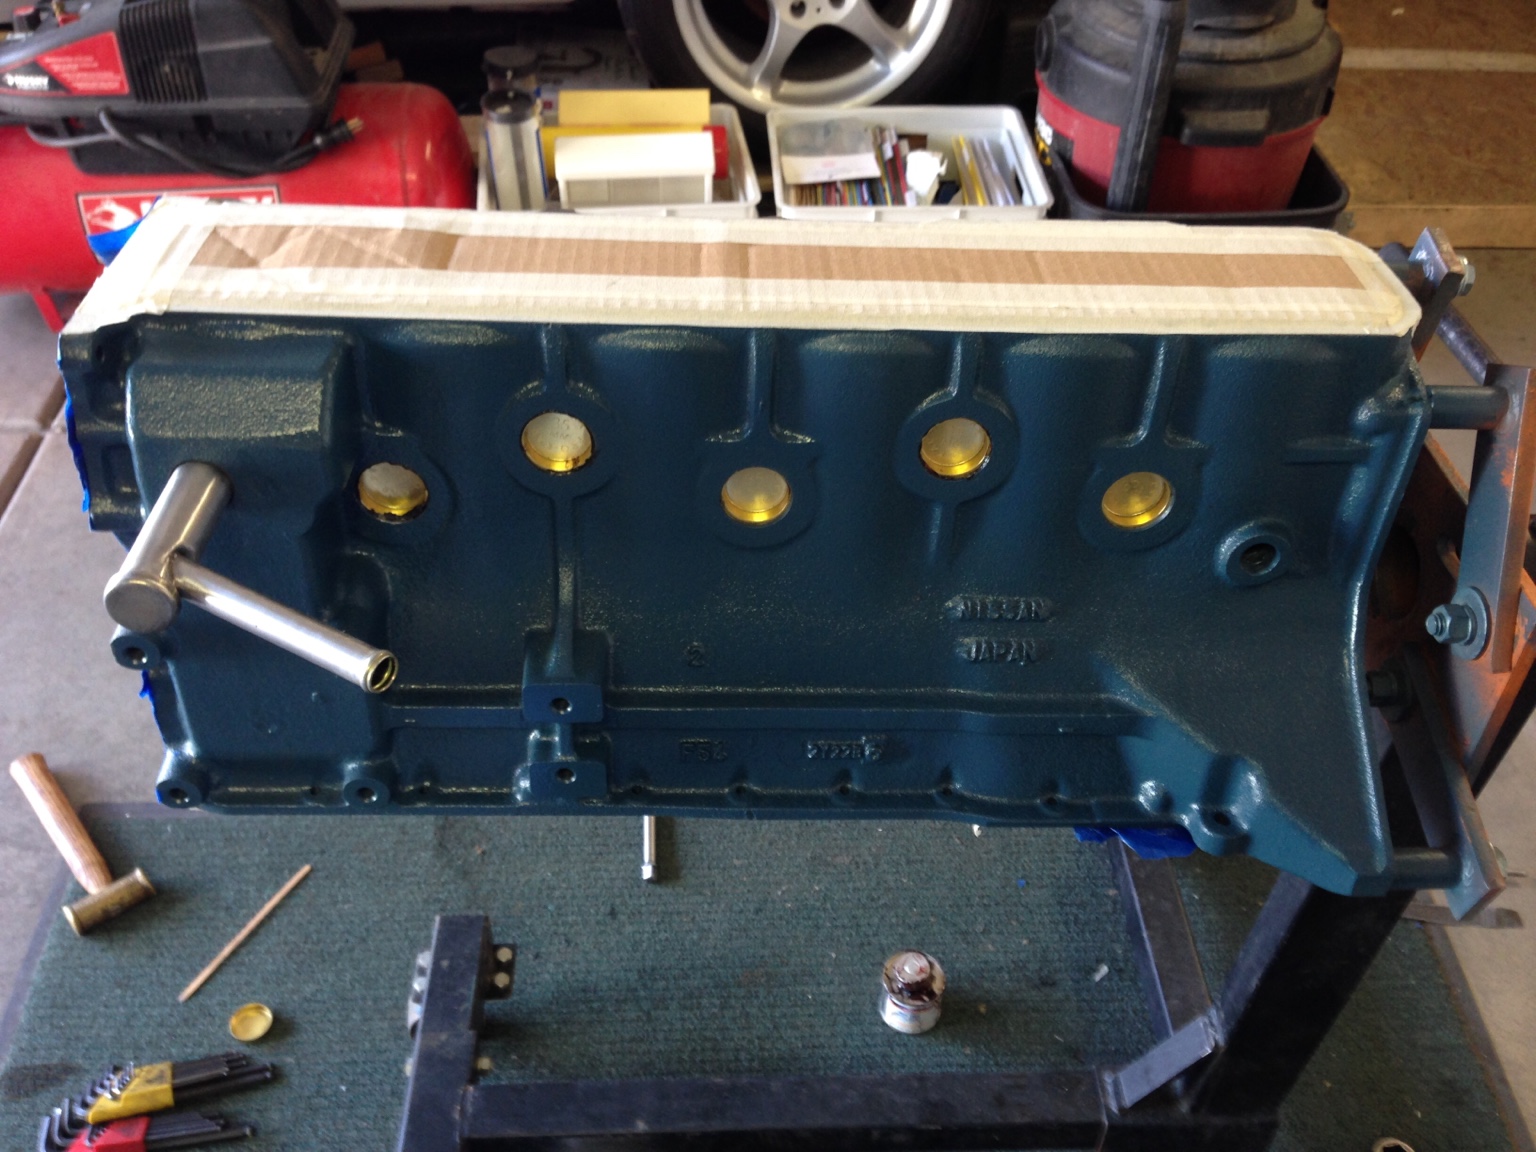
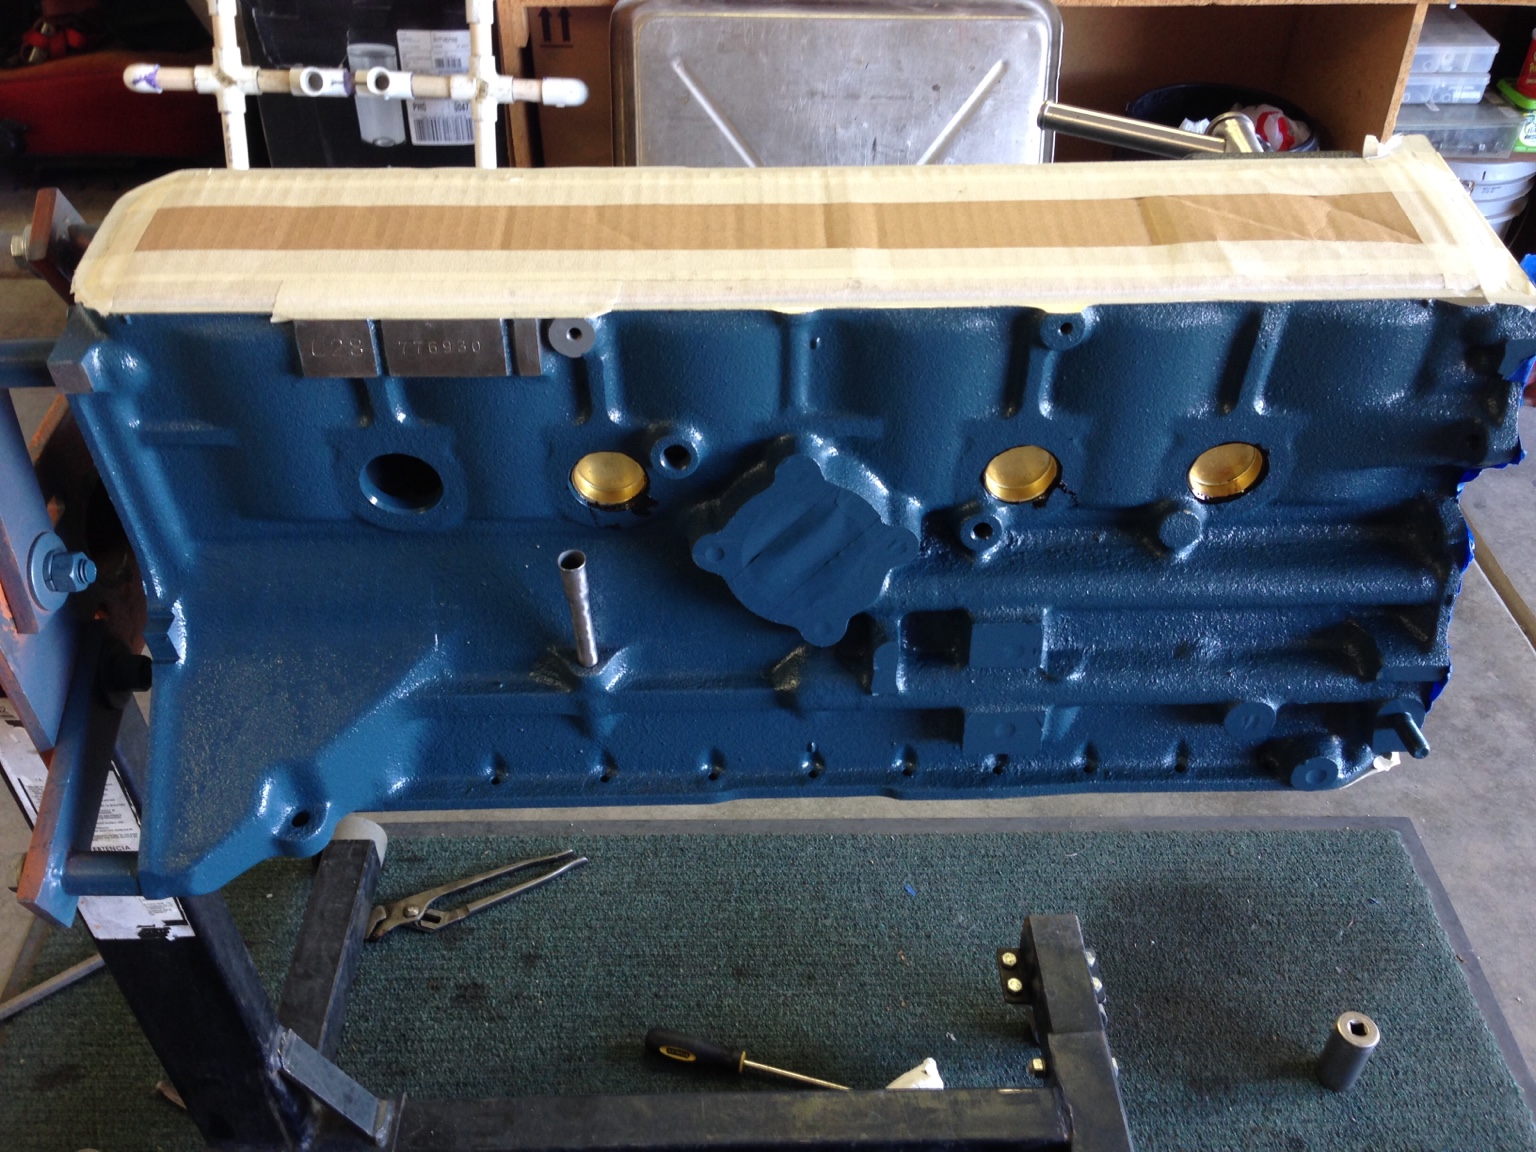
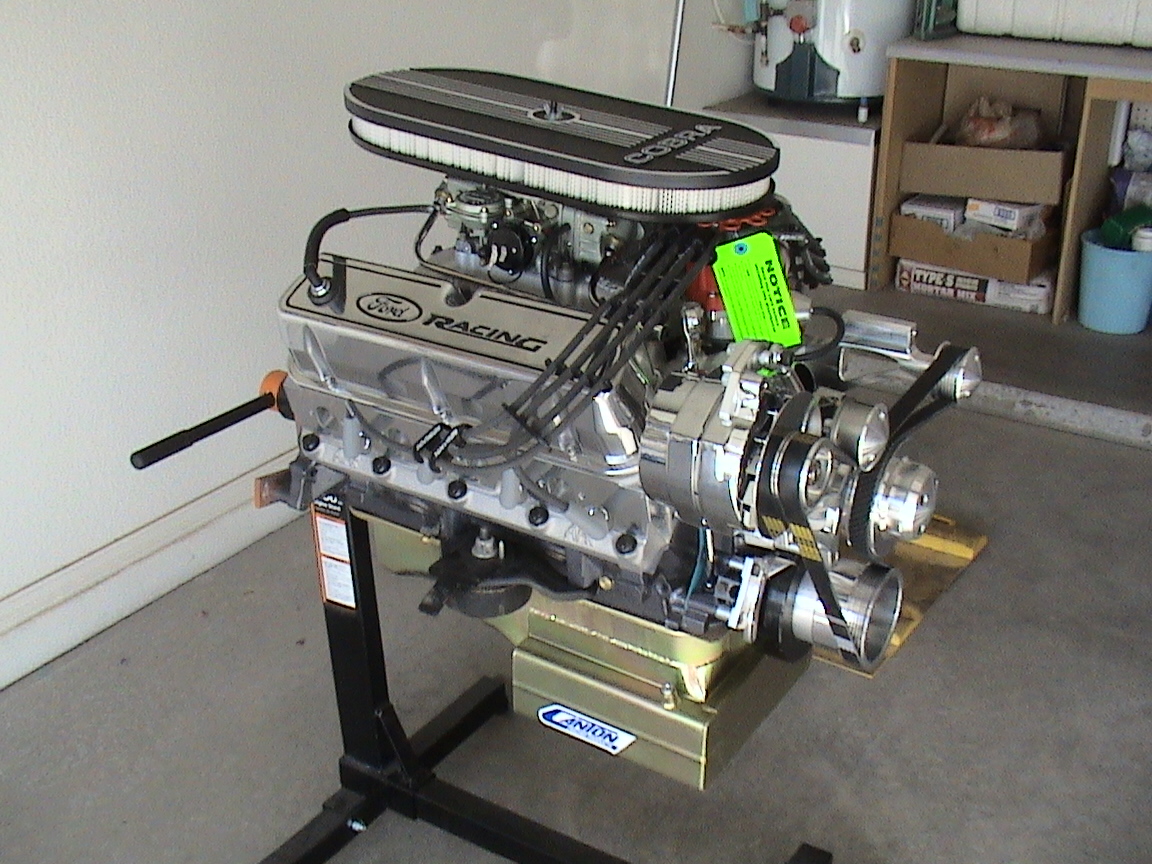
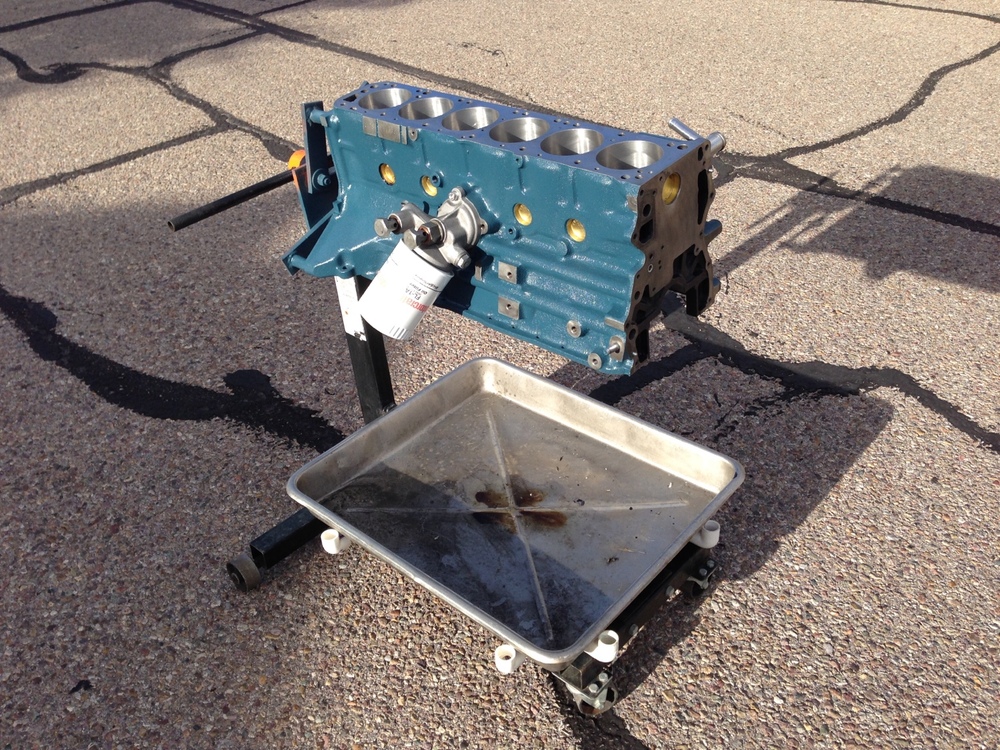
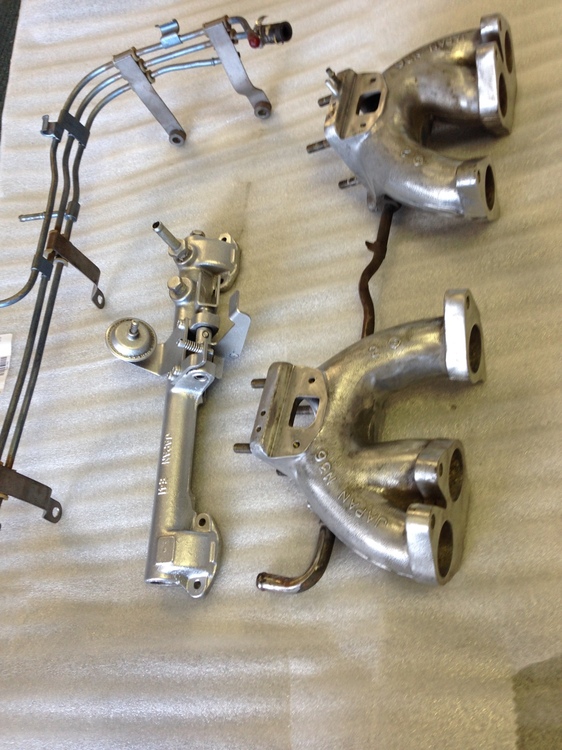
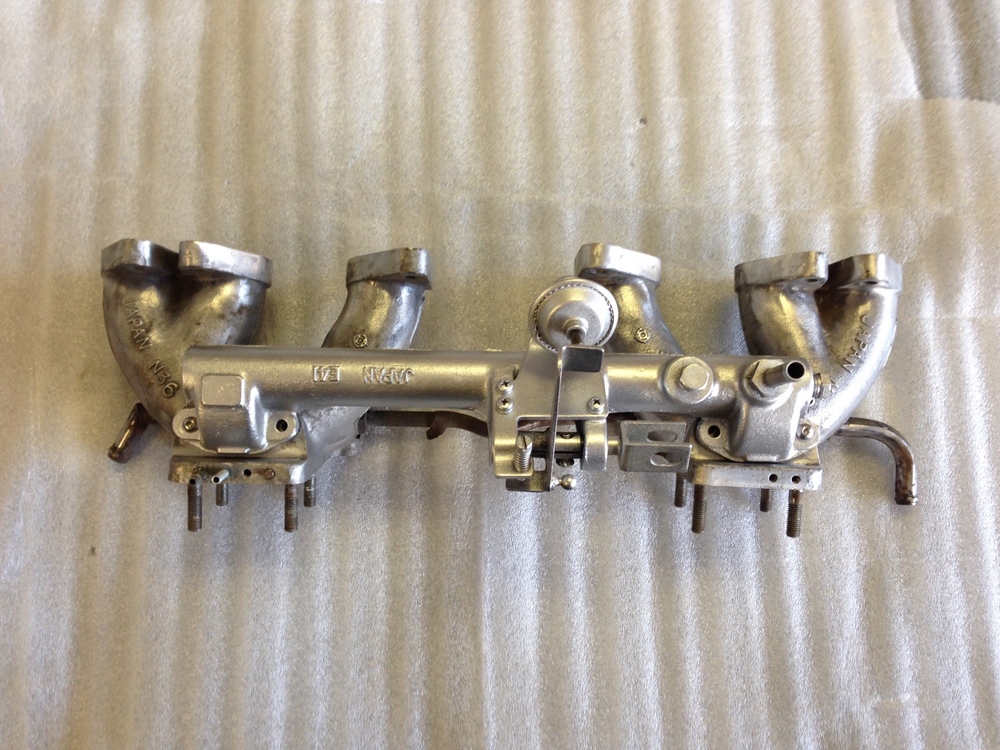
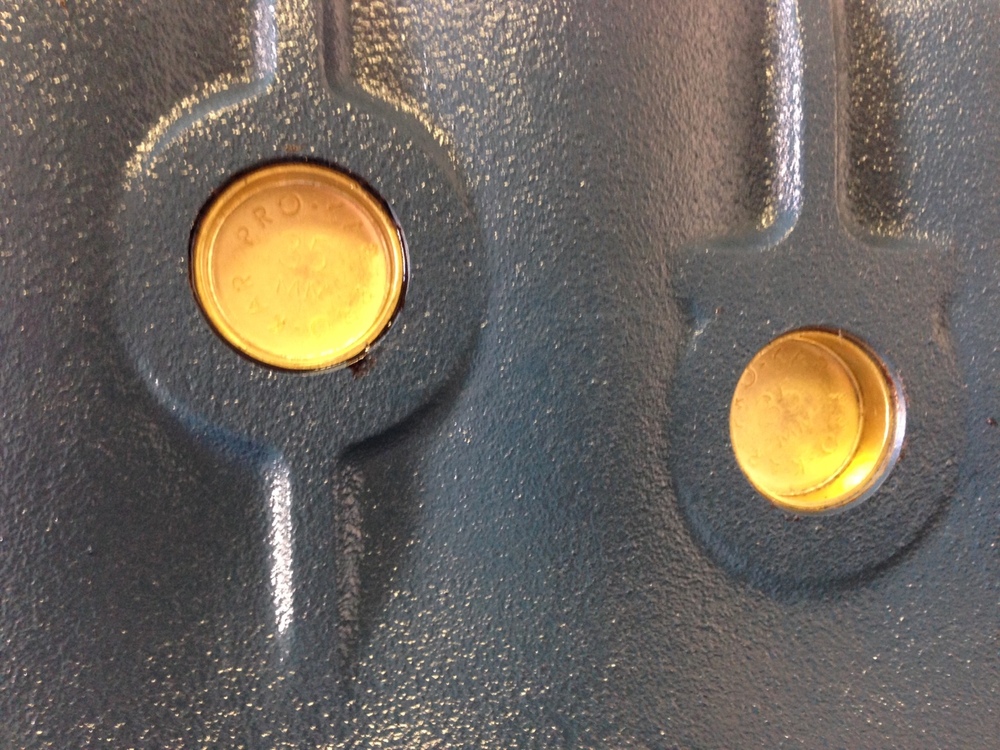
2 pointsProgress: We went with Rustoleum Ceramic Enamel on the interior. This did very well in a '63 'Vette, so we're confident. Cleaned it out: Finished with the plugs: Painted the inside: And took a look at the parts for the intake setup: Not sure what to do about accidentally buying a three-tube fuel pipe / rail...


 2 points
 -
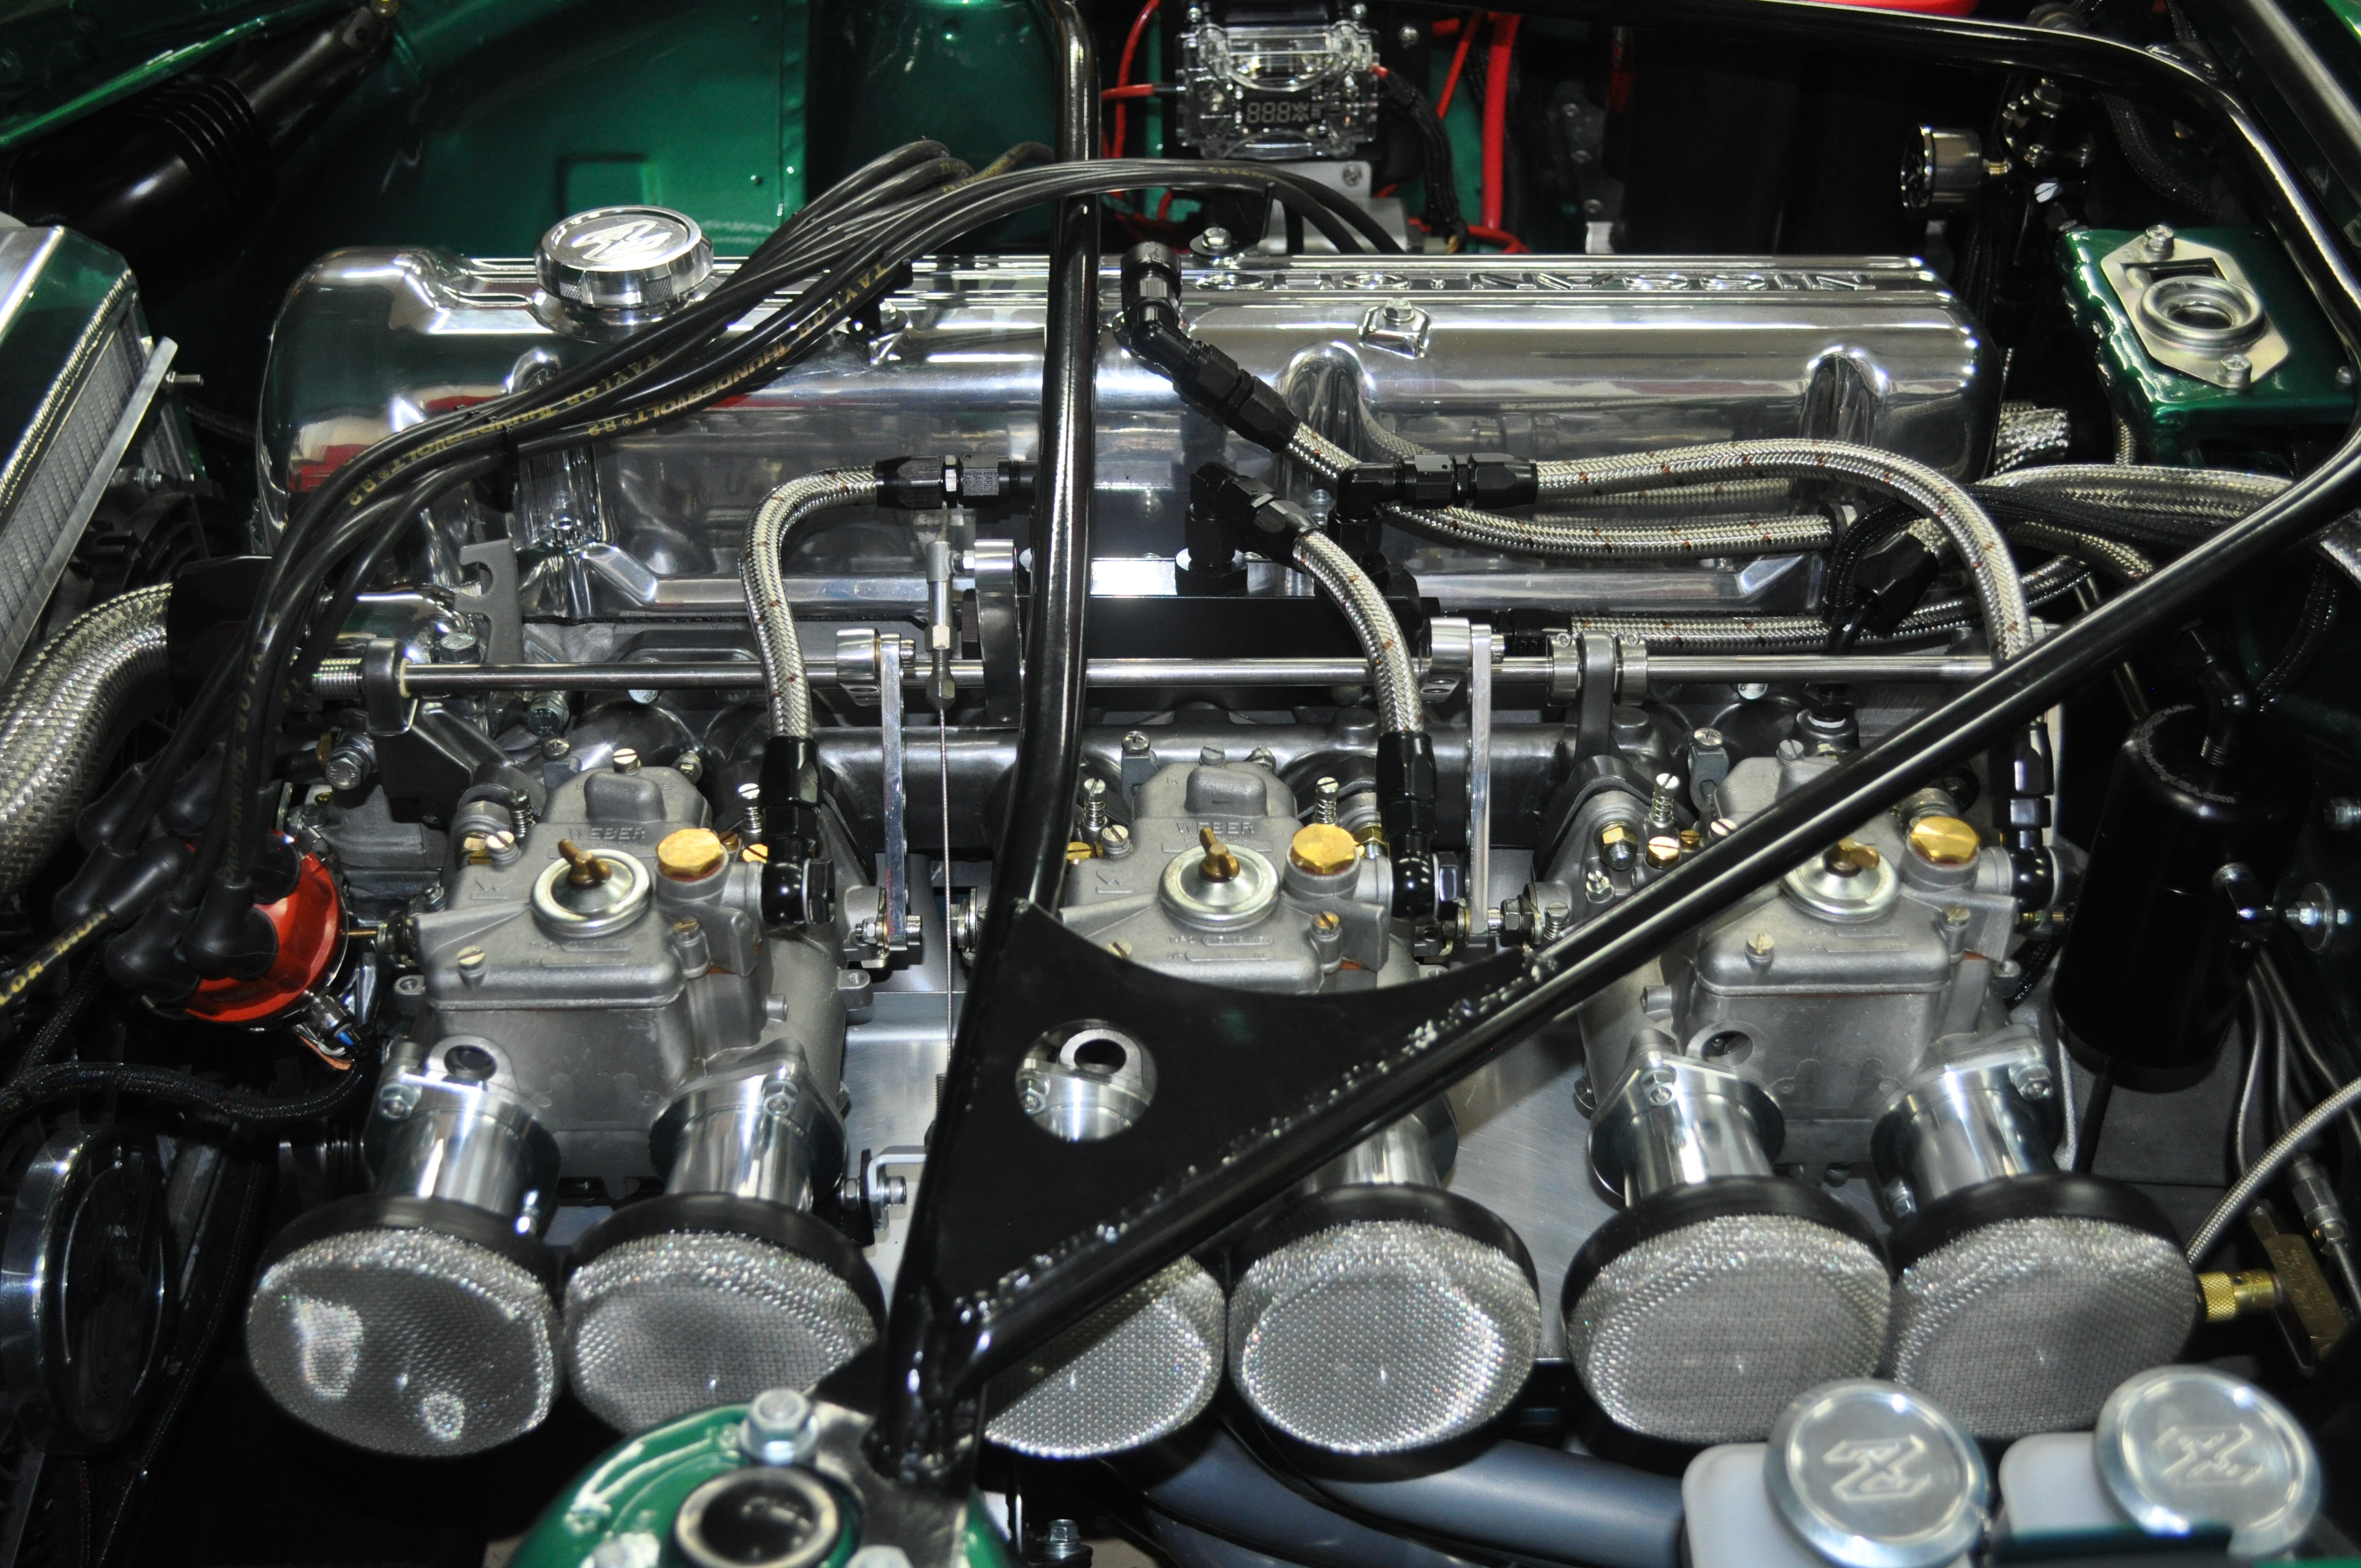
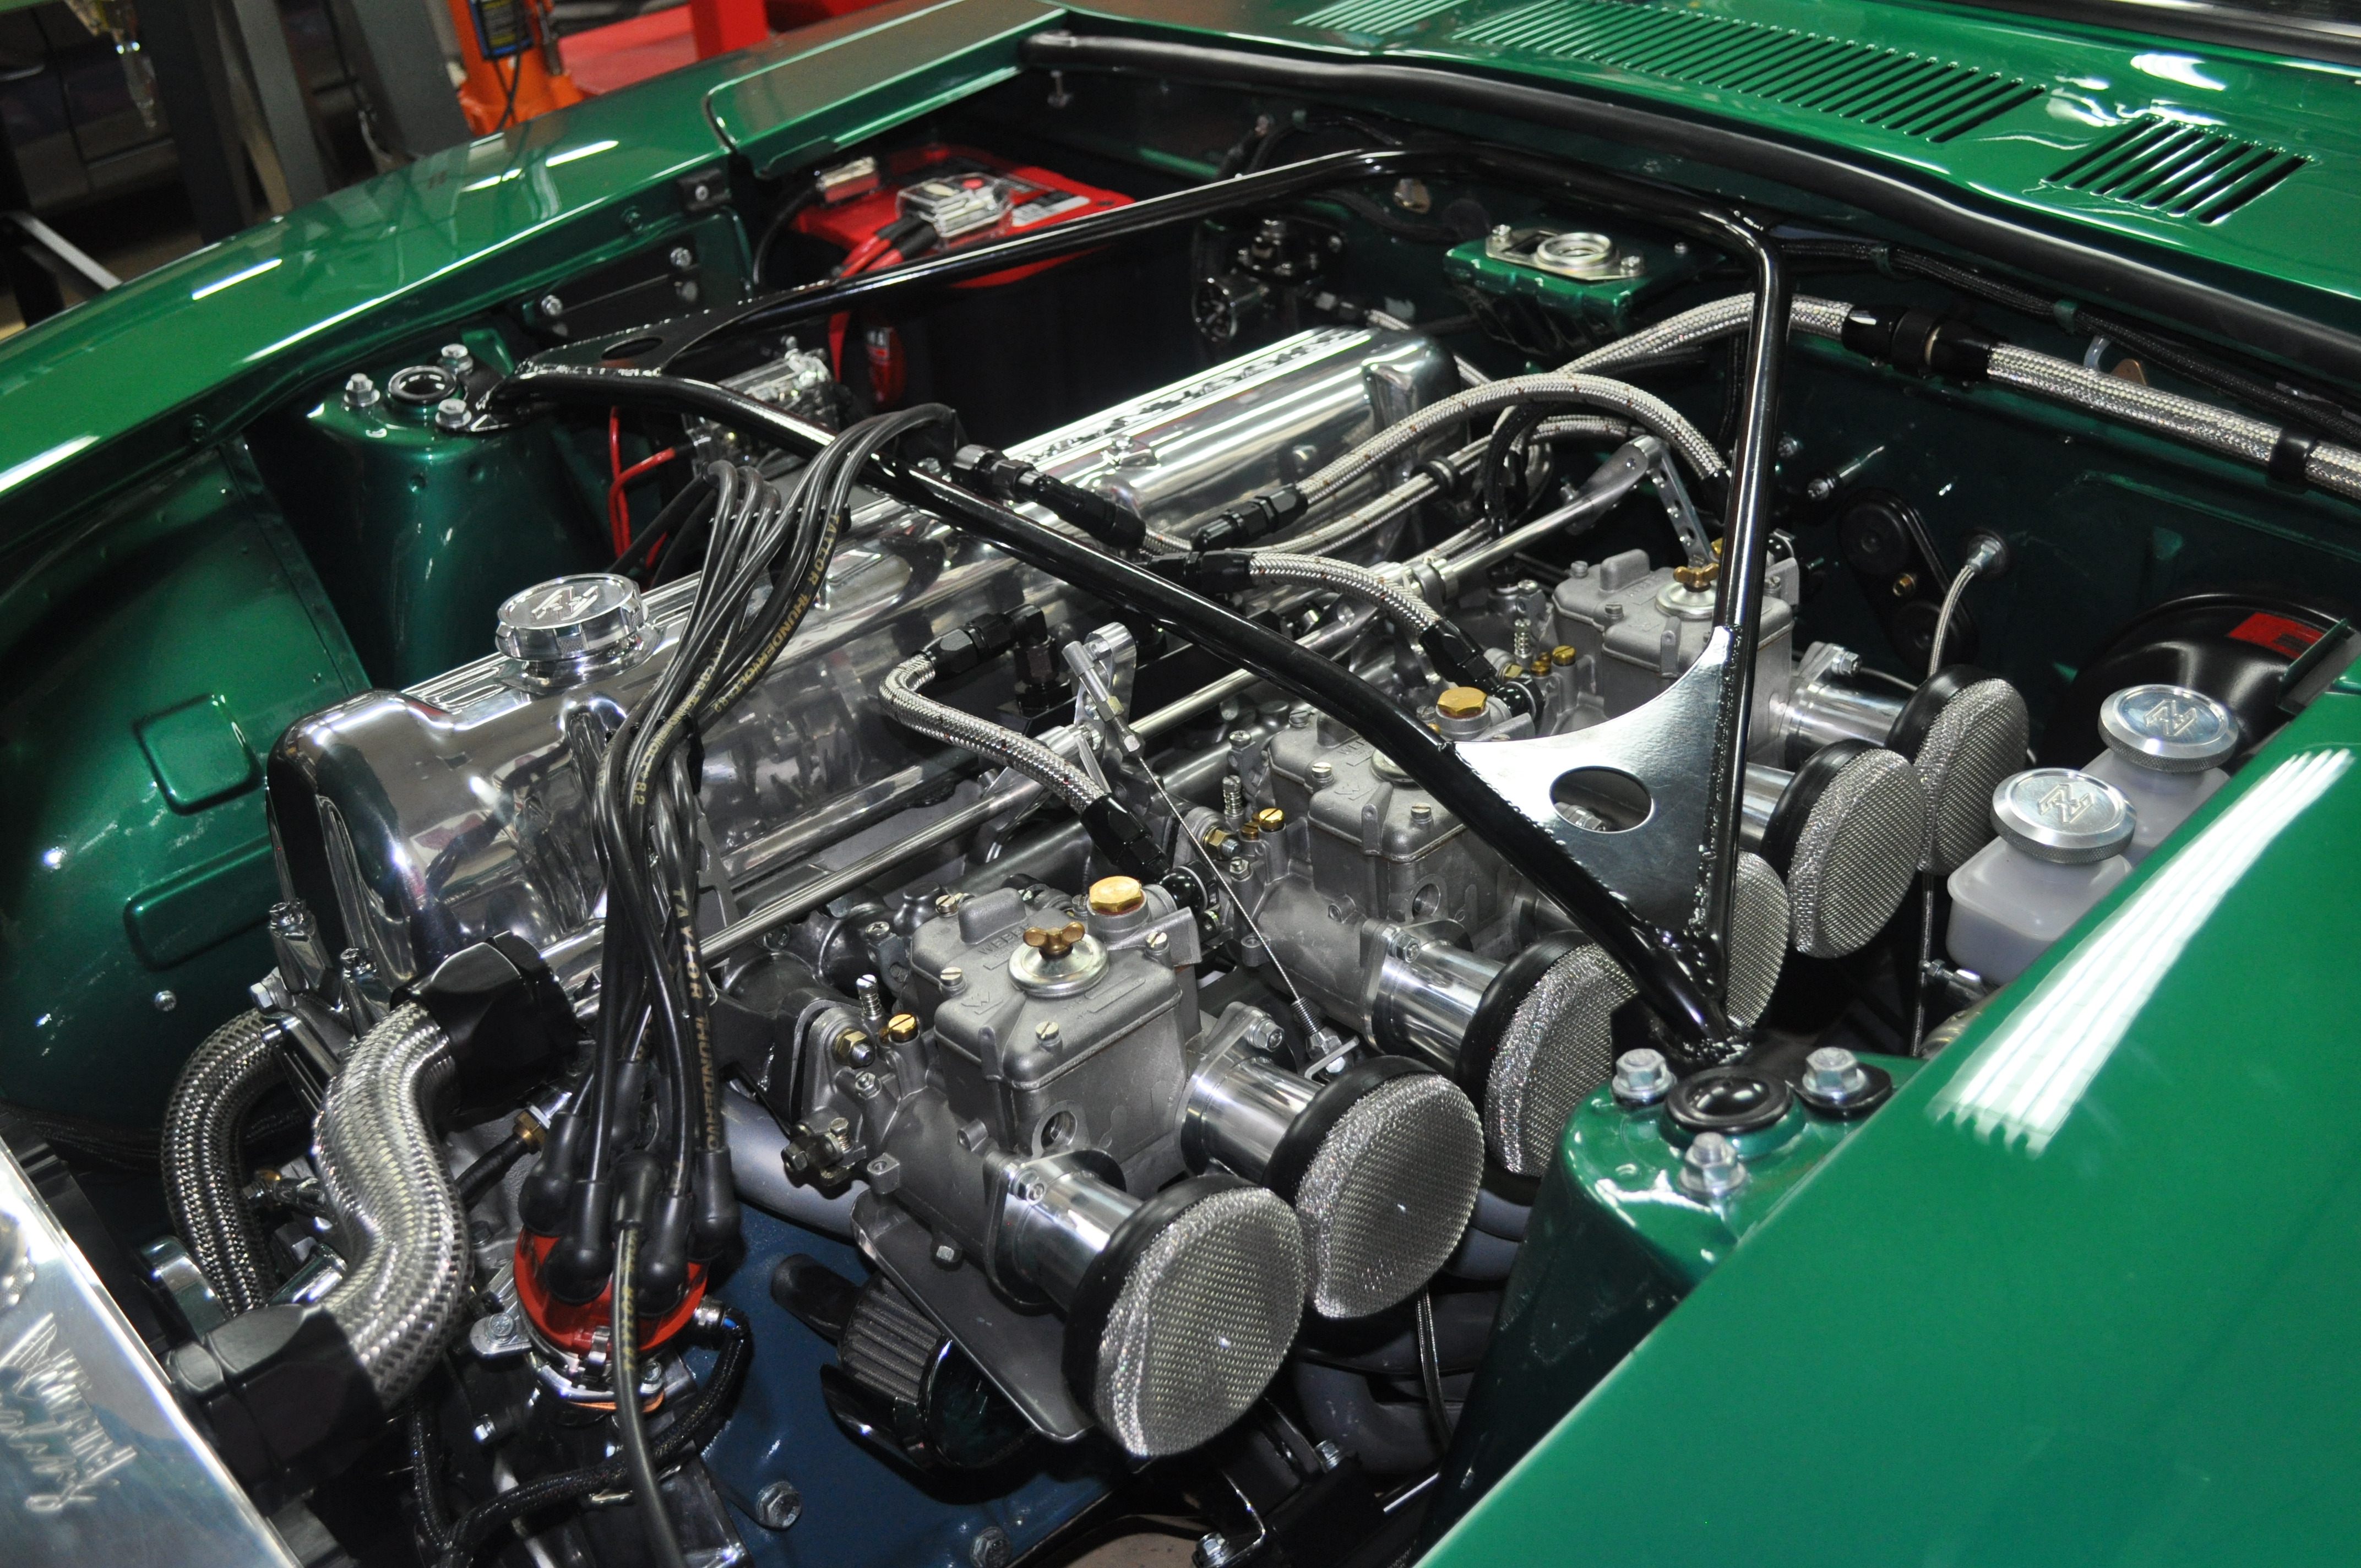
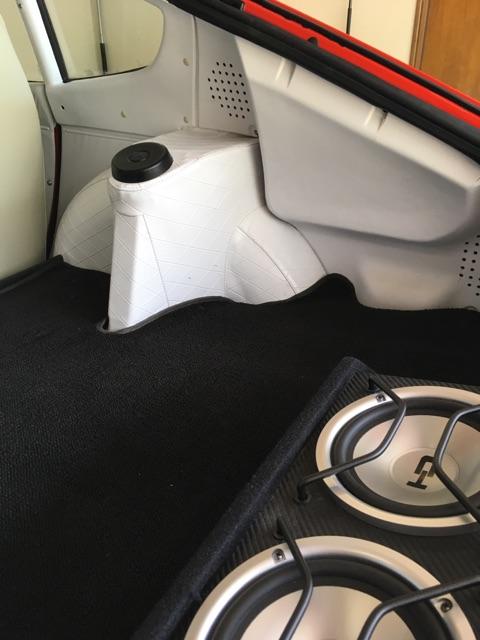
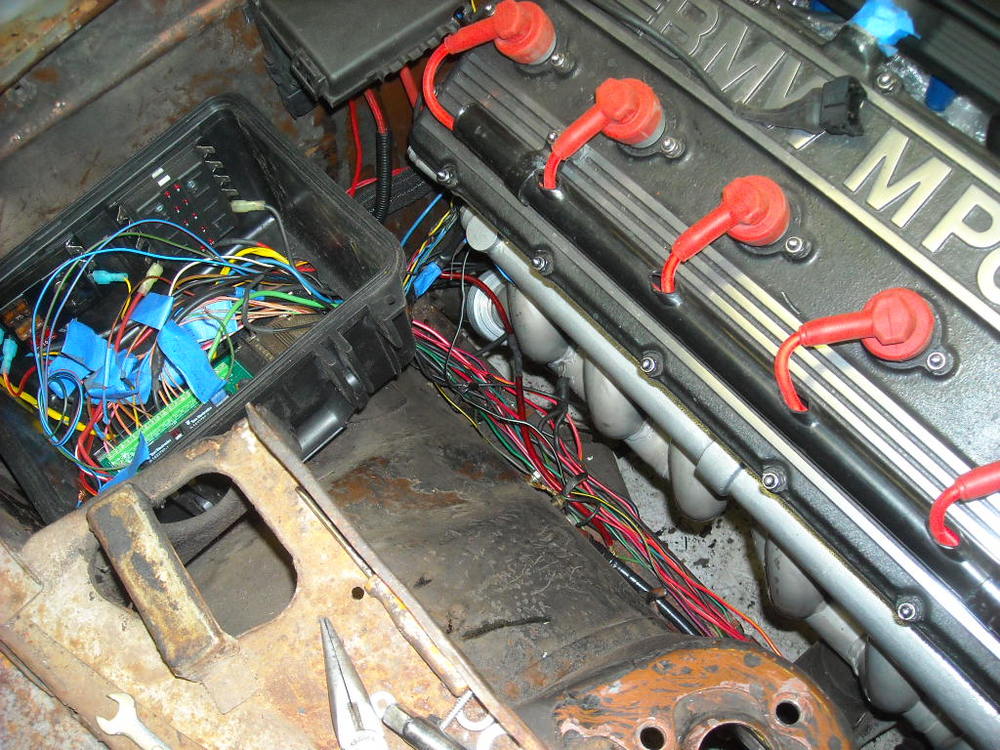
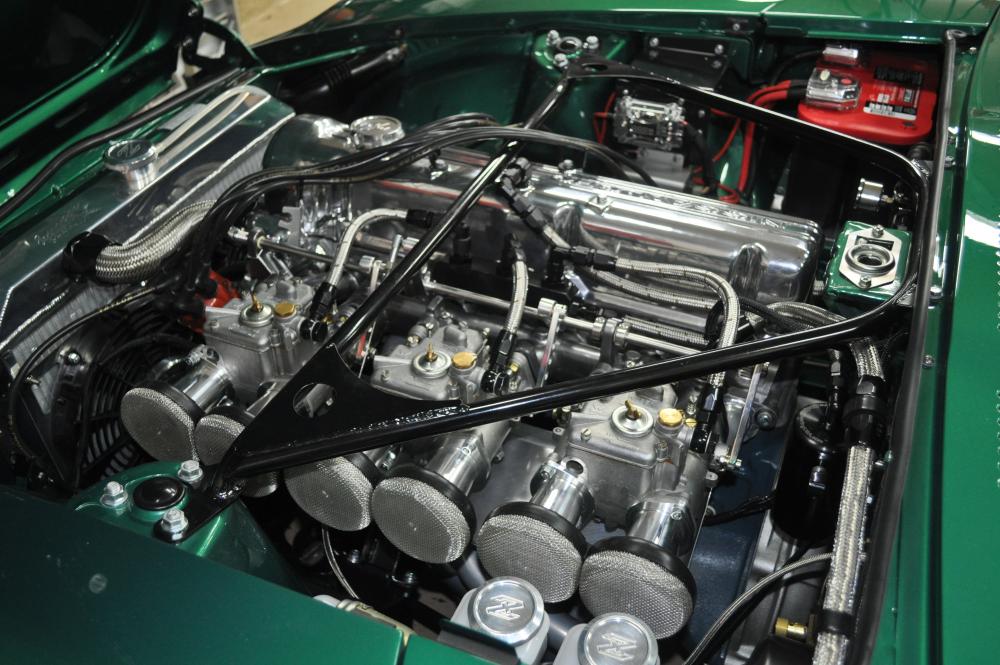
1 pointThere are two ways to do this. I chose to deadhead my installation meaning that the FPR is before the fuel rail and I do not use a return. The return line is removed and blocked off at the tank. The alternative is to use a return line with the FPR after the fuel rail. If you choose to go this way you need to make sure that you source a FPR that was intended to be used with a return. Either way should work. I have had zero issues with the setup I have now. I've attached a picture so you can see my setup with the small fuel rail in the center. If you look over at the passenger side firewall you can see the side of the fuel pressure gauge which is attached to the FPR. Mike.
 1 point
 -
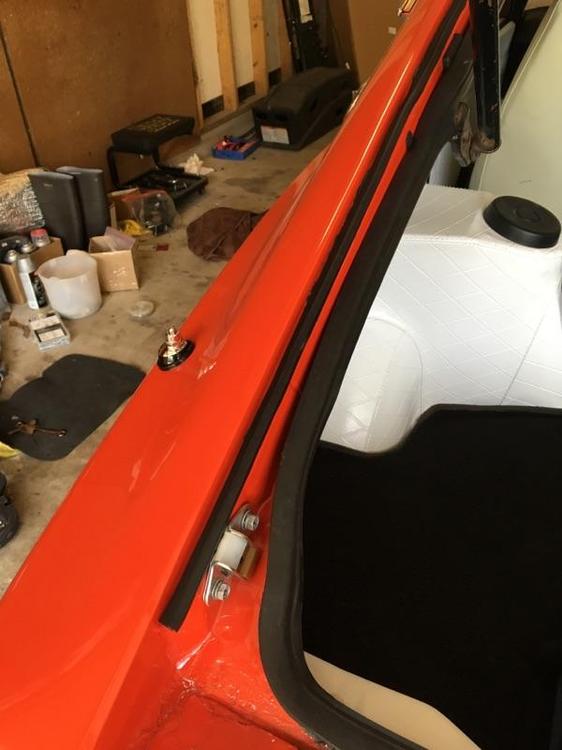
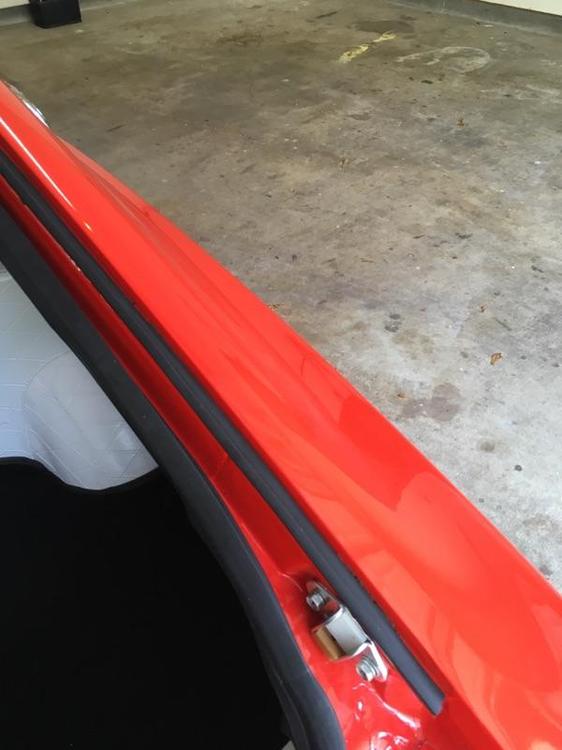
I don't know what happened with the original pics, but here are some replacements. Top side: Bottom side: Close up:1 point
-
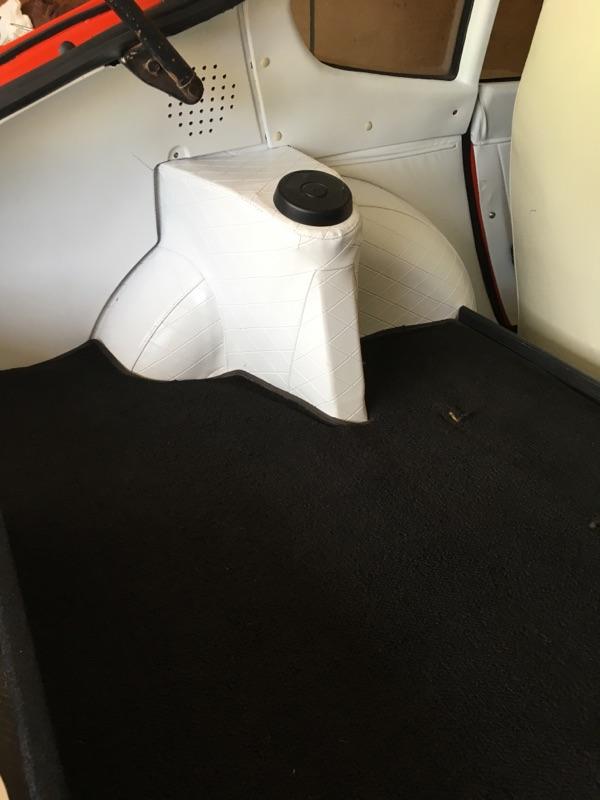
1 pointI removed mine completely. I ran a SS line directly from the electric fuel pump at the back all along the frame rail (where the original fuel hard lines were located), up the firewall on the passenger side and this terminates in a FPR which is mounted to the firewall. I then run the output of the FPR to a small fuel rail mounted on the side of the head. I run triple Webers and so your install will likely be a little different, but I have had no unusual side effects with removing the canister. I also had the canister bracket removed and the attach points welded up before I had the engine bay painted. This really helped to clean up the engine bay a lot. Also did the same thing with the vacuum canister. Hope that helps. Let me know if you have any other questions. Mike.1 point
-
1 point
-
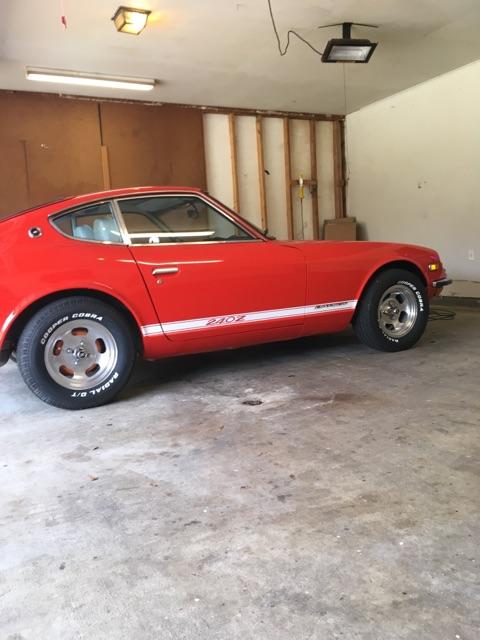
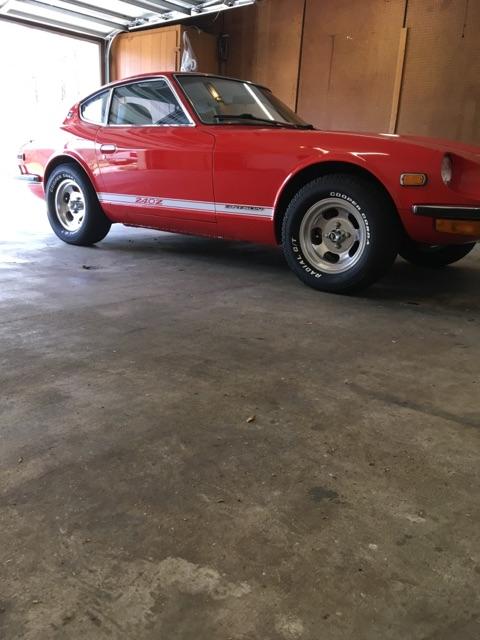
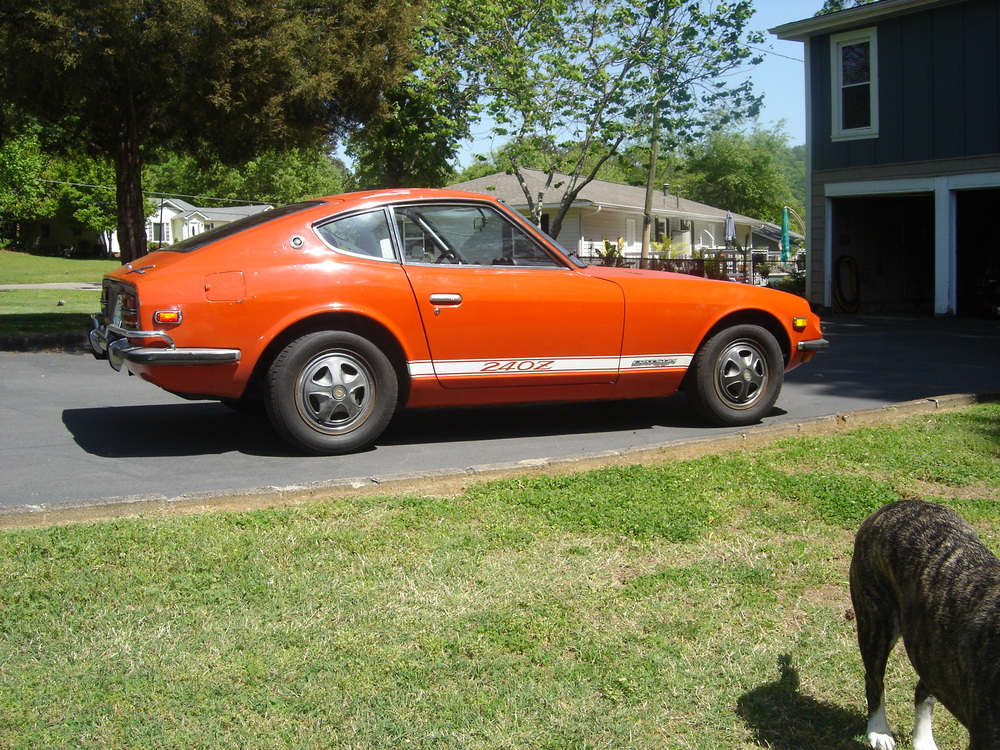
1 pointJust got a text from the guy I sold it to. No more rust, repainted exterior and some interior. All new weatherstripping and shined up wheels. Looks good and he is very happy with it. Here's what it did look like, 110.zip


 1 point
 -
1 point
-
1 pointDo you ever use voice to text feature on your tablet or computer? Usually it's pretty good at picking the right words out of context. In fact, I'm dictating this response to you. Dennis1 point
-
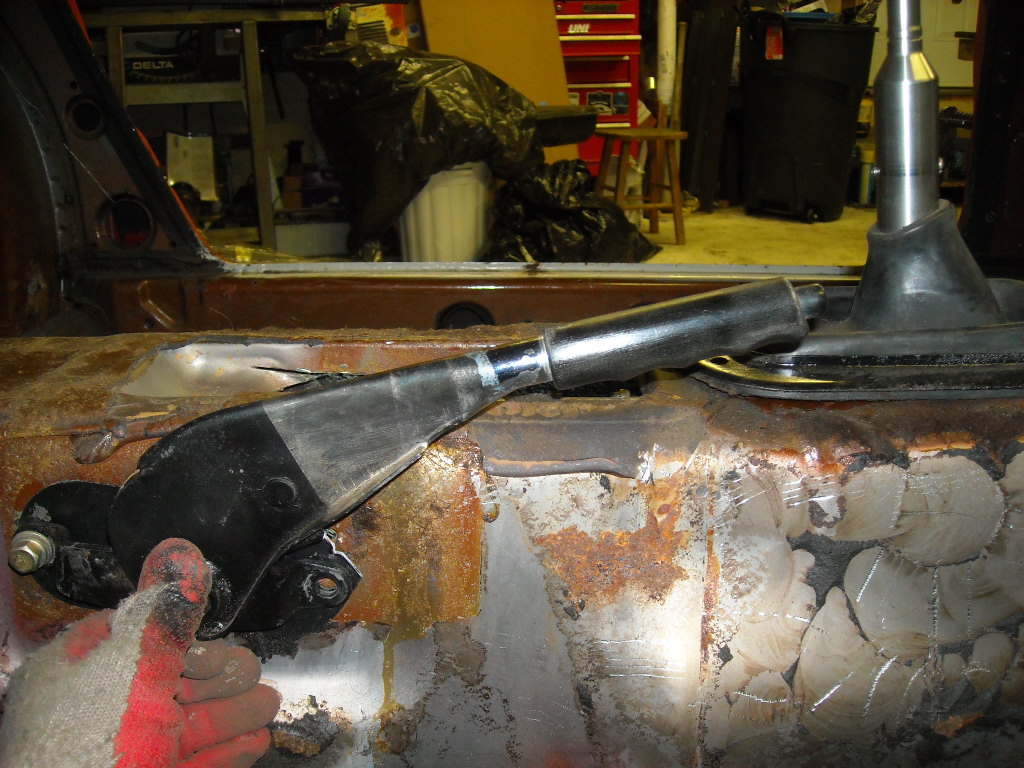
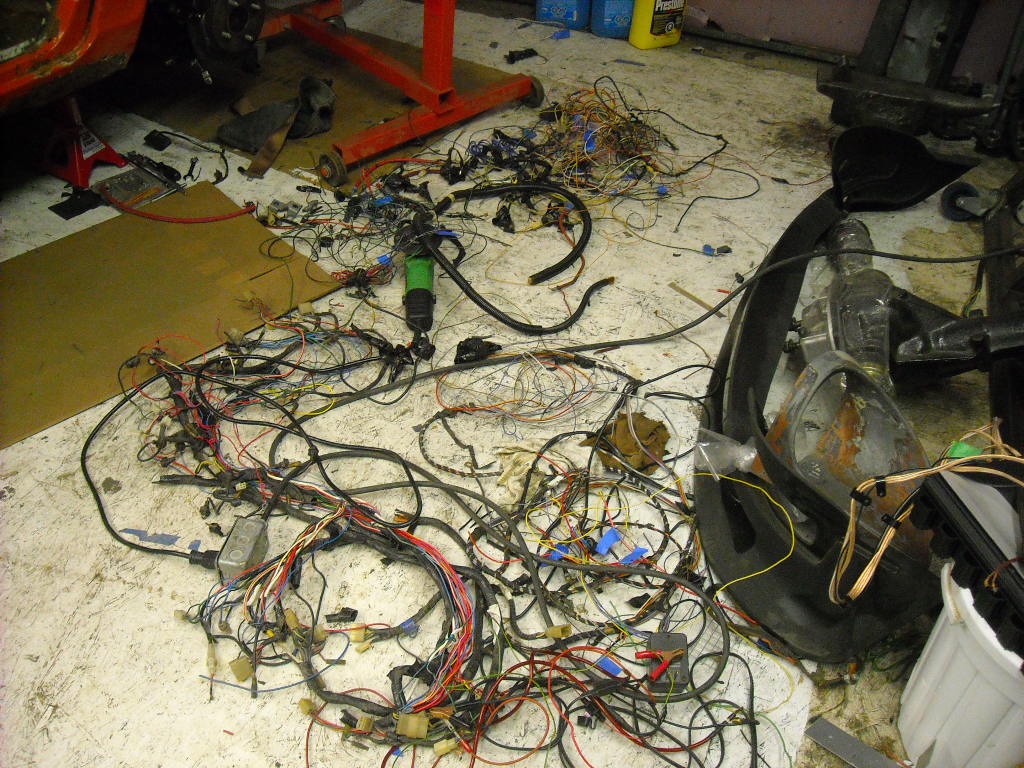
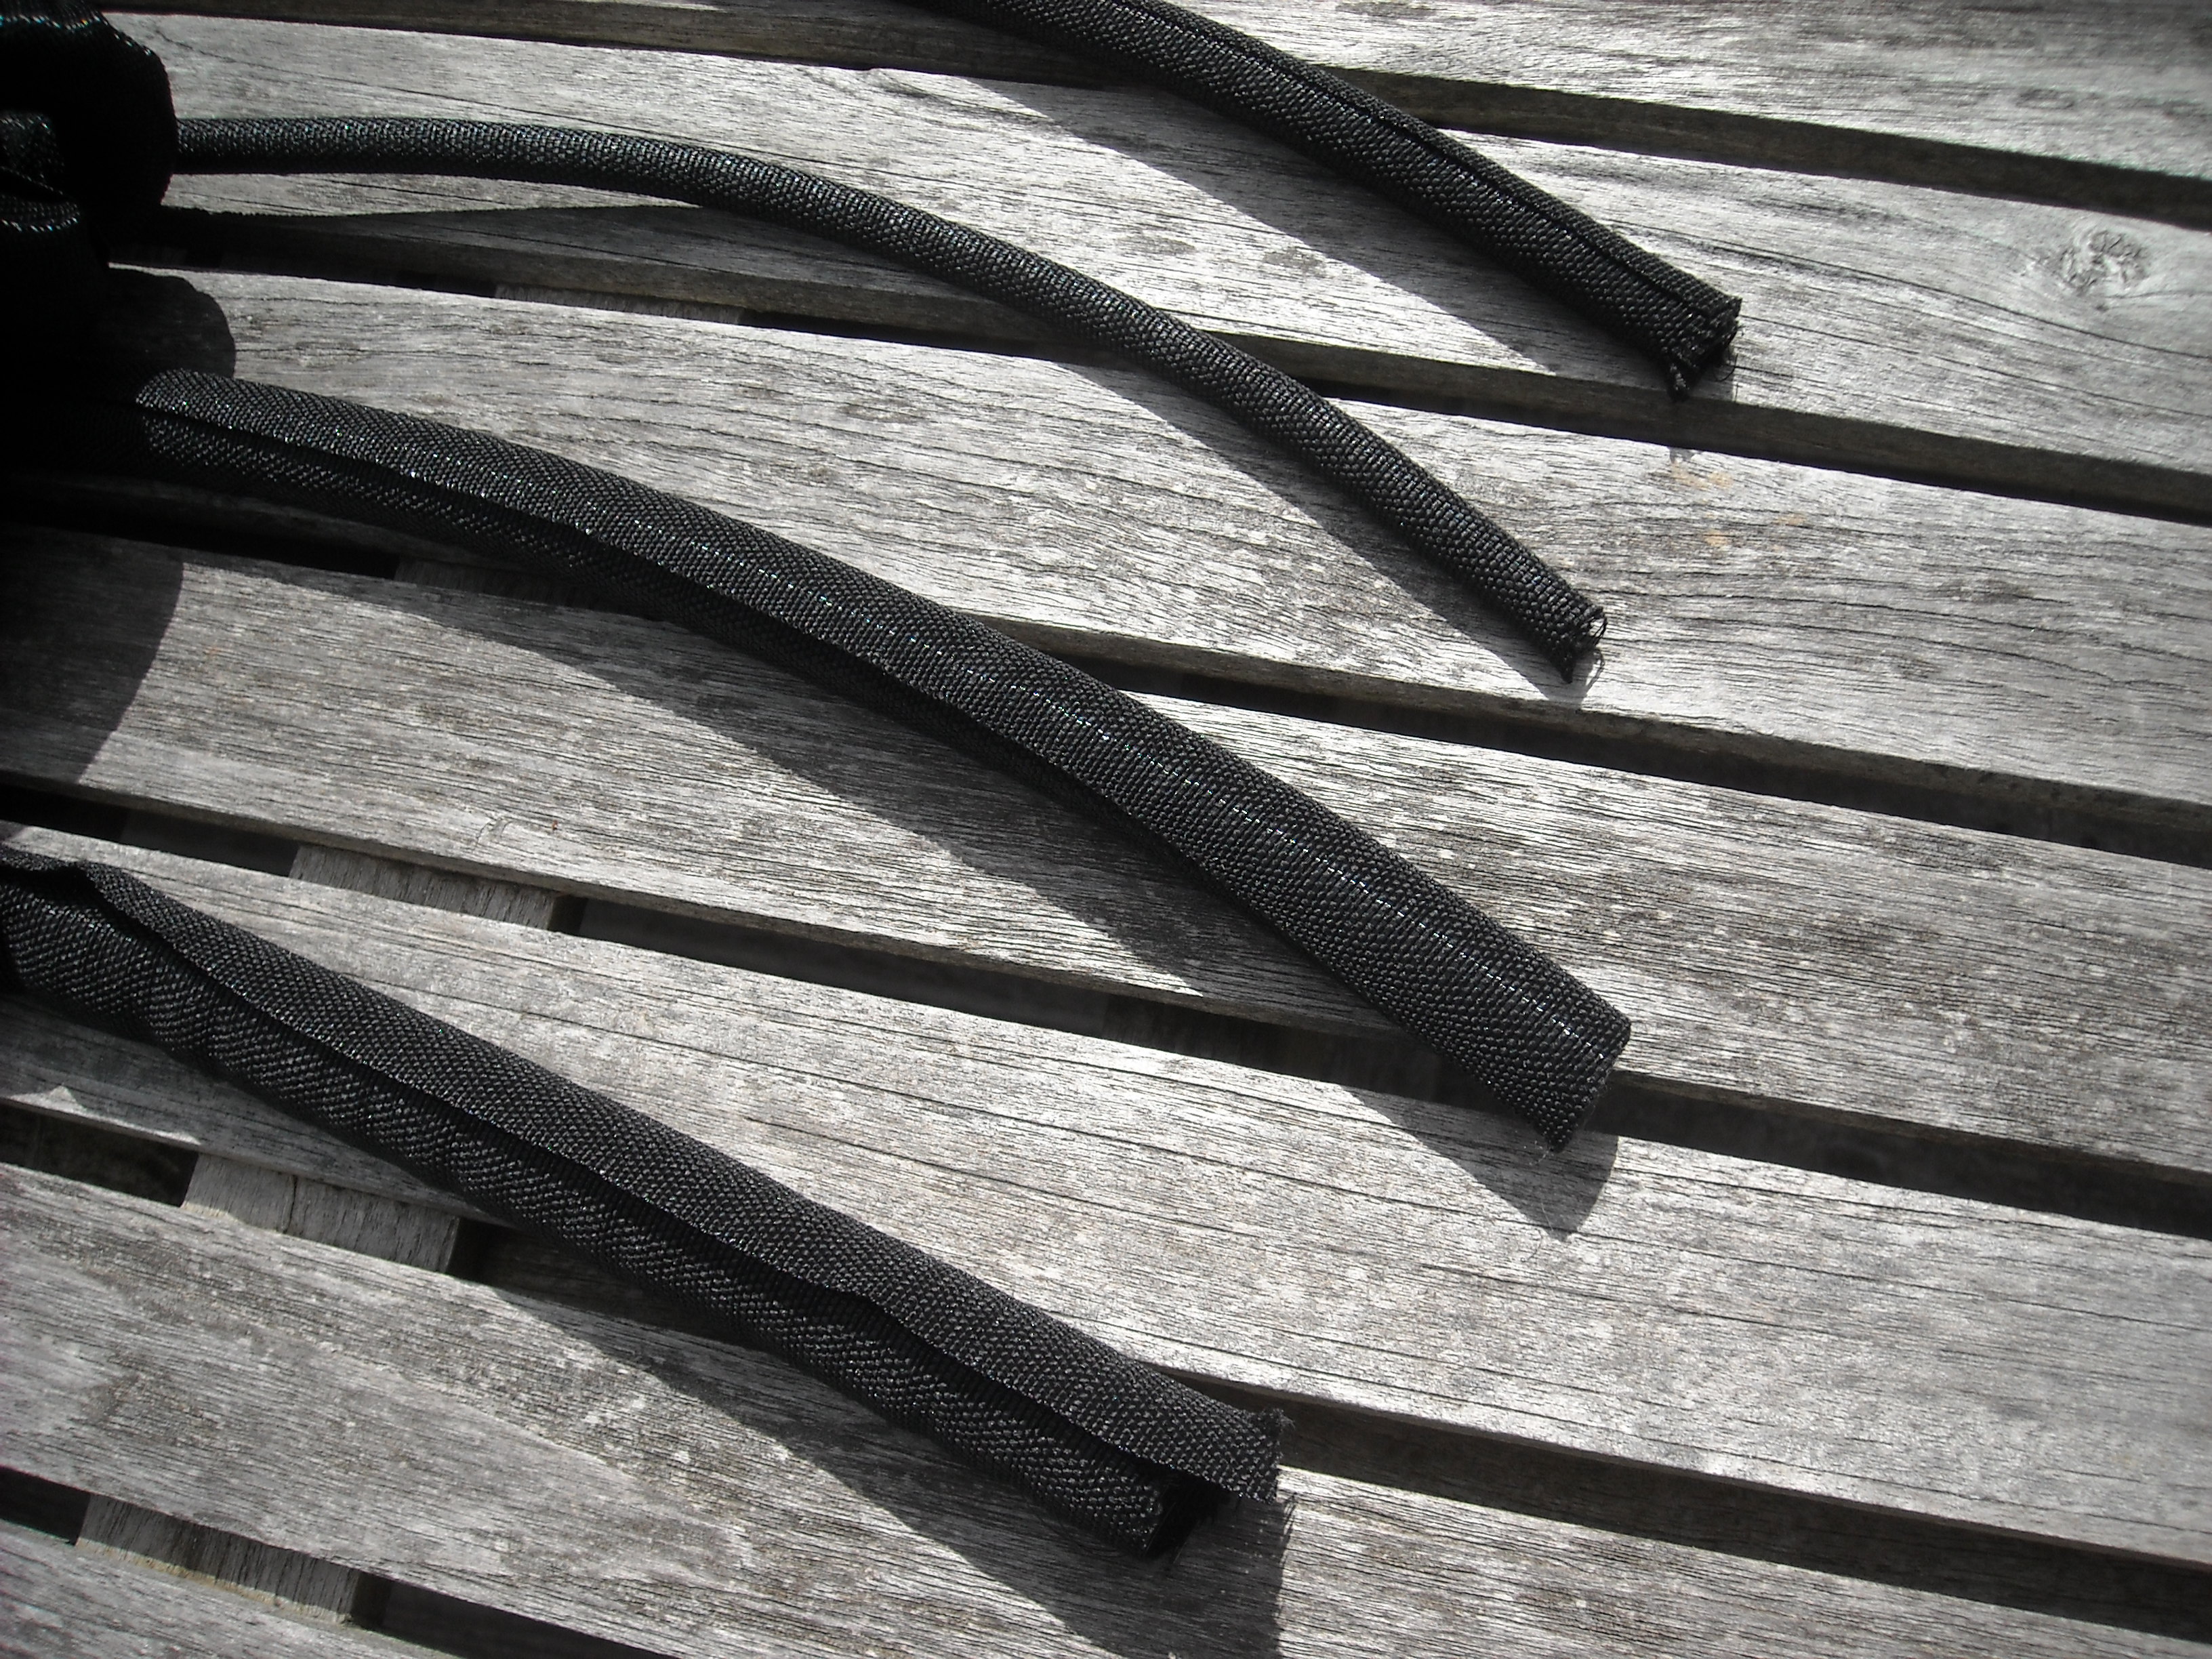
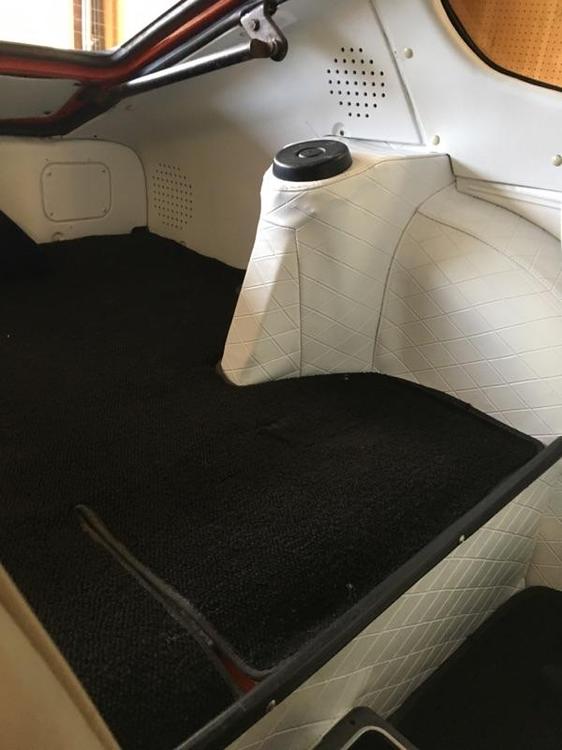
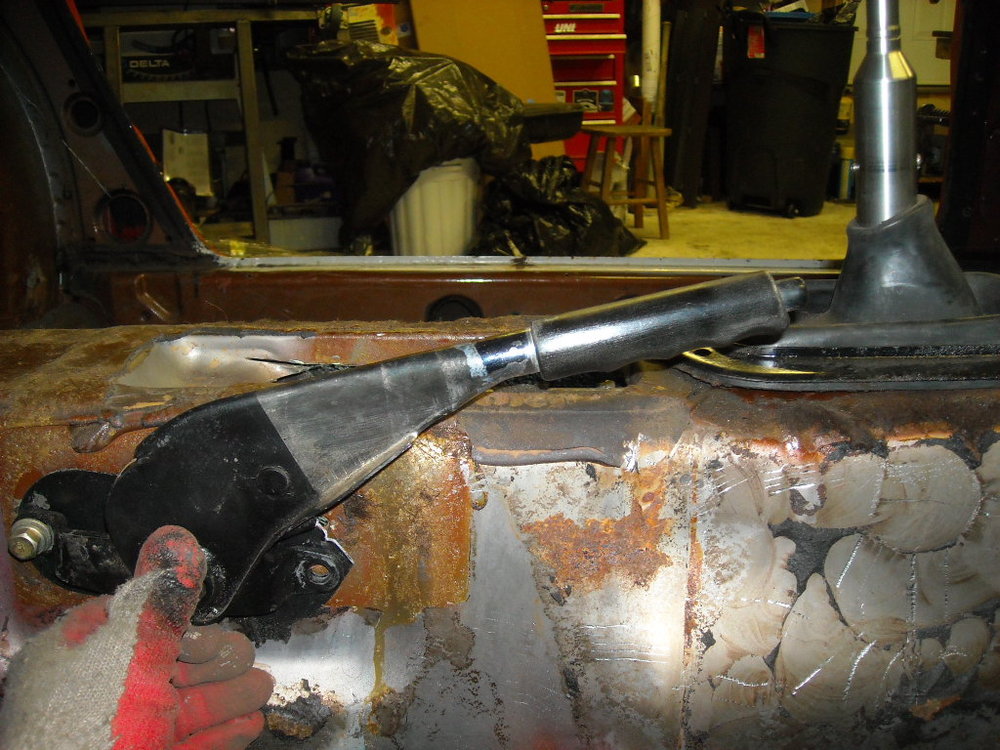
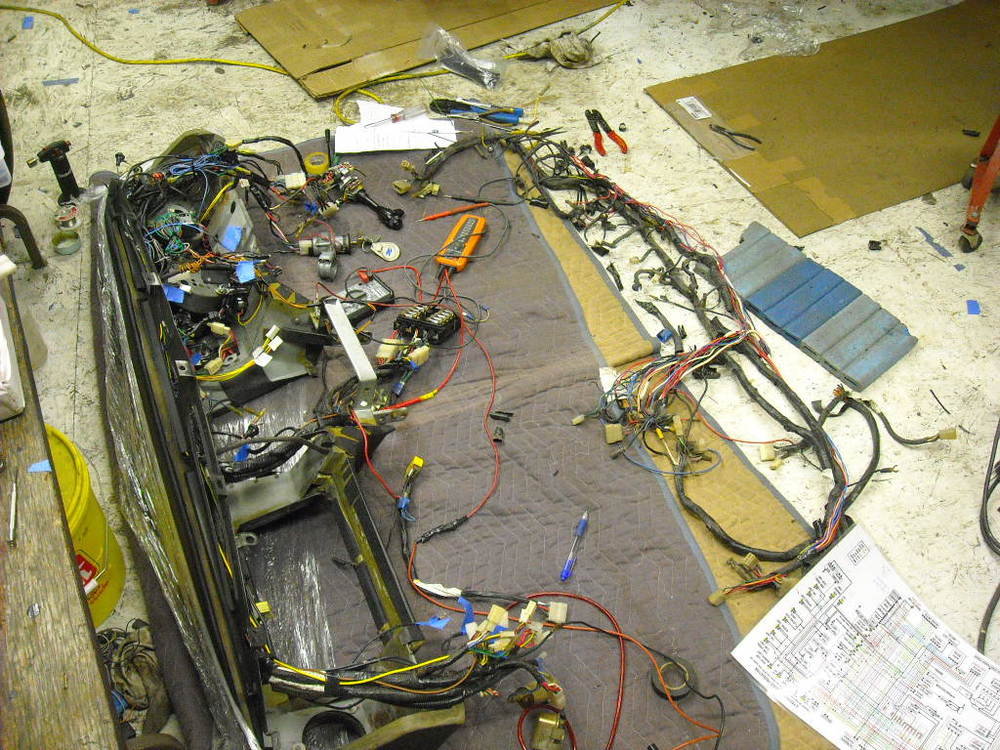
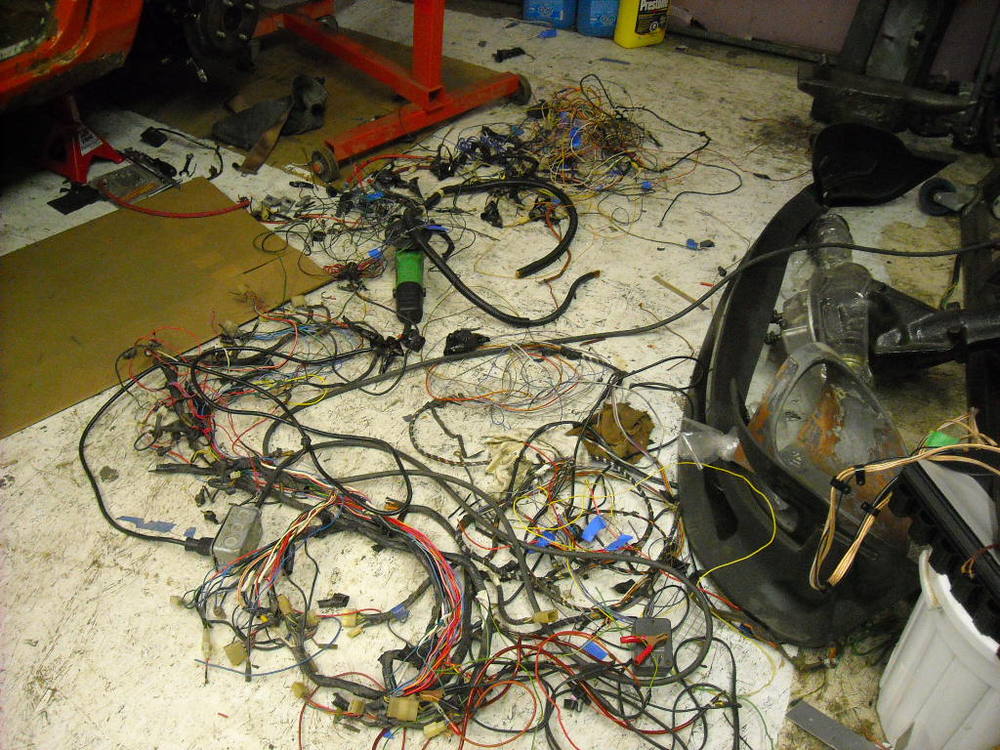
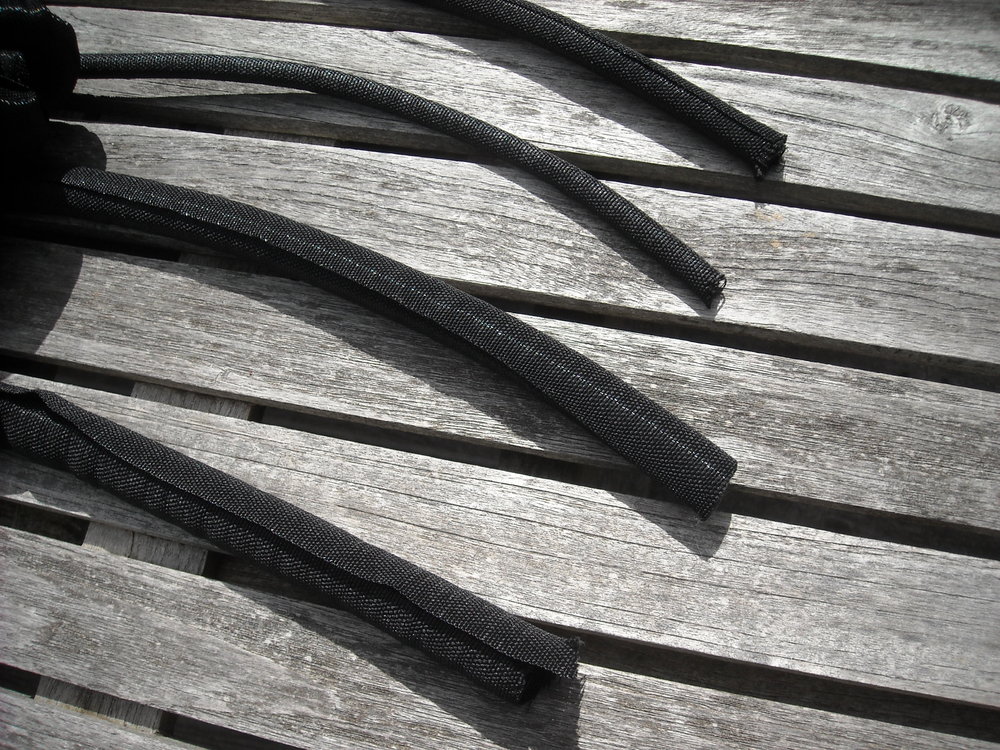
I have spent the past 3 weeks intergrating the Datsun and bmw wiring harnesses, lots of fun. But I got a chance to check all the wires, replace some bad connections and get rid of lots of unused circuits. I also got rid of all the electrical tape wrap and replaced it with this cool woven split harness wrap, you can add or remove a wire at anytime. This is the Pelican type box I'm using for the relay board, switched and unswitched fuses, hoping to get a tighter length on all the wires on the final install. Here is what got cut out of the harnesses, I have always felt that the parking brake sits too high, I'm for ever grabbing it, pushing the button and trying to get it to go lower. So that problem is fixed now, repositioned the mounting holes and cut some longer threads on the linkage rod.

 1 point
 -
1 pointLooks like they changed mid build year 1975, and again in 1976. Double check though. http://www.carpartsmanual.com/datsun/Z-1969-1978/body-260z-280z/2-seater/door-panel-glass-hinge http://www.carpartsmanual.com/datsun/Z-1969-1978/body-240z/door-panel-glass-hinge1 point
-
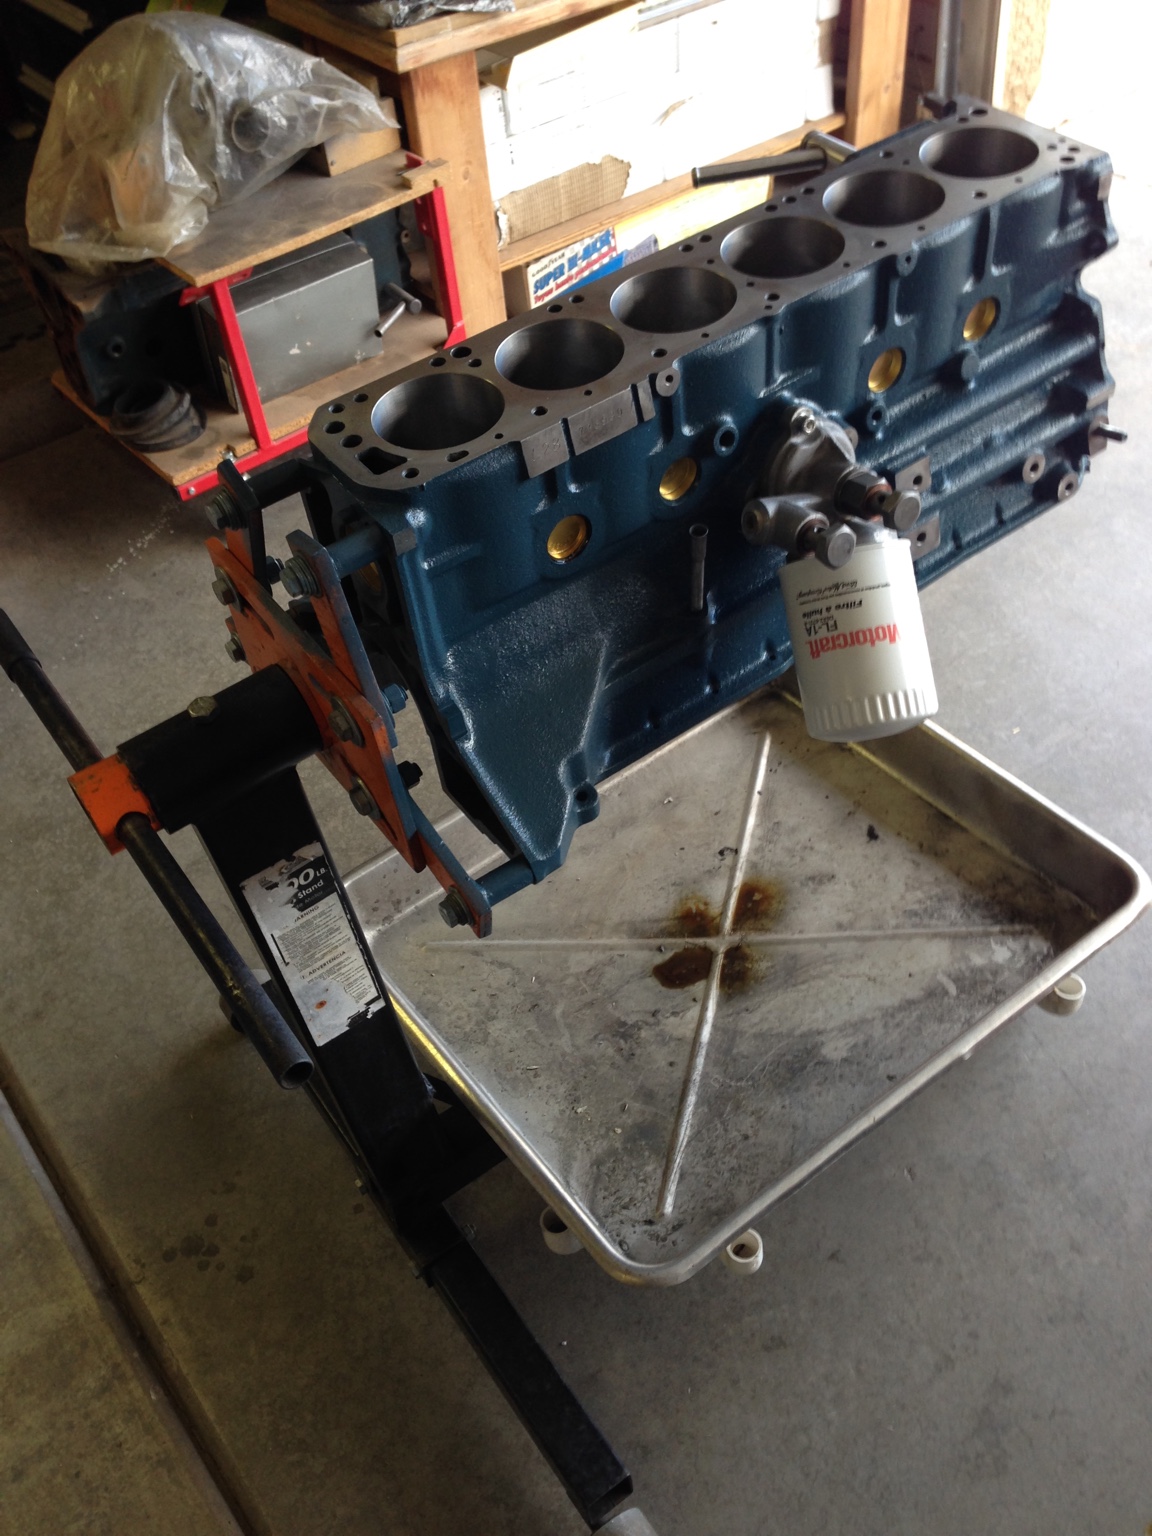
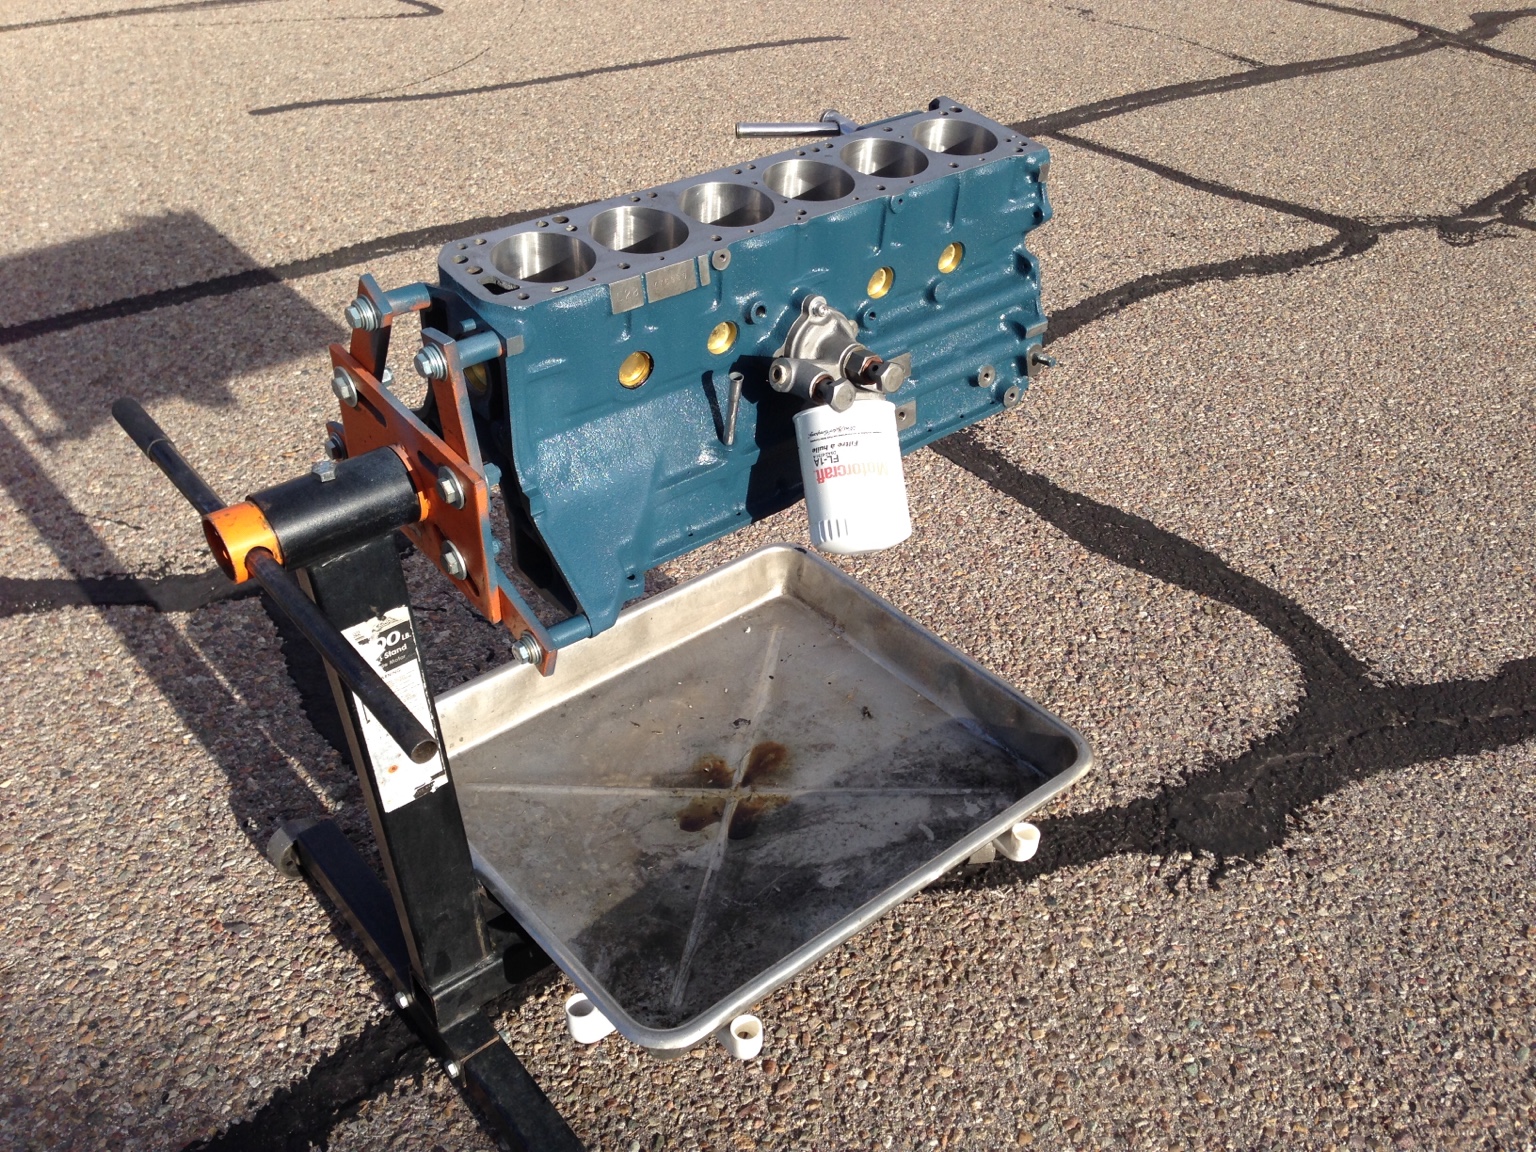
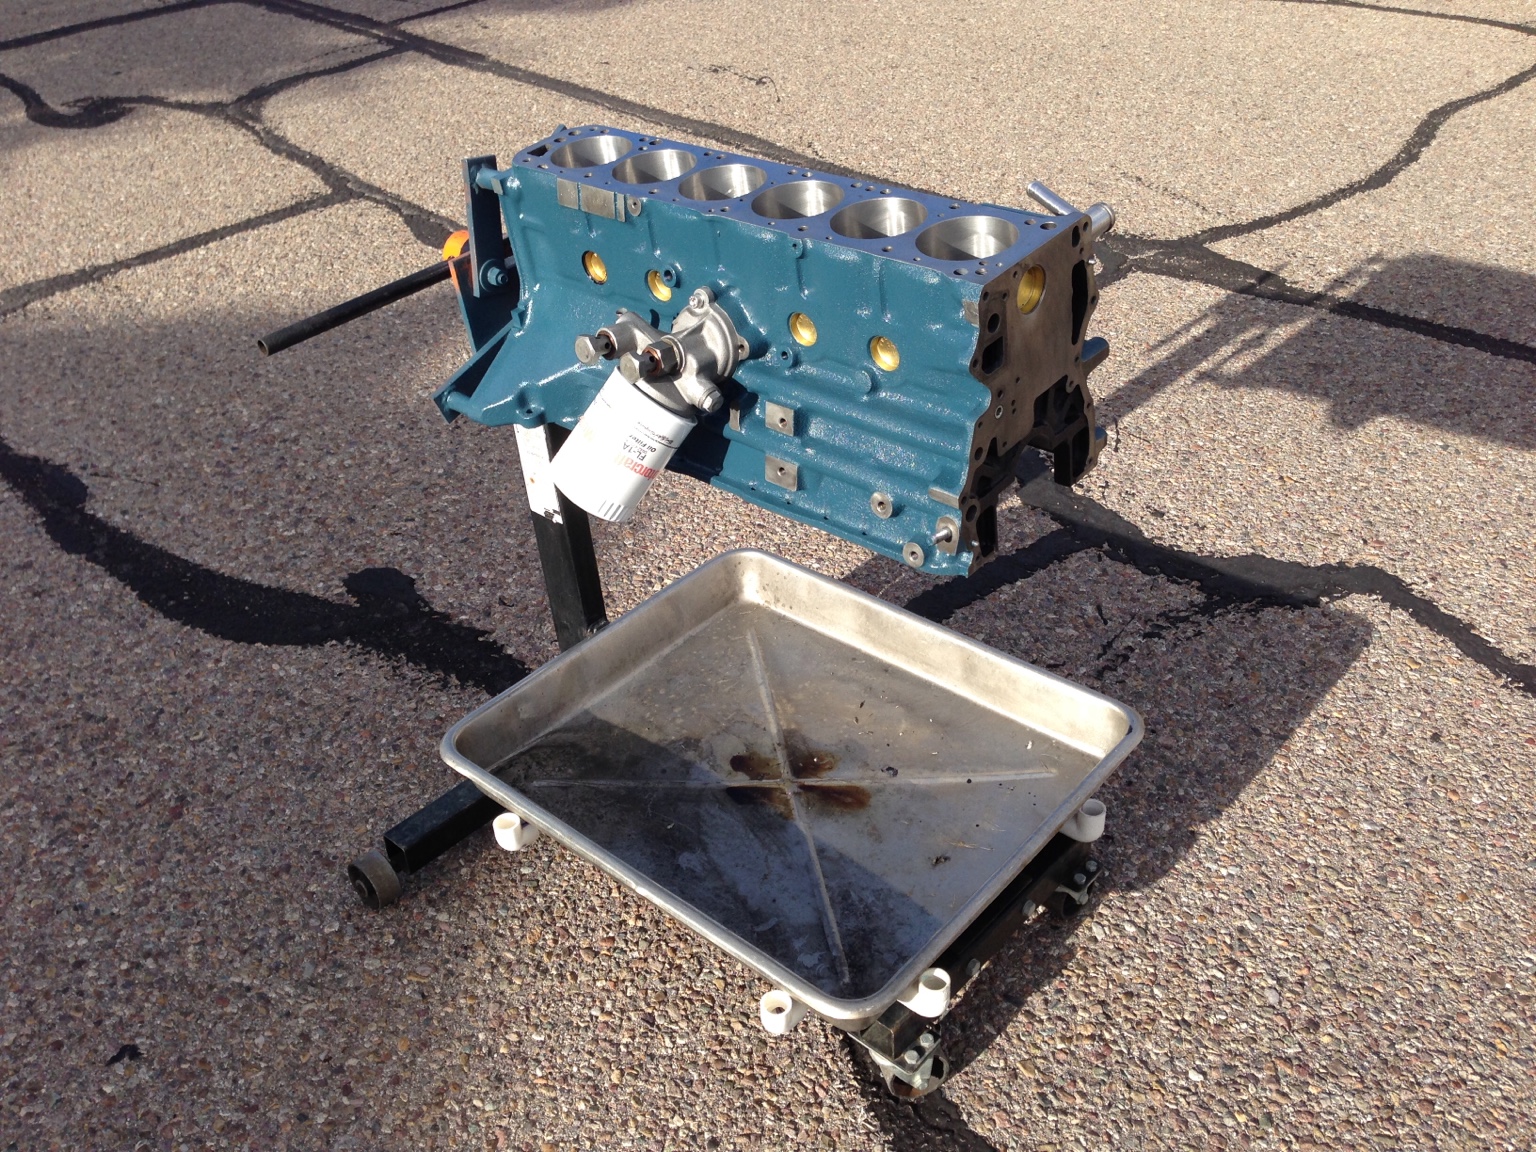
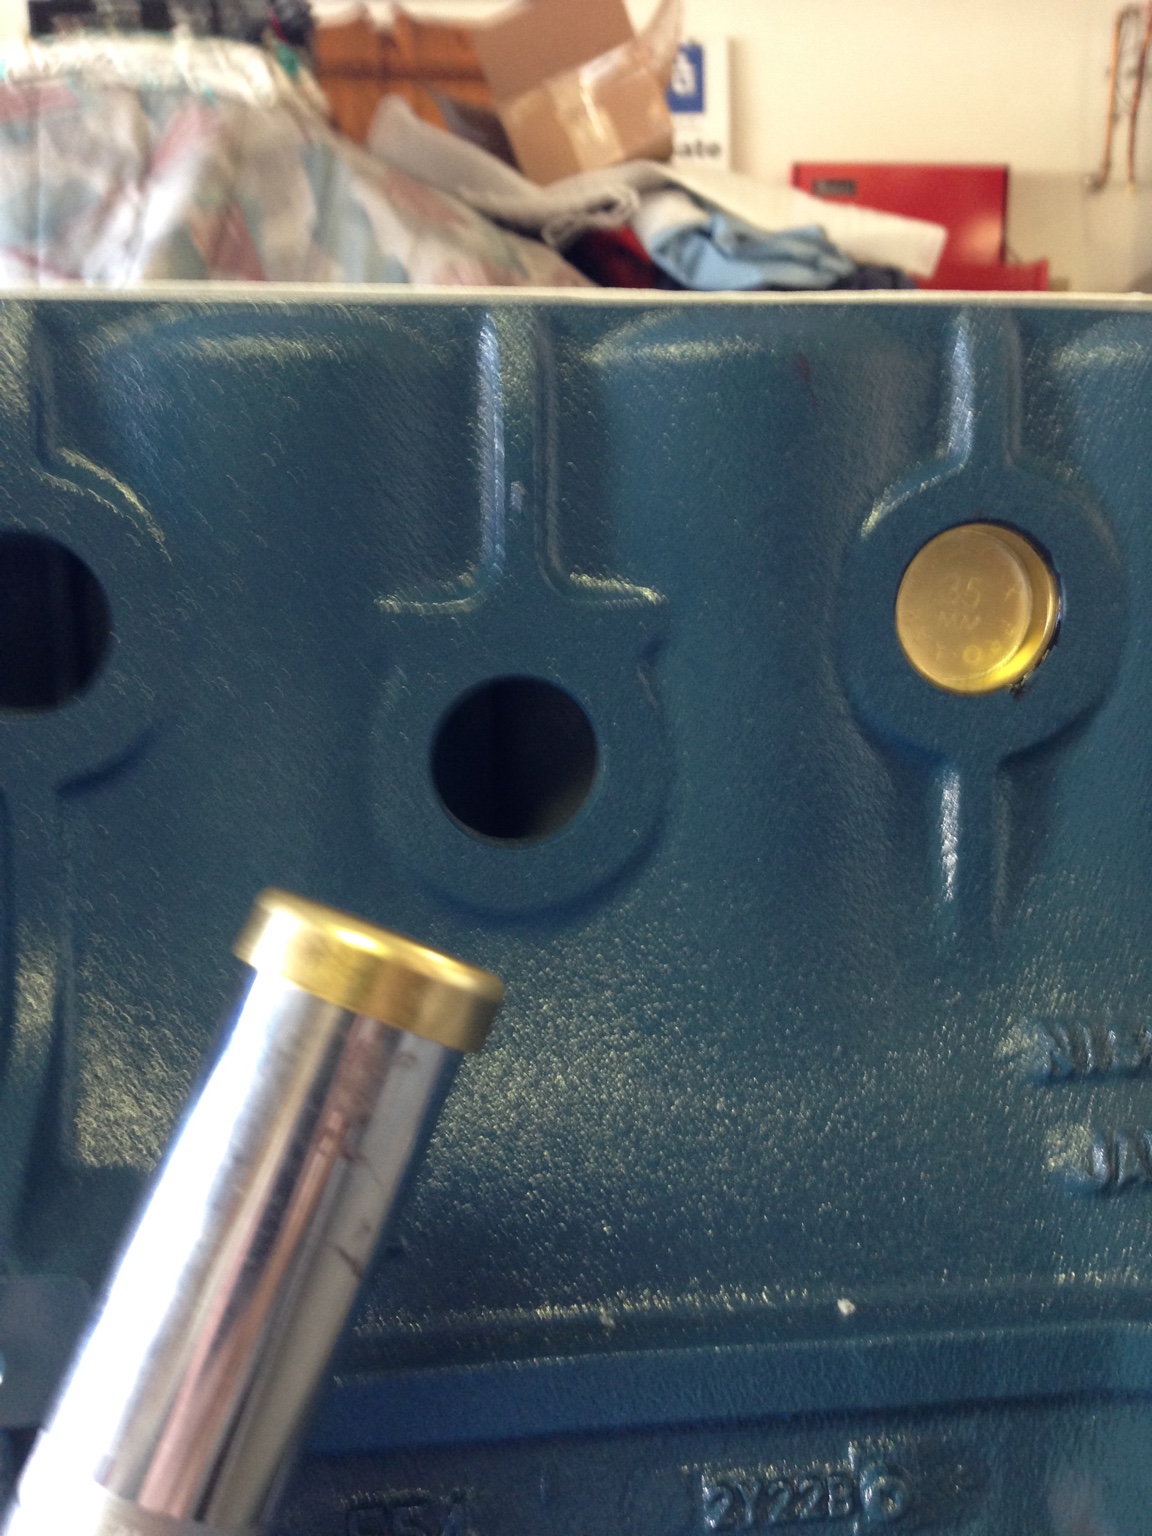
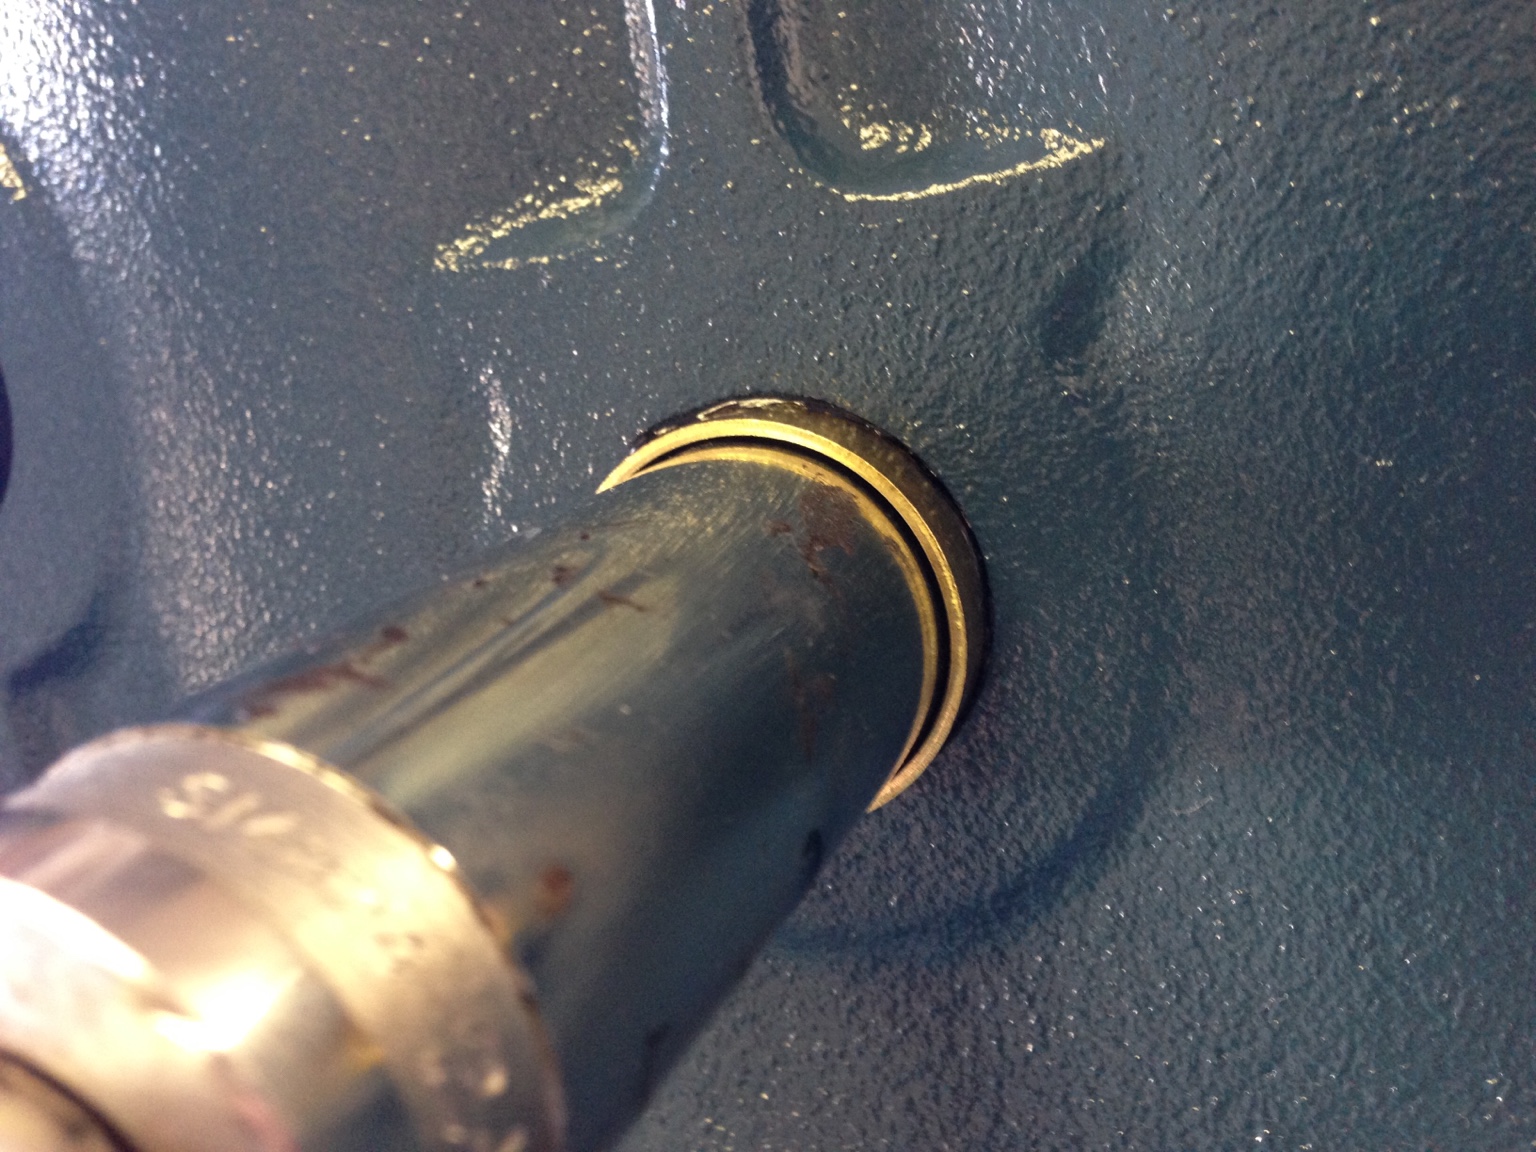
1 pointWe are still researching the right direction for the interior, but have had good results with other solutions, such as Rustoleum Ceramic Enamel, which doesn't need to be baked on. --- In other news... Freeze plugs: And luscious Nissan blue paint on the block: More angles:


 1 point
 -
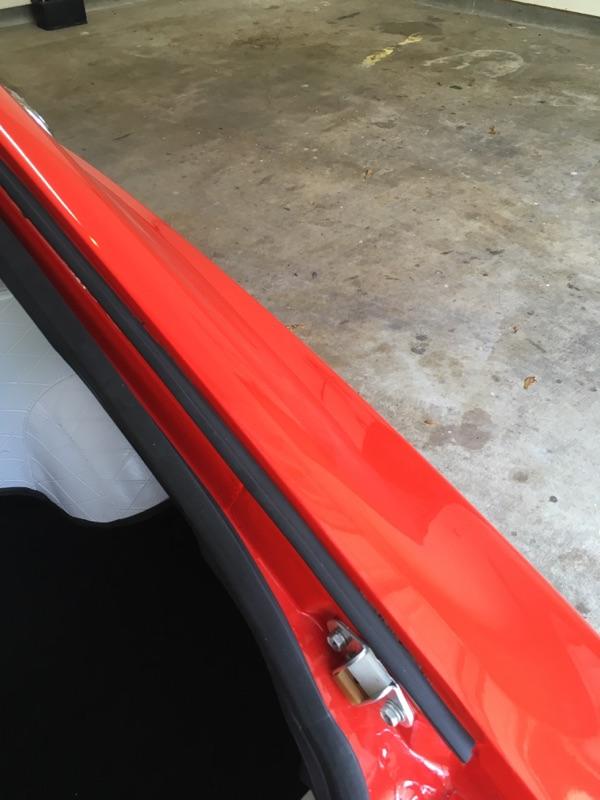
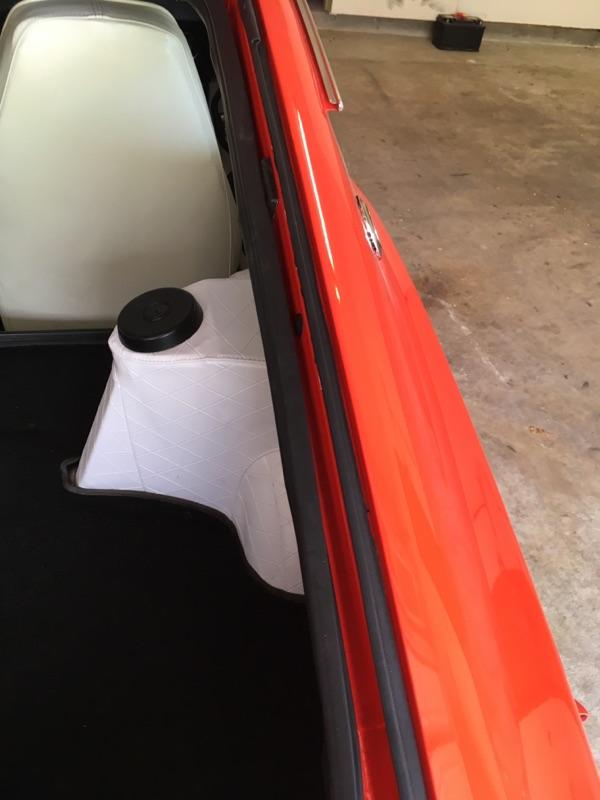
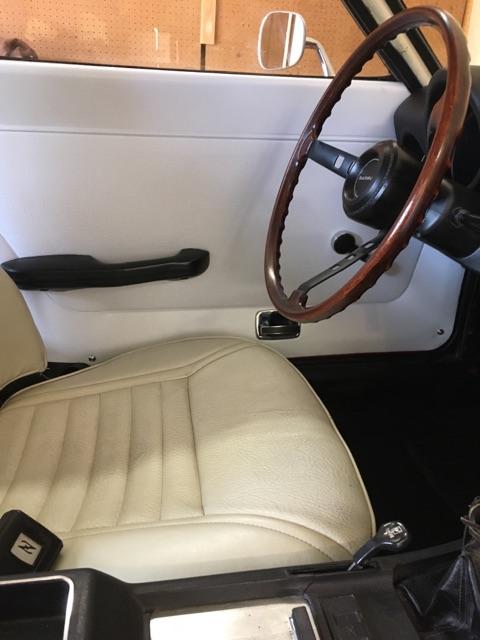
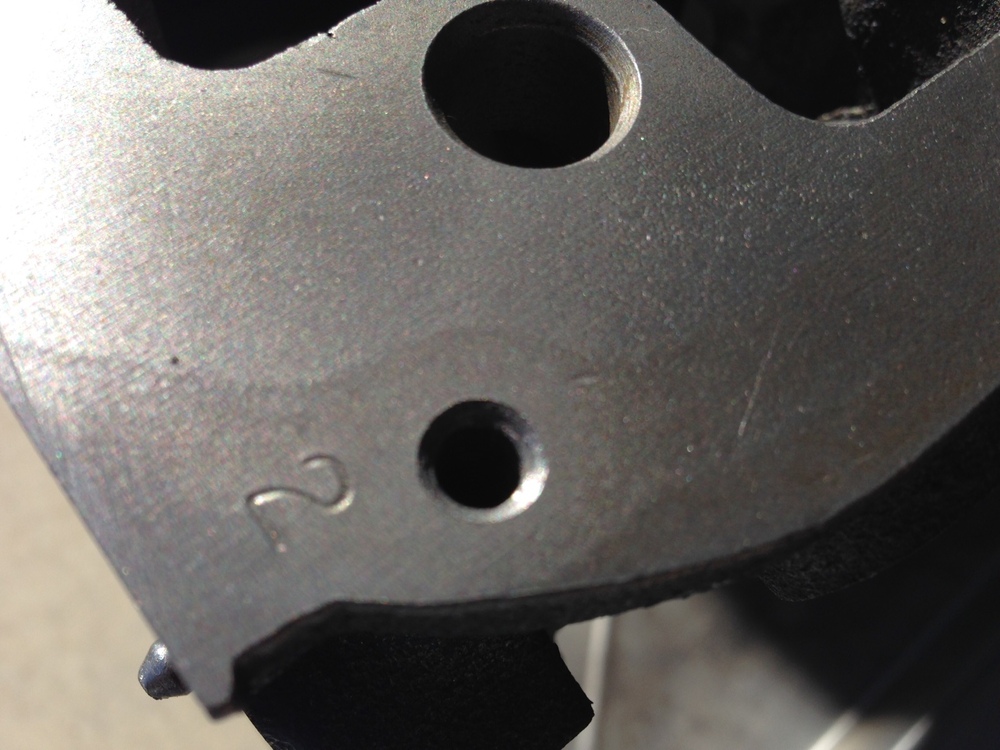
1 pointAll of the fender bolts were painted body color from the factory. They were hex head indented bolts with a "4" (torque value) cast onto the head. There were only a very few fasteners un-painted, such as the 4 round counter sunk Philip flat head screws that fastened the rear hatch to its hinges, and the door window frame fasteners, 5 per door, located in the door jambs that I can think of right now. Dan1 point
-
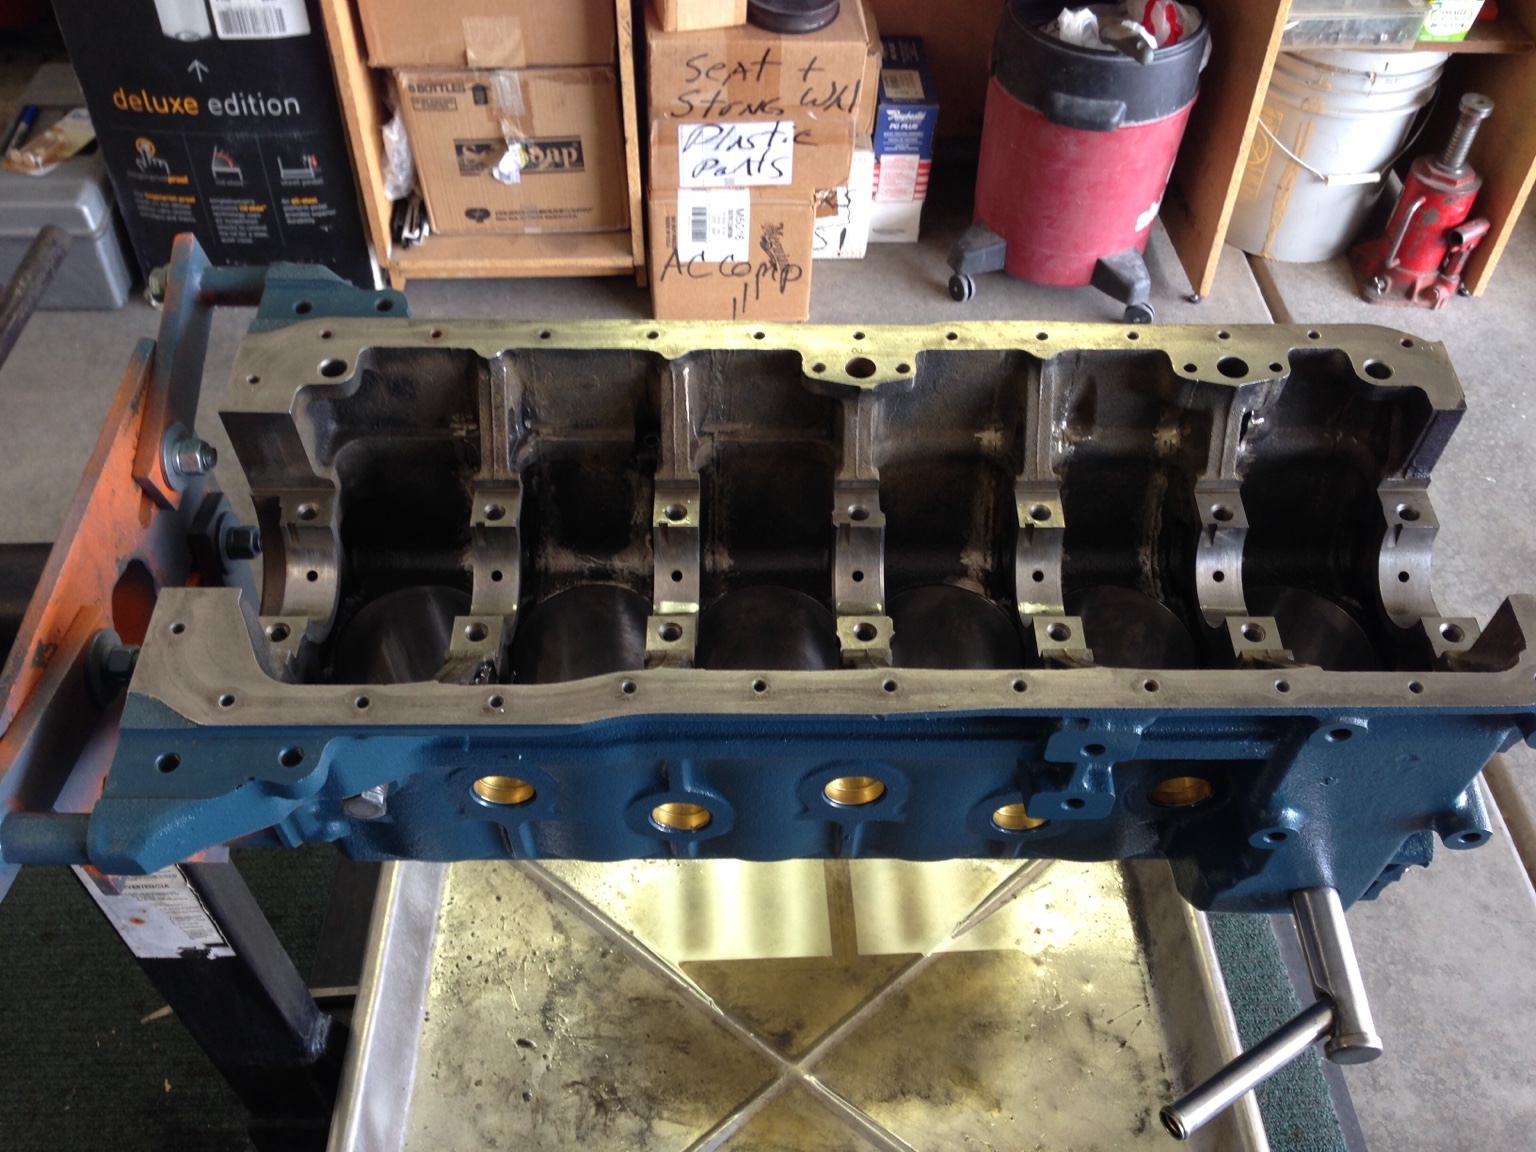
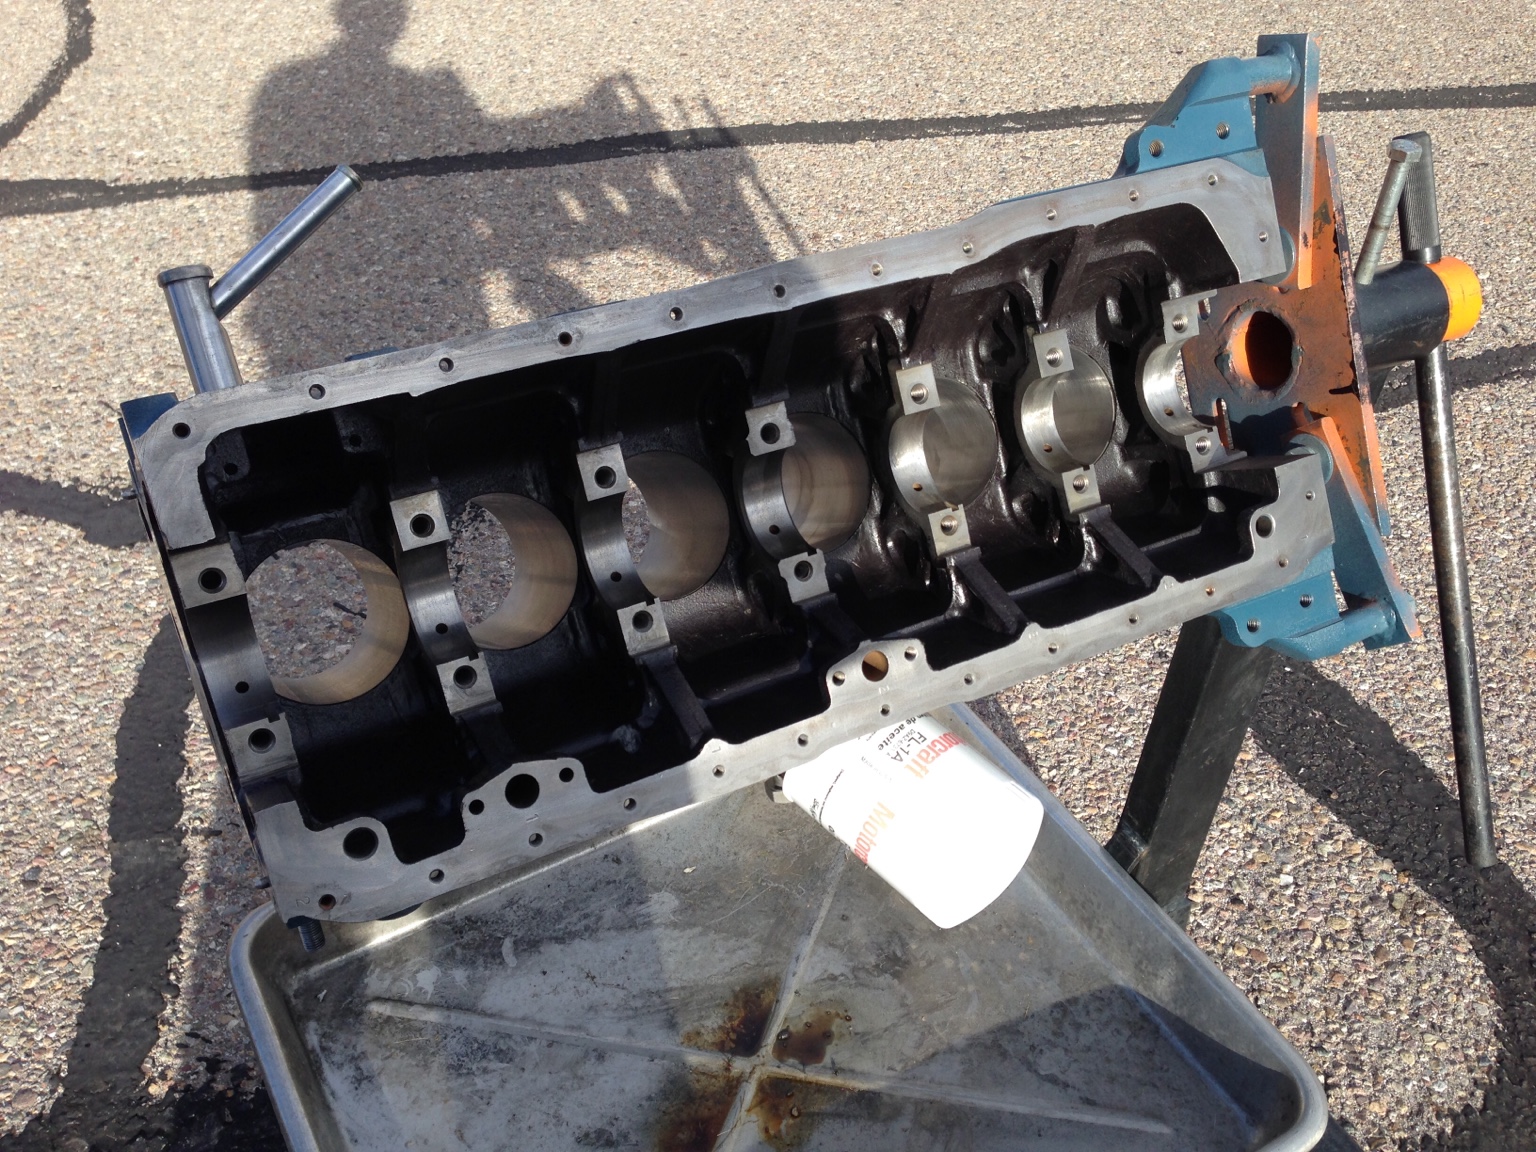
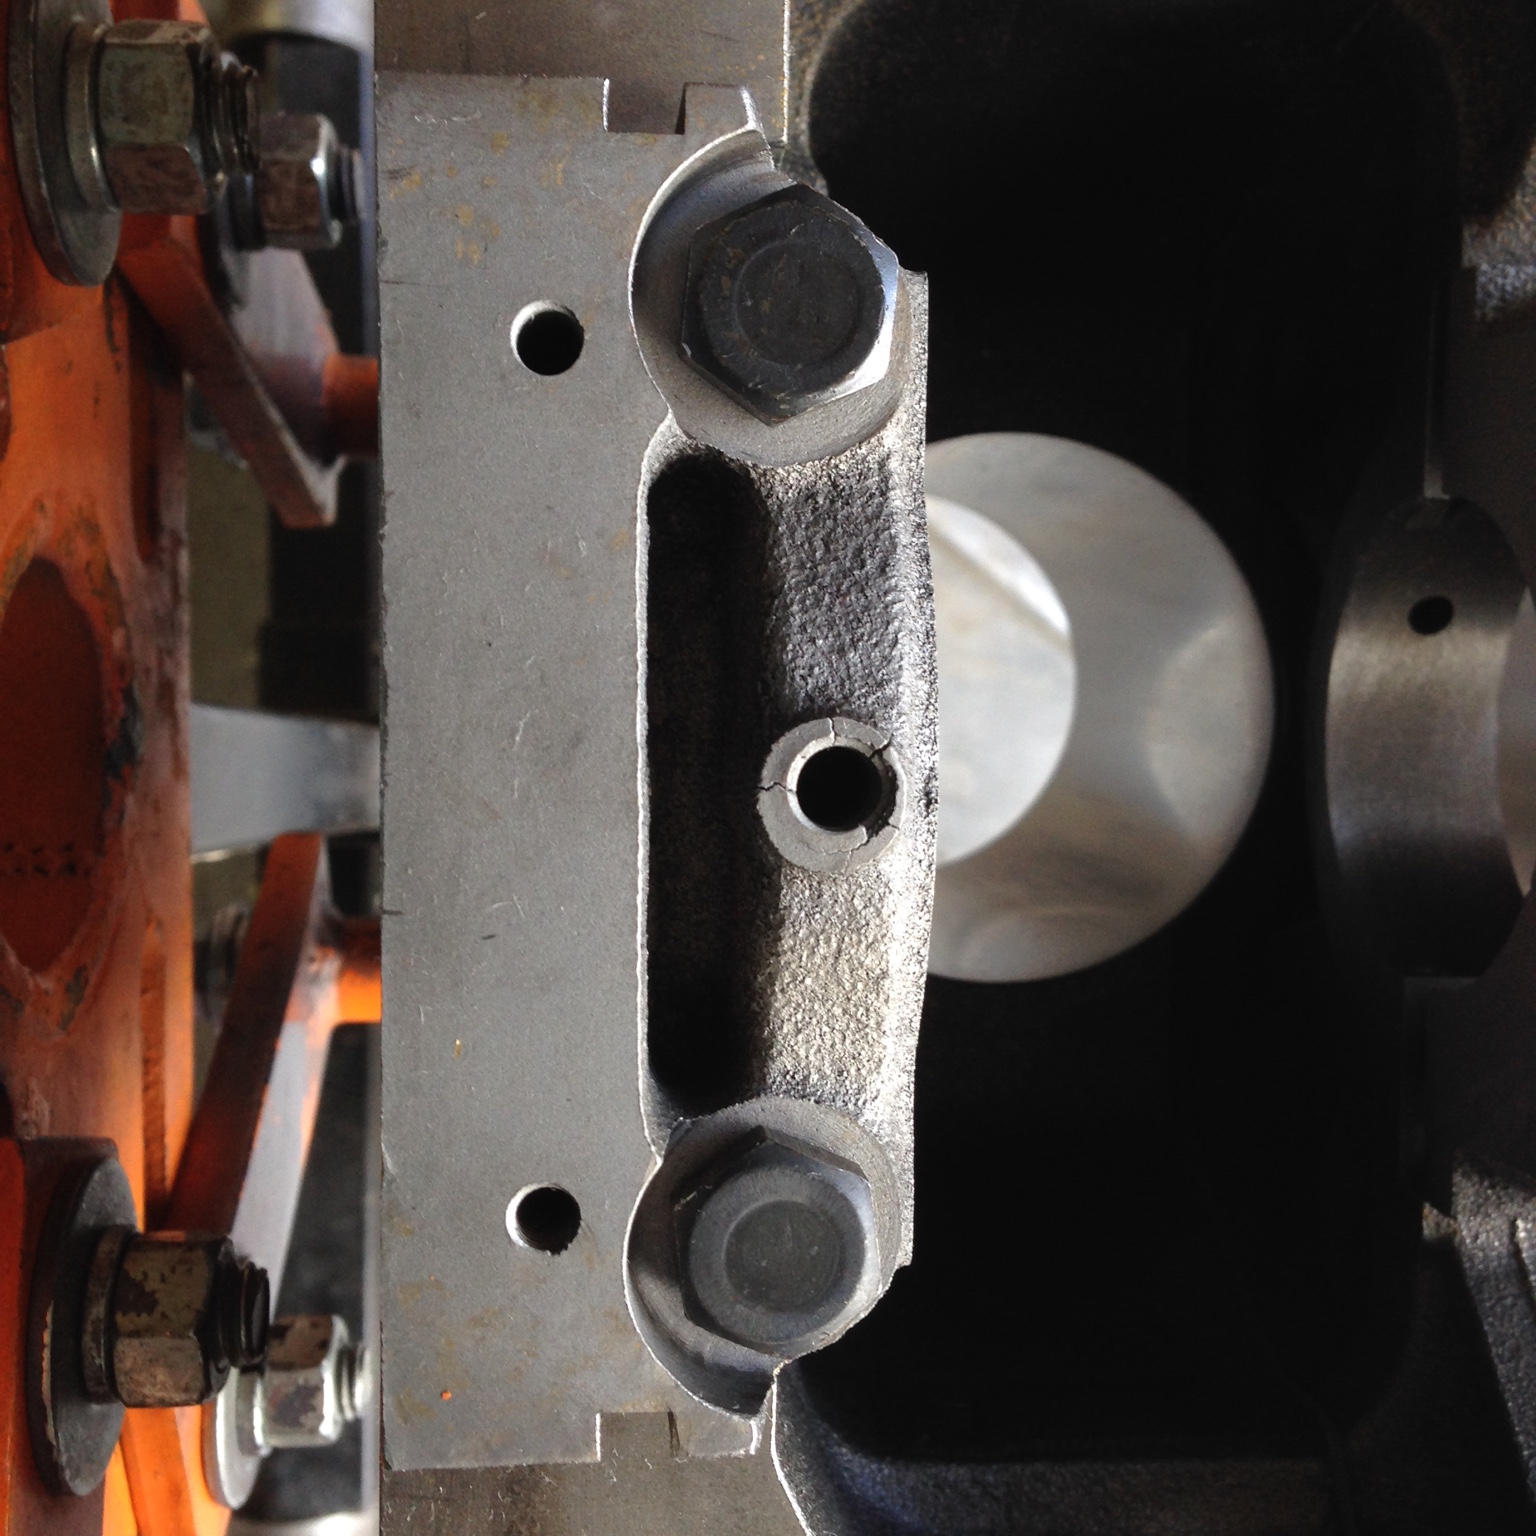
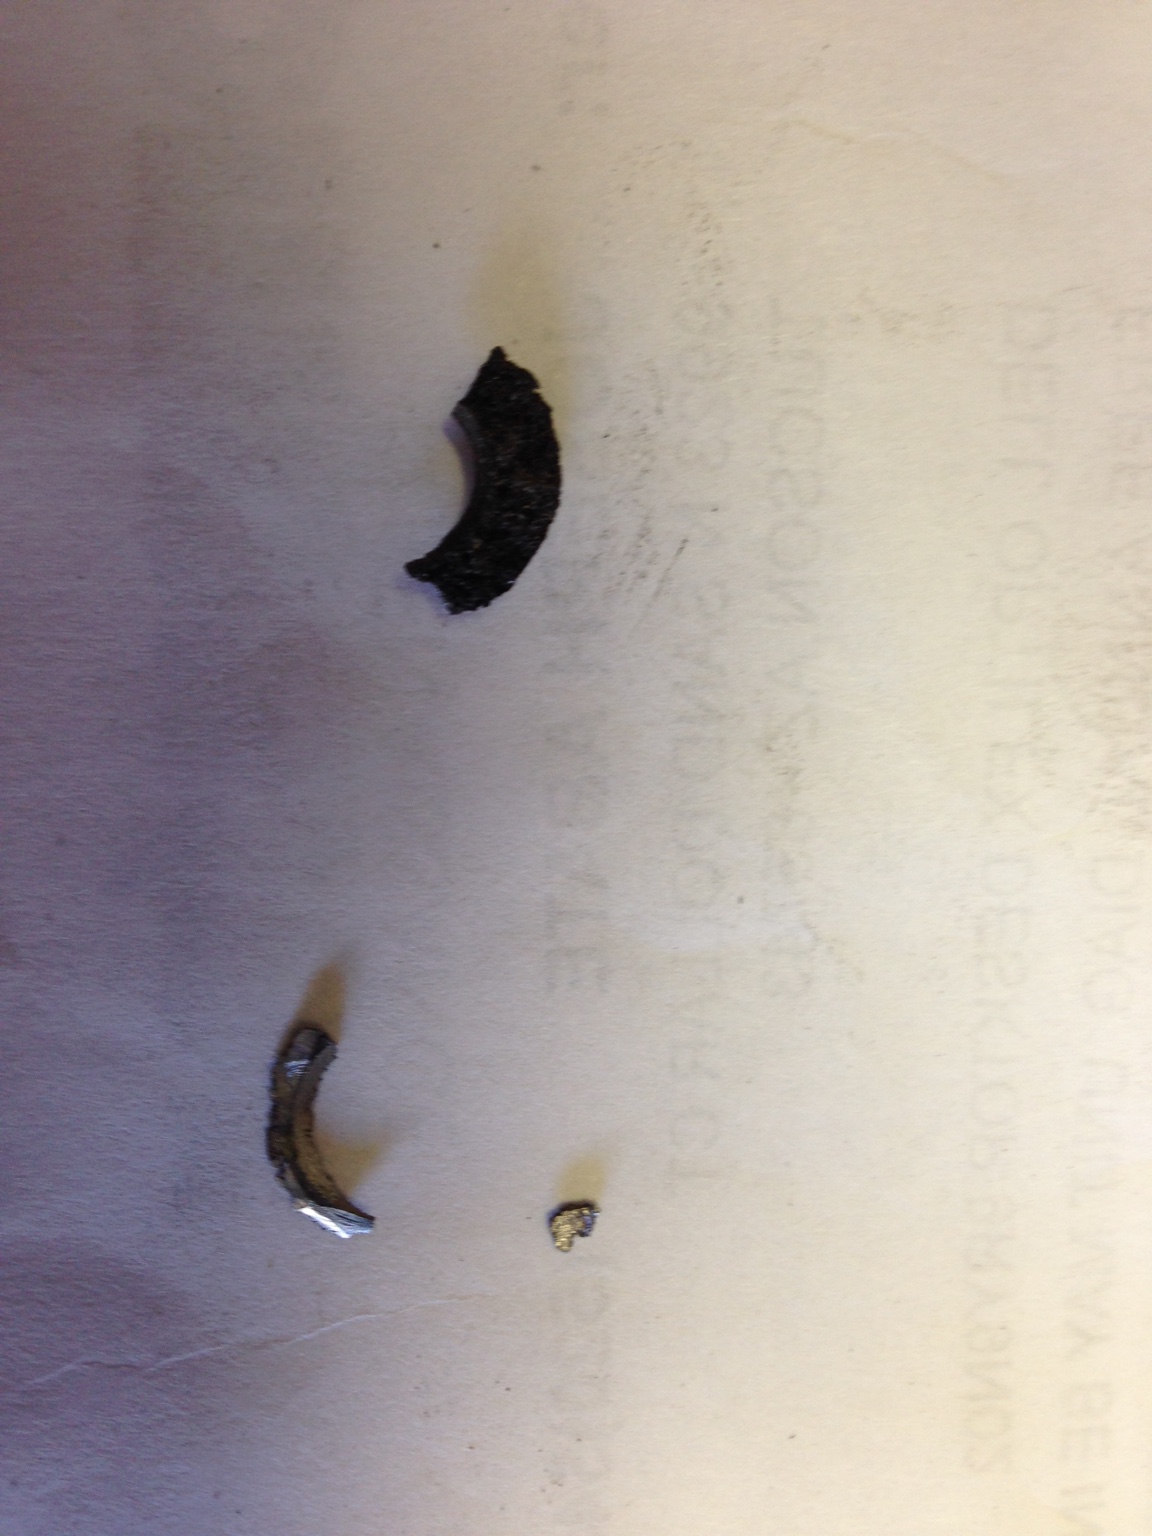
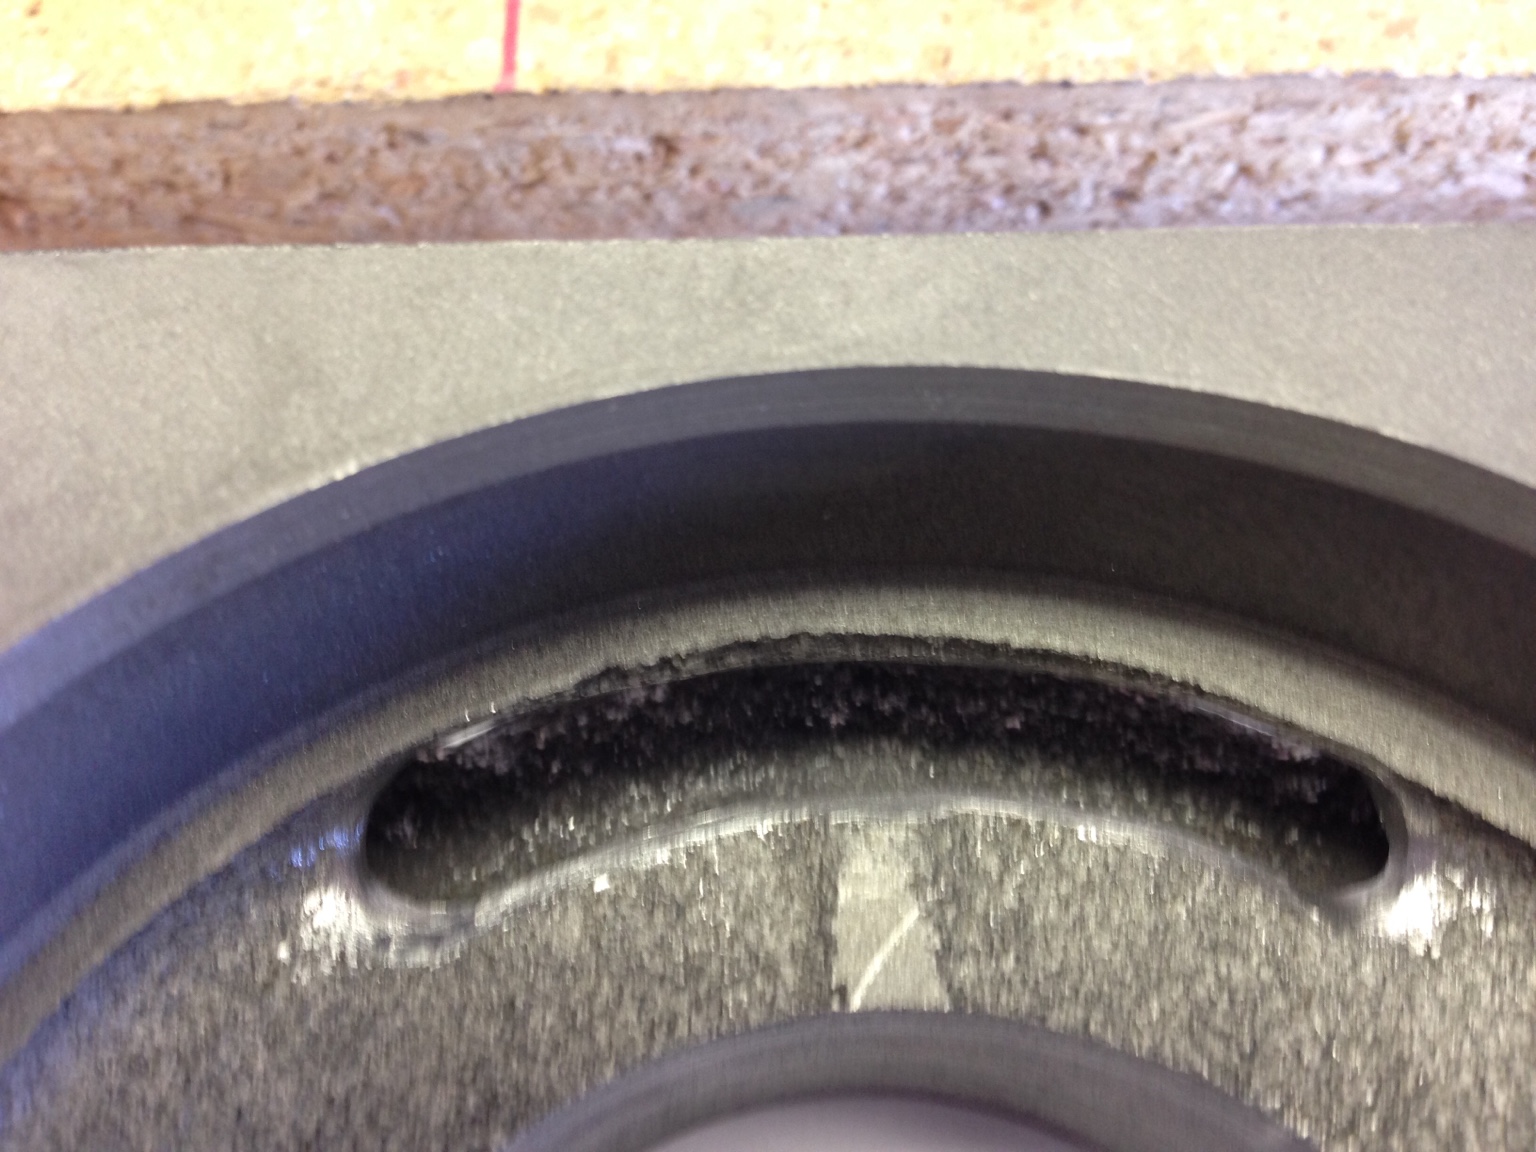
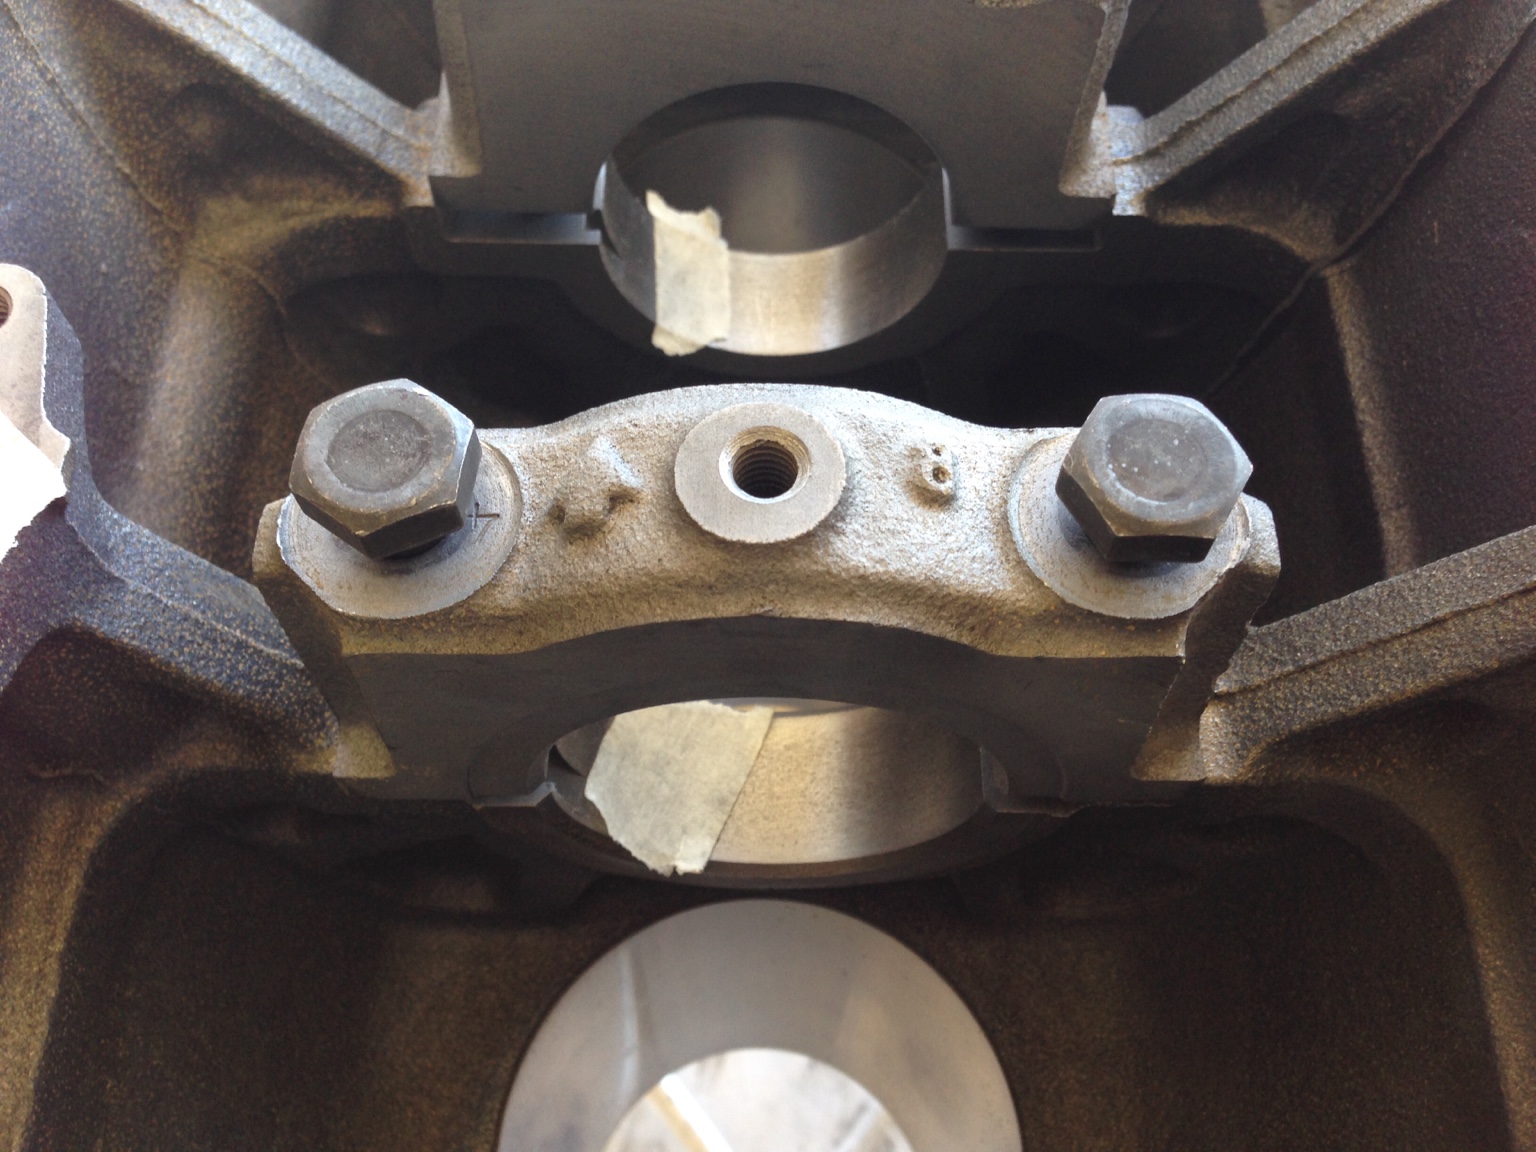
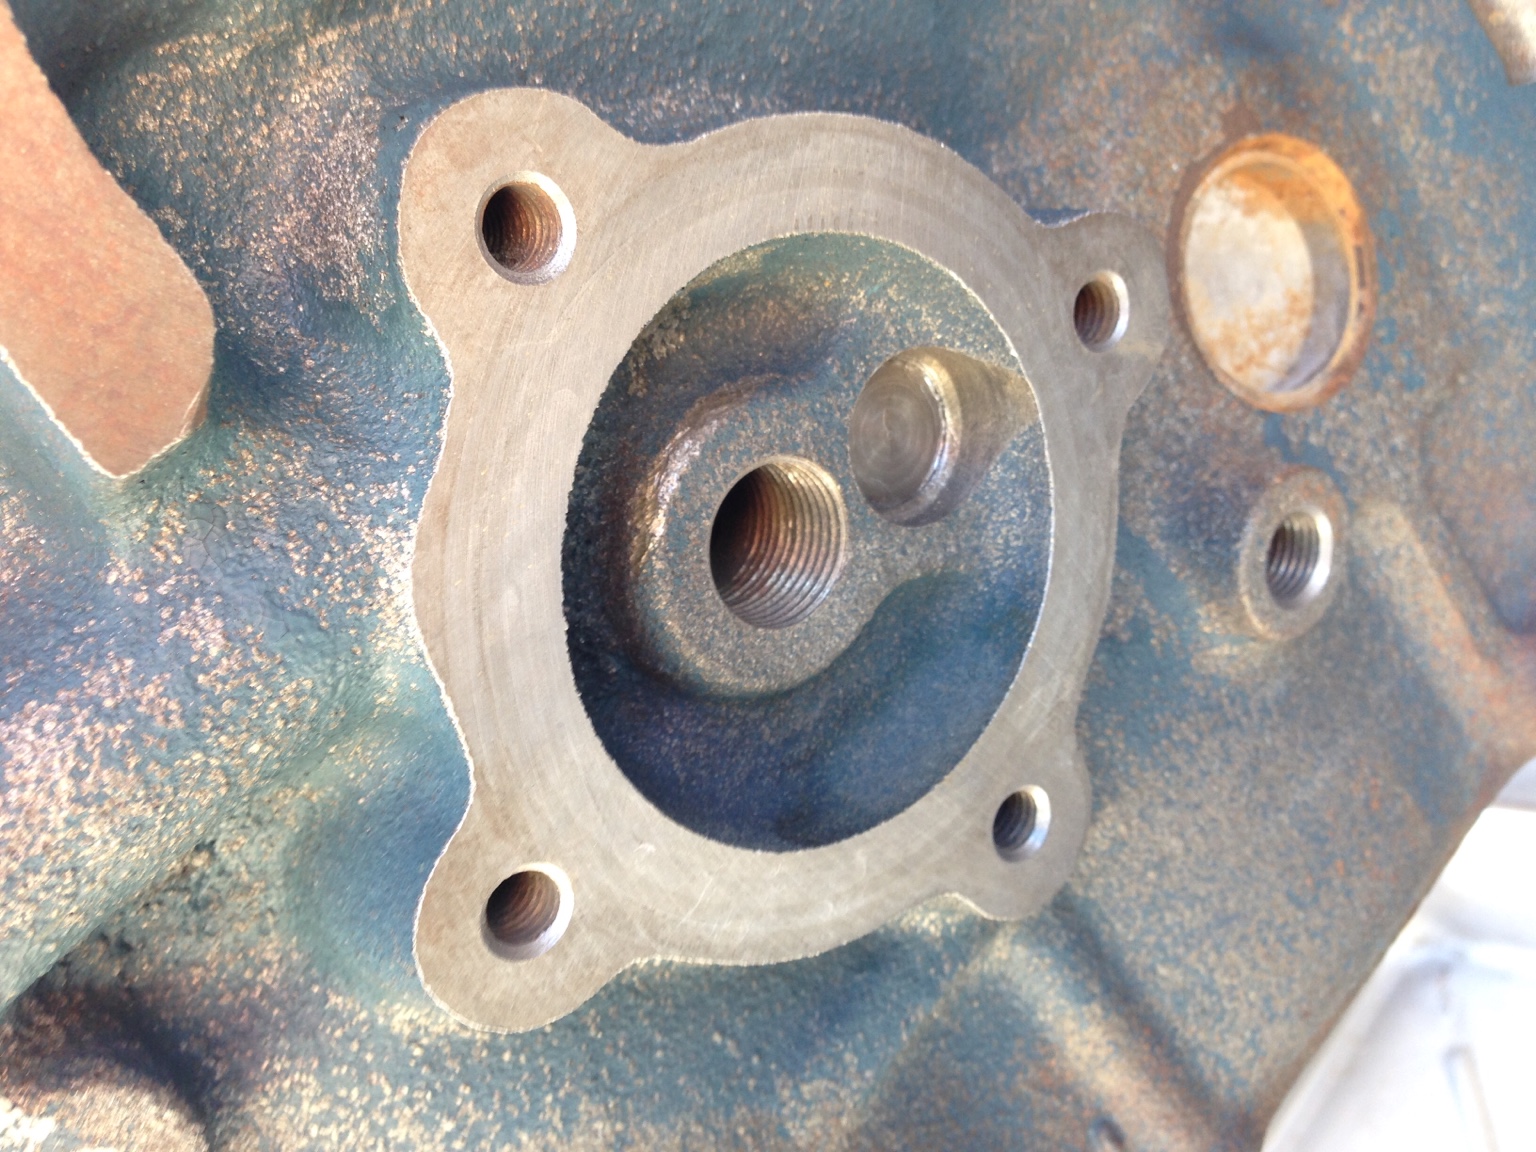
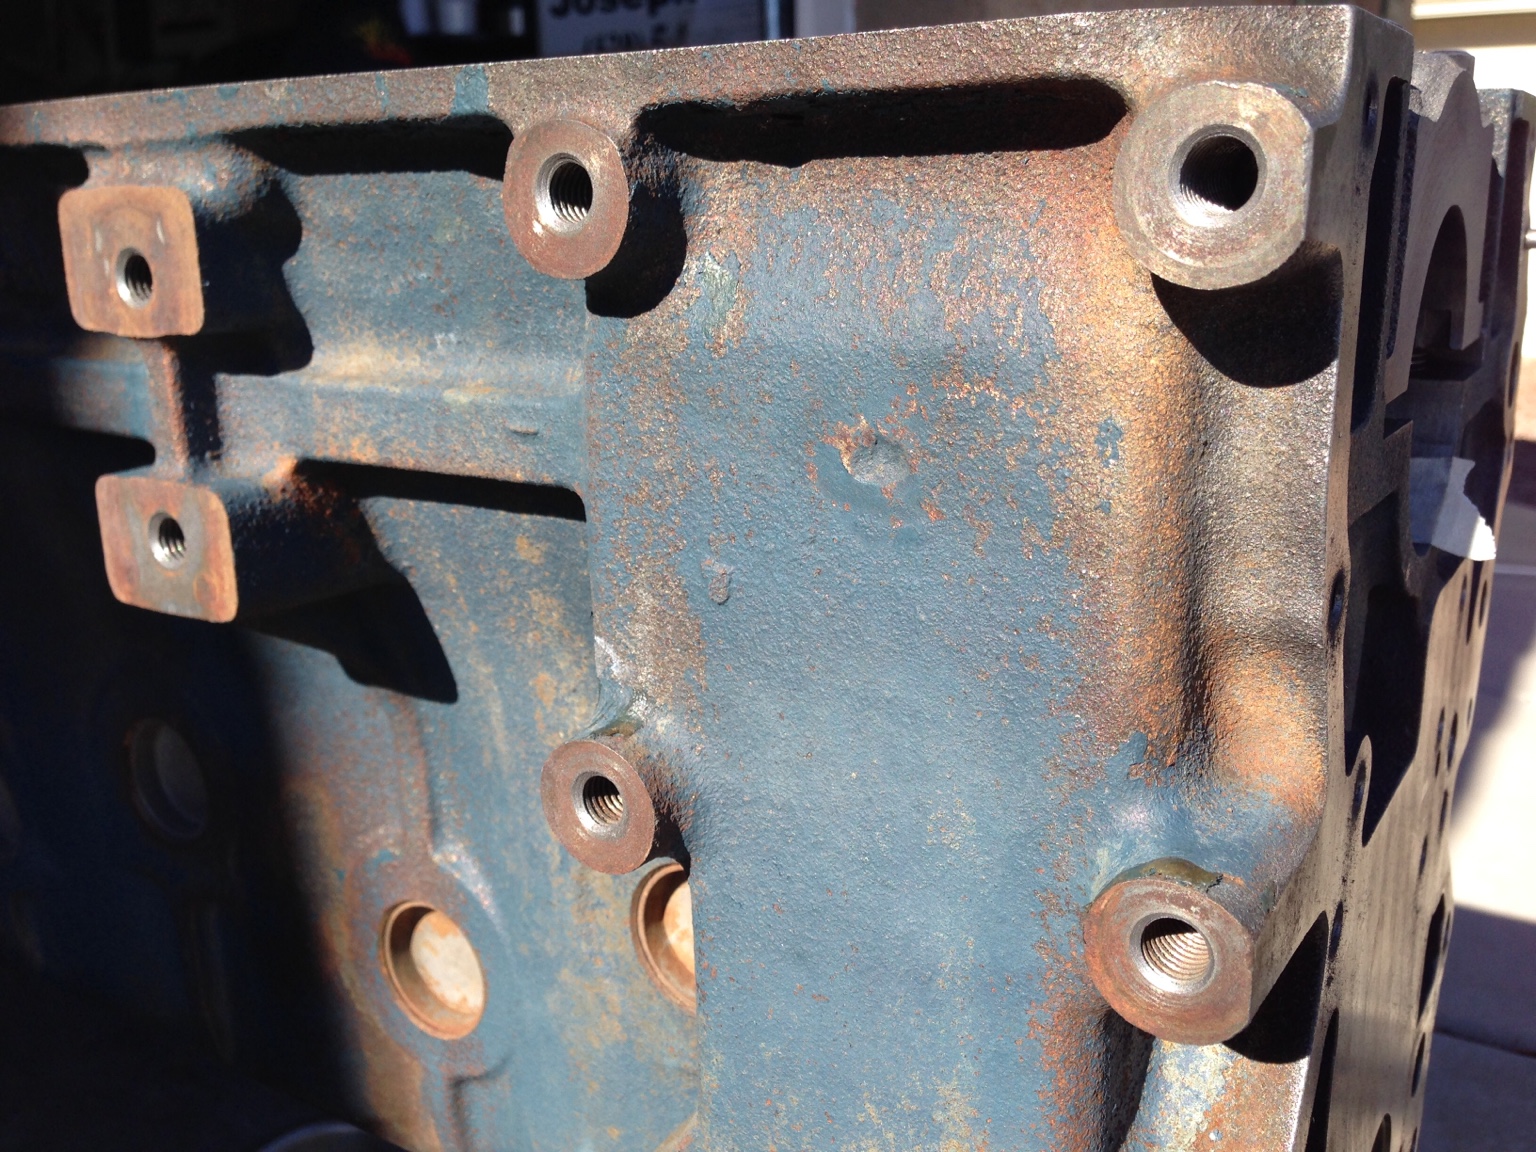
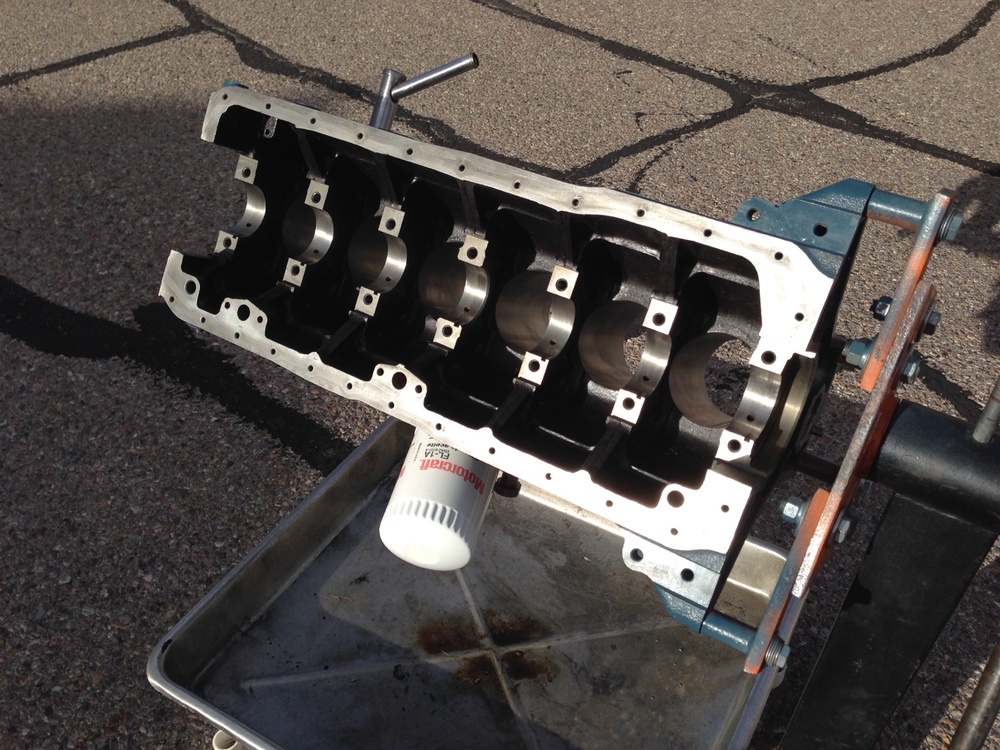
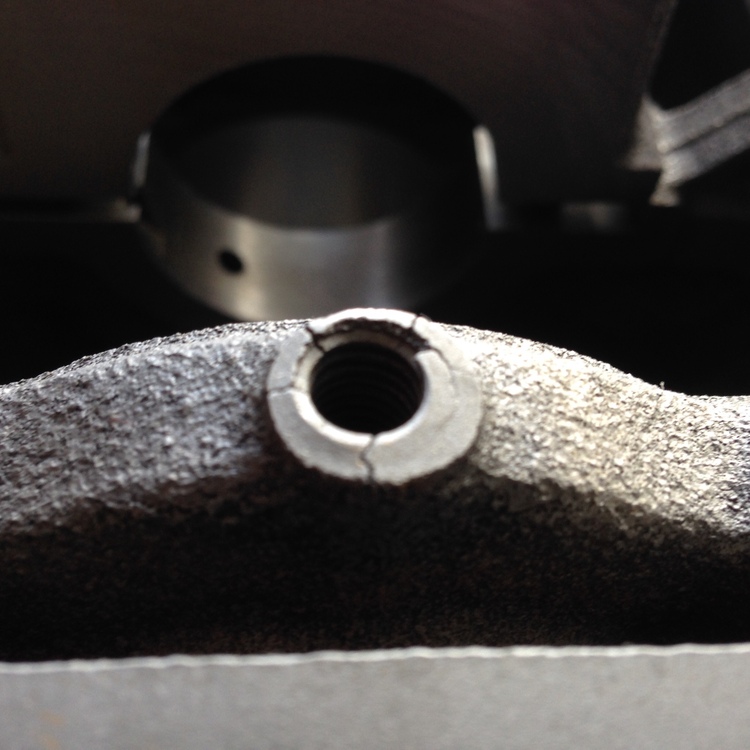
1 pointThis is my rear main cap and the pieces that fell off while cleaning it up: Cleaning all these parts up by chamfering the threaded holes on the block and head - so that torquing the parts dosen't "pull" the threads: And some other shots of the various threaded holes (note the cleaned block): Casting flash on the crank case will be ground away: Tape being applied to all of the journal surfaces before any work is done:


 1 point
 -
1 pointeBay win! NOS Nikki MFP for $50 shipped. Huzza. Yeah, I know it's not original to a '73, but neither is my engine. The guy who has the Denki one I was watching wouldn't come down under $90 and I couldn't find an Ampco. I figured that since both of them have the same chance of being shot and needing a rebuild, and the replacement parts for both will be at least $50, why not get the one everyone covets for about half the price? 🤣 Sent from my iPhone using Classic Zcar Club mobile1 point
-
Update: I continue to have interest in acquiring quality cores that I can re-chrome for myself. For the most part, I am interested in picking up some sets of 260/280z tail light bezels, interior a/c fresh air vents, door escutcheons, and some emblems with full mounting pins intact. I am also always keen on trading my service for extra cores if that floats your boat. Feel free to contact me via messenger or email if you have cores to sell or trade . Mike1 point
-
1 pointI also use a catch can for venting my valve cover, but my install is a little different from the others that have been described. I used SS braided lines and AN fittings for everything. I had to drill out and re-tap the valve cover hole as it was too small and not compatible with the AN fittings that I chose to use. The catch can itself was actually intended for a C5 Corvette and ended up fitting perfectly on the firewall. I used the bracket that came with the catch can, but shortened it so it would fit in that area. I then used a long spacer and bolted it to en existing threaded hole in the firewall. The install works great and matches the rest of my engine bay. The best part is no more oil residue all over my engine bay.

 1 point
 -
I've been meaning to post about this topic and just haven't had the time to get to it until now. Hopefully this is not too late to help you out. First, I have been down this path multiple times with Champion radiators and electric fans. My first implementation used an adjustable temp control module that required a probe to be inserted into the fins of the radiator. Although this setup was fully functional and provided the ability to select the temp at which the fans turned on, I never particularly like the idea of the probe going through the fins of the radiator itself, so I searched for a more elegant solution. I found a really neat product from a company called Dakota Digital, which is essentially a digital fan controller that is highly programmable. You can set fan on temp, fan off temp, have the fans run for X minutes after the car has been shut off, etc. They also provide a temp sensor specifically made for this unit which I also used. I ended up removing the coolant drain plug on the drivers side of the engine block and replaced it with the sensor, although I did need a thread adapter to make this work. The setup works flawlessly and I have had no issues with it what so ever. You can find more about it here: http://www.dakotadigital.com/index.cfm/page/ptype=product/product_id=852/category_id=403/mode=prod/prd852.htm I ended up mounting it in the glove box so the controls and display are easily accessible from the interior of the car. I also found that the generic type fans that came with the Champion radiators were marginal at best. In the hot summer weather here in Texas I found that the combination of the Champion radiator and the generic fans could not keep up with a high heat situation in traffic. I would find in this situation that my temp would continue to go up while sitting at a stop light and this was not an acceptable solution to me. So I ended up changing out both the radiator as well as the fans. Went with a radiator from a company in New York called Wizard Cooling. These guys were unbelievable in the service they provided to me and their product (all made in the good old USA) was far superior to the Champion both in terms of build quality as well as cooling performance. They even designed and made a custom fan mount for me which was a significant upgrade to the "tie wrap" approach that the generic fans used. For the fans I went with two 12 inch Spal fans. Although a lot more expensive than the generic type, these things are unbelievable. They sound like a turbine engine when they start up and their cooling capability, along with the Wizard radiator is nothing short of spectacular. I can be sitting in traffic in 110 degree weather in Austin and my temp will begin dropping as soon as the fans kick in. Never had any sort of overheating problem since I made this change. You can find more about Wizard cooling here: http://www.wizardcooling.com/Datsun-s/1826.htm I don't have access to my picture files now, but if anyone would like pictures of my setup I'll be happy to post those when I get home this evening. Just let me know. Hope this helps and is not too late. Mike.1 point
-
1 pointMaybe do a limited edition carb set this year with cool covering or engraving or plaque on the domes or balance tube! Tres Faberge1 point