Leaderboard
-

Mike
Administrator3Points23,065Posts -
psdenno
Free Member2Points2,632Posts -
conedodger
Free Member2Points12,513Posts -
plucker
Free Member2Points18Posts


Popular Content
Showing content with the highest reputation on 12/16/2016 in Posts
-
2 pointsOk, I'll move it. No problem. Looks like an interesting project! I'd love to see how it turns out.2 points
-
2 pointsIt's the original? Forget everything I said about taking it apart, it will be disgusting inside, throw it out and buy new. You got your moneys worth out of it you cheap buggar2 points
-
2 pointsYes it is. It leaks and it's not supposed to. Cheap and easy to replace and a good excuse to crack open a beer when the job is done Dennis2 points
-
2 pointsThank you guys! It's the original master cylinder so rebuild or replace is in my future. It's not bad yet and I check the level before driving but it's curling the paint up underneath. I'll shove a rag under there for now. Thanks again, you all are the best. Cliff Zup, a few people won't like this but I'm here until the end.2 points
-
2 pointsHey Site--- You didn't say whether or not it was a rebuild of the master cylinder. My suspicion is that, if it was re-built, the cylinder bore is pitted and has chaffed the seals. Bite the bullet--- put an end to it and get a new master cylinder. Glad you weren't drifting a hairpin when it gave loose. We at CZCC kinda like you and want you around for some time to come. Brakes are pretty damned important2 points
-
This package came today. Hoke Performance crank fire wheel and sensor mount and sensor along with a distributor plug.1 point
-
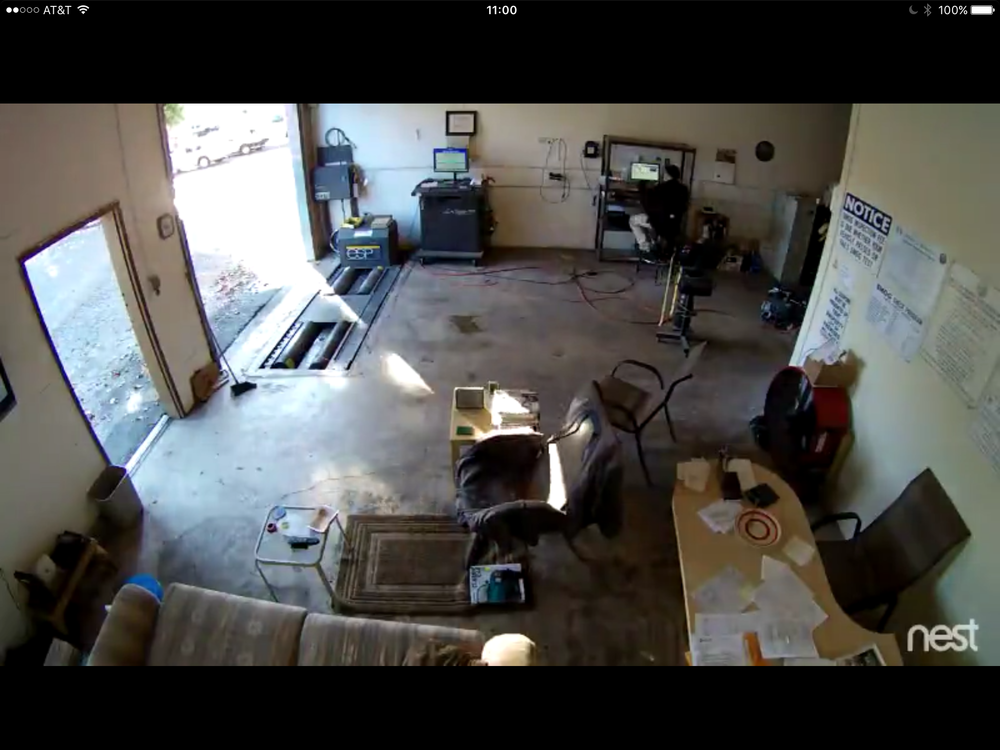
I actually own a dyno. It's good for tuning but not for peak HP and Torque numbers. It will measure up to 150 hp and similar Torque. It's great for lap-top tuning though. I own a smog shop in Sonoma California. This little video was taken just a moment ago from my security camera. Seems like the video upload didn't work, so here's a still. Sonoma Smog Center for you guys in the area. Premium unleaded per Dave Rebello.
 1 point
 -
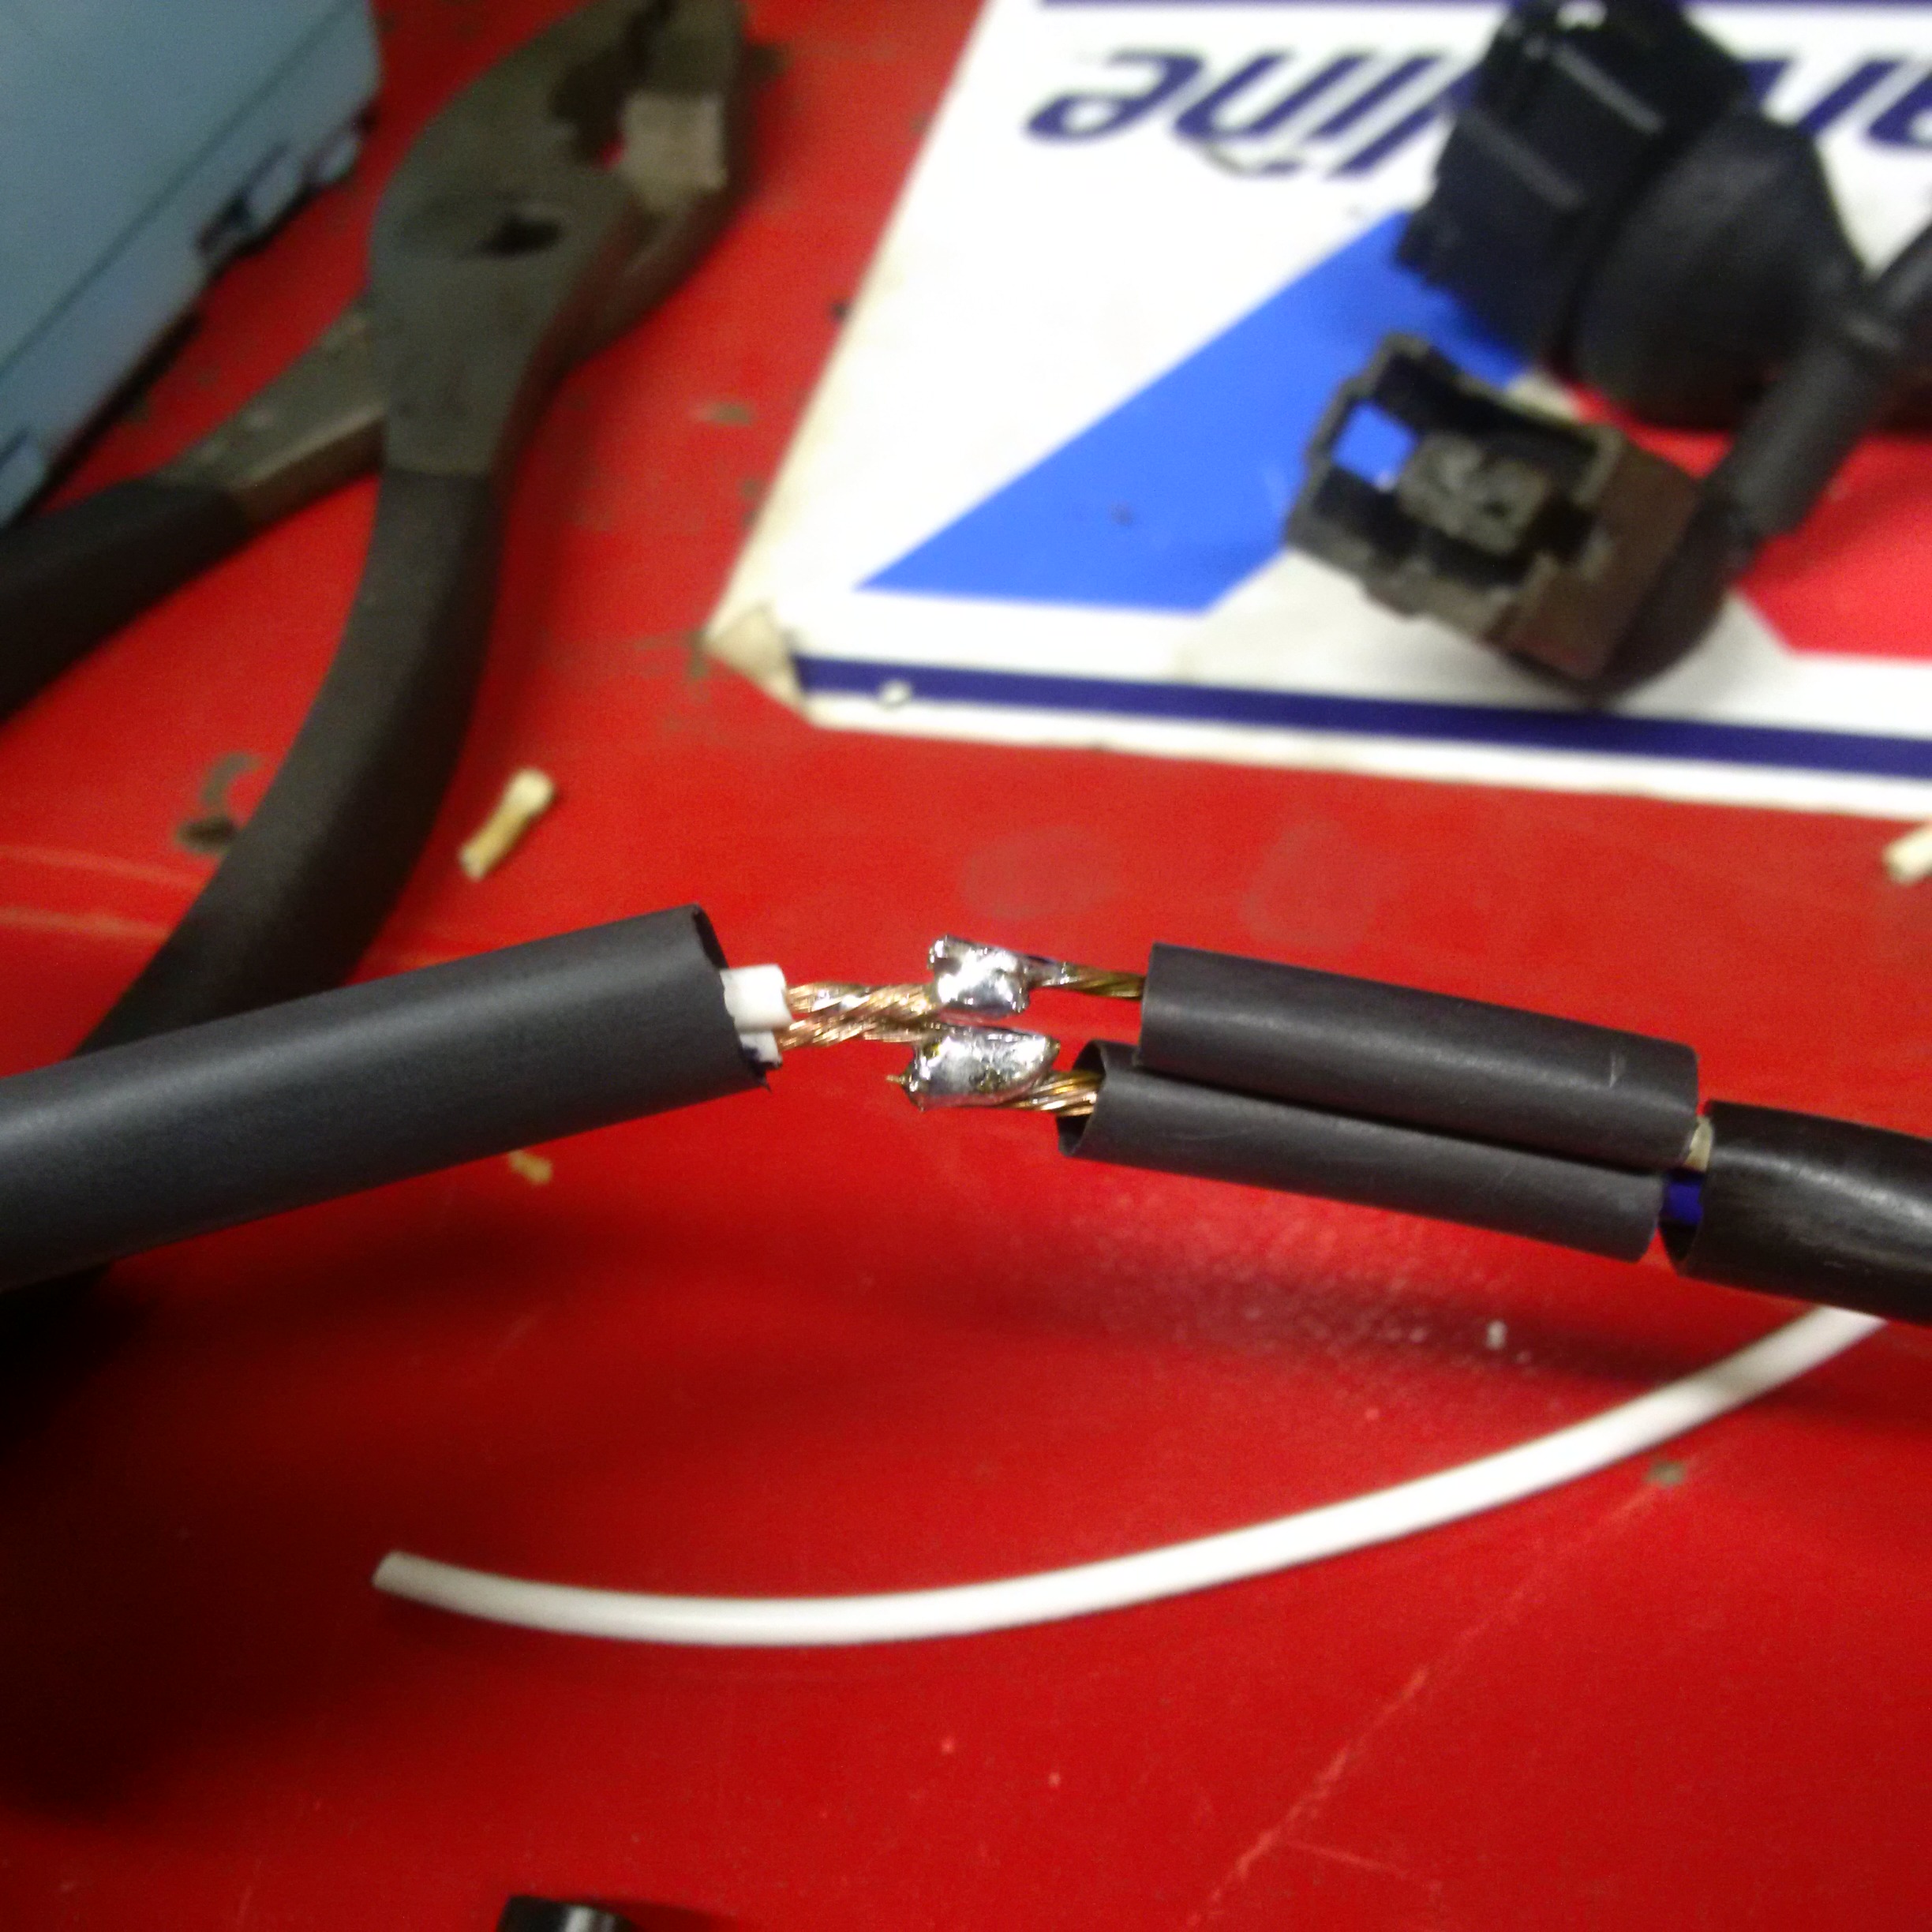
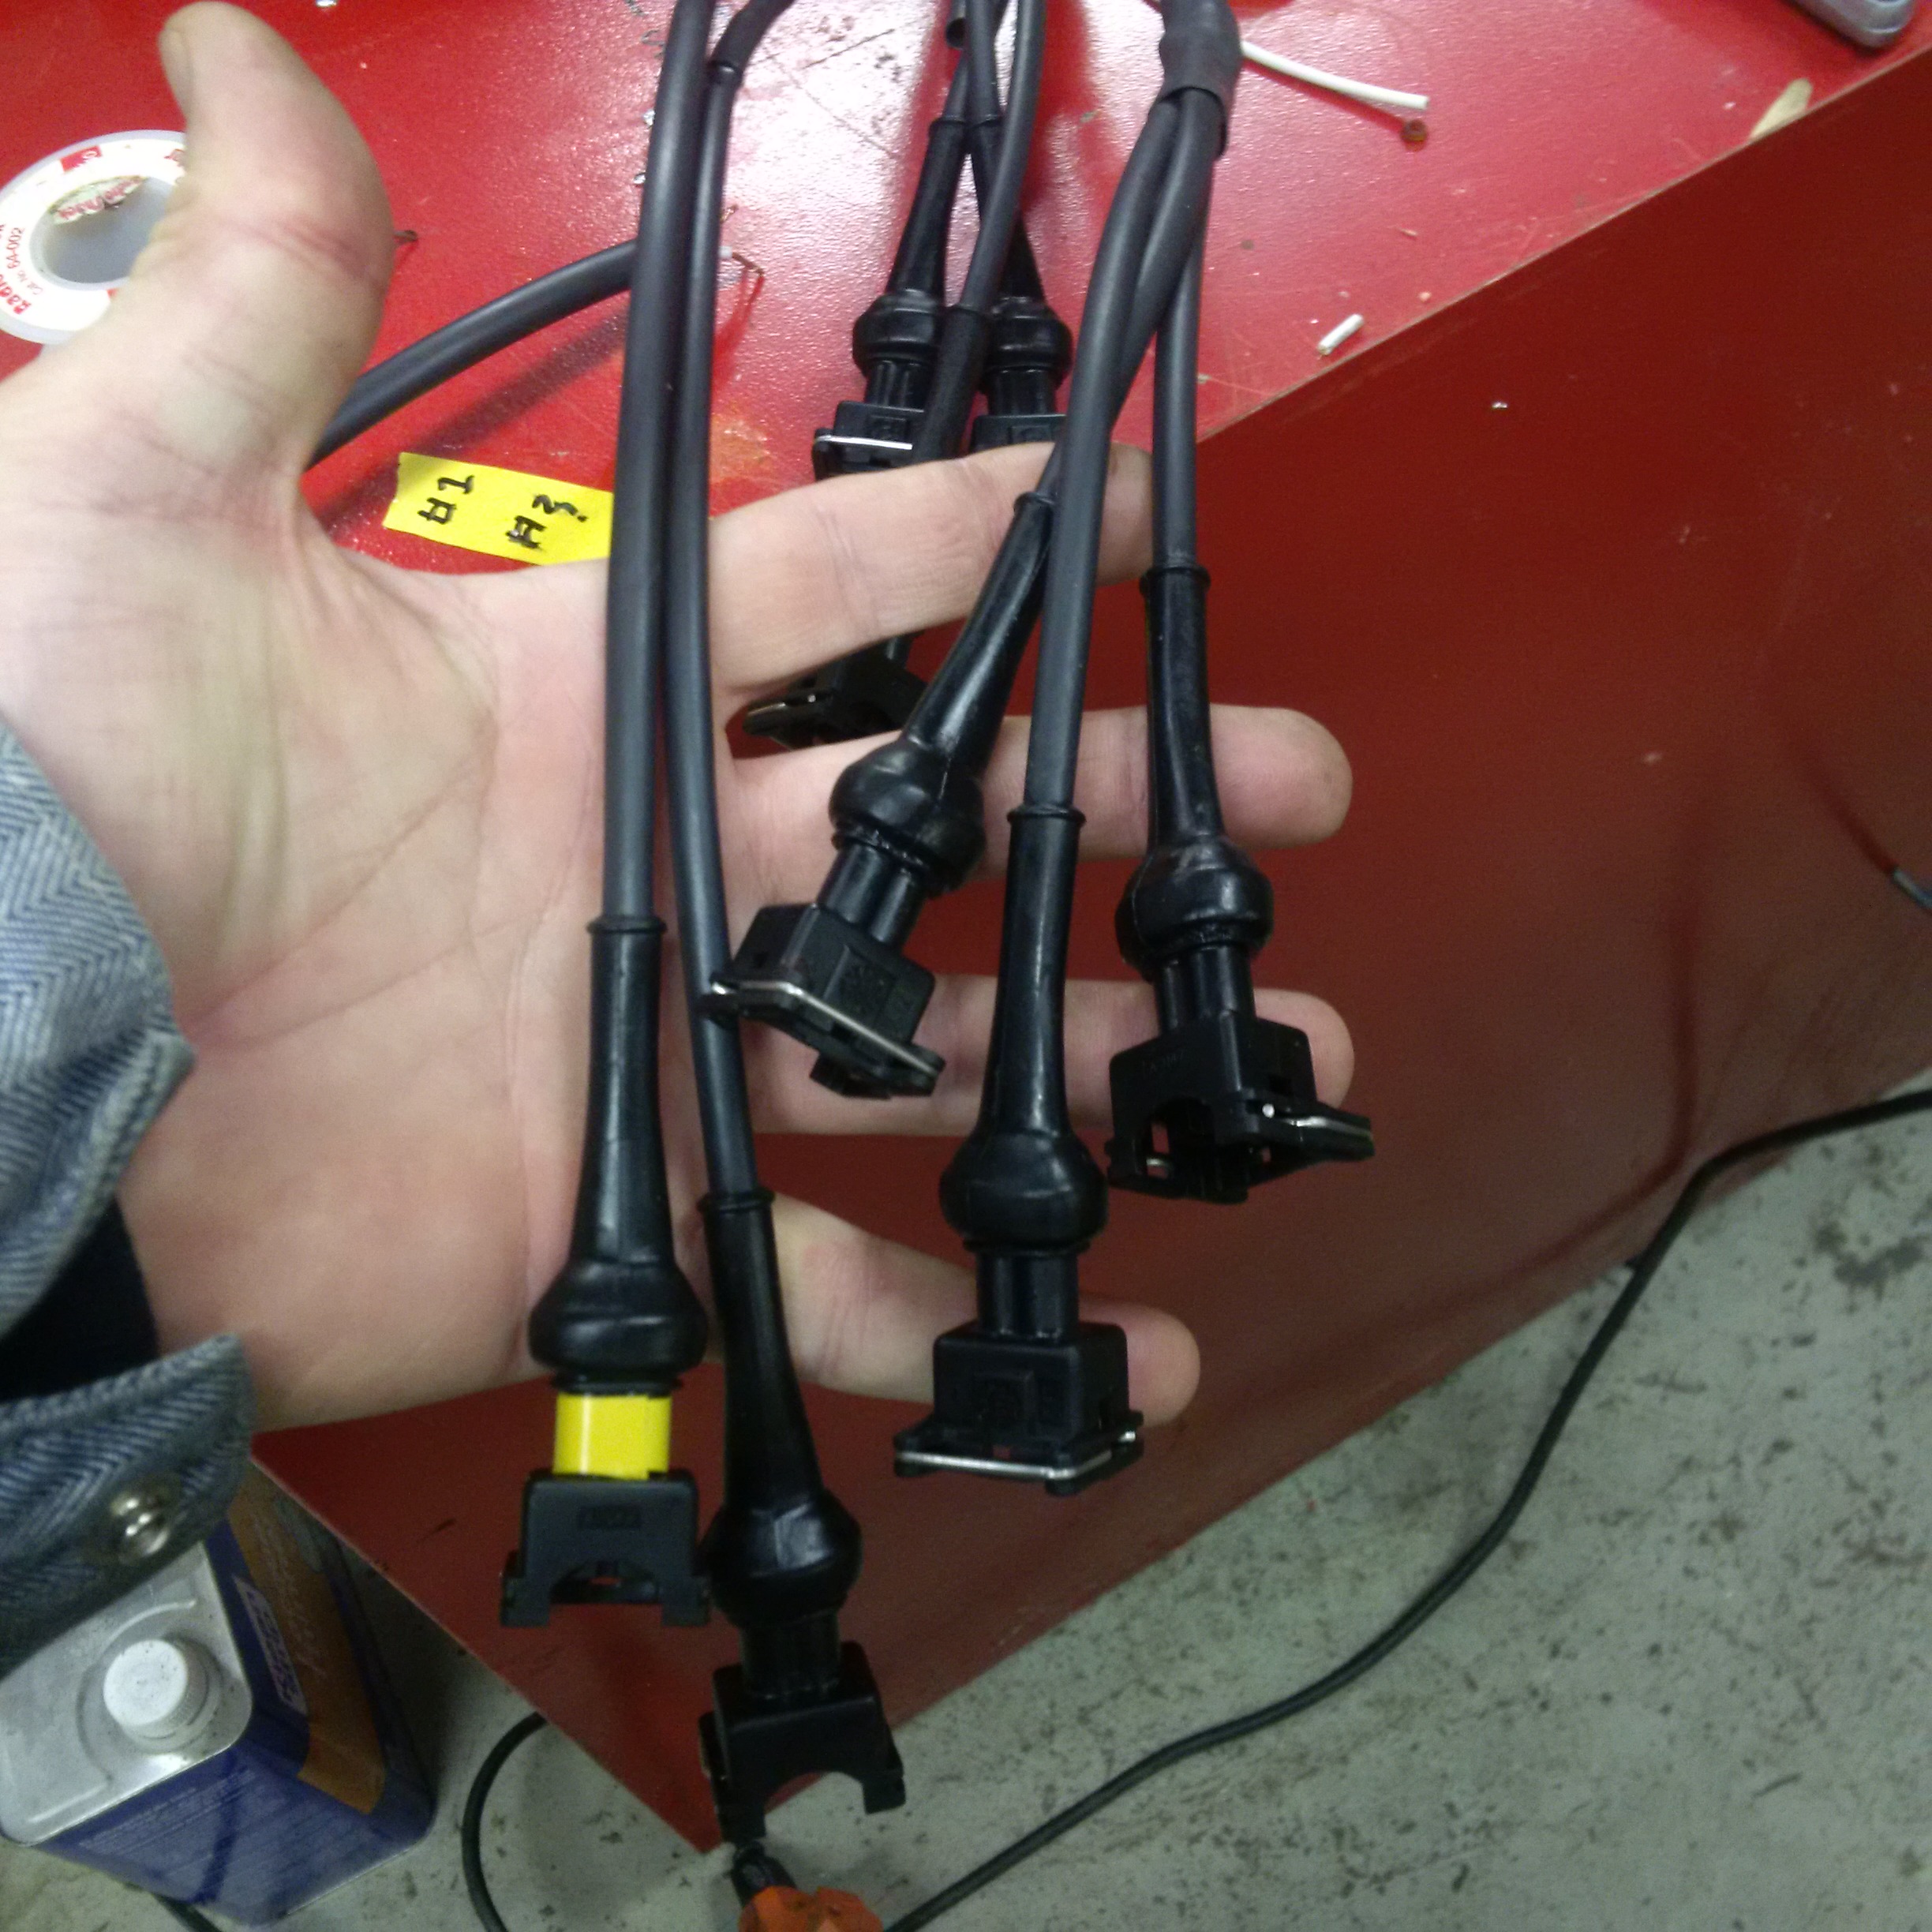
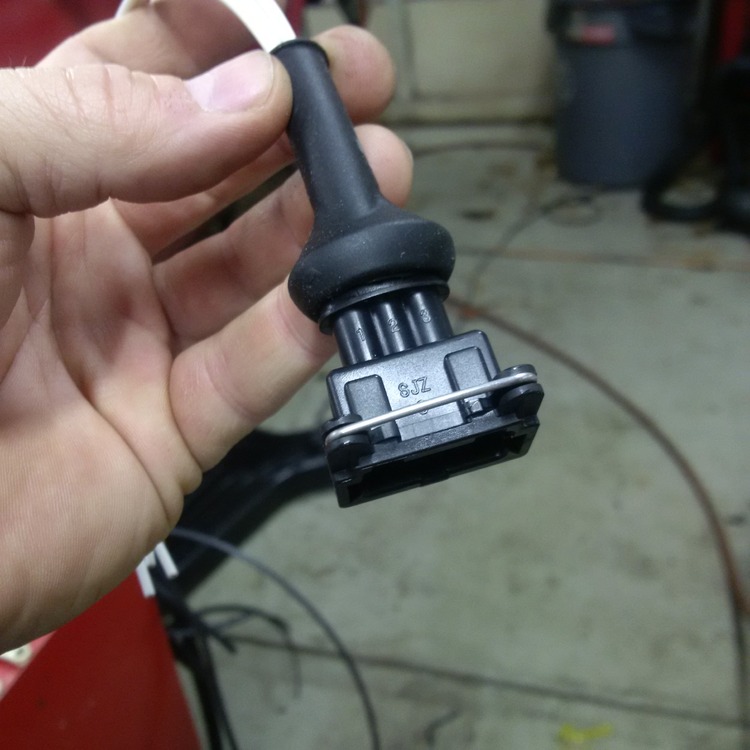
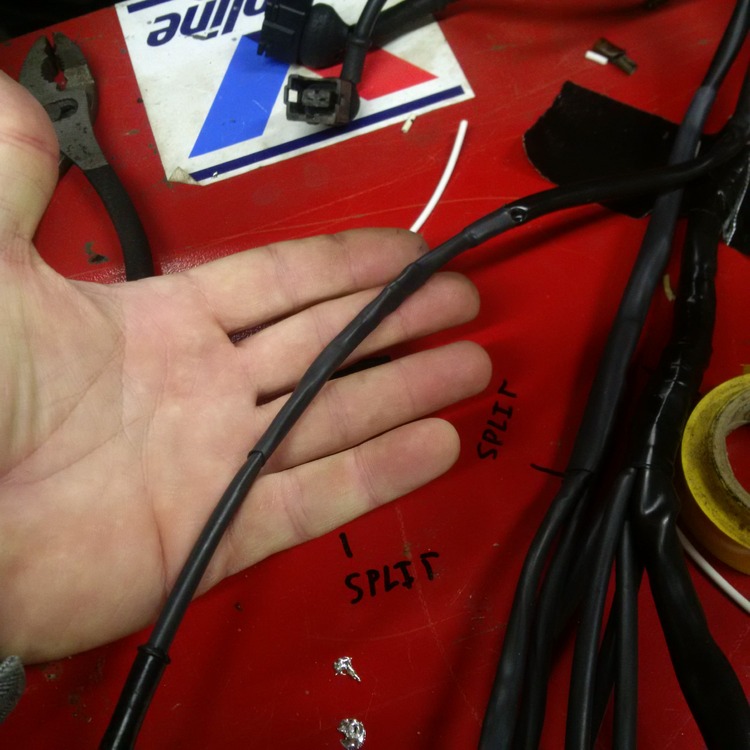
1 pointFUEL INJECTION HARNESS RE-BUILD I have been playing around with the engine trying to get it to run reasonably.. I pulled the injectors to replace them with anothere set I had laying around, unfortunately a few of the fuel injector connectors crumbled to dust as i tried to recconect them.. oh well I guess I needed to fix that anyway. so I ordered a connector kit from e-bay that had all of the ev-1 style of connectors, including the air meter. picked the style with boots and 8" long pigtails.. that had enough wire to replace the crumbly wires. stole some heat shrink out of the electrical shop at work and went to town . I think the kit was about $65.00 or so seemed like a good deal. brought an old roll around cabinet up the the car so i had a surface to work on, taped the harness to the top and marked out the lengths of each connector branch. pulled the boots off and added heat shrink to the pigtails.replaced the boots, cut the harness wires stripped the ends and soldered the wires together. you have to make sure the heat shrink is in place before you so the soldering. with all the branches and splits you really have to pay attention to how you can get the heat shrink on, after you solder on a connector you cannot get the heat shrink on over the connector ! I did not worry about polarity of the connectors except for the thermo-time switch and the throttle switch ( hope I am right ) , I did not replace the air meter connector as it was in really good shape. I also eliminated the bullet connectors on the water temp and thermo-time part of the harness, I figured less connectors mean less problems right ? might be ready for a test tommorow

 1 point
 -
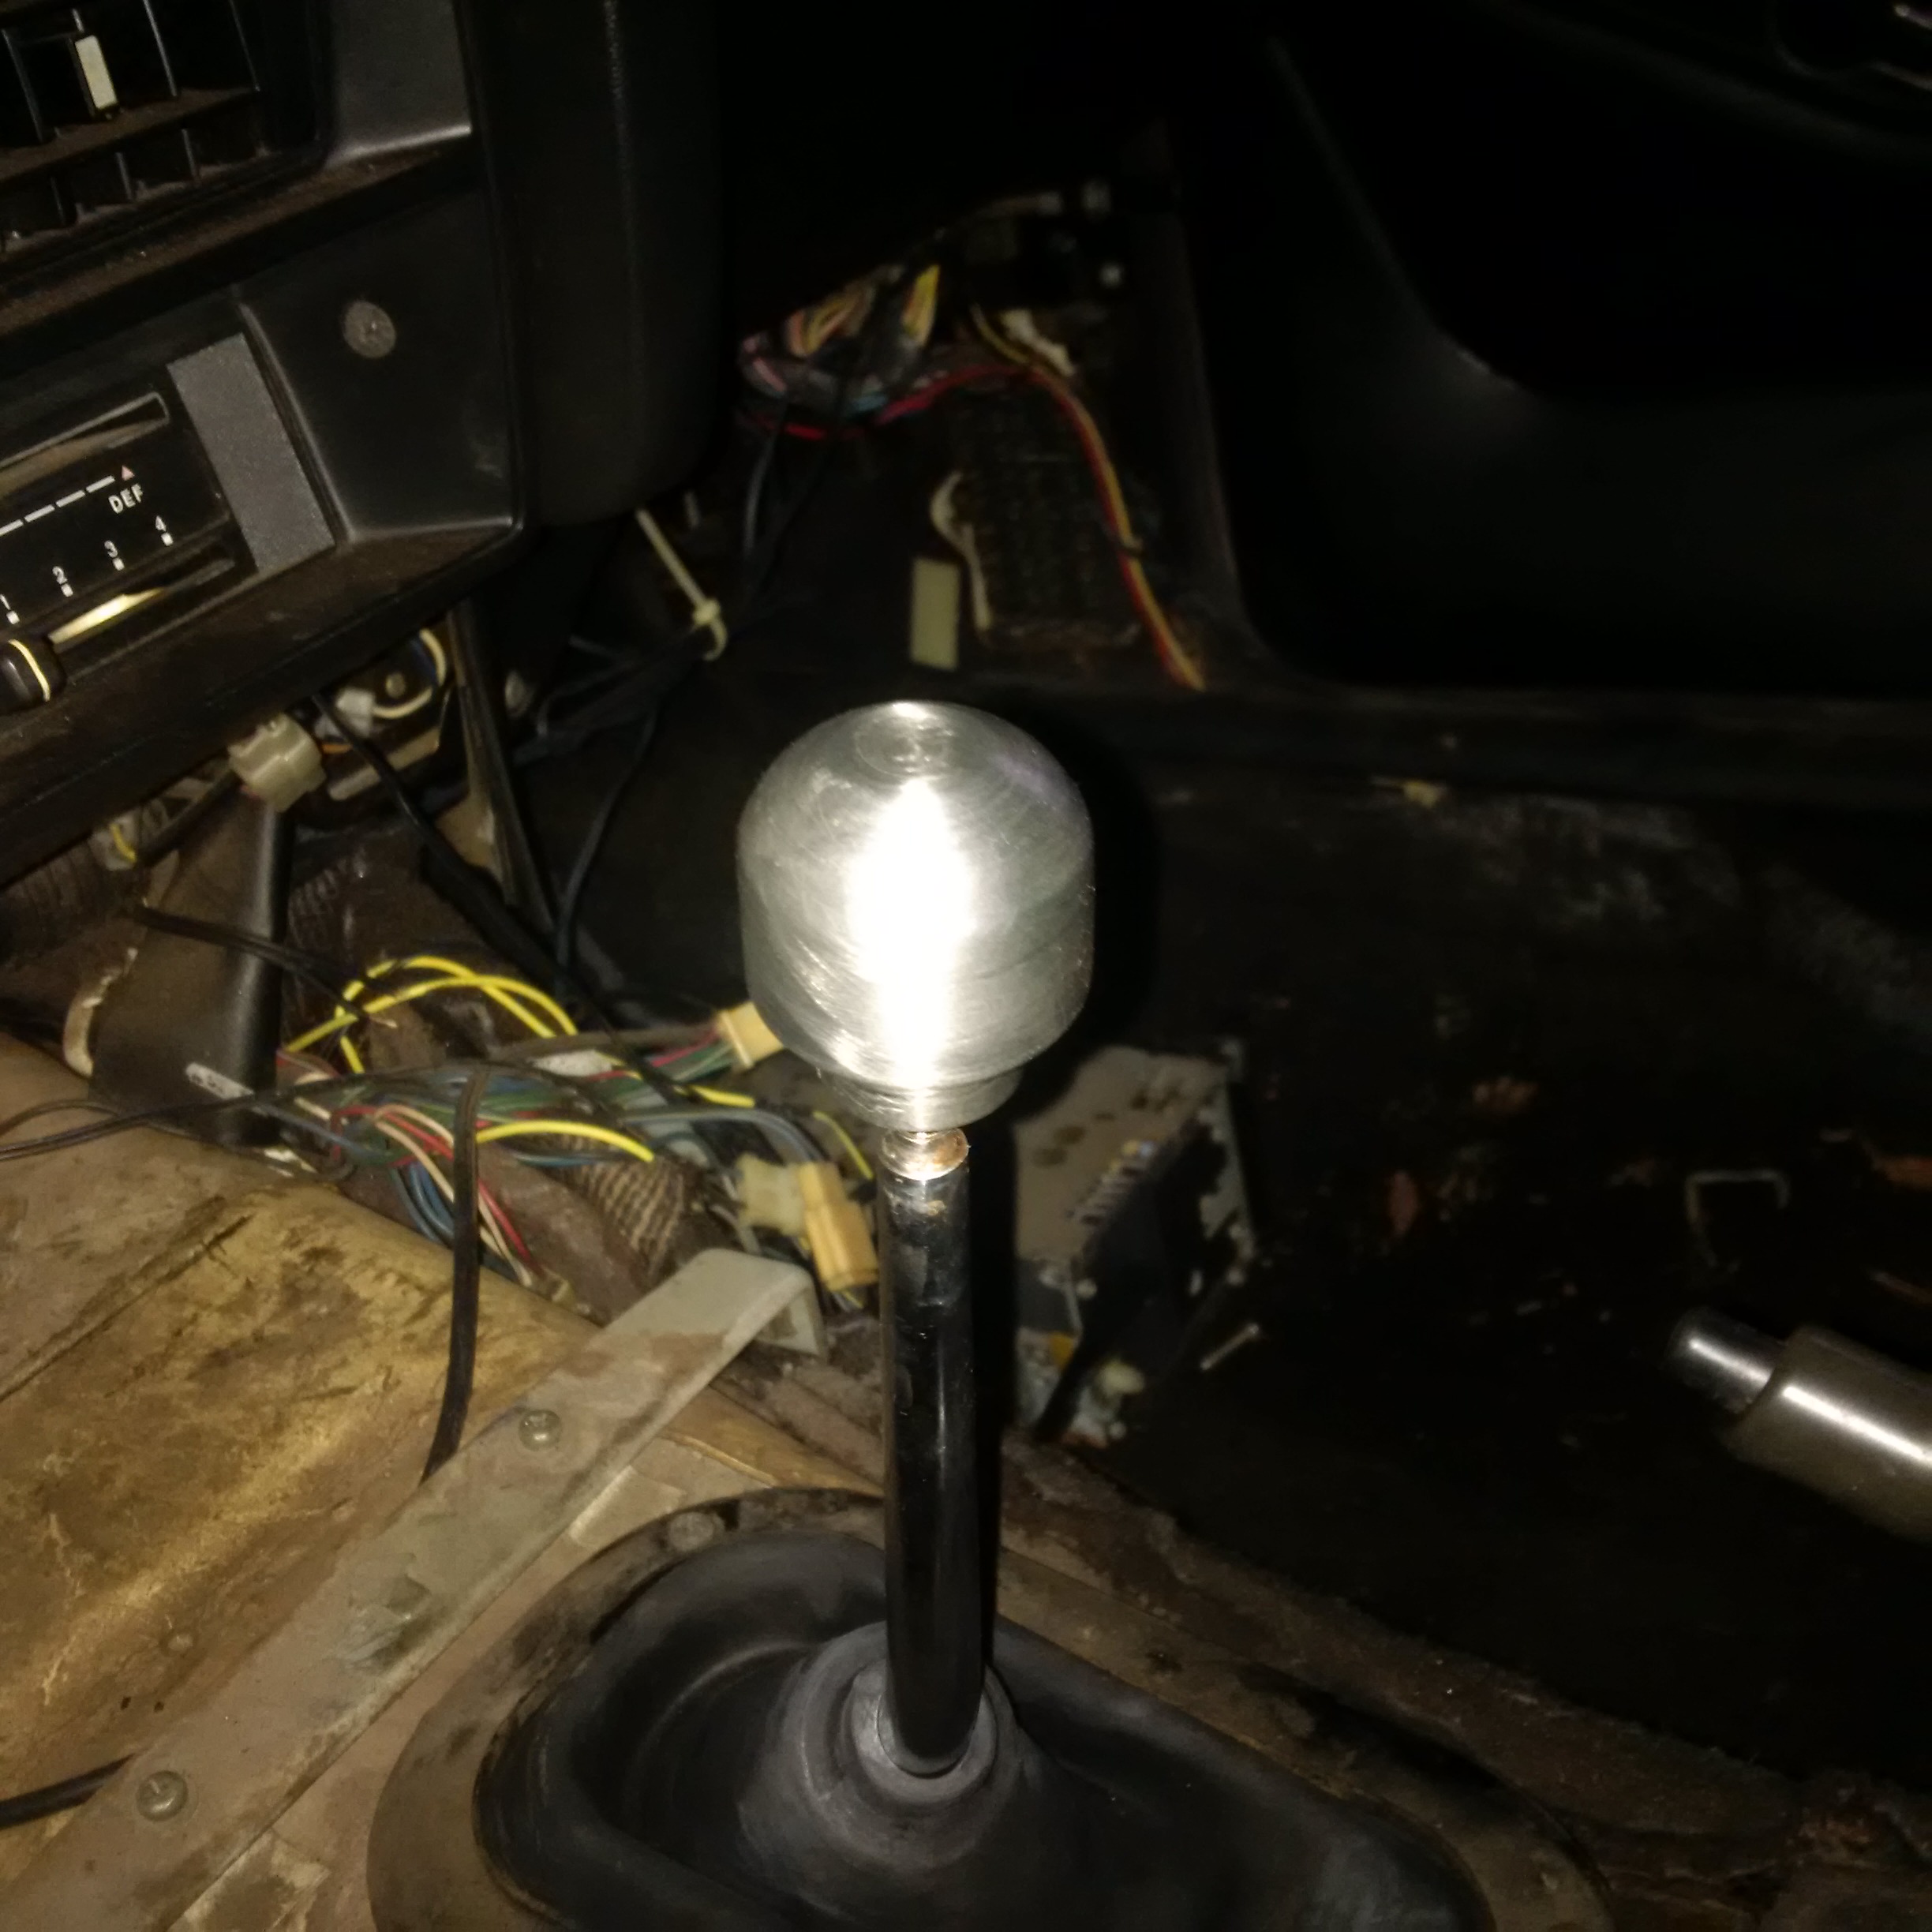
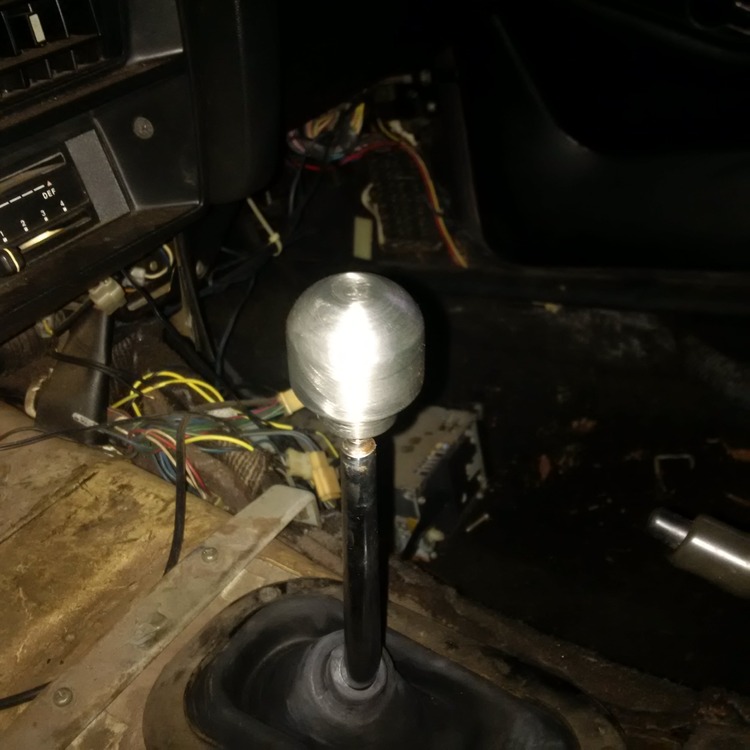
1 pointprogress update : finally got the rear drums off, my puller and a propane torch, plus persistence payed off, they finally came off. the drivers side fell apart in pieces, the shoe linings were no longer connected. and there was about 1/2 cup of debris in the drums... of course the wheel cylinders were shot. ordered cheap chinese shoes and wheel cylinders. got the drivers side assembled . hopefully soon will have a car that is capable of stopping ! The shift lever seemed vaugely attached to something in the gearbox... that would not do. took it apart and found no bushings whatsoever on the shift lever.. that would explain it ! went ahead and made a bushing on the lathe. could not find my bronze material so I just made it out of aluminum. works great ! and near zero cost ! while I was on the lathe, I made a cool stainless shift knob to replace the knob-shaped thing that was there. of curse I forgot to take a picture , next time
 1 point
 -
1 point'Red Racer' IPA recommended, if you can get it in your area. Comes from Surrey, BC.1 point
-
1 point
-
This might be one of those cases where rubber is better that poly for a street car. The polurethane ones transmit too much road feedback thru the steering column. The oem ones I am guessing are NLA.1 point
-
1 point
-
1 pointI believe I made it clear above that you "easterners" would be better served by finding some closer to home. This is your official dispensation from any Gibbs related corporal pushishment.1 point
-
1 point
-
1 pointCan't find it at the moment but there is another thread that mentions fuel leaking from the terminals on the sender unit. I had the same thing on mine. Fix was to surround the terminal base with JB Weld (instead of Araldite). Has set rock hard original unit.collar and seal has gone back in. Bone dry!1 point
-
1 pointI made my own coil bracket from aluminum square tubing. 10$ worth of scrap and some R&D. I made my flywheel my trigger wheel(free)! Cherry Hall gear tooth sensor 20$-1 point
-
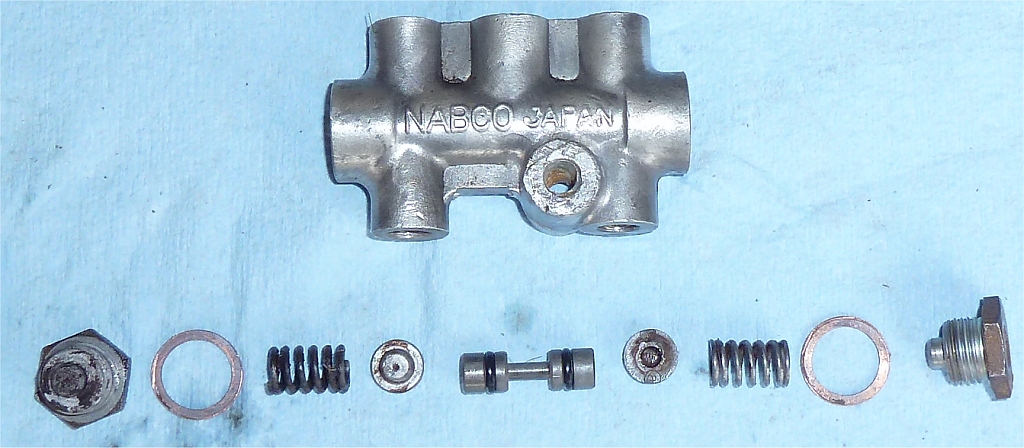
Had one with bad threads. Needed the switch contact. Took it apart for your viewing pleasure:
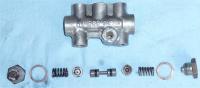 1 point
 -
1 pointI saw that auction. I've never heard of aftermarket Series 1 D hubcaps, but I wish they existed. then maybe I could afford a set.1 point
-
I am a long time autocrosser and Tire rack supporter. However, a new local tire shop, A Firestone opened up near me. So I brought the Z in for a new set of shoes, since mine were over 10 years old, and I just do not trust them. I installed a set of Bridgestone G019 grips. Not bad by any means, but not nearly sporty enough for my tastes. After talking with the owner he agreed to let me return them for something more sporty that would fit. All I have to pay is mounting and balancing (35 bucks). I cannot tell you how thrilled I am with the ability to talk and negotiate a deal that makes me happy. Its a little strange to get that kind of customer service. Tire rack may be 10% cheaper, (in my case it was a dead heat), but the service after the sale CAN ONLY be accomplished by a local shop. I will be outfitting all three of my vehicles this year with new tires, and I will give this place my business for all of them. What you say is true Arne, you should establish a good relationship with your tire shop, just like you would your butcher, your mailman, or your doctor. It pays dividends.1 point
-
^Thanks, that helps a lot! I traced the lines coming from the MC and then from the splitter below. The larger reservoir feeds down to the bottom connection of the front (closer to the radiator) three connections on the lower switch. The remaining two of those three come out the top and front of the switch and those trace out to the front calipers. The smaller reservoir feeds down to the bottom connection of the rear (closer to the firewall) two connections on the lower switch. The remaining line goes along the firewall and under the transmission tunnel to the rear brakes and presumably splits further down. This sounds like exactly what you described, so that helps the understanding factor quite a bit. Is there any kind of active shut-off built into the low line pressure warning light? I remember seeing a thread about having zero fluid flow through the rear brakes after improper bleeding as a result of that switch tripping some kind of shut-off. Was I reading something that pertained to a different model? Thanks again for the assistance, I hate not understanding this stuff.1 point