Leaderboard
-

Zed Head
Free Member4Points19,228Posts -
.JPG.cfcada9cf1c1b502df3f5f2f2ca3ff36.JPG)
SteveJ
Free Member2Points9,646Posts -
sweatybetty
Free Member2Points1,119Posts -
KDMatt
Free Member2Points697Posts


Popular Content
Showing content with the highest reputation on 05/22/2016 in all areas
-
That's a good point on aftermarket. What brand is the new one? The engagement point should get narrower as the disc wears in. There are other factors also, like thickness of the marcel spring and just general tightness of tolerances for the disc and pressure plate. The slave cylinder self-adjusts becuase it stays as full as the clutch fork lets it. The piston in the cylinder is pushed back by the clutch fork and pushed forward by a spring inside. So it stays full and ready for action. If it refills through the hole in the MC, as described. I've mentioned this before, but one way to get very close to correct on the initial pedal linkage adjustment is to turn the rod clevis out until the clevis pin slides in easily with the pedal all the way up, pulled up by its own spring. Then you can add a few turns to tighten it even more or take out play from wear. If you had to pull/push the rod or pedal back or forward or get the pin in, it's probably not right.2 points
-
2 pointsNoticing how far forward the gear selector is, I would postulate that the Z has an autotragic transmission with a modified gear selector.2 points
-
1 pointHello Everyone, I've been on the forum for a few years; I'm finishing the rear suspension on my '73 right now. I've been buying/selling Datsun parts and cars here and there to supplement my income and to fund the '73. ---------------------- I cannot believe I found this 71. I am still in a bit of shock. I live modestly and can only afford drivers. Now I am debating which car to keep. The 3rd owner '73 that I've dumped thousands of dollars into, or start fresh with an original '71 in my favorite color? I'm starting this thread to document my progress, and mainly, for everyone's expertise. My plan is to get this Lucky Lady as close to original as possible this year, then decide which one to sell. I'm at the airport so I'll give more details and photos tomorrow. BLUF: 1971 240z, 109k miles, 3rd owner. Professionally reupholstered leather seats. Unmolested. Series 1 crossover vertical defroster lines, gas lid, lighter, etc. Original paint? If so, touched up in spots. Rust/bondo at driver's dog leg. Floors, rails, rockers solid, quarter sized hole in driver's floor. Original owner lives locally and I have his contact info. I'm hoping to get in touch with him, pick him up in the Z, and sit down over a beer to hear some history.1 point
-
mines been on hold, I like to get little stuff out of the way, esp since my 4 speed is working fine. Today was pull the tank and replace the o ring. After doing all that I realized I did not need to pull the tank, but live and learn. The new O ring by the way seems to be too thin, I hope it works as I was having a leak I 'think" was there. I also go the new filler neck installed to replace the old rusty one, and picked up a nice gas cap chain at ACE hardware to replace the ragged one I had. I am still looking to make up some speaker brackets for factory located speaker on the passenger side. I am just glad to follow your progress, things you encounter will go into my thought process when I do the trans swap.1 point
-
1 pointFor the record, the distributor adjustment procedures are described in the Engine Electrical section. All of these checks and measurements are easy and can be done within an hour. 20 minutes if you've done them before. With that mind, plus the incorrectly installed distributor drive spindle, DJ may want to recheck valve lash. And cam timing (notch and groove) while the valve cover is off. If the valves don't open because lash is wrong, or valves are bent because cam timing was off the engine won't run right. No suction and/or no compression.1 point
-
1 point
-
1 pointJuts a quick note. Picture in Jason's link is of a ZX distributor which uses a different style magnetic pickup coil ( Bottom mount GM HEI style ) ) and a stator and reluctor. OP dizzy is original Z style which uses a side pickup coil and a VR Reluctor. California models have one pickup coil and some Federal models have two: Early Z reluctor and VR pickup coil:1 point
-
I might also have the pedal mis-adjusted too... I did a lot of weird stuff when I felt the clutch slipping -- live and learn! My old slave cylinder was something I'd cobbled together and adjusted in weird ways, so I replaced it with a new one -- so it's freshly bled thanks to a little help from a buddy. Clutch master is pretty fresh too -- within the last couple-of-years/few-thousand-miles. Thank you though. The transmission did take a little more cussing and swearing to get in there, even with the jack. I had a really hard time keeping it balanced on the jack, and keeping it centered. It slid in with a little bit of fussing... and I will admit I "cheated" a bit by sliding my endoscope in through the cluch-fork sleeve to see where and how it was mis-adjusted ... i.e. did I need to move the tail left, right, down, up ... to get it dead on. In between cusses it suddenly slid into place, with the jack under it, it was able to stay there while I tightened it all down. Thanks again for all of your cautionary advice in this thread Zed Head. Now if I can get cracking on some of my running issues/tune-up stuff I might almost be able to tolerate driving this thing on the regular again.1 point
-
1 pointOne reason its not starting is the shaft is not 180 degrees out. Its more than that. So if you rotate another 180, you are still off.1 point
-
1 pointLay under the driver's side with a 27mm socket for turning the crank nose bolt. Turn it towards the driver's side until this mark comes down to the bottom. get some kind of paint, White-Out or nail polish. A magic marker would work to I guess and mark it up real good so you can see it from the top side. The bottom right picture, "Timing Mark". When you get everything to TDC, zero, take the distributors cover off check to see if everything is lined up the stator's points and the rotor's to each other. The distance too by loosening those screws. here's the link to Blue's Tech Tips where I got the pictures for you to look at. I did this to mine and it makes a difference. Thanks Blue. http://atlanticz.ca/index.php/tech-tips.html http://atlanticz.ca/zclub/techtips/distributorrebuild/index.html1 point
-
1 pointOops. You really need to find that notch. The notch is placed so that you'll know exactly where TDC of #1 is. And TDC is what timing is referenced to. If the notch is wrong, your damper may be failing. Besides that, without the notch you won't be able to set timing. And timing is very important on these engines, they have a tendency to knock/detonate. You can't just turn the distributor until t sounds right, like an old US V8 engine.1 point
-
Hey gang! Sorry to leave you all hanging for the rest of the week. I took me several days to get my new exhaust mocked up and installed... however.. SUCCESS! I just took the car out a few blocks, shifted through all of the gears -- no noises, no grinds, no hesitation. Everything is working just as it should. BIG THANK YOU to everyone who's been a part of this thread. Dave, Zed, Chas, Mark, et al -- you guys rock! Thanks for being pillars of support in my time of need! This would have been a way more intimidating project without your guys' encouragement. Now I just need to get used to my clutch engagement being so low -- I'm used to it being near the top of the pedal, and now it's a lot closer to the bottom. My neighbors must think I'm a complete newb at driving stick.1 point
-
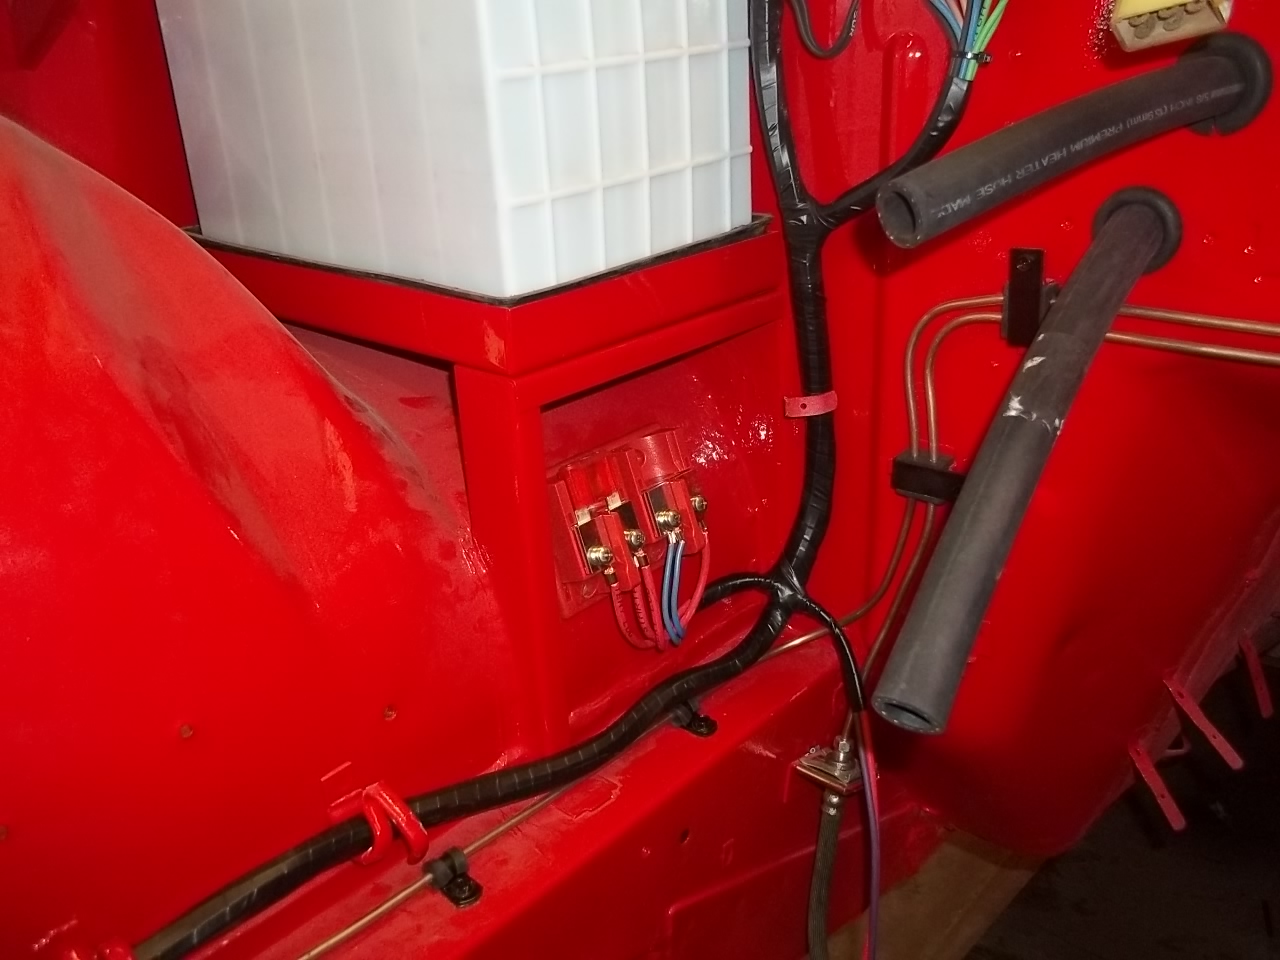
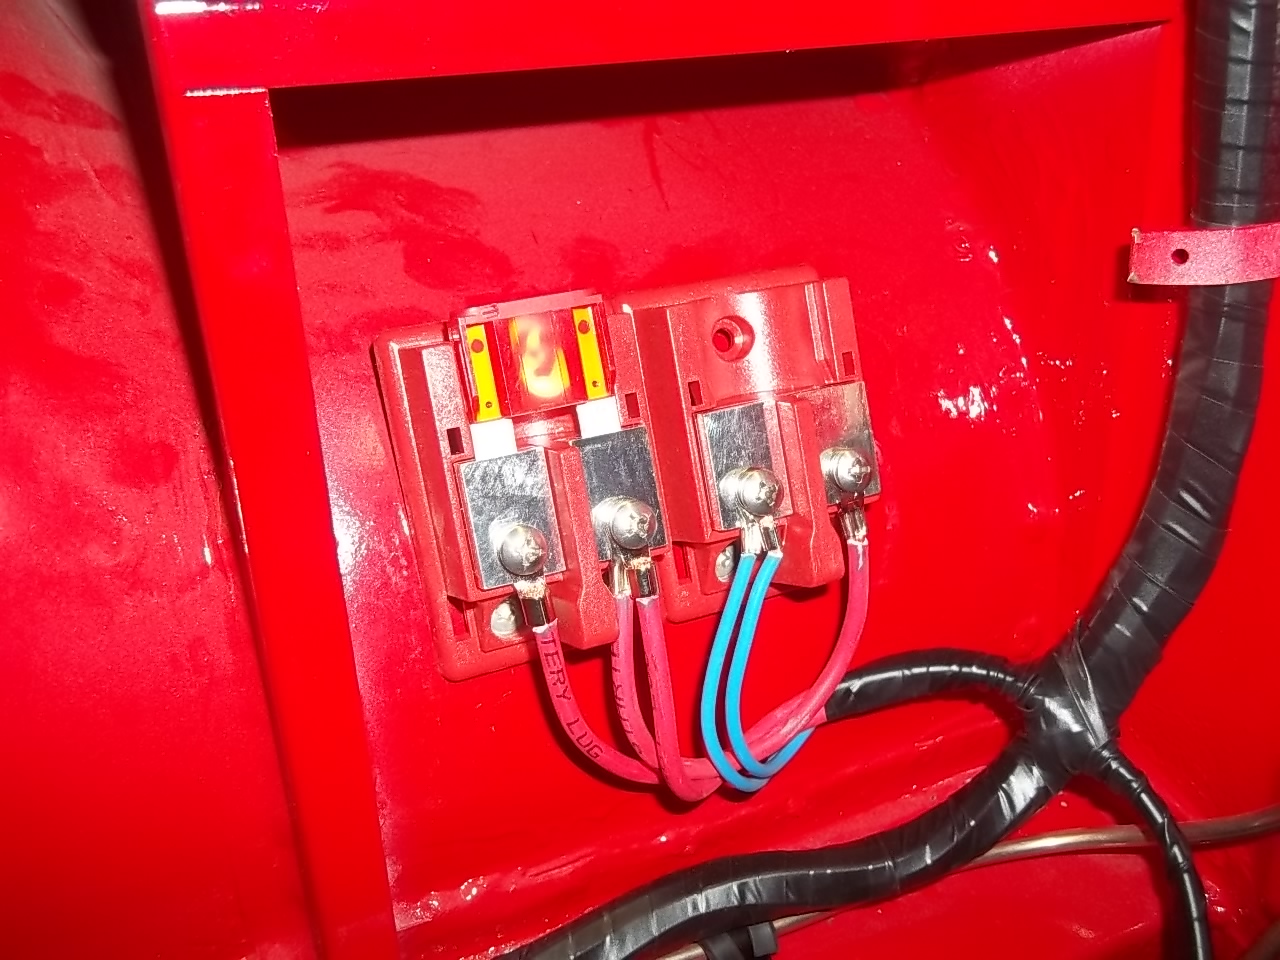
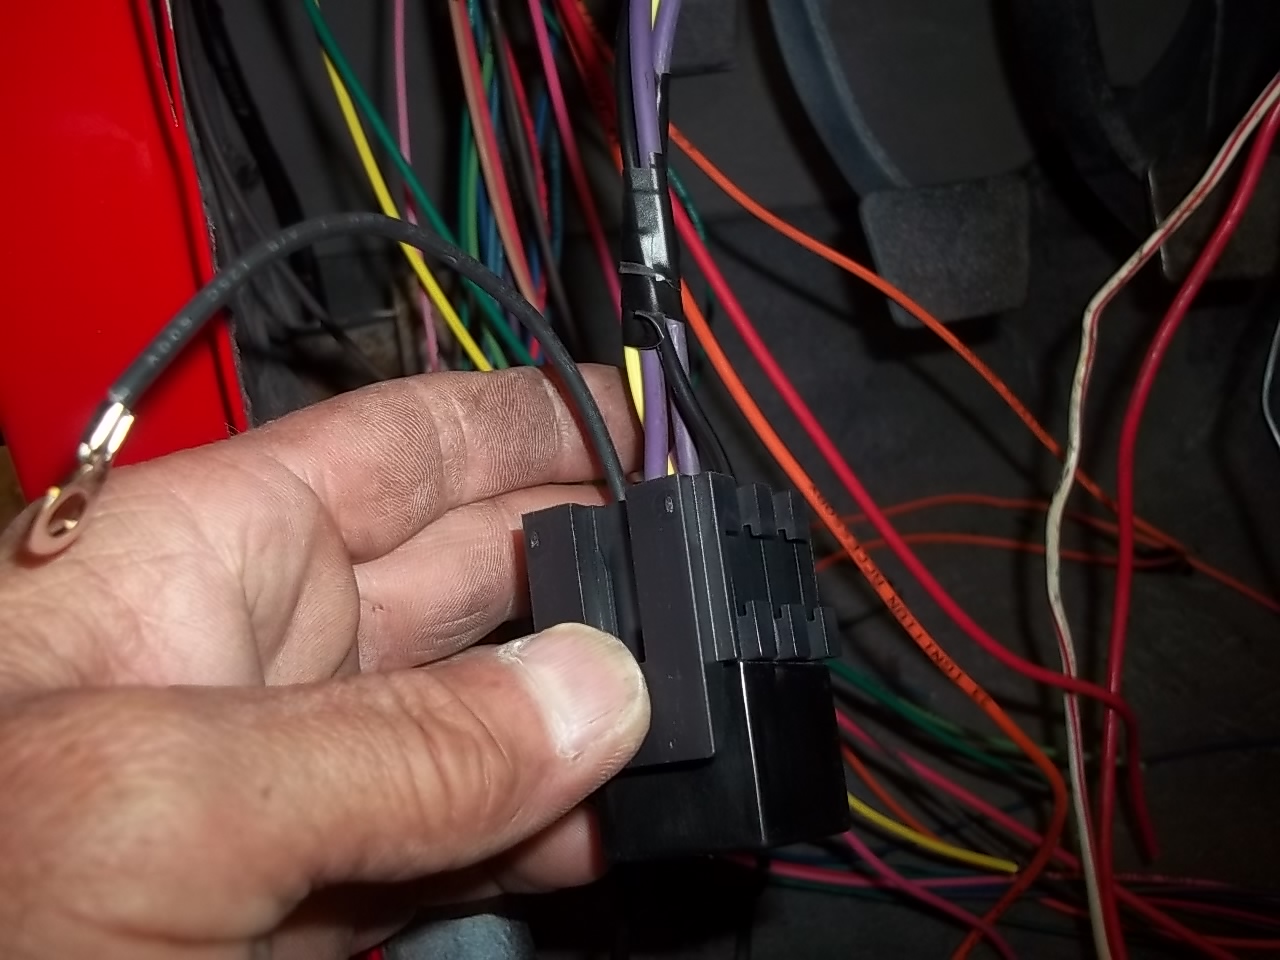
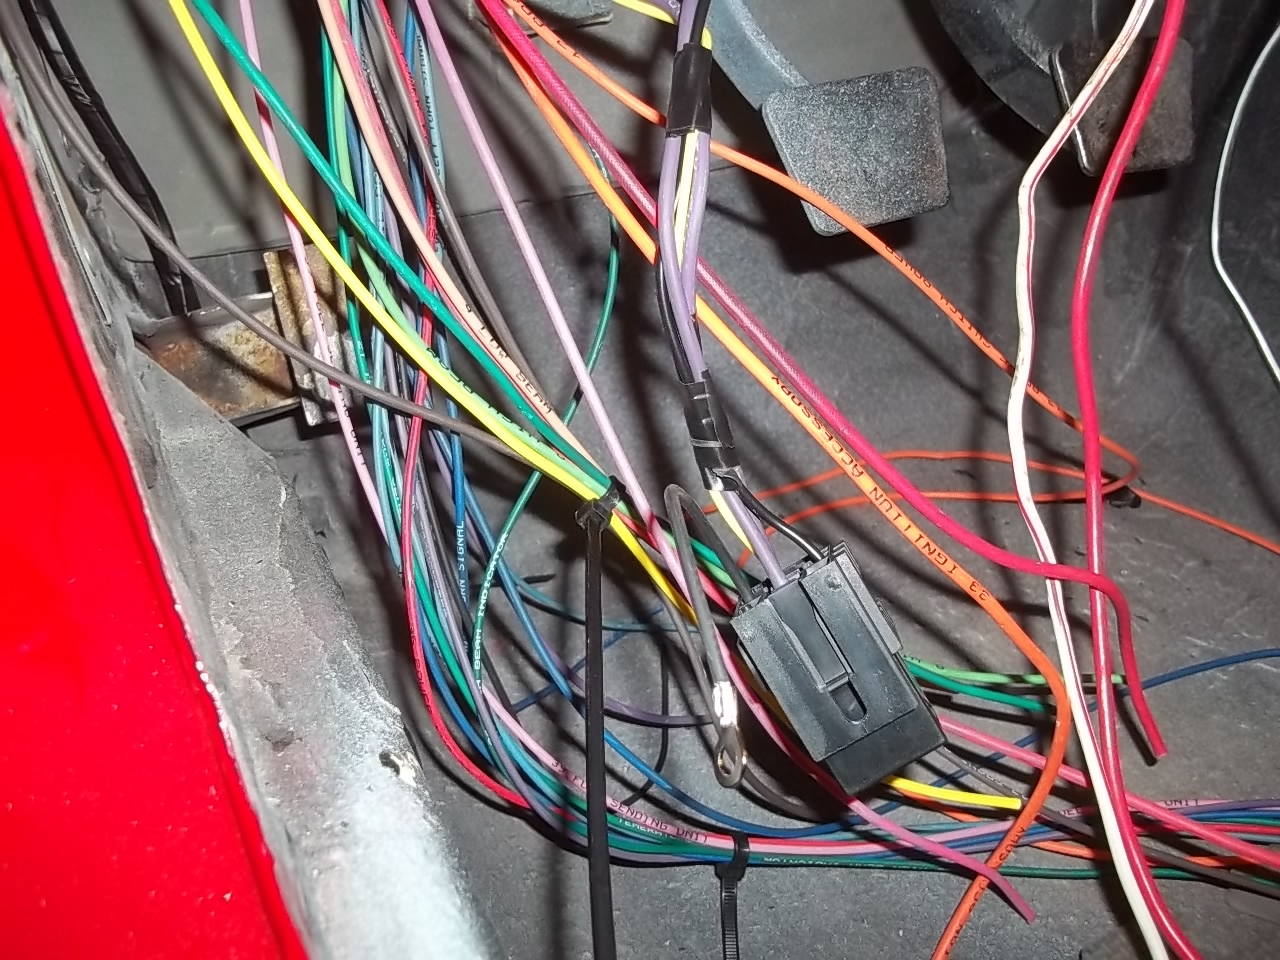
1 pointthese pics are of the fuse holders that will hold auto-reset circuit breakers. one holds a 50 amp fuse that is the main power from the battery. the other feeds the head and tail lights

 1 point
 -
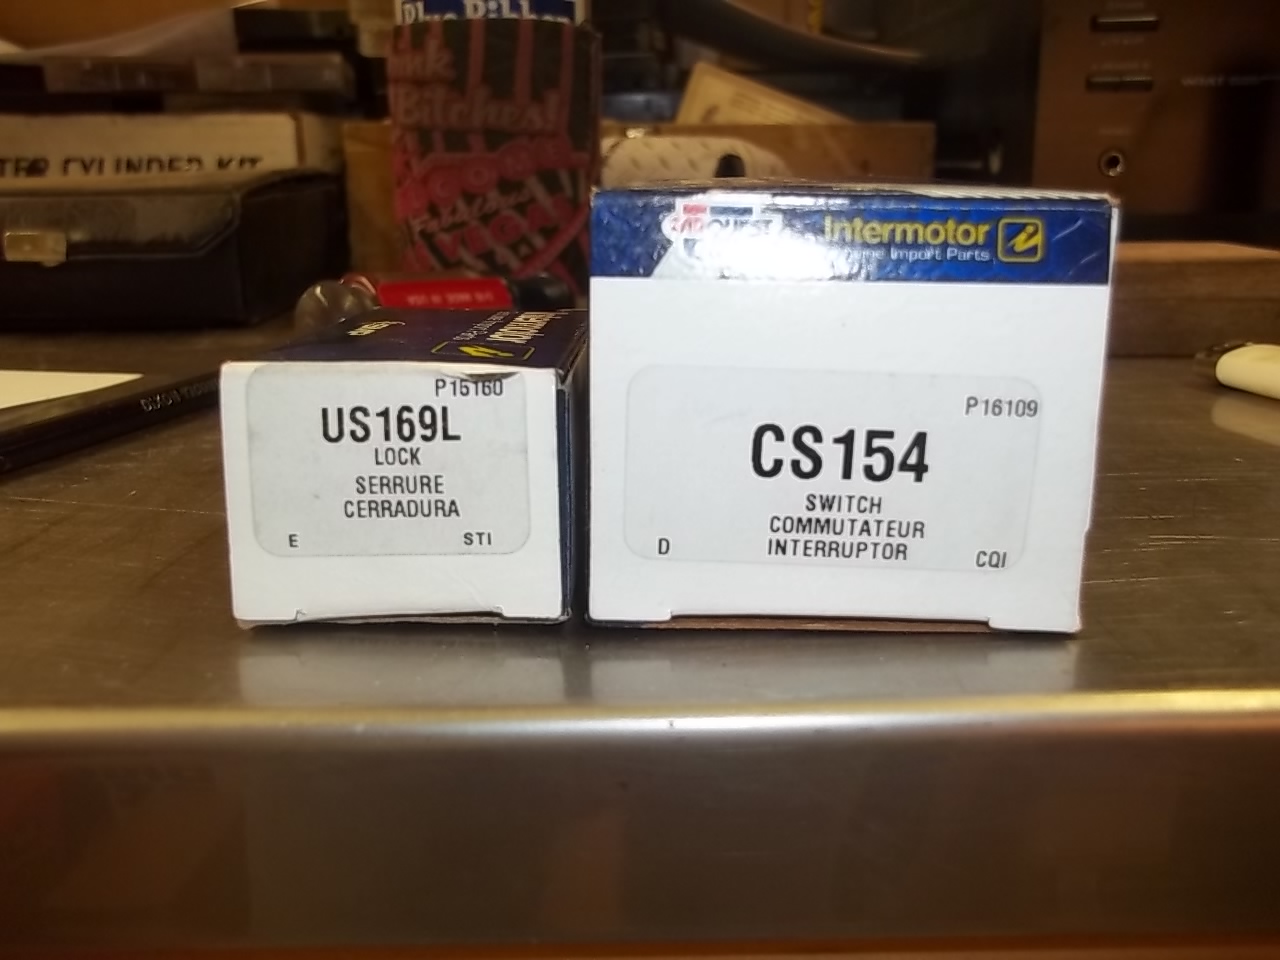
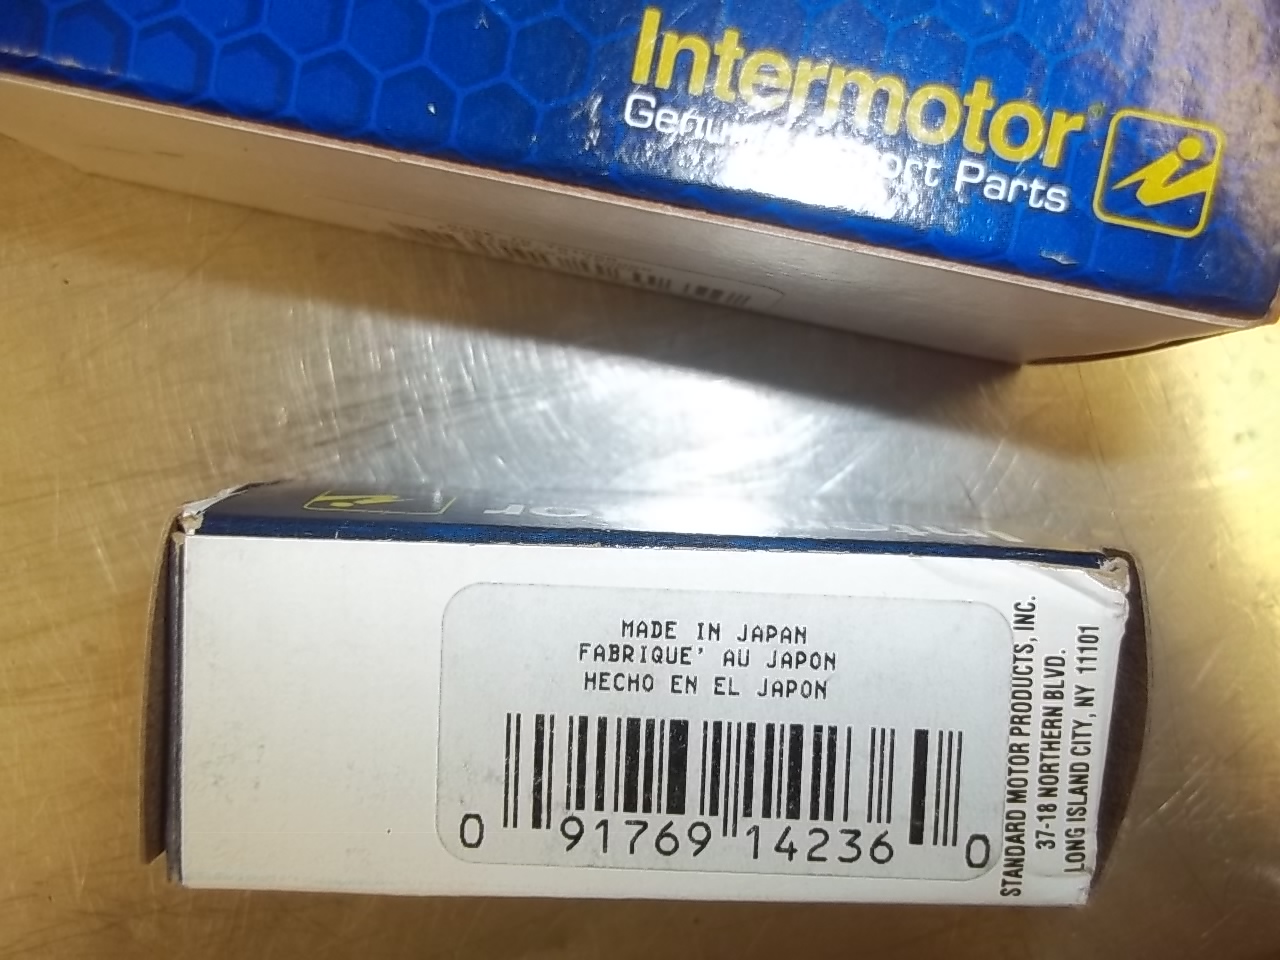
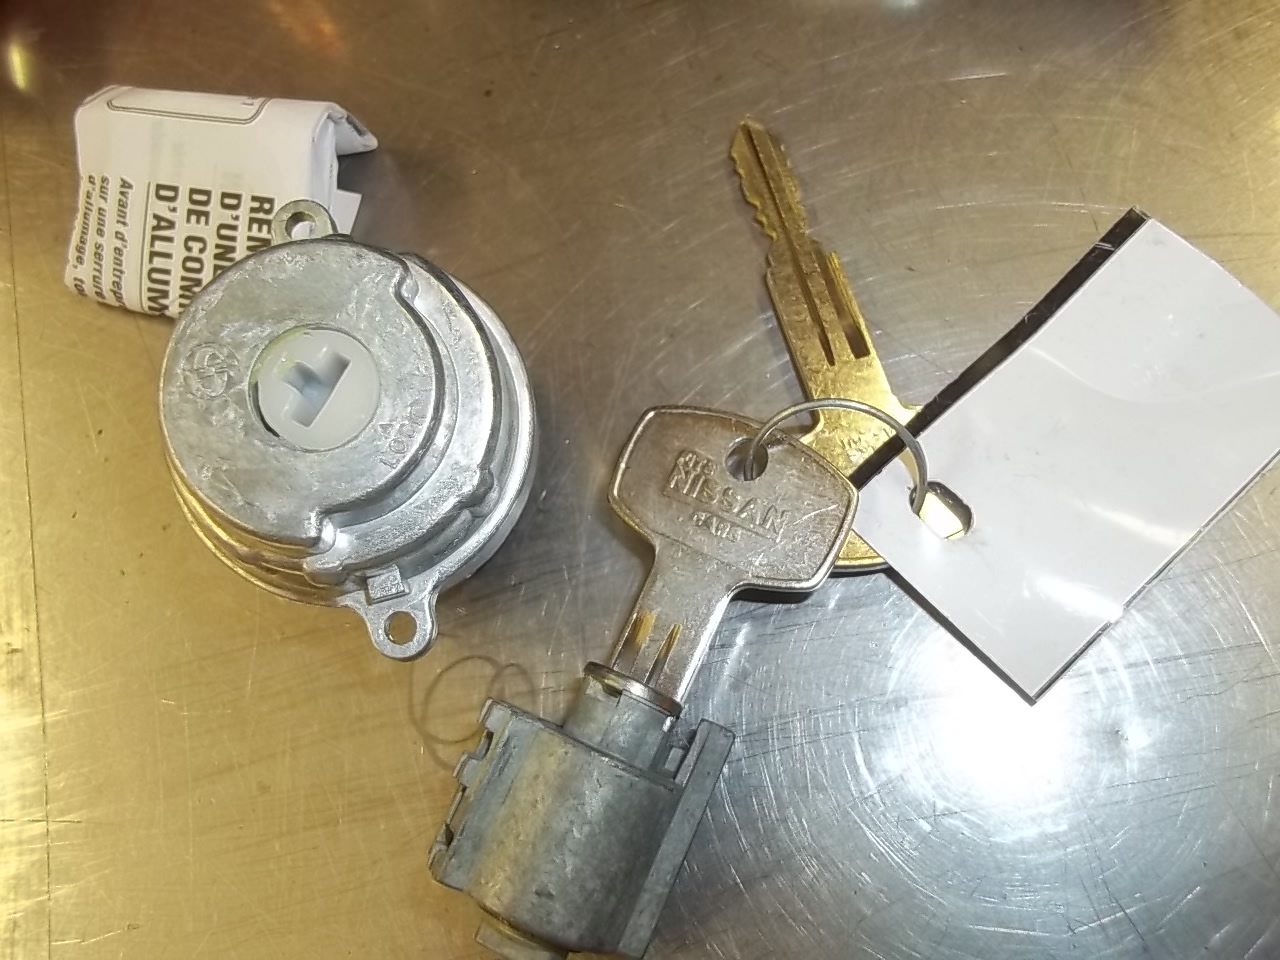
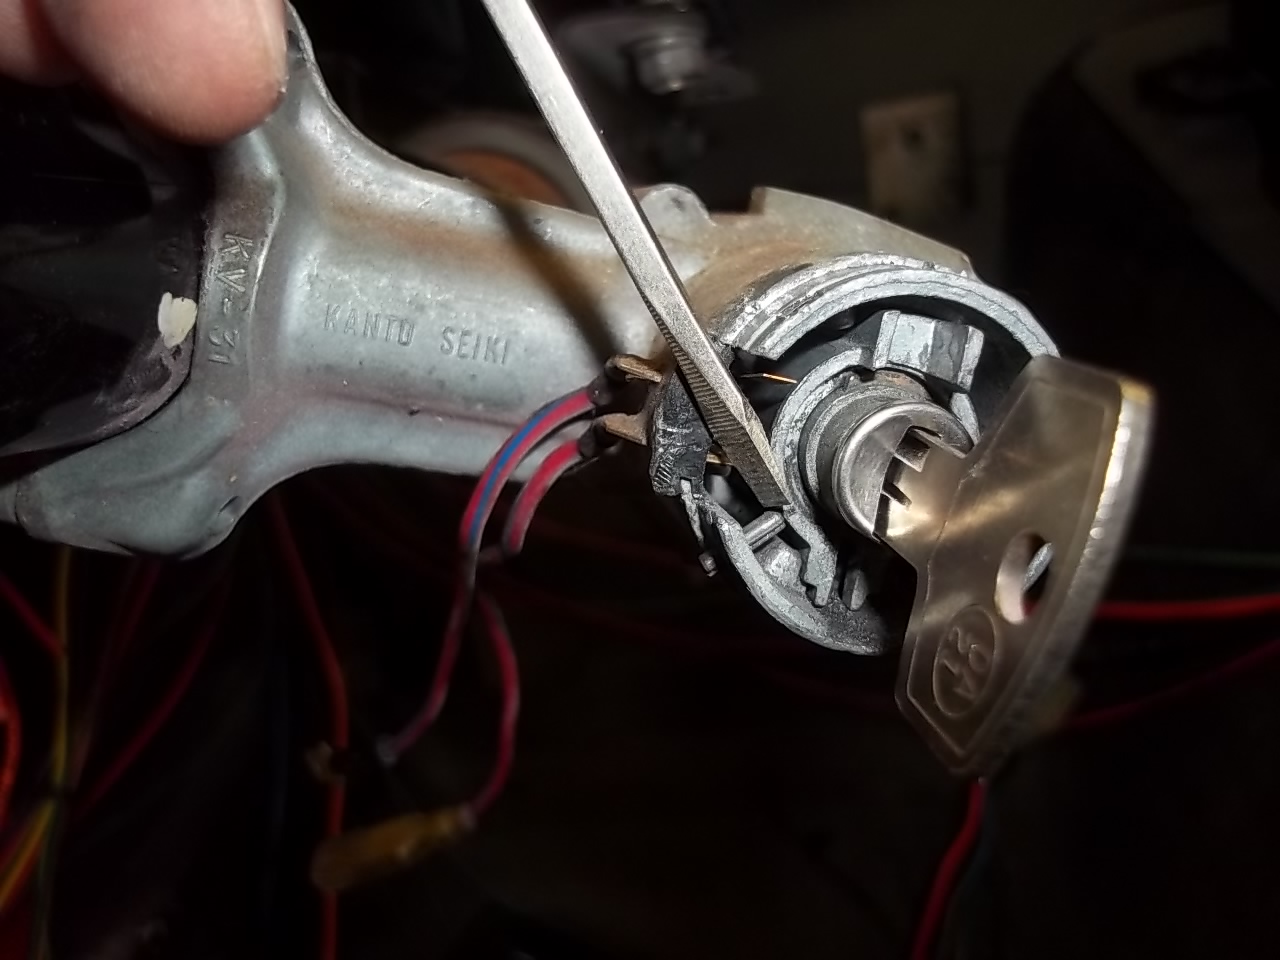
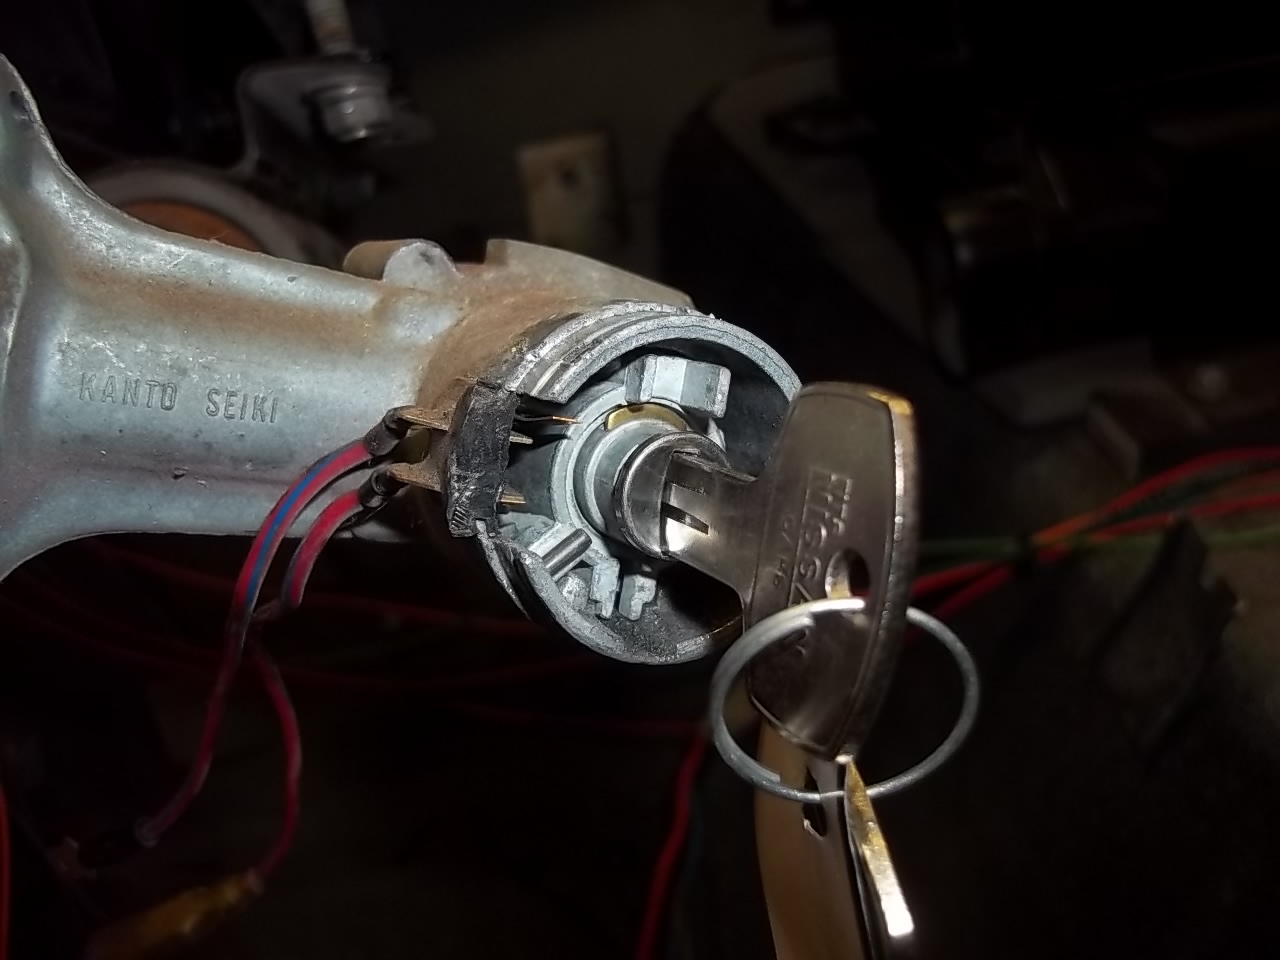
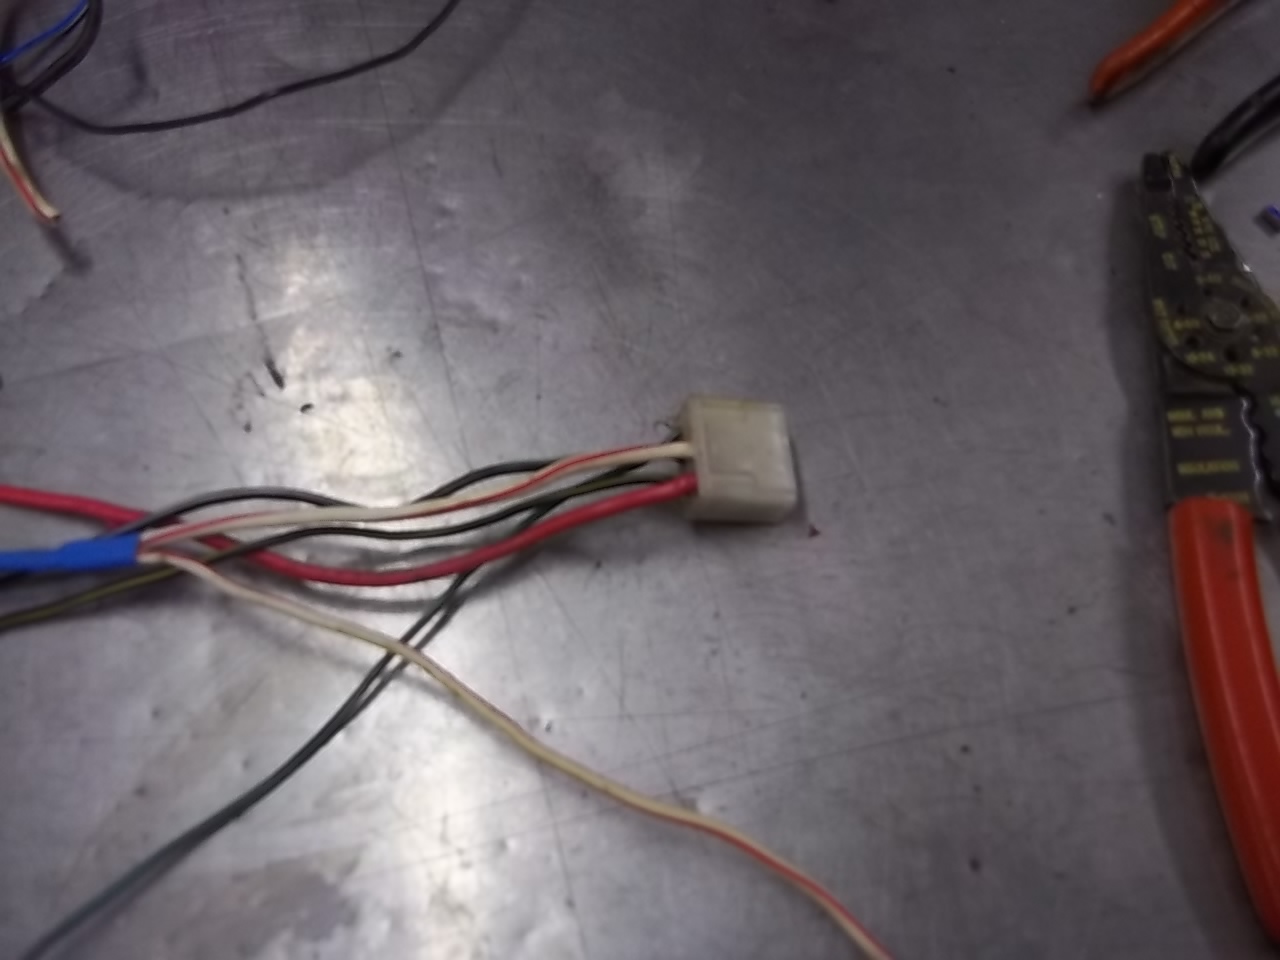
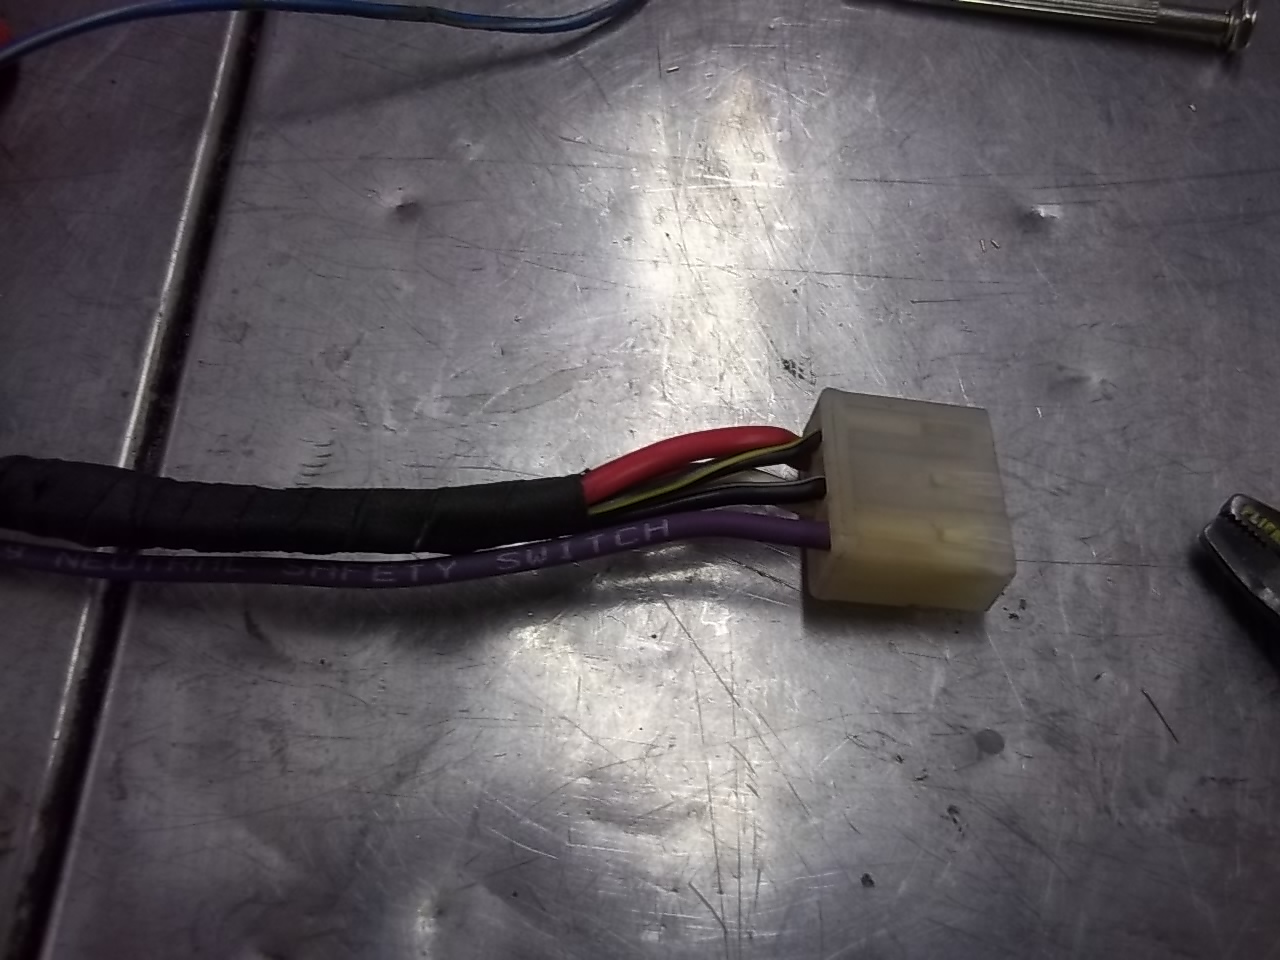
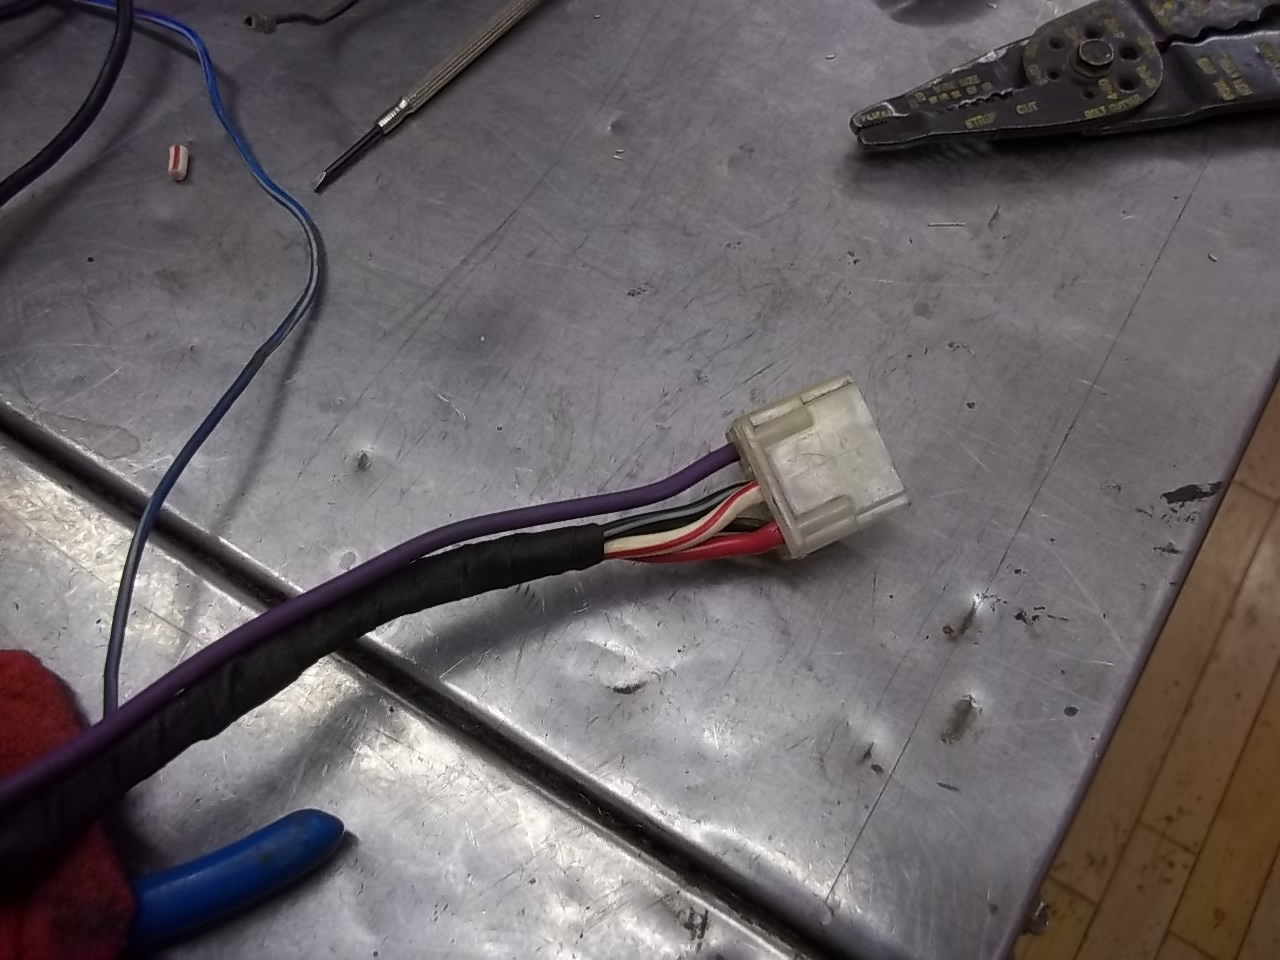
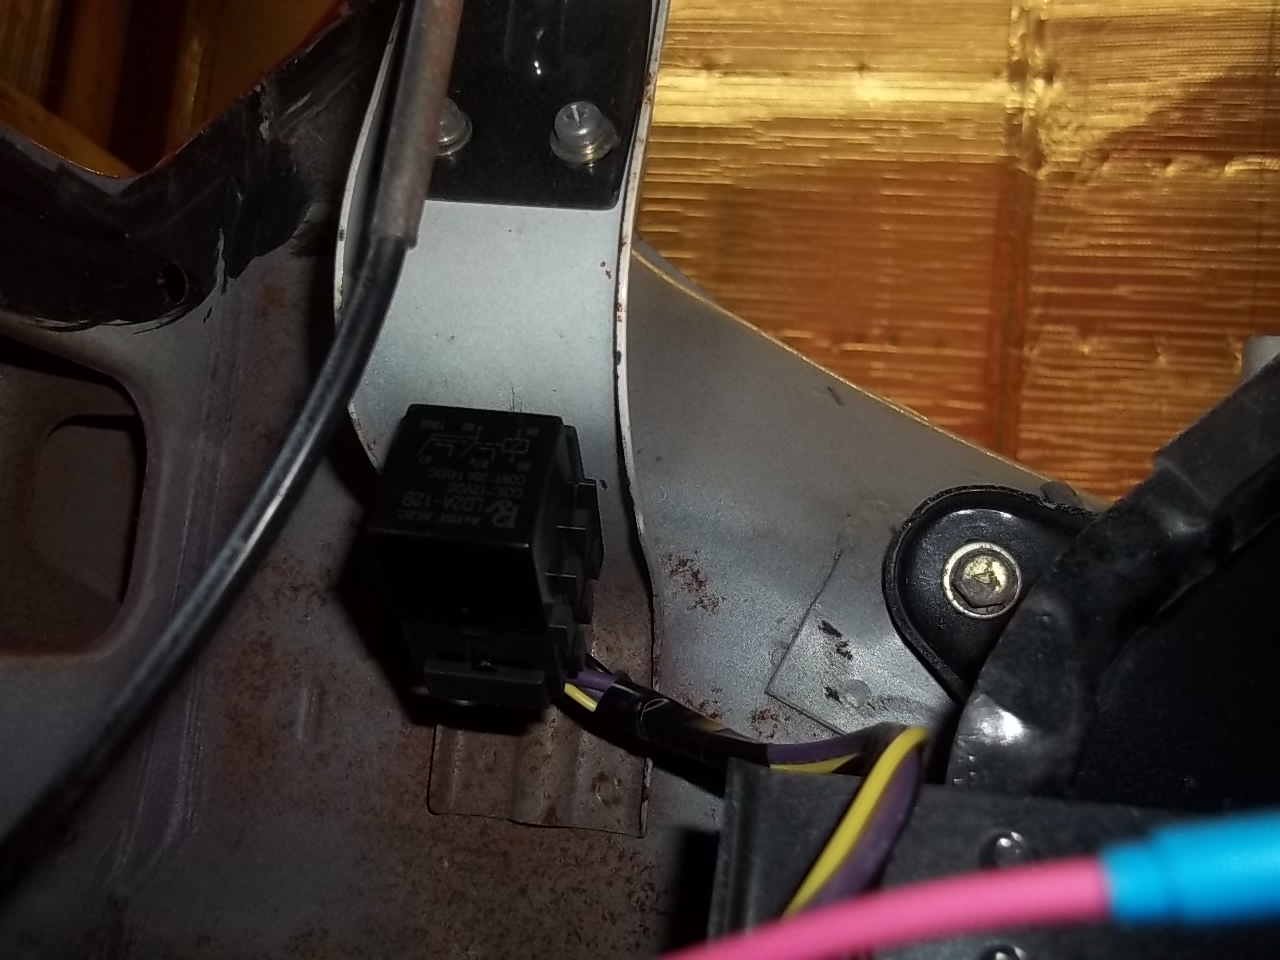
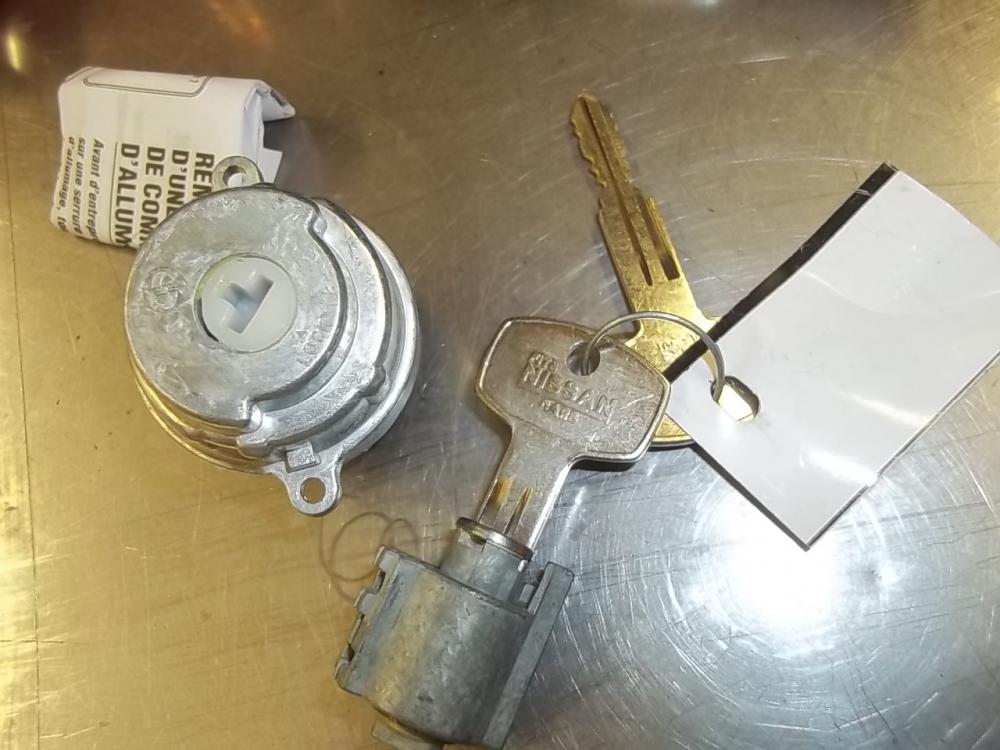
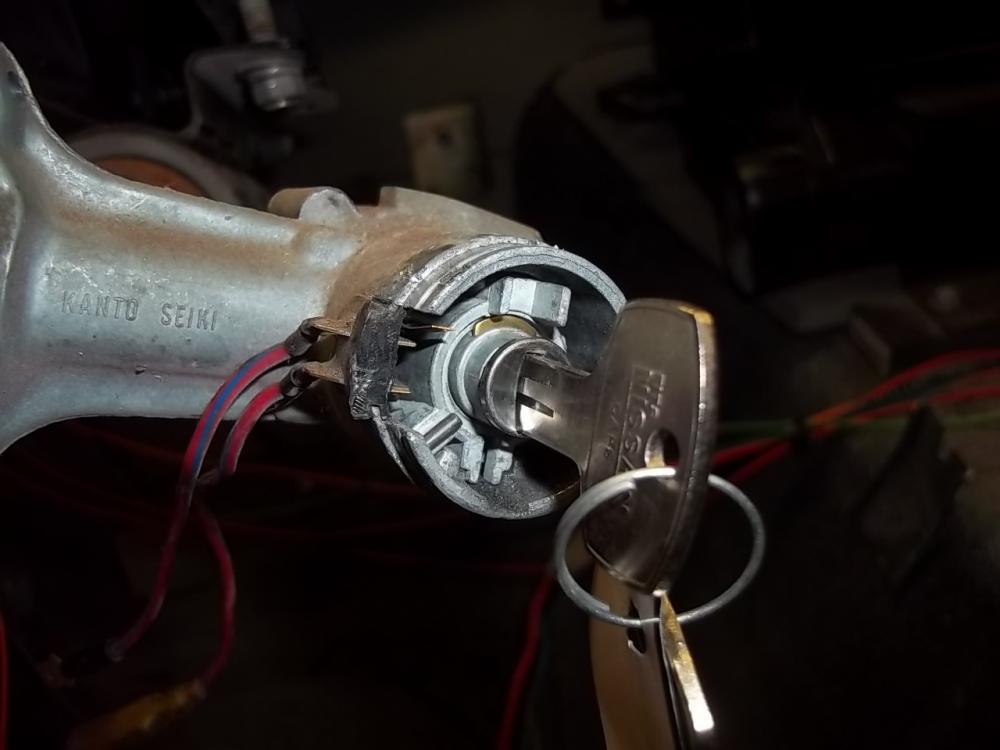
1 pointok, here goes. first, i was able to get a new ignition switch and lock cylinder from my local carquest. the key is like the originals, whereas the the others i have seen were not replacing the lock is fairly simple. remove the outer trim ring by tapping it from the back with a screwdriver and small hammer. the inner ring takes some prying with a screwdriver and was a little harder, but it needs to come off, it covers the pin that holds the cylinder in place. pry the pin out, and the cylinder pulls right out. put the new cylinder in, push the pin back in and re-install the trim rings. i havent done that yet because im going to powder coat them. here is the wiring plug that attaches to the ignition switch. i moved some of the wires to different terminals to try to match the new wire colors. you will notice the purple is to the starter solenoid, i have since removed it to avoid drawing too many amps through the switch, and added a relay.


 1 point
 -
Hi all, I just added a new feature to the classifieds area. This feature will allow you to mark an item as sold so other people know it's no longer on the market. To mark an item as sold, simply open your post (ad) and you'll see the new option in the upper right (next to the reply button). Hope you enjoy! Mike1 point