Leaderboard
-
sdyck
Free Member2Points151Posts -
JDMjunkies.ch
Free Member2Points637Posts -
240260280z
Free Member1Points5,426Posts -
S30Driver
Free Member1Points1,580Posts


Popular Content
Showing content with the highest reputation on 09/30/2015 in all areas
-
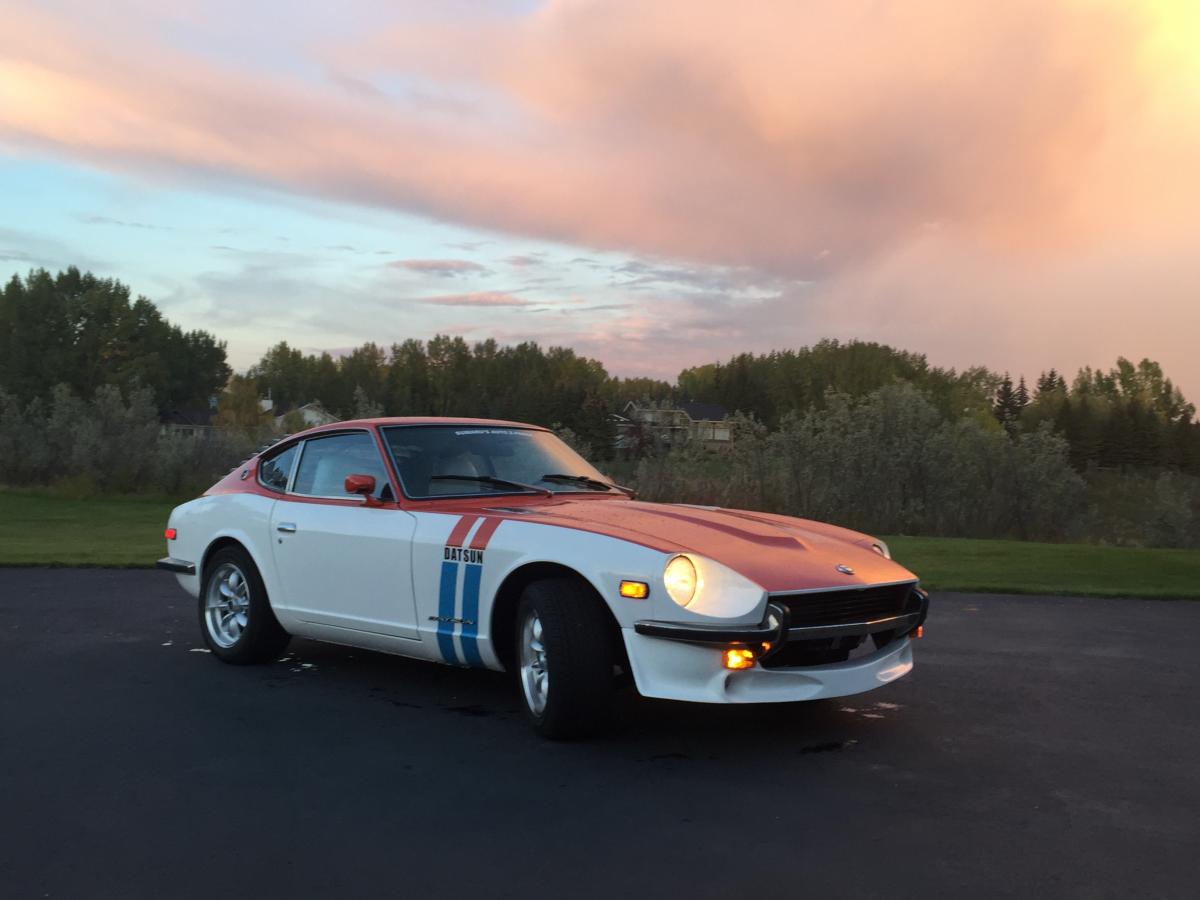
Had a great time in my Z this summer, this pic is from a couple of weeks ago, leaves are turning here in Calgary and we expect Saturday to be barely above freezing Hate the thought of putting her up for the winter.
 2 points
 -
After i've done the Kakimoto valve cover a while a go and started several things i'm happy to announce i finally completed another (well at least a small) part of the car. The JDM 240Z fender mirrors. This was quite a story. Because it's quite difficult to find the obsolete long-base mirrors, while the short base Datsun 510 mirrors still are available in new condition. Well i wanted to have it authentic so i went the extra mile for a detail most people probably even wouldn't notice Started with a set of crappy long base mirrors i found on ebay a while ago. But sadly a lot of parts where missing and the mounts in the bottom where all rusted away... So i bought a set of new 510 short base mirrors for spareparts. then stripped the paint of the old long-bases Disassembled and Test-fitted everything and had it painted at the paintshop in the original charcoal black. Special thanks goes out to my Fellow datsun enthusiast Stefan who once again showed incredible support with his magic metal skills and was able to move the base mounts from the new 510 mirrors to the old long base version. Perfect work once again. So finally i was able to assemble the mirrors back to what is now a completed genuine set of long-base JDM Fairlady 240Z Mirrors. Couldn't be happier. One less point on the 2do-list to care about More soon...2 points
-
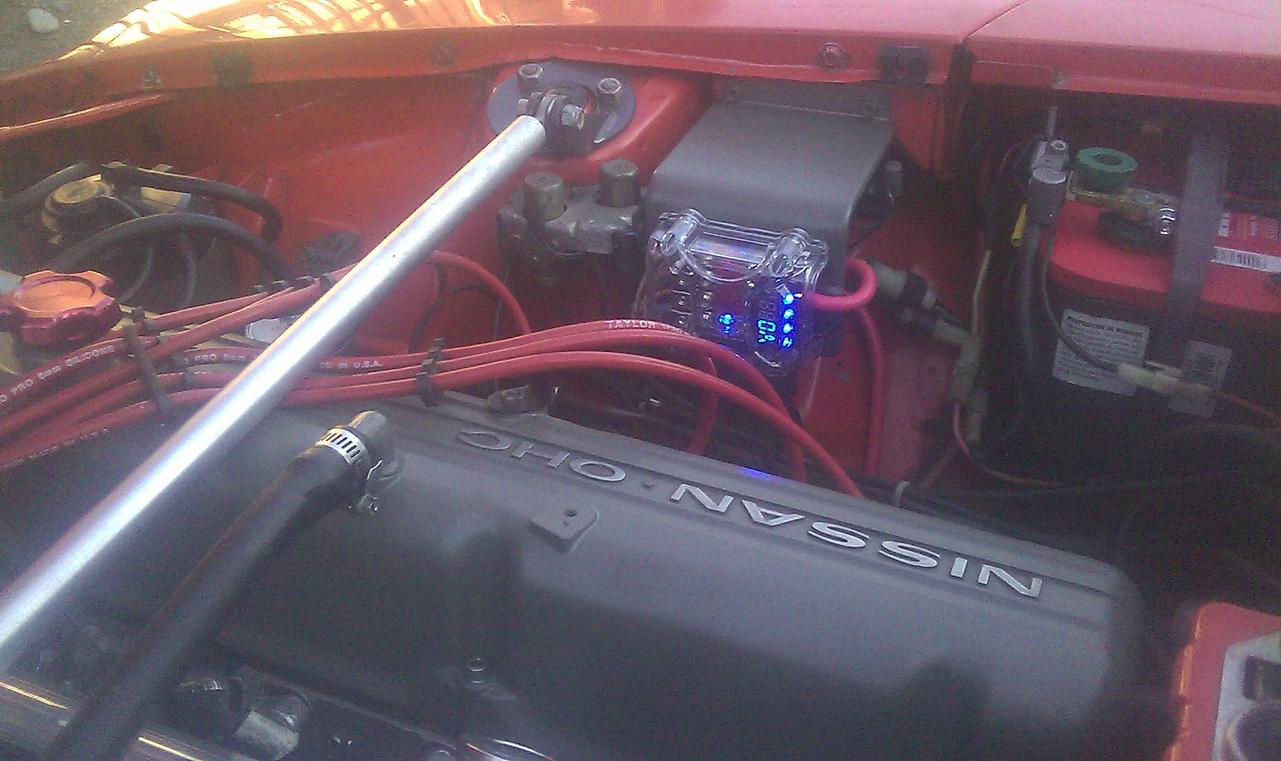
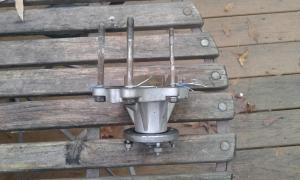
1 pointCompleted my installation of a fuse block to replace the ageing fusible links. Used the same Mini ANL block that Mike W used in his 260, except purchased the 4 fused output block. One 80A ANL for the alternator feed back, and three 50A for the other circuits were the fuses I used. This model has 2 inputs so I will eventually run another cable from the unused port to a inexpensive 2 output small fuse block without the digital bling for the FI links. The display has 4 led's for the fuse status, and the system volts / current. The display cycles between volts & amps about every 10 seconds and shuts itself off in 90 seconds if there is no circuit activity. A good thing, I was worried it would stay lit up all the time & was getting ready to put a small toggle switch on the ground wire for the display to kill it. Worked out well. Fairly accurate, shows my battery to be 12.9 volts when the car is off. Shows my parking / dash lights are 3 to 4 amps when on.
 1 point
 -
1 point
-
1 pointMy thoughts? I honestly don't know. My questions are: "Is there any functional difference in operation between fuses and fusible links?" and the follow-up question of "When designing in a protection device, what would make you choose a fusible link over a fuse?" I spent a little time looking into the above questions a while ago and about the only thing I could turn up on-line was that fusible links were historically used in applications where fuses were unavailable because of the current capacity. So back in the mid seventies, forty and fifty amp fuses, especially in the glass tube style used in our fuse blocks simply weren't available. But if you look under the hood of cars now, you see cartridge fuses of 100A or even more coming right off the battery terminal. I guess the answer could be that parts like that just simply weren't available back when our cars were designed, and if they were designing them again today, everything would have been fuses instead of of fusible links. However... In engineering, frequently even the seemingly mundane is often much more complicated than it appears to the non-expert. I wouldn't be surprised if an EE from Bussman would be rolling his eyes right now at my lack of understanding.1 point
-
1 pointI'd like to see a write-up of how to route the fuel injector wires so they go along the firewall, then to the back of the intake manifold.1 point
-
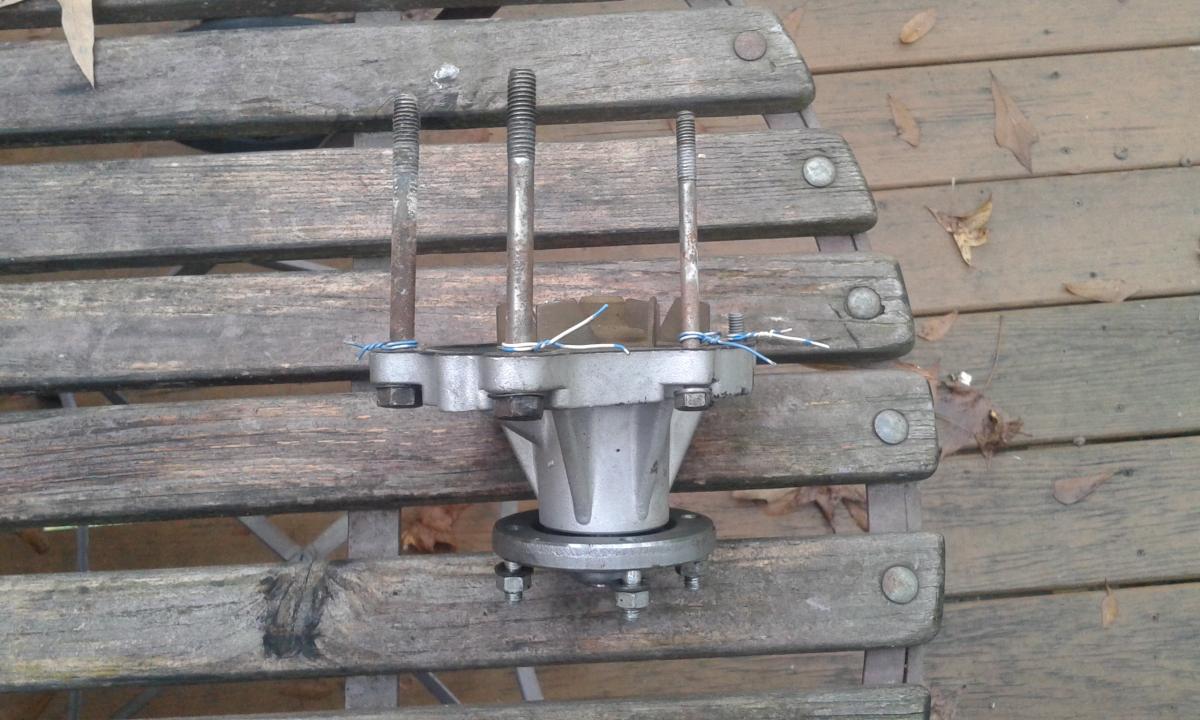
1 pointI use phone/data wire to hold those bolts that thread into another part.
 1 point
 -
1 pointMany times I will put bolts and nuts back on the part after it is removed so you have the correct size and length in the correct location. On some parts this is not possible but on many it is...1 point
-
1 pointA bit of advice on disassembly... No matter how well you think you are documenting you aren't. Get a bunch of ziplock bags, tape, a sharpie and a camera. Take tons of pictures and bag the parts by sub-assembly. Bags are cheap, readily available and digital photography is a piece of cake. My car spent 2 years on the rotisserie and memories get kinda vague in that time frame. Even though I thought I was doing a good job with documenting I was not. I've spent a lot of hours digging through boxes and assembling things only to take them apart later so I can put it back together right. I found that one of the best favors I did myself was to label and bag harware and then tape the bag of parts to what they held on. I wish I'd done more of that. Good luck!1 point
-
Nothing worse than getting up the morning that you will put that cover on the Z for another 6 month rest. Nothing better than dreaming up the list of things to add to and improve on the Z over the next 6 months. And waiting for the post man to bring those boxes of goodies... Oh, yeah, please (insert preferred deity identifier here), let the USD/CAD exchange rate improve over the next 6 months....1 point
-
until
Hosted by Leith Nissan (Cary, NC) Door Prices - 50/50 Drawing - Food – Cool Cars DATE: October 18, 2015 Pre-Registration: trinaglezregistration.webs.com/ $30 / $35 day of show LOCATION: Leith Nissan 2000 Autopark Blvd. Cary, NC. 27511 Registration: 9:00 am to 11:00 am Vehicle Entry Fee: $35 (includes Pint Glass, lunch, raffle ticket) Awards presentation: 1:30 pm to 2:30 pm Judging will be via “people’s choice†Best 240-260z (S30), Best 280z (S30), Best 280ZX (S130), Best 300ZX(Z31), Best 300ZX (Z32), Best 350Z(Z33), Best 370Z (Z34), Best Non-Z Infinity-Datsun-Nissan, Best in Show, Most Radical, Diamond in the Rough, Most Distance Additional Activities: $1 raffle tickets, door prizes and 50/50 drawing, food. Directions: http://leithnissan.com1 point -
I've been meaning to post about this topic and just haven't had the time to get to it until now. Hopefully this is not too late to help you out. First, I have been down this path multiple times with Champion radiators and electric fans. My first implementation used an adjustable temp control module that required a probe to be inserted into the fins of the radiator. Although this setup was fully functional and provided the ability to select the temp at which the fans turned on, I never particularly like the idea of the probe going through the fins of the radiator itself, so I searched for a more elegant solution. I found a really neat product from a company called Dakota Digital, which is essentially a digital fan controller that is highly programmable. You can set fan on temp, fan off temp, have the fans run for X minutes after the car has been shut off, etc. They also provide a temp sensor specifically made for this unit which I also used. I ended up removing the coolant drain plug on the drivers side of the engine block and replaced it with the sensor, although I did need a thread adapter to make this work. The setup works flawlessly and I have had no issues with it what so ever. You can find more about it here: http://www.dakotadigital.com/index.cfm/page/ptype=product/product_id=852/category_id=403/mode=prod/prd852.htm I ended up mounting it in the glove box so the controls and display are easily accessible from the interior of the car. I also found that the generic type fans that came with the Champion radiators were marginal at best. In the hot summer weather here in Texas I found that the combination of the Champion radiator and the generic fans could not keep up with a high heat situation in traffic. I would find in this situation that my temp would continue to go up while sitting at a stop light and this was not an acceptable solution to me. So I ended up changing out both the radiator as well as the fans. Went with a radiator from a company in New York called Wizard Cooling. These guys were unbelievable in the service they provided to me and their product (all made in the good old USA) was far superior to the Champion both in terms of build quality as well as cooling performance. They even designed and made a custom fan mount for me which was a significant upgrade to the "tie wrap" approach that the generic fans used. For the fans I went with two 12 inch Spal fans. Although a lot more expensive than the generic type, these things are unbelievable. They sound like a turbine engine when they start up and their cooling capability, along with the Wizard radiator is nothing short of spectacular. I can be sitting in traffic in 110 degree weather in Austin and my temp will begin dropping as soon as the fans kick in. Never had any sort of overheating problem since I made this change. You can find more about Wizard cooling here: http://www.wizardcooling.com/Datsun-s/1826.htm I don't have access to my picture files now, but if anyone would like pictures of my setup I'll be happy to post those when I get home this evening. Just let me know. Hope this helps and is not too late. Mike.1 point
-
He has a 280Z and those MSA mounts are for a 240Z. The ECU is in the way on the left side. I building a 240Z turbo for a friend and the only real option was to cut the door panels and modify the door. I put them as far forward and down low as possible. The window crank needs to clear the speakers. Chuck1 point
-
1 pointSorry I didn't respond to sooner guys. My suspension is stock with 2 coils cut on each corner. Rides great. Never had any rubbing issues. I also did get the 5 speed swapped in back in September...was super easy and the car is so much more fun now. Well, it was when the weather was nicer. It's resting snuggly with a trickle charger night now. A few more recent shots..... IMG_0241 by blodi, on Flickr IMG_0239 by blodi, on Flickr IMG_1134 by blodi, on Flickr IMG_1151 by blodi, on Flickr1 point