


Topics Last 30 Days
Showing topics, images, events and files posted in for the last 28 days.
- Past hour
-
 For me at least, this has been an extremely common problem. On BOTH my personal car and many - if not all - the Z's that came through the shop and throughout the Z community here in Phoenix. Yes, there may be too much amperage going though those contacts as resistance builds up in the wire and connectors BUT: What I have found in every turn signal switch I've repaired (and that has been MANY) is - The original chrome plating on the solid contacts (non-moving) has worn off due to repeated electric arcing across the contact. When you clean the carbon off it leaves a nice brass contact surface that fouls MUCH more quickly. Therefore, depending on your use, you get another 6 months to a year or so before you have to repeat the contact cleaning process. Then your flashers work well enough for a time and have to be taken apart again. My flasher switch (which I have absolutely no idea if it was original to the car) worked well for a few years before I had to take it apart and clean the carbon fouled contacts. Then it became a 6-9 month cycle. I finally got tired of that and bought a different turn signal switch assembly off the internet. I was delighted that it worked well and lasted for quite a few years. I'll remind everyone that I daily drive my 260Z so my T/S get a fair amount of use. (I got this Z running and back on the road Spring of 2009) DROPPING THE AMPERAGE going through the switch will definitely help the contacts to last longer (foul less). But I don't think it's necessarily the ultimate answer. In my case, that didn't last forever either, and I am done with taking the stock switches apart and cleaning, and cleaning, and cleaning the contacts. SO, I followed another dudes post somewhere and replaced the stock switch with a standard metal 3-position rocker switch mounted such that the arm of the rocker is operated by the stock turn signal arm mechanics. Did it about a year and a half ago and I've been very satisfied with the operation. I can buy another one practically anywhere if I ever need to replace it. Under the clam shell you'd never know it was swapped looking at it. That was my solution. I will say too that MY 260Z IS HEAVILY MODIFIED and is not trying to be original in it's representation at all. In fact lately I have replaced my entire engine bay harness and replaced all the stock wiring connectors with Deutsch connectors. As well as a new engine harness built for a different ECU and sheathed with Raychem. The SECOND thing I will mention: IF you remove the actual switch from the turn signal assembly and push it's little "nubin" that sticks out from side-to-side you'll notice that it goes full motion and insures that the rocker piece(s - if you have a 240) inside will spring solidly onto the fixed contacts EVERY SINGLE time. Now screw it back onto the assembly and watch it's movement. Even when the assembly parts are NEW, they won't move the switch fully from side-to-side! That sliding piece of plastic with the hole moves enough generally to cause the rocker to fall one way or another, but NOT full motion. As that piece of plastic wears against the metal it makes that action more and more sloppy. It affects the action one direction MORE than the other. SO, your LEFT SIDE SIGNAL going away is common. Usually it won't just disappear - it'll become "finicky" and works sporadically usually requiring you to move the T/S lever again or wiggle it to get it engaged (and the V-shaped bar to teeter all the way to one side). I may have pictures of the turn signal switch disassembled but I'm sure they can be found on the interweb. I tried a few things to combat that problem as well, but in the end moving to a new toggle switch solved both problems.
 - Today
-
 It's a bit spotty... You may have to try it after a page refresh. I need to run some upgrades soon and I'll let you know if it's more reliable ...
 -
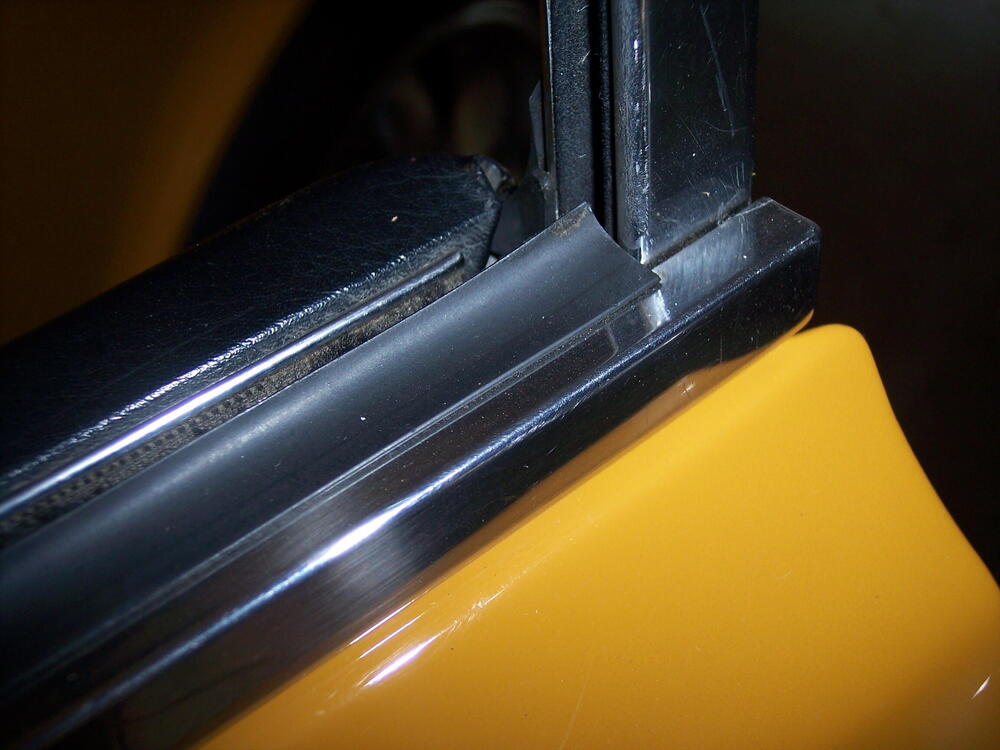
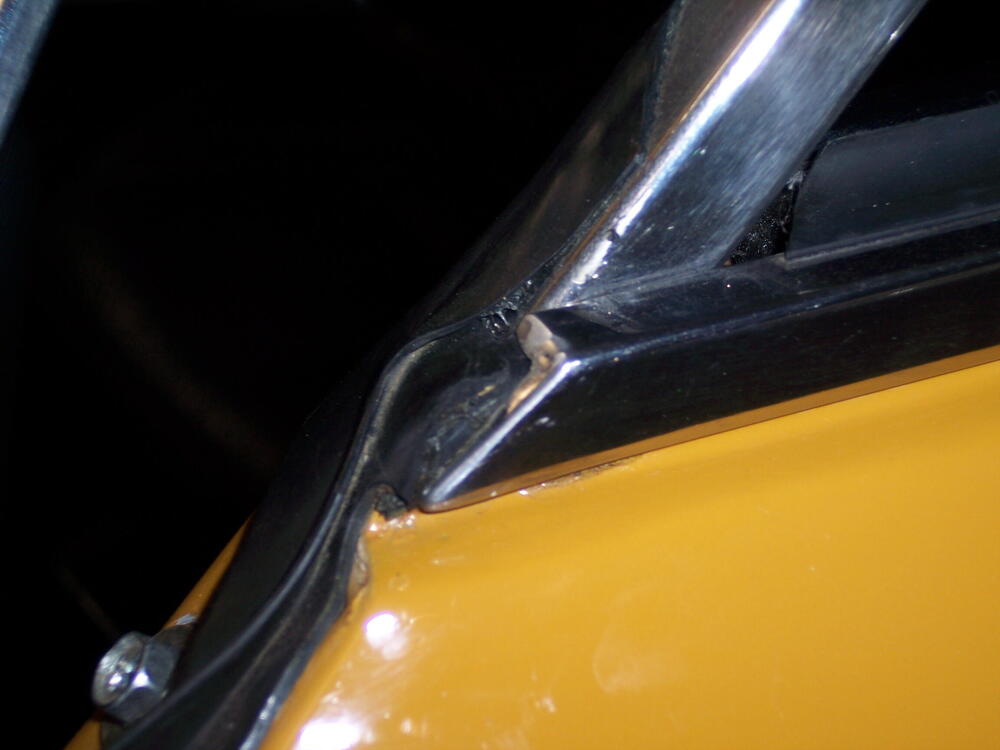
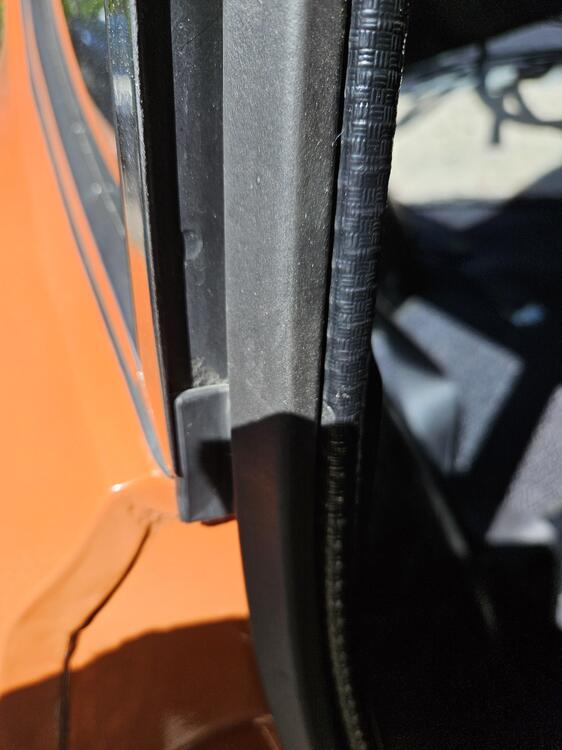
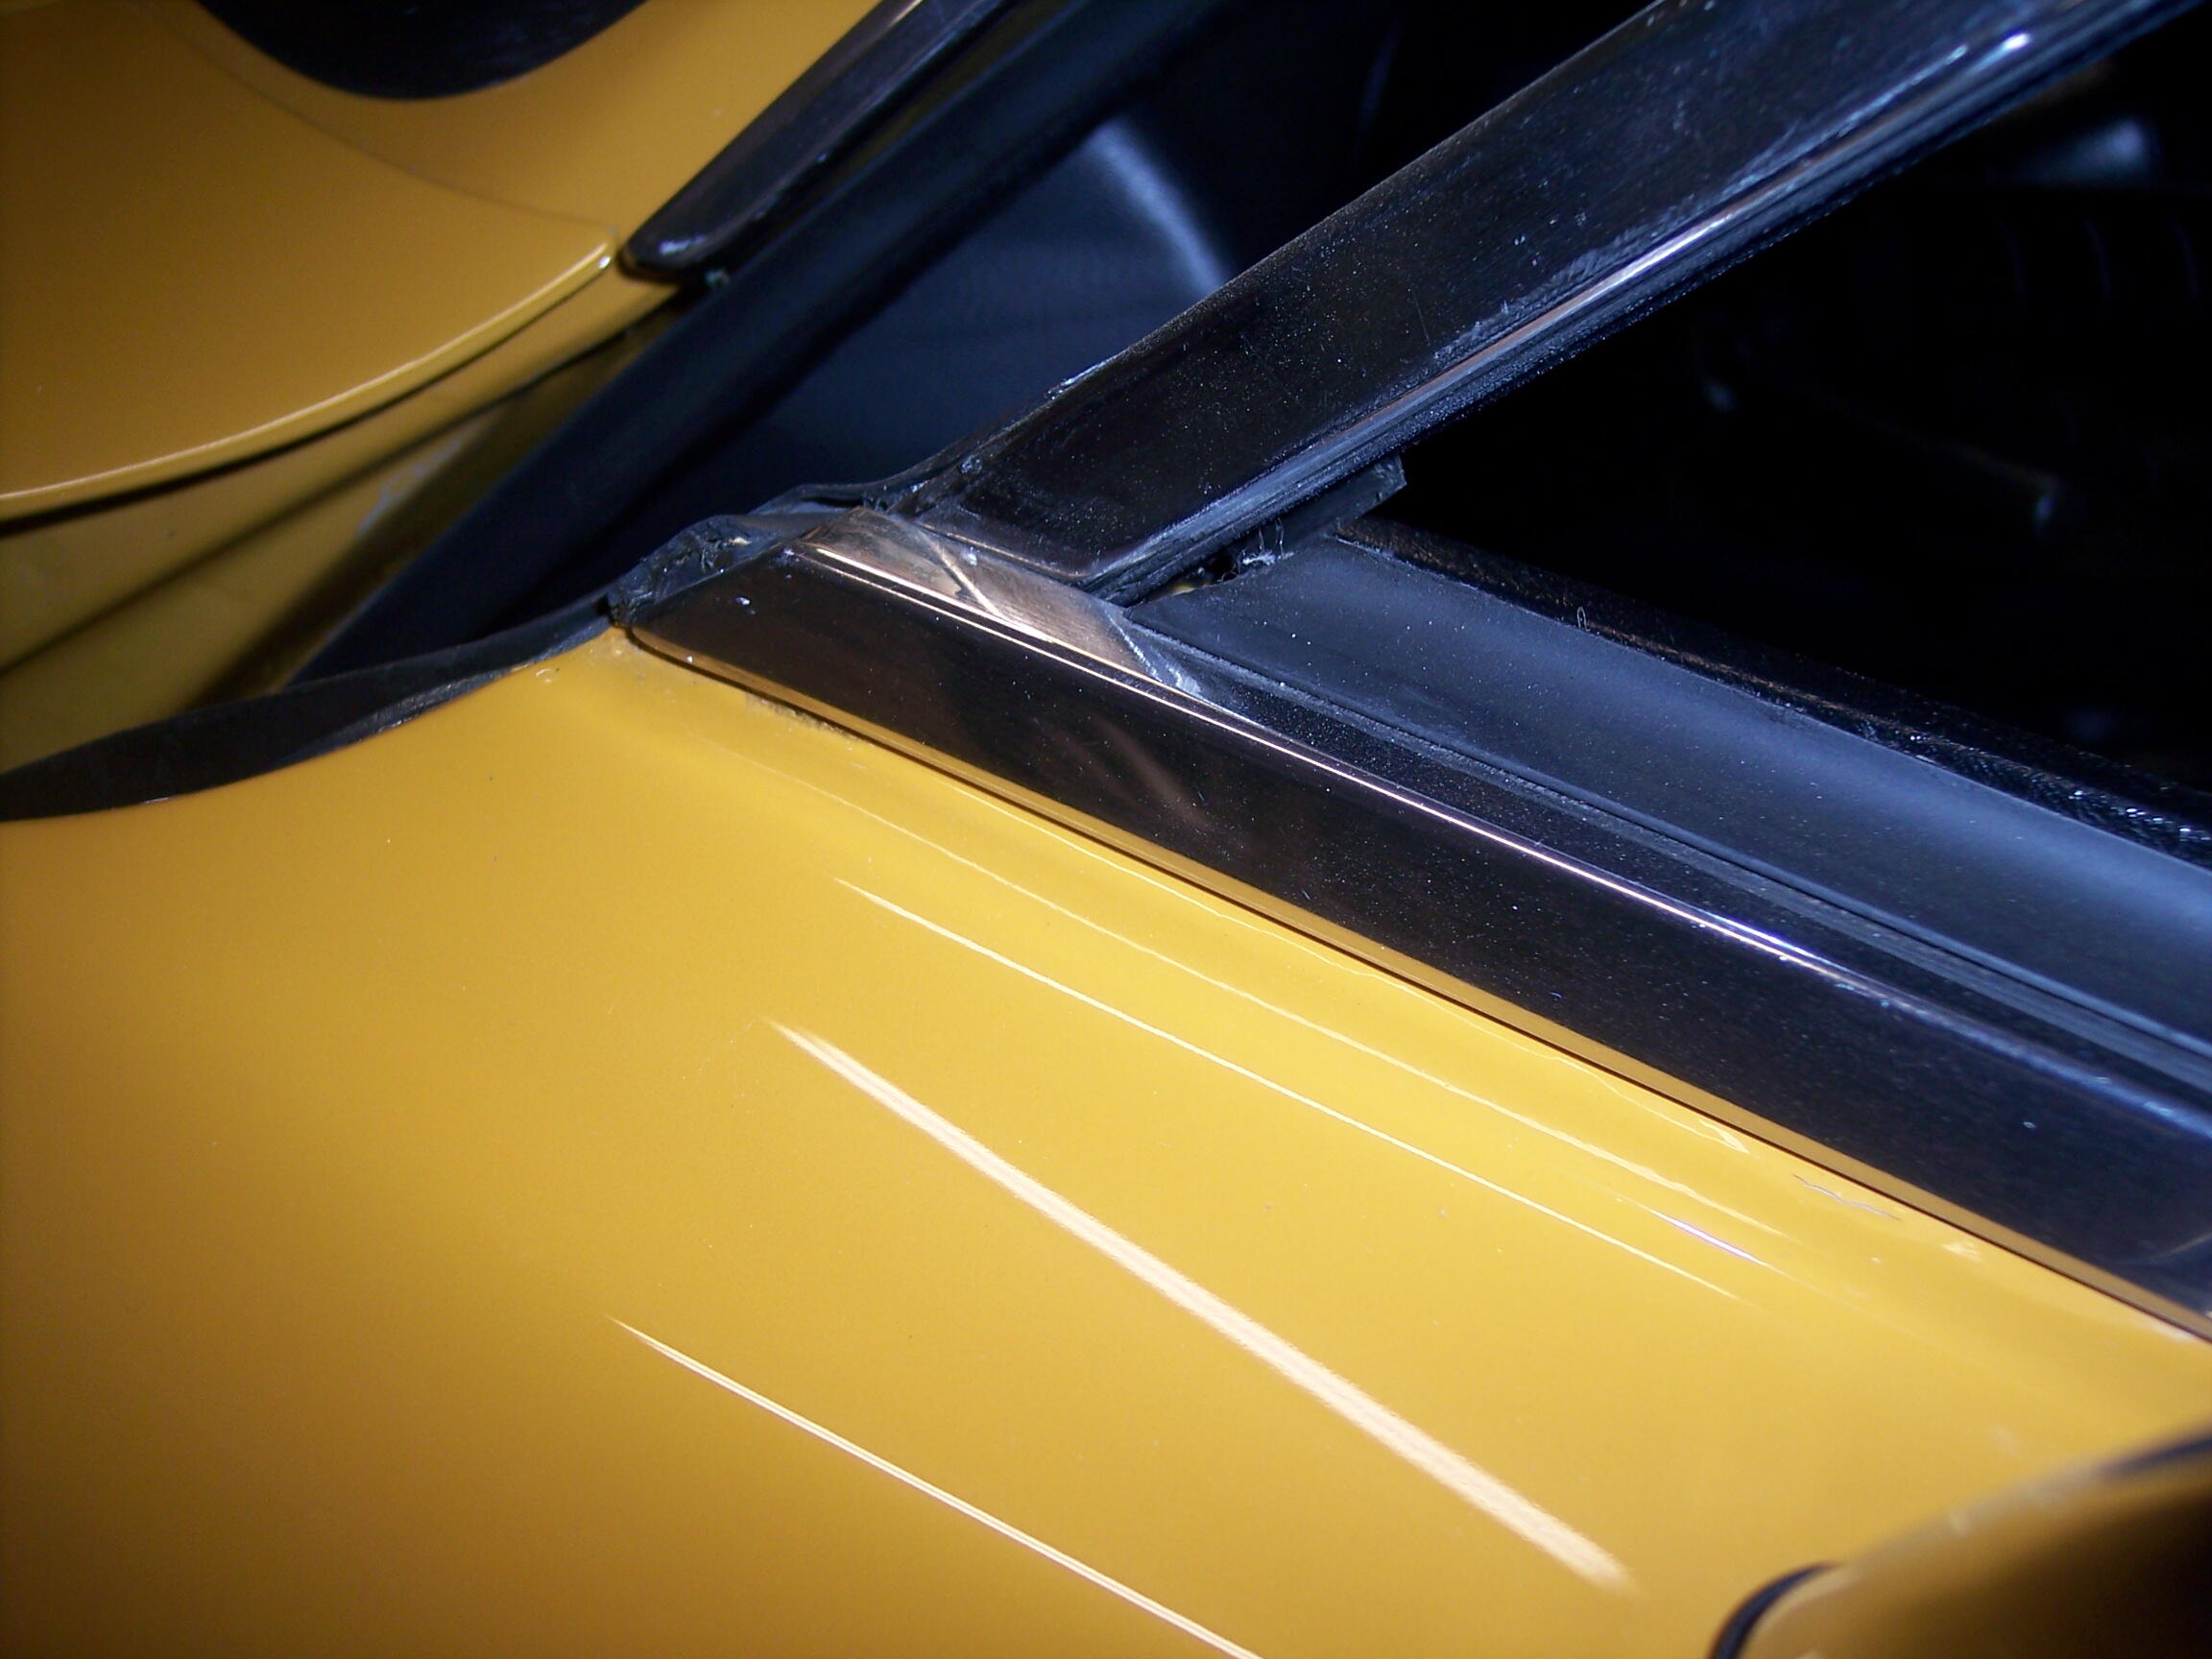
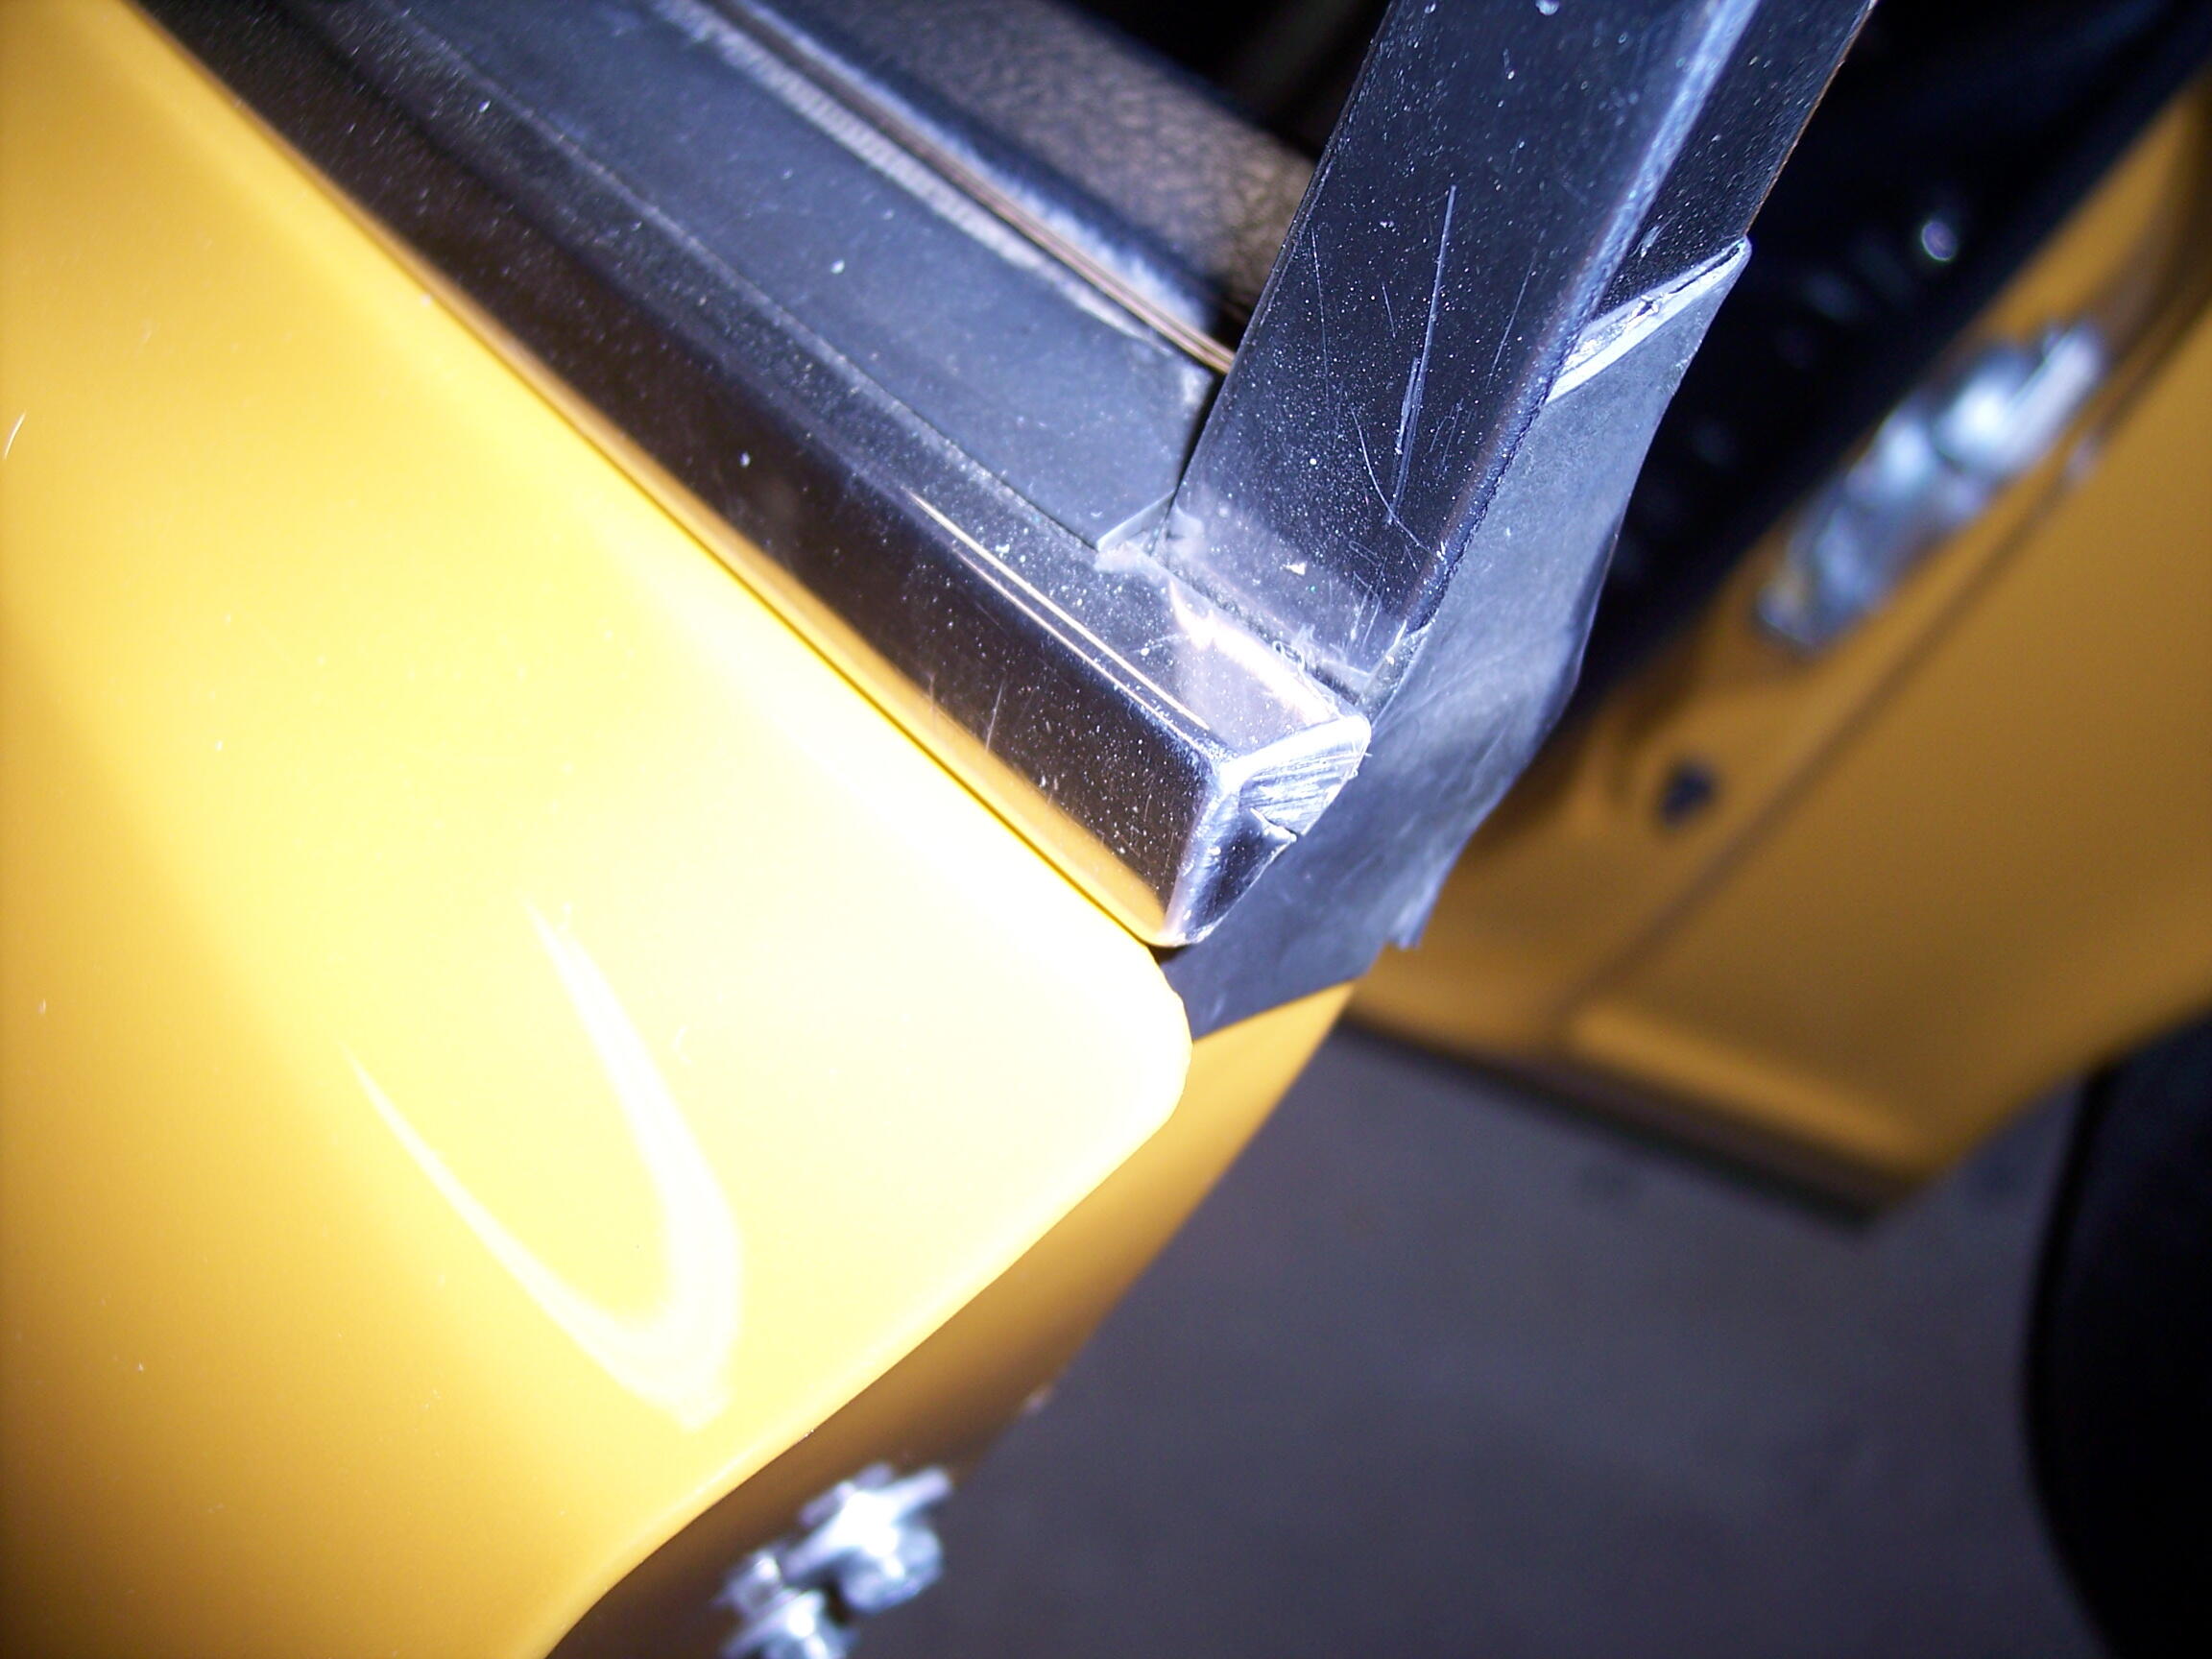
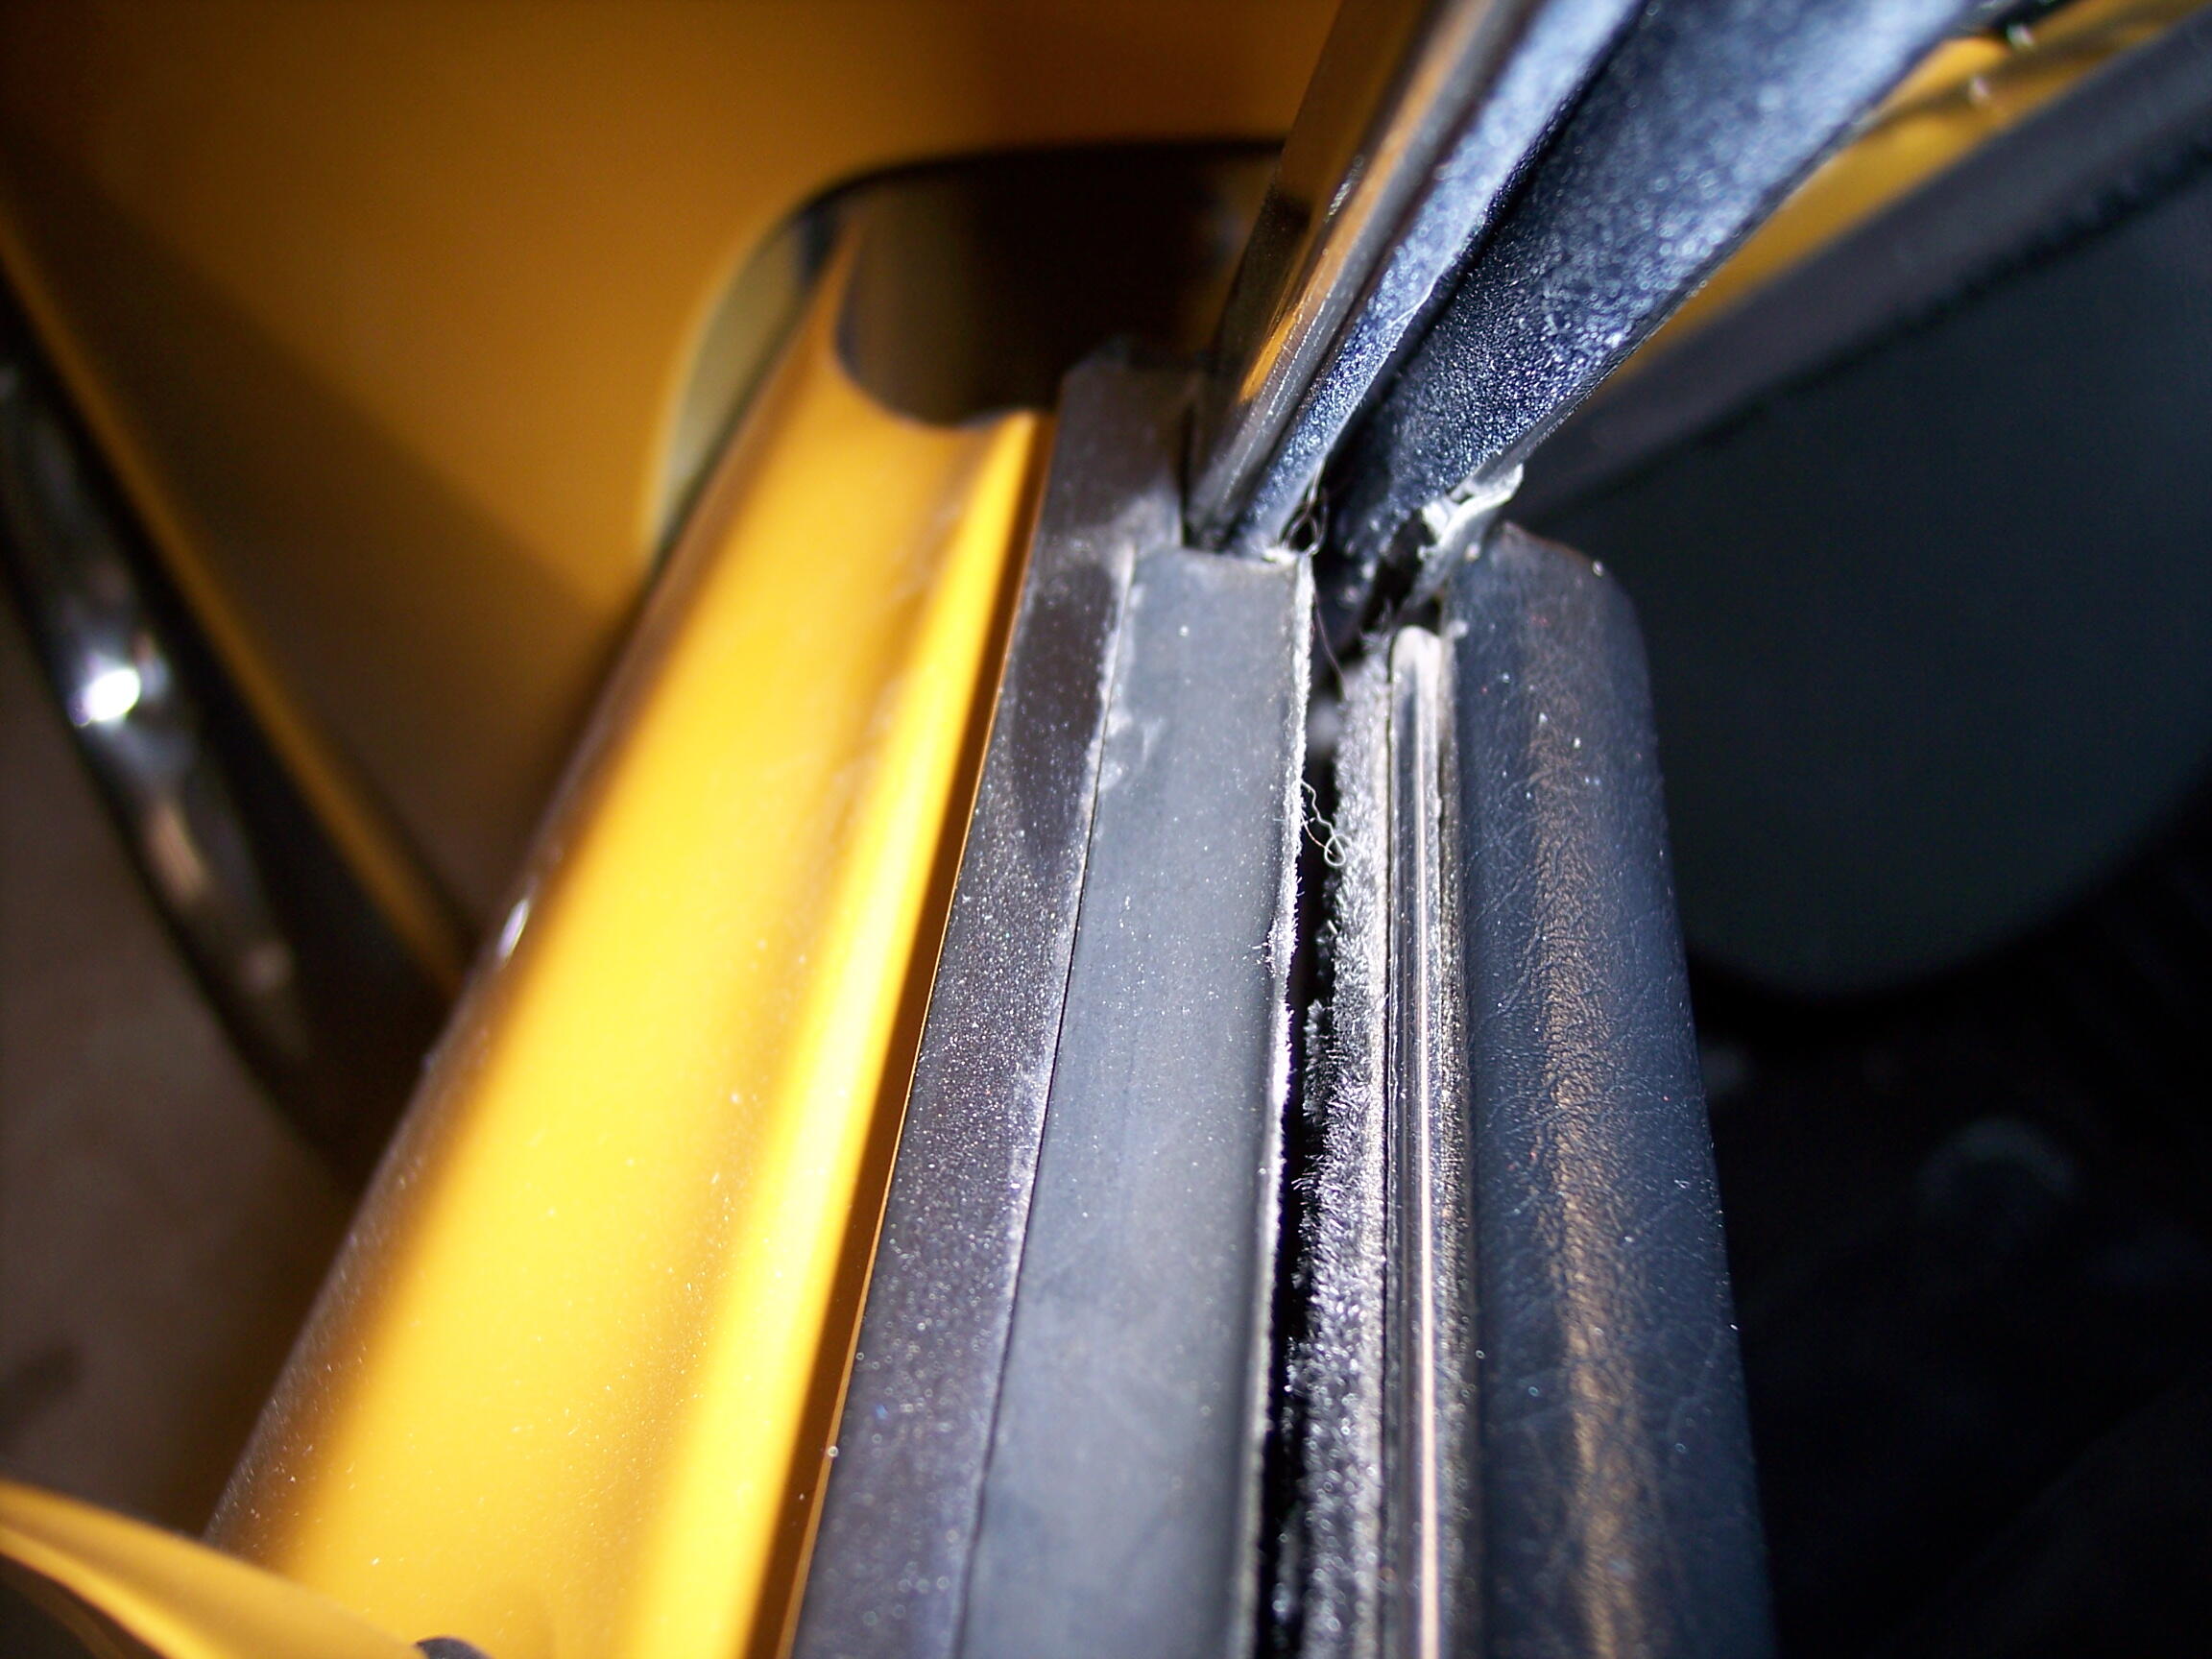
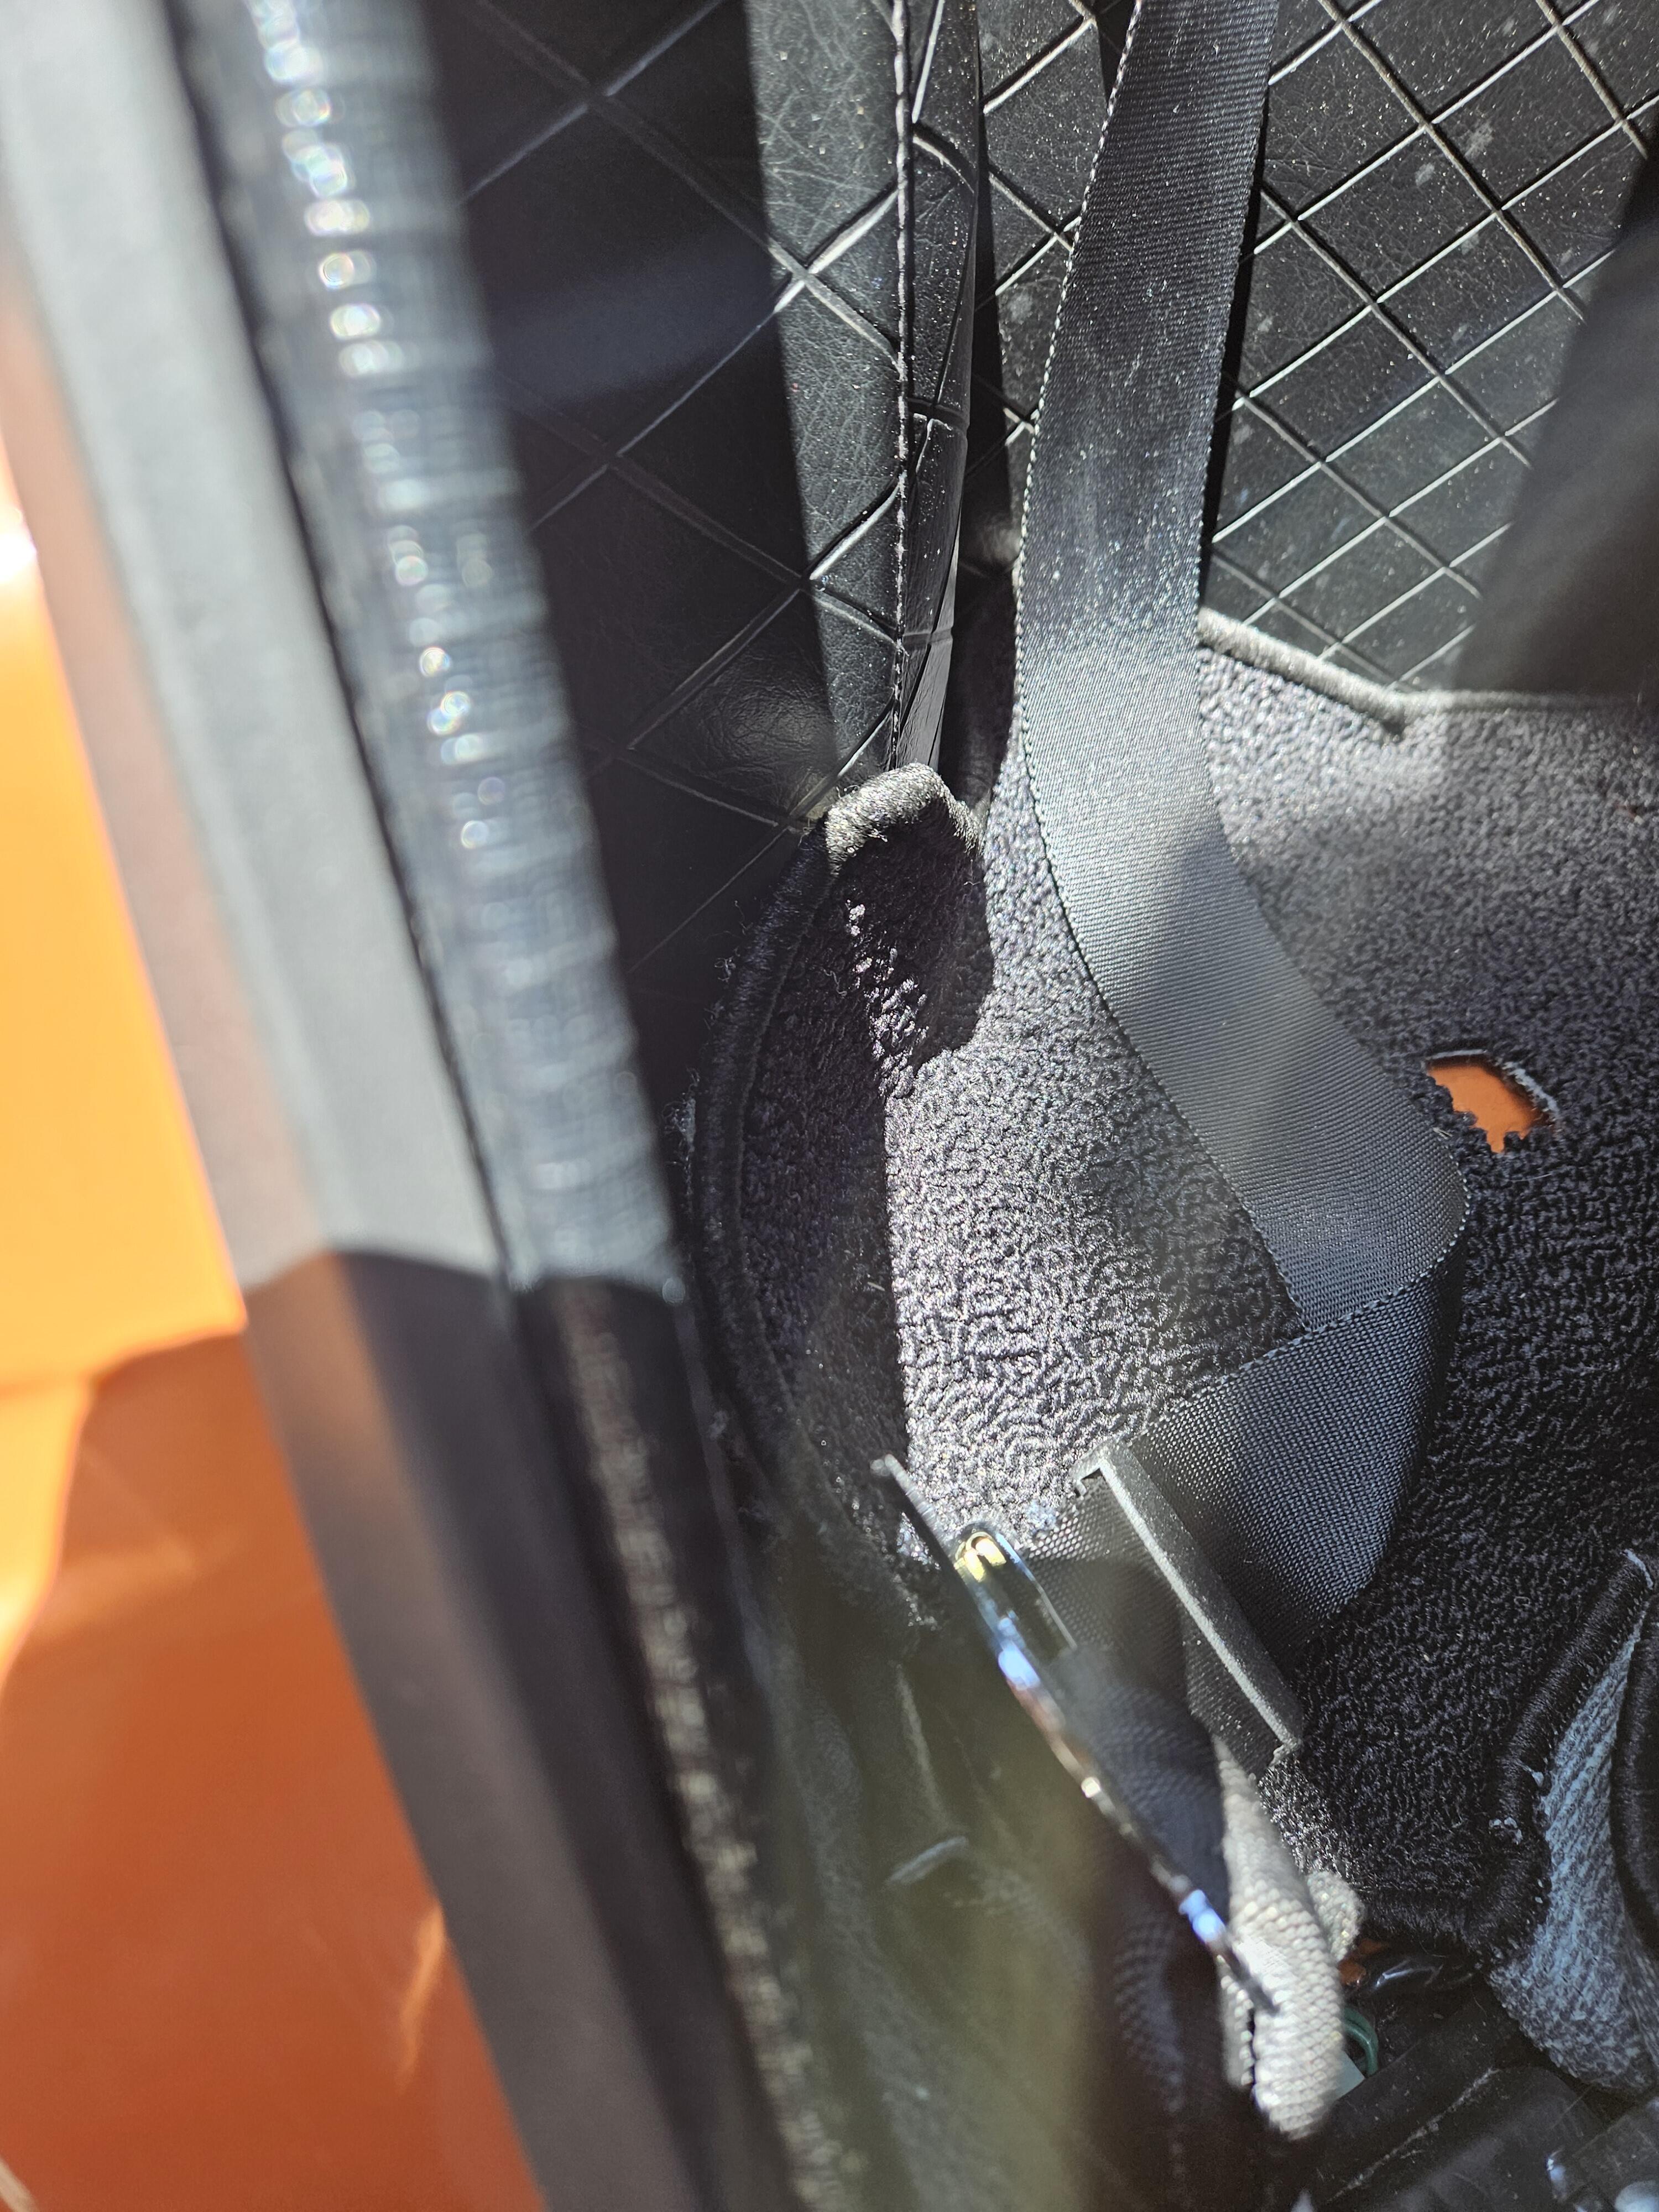
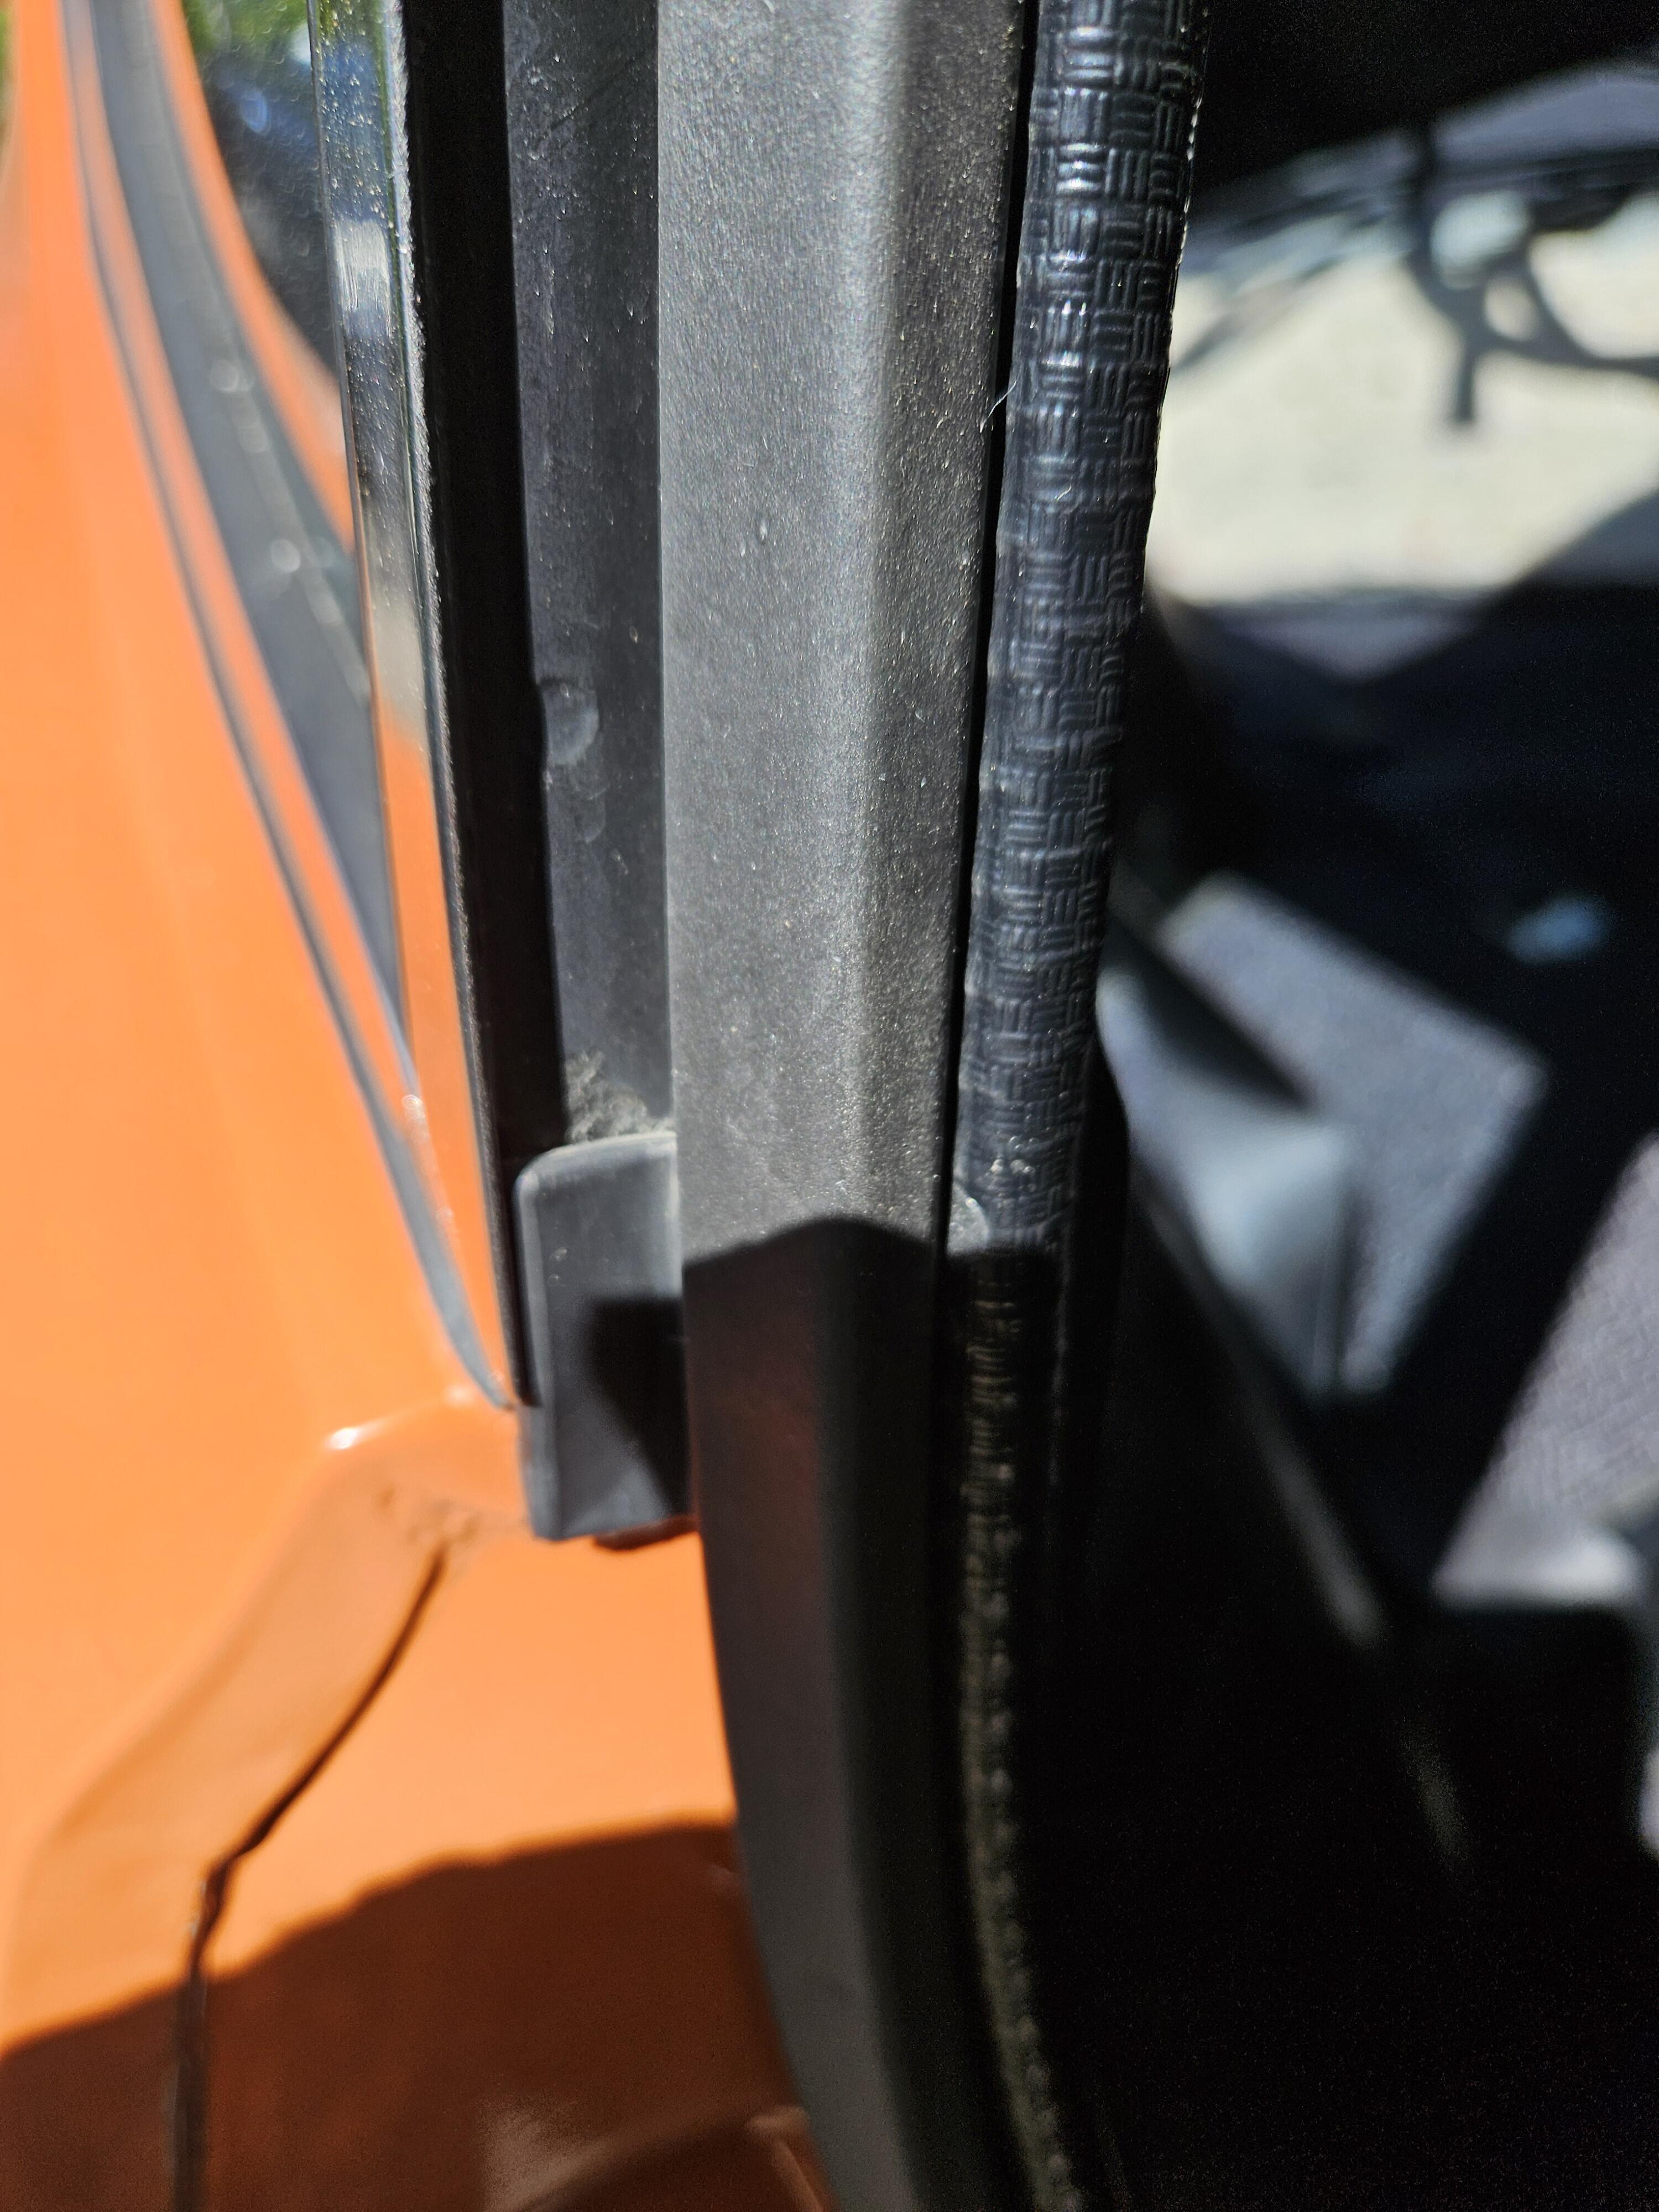
 Charles, here are some pics of the belt molding and squeegee rubber on my car. Hope this helps with your question and yes, the rubber does trim out inside the window frame.


-
 http://www.zcarblog.com/wp-content/uploads/2025/07/Z-Car-Garage-197-copy.jpg Speedhunters, the popular car culture website, appears to be inactive. While there’s no official announcement of the site’s demise, like many fans and followers of the site we are disappointed. Speedhunters was known for its high-quality photography and in-depth stories about car culture. http://www.zcarblog.com/wp-content/uploads/2025/07/Z-Car-Garage-10-copy-1.jpg http://www.zcarblog.com/wp-content/uploads/2025/07/012_2018-SH-JCCS-Booths-Trevor-Ryan.jpg We’ve gathered all 14(!) Speedhunters articles featuring Z Car Garage clients and friends here for you all to enjoy. Who knows how long the site will remain on the web, so click on the photos or links below to read the full features by authors/photographers Trevor Ryan, Naveed Yousufzai, Larry Chen and Mike Garrett. Z Car Garage Shop Tour http://www.zcarblog.com/wp-content/uploads/2025/07/Z-Car-Garage-59-copy-1.jpg Gary’s OS Giken TC24-powered 1971 Datsun 240Z http://www.zcarblog.com/wp-content/uploads/2025/07/Z-Car-Garage-199-copy.jpg Eric Straw’s RB26DETT-Powered 1984 DR30 Skyline http://www.zcarblog.com/wp-content/uploads/2025/07/Louis_Yio_2017_Speedhunters_RB_Skyline_033.jpg James’ 1972 Datsun 240Z Turbocharged L-Series http://www.zcarblog.com/wp-content/uploads/2025/07/MG_4184.jpg Driving While Awesome: Coastal Range Rally http://www.zcarblog.com/wp-content/uploads/2025/07/IMG_0937CRRRewind2019-For-SpeedHunters-By-Naveed-Yousufzai-1.jpg The Joel Anderson IMSA GTU Datsun 240Z http://www.zcarblog.com/wp-content/uploads/2025/07/Z-Car-Garage-27-copy.jpg Alvin’s 1967.5 SR20-Powered Datsun Roadster-by Trevor Ryan http://www.zcarblog.com/wp-content/uploads/2025/07/2019-Kyusha-Festival-Datsun-2000-Spotlight_Trevor-Ryan-Speedhunters_001_7722-1.jpg DWA Rally From Home http://www.zcarblog.com/wp-content/uploads/2025/07/IMG_2348.jpg Mr. K’s Personal Datsun 240Z http://www.zcarblog.com/wp-content/uploads/2025/07/IMG_9938MrK-240z-For-SpeedHunters-By-Naveed-Yousufzai.jpg Eric Staw’s 1969 SR20DET-powered Datsun Roadster http://www.zcarblog.com/wp-content/uploads/2025/07/IMG_8368EricStraw-FairladyRoadster-For-SpeedHunters-By-Naveed-Yousufzai.jpg Gary’s 1971 Nissan Skyline 2000GT http://www.zcarblog.com/wp-content/uploads/2025/07/Z-Car-Garage-183-copy.jpg Alvin’s SR20-powered Datsun Roadster-by Mike Garrett http://www.zcarblog.com/wp-content/uploads/2025/07/Z-Car-Garage-64-copy-1.jpg The 2018 Japanese Classic Car Show http://www.zcarblog.com/wp-content/uploads/2025/07/001_2018-SH-JCCS-Booths-Trevor-Ryan.jpg The 2018 Mitty Vintage Races http://www.zcarblog.com/wp-content/uploads/2025/07/2018-SPEEDHUNTERs-Matt-Dockery-Classic-Motorsport-Mitty-01-2n.jpg View the full article
 -

- Yesterday
-
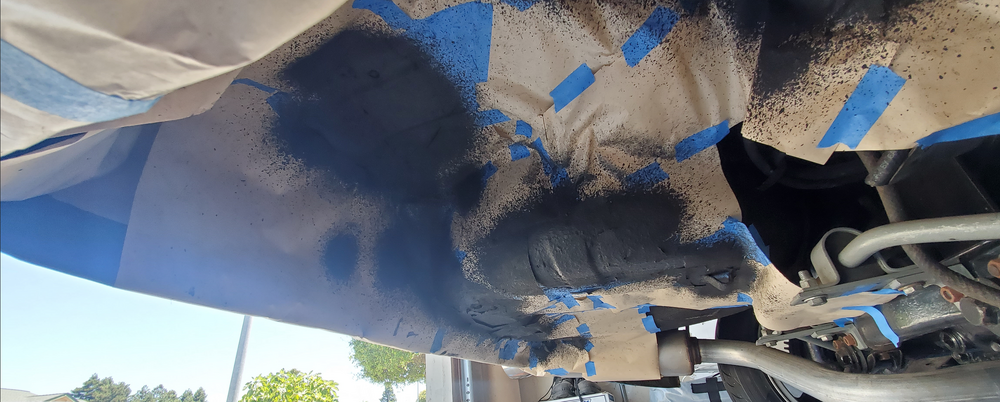
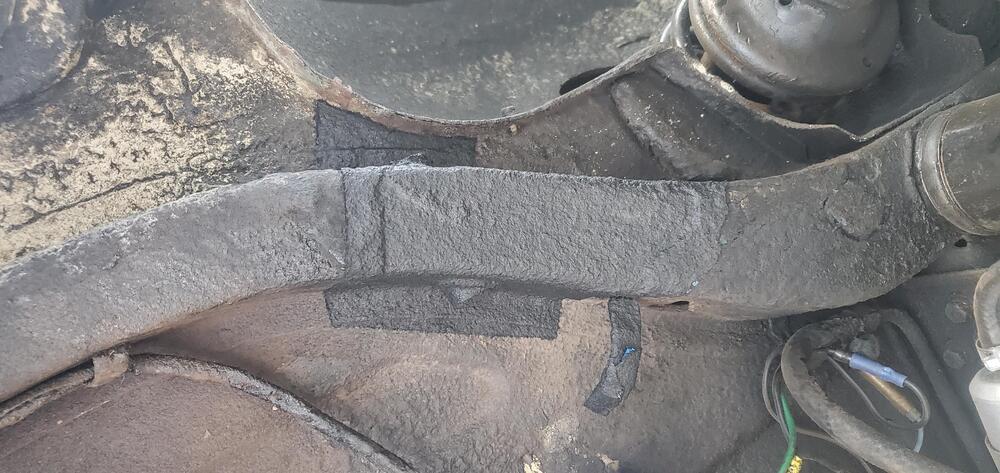
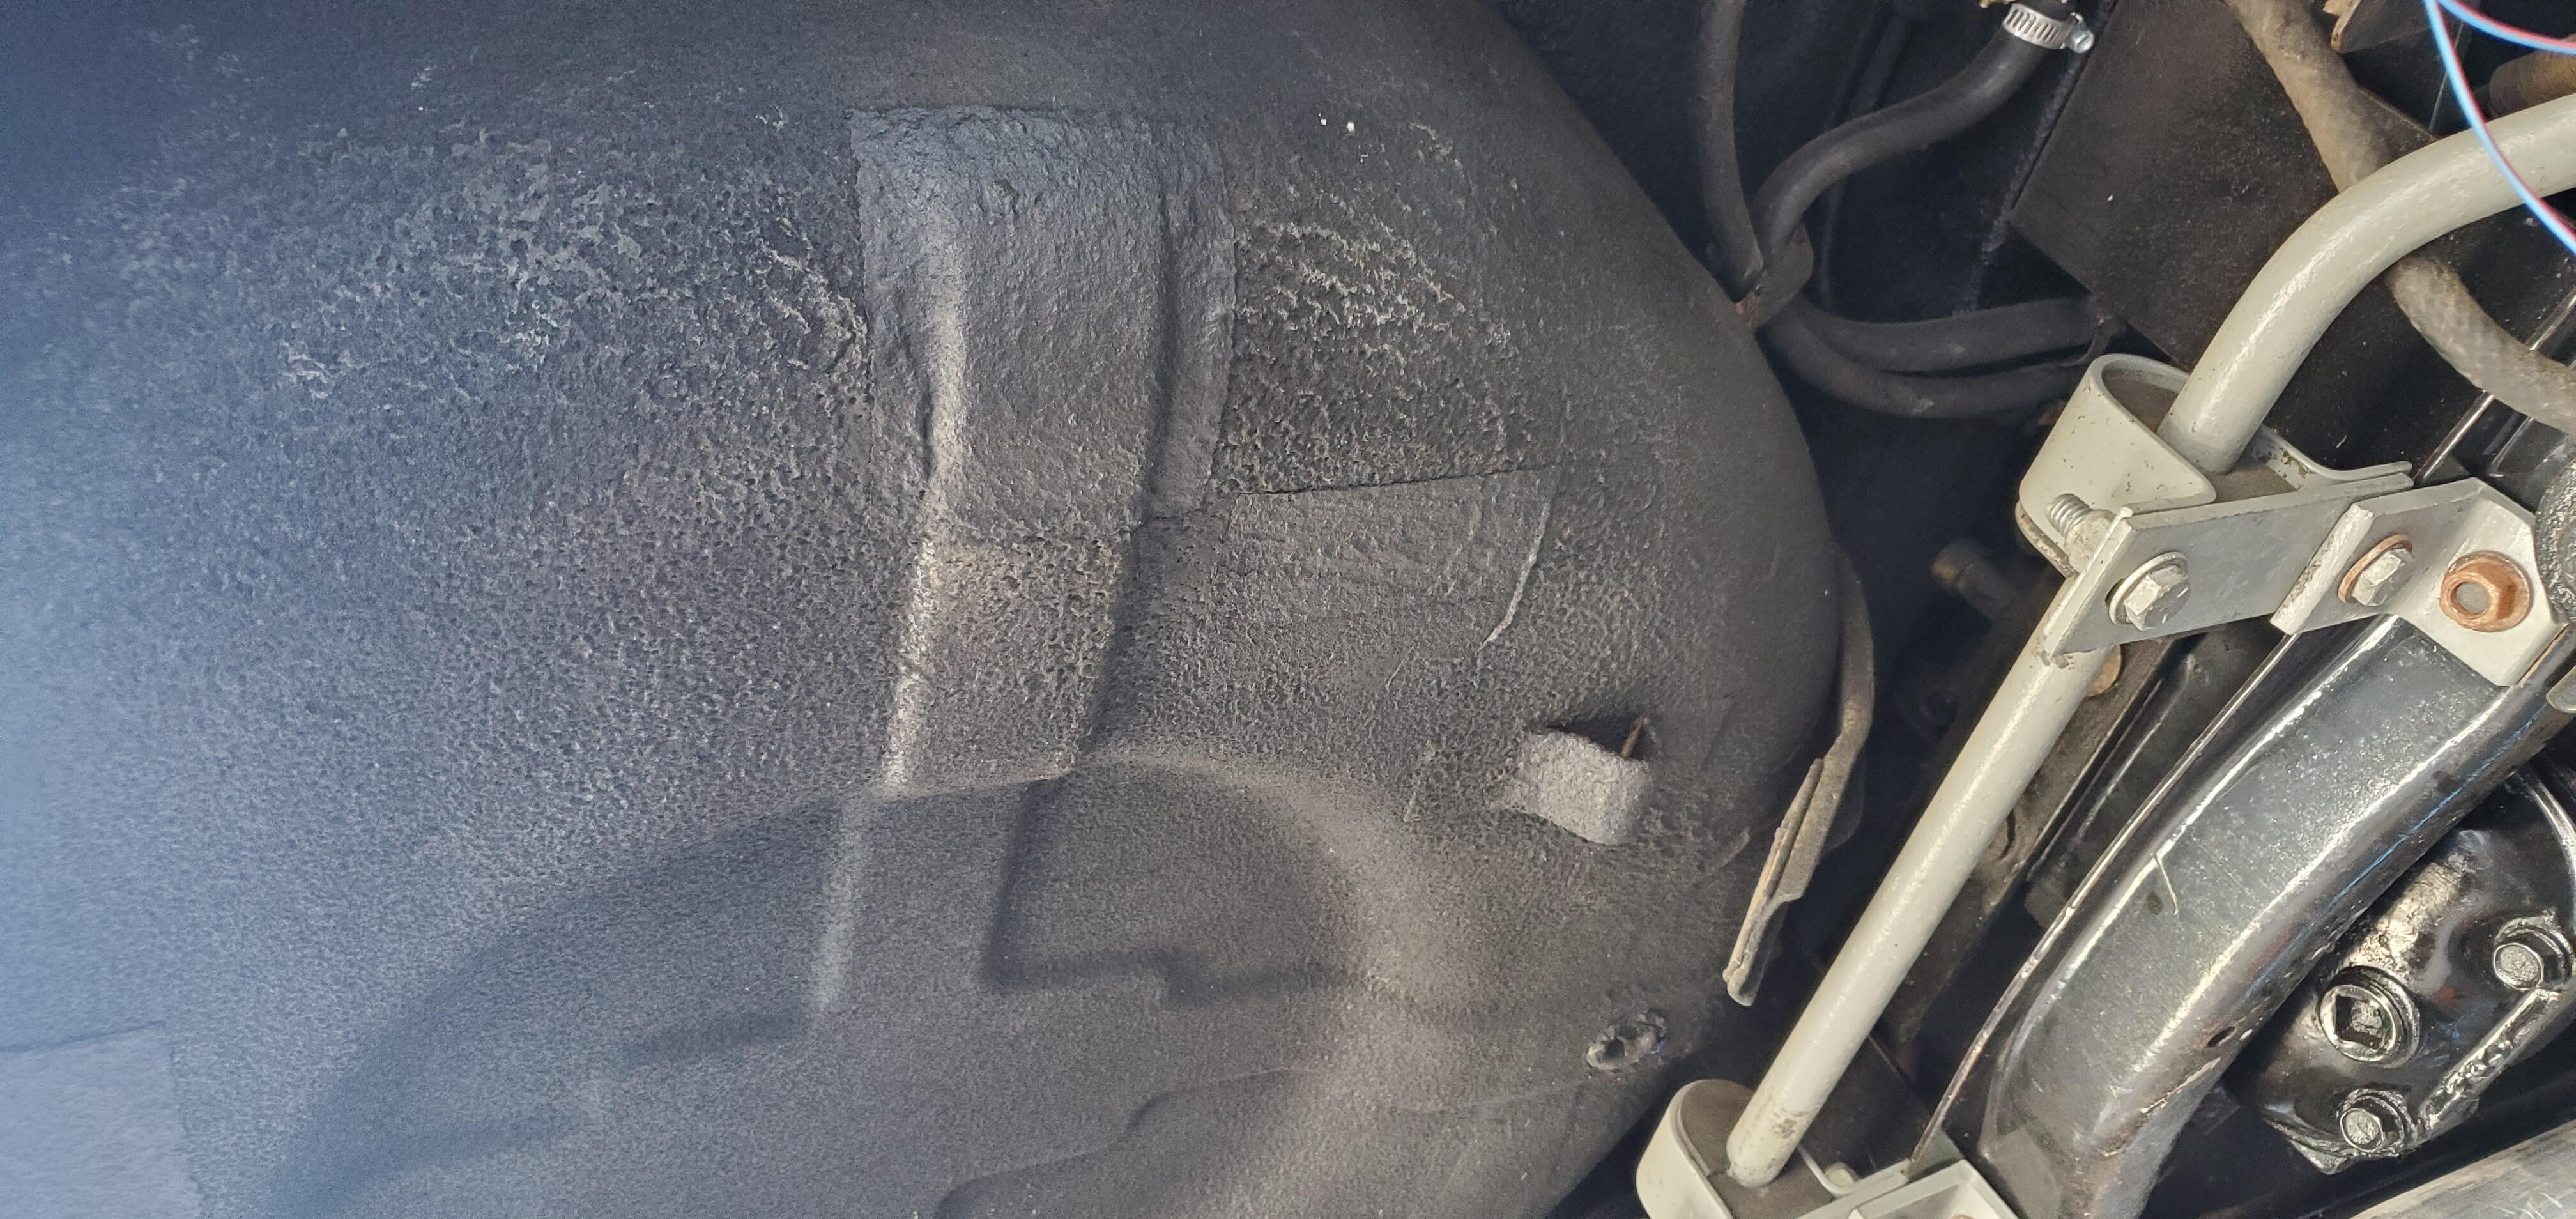
 Circling back as I just wrapped this up. My air compressor was having some issues and wasn't very consistent, so I had to do some repair work on that. After getting that fixed, spraying a few more test shots it looked a lot better. Ended up taping up the underside of the car and plugged the frame rail fuel hose pass-through with a piece of fuel hose with some tape wrapped around it to block the holes. Ended up spraying 3 coats, waiting about 10 minutes between each coat and I'm very happy with the results. It ended up being quite close compared to what was there.
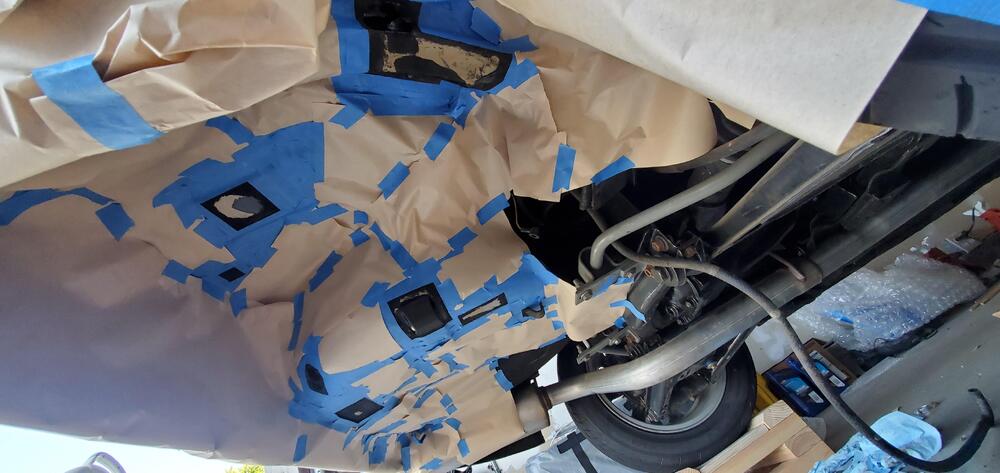

-
 It’s possible to make them. We’ll just need the original OEM parts to create the molds.
 -
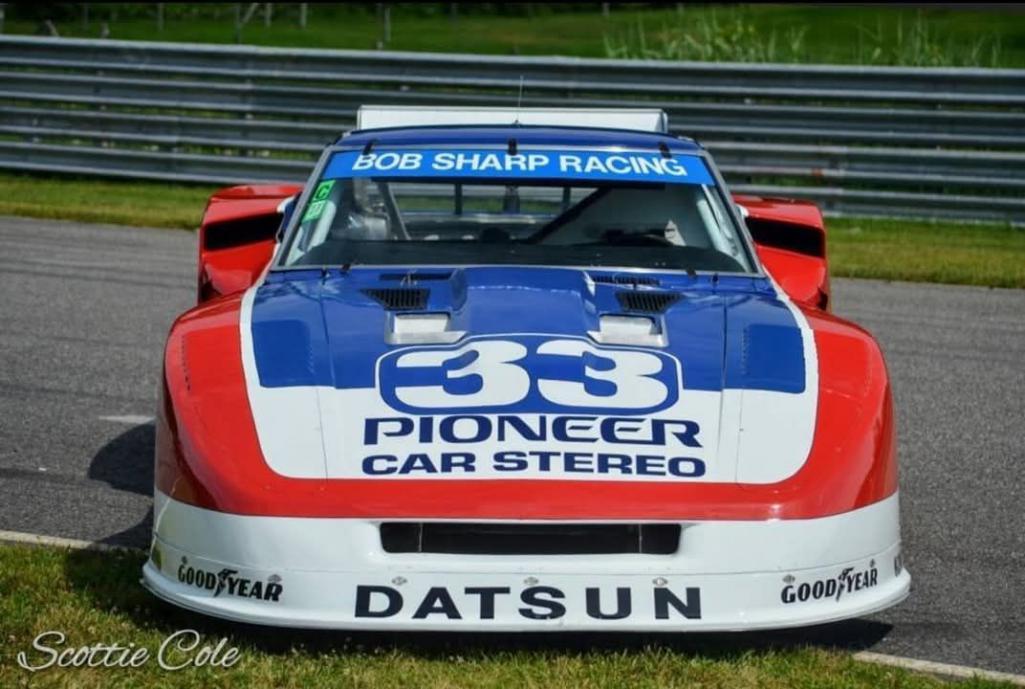
 33
33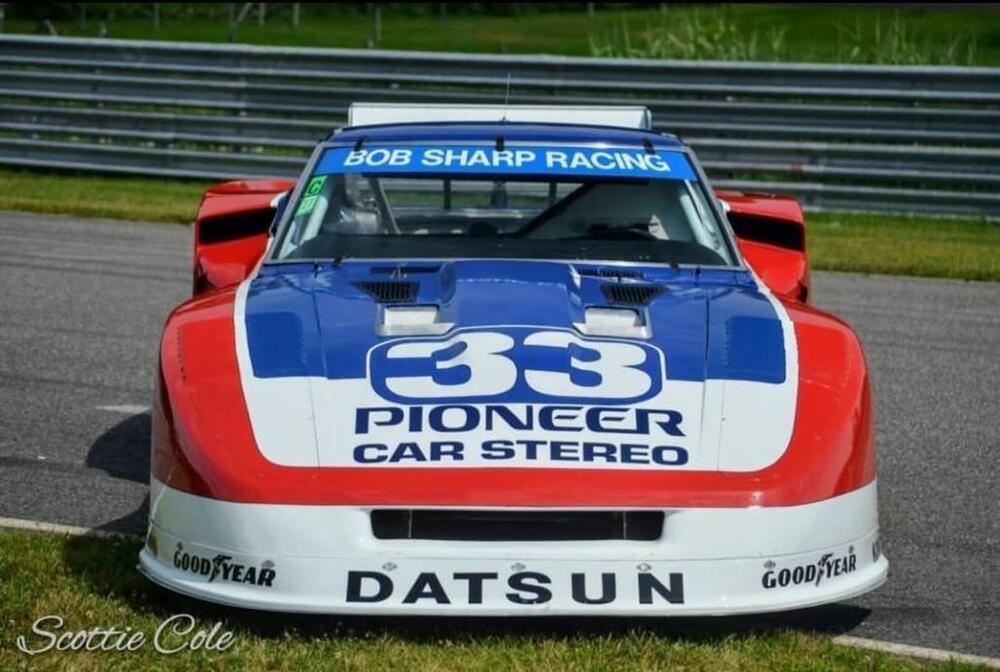
-
 Thanks for sharing the PDF with the Datsun Torque Specifications. It'll come in handy for me.
 -
 Some noise.
 -
 Hazard switch test: Remove the hazard switch. Use the ohmmeter function on the meter. (I hope it's not just a voltmeter.) Look at which pins correspond to the green/blue, green/red, and green black wires. Turn the hazard switch on. Measure the resistance between the pins that line up to the green/blue and green/red wires on the dash harness. (Note, the switch may have wires with different colors.) Record the result. Measure the resistance between the pins that line up to the green/blue and green/black wires on the dash harness. Record the result. Report the results of this test. Turn signal test: Put your meter on DC voltage. Reinstall the hazard switch and ensure it is off. Turn the key to ON. You don't need to start the car. Find the flasher relay that has a green/yellow wire and white wire running to it. Disconnect the flasher relay. Measure voltage to ground at the green/yellow wire. Record the result and report your reading.
 - Last week
-
A true beast, so very well thought out. Awesome work! Safari Gold rules!!!
-
 Hi @HusseinHolland! Any updates on this project? Curious, if you finished the 350z tranny adaptation in your 1st gen.
 -
-
There's also a keyway cut into the body. It was exposed once you took out the retaining bolt and the piece of metal that holds it in place. If you have a non-ZX transmission it sucks that it's on the top but you said you could turn it. It is a place that you could try prying... Honestly, I've never seen one stuck that bad - and we've seen a lot of transmissions over the years - even series one monkey shifters.
-
You are correct… That pan is thick aluminum and the baffles inside are just amazing. Not sure I will make it to the track. It’s a stage 4 build from Datsun Spirit. Eiji did an amazing job.
-
 Wow! Thank you. I don't think I'll get a PDF unfortunately, but will get a Kindle version which is good... thank you so much.
 -
 I have dealt with dust boots on master cylinders like that in other applications and have sometimes had troubles getting them to fit through the hole in the firewall. Not sure if that's because they had swelled over time or if they were poor fitting aftermarket items. Bottom line? Maybe measure the hole in the firewall and see if you even have room for a boot in there before you scour the universe looking for one?
 -
 This topic has already been pretty thoroughly discussed by CZCC members. Here's a good place to start...
 - Earlier
-
http://www.zcarblog.com/wp-content/uploads/2025/07/IMG_6508.jpeg James’ 1972 S30 is back on the road. At the heart of this beast is a turbocharged L-series managed by Haltech. Chassis upgrades include custom full-length subframe connectors, CD009a 6-speed transmission, KW Suspension, ZCG CV Axles and Big-Brake Kit (328mm) behind RS-8 wheels restored by Love20bee. Inside, a stack instrument cluster was integrated into the gauge pod, viewed from leather Recaro Pole Position seats: http://www.zcarblog.com/wp-content/uploads/2022/03/IMG_6841-1024x768.jpeghttp://www.zcarblog.com/wp-content/uploads/2022/03/IMG_6859-1024x768.jpeg http://www.zcarblog.com/wp-content/uploads/2021/10/IMG_8391-1024x768.jpeg Enjoy the video of this boosted S30: View the full article
-
Try the Wix filter. I had no issues on my 78Z. I did install a S30.world tank as well.
-
 I finally got around to installing my s30 world seals. Its definitely something you dont want to Rush and should bend the U shape carriers into semi final form first. And be careful as you can not to rip the top corner...mine is on and im as please as can be. I've tried every other seal out there and slam slam...not with these im so happy with them. Amazing product!
-
 As @Zed Head said, pull the spayed ign. Off the terminal and measure the voltage. Black to Gand and red on the spade turn the key to start.
I think you are perfectly fine
As @Zed Head said, pull the spayed ign. Off the terminal and measure the voltage. Black to Gand and red on the spade turn the key to start.
I think you are perfectly fine


Important Information
By using this site, you agree to our Privacy Policy and Guidelines. We have placed cookies on your device to help make this website better. You can adjust your cookie settings, otherwise we'll assume you're okay to continue.