Mike W
-
Posts
453 -
Joined
-
Last visited
-
Days Won
5
7 Followers


Mike W's Achievements
")


-
I have used the Spicer U-Joints on both the half shafts as well as the drive shaft and am very happy with the performance. Most recently I rebuilt a used set of half shafts using the Spicer U Joints (5-1505X) when we upgraded our diff and have had no issues with them since the initial install back in 2017. I purchased them at Autoplicity as they had the best pricing at the time. You can find them here at an even lower price that I paid almost 4 years ago. https://autoplicity.com/2016476-dana-spicer-axle-products-drivetrain-components?openOptions=True Hope that helps. Mike.
-
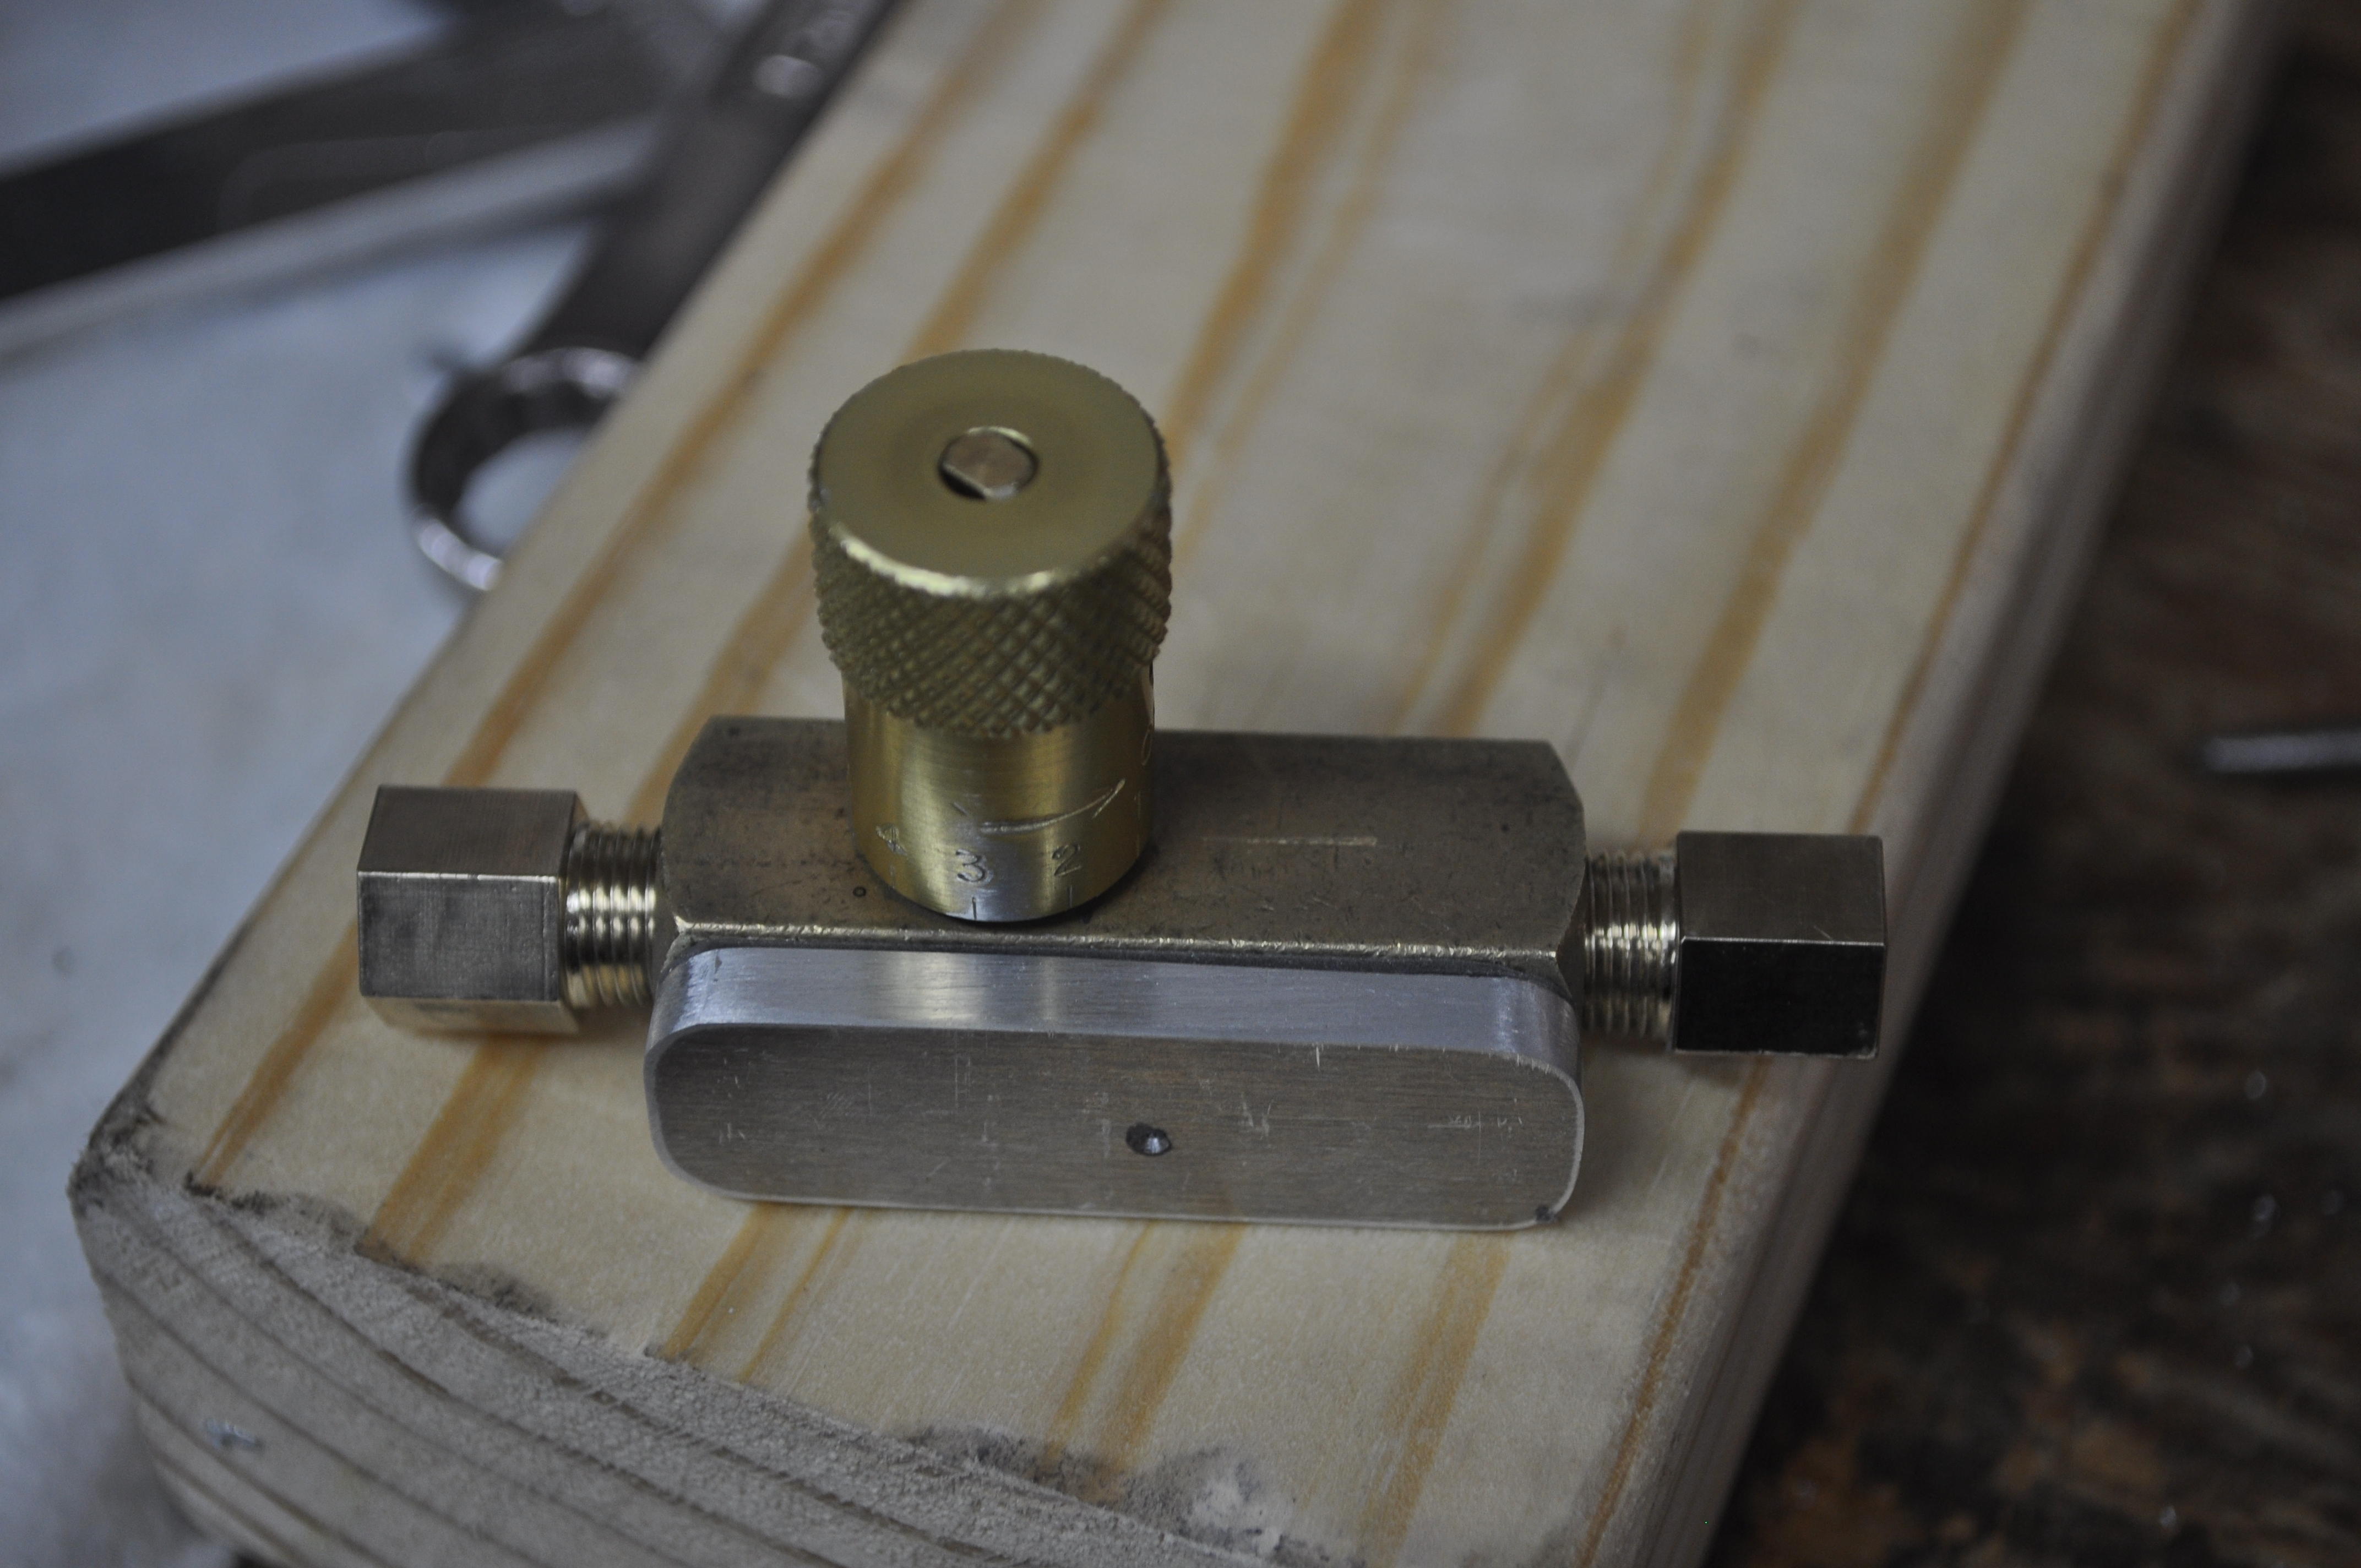
The threads on the valve itself are 1/8 NPT. You would either need to get an adapter that converts that to the metric fittings on the Z lines or remake the lines with the appropriate fittings. They actually sell a version with SAE adapters included. You can find it here: https://www.speedwaymotors.com/Speedway-Motors-Brake-Proportioning-Valve-Kit-With-Fittings,387281.html As far as mounting it, I attached a 1/8 inch aluminum "plate" to the side of the valve and drilled and tapped a hole in that plate. I then used a small right angle bracket that attaches to the valve in the new tapped hole and the other side of the right angle bracket goes into the original tapped hole on the firewall that used to hold the OEM valve. You can see the "plate" that I added in the last picture that I posted above. Hope that helps. Mike.
-
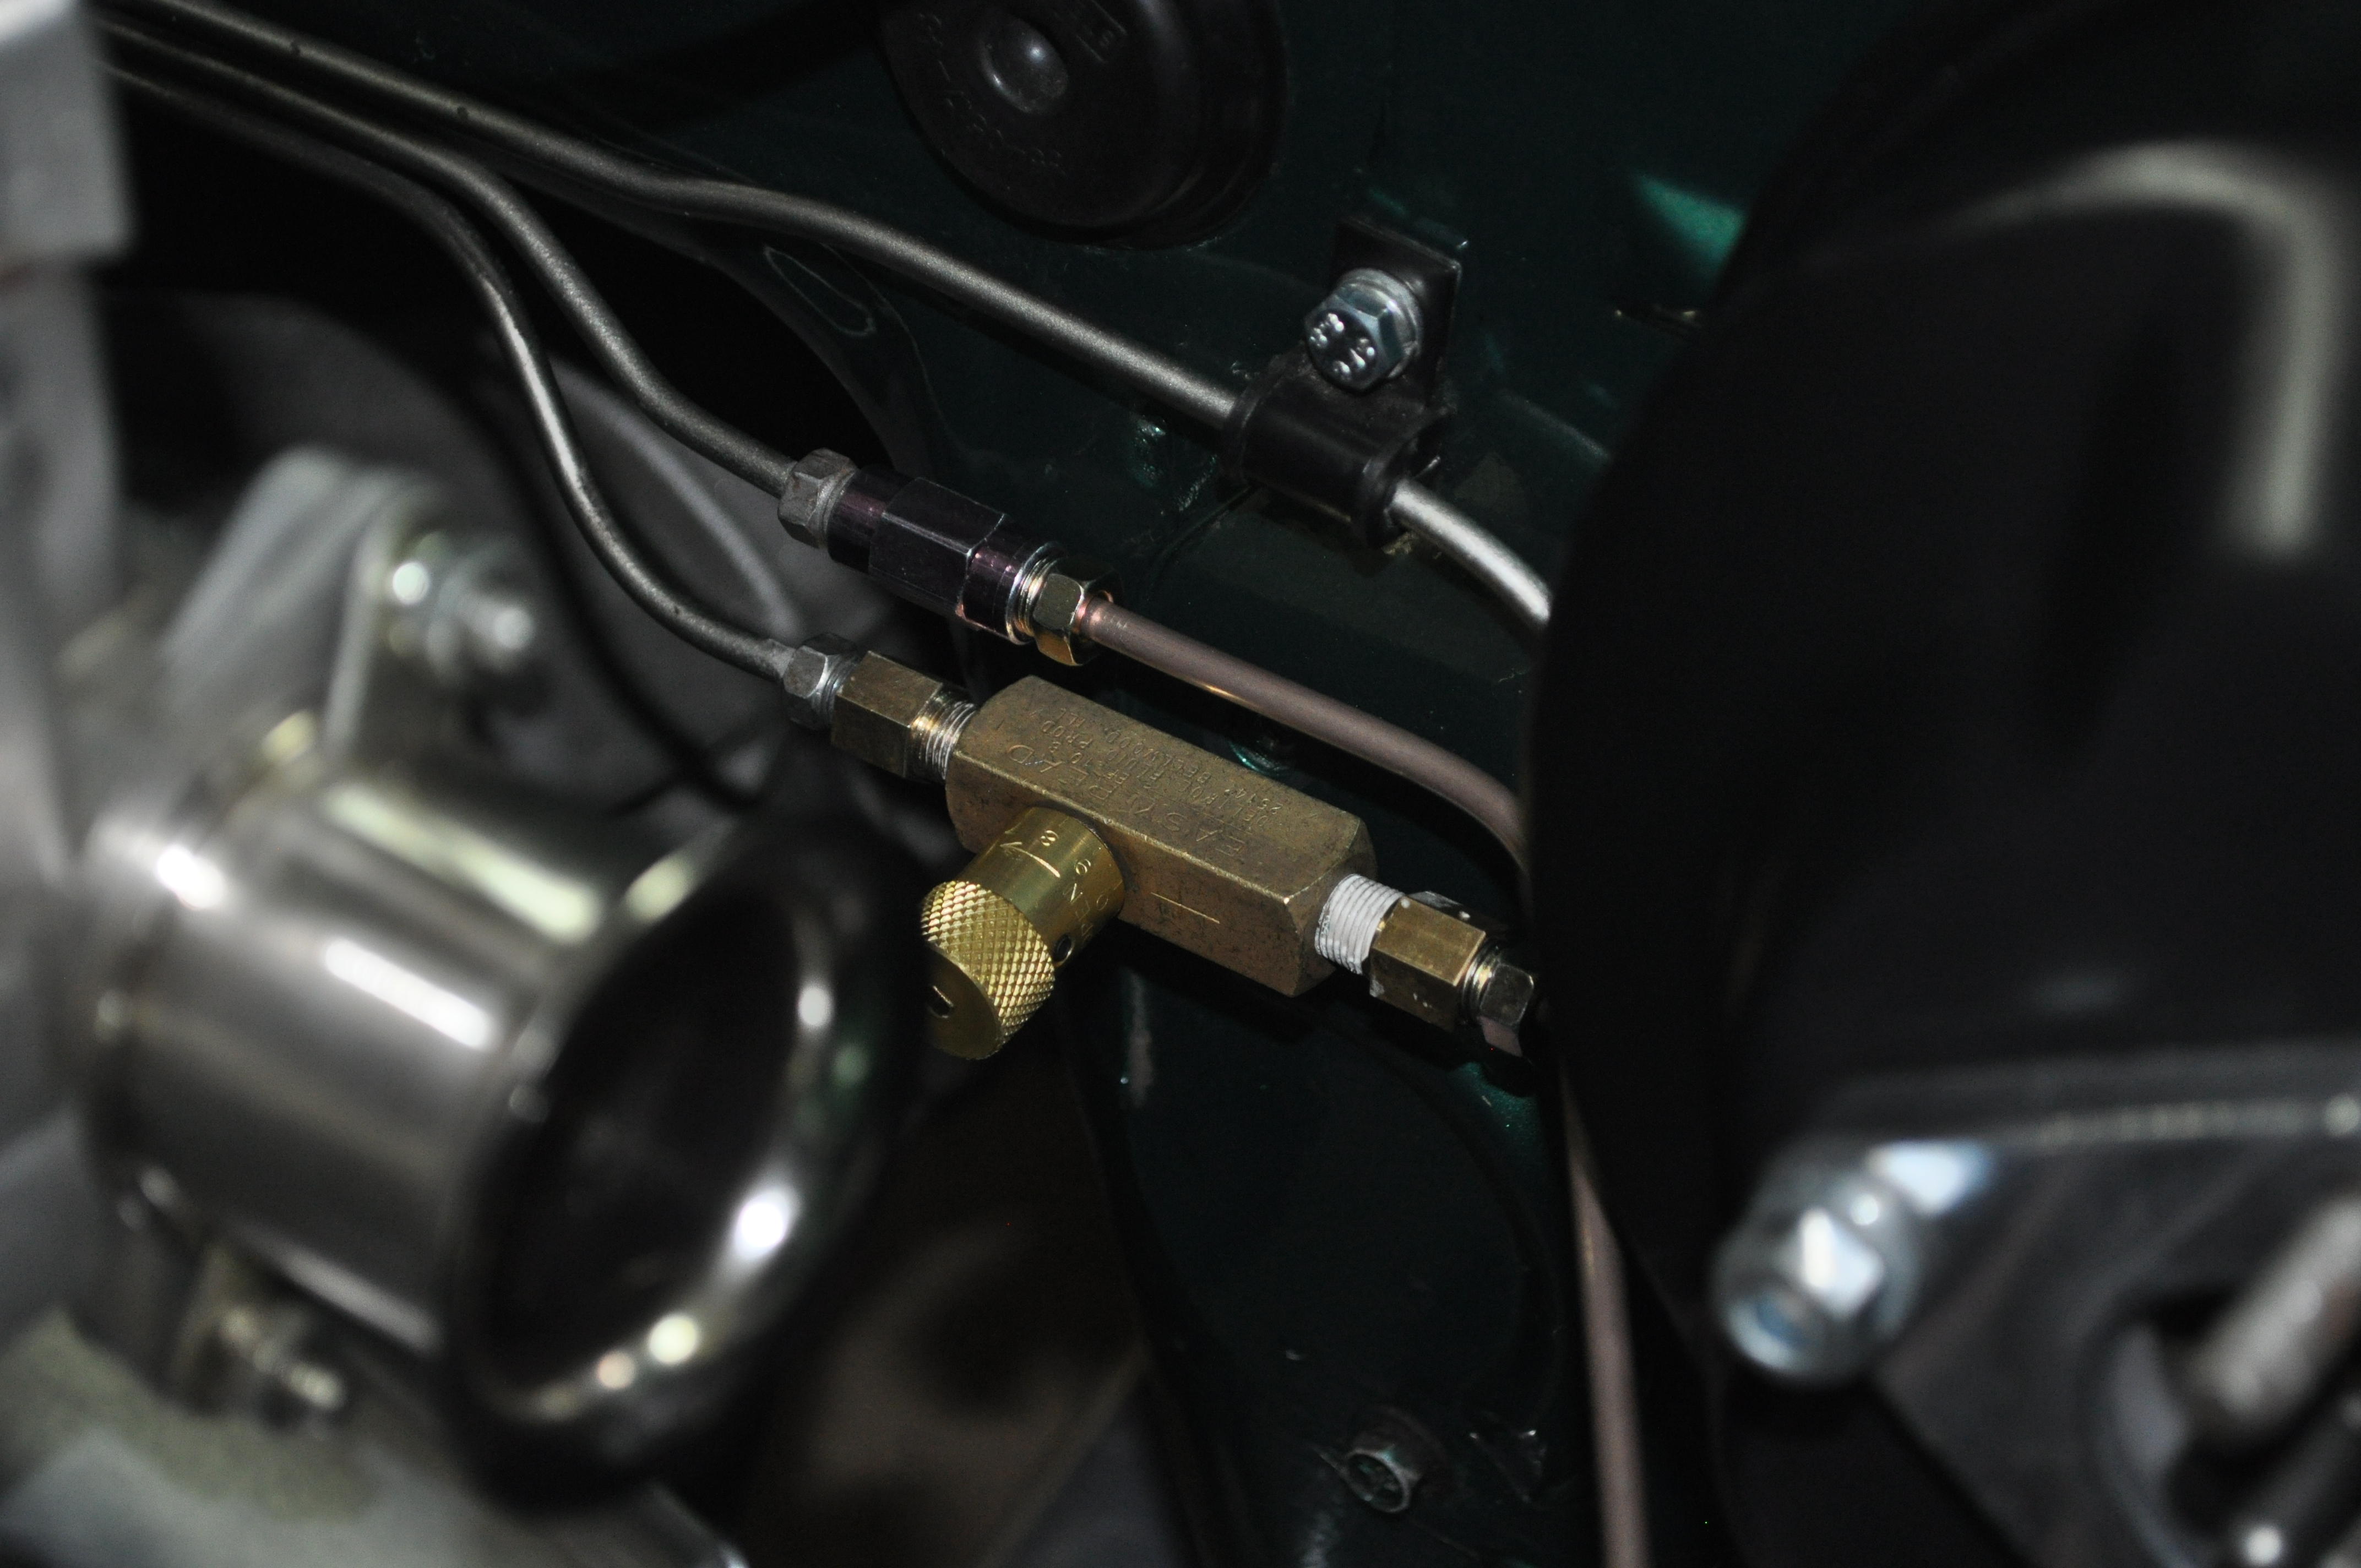
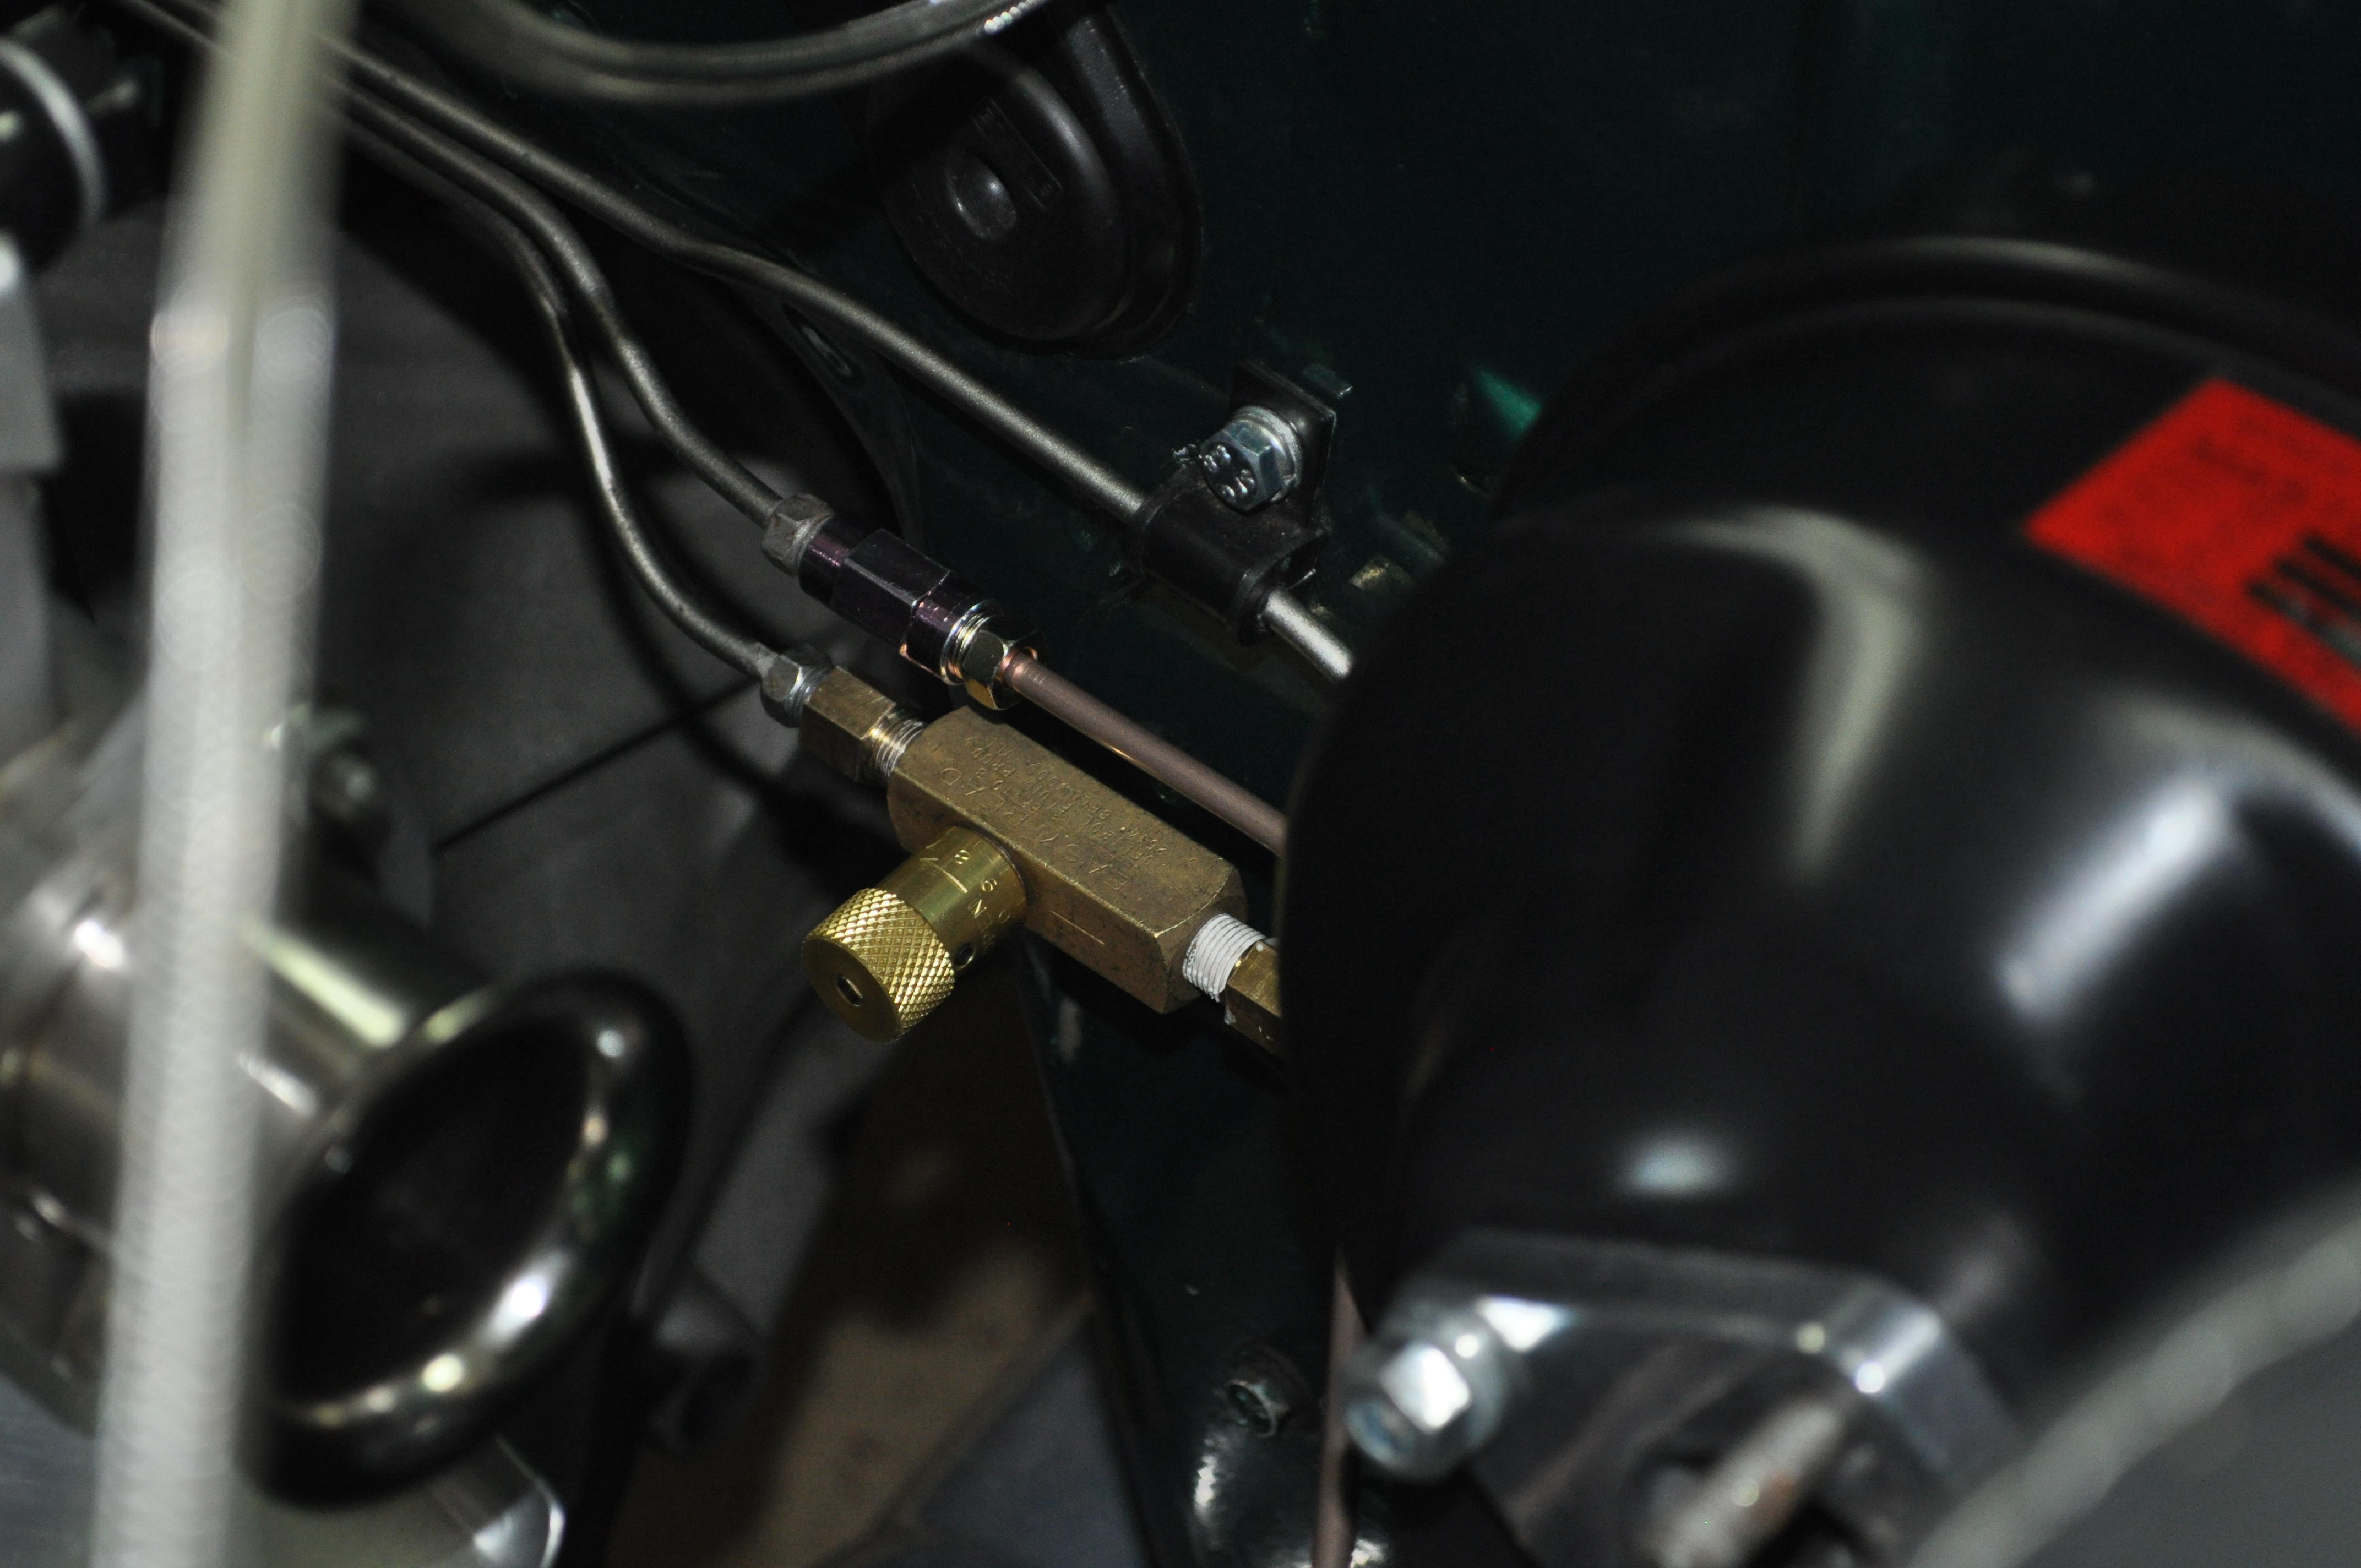
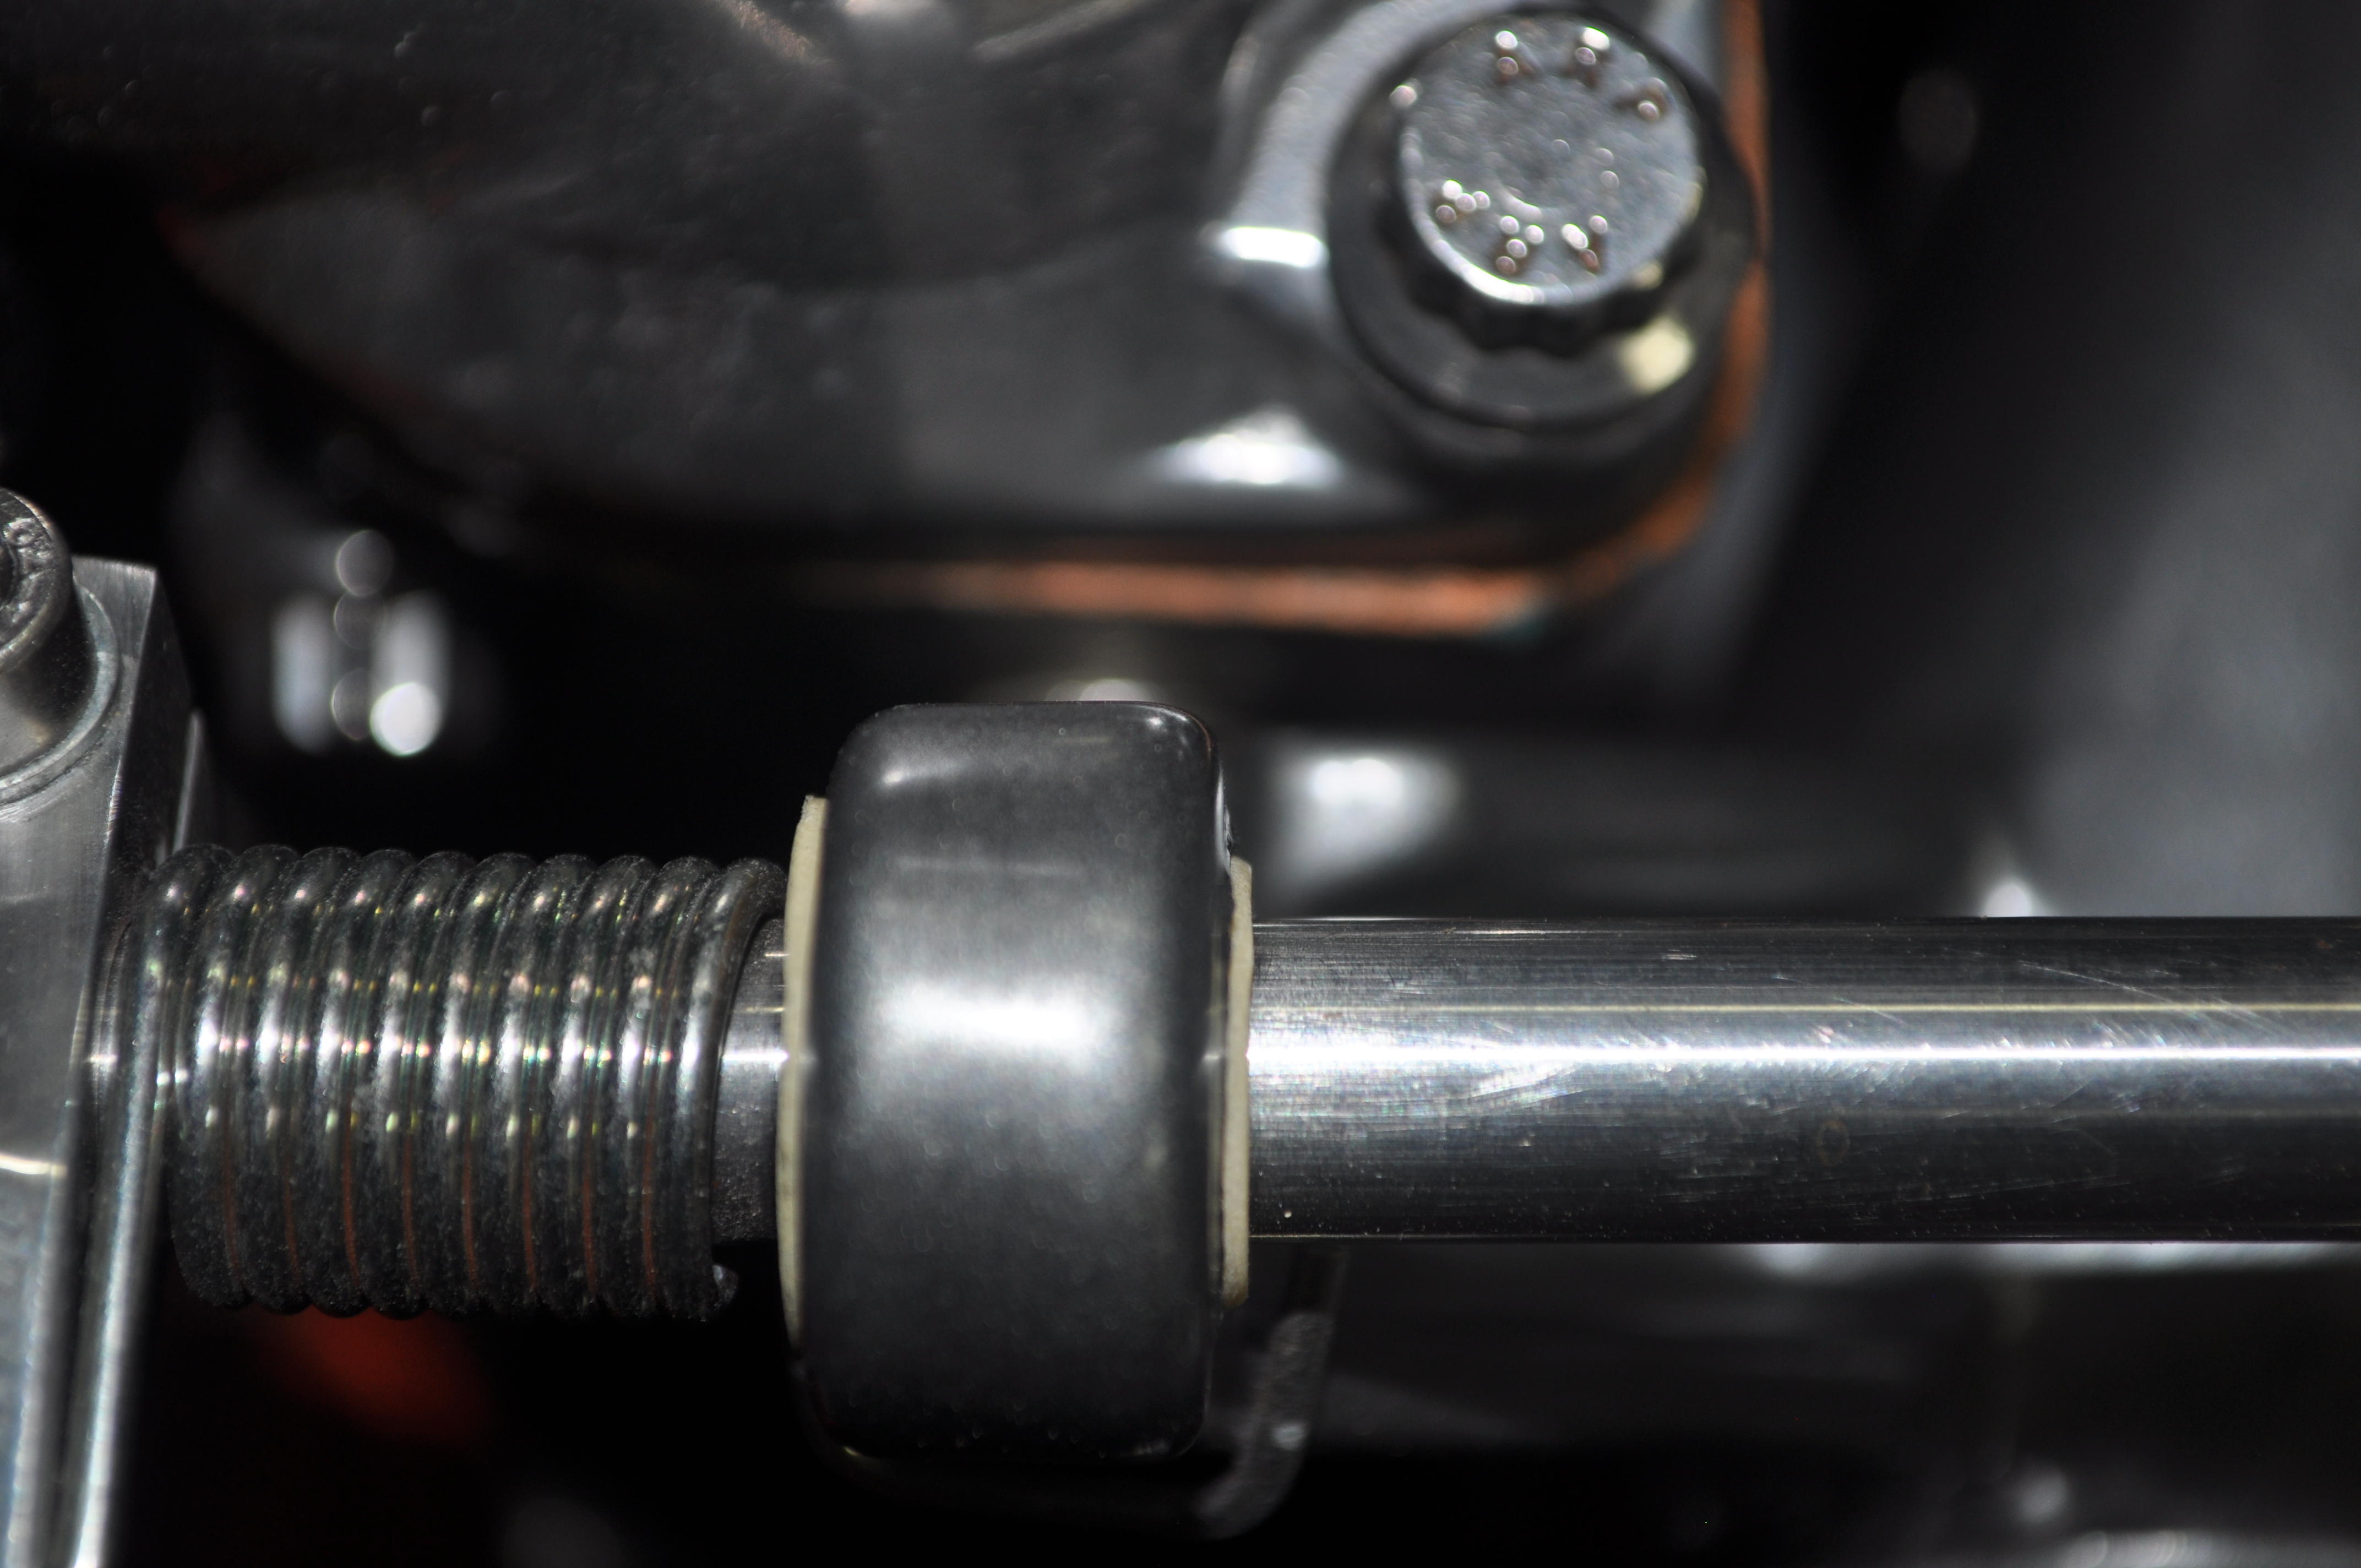
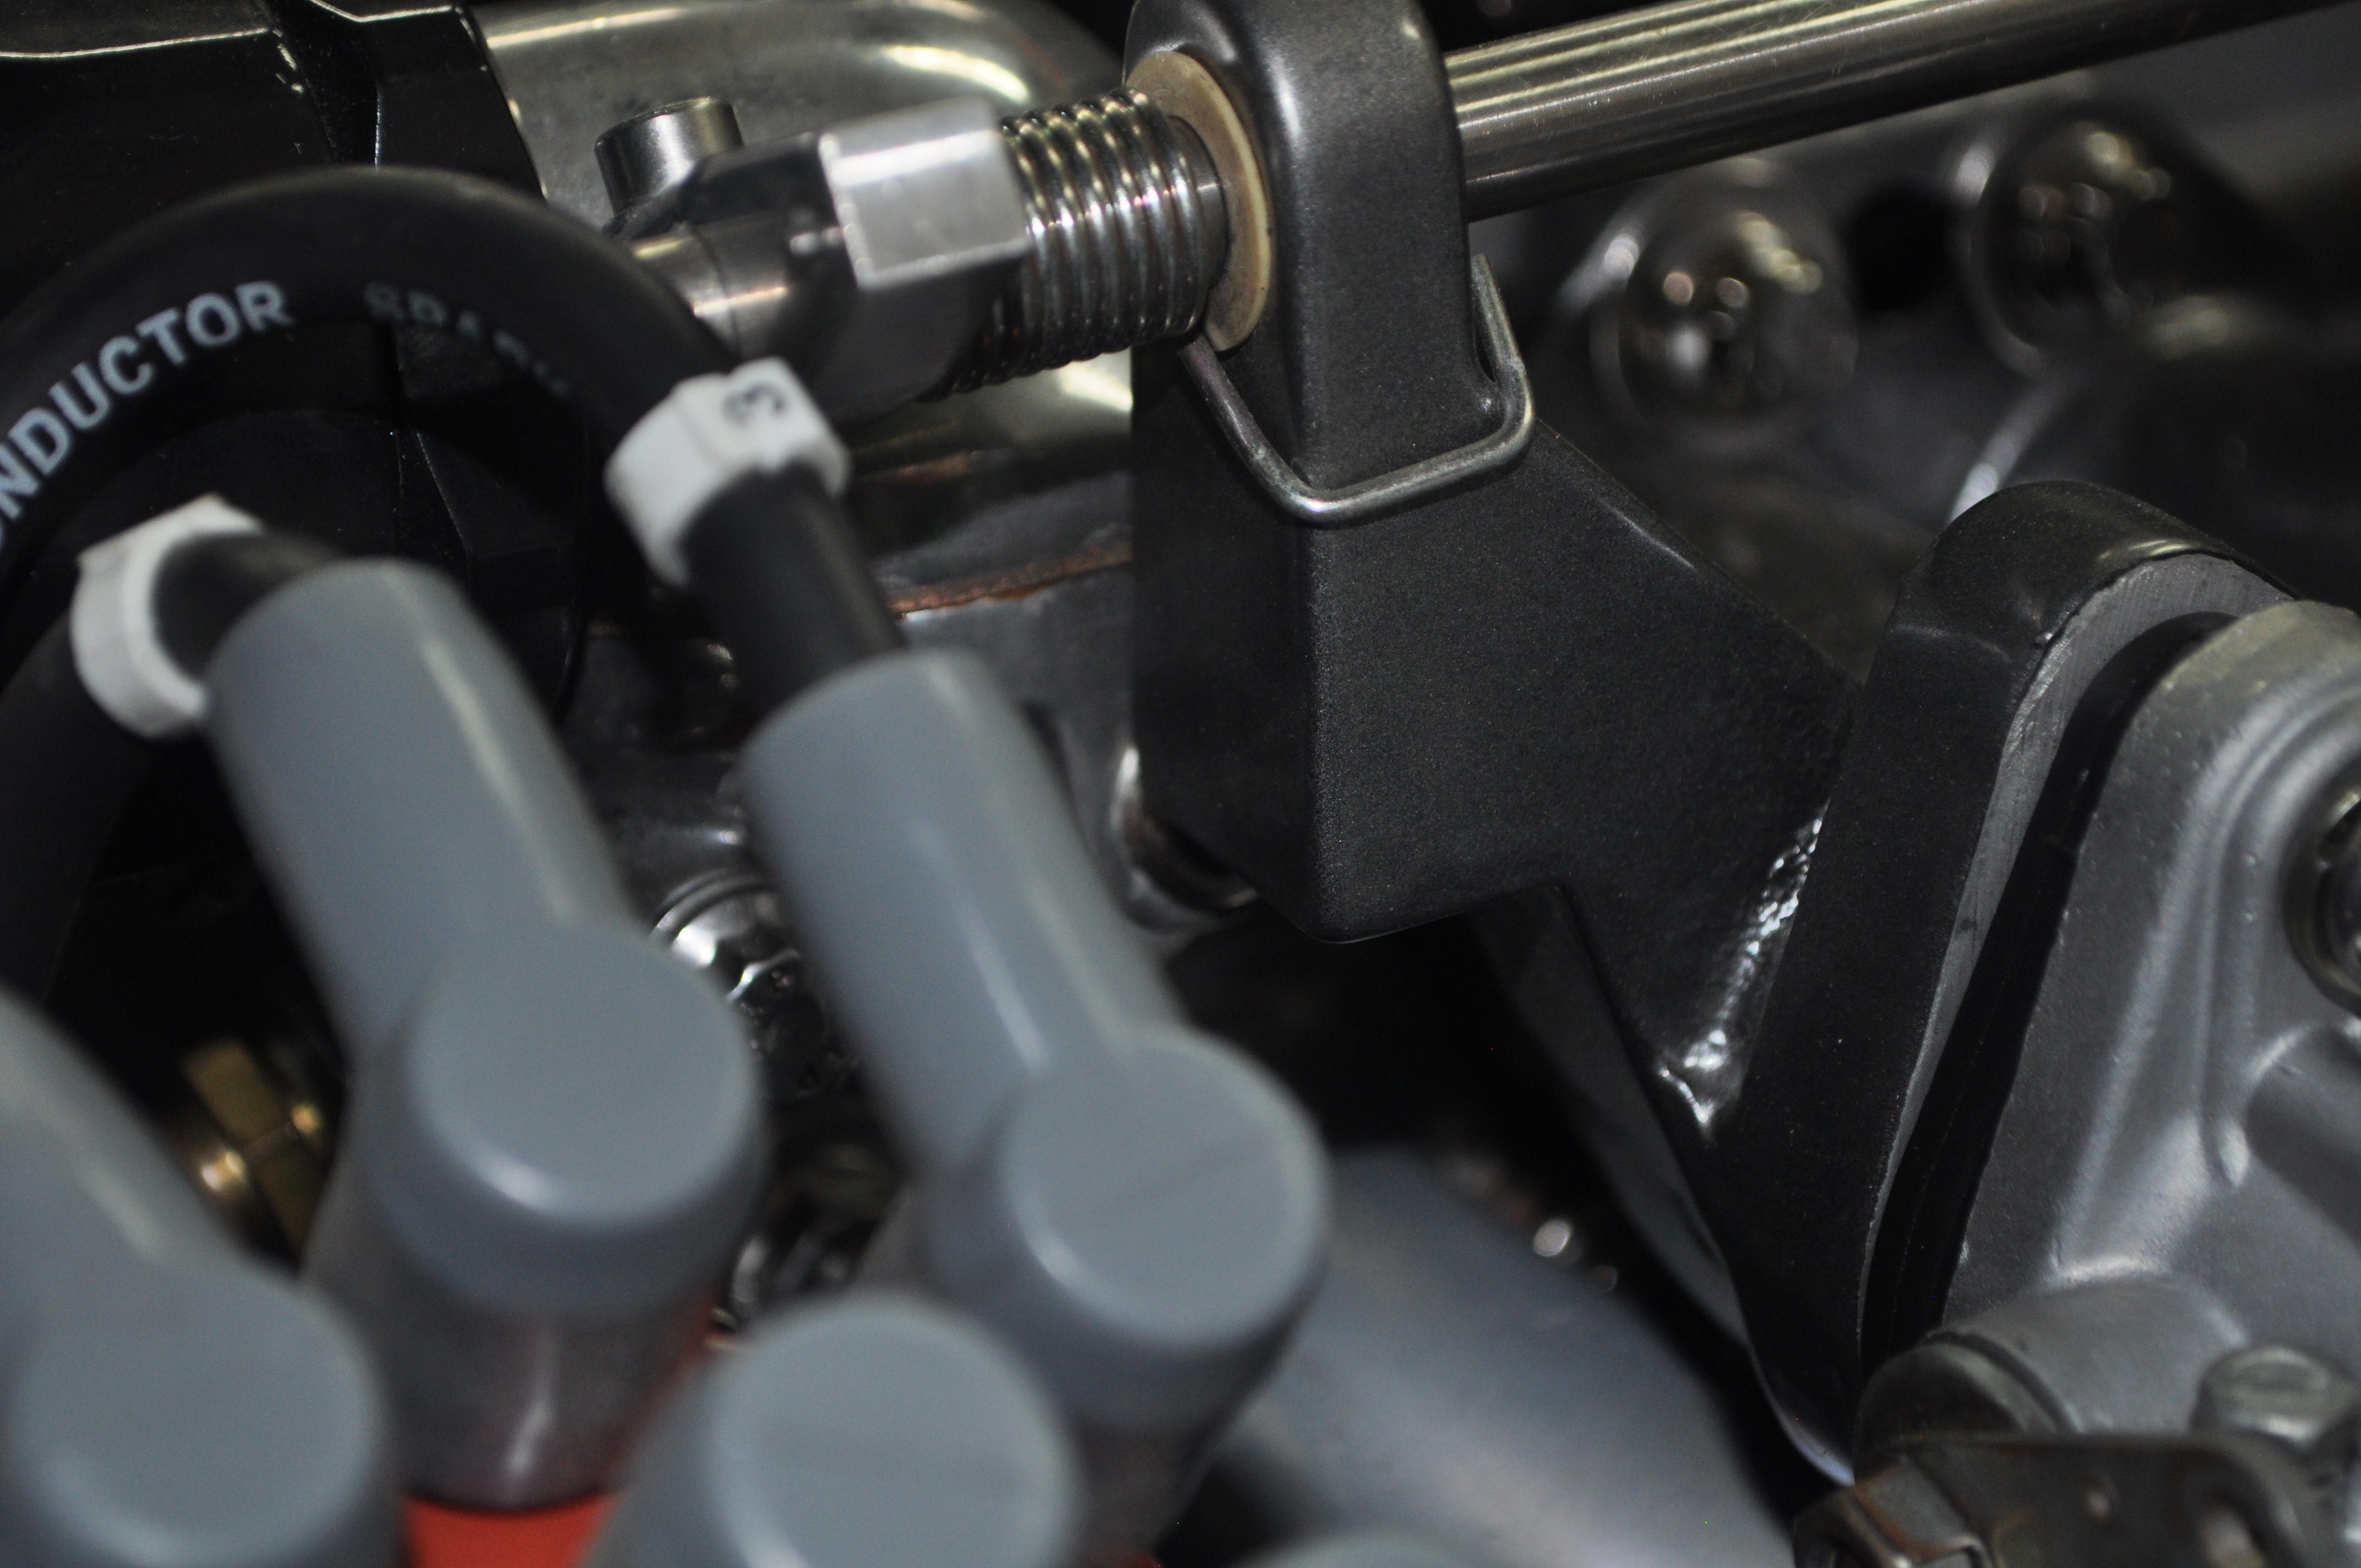
I encountered the same issue when I changed to a big brake kit from Arizona Z car including the change to discs on the rear. In my opinion the Wilwood prop valve is big and clunky and I wanted something more compact that ideally could be installed in the same position as the OEM fixed prop valve. So I ended up using this: https://www.speedwaymotors.com/Speedway-Compact-Adjustable-Brake-Proportioning-Valve,1979.html It's really small and adjustable but does require conversion fittings to adapt to metric lines. Alternatively you could change the fittings on the lines themselves to match the threads on the prop valve. I ended up having to make a new line from the splitter to the prop valve as the original one was a little short and I had to devise a way to mount it to the firewall in the same OEM location, but it all worked out. Here's a few pictures of my install. The valve works great and I have it adjusted so I get an optimal bias between the fronts and rears. Hope this helps.

-
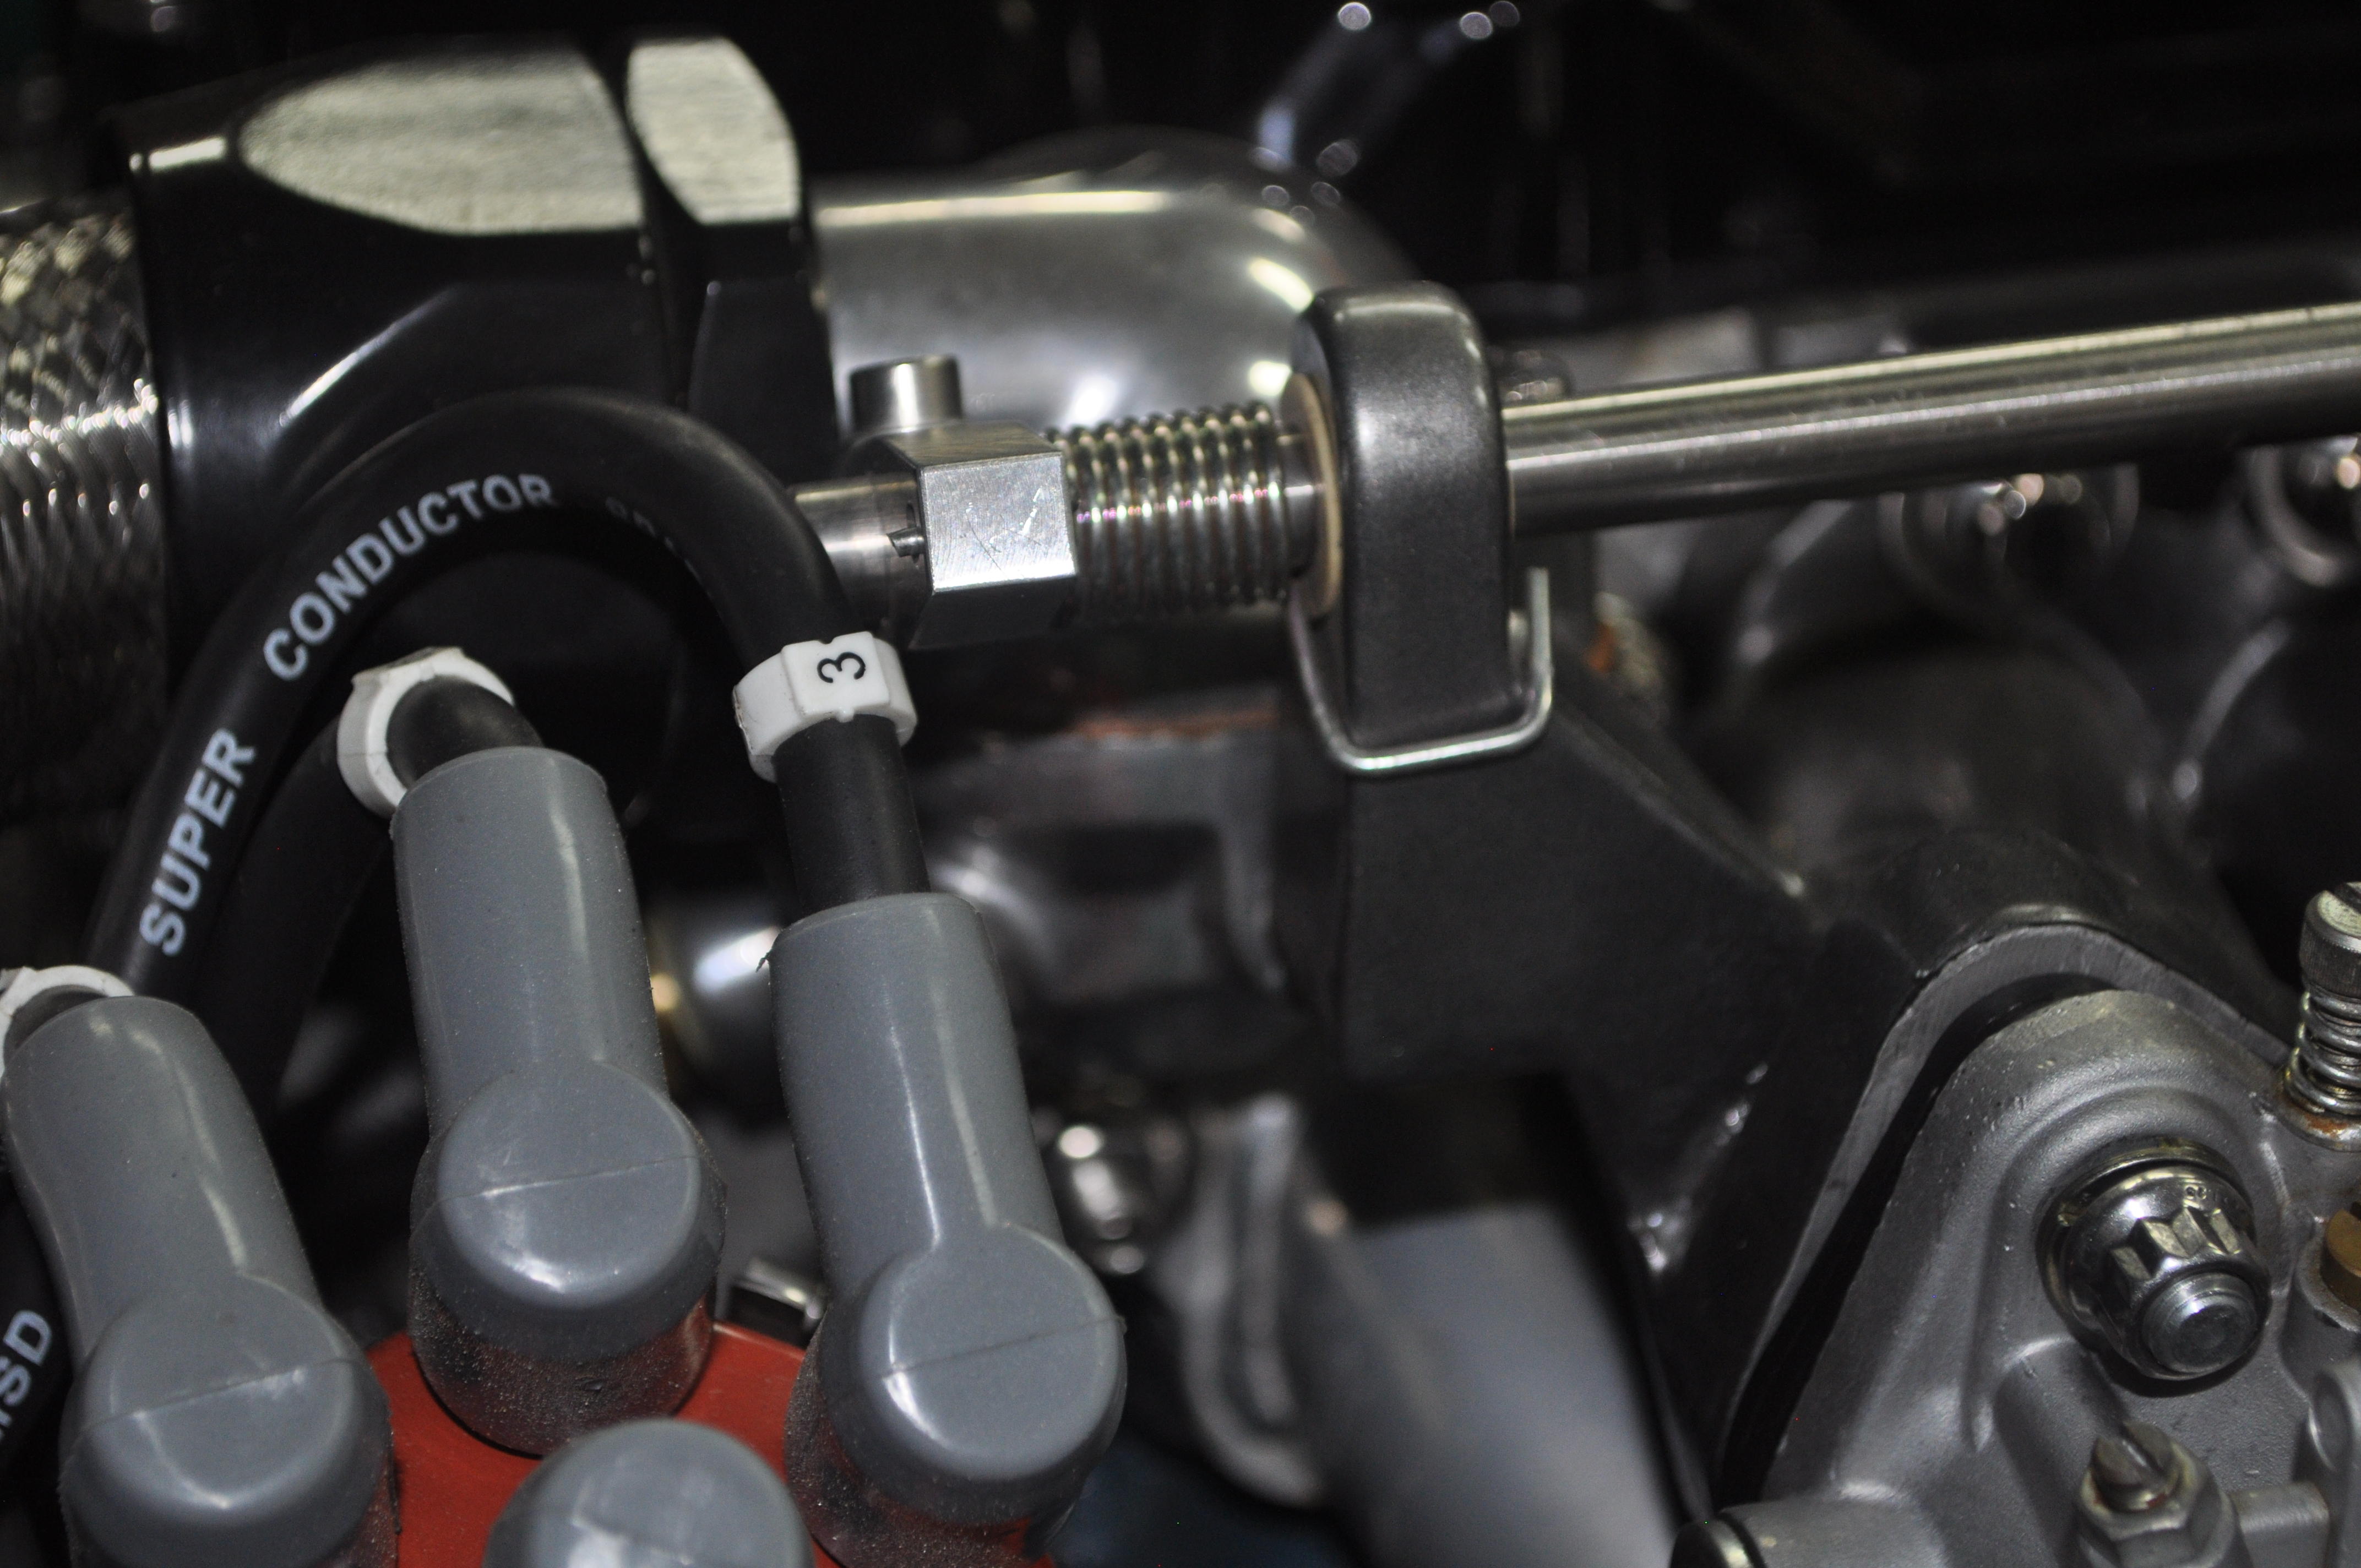
Well I just checked my install as I do not recall any interference problems. I ended up plugging that hole with an allen wrench style fitting and it just clears the manifold by about a millimeter or so. Here a few pictures to illustrate.
-
Well I located my spreadsheet for the LED bulb replacement. I have a late 260Z but pretty sure all of the bulbs for the gauges were the same. I believe that all of the bulbs I purchased came from Amazon. When I decided to do this I bought a variety of bulbs to try out and I also performed a sort of longevity test on the bulbs. I had found when I did this same thing to my F-150 a number of the LED's from Amazon burned out quickly and given the tediousness of changing them in the Z I did not want to have to deal with bad bulbs right after they got installed. So far all of mine have been perfect. Also, bear in mind that I removed my green filters so I made more room for a larger / longer bulb. If you keep your green filters in my gauge bulbs will not likely work for you. Also the only bulbs I did not convert to LED's were the blinkers as I did not feel like messing with the blinker switches / relays at the time. At some point I may go back and change them too. In any case, I've attached my spreadsheet and I hope it may help you and others out. This is definitely one of the best upgrades I've done. Mike. LED Conversion 6_10_18.xlsx
-
The BA9 example I used was just an example of the ones that are not sensitive to polarity so I'm not sure if these are the brightest ones you can get. When I did my interior gauges I did a lot of experimentation on bulb color, and ended up trying quite a few different options. One thing to consider is the possibility of removing the green plastic filters inside of the gauges. With the filters still installed, you will be limited to the size of the bulb you can use as the filter will restrict the bulb length. I tried both green and white bulbs with and without the filters and in the end I removed the filters and just went with white bulbs. The really light up the gauges and for the first time I can actually see how fast I am going at night! Many people like the green glow and so you can achieve that by either leaving the green filters in place or by going with a green LED bulb. I believe that I have a spread sheet of all the bulbs that I used, both inside and out, and if I can find that I will be happy to post it. Finally, the bulbs can be dimmed but you will need to change the rheostat dimmer to a PWM type dimmer in order to dim the LED bulbs. I chose to use the original dimmer and I just keep them at the highest brightness level. Hope that helps. Mike.
-
You can get LED's which are not sensitive to polarity and that makes this job a lot easier. Go to Super Bright LEDs dot com and they have a variety of these for our cars. Here's an example: https://www.superbrightleds.com/moreinfo/ba9s-ba7s/ba9s-led-bulb-1-led-ba9s-retrofit-car/3/ Hope that helps. Mike.
-
ZCON is still a go as far as I know. Chris Karl posted a few times on Facebook this past weekend when he and some of his ZCON team were in Nashville locking things down. Not exactly sure how they are going to deal with the big crowds, especially at the opening and closing banquets, but I understand they have a plan. If I hear anything else I'll try and provide an update here. Mike.
-
I used this exact same switch that the OP posted. I ended up mounting it on the inside of the glove box so it could not be seen and would also provide a convenient way of resetting it from inside the car in the event of it tripping. I've been running it this way for quite a number of years and have never had an issue. Hope that helps. Mike.
-
I plan to get rid of the downdrafts and in fact already have a new stroker motor in development. Will probably be going ITB’s on this build.
-
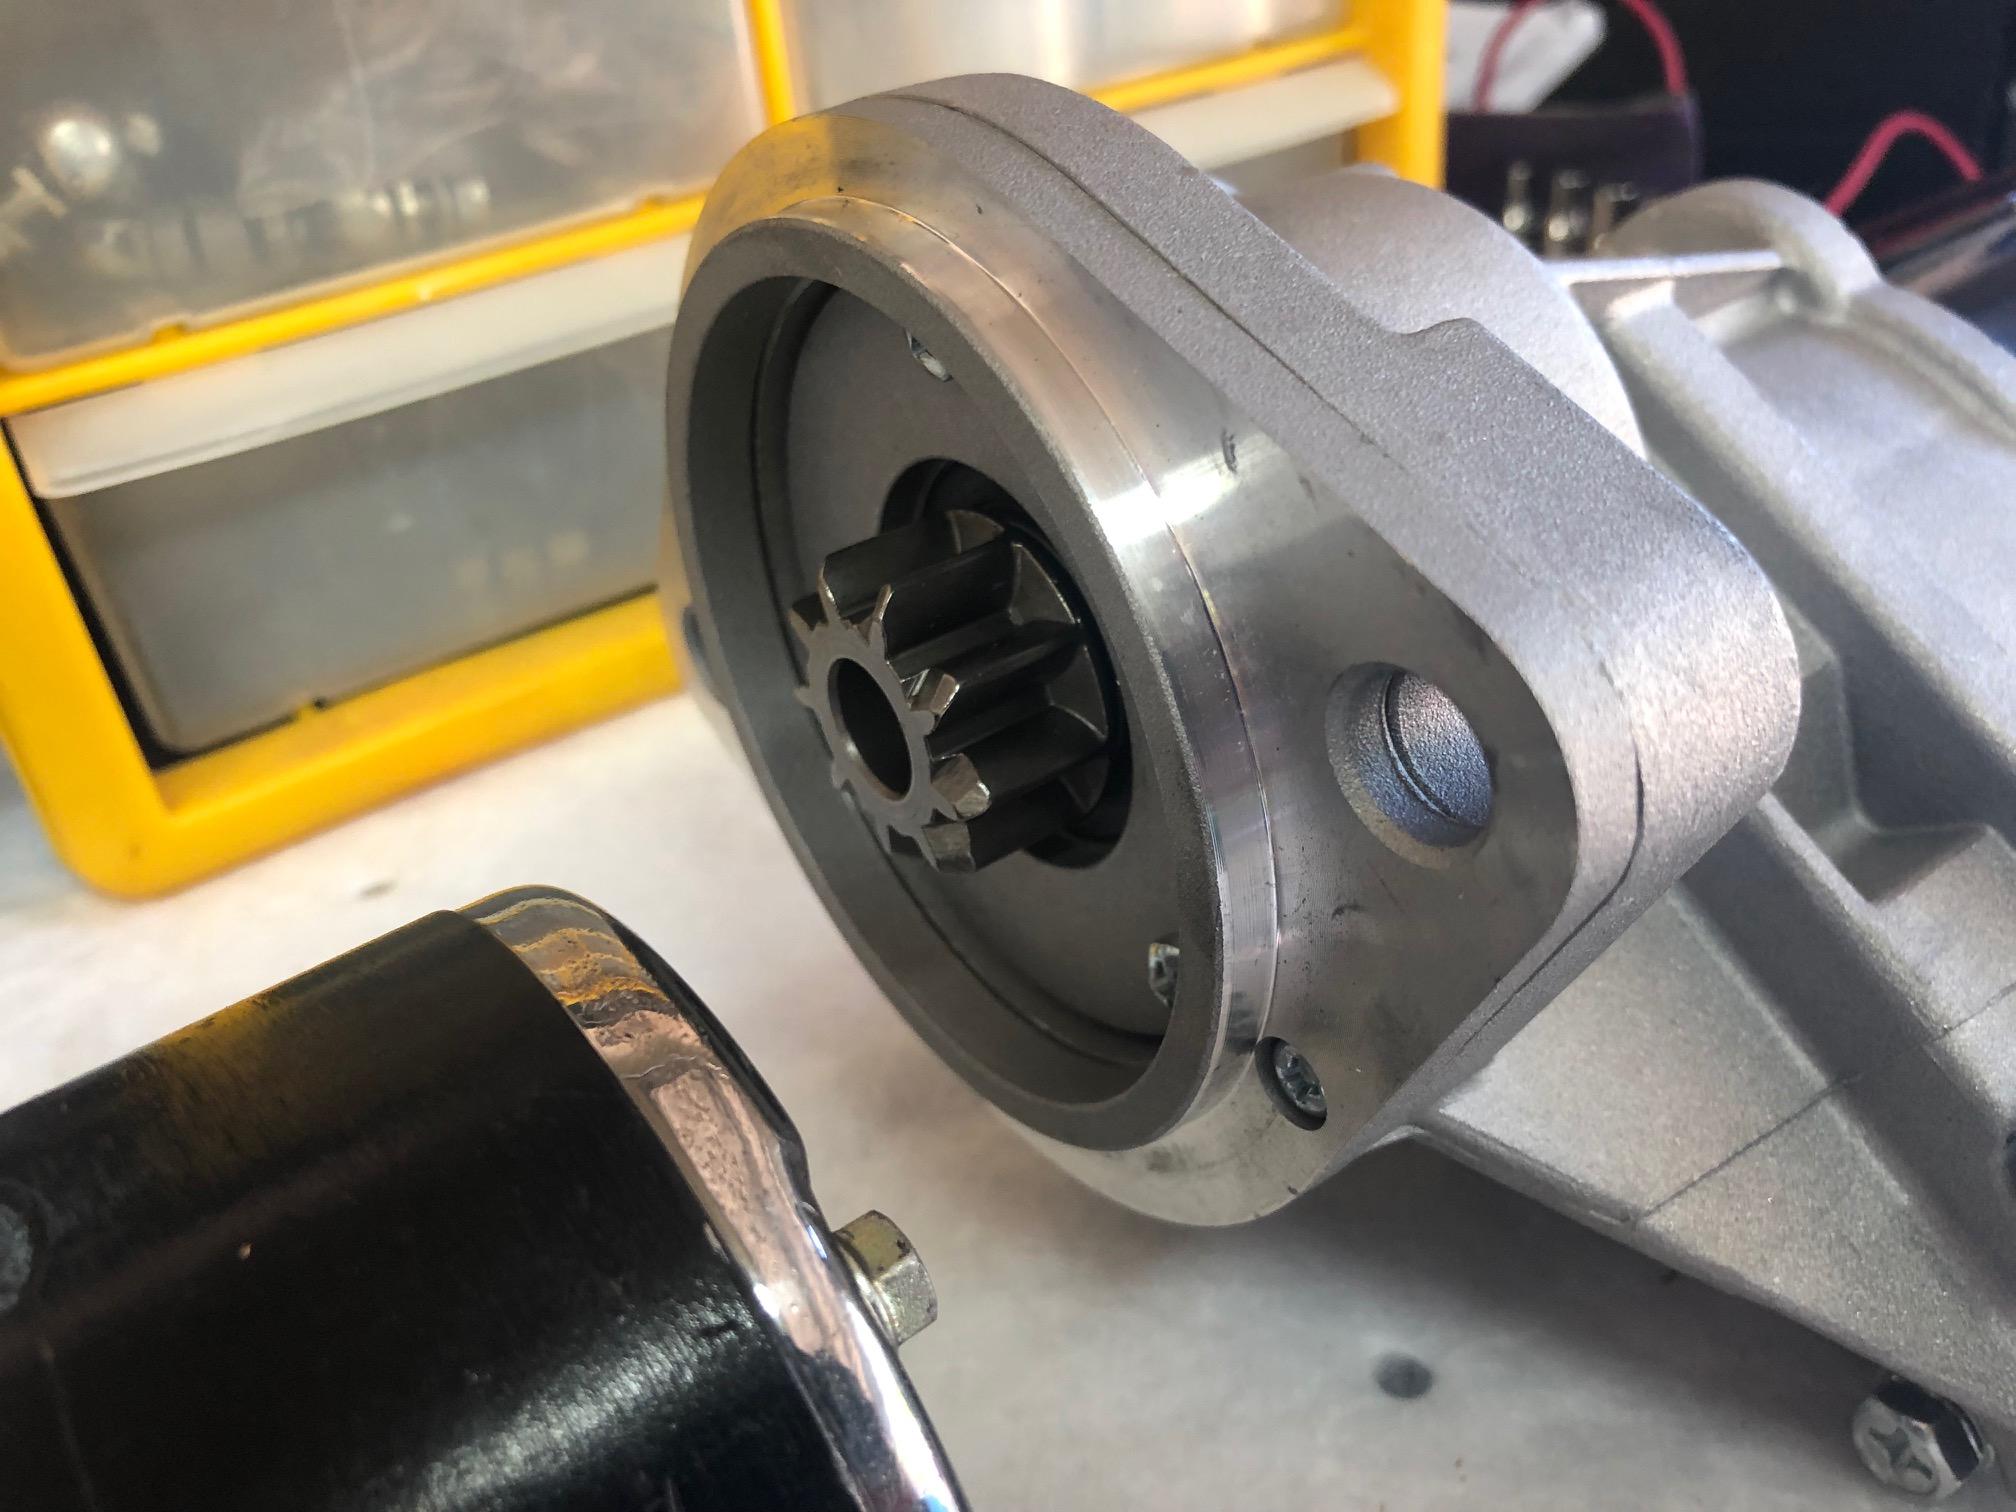
Charles, Good to hear that someone else has used DB Electric and with positive results / reviews. They are only the distributor in this case but they appear to be a very solid company. Phil, Yes I think you can interchange a number of the individual parts. I was considering using the new motor, solenoid, gears, etc from the new one and the casing from the original Nissan one, but I haven't made that decision yet. Having said that I do think that swap would easily work. Mike.
-
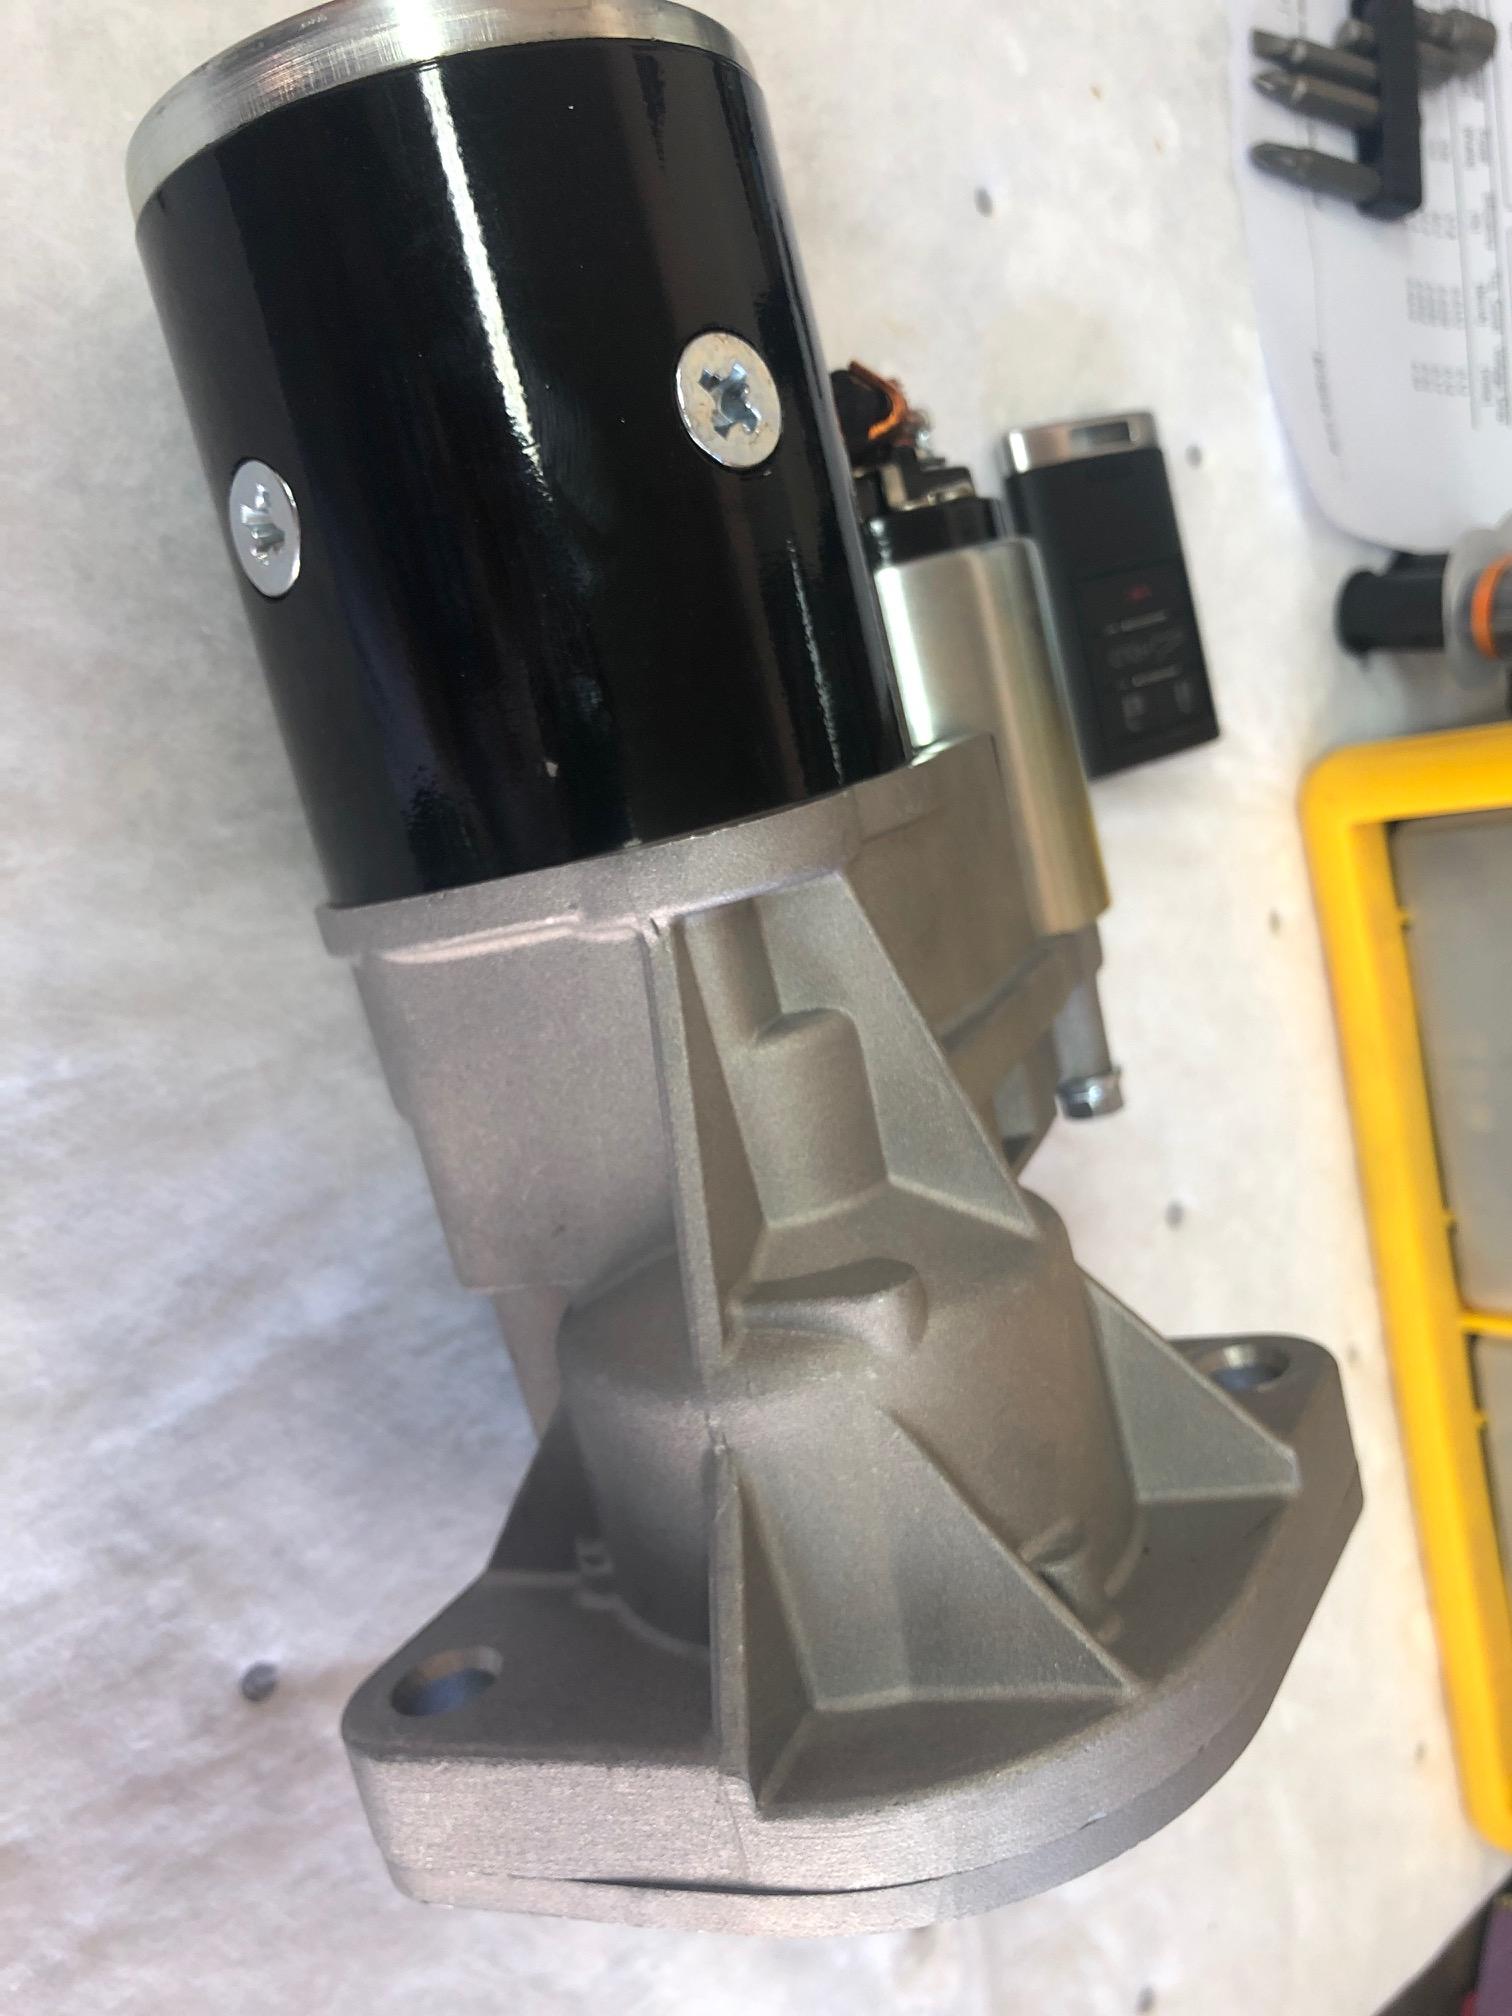
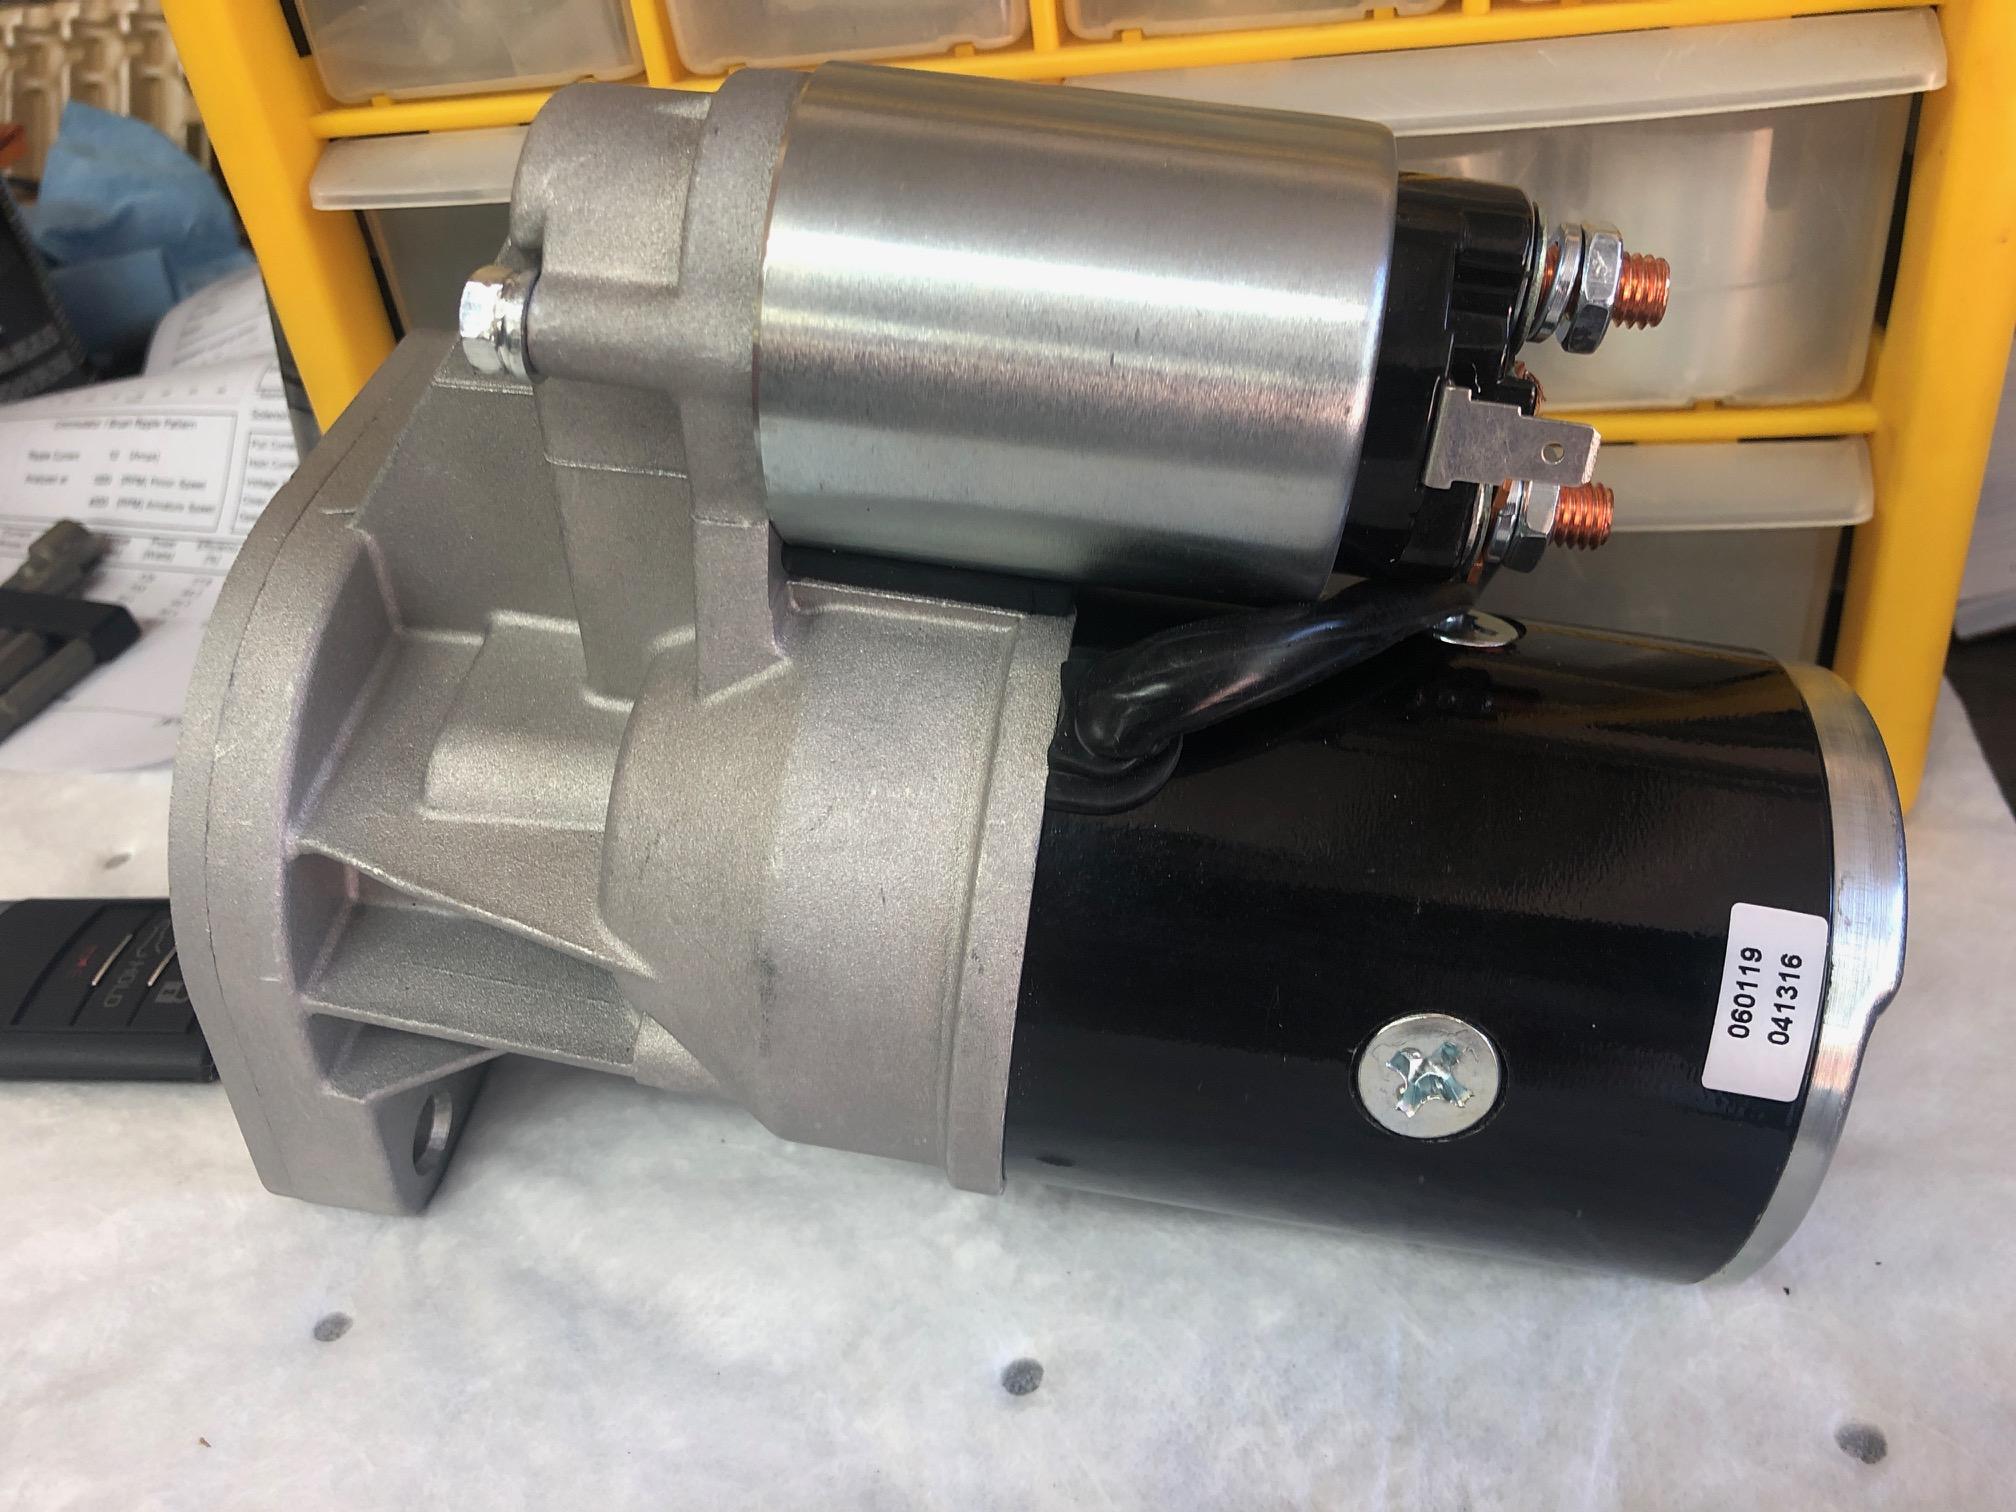
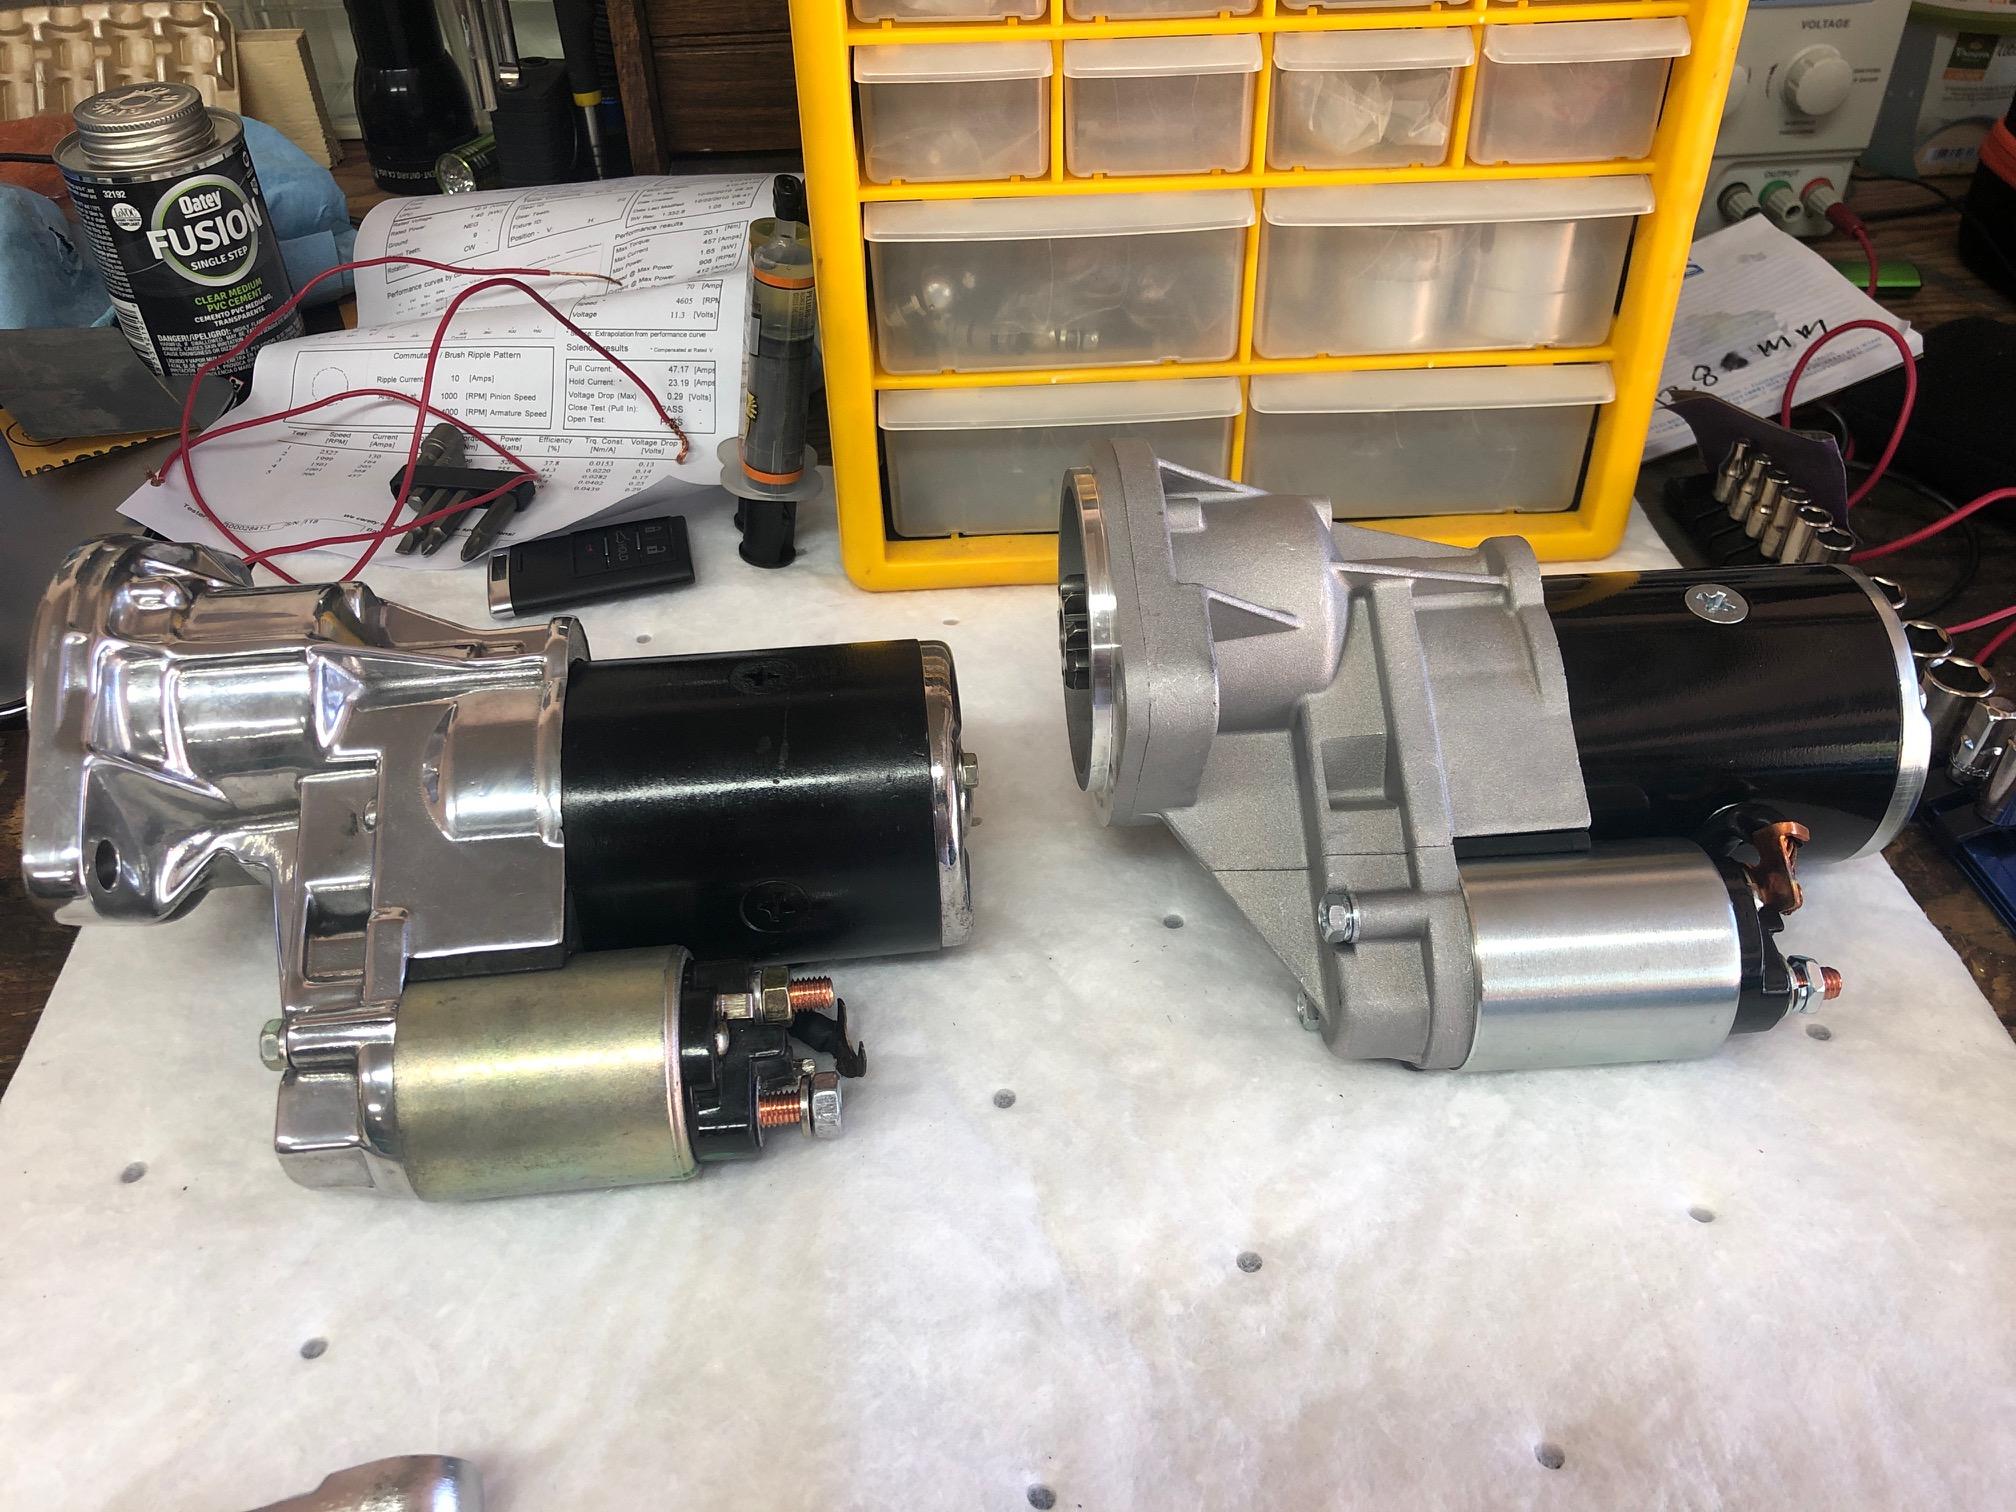
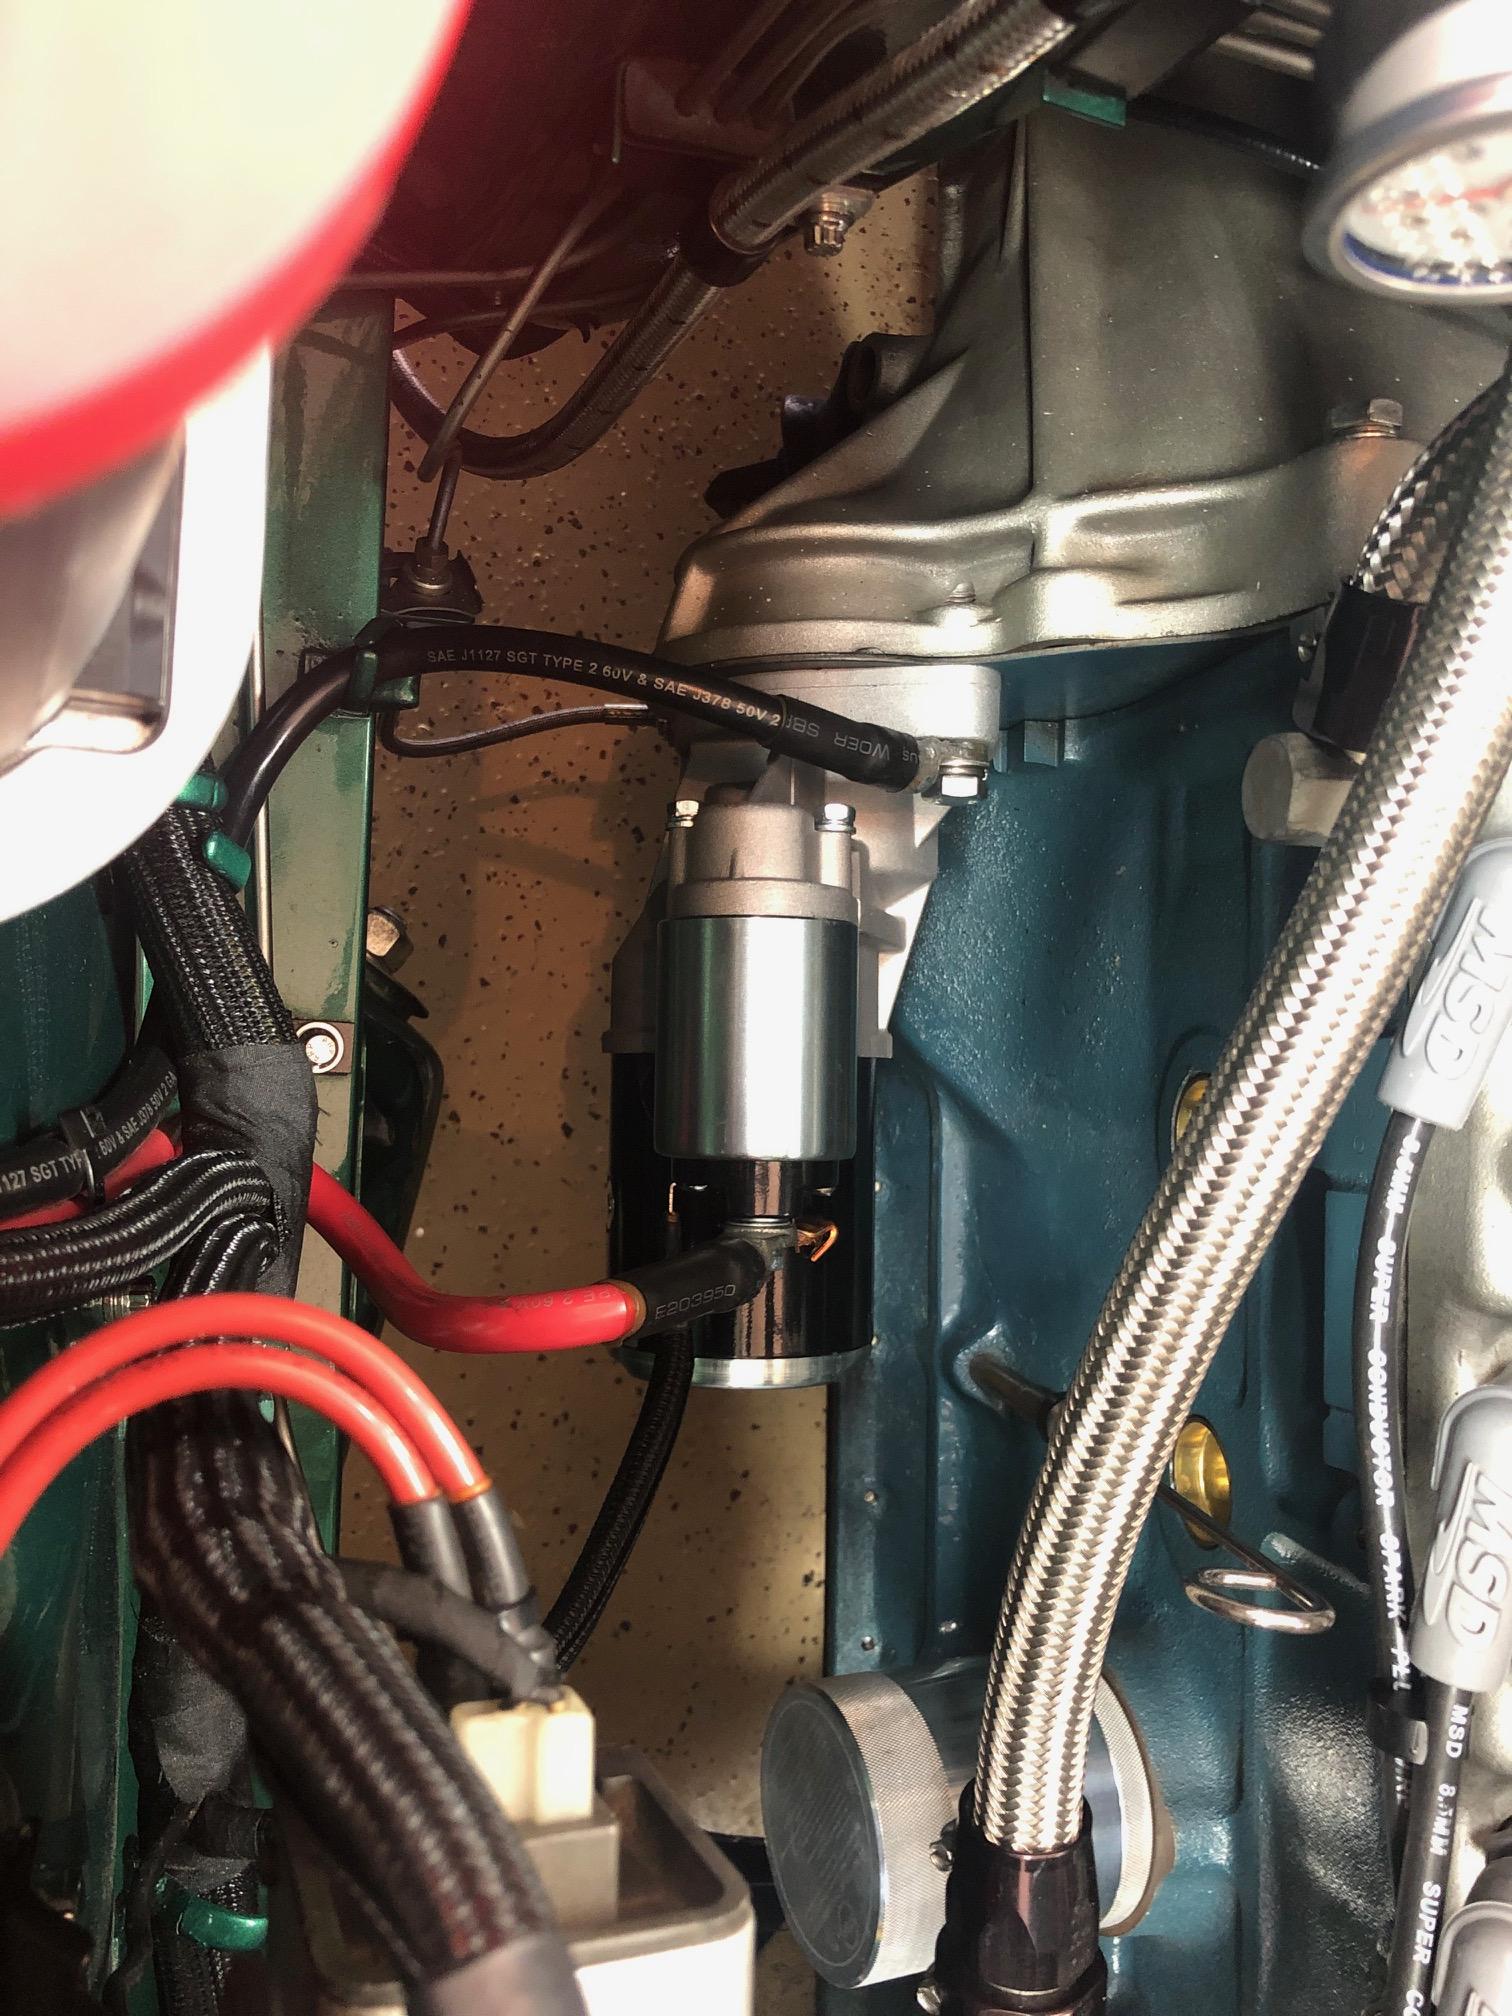
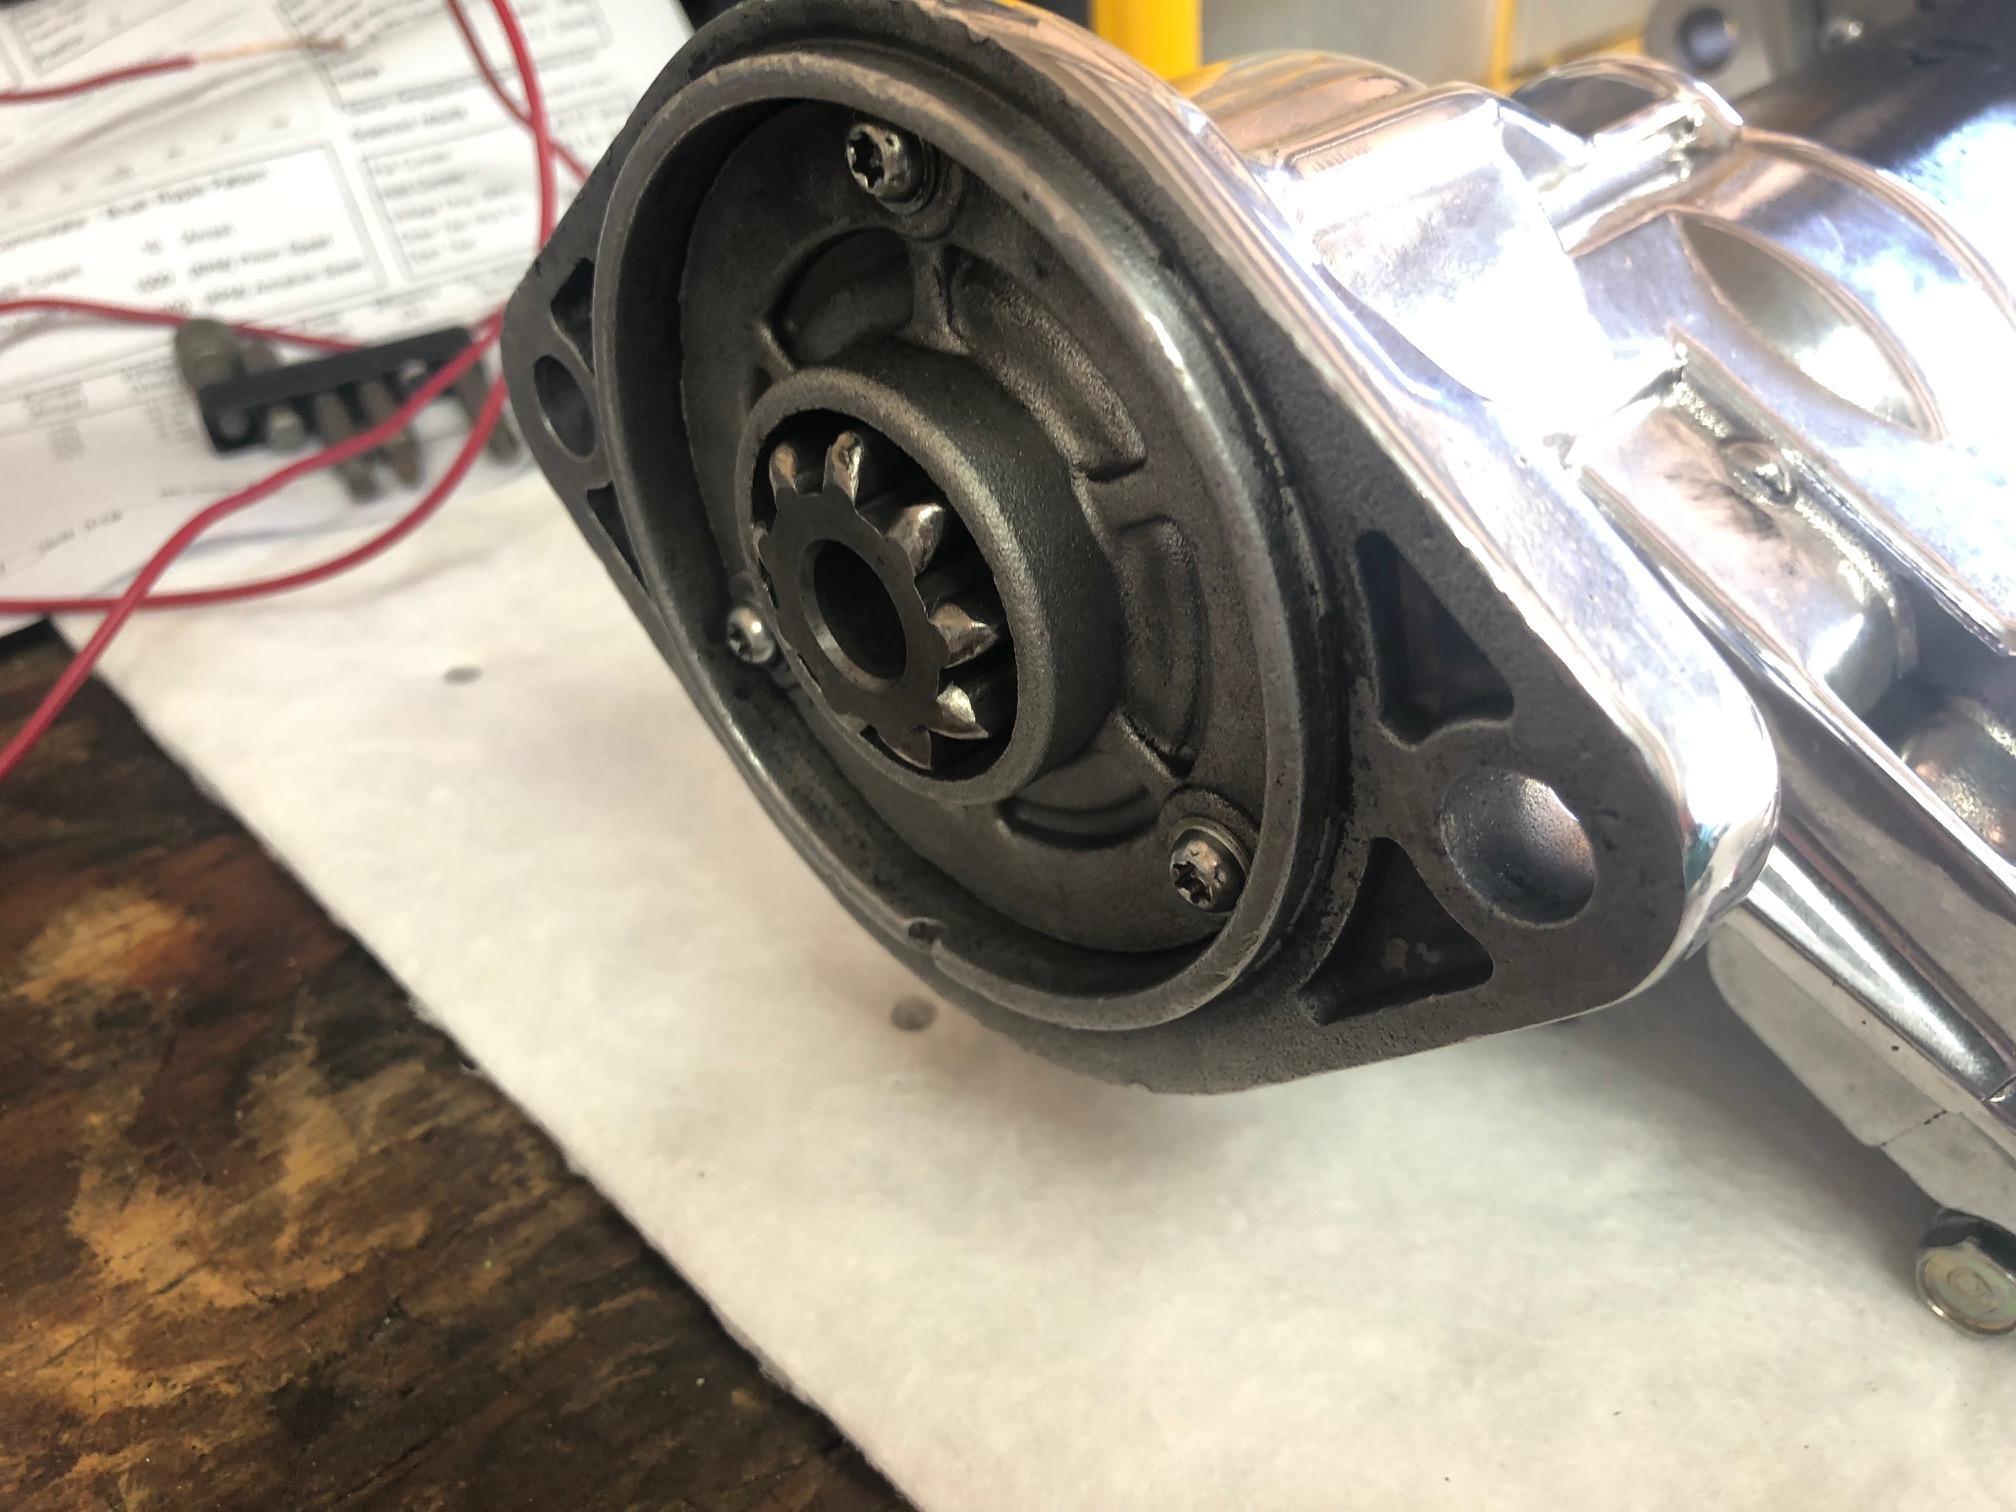
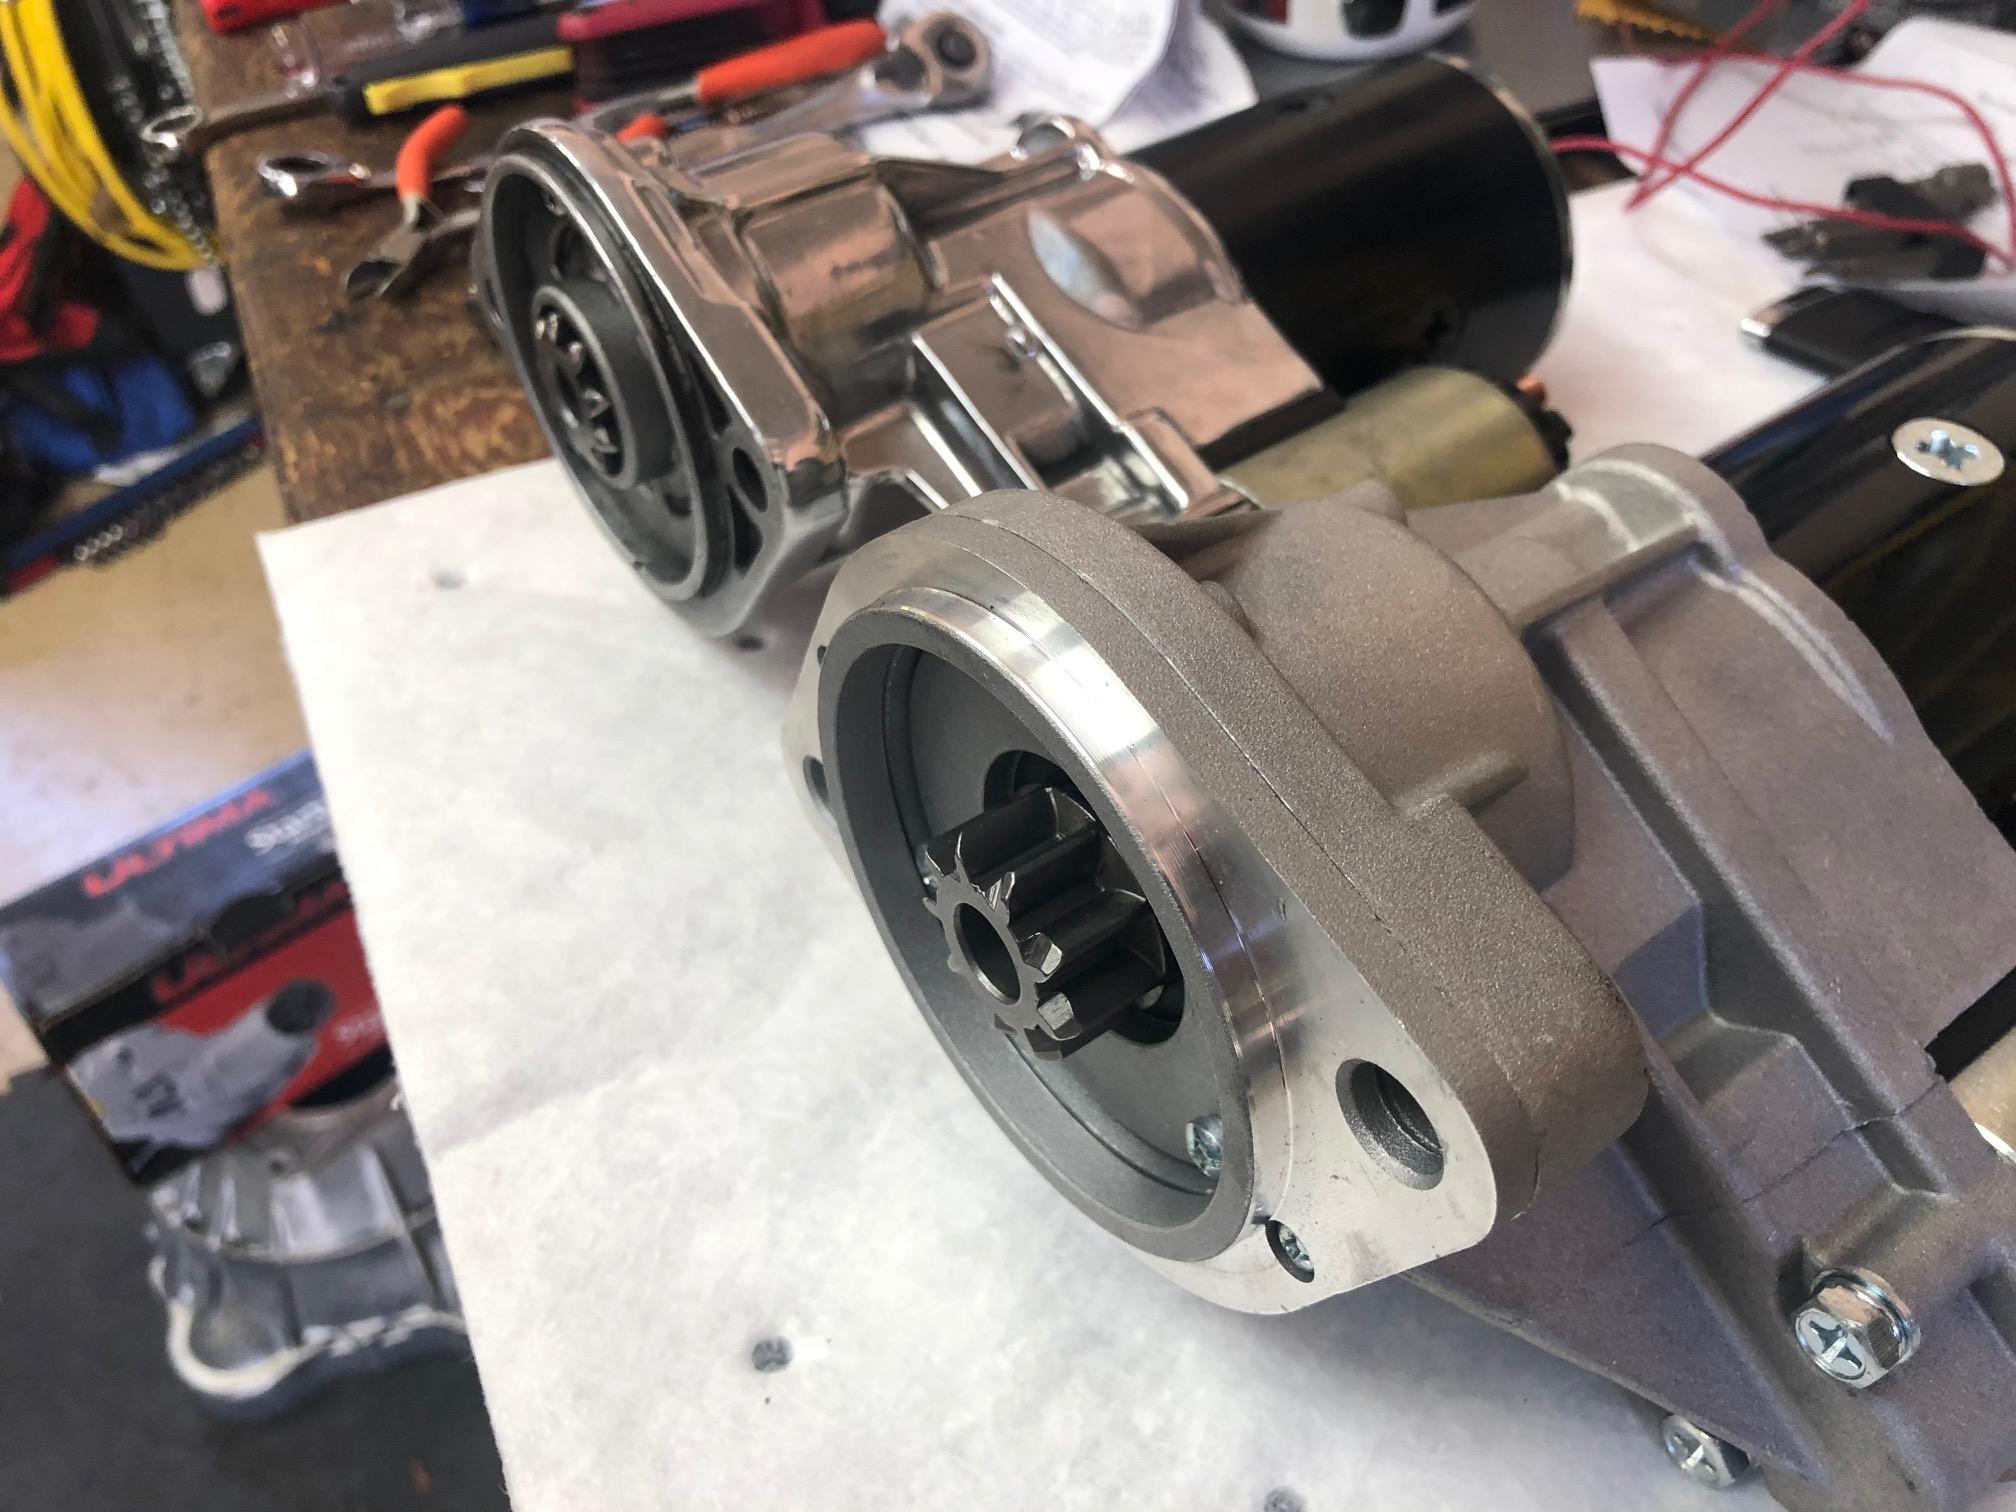
So for some reason I have not had a lot of luck with the rebuilt aftermarket starters that are available through most of the normal outlets. I have gone through numerous ones, both the original style as well as the gear reduction style, and for some reason they just don't seem to last. The most recent episode of this was while I was visiting my brothers in the Chicago area. I had hauled my Z up to my brother's home outside of Chicago and over the course of the week, we attended numerous shows and cruise ins in the area. Was a real blast until the last day, when the starter appeared to have failed. Removed it and took it to a local O'Reilly's to have it checked (my brother works there so it was an easy deal) and sure enough the starter would spin but the pinion would not extend. I ended up ordering a replacement (rebuilt) from O'Reilly's, got it installed the next day, and was back on the road again. When I returned back home to Austin, I decided that I needed to invest in a spare starter that I would keep with me when I trailered the car. From all that I had seen historically, new starters were NLA either from Nissan or aftermarket dealers, so I was resigned to the fact that I would have to go with another remanufactured version. So the search began. As I expected, all of the normal retail outlets could source a starter for me, but all were remanufactured (early as well as gear reduction style), were all in the $80-$100 range, and all required a core deposit ranging from $20-$30. So I headed over to eBay to see what I could find there. Hundreds of postings came up but on the surface, nothing new. So I hit the "new only" filter and as I expected again, the vast majority of listings were "newly remanufactured". However, as I was getting ready to leave eBay, I did notice one listing that actually said NEW, not remanufactured, so I decided to check them out. The listing was weird as the highlighted vehicles that this was meant for was a series of Massey Ferguson tractors, but further down the listing, sure enough the Nissan 280ZX was also listed. This was a gear reduction starter and so I looked at all of the pics and it almost exactly resembled the OEM one that I had on the car. After some further research I found that the supplier of this is a USA based company called DB Electrical. You can find more about them here but basically they are a distributor of auto electrical components (claim they are the biggest) and have direct relationships with the actual factories: https://www.dbelectrical.com/ After some further research I figured out that there are multiple distributors of this product and all of them list the 78 280Z as well as all years of the 280ZX. I also figured out the part number to be SHI0150. You can see details of it here: https://www.dbelectrical.com/products/starter-for-massey-ferguson-mf1010-mf1020-mf1030-mf1035-tractor.html Ironically, the part number that DB lists, item number 16584, is the exact same part number that O'Reilly's uses on the remanufactured one I purchased from them in Chicago. In any case, I decided to pull the trigger and try one out. DB had the best price $81.41, free shipping, and no core charge. Got it in a couple of days and already have it installed. The build quality is excellent, fit and finish is excellent, and most importantly it works like a champ. I have found only 2 differences from the original, but in the end they really don't matter all that much. The first is that the mounting plate of the starter is a little thicker than the original, so I had to use slightly longer bolts for the install. The only other difference is that the solenoid is clocked slightly differently than the original moving it a little closer to the fender well. No big deal and in fact made it easier to get to the top attachment bolt. All in all, very pleased so far with this upgrade. The only bad news I can give you is that it is manufactured in China and so I won't know for a while how reliable it is going to be, but from the looks of everything, I'm expecting its going to last for a while and can't be any worse than all of the remanufactured ones, which are probably also done in China. Here's some pics for your enjoyment. Hope this helps some others. Mike.
-
Here's a link to the same person in Japan that I bought mine from 4-5 years ago: https://www.ebay.com/itm/Datsun-240Z-260z-280z-Harada-Intake-manifold-for-triple-Mikuni-Webers/283568679779?hash=item420602ab63:g:upIAAOSwVvBdRLCj @Rio24 I do not recall that my issue was worse with heat soak. It seemed to happen all of the time so perhaps you are dealing with something a little different. Mike.
-
@Rio24 Yes I had a rather severe return to idle issue with my old Cannon manifold and it certainly contributed to the problem, but the manifold itself was not the only issue. The main issue with the Cannon wrt this problem is that the 3 heim joints do not line up and I found on my setup that this misalignment caused excessive friction and a very slow return to idle. I had to use rather heave return springs which really impacted the drivability of the car and so I needed to find a better solution. I ended up eliminating the center joint but doing this made the main throttle rod less stable and so I ended up going with larger heim joints and a heftier throttle rod. This change definitely helped the return to idle but did not eliminate it completely. The final solution to this, at least in my situation, was to replace the old worn OEM throttle linkage with a throttle cable. I used a universal throttle cable from Lokar and in the end this solved the return to idle problem. I was also able to change the return springs to something lighter and this really helped with the drivability. When I went to the Harada, I was able to eliminate all of the return springs except for the one that was integrated into the Harada. It really cleaned up the engine bay and also helped with drivability. You can also adjust the spring rate on the Harada and dial it in so it works in your setup. I would say that the biggest change to this problem was going away from the OEM stock linkage and replacing it with the throttle cable. I fought the OEM linkage for years and wish I had made the change to the cable long before I did. In any case, I hope that helps. If you have any other questions just let me know. Mike.
-
I can probably help you with the 123 ignition. I believe that I was one of the first to actually install and use this in a Z and did a pretty extensive write up after I completed the install. You can find my thread here: All in all I am very happy with the system although there are a few quirks you should know about before you start. A quick summary for you: 1. On install the instructions will tell you to get the engine to TDC, install the 123 and apply power, and then turn it in the direction of rotation until a little green LED lights up. In theory that should put the 123 also at TDC with 0 degrees advance. Well that was not the case with mine. After I completed the install I programmed the 123 with a 0 degree advance curve and checked my timing at idle. It should have been at TDC but in fact I was about 12 degrees advanced. So I ended up loosening the dizzy like you would the oem one, and just turned it until I was at TDC at idle. 2. If you are running an MSD with the 123, you will likely experience random rotor failure over time. It turns out that the 123 rotor has an internal resistor embedded between the top contact and the end contact and it was not designed for use with an MSD type of ignition and will eventually burn out the resistor making the rotor useless. You can either carry spares (which is what I did until recently when I discovered the root cause of this issue)or you can Dremel out an old rotor and replace the resistor with a 12 GA wire. Interesting that 123 actually sells these modified rotors on their website so clearly then know about this weakness. Those are the 2 main issues that I recall. Other than that it is a breeze to program (I have the USB version) and performs well. Feel free to PM me if you have other questions or just respond to this thread. Hope that helps. Mike.