SteveJ
Community Member
-
Joined
-
Last visited
Everything posted by SteveJ
-
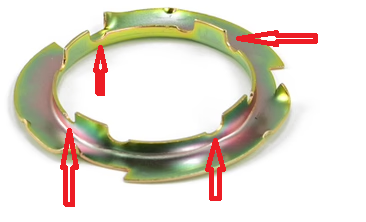
I'm not sure where it might be, but it's not too difficult. You will need to get the car high enough to get under the back. If that means jackstands, I suggest you drain the tank as much as possible first. Otherwise, you'll have fuel spilling out. I advise you to get a replacement lock ring and o-ring before you attempt to do this. If the lock ring gets warped, it won't seal. The lock ring has 4 tabs on it. I have arrows by where you need to turn it to remove the ring. Remove the wires from the sending unit Some people will place a screwdriver against one of the tabs and strike the end of the screwdriver to turn the ring. If you are worried about sparks, you may want to use a brass drift instead. I fabricated my own tool out of angle iron to turn the ring. You could also carve notches for the tabs in a piece of 2 inch PVC to turn it, though the height of the tool has to be small to fit unless you're dropping the tank. Pull the ring off. Remove the sending unit and o-ring. Re-installation Check the ring for flatness. If it is not flat, replace it. Put the new o-ring on the sending unit Thread the float though the opening in the tank and line up the sending unit with the locating tab on the tank. Holding the sending unit so that it stays aligned with the locating tab, put the locking ring on, and turn the ring using the tabs until it locks into place.
-
There's ALWAYS a way around cutting, but it can be a challenge.
-
The ZX went from a box bolted to the passenger side firewall (Transistor Ignition Unit or TIU) down to a small module on the side of the distributor. If your distributor and TIU are in good shape, you won't see any performance difference. Also, ZX distributors are getting rare. If the TIU dies, look into converting to an HEI with your existing distributor. I believe @EuroDat did a nice write up on doing that many years ago.
-
I got an inexpensive analog ammeter and used a potentiometer to simulate the fuel gauge sending unit. So per @Captain Obvious's suggestion, here's a video of the fuel gauge with an ammeter to demonstrate the operation of the voltage regulator.
-
Thanks, Jonathan. I'll try to keep that in mind...and see what I have left over from buying bushings for the 240Z 25 years ago.
-
It actually looked to be in good shape. It might have been replaced by a previous owner.
-
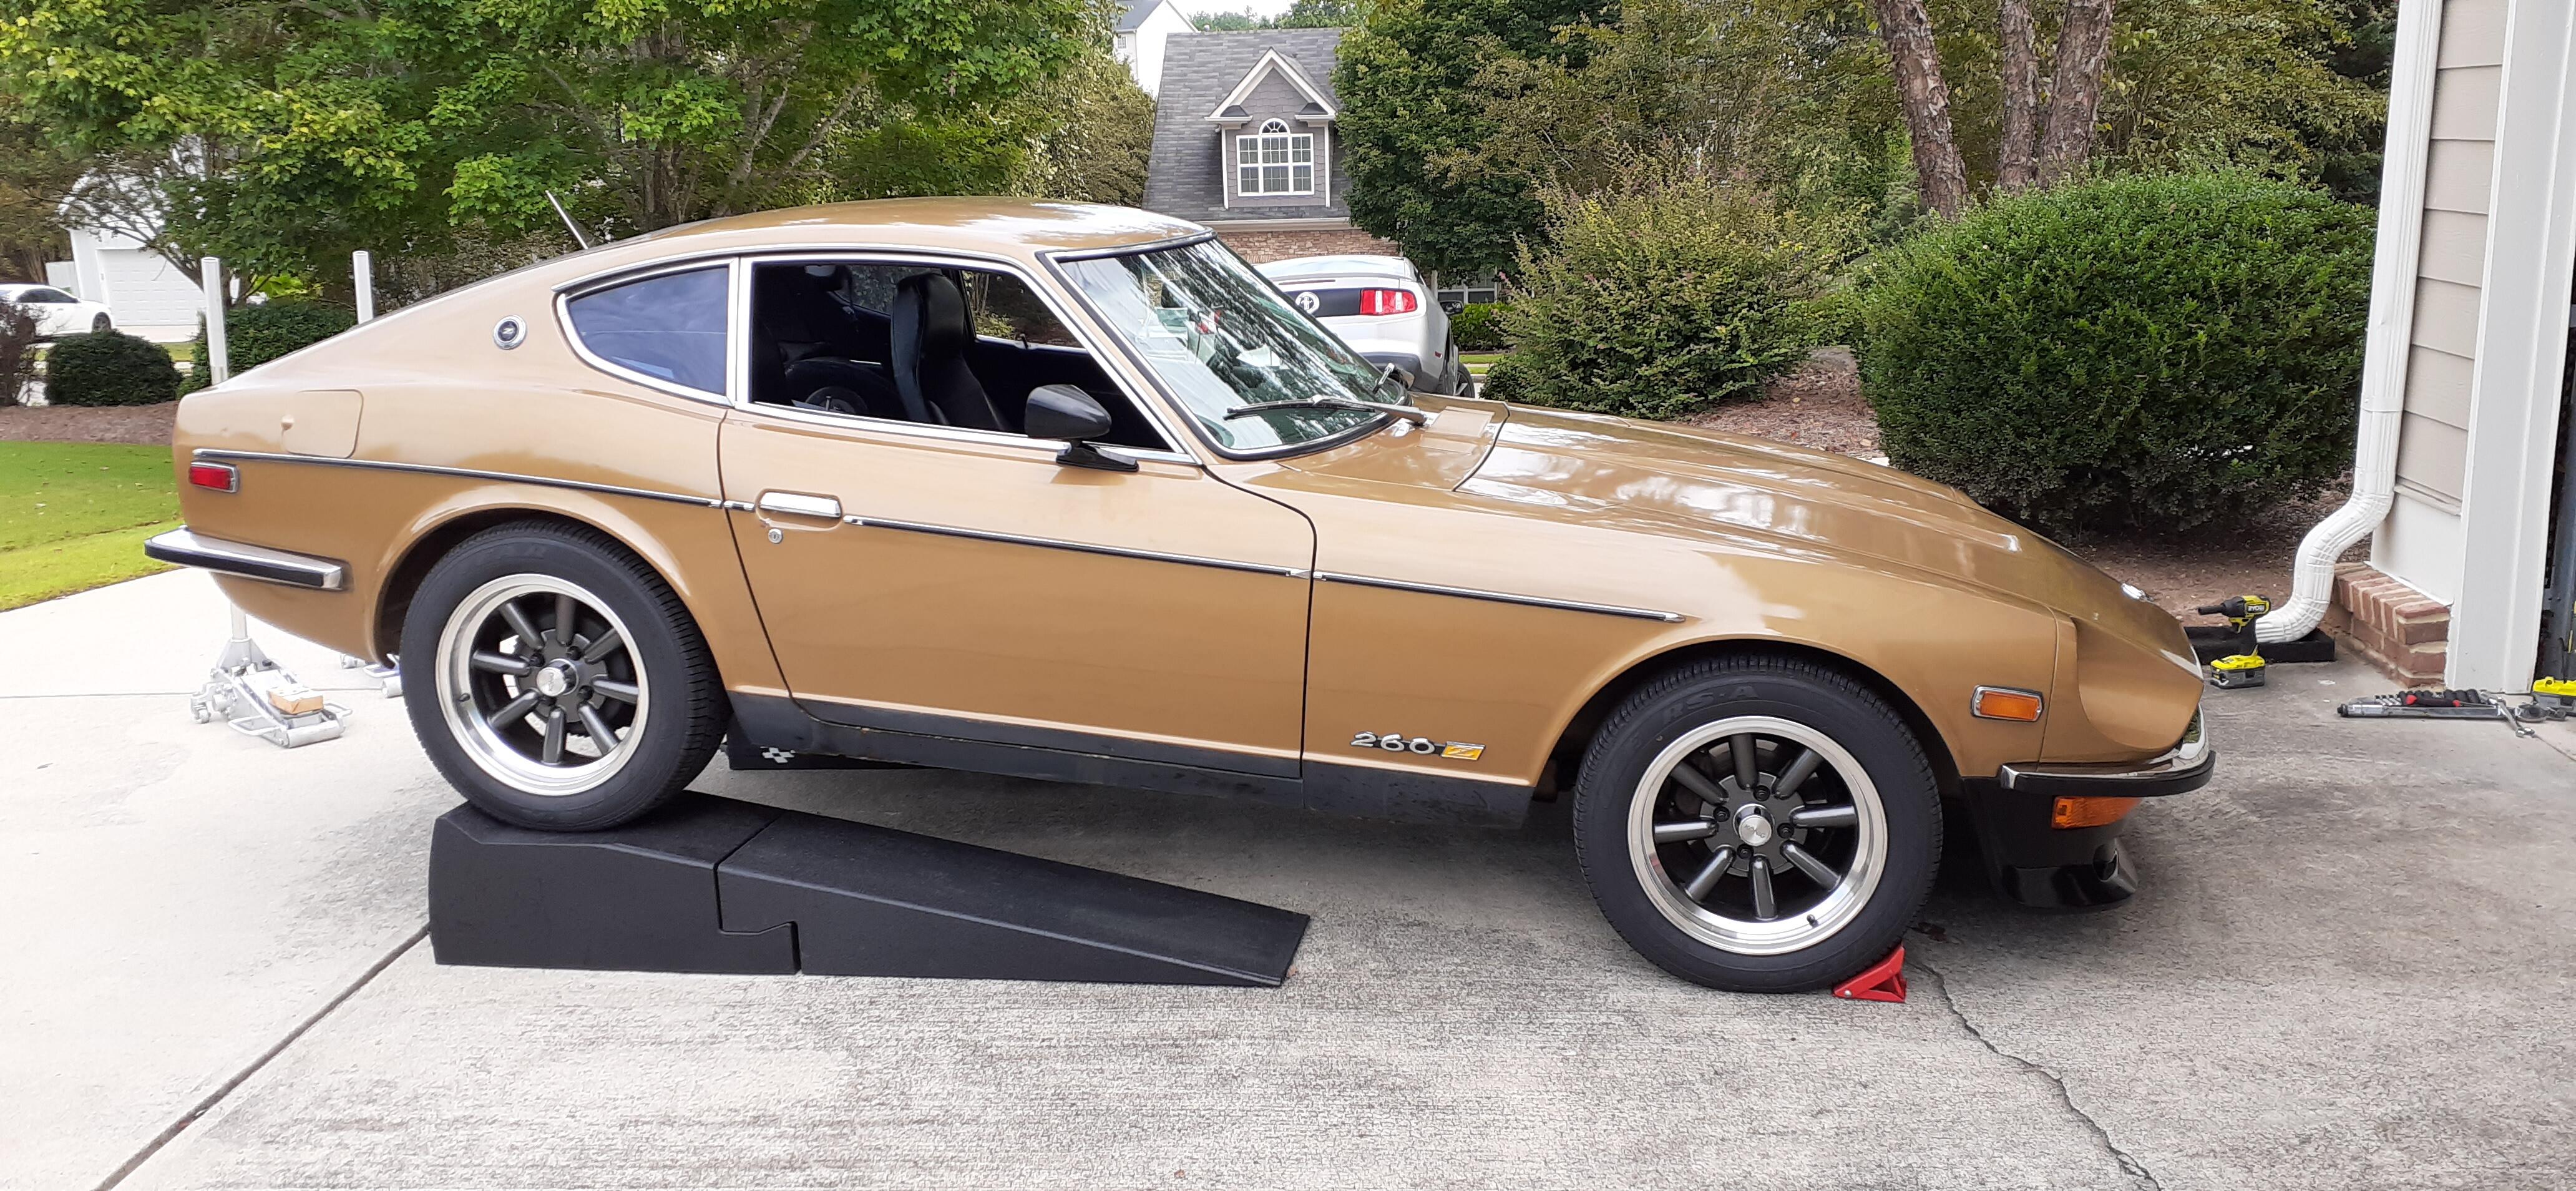
It felt pretty good on the road today. It actually seemed more quiet than before. I don't find that surprising considering how bad the old bushings were. Also, I'm pretty confident that going underneath with a torque wrench today took care of securing the control arms adequately. I shot video of the process. I just have to edit the video now.
-
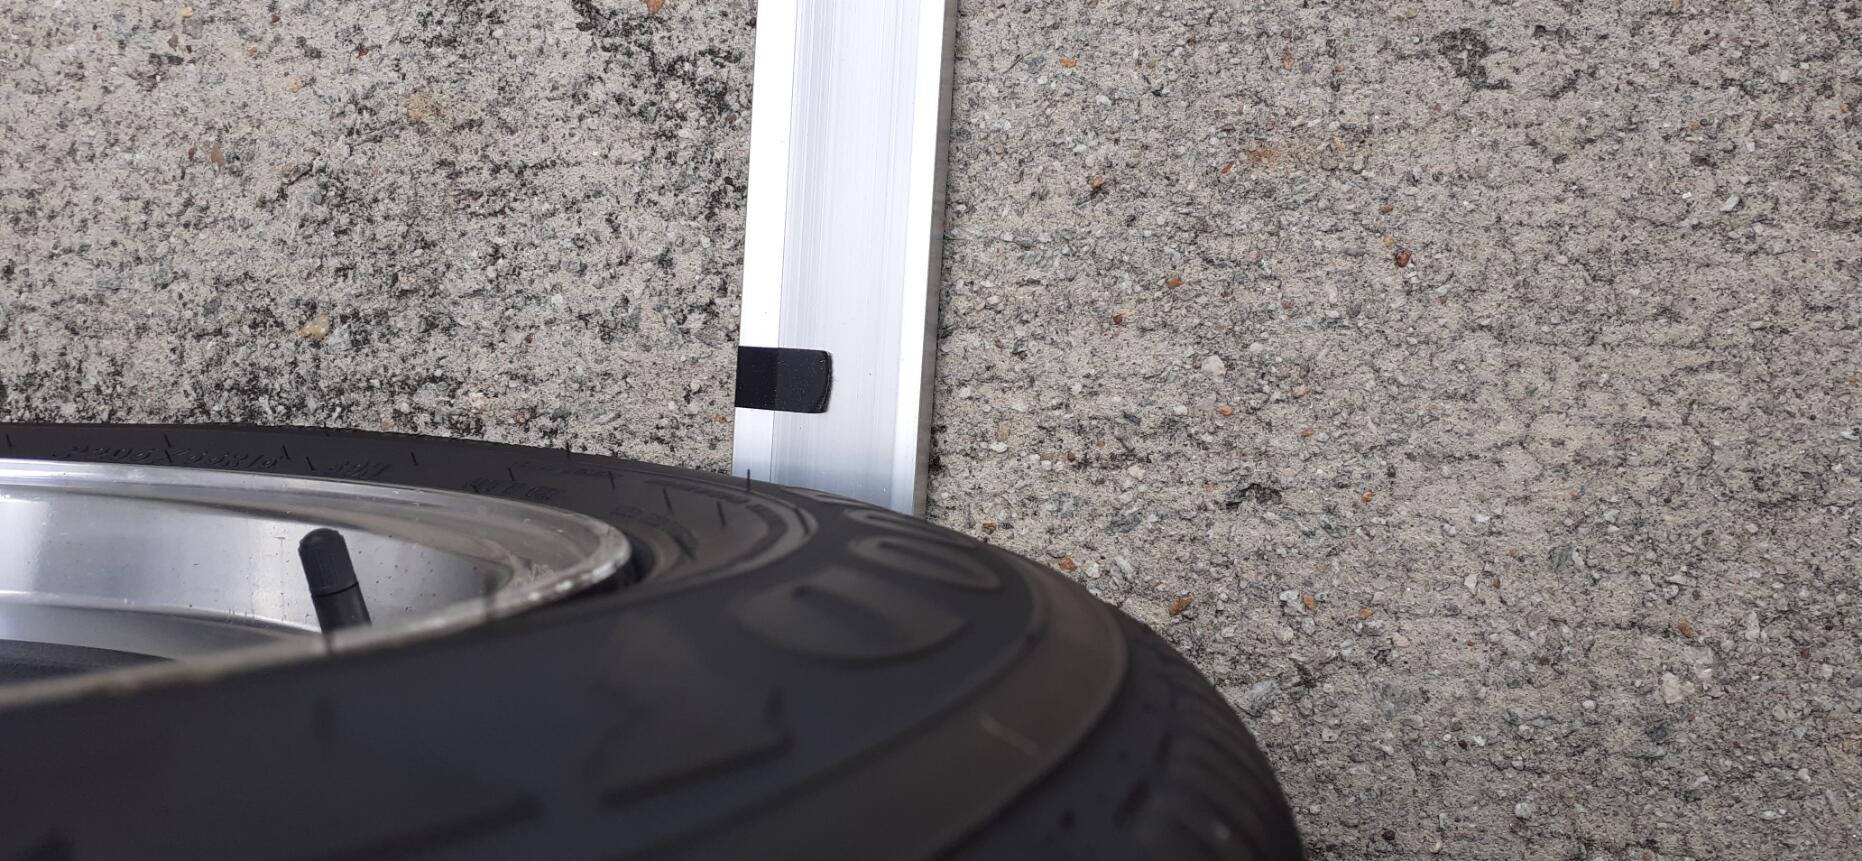
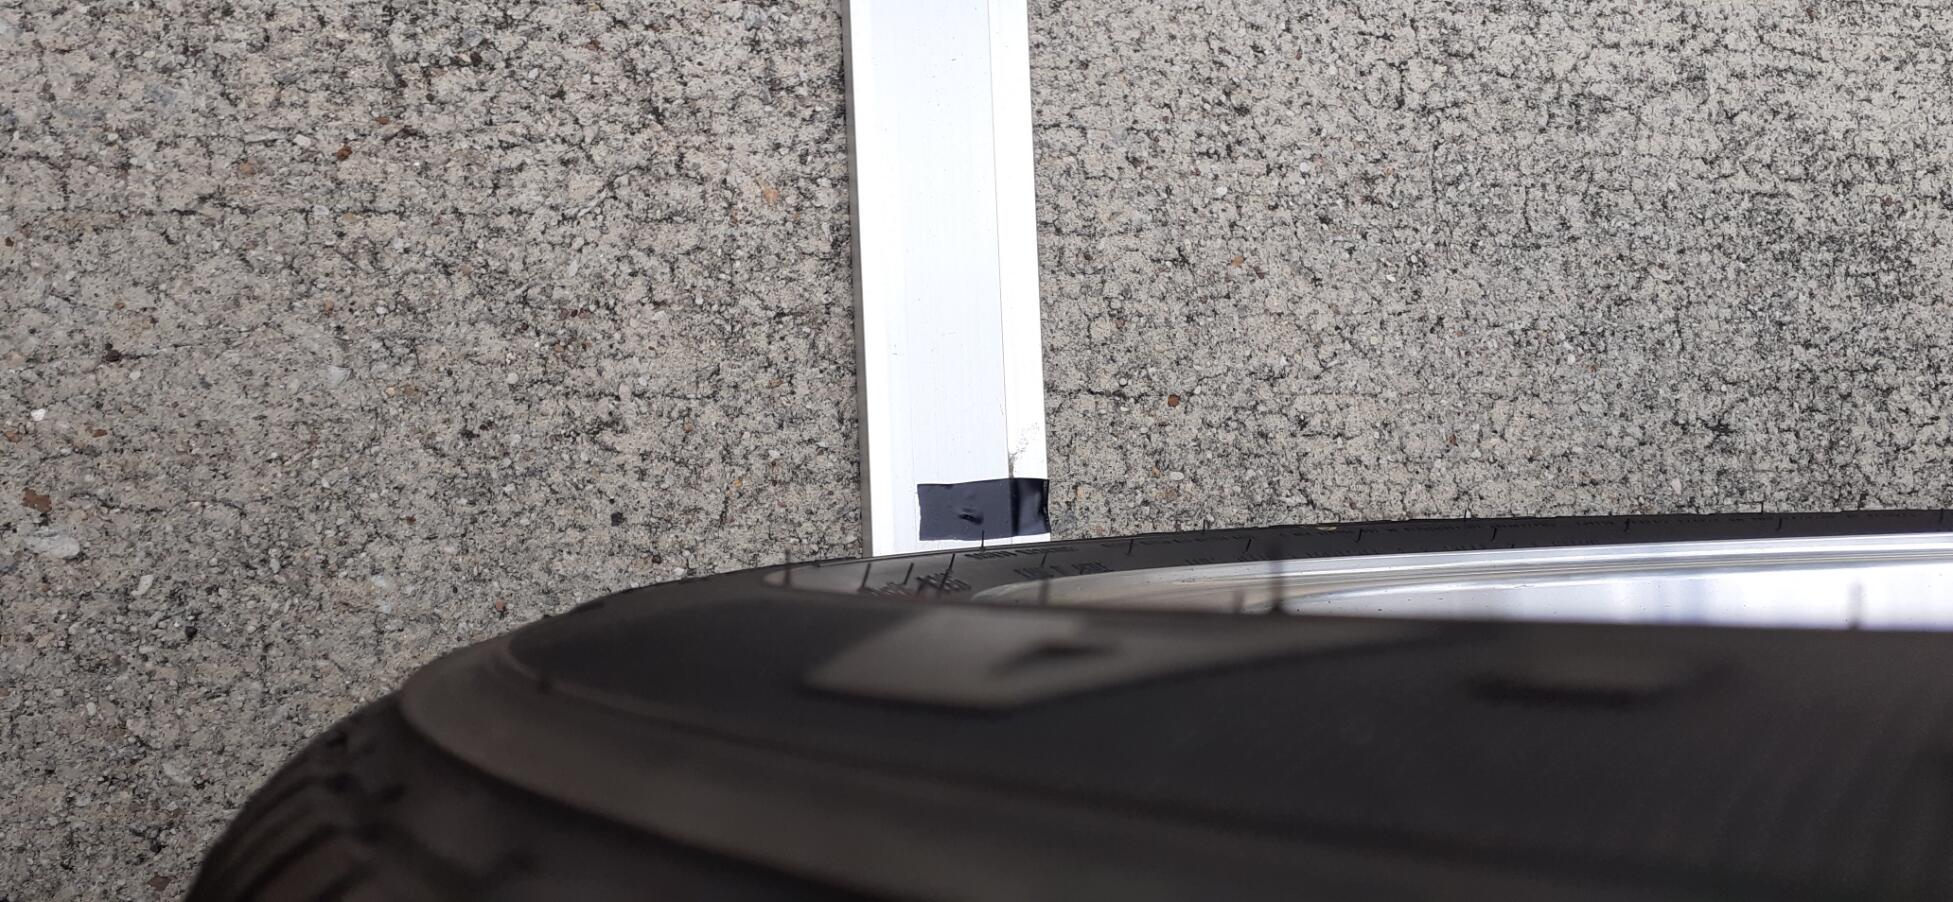
Doing the wholly incorrect and dubious accuracy method of having the straight edge wedged against the tires, there is hardly any difference between the front and back of the rear tires. It has to be a significant improvement from before. Thanks for the guidance and advice @Jeff G 78 & @Captain Obvious.
-
@Captain Obvious, it was a good thing I got under the car again. I hit the bolts with a torque wrench and found many could use the extra torques.
-
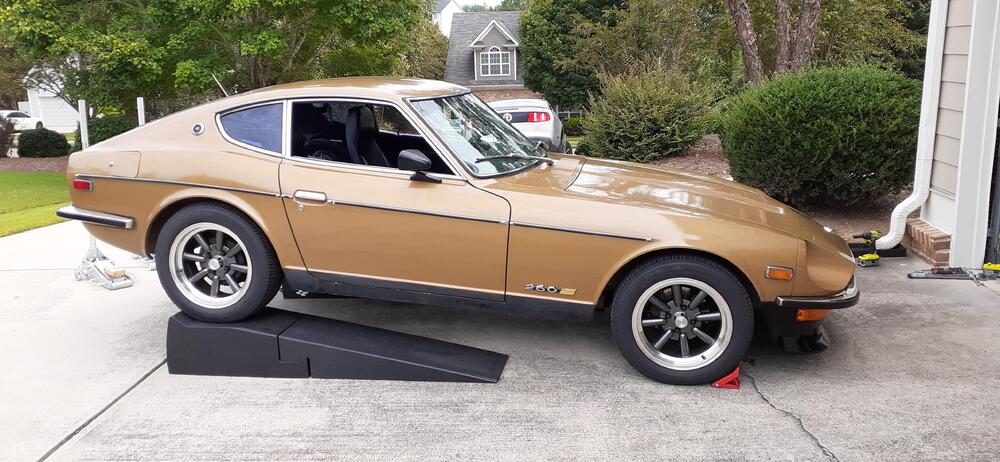
Too late. But I am shooting a video of the work. Besides, I found one loose bolt on the front passenger side shackle. 🥺 I think I can fit under the rear end like this.
-
The threads are either BSPP or BSPT. I'm not sure which. The FSM says to use conductive sealant, but I have no idea what that is, and Google hasn't been my friend in my efforts to see what it might be.
-
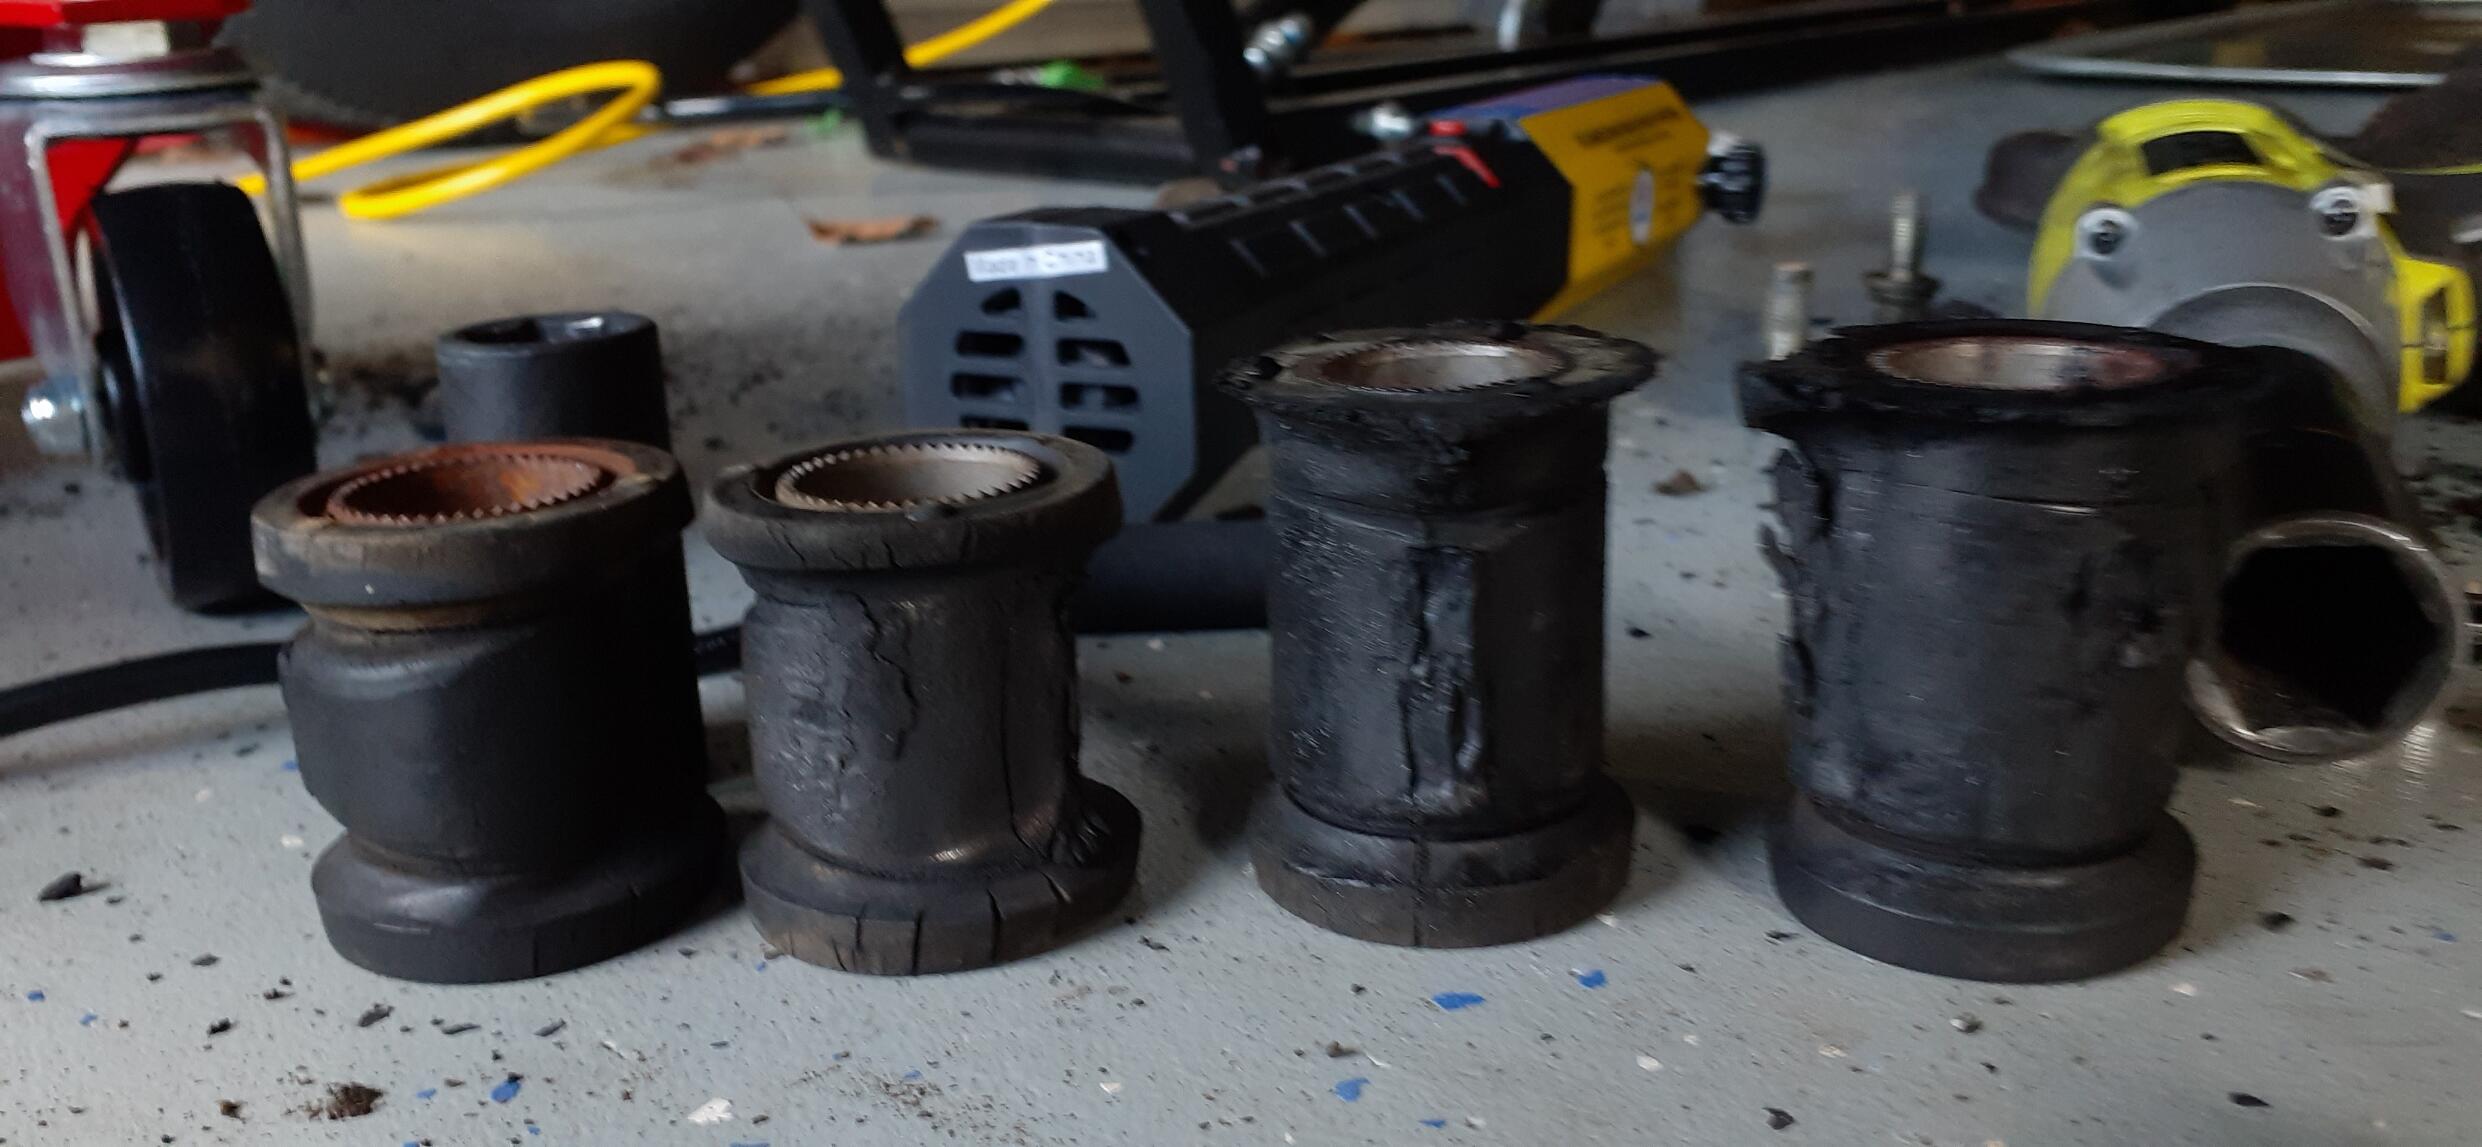
I tossed the old bushings, but they were pretty distorted. No, I didn't remember to leave the big bushing bolts loose until the suspension was loaded. I guess I need to put the car back up in the air the morning, loosen the bolts and load the suspension.
-
I wouldn't know. I've never had to design such a circuit.
-
Read this: https://www.frostburg.edu/personal/latta/ee/twinplex/schematic/twinplexschematic.html Also here: https://maker.pro/forums/threads/car-radio-antenna-has-an-inline-85mfd-capacitor-why.102193/
-
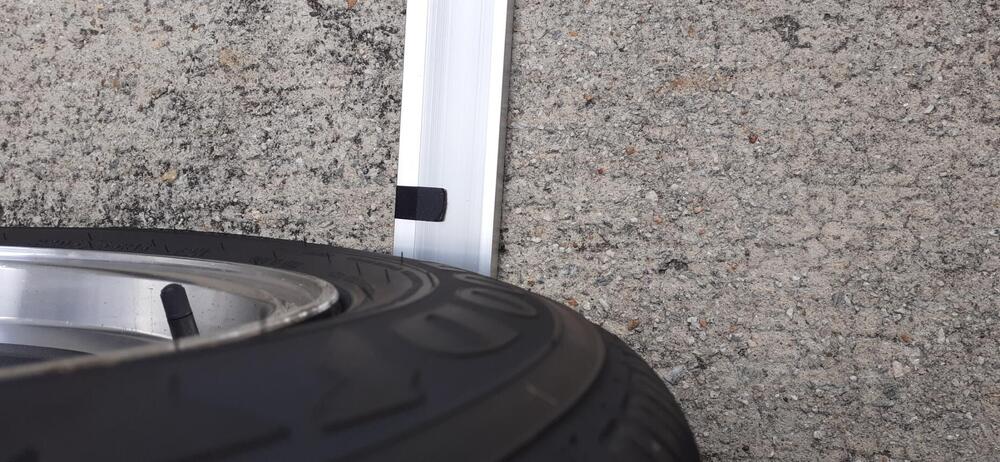
I tried to post from my phone, but apparently it didn't go through. I backed the car out of the garage. It was only about 15 feet, but with the step between the driveway and the garage, I think it was enough to get the car to settle. Fortunately I still had the tape marks on the straight edge from a while back. The tires are new, but the width shouldn't differ too much. I put the straight edge up against the tires. Yes, @Captain Obvious, I know that isn't the right spot, but it is consistent with my prior measurements. The new bushings made a significant difference. The straight edge isn't exactly in the same place relative to the car as before, but this still gives a good idea of the improvement.

-
I don't know if he'll get the original back using RockAuto/Cardone.
-
The 3rd owner of the car said he thought my car might have over 300K miles on it. It has either 250K miles or 350K miles on the chassis, and I wouldn't be shocked if those were the original bushings. I'll have the tires on soon, and I can check the toe again.
-
If you are on FB, here's a photo from an early 240Z booster they worked on: https://www.facebook.com/BoosterDewey/photos/a.1575990385761591/4967042226656373/
-
You might reach out to these guys: https://www.powerbrakebooster.com/ I have not used them, but I do recall seeing S30s on their Facebook feed.
-
With the end link nuts being stubborn, I had a couple of more opportunities to use the induction heater. On the first top nut, I got the end link hot enough that the bushing caught on fire. For the other end link, I thought it would be a good opportunity to shoot a demonstration video. If you're not familiar with the induction heater bolt removers, I have a positive impression so far.
-
I have to admit that I am reassembling without touching the spindle pins. I want to know if I corrected the toe with the new inner bushings.
-
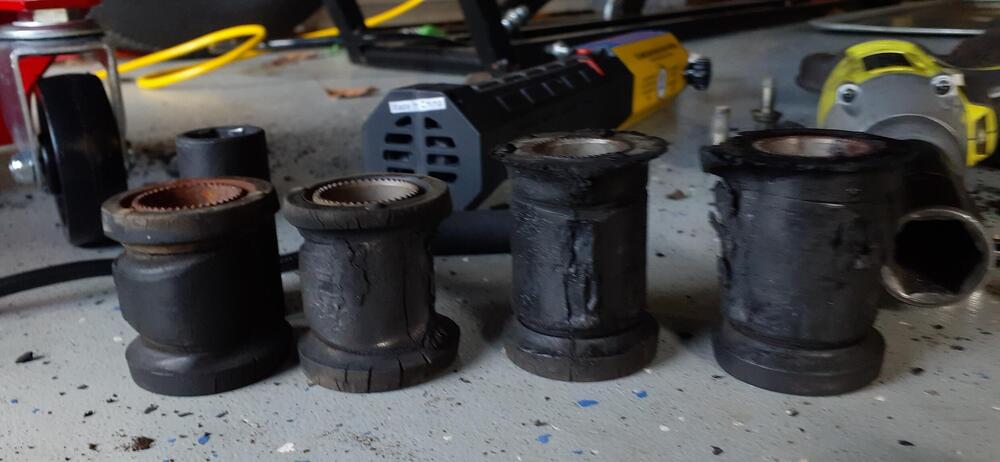
The inner bushings are off. They definitely show 48+ years of wear. @Captain Obvious, I can see how the distortion could lend itself to letting the toe change. I'll put the inner bushings together and check on the spindle pins. So far, aside from the one end link on the sway bar, everything has been cooperating. If the new poly bushings don't fix the toe problem, I'm going to try the eccentric bushings from MSA.
-
John, is it plastic or metal on the back side of the HEI? If it's metal, I would say go for broke and use conductive paste. I'm thinking the two holes in the unit for mounting may be the path to ground they want you to use. If it's plastic, use the silicone adhesive and bolt the unit securely to the heat sink. Then the heat sink should be bolted securely to the body. Check resistance between the mounting bolt of the HEI and the negative of the battery to make sure you have a good path to ground.
-
So far things are working out in the disassembly. I had one end link on the sway bar that didn't want to cooperate, and I was rounding the nut. I figured it was a great time to break out the induction heater. I heated up the end link a couple of times, getting it cherry red, put a smaller socket on the impact gun, and spun off the stubborn nut with ease. The rubber in the bushing was smoking a lot, and I wondered if it was going to ignite. On the other hand, the torch would have almost definitely ignited the bushing. I am happy with the induction heater so far and would suggest someone working on a bunch of rusty bolts should consider getting one.
-
Good to know. I also purchased a ball joint press. I could experiment with that, too.