Richie G
Supporting Member
-
Joined
-
Last visited
Everything posted by Richie G
-
@SteveJ thanks for confirming will get to checking. @Yarb I think your memory isn't all that bad lol. When I did some research on this site I did see some pictures of three wire door switches probably for the diagram and cars that Steve was mentioning just not mine.
-
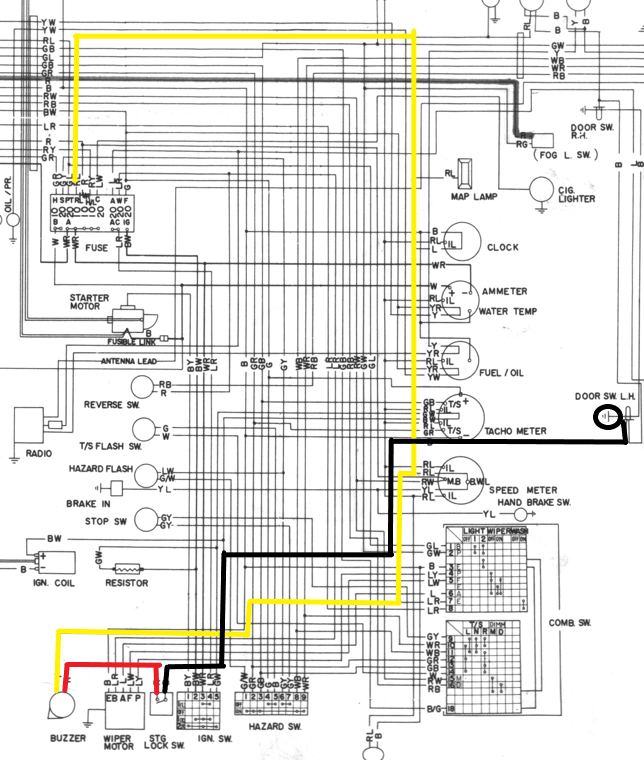
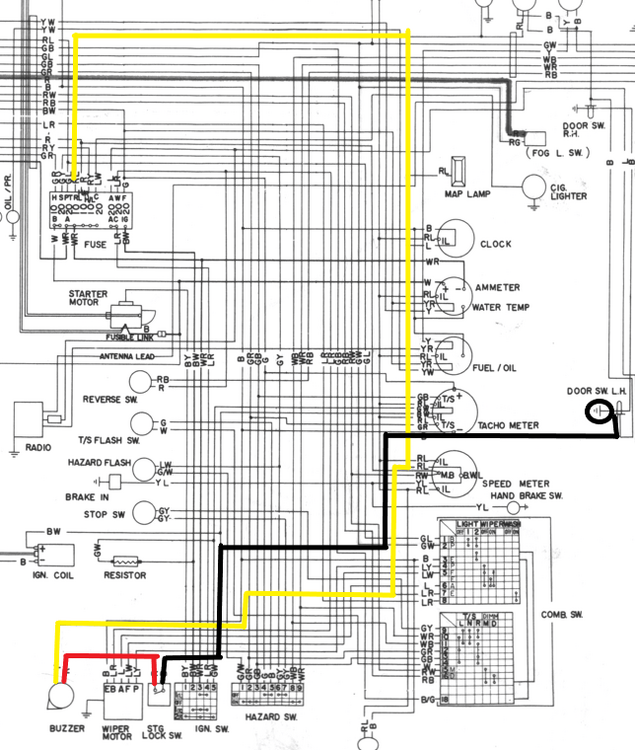
@SteveJ its a 71. I'm a bit of a newbie but to me the door switch has to be providing ground not power (similar to many other non Z cars). I would think this has to be true because my passenger side switch only has 1 wire (other dangling) and the switch body is grounded to the door frame by contact. That side works just fine so if the purpose of the door switch was to provide power up to the light how could it be getting power there? When the switch is depressed it must be making contact internally and then sending body ground up to the light right? If so, I would assume the other side works the same because again i only have two wires on that one and this time on driver side both are connected, 1 to light providing body ground (works fine) the other providing body ground to the buzzer via the key switch (no workie). I had a 71 wiring diagram and I think this confirms it if you take the viewpoint of the buzzer. the yellow line traces all the way back to fuse panel (ties in a couple of places to various other colors) and the red line via the key switch terms at the door switch which would be the grounding to enable the door buzzer right? I'll try to pull the door switch later and see if one of the wires is bad or not all the way connected or something. run some continuity tests if i can. I'm going through all this trouble to eventually just disable it anyway but I like to know how things work and at least have the option for me or the next guy.
-
here's a quick follow up. the passenger side door switch is two wire but one hangs freely which matches the wiring diagram if the body is self grounding. both door switches work the room light just fine. i can also depress the room light switch and turn it on just fine when the doors are closed. so to me, both door switches and the room light must be working fine and maybe the one black wire from lock switch to driver side door switch must be the issue some how.
-
@Yarb took a look under there and it is a 2 wire switch that i have. both look connected to black wires. from looking at the wiring diagram i have, the buzzer only has 2 wires red & yellow which i see correctly connected on my car I also see the red connected to the lock switch but can't tell where the black is going from lock switch at the moment. i presume correctly connected to one of door switch black wires but not sure until i really get under there I do see on the wiring diagram it should go to door switch and door switch should go to the passenger door switch then passenger door switch up to room light. Those grounds are they supposed to be showing a 3rd / 2nd wire respectively or are the new two pin type switches self grounding against the body? Maybe my driver side has the two black wires reversed?
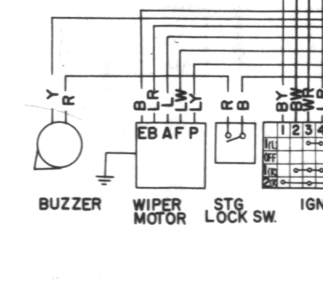
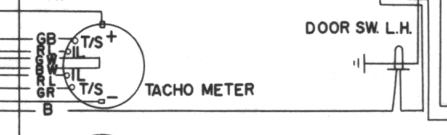
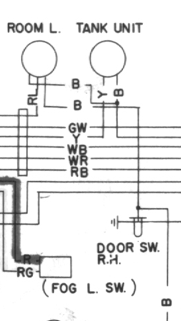
-
@Yarb I'm guessing my door pin is a newer 2 wire one. I'm betting the PO got these from one of the popular sites and probably the wire going to the buzzer wiring is hanging around back there. If so, is there a way to tie that buzzer wire into one of these if indeed it is a 2 pin switch?
-
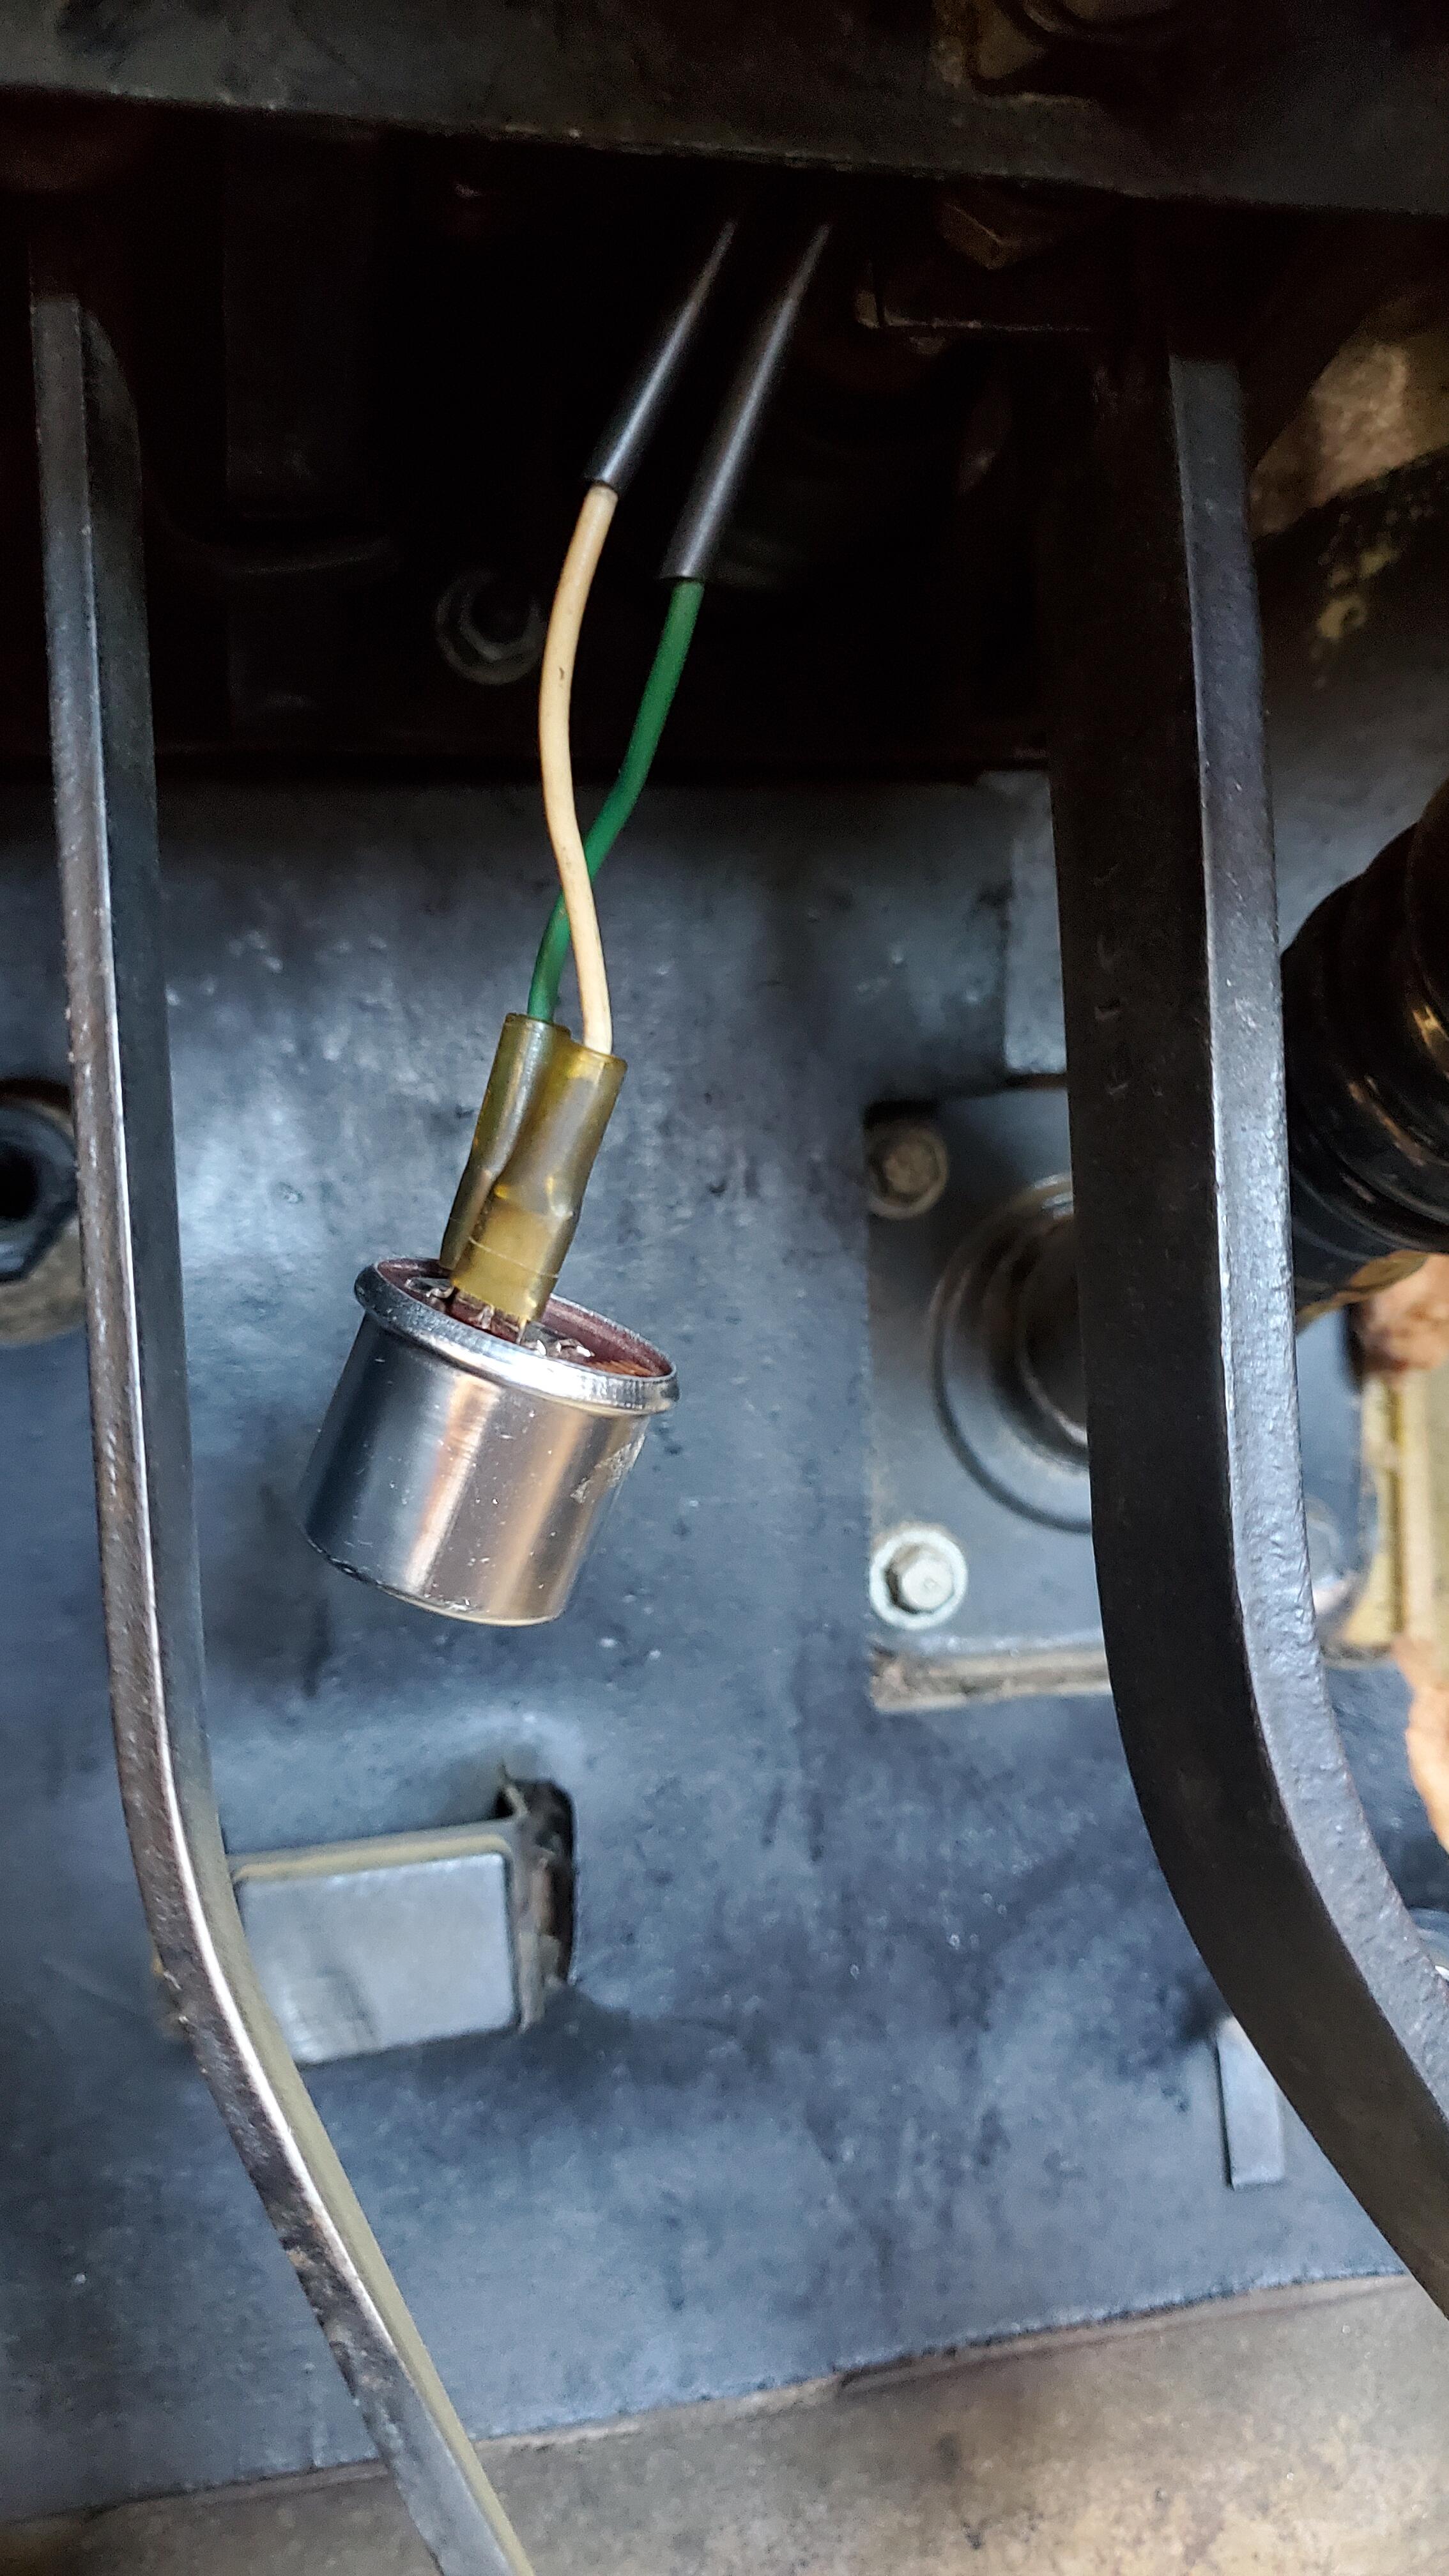
@Yarb TY for confirming its the flasher. Can you help me with a suggestion on the wiring issue I have? Buzzer works fine but it does not shut off when the door lighgt sensor is pushed in (door closed). that same sensor on the driver side will shut the dome light so i know at least he has that right. But before i tear stuff apart just looking for advice what to look for and how it would be wired in.
-
Thanks @kickstand80 if anyone wants to go through the trouble of rekeying their car this guy has a bunch of sets that are for old Cedric and similar non Z cars that can be bought. He's good on dropping prices too, just make an offer. he even polished the keys for me before he sent them. https://www.ebay.com/sch/i.html?_dkr=1&iconV2Request=true&_blrs=recall_filtering&_ssn=auto-parts-sale&store_cat=0&store_name=ukstar76&_oac=1&_nkw=lock He does have some z stuff if needed as well.
-
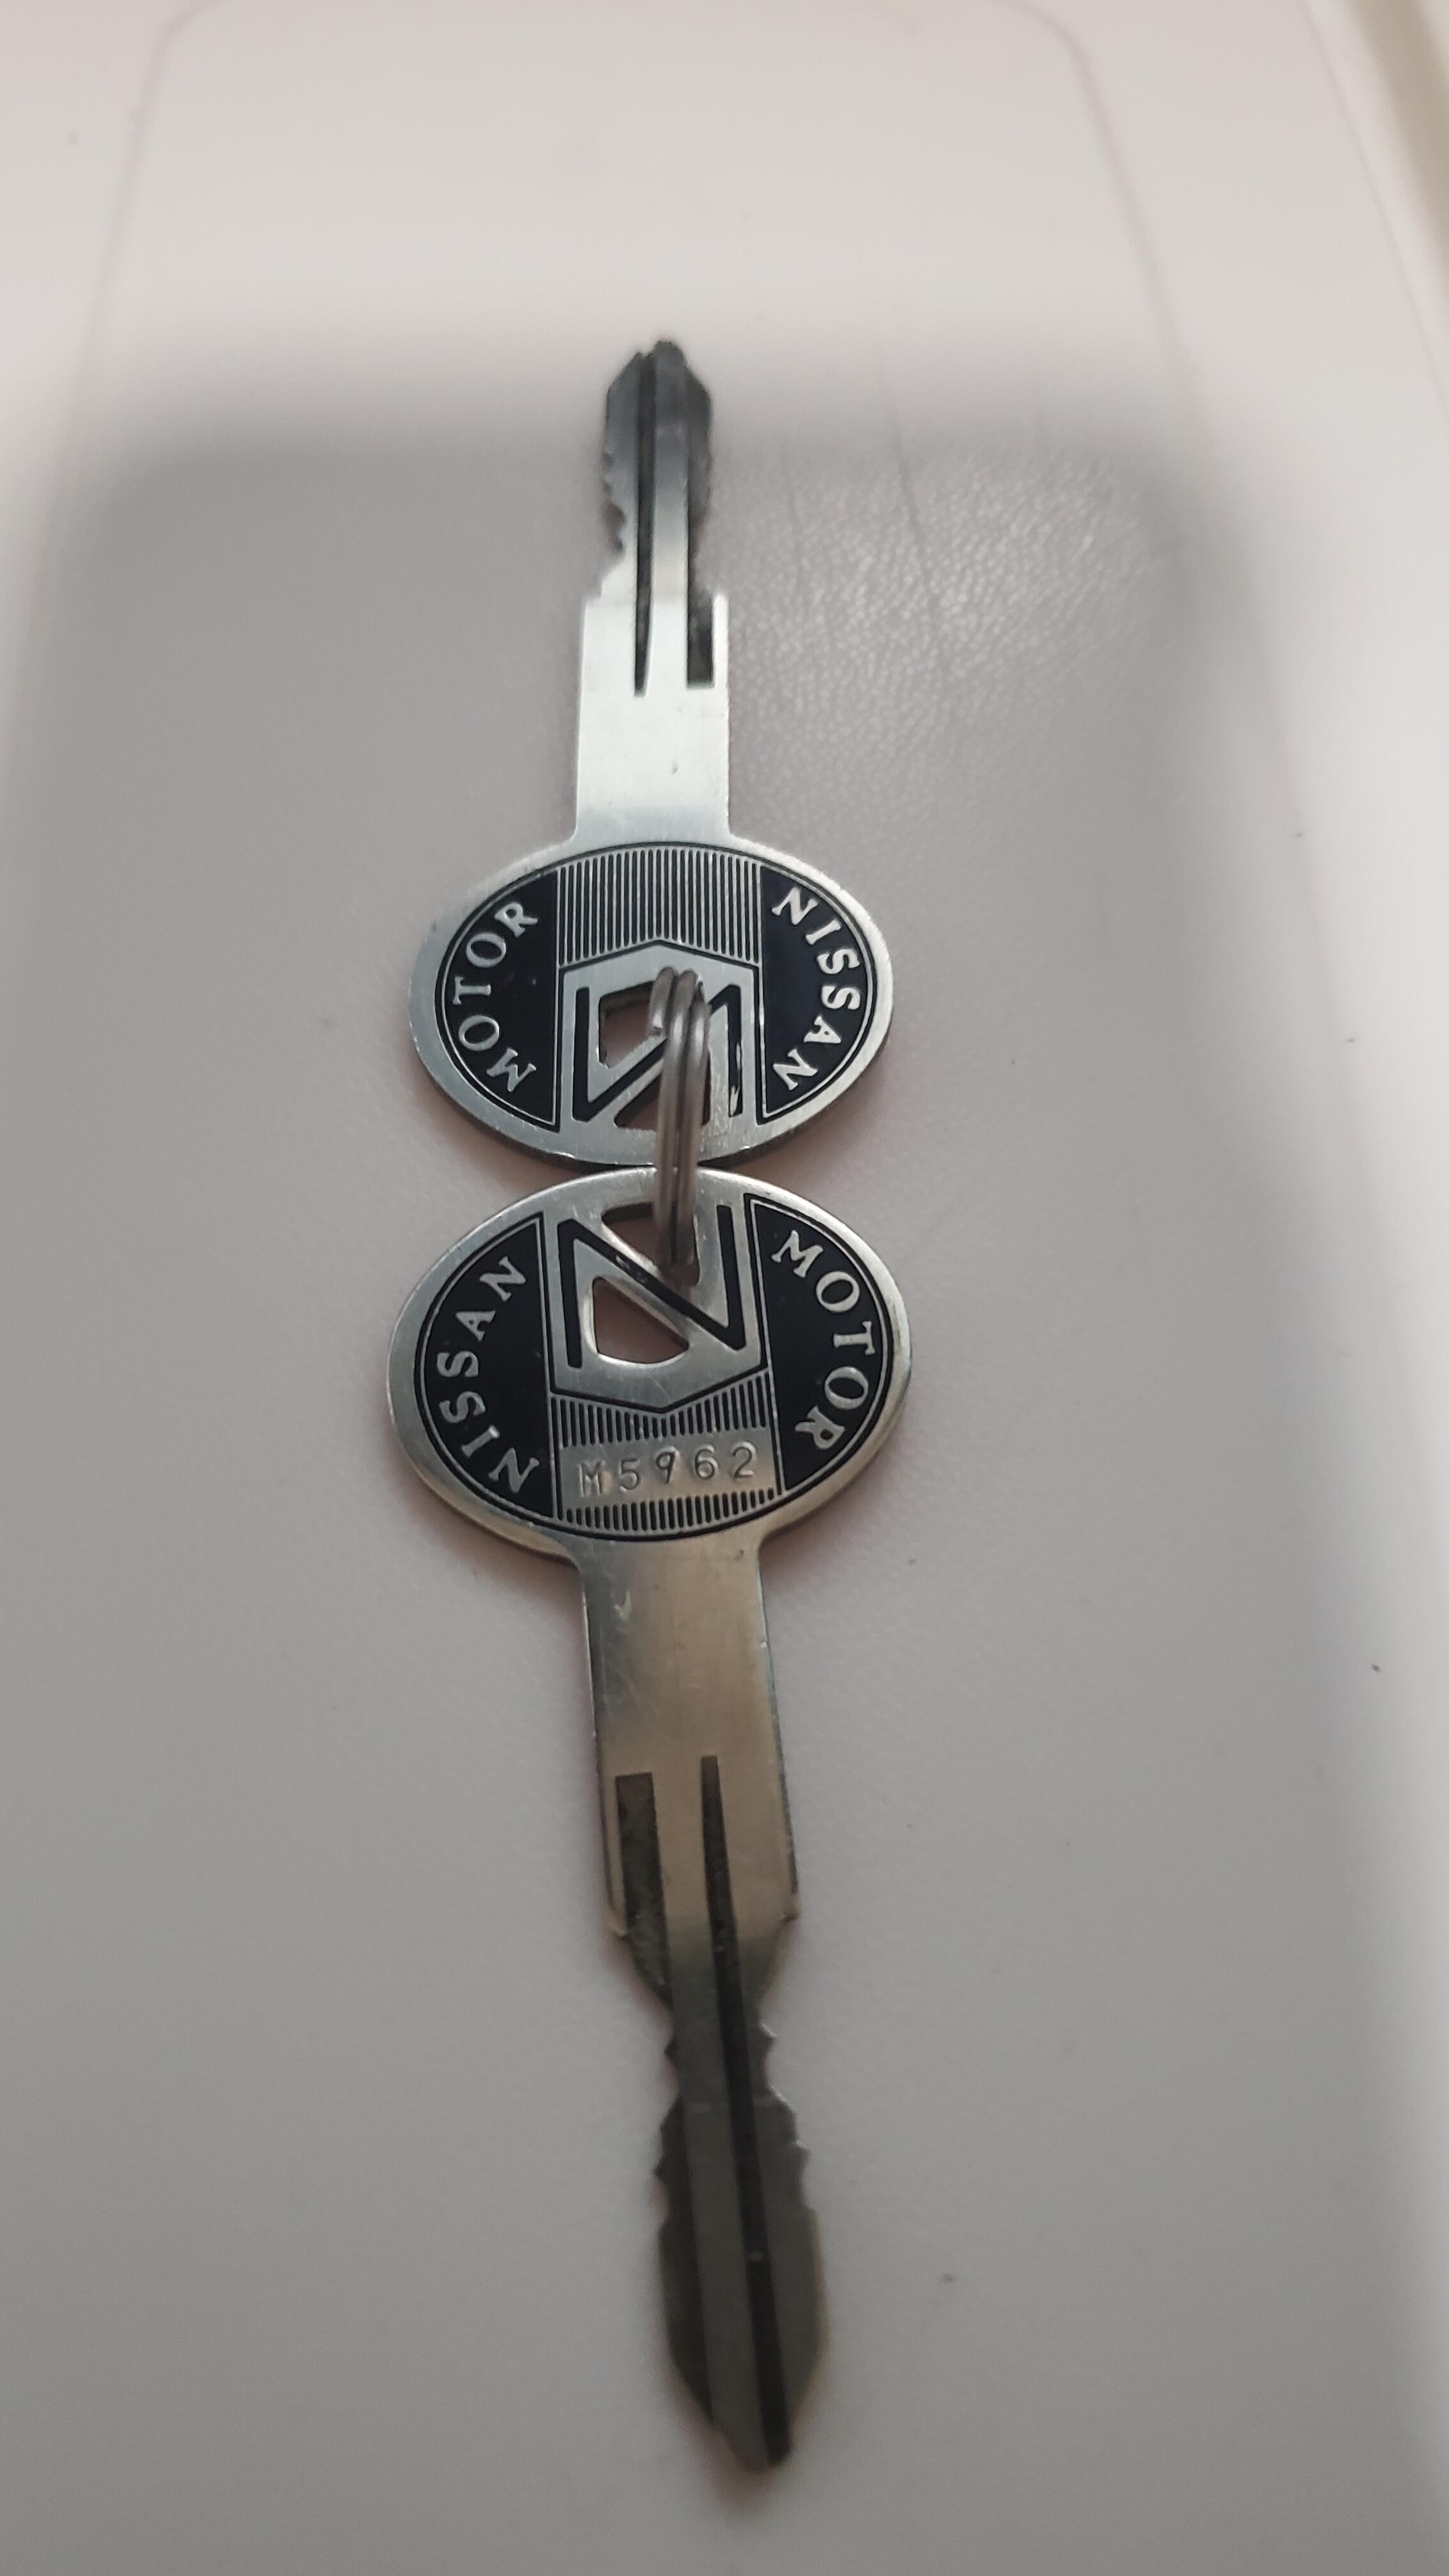
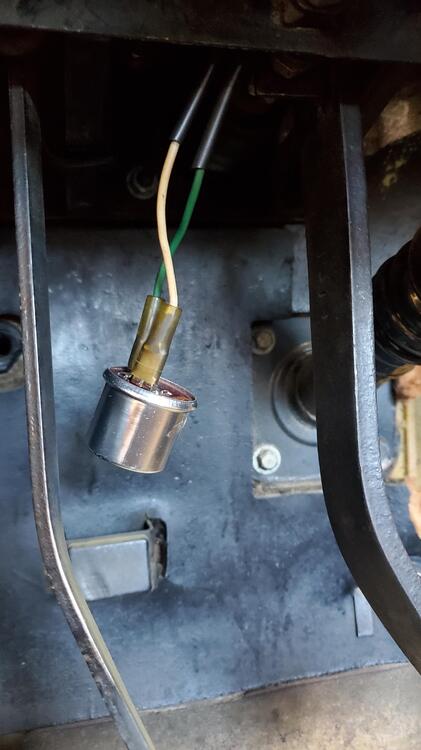
Ok so here's the latest. Reinstalled the ignition and it starts the car! yeah, first goal achieved. Oh and while I'm at it, here's a little backstory. This all started because the previous owner had a different key for every lock. I felt like a janitor walking around when i had them with me 🙂 So my goal was to get one of the "cool keys" which just so happen to match the 6/1/71 manual I have for my 6/71 car. It was a B#$%^ to find (not even repro anymore) and getting to work on all the replacements. But, I found a guy in Kuwait of all places that had not only a perfect NOS pair associated to a NOS hatch lock for like $60. I went about re-keying everything and now both doors, glove, ignition, and hatch all work on these NOS keys Thats the good news. A little more good news is that the dreaded buzzer works now so my switch replacement worked too! The bad news is that the driver door doesnt shut it off when closed. Closing the door will shut the dome light as it should but the key just keeps on buzzing. Any ideas where to look for that wiring miss? Oh and after poking around under there, any idea what this is? Certainly new / added by previous owner but not sure what it is. I thought maybe it was the flasher relay. looking at a few other posts this is probably meant to be that as it has the same color wires as below. The PO could have at least zip tied it up to something lol.

-
While I wait for the paint to dry on this I had noticed a couple of screw holes on the sides of the ignition and forgot to ask what those were for. I noticed on both of my ignitions and older and an earlier one neither of them have any screws in there but I did happen to notice on eBay one that had a pair of screws sitting in it what are those for?
-
Thanks. I assume then no matter what position the key is in if the driver door is open it will start The Buzz even a running car parked with the door open is going to sound the buzzer? You would think the fact that the car was running would be an alert enough without needing the buzzer to tell you you left the key in the car after all of this I'm sure I will unplug the wires under the dash at some point like everyone else
-
got it apart not so bad. i had another ignition and pulled the switch from that one to replace this one. will test it out in a few days, thanks @kickstand80 i ran an ohm meter on the bench and do see 0L when no key is present but some odd results when the key is in various positions. how exactly does this work, key in the lock and the door open? any position in the lock and the door open?
-
I was thinking that but worried about compromising the cylinder underneath. Hoping not to mess that up. I assume cap comes off by prying the two silver tabs out? Very gently i guess lol. I'm going to practice on an old one first.
-
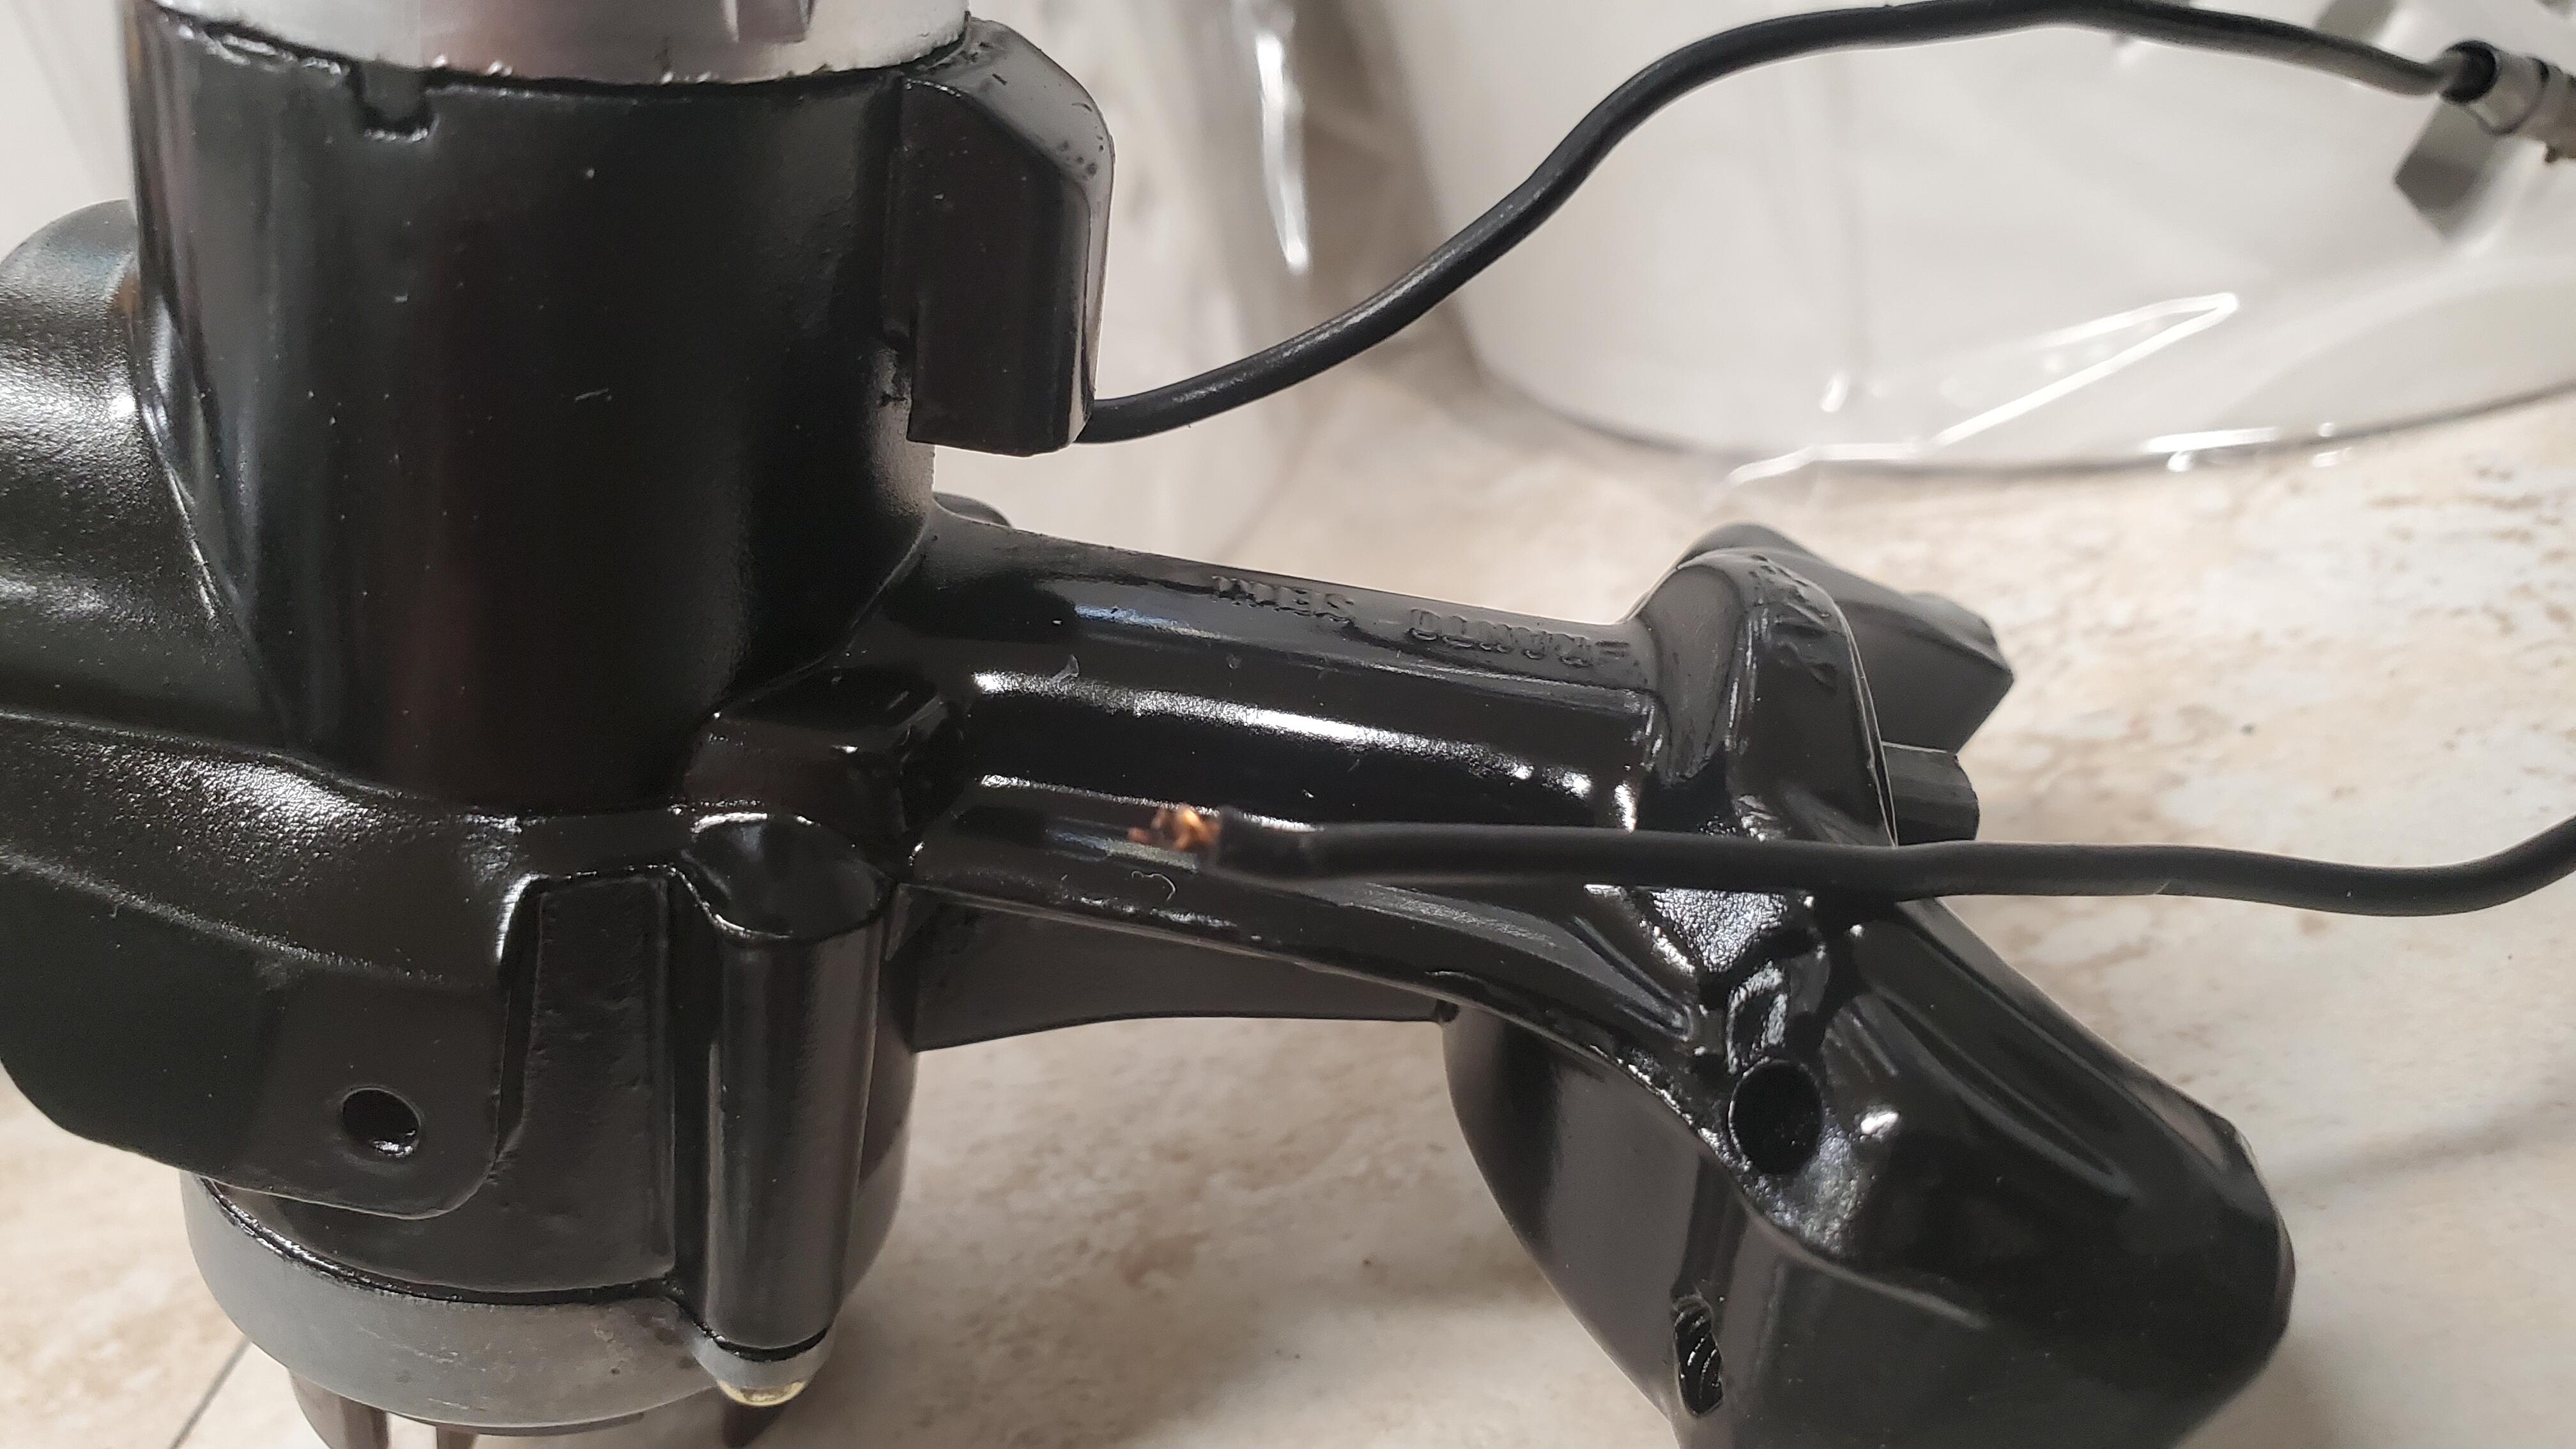
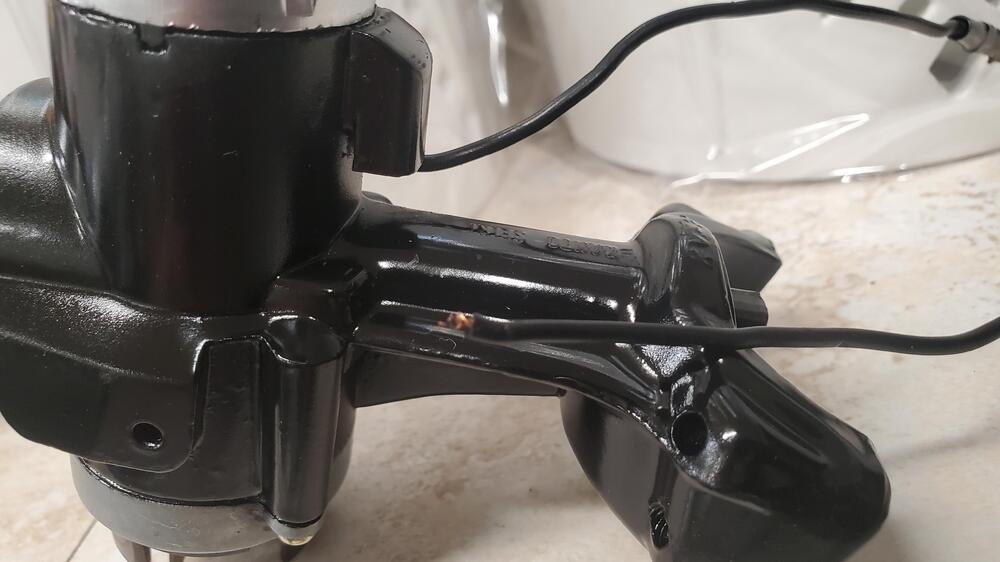
One of the wires coming out of the ignition switch just gave way and my luck it broke inside the little housing. Is that housing removable does anyone know? It didn't look like it but I diodn't really want to get a screw driver under there and go at it too hard. Any suggestions on how to repair this? I've seen some other ignitions have the wires exposed but of course mine isn't that lucky 😞
-
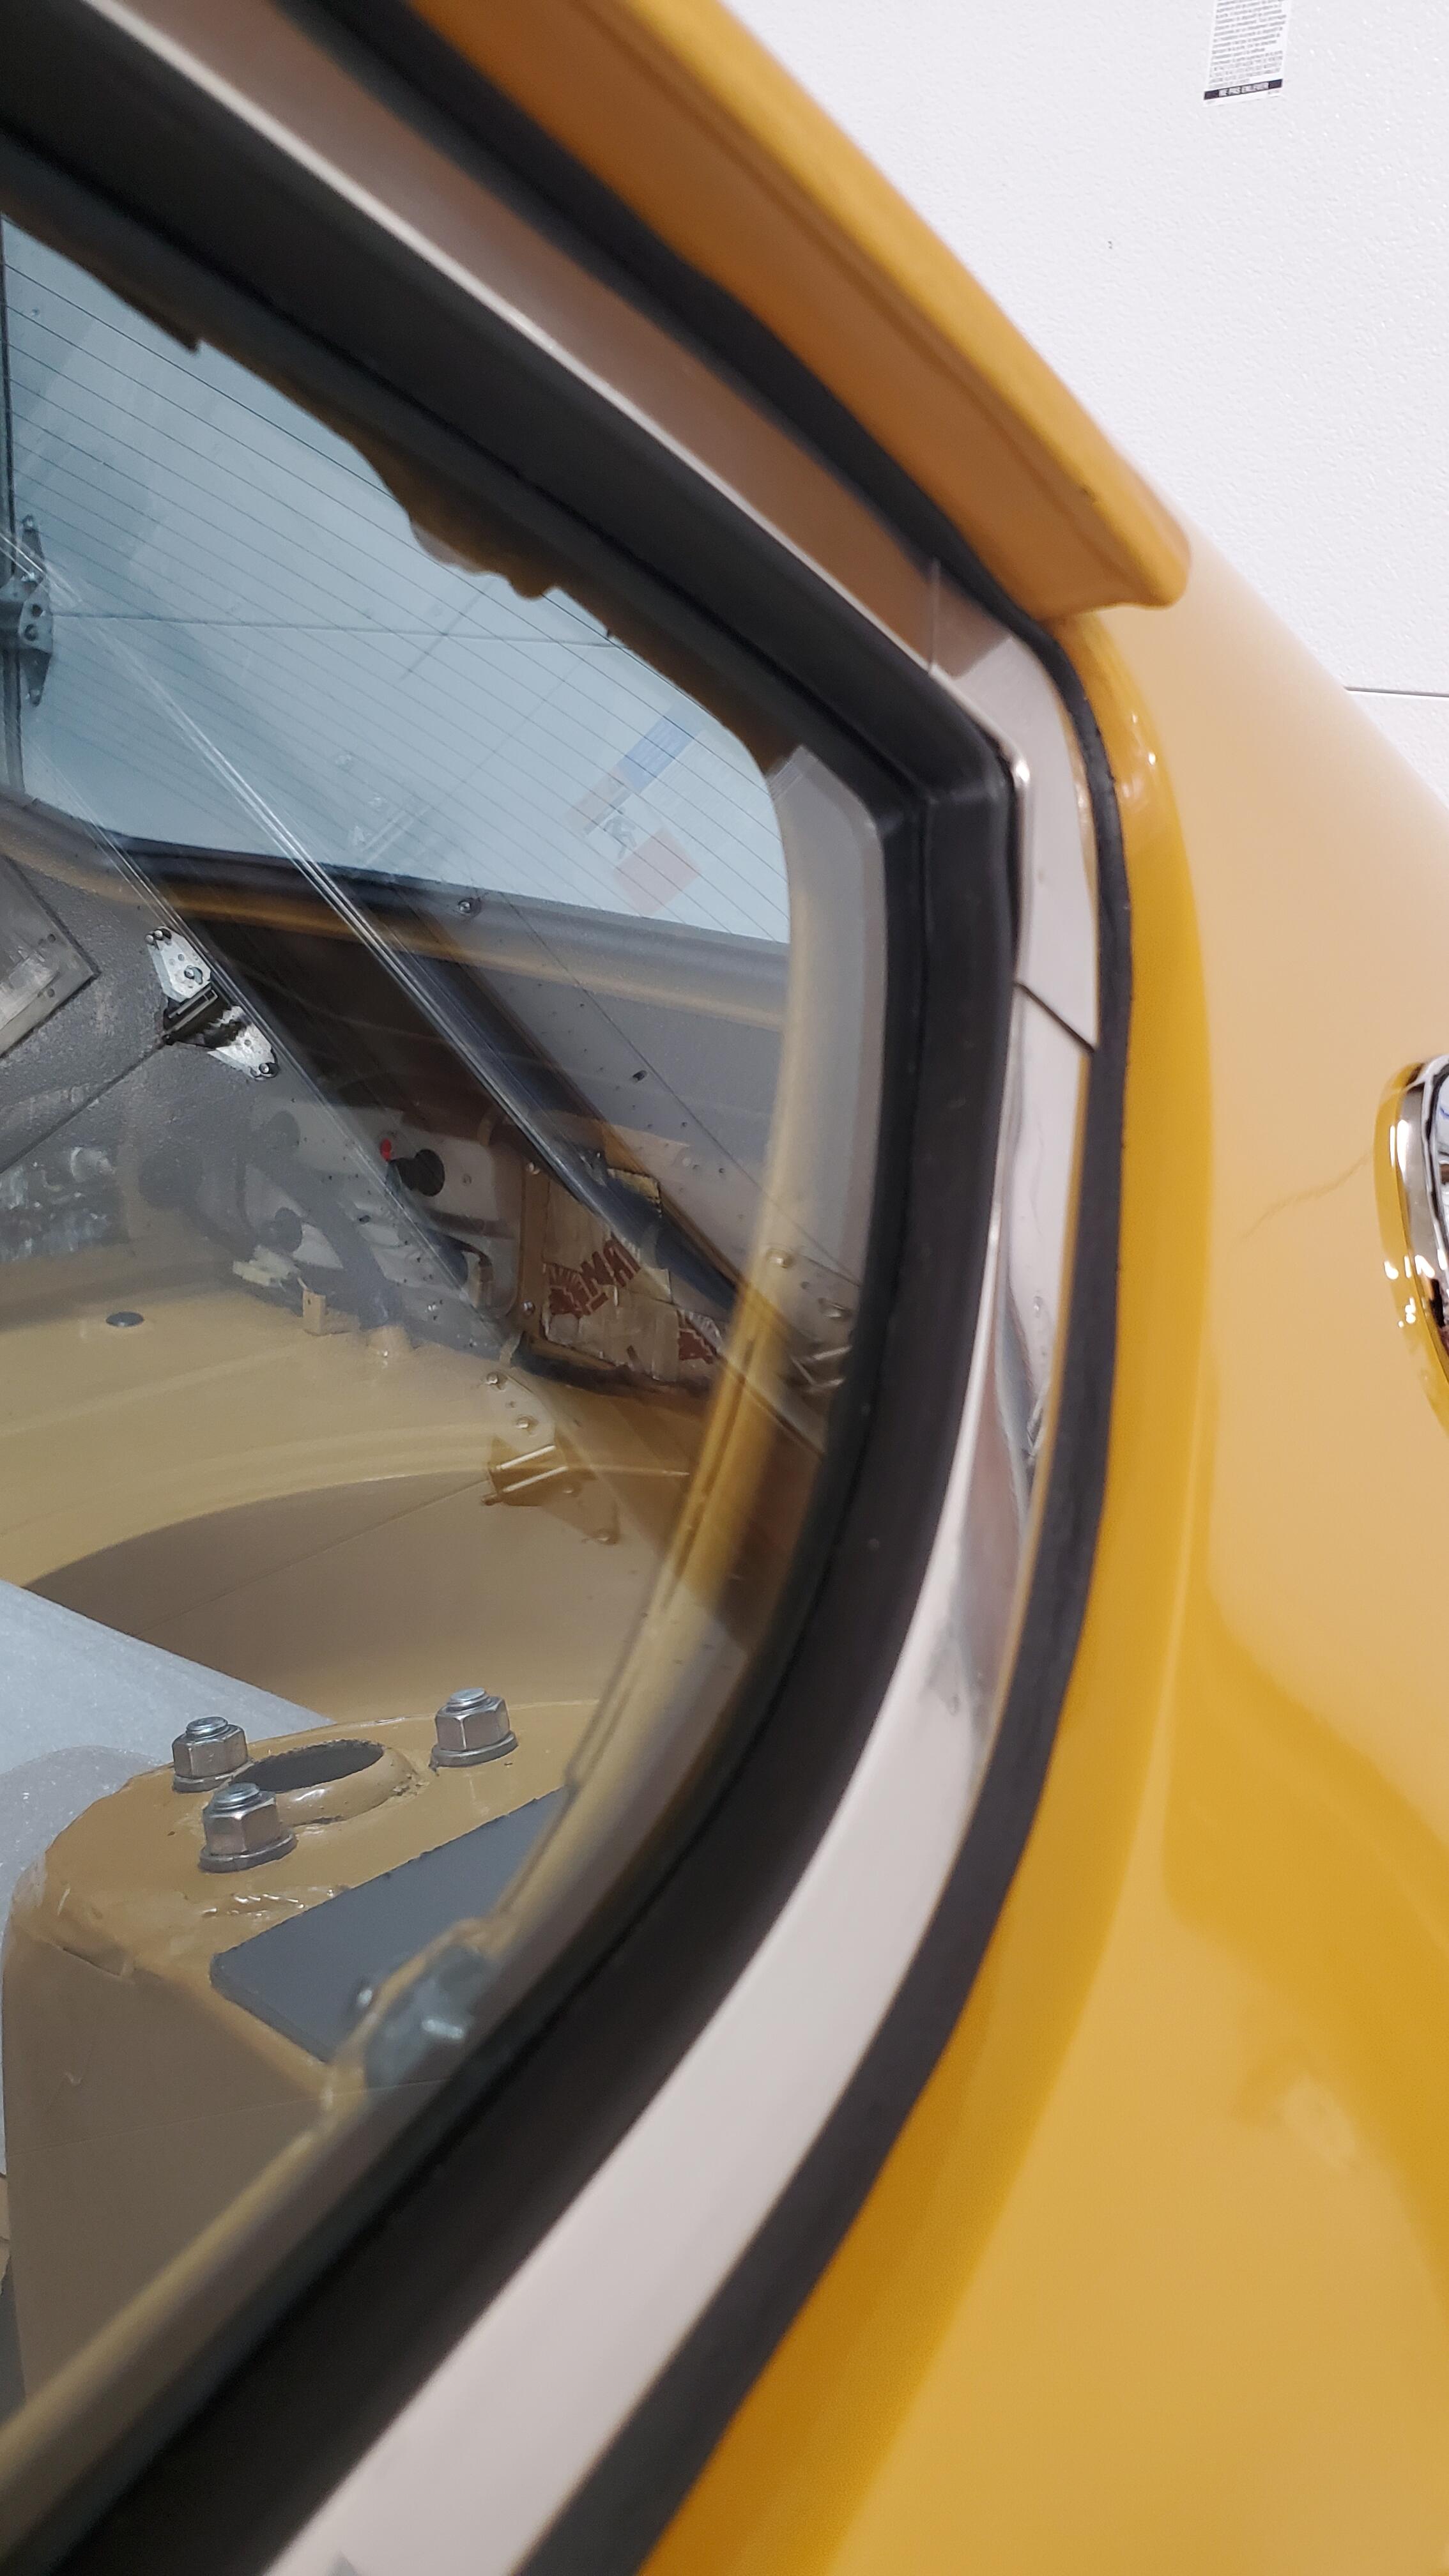
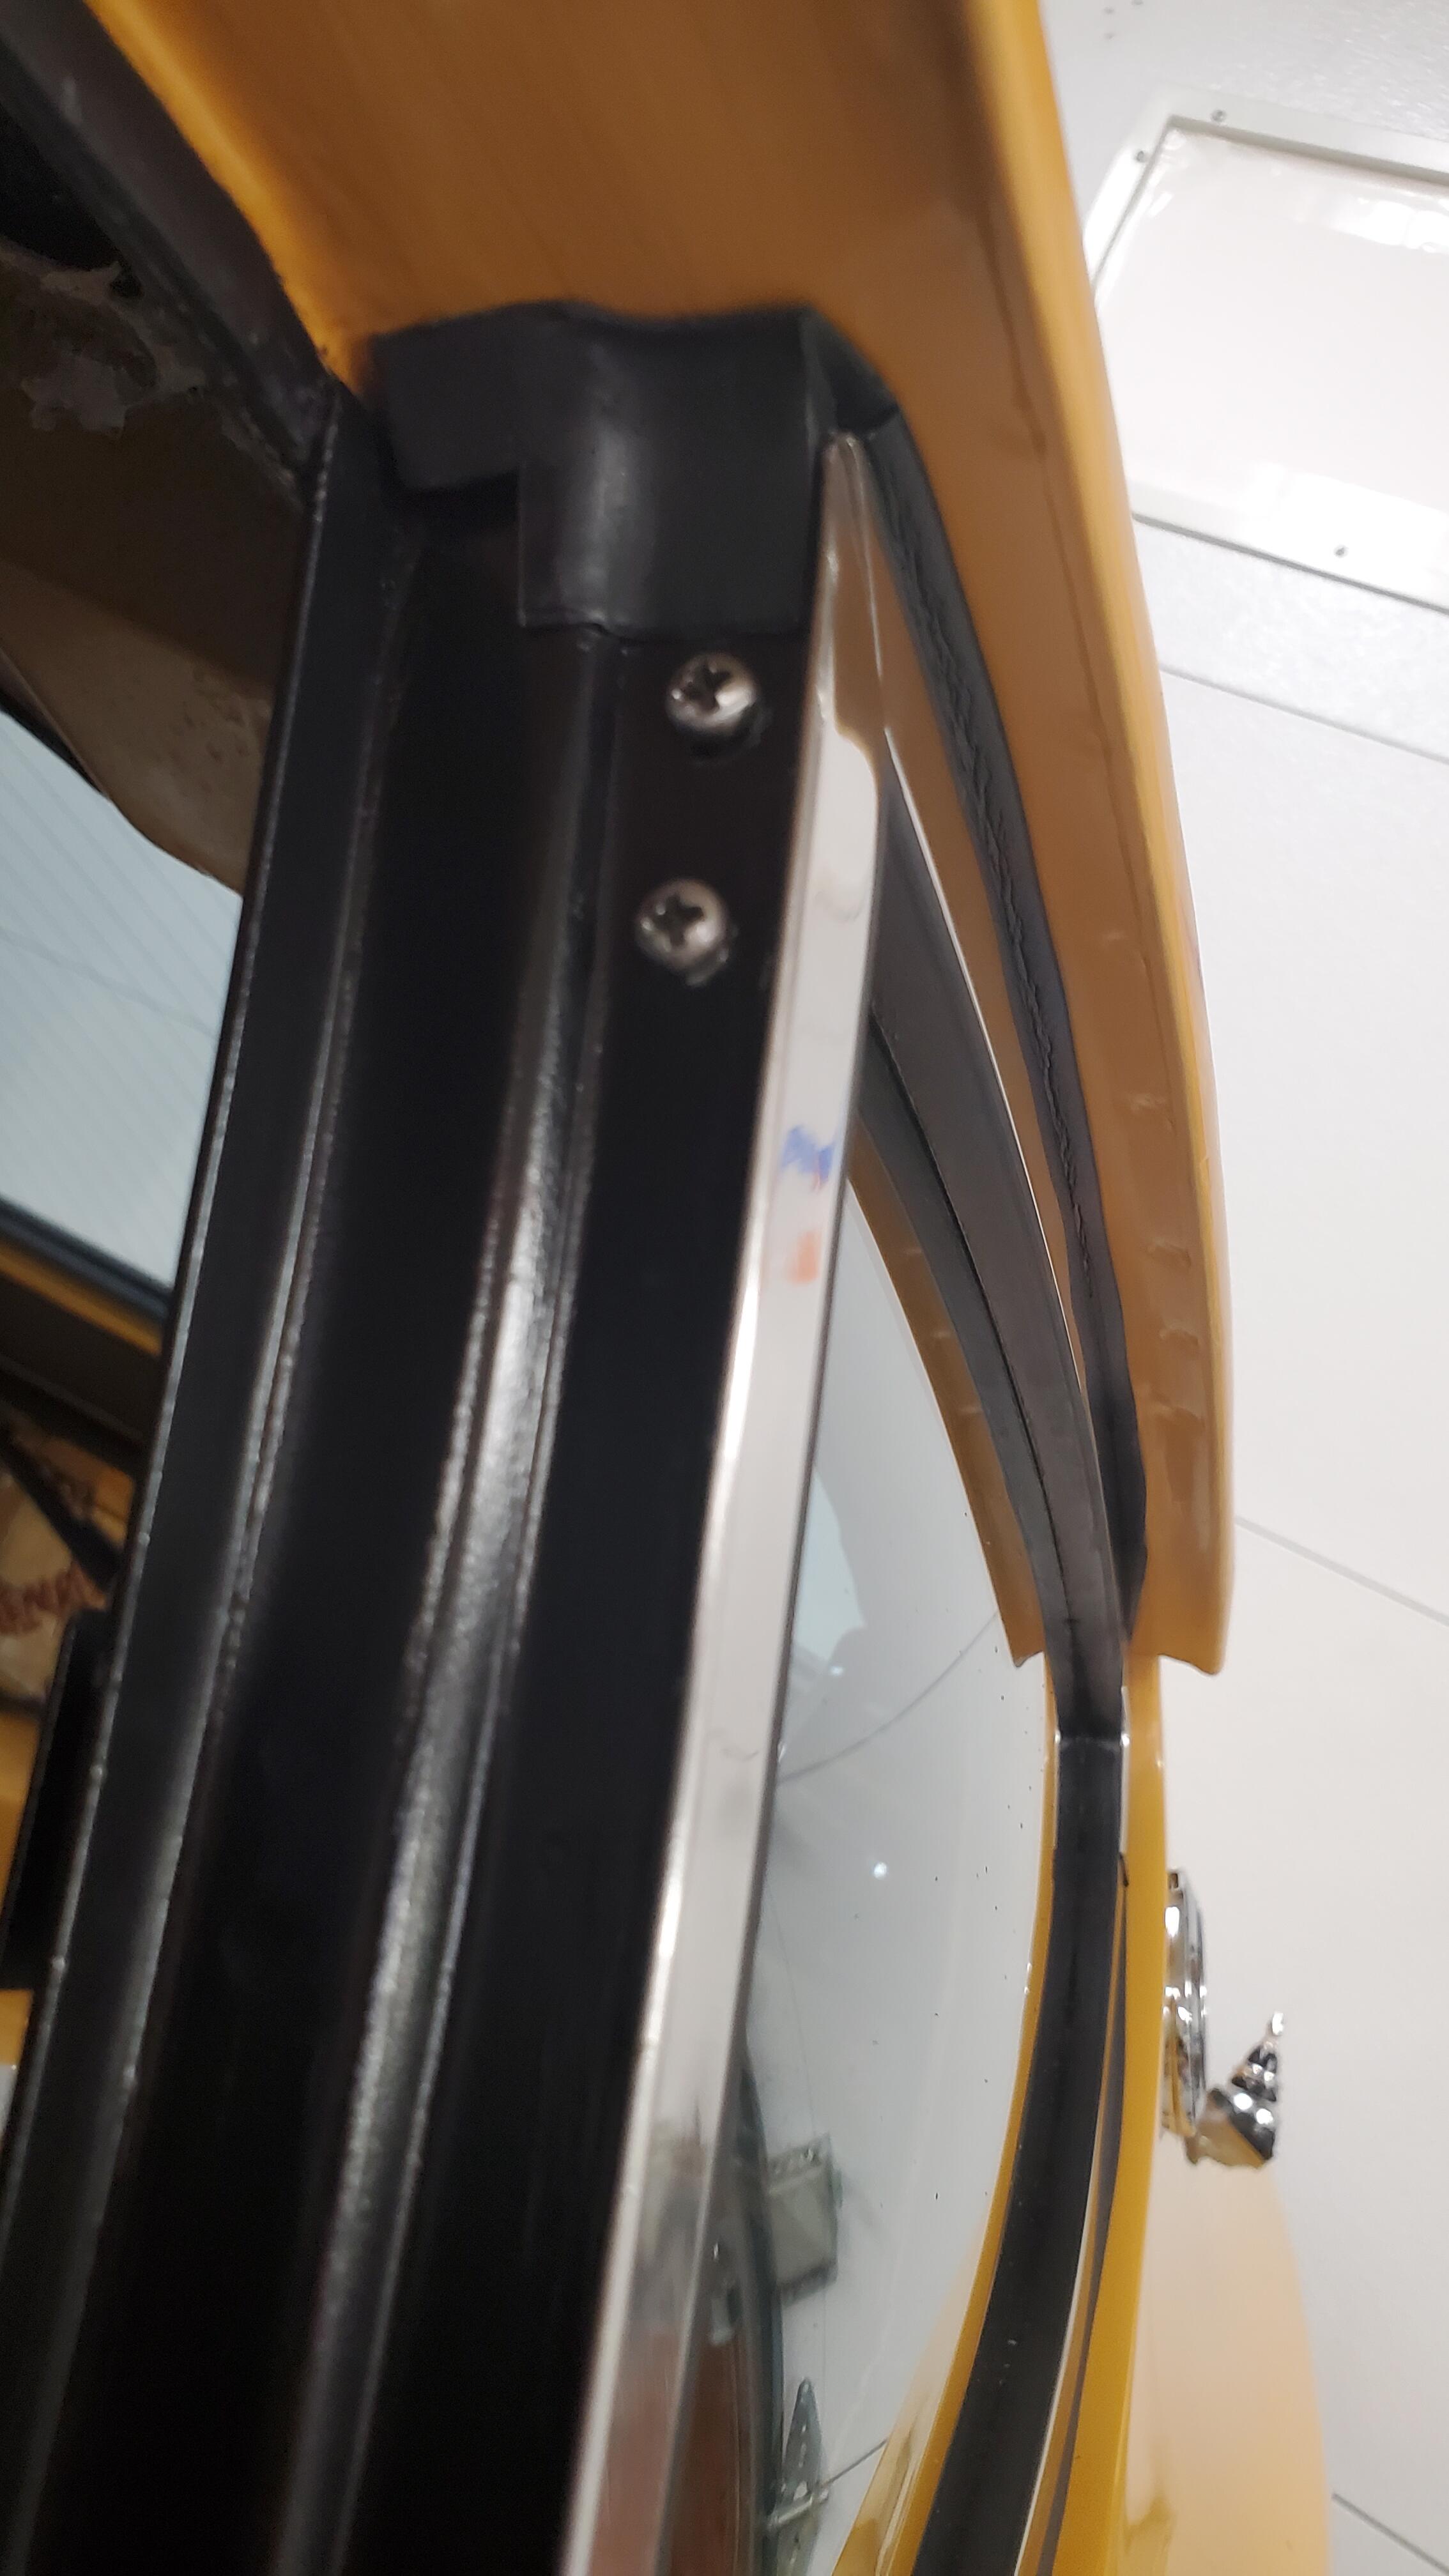
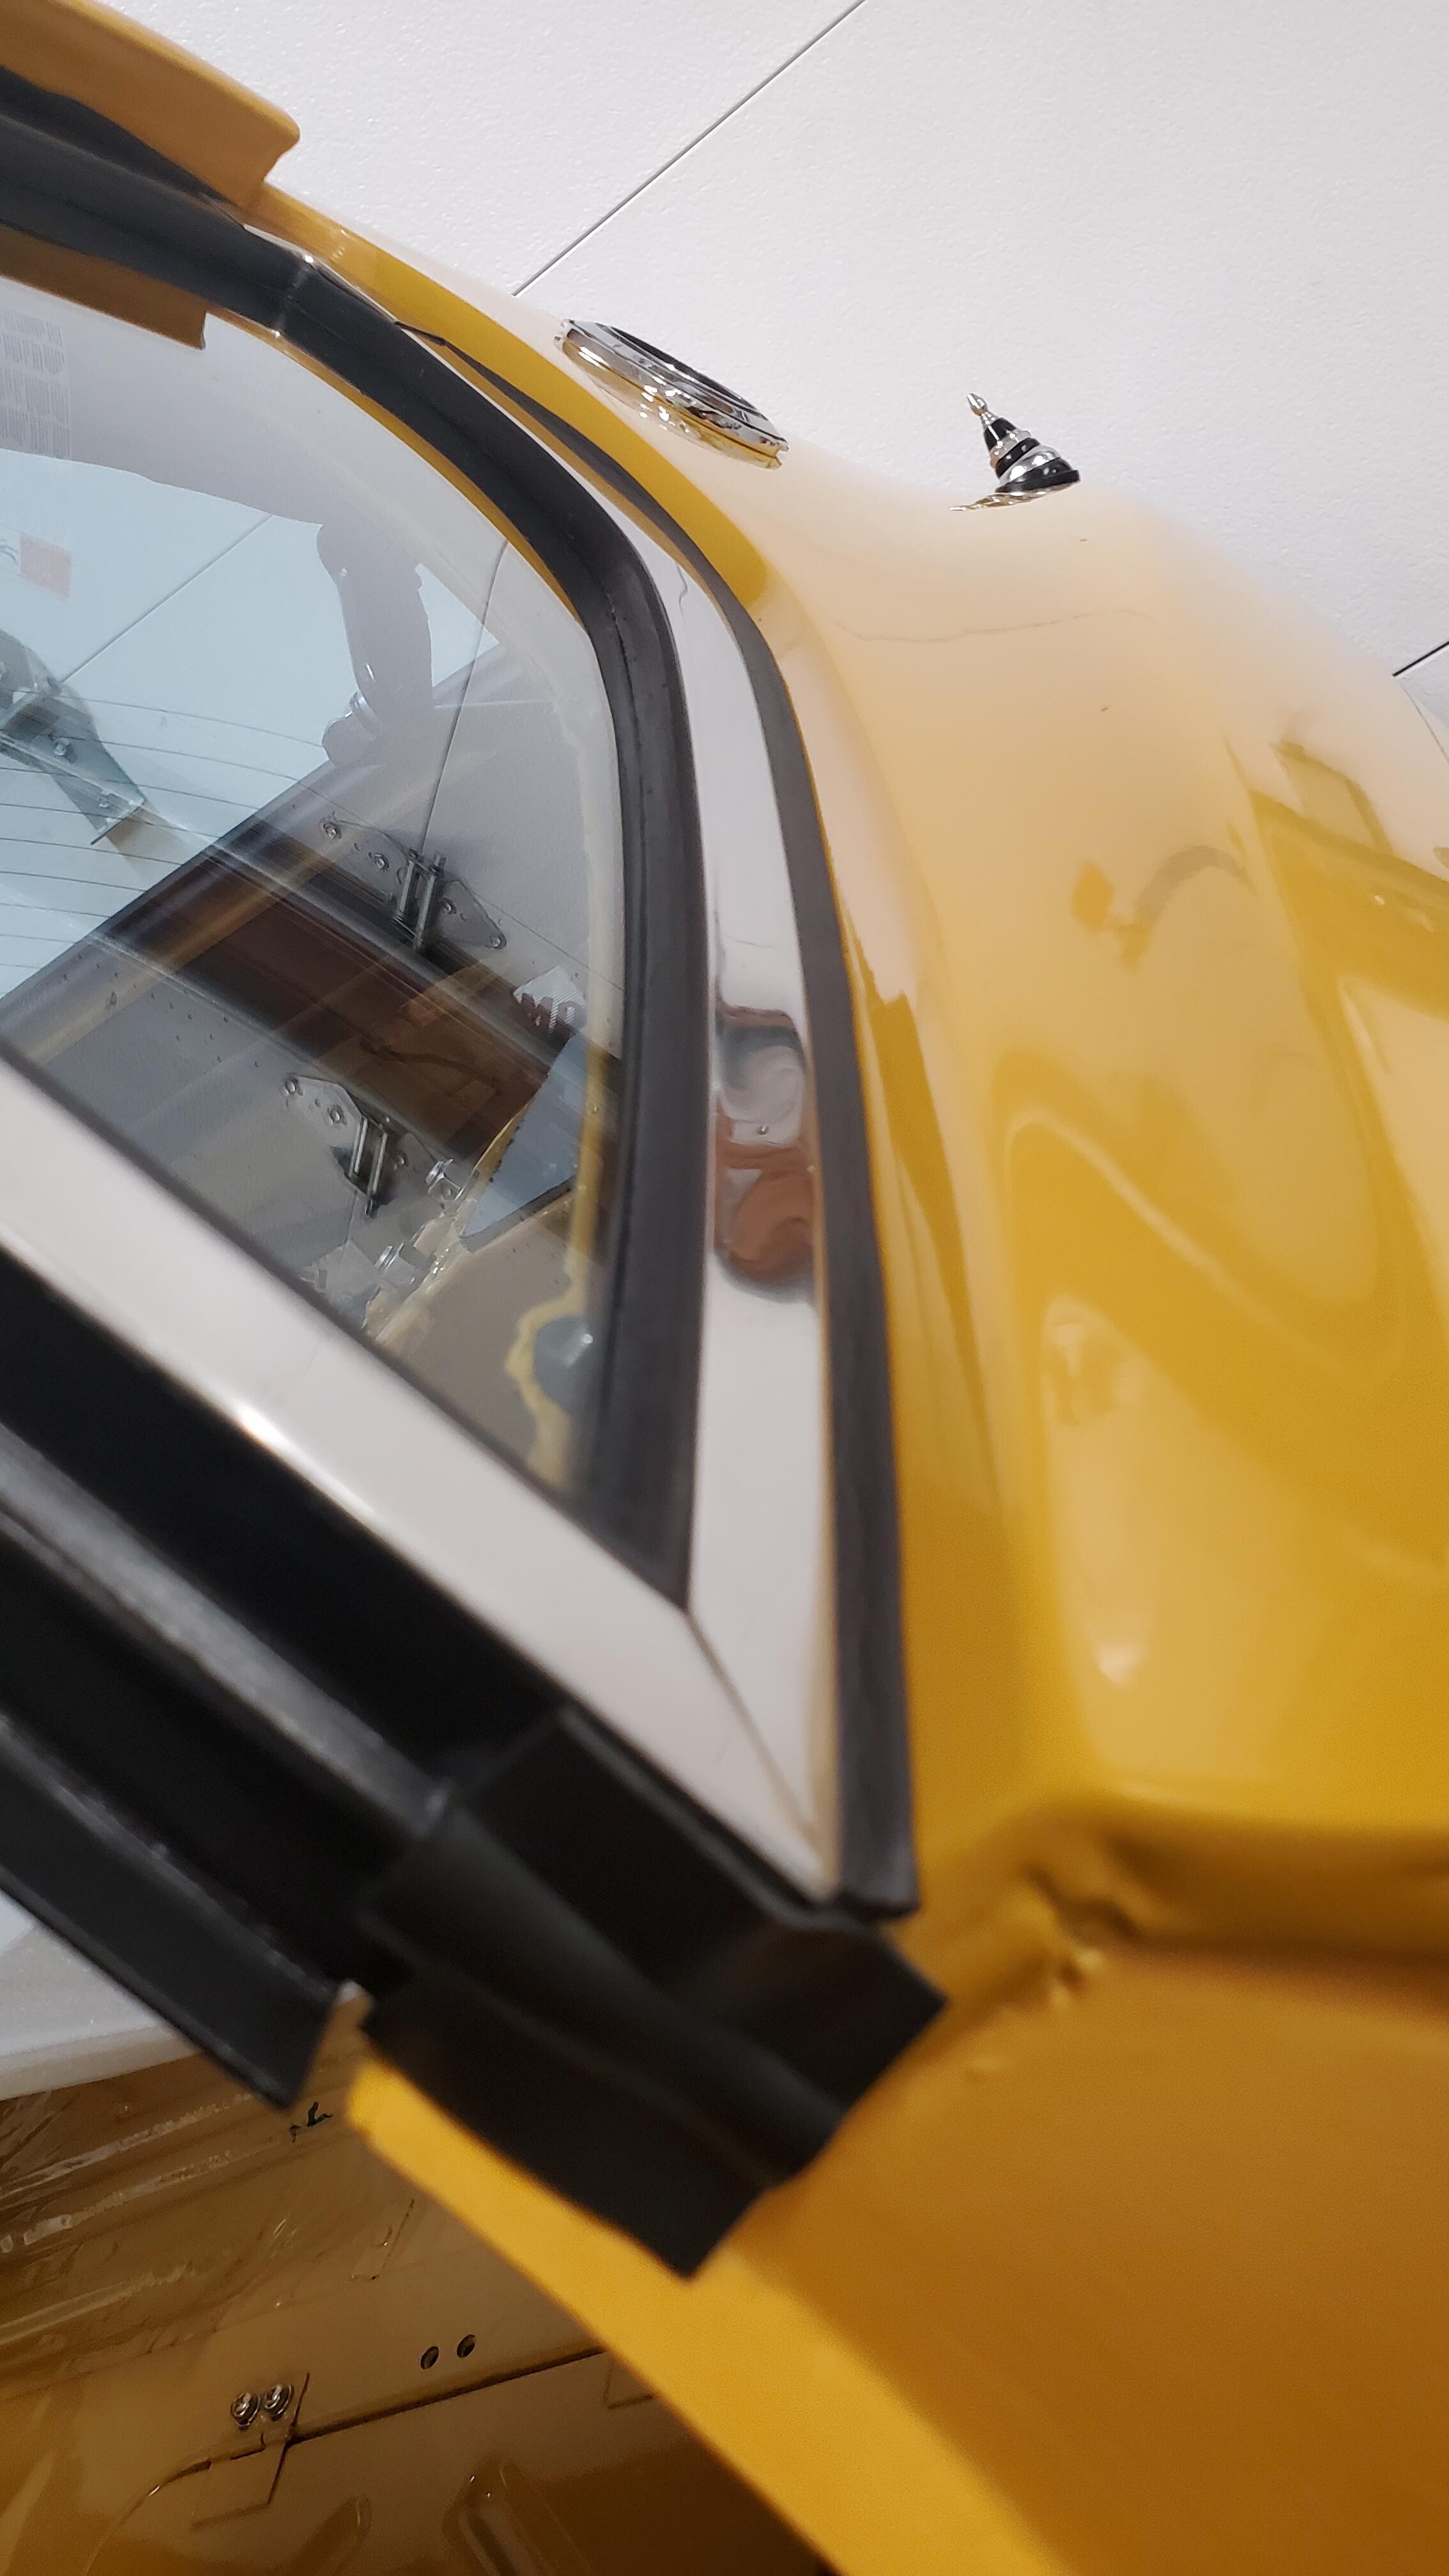
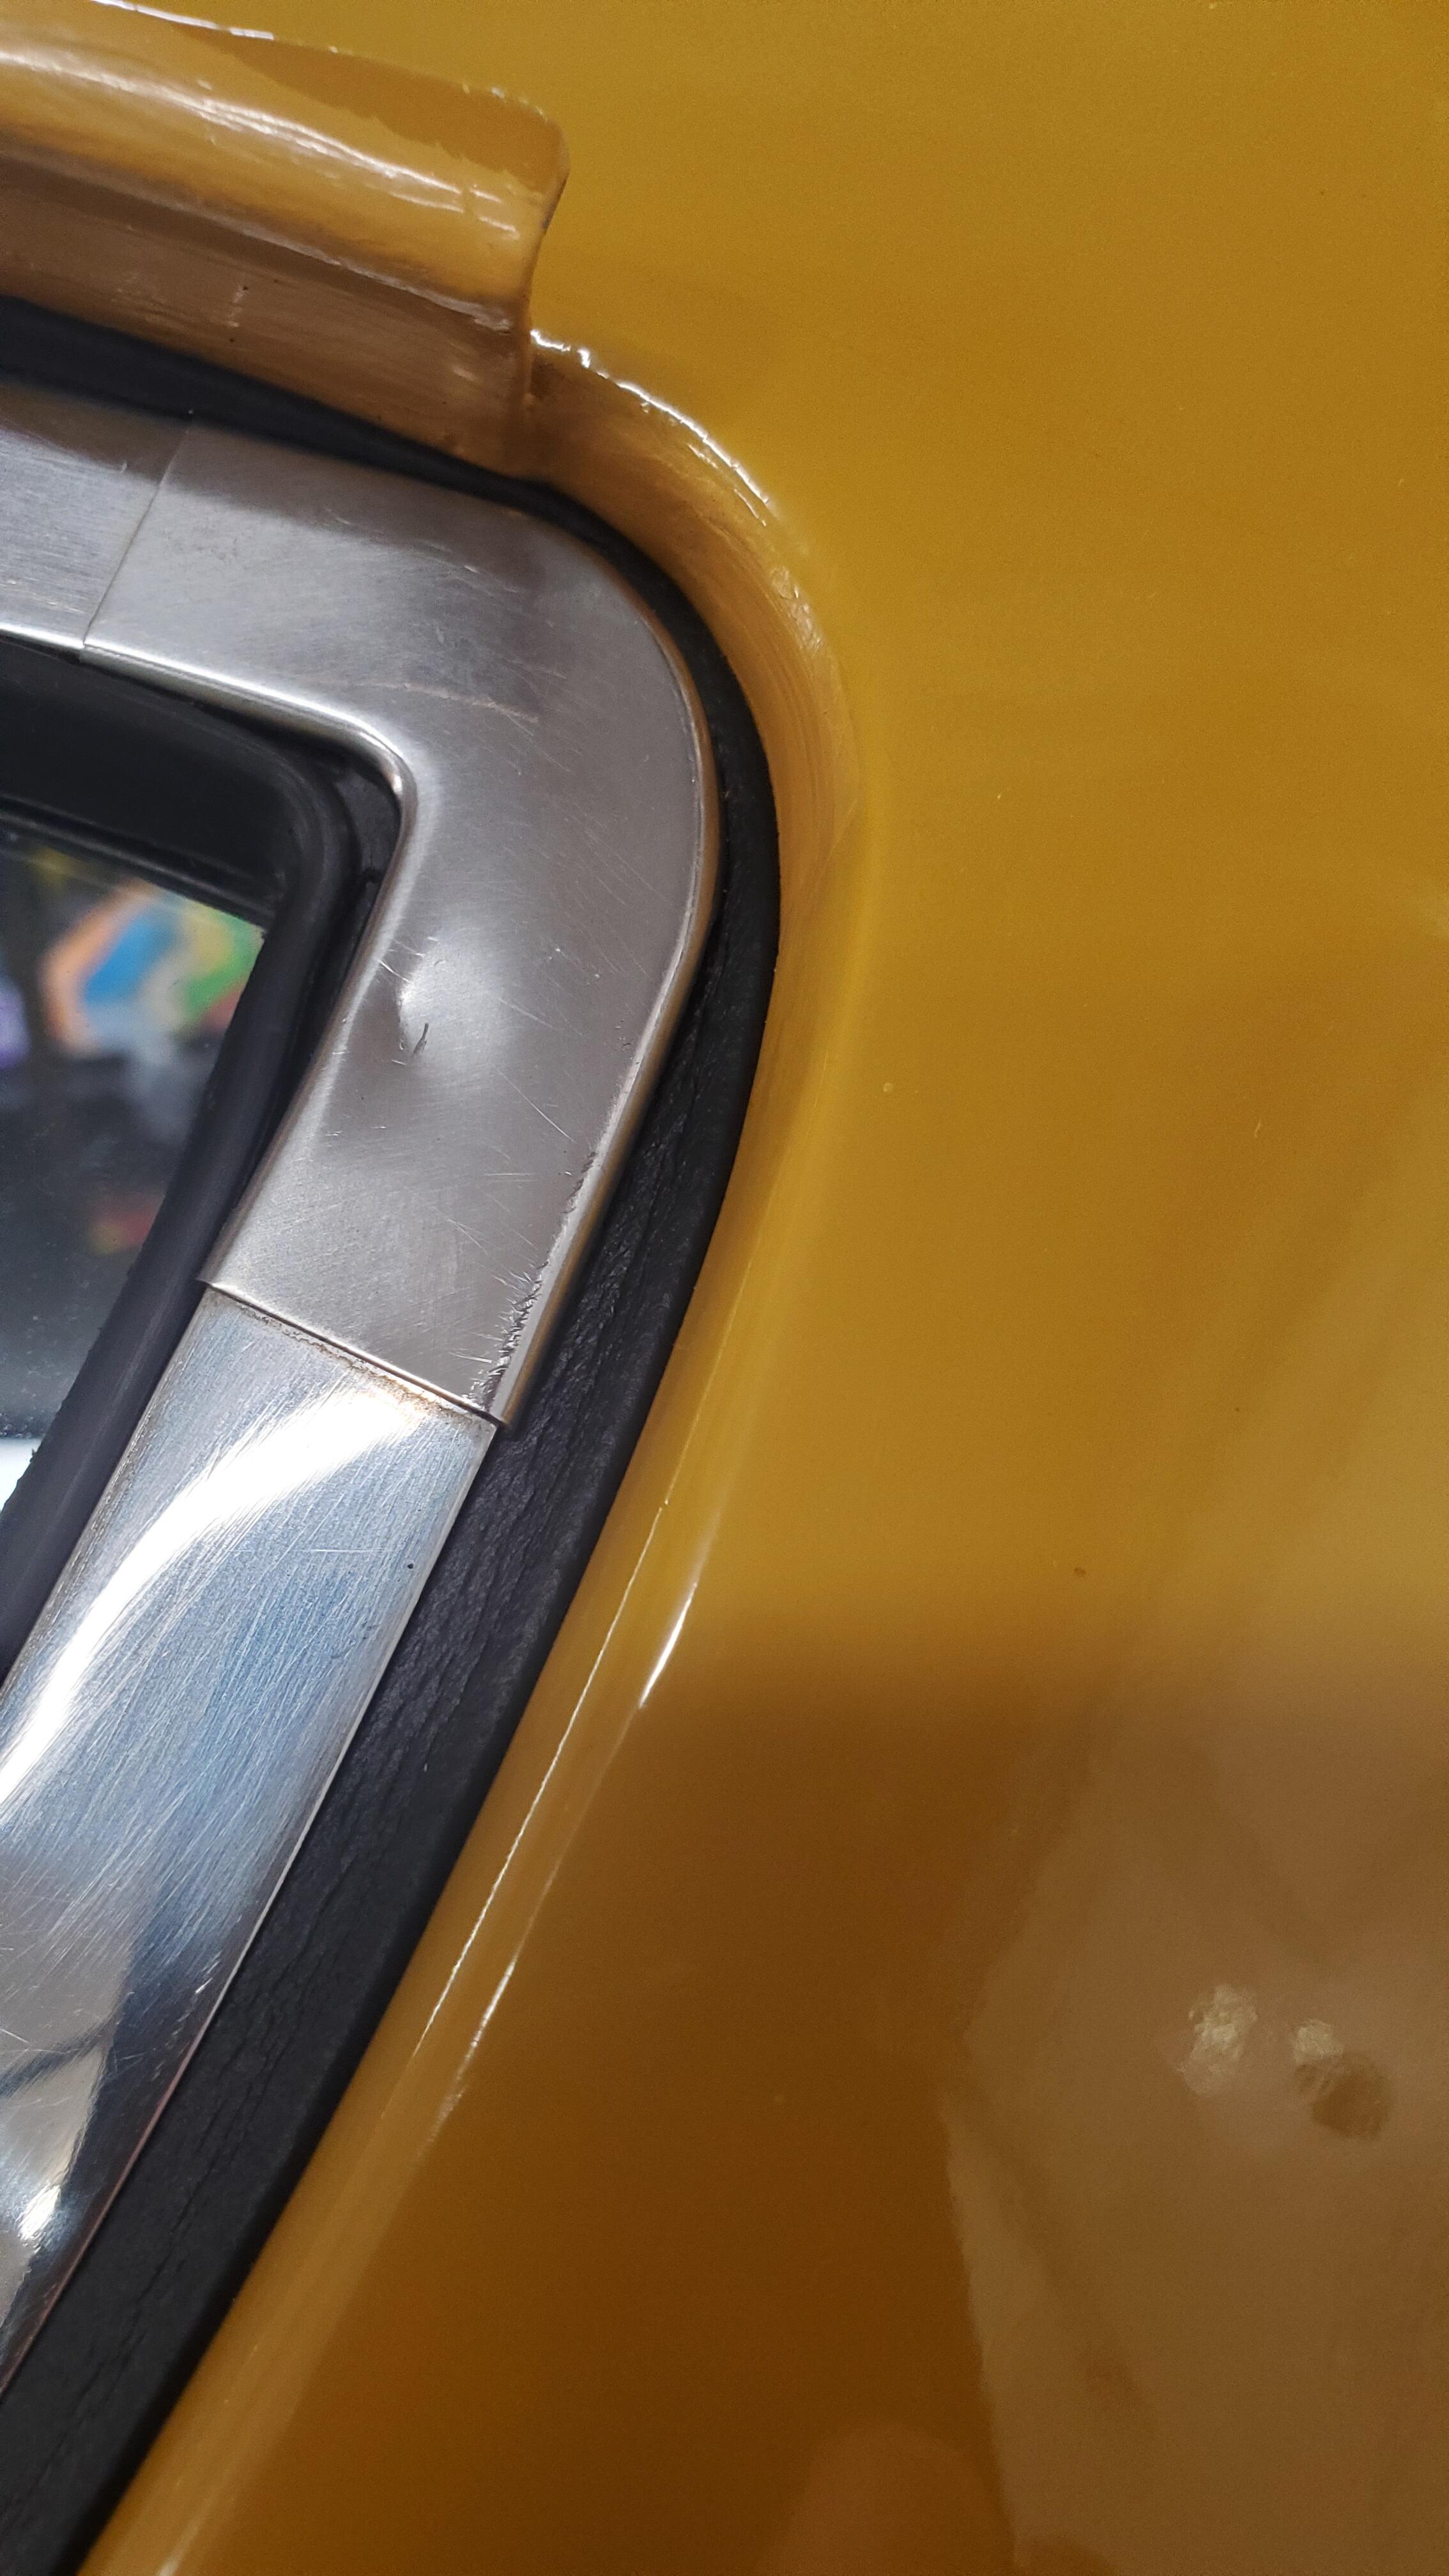
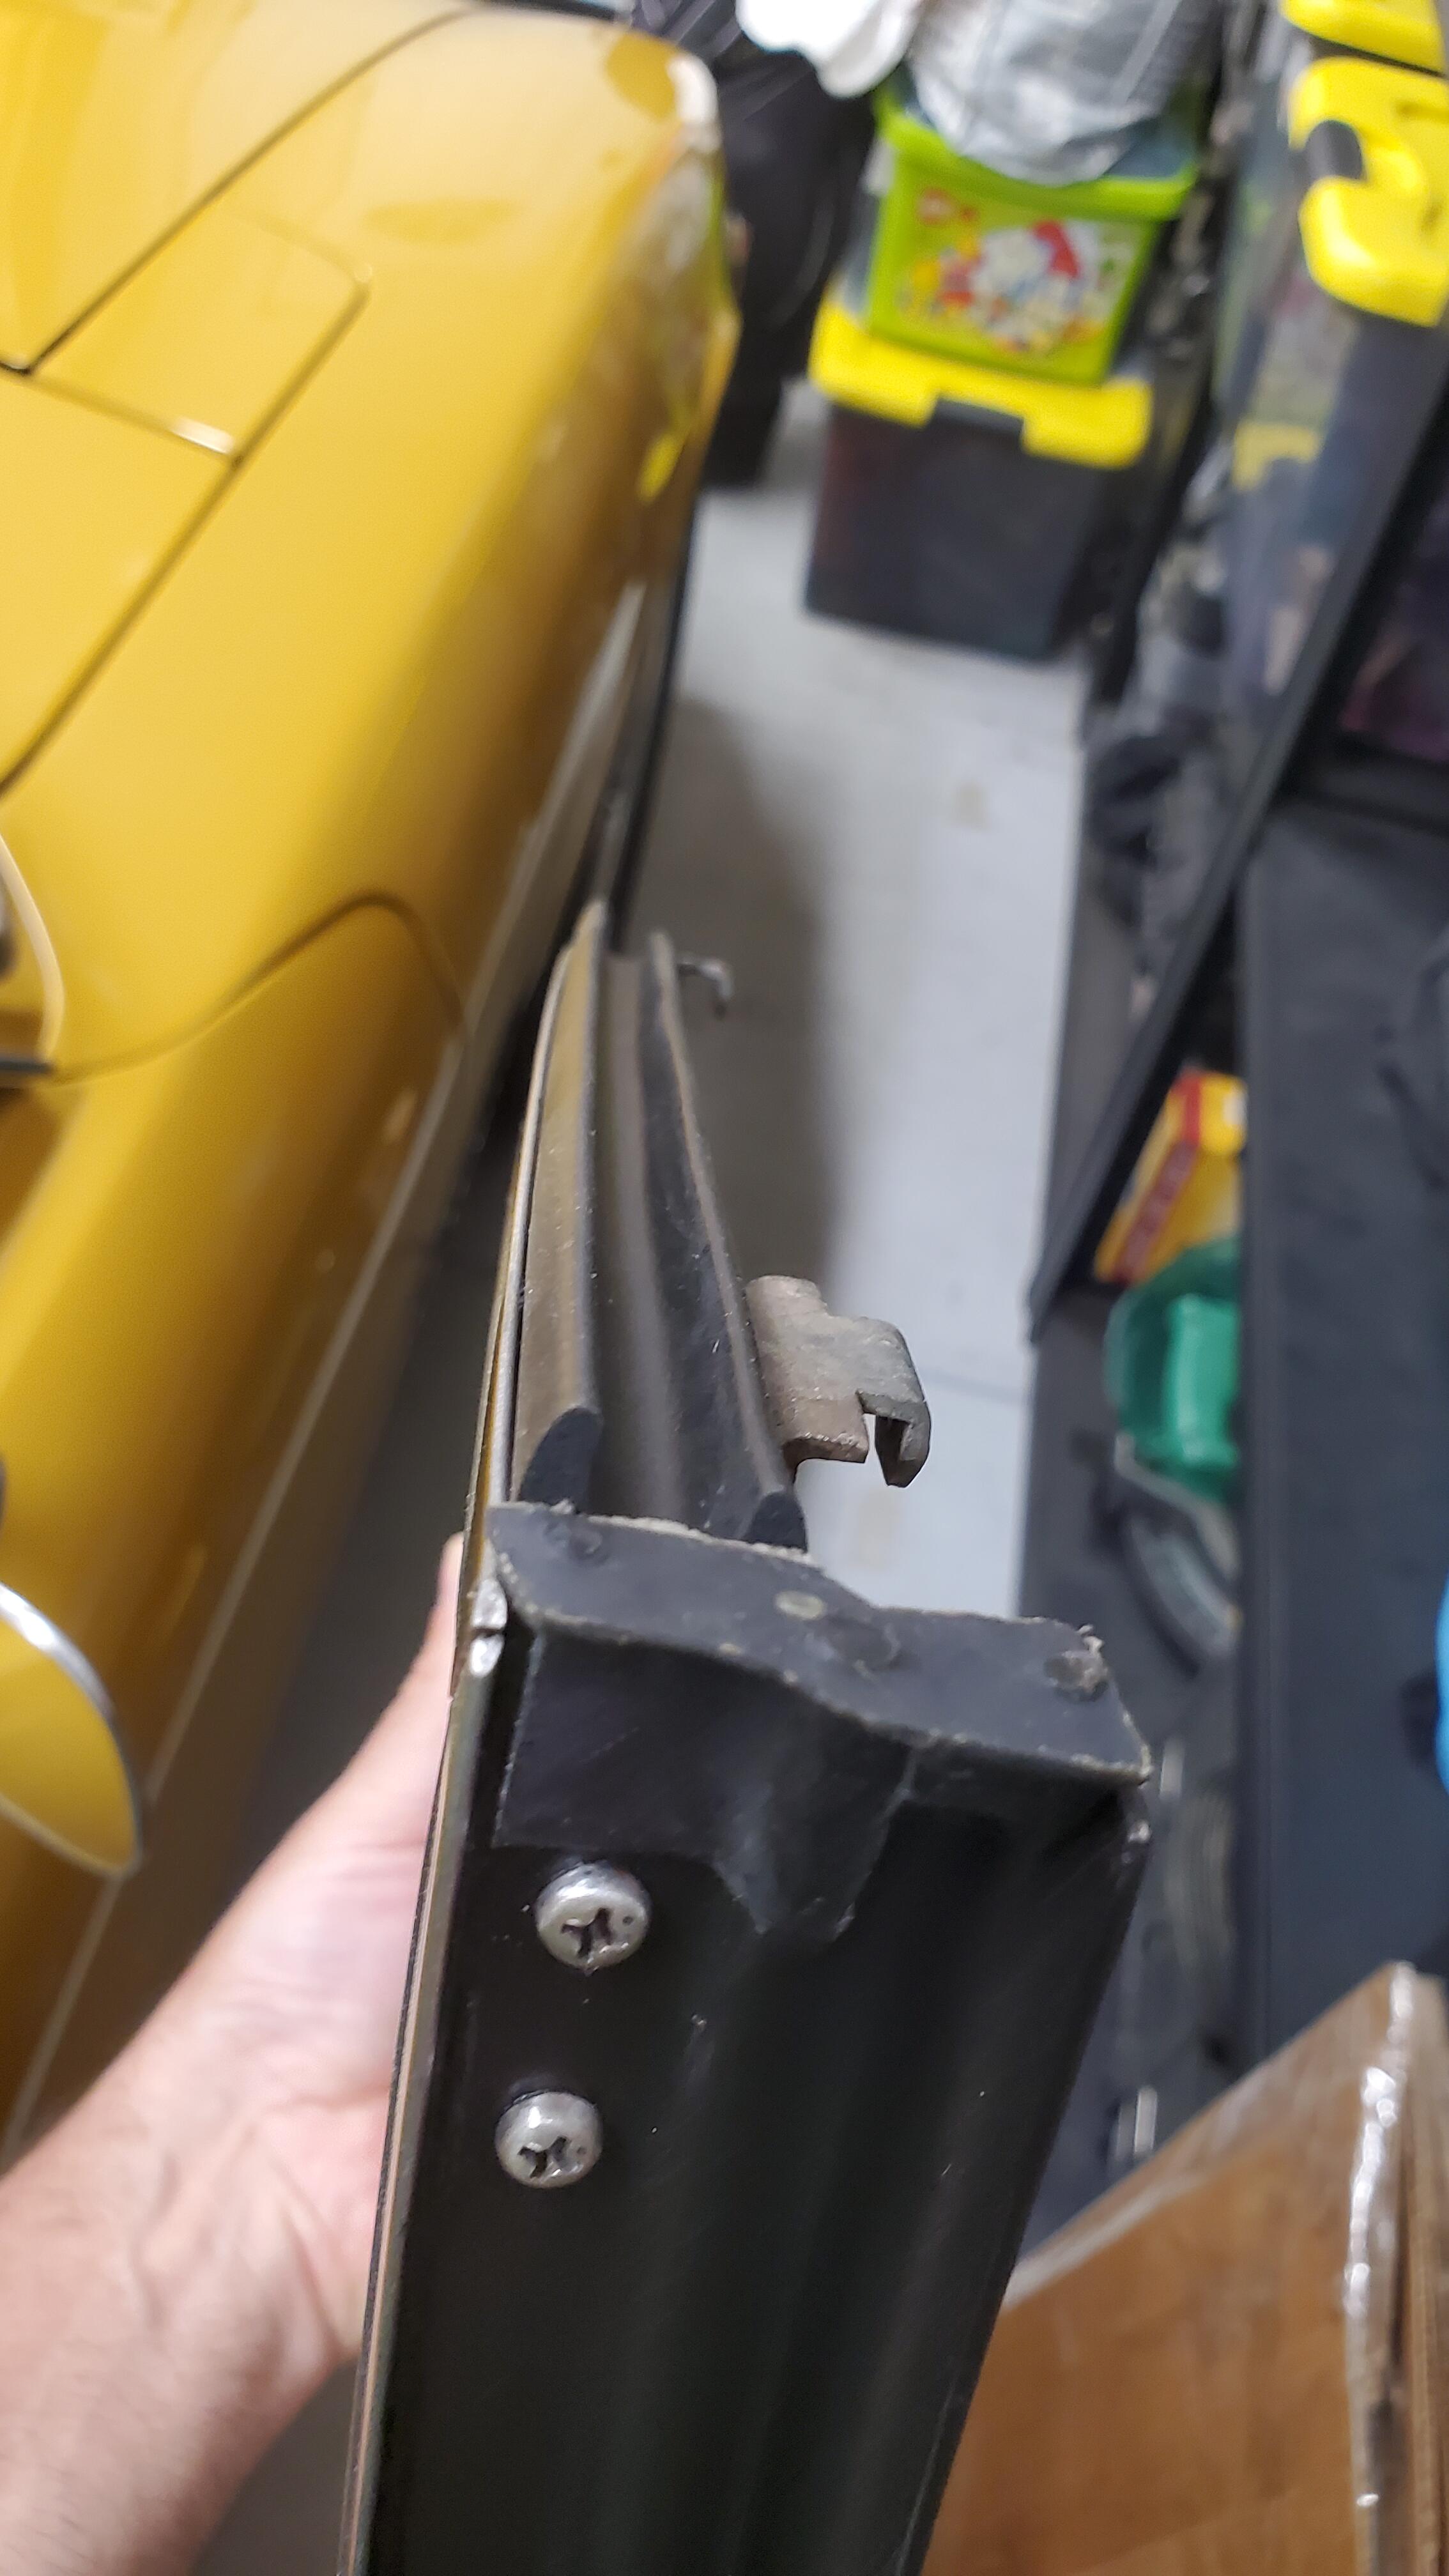
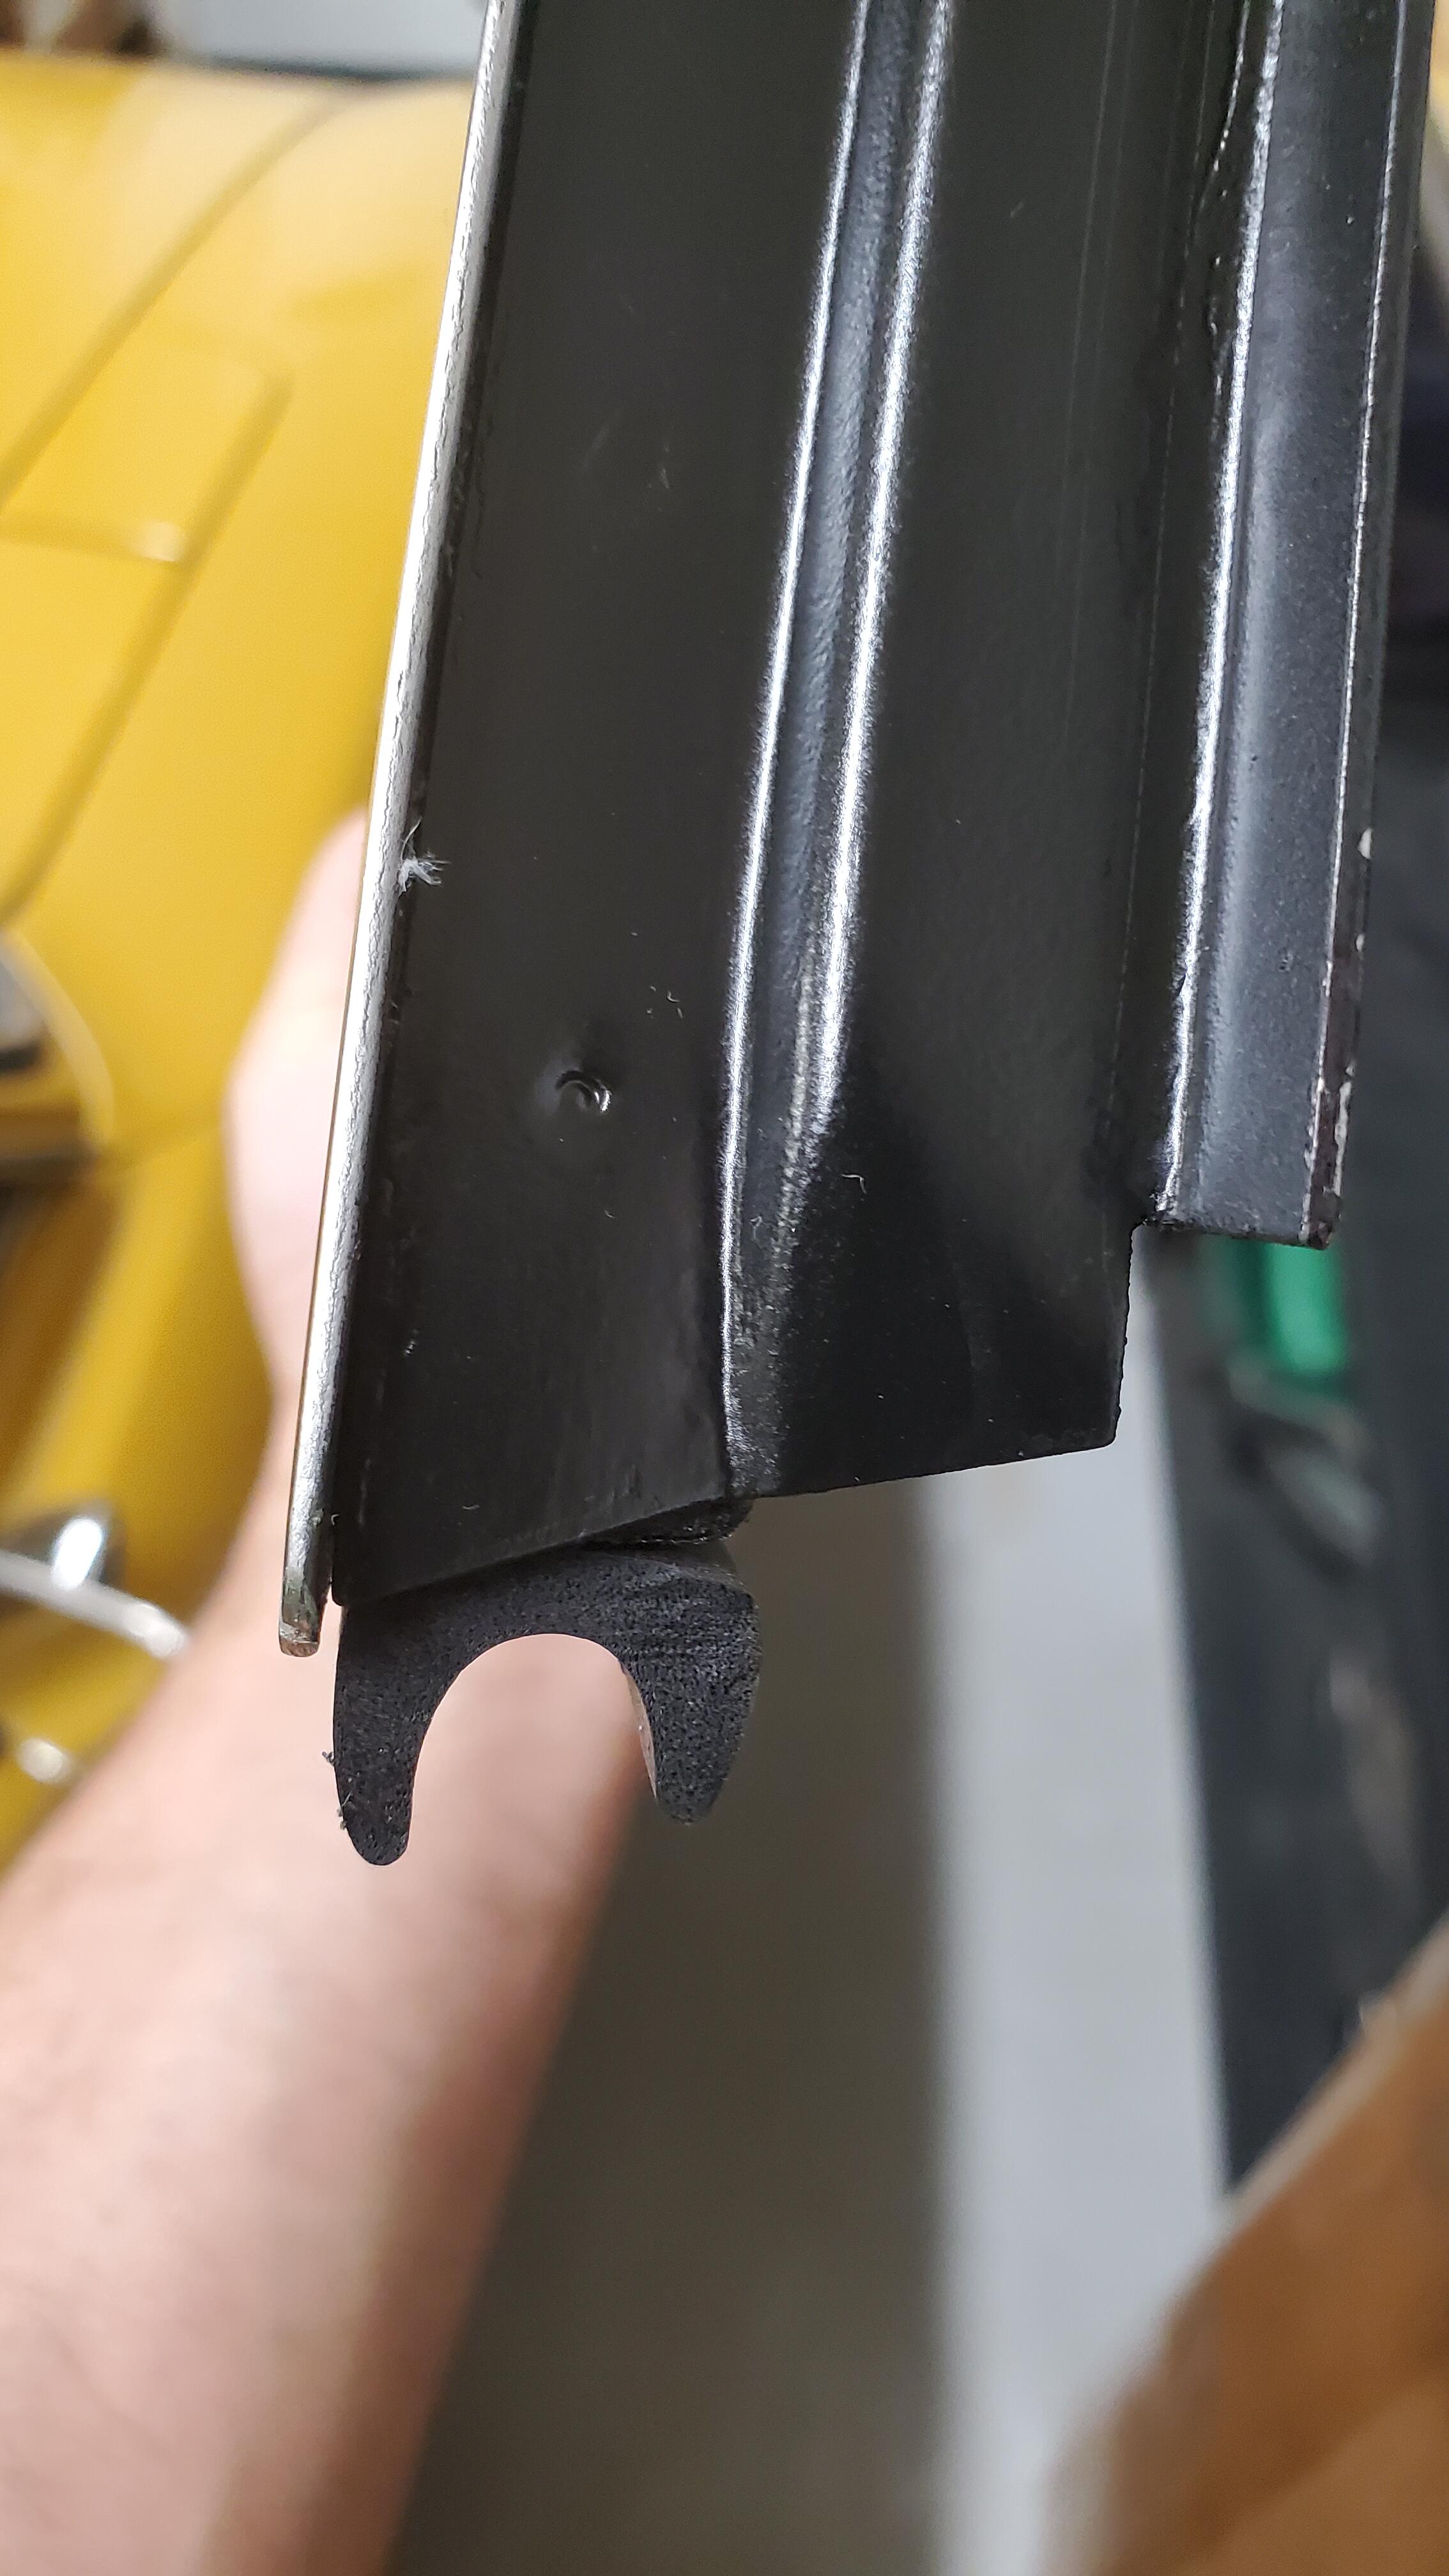
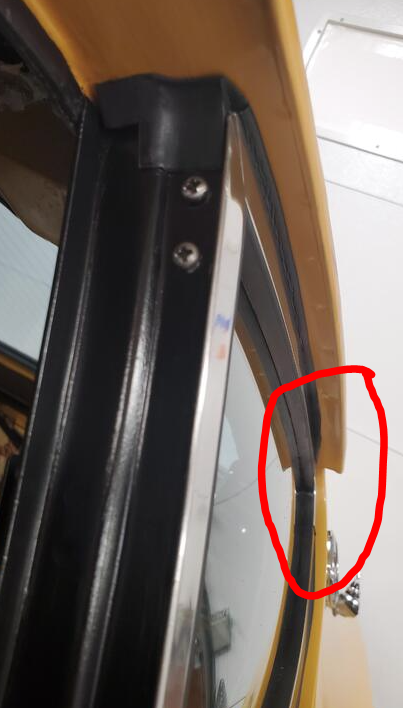
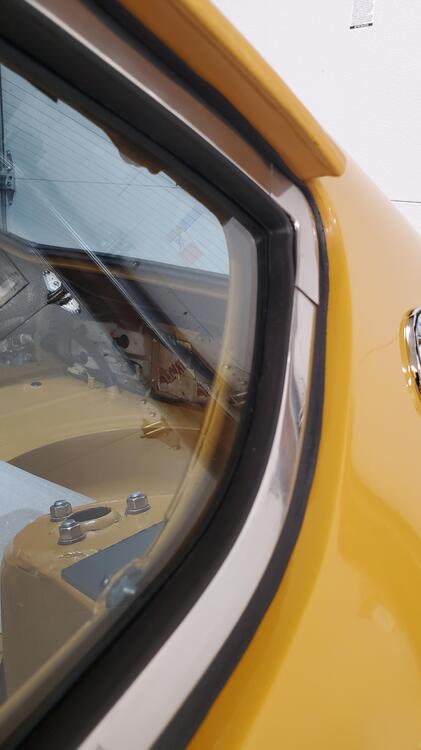
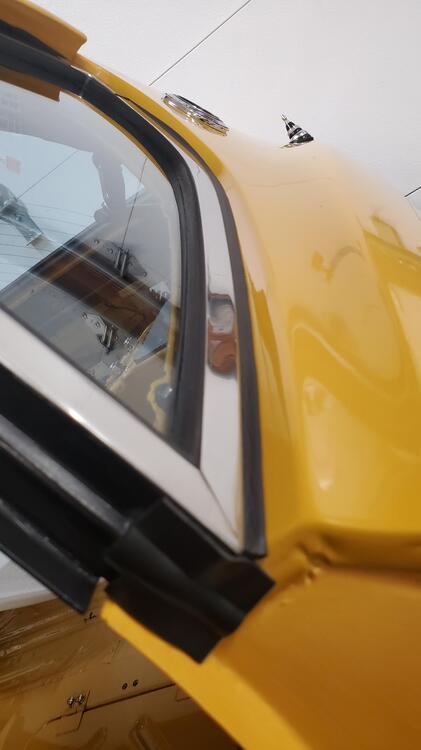
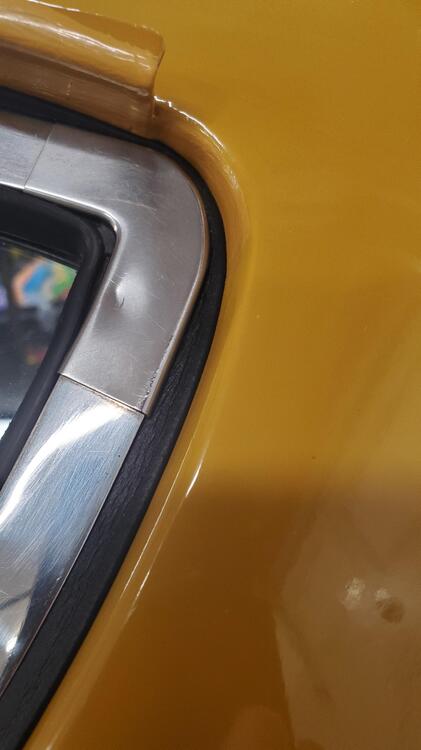
One thing I wanted to correct for future reference for those that still may need to do this. After I posted these pics i was looking at the car and noticed the corner really didn't have as tight a seal as it should. What i realized is that I forgot to put the rubber shims back around the corner to "build it up" before attaching the new channel seal. If you can see here in the original picture the rubber kind of disappears from the pic on the corner because it wasn't really a great seal. i could actually push on it and it would retreat into the opening leaving a bit of an air gap i didn't like. Here's an updated pic with the window replaced and a rubber shim under the corner section The seal is now correct and you can't push the rubber in like I could before. Hope this helps the next guy.
-
Great job!
-
@Patcon Thanks, those top corner seals were tough to find, had to go to Norm at Zeddsaver. He's got good stuff but a bit on the pricey side. Little by little im getting through the entire interior. Lots left to do but very enjoyable. Next big thing is tackling some poke throughs in the floor boards. The PO decided it was best to just lay a new soundproof over the original without taking care of the surface rust underneath. Well you can guess how that turned out lol. I don't think the holes will be large enough to require new pans but we'll see.
-
They got the wheels, pillar emblems, and single side mirror right but missed the hatch vents. If this was Bring a Trailer that crowd would be trashing them LOL.
-
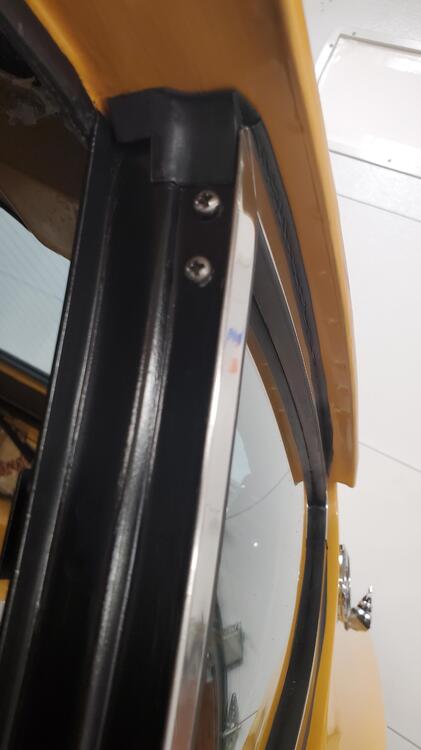
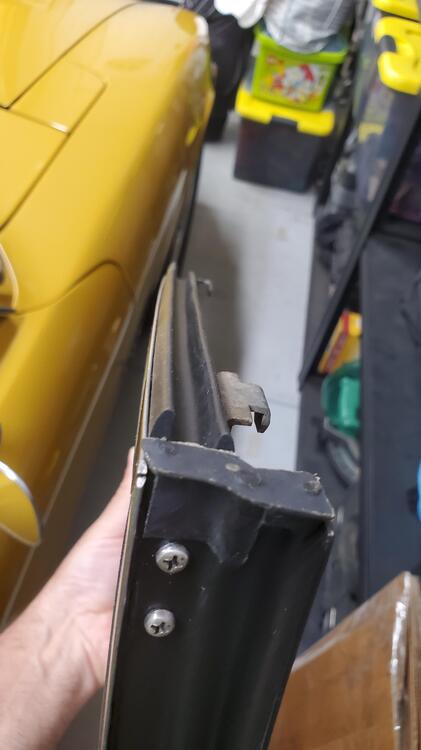
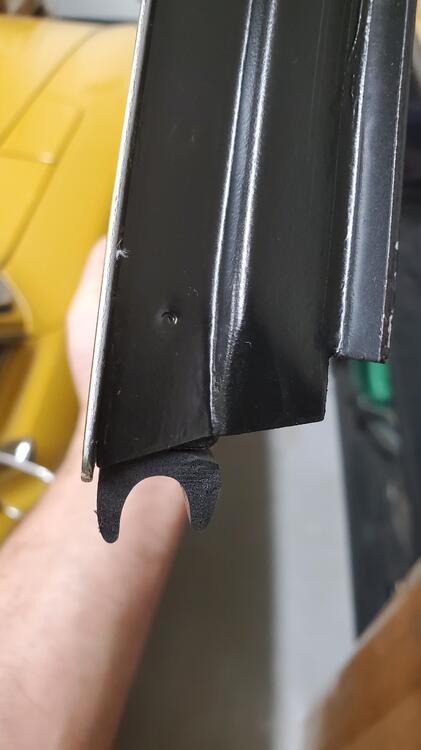
I literally just finished the driver side yesterday and here's some pics. The precision rubbers work great if you are patient and steady. You won't break the glass if you apply even pressure inward and towards the rear at the same time. i was able to do this by myself put using one hand to press on the glass and the other to set the screws by reaching around. The trick is as mentioned, set the glass about 1 inch or so forward of the screw holes and the trick is to get the corner peice set first. Only set enough screw to catch them move on to the bottom back then two front. Remember to only set the screw enough so it catches at first then move on to the remaining screws so you have wiggle room to move it until all 4 are caught then you can easily tighten down.
-
swflaz i highly recommend any one of the dry ice methods of removing tar based sound deadening. you can google many videos on youtube. Some use the alcohol method others just drop the ice straight on if its small enough pellets. What happens is the dry ice quick flash freezes the tar and its so brittle it come up in sheets. the ice sublimates (straight to gas) so its no mess really just a little wipe down. Beats the hell out of scraping with a screw driver or any of the heat it up methods and all that sticky mess. one of dozens if not hundreds of examples
-
The plot thickens lol.
-
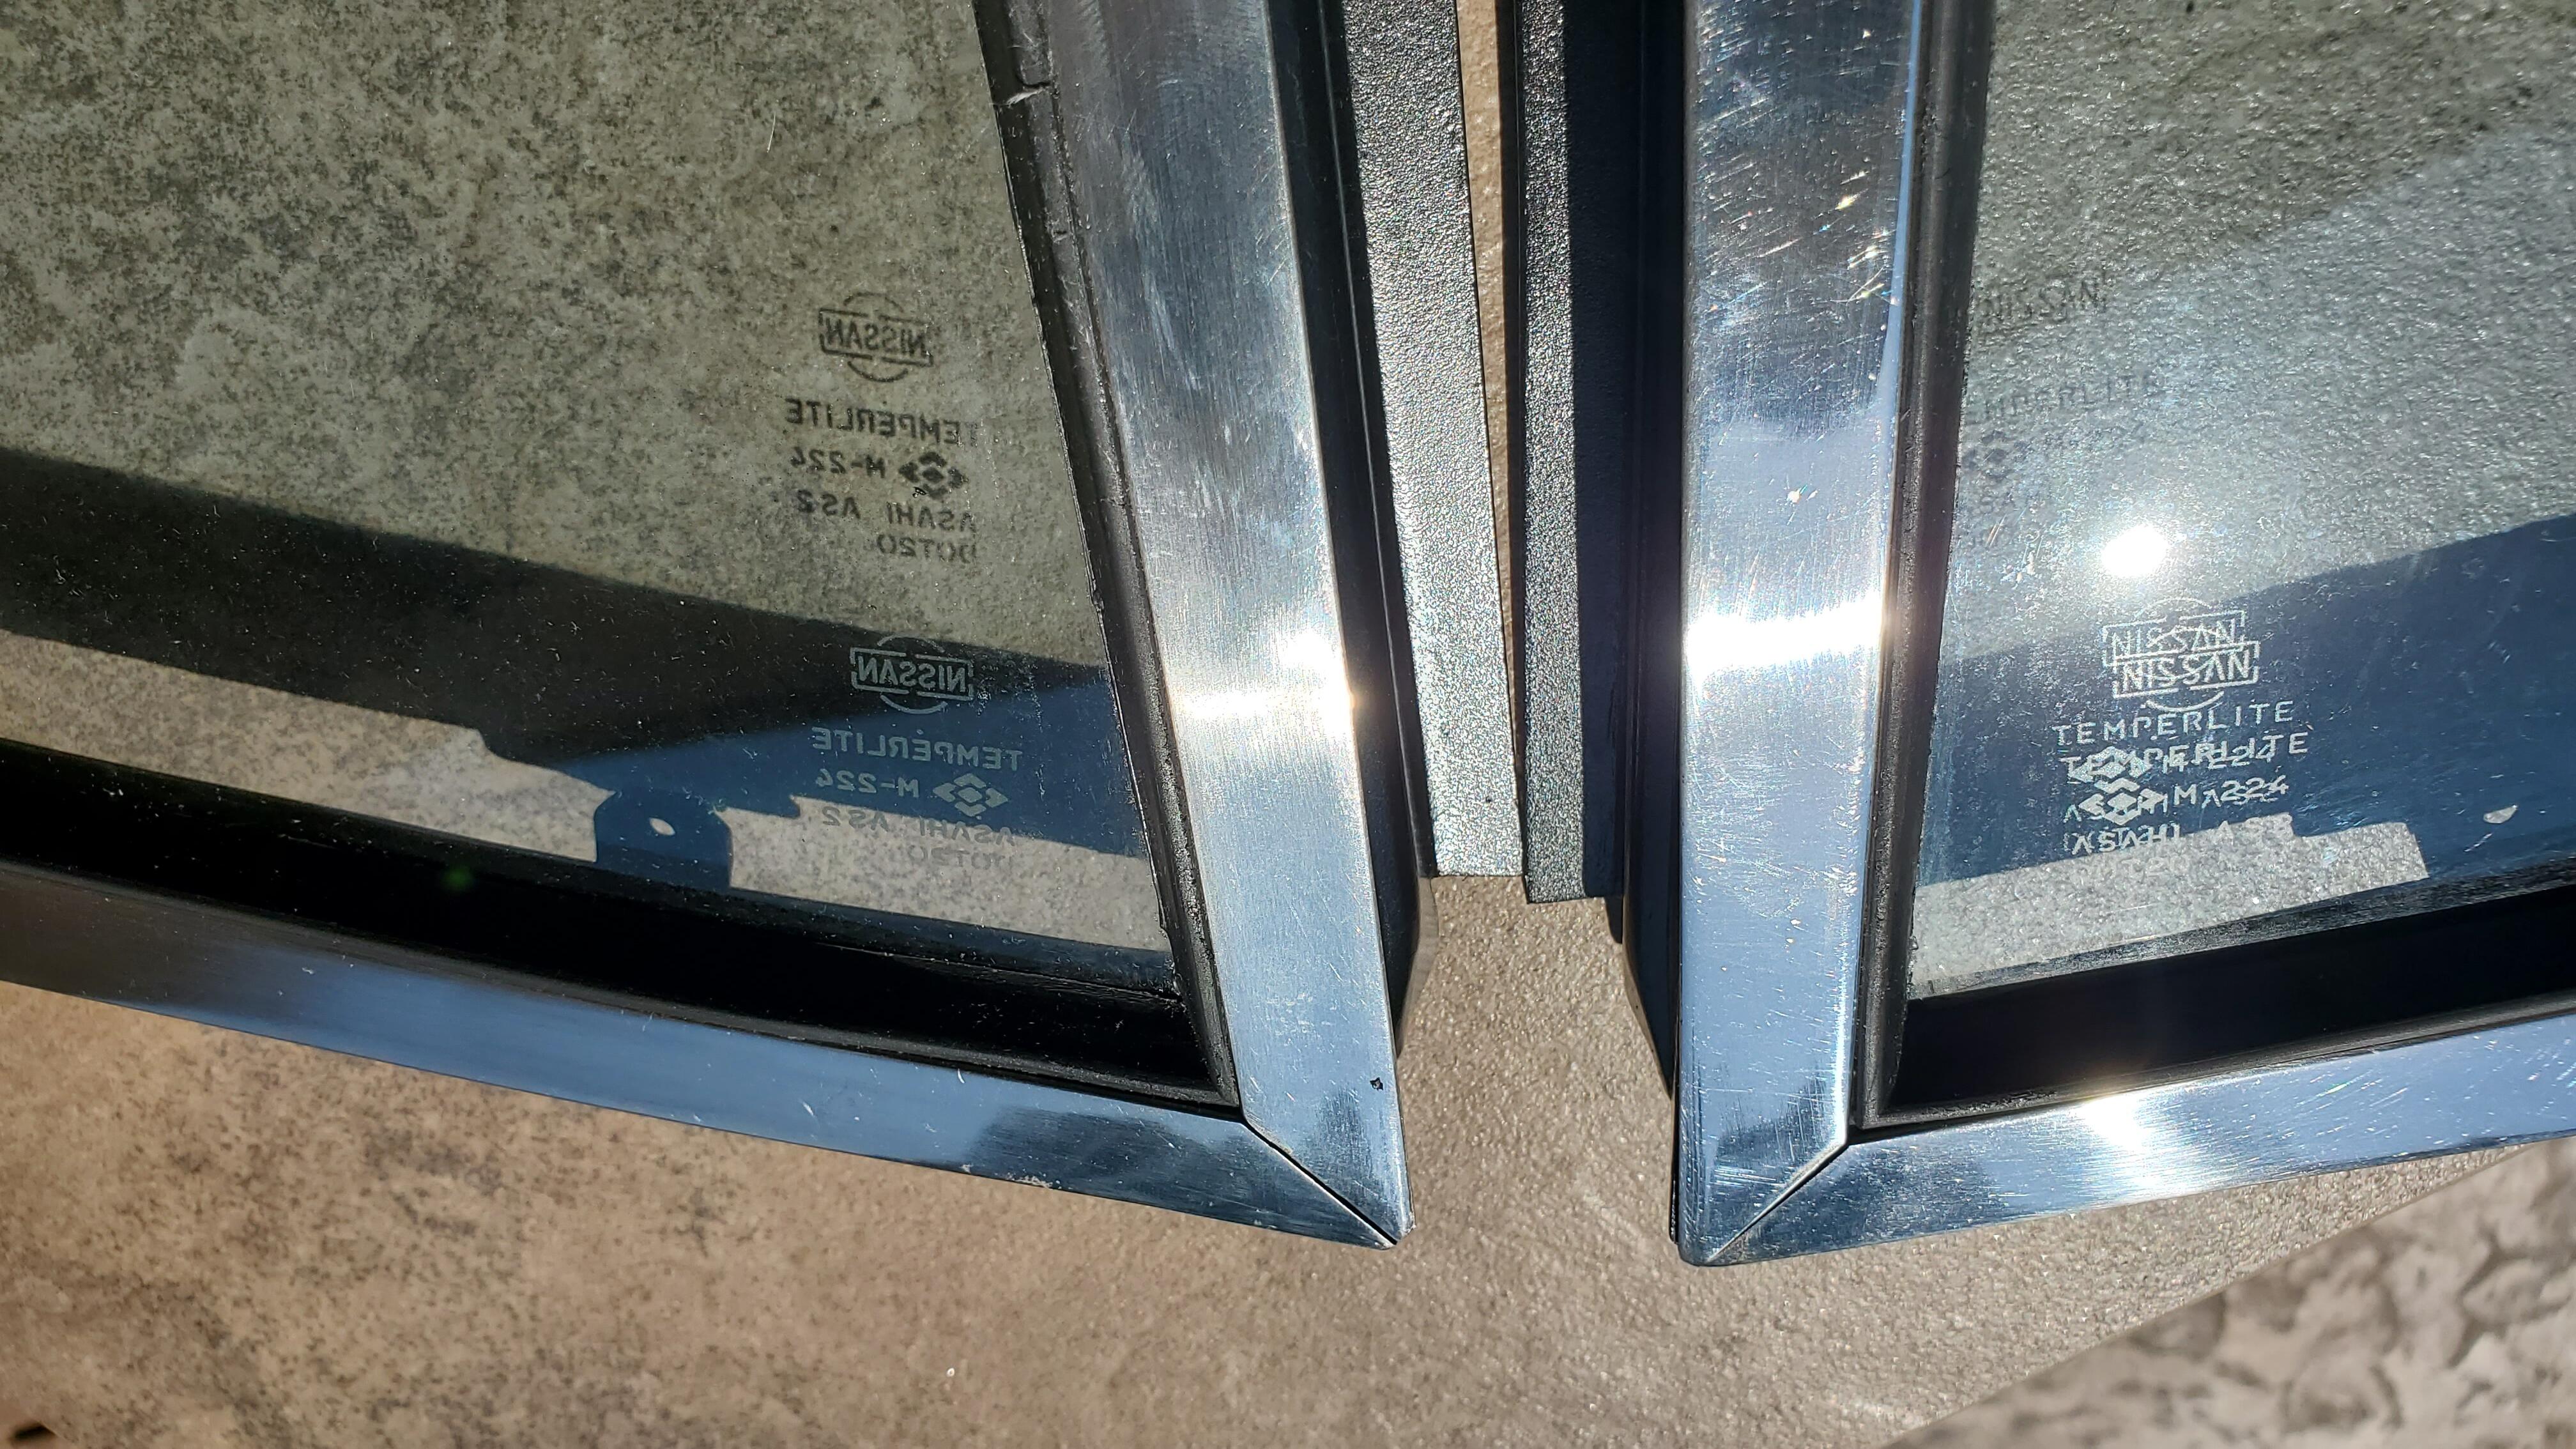
I guess it just strikes me as odd that they would print the name backwards if you want to call it that when so much thought went into the design of the car itself.
-
About 10 minutes after I posted this I thought the same thing LOL. Just odd that they would etch the inside of one of them and the outside of the other And PO is prior owner.
-
Started a restoral process on my quarter windows and noticed that it seems the passenger window has the Nissan stamp "reversed". With all this PO has done wrong I'm wondering if he took two driver side pieces and made a passenger out of one of them. Or maybe the factory only had one version of the glass and flipped them on the passenger side for convenience.

-
About to do my windows, trying to determine if the main outer seal goes on frame first, then this corner piece over top or the small corner piece first then the main rubber? i have a couple of the upper corner pieces on the way but not in hand yet to see what makes the most sense. I'm guessing the main rubber then the corner fits in the channel of the main rubber?
-
Tooting is good! The plating does have a bit of that rainbow / green tint it's just bad led lighting in the wife's bathroom 🙂