Richie G
Supporting Member
-
Joined
-
Last visited
Everything posted by Richie G
-
Great. Then at least I can put it all back together unless your next testing steps anticipate needing access to it again?
-
No worries. One thing to make sure is that you take out all the little rubber pieces and grommets those will get destroyed if you let the dry ice freeze them
-
Thanks. So loss of connectivity between yellow wires in high position not an issue?
-
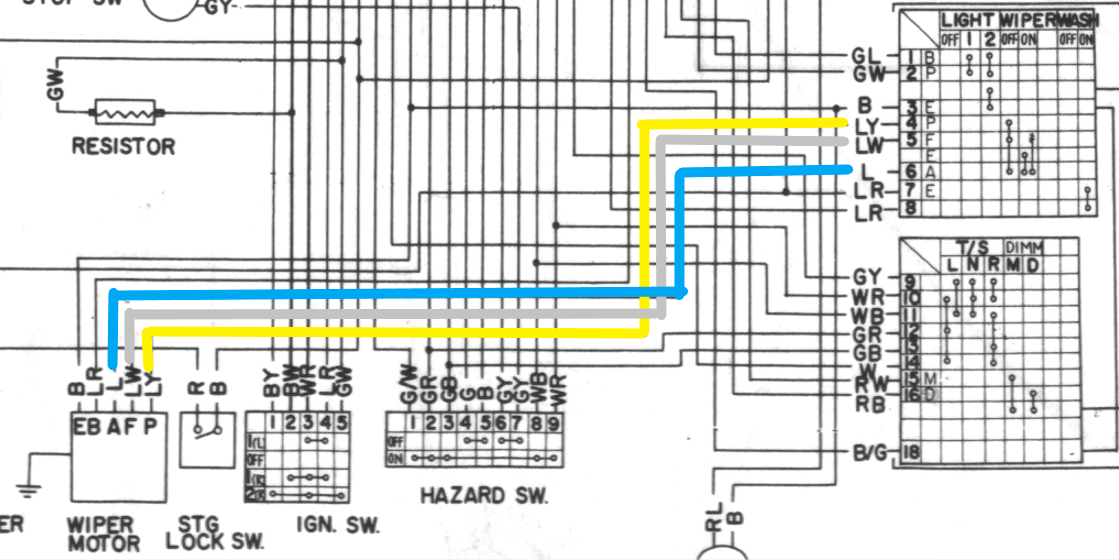
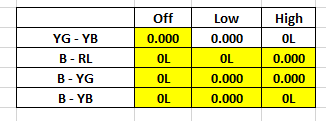
@SteveJ OK, embarrassing brain fart alert now that i have it pulled from the car. Ashamed to say it but i retested and realized as I was doing it that the first time I tested i was actually moving the headlight from off to low/high and not the wiper twist! 😞 With correcting that dumb mistake my results exactly matched your projections (ones in yellow). I also tested the YG - YB connection when switch engaged which i don't think you mentioned and see how the high is different from the low. maybe in high YG - YB should also have continuity? Could that be my issue?
-
@SteveJ Thanks for all the help. I'm going to go back and test again with it completely out to avoid anything weird. Something must be working for the switch to get them going in low, or I'm incredibly lucky that what's broke broke in a good way 🙂
-
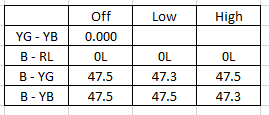
@SteveJ My first attempt was to actually disconnect everything and test (but I did leave it connected to the stalk. Testing the switch from the sodder points gave me 0L readings in all scenarios across all wires except the initial YG - YB which had a .0000 OHM reading for continuity in the off position. When i saw that I thought i was doing it wrong so then connected it again to retest with above results. I'm not an electrician, but wouldn't that be expected if the harness is open and disconnected? I would think I should be checking from the harness side so there is a completed circuit when testing in various conditions. Also, since I know the switch works in low, when I was getting all those 0L readings in the low setting when unplugged I really thought I was doing it wrong.
-
@SteveJ here is what i got. a lot different than described. the switch looks exactly the same and i believe i followed instructions except i just realized i disconnected the positive terminal rather than the negative. you think that's making a difference? disconnected positive left switch mounted and connected on all wires the only thing i notice when twisting the switch is that the ohms drop from 47.5 to 47.3 as indicated in low and high. reminder, when all connected the switch when put in low position does cause the wipers to function correctly and high position halts them dead in their tracks. off returns them to the starting position. Should i go back and also disconnect the negative and start over?
-
@KenFirch Great work. Would love to see what you come up with and maybe do the same if my skills can keep up with your glasswork.
-
@KenFirch sorry to hear that. Just be warned if you put the 301 mirror on the passenger side of the car the angle of the stalk really causes a problem to the Viewpoint even though it can be adjusted more than the right hand mirror.
-
@SteveJ these are excellent instructions. thanks so much for such thorough guidance and so quickly. You're right, this wiring config is probably the most confusing I've come across in my limited time with these cars. i should be able to get to this in the next day or two will report back.
-
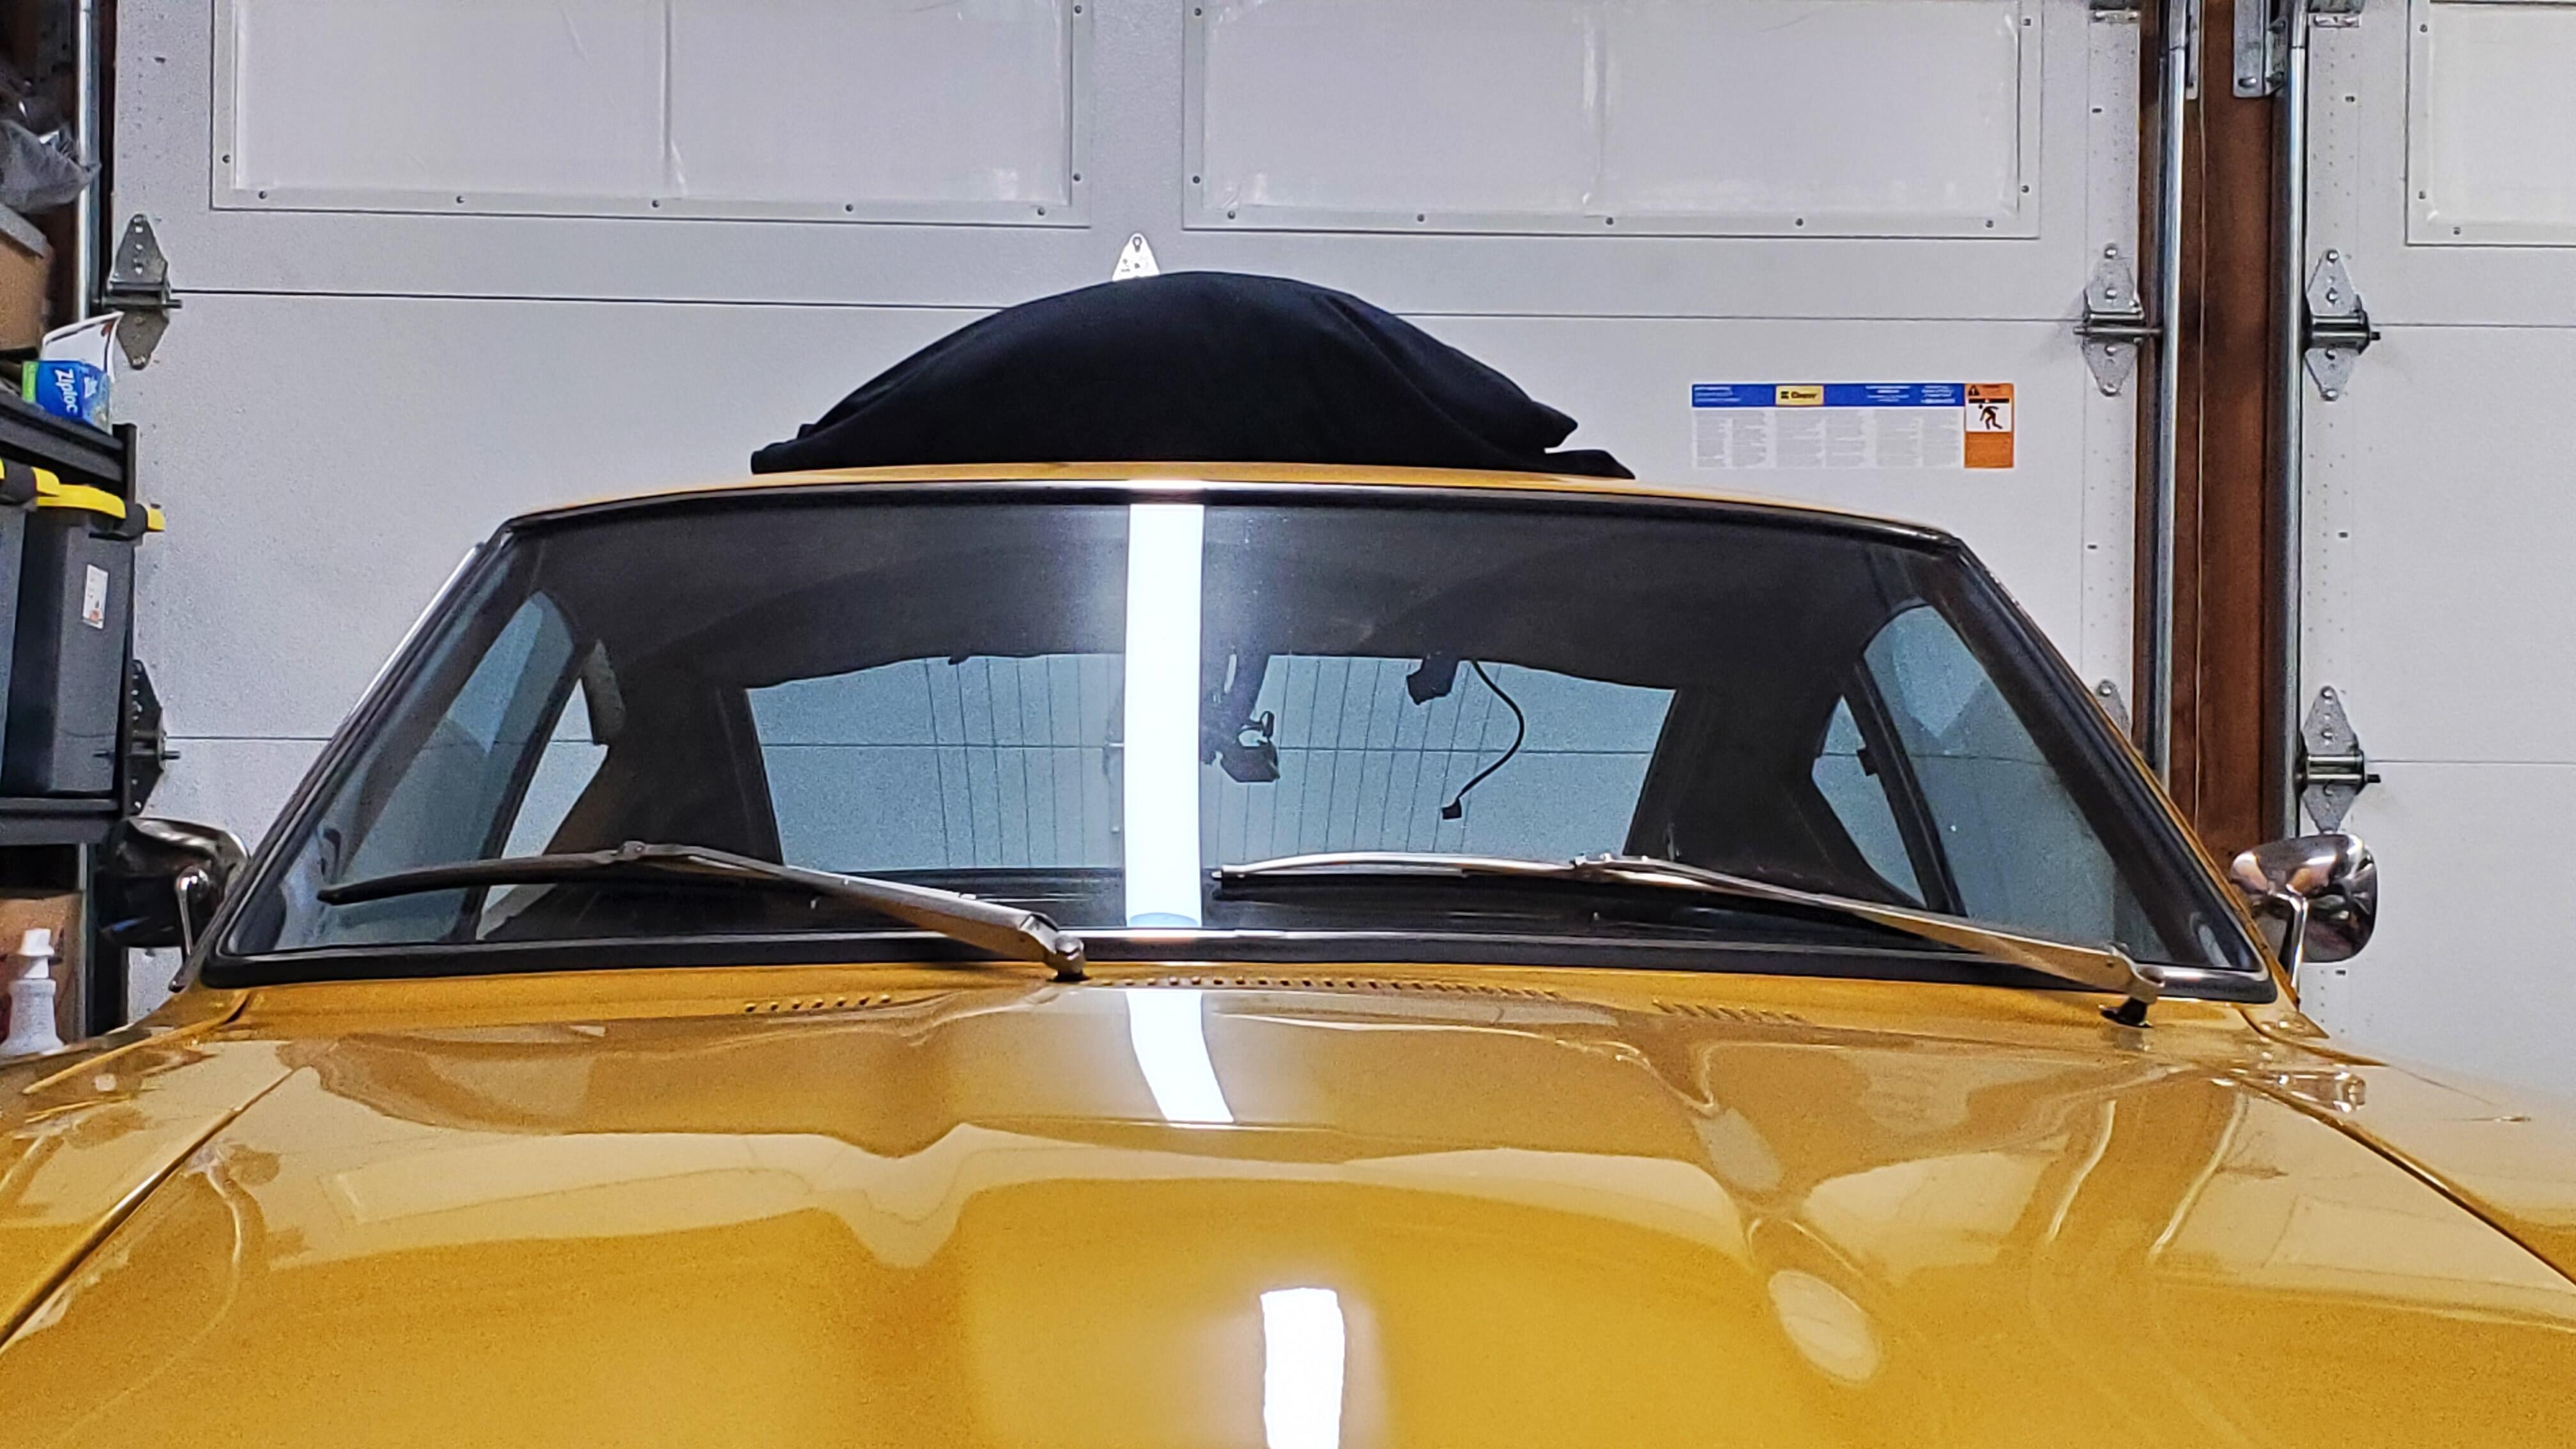
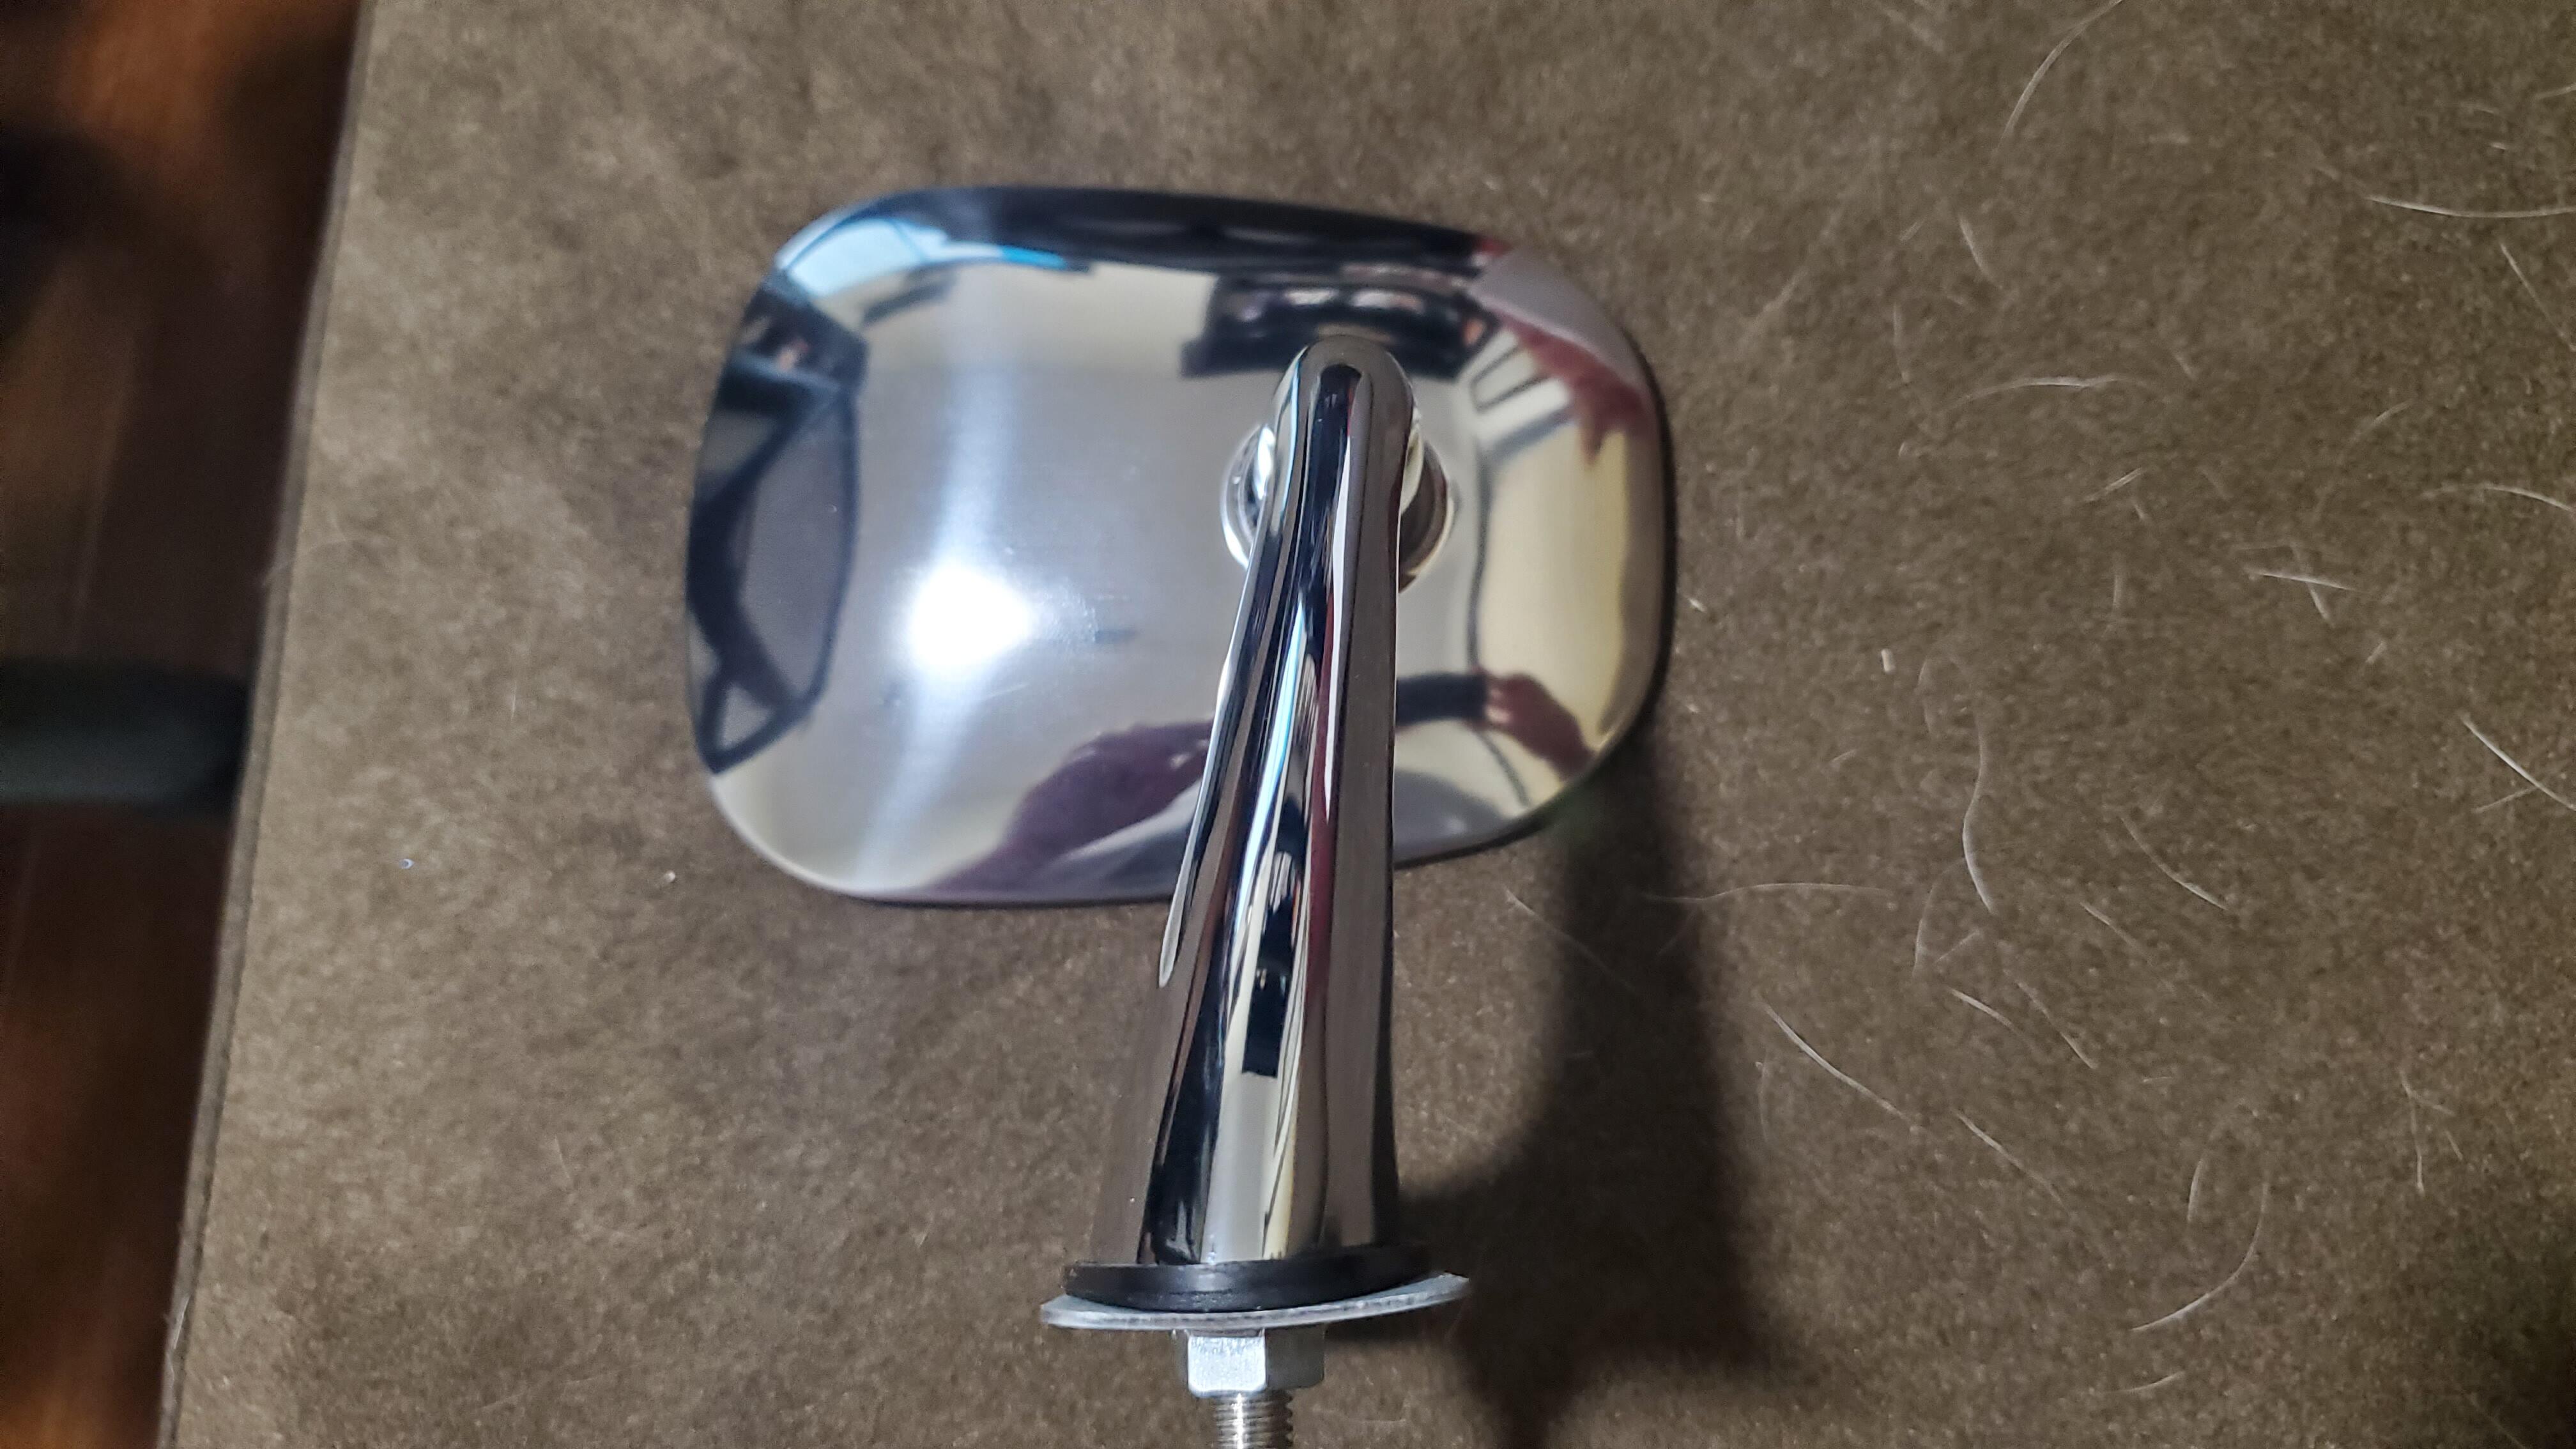
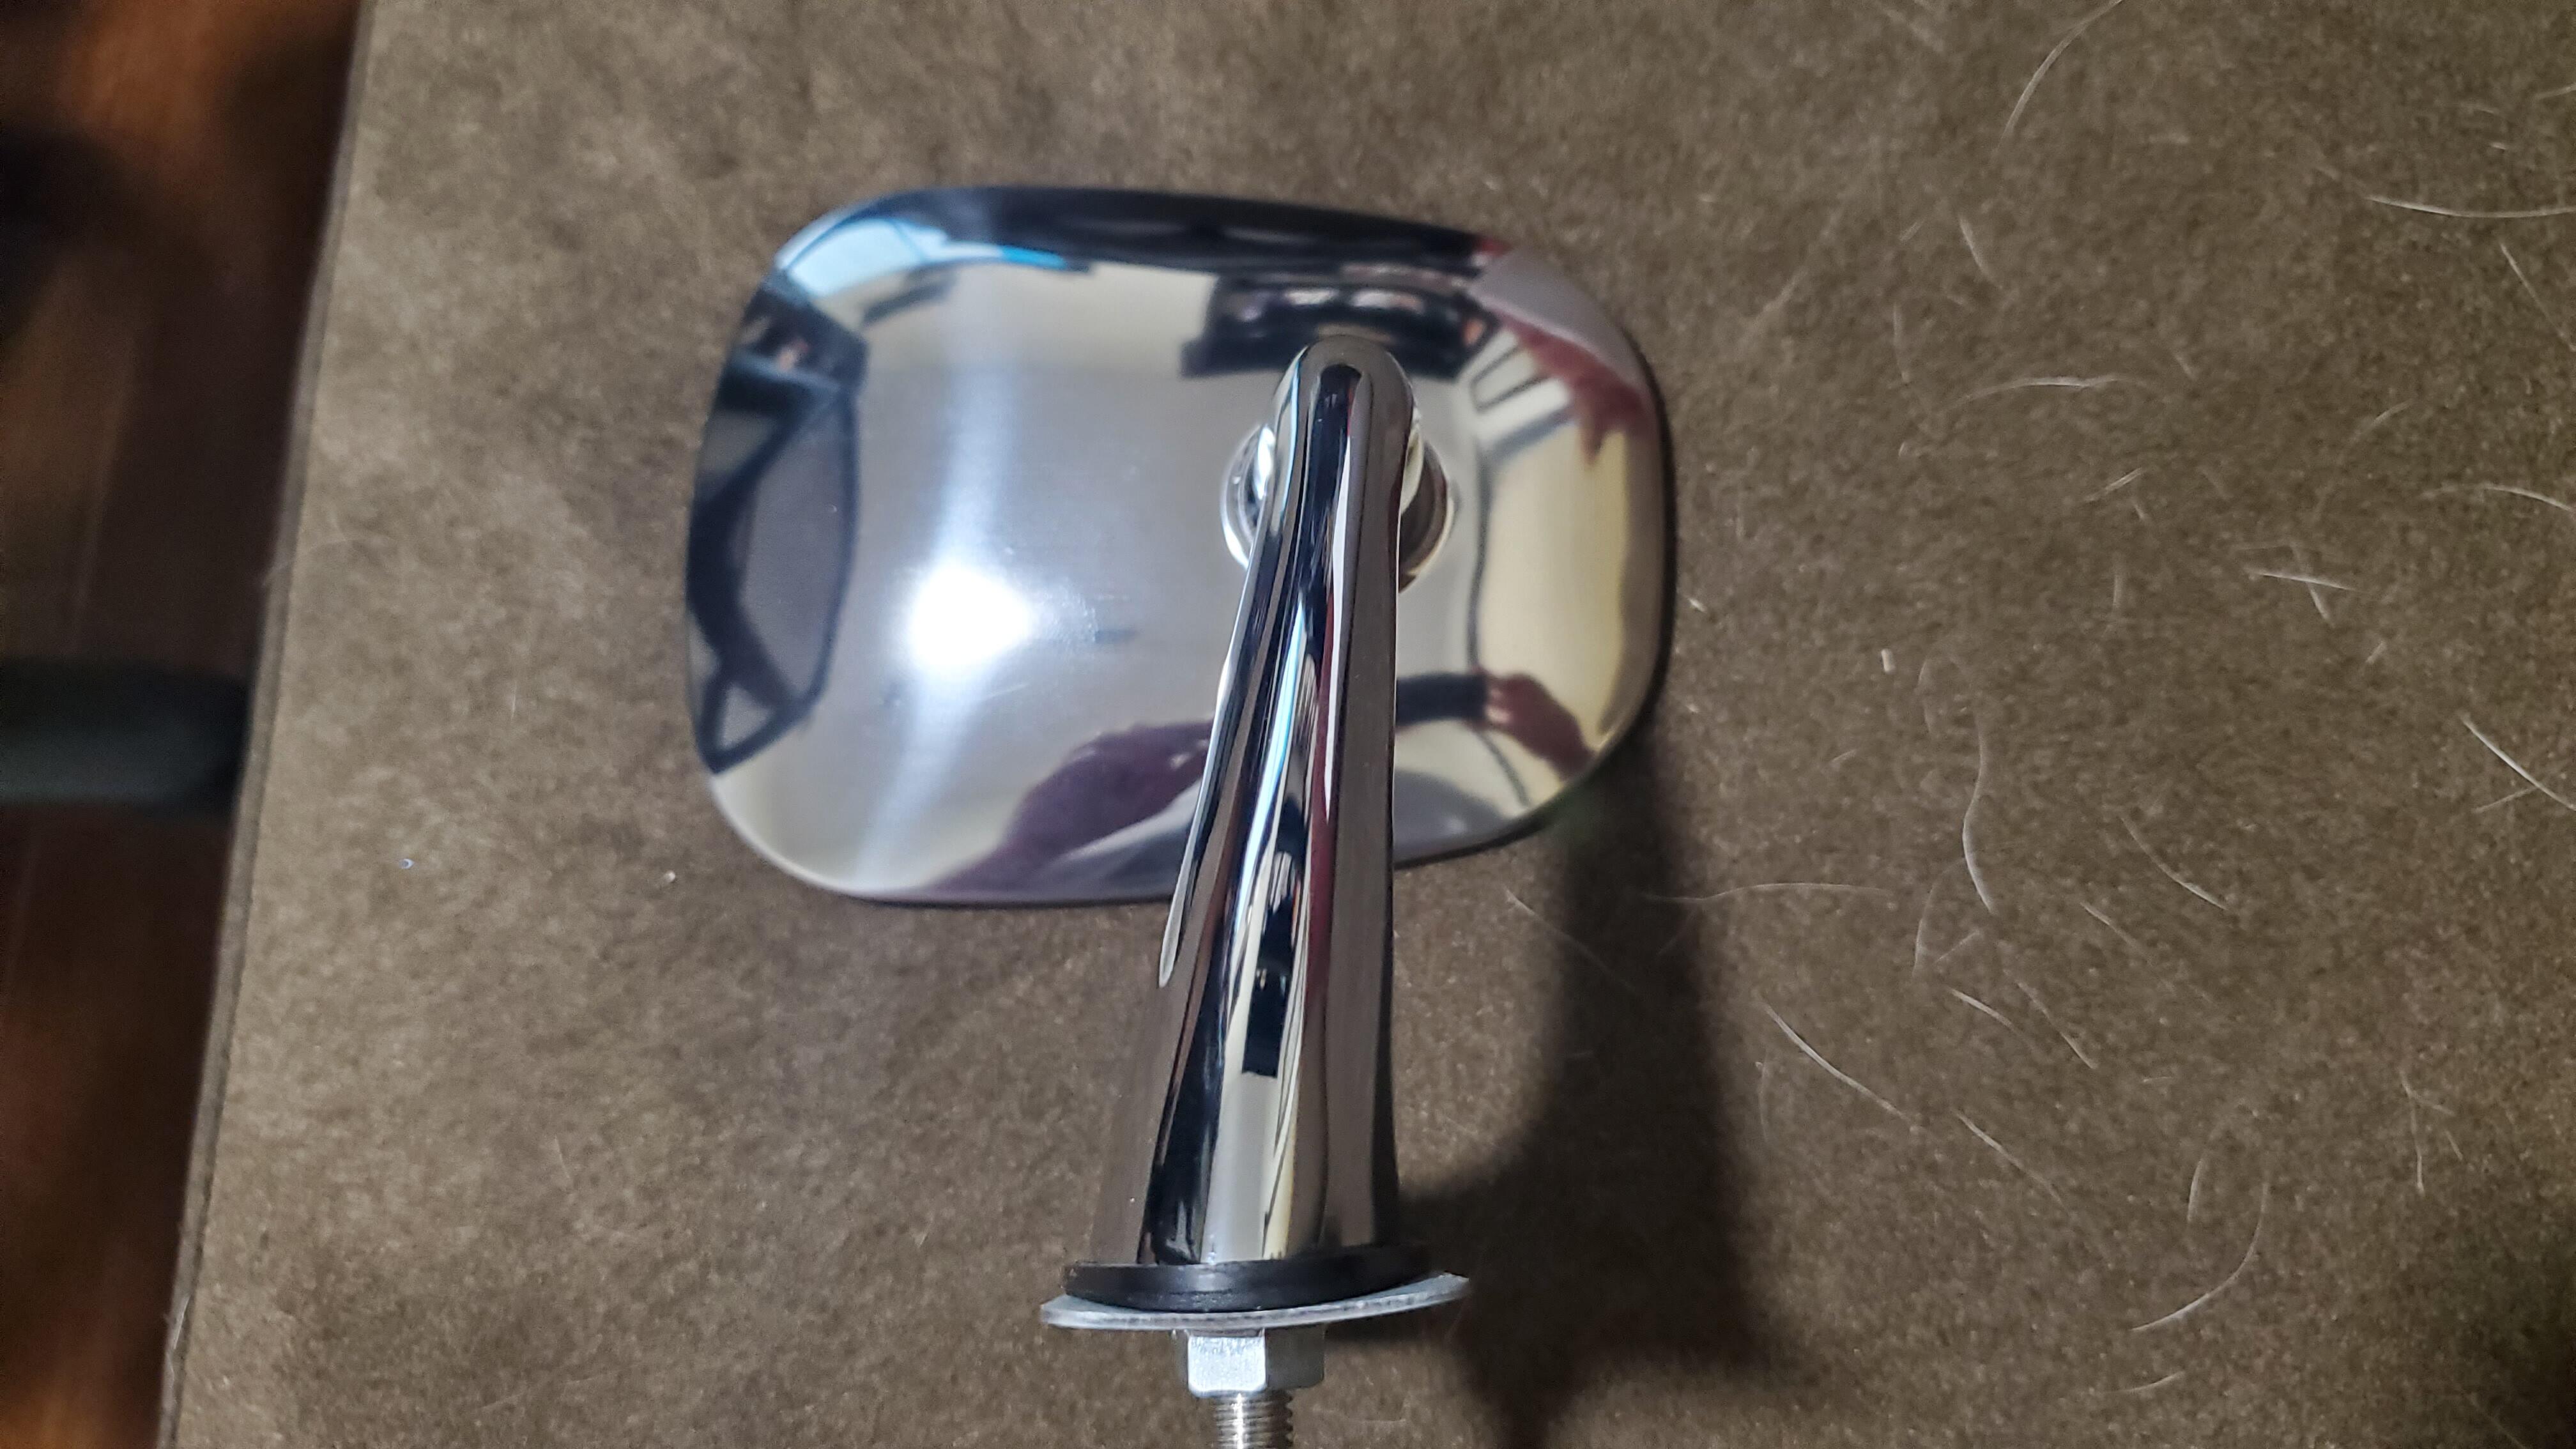
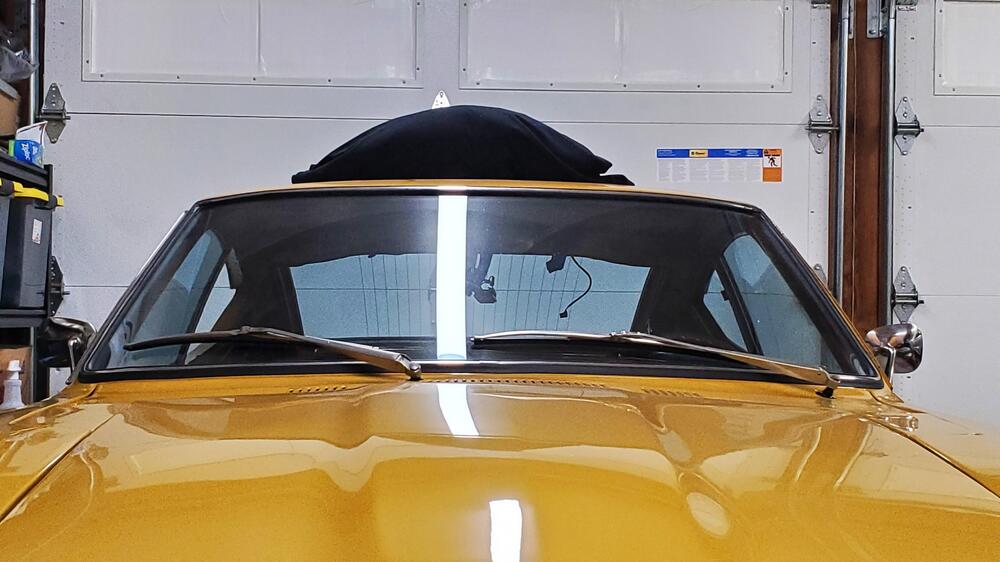
OK so i mounted the mirror today and am very pleased with the results. Symmetry is perfect, not a great pic because of limited space but best I could do: Now for sight lines, not "perfect" but certainly usable. I don't have seats in yet so I had a couple of cushions in there and I tried to simulate where I would be. To fully see a normal viewing angle you do have to lean in towards the console a bit but not like you're falling out of your seat. A stretch of the neck basically gets you there. I'm only 5'9" so I tend to sit a little forward and what if seems like is if you are a taller fellow you'll be in a much better position the further your seat is back away from the steering wheel. It will be a long time till i get true seats in so I'll remember to check back in with some shots from the normal seating position and report back in. Overall I give it a 9 out of 10. @Patcon yes i think if you swapped out the glass it goes from a 9 to a true 10. It looks to me like you can get the glass out by uncrimping the metal shell around it and then i assume the glass is glued to the back plate? I won't be trying that any time soon becasue my luck the glass cracks, the ball breaks and I'm back to square 1.
-
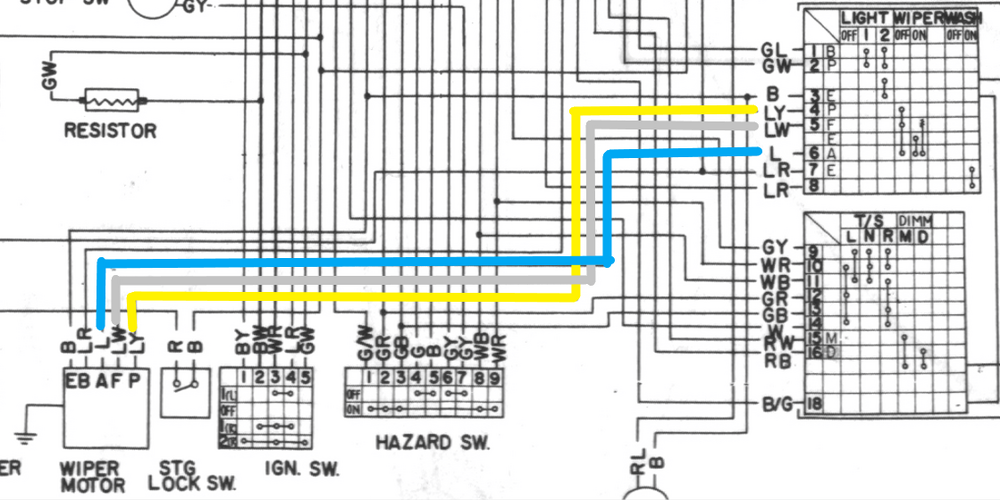
Tried following the wiring diagram to get a jump on this and I'm confused. There's two columns for wiper on off with some switch connections it seems. Off I assume is all three of the Blue, Blue/White, Blue/Yellow should be tied together? And I'm not sure which speed is high or low but I assume one speed is Blue tied to blue/white and the other is blue only? Maybe low speed drops out of the three the Blue / yellow and then another click to high drops out the blue/white also only leaving blue?
-
@SteveJ Closing this out, yup was the switch on the stalk. Luckily I had another from an old stalk laying around. Swapped and all good. As i was testing all this I noticed everything on the stalk and the wiper switch works except the high speed on the wipers. Well i didn't try to washer spray so i guess not everything was tested yet. When i turn wipers on they do work at low speed but high speed is basically another off switch. Back to off turns them off correctly. I ran out of time to pull it back apart but quick glance it did not seem as easy of a swap out of this is a switch issue again. Any advice before i tear things up?
-
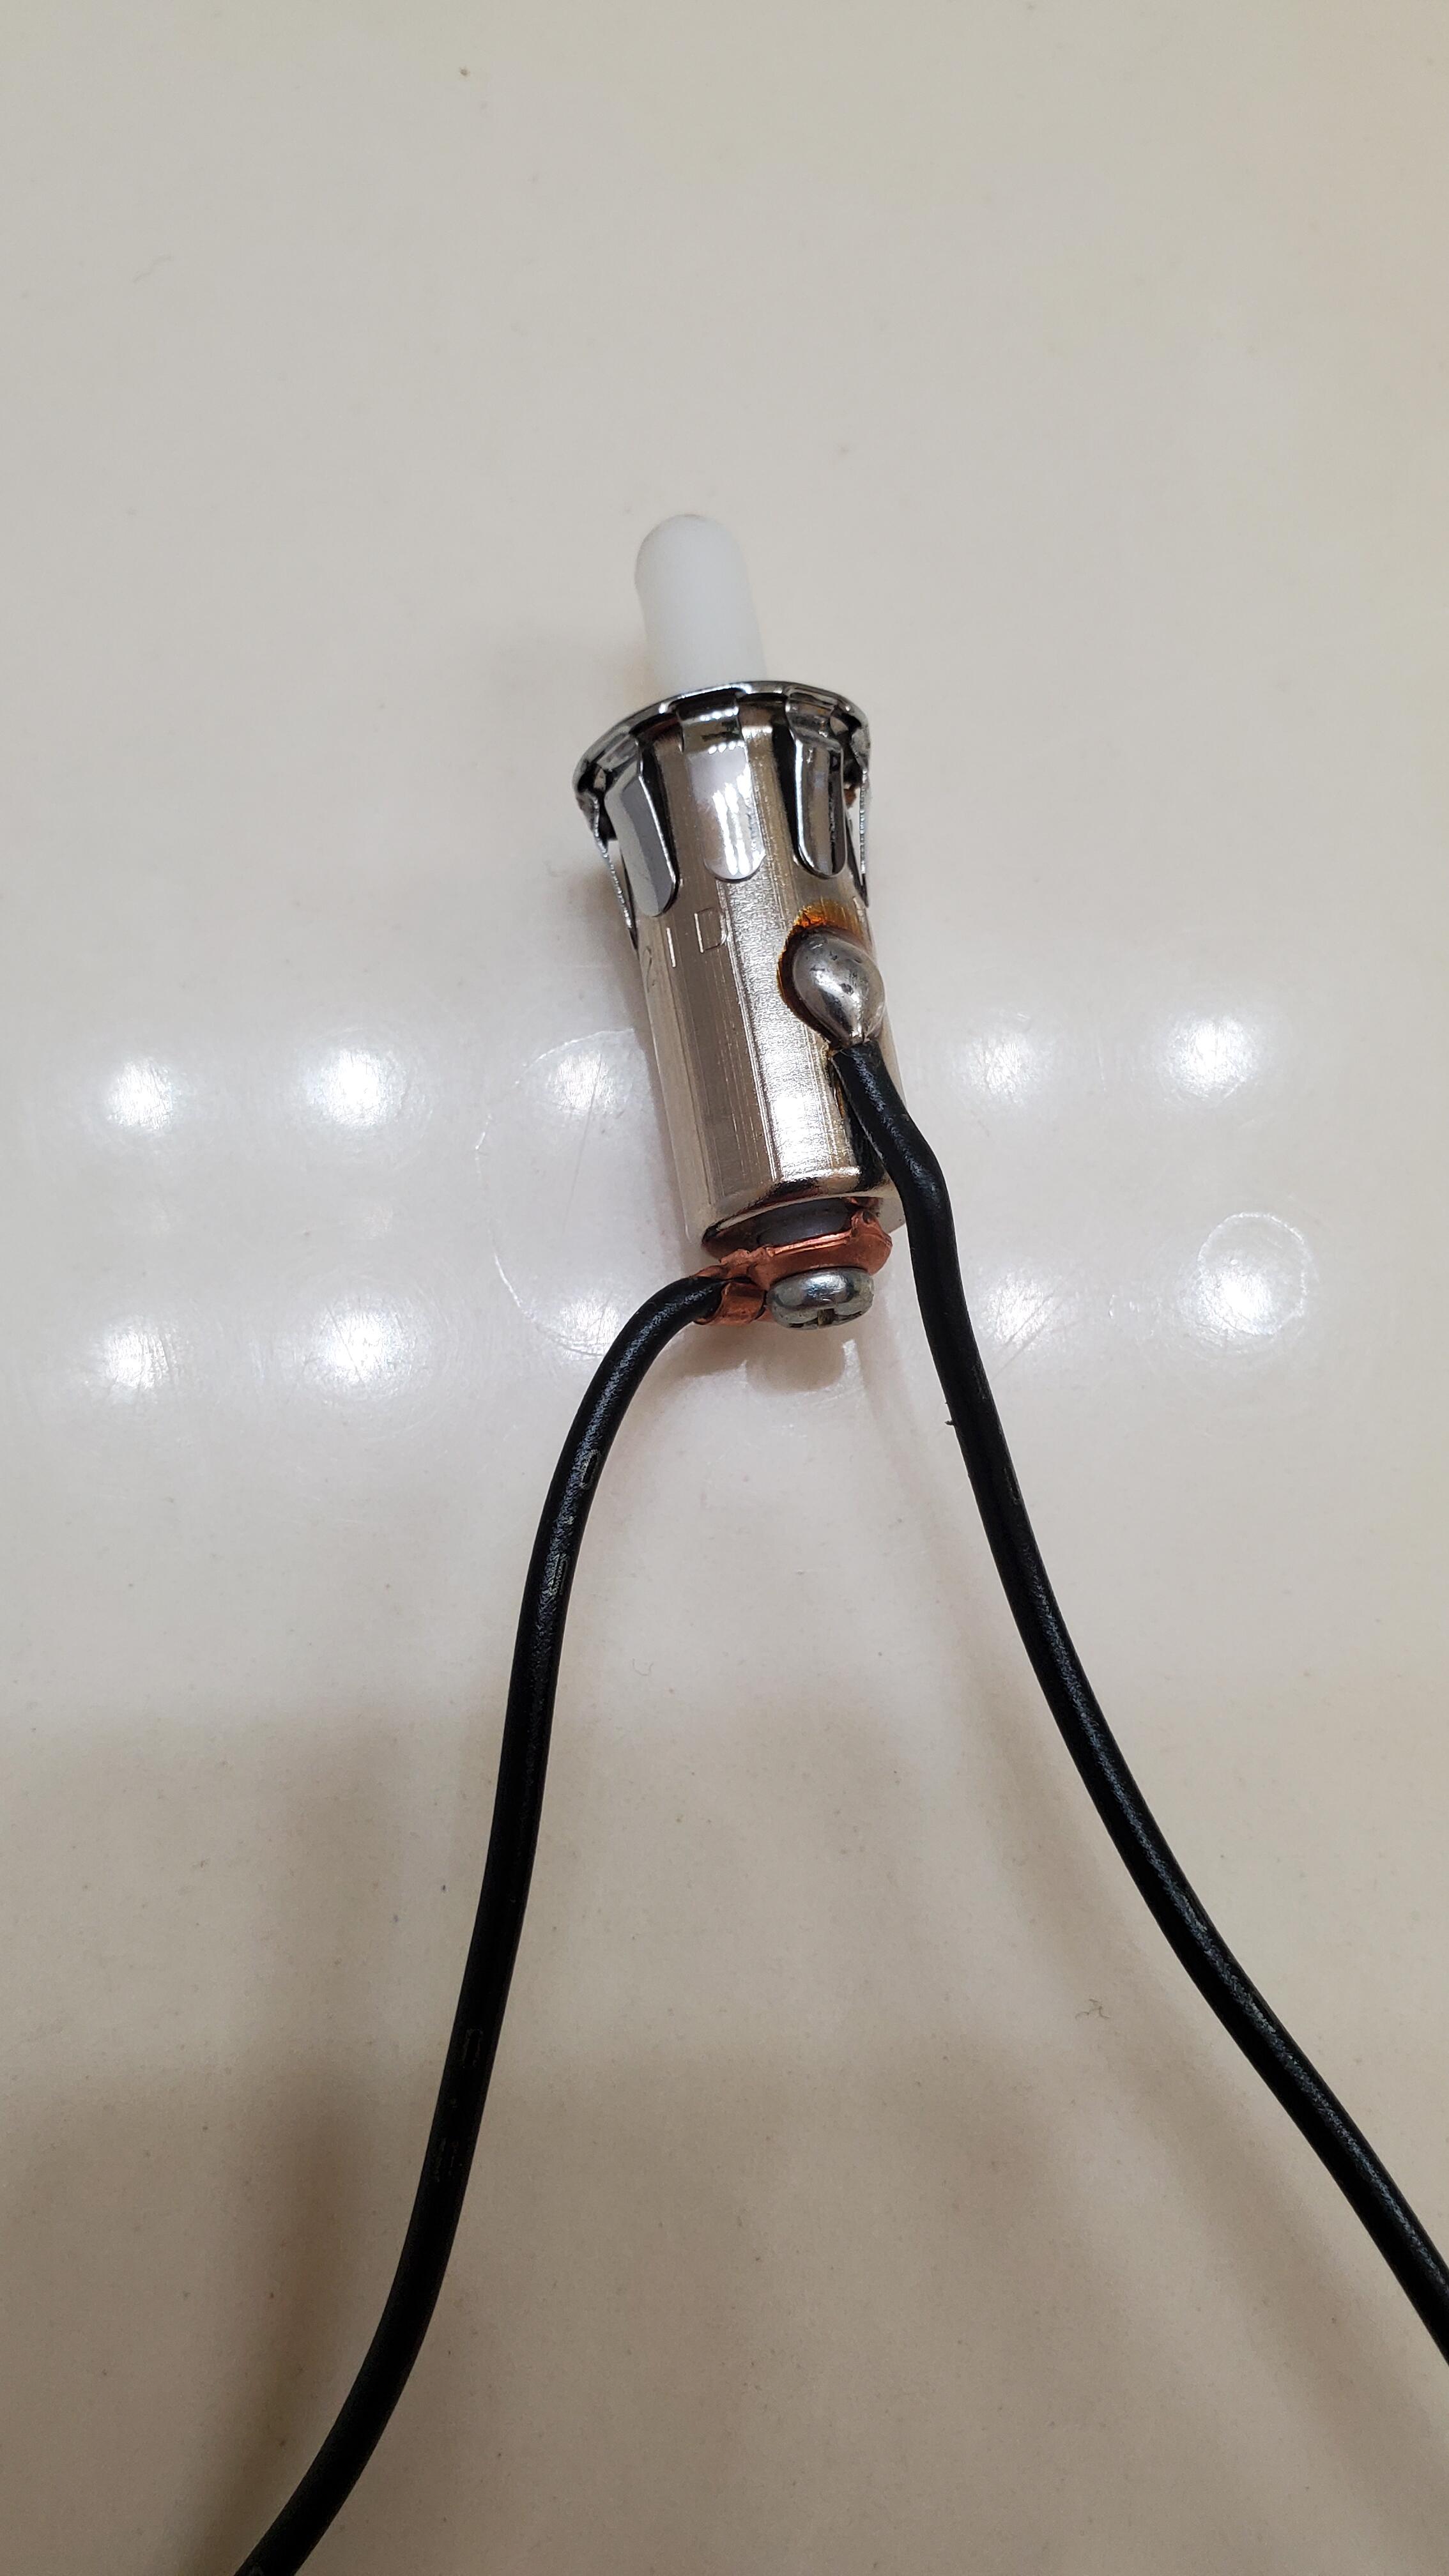
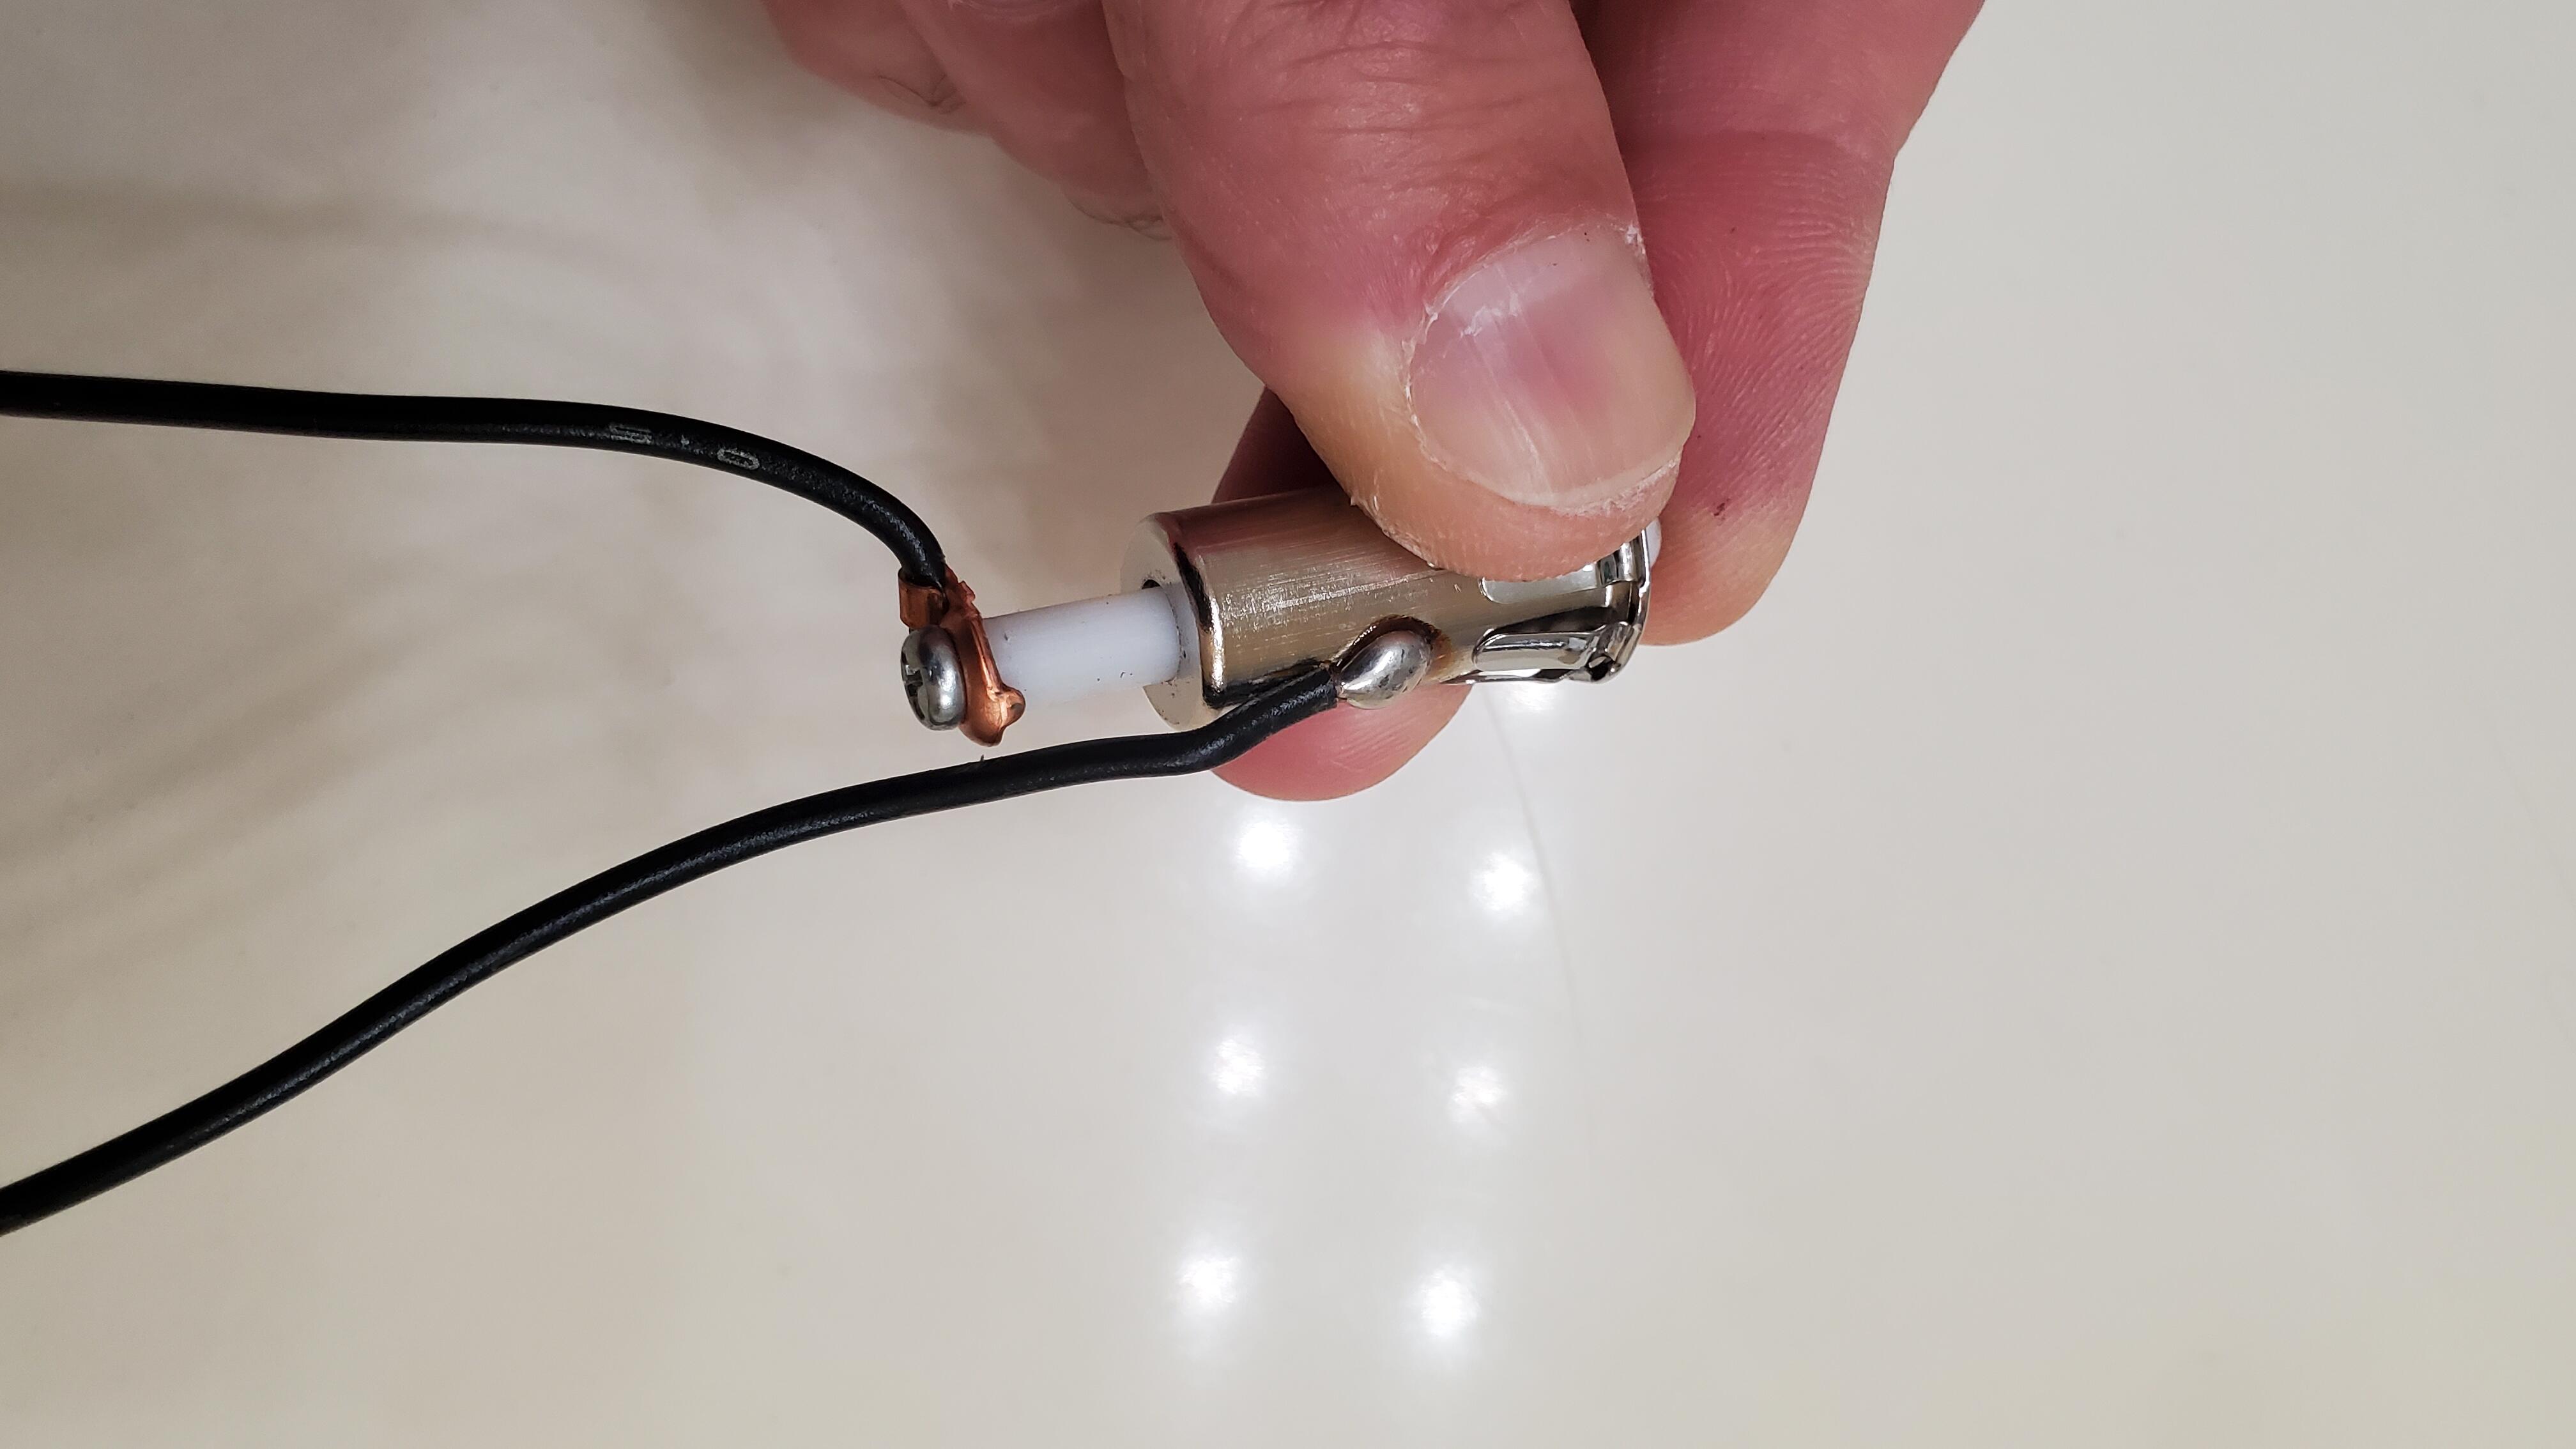
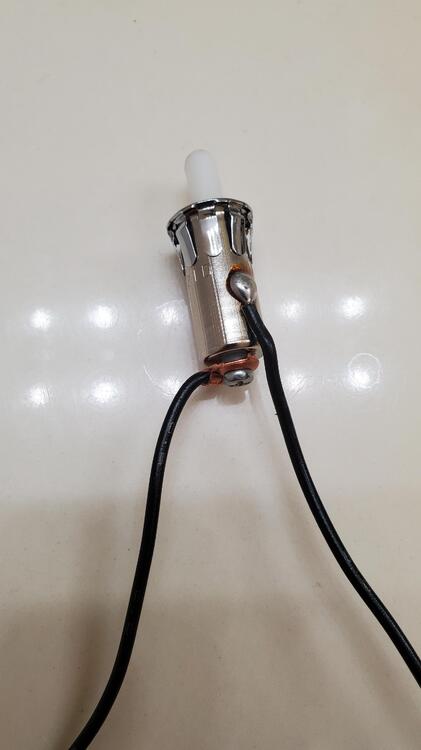
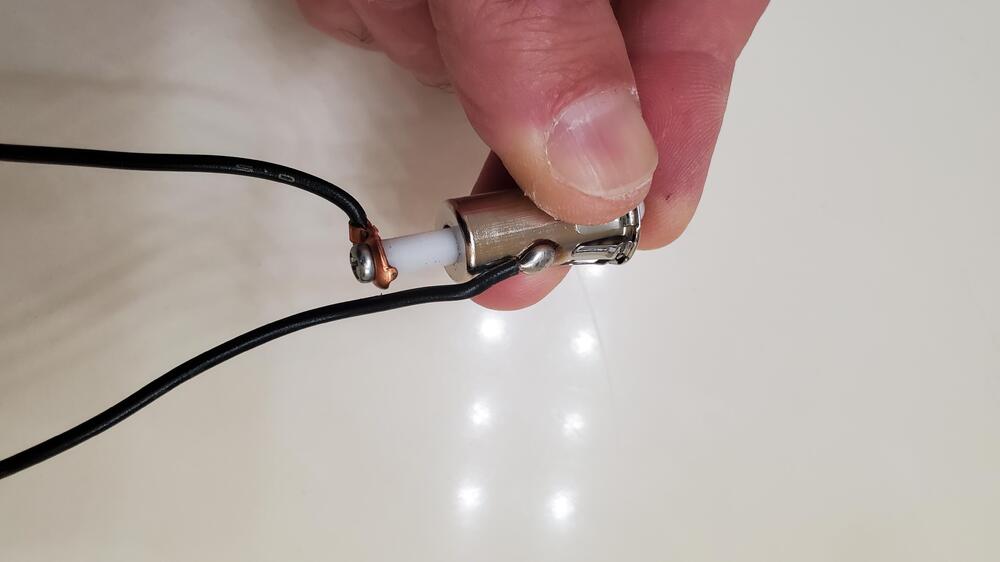
I'm thinking now these new switches come with the one wire attached to the housing for applications where the body ground isn't available by contact with a metal surface like the door jamb. So if you insert this in some plastic piece you can supply ground to the switch via that soldered wire to complete the grounding circuit.
-
Just wanted to finish up what I started. My issue was the new door switch the PO put in. To recap, it was a two wire and both wires were connected properly to the ground wires for the dome light and the buzzer circuit. What the issue was, and I can't understand how the PO didn't address this, was that these new door switches have one wire on constant ground. That was the wire he had connected to the buzzer. He had the switched ground luckily enough connected to the dome light. So all I did was change the second wire to switched All is right and the buzzer that is straight from hell works as it should!

-
Ive tried to measure and im pretty close to your measurements. Now I dont have a protractor, just some chopsticks and a square lol but my differential was about 20-21 degrees similar to yours. I'm sure the measurements you're taking are more accurate. when i put it up against my LH mirror its near identical in range but the older one doesnt move as easily so I'm sure if they were both new they would be exact.
-
It will probably be a while till I get either seat in but I can try and do some measurements either later today or over the weekend will report back here
-
@CanTechZ maybe not as much as I should have lol. Honestly for me it was two things the Aesthetics of it and sure the usability I haven't installed it yet plus my seats are out for some floorboard repair so I probably really won't know until I get everything all back together again I'm sure it must be better than the one I had before maybe not perfect but probably about as good as it's going to get for a guy like me.
-
@KenFirch i was able to yes. I left the glass all the way up and if you are skinny enough like me you can slide your hand / forearm in and reach it. For me I used the largest hole closest to the front of the door right below the small window channel and the mirror itself. I reached in horizontally as if i was trying to reach for the lock side of the door on the bottom. Once the arm was in i just rotated the elbow until my arm was 90 degrees up right under the mirror. Single bolt with a small driver and was good to go.
-
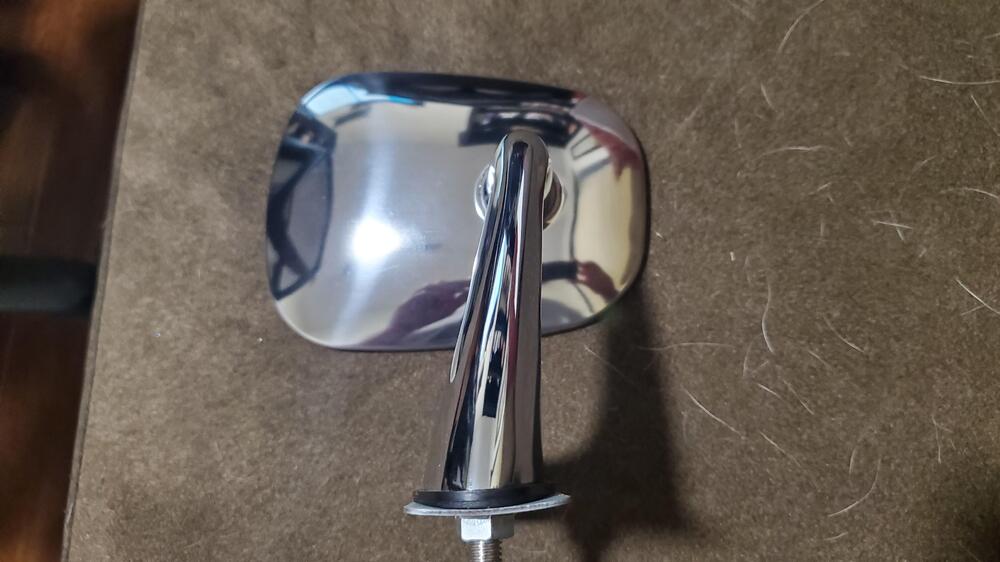
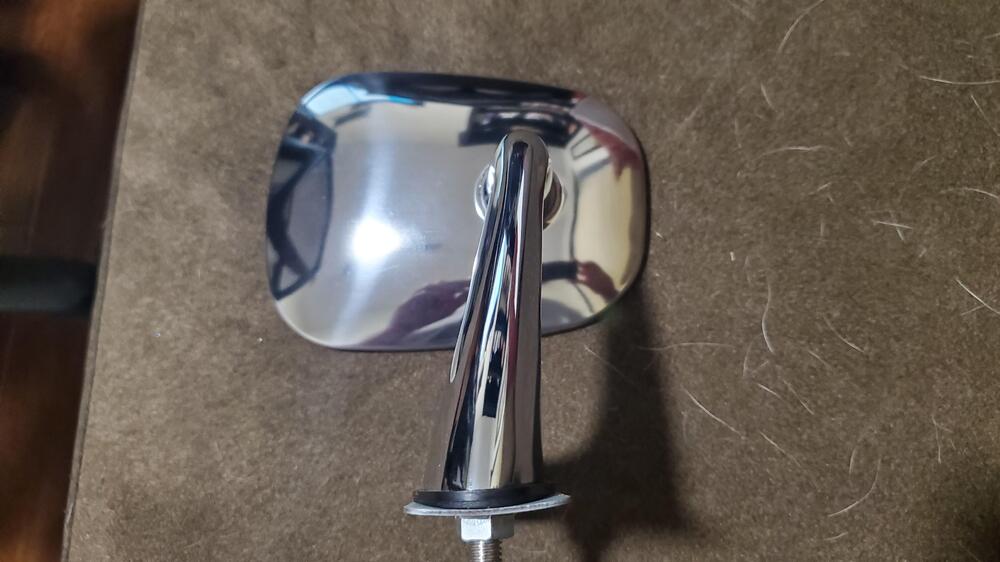
OK so I stumbled on this old thread, dipped my toes in, and BINGO its the elusive unicorn of mirrors. Its an OEM RH mirror that when placed on our LH cars passenger side is a perfect match to the driver side. his comment about not working on passenger side was in reference to the passenger side of a RH car.
-
Ok, so like many of us I have been dealing with a previous owner that put a driver side oem mirror on the passenger side. As expected looks close, but useless for actually seeing anything. Well I was contemplating getting a friend to 3d print a new "base" so the stalk would align correctly when you flip the glass around. i was digging through some old posts here about the angle of the stalk etc and came upon this one: and down about halfway was an ebay listing from 2021 showing this mirror and what intrigued me was the RH and part number ending in 2 rather than 1. So i worked out a deal with the guy to get the last one he had even though as @Patcon you wrote "noticed his ad stating won't work on the passenger side". Well my thinking was if this truly is a RH made mirror for those markets then what they mean is the same as what we deal with, you can't buy 2 and flip one to the other side. So i took a shot and BINGO! it actually leans towards the glass a perfect match to the typical driver side ones most of us have. I was so excited to post I forgot to clean my wife's cat hair from the couch! So moral to this story is if you look for that part number you can find the RH OEM mirror, it just takes some luck.
-
I'll have to fiddle. Add it to the list lol. There's probably a broken pin and roller guide from an arm on the regulator sitting down there too.
-
@Patcon I just happened to pull the door skin to start doing some work in there and like many others found my roller in the bottom of the door. Question, other than rattle, would this also help keep the glass "straight" as it rolled up? Mine rolls up and down nicely but what happens is the glass kind of tilts toward the front of the car as it comes up and when fully rolled up the top back corner of the glass no longer is fully "sealed" in the sash. you can see a small air gap there. If I guide the window up with my hand as i crank it will sit properly. or do you think i have another issue in the regulator or channels internally? when i get the new one is it simply pry up and then press back down in place?
-
Yarb I actually have an oem signal flasher that works but its the little button kind that flaps in the wind down there, no mounting bracket. I could zip tie it of course but a pick and pull person I'm working with has a bunch of the old one with brackets they would donate. the problem is I can't find anywhere with hours of searching for the right kind. All i keep finding is the cylindrical ones that have the bracket but they are all the "Gold" kind heavy duty for the hazards or 3 wire for combination relays.
-
Side question for anyone while I wait to go do the testing. Does anyone have the exact model / specs of the original turn signal relay, the ones that have a mounting bracket? I', thinking they are the silver kind, definitely not heavy duty (those are for hazards) but I can't seem to settle on 23Wx2+3.4W or 23Wx3+3.4 W for the turn signal kind? ive seen some of each and they are both listed as 12.8V and 85 cpm but not sure what load that is based off of etc and what my 71 would put out. I assume the heavier wattage would just slow down the cpm if its the wrong kind?