Patcon
Supporting Member
-
Joined
-
Last visited
Everything posted by Patcon
-
There is not much room on that side inside the dash to route the piping. The piping could be unhooked from the the defrost end. It could be crushed in the dash. Unhooked at the heater box end or have a hole. I'm going to guess it's unhooked on one end. Even crushed it should blow some air
-
You're very welcome!
-
An IR gun might help you locate where the warm hoses stop and the cold hoses start
-
I thought 76k was cheap for the car. Although, I hadn't noticed the Frenched headlight buckets. I think that really hurts the value
-
Metal shrinking is doable but it takes a lot of practice and the results can be challenging. One thing in your favor is the metal has a memory and wants to go back to the original shape. A paintless dent guy would be a great choice even if it needed painting after it was fixed. PDR guys understand how to push metal around Do you have any pictures of the dent?
-
I guess one question would be what is your budget?? Hard to find a ready to go car for 20k 40k gets you lots of choices!!! 15k could get you a nice foundation that needs finishing. 240z will bring the most money but a later car could be updated. The later cars also tend to be slightly safer. More metal, betrer horn pad, seatbelts, crash bars in the doors. My least favorite part of the 280, the front valance can be reworked to mimic the 240z
-
-
"T" bolt? I would probably make one out of the correct sized bolt
-
Yes, all much bigger ;)
-
I have bought many things from Vintage connections. No problems. Haven't dealt with the other company
-
Thanks for every bodies feedback. So I tested the body with a volt meter and the is continuity from the power in blade to the case. I was also very careful to keep the horn parts separate. I marked one body with 1 and one body with a 2 and kept the corresponding parts in separate numbered ziploks while the bodies went to plating
-
I can't get mine to work at any position of the screw. We tried a number of times and adjusted slowly but can get it to work
-
In the interim I'd be glad to have any without big rust holes in it
-
-
I might be interested in the jack if it's in great shape
-
-
So do I actually need the stainless steel Trico ribs if I have wiper arms that old blades in them? In other words, could I just use the metal ribs off the old blades with the rubber sweeps?
-
Here is the rubber one on the passenger side I believe this is Kat's car, thanks Kats
-
This is one of them. I don't know if there is another on the drivers side
-
I have an airbox but it's pretty rough. I dont really need the backing plate as I have two of those
-
The early cars have the tools behind the seats. There are some rubber straps with metal ends that hold them in place. I need to source these straps
-
So I was messing with reassembling horns today. I don't believe my early horns have the metal bar. They only have a round piece with the insulators and the threaded stud. After assembly they bump in once but must not be opening the contacts or there's another path to ground. Are the paper gaskets supposed to be insulators??
-
Chas, That's for the direction on Oring material My switch is different than the one you posted. I wonder if any of the Orings are the same?
-
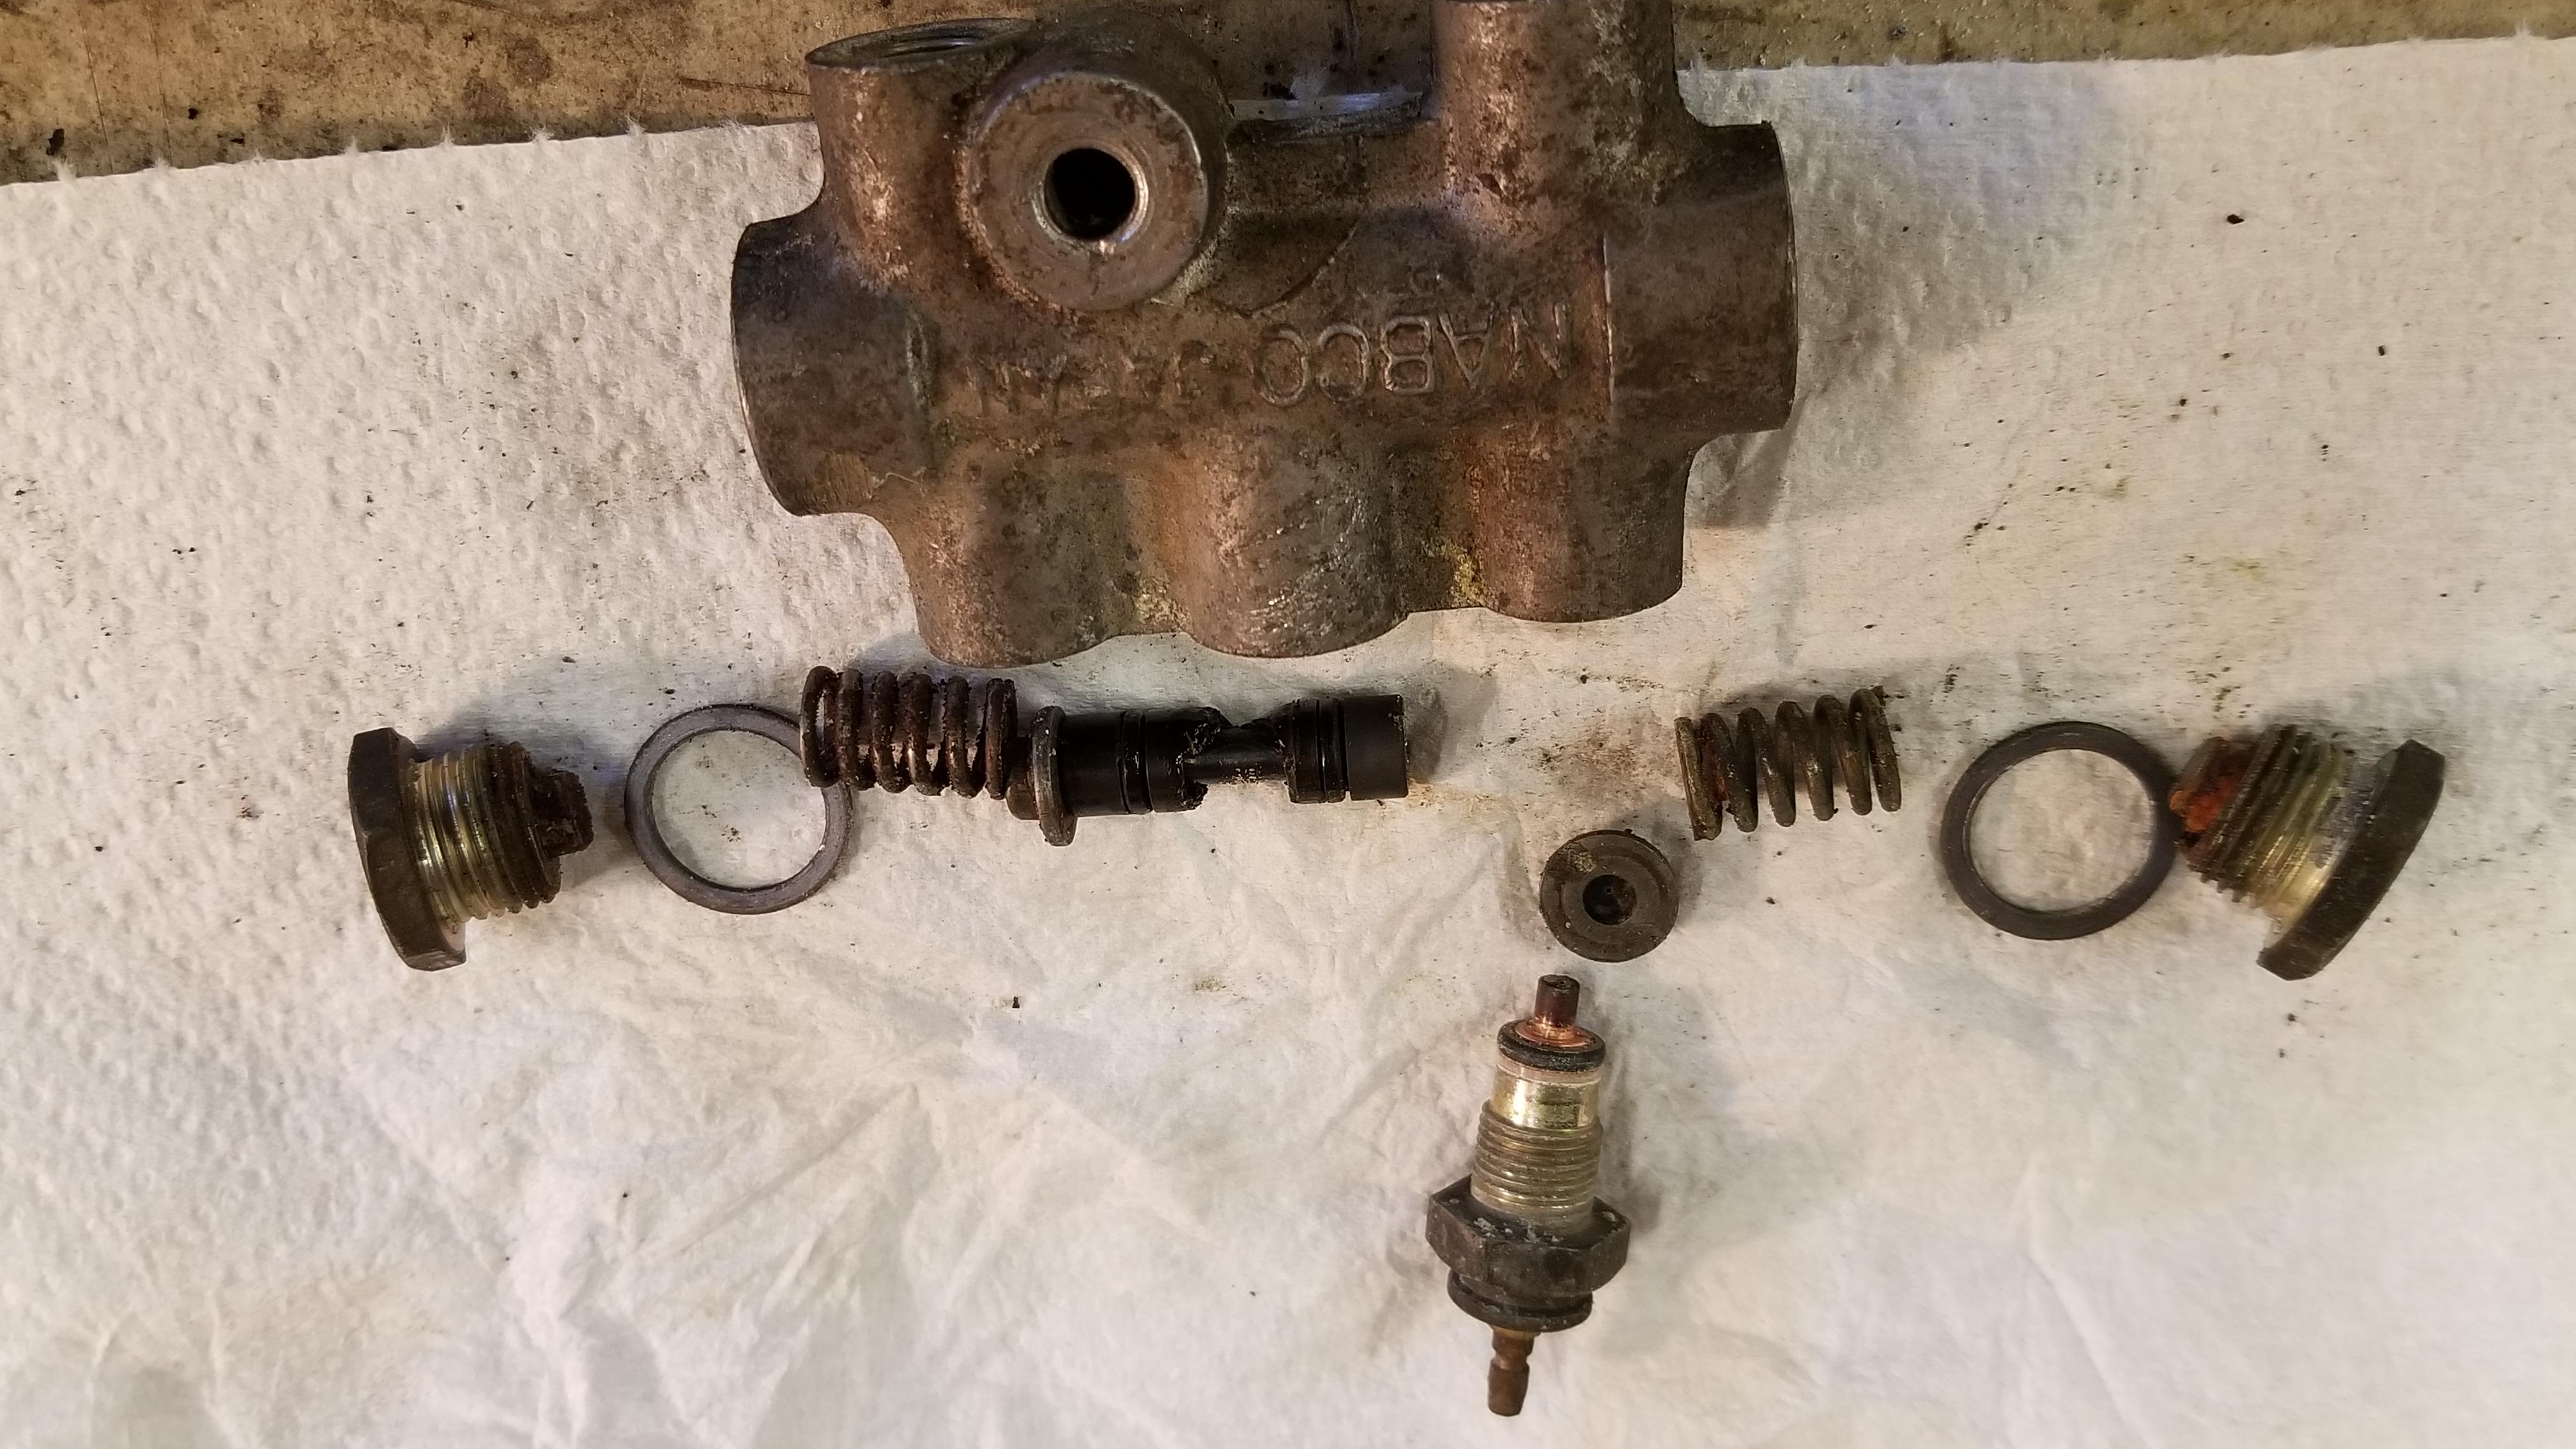
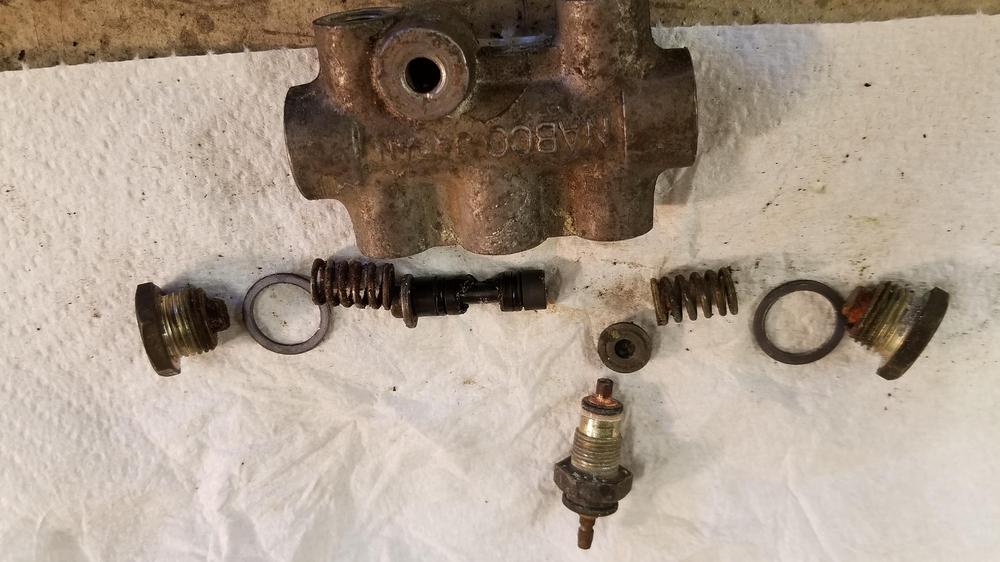
So some more progress and some lessons for today. My brake light was always on unless I pulled the signal wire off the safety brake failure switch. The parking brake wouldn't light up the brake light either. After pulling the sensor and exploring some and stealing a switch off the brown Z and opening it up some Cody could see it. We determined the sensor threaded in too far. I rebuilt this in Jan 20, 2018. I used a small viton o ring instead of the black ring on the end of the sensor. It should probably be a small hydraulic D ring instead. If it threads in a hair too far it will close the ground circuit all the time. We took the black ring out of our stolen switch and that fixed the always on brake light. The parking brake switch had to be wire wheeled to make it work but we still didn't have a ground path. So that meant we had to pull the bolts out of the parking brake mechanism and clean off some paint so that we had continuity. Then the parking brake switch lights the brake light as it should. :) So the lesson here is very similar to Chuck's steering wheel anecdote. If you paint everything, you're electrical might not work! I also made a little heat shield for the 123 ignition. I have heard that heat from the header could kill the electronics. It's flimsy but I will redo it when I decide what I want the finished product to look like I also worked on my parking brake adjustment. Using all the adjustment available the handle was almost out of travel. So I bought some 10mm OD 5mm ID aluminum tubing off Amazon and added a small section of tubing to remove some of the slack in the system. I used some heat shrink to prevent it from rattling around. It works much better now. Five clicks and it's tight at about a 45 degree angle.


-
That seems like a very fair price! GLWS