Namerow
Community Member
-
Joined
-
Last visited
Everything posted by Namerow
-
Re your leather gloss issue for the door panel material, why not just try a coat of paste wax (or, if it makes you feel better, clear shoe polish)? Alternatively, check to see whether SEM (or a competitor) offers a satin finish clear for use with vinyl and leather. Suggest you have a look at 'Parasol' (Toronto). They will custom-mix and ship to your door. I had very good results with their products.
-
Listed by ZCar Depot @ $119.00... https://zcardepot.com/engine/cooling-heating/coolant-line-bypass-pipe-crossover.html?limit=128
-
Are the contact points in the Z's switchgear actually made from silver?
-
Where have the mice been living while you've been remodeling their home?
-
I haven't tried to do this myself (yet), but your picture gave me an idea... Try using two loops of fine-diameter fishing leader line (plastic) to tie and knot the spring into compression. Position your loops at the 12 and 6 o'clock position of the spring circumference. Drop the seal, the valve and the spring into place. The two loose ends from each loop of line will stick out of the bore. Insert the circlip, with the loose ends of lines going through the centre. Once the circlip is clicked in place, use an X-acto blade to cut the loops of line and then use tweezers to pull the remains out of the bore. It might work.
-
While browsing vendor sites this morning, I discovered that MSA are now offering new replacement aluminum door sill plates (aka 'threshold plates') with the 'Datsun' logo. Another 'unicorn' Z part now available for purchase, after years (decades?) of being NLA. $179 for a pair. With Distinctive Industries now making replacement door cards with OE-look vinyl trim (apparently in all colours -- not just black), that looks after two of the most-visible, but traditionally hardest-to-find, parts for a Z interior restoration.
-
-
Unless you get really lucky, your going to find that the original vinyl isn't worth re-using. Reasons: The old vinyl will likely have age-hardened in the locations where the factory adhesive was applied. So much so that it may have chipped or split along the edges. The hardening makes it difficult to make a tidy job of re-gluing the pieces into another car. BTW, If have found nothing (including 'vinyl softener' products) that will permanently re-soften this vinyl. Conversely, one of the bigger vinyl pieces -- the one that covers the transmission tunnel -- actually sags with age and ends up showing big, nasty-looking wrinkles that are very obvious. It's really difficult to make those sags disappear when you re-install the piece in another car. The old factory-applied adhesive is going to need to be removed before you can effectively glue the old pieces into your car. This is a long and tedious job. I recommend you just buy the kit. You'll end up with a better result and no one will ever know the difference.
-
My '70 has had the same 'B'-for-'A' swap performed by a PO. It will be hard to tell (with certainty) what may have been done on your car unless you post a few pictures. You don't need to put the car up on a hoist (although that would be good). Just lie down on the garage floor and take a picture of the back of the differential (esp. the bracket that runs side-to-side and sits at the bottom of the diff's rear cover). It will also help if you can put one side the car up on a jack, remove the wheel, and then take a photo of the moustache bar where it mounts to the underside of the car. Eventually, it will also be interesting to see what's been done to your car to accommodate the altered fore-aft location of the gearshift lever where it comes up out of the console opening. The 'B' places the shift lever further forward and may have required notching of the opening in the transmission tunnel to allow 1st and 3rd gear to be selected. It may also have forced some mods to the opening in the plastic console and to the lever itself (so that the lever doesn't bang into the console opening and the shift knob doesn't come too close to the instrument panel when 1st or 3rd gear is selected).
-
Trying to hand-test a shock absorber tells you very little about its on-car performance. All you're really detecting is the resistance of the gas charge inside the chamber. While the effort required to compress the gas charge may seem like a big deal to you, it's fairly insignificant in comparison with the hydraulic resistance that the shock generates when it's compressed by the wheel running over a ridge in the road at 20 or 30 or 40 mph (or when it's extended by the force of the suspension spring when the wheel tries to slam down into a pothole). Although I haven't experienced driving a Z equipped with KYB's for many years, my recollection is that they're valved pretty soft. Not as soft as the OE set-up, mind you, but way softer than a performance shock like a Tokico. Unfortunately, it's difficult to compare shock absorbers numerically... something you can do with a spring (or, at least with a non-progressive spring), where the pounds-per-inch rating pretty much tells the whole story. You need a shock dyno to generate performance data for a shock absorber. The shock manufacturers use these for both development and QA/QC purposes, but they rarely supply any performance specs with their products. It's just possible that someone out there (probably a racer) has dyno-tested some of the shocks available for the Z and can post their measurements. Anybody?
-
The Z's front-end aero lift problems were/are well documented and date right back to the experiences of the car's original owners in the mid-1970's. The cure was lifted directly from the race track in the form of front and rear spoilers. Stiffening up the steering rack-to-frame bushings was also common practice. I'm not sure that beefing up the roll bar would help, though (unless you've lowered the car and have a bump steer issue). 'Car & Driver' magazine's editors carried out a nice cut-and-try, D-I-Y project somewhere in the late 1970's in which they fabbed, installed, and then track-tested bent-aluminum-sheet spoilers of progressively greater height (rear) and depth (front) to see how they worked and find the optimum front/rear combination. IIRC, the car was fitted with force transducers to measure the lift. Now that I've brought this up, I guess I'm obligated to dig into my back issues and find the article. If I'm successful, I'll post it here later in the weekend. From my perspective, it's not really a question of whether spoiler work but rather one of how small a front spoiler I can get away with (or front/rear spoiler combination, if one at the back is absolutely necessary) to achieve adequate results for modern highway driving speeds. I'm not really a fan of the way big front air dams and rear spoilers affect the Z's look. I've always found the car's styling very 'fragile' and not well suited to customizing. Your needs and preferences may, of course, be different from mine.
-
I'd like to hear some comments from owners who have experience with the small, hard-rubber 'chin' spoiler that was installed (by Nissan, I believe) on the Z's sold in England. Was it effective in reducing front-end float at speeds in the 120 - 130km/h (75 - 80 mph)? For reference, the Z that appears on the cover of the Haynes repair manual has this spoiler. There are also some good close-up pix of the part in Ray Hutton's book, 'The Z-Series Datsuns'. It appears to be pretty much vertical in orientation and only about 4" deep.
-
I've had mixed results with Freeze-Off type products. They work like a charm sometimes, but aren't much help in other cases. I freed up all three of my downpipe-to-exhaust fasteners successfully using heat only... but it took renewed heating many steps along the way for each fastener to coax them loose. They were reluctant to turn for at least the first 1/4" of thread travel. I had to use MAP gas and a swirl-type torch head to generate enough heat. An oxyacetylene torch is ideal, if you have access to one.
-
I think you're may be on to something, Jim. However, the 'bolt' (actually more like a long stud) is non-rotational because it's designed to be firmly tightened into the blind threaded hole in the float bowl casting. That means that you wouldn't be able to rotate it to a new position (to take advantage of the eccentricity you're proposing) unless you were prepared to leave the threaded stud-to-casting joint 'loose' after you'd found the bolt orientation position you want. Maybe a thin jamb nut? If that would work (and I'm sure that one or all of Capt Obvious, Blue, Patcon, Grannyknot and maybe even Z Therapy are about to start work on this ), then it would seem that the final touch would be to slot the other end of the 'bolt' (where the lock nut) to allow use of a screwdriver to turn the bolt to make adjustments. Adjusting sequence would be: loosen lock nut on end of bolt loosen jamb nut where bolt fits into float casting turn bolt until desired fuel level is observed inside carb nozzle tighten jamb nut tighten lock nut job done One additional thought: I don't think the bolt offset needs to be more than 5mm. That would provide an up-down adjustment of +/- 5mm for the float bowl. If you set the float 'tang' adjustment to the FSM-recommended setting to start with, an additional +/- 5mm of adjustment should be more than enough to zero in on the desired fuel height in the carb nozzle. Gentlemen: Start your lathes. Report back here in a week, with pictures (to prove that it really happened). Whoever wins owes me two finished prototype eccentric bolts.
-
Figuring out the fuel level in the float chamber is easy. What we really need is for somebody to come up with a mechanism that allows the float level to be adjusted needing to remove the float chamber lid.
-
If you have the opportunity to visit Ireland, check out this little museum in Waterville on the Ring of Kerry. It has a great display of cable samples and other equipment from the original trans-Atlantic cable-laying efforts... http://www.ireland.com/en-us/what-is-available/attractions-built-heritage/historic-houses-and-castles/destinations/republic-of-ireland/kerry/waterville/all/1-90308/ The Irish whiskey isn't bad, either.
-
Most of that will buff right out...
-
The section headings in Wick Humble's book provide a pretty good guide for reassembly steps.
-
You're going to grind all those welds, right?
-
I found Vintage Connections to be an excellent supplier. If you purchase connectors and terminals, make sure you also buy the small and large terminal removal tools (not v. expensive and worth every penny) and a ratcheting terminal crimping tool (VC has one for under $50 that produces good results with a bit of practice).
-
Not sure exactly when they added these to their catalog (sometime during the past year, I think), but it turns out that Whitehead Performance (Toronto) has introduced an almost-full line of own-brand poly bushings for the 240-260-280 Z's. One of the key design features is the use of a material with a lower-than-usual durometer rating. Here's their write-up: "Whiteline Plus bushings provide the softness needed for street driven, low vibration, noise and harshness characteristics, while displaying extreme abrasion, tear and cut resistance, and near-zero compression set at a lower durometer reading of 70-80 (versus most poly bushings 100+ rating). In addition, Whiteline Plus polyurethane bushings are able to be bonded directly to the metal shell, which provide a method of flow control giving the bushing the characteristics of soft ride while on smooth roads, and when under cornering pressure cause the bushing to become firmer for improved suspension performance." T/C Rod kit - C $43 Steering Coupler kit - C $73 Front Inner Control Arm kit - C $59 Rear Outer Control Arms kit - C $64 Rear Inner Control Arms kit - C $90 Moustache Bar kit - C $71 That totals out at C $ 400 (about US $300), so they're definitely premium-priced (and no 'master kit' is being offered at this time). The typical PU master kits being sold by 'others' (which also include Steering Rack and Roll Bar bushings, plus 4 bump stops) are going for as little as US $200 c/o American vendors. Not saying that Whitehead is gouging on price. Instead, I think their prices just reflect the cost premium that comes with a small-volume production run. The sleeve-to-bush 'bonding' feature noted in the Whitehead write-up comes into play for the front-inner and rear-outer control arm pieces. It looks like they've paid proper attention to the design of the poly and metal pieces, so that these control arm bushes will provide torsional resistance (rather than simply acting as a free-motion pivot). It would be interesting to know what the durometer rating of the Nissan OE rubber bushes was in as-new condition. Anybody? It would also be interesting to know how the durometer rating of the OE rubber bushes drops with age. I wonder, for example, what value it has sunk to by the time the rubber is 45 years old?
-
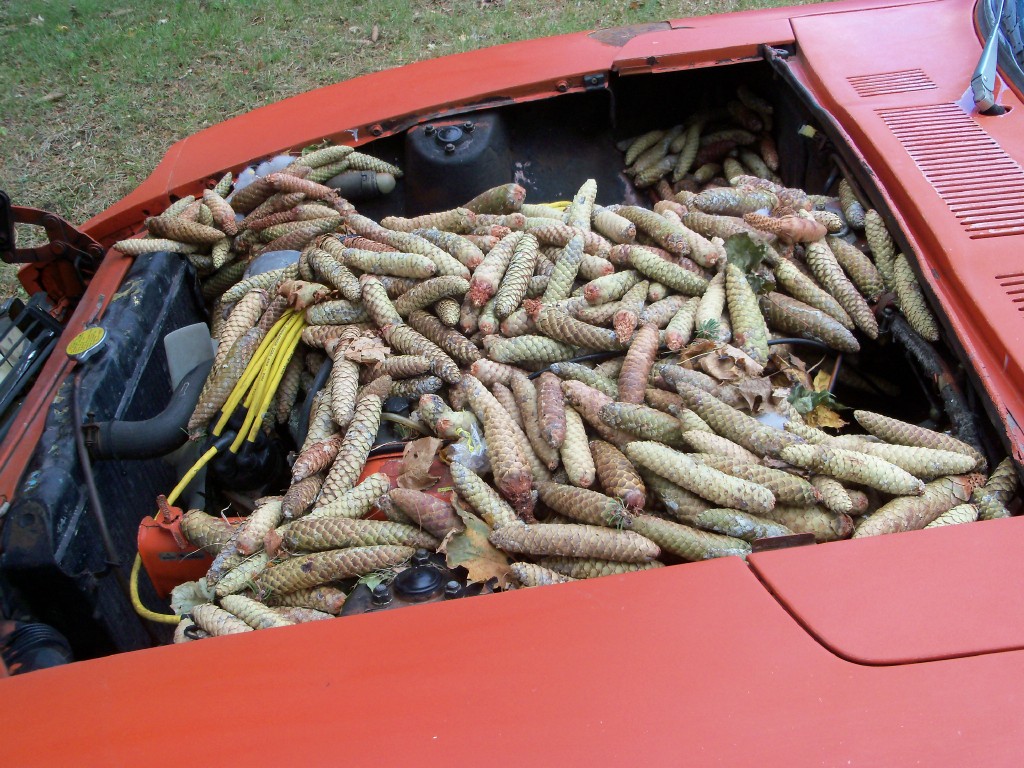
I'm always impressed by how fast and tidy you manage to work through these panel repair jobs! Big thumbs up. For humor value, I thought you might enjoy this picture that will illustrate how those pine cones manged to find their way into the car's fresh air ducts... (This was a very hard-working squirrel!)

-
Is that a thumbscrew right under the fulcrum of the main lever that lets you control the depth of your cut? I like the concept, but except for open-access areas where you're able to use the collar, it would seem to be just an air-powered drill with a set of spot-weld cutter bits. The sleeve mount for the collar looks like it will allow a max throat opening of maybe 1-1/2"?
-
Excellent result. Did any more pine cones or dead mice float to the surface? I have a complete set of door hinges off my original '72 if you come up short in your spares pile. The welding/brazing will undoubtedly have been the work of Deiter Roth (aka 'The Z Meister'), who ran a Z service/performance operation similar to Whiteheads out of a shop in north Oshawa. Deiter was one of the founders of the Ontario Z Owners Association and was a pretty fair hand with a wrench or a torch. He was the one who scouted this car for me back in 2007 (it belonged to a former client of his named Steve Tustin). Deiter and his wife were living in Port Hope when I last had contact a few years back.
-
Carburetor is a French word meaning, 'Leave it alone'.