zKars
Supporting Member
-
Joined
-
Last visited
Everything posted by zKars
-
The entire vapor lock issue, if it really exists at all, relies on high spot(s) in the fuel lines where the gaseous vapor can rise to, and block the liquid. I'd be interested to hear from those without issues if their line routing contains any of these theoretical high spots or not. The stock fuel rail certainly has one at the end, and from my experience the rear rubber hose to the rear carb is often routed up and over (ie creating a perfect vapor lock hump) over the linkage. Just postulating. Bit early for such things, but I'm stuck in a chair with a bad back today, so look out for more pearls of wisdom....
-
Sorry to possibly confuse the issue, but I have E31 heads here that have both the short and long bananas. I don't mean a mix, all long or all short. The long banana E31 is from HLS30-164xx but the short banana E31 I cannot pinpoint as to build date or original VIN. I wish this marker could be more conclusive. Perhaps it does apply to early heads, but not later ones. Just a guess. Any others with this experience?
-
Holy mollie $34K for a modded 280! I'm going to paint BRE stripes on my white 71 resto and raise the asking price!
-
Start with Nissan, Courtesy in Dallas first. Then google the part number and see what happens
-
Use stock bushings. The urethane ones will transmit trans noise like crazy. That's one of those places where poly bushings have no business being used there.
-
Many ways of saying the same thing. Too much fuel in the bowl, getting the static level above the bridge height, causes raw fuel to be siphoned into the carb venturi. How the bowl gets too full can only be from pressure that forces the needle valve open. The argument that evap empties the bowl some, opening the needle valve, which allows fuel in to over fill is silly. The float would rise and stop it from exceeding normal height, unless, again, the inlet pressure was above the needle seat hold pressure. Simple test to put the old external fuel level indicator on the drain plug, get it hot, turn it off, and watch the level in the bowl. Also a pressure gauge on the line after/pump pre-carb would show you if it does get "high" enough to force the needle seat. If none of that is going on, then it's something BLOCKING flow into the bowls preventing the car from starting (ie too lean, way way too lean, like none!). This could only happen if evolved (boiled gaseous gasoline) in the line sits in a high spot blocking liquid fuel flow. Again, float level indicator would show an EMPTY bowl not refilling during cranking during attempted restart. Line pressure gauge would read very low or no pressure. Finding the cause of your problem is a matter of careful and methodical testing.
-
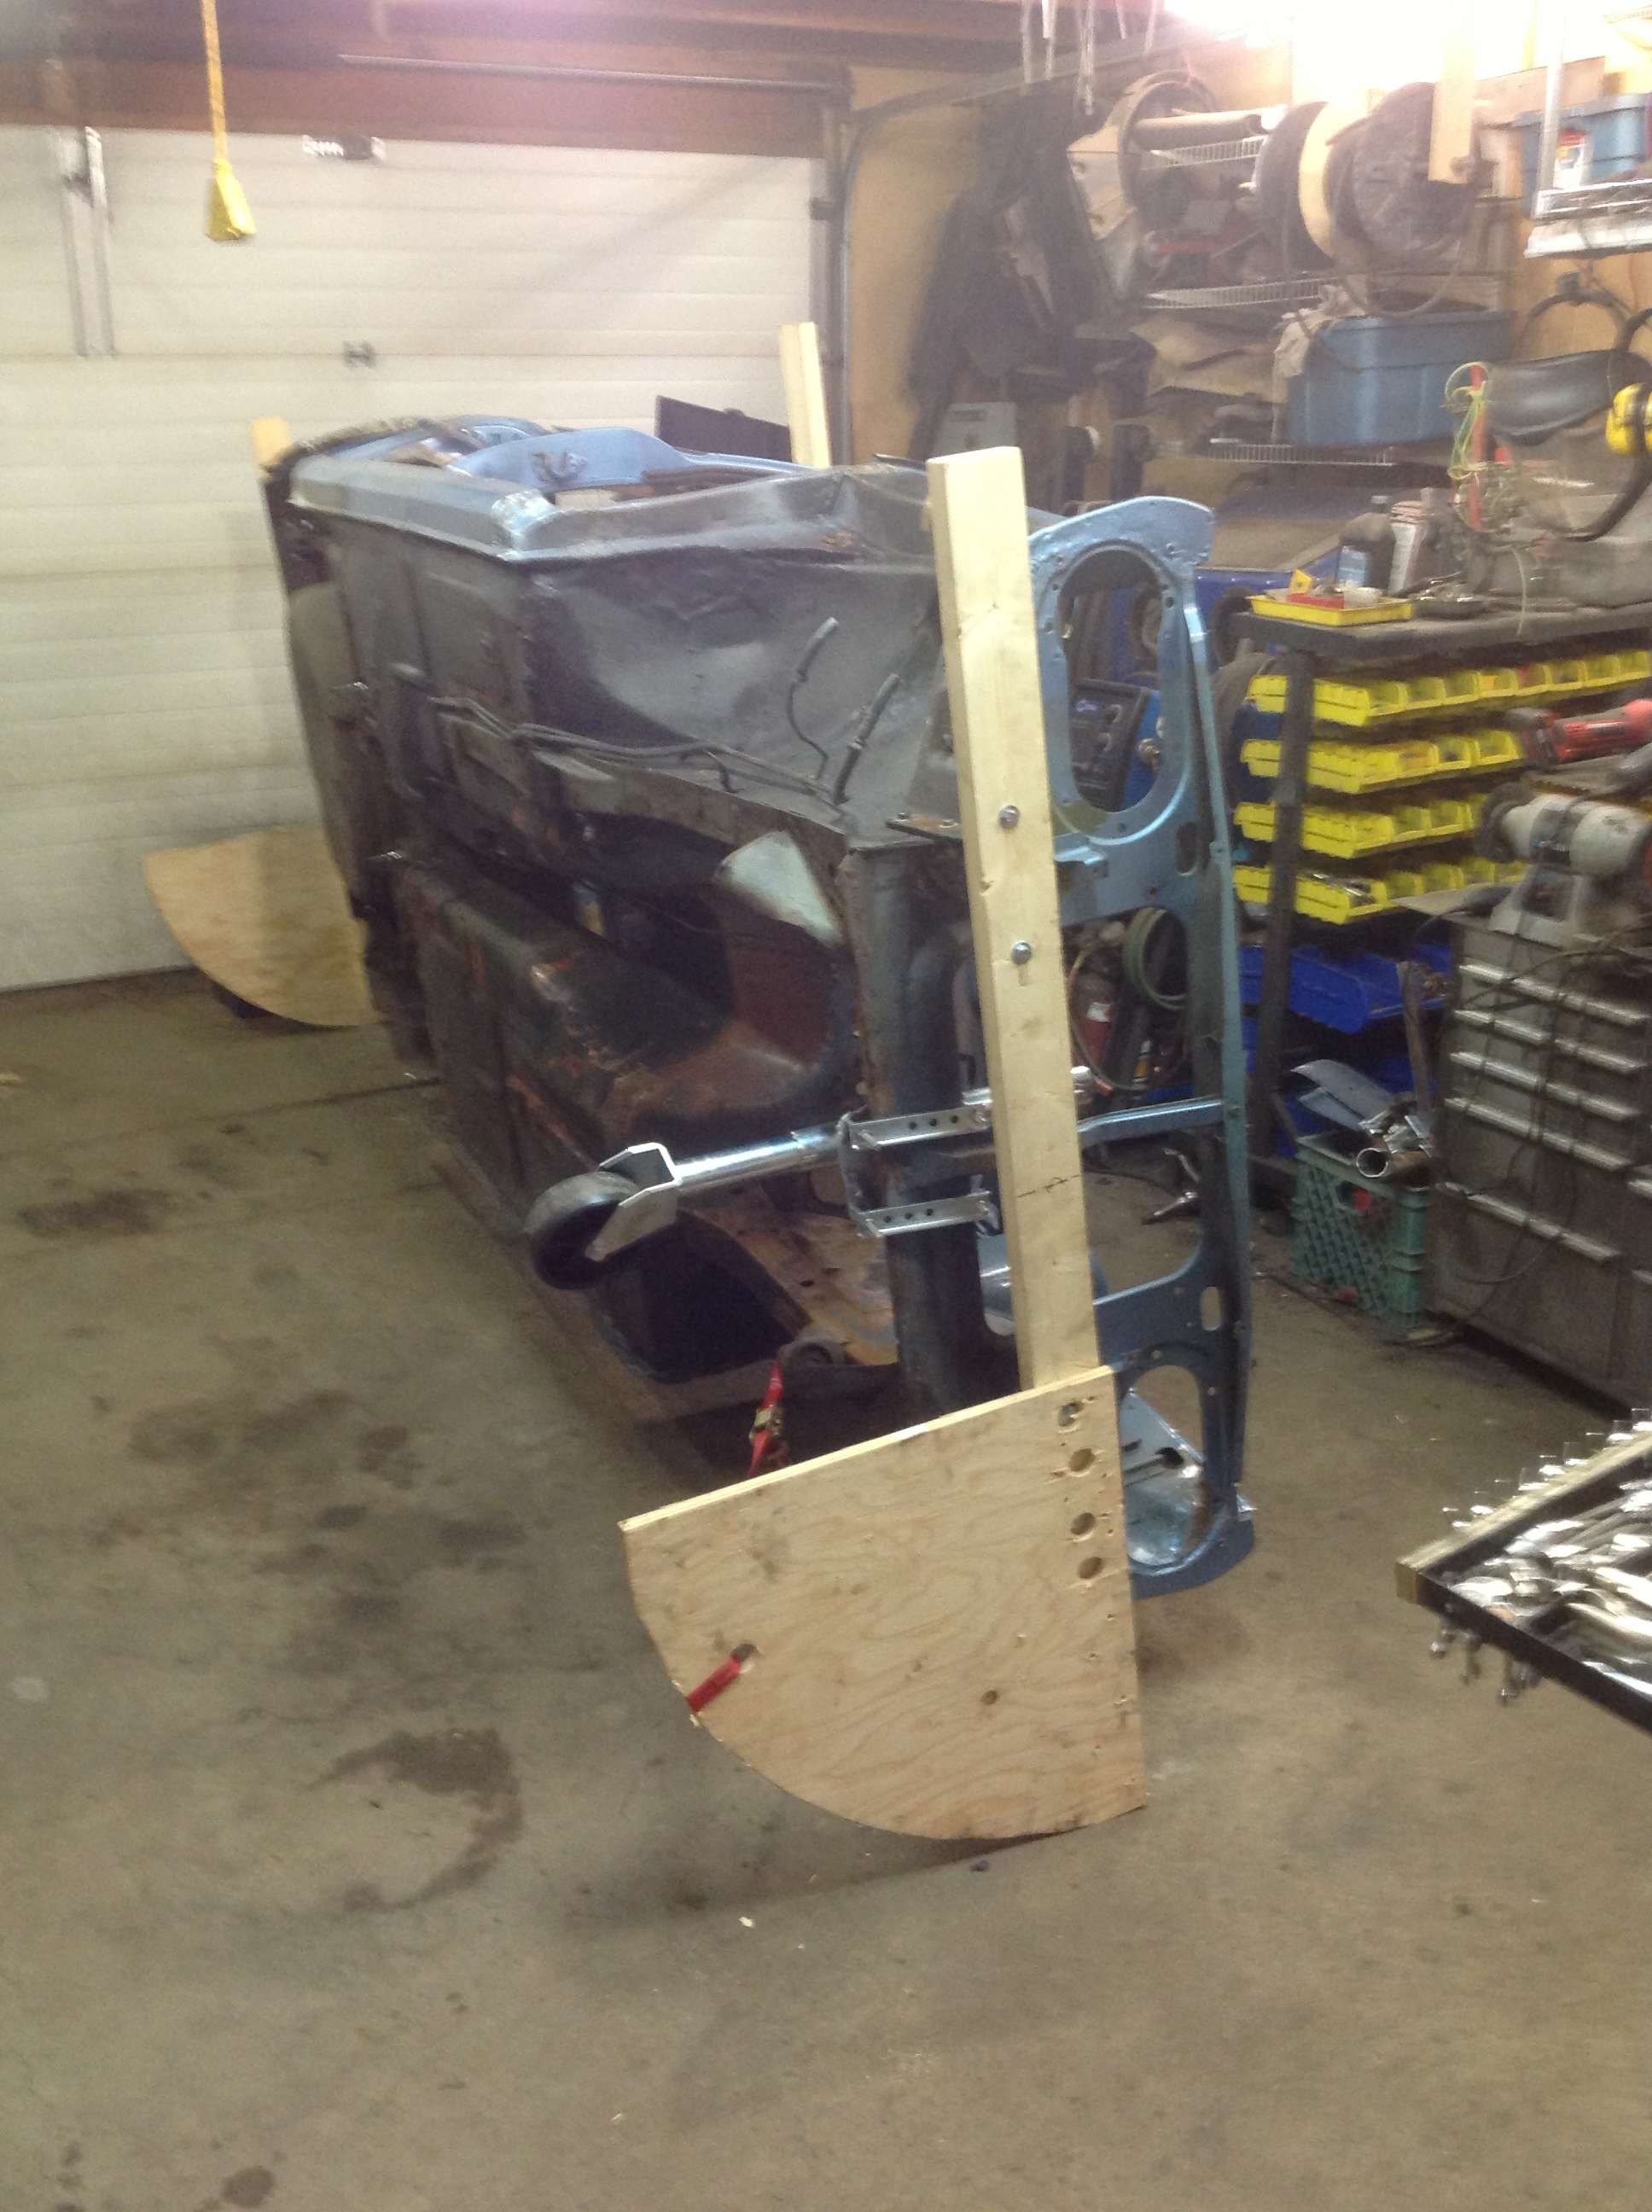
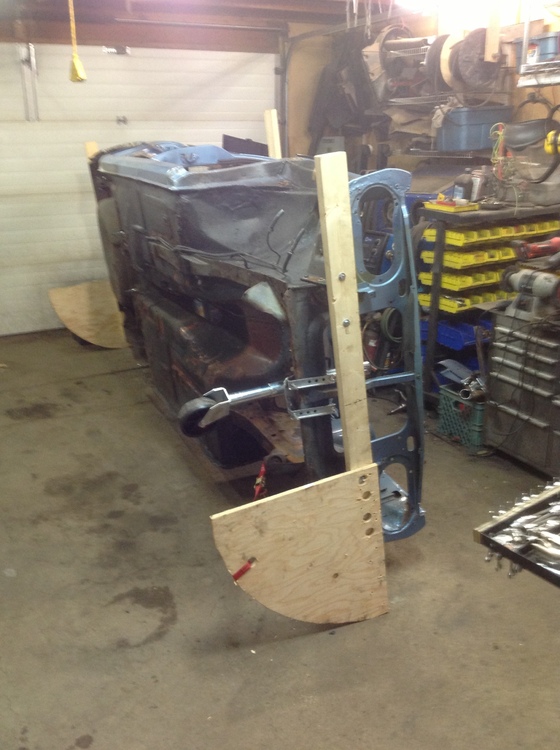
Sorry its not a Z, but you get the idea... Defintely not as good as a rotisserie, but it worked! Another tool in the bag so to speak. Maybe I'll finish this damn thing this winter...
-
1st! ? Now thats cool! wish I could have been there. Did you make it? Apparently if you took that picture
-
-
-
-
And I'm back. send me an email to z240@shaw.ca and we'll take it from there. Generally are you after the small flat covers or the later 3D larger covers?


-
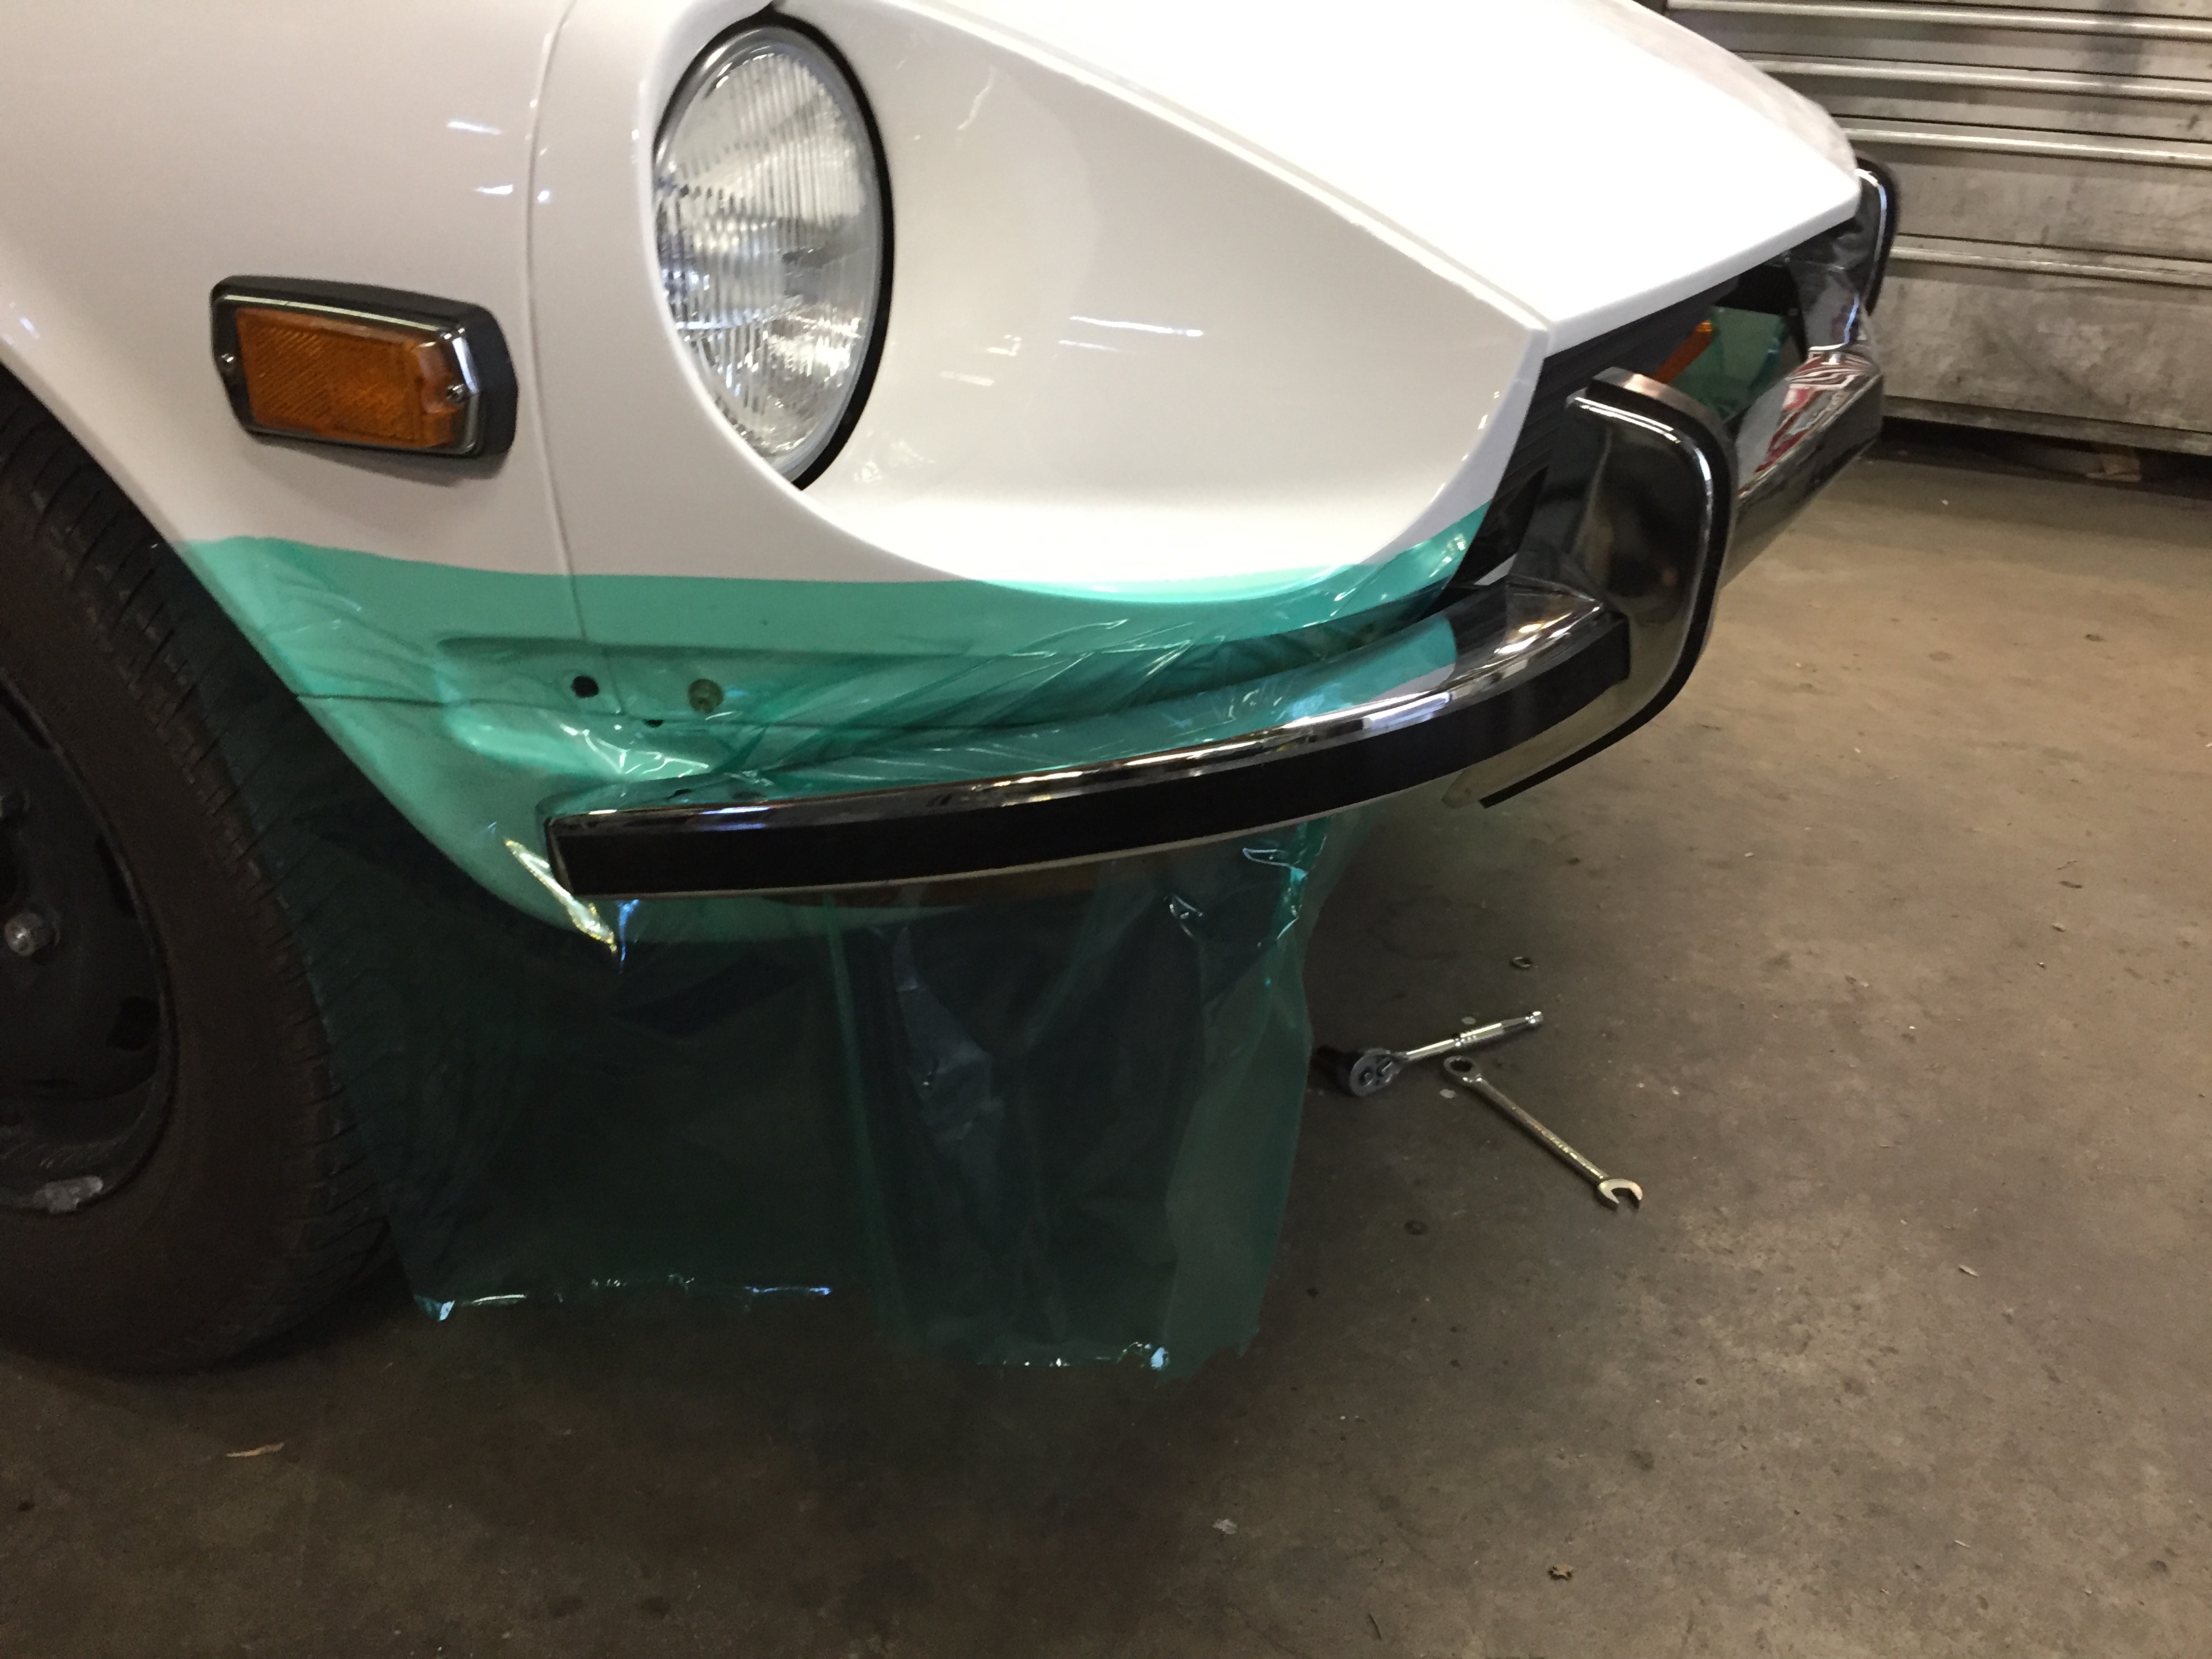
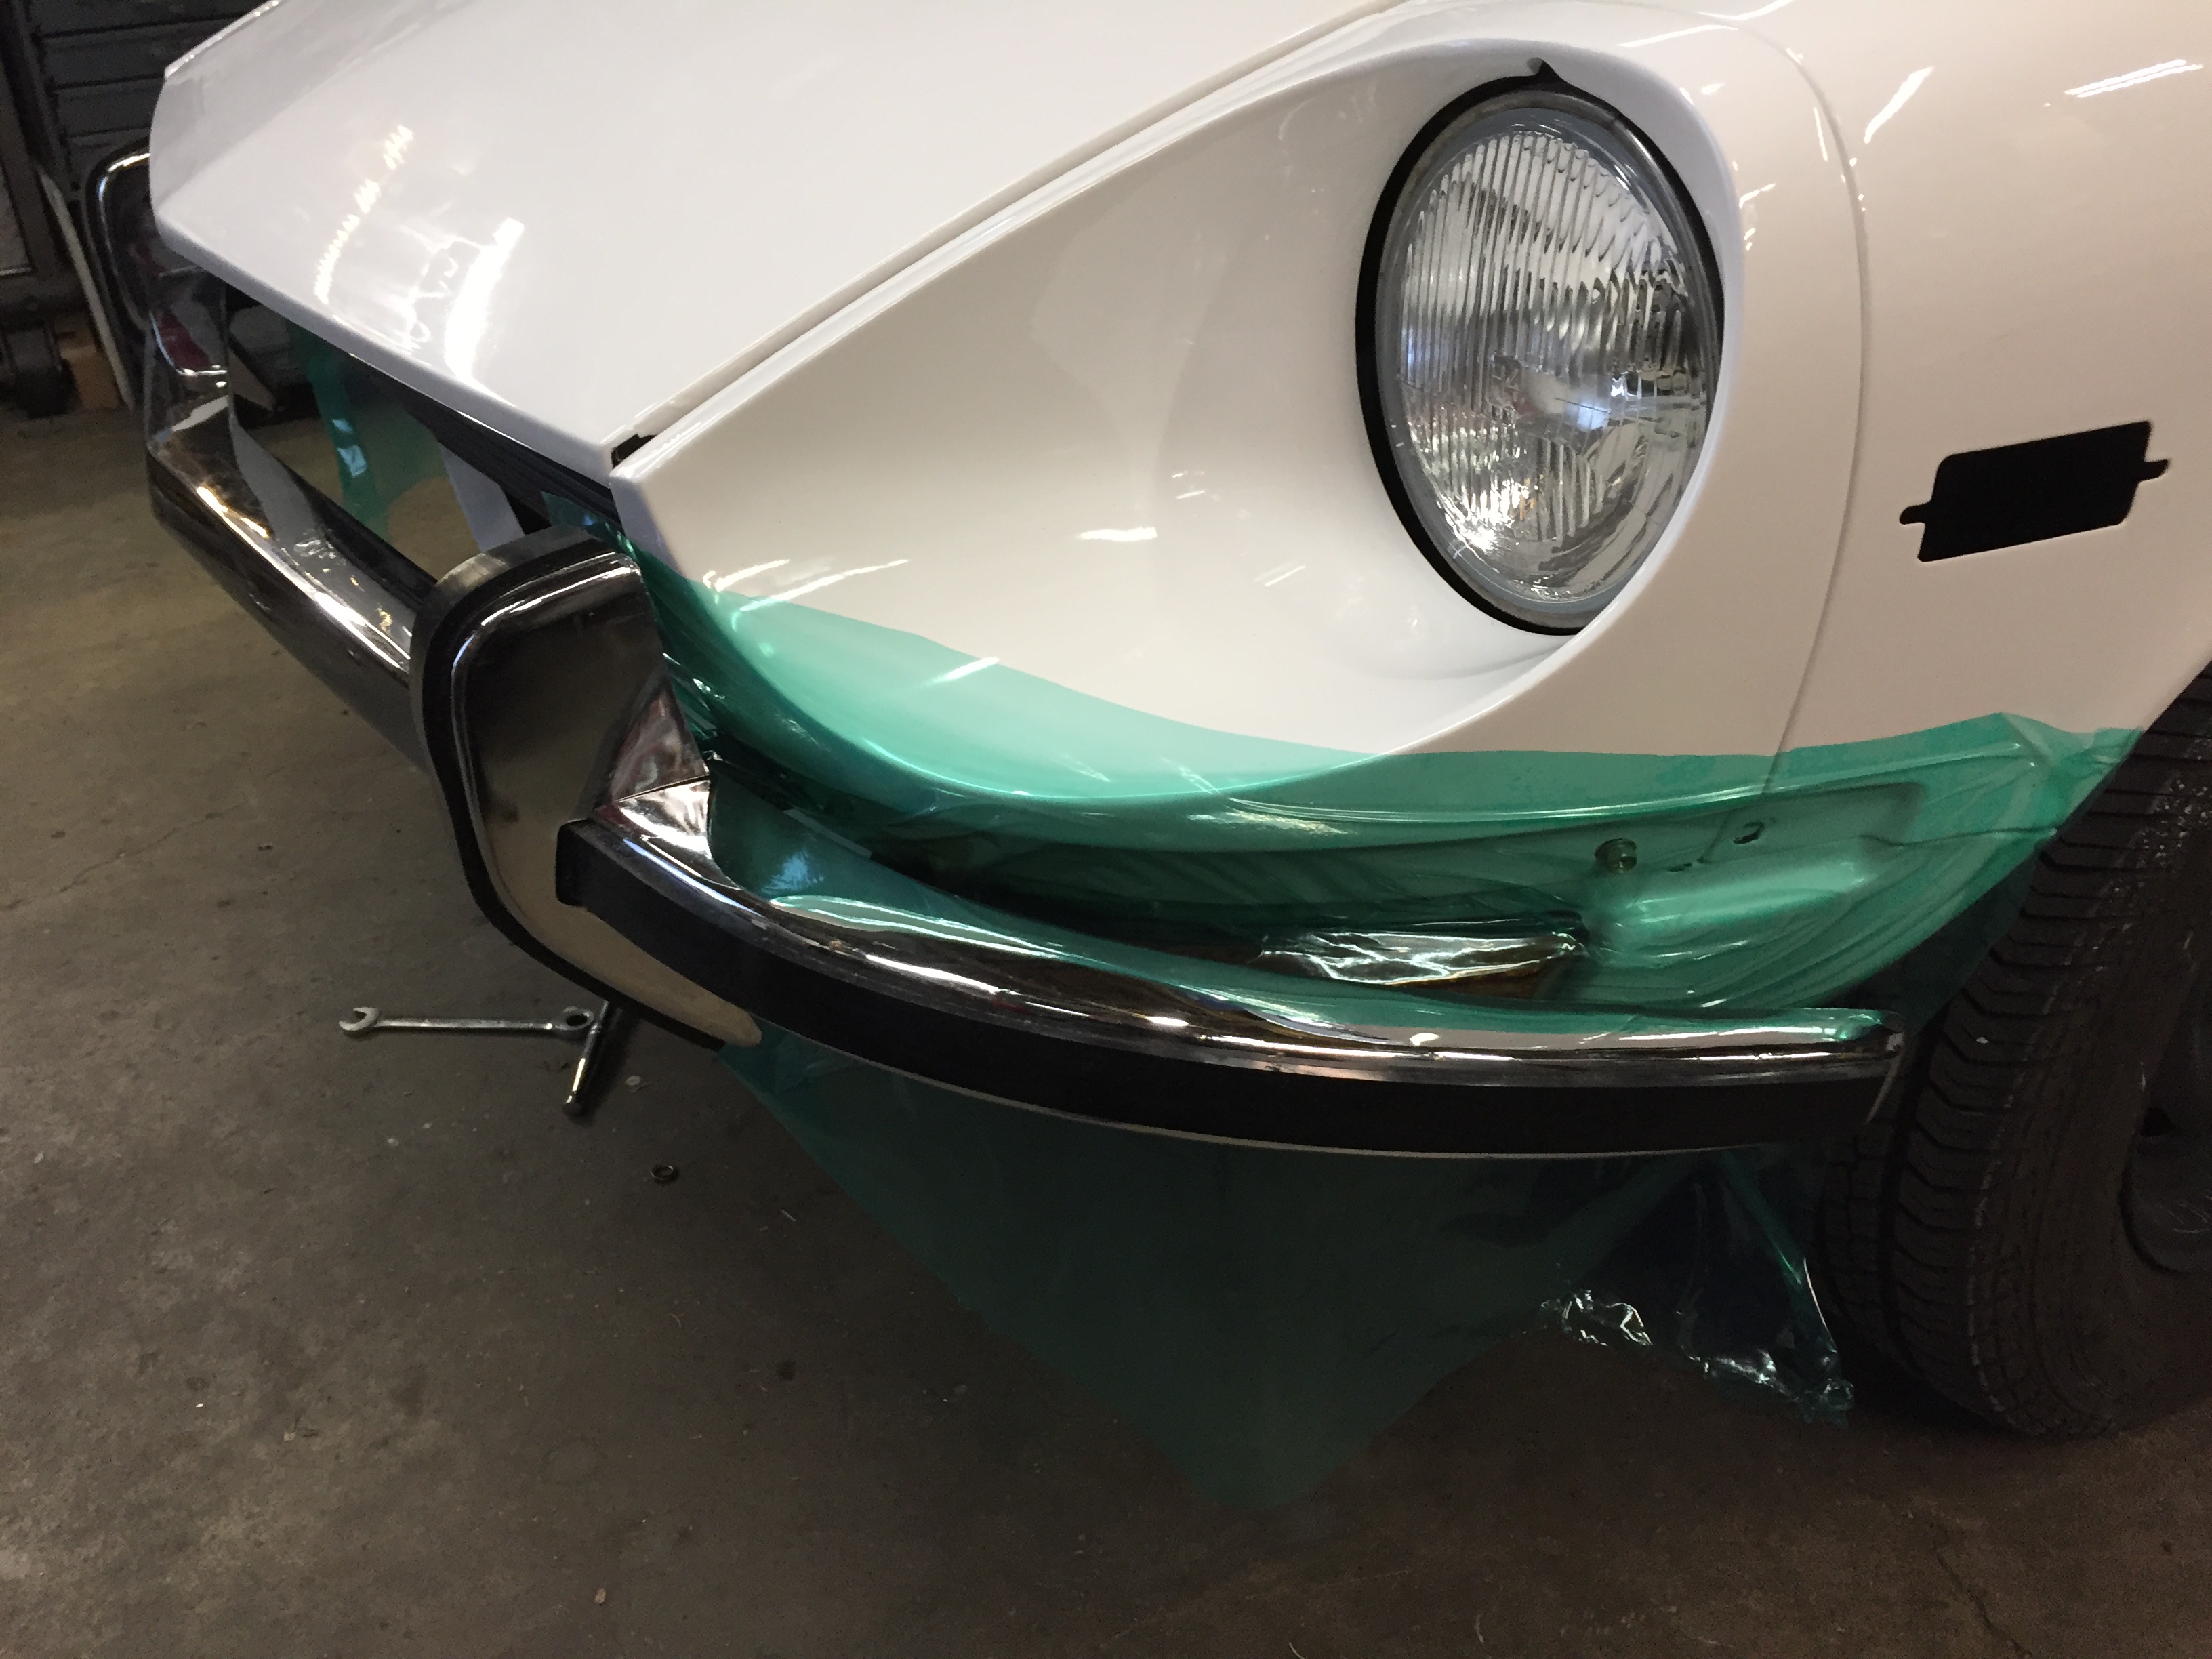
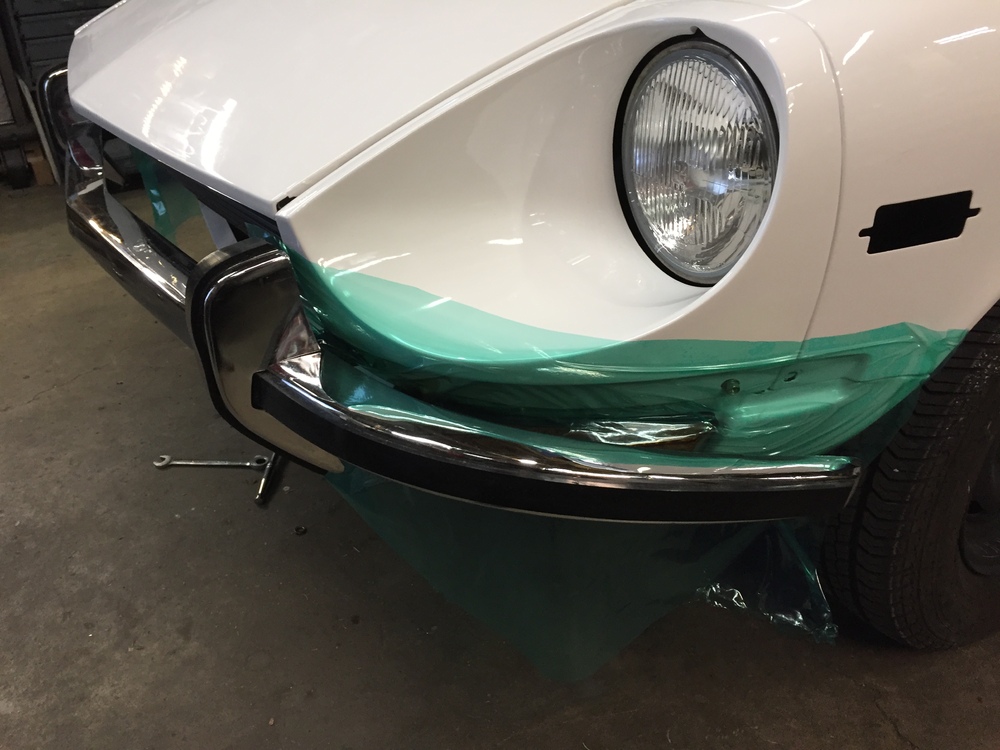
Today found another use for this stuff. I'm putting the bumpers back on after some "improvements" (rubbers, more on that later), and as usual when doing this, I'm concerned about the corners scratching the paint on the fenders as the bumper is placed onto the mounts. I would typically wrap the bumper ends in towels or something or tape sheets to the car. Not today. I just cut a couple of 18 x 24 in pieces of this stuff, (reused the stuff I used on the fender yesterday) stuck it to the car on both sides, and slammed on dah bumper. Then peeled those pieces off and put them on the back to do that one. Check out those rubber strips. They are not stock or repro's. They are however, cheap, lovely and easy to get and apply. Meat for another thread.

-
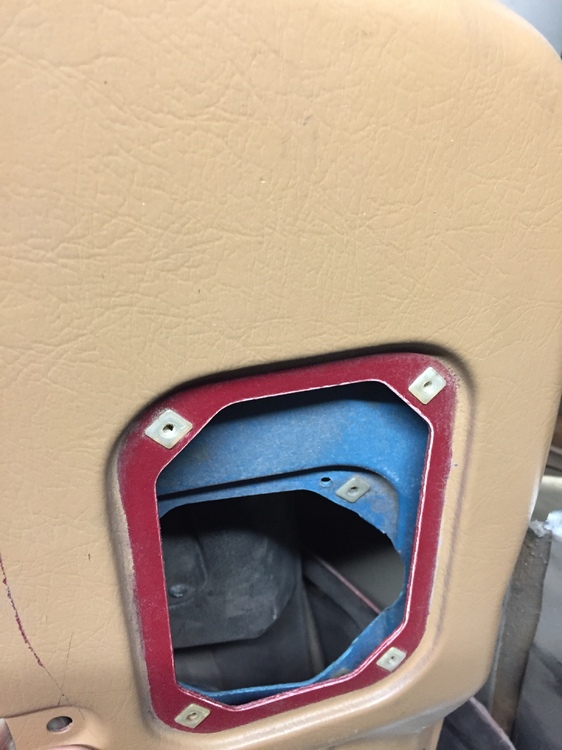
I can likely scare you up a set. Do you need the screws that attach them? I'm assuming for 71 240.
-
https://www.anplumbing.com/
-
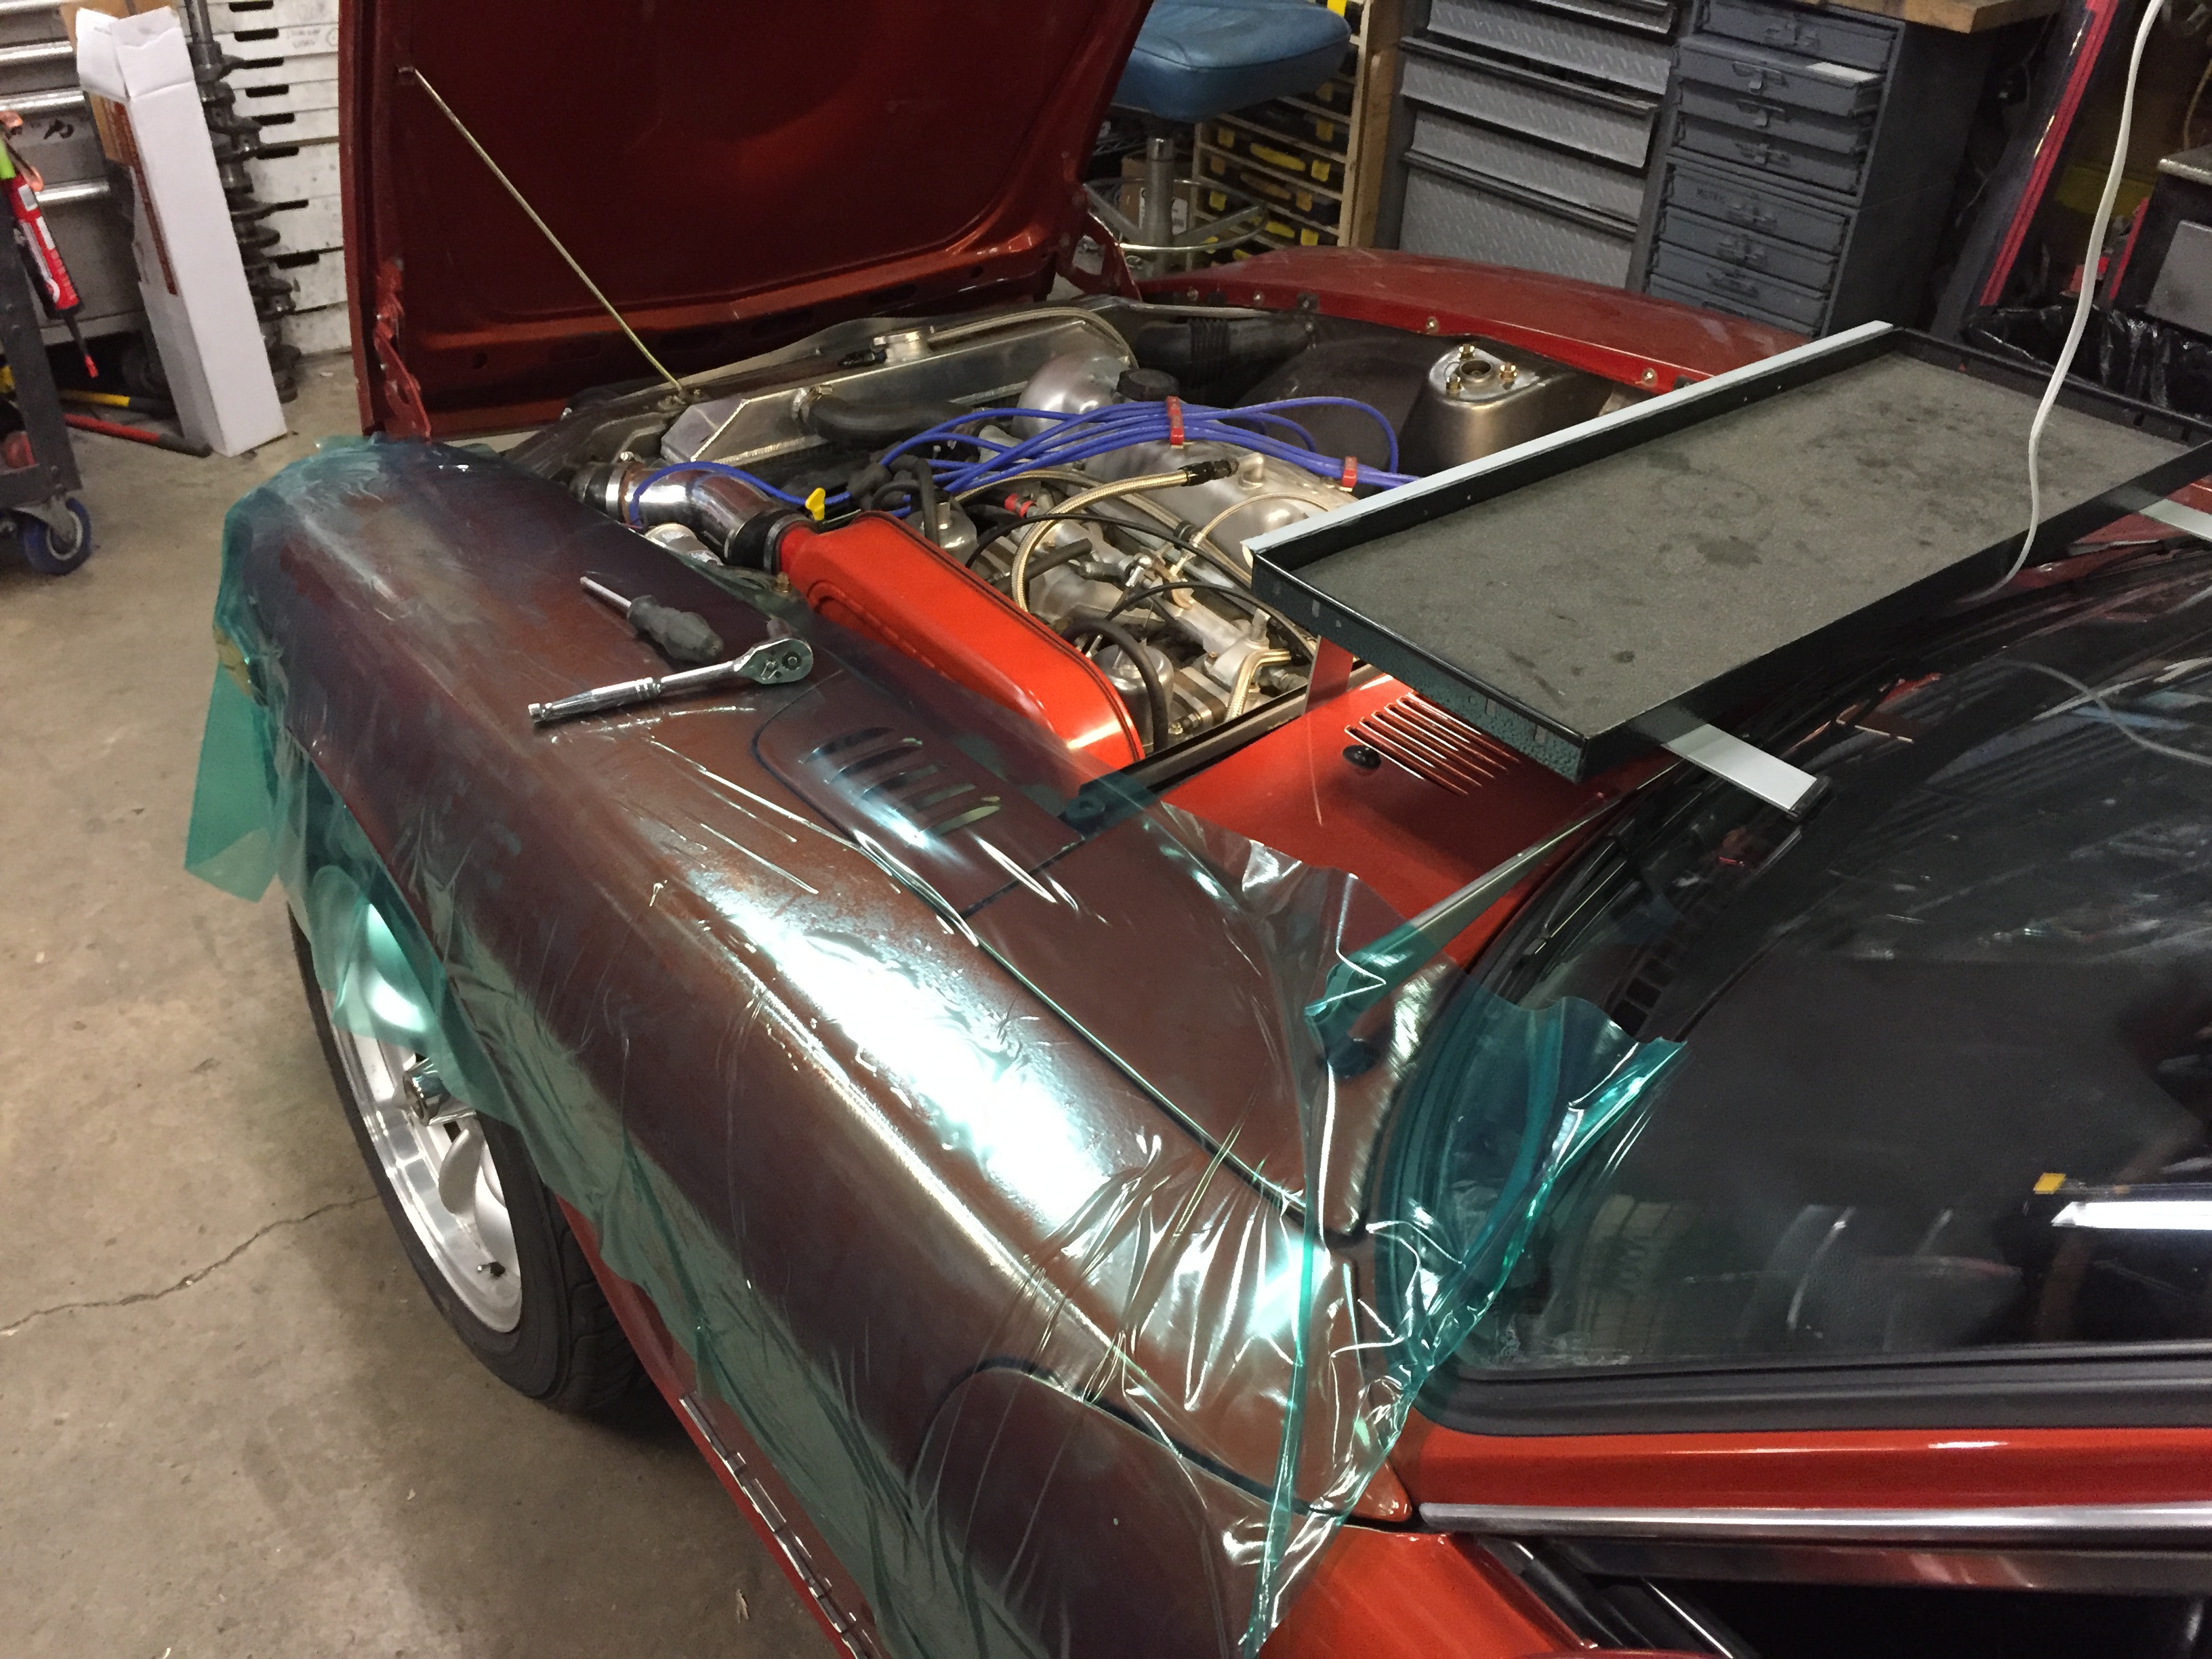
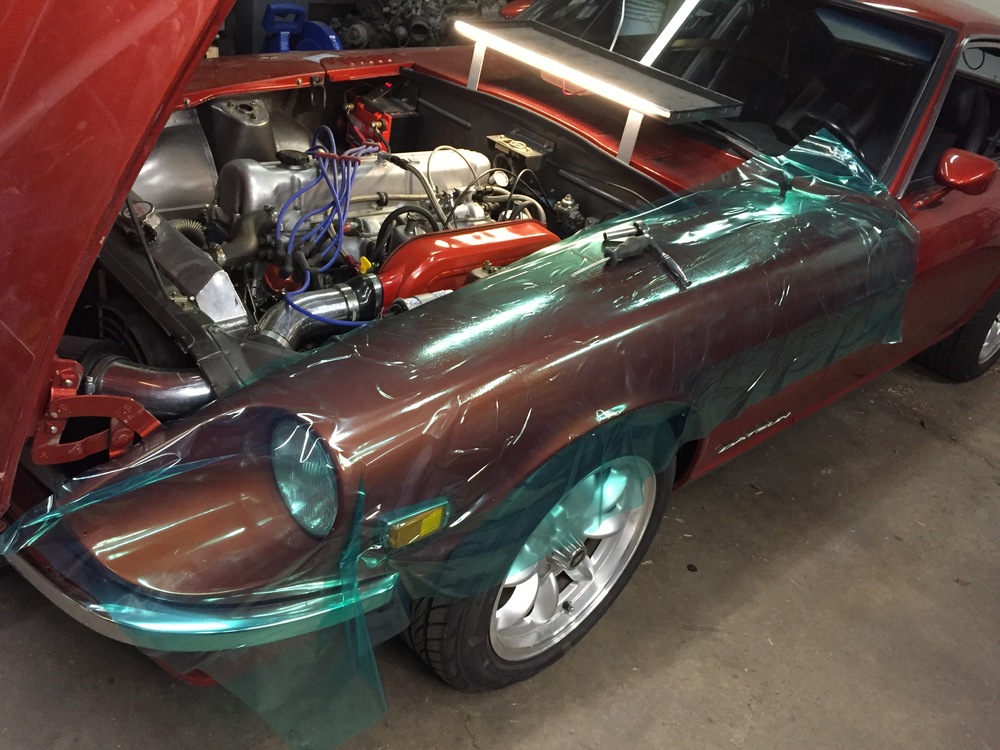
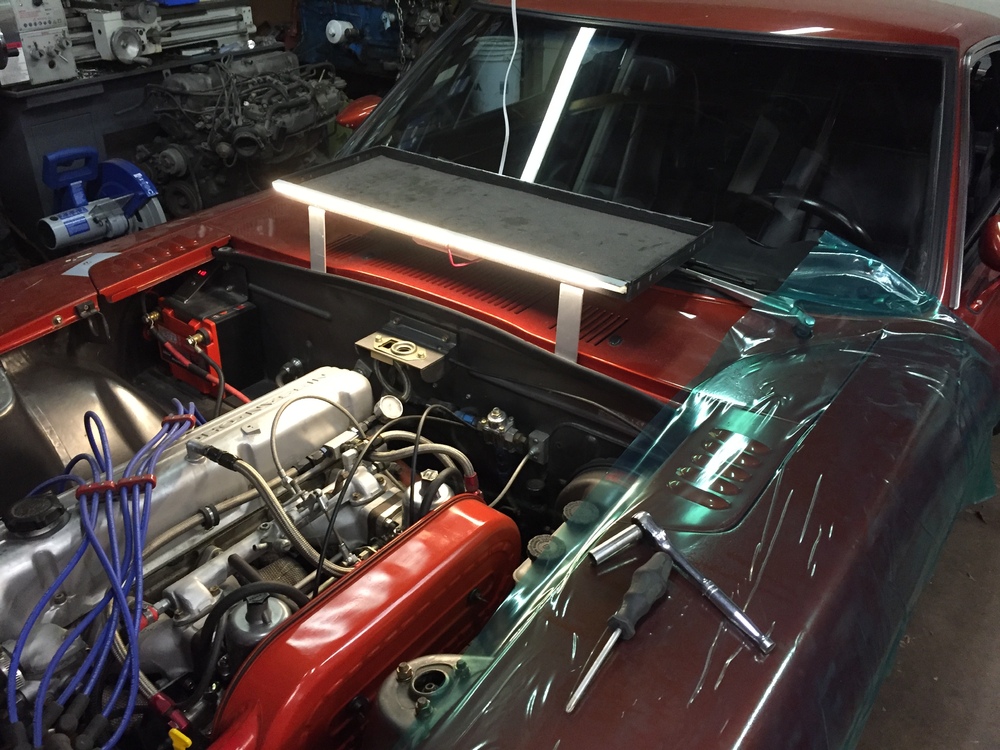
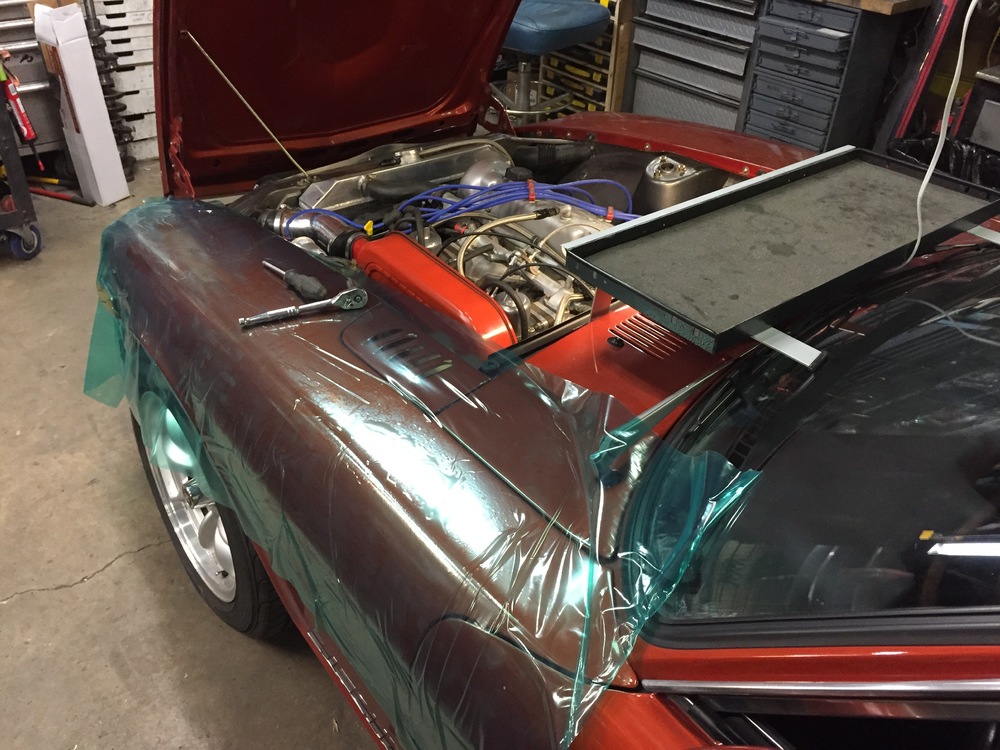
Ok, here is the proof of usefulless. I think I like this stuff. It's tough, has a fairly high friction on the face so tools don't slide off, and it stays in place of course with the great adhesive, but will never have a problem coming off. It seals the surface underneath from all contaminants too. All the sheets, blankets, yogurt mats, etc, that fall off, are never in the right place and that grind muck into the finish are toast around here except for utility use. Now I can leave tools on the fender and cowl like old times instead of the spank tool tray. Well no, I'll keep that, but this reduce the trips to the touch up booth..... I also have to test its resilience to long distance welding and grinding sparks too... Probably burns like gas soaked rags. Have to check that as well...
-
Just received my Amazon order of the protection film. Very interesting stuff. It is 3mil thick, has a nice sticky non-permanent adhesive, and feels really "tough" to the touch. Not at all like kitchen wrap, it has a smooth thick feeling, even though it's only 3mil thick. I stuck it on every surface I could find in the house, smooth and rough alike. Sticks real well and peels right off. Packaging claims its a water based adhesive that washes off easily if any does transfer. Good for 45 days plus or minus. I'm going out to stick it all over a Z fender, drop some tools at it, and see how it holds up.
-
I can help with 2,3 and 4. There is only one hood emblem. Did you mean hatch? PM me.
-
I've received the book mentioned about and read that bit too. First, heat shield added in 73? Every 240 I've ever seen has a heat shield. There are three different ones for heaven's sake. How the heck does turning the wheel have to do with the car quitting due to heat soak????? Is there some super shiny spot on the steering shaft that suddenly aligns and reflects a ton of heat from the exhaust at the carb bodies?????
-
Good idea about the carpet protection film. Got some coming from good old Amazon. We'll see, Also found this stuff.. At least its intended for automotive use. It's only 2mil thick though... https://www.fellers.com/fellers-shopping/cat/clear-overlaminates/sub/thick-overlaminates-paint-protection/set/auto-wrap-shipping-protection-film
-
-
Grumpy right hand turn signals are epidemic. it's one of two things. The first is the contacts in the switch need cleaning, or the tiny roll pin that forms the pivot for the TS arm is either loose or just about to fall out, making the switch hard to move far enough to get the contacts closed. Get creative and make a new pin that's a bit bigger.
-
As mentioned in another thread I've been restoring a 71 for the past few months. One issue that has raised its ugly head is how to project a fresh paint job while assembling the rest of the parts on to the body, especially in a small shop where proximity between the car and whatever you're dragging past it is a constant concern. I was watching one of the various car restoration shows on the speed channel, you know the ones, the ones where they restore a rusty incomplete classic to a new car in 5 days for twelve dollars. Yeah, fictional TV. Anyway, I noticed at one point they had a protective film/cover all over one car protecting fenders doors, roof, everything. It looked like a sticky film with removable adhesive. When I search on-line all I get is ad after ad for the usual 3M paint protective films. The stuff I saw being used seems like such a great way to apply a protective coating. It seals the paint and provides scuff protection. No dust, finger prints, accidental spray of whatever. Anybody care to share what they use to keep their projects protected or have a lead to this elusive temp protective stuff? As you might guess, the 71 is currently back at the body shop right now getting a few touchups....
-
There are two distinct racks that have different width, left side, (drivers around here) rack mounting ear spacing. Generally, 240 are narrow, 280 are wider. Get a 280 bushing and try to cram it into the narrow 240 rack and you're in for a real fight. Get it the other way wrong, and your rack will shift around under steering loads. The shape of the poly bushing is also wrong and needs shaving to fit the shape of the rack like CO indicates. The Energy suspension part numbers for the 240/280 kits are only different in the unique rack bushing included for the matching rack.
-
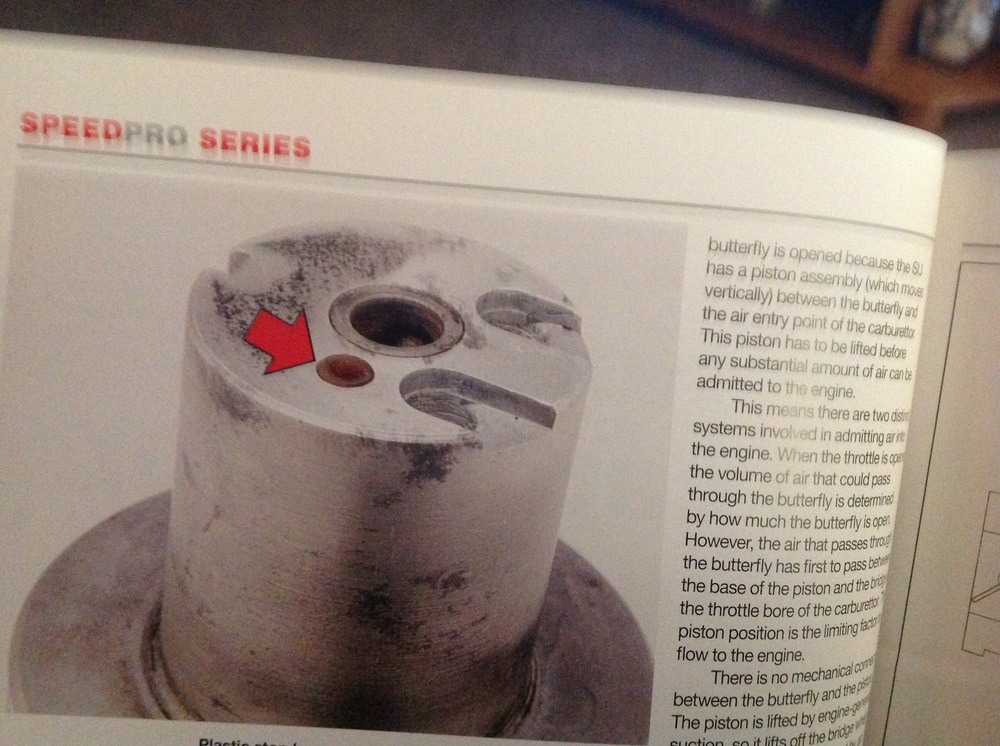
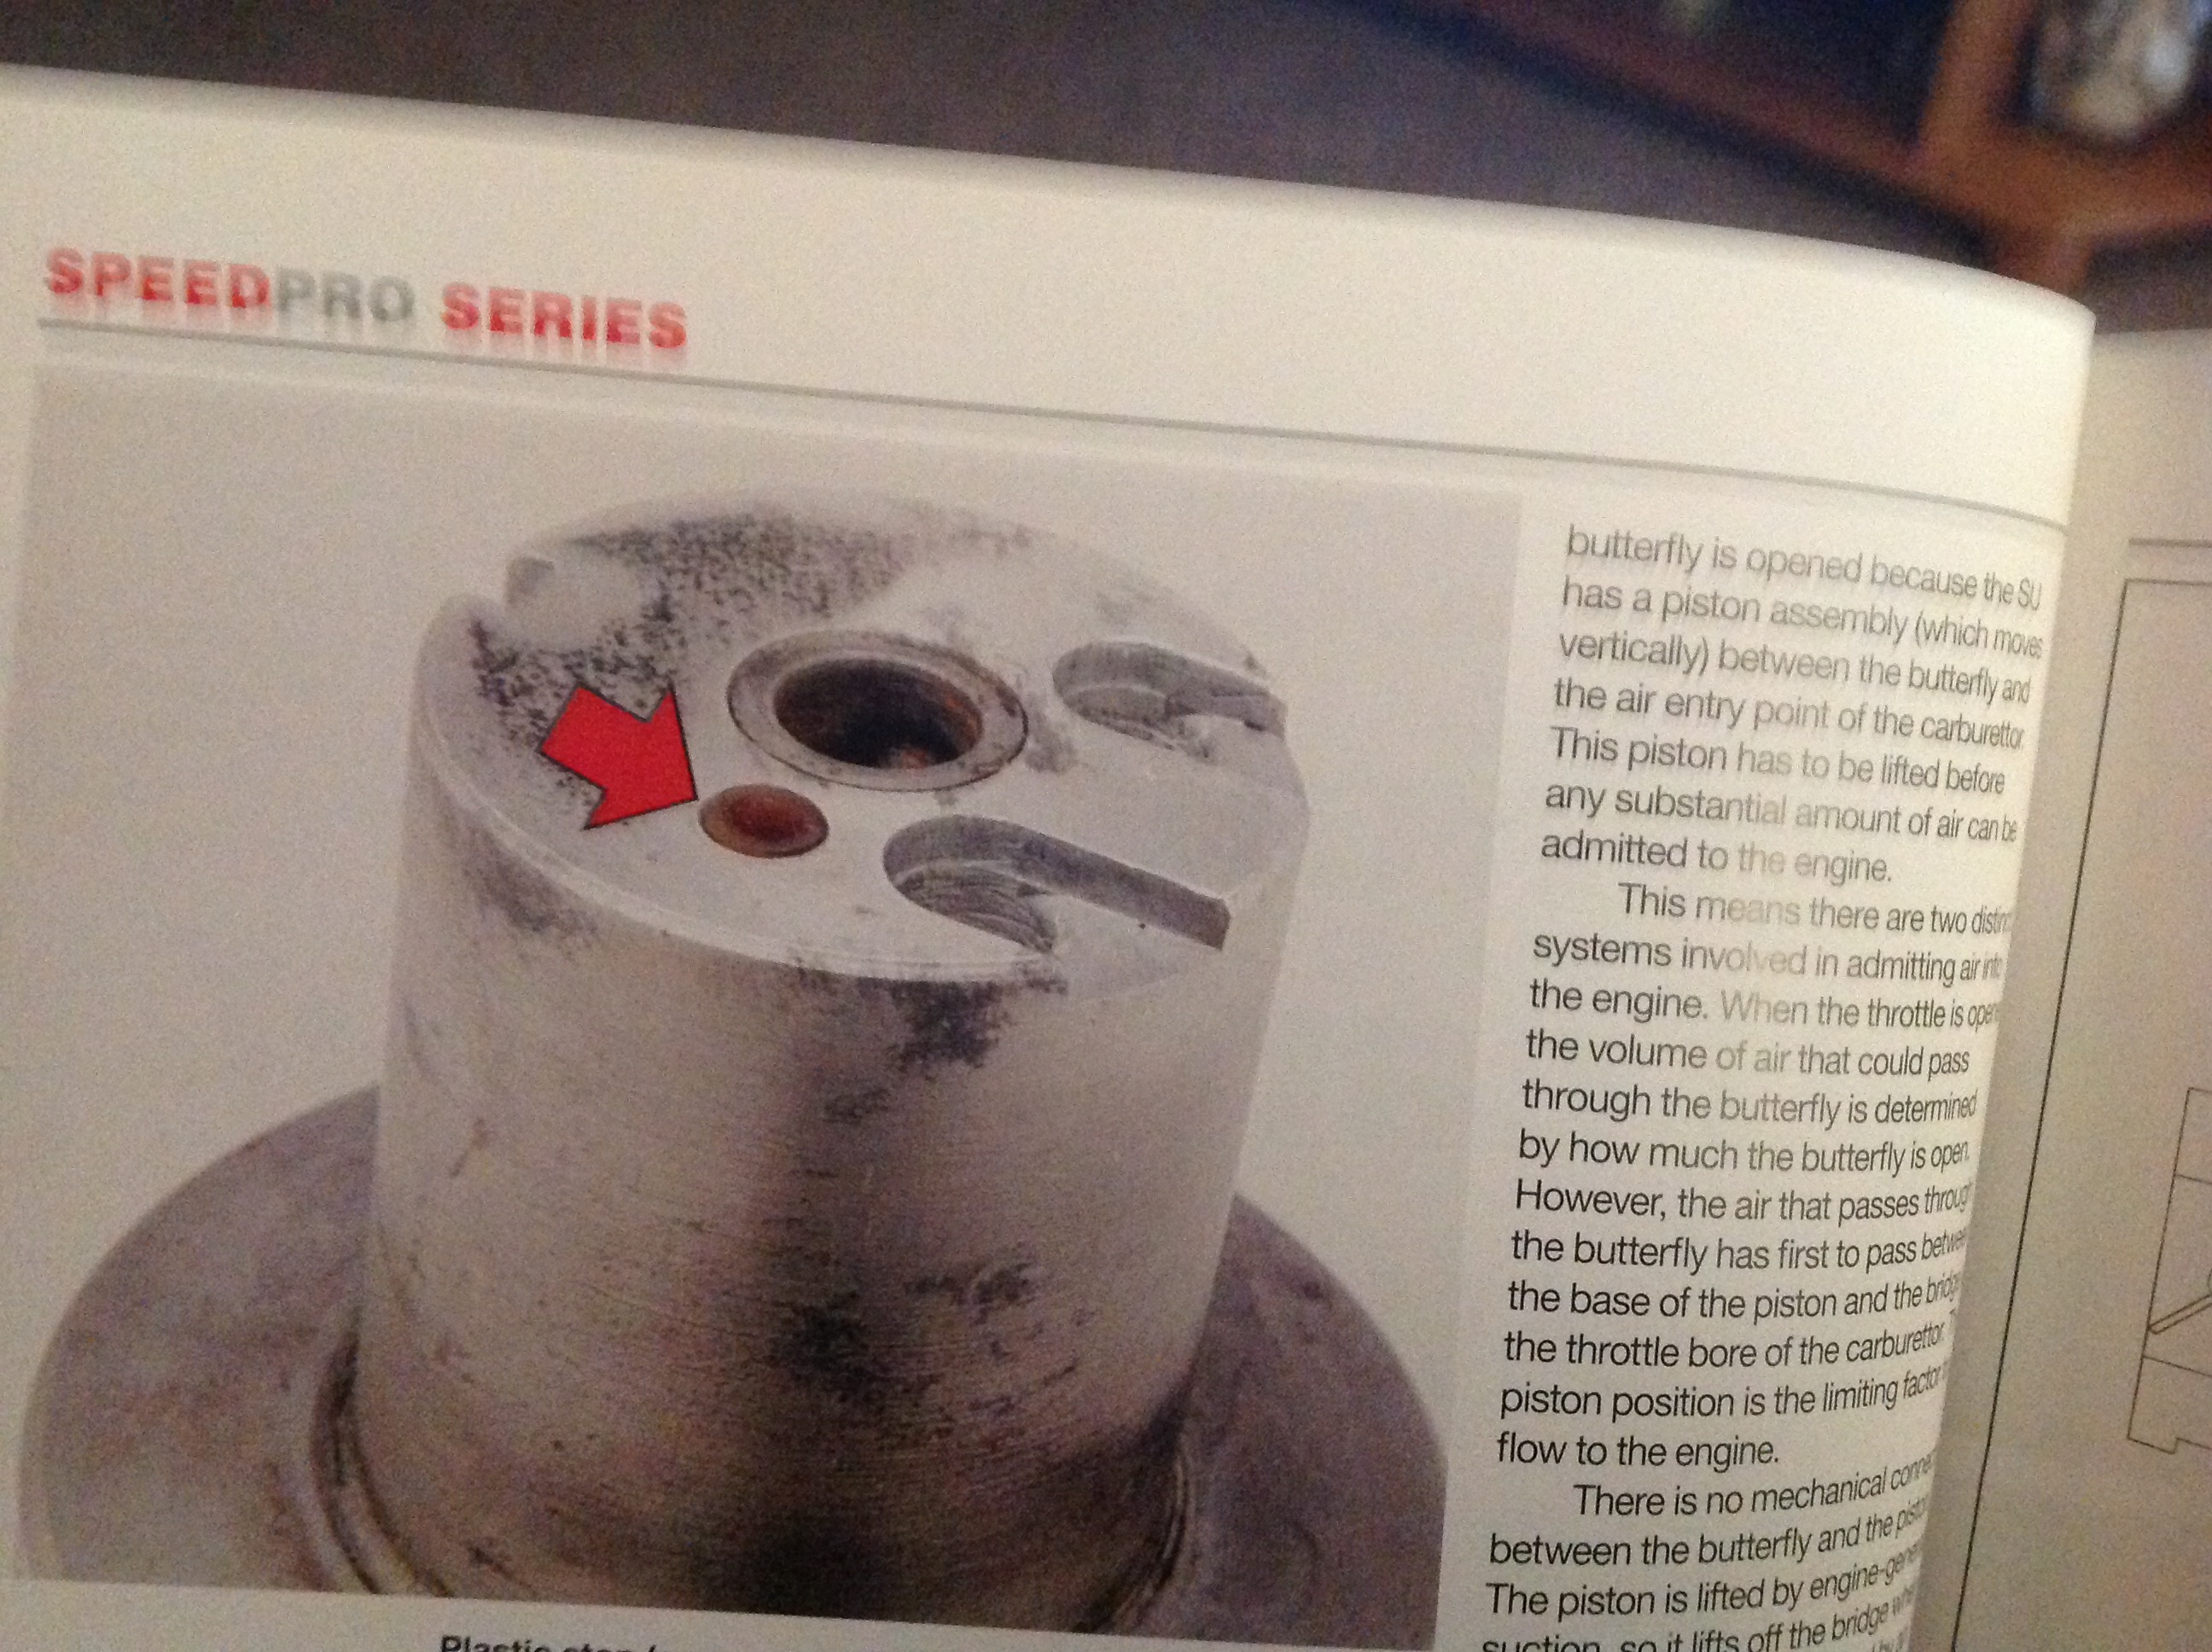
That slot down the center is in fact the key to all this. Thanks CO. The book I was reading, when making reference to this plastic stop, shows a piston without the slot we have in our version of the SU. I have set of SU's (not the ones above) that have this piston style as well, which just served to confuse me more. This style of piston clear depends on that stop to provide at least startup air access. Ours do not have this issue. The plastic stop likely should be flush or just slightly off to do nothing more than provide a soft landing for the piston. Thanks for the clarifications.