Leaderboard
-
conedodger
Free Member3Points12,513Posts -

Zed Head
Free Member3Points19,232Posts -
inline6
 Subscriber
 2Points1,281Posts
 -
Matthew Abate
Free Member2Points1,204Posts


Popular Content
Showing content with the highest reputation on 02/18/2025 in all areas
-
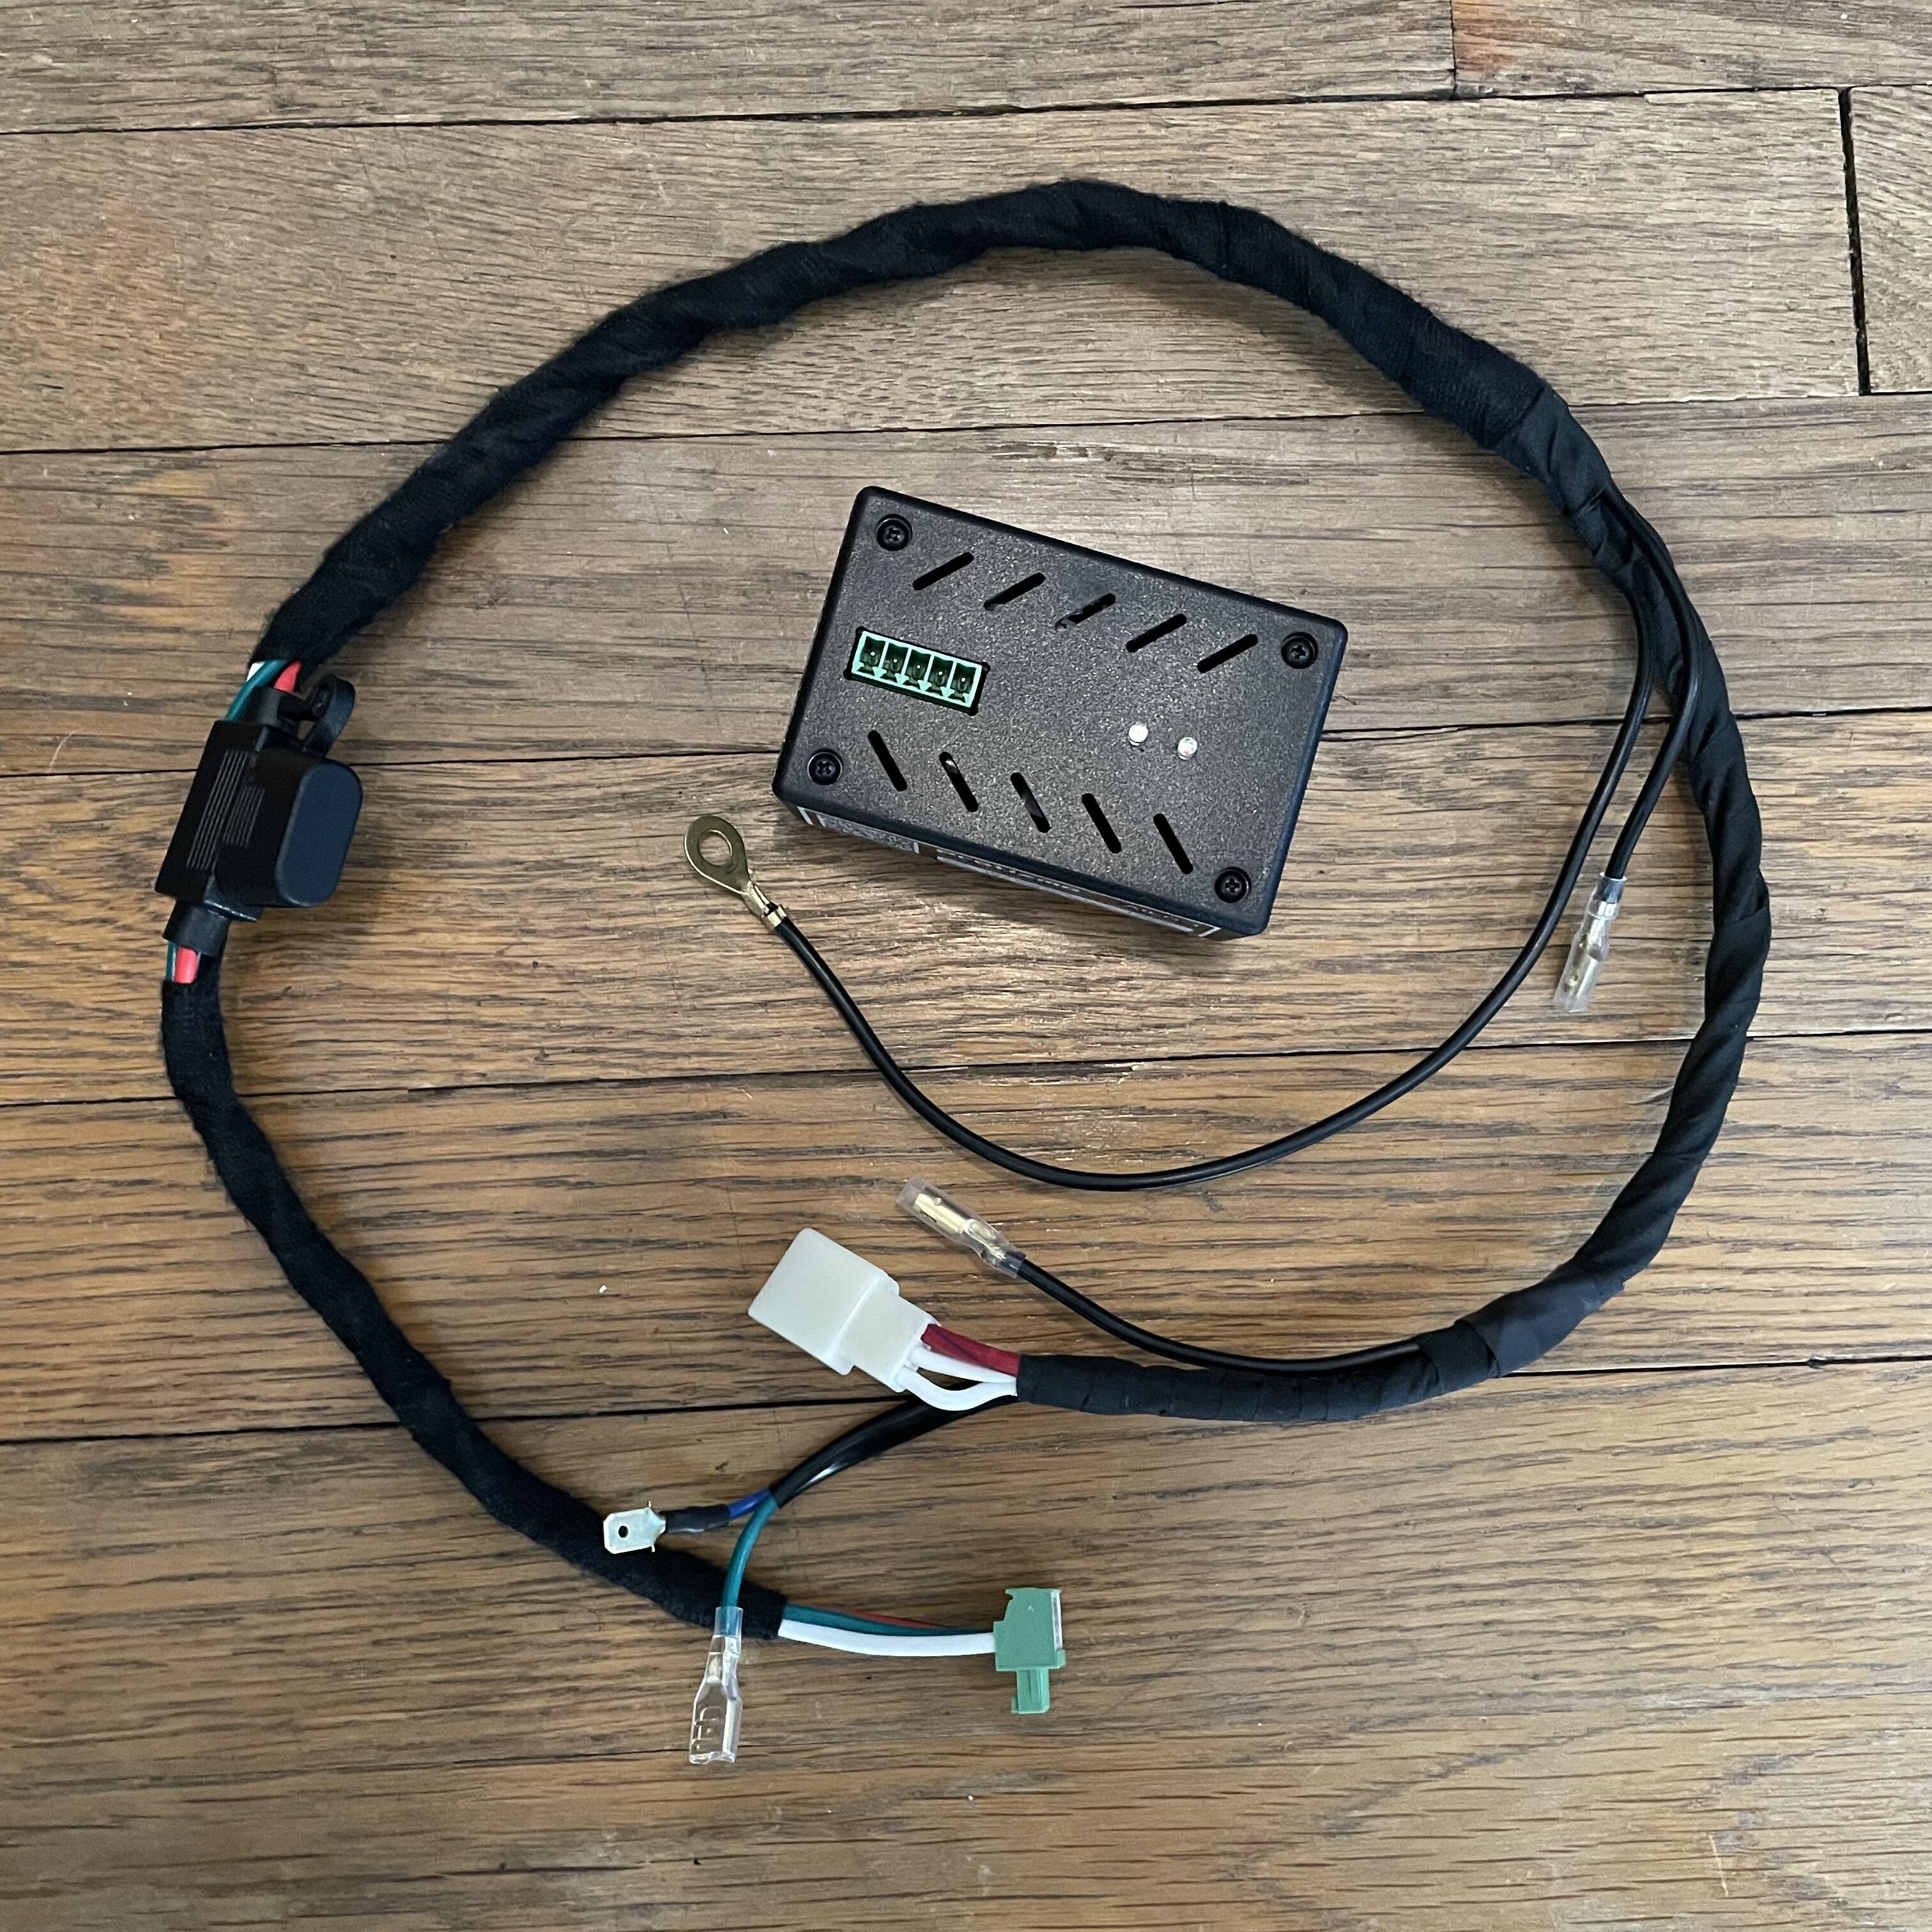
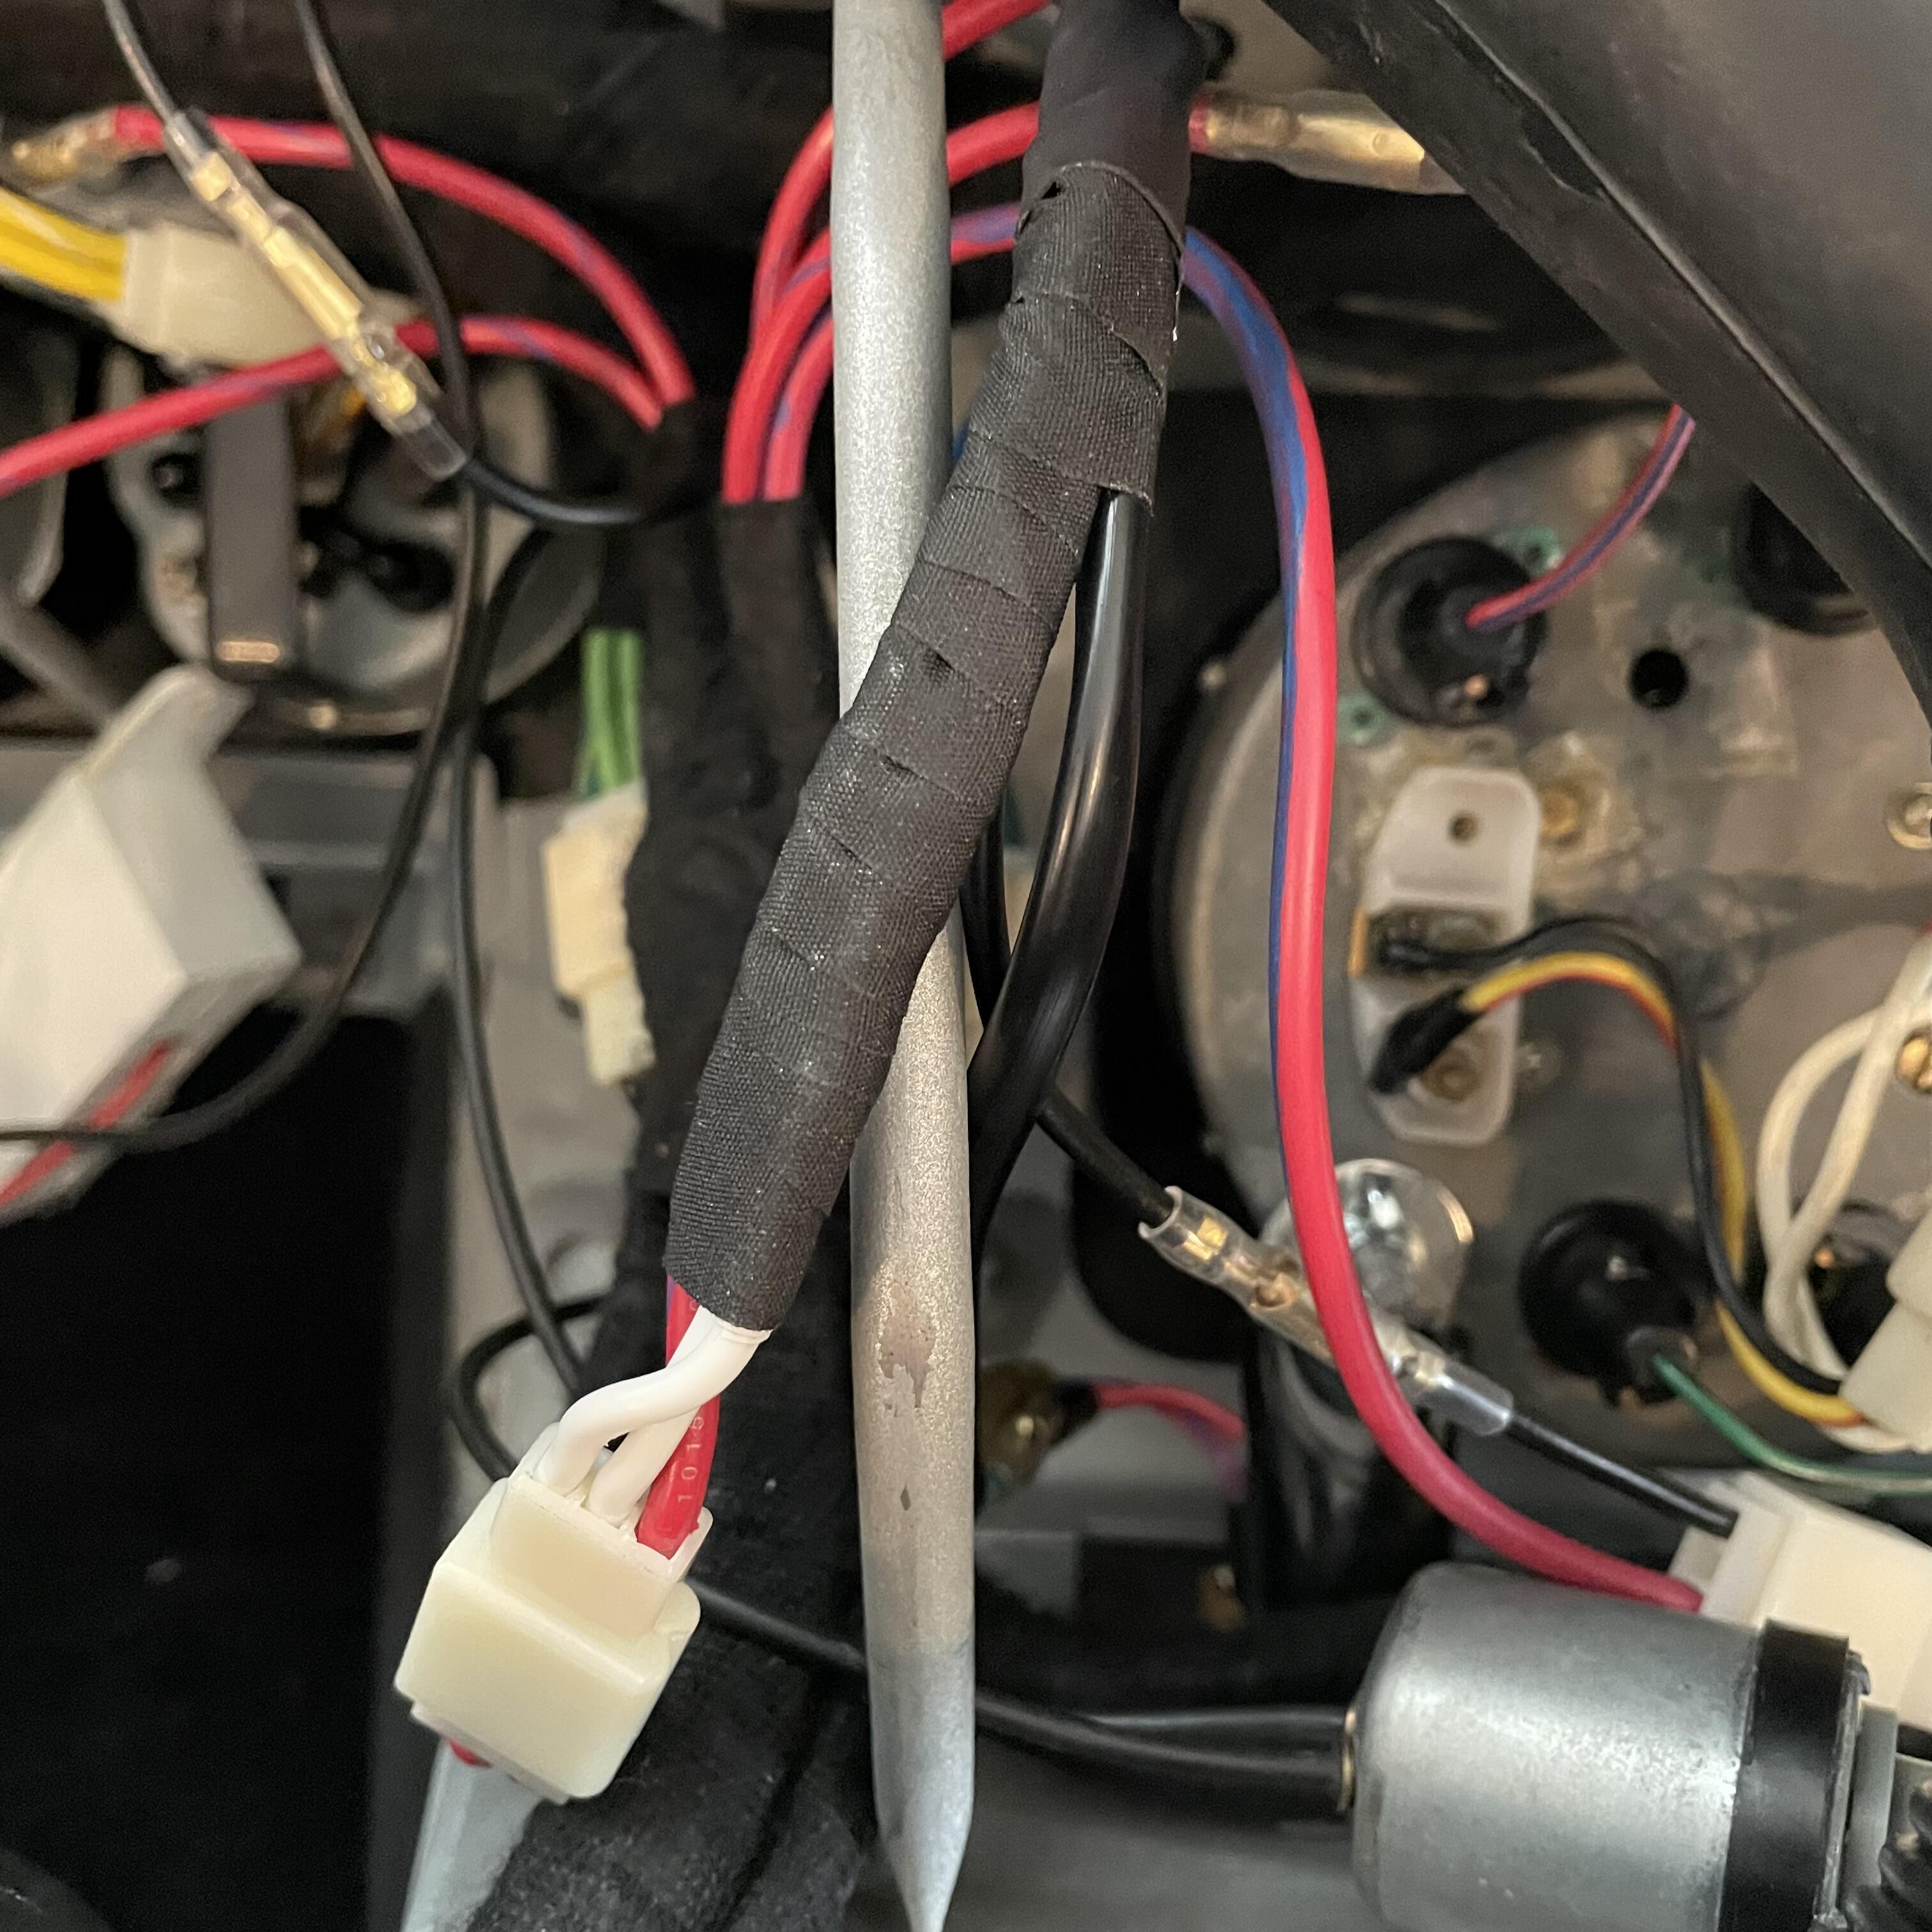
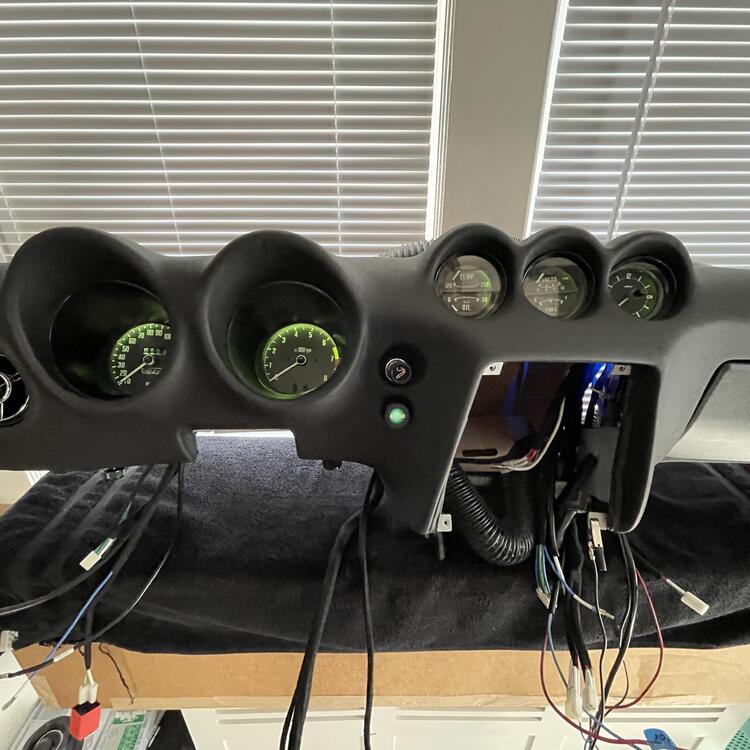
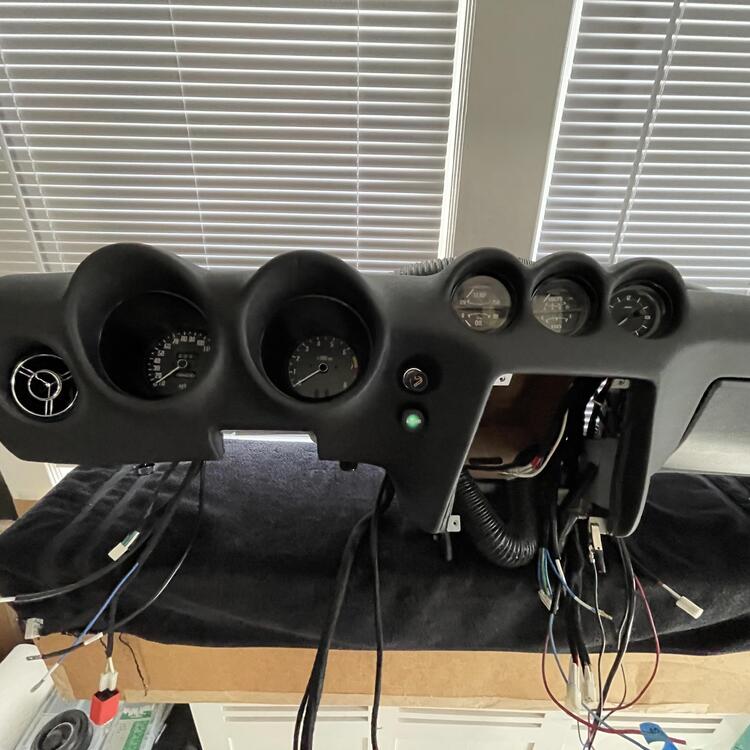
2 pointsOkay, all of my dashboard wiring is finished. The AILD-1 is being controlled by the OEM rheostat and dimming the lights. I’m a little disappointed that the LEDs don’t seem to come to full brightness. I ran into this issue with another PWM, but the guy who made this one said it can be trained, so I’m hoping he can help me figure out how to fix that. After messing around with a few different methods, I decided to secure it to the inside of the dash with adhesive Velcro. I made a separate harness for it that taps into one of the ground wires for the instruments and the fiber optic light module. The rheostat is completely isolated on the blue and green wires and it’s only function is controlling the PWM. The wires that used to go to the rheostat now go to a connector for that harness. Here are the instruments turned down to zero and the fiber optic light (and all the other lights) still at 100%.


 2 points
 -
1 point
-
1 point
-
Ron Tyler from HybridZ designed the mount after a day of breaking mounts on his V8 modified Z, if I recall correctly. He posted the dimensions on the site and others have started producing them. I think on the 240Z's you might have to move some fuel lines, Can't remember clearly. But generally, once you get under there and start taking out the old mounts that hold the bolts that hold the strap it will be more obvious how the mount goes in. You have to choose between using a bumper or using the GM transmission mount to complete the setup.1 point
-
1 point@Yarb They're about a year old remanufactured Bosch OEM units, so we should be good on that front @Zed Head Fair point about the the clean injectors contributing to how it starts, but it's just odd that it used to start without that stumble before all of this. @Captain Obvious Trying to get back to that and figure out what the issue is @siteunseen Mine is the standard '78 distributor but I confirmed everything is in spec using the FSM (including the air gap between the reluctor wheel and pickup coil)1 point
-
1 pointWhat temperature? Philadelphia fuel versus Dallas fuel. Ethanol level (it varies). Engine specs? Ignition timing, miles, etc. There are many variables. If a press of the CSV button or reinstalling the thermotime switch produces a good start why modify? Probably worthwhile to compare the variables as a starting point for further discussion. This thread started as "something changed after a fuel line blew".1 point
-
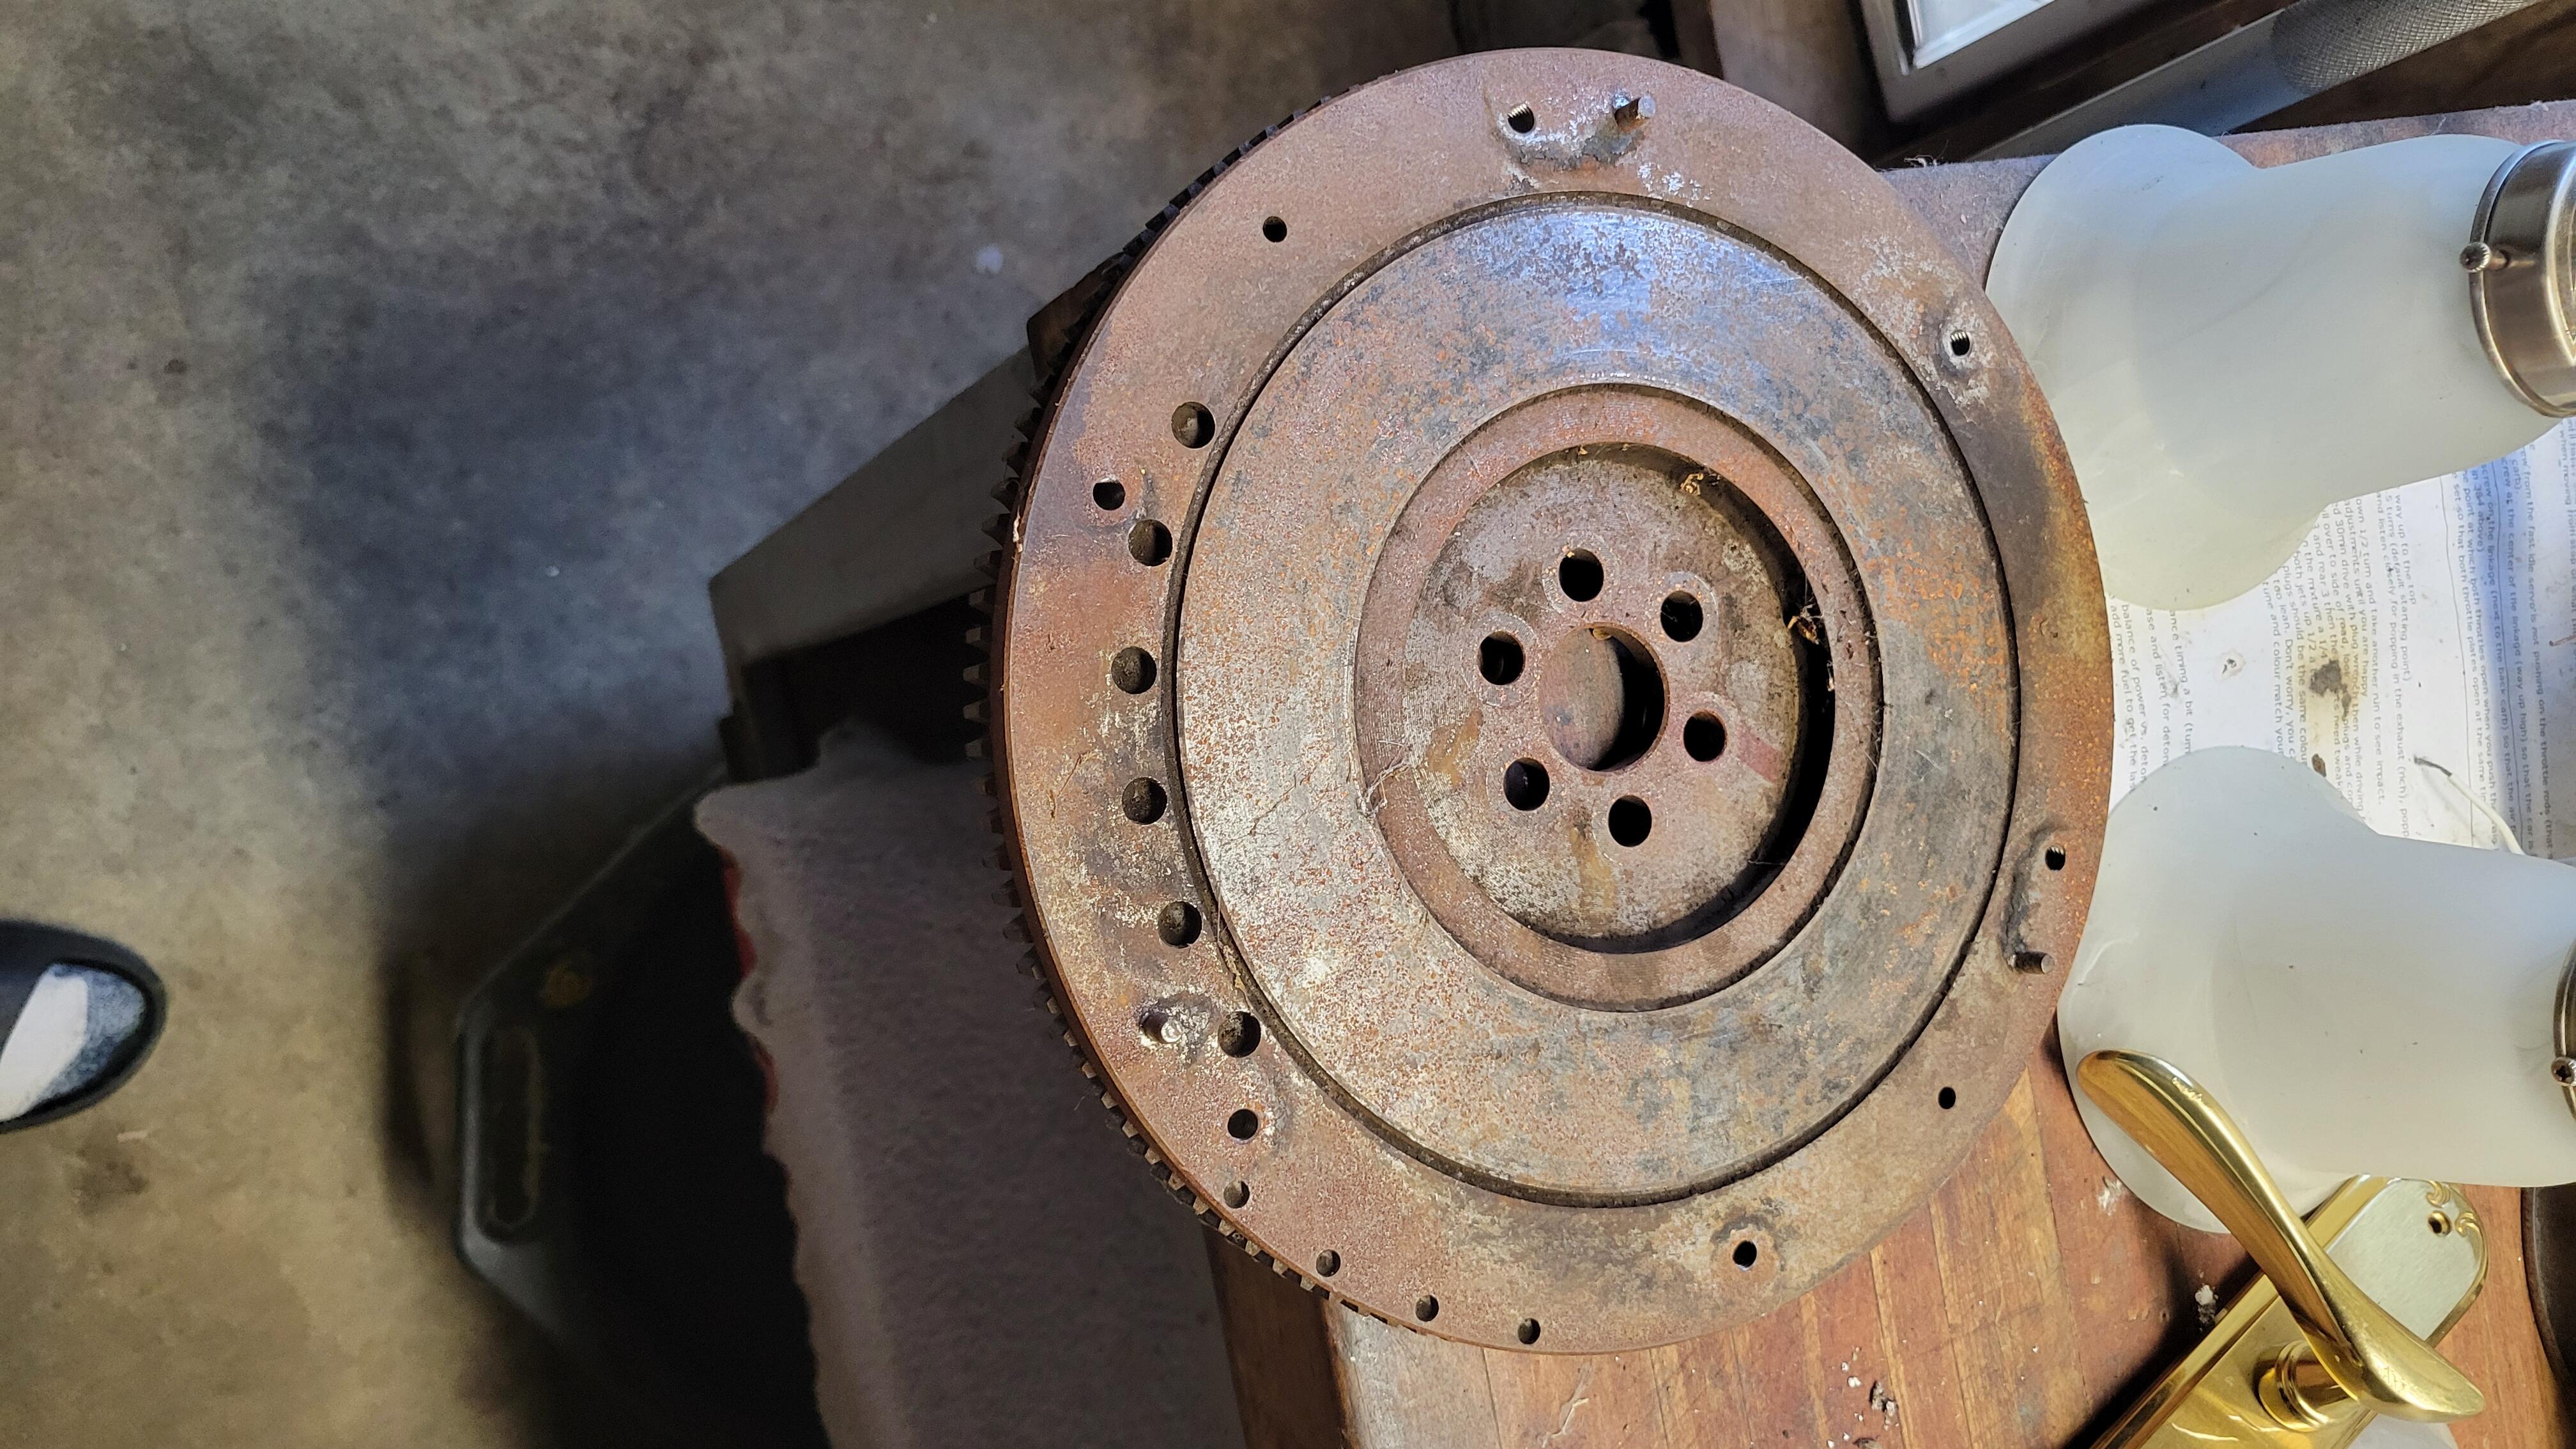
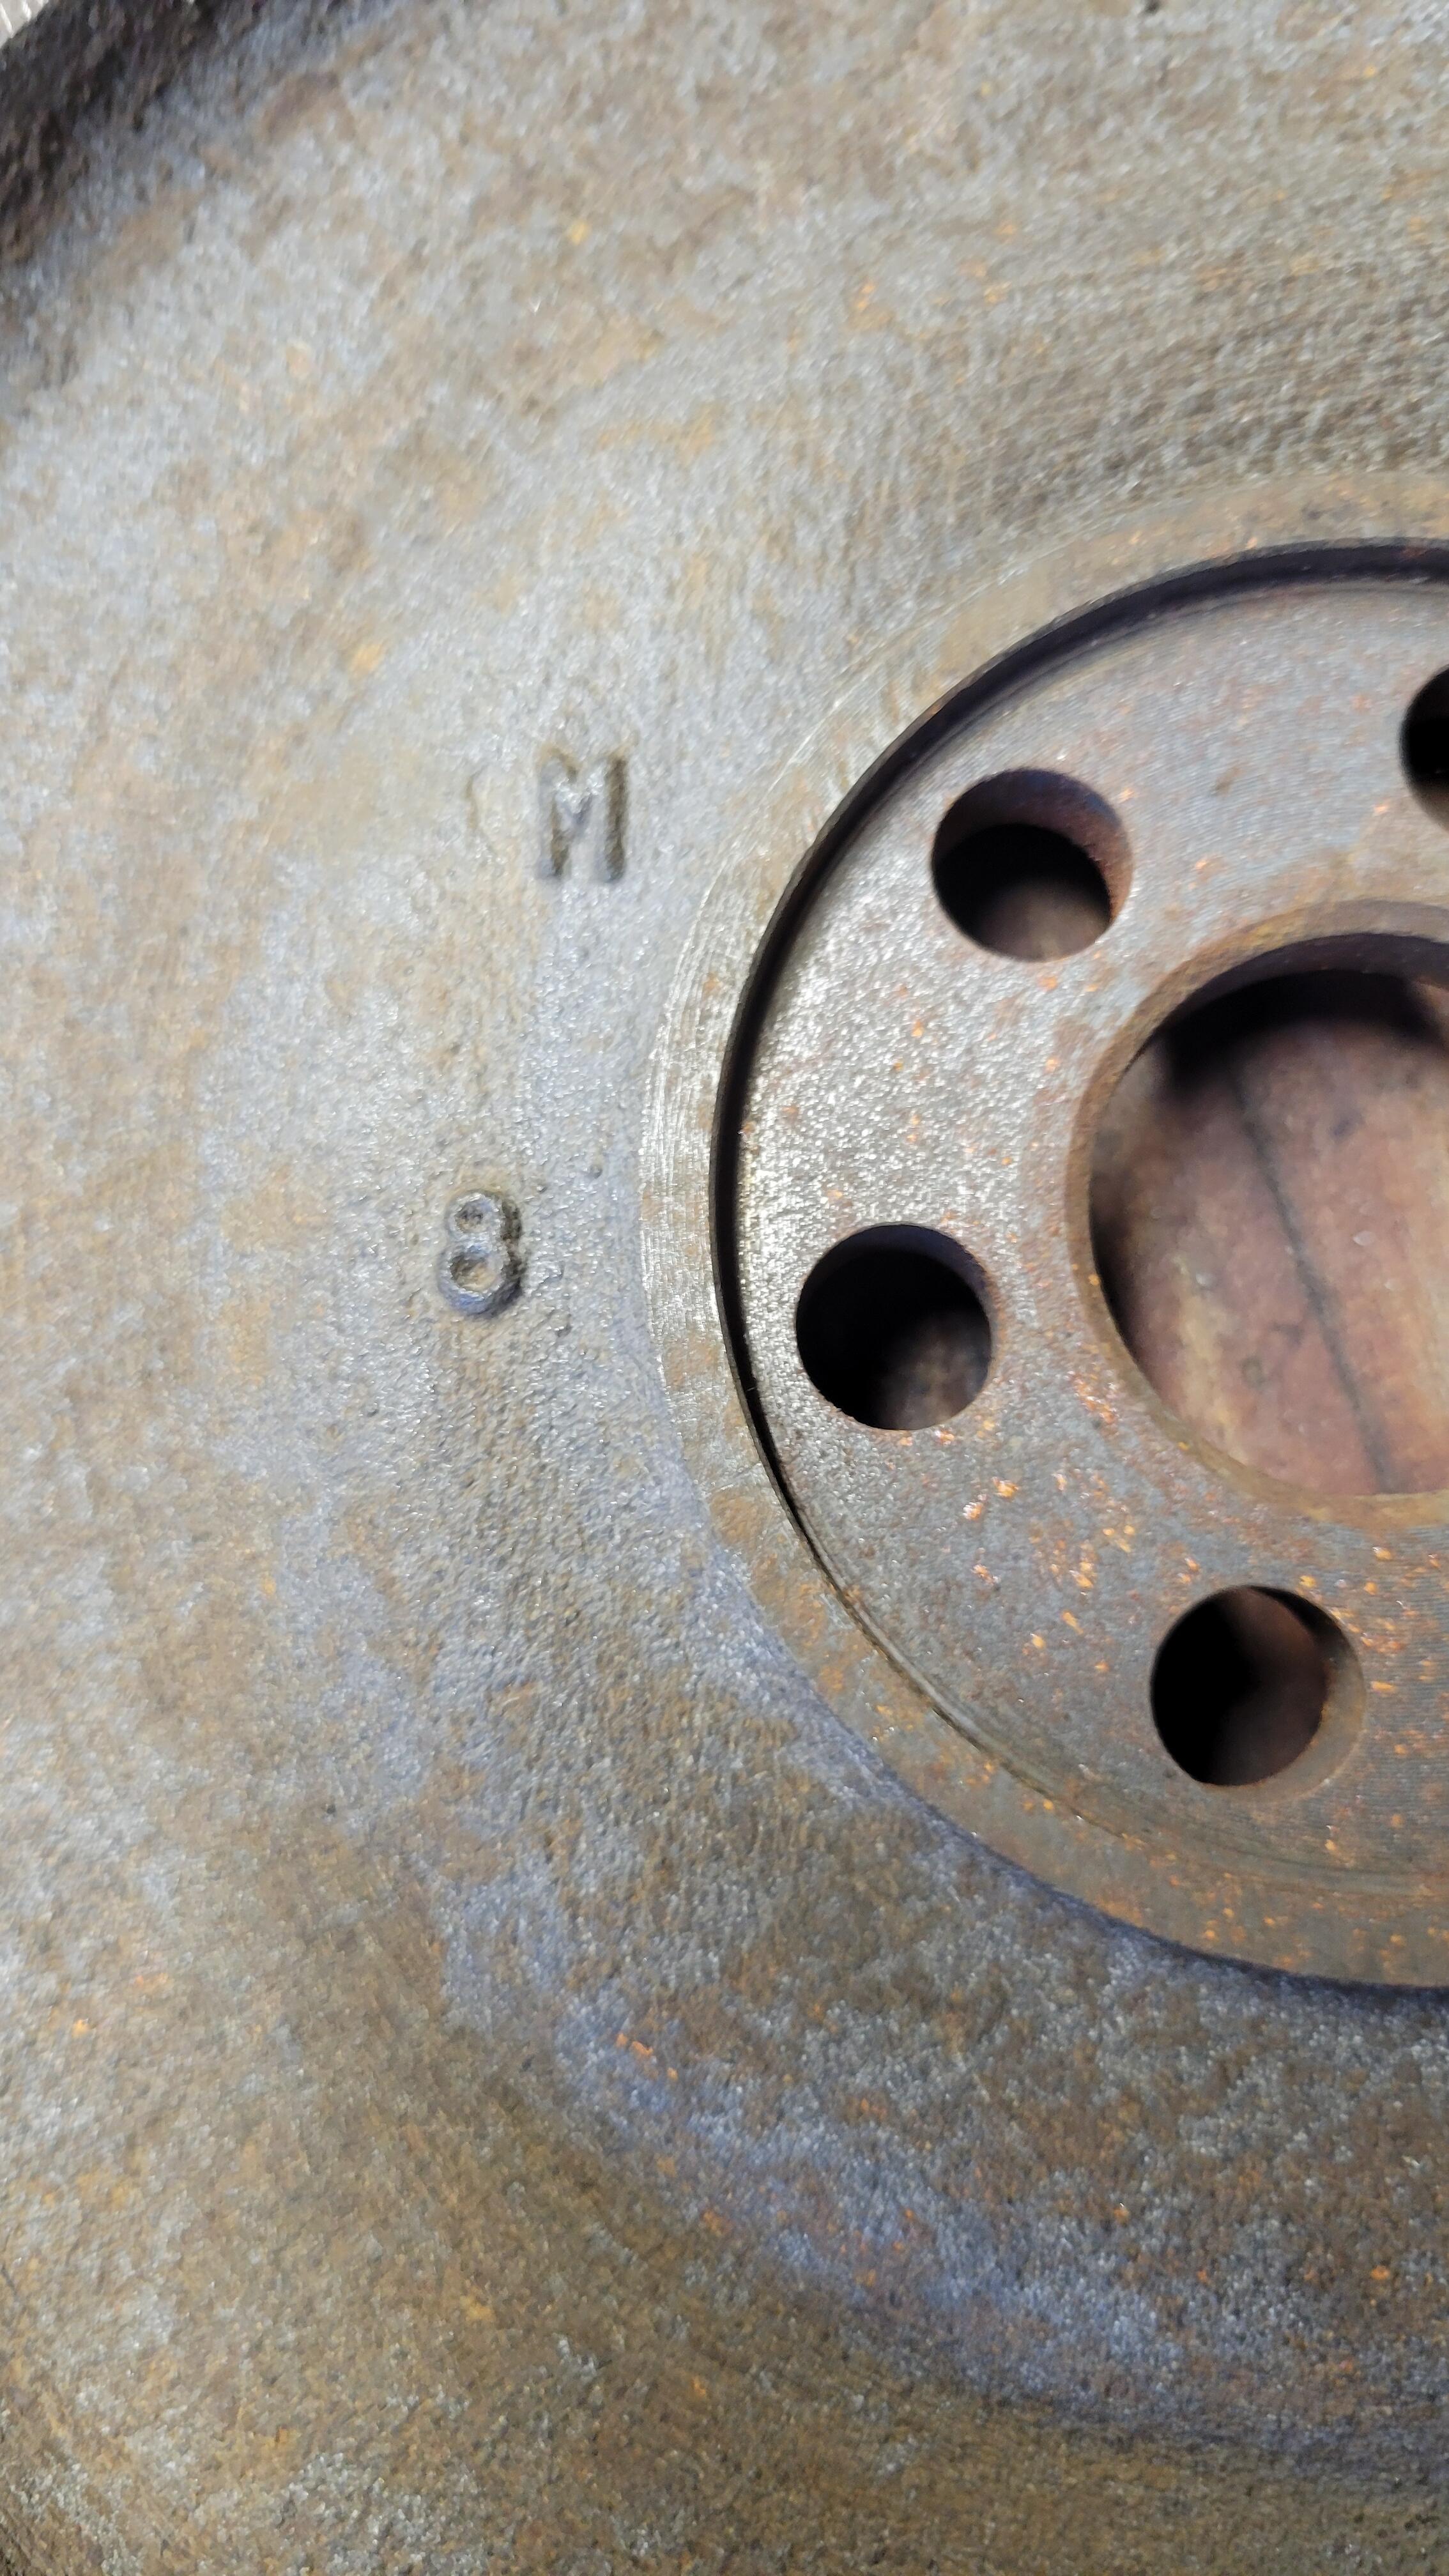
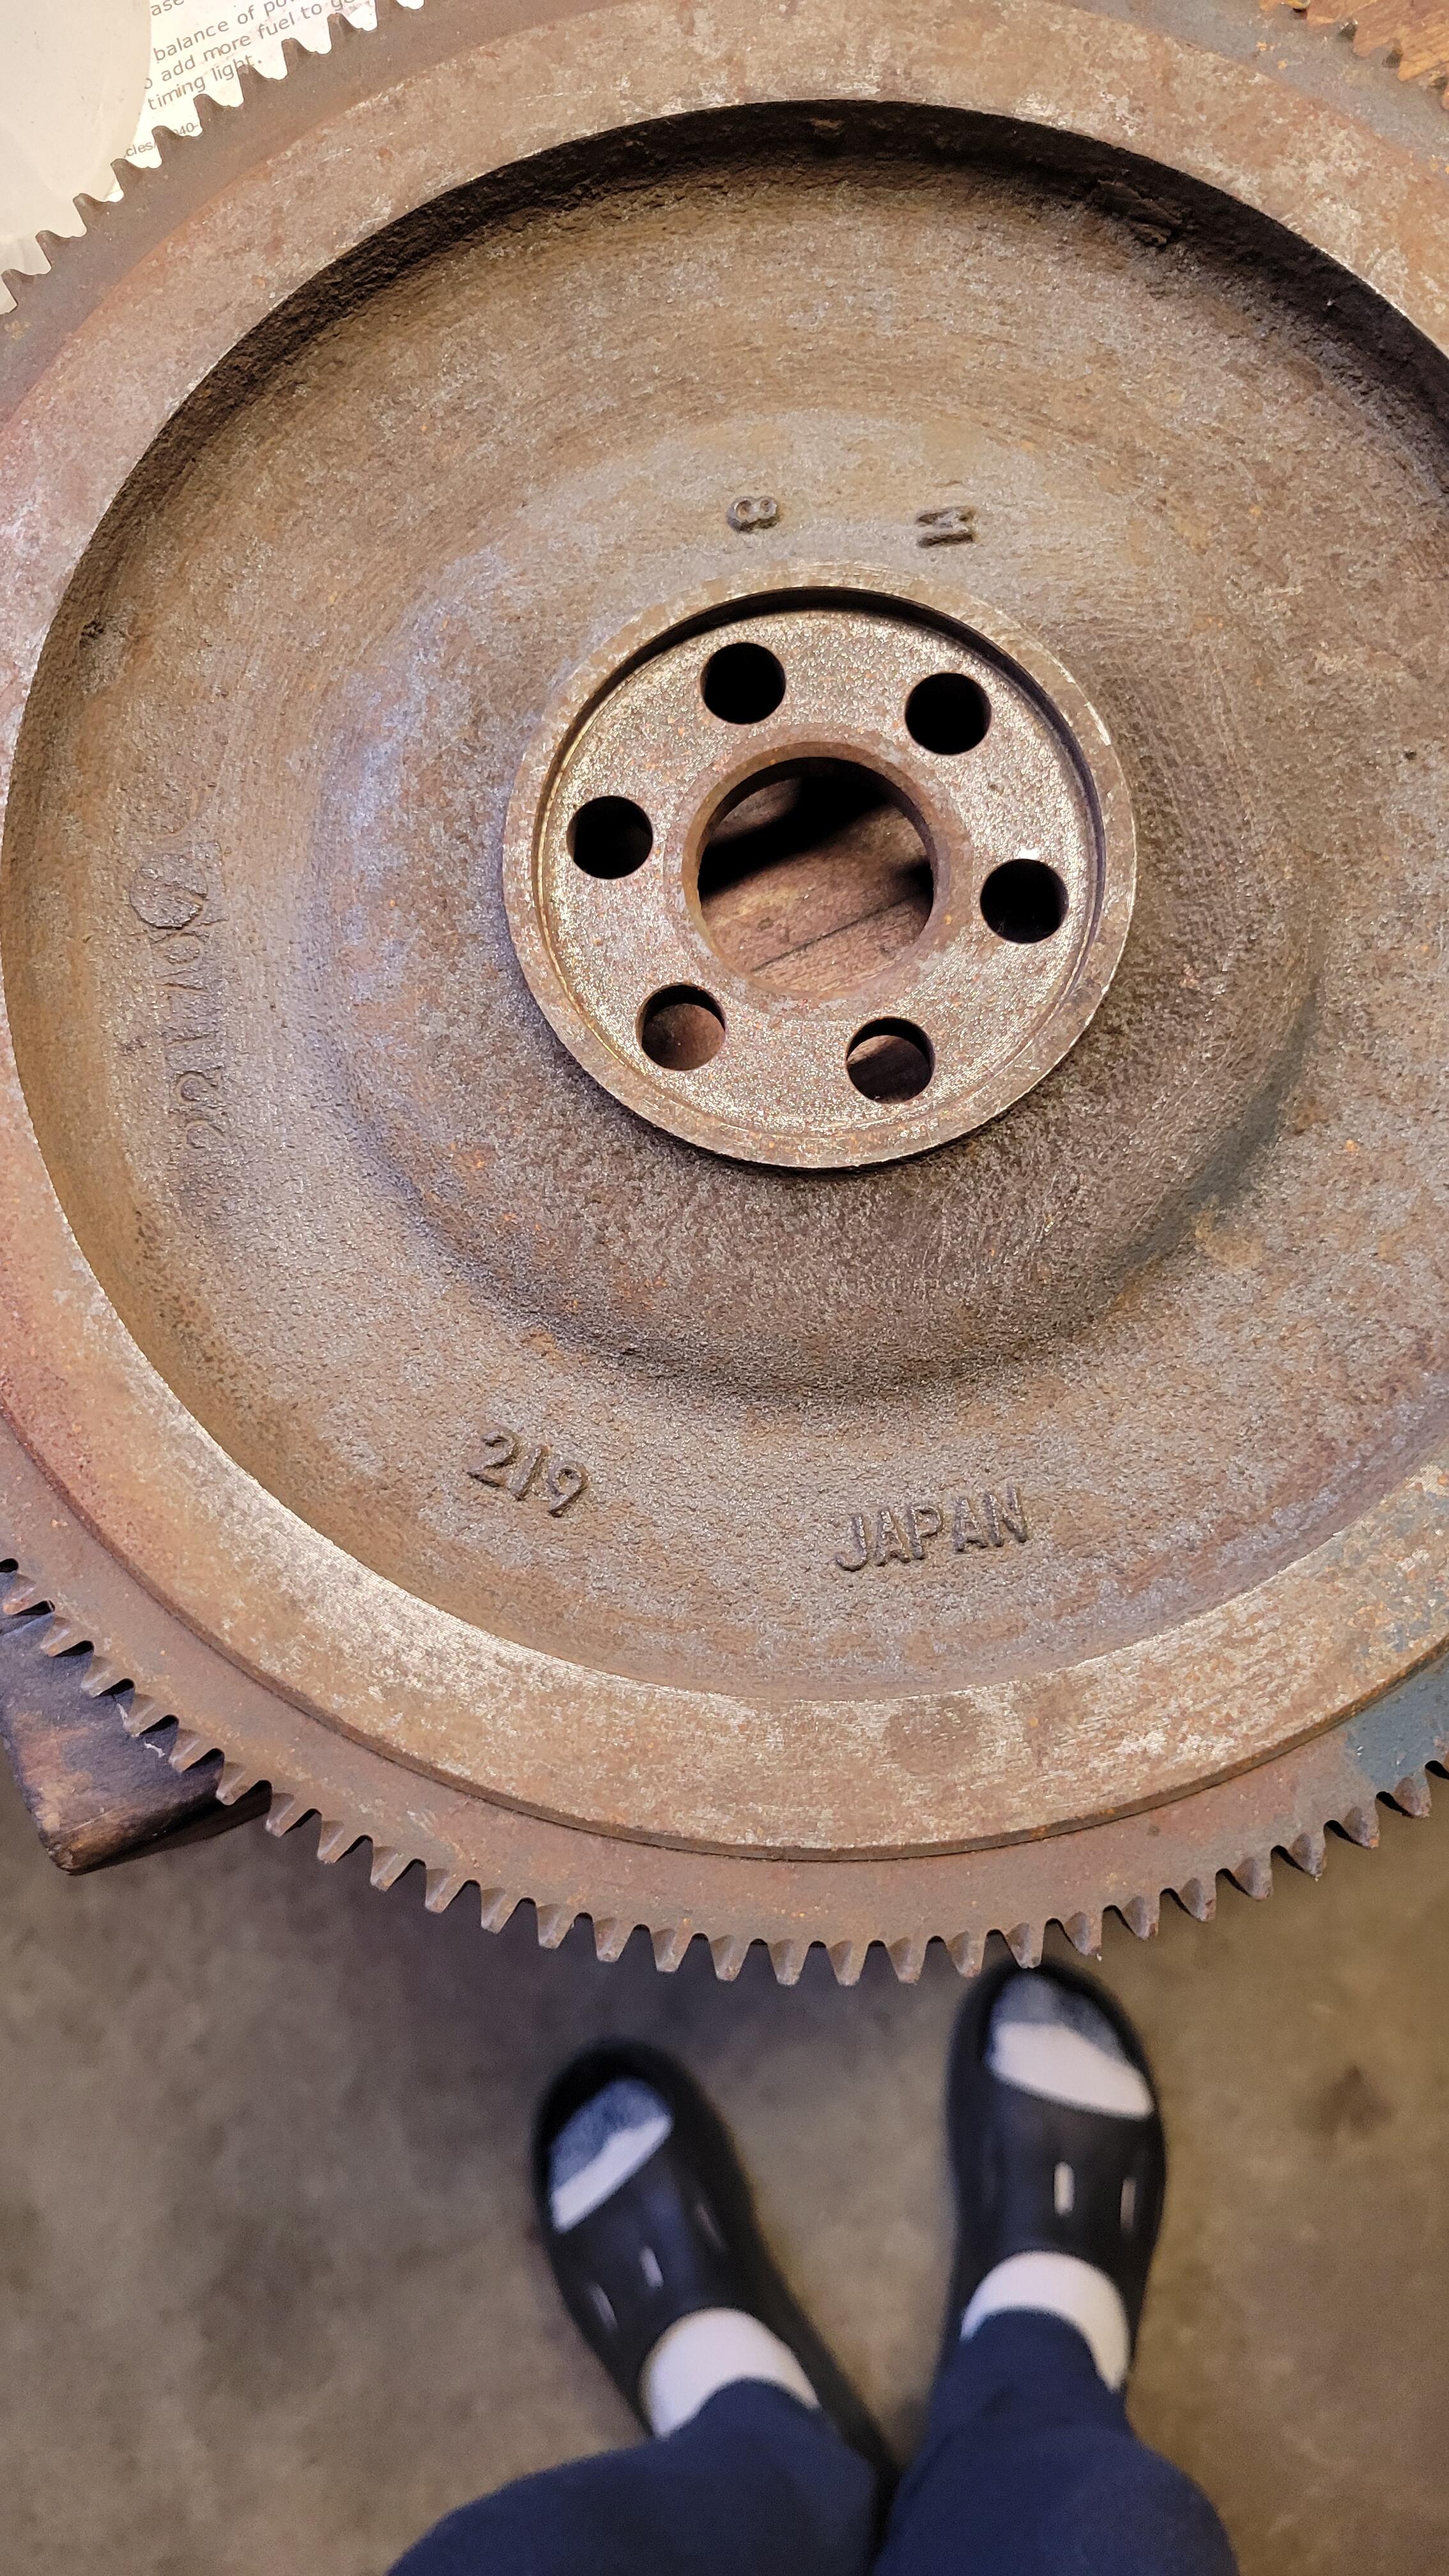
No. It indicated that the fastener had been torqued to spec on assembly and checked. Nothing after that.1 point
-
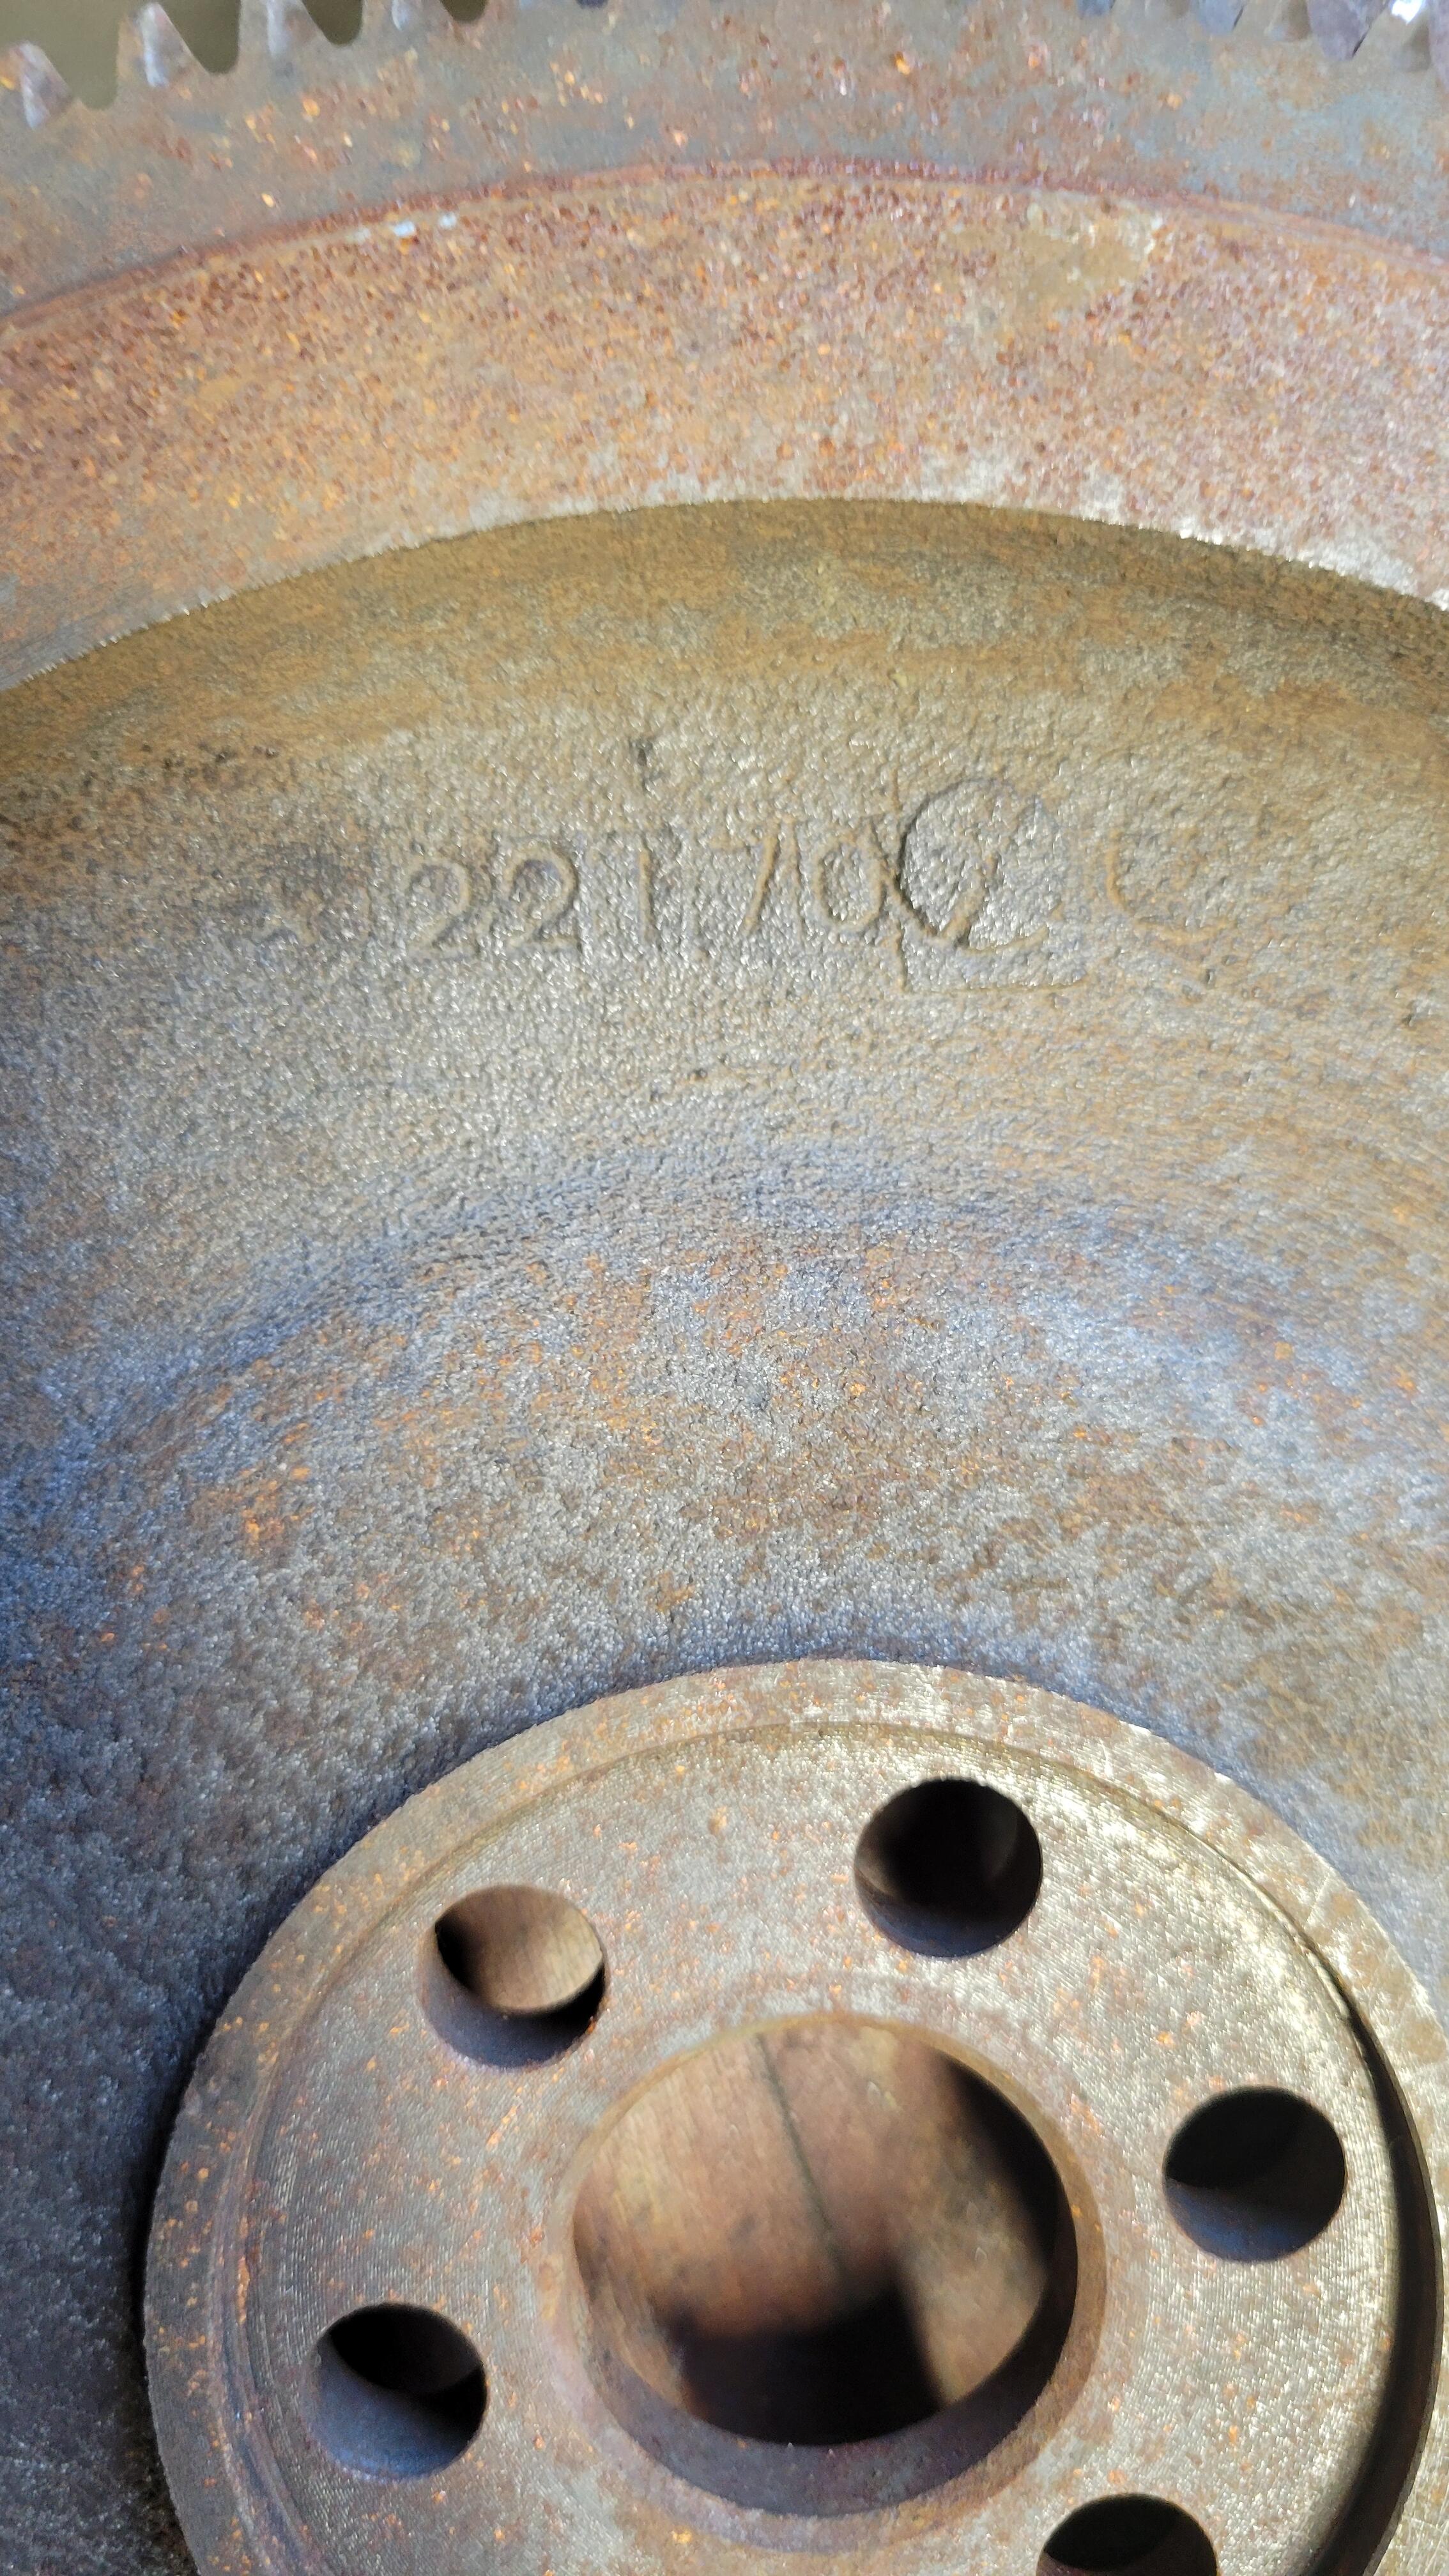
1 pointLet the chrome people know. You don't want to pay for their time to try to fix that rust area.1 point
-
1 pointI meant normal in general. from what you described above. I just listened to the video and that sounds normal too. There's just not enough vaporized fuel for all of the cylinders to fire consistently. Cold fuel is being squirted almost directly in to the cylinders. Much of it just gets pushed right out the exhaust valve without fully vaporizing and burning. When the CSV squirts, the stream and puddle of fuel sits upstream in the intake manifold with all of the incoming air rushing over it picking up vapors. Incomplete combustion of fuel in cold weather is a problem so well-defined that the fuel suppliers produce two different grades of fuel - winter blend and summer blend, with different vaporization profiles. https://www.gasbuddy.com/go/summer-blend-and-winter-blend-gasoline1 point
-
Very nice! What a beautiful restoration. I find a couple of pumps of the throttle before starting makes mine fire a bit quicker. After it sits for an extended time, it always takes time to fire up. I guess that's why later ones had the electric pump added.1 point
-
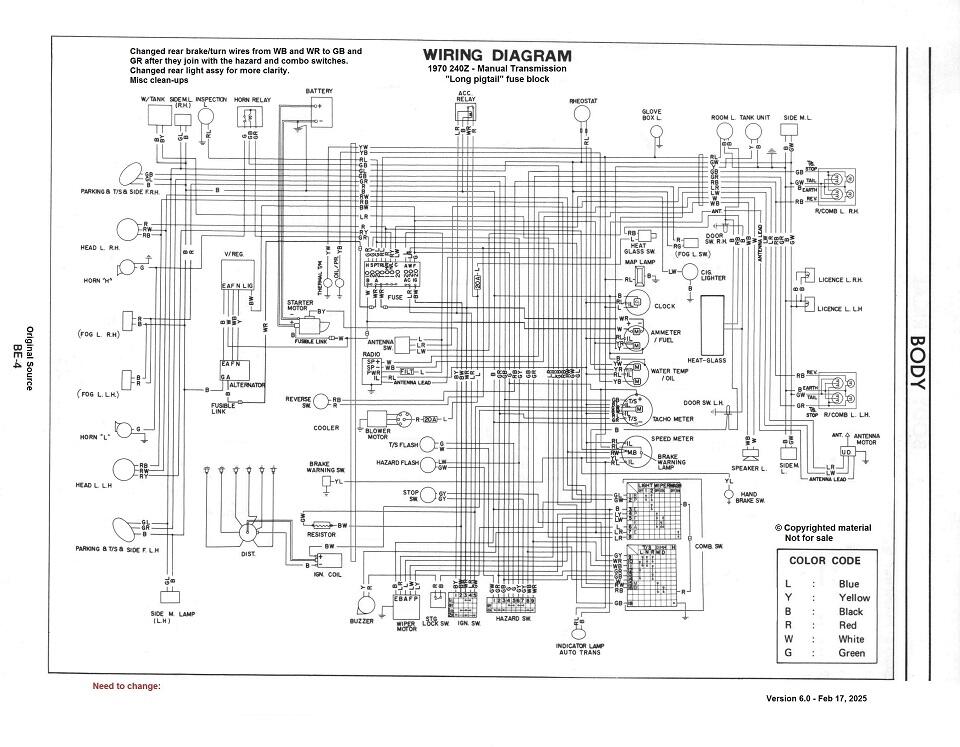
1 pointHere's the latest wiring diagram. I changed the wire color leading to the rear tail light assembly. At the hazard switch and the combination switch, the rear brakes/turns use a W/B and W/R pair, but somewhere inside the harness, they change to G/B and G/R pair by the time they get to the rear of the car. I also changed the portrayal of the rear light assemblies to show the bulbs inside. Note that in later 240's they changed one of the dual filament lamps in the back to a single filament. The car I'm working on is mid 1970 and I've got two dual filament bulbs on each side in the rear. <V6.0> _obvious 240Z Wiring Diagram 6.0.pdf
 1 point
 -
I couldn't find anything that was like the original. I bought the Essex version of this as temporary solution. It is pile. https://www.rockauto.com/en/moreinfo.php?pk=6070062&cc=1209147&pt=1264&jsn=454 I tried to take the jute off of the back of one of the pieces that goes behind the seats as a test - I wanted to install all of the pieces of this carpet with the jute I got from England which looks kind of like the original jute. Unfortunately, the jute couldn't be pulled away from the carpet backing without damaging the carpet. The carpet backing is super thin, and the glue wouldn't let go without pulling tufts of carpet with it. The kit as received is nice. It fits well and I think it would be durable enough. But, it isn't like the original (neither is the loop version).1 point