Leaderboard
-
conedodger
Free Member10Points12,513Posts -
Captain Obvious
Free Member3Points10,081Posts -
motorman7
 Subscriber
 2Points2,228Posts
 -
Patcon
Subscriber2Points11,142Posts


Popular Content
Showing content with the highest reputation on 10/13/2024 in all areas
-
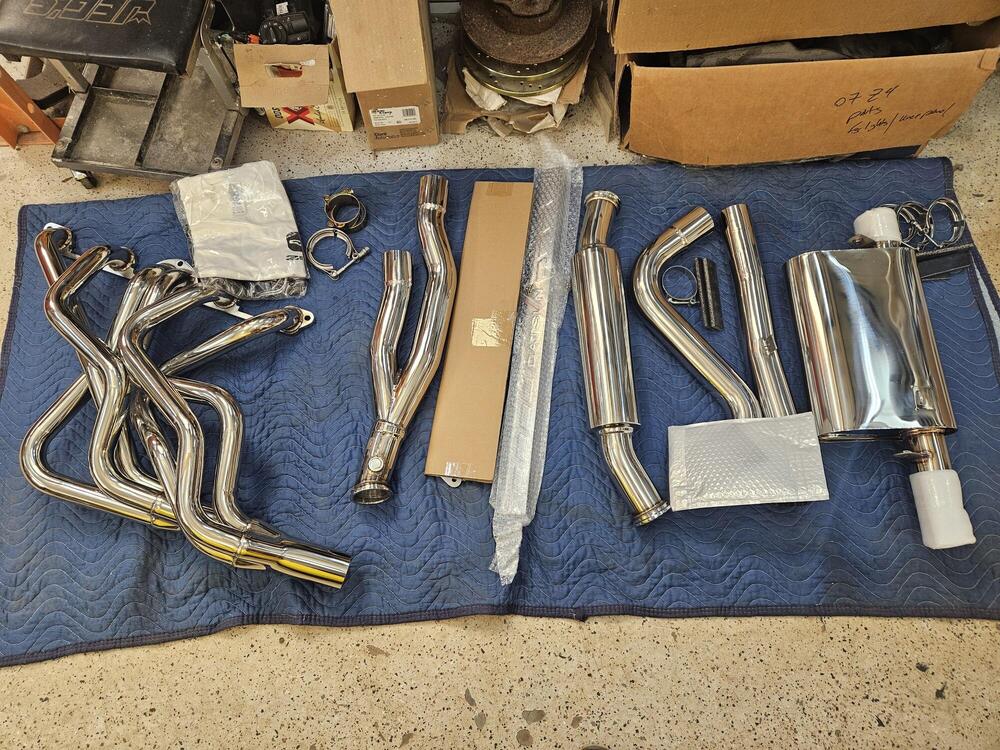
2 pointsOh no, that really sucks. Once you clean it and repaint, it shouldn't be very noticeable to anyone (except you)😆. That exhaust looks way too nice to put under the car. I cant wait to see it installed.2 points
-
1 pointI'm sure it still has the engine because it would sit higher without it. But I thought the same thing. They say diesel but it would be nice to see the engine for confirmation. If someone is close enough they can go by and inspect it.1 point
-
1 point
-
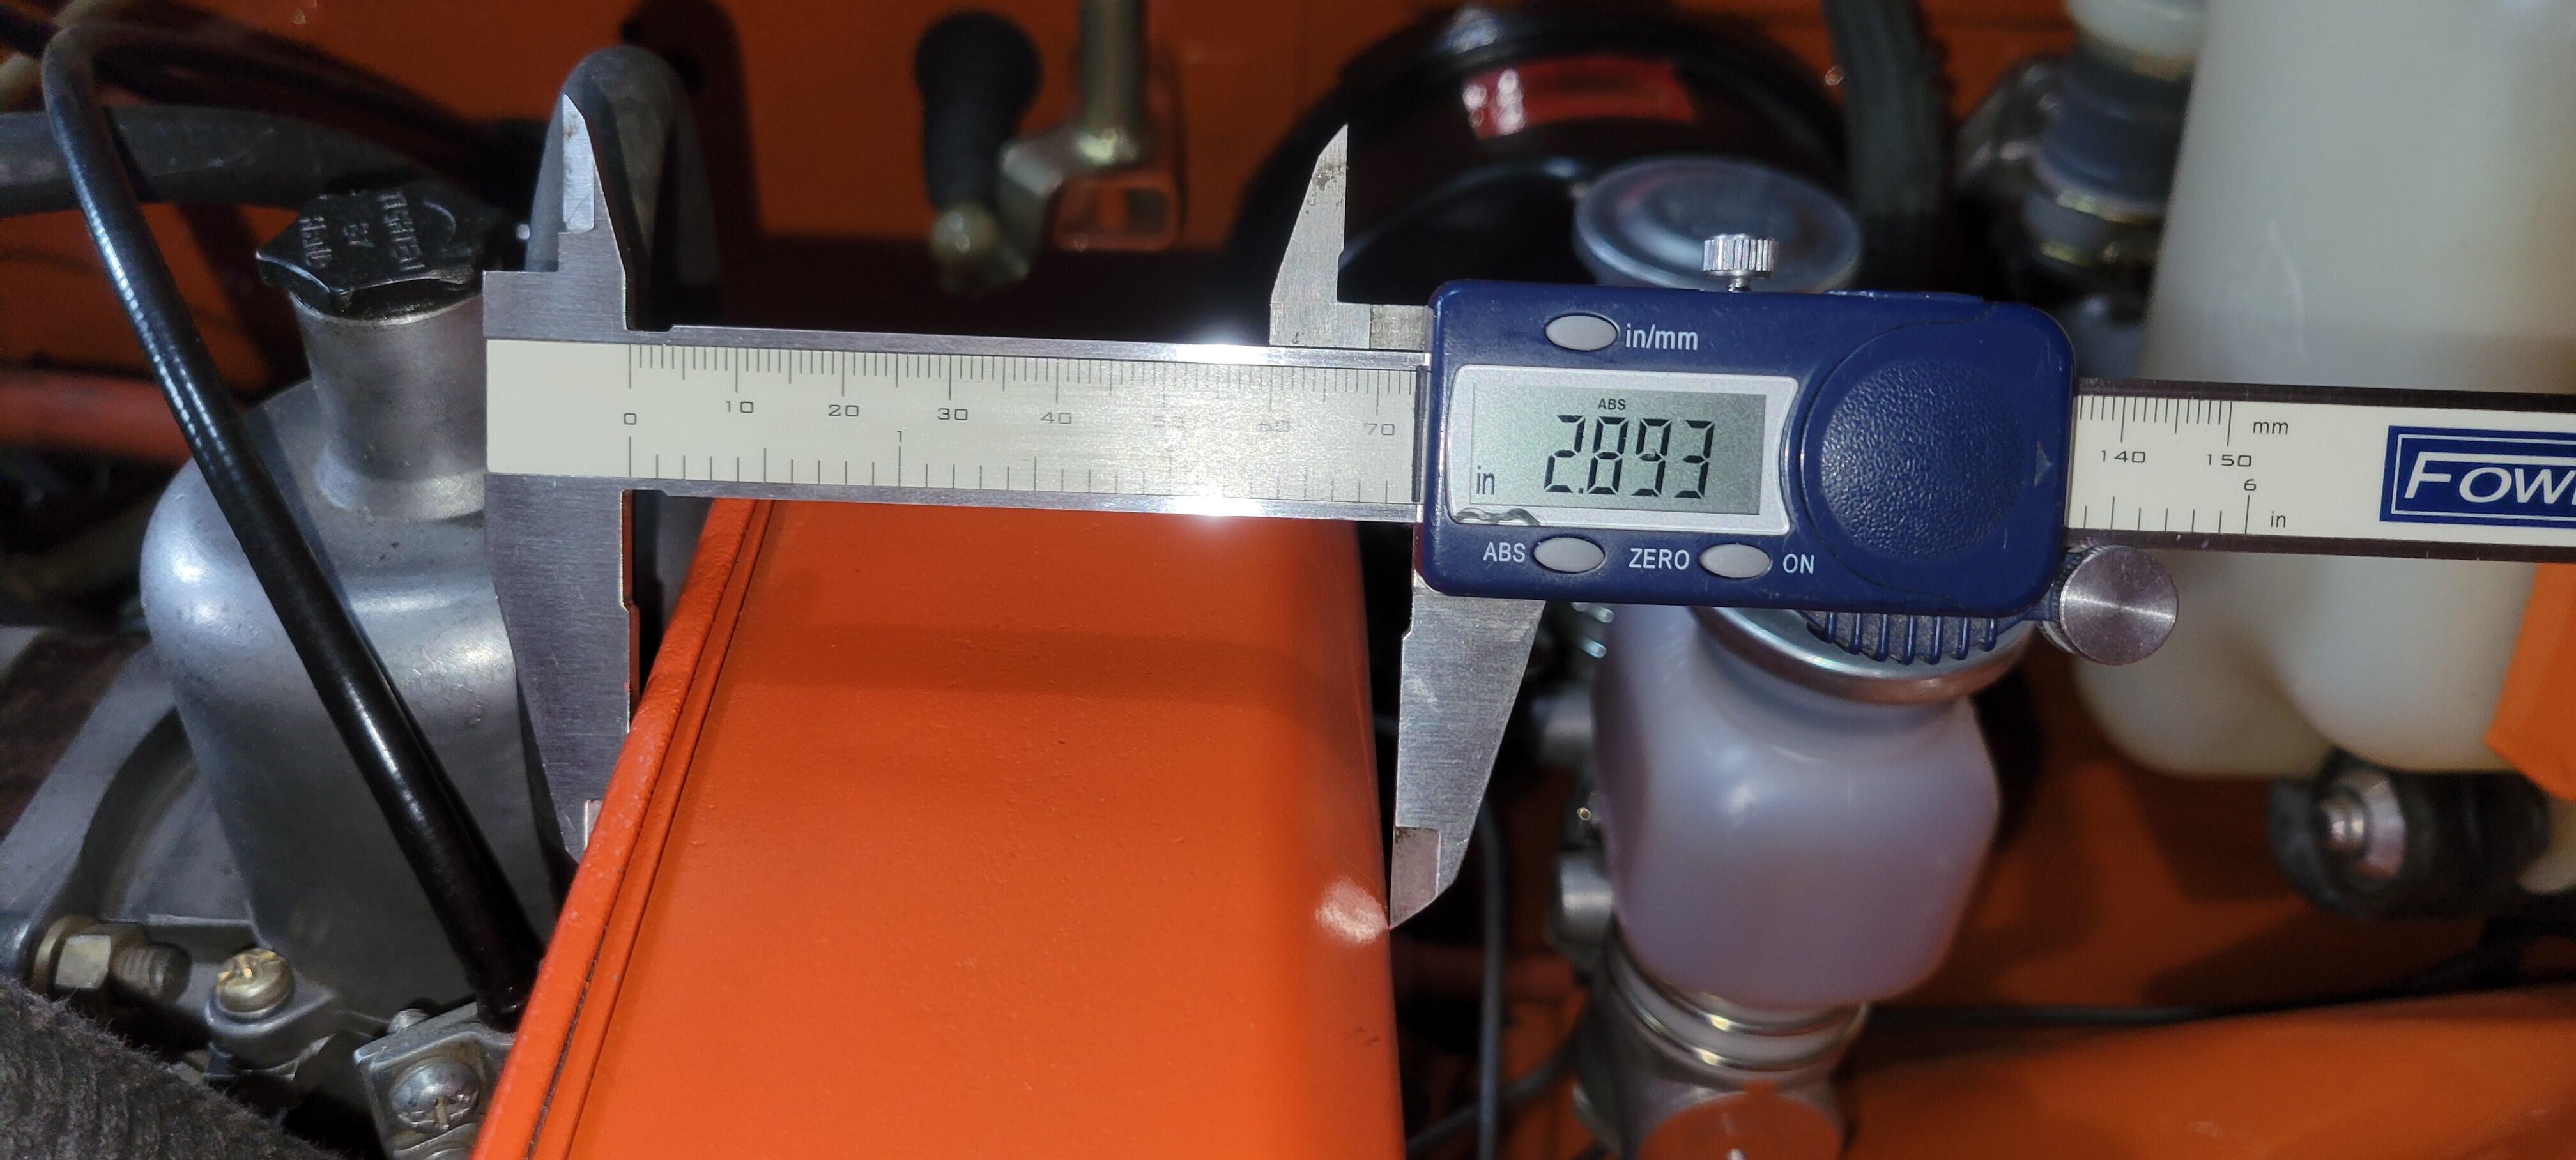
1 pointOK, so we have seemed to confirm that you have the correct filter. And your housing does clam shut if there is no filter installed. Sp what about the possibility that it's simply a rubber compressability issue with the new seals inside the airbox that squish against the sides of the filter? In other words.... Do you think that the airbox would close tightly if those two rubber seals inside were not present?1 point
-
1 pointBut that exhaust!!! A thing of beauty! So sorry about the brake fluid disaster.1 point
-
1 pointAAAAAAAAAAAAAHHHHHHHHHHHHHHHHHHH! Jeez! Sorry that happened Charles!1 point
-
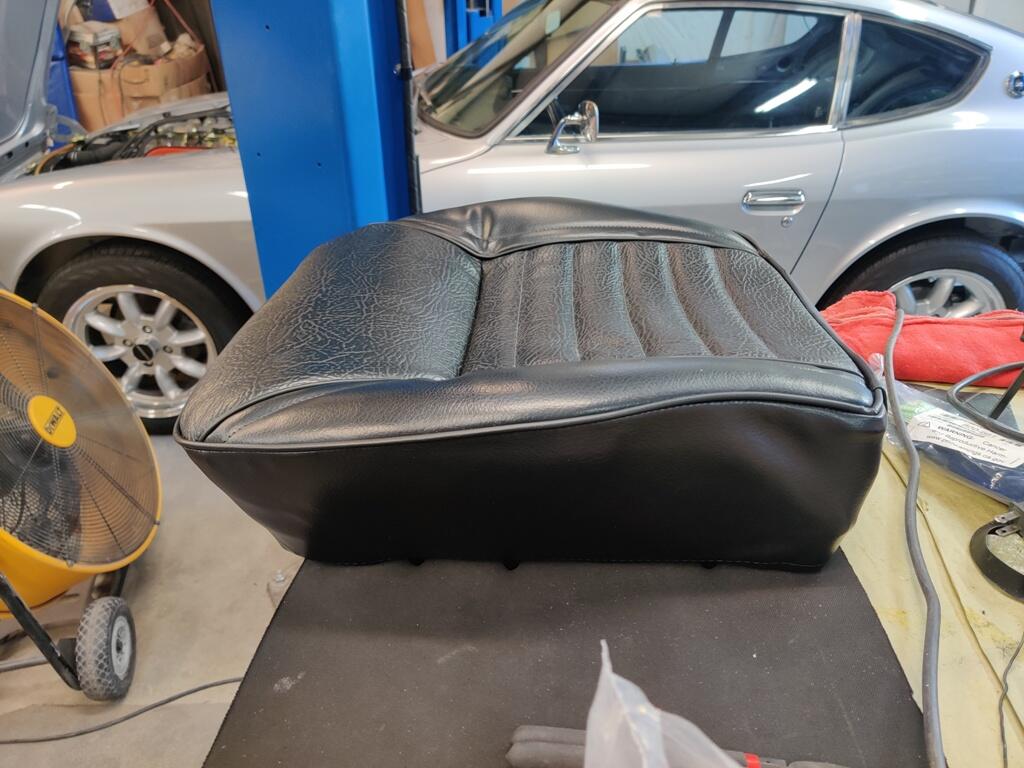
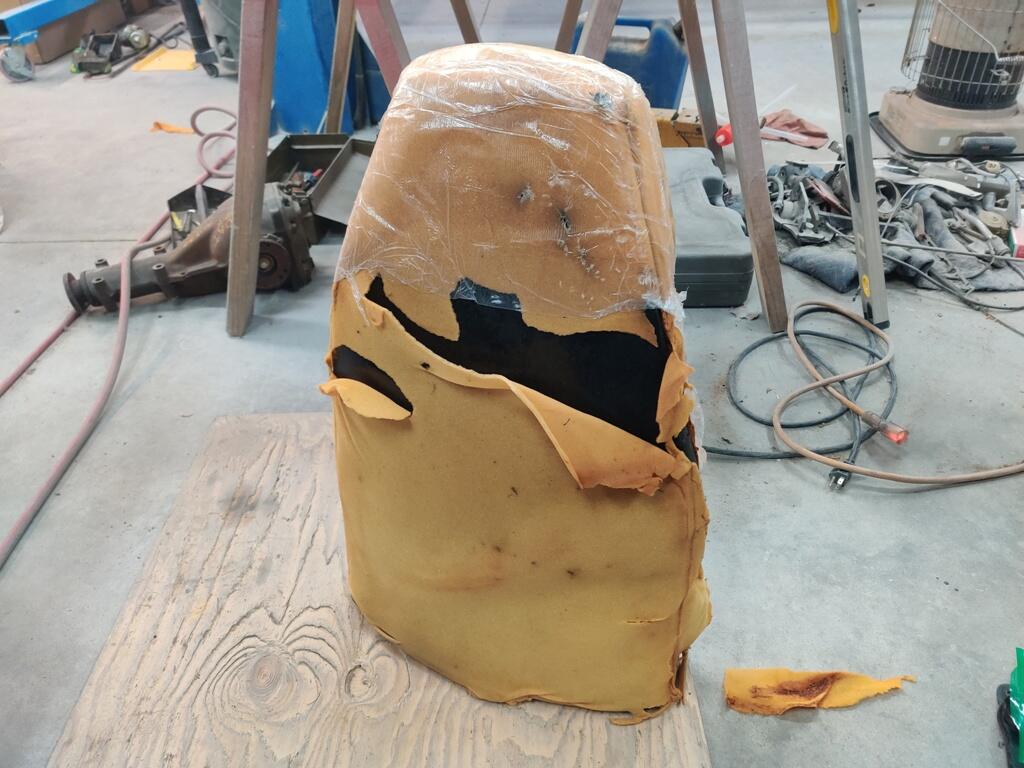
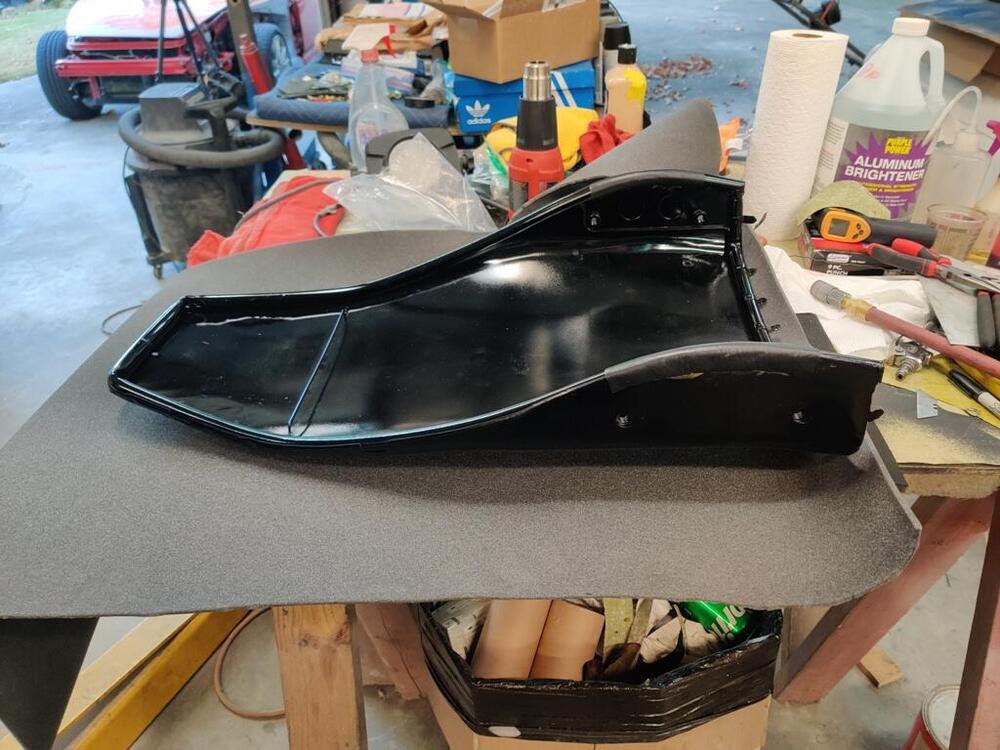
Today I set the car down on blocks under the tires to load its suspension so I could torque all of the suspension fasteners to factory specifications. Then I pulled the rocker cover to have a look at the cam and valve train. I was pleased to see that all looks good. Then I switched back to attempting to put on the seat upholstery. I worked with one seat bottom for quite a while. First, I made the decision to trim down the funky lip of foam at the front. I used as scroll saw to remove a portion of it from across the front of the seat cushion. Then I used some 36 grit sand paper to smooth out where I had cut it. I loosened the zip ties that are holding the upholstery to the seat frame. I still do not have any hog rings installed. Then I very carefully started working the upholstery onto the metal points/blades which are on the seat frame. I started at the front of the frame. I worked point by point from the front, around both sides. When I had the upholstery on all of the front and side points, I pulled on the cord that is inside the piping and this cinched the corners of the upholstery nicely. I tied this cord, (there is one each side) and tied them together. Then I installed a piece of wire in the piping of the back seat flap, and folded that flap onto the points which are on the back of the seat frame. I did not hammer the points down yet. So, I can still take the upholstery off and redo things. Finally, I pulled the zip ties so they are fully tight. Here is how it currently looks. I think it was the right call to trim the front of the seat cushion. I no longer have that odd bulge at the top front. But, pulling the zip ties all the way down, which I believe will be equivalent to when I install the hog rings, I still have the wrinkles in the top side panels. I don't care for them. I may experiment with adding some foam in this top side panel area. I started on one of the seat backs as well. From the factory, there were some vinyl pieces glued to the seat back on the edges: I checked location in my reference pics, and then made and glued some new ones in place. I believe the very thin sheet of foam that was on the backs of my seats was original. The new seat back upholstery from Distinctive Industries only has a pieced of reinforced vinyl for the back (of the seat back). So, I plan to install a thin layer (about 1/8") of the grey foam you see in the pic above to the metal seat back. And then install the upholstery over top of that. I have heard that it can be difficult to the install the upholstery on the seat back. I see that there was some very thin plastic originally as well. I may wrap the seat back (with 1/8" foam glued in place) in thin plastic also. I think the plastic will allow the upholstery to slide on easier.


 1 point
 -
1 point
-
1 pointTwo steps forward, one step back. The engine bay has other issues and will need to be resprayed at some point. It is what it is... At this point I just want to drive her. I can't see it from the drivers seat! 😉1 point
-
1 pointThat is such a bummer. I have had that happen as well, but not on such large a scale. Ugh! I hate brake fluid.1 point
-
1 pointTime for the obvious question... Does the air cleaner clamshell fit together tightly when there is no filter inside? Yeah, I know. But someone has to do it.1 point
-
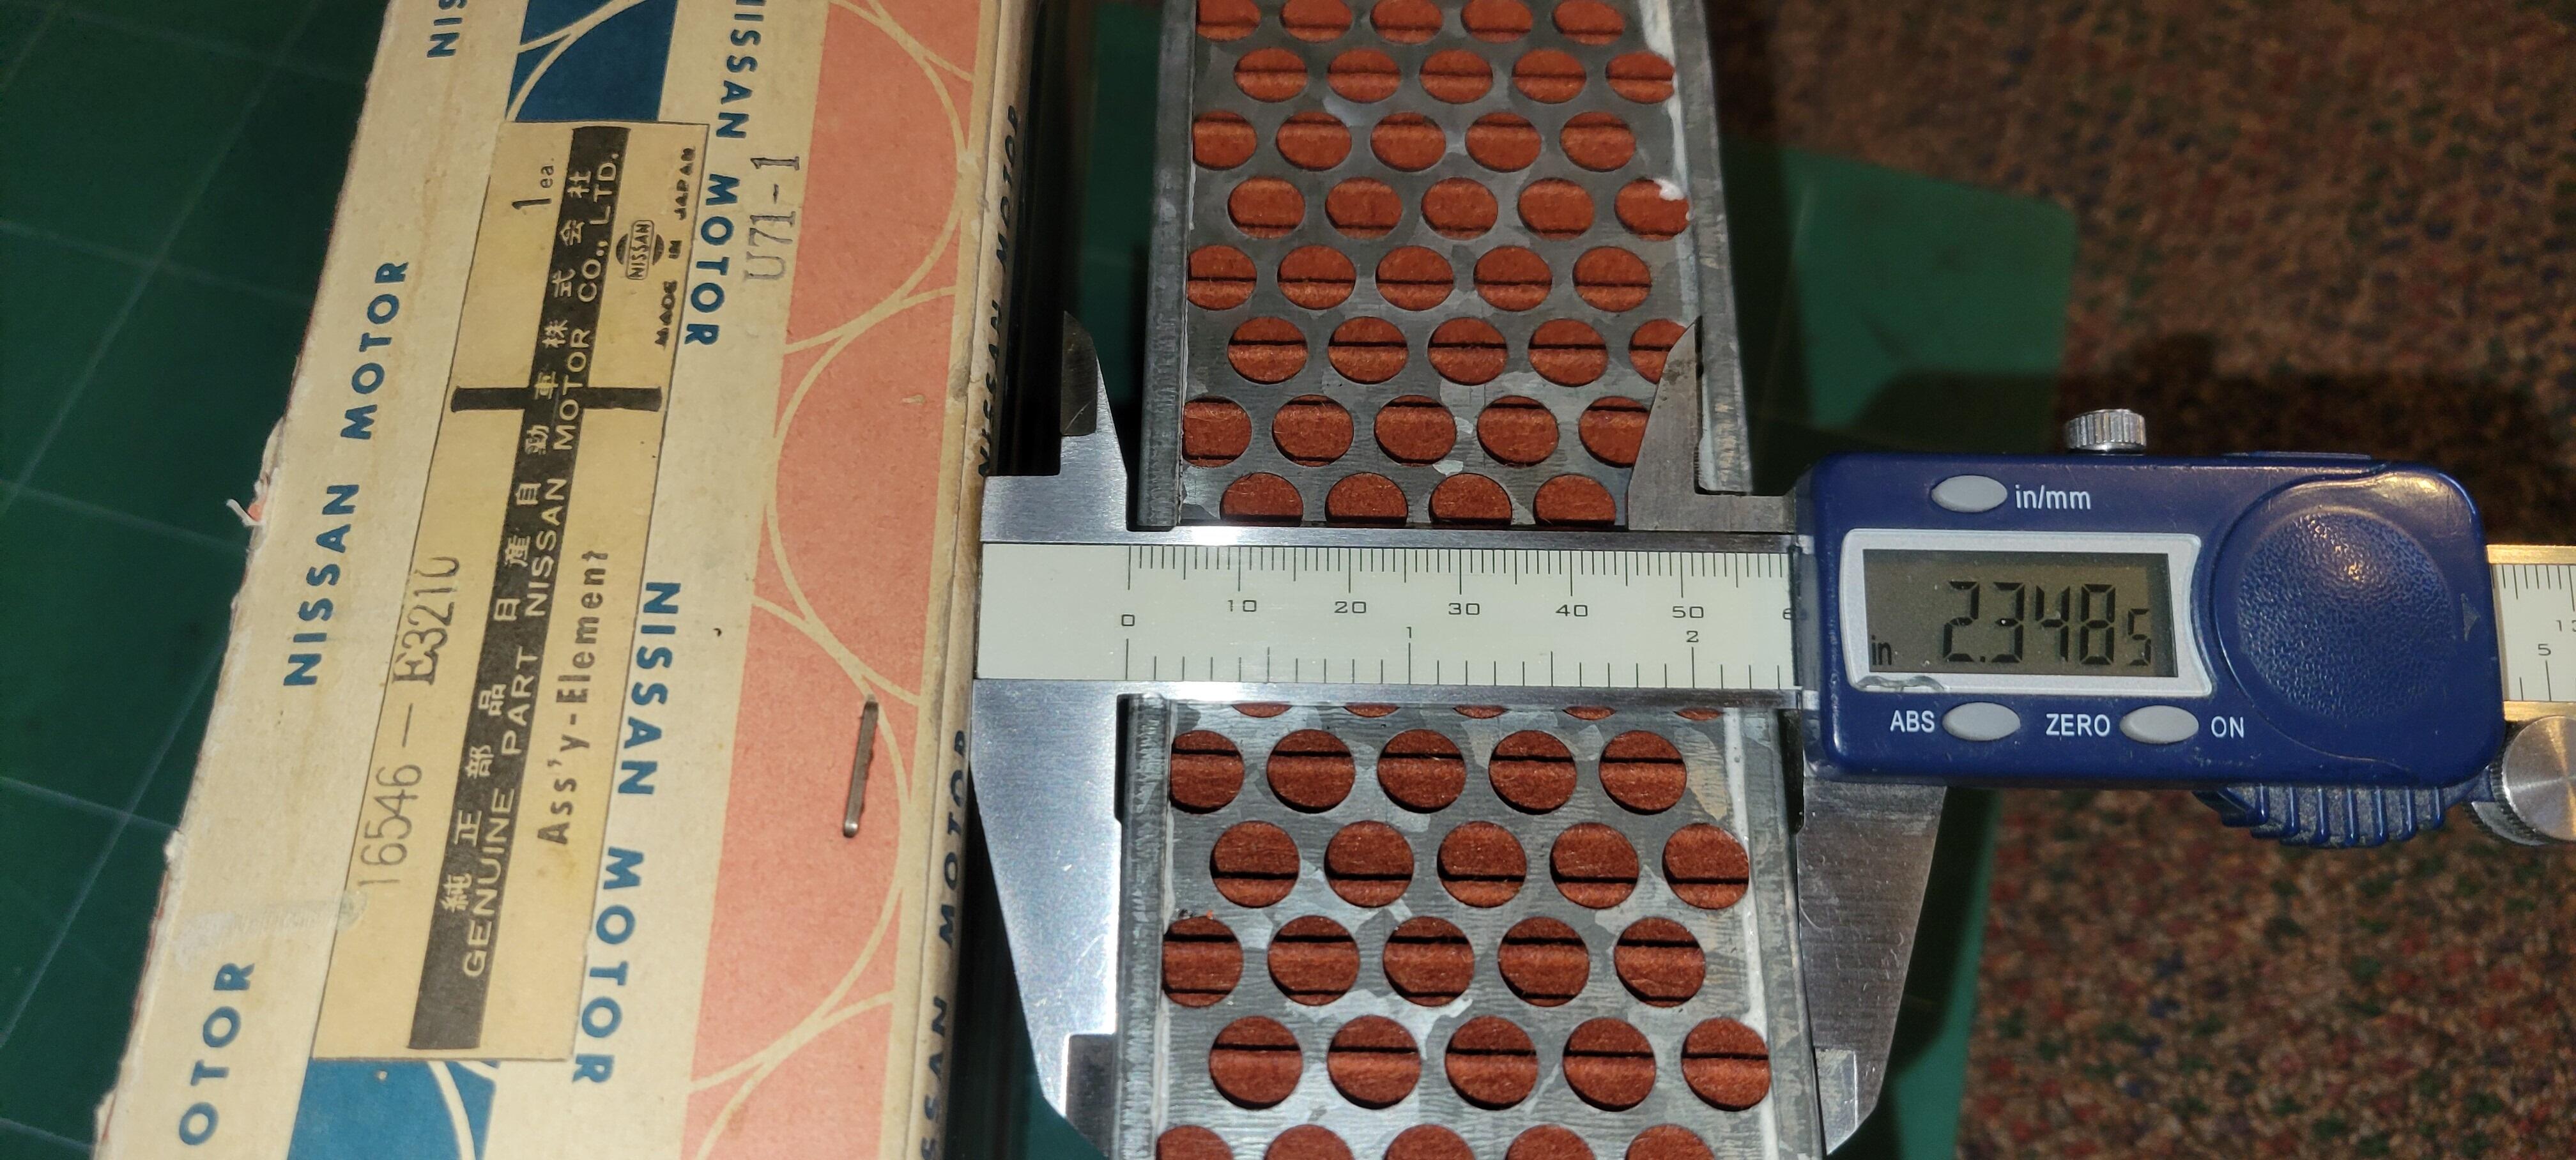
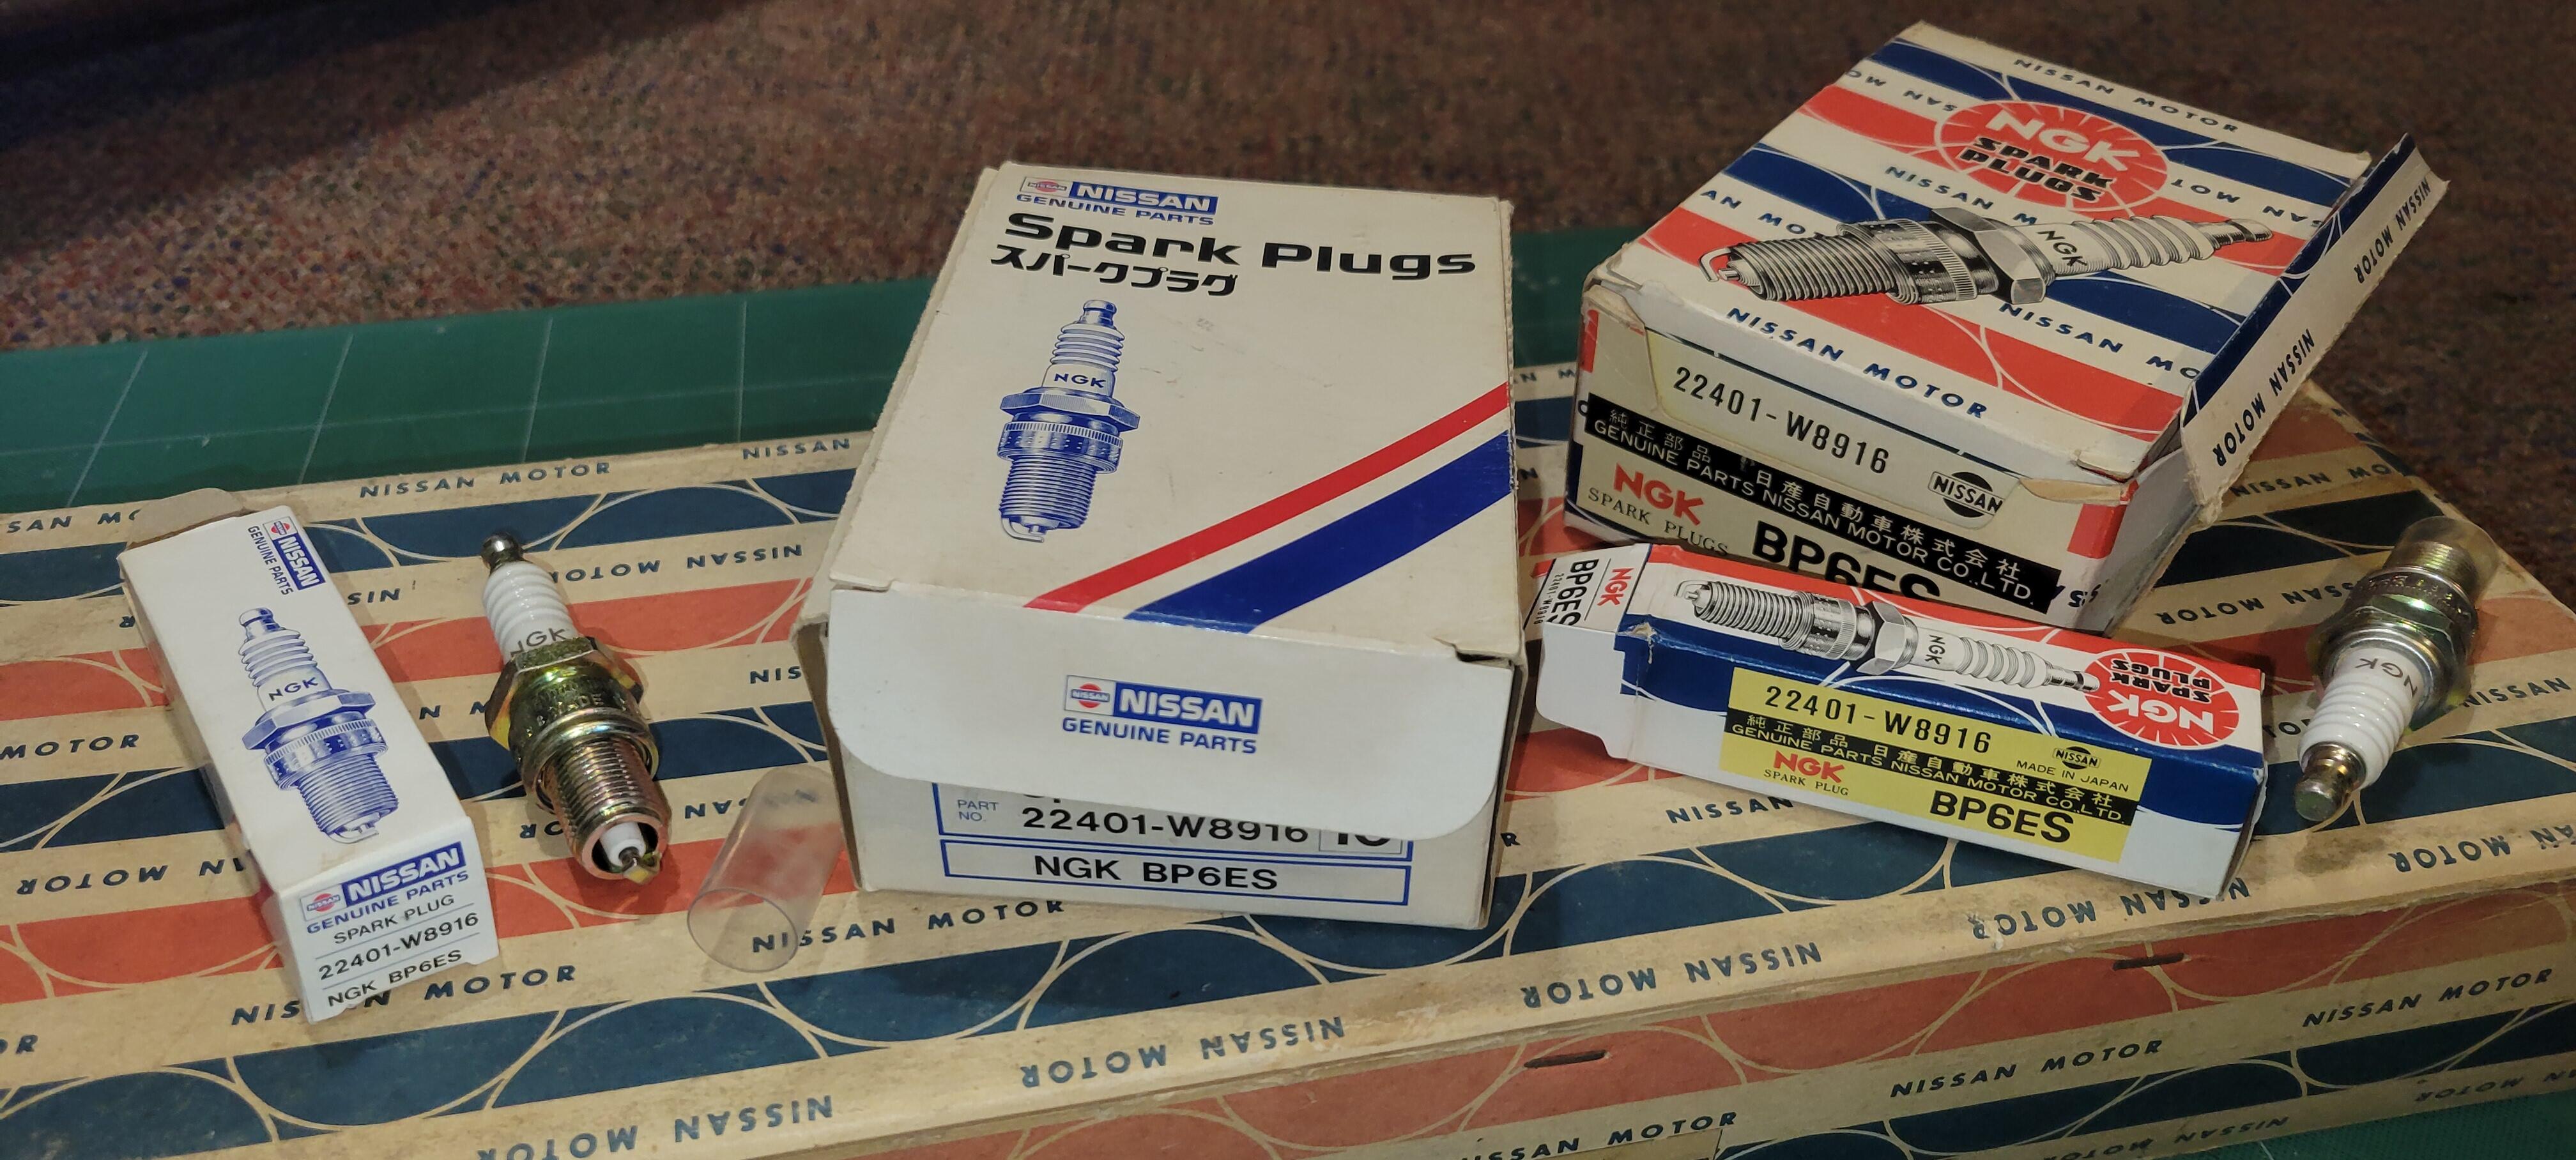
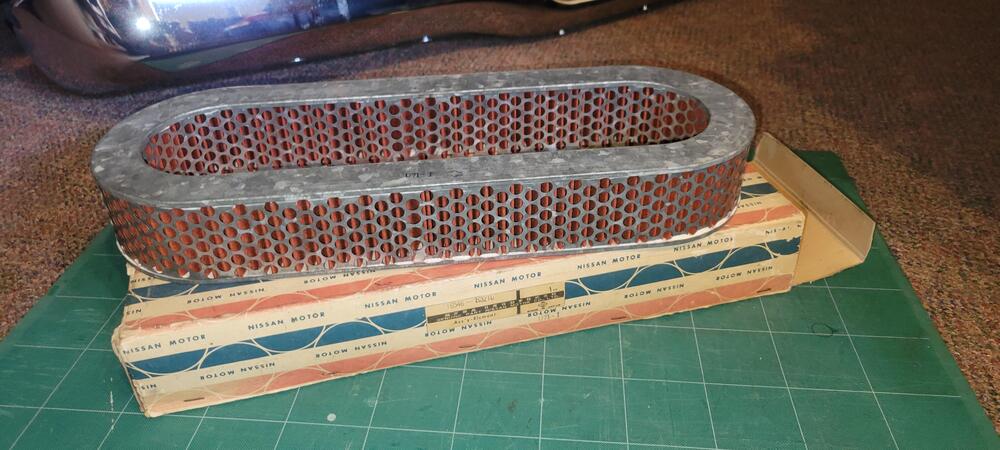
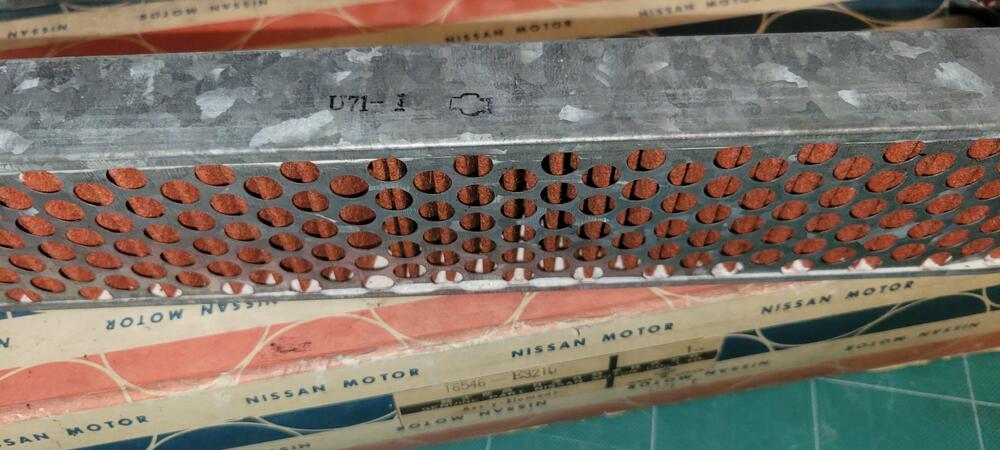
1 pointInteresting stuff here. I will add a few OE air filter pics, from the parts that came with my recent purchase of #957, a 1/70 HLS30. It came with a pickup load of spare parts. Some of which are early OEM items. This air cleaner is the early part number 16546-E3210. Not related to this topic but I have to share this pic of two packages of OE spark plugs, NGK in Nissan branded packaging, 10 plugs per package.


 1 point
 -
1 pointDoug: I take it that you want the correct battery size - because you are using the OEM battery hold down on top of it. (yes/no?) If that is the case - then take the OEM Battery hold down (that sits on top the battery) with you when you shop for a battery. Todays "Group 24" may or may not be the exact identical size as they were in the 1970's... Secondly many battery manufacturers have moved the original position of the battery terminal posts - so they now sit closer to the middle of the battery (for a more "universal" fit and broader application). This can be a problem with the OEM battery cables - as they can come into contact with the metal battery hold down. If you look at the OEM battery hold down - that sits on top the battery - you will see that it is "notched" out where the battery terminal posts are originally - so that the battery cable terminal will not come into contact with the metal frame... Additionally - the battery terminal Posts are today a slightly different size than they used to be. The difference in size between the + and - posts have also been changed. Sometimes the old Cable Terminals will not tighten down correctly on the newer design battery terminal posts... The last time I looked - Interstate built the only Group 24 that still was a "close fit".. but it wasn't perfect. I've switched to using the Optima's... they don't fit perfectly either, but they don't leak battery acid down on your frame rails either... FWIW, Carl B.1 point
-
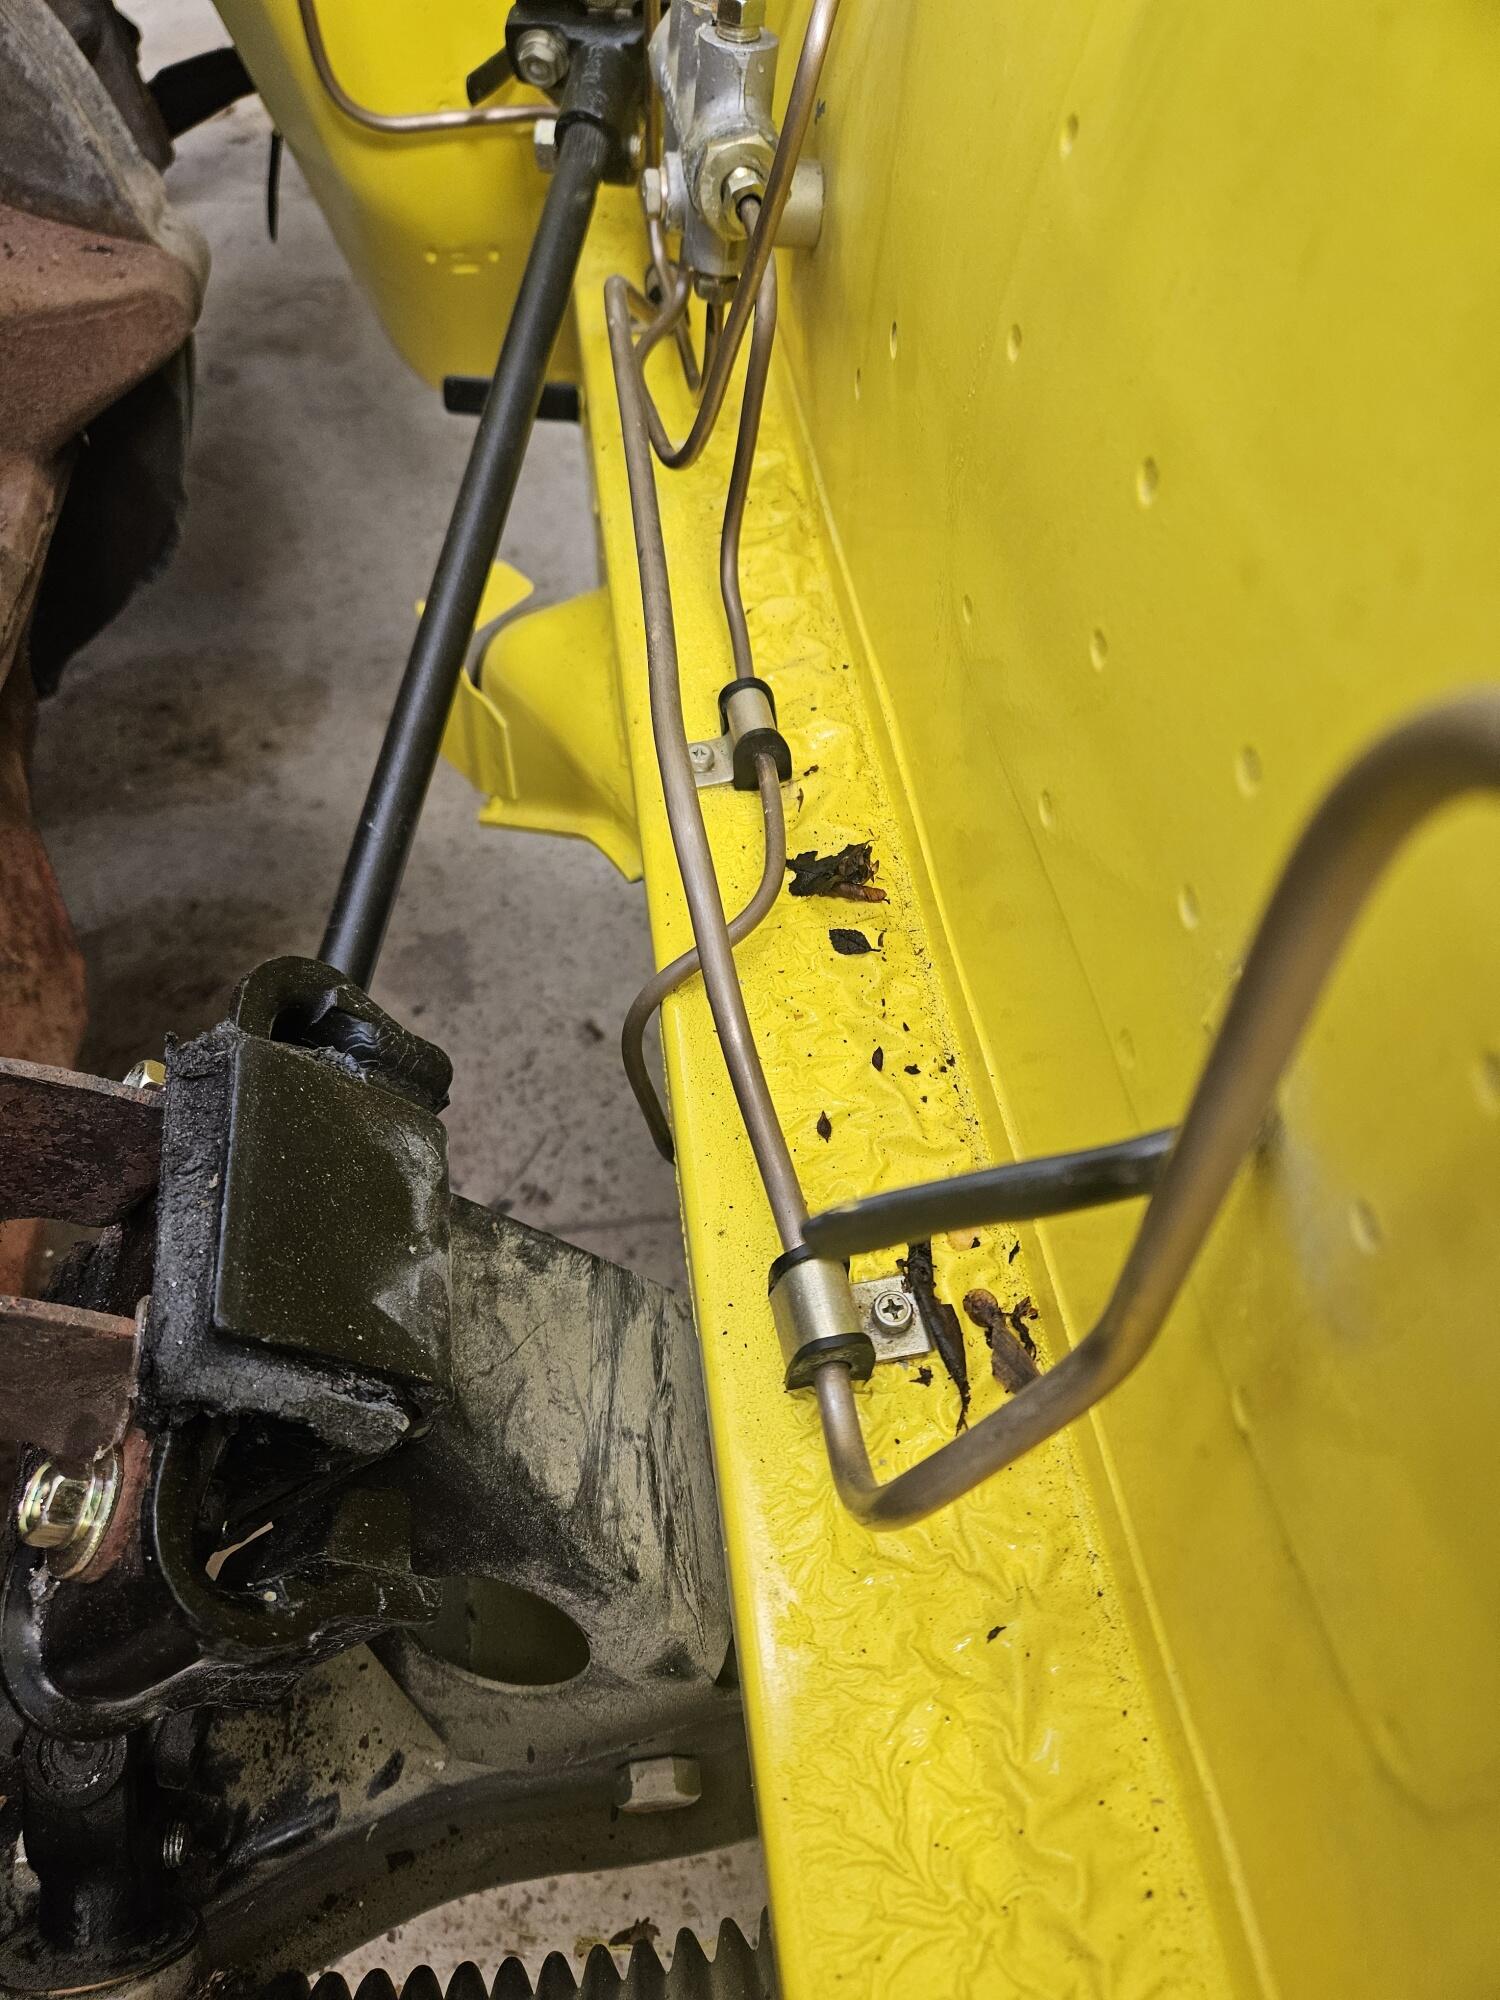
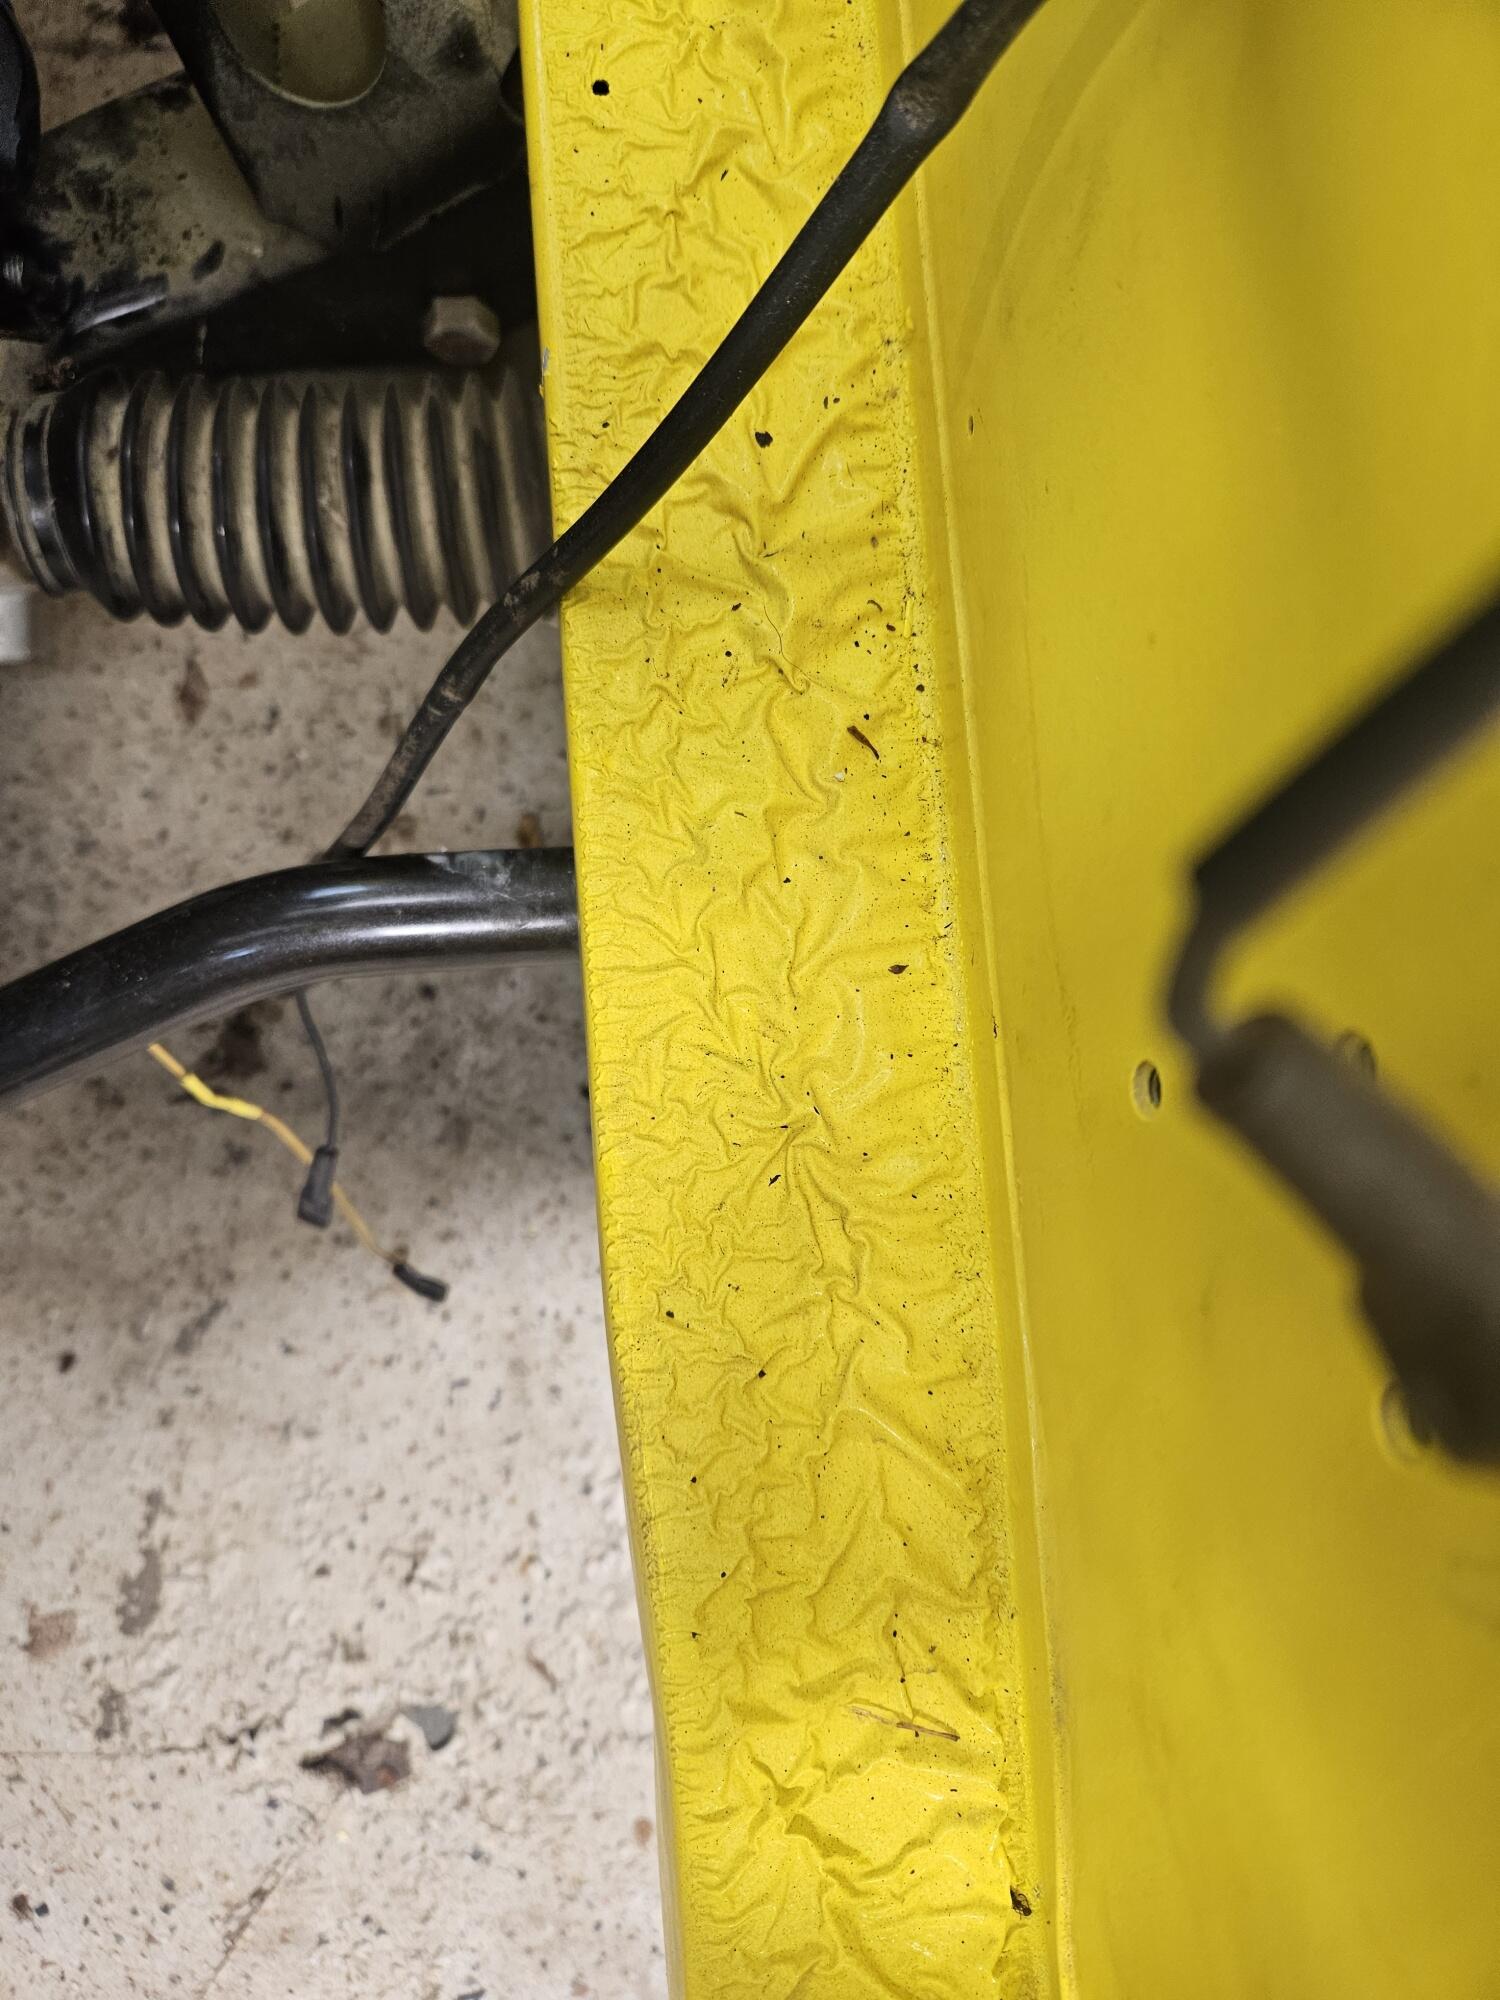
0 pointsSo it's been two months but I made it back into the shop today. Spent most of the day cleaning up and putting tools away. I got a package from Sean a week or so ago I unpacked it this evening On another really disappointing note! The brake system has fluid in it. And apparently it has a leak and was unattended for two months.


 0 points