


Leaderboard
-
conedodger
Free Member13Points12,513Posts -
grannyknot
Free Member8Points5,158Posts -
inline6
 Subscriber
 5Points1,282Posts
 -
davewormald
Free Member3Points128Posts


Popular Content
Showing content with the highest reputation on 06/10/2024 in all areas
-
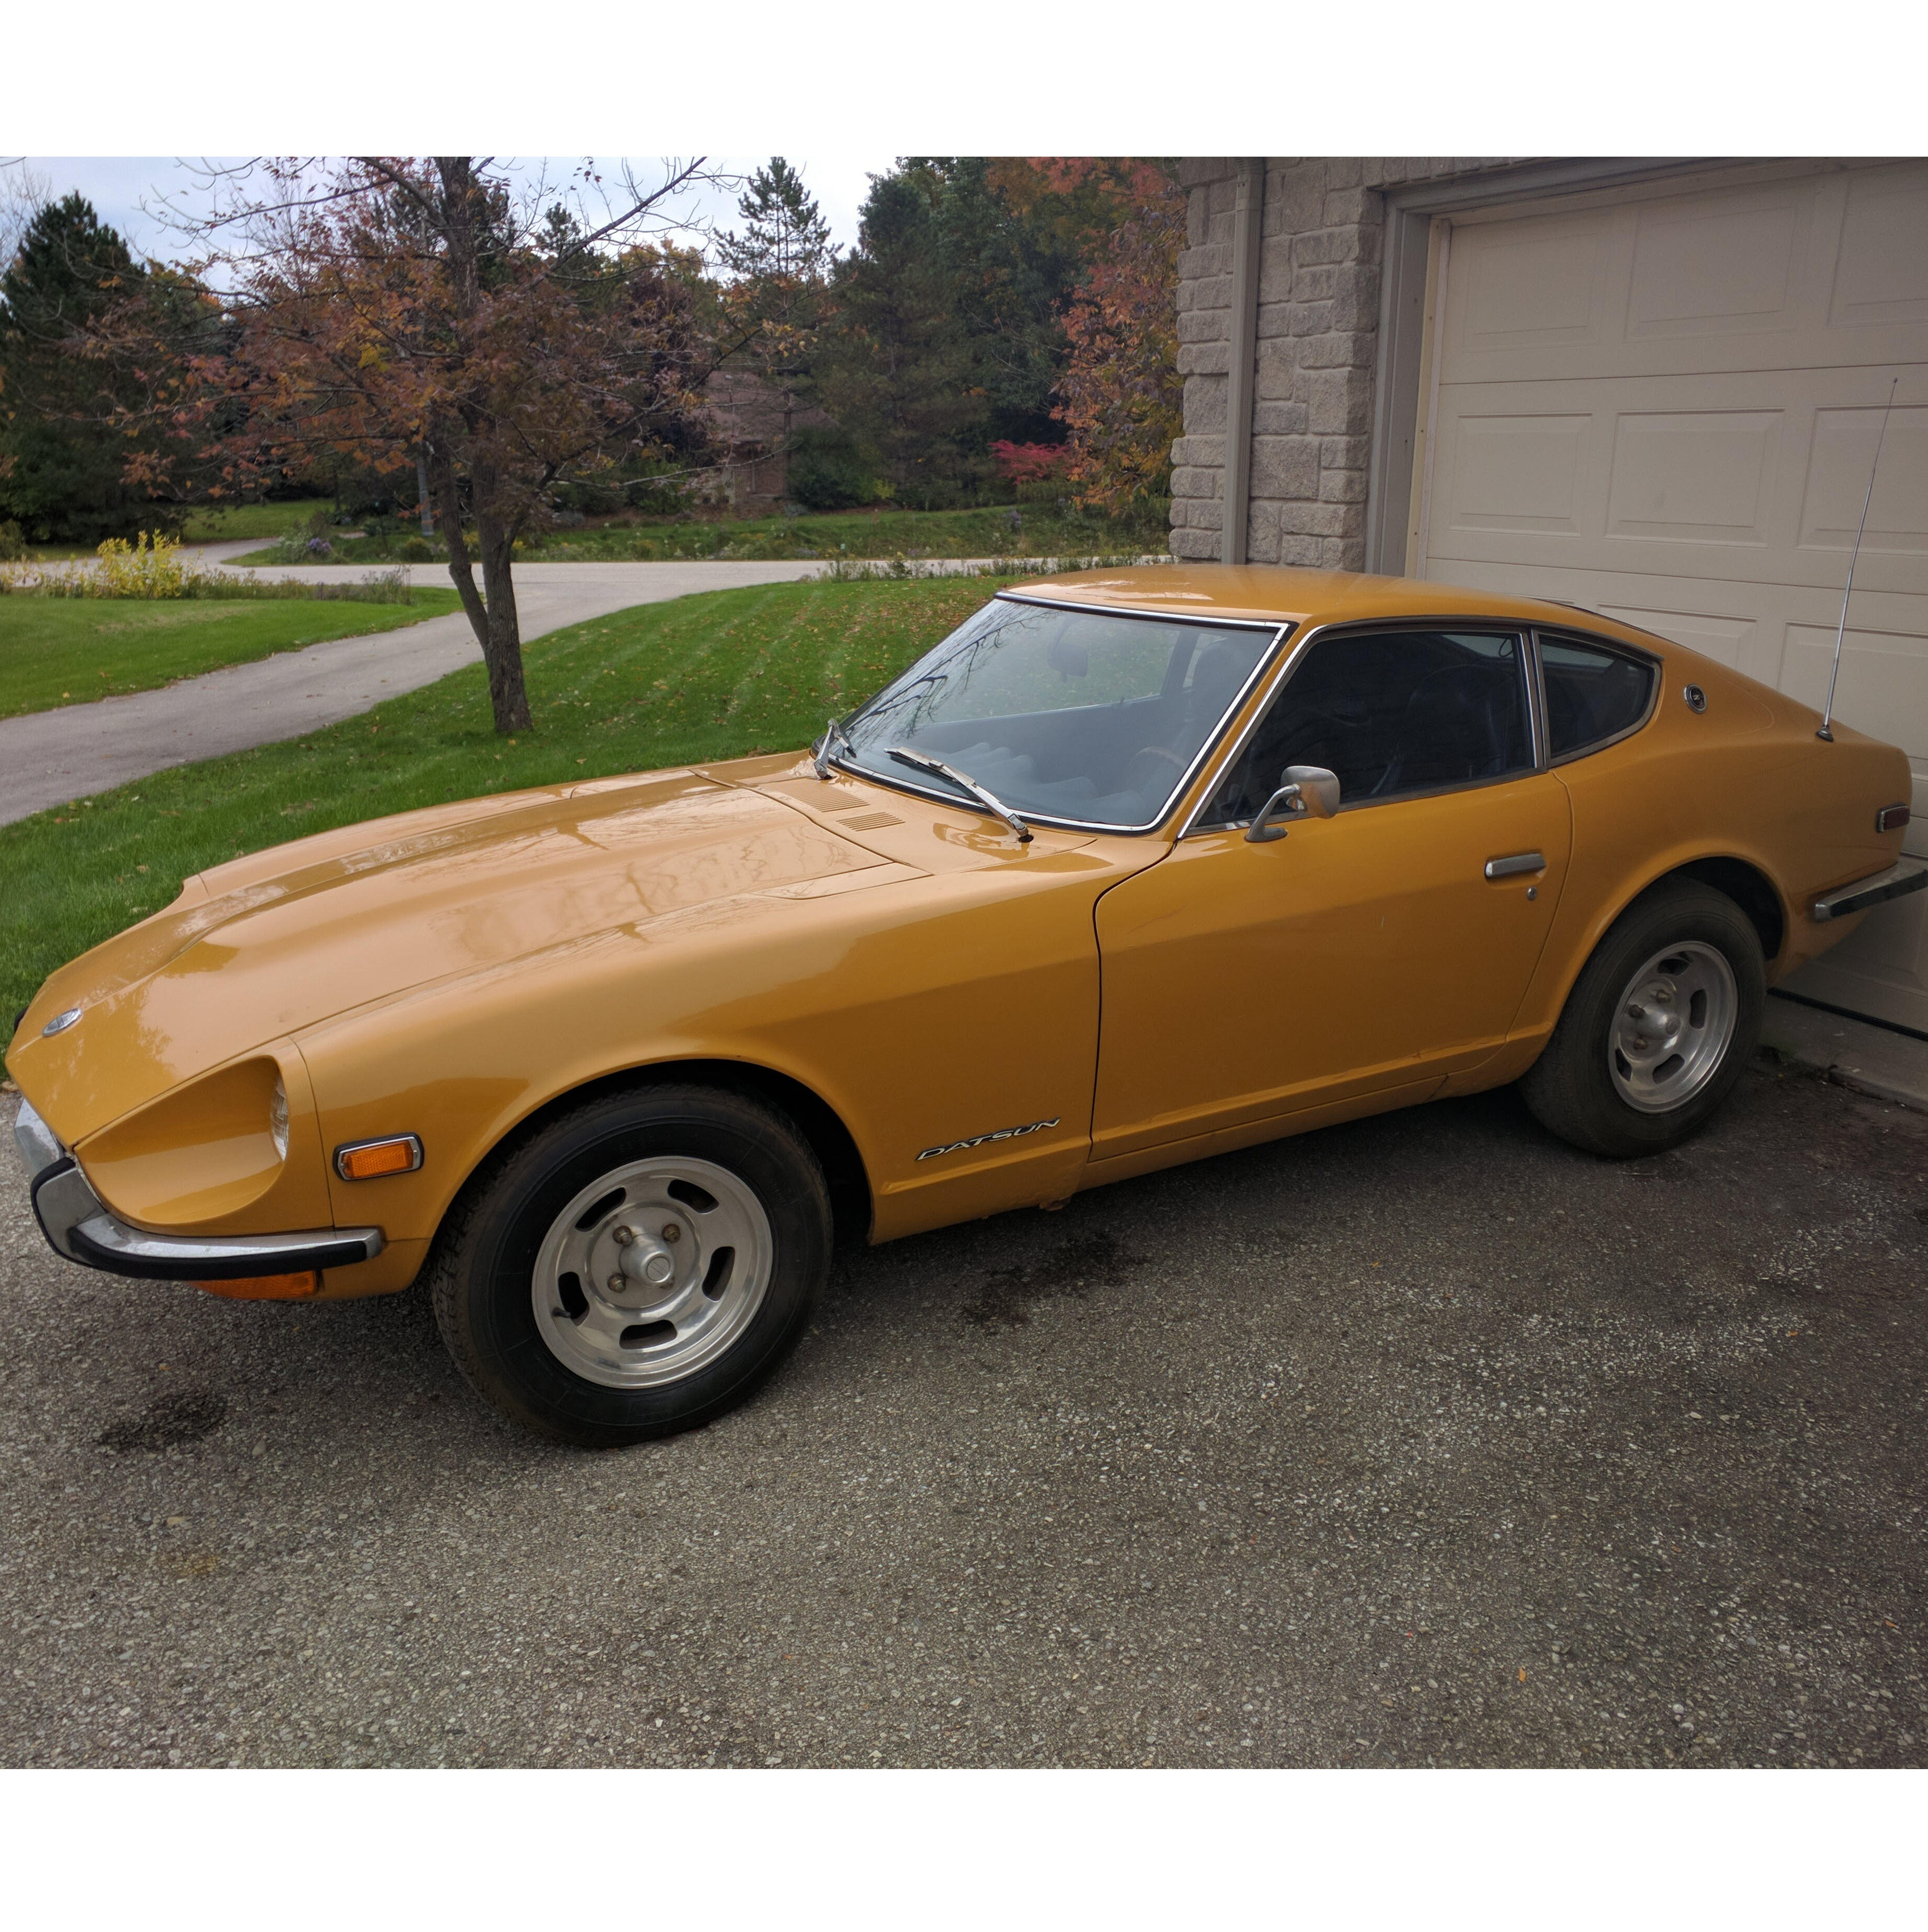
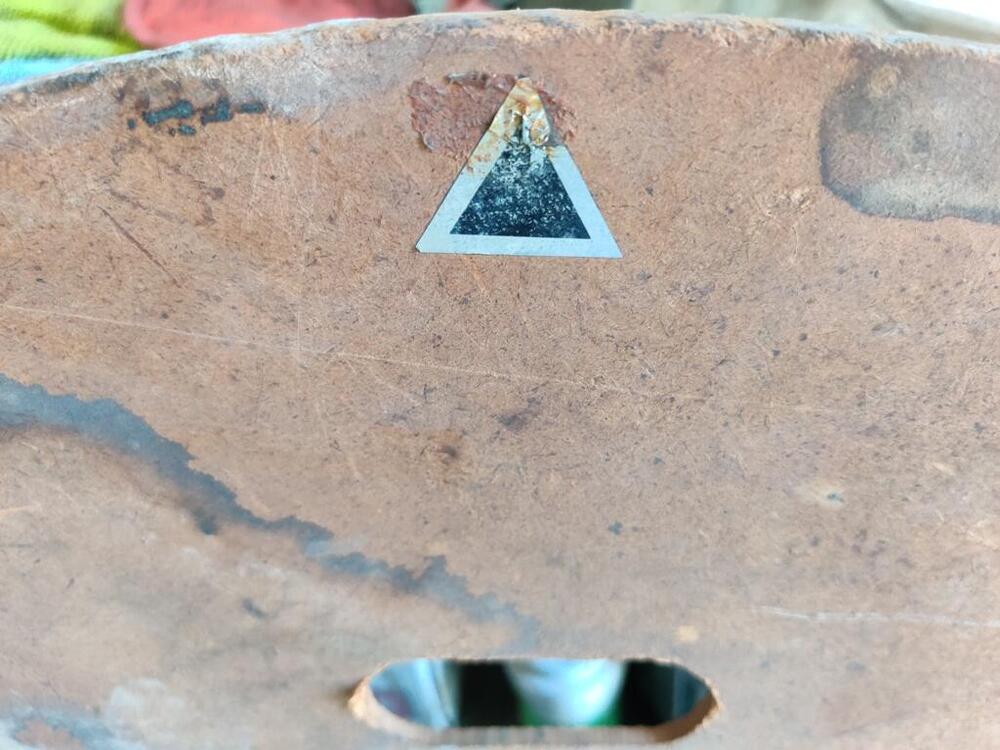
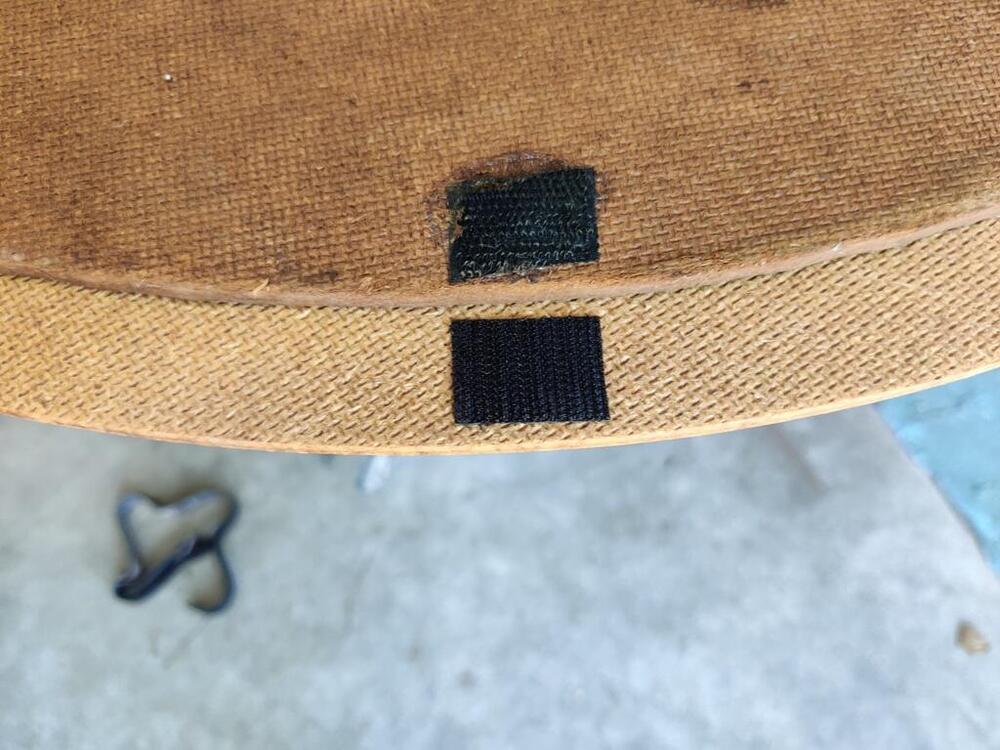
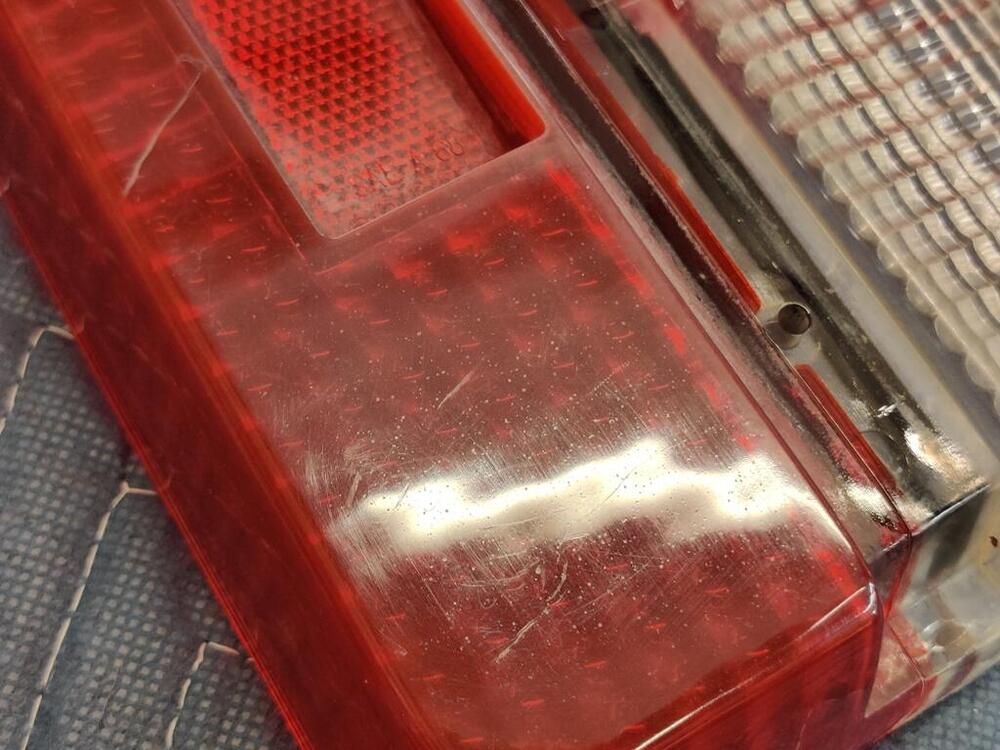
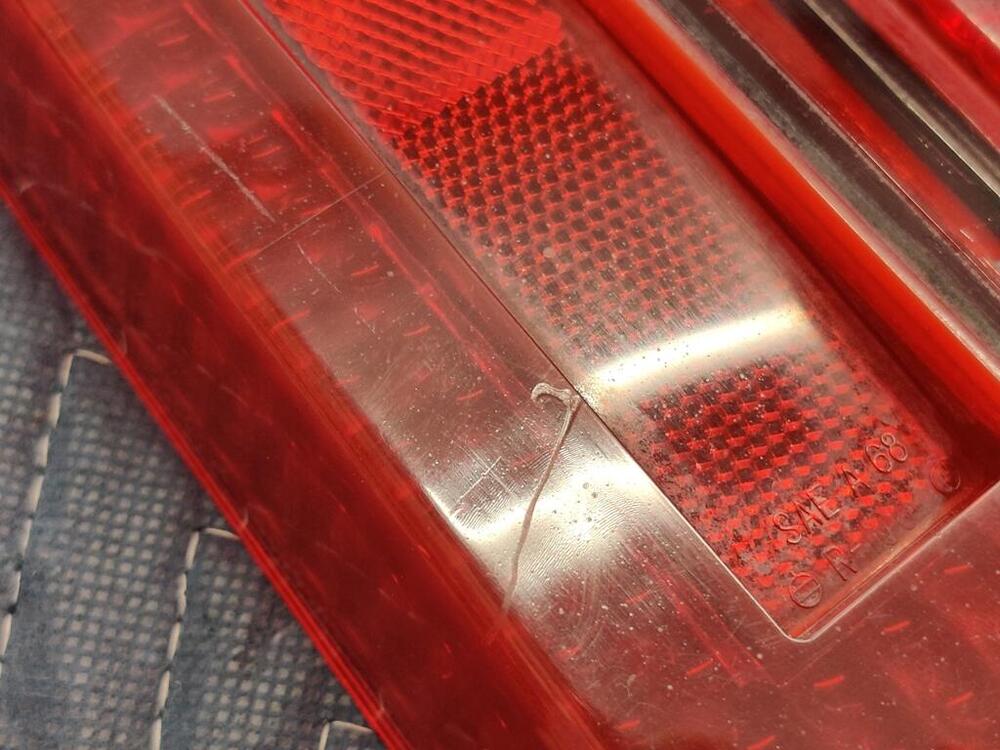
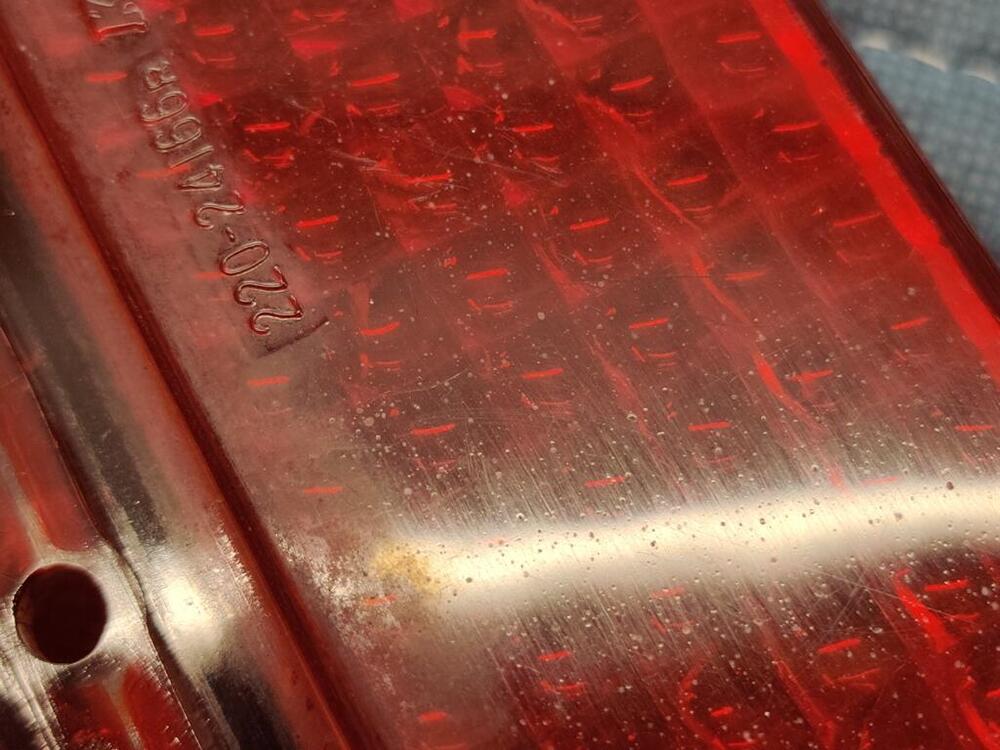
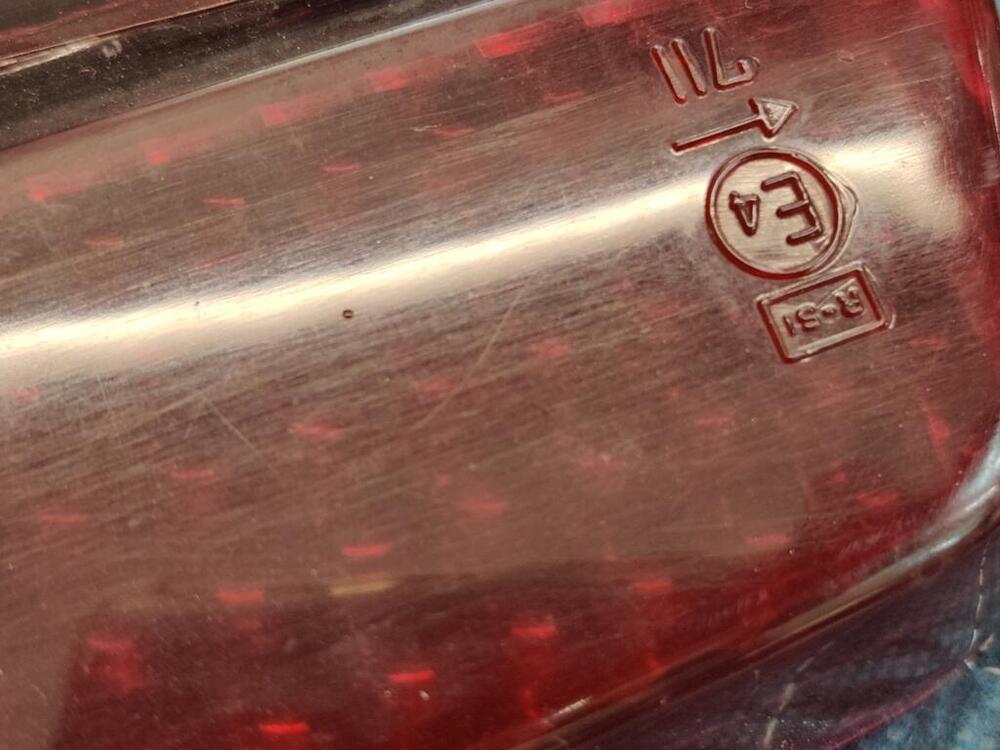
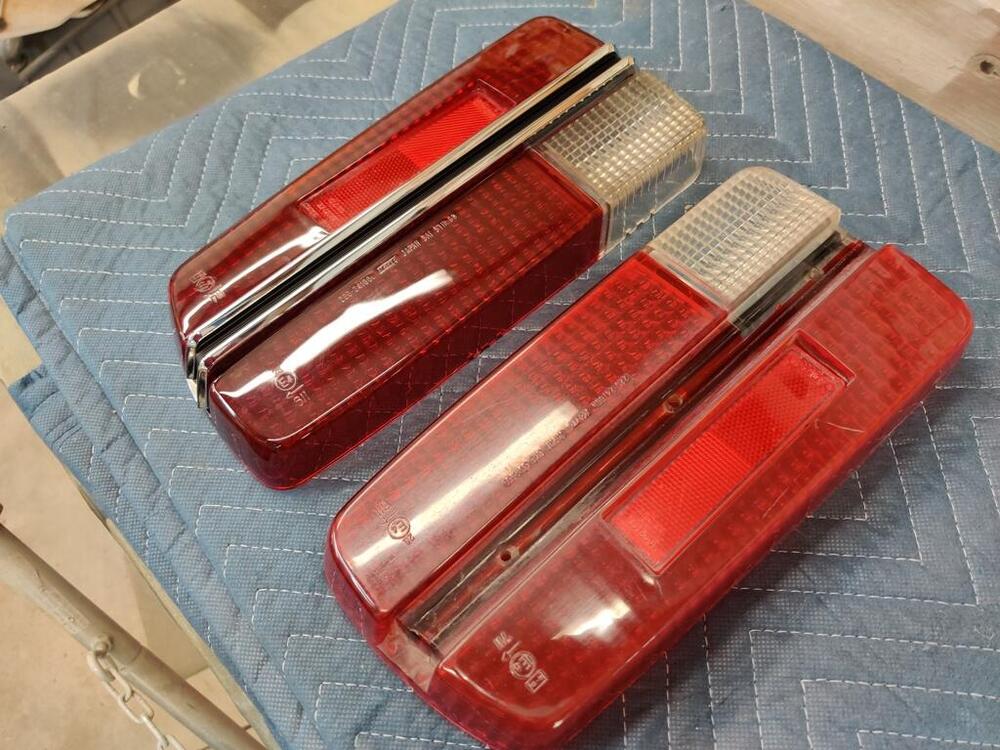
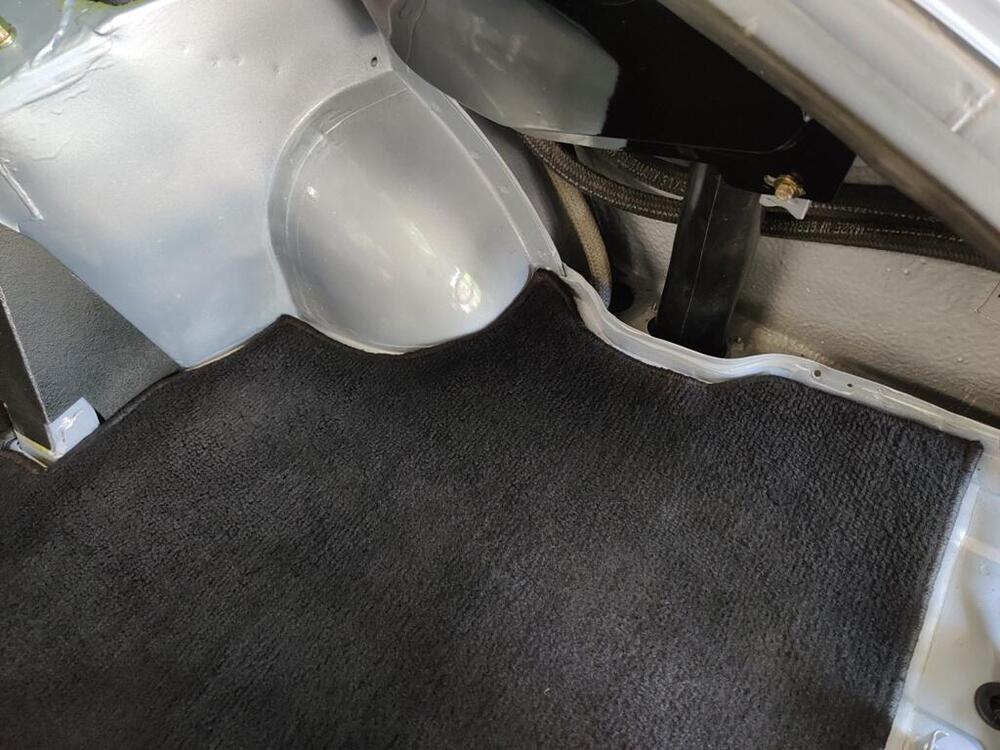
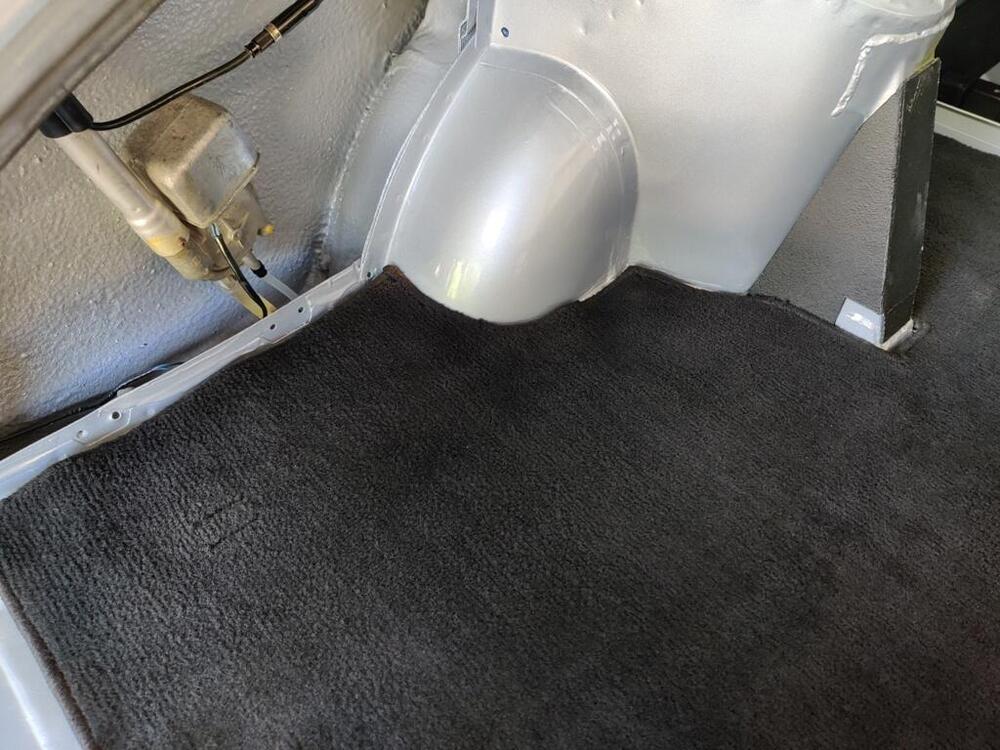
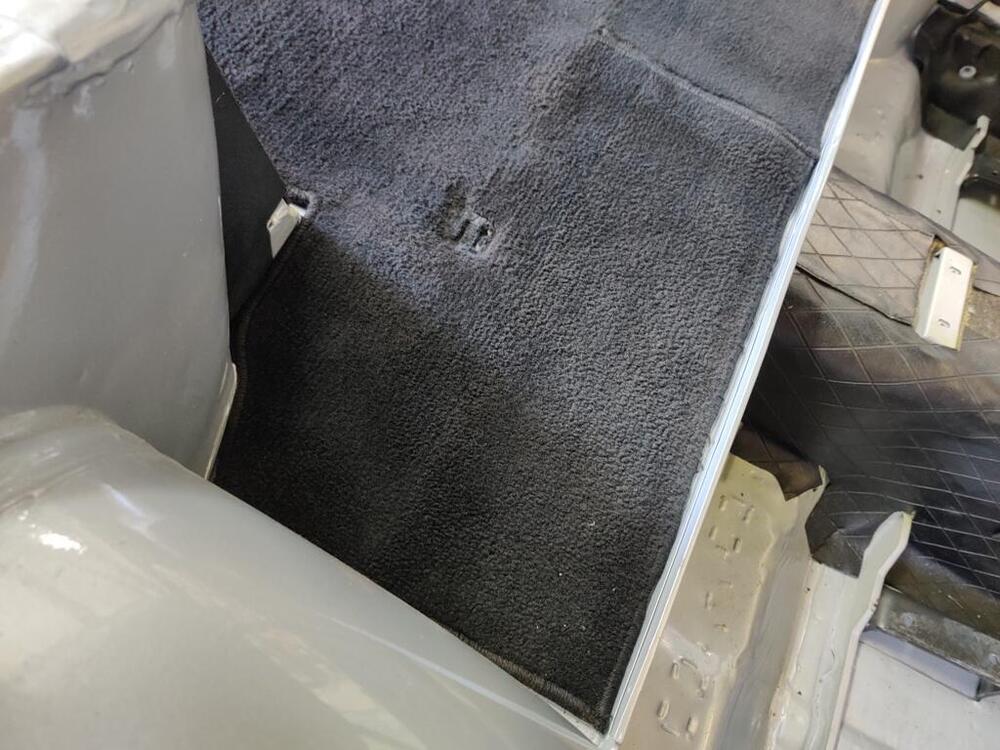
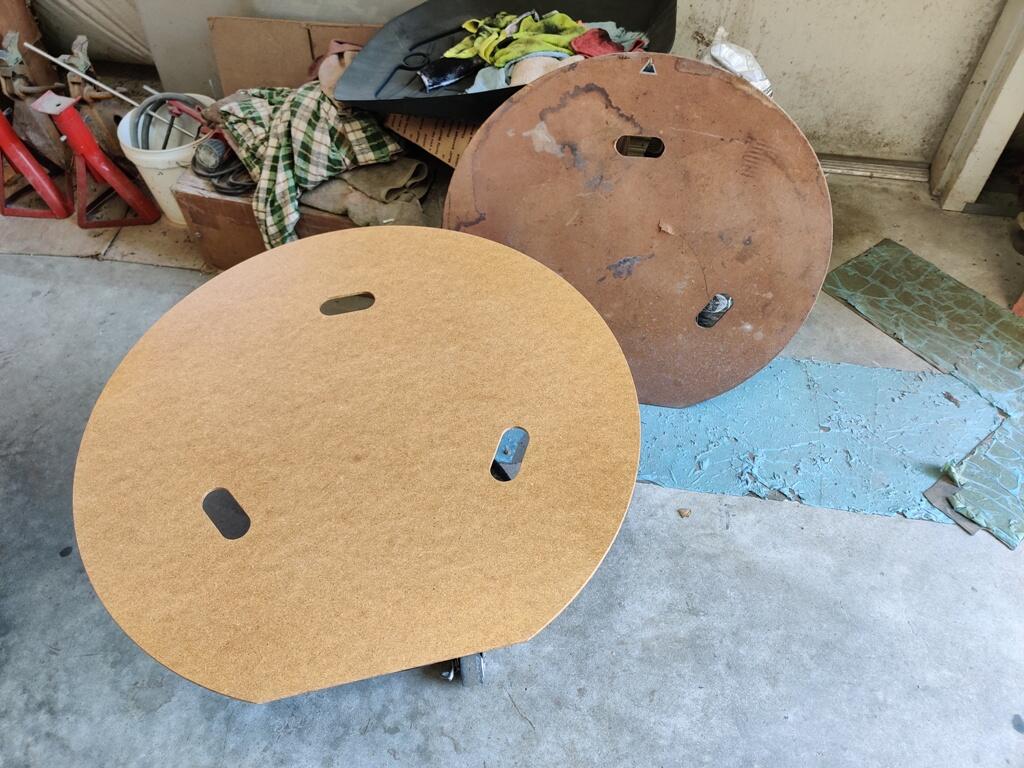
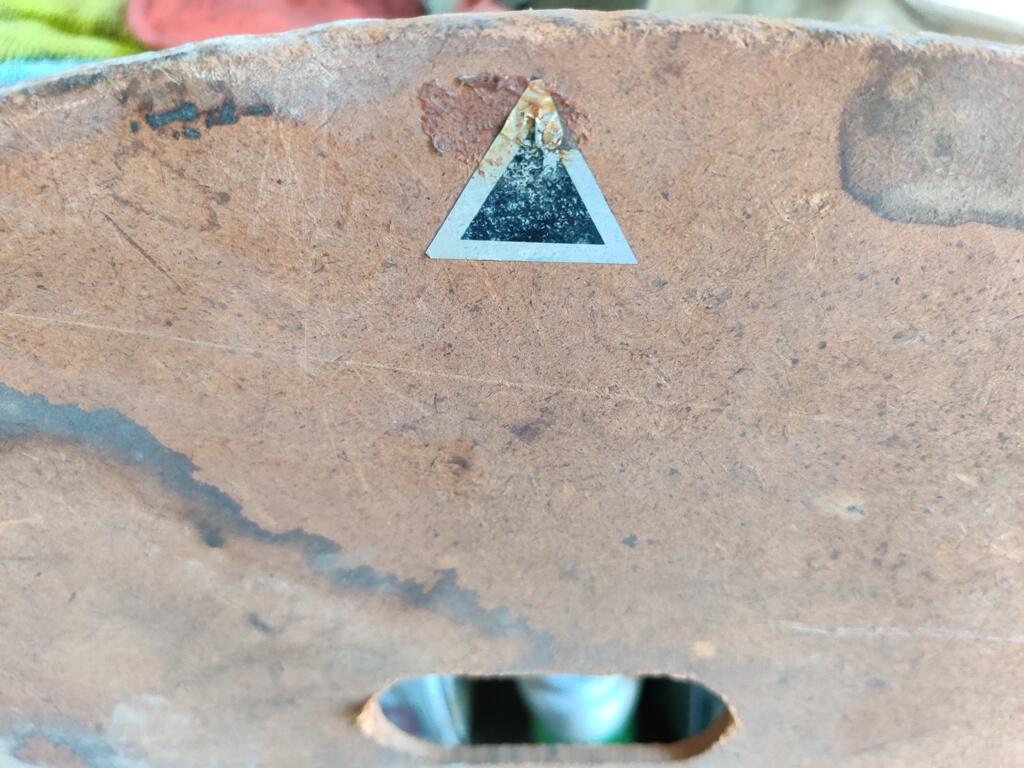
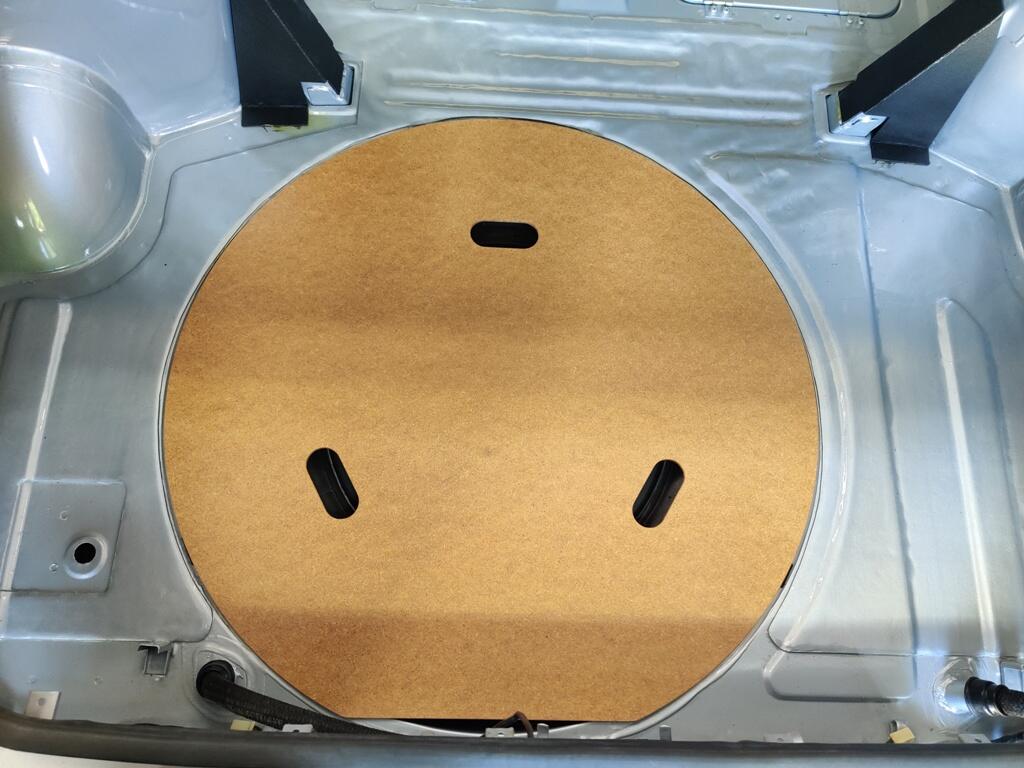
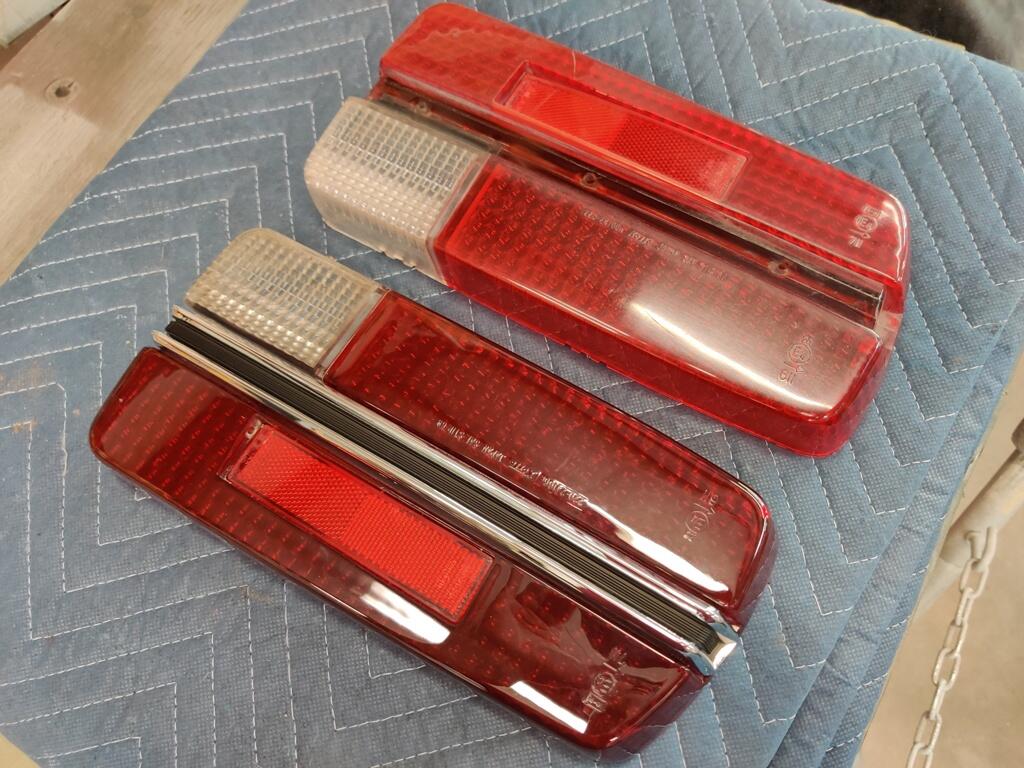
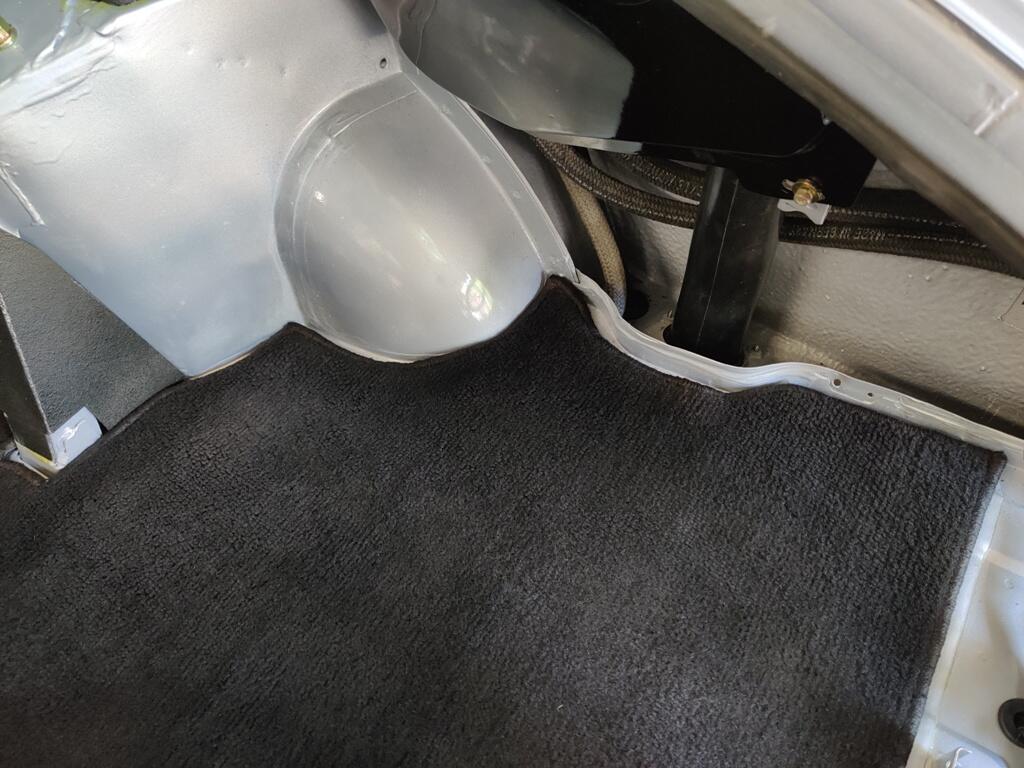
I found myself in the garage for a total of 12 hours this weekend. I also tacked on a couple of hours during the week this past week. I had to drop the gas tank down to install the gas sender harness. Wish I had put that in before installing the tank. That said, it wasn't too bad, as I found a way to lower it just enough to keep it from dropping loose of the fuel inlet hose. So, much frustration that could have been in store for me was avoided. From there, I put my attention on the spare tire cover. I was able to purchase this nice reproduction on eBay a while back. Today, I put Velcro on the body and the cover to match what was original. Can anyone tell me if these reproduction decals from Motorsport Auto are good reproductions of the original silver and black arrows? I put many hours into sanding the tail light lenses today. A few deep gouges required me to start with 400 grit. From there, I went to 600, 1000, 1500, 2000, and 2500. I finished with #83 Meguiar's polish and a foam buffing pad. I bought reproduction chrome trim strips for the tail lights. They are "good" quality, but not as good as the originals. Their are three posts on the backside, Two just pass through the lens. You secure them to the lens with circular clips that press down onto the posts. A rubber washer goes on before the circular clips. This is to keep water from entering the tail light assembly at this location. There is a third post that goes through the housing. On the aftermarket trim, this post was not made long enough. I have in mind a modification, as I would prefer the tail light lens be held to the housing with this post, in addition to adhesive that glues the lens to the housing. I cleaned up the hatch carpet I got off of eBay a while back. It was mostly protected from fading in its life so far. At the front, there is a band which is several inches wide where it was not as protected. The carpet is in quite good condition except for the fading. I think it is much nicer than what I have seen available now for carpet kits for these cars. On the spray can of this SEM color coat, it says for use on vinyl and carpets. So, I tested it out on a corner that was quite faded. It seemed to work pretty well. I sparingly hit the most faded areas of the full carpet. And then I placed it in the back of the car to check quality of fit. I may end up using this instead of new carpet in the hatch area. I do need to buy carpet for the rest of the car, however. So, for now, I will hold off on spraying it more liberally with the SEM color coat. I will have to order carpet material and decide what to do for sure then.


 5 points
 -
5 pointsI just did that, waiting to hear back, will see how long I can string him along😄5 points
-
2 pointsThe headlight circuit is fairly straightforward. Disconnect both headlights from the harness just in front of the radiator core support (easier than pulling the plug from the back of the headlight bulbs). With the headlight switch in the ON position: Right side: You should read battery voltage on the RED (R)wire. Left side: Battery voltage on the RED/YELLOW (RW). Continuity check: You should have GROUND continuity on either the RED/WHITE (RW) OR RED/BLACK (RB) depending on the position of the dimmer switch. This will be the same on both headlights. The ground continuity should switch wires when you pull the dimmer switch. At least one of these things will probably NOT be true because your bulbs don't light - but you need to know which. https://www.nicoclub.com/datsun-service-manuals has the 1971 240Z Supplement which has the electrical diagrams at the end. From the electrical diagram you'll see that the dimmer switch operates on the GROUND SIDE. The switch gets it's ground from the Lights/Wiper Combo Switch. Power comes from the battery through the Combo Switch -> fuse box (one fuse for each headlight) -> bulb (with several connectors in between all that).2 points
-
2 points
-
1 pointI emailed him, he sent me a number to text him, but haven't heard anything back from him yet, I guess there is a line up of guys to rip off first before he gets down the list to me. 1971 Datsun 240z manual Inbox Christopher 2:10 PM (7 hours ago) Is your 240z still available? I want it! Please contact me. Thanks, Chris https://bend.craigslist.org/cto/d/bend-1971-datsun-240z-manual/7754666674.html craigslist 7754666674 3:50 PM (5 hours ago) to 3f6e57d407bd3eb5a39b2024f7b29d4f Hey Christopher please feel free to text me at 669 243 0228 Thanks!1 point
-
I bought mine through Nissan dealership right down the road. Got them next day but Nissan's are smooth now with arrows pointing the flow. 240zrubberparts did have the braided a few years ago. Zcardepot might too. Good luck.1 point
-
1 point
-
1 pointI did just that, told him I was local and wanted to see the car. Guess what, no response whatsoever. It's a common scam on CL that catches many gullible buyers out.1 point
-
I had done the siding then the trim, but I had to go back & touch up the siding. for the stuff that's left (up above the entry) I'll do the trim first, seems to work better. Zonked again today - slept in. I think I did too much yesterday. Back to work tomorrow, I only have till Thursday with my (art classes) students, then it's Regents Exams, so no regular class attendance. They all need to finish their art finals, and I was out all last week, so I know many will have elected to coast in that time without me there to motivate them.1 point
-
1 pointDoes it make it worse that I'm having to use the wipers this morning?!1 point
-
The Tanks metermatch seems to be identical to the Technoversions unit, same supplier I think and they do the same job but Technoversions is a few bucks cheaper. https://www.technoversions.com/MeterMatch.html1 point
-
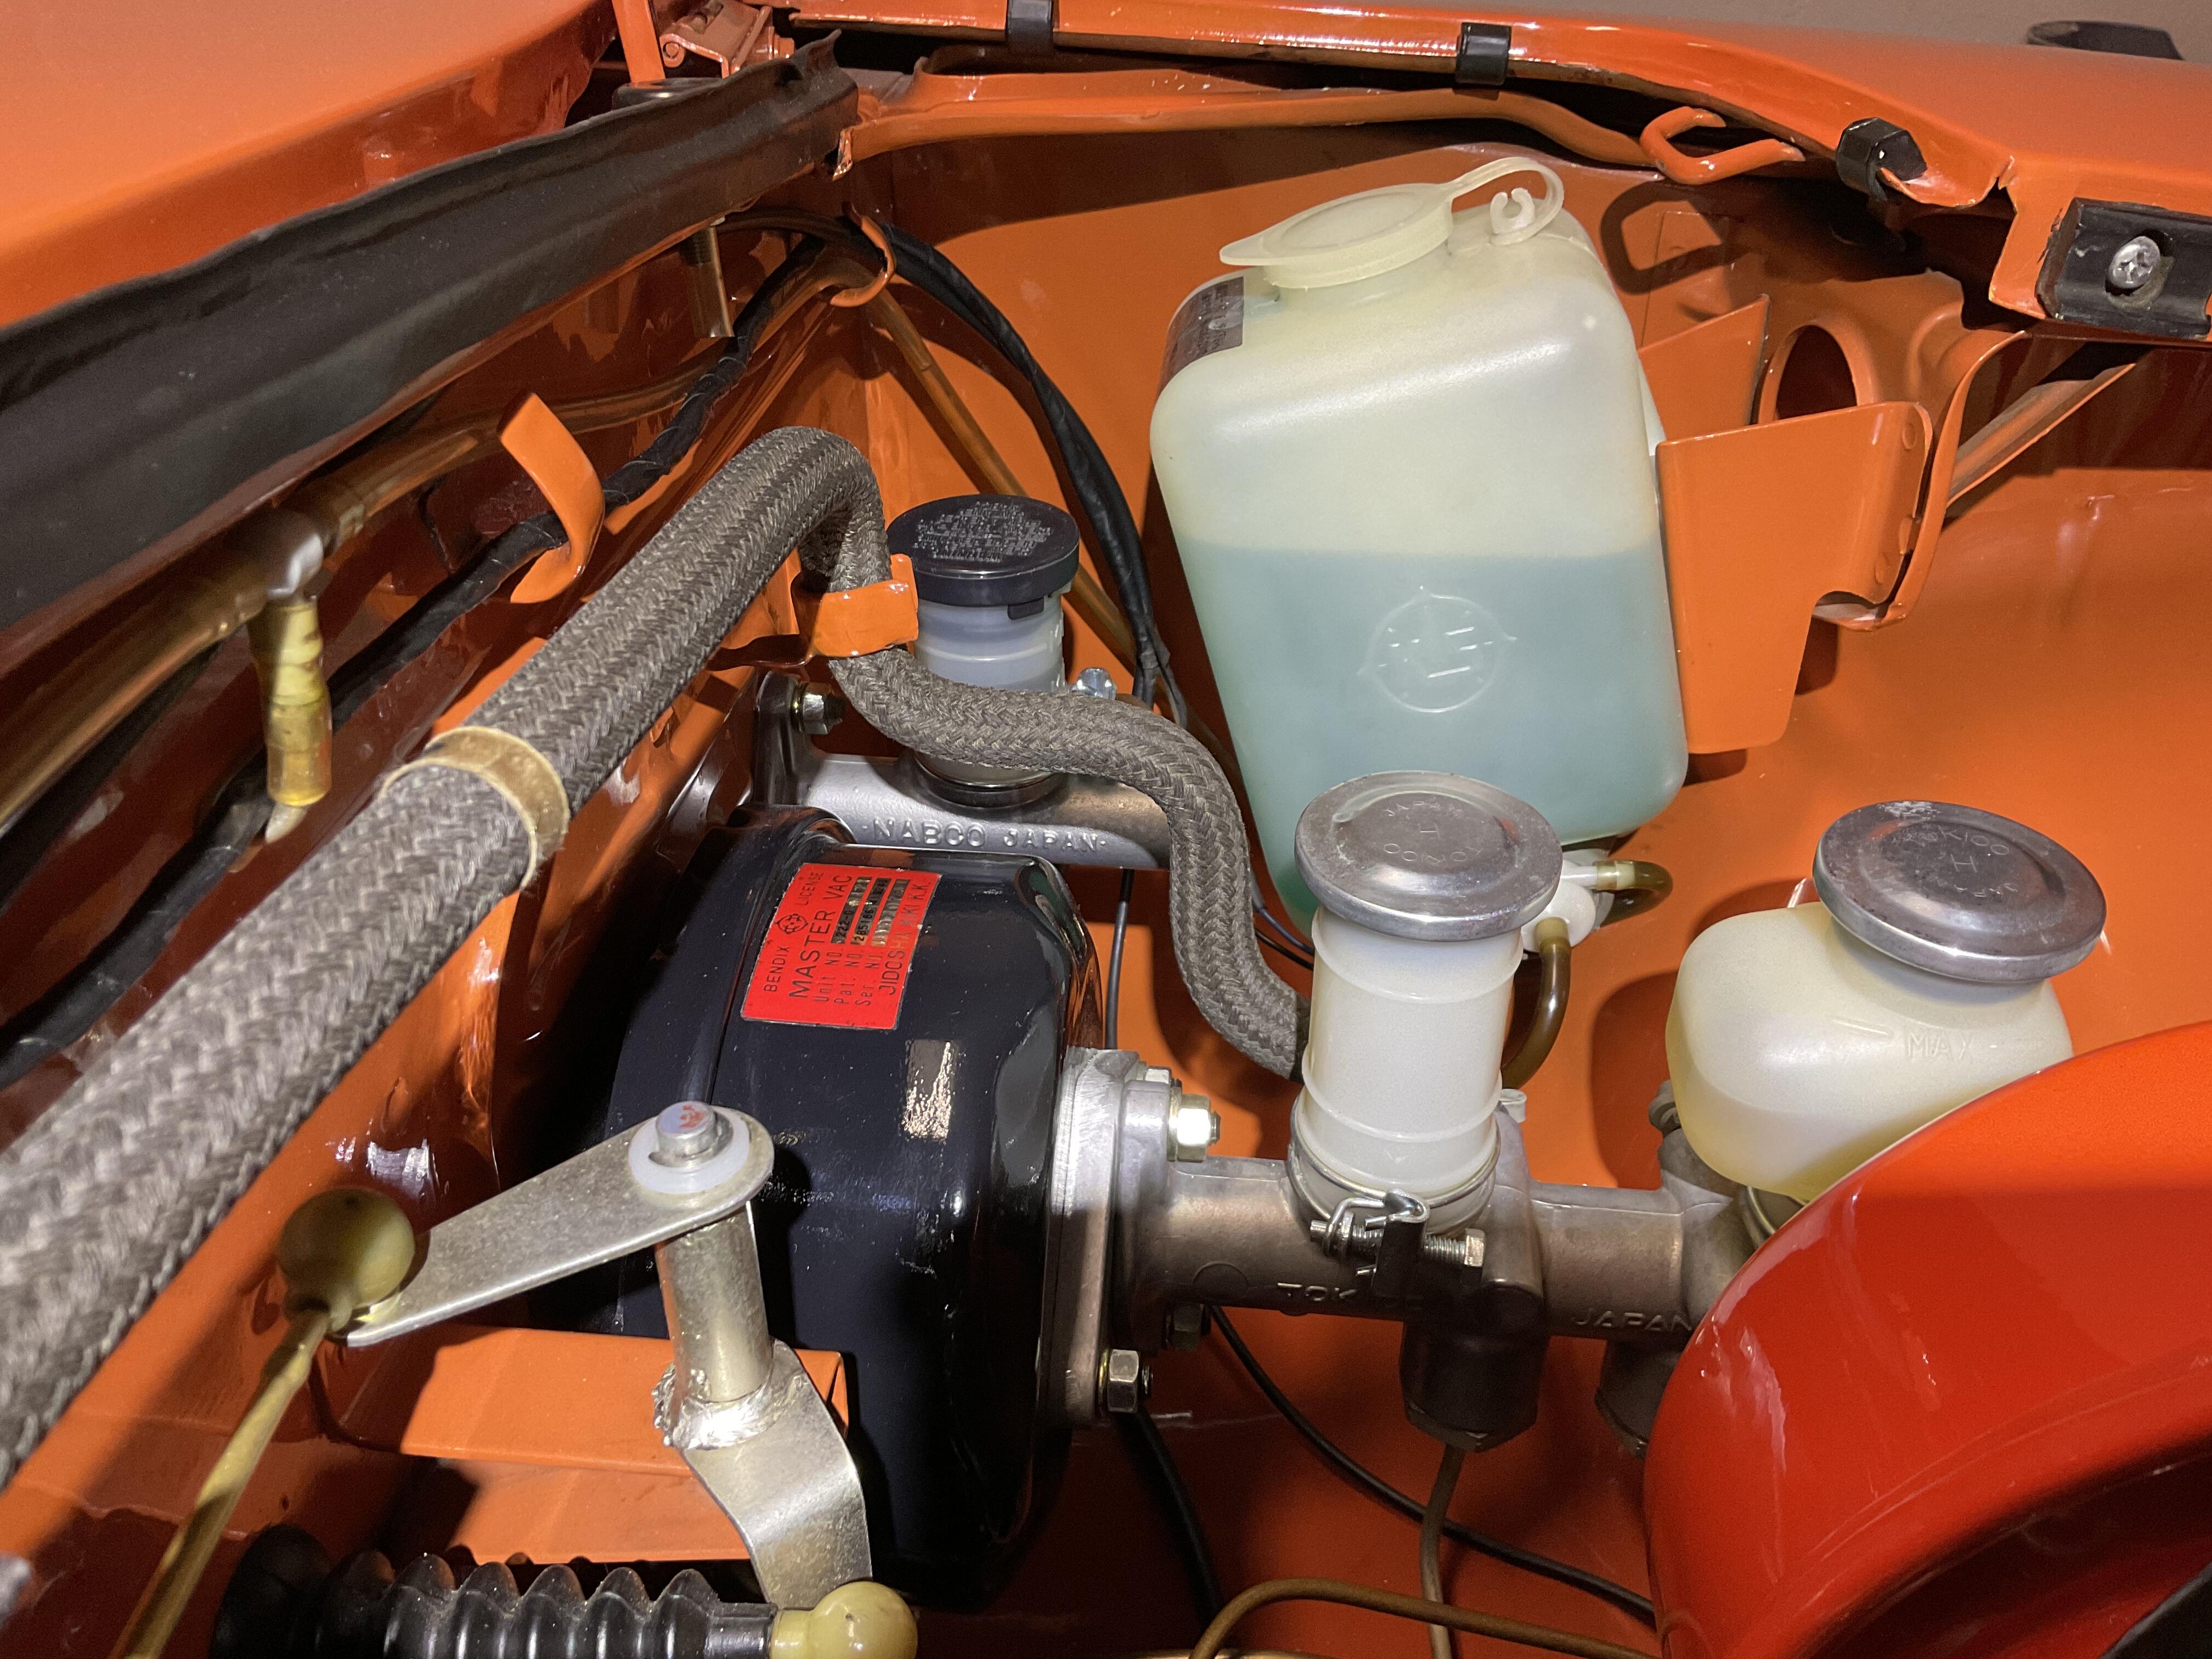
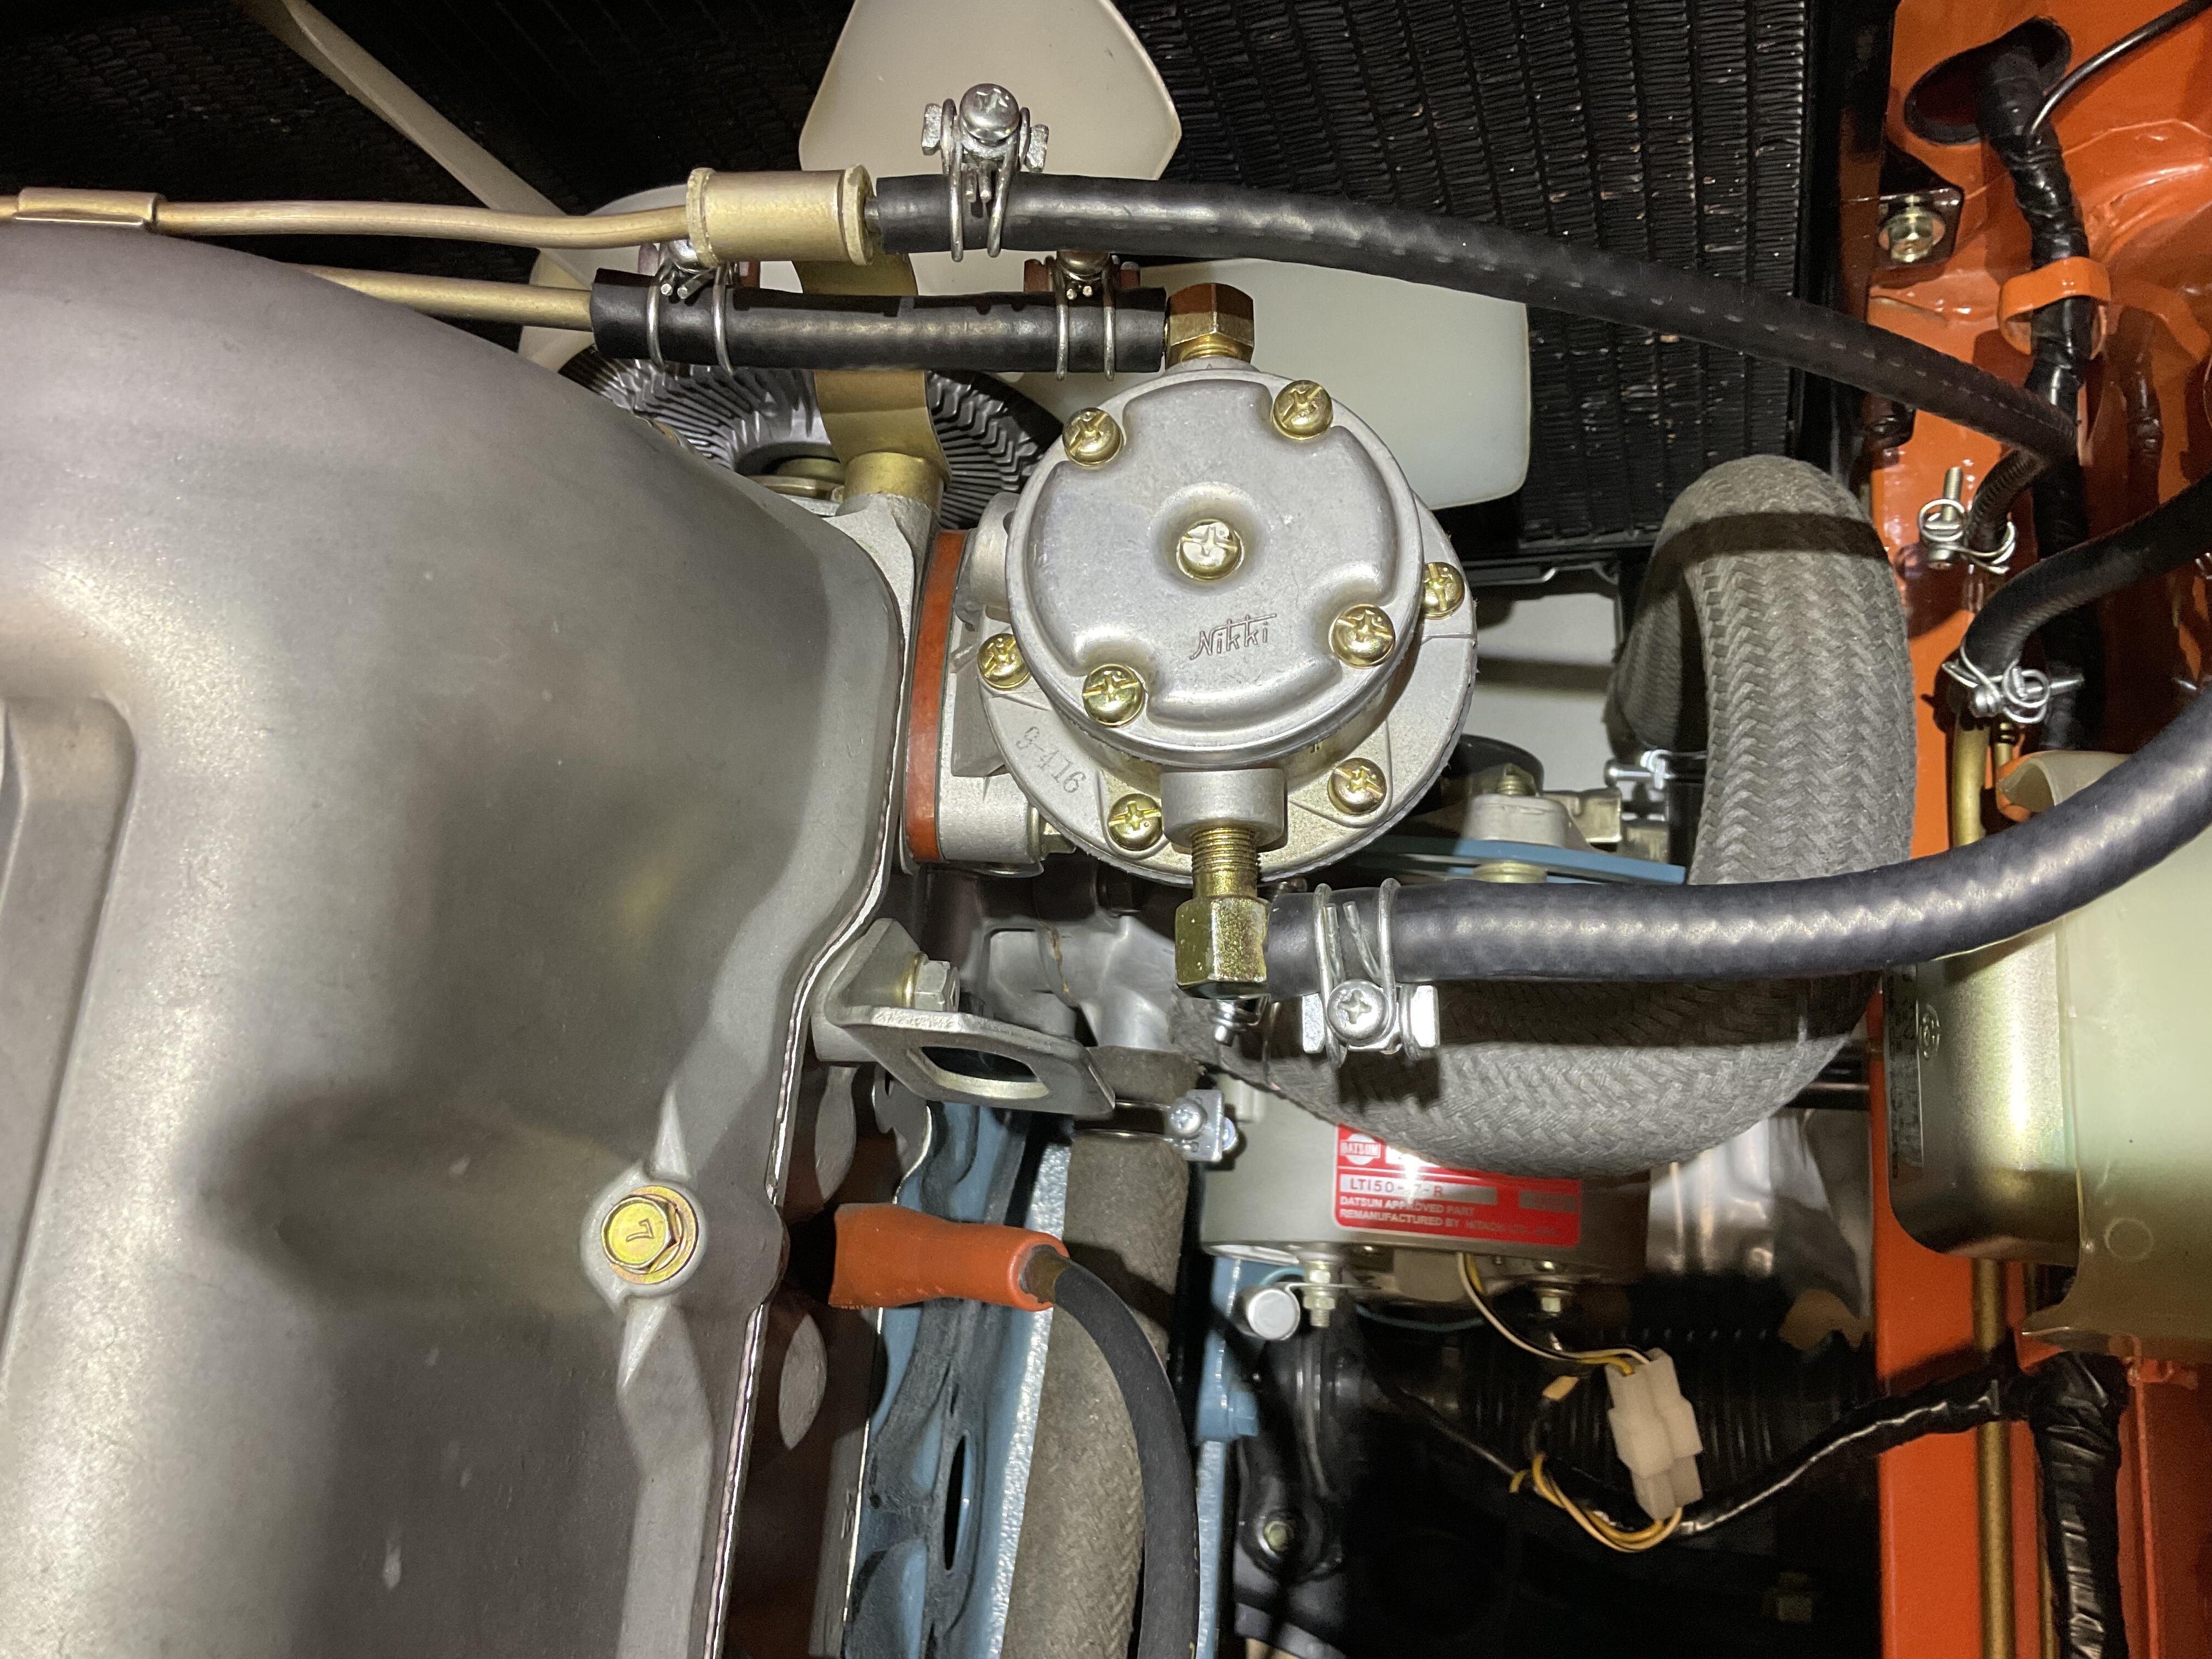
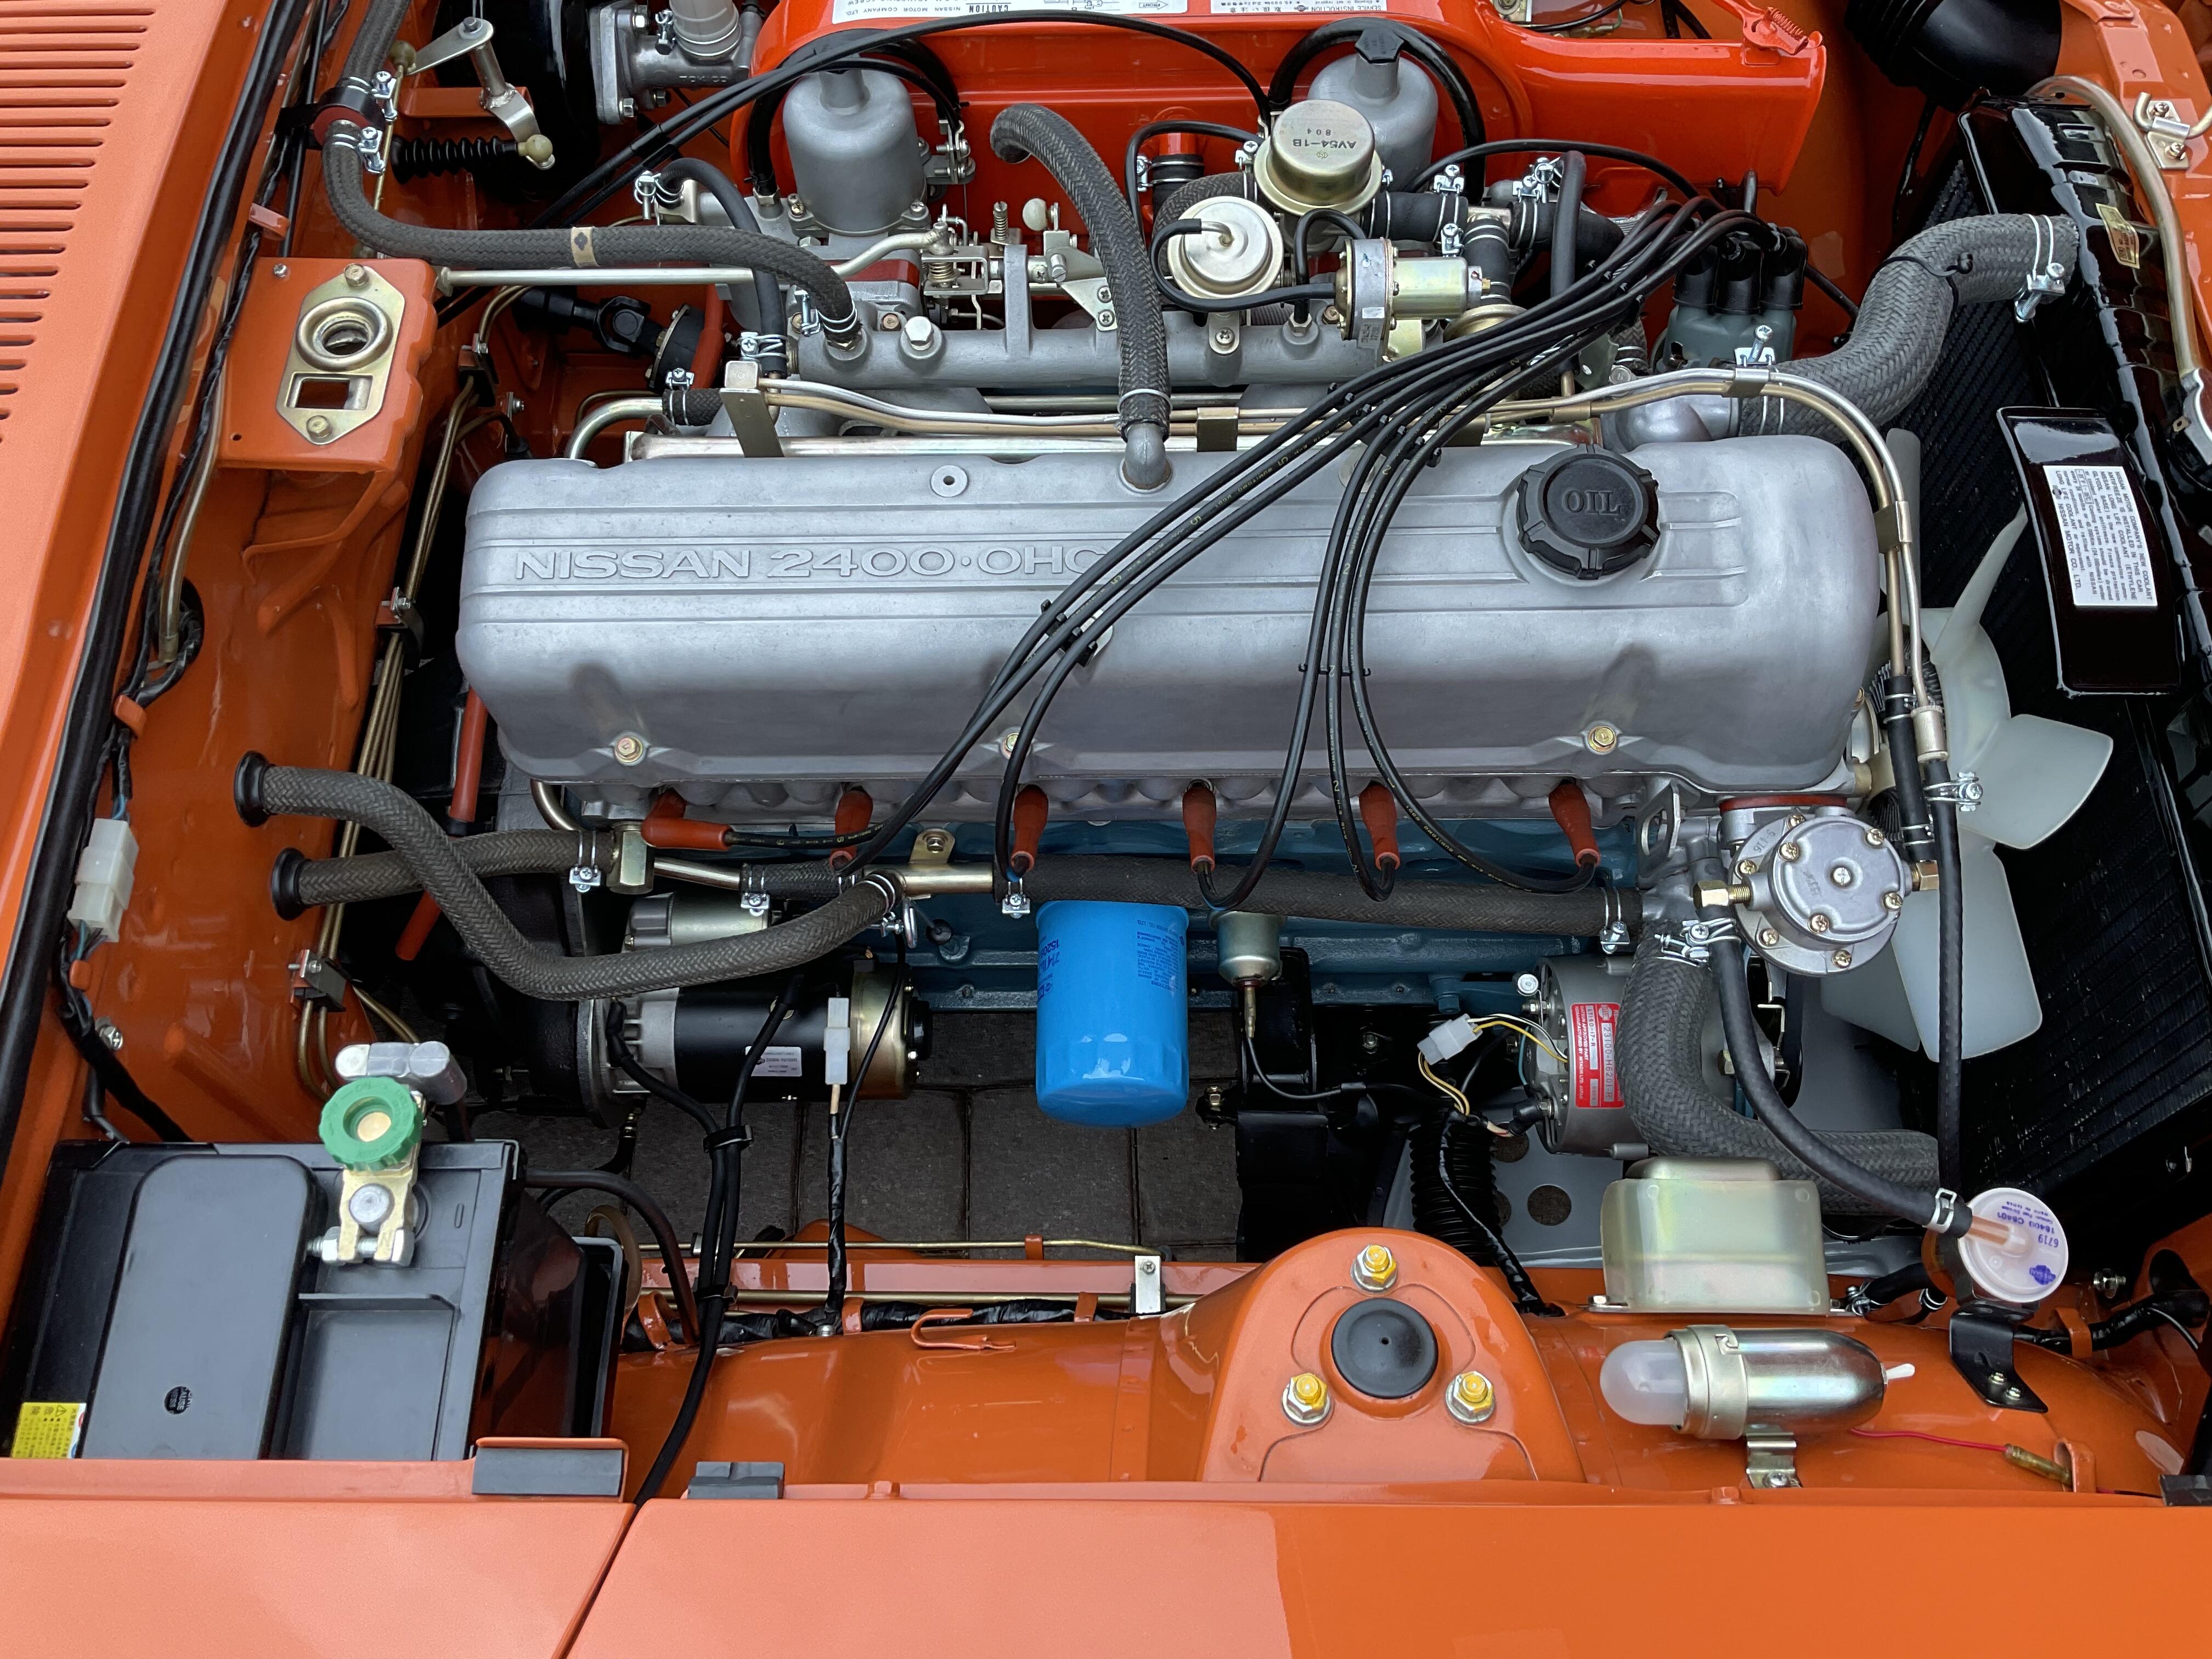
1 point1 pointThanks for the very much appreciated compliments inline6. The valve cover and carb dome finishes are OEM. And Captain, I assume the “nits” were directed at my picture. The fuel pump, see attached pic, is indeed a NOS Nikki pump, and I also included a pic of the master cylinders. inline, not trying to hijack space as the work you have done on your car is truly amazing. AZ-240z

 1 pointHey inline6. Here are the clamps on my 1/71 series 1, and I’m pretty confident they are correct.
 1 pointHere's a picture of the screws that held down those strips on my '70. They are round head type 4mm thread OD x 12 mm long. There appear to maybe have had blackened heads, some evidence on a few of mine.
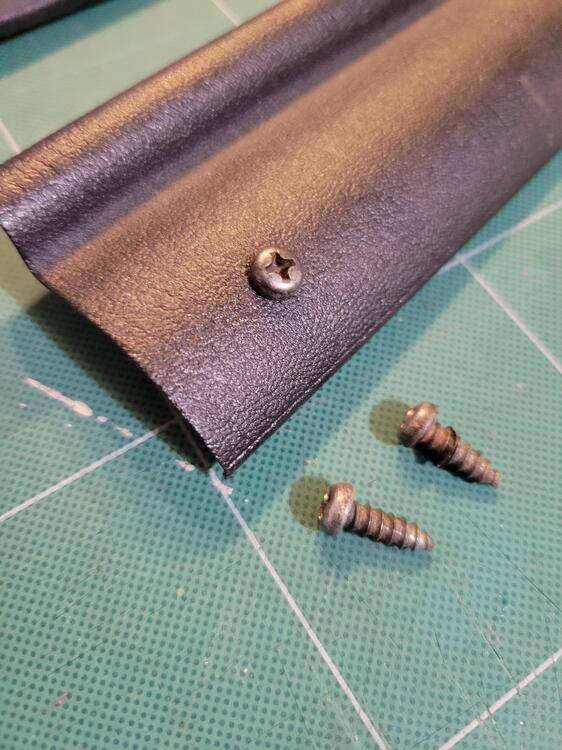 1 point


Important Information
By using this site, you agree to our Privacy Policy and Guidelines. We have placed cookies on your device to help make this website better. You can adjust your cookie settings, otherwise we'll assume you're okay to continue.