Leaderboard
-
sboy79
Free Member6Points56Posts -
conedodger
Free Member3Points12,640Posts -
dspillman
 Subscriber
 2Points453Posts
 -
Namerow
Free Member2Points1,569Posts


Popular Content
Showing content with the highest reputation on 05/21/2024 in all areas
-
@Yarb I left the kickdown solenoid leads unconnected, jumped the neutral safety and made an adapter for the reverse switch which kept the original harness intact. Cutting the hole in the tunnel is the only irreversible change I’m making for the swap. This car is low miles and no rust (my grandma bought it new) so making sure if someone wants to restore it someday they could. Keeping all the original parts too. I can’t imagine someone putting the auto back in but a true restoration could be done if they wanted to5 points
-
2 pointsYes. If you look more closely at my marked-up photo of the timing cover, you'll see two little pins -- one at ~ 2 o'clock and the other at ~ 8 o'clock. I think that their job is to hold the water pump firmly in (rotational) position relative to the timing cover, so that any pulses created by the fan belt drive don't, over time, destroy the integrity of the seal at the water pump gasket interface. While we're on the topic of the gasket, we should also discuss the use (or not) of a sealant in conjunction with the gasket itself. This topic has been discussed often on this site over the years. One respected member with a long career of racing his Z said that he had used Permatex High-Tack 'red' spray-on sealant for more than two decades and had never had problems with leaks. Another respected member said that he put the water pump and thermostat housing gaskets on dry and had never had a leak problem. A third respected member said that he used Permatex 'Aviation Gasket Sealer', but admitted that he considered the use (or non-use) of gasket sealant to be a matter of personal taste. In his words: "It's like antiseize. The factory never used it, but I do."2 points
-
1 pointComments pertain to simple water tight areas Flat clean even surfaces, new gaskets, proper bolt torque = no leaks. What the heck you think rtv in there is gonna do? LEAVE when you tighten it down is what it’s going to do. WHY?!?!?!?! Old cars, less than even flat surfaces (gotta stop using a razor blade to scrap with, sheesh…), LITTLE RTV ain’t gonna hurt. Any excess gets squeezed out. Gasket won’t stay in place while you put the (fill in the blank), add some adhesive glue stuff to stick it there. Ain’t no downside to a LITTLE. Gobs of squeeze out on the inside is your only danger. L I T T L E people! (Apolgies to the vertically challenged.)1 point
-
1 point
-
Maybe if I put it a different way? Where Does that help?

 1 point
 -
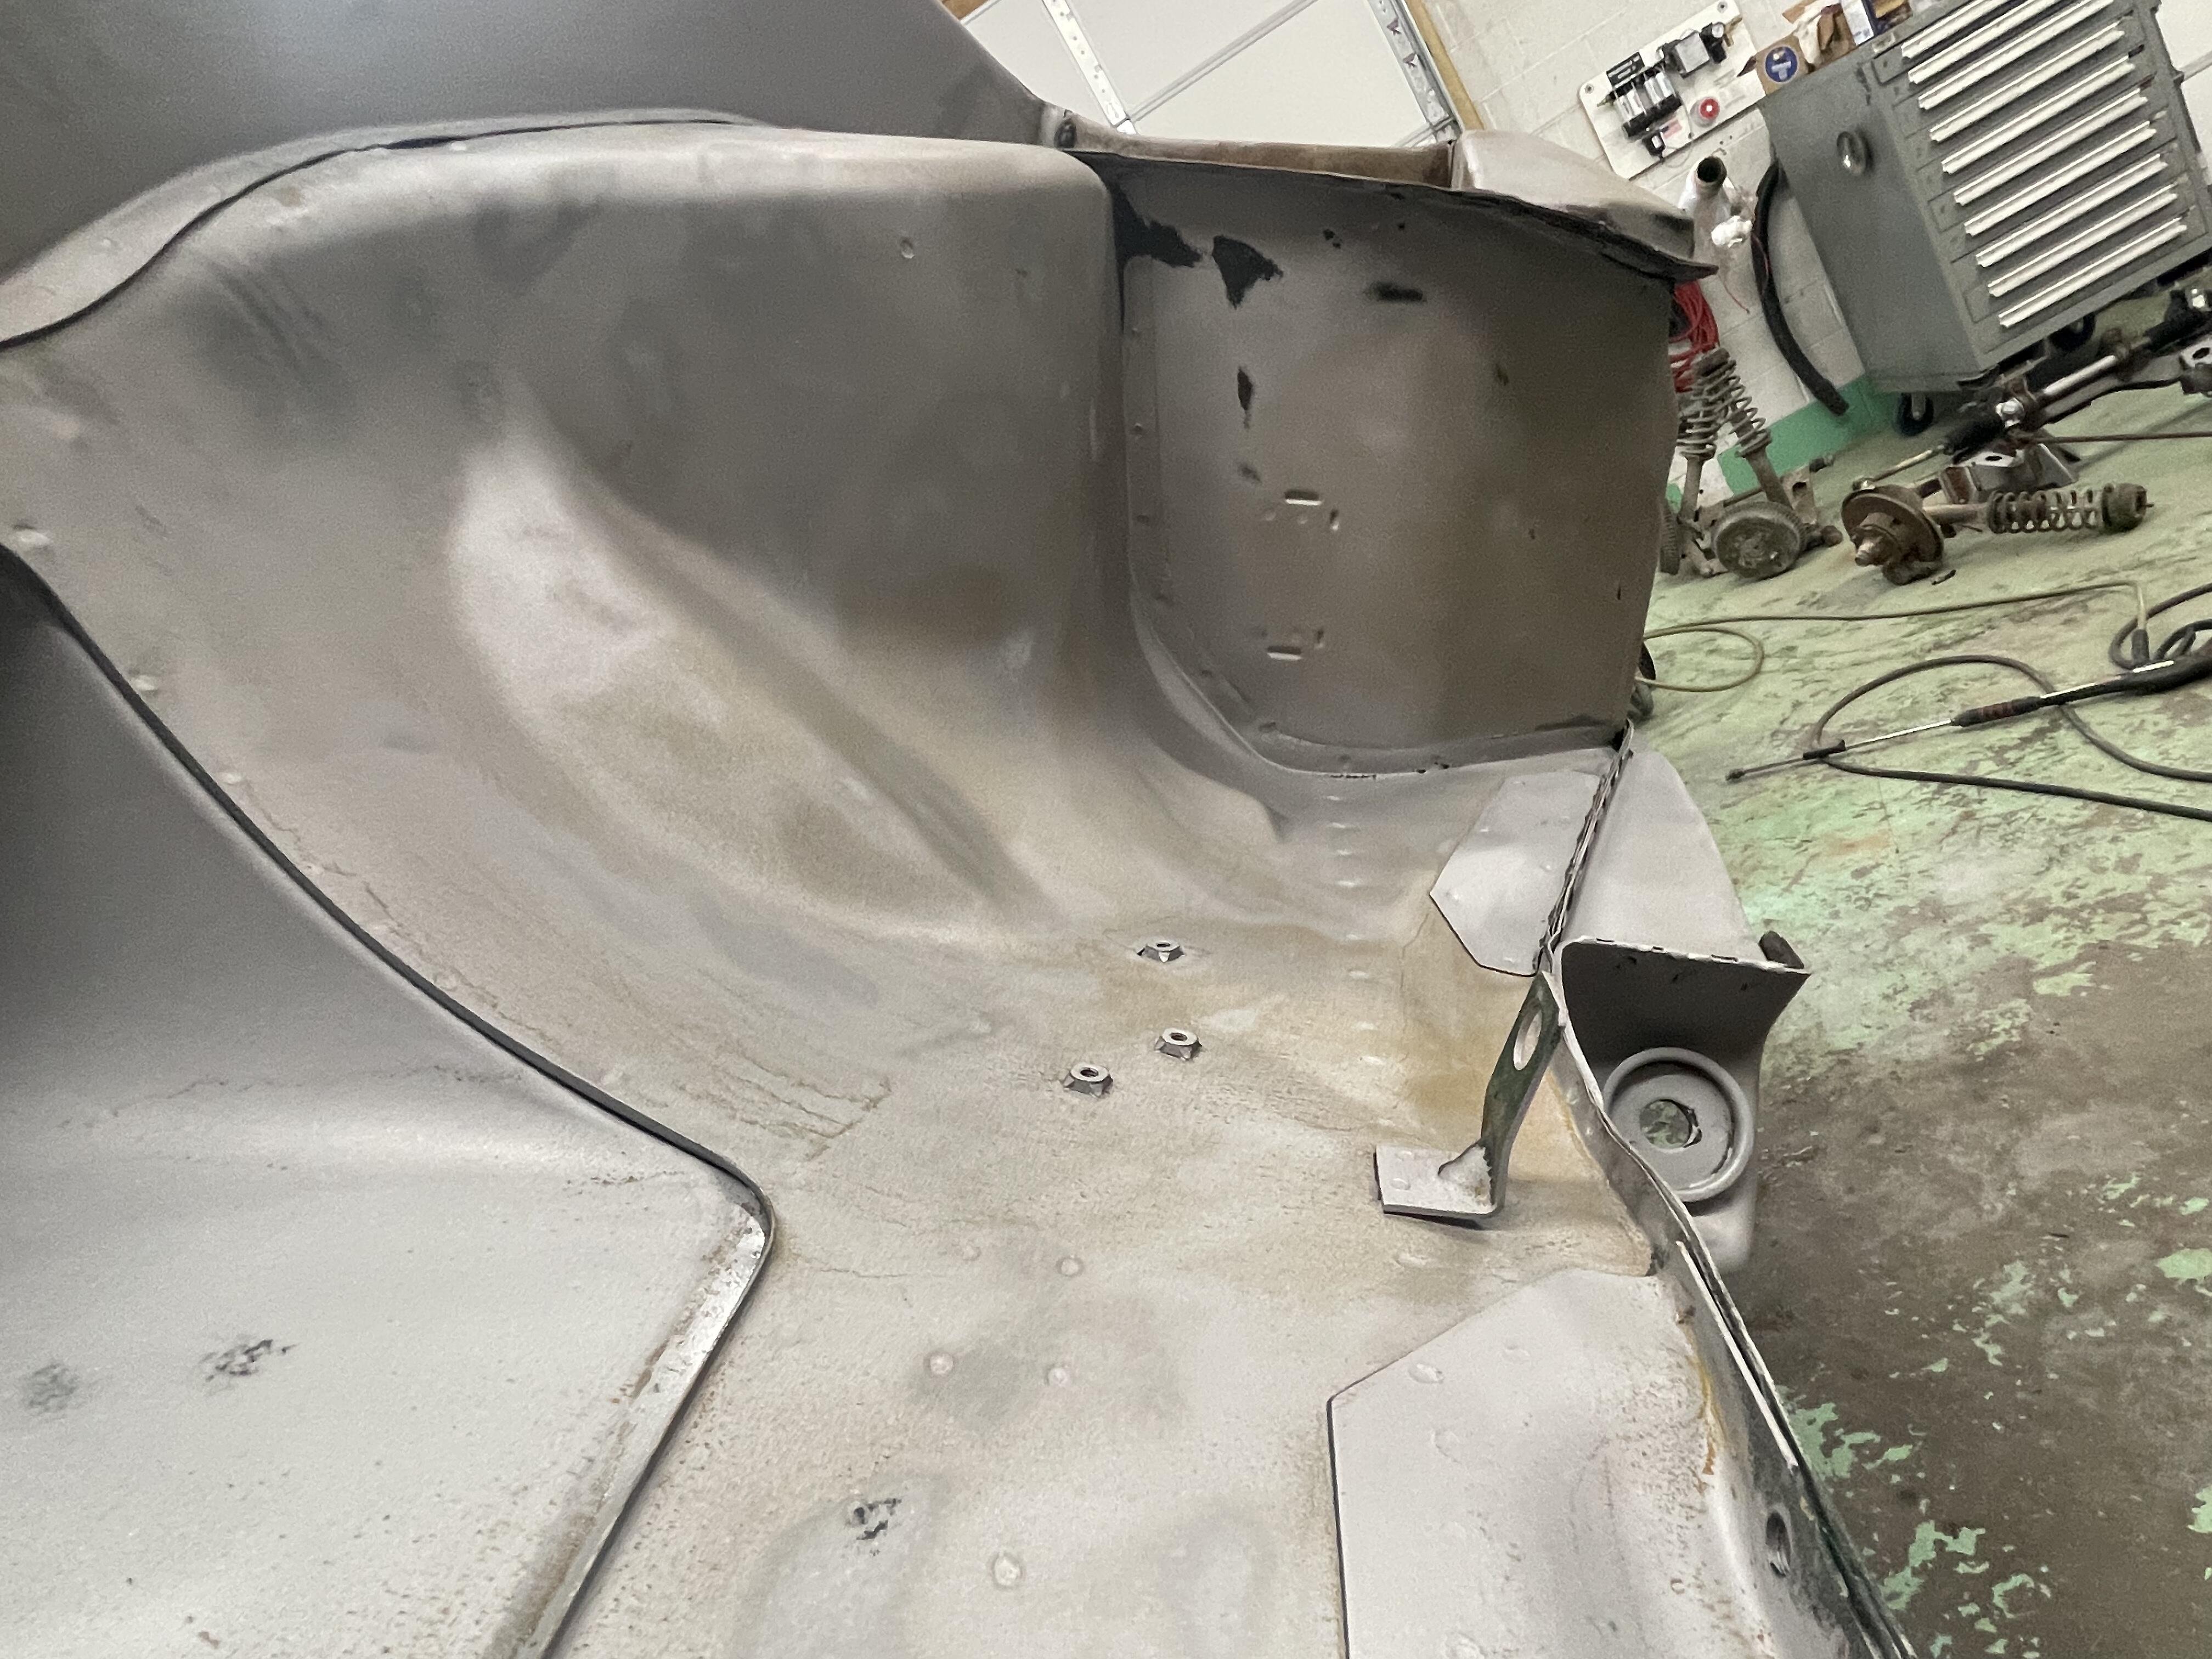
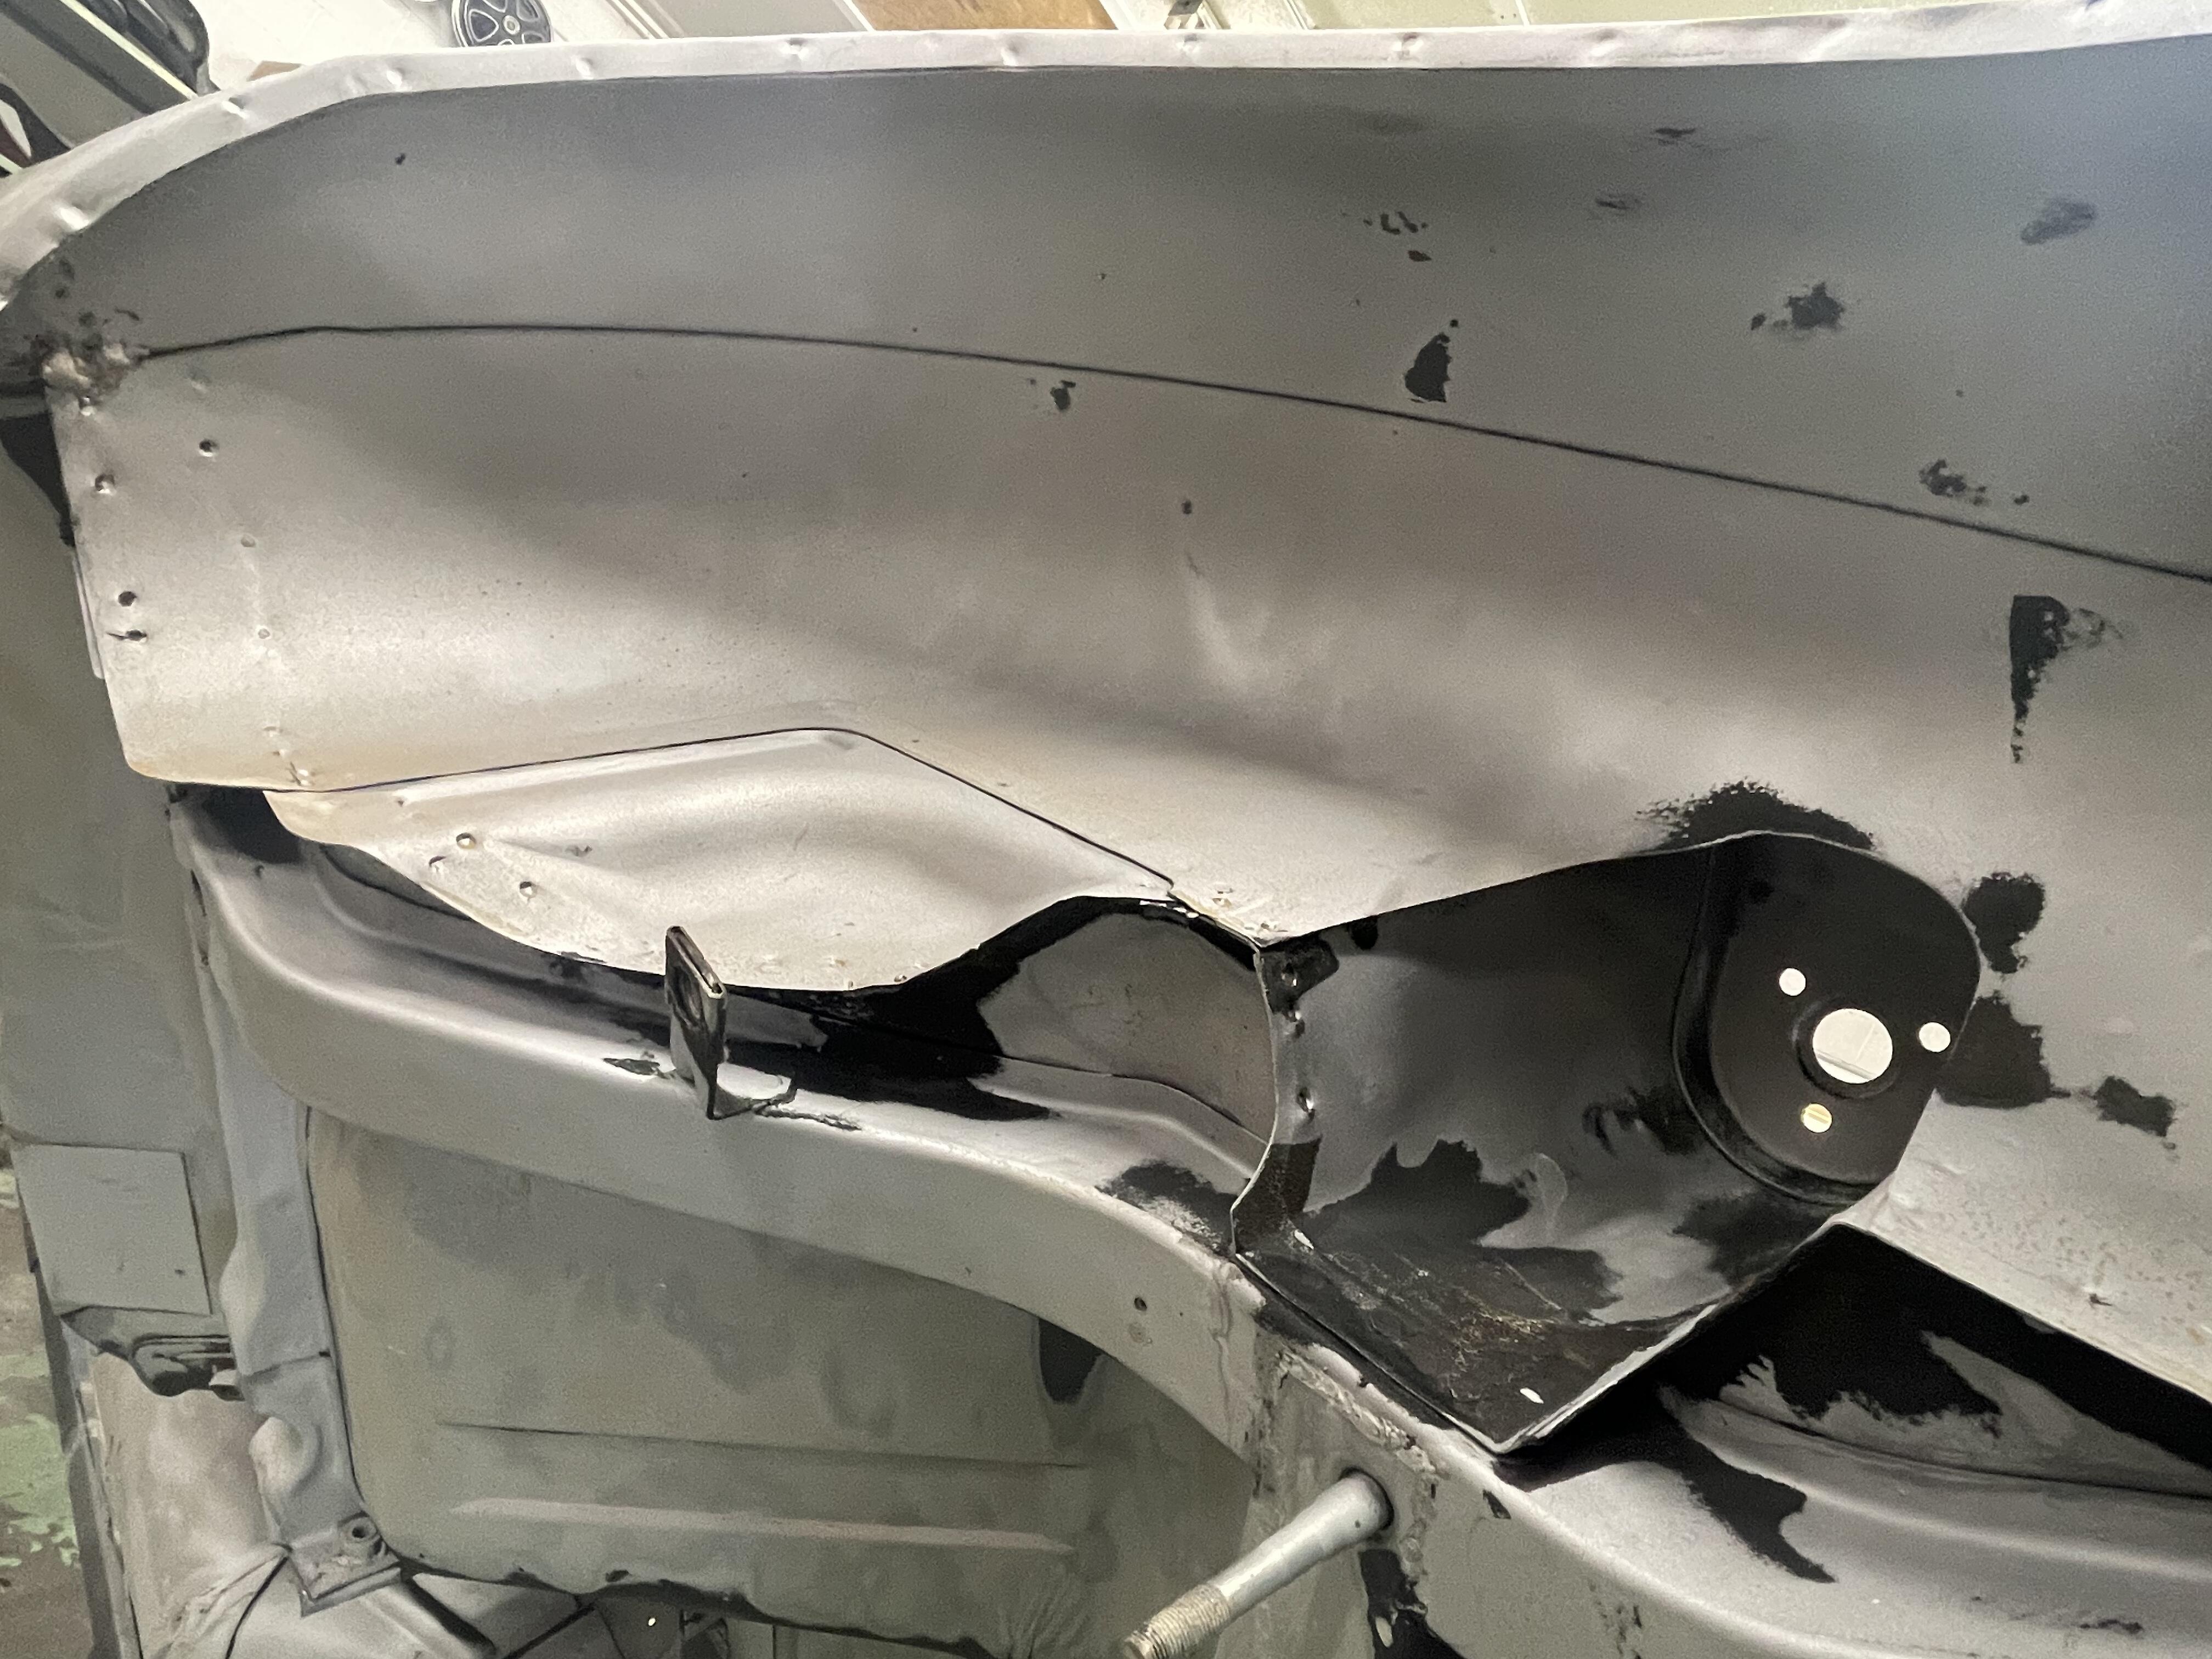
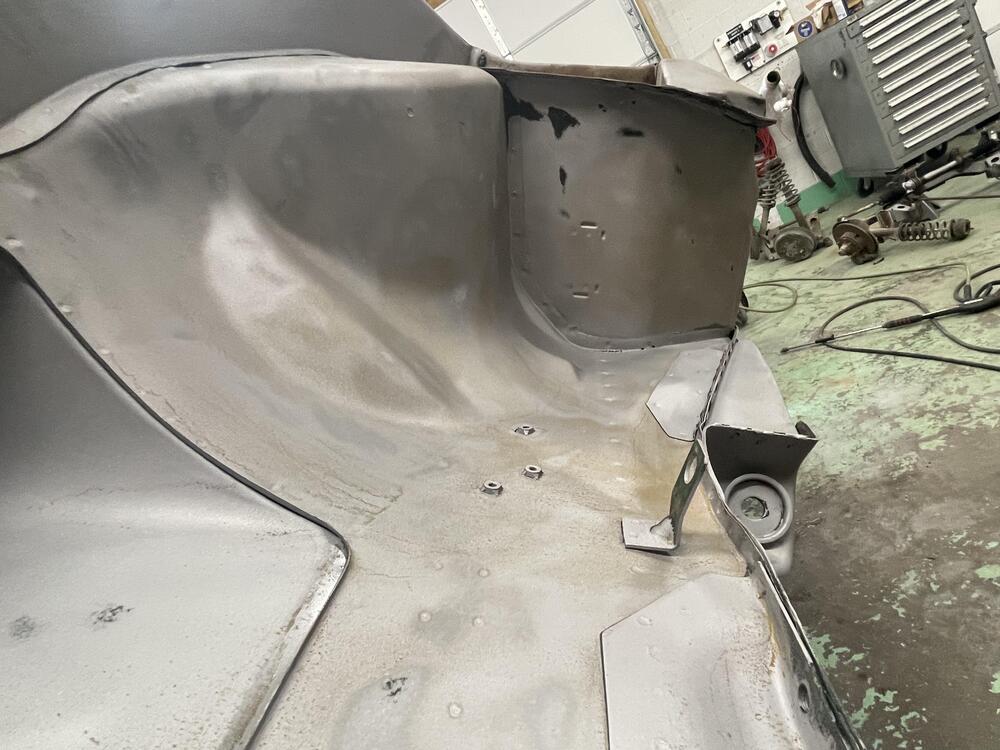
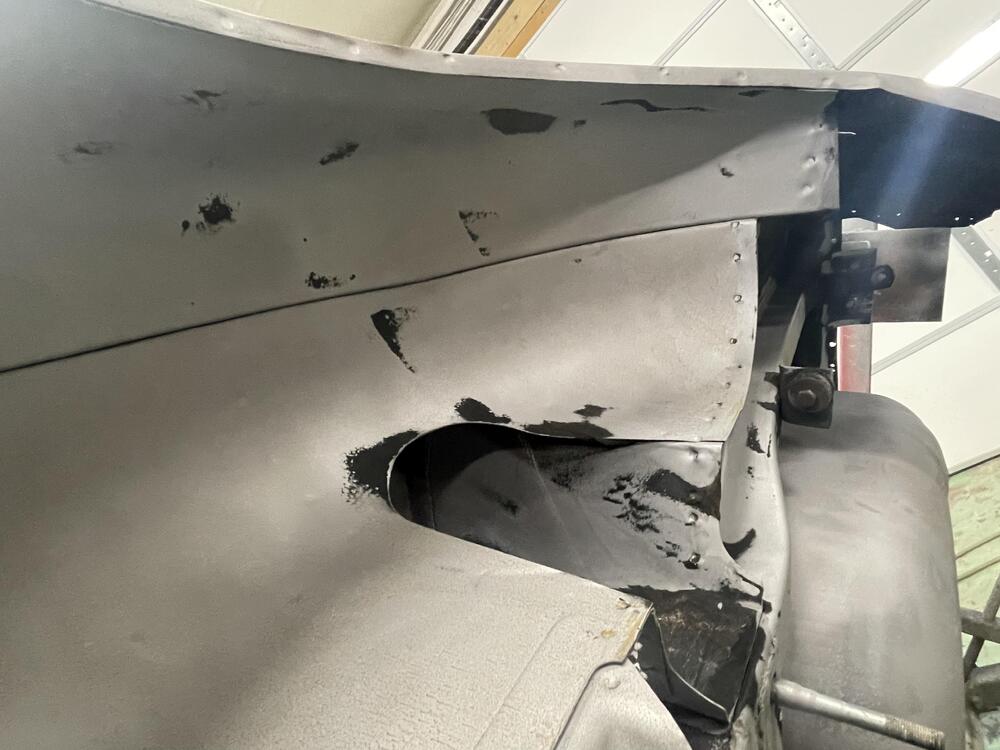
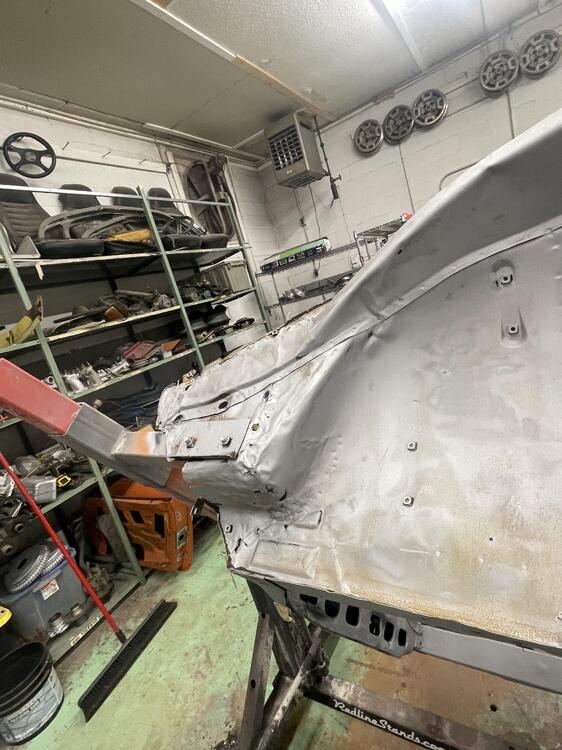
The wheel wells look pretty good, but that front drivers side took a beating. That’s going to take some major time and finesse.1 point
-
Definitely. Confirms not only the cut but all the stuff I’ve done up to this point as well1 point
-
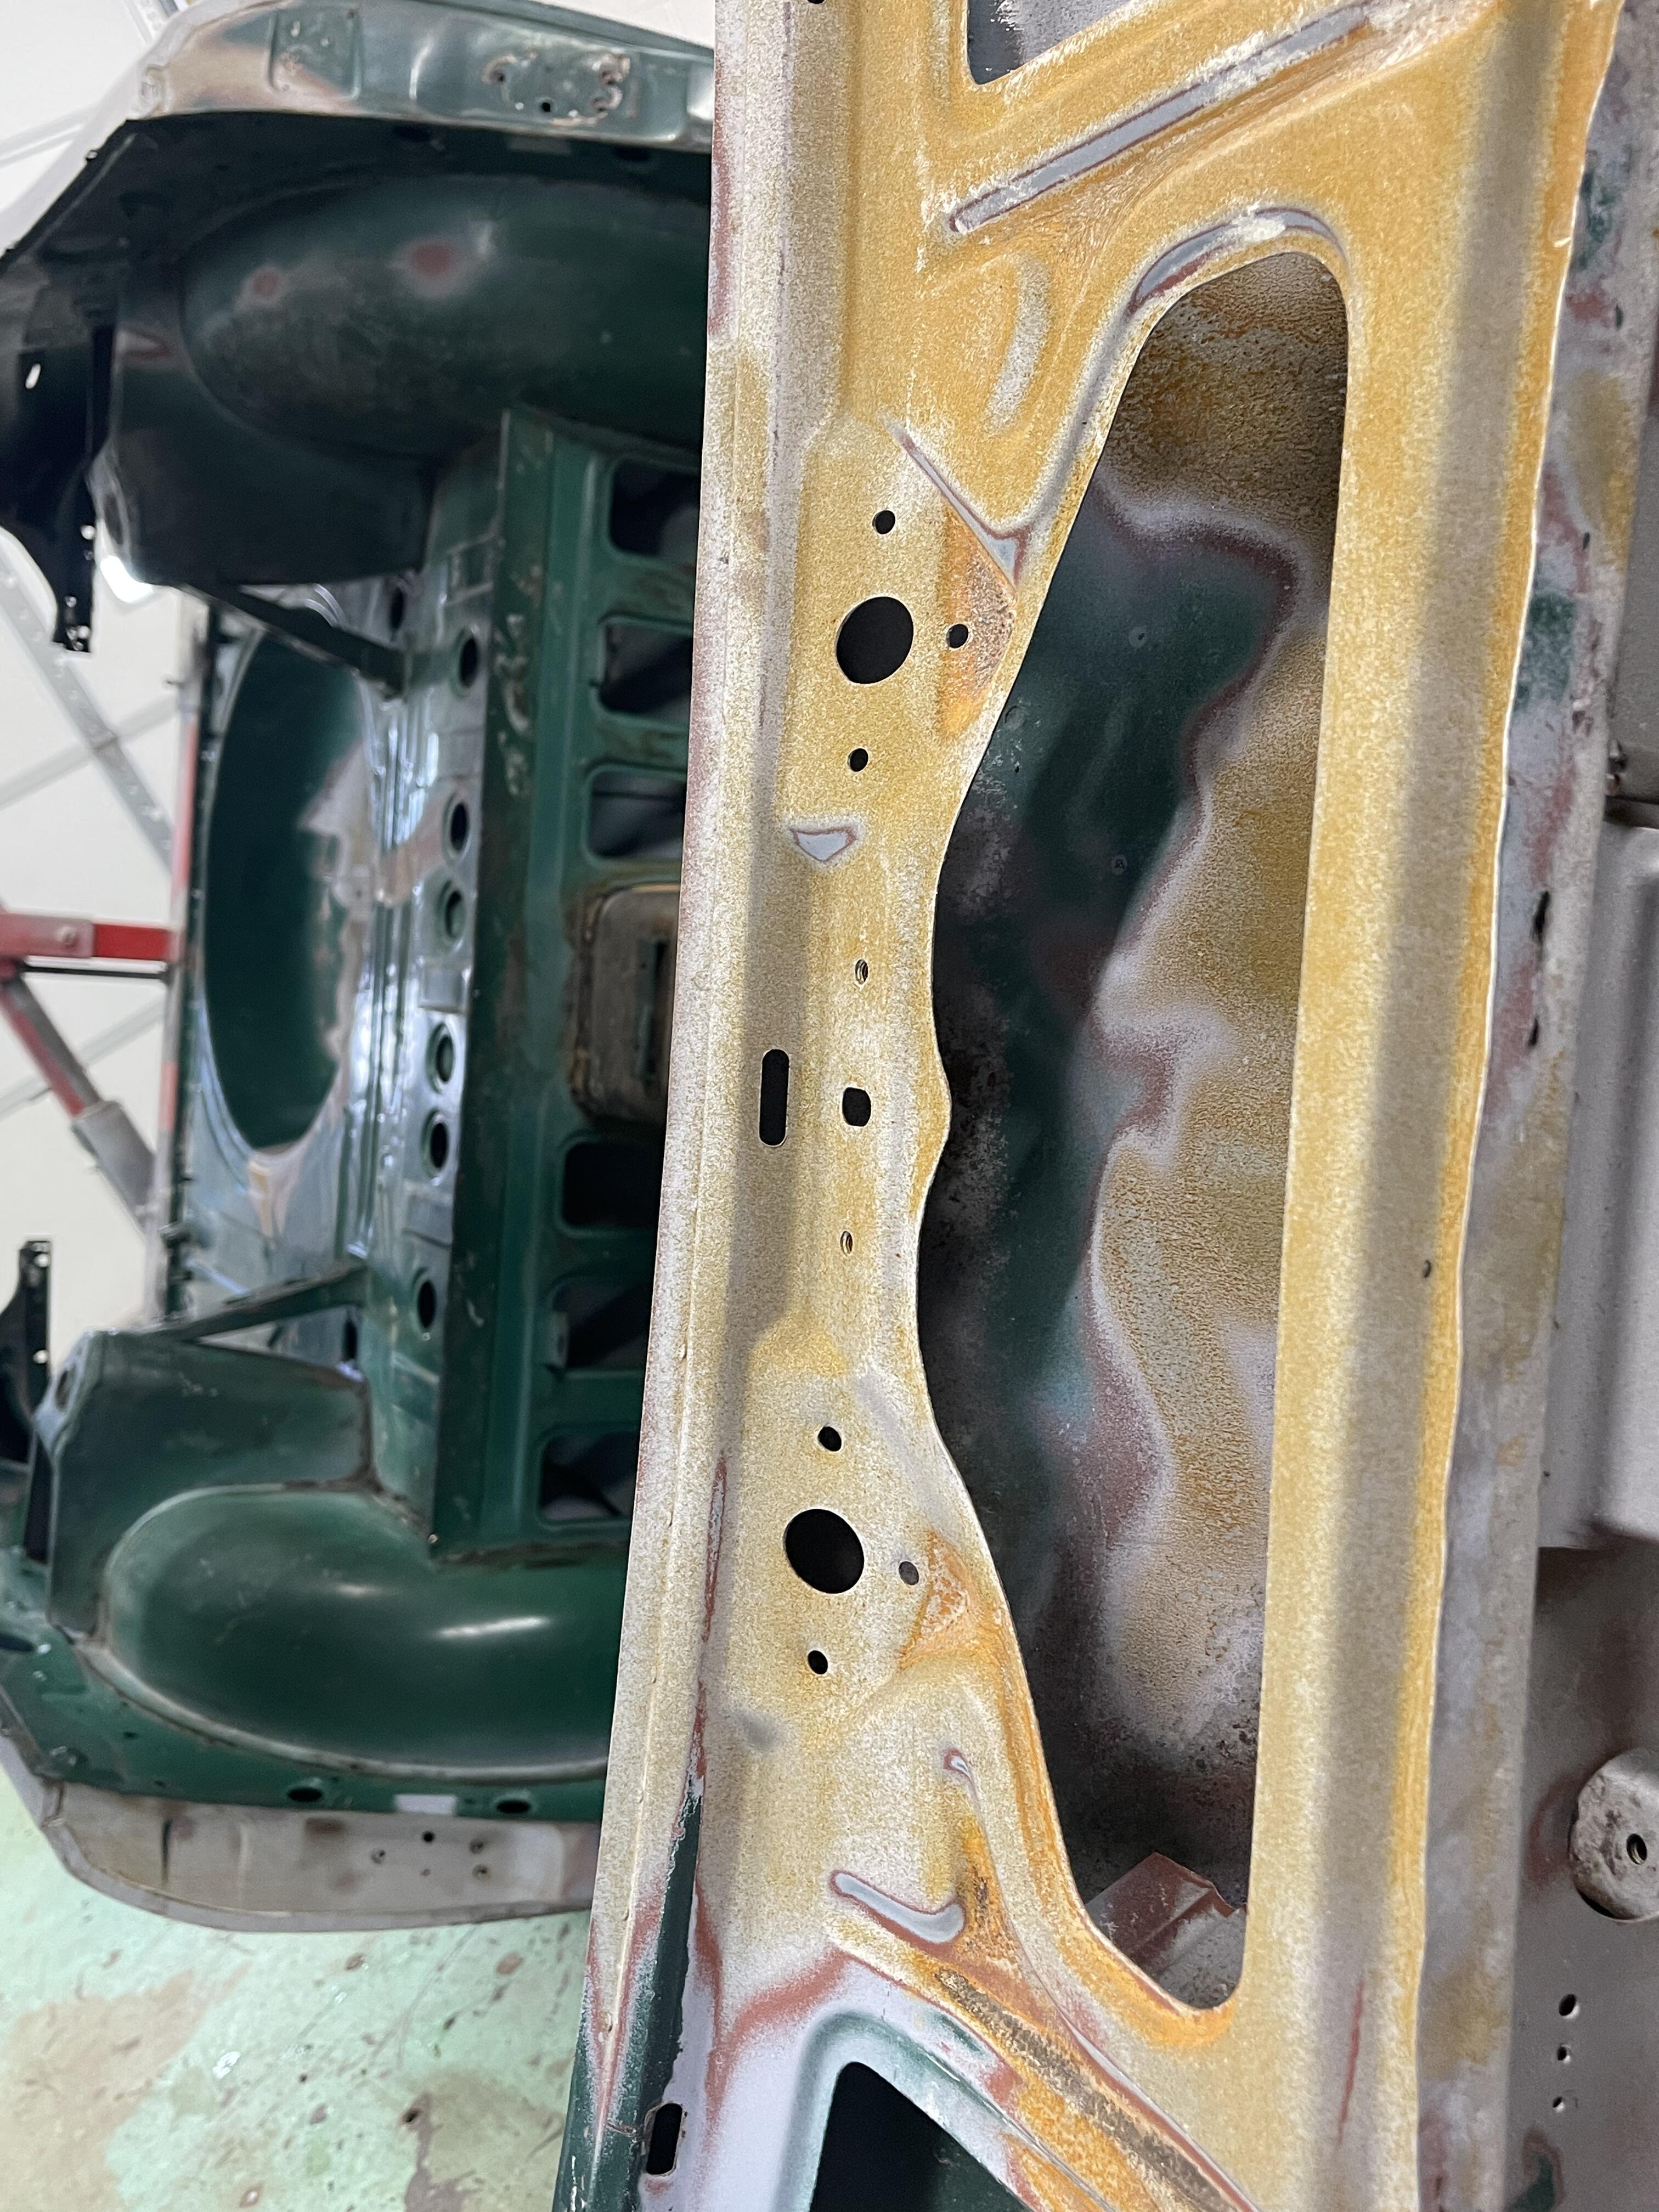
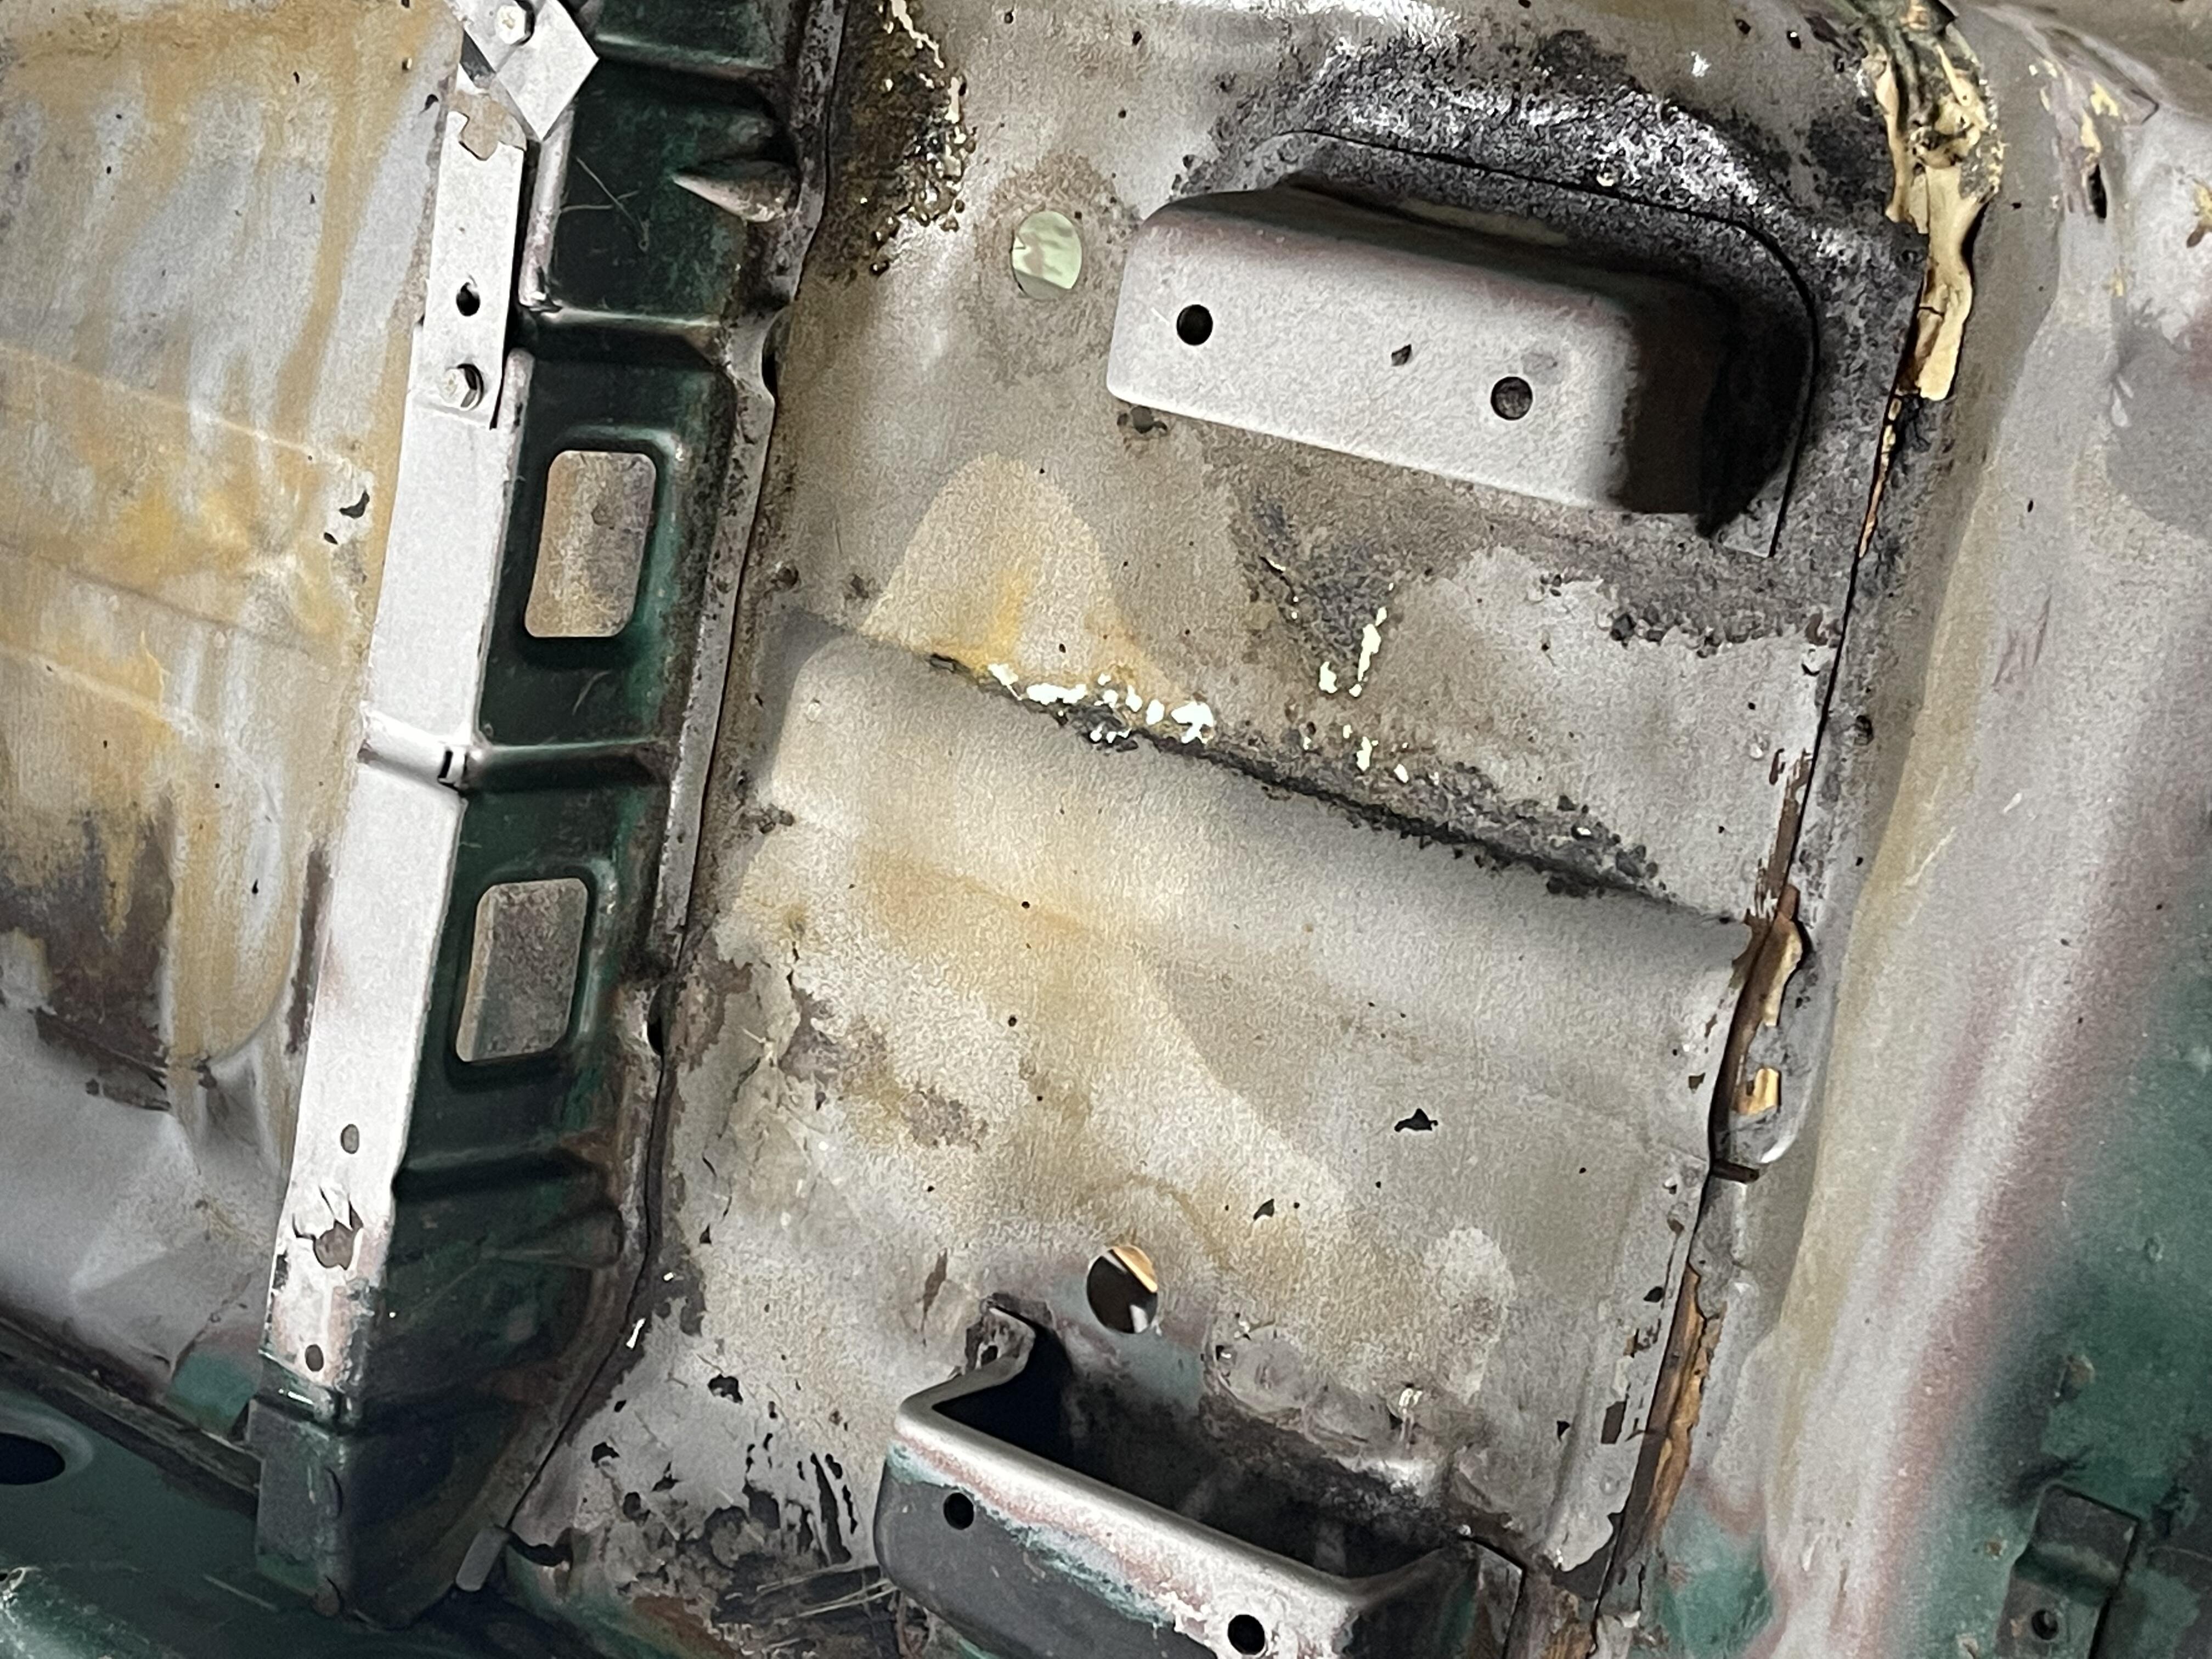
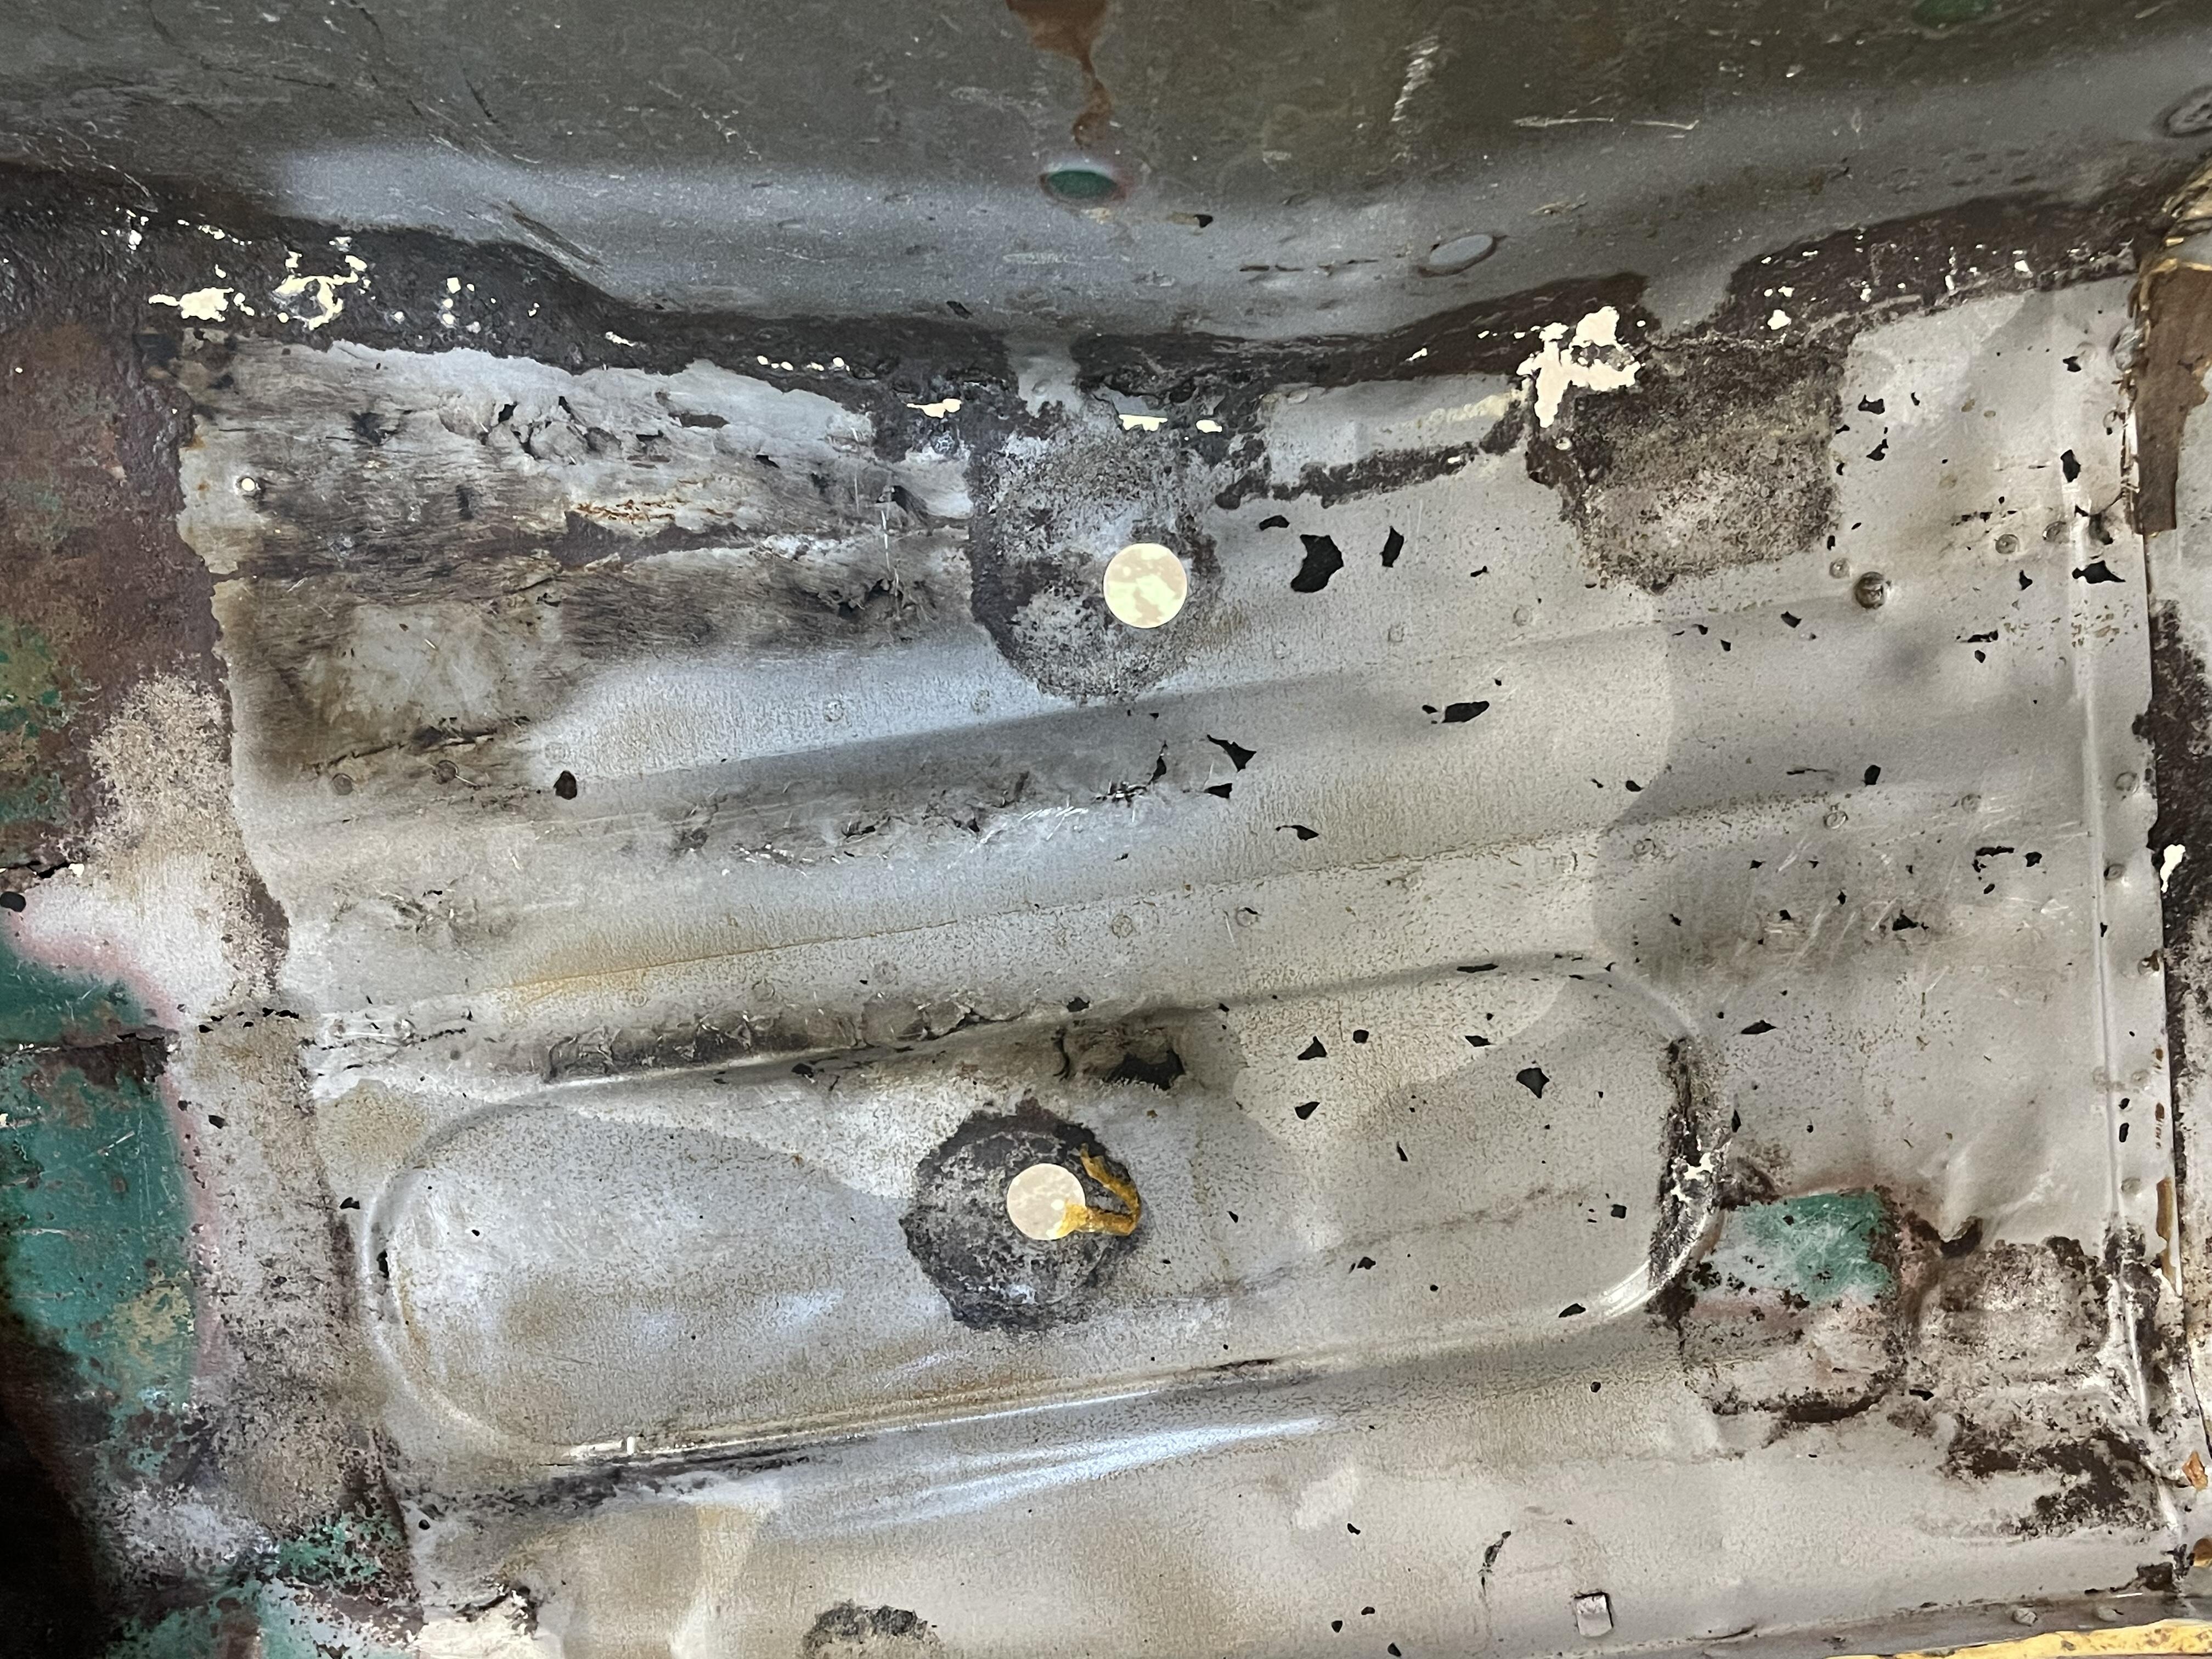
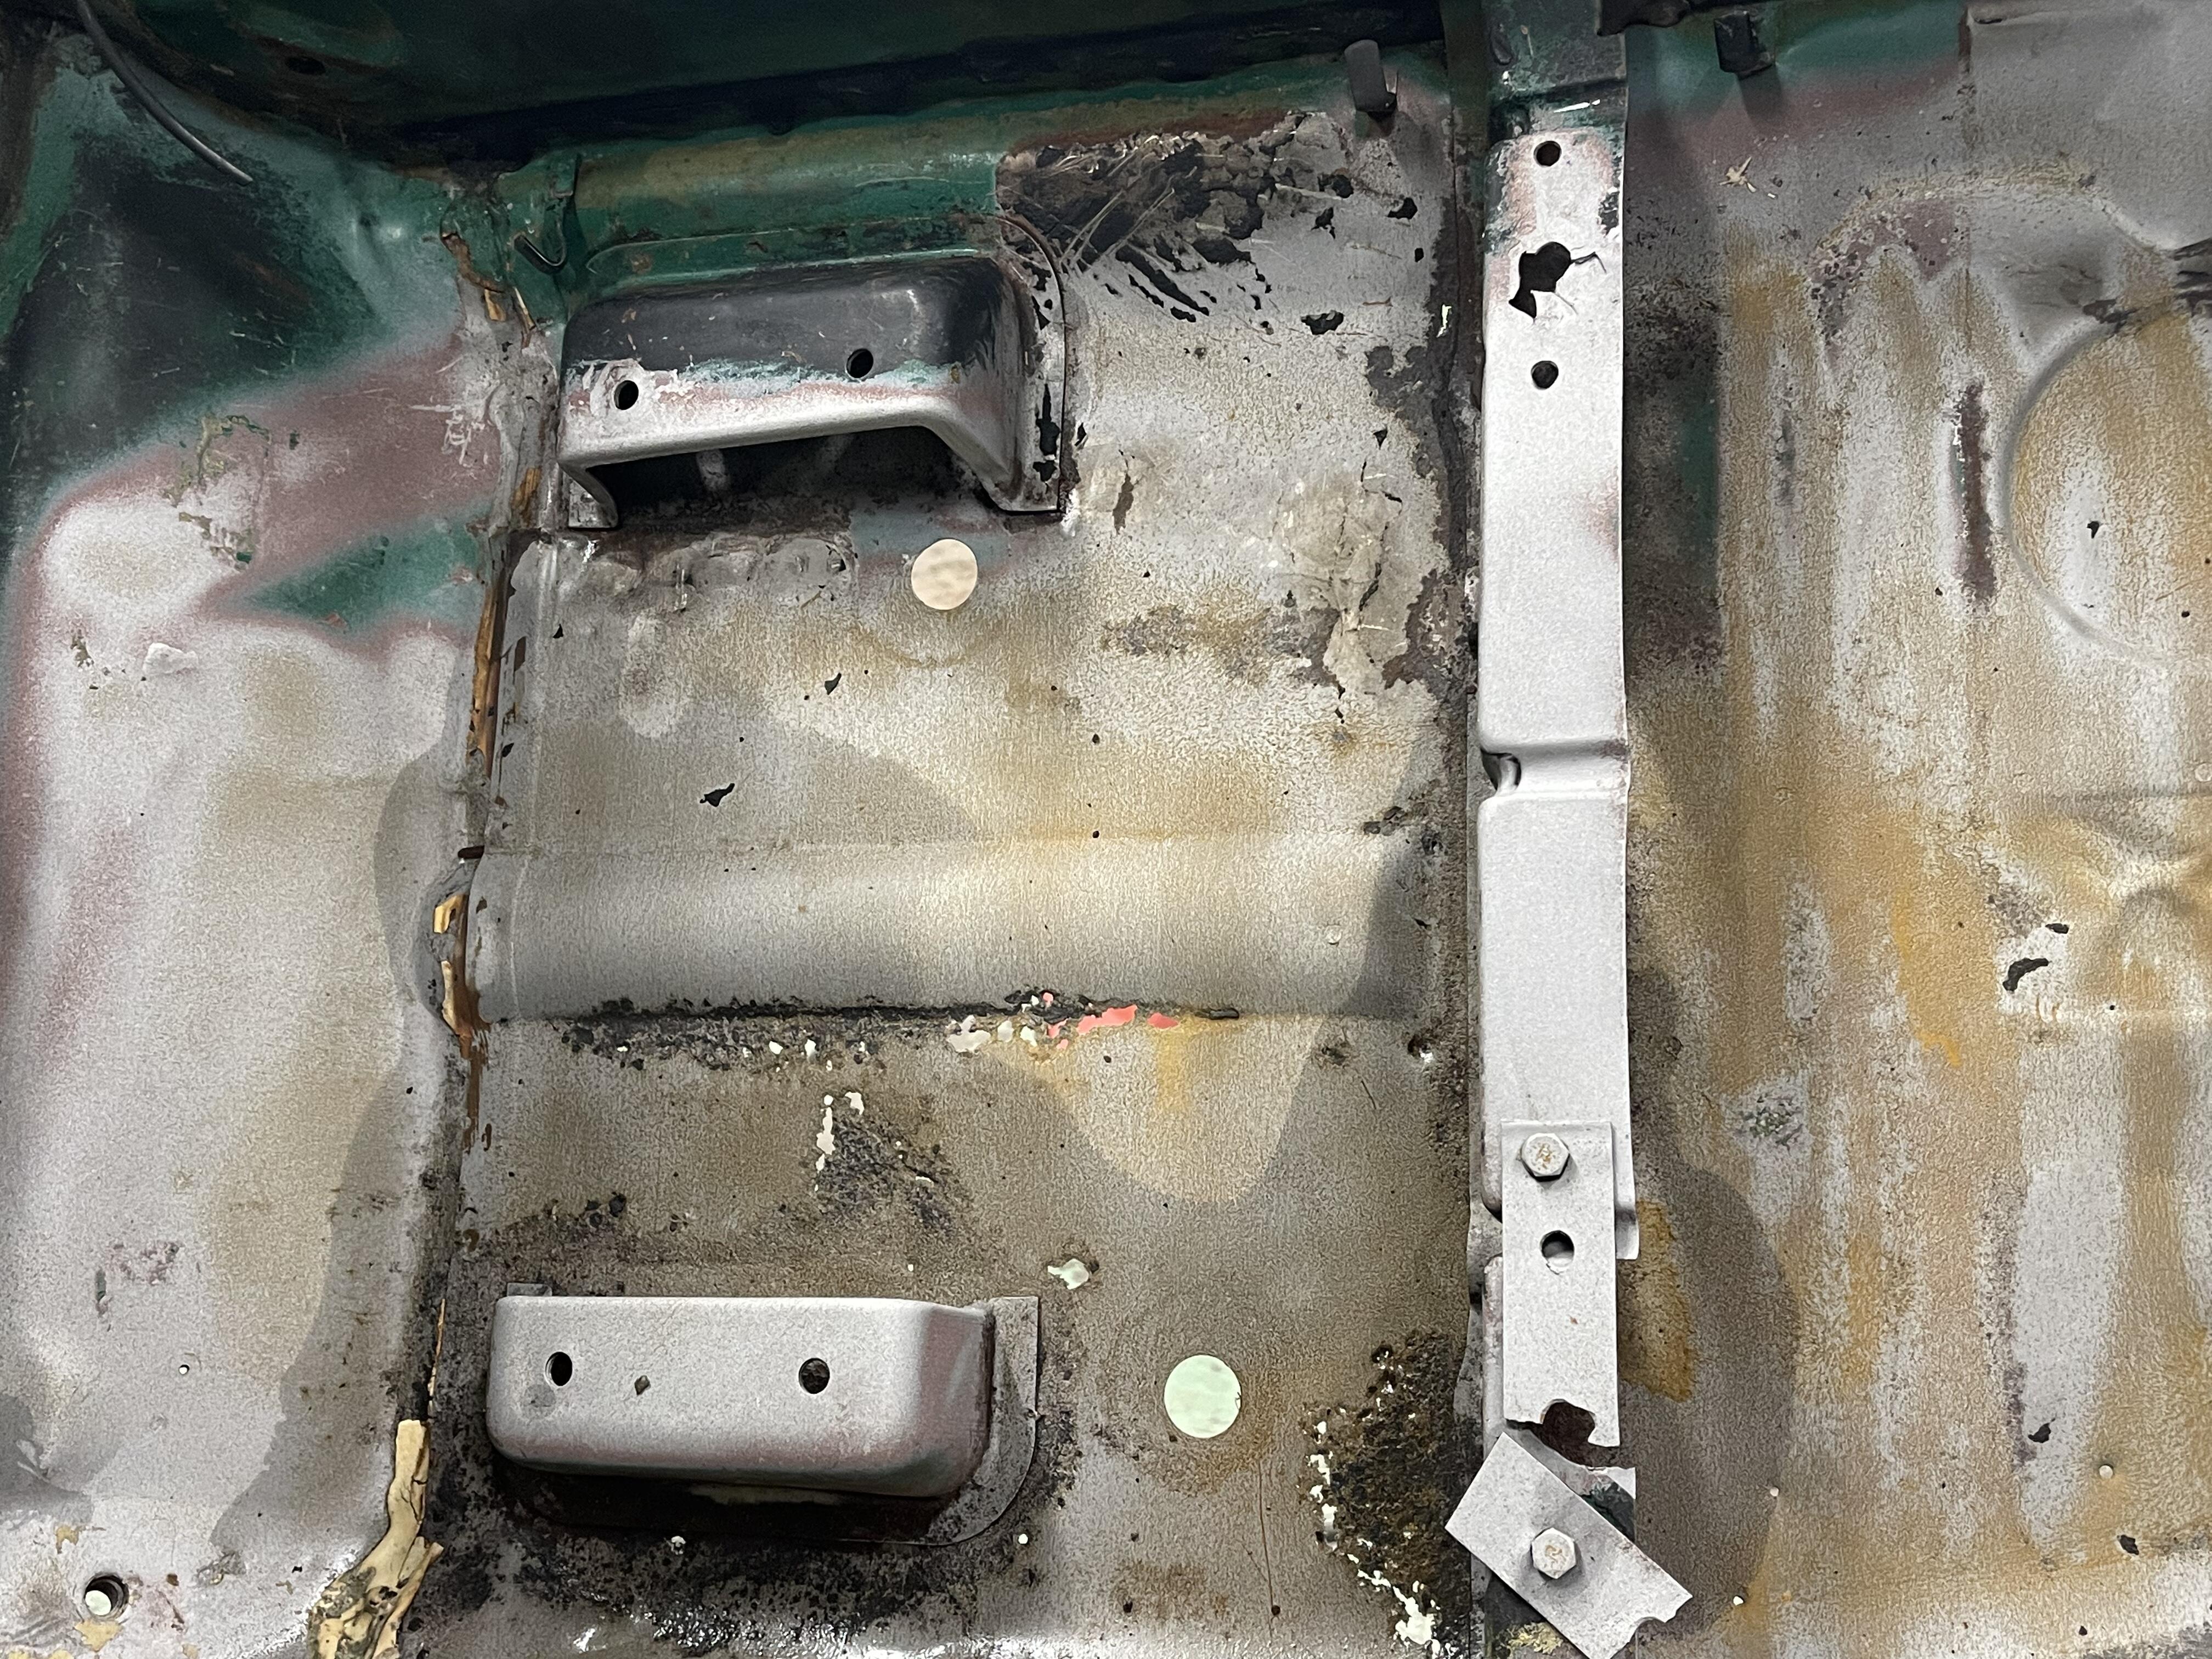
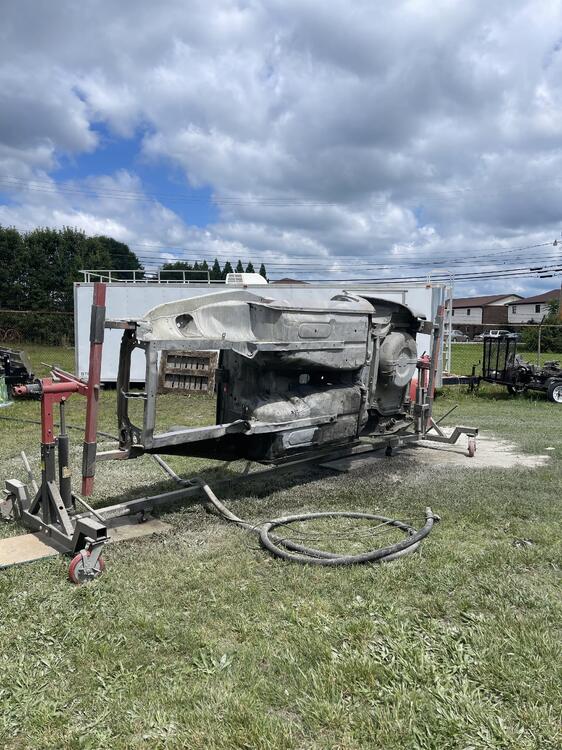
Removed quite a bit of undercoating on project 51. Looks pretty darn good body wise. Floor will need to be worked on, or replaced for certain. Overall still happy with structure. Front radiator cradle is the tough one. .I’m not sure I can “adjust,” all the dents and twists that have appeared. Upper cowl support looks like someone stood on the passenger side at one time. Spare tire well, although rusty inside, has no rust thru pinholes after blasting from both sides….


 1 point
 -
People that do this for a living are some tough dudes!!
 1 point
 -
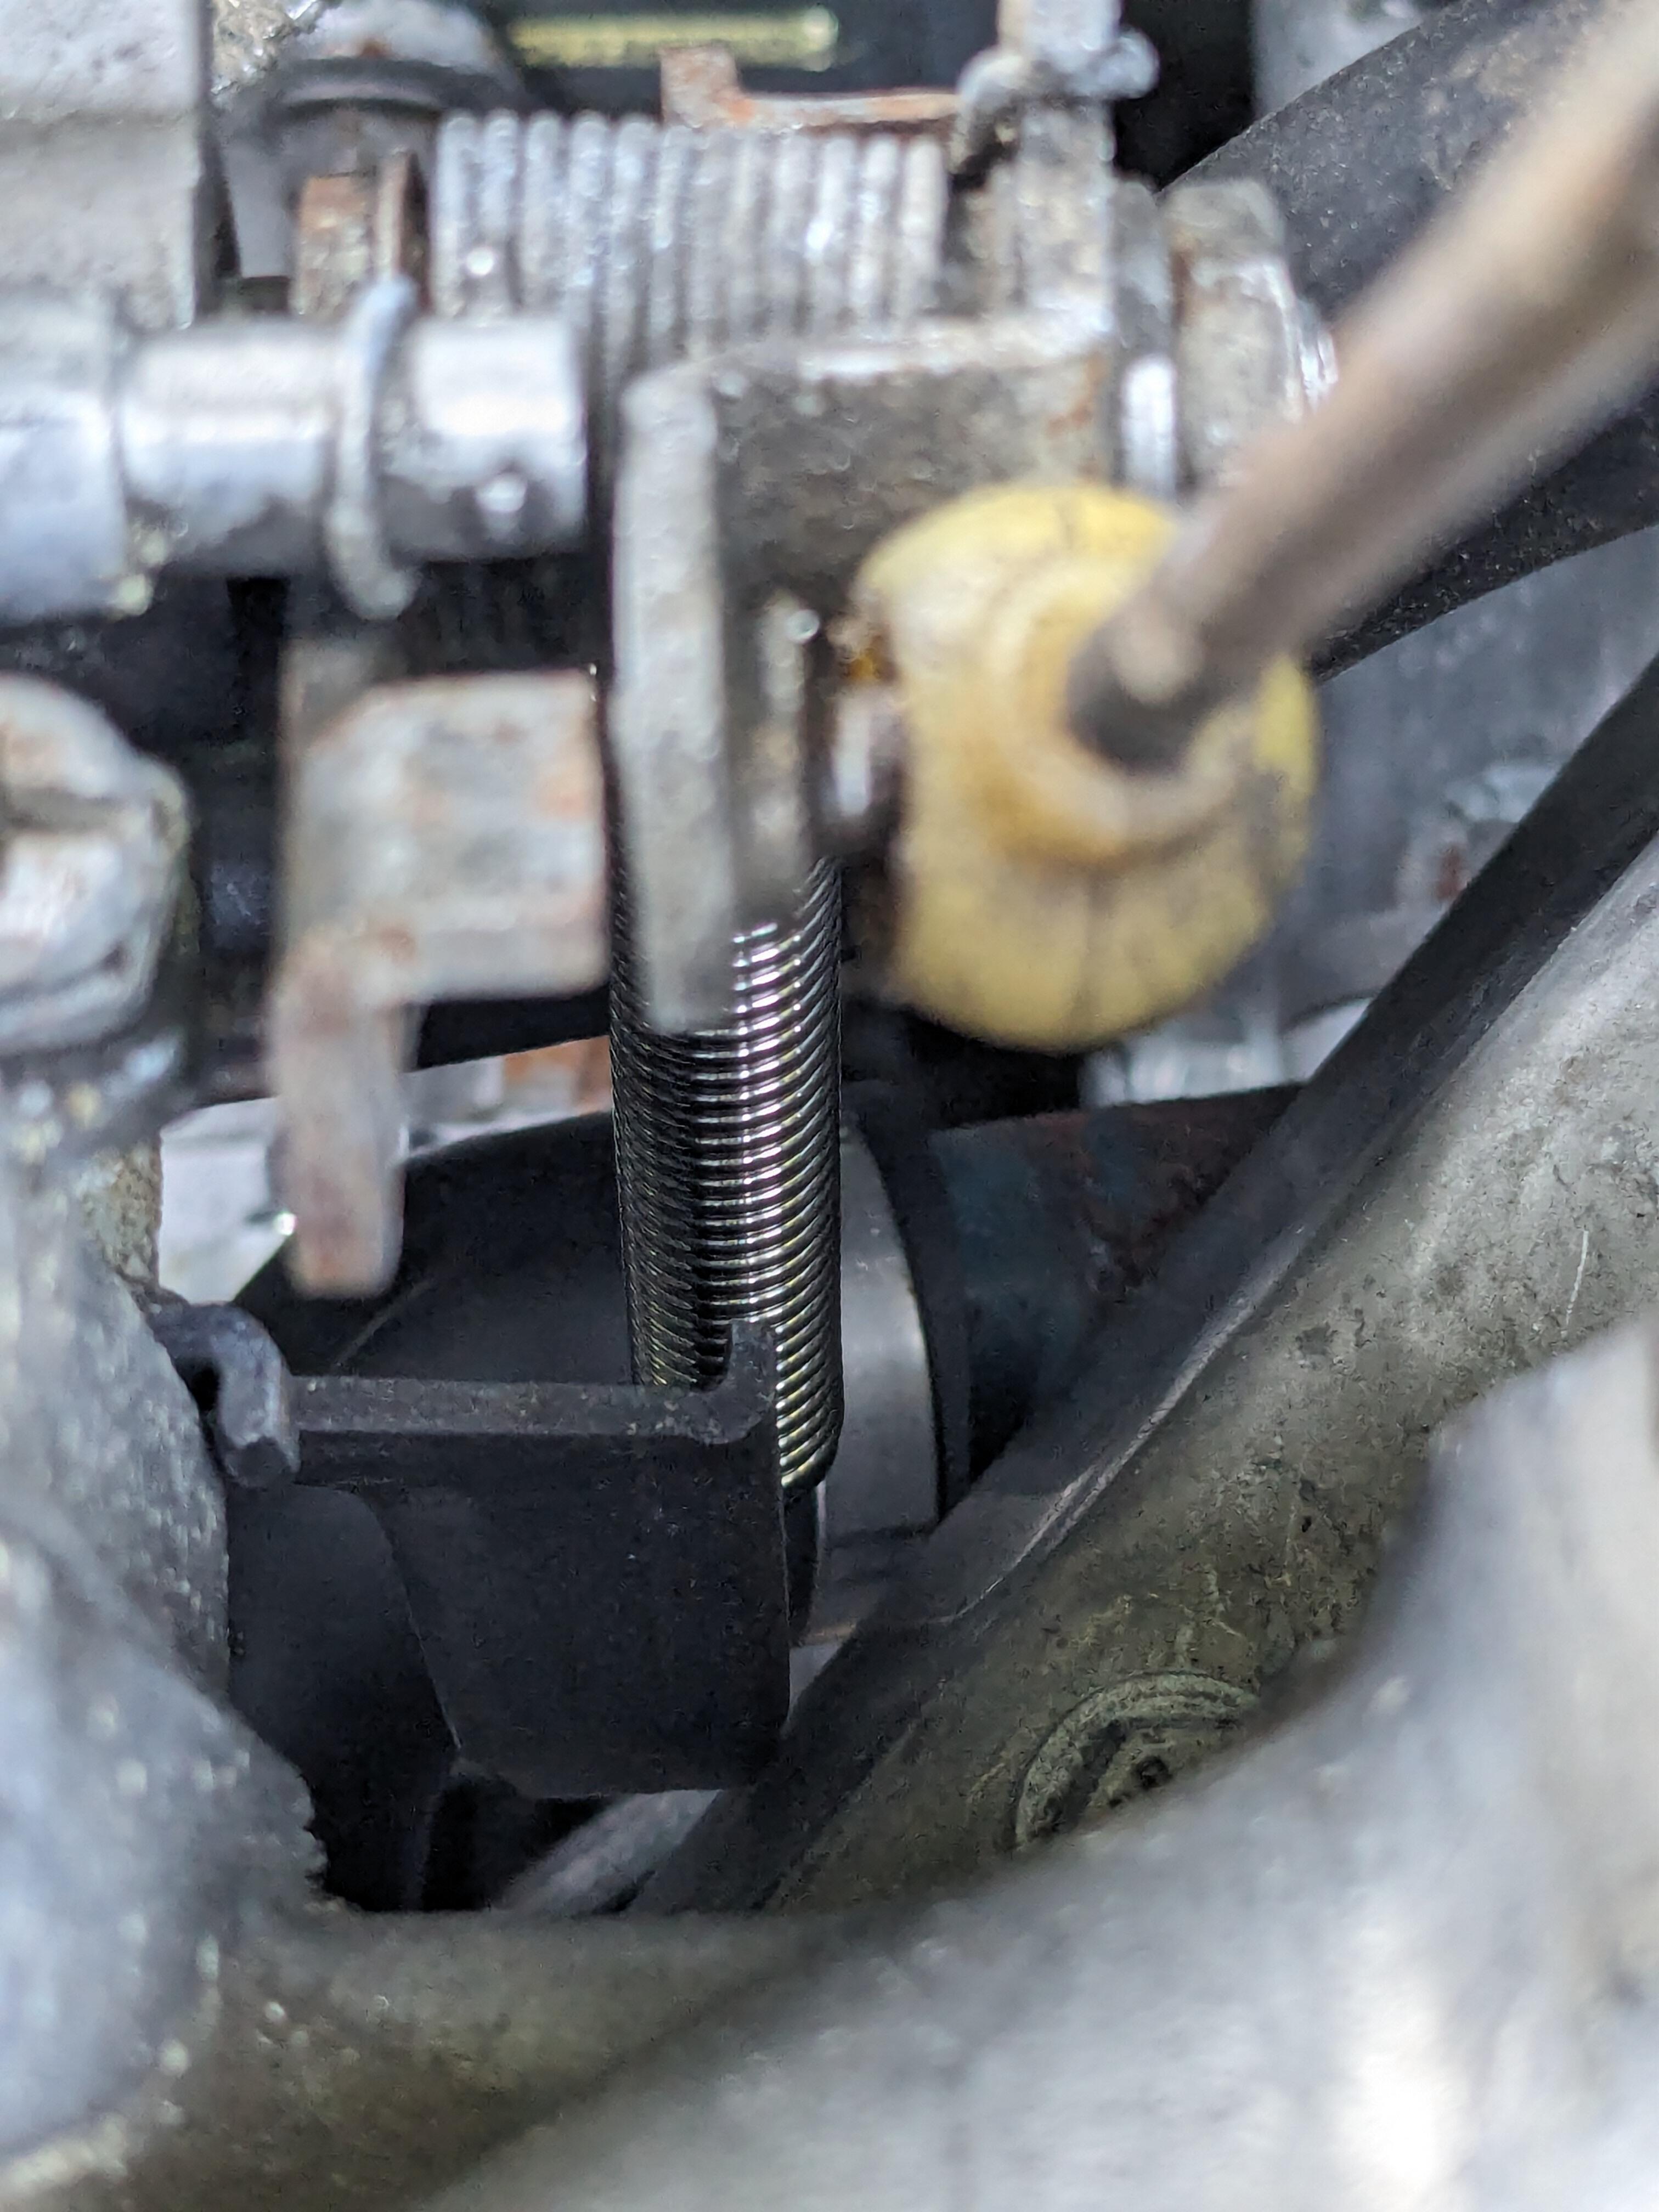
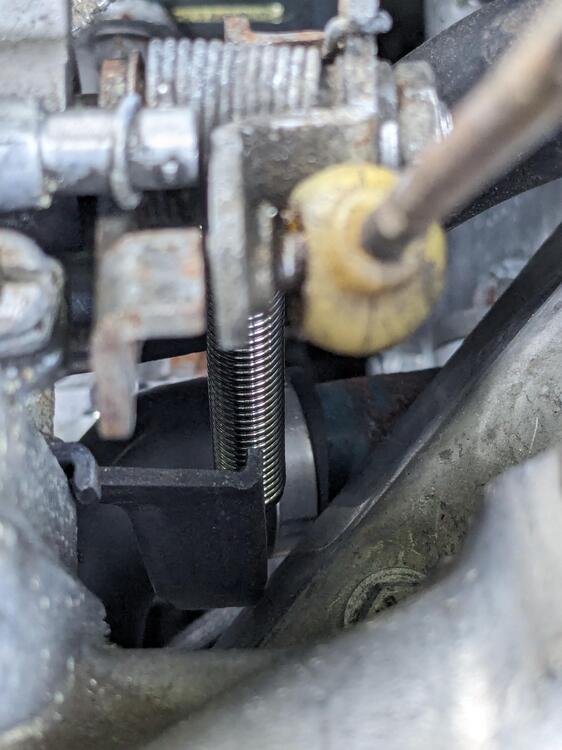
OK - so the generic spring I got off Amazon works, and is not excessive tension, nor too difficult to install in place. We'll see how long it lasts. Since links don't last particularly long dimensions to look for are: 0.047"x0.39"x2.76" - "Stainless Steel Tension Spring Wire" or 'Extended Tension Spring Wire" comparison:

 1 point
 -
1 pointUpdate: I took the entire vapor system apart and pressure tested each hose and the vapor tank by blowing into one inlet and capping the others with my hands; didn't taste great. The result was finding all of the hoses and the tank hold air perfectly. I put everything back together and when blowing from the front could still smell gas in the back. I threw caution to the wind and cranked the belt clamps down to within an inch of their life and problem solved - no fumes. Crank those clamps down boys and girls - case closed1 point
-
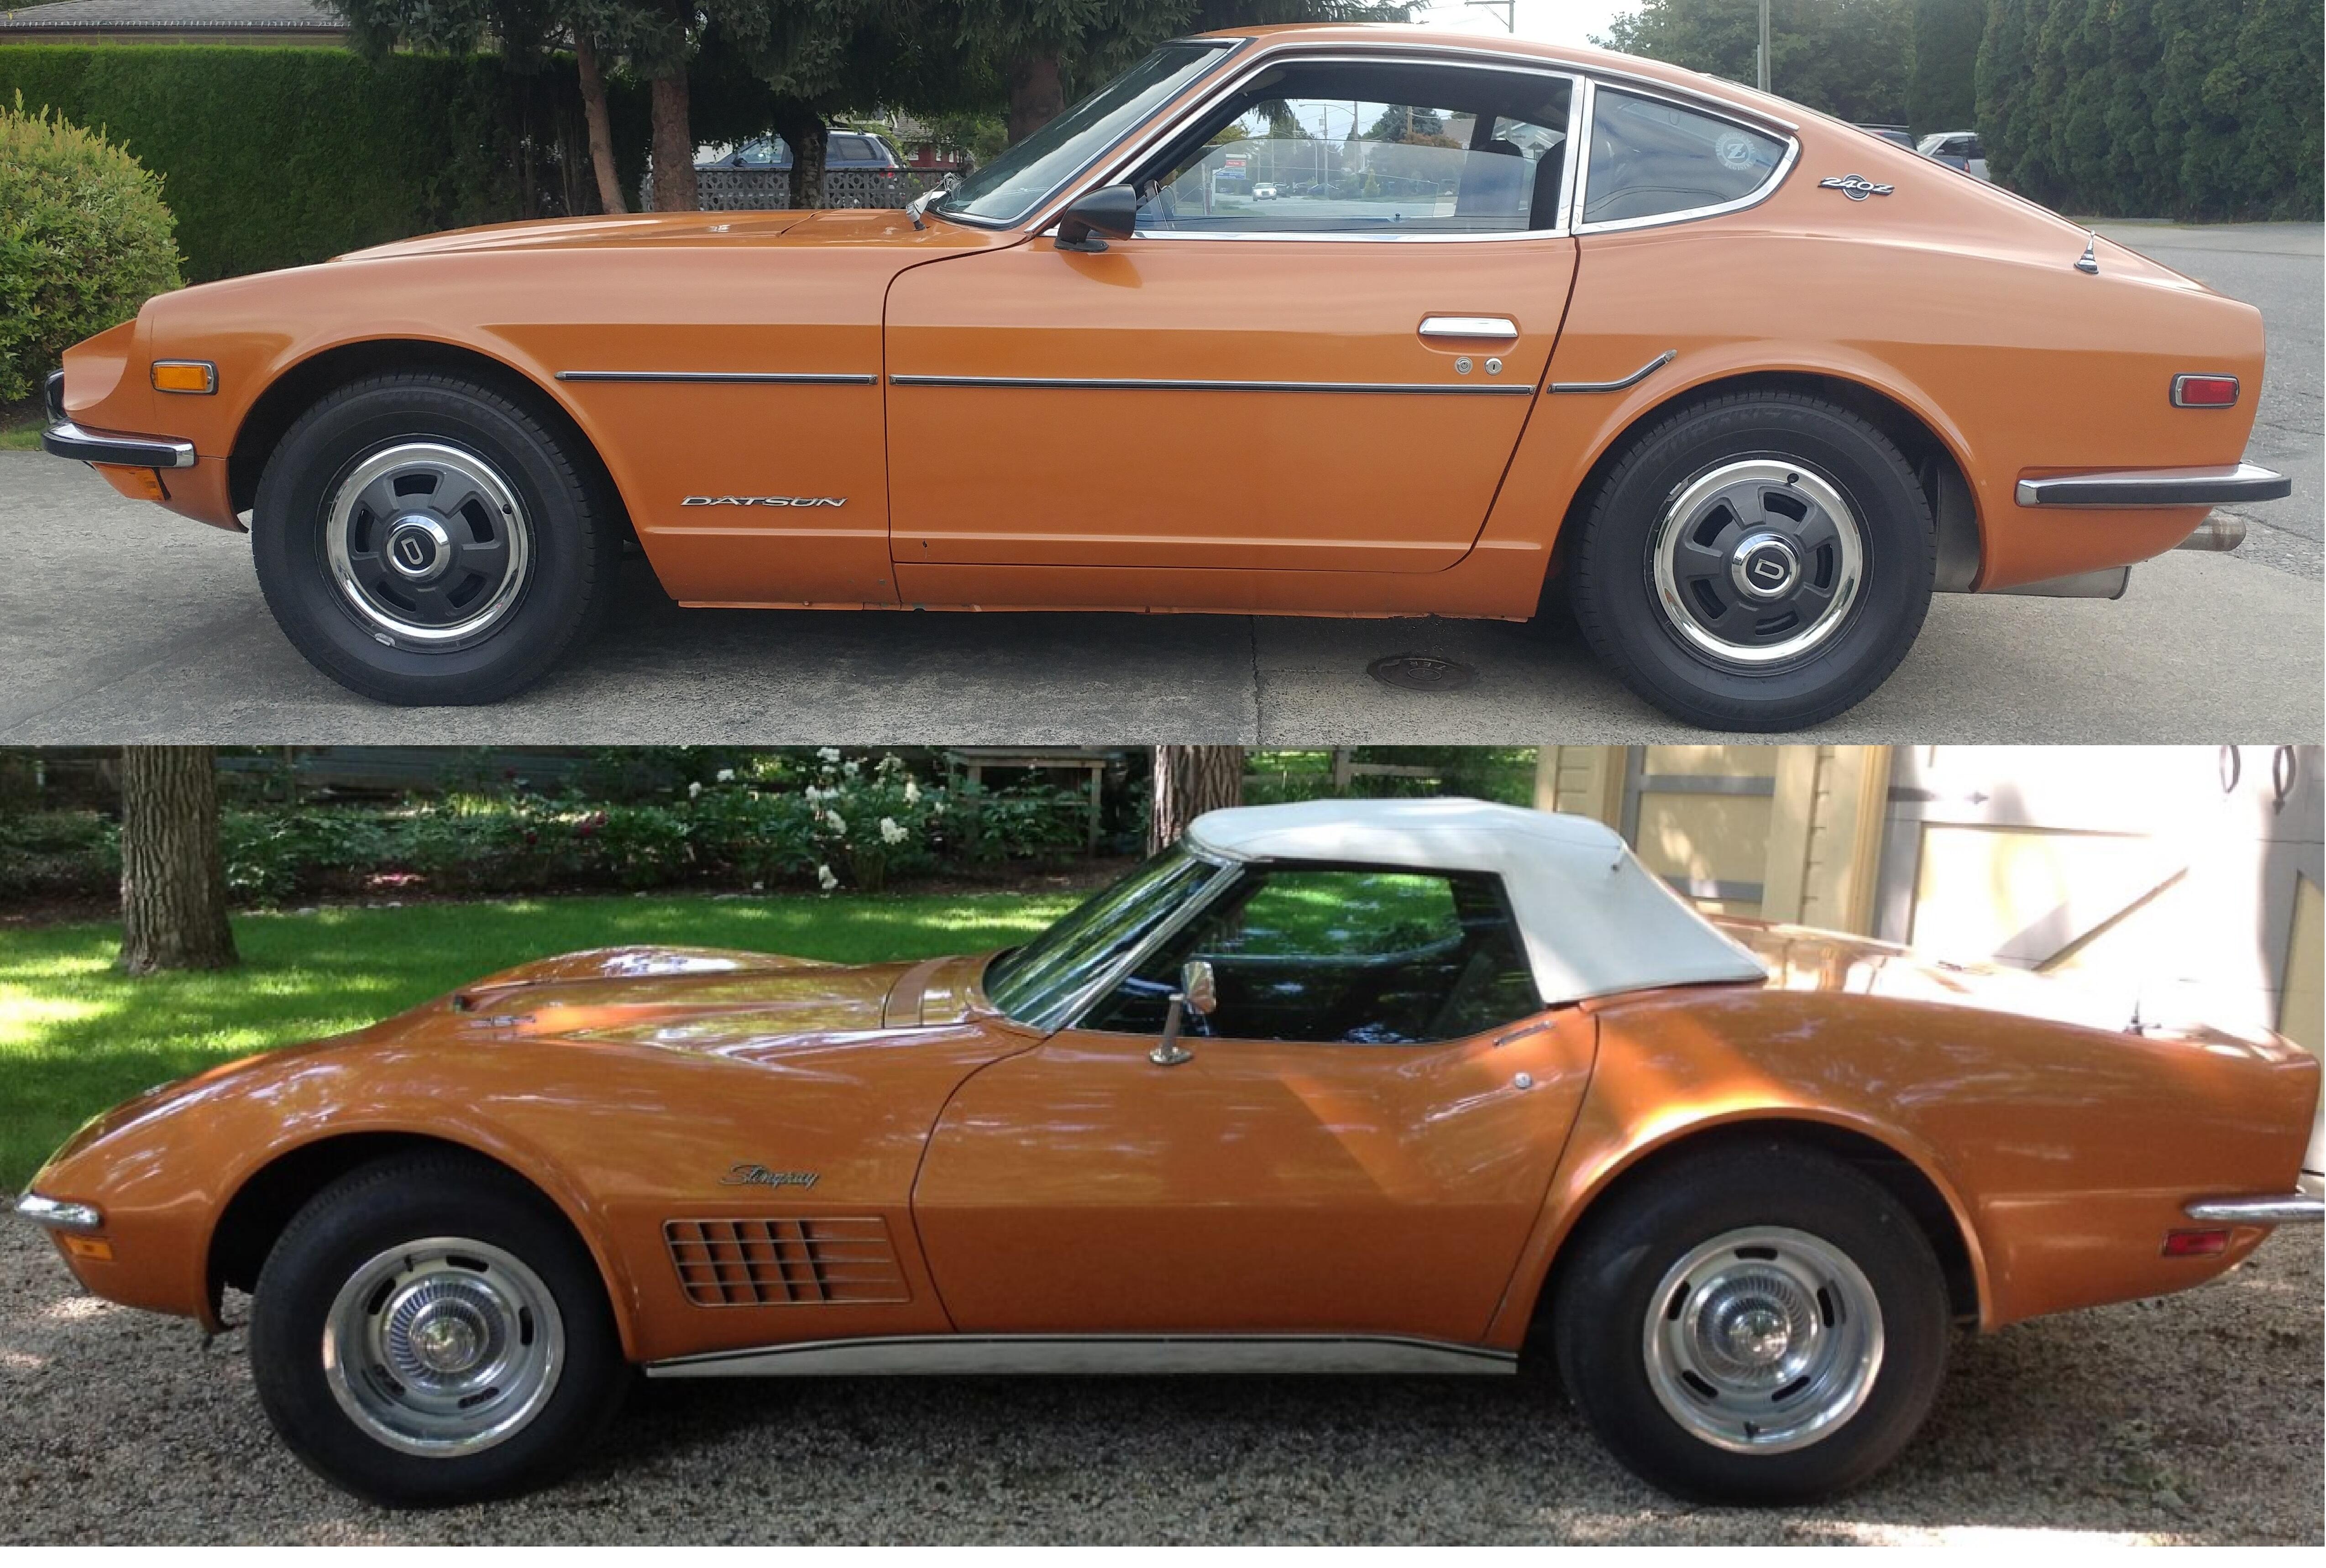
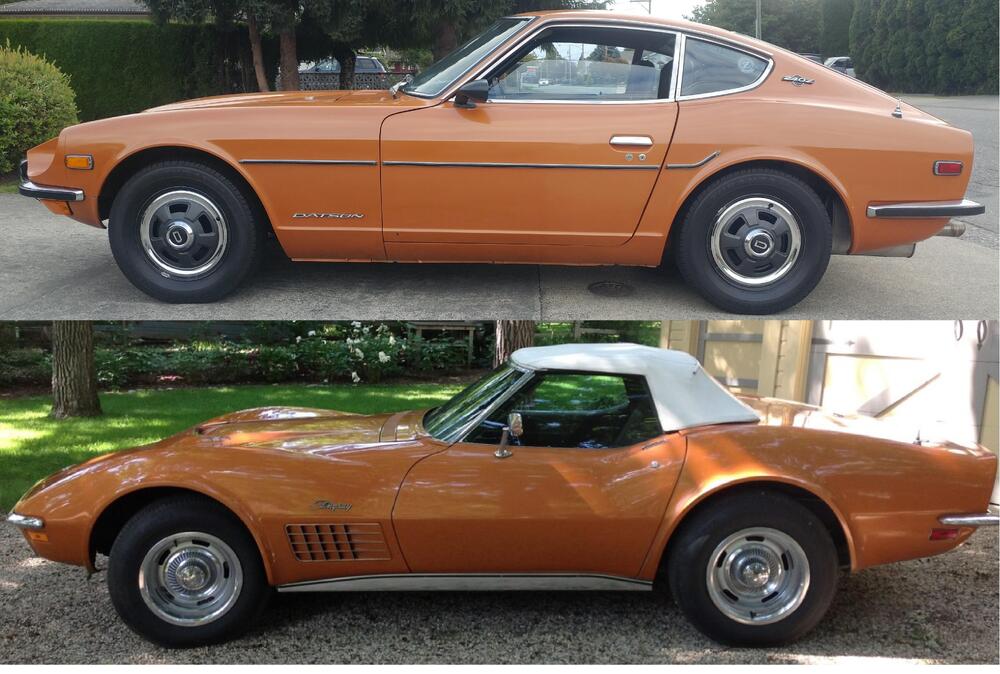
1 pointI like the safari gold theme as well, but if you were including mine it is a repaint in a '71 corvette color, Ontario Orange. Mine is originally 918 orange and will be going back to that color. In the pic of mine you can see the original 918 orange in the engine bay. It is funny how much the front does look like Safari Gold. Here's a Ontario Orange comparison pic with my repaint and an OE corvette, it was close but not perfect.
 1 point
 -
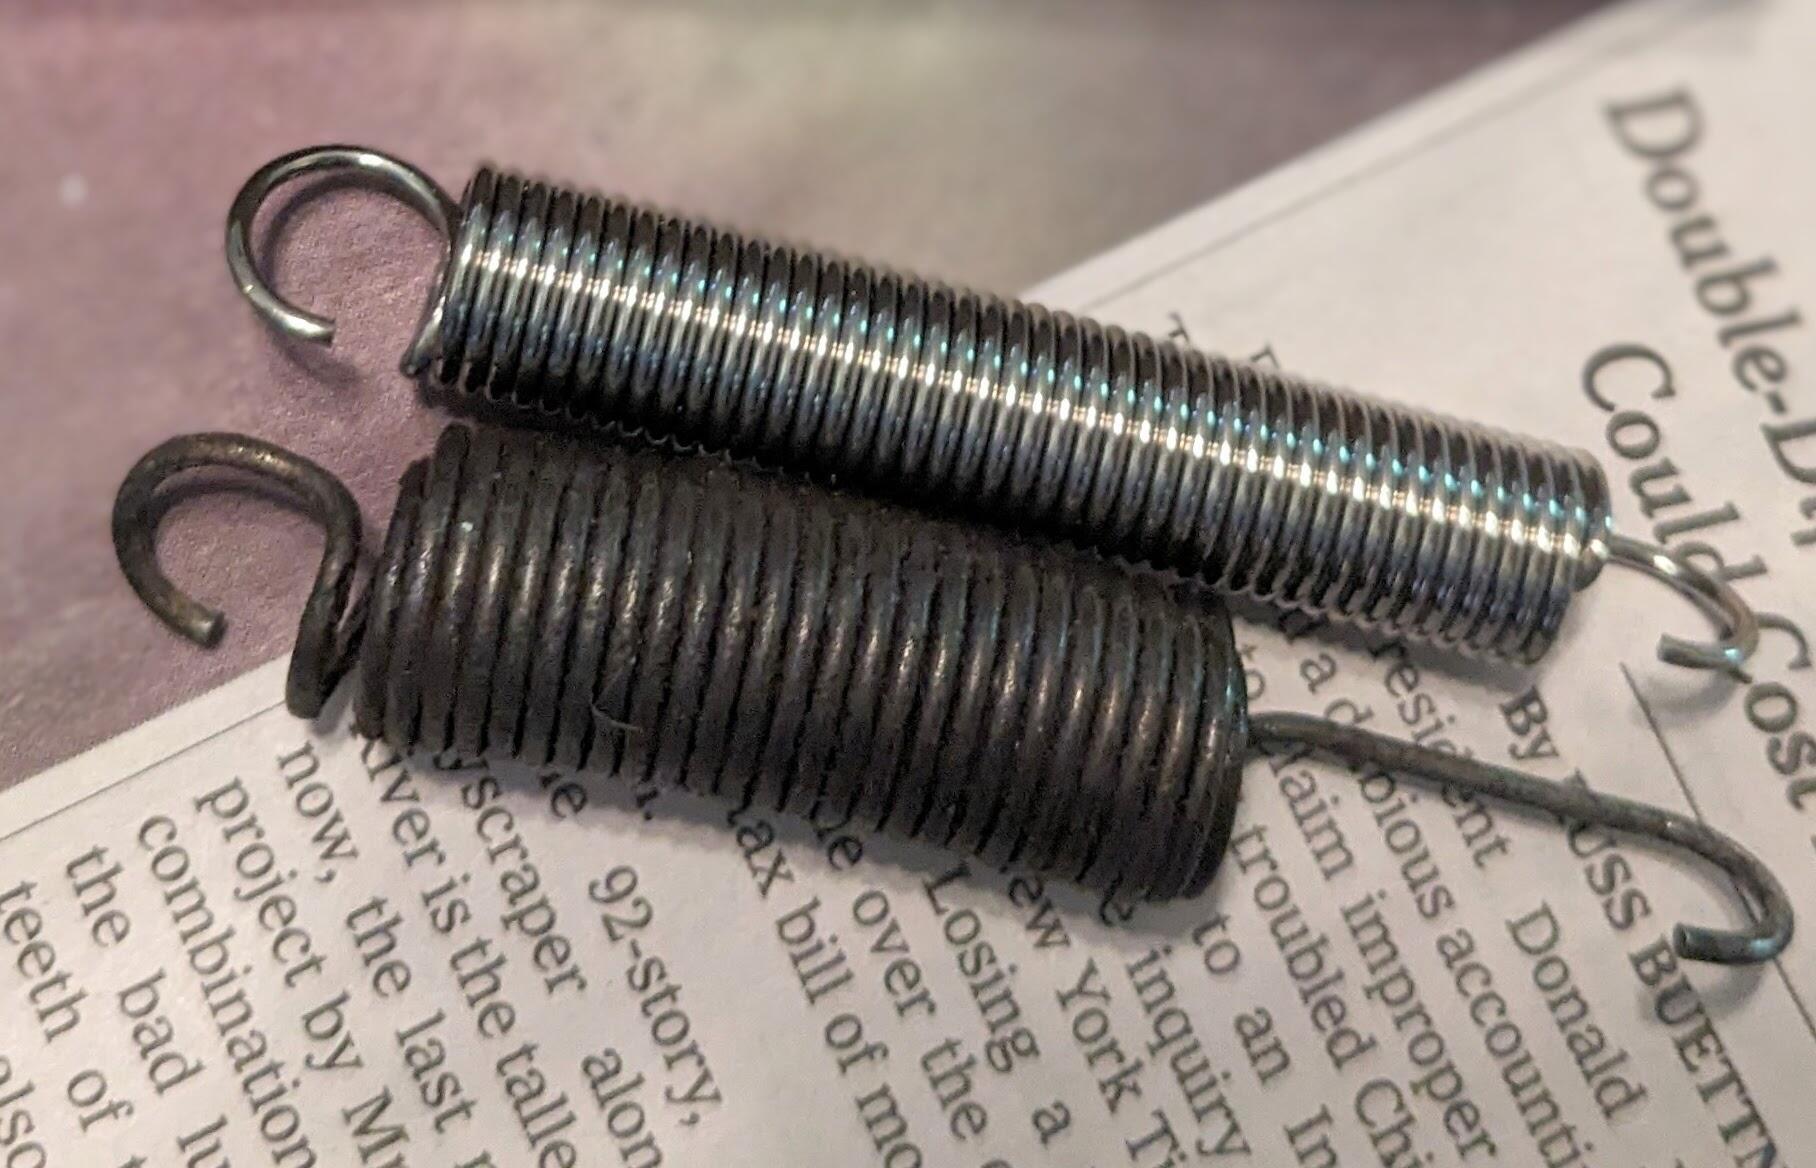
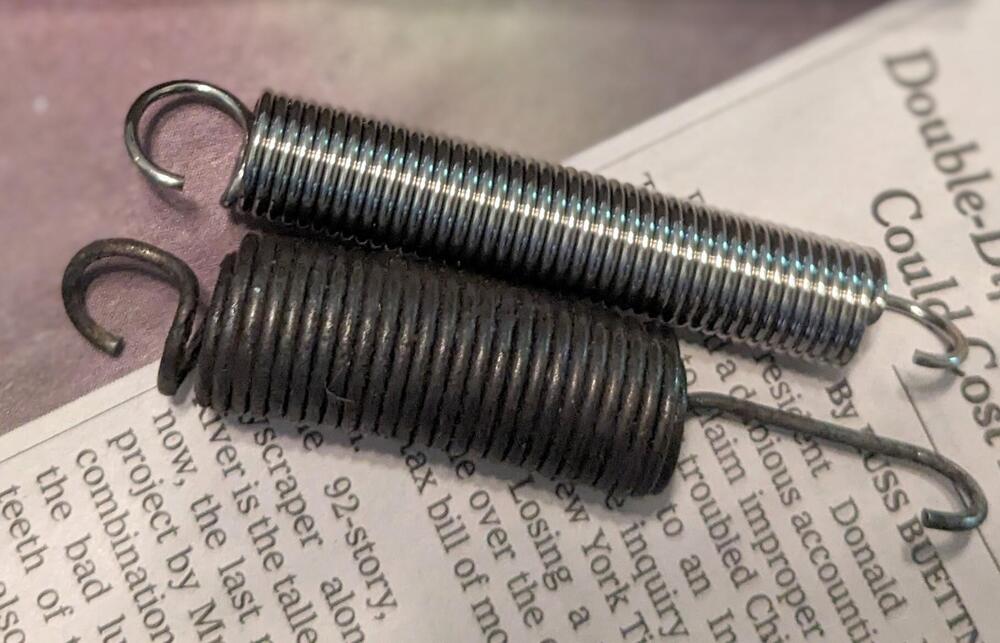
Btw: If the wire diameter, spring diameter and materials are the same, the spring with the less coils (green circle) will be a lot stronger, but will have less travel. Based on the law of Hooke. Hookes law: F = kx (F is force, k is spring constant and x is distance travelled.) Wire diameter: When the wire diameter increases, the spring constant also increases. A thicker wire ensures that the spring constant becomes stronger and is even more difficult to deflect. Spring diameter: An increase in the spring diameter will lead to a decrease in the spring constant. Number of turns in the spring: The higher the number of turns, the lower the spring constant. It would have been interesting to test the springs with a weight to determine the k factors.0 points