Leaderboard

 Subscriber

.JPG.cfcada9cf1c1b502df3f5f2f2ca3ff36.JPG)


Popular Content
Showing content with the highest reputation on 02/18/2024 in all areas
-
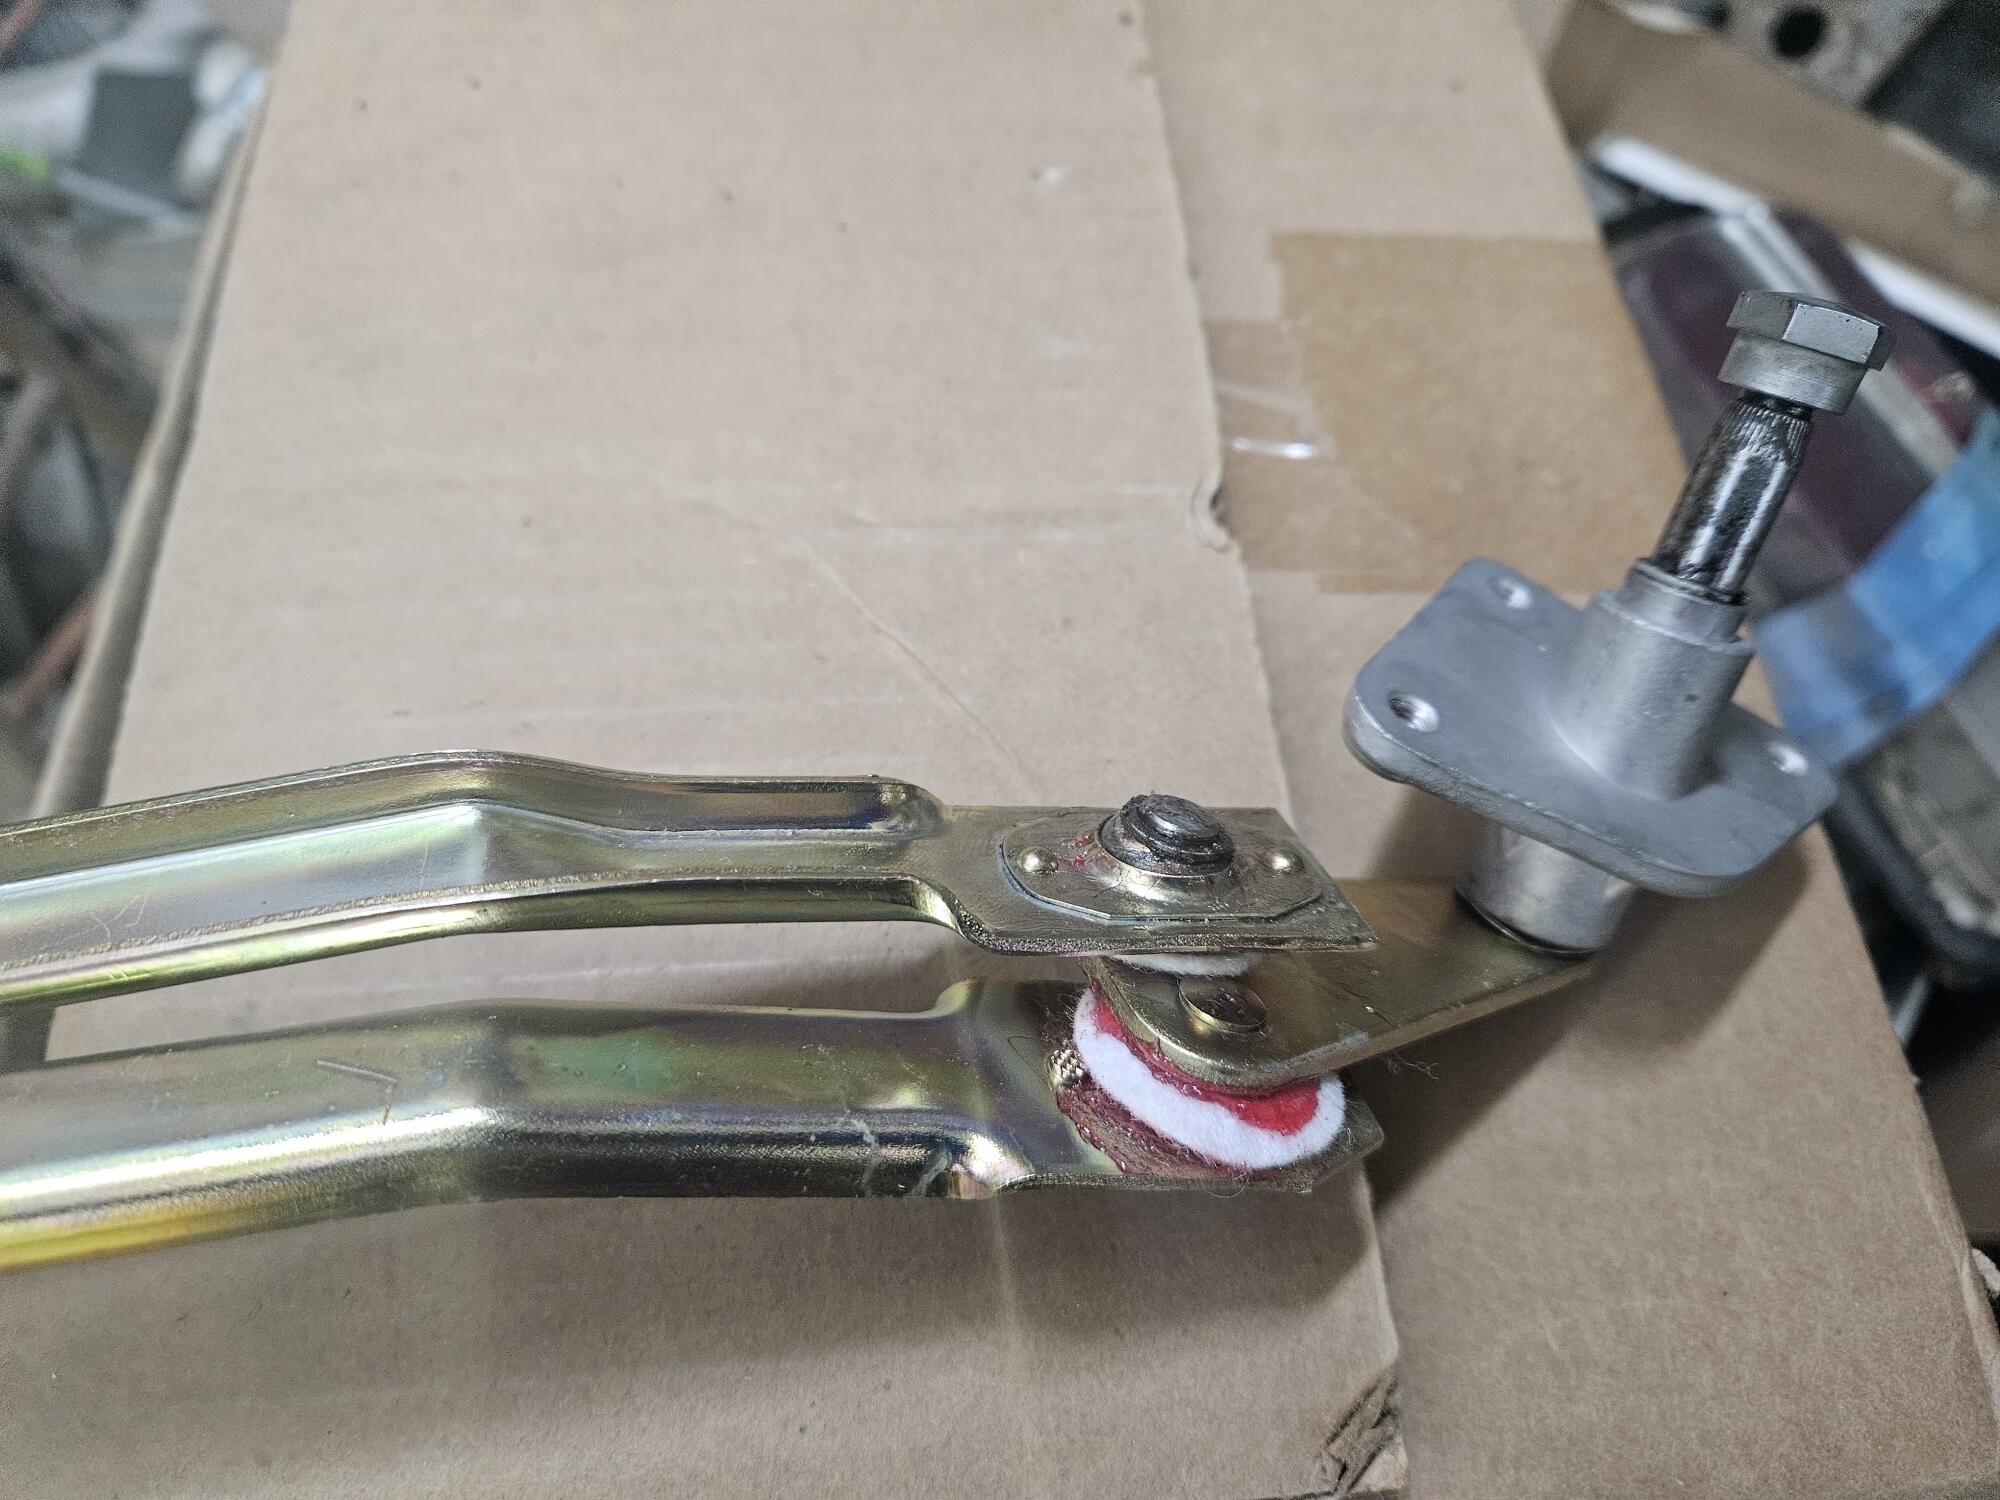
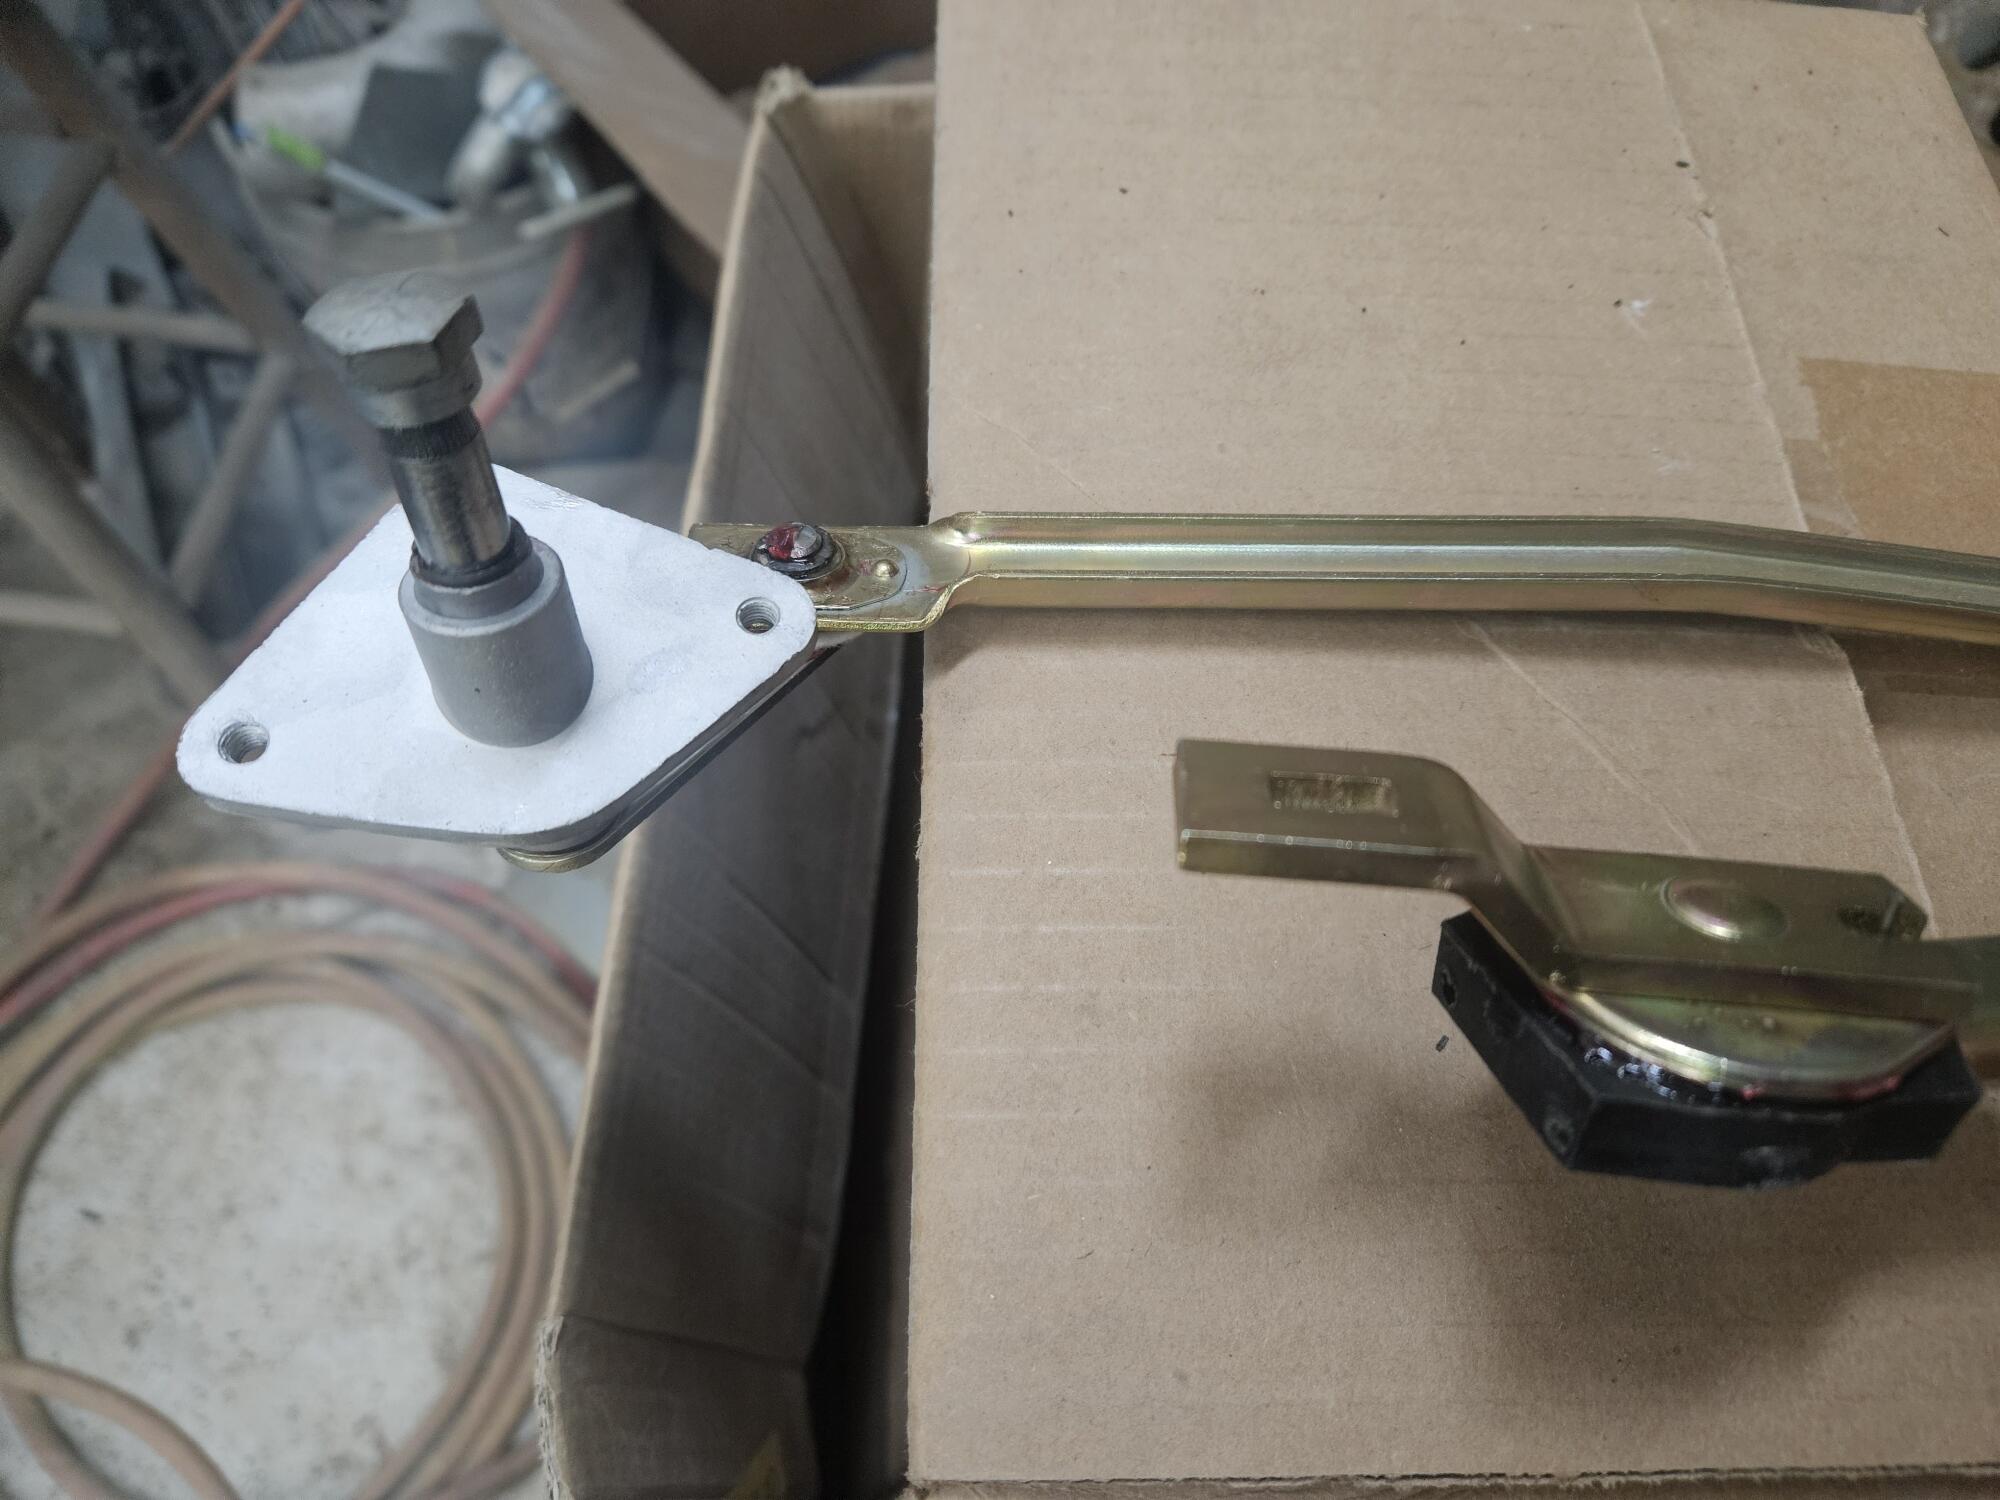
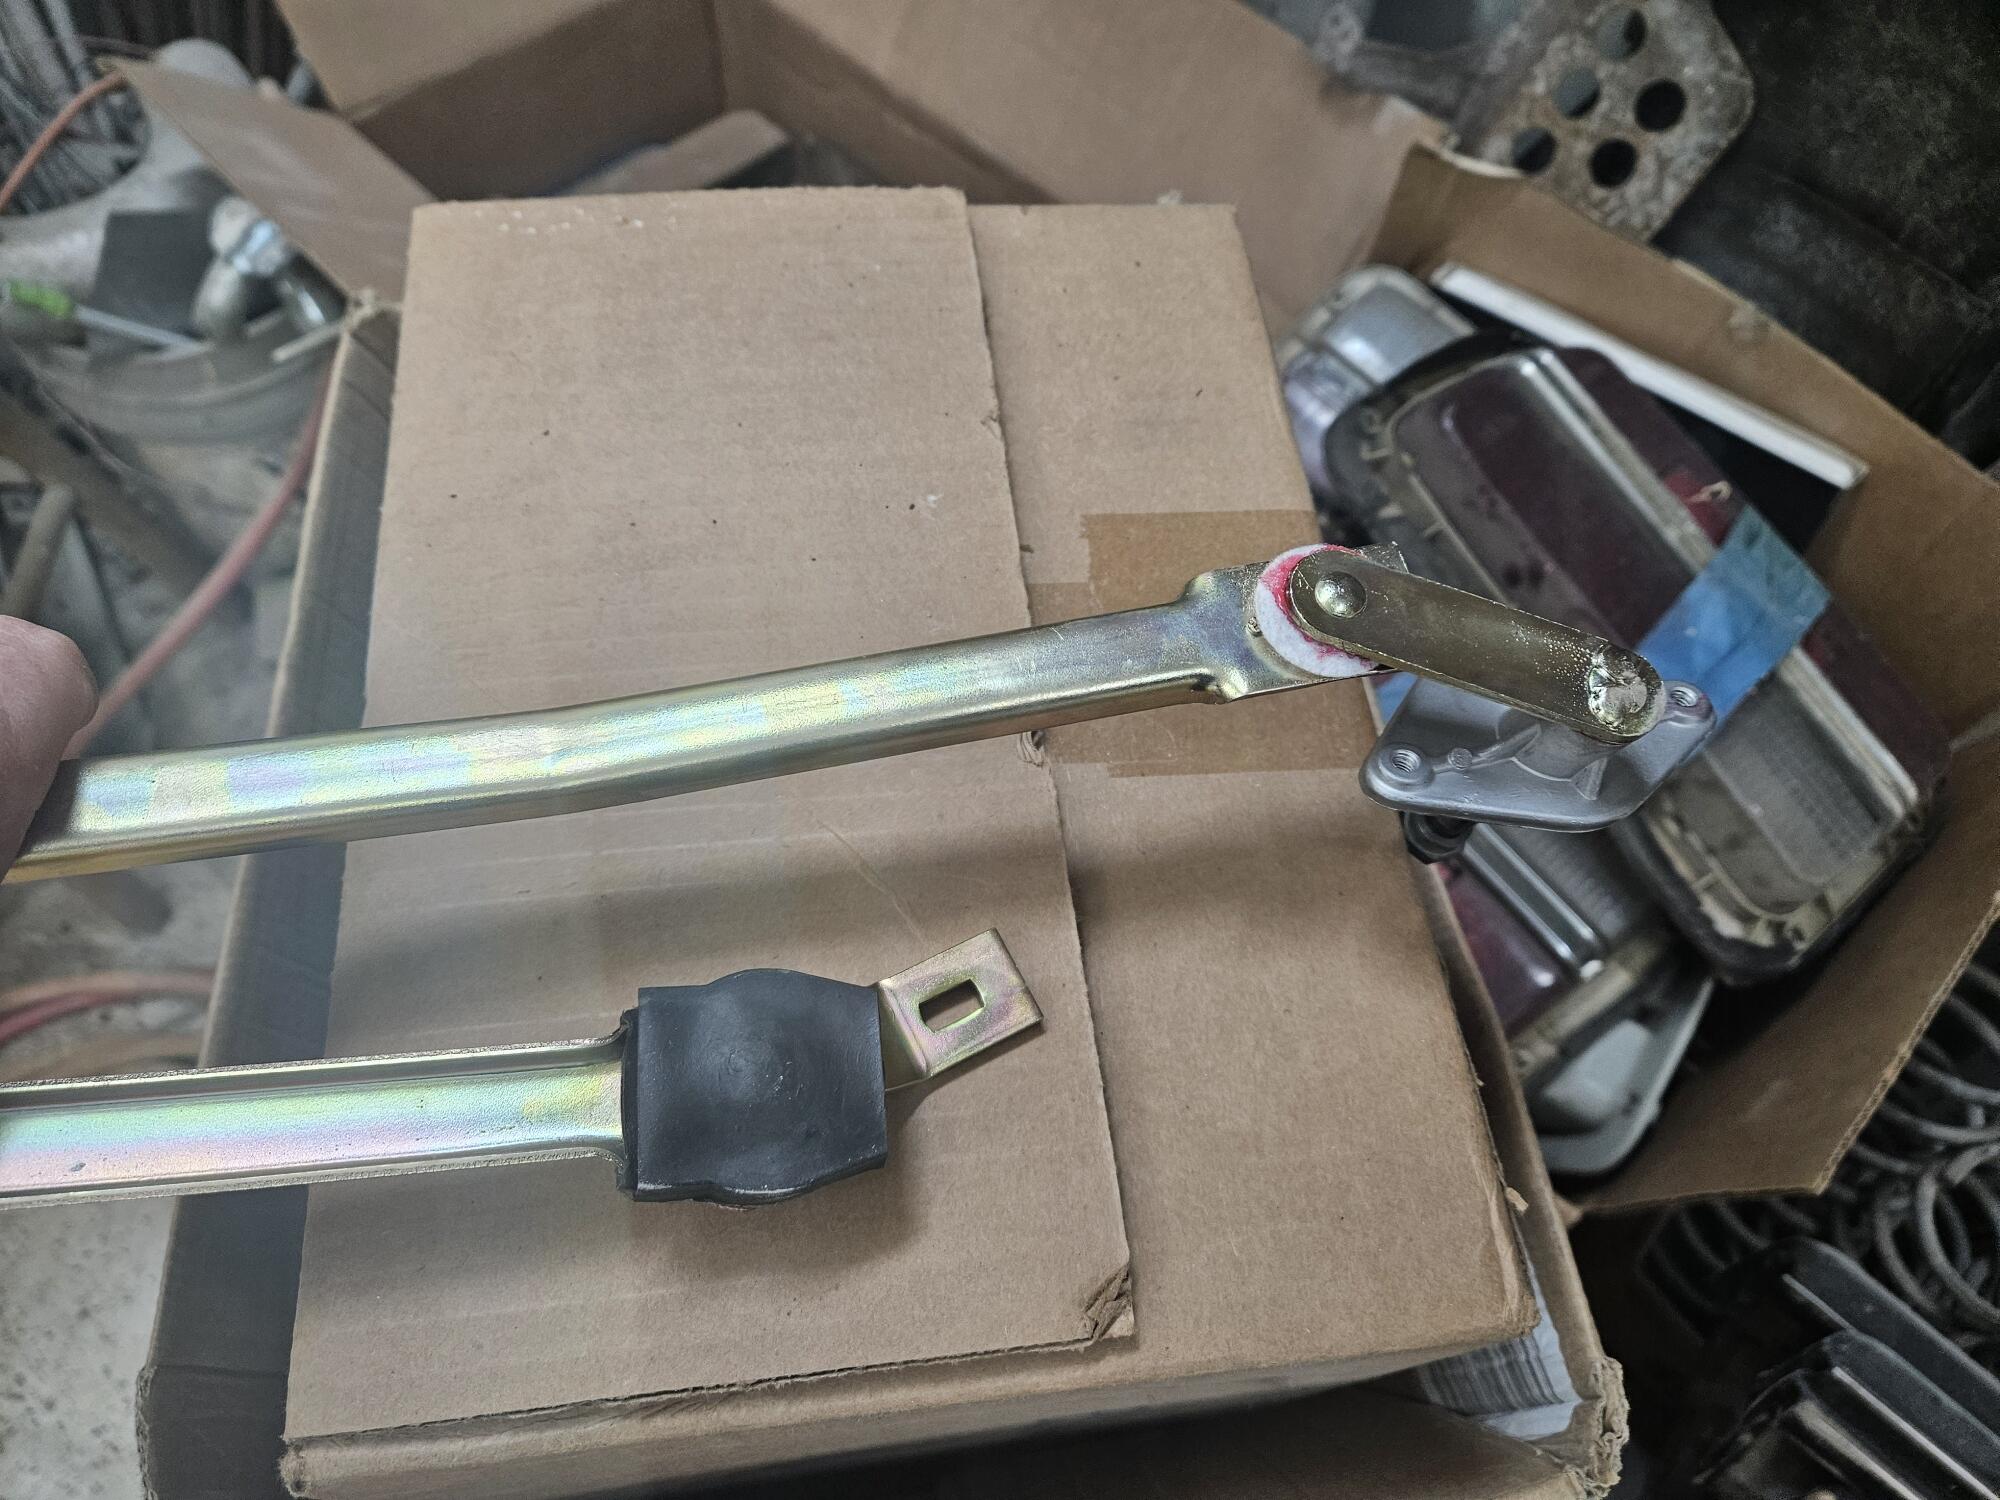
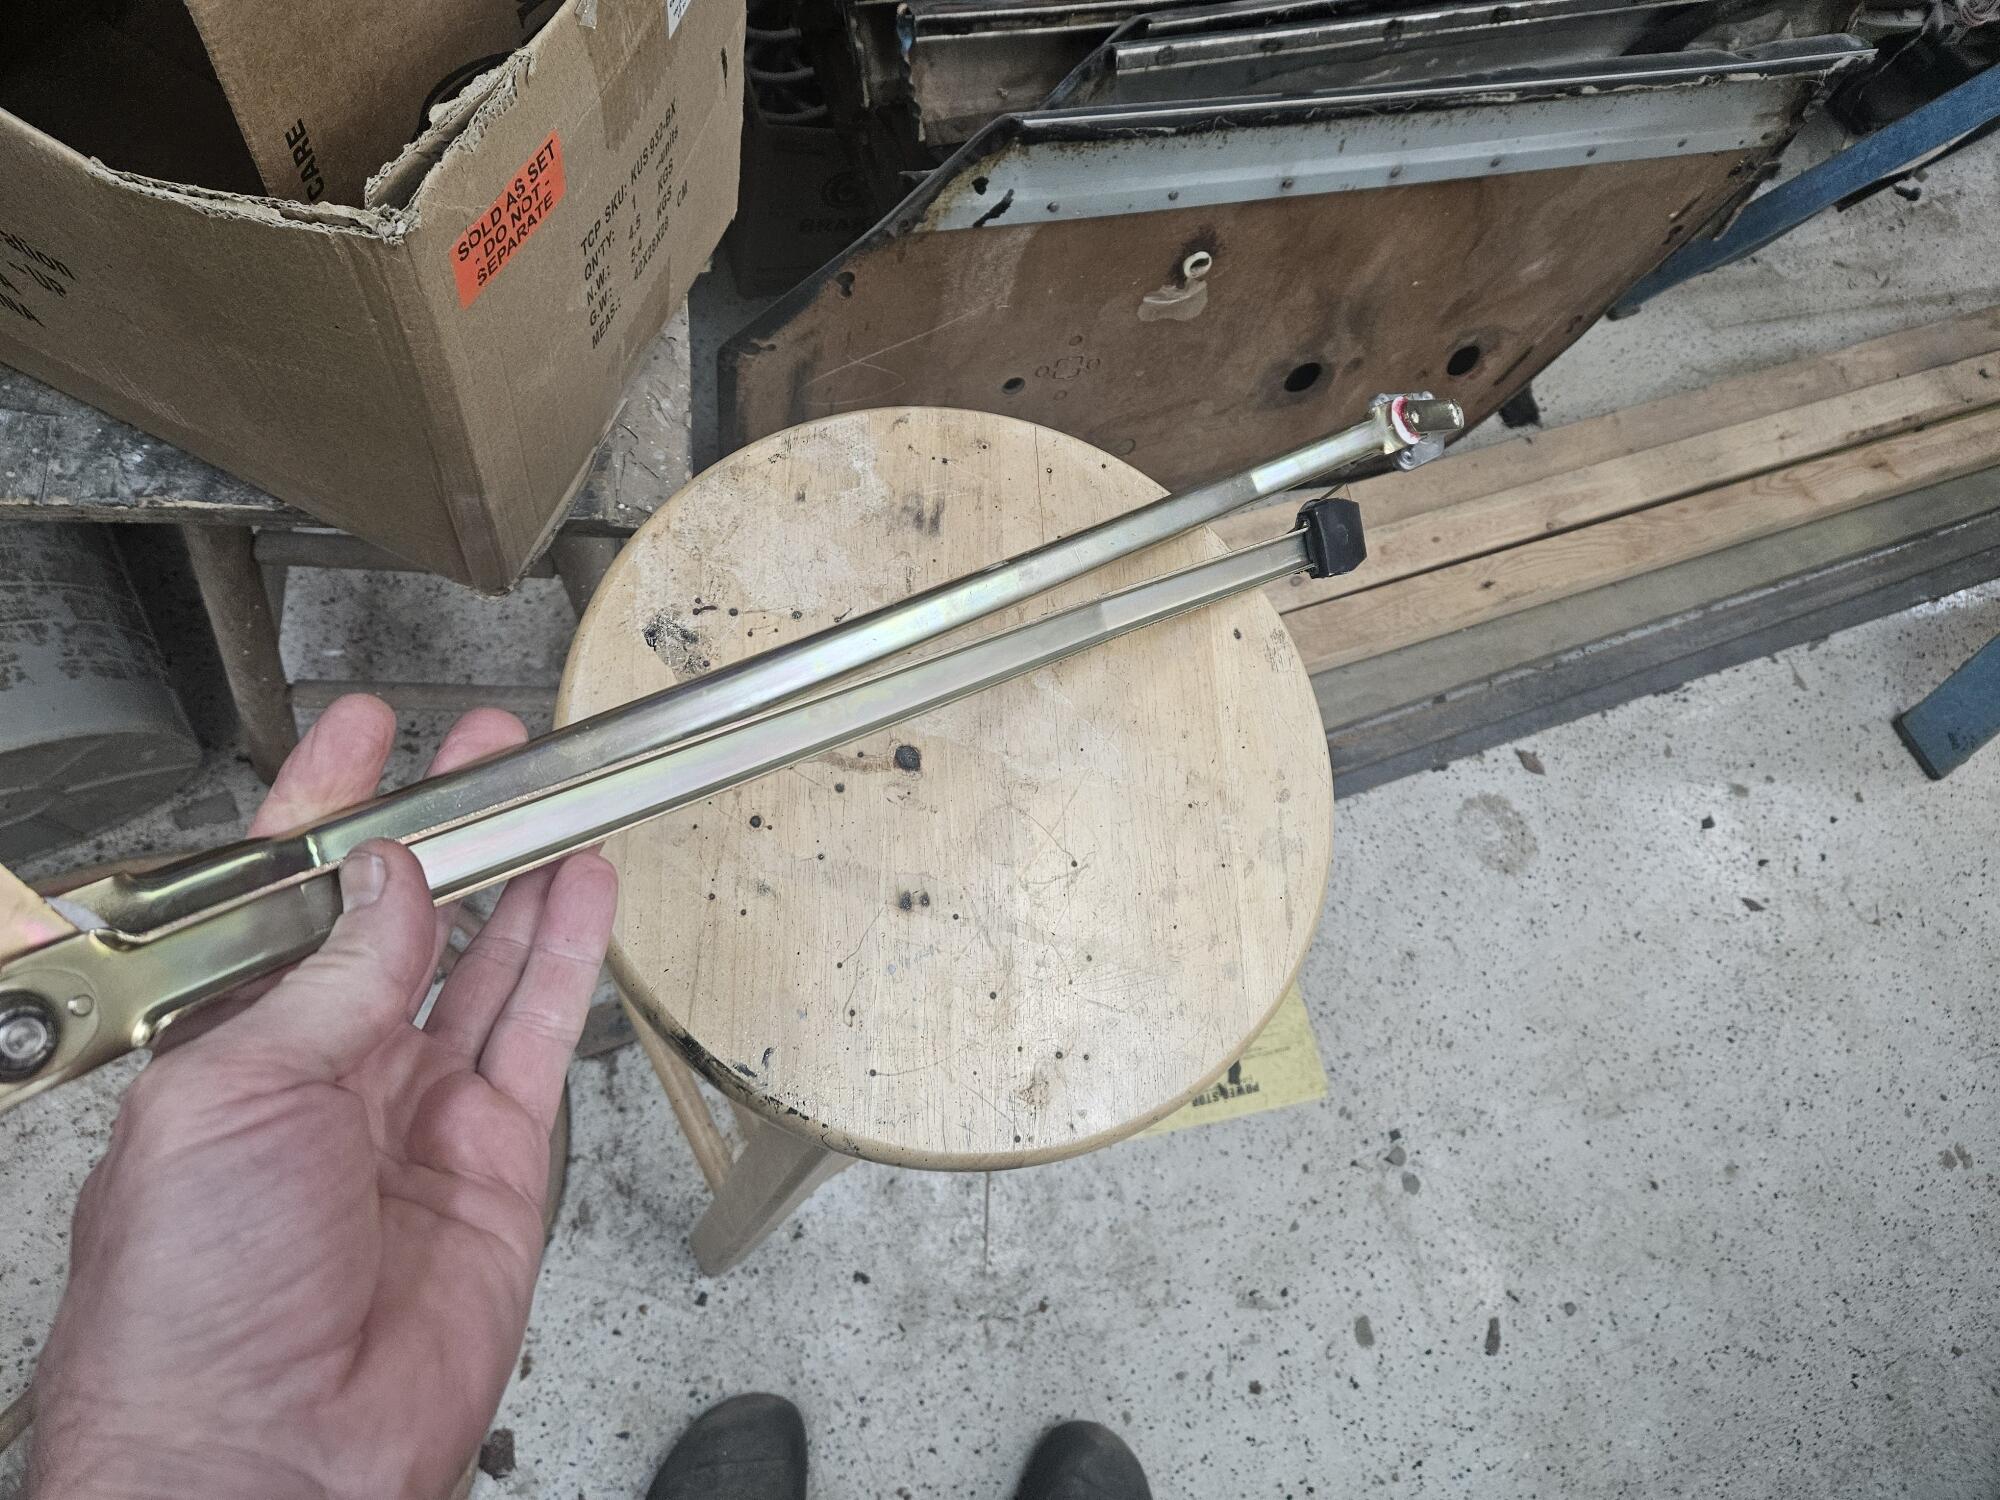
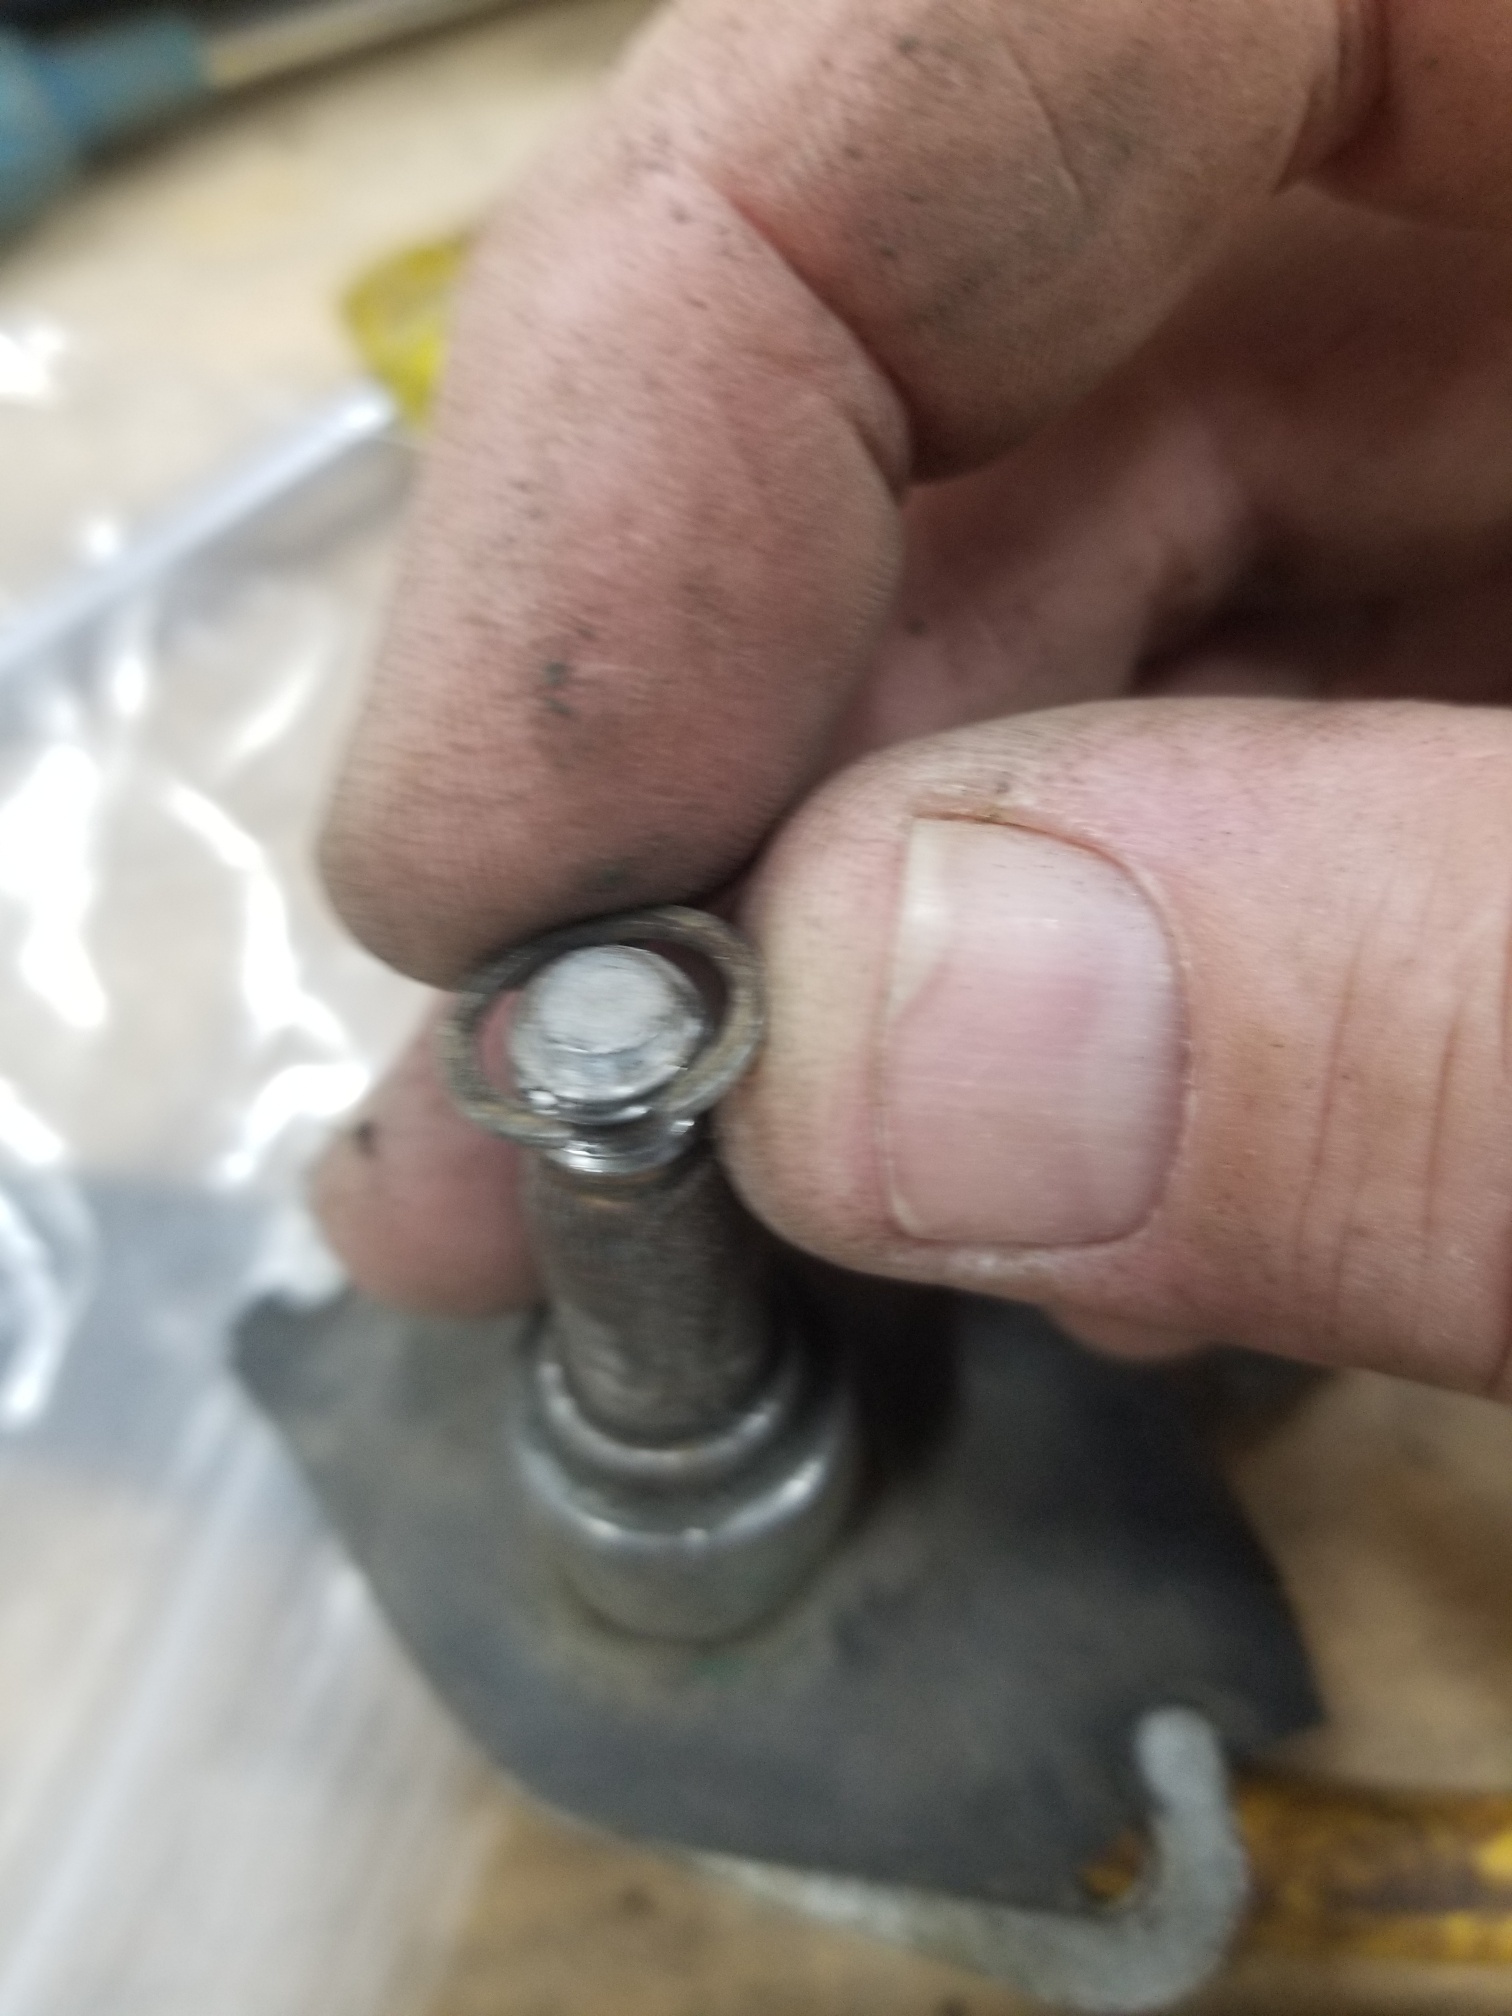
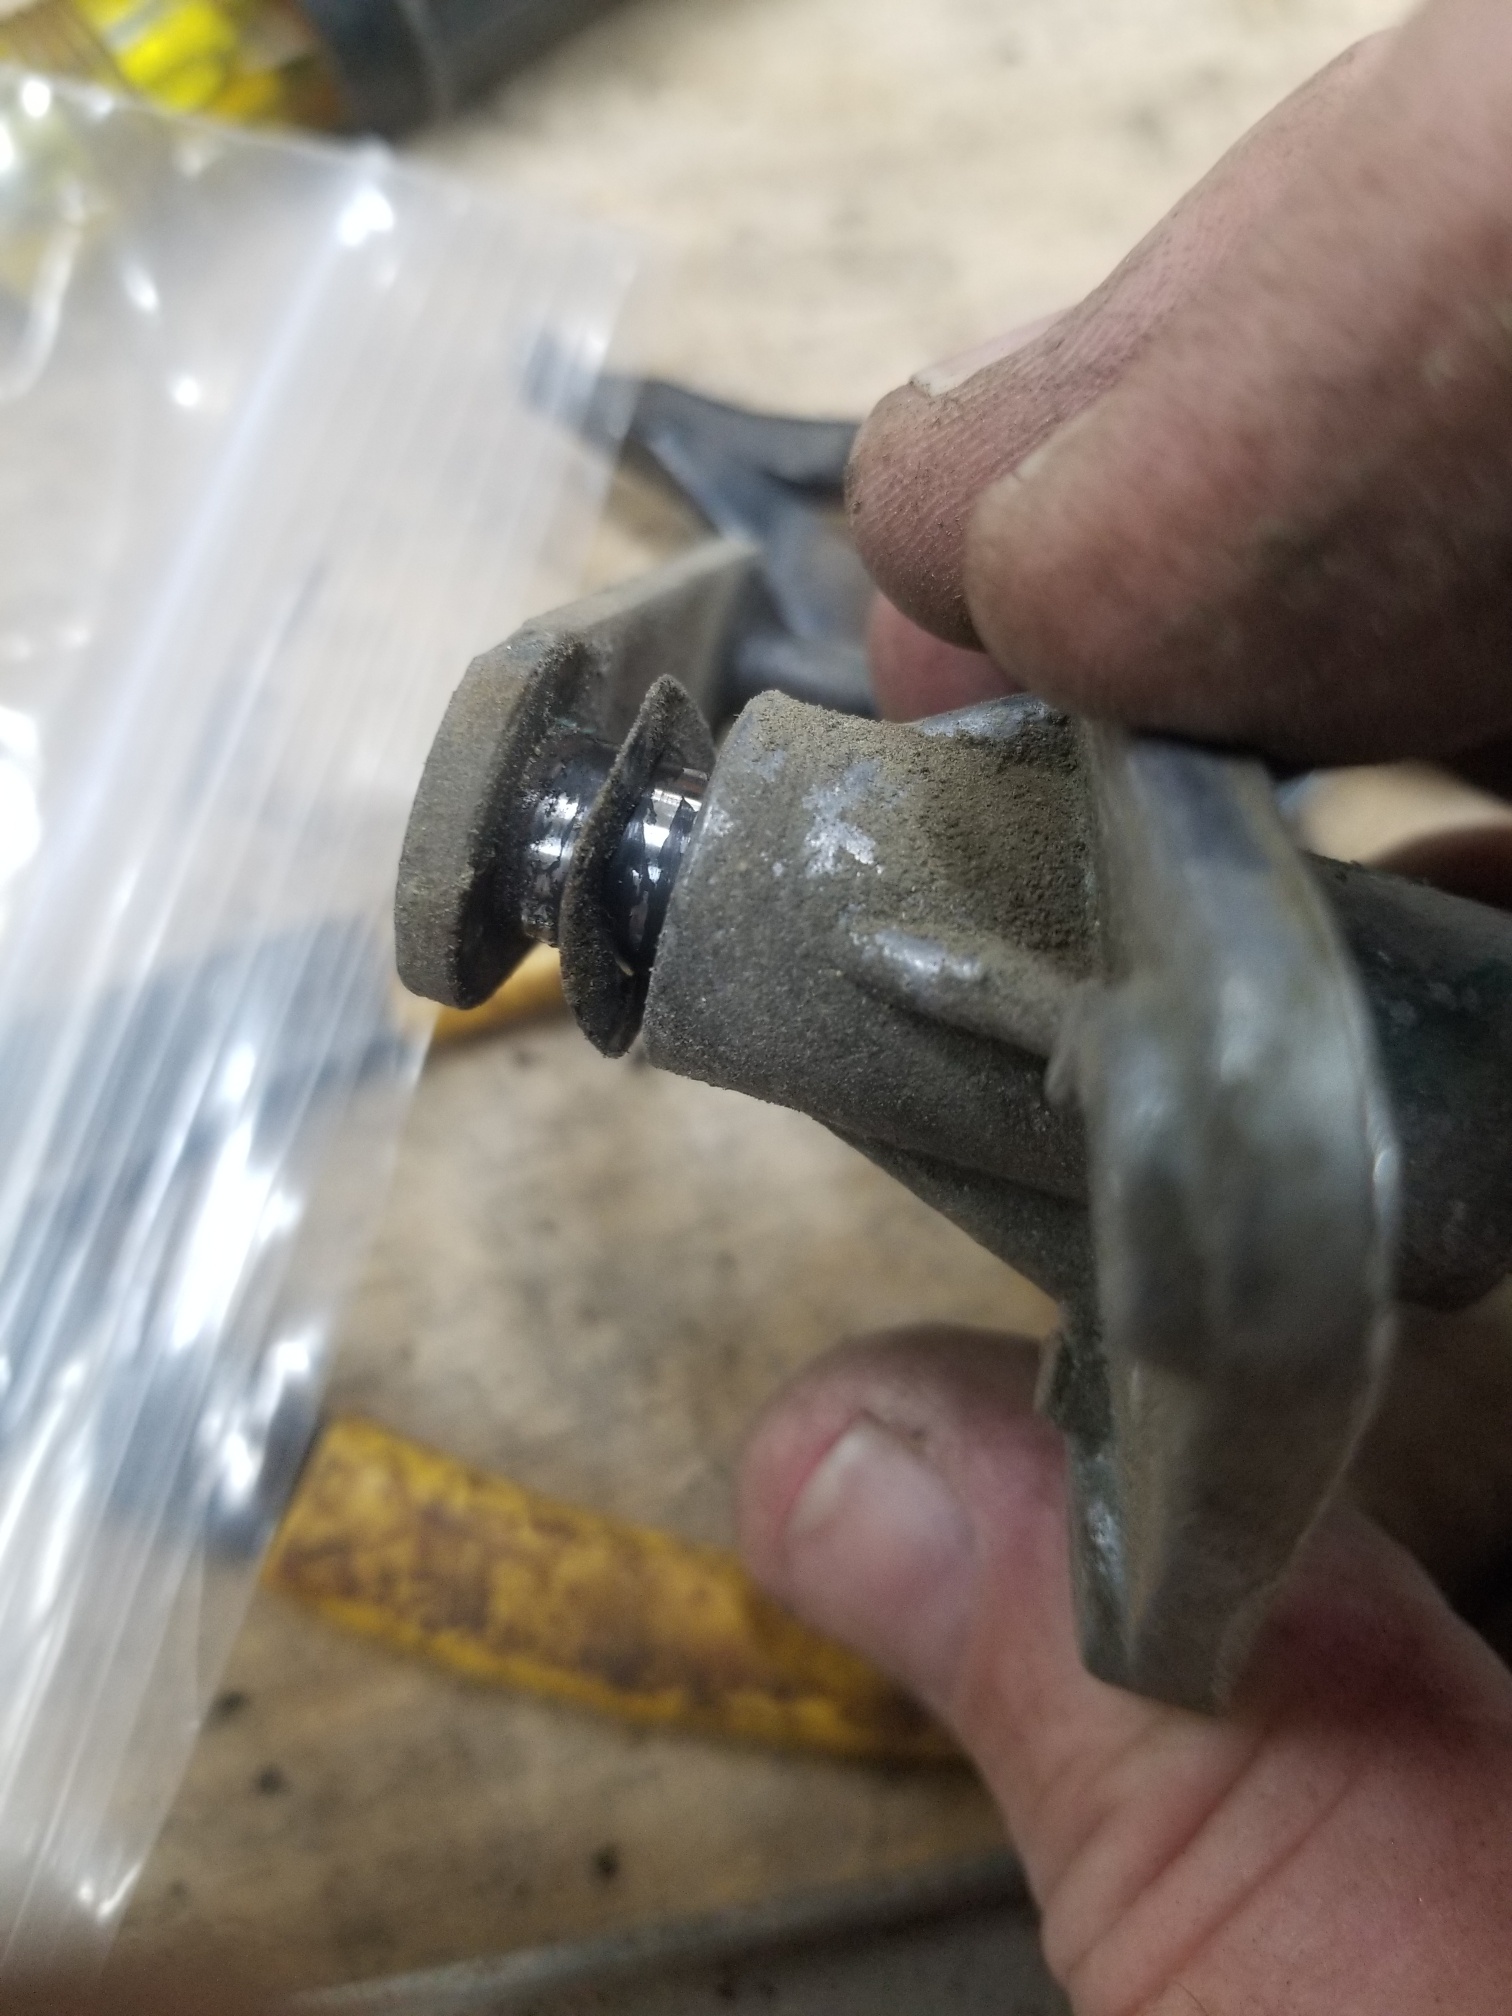
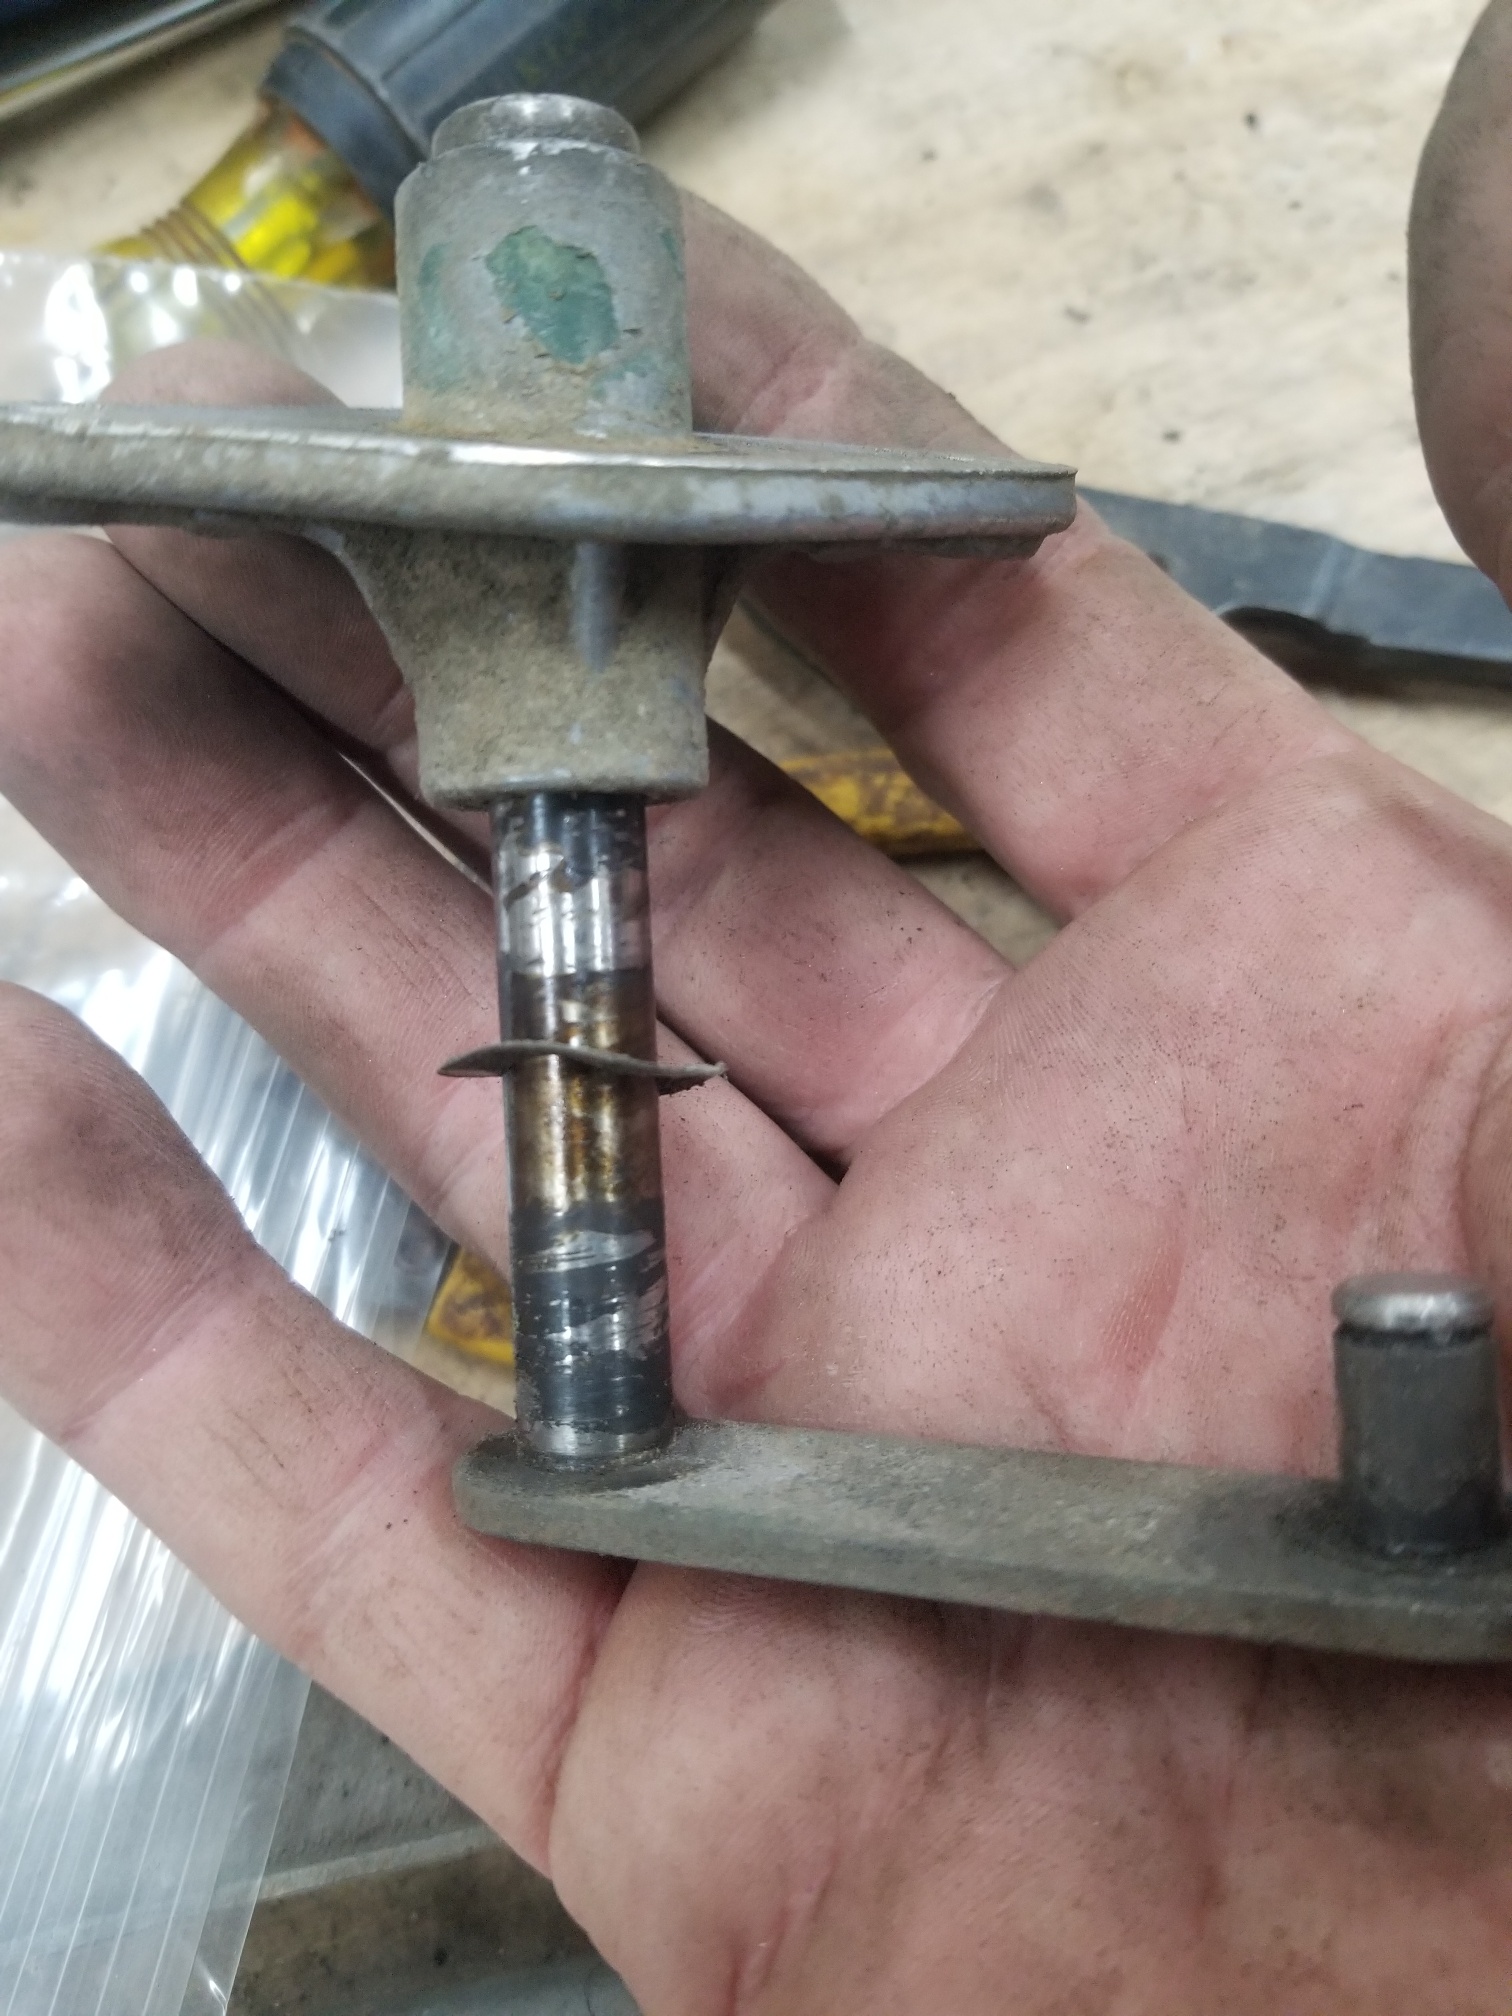
6 pointsI got back the plating a few months ago and assembled 3 separate wiper transmission today. One is really good, one is ok and one is serviceable but not great. I bought a box of little felts from Amazon that somebody had linked too. I didn't enlarge the ID like what came off. I figured that would happen on it's own if needed. I also bought an assortment of: Metric 15-Sizes Round Wire C-Clips External Retaining Rings Assortment Kit;Round Wire Snap Rings for Shaft(Black 5mm-28mm) I used the 10mm ones on the worst transmission but the factory rings are almost 1mm wire and the replacements are much thinner. I someone needs to source some, I would look for 10mm Dia with a 1mm wire size. Assembly was the reverse of disassembly so I didn't document that. I did grease up the ends pretty well and used new rubber from 240zrubberparts.com


 6 points
 -
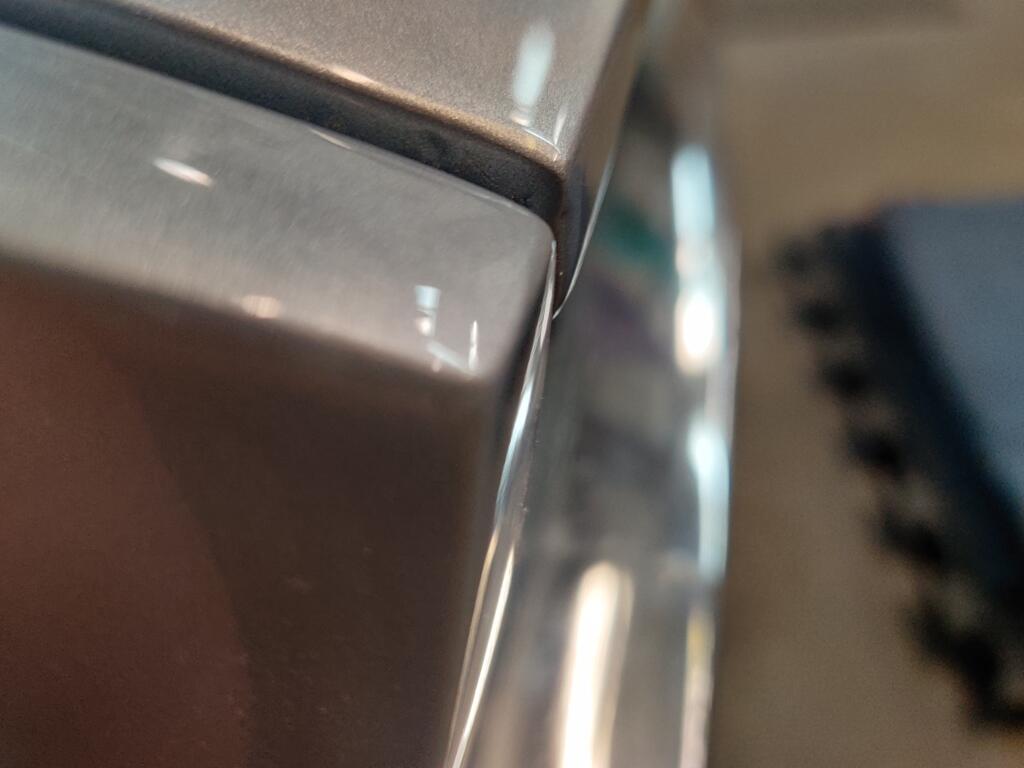
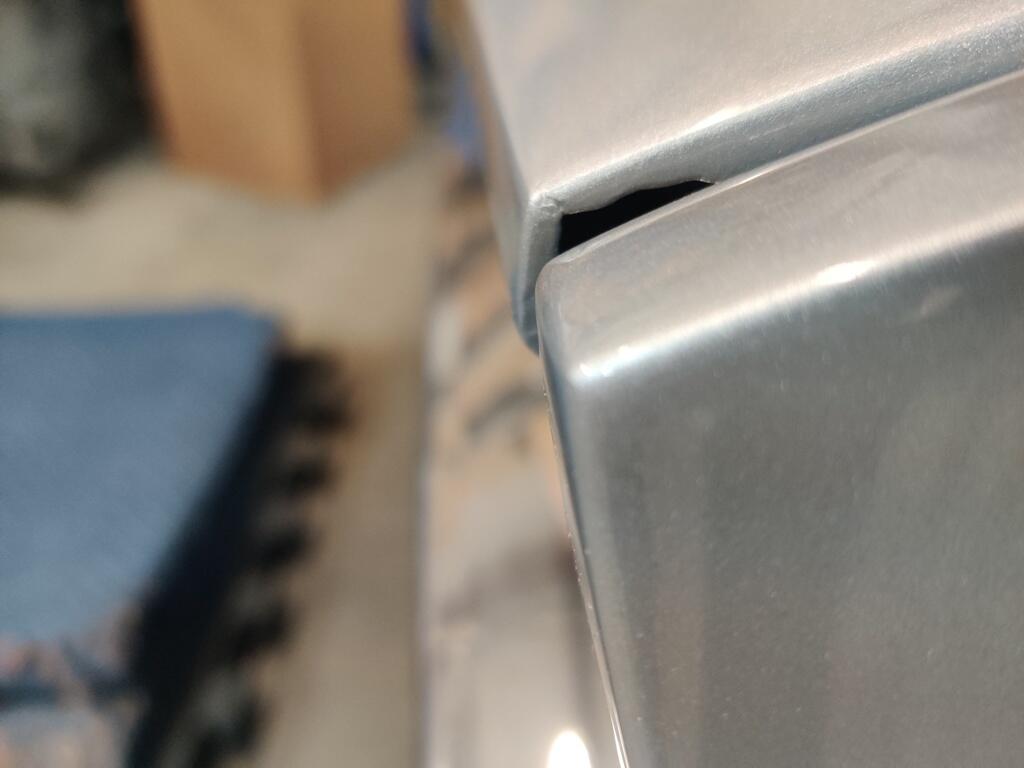
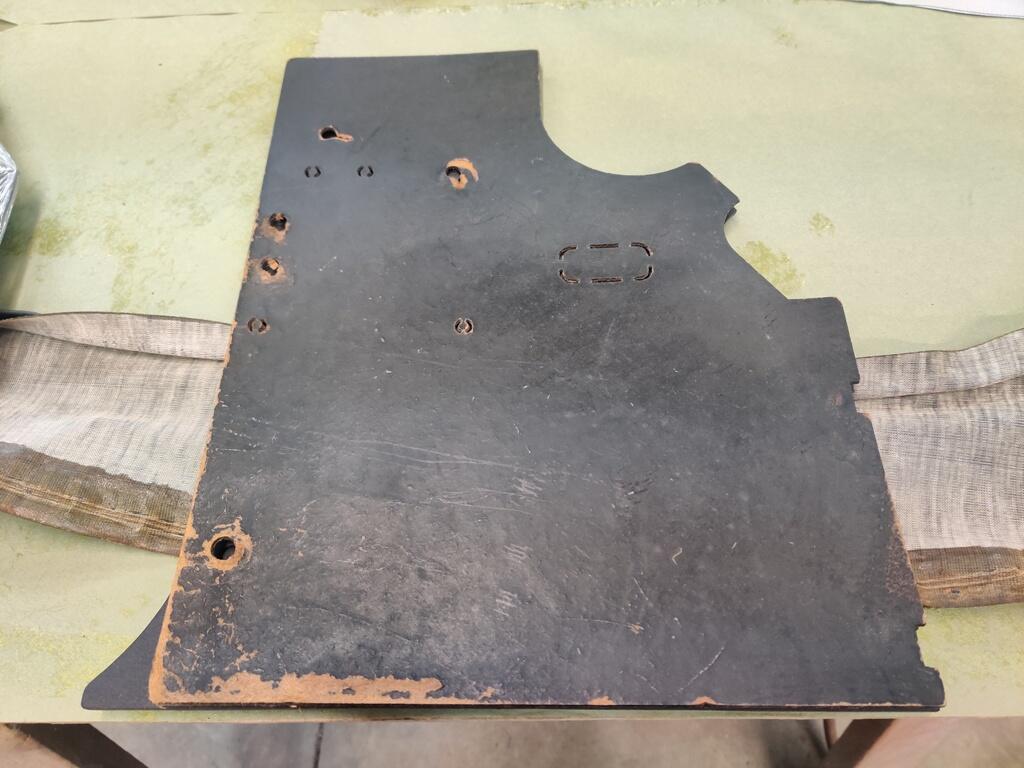
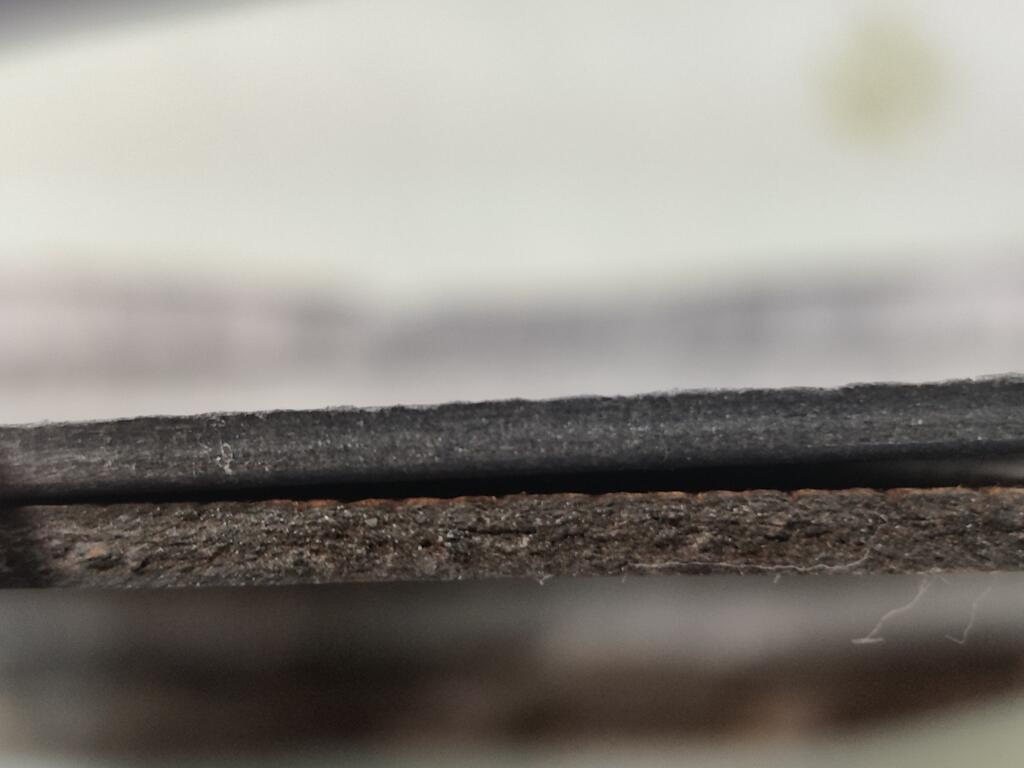
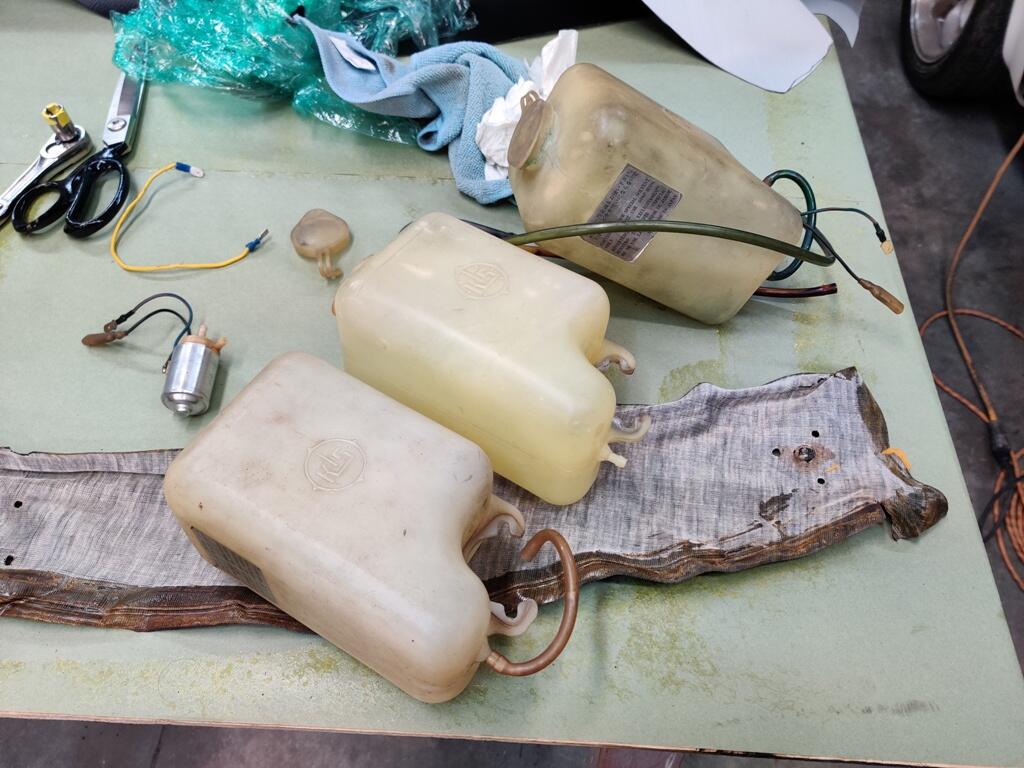
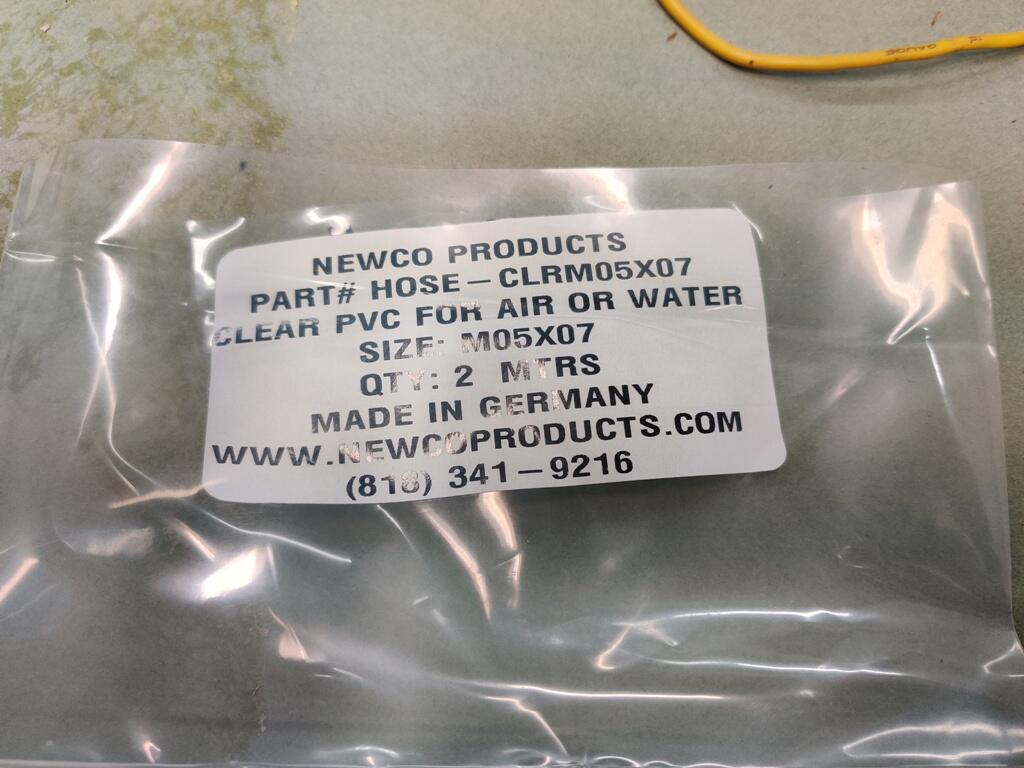
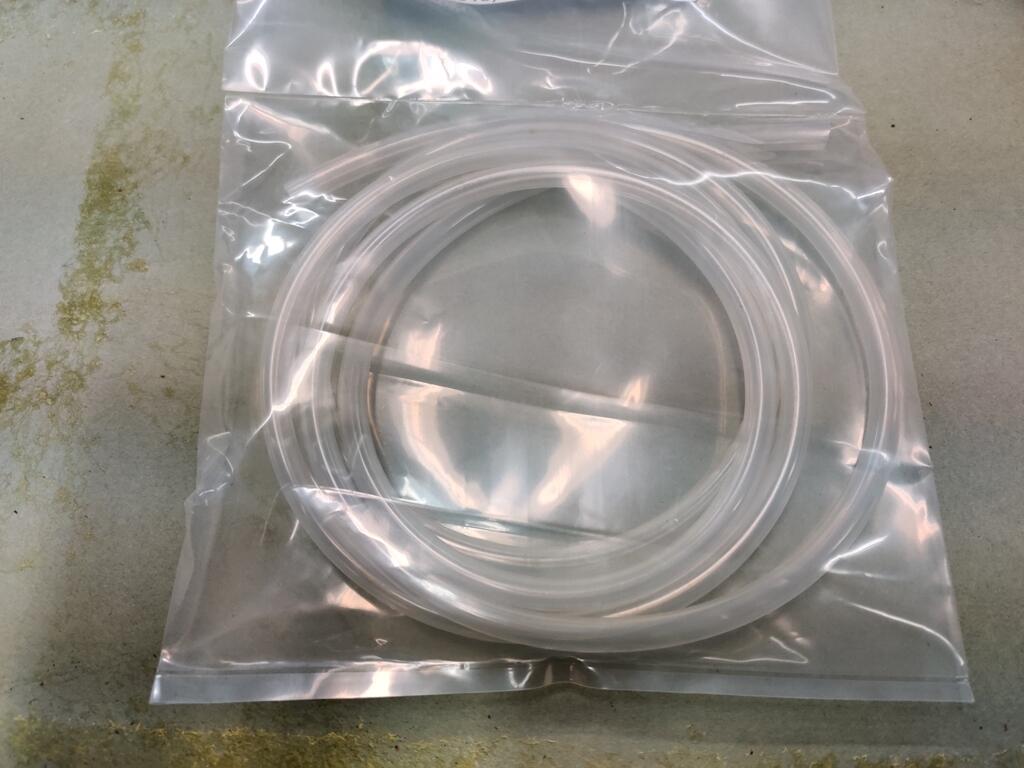
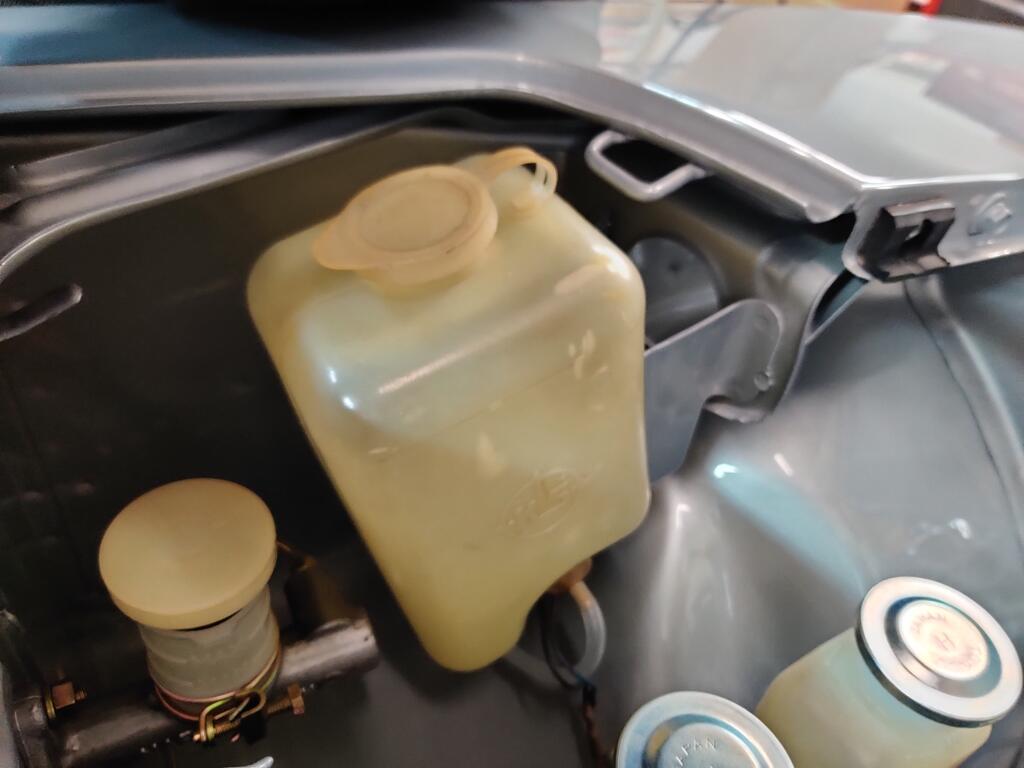
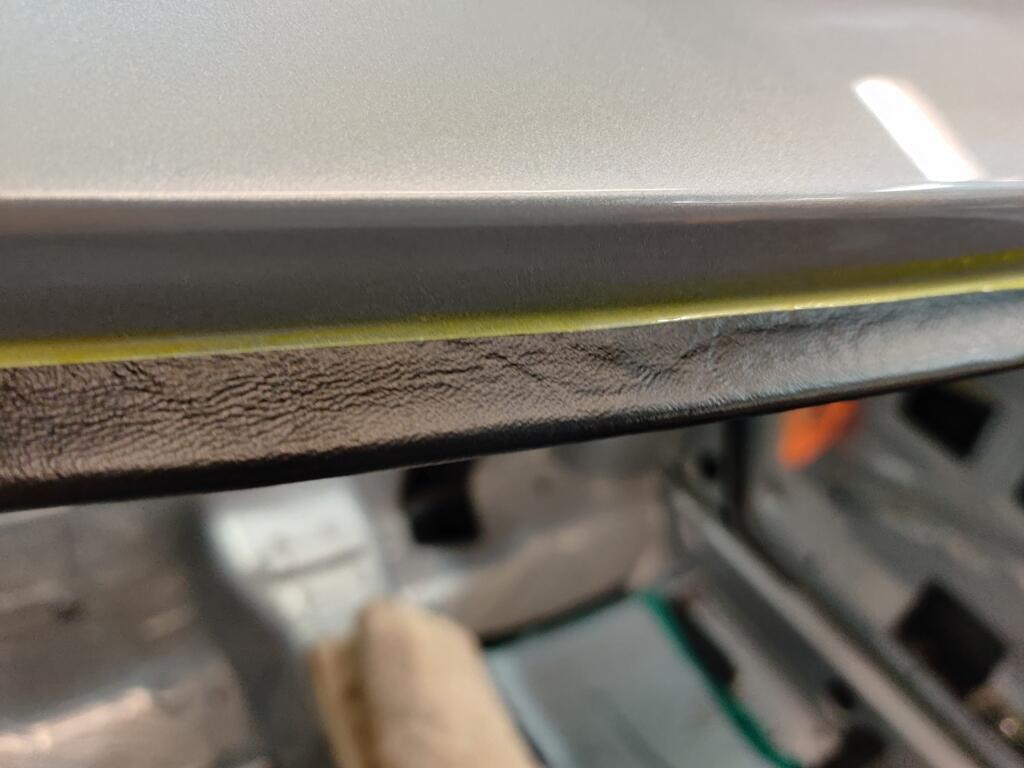
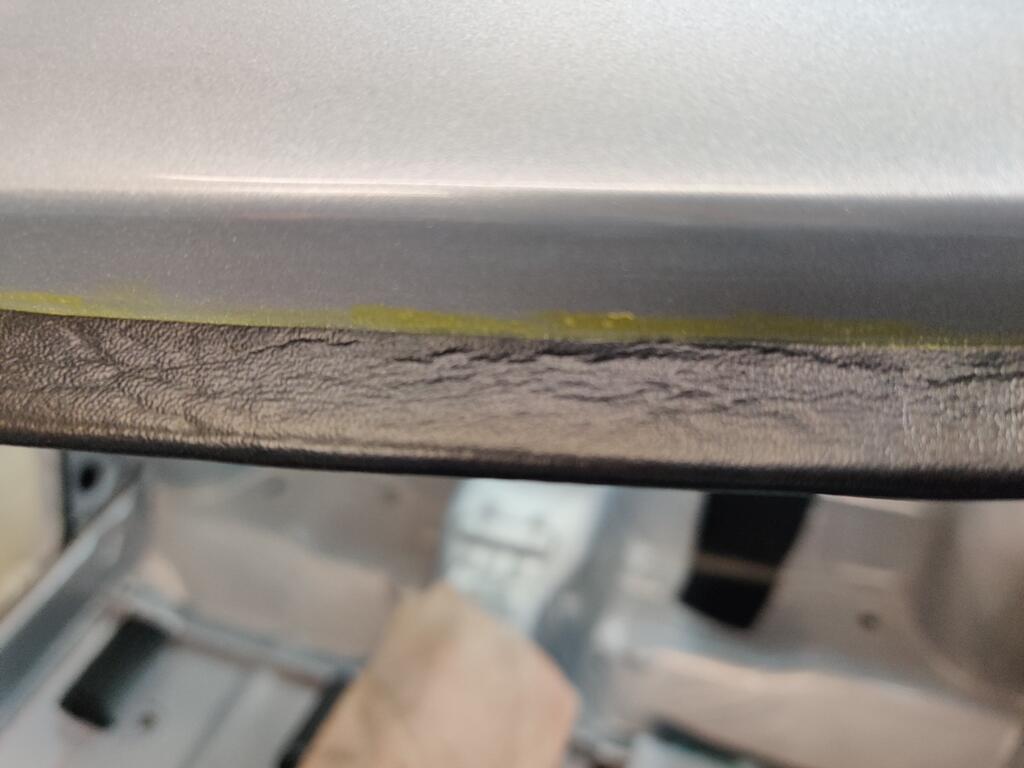
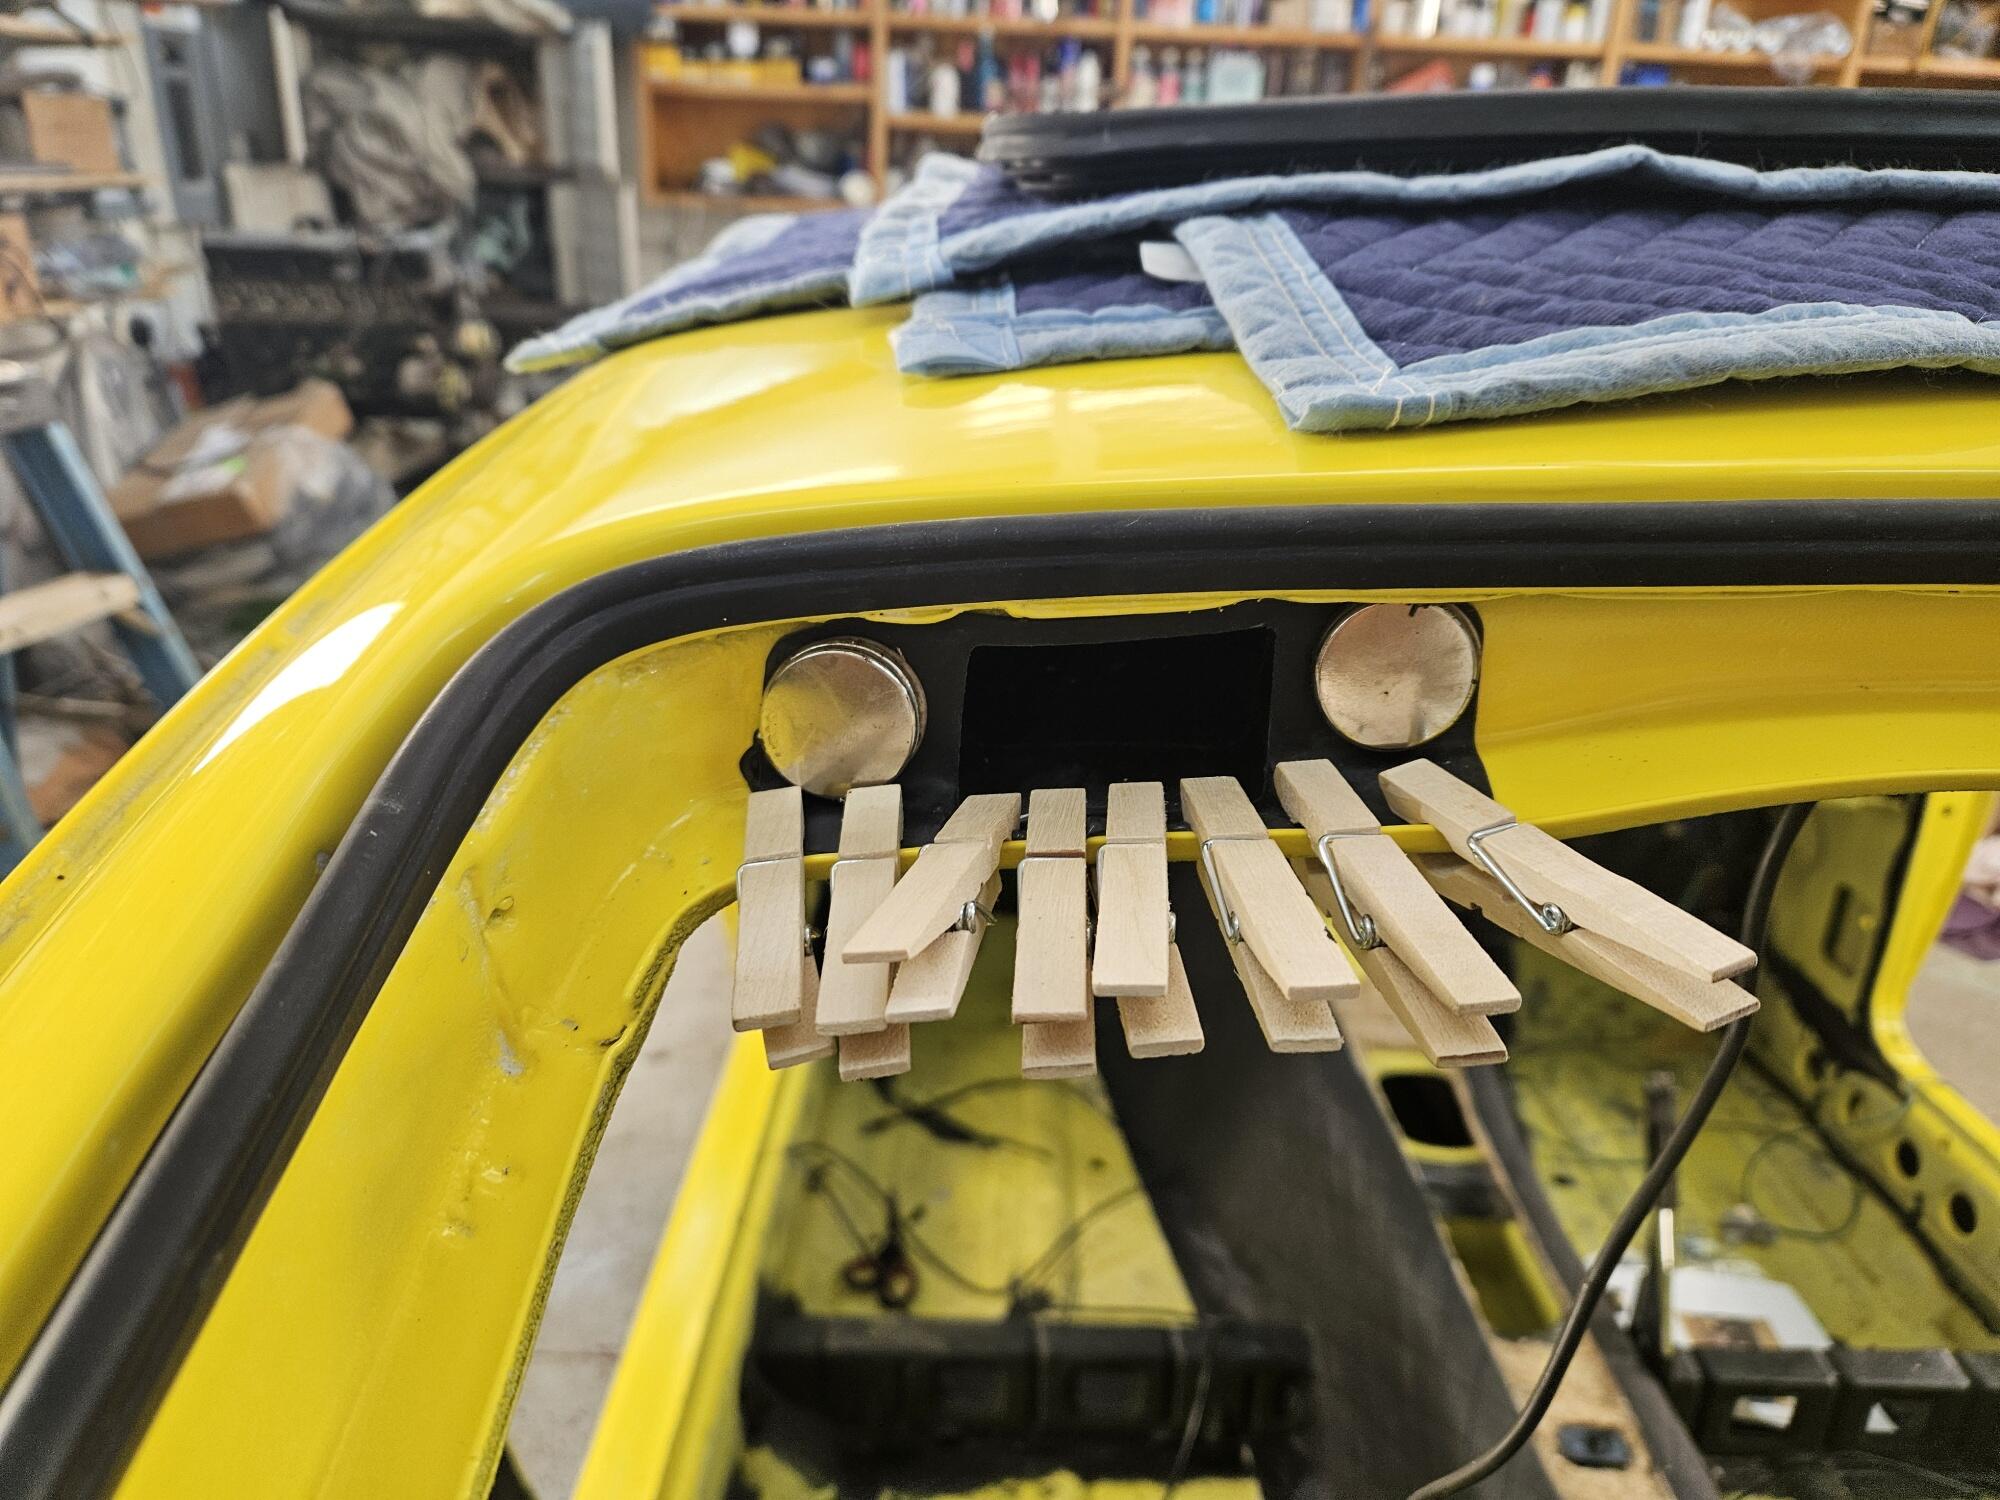
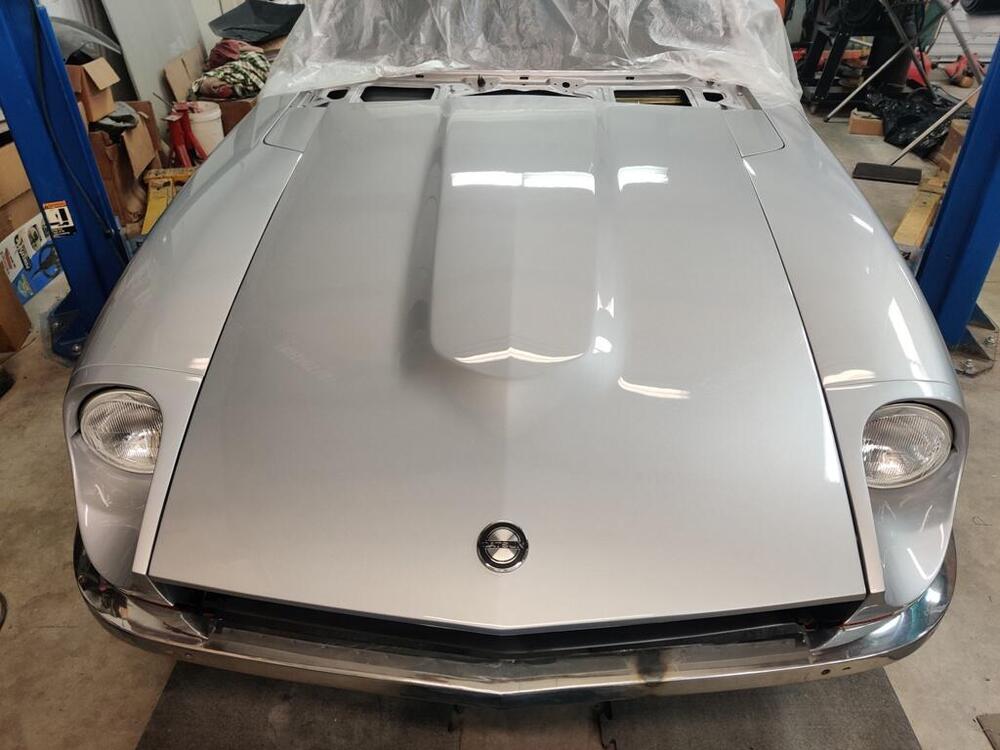
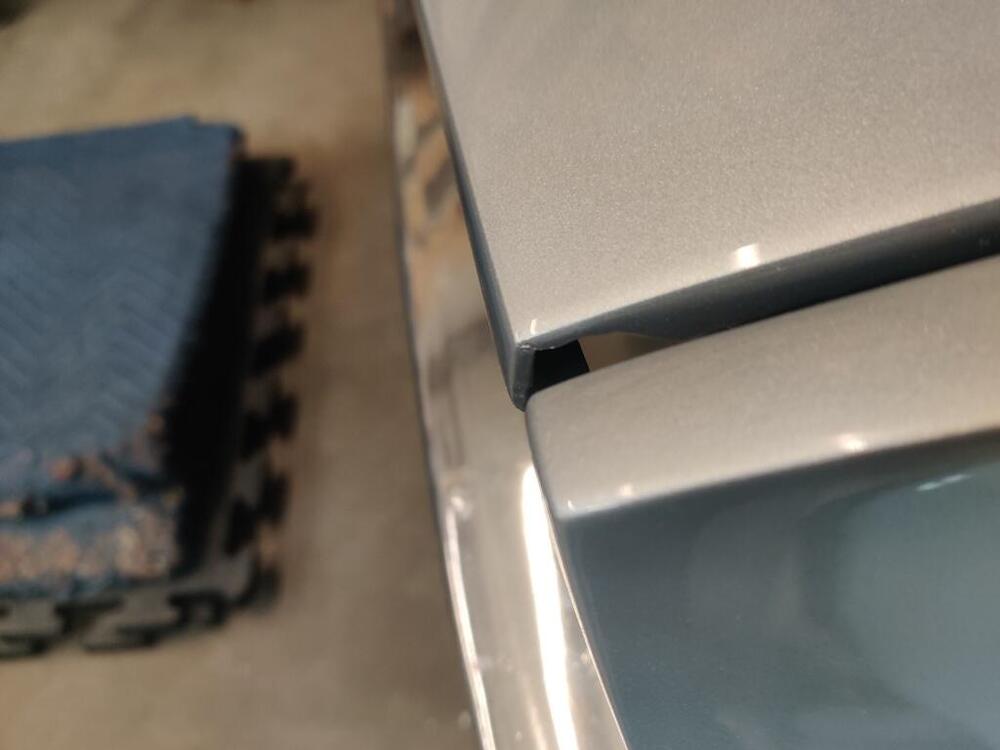
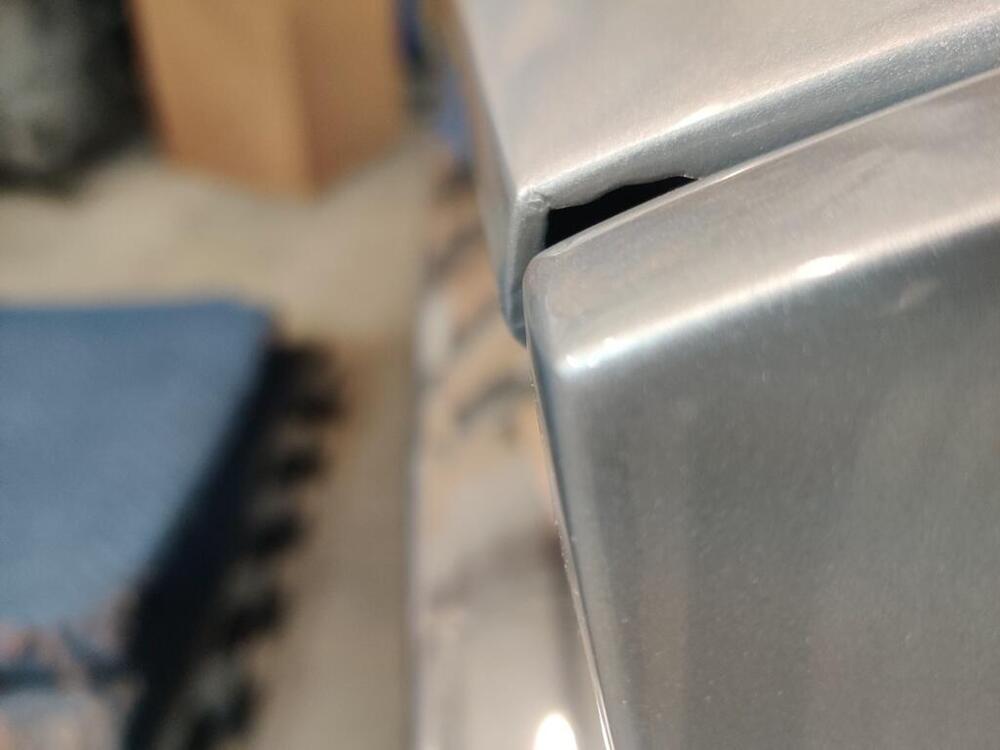
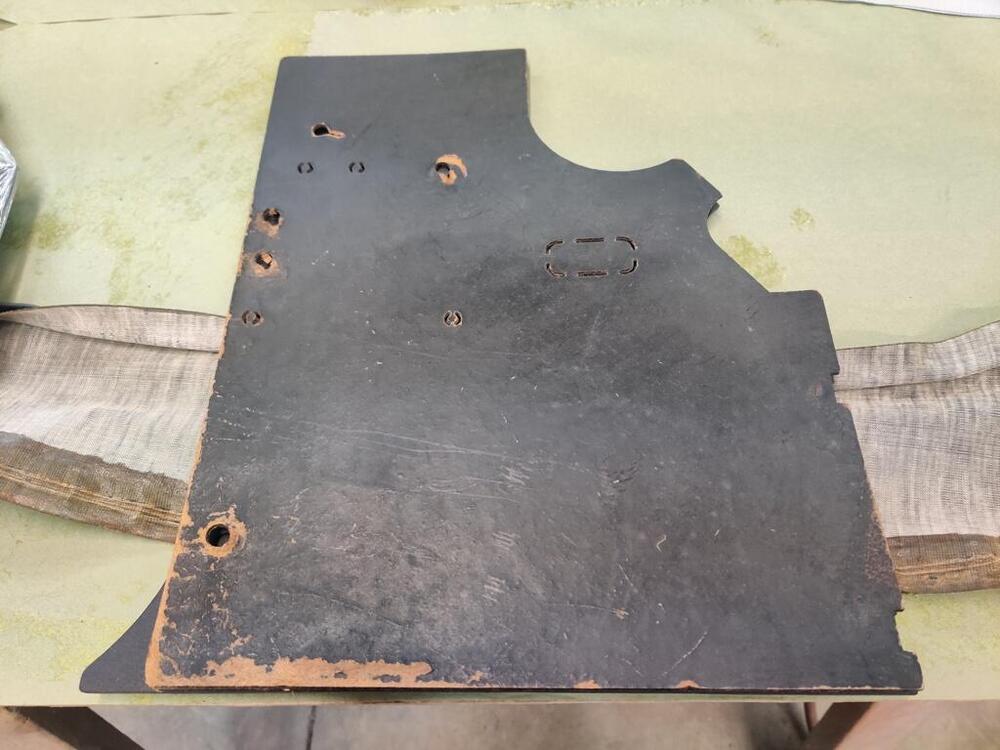
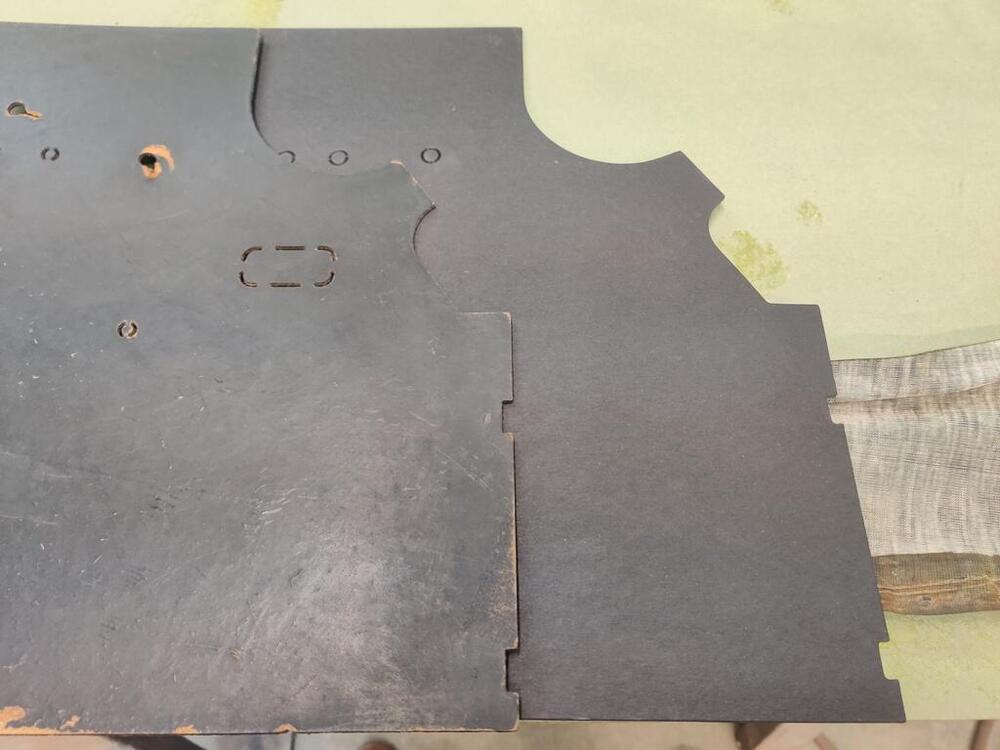
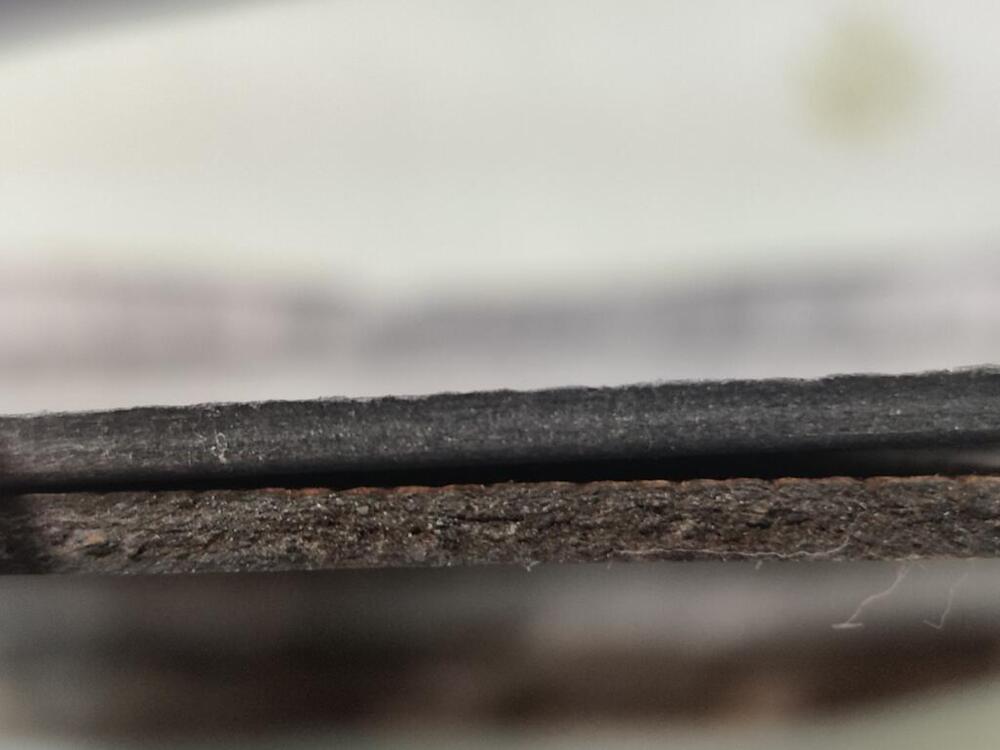
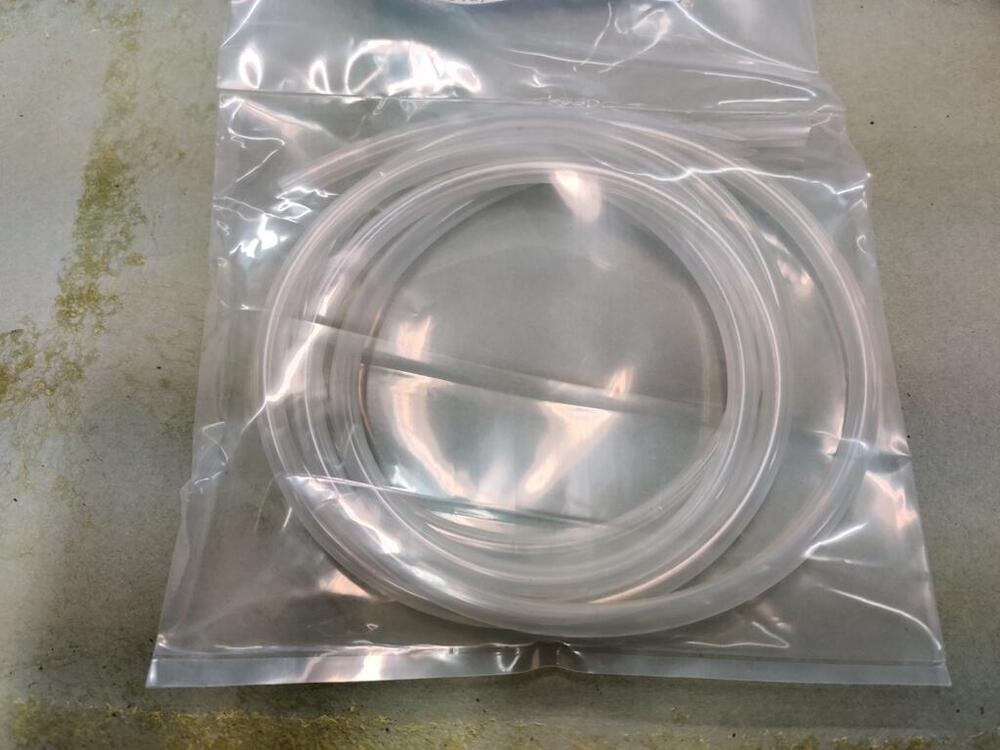
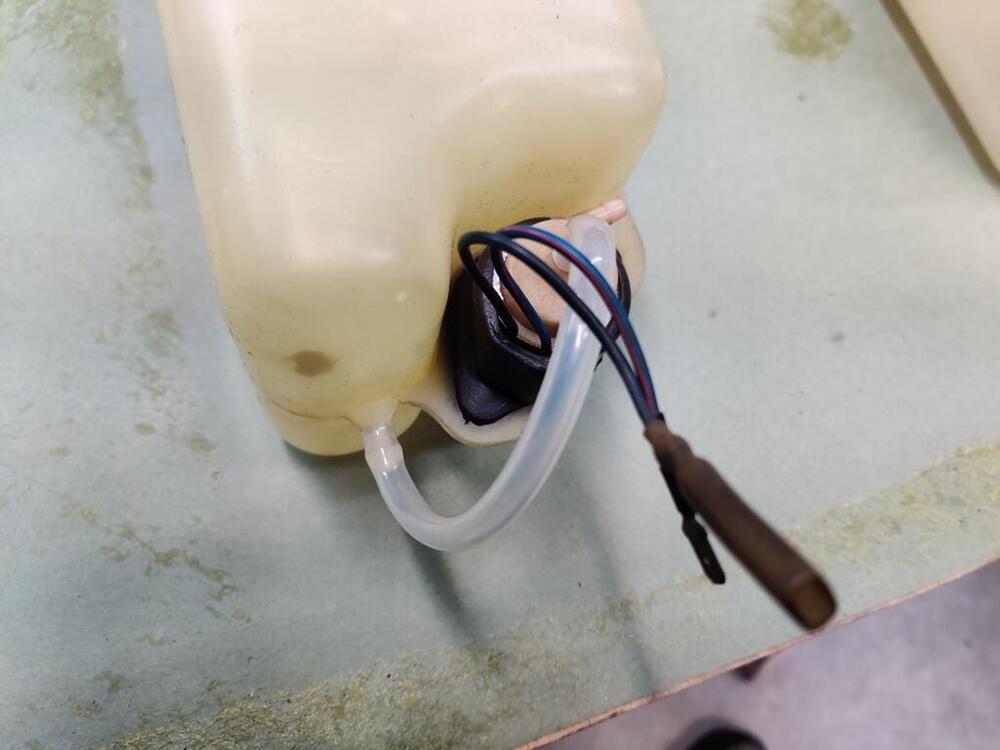
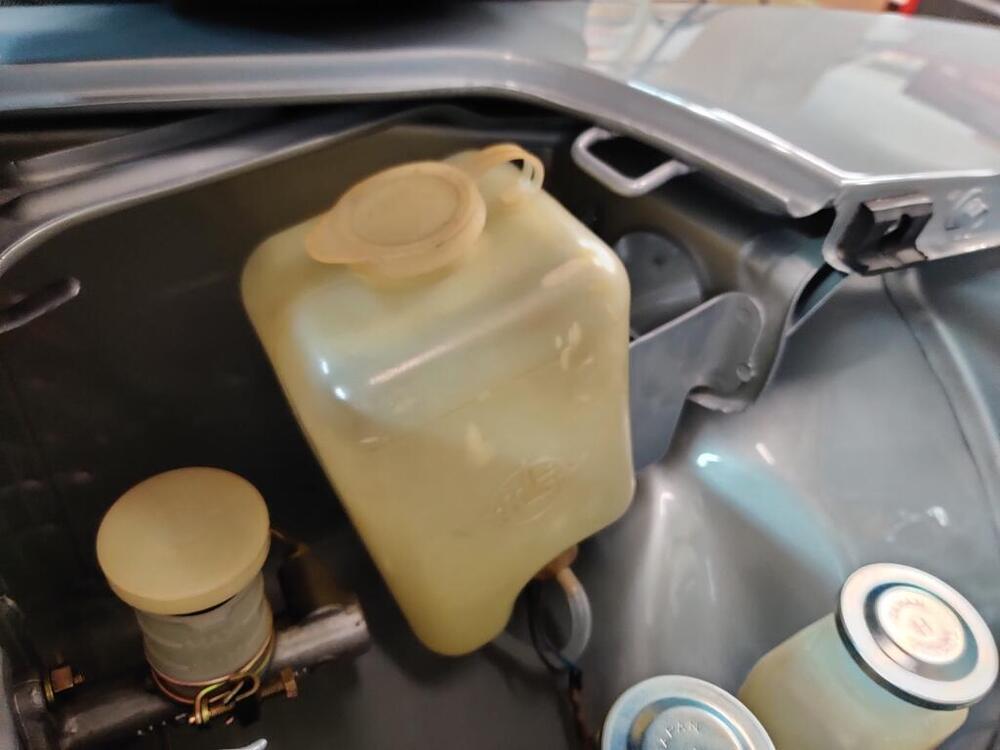
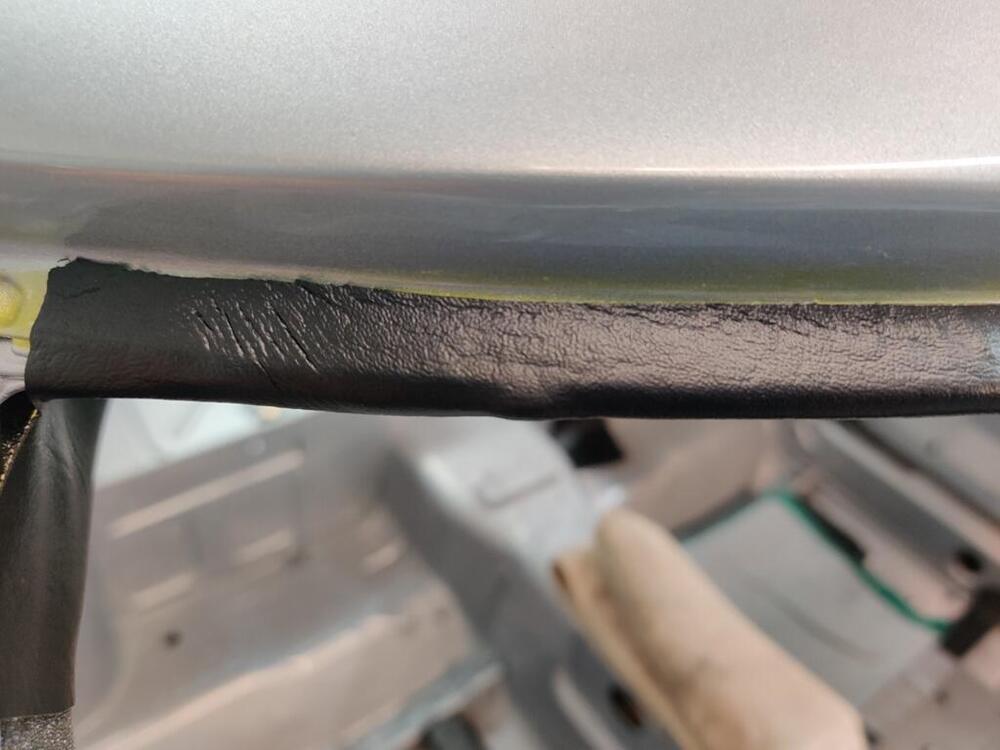
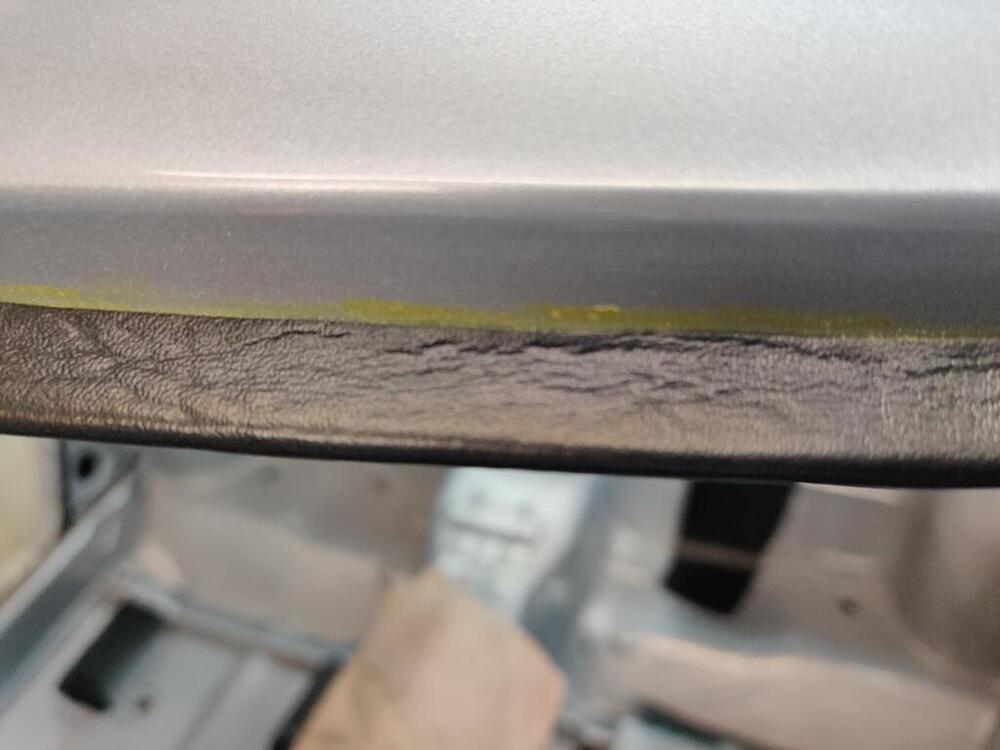
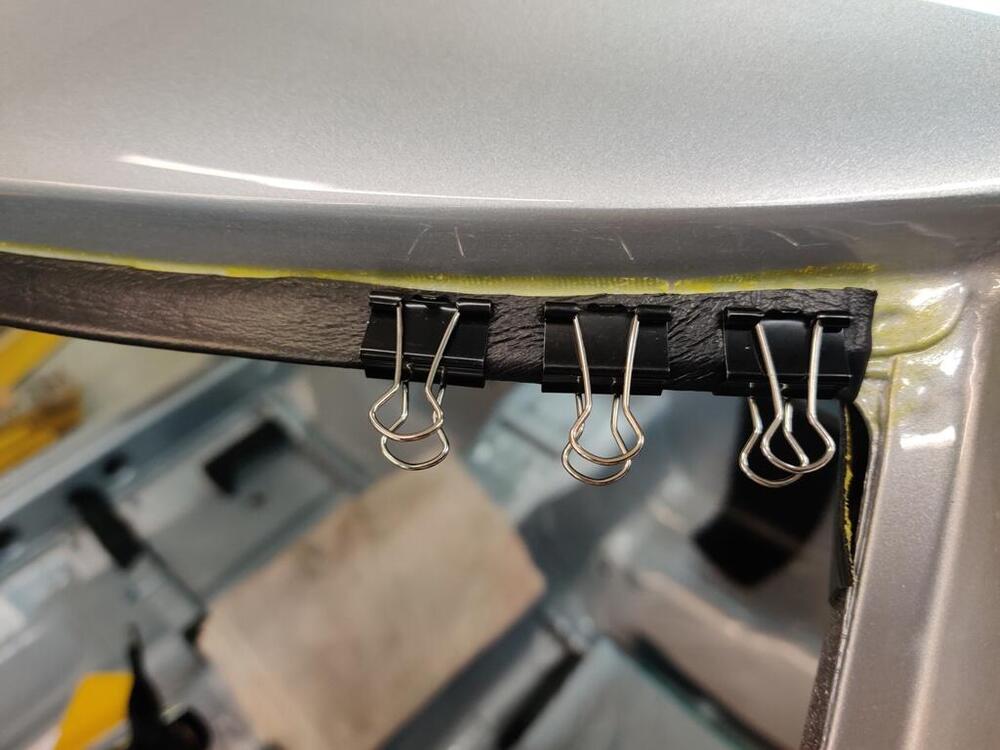
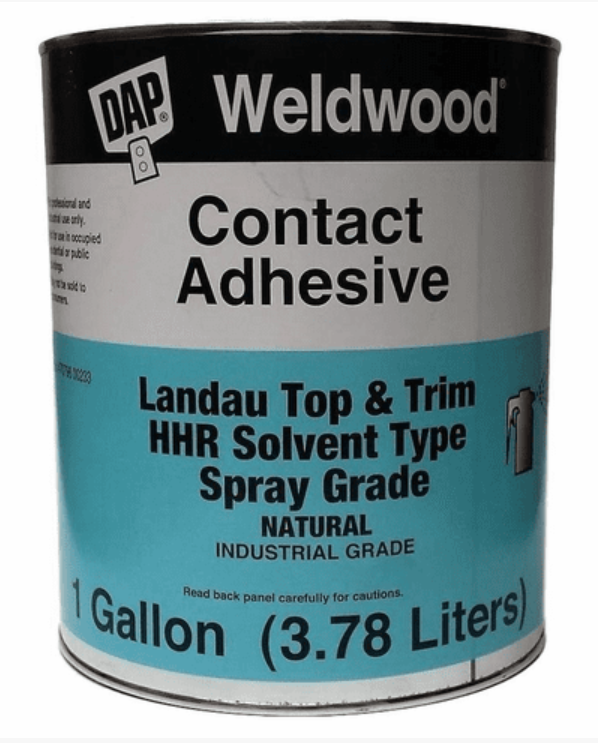
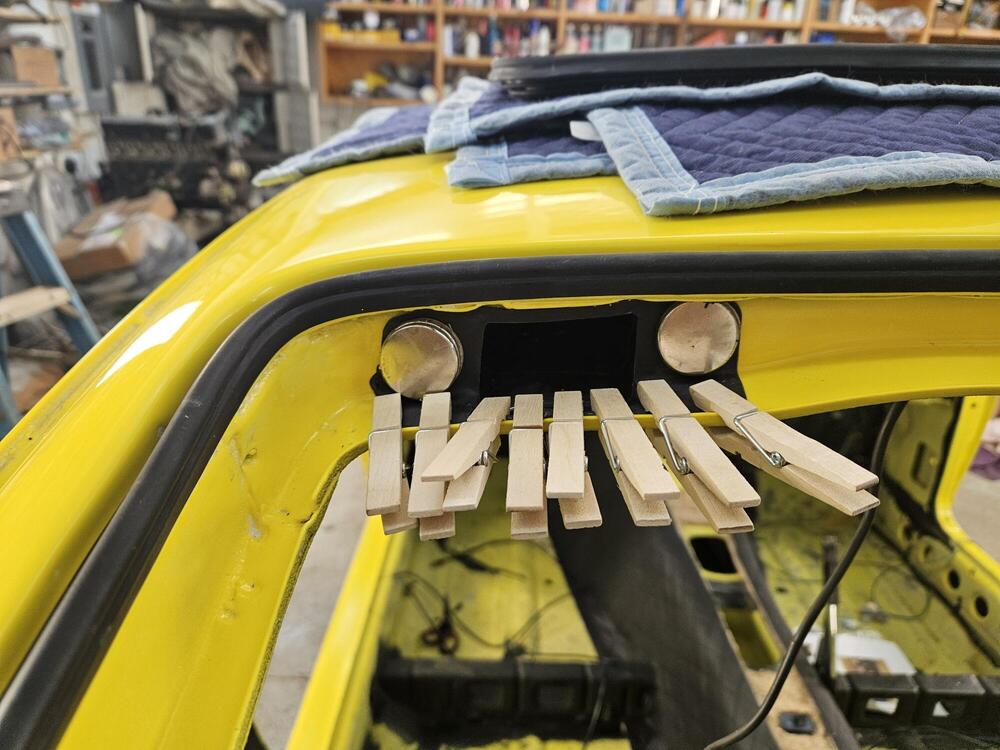
It was with some dread that I installed the hood onto the car. Flashback to when I was scrambling to get the car finished for transport to the body shop in February of last year, and when I installed the hood, I saw that I had some panel alignment issues. I won't rehash all of it here, but I provided details in the document I wrote up for the body shop. This should have been a checklist for them. But clearly, they did not do several of the things I pointed out for them. Quoting from my write up: "The hood: The front lip, at the very left corner edge of the hood, is bent outward a touch. I didn’t notice it until I started fitting the hood for the last time. I tapped the front lip at this corner with a body hammer to move it back a touch to align with the left headlight housing and the resulting movement caused some small chips of the primer to flake off. The left front corner of the hood will need some attention - possibly some more tapping with a hammer and possibly some primer application. The hood has some scratches in the surface that will need attention." Well, while the scratches in the surface of the hood were addressed, the corner of the hood got ignored. The front left corner still sticks out a bit, and at the top corner, I can see where the primer chipped. So, this is just another reminder that "next time", I will not be leaving anything to anyone else - I will do it all, and I will do it right. With this type of thing, my frustration level is high. I still need to massage the fit of the hood a bit, but I decided to move to other things for now. I unpacked the new kick panel covers. I bought these from Motorsport Auto. They are "ok". They are not quite as thick as the originals... even when measuring thickness at the top edge of the old ones where no water has gotten to fiber board and caused it to swell. There are slight differences which you can see here: Second pic shows thickness of the top edge - old one is on the bottom. Next, I pulled out my collection of windshield washer reservoirs and pump motors. I sourced new windshield fluid hose from a company called Newco (see the tag for sizing info). I used a clean rag and lacquer thinner and some #0000 steel wool dipped in lacquer thinner to clean the outside of the reservoir. My pump motors were seized. I dis-assembled the first one, but there was no saving it - there was too much corrosion. The second one was in much better condition. Dis-assembly and reassembly was enough to get it running nicely. It may not last long in service, but we'll see. The last thing I did today was glue the front edge of the header vinyl. This contact adhesive is magical: Though I bought a bunch of the folder clips you see in one of the pictures here, I was amazed at how quickly this adhesive worked to secure the vinyl to the weld flange. I brushed it onto the backside of the vinyl and on the top side of the weld flange. I let it dry for about 4 minutes. And when I pulled the vinyl toward the windshield opening, I tugged on it pretty good. Just touching the vinyl to the forward edge of the weld flange... was enough to hold the vinyl at the tension I had put on it. It was wild. I then folded the vinyl over around that front edge and pushed it onto the adhesive on the top surface of the weld flange. It stuck and didn't move. I didn't need to use the file folder clips. It just stuck. I used my Exact-o knife to cut the excess vinyl off at the point where the weld flange ends: I put some clips on in the corner, "just in case", but I am sure they were not needed. This adhesive is wonderful and a joy to work with.


 3 points
 -
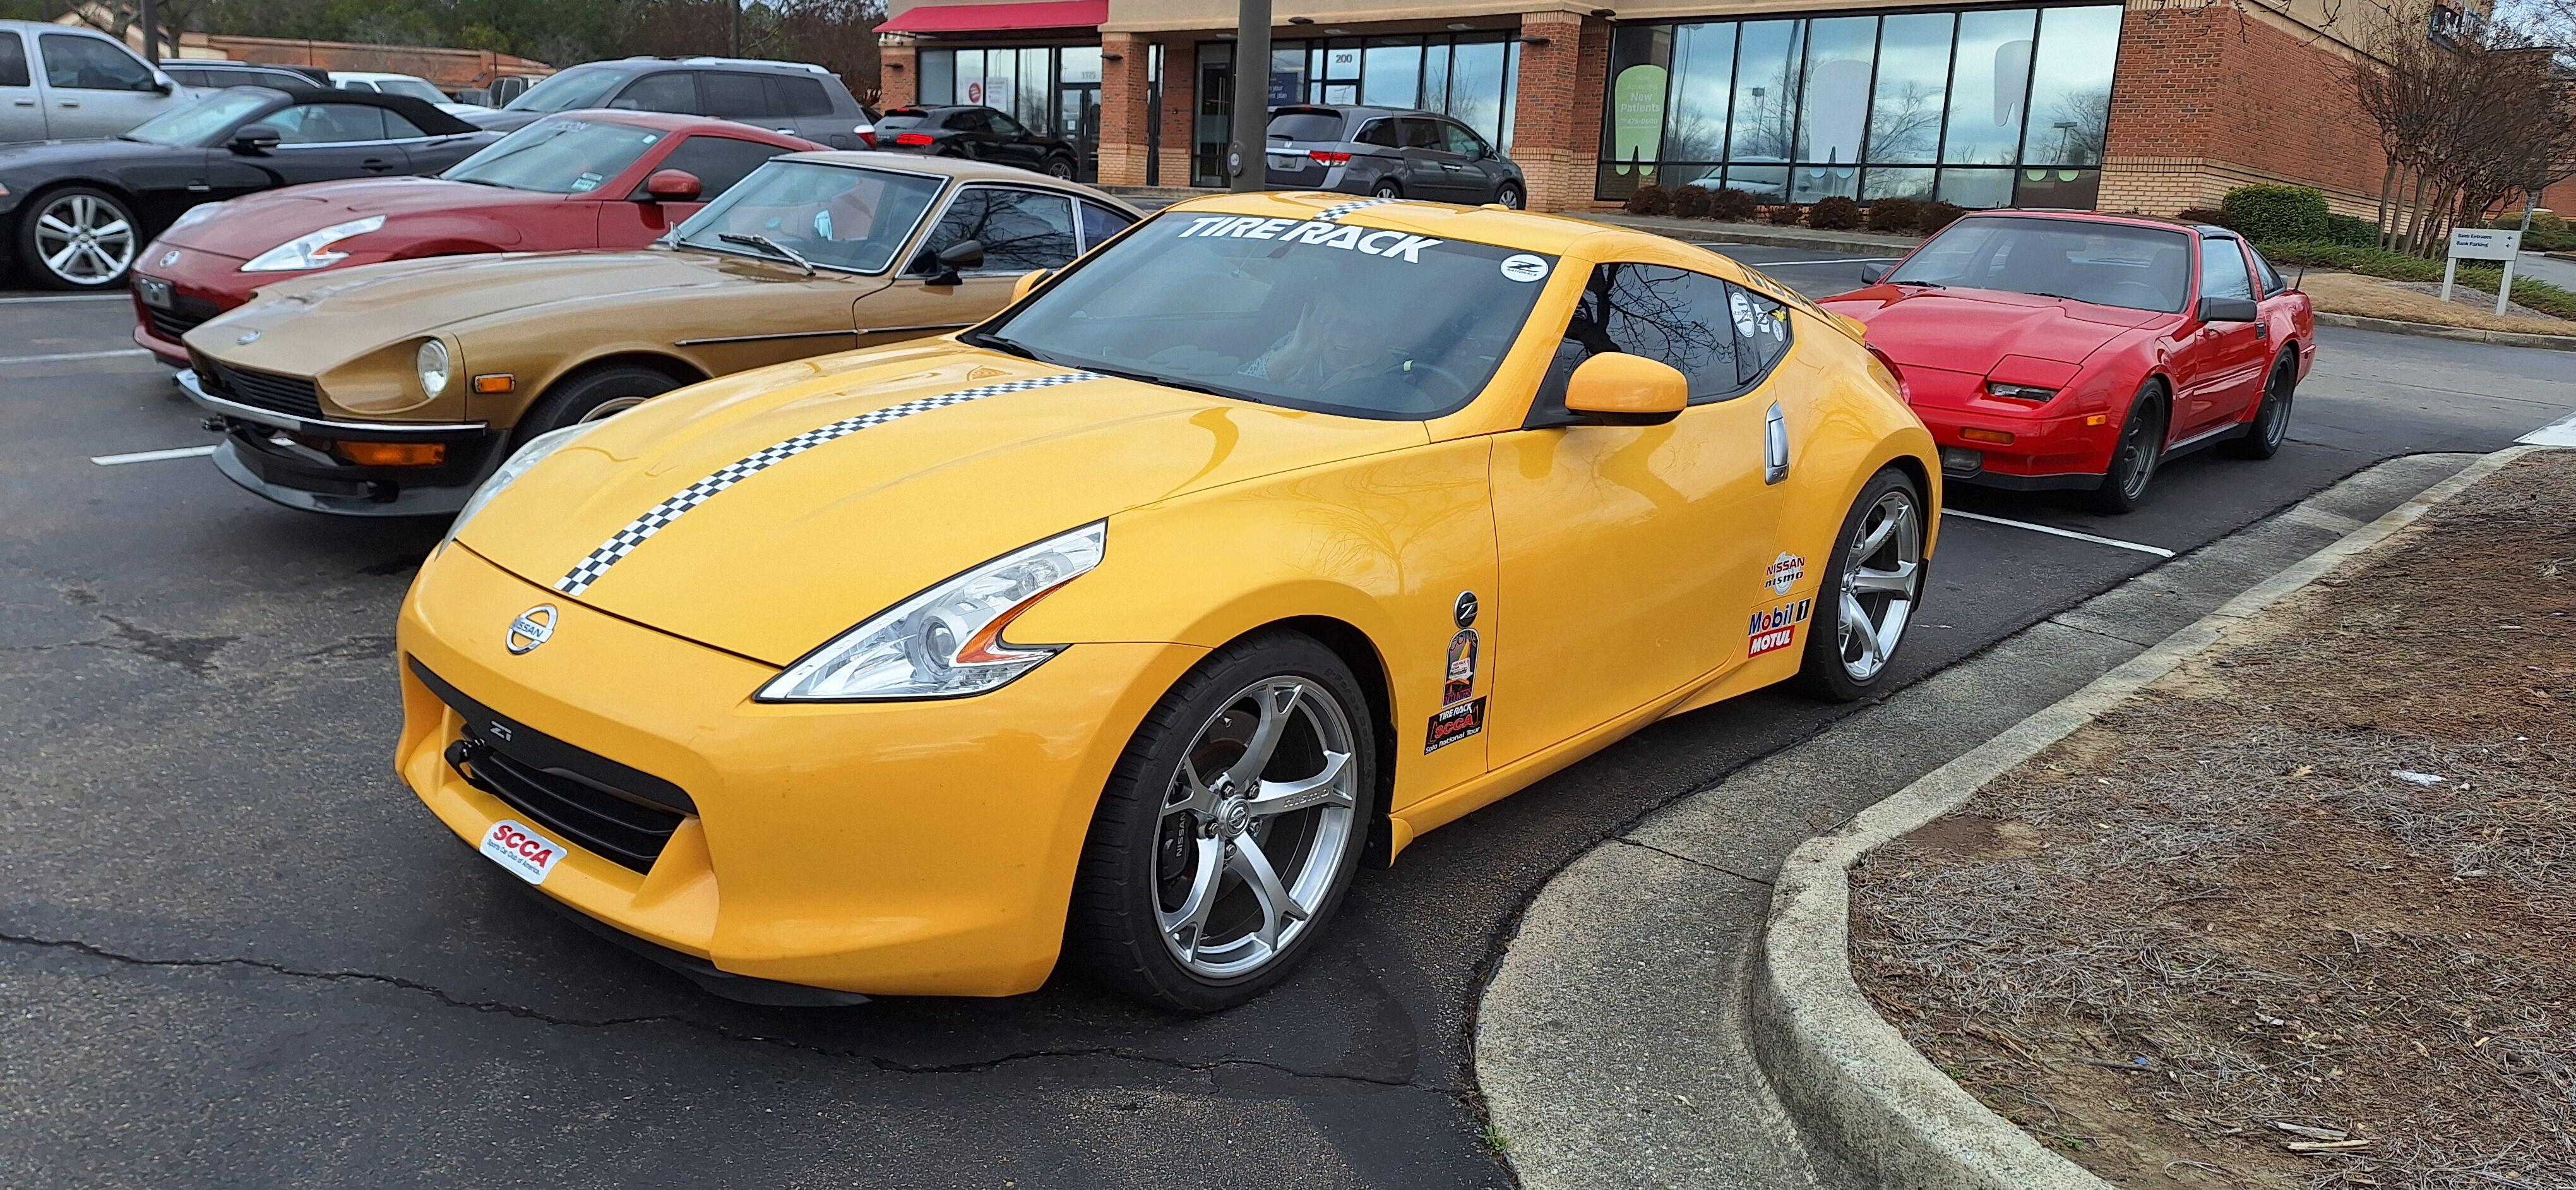
S30 entrants are at a distinct disadvantage. The S30 drivers and navigators are woosy from the exhaust fumes! 😛3 points
-
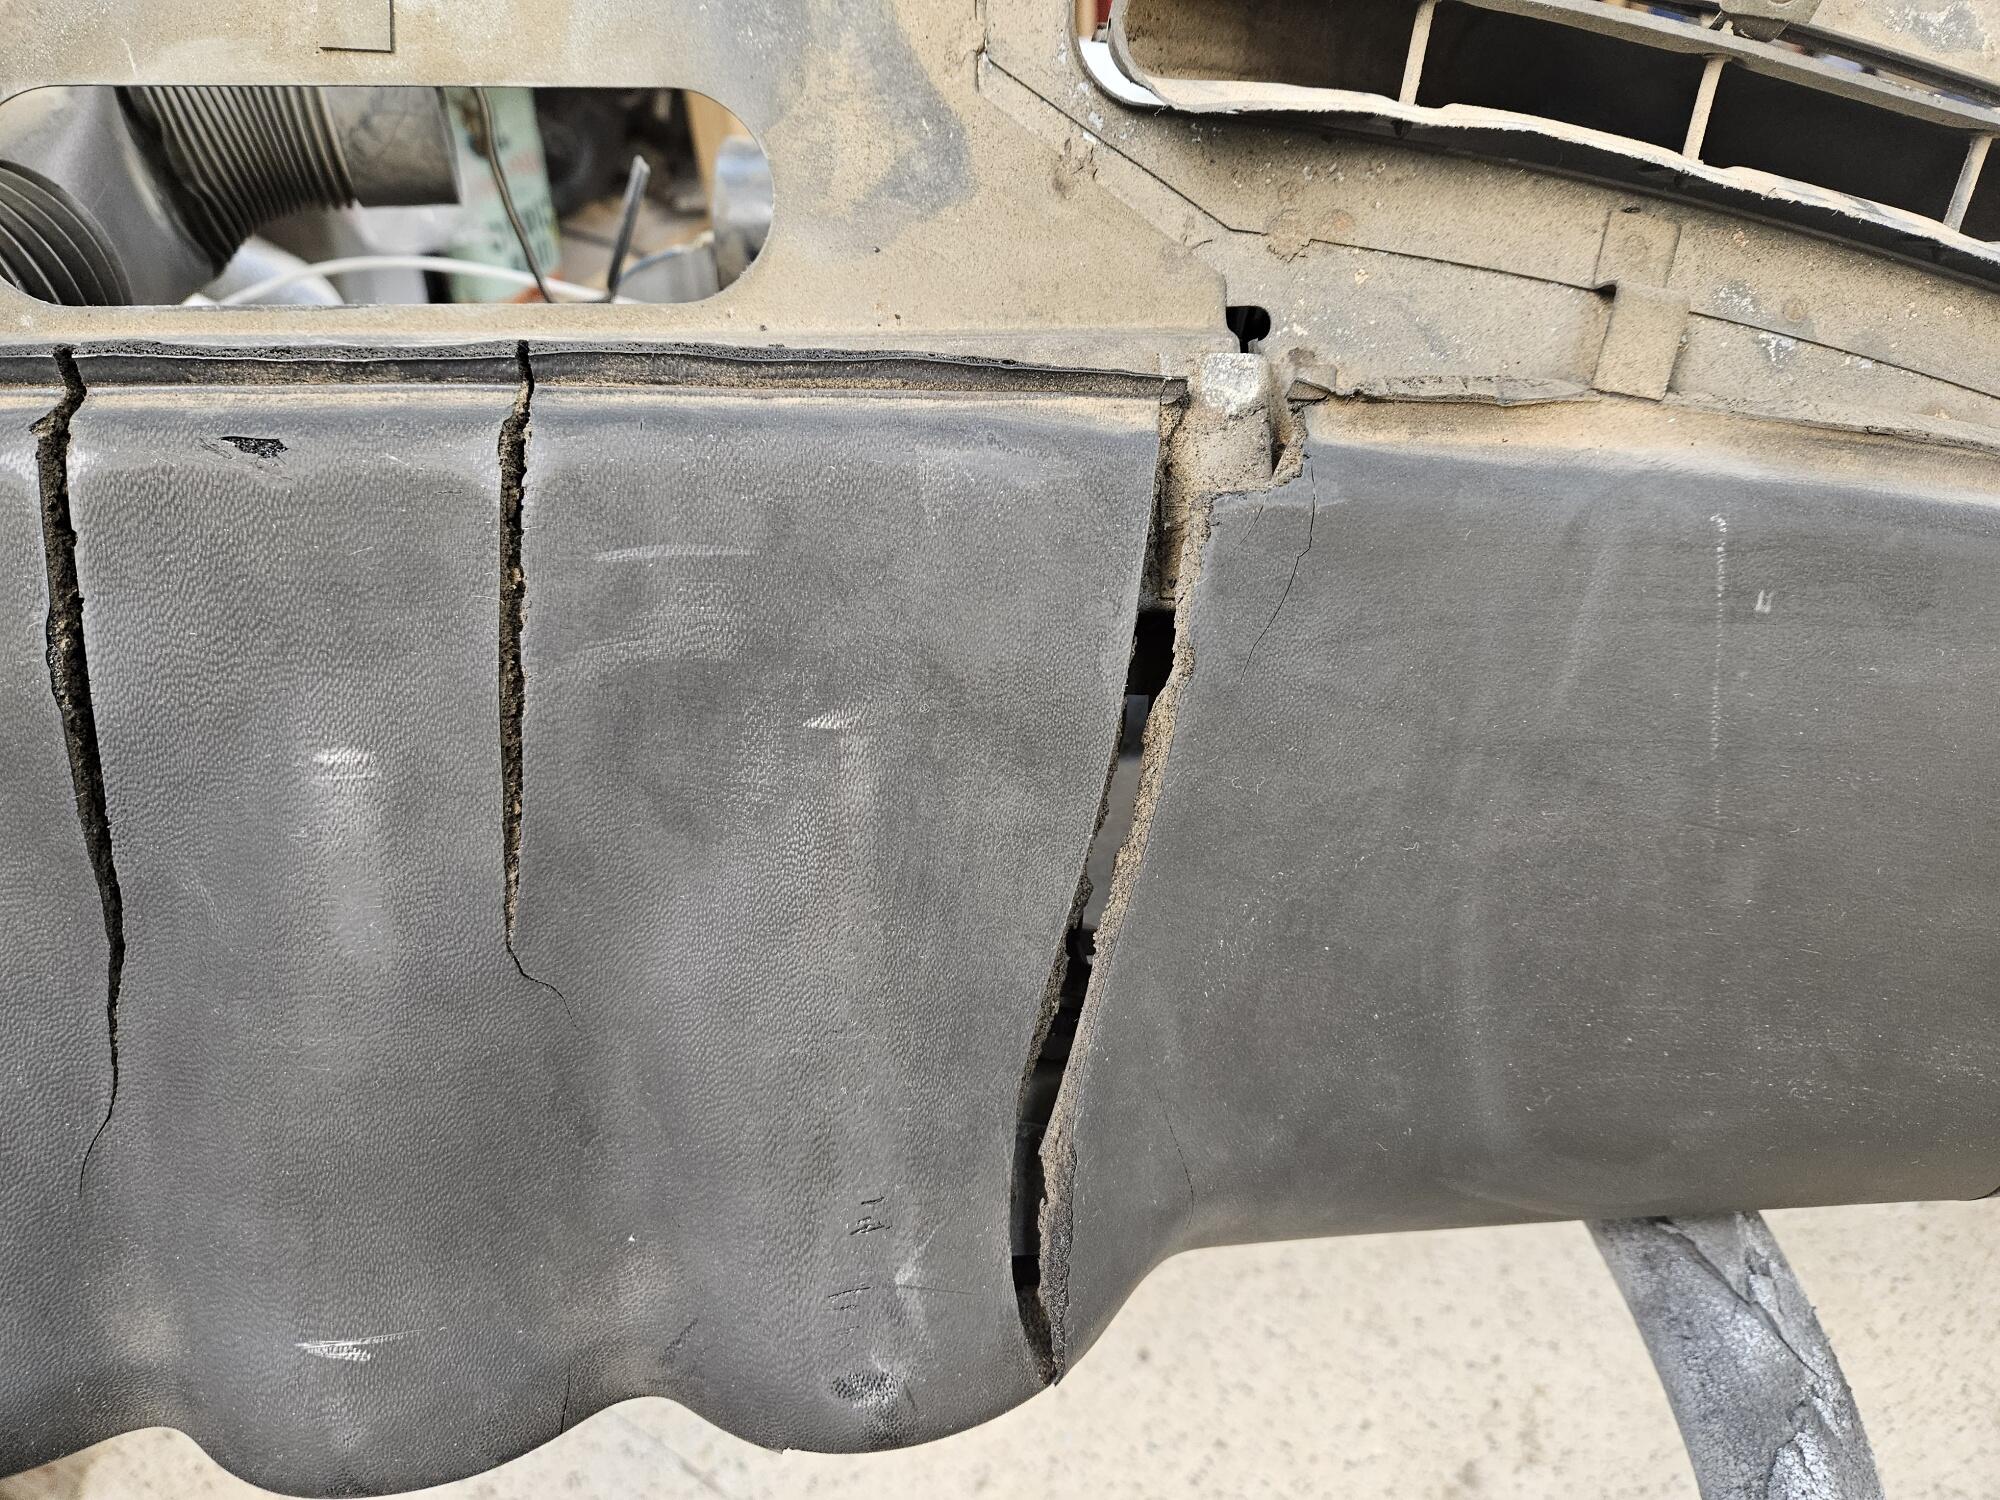
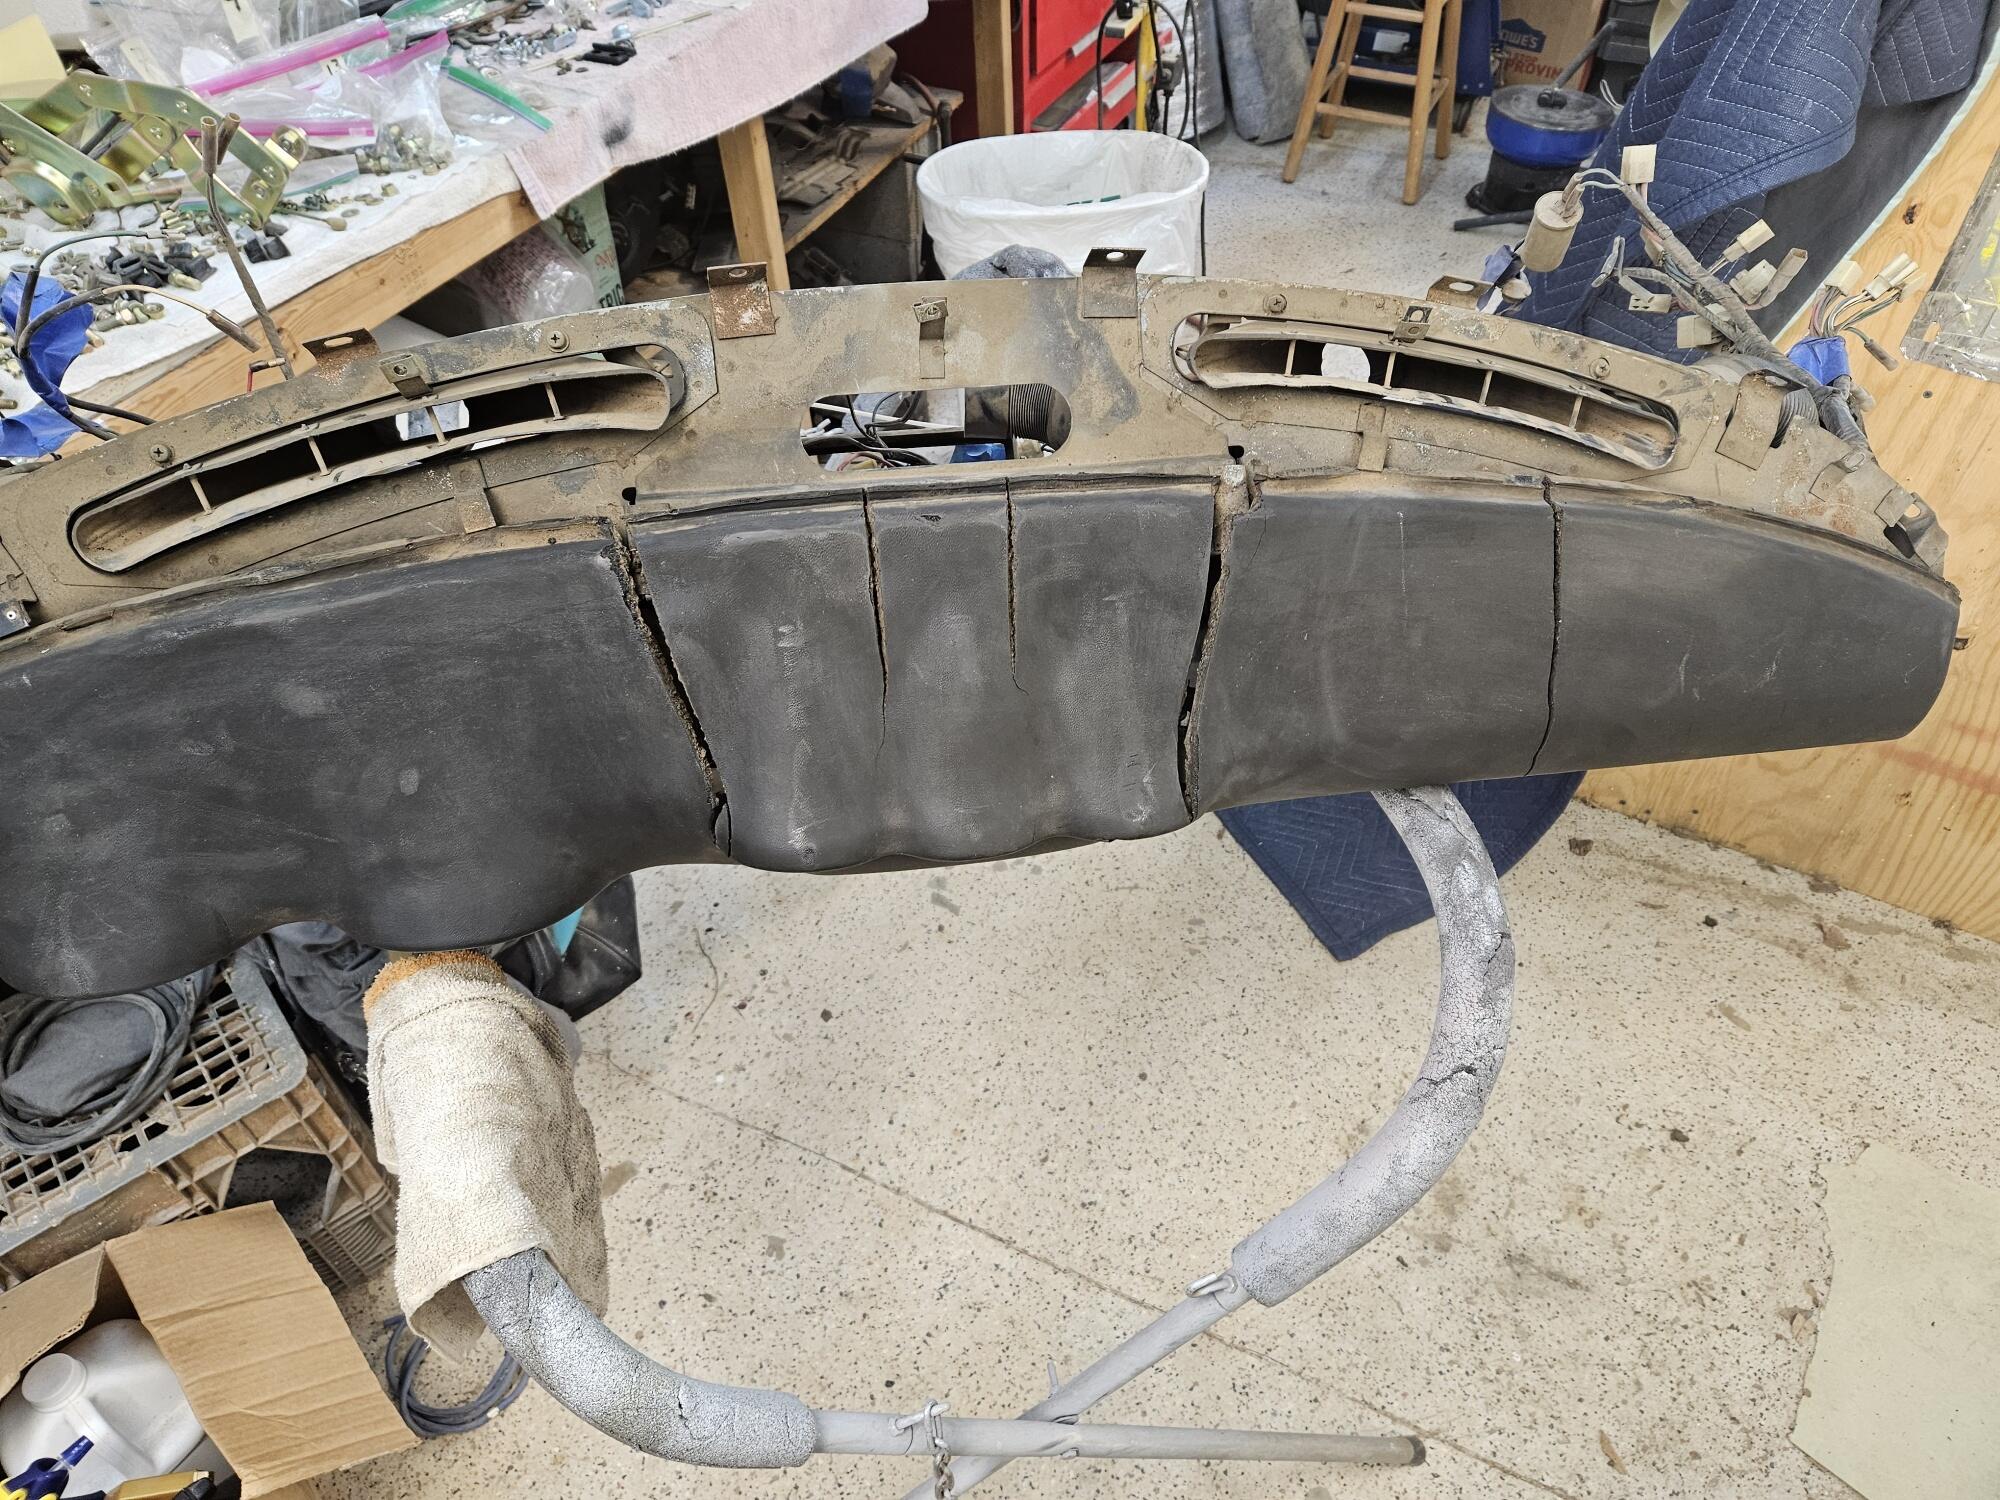
3 pointsSorry this happened - I can imagine how you felt when it happened, and how you feel now. Regarding the best option for dashes, I believe Vintage Dashes is the best option. When I bought mine, in came in a box via UPS/Fedex. You have to re-use your metal frame, but removing the old and mounting the new on the frame is not difficult. I don't recommend Just Dashes. They repair the existing dashboard. They retain a lot of the original foam which is old and brittle. And, if the dash has large cracks, the "pieces" have moved somewhat from the their original locations when the pad was all one piece. I had one done by them years ago and it ended up having fit issues around the glove box door and being a tad oversize... with the gauges fitting extremely tight. I feel like the result would be questionable at best for a pad that is cracked severely. And, I think they are even more expensive than Vintage Dashes. Garrett3 points
-
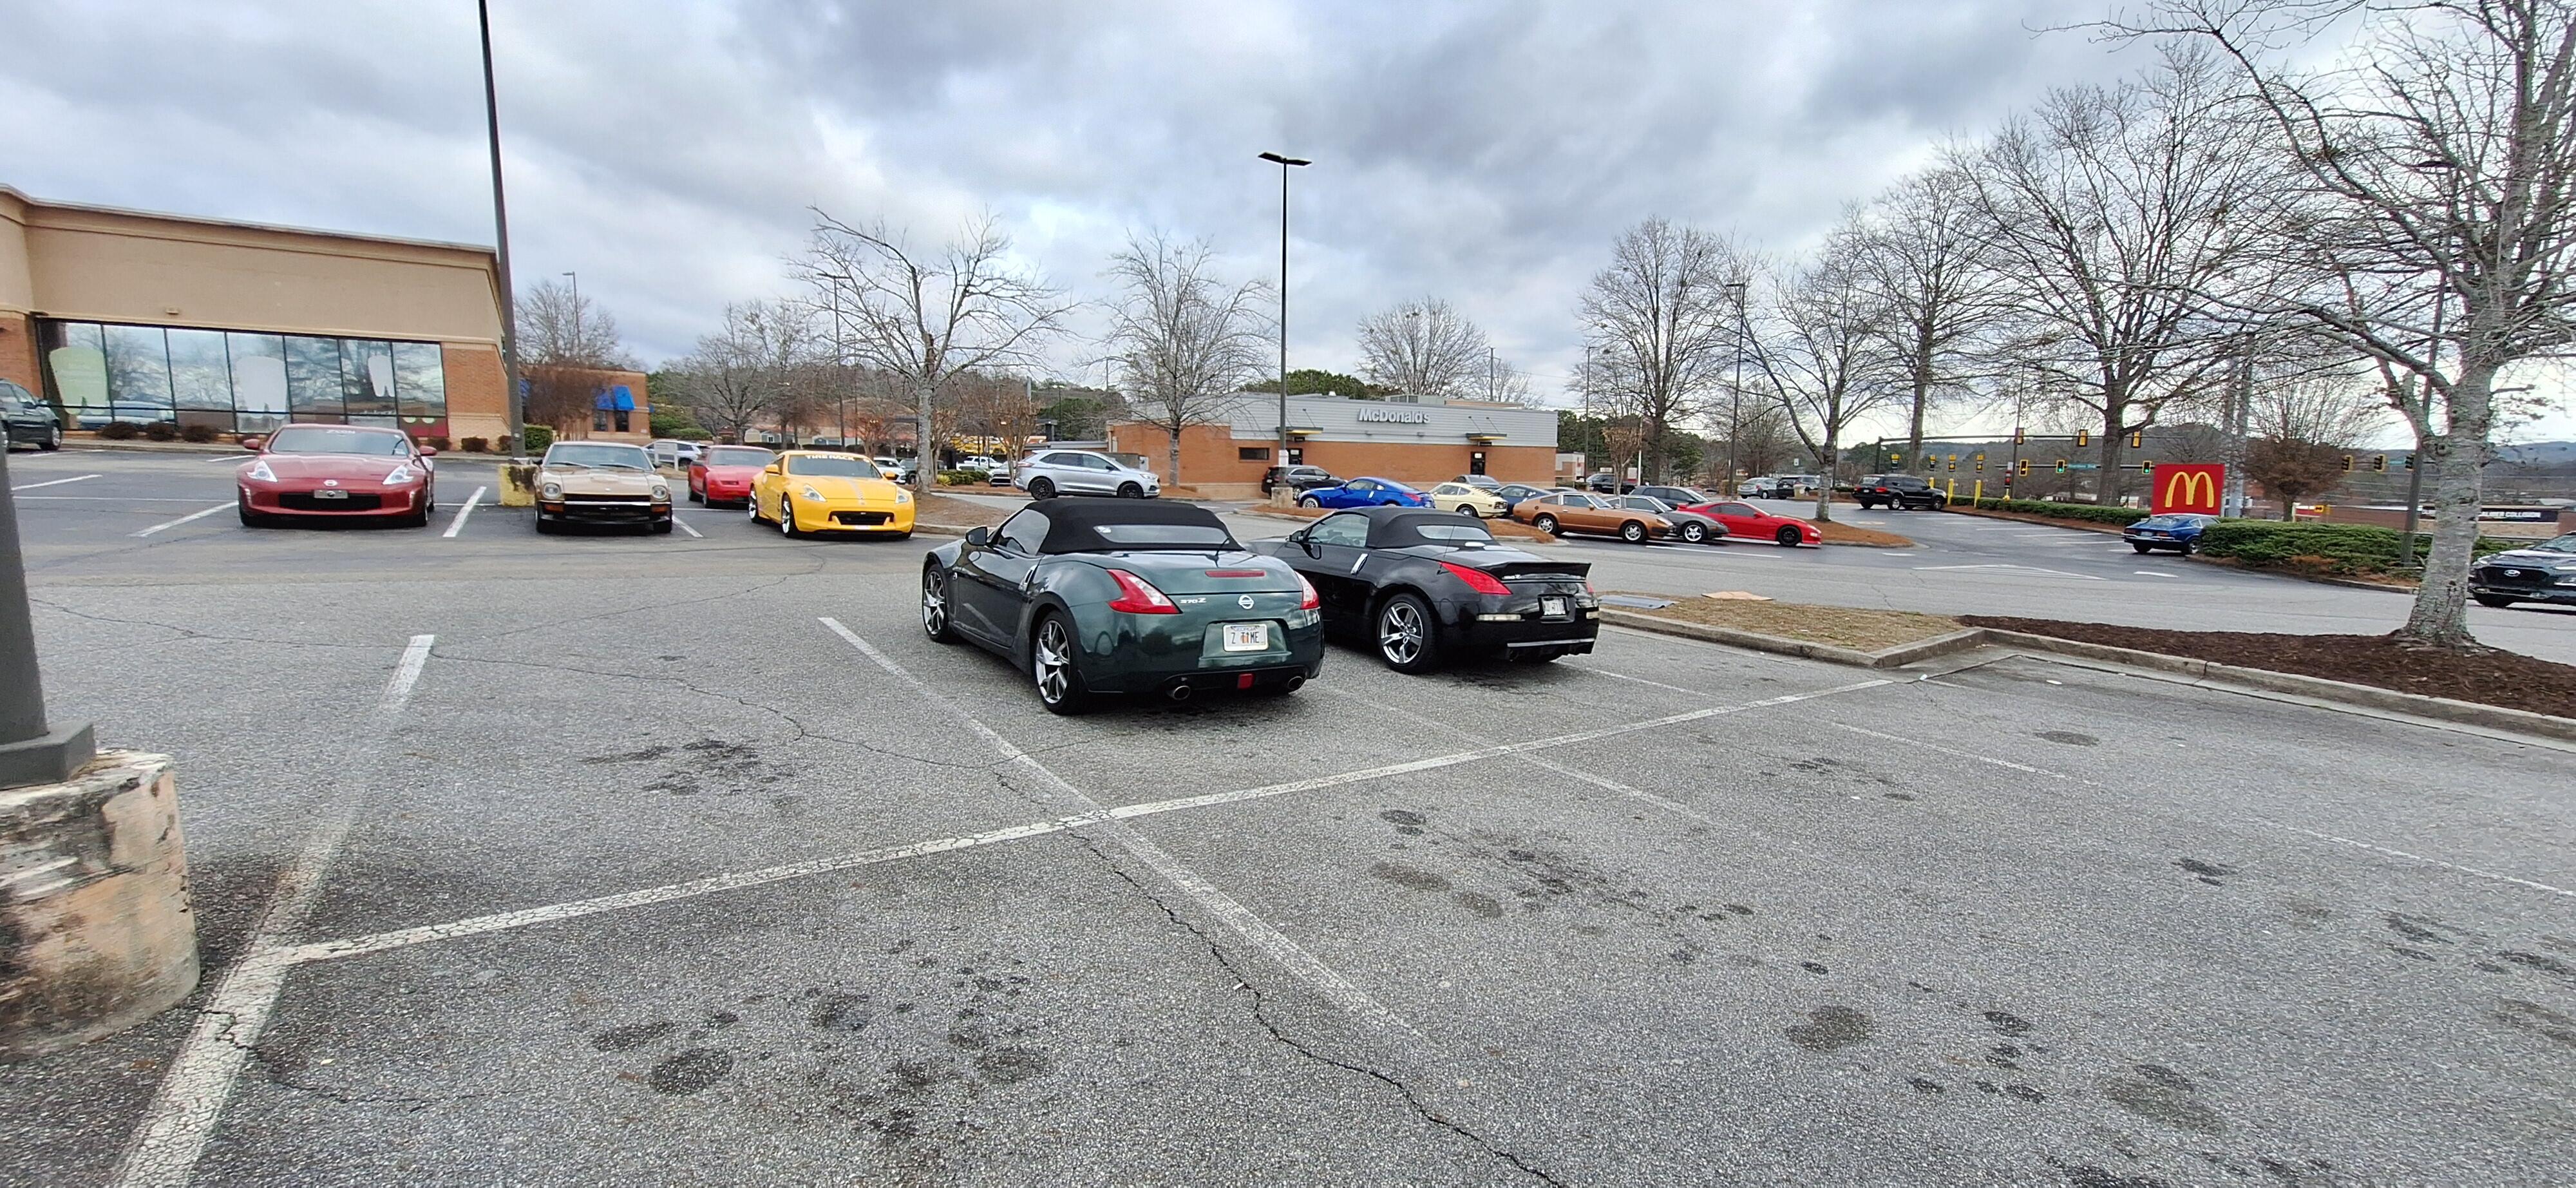
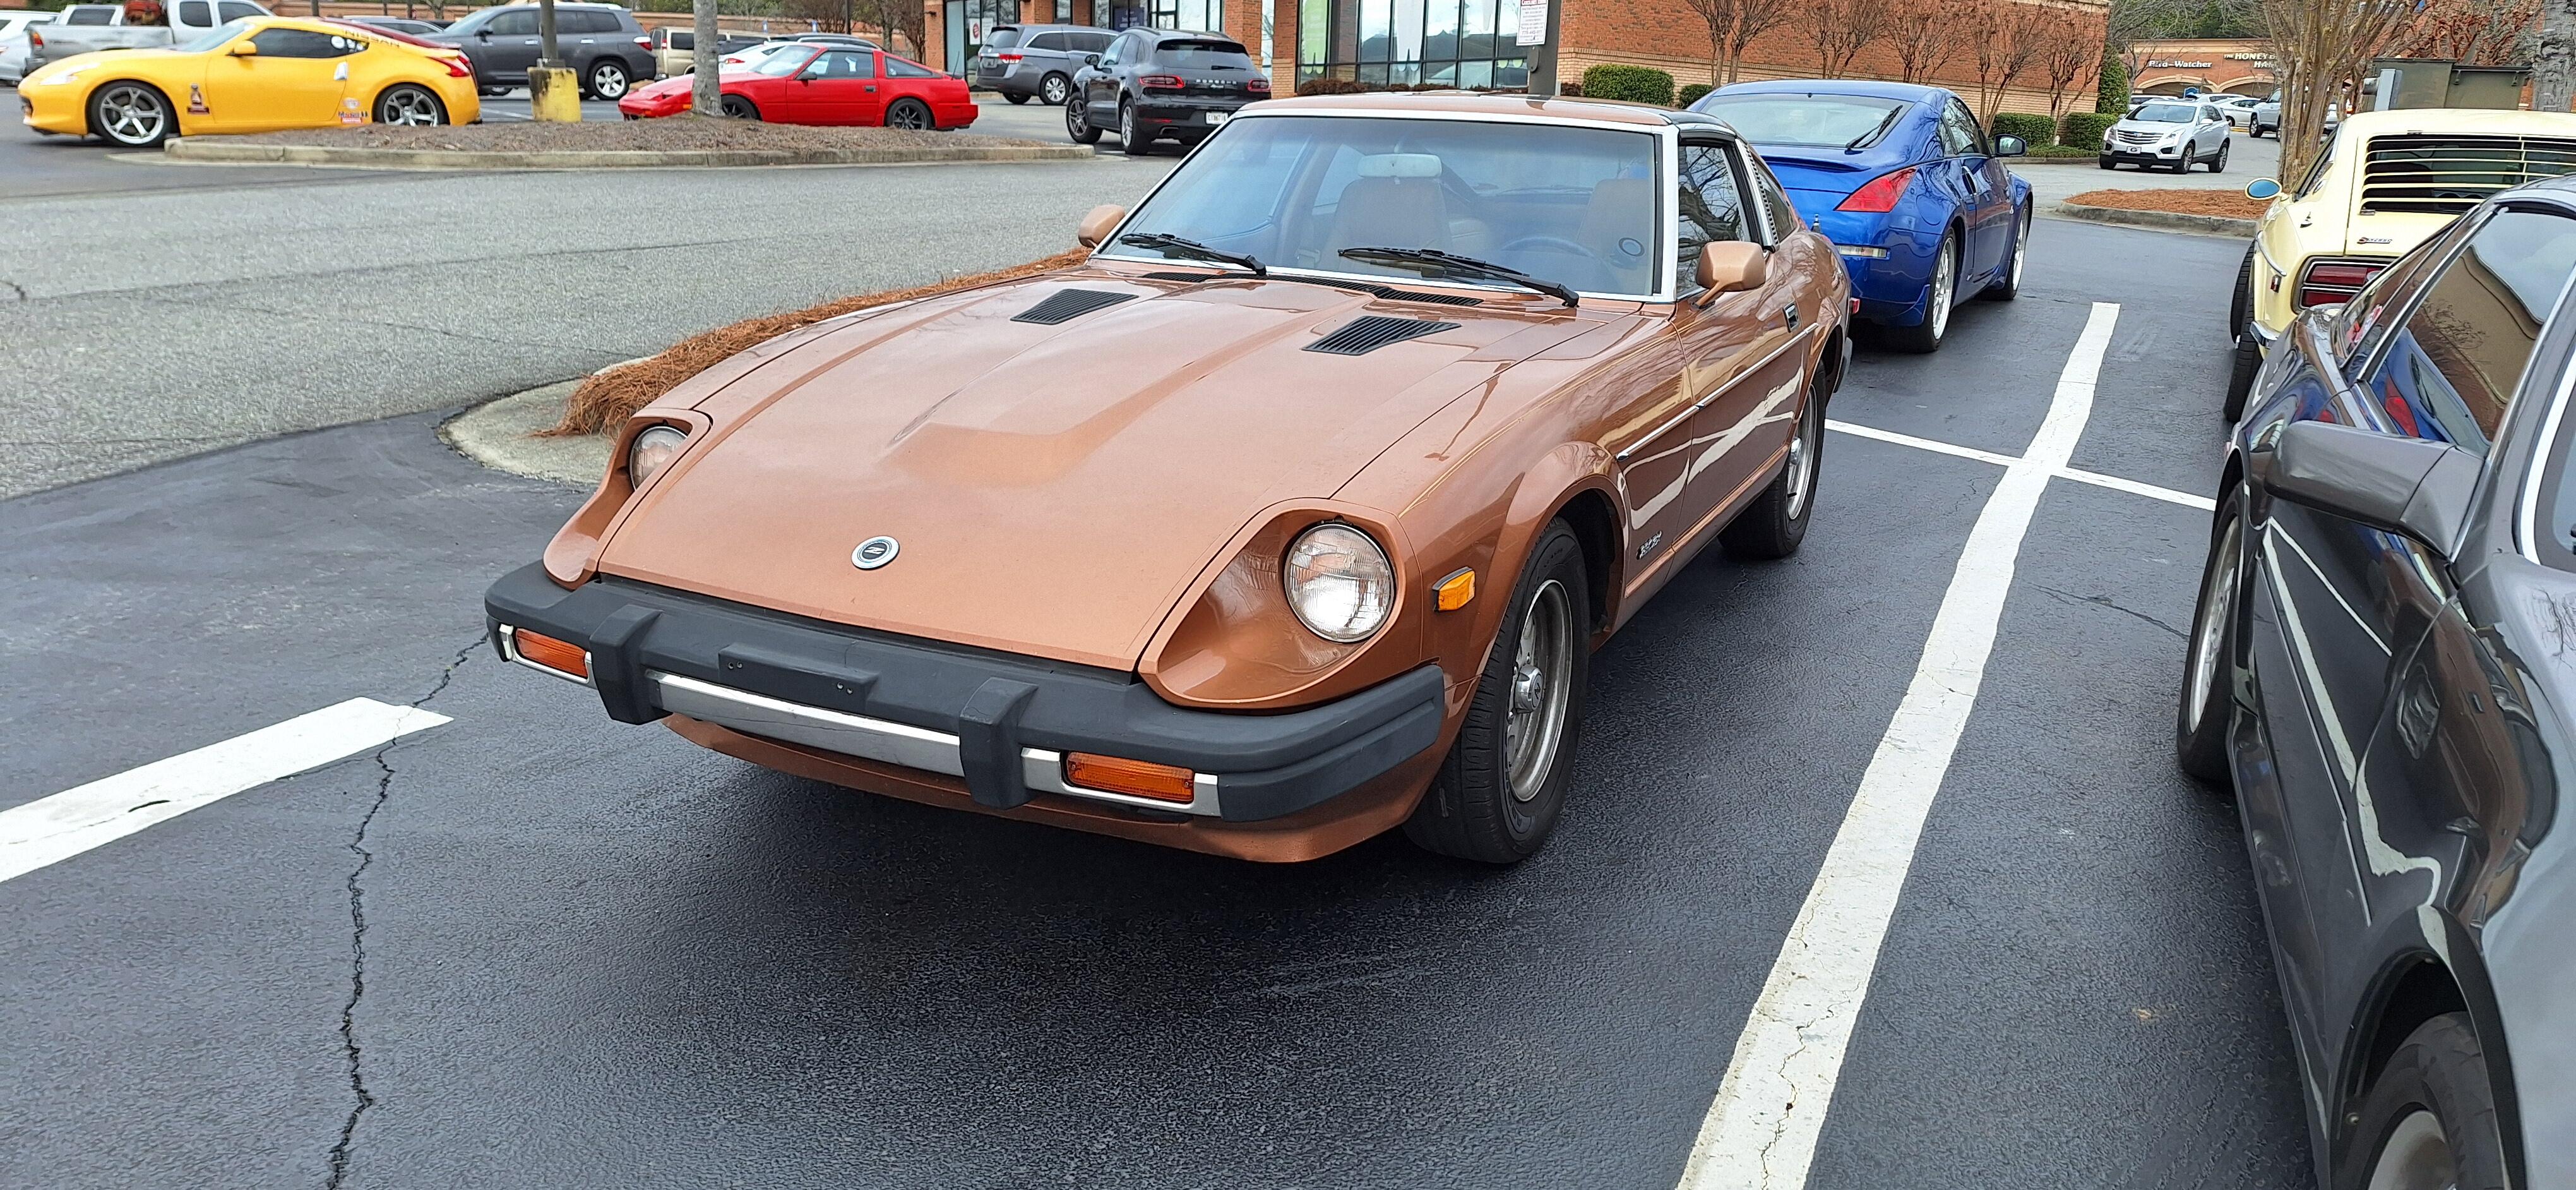
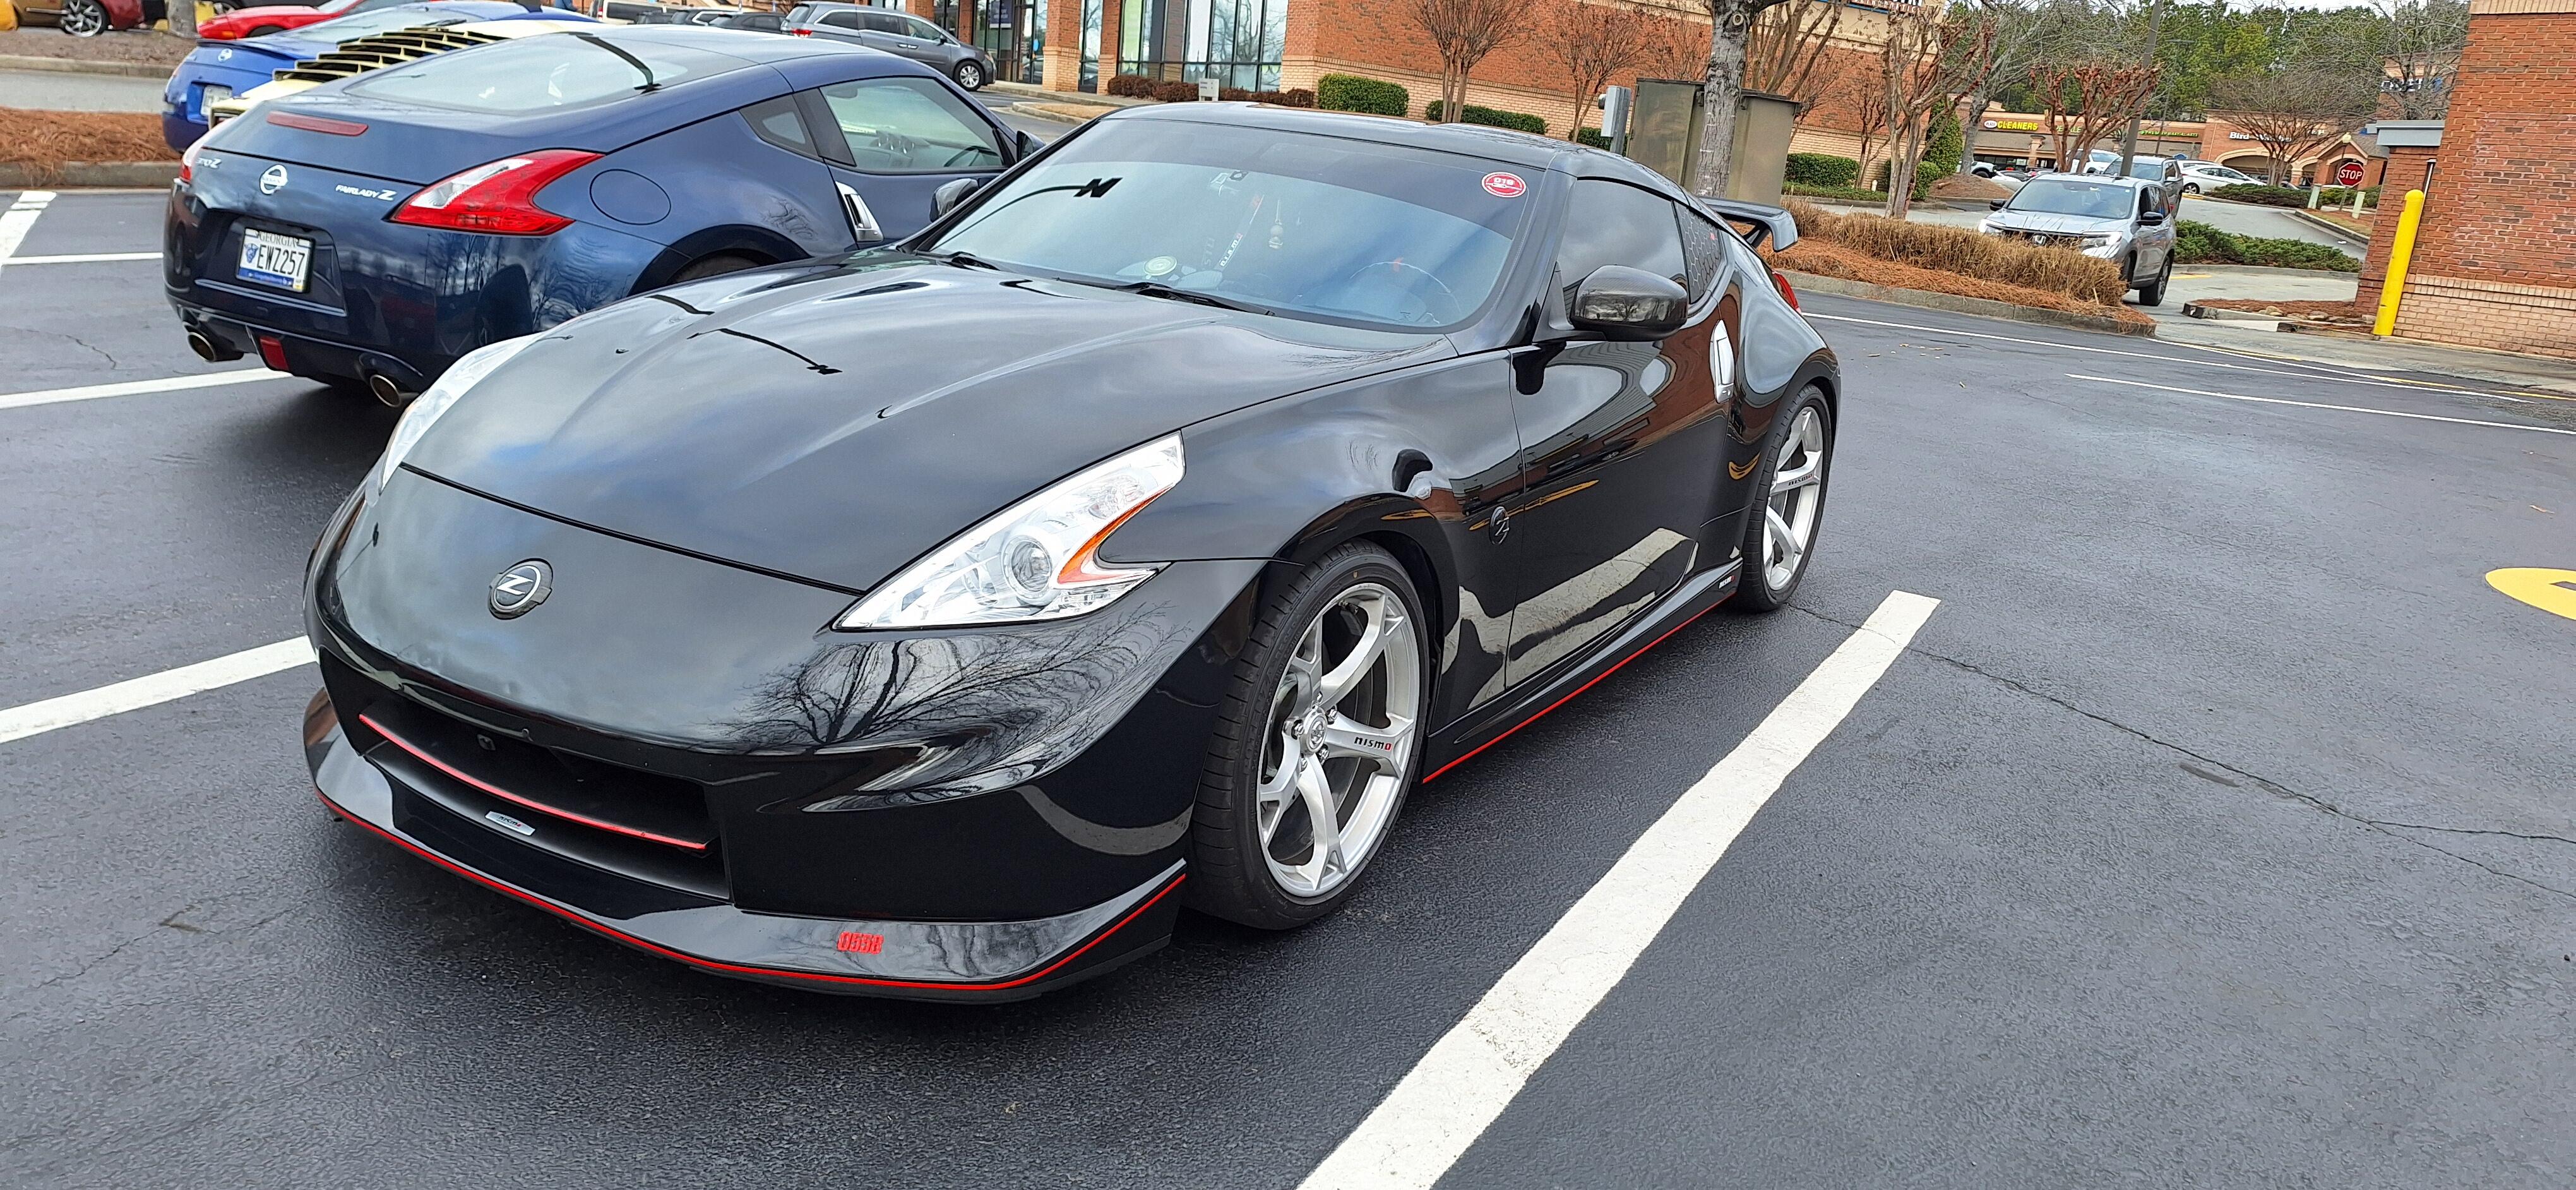
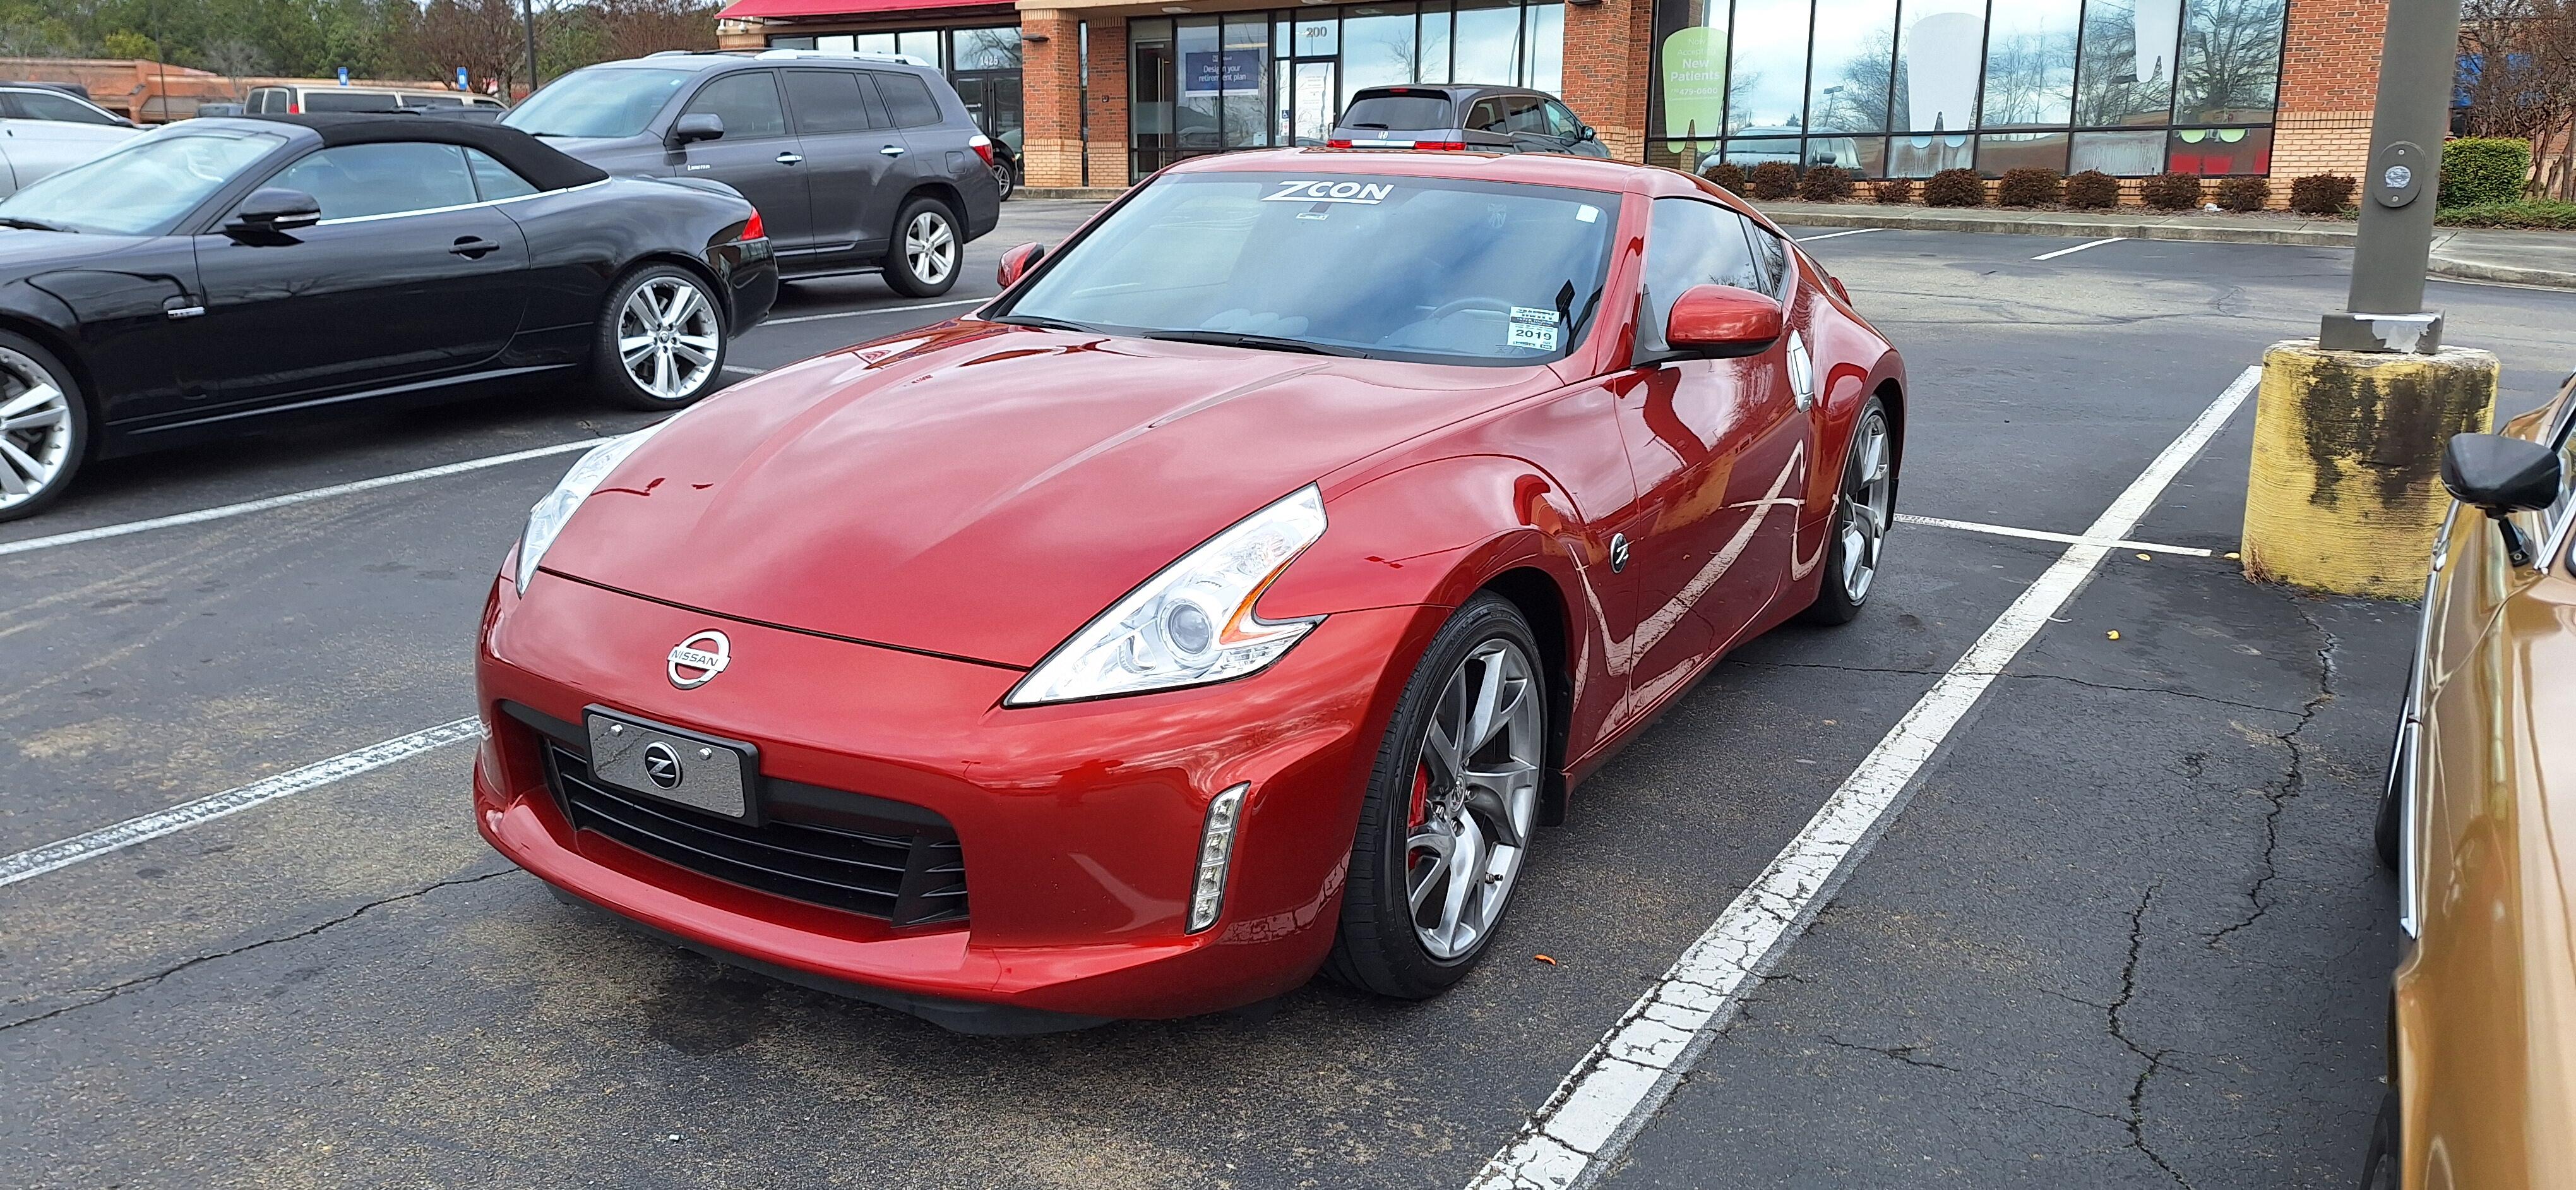
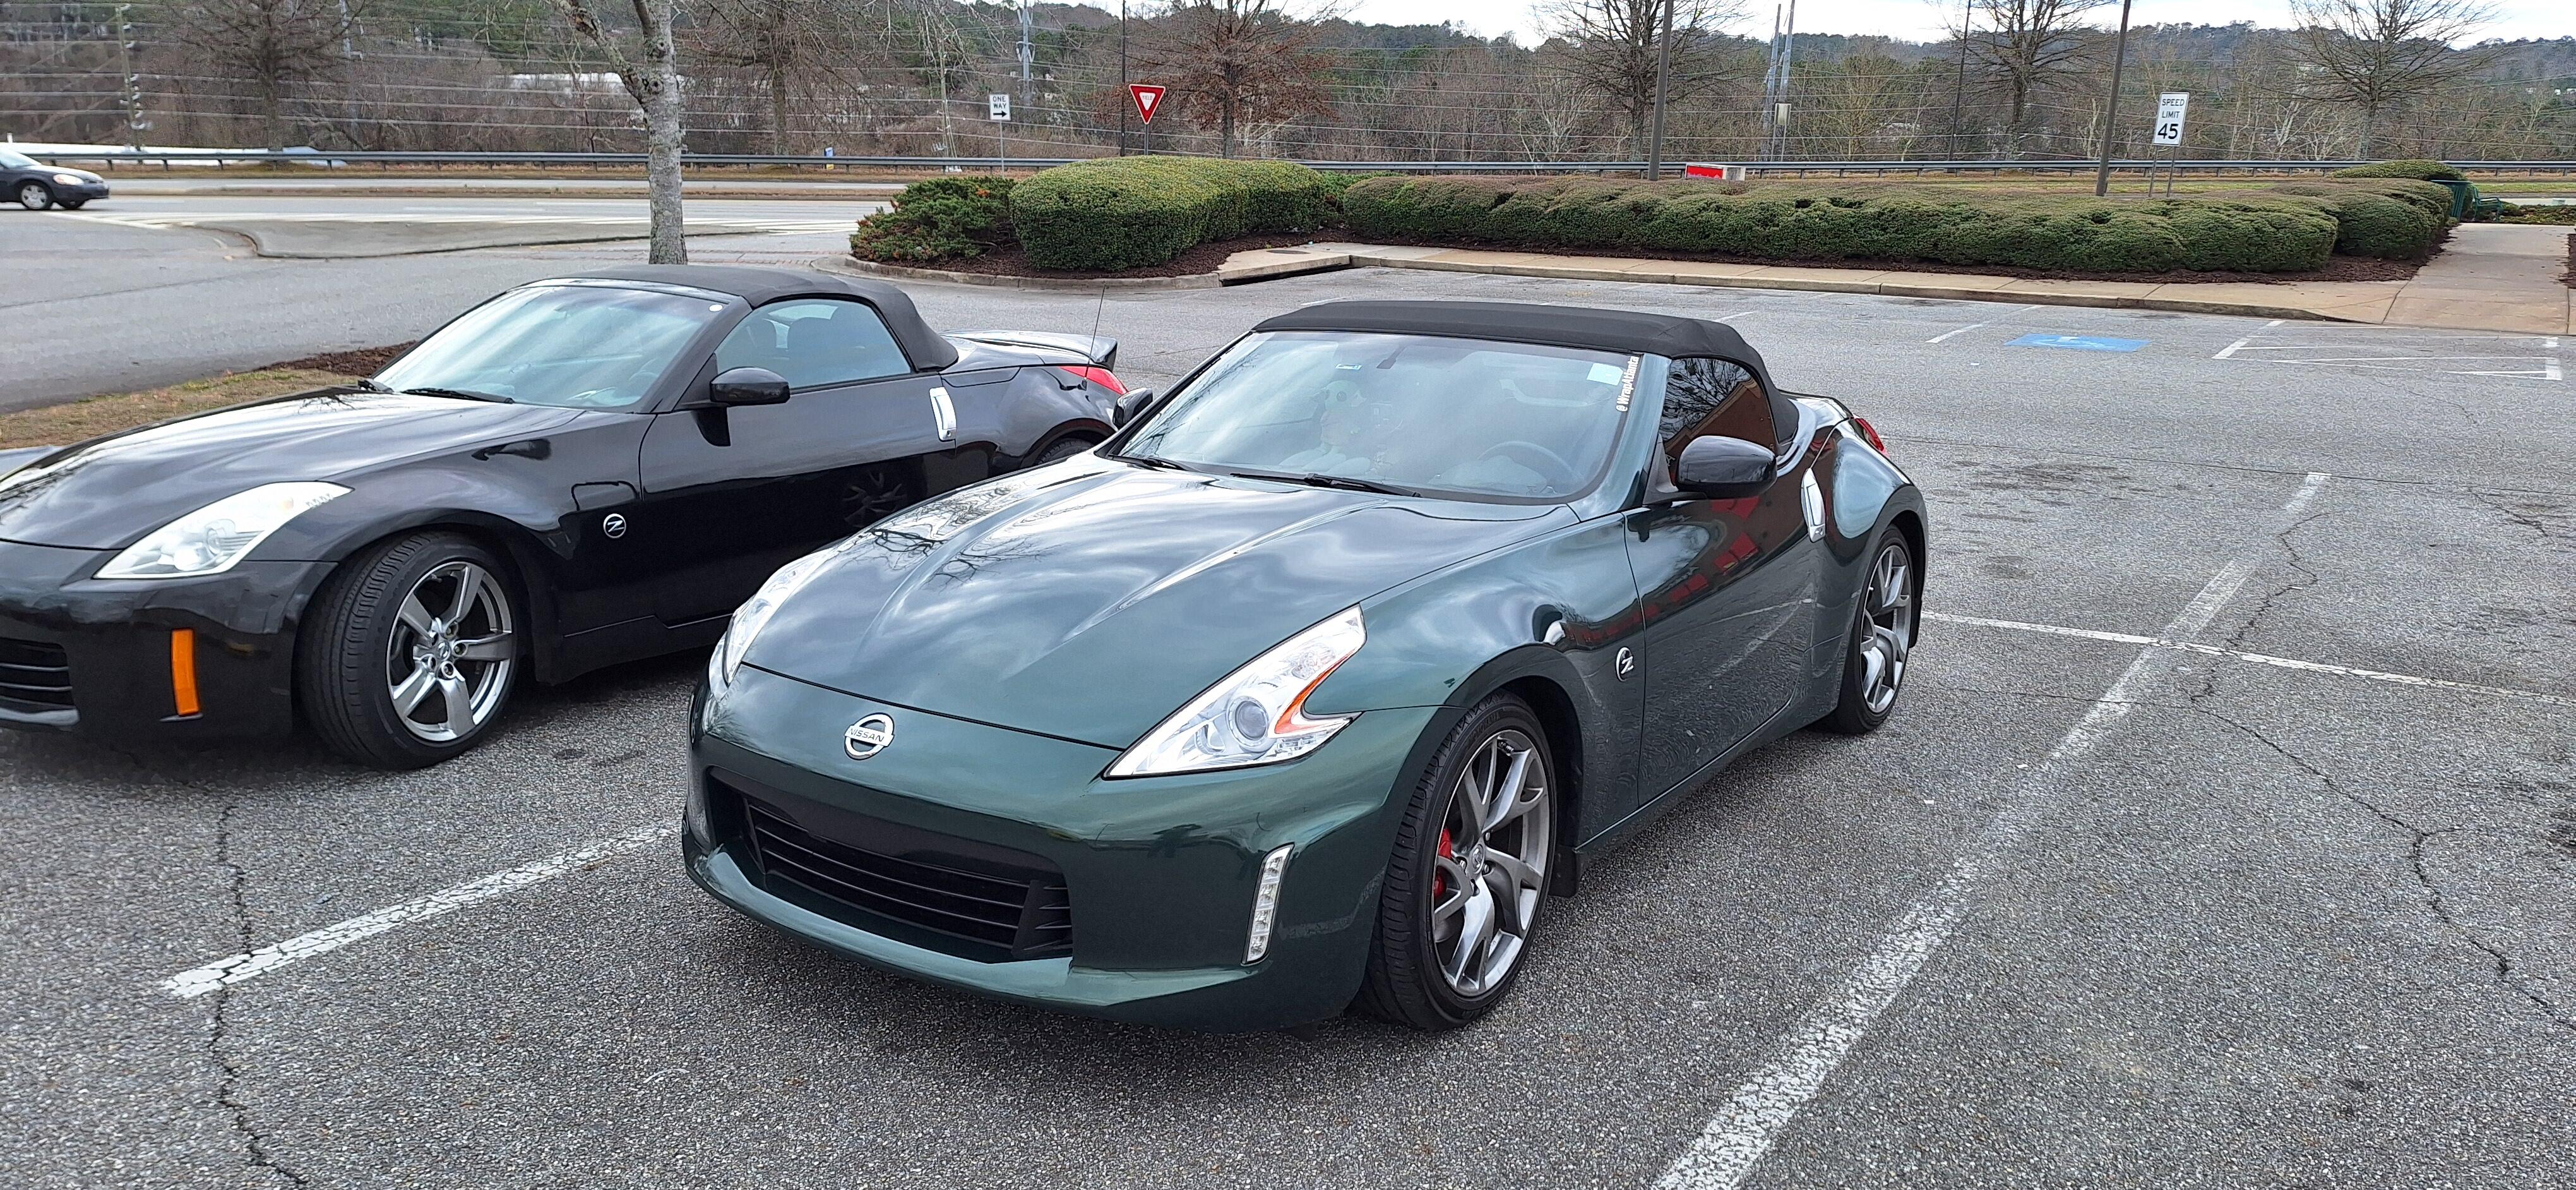
The Georgia Z Club held a Gumball Rally in North Georgia today. There was a pretty good showing, too. These are the basic rules: There will be directions that will NOT be straight forward. Those directions may or may not be correct. There will be clues to things to identify during the drive. There will be a prize for whomever provides the most correct answers to said clues. The tiebreaker will be the total distance of the route. (Note: if you take a wrong turn, deduct the mileage from the total.) A navigator is not mandatory but is highly recommended. Just because you see someone else coming from the opposite direction, it doesn't mean you are going the wrong way. They could be going the wrong way. If you see a sign that says "Welcome to Tennessee", you are lost. If you see a sign that says "Welcome to Florida", you are REALLY lost. The club will not send out search parties for those of you who are lost or REALLY lost. Speed doesn't win. Accuracy does.


 3 points
 -
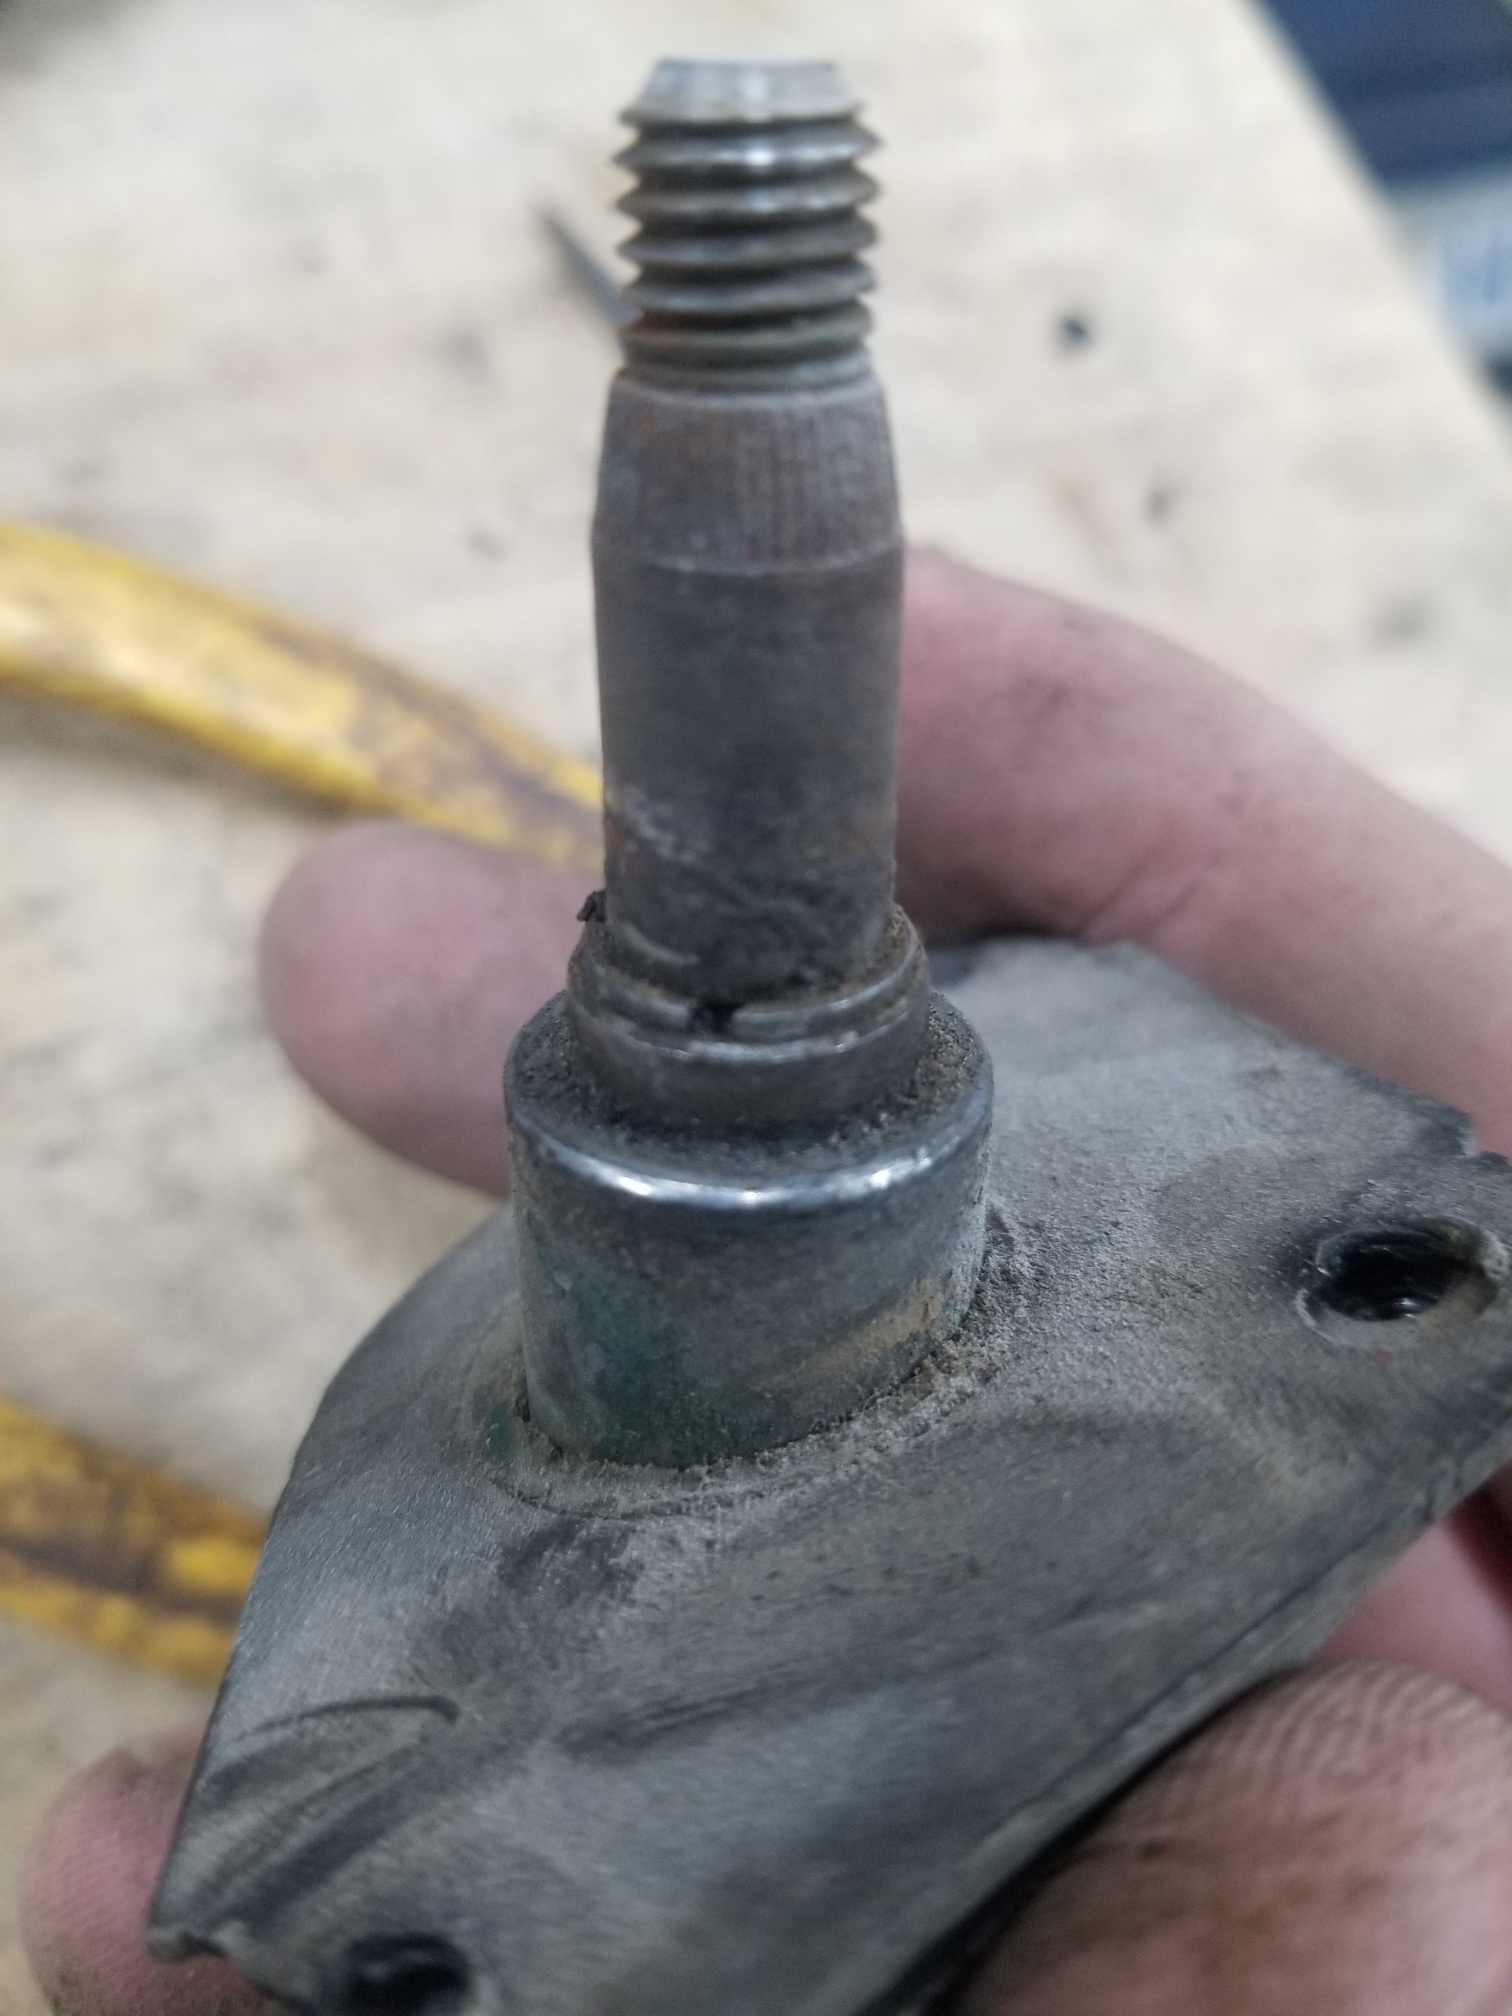
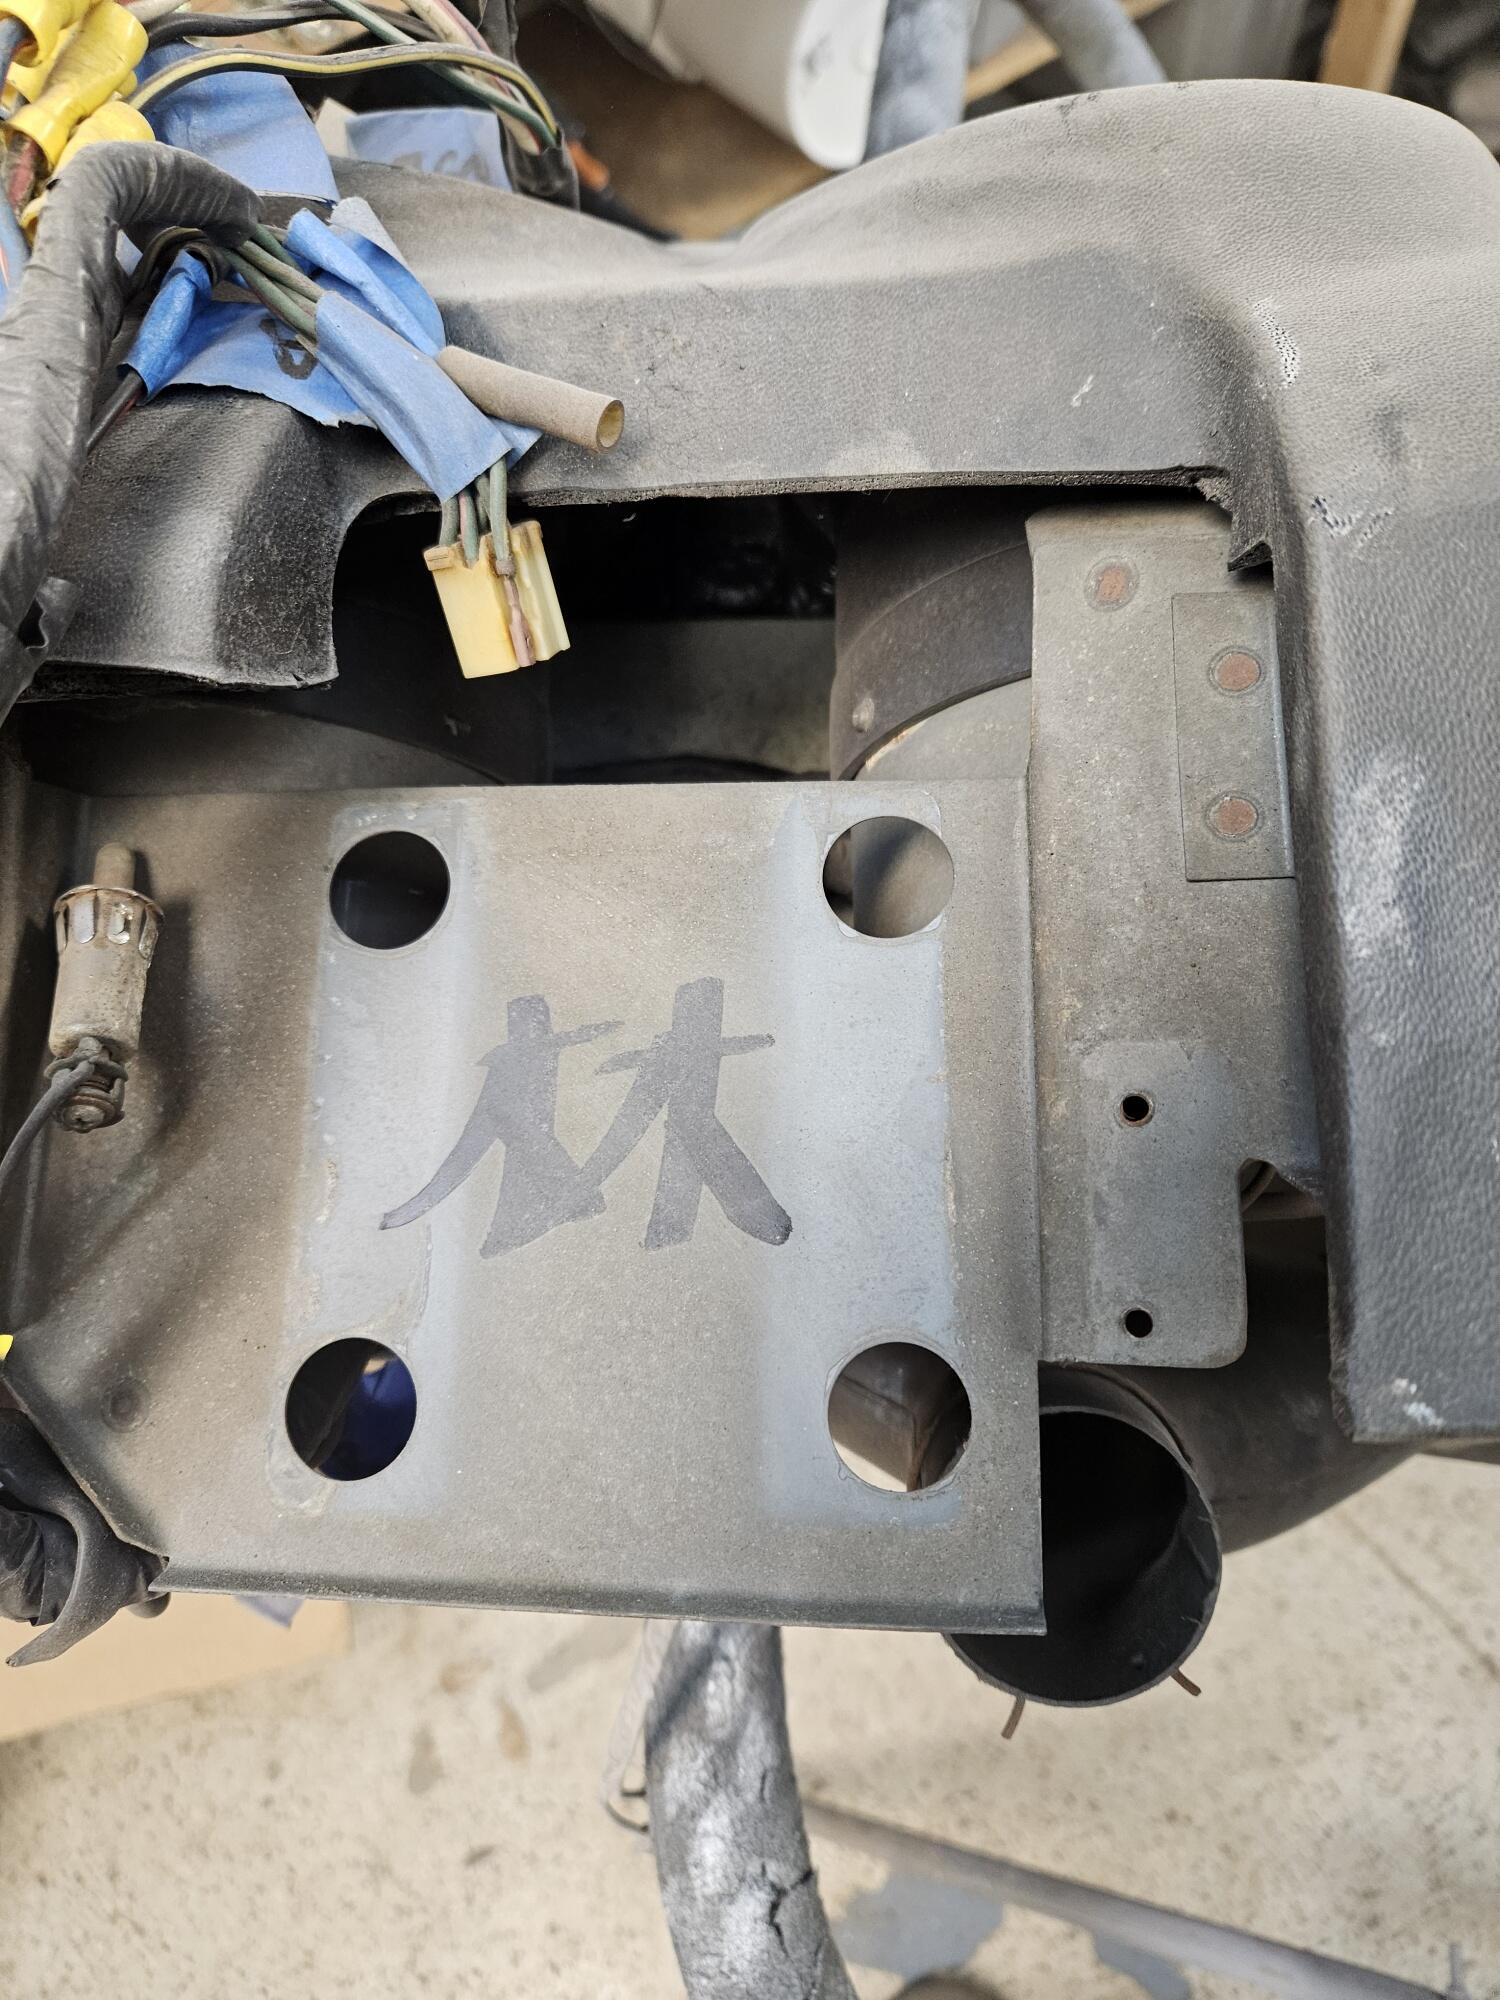
2 pointsThe bolt size problem is well-discussed on other forums. In principle, the clamping force of the bolts does not depend on the space around them, and the ring gear should never move on the carrier once clamped down. But people still use sleeves to take up the extra space. I can't remember which has which but it sounds like you're saying that your carrier has 12mm holes. By the words in the various discussions you should be able to use a ring gear with 10mm bolts. Put these words in to Google and a bunch of Hybridz threads will come up. You'll find links to sleeves/spacers if you want to go that route. The diff shop might have some opinions too, I'd guess. site:hybridz.org 10mm 12mm differential carrier2 points
-
1 pointNice work on the crimping/heat shrink. For the switch lighting: If you want the lights to dim, use the red/blue wire for the dash lights. You can put in jumper harnesses at the gauges. If you don't want them to dim, put in a jumper harness between the dash and body harness where you see a green/white wire. Have inline fuses before you get to the door. (I hope you have inline fuses for the power lock circuits, too.) That way if the wires get chafed, you pop the fuse and don't take out your running lights & gauge lights. For the horn/lights: As the directions say, use relays. The coil for horn relay in the Z is grounded by the horn button. You could put ground the 87 pin of the relay and have the 30 pin going to the horn relay on the same pin as the green/black wire. To flash the lights, if you use method 2 above, you could add a branch of the wire from the jumper harness to the 30 pin of the second relay. You would need 12VDC on the 87 pin. (Don't understand the numbers? Look here: https://fiddlingwithzcars.wordpress.com/2012/12/22/relays-simplified/) If you want the third brake light to flash when you are making a right turn, that works. If you don't understand what I'm saying, stand behind your car while someone is operating the turn signals and pressing the brakes. (The car needs to be in ON to see this.) 😬 There are two possible ways I can think of off the top of my head: Use wires coming off both turn signals with diodes to go to the third light. Side benefit, the light will flash with your hazards. Intercept the brake light before it gets to the turn signal switch and run a wire back for the third light.1 point
-
1 point@Zed Head thank you. For some reason, none of those forums came up when I was researching earlier. Sounds like that is what will need to be done. I found a website that said it had the new gears in stock (megazip) although I don't necessarily believe them. I reached out nonetheless. If it doesn't work out then I'll have to chance it with some used gears. Thank you!1 point
-
1 point
-
1 pointJust Dashes has been in business a long time and has many happy customers. I see that the before state of your dash was not that bad - the cracks are not very large. When the original pad has huge, deep cracks and has "expanded" in size, I think repairing it by grinding down the old foam and layering new on top is not a great idea. Here is a video from their website.1 point
-
We should not conflate the two distinctly different actions related to changing a specific Part within a Model, and changing the Model. Changing a part and/or associated Part Number within a currently produced Model can be done for many reasons. The part may have been improved but retains the same form, fit and function. The part supplier may have been changed. A newer part with the same form, fit and function can supersede an older part number on an older model to consolidate or replenish Service & Repair parts inventory None of these individual part changes, change the current Model. Manufactures change the Model, as they introduce the next year’s New and Improved Model. When Nissan changed their Model, they issued Technical Service Bulletins documenting what changes they made between the Old and the New model. With the introduction of new model, they issued Introductory Service Bulletins, New Technical Service Manuals in support of the new model and updated Technician Training Materials.1 point
-
1 point
-
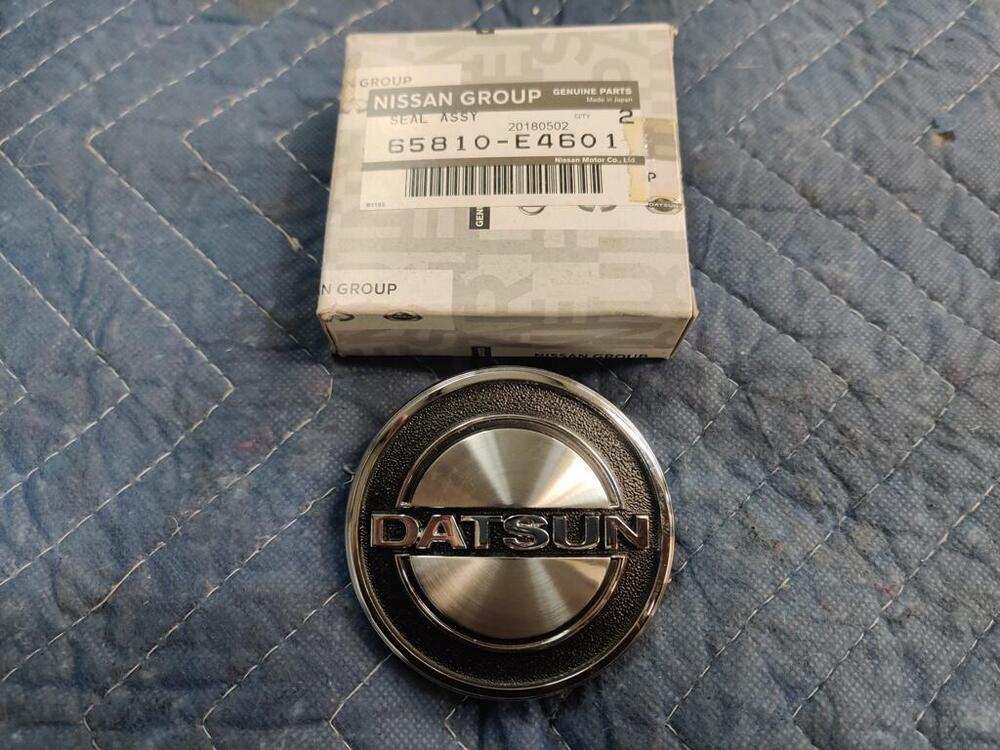
1 pointThey all come from JDM. Jay is the only one to go to the expense and bother to reproduce cloth braded coolant, booster and valve cover breather hoses.1 point
-
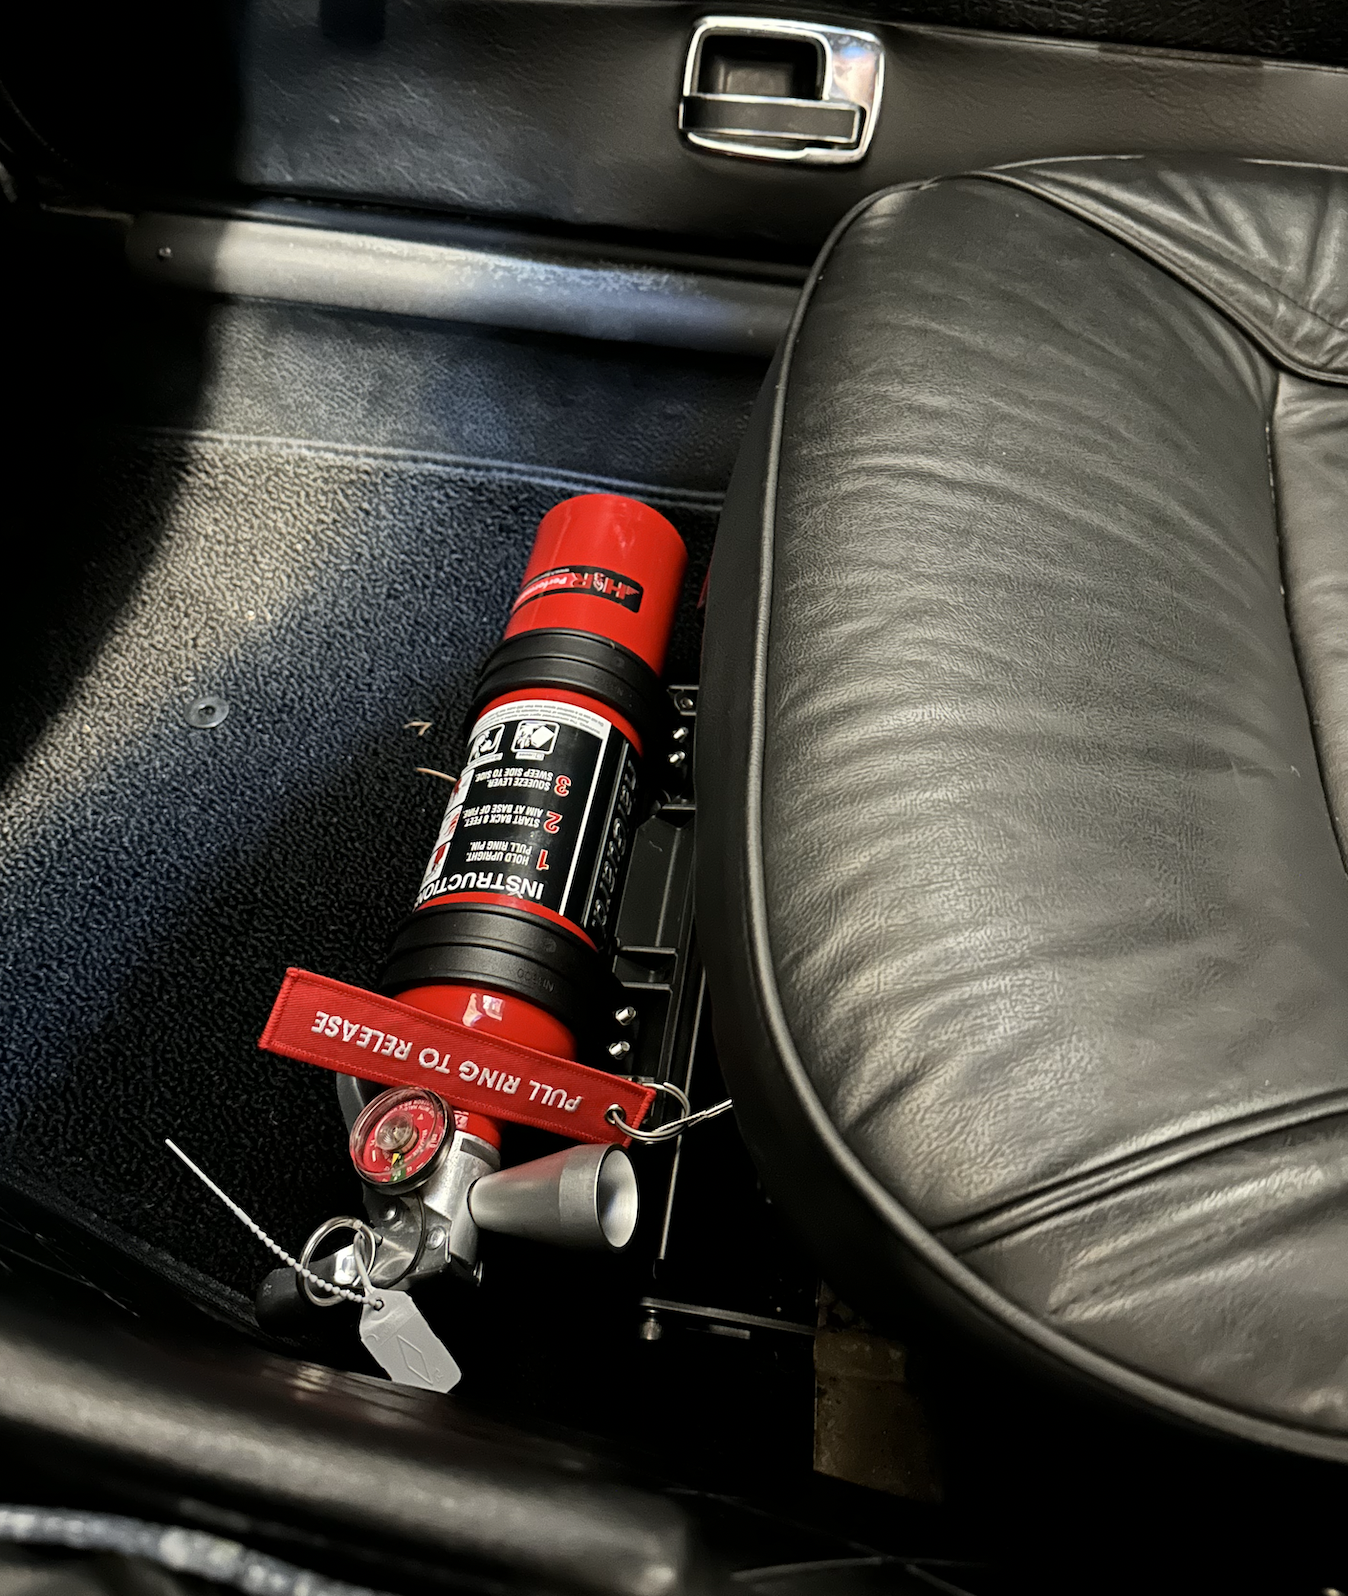
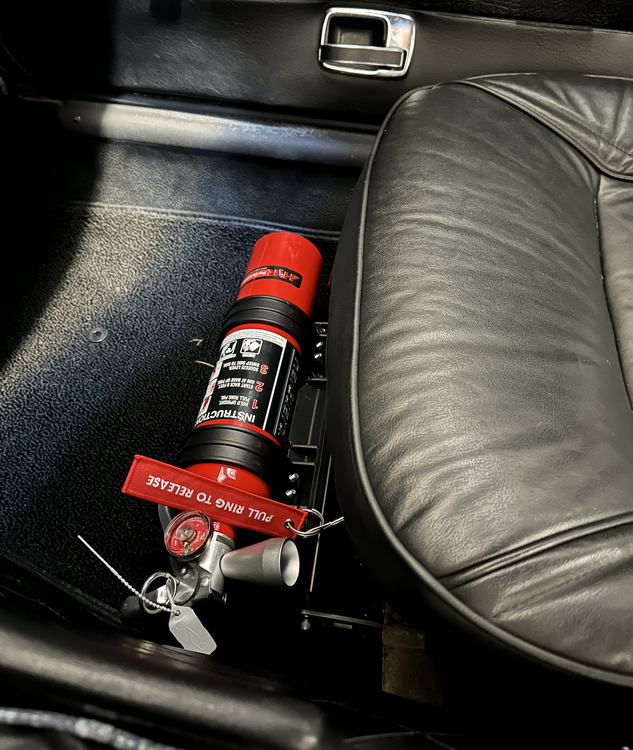
I mounted a fire extinguisher! Oh, and I also replaced the *ancient* spare tire.
 1 point
 -
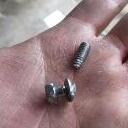
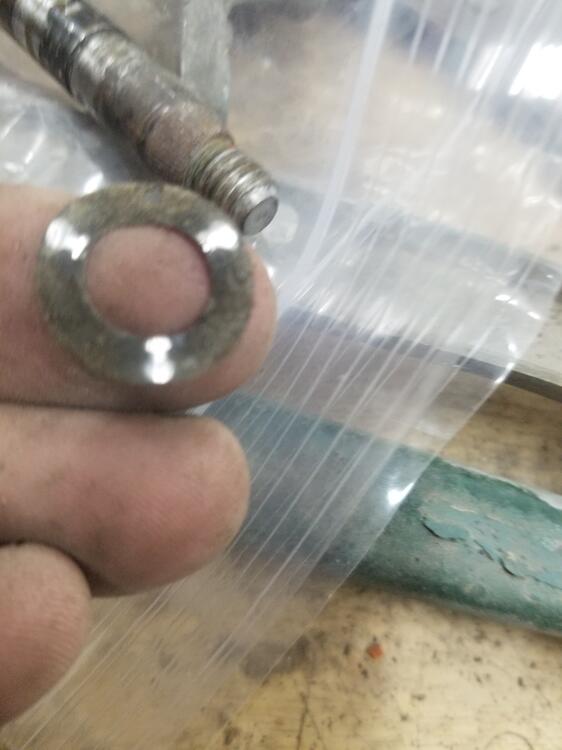
1 pointOn the wiper side of the pivot there is a tiny spring steel ring. Like a little bull ring. I need to find a source for these. Some of them were rusted away When you pull the wiper spindle out of the base there is a wavy washer at the bottom to prevent wear


 1 point
 -
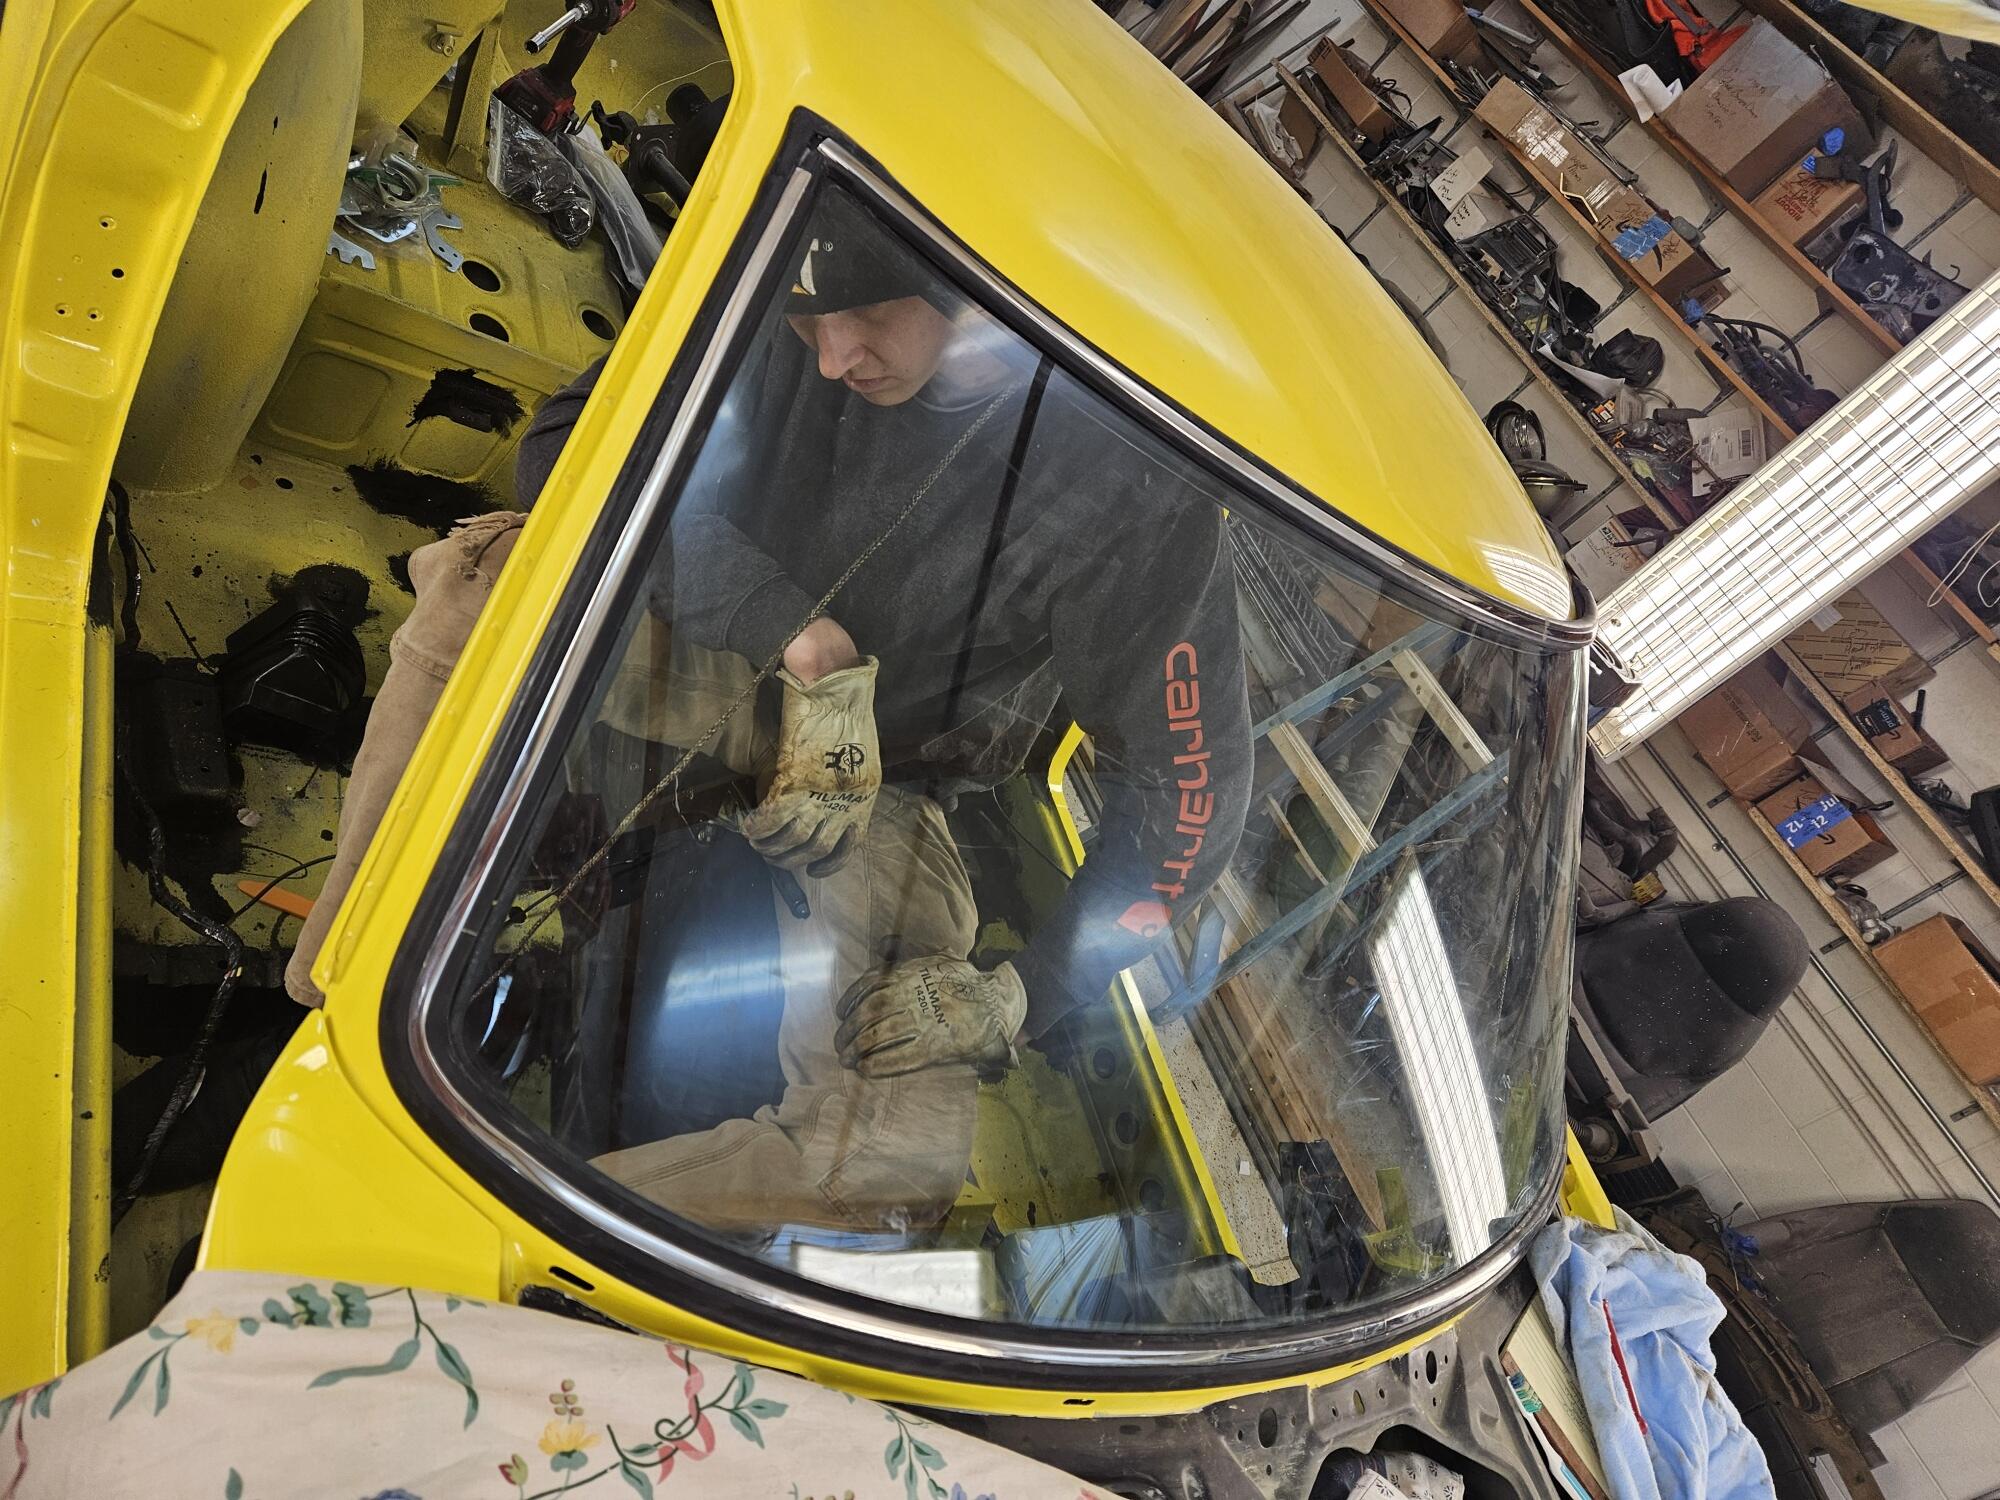
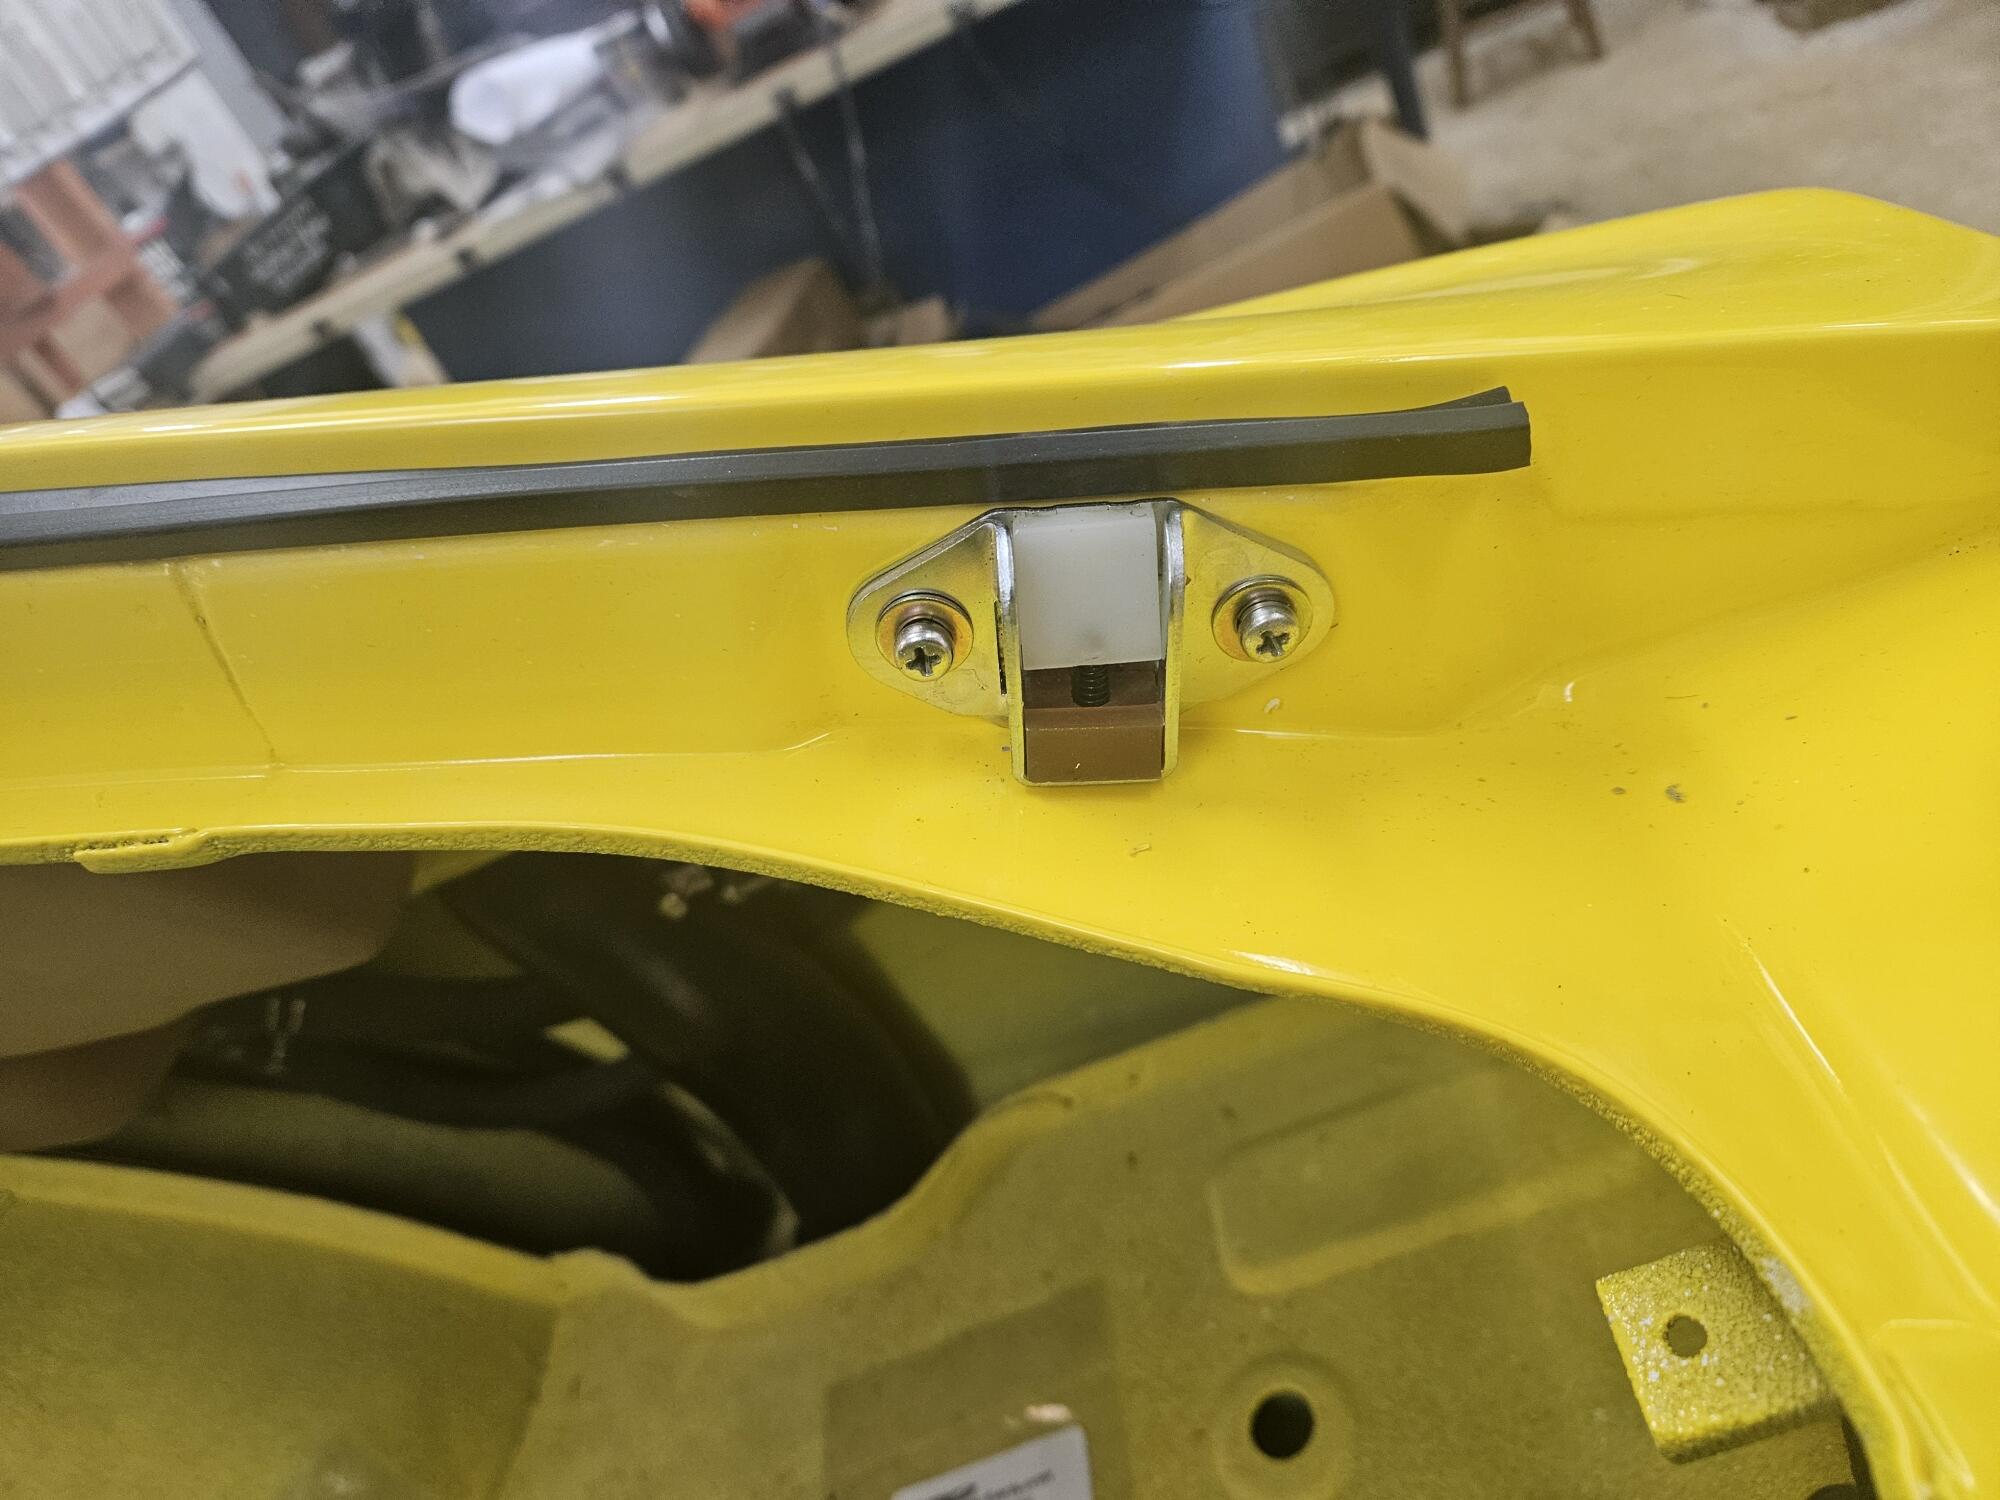
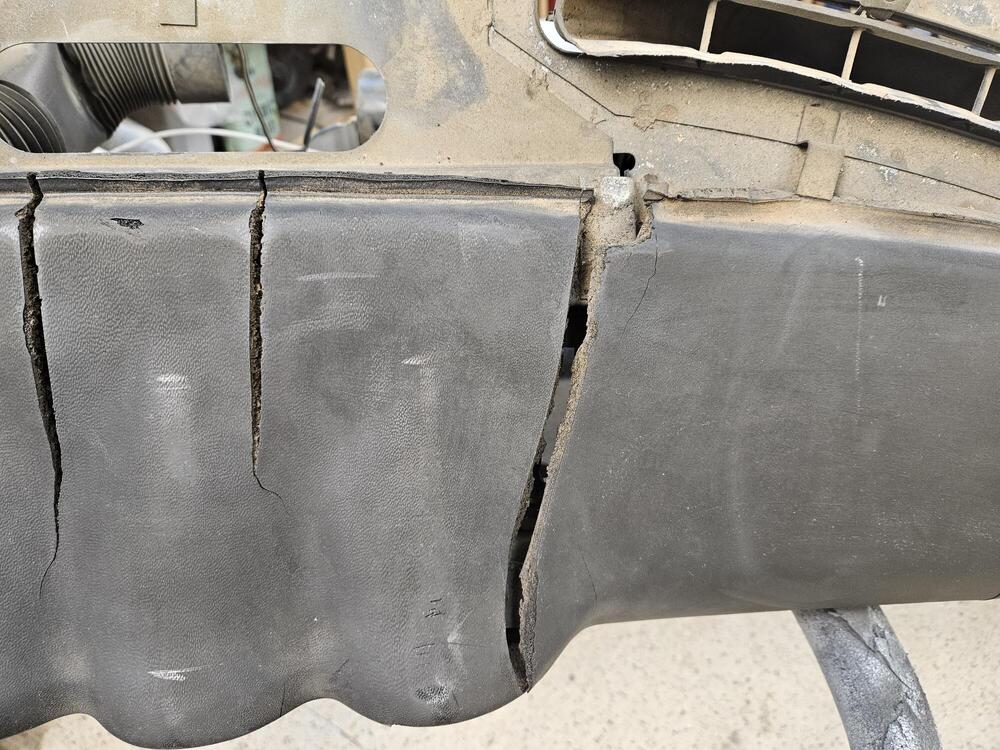
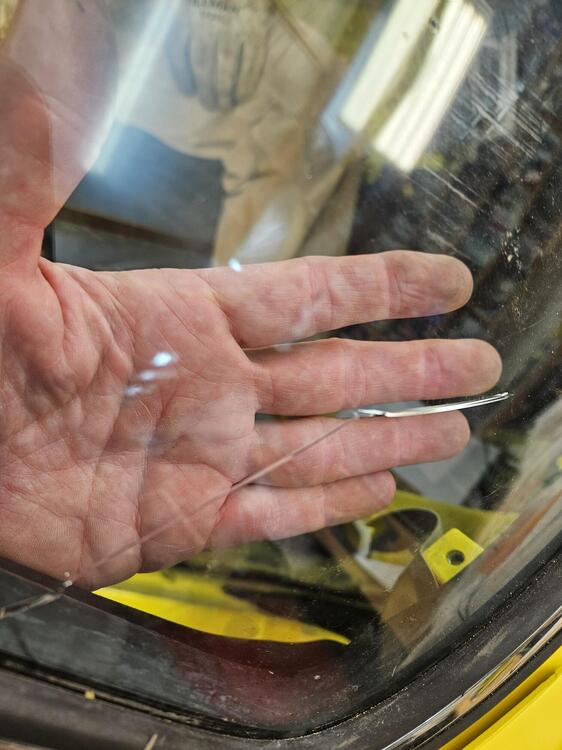
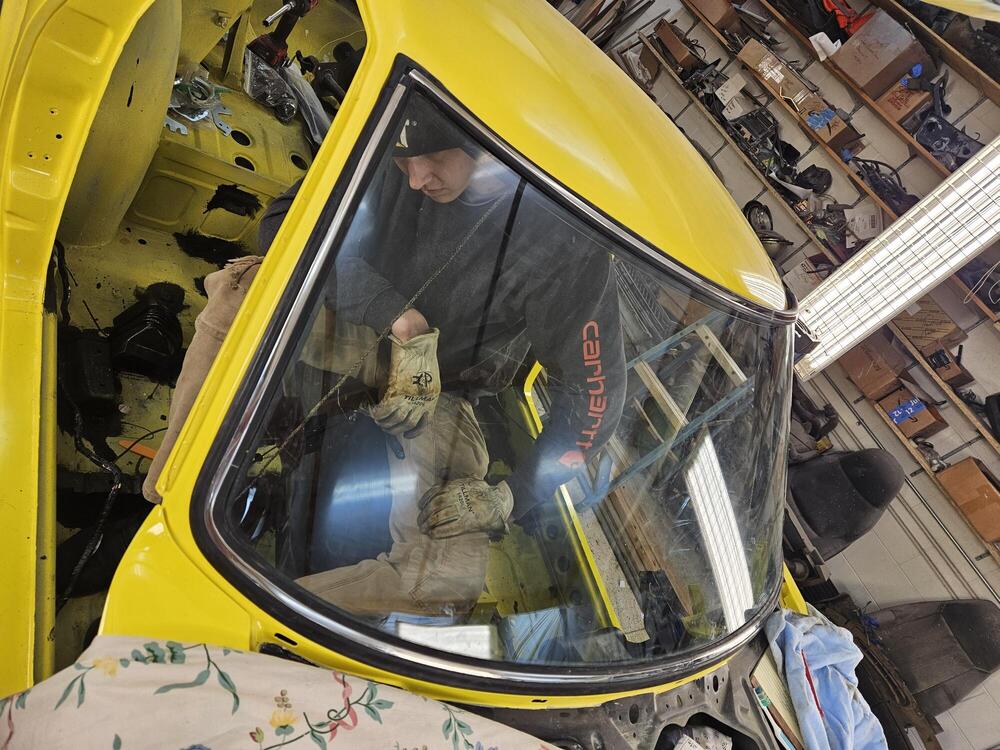
0 pointsWas a frustrating day in the shop today! Can't work on the heater because I'm waiting on a valve. Can't install the fender because the weather strip I had for fender sealing panel is not thick enough. I also need to touch up the engine bay paint. Can't install the hatch because I am gluing the hatch boots in... on and on So I piddled some I did get the catch down stoppers in. They are available new from Nissan currently I found the bolts for the hatch but two are the wrong finish. So I will need to redo them. I did glue the hinge boots in. I used a black latex caulk. I didn't want to use anything more tenacious in case I need to get them out I pulled the dash out and was going to clean it up. Wow, is it rough!! I guess I will see about getting a new dash. Where is the best place to source the reproduction dashes? I had thought I would try repairing this one but I didn't realize it was totally broken through in a couple of places The real pisser of the day was the windshield!!! We had it most of the way in, up around the passenger top corner and up to the other top corner and I pushed on the lower passenger corner to seat it and broke it... Zcar depot has them but the freight quote was like $400+ I will call my local auto glass company and see if they can get one. I plan on seeing if they will install it too. We'll see what they say. Many times they won't guarantee they won't break it. I obviously can break them on my own... All in all, a wizz poor day in the shop!!


 0 points