Leaderboard
-
inline6
 Subscriber
 6Points1,282Posts
 -
conedodger
Free Member5Points12,513Posts -
grannyknot
Free Member5Points5,158Posts -
Patcon
Subscriber4Points11,142Posts


Popular Content
Showing content with the highest reputation on 02/06/2024 in all areas
-
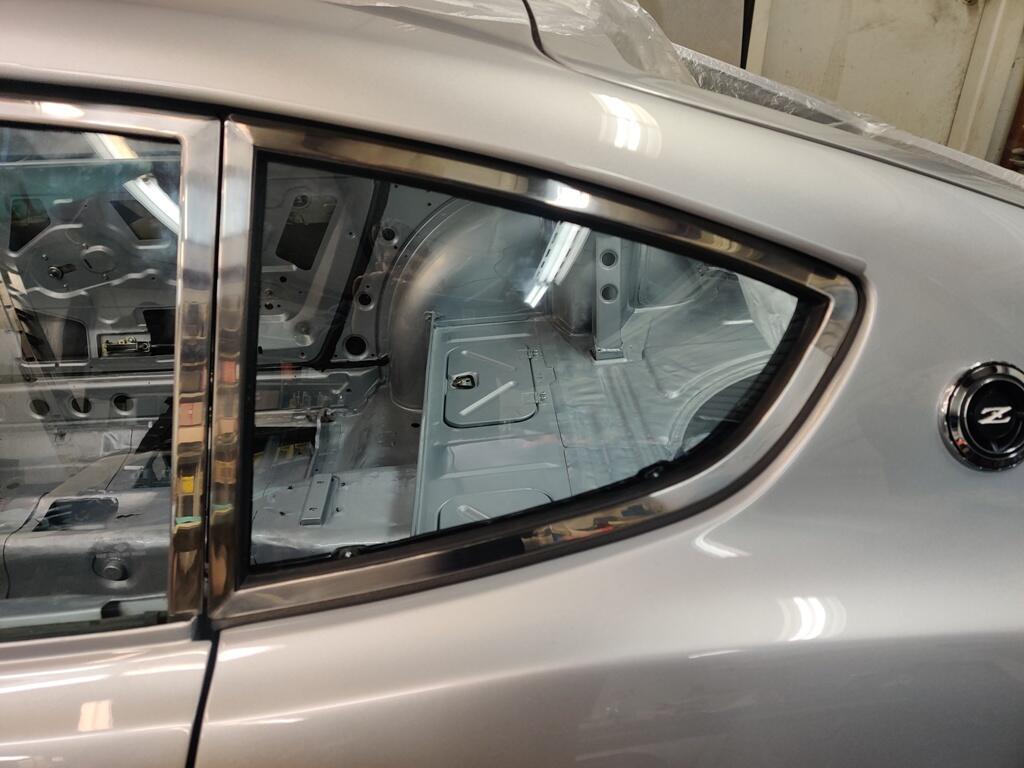
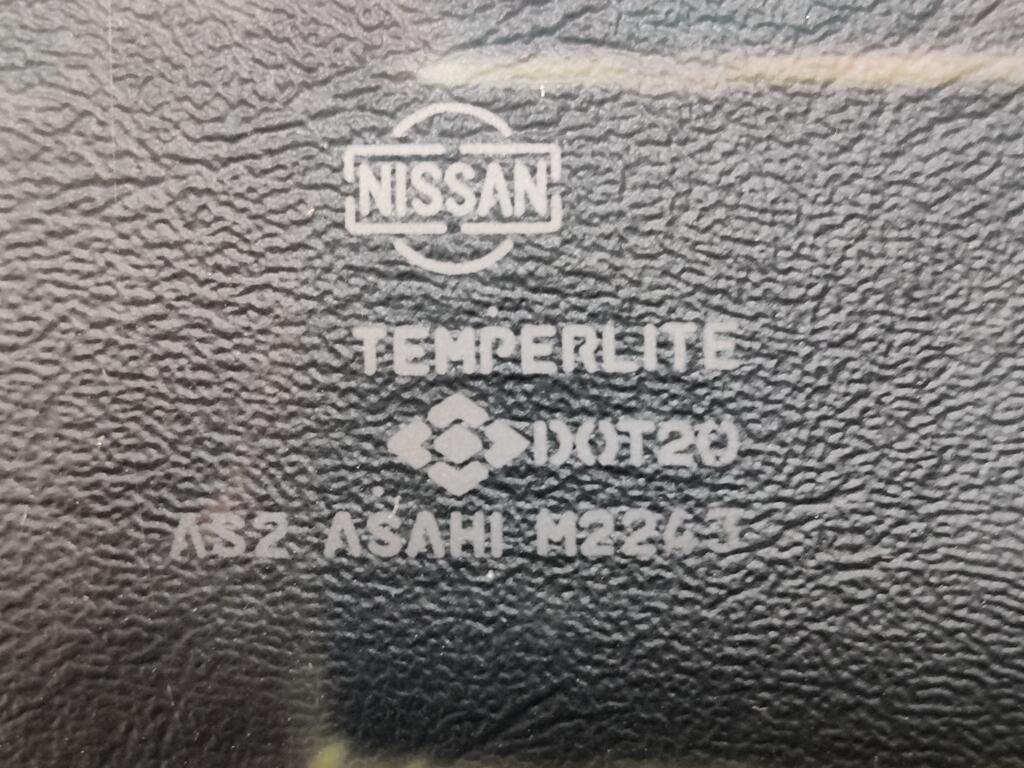
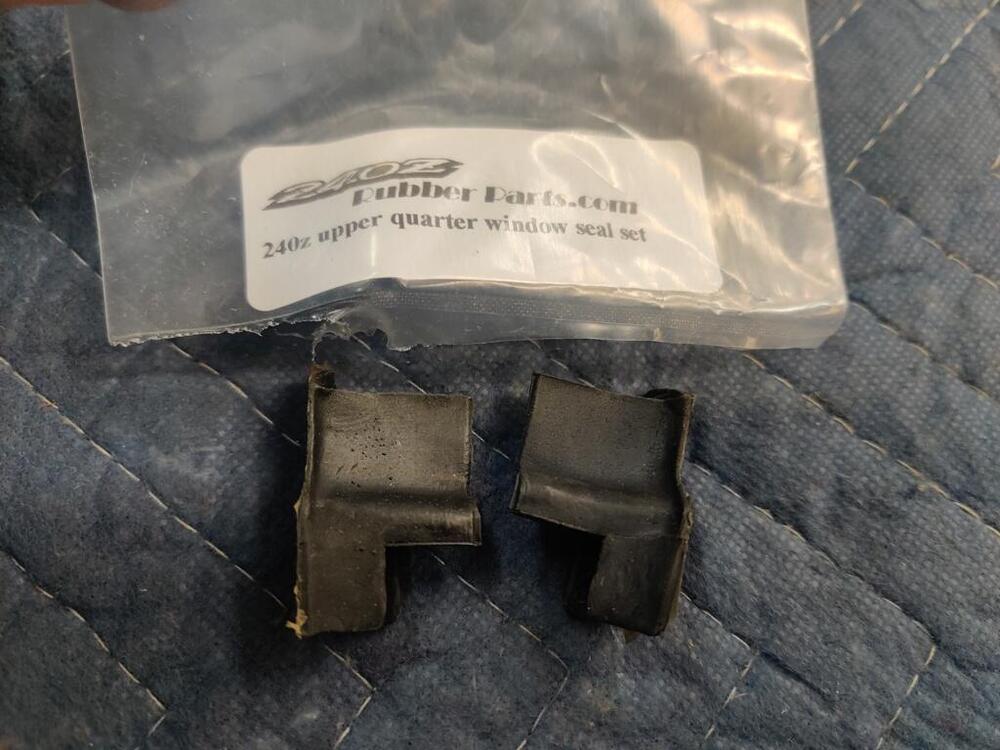
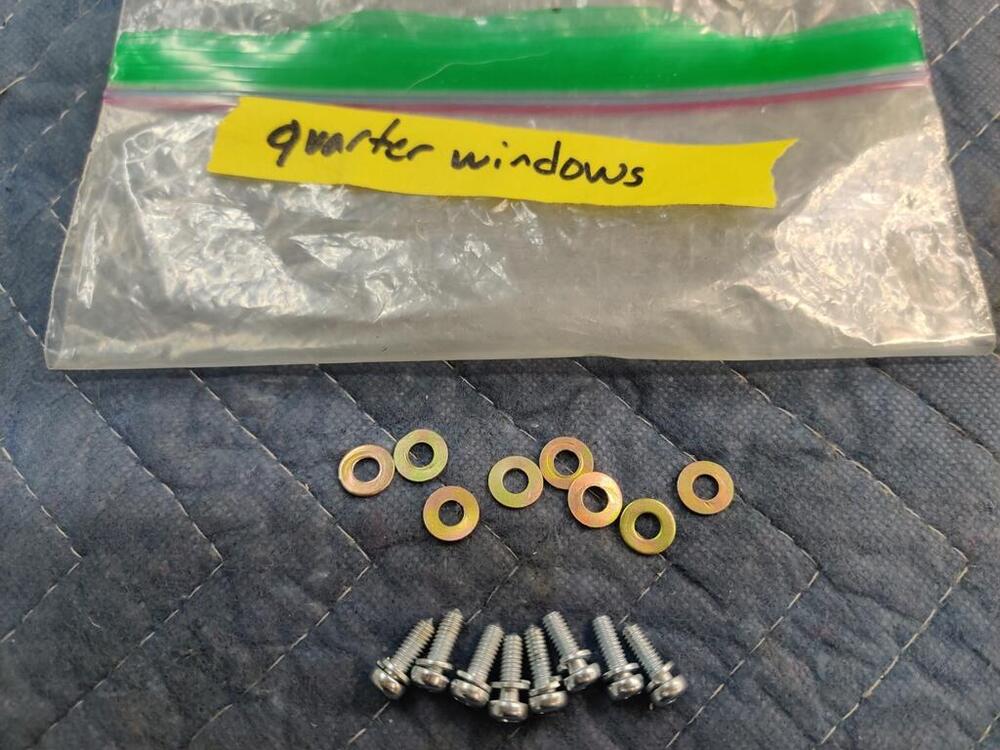
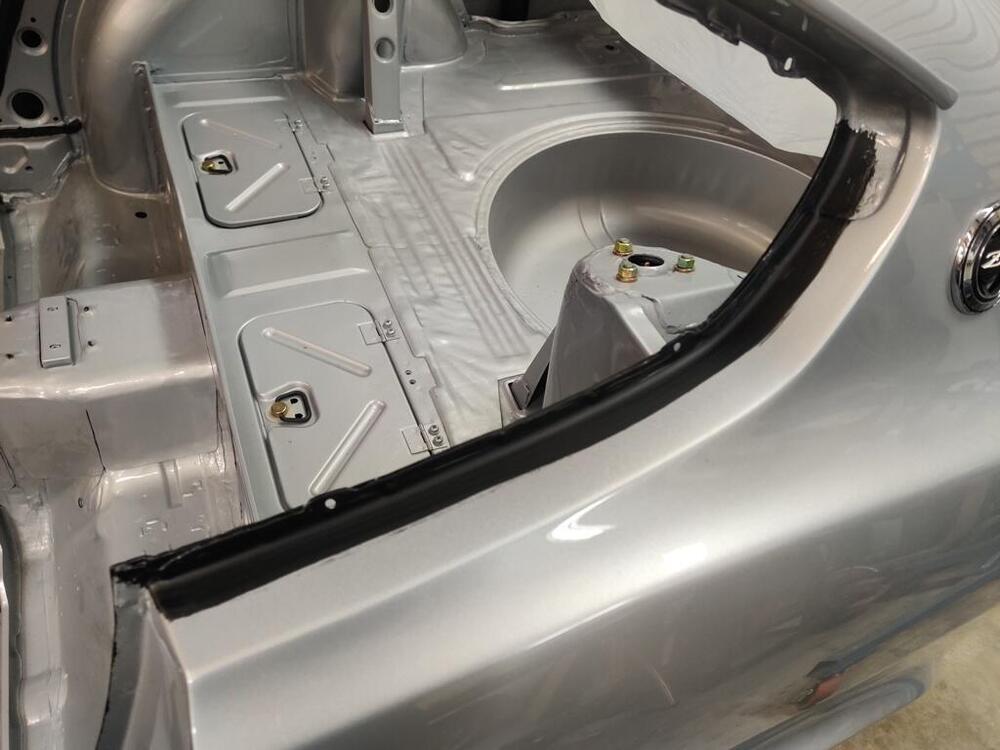
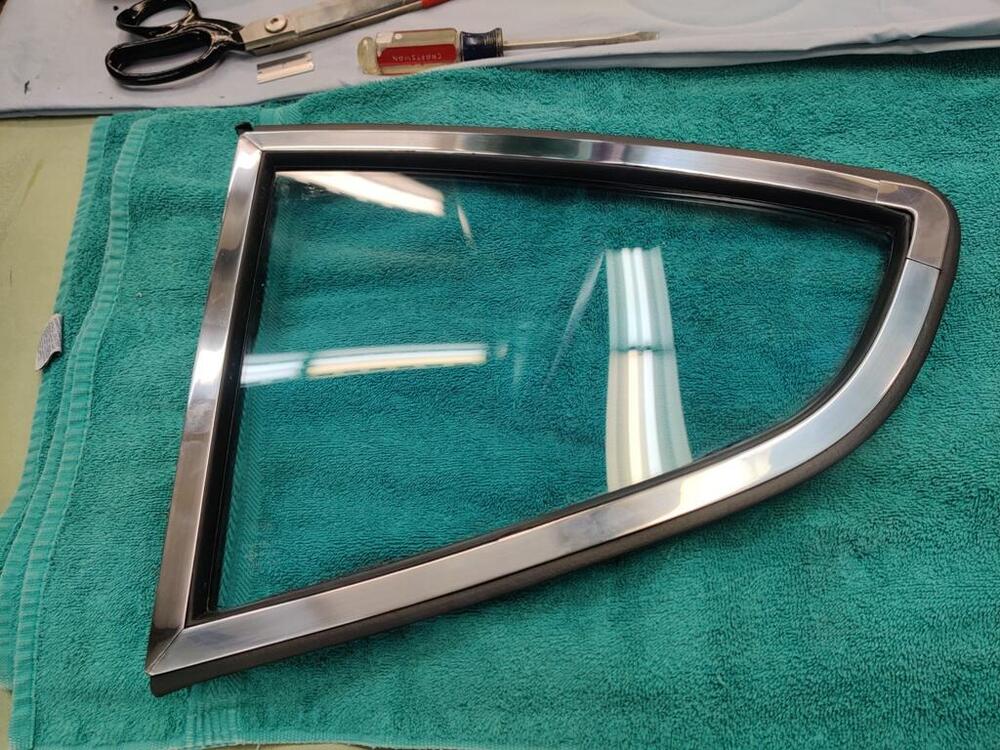
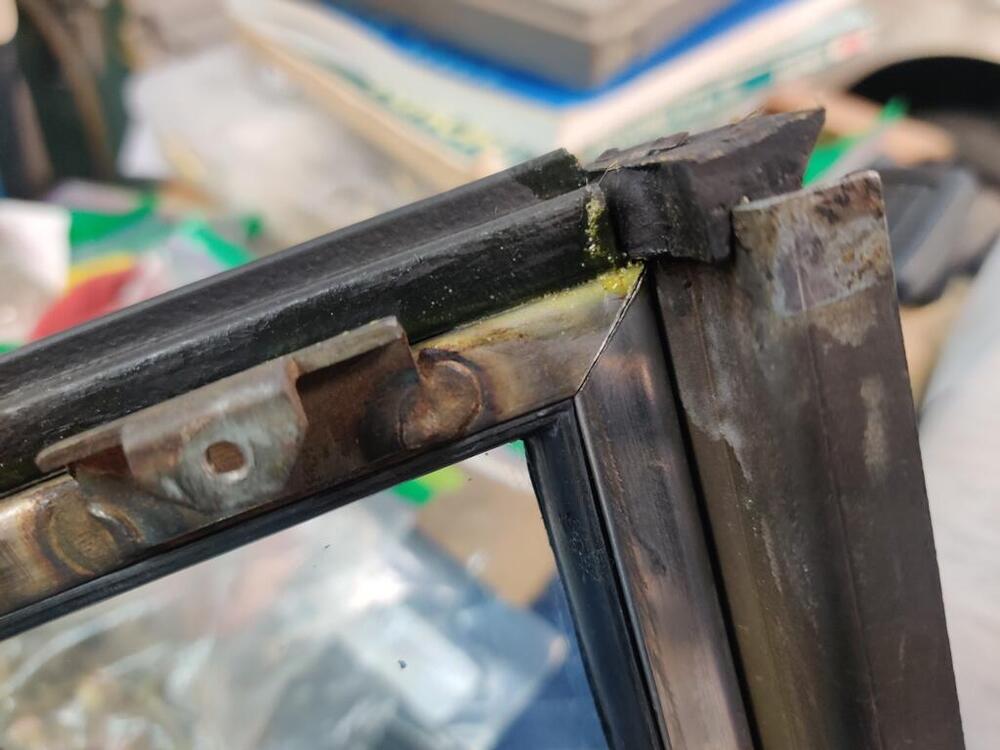
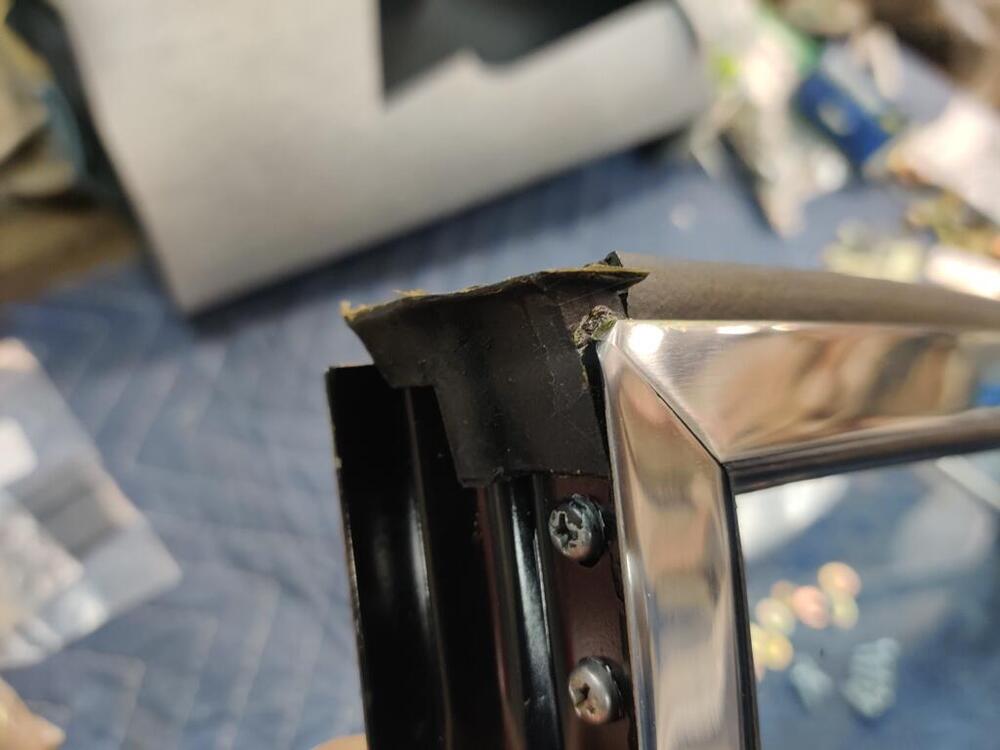
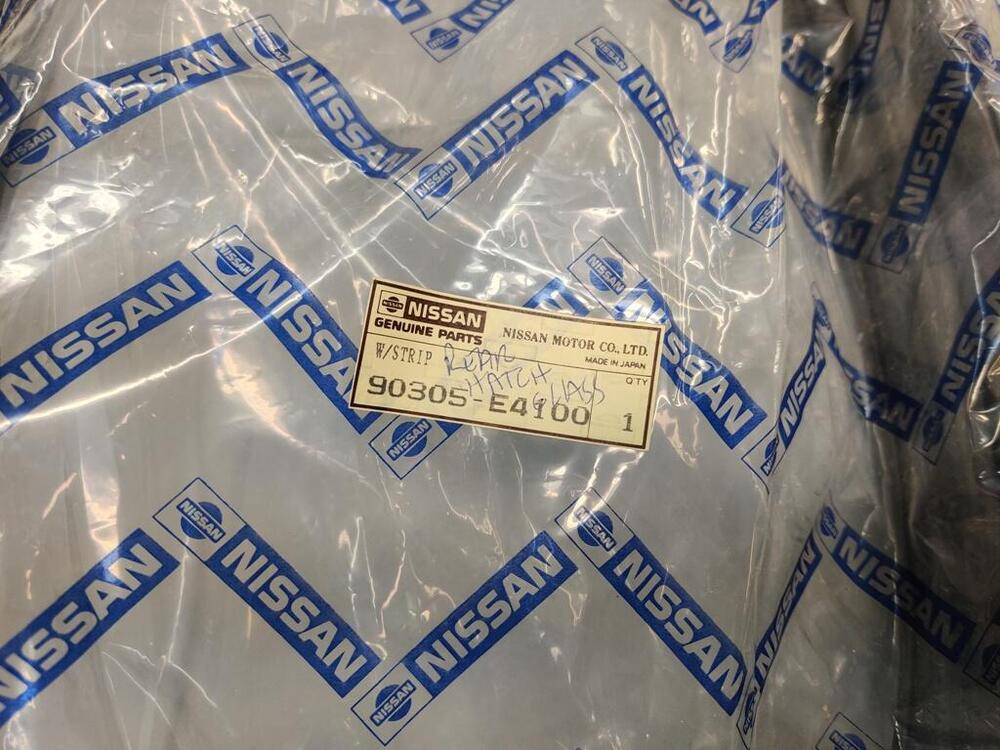
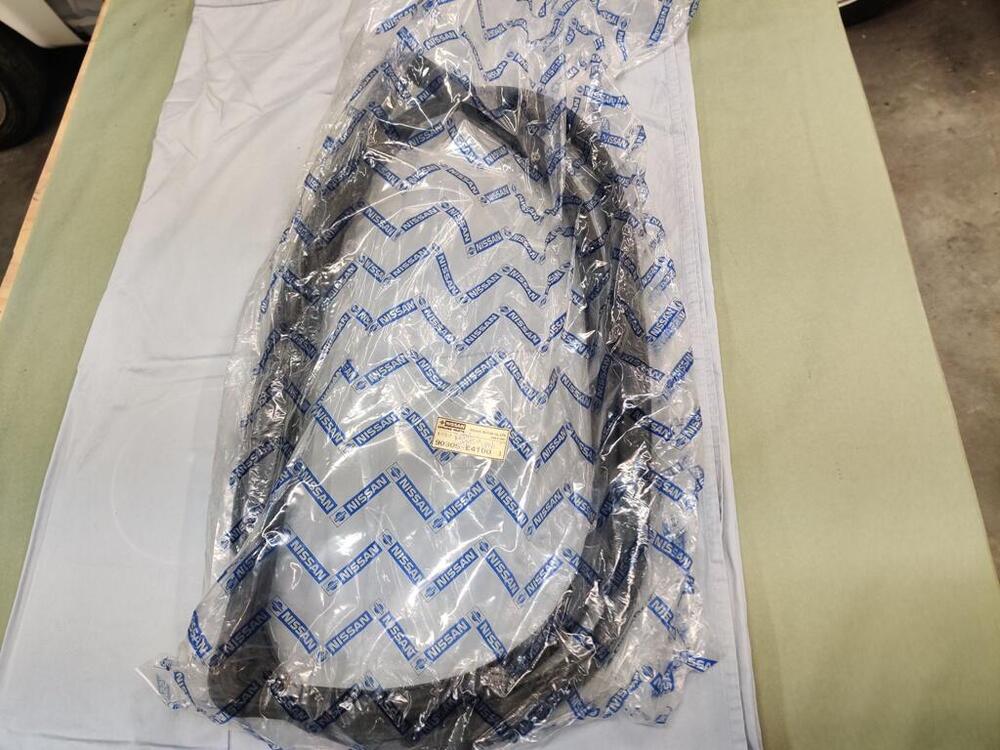
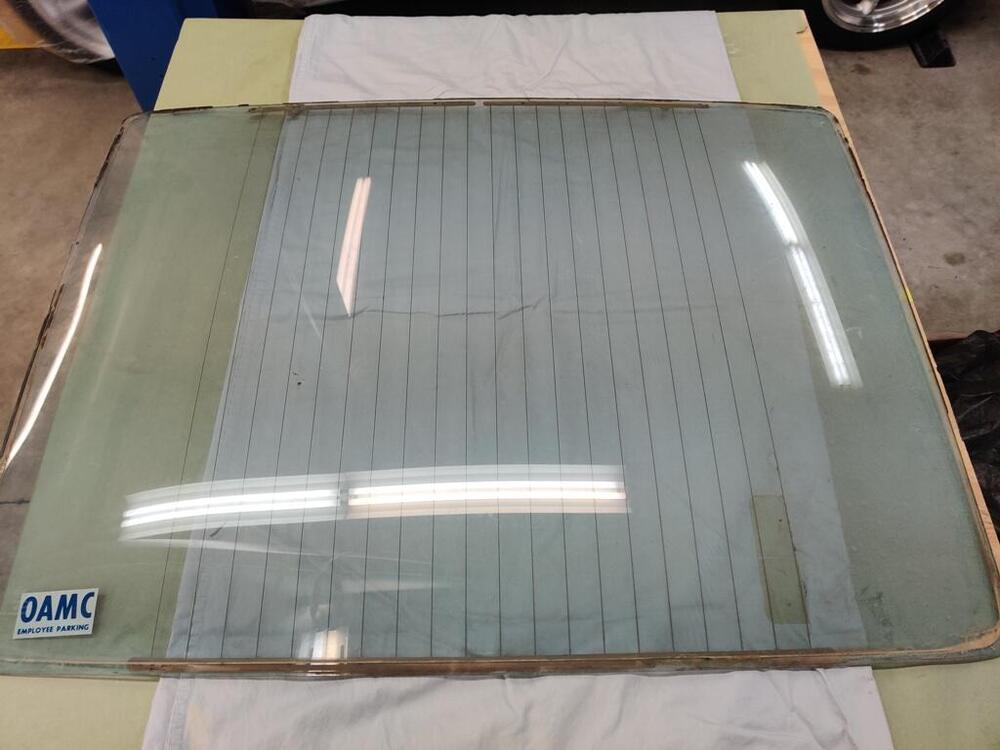
I was able to install the quarter windows this past weekend. I don't have quite enough door gap yet on the left side (last pic). I will let the weather strip that goes between the quarter window and the body compress a bit over a few days, and then attempt again to push it back a bit more away from the door frame. These windows can be difficult to install. I find the best way to do it is to angle the back part of the window out from the fully seated position, and secure the window with the two front screws first. Angling the back of the window out allows a bit more rearward movement. Once the two front screws are in, tighten them to snug while pushing the window back as far as it will go. You may have to push back pretty hard just to get the front bolts to align and thread. After snugging the fronts, push the back of the window inwards and thread the back two bolts in. Then snug those. If still too close to the door, wait a day or two and then loosen the screws, push the quarter window back further and retighten the screws. After I put these in, I shifted over to the rear hatch glass. I actually started cleaning up the wrong one at first. It was a spare that came with the car when I bought it. But, the etching showed July of 71, so I switched to the correct one, which shows May of 1971 (dot above P in TEMPERLITE (month) and S in ASAHI - year. A couple of tips for cleaning windows... Using a window scraper and fresh razor blades is very helpful to get the glass clean of dirt and grime. It will not scratch the glass not matter how aggressive you are with it. I find a razor blade is very effective for removing "rain spots" or other stuck on "hazing" from dried water. You may have to go over it many times, but it is pretty amazing how effective it is. For final cleaning of "hard water deposits" #0000 steel wool is the ticket. Again, the steel wool will not scratch the glass, and it is necessary to remove the final remains of hard water spots. Also, when you are trying to get the inside of the hatch glass that clean, you can't use a razor blade and scraper unless you want to gamble with damaging the defroster lines. Again, using the steel wool, you can go directly over the filaments. It does a great job of getting stuck on crude that cleaning does not remove. Finally, I wrestled with installing the rear hatch weather strip. I did not expect it to be so difficult, but after about an hour I was able to get it on, but was a bit worn out from the effort. 😁 I also made some notable progress with the issues I have been having with the differential. I am looking forward to getting that done, so I can install it and all the things that are being held up by it.


 4 points
 -
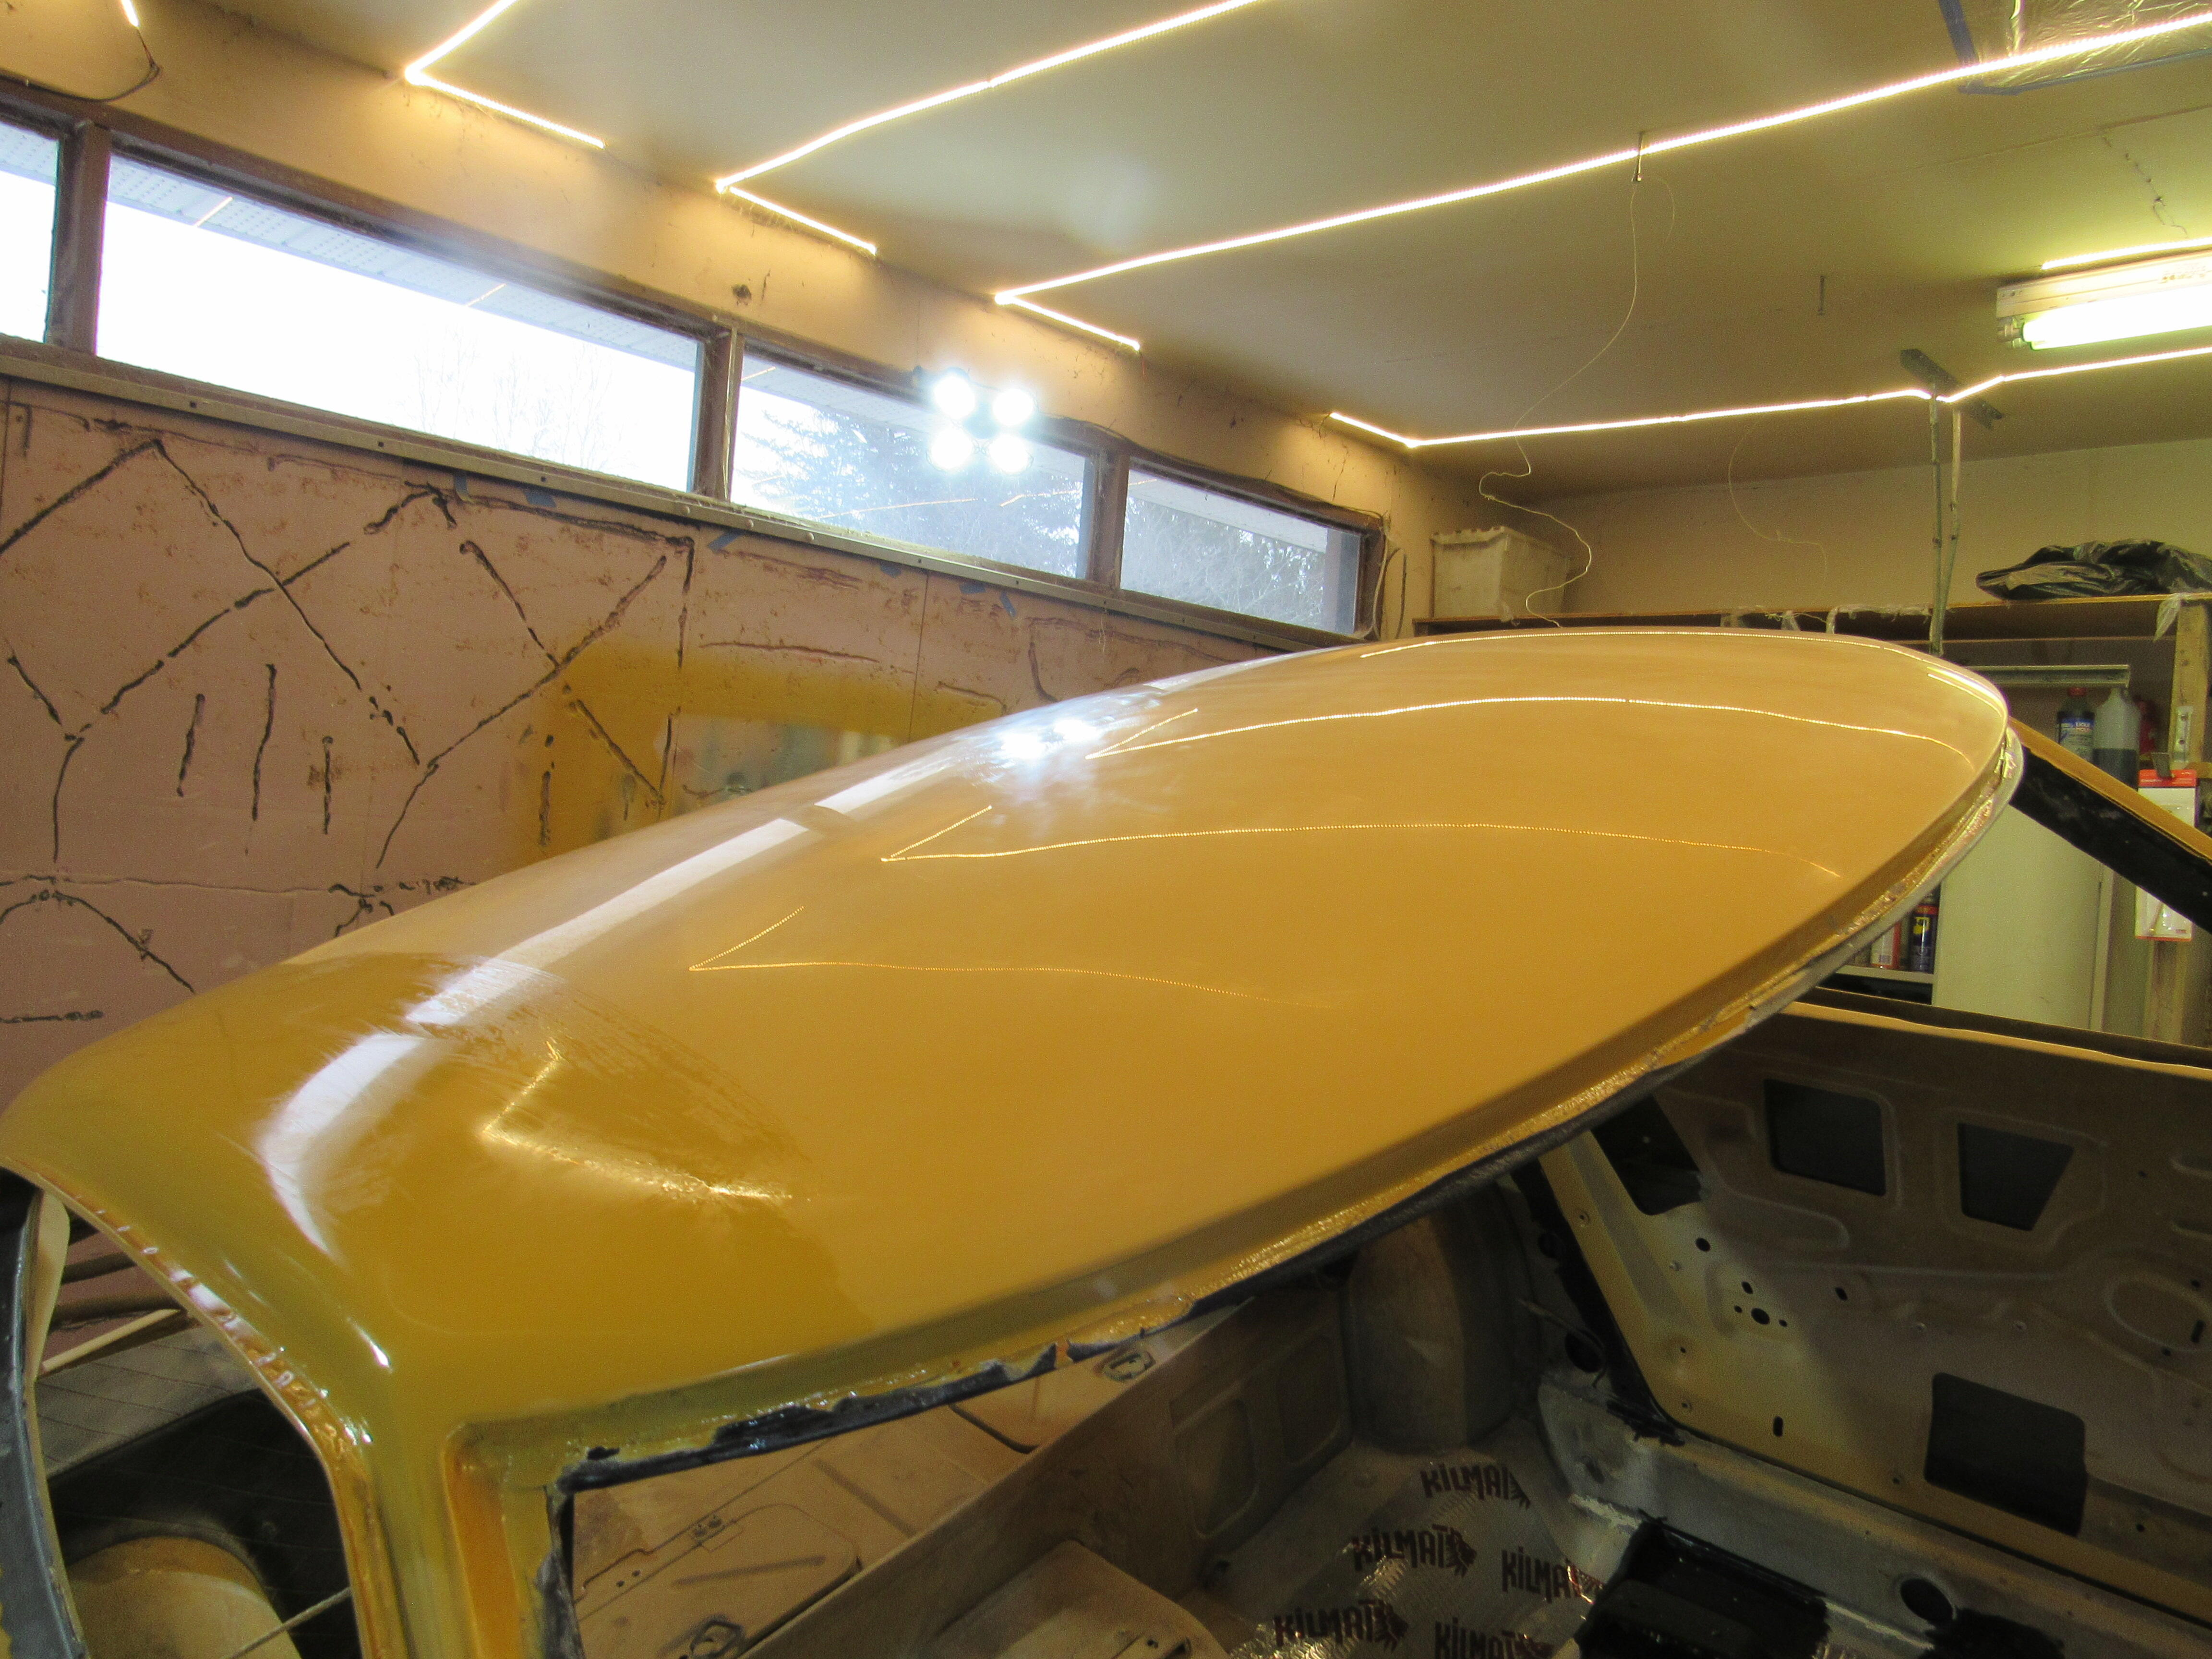
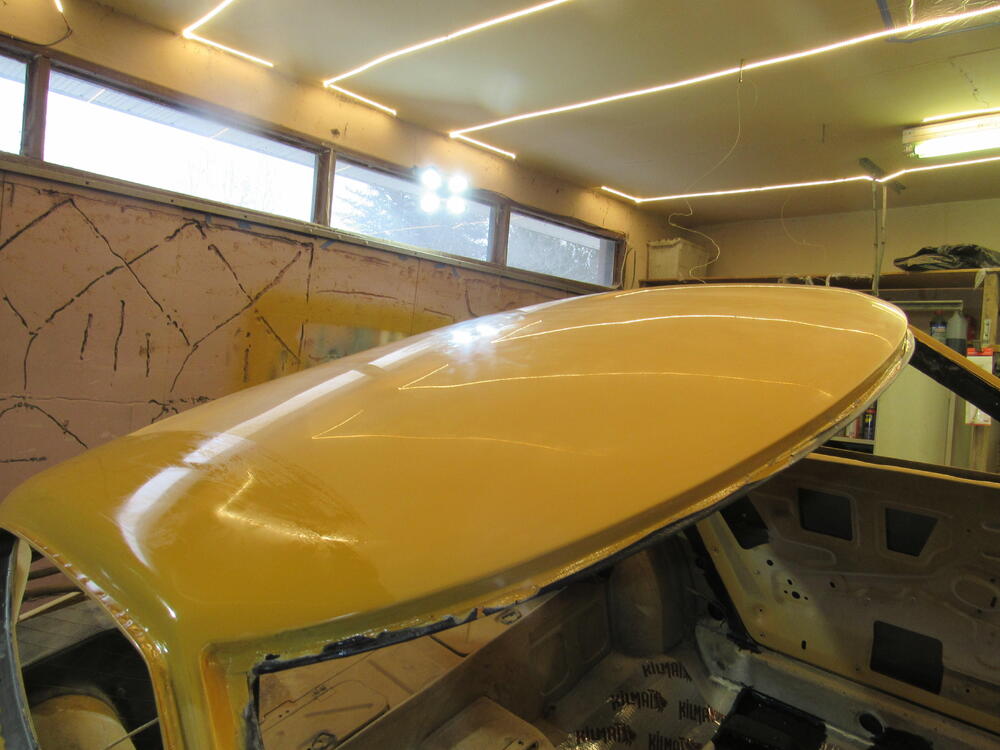
3 pointsBasically hand blocks, a combination hard foam Durablocks and home made hard acrylic blocks, 80 grit up to 600 for the primers then 1200 to 2500 for the clear coat. The first sanding of the clear coat with all of the orange peel I use DA sander and 6" disc 1200 grit to get the worst of the rough surface off then 1200 with a hand block to flatten it out. Then hand block for the rest of the grits down to 2500. 80 to 400 grit is all done with dry paper, 600 to 2500 is done wet using a squirt bottle and a bucket of water. I use a combination of loose paper and adhesive backed roll paper, I don't buy the most expensive 3M paper because there are a many companies that make equally good quality paper that cost a lot less. Any collision shop would laugh at my procedure as they do almost all their work with air sanders, I could do that too but it is very easy to screw up quickly doing it that way and I don't get enough practice to get good at it. By hand is slow and hard but much easier to control.


 3 points
 -
2 pointsContact with the sleeve is in the center of the bearing. The center contact area will be the same even flipped. Only 240mm flywheels are available. It's been that way for a long time. You'll still be wondering about sleeve/collar height. Might be worthwhile to look around for a complete kit. Rockauto might not have all of the possibilities. Here's a good one. I've noticed that Summit seems to be upping their game. Shows the sleeve as part of the package. Luk is a pretty good brand. https://www.summitracing.com/parts/luk-06-031?seid=srese1&gclid=CjwKCAiAq4KuBhA6EiwArMAw1A_fRkHgUpSEptzfiK9DwA4Dle70u3LwI0evTrz_vA_Prnej23vdxxoCTYAQAvD_BwE#overview2 points
-
2 pointsCompleted 1500 grit yesterday, finished 2000 today and I'm all set up to start the final 2500 grit tomorrow morning, do a super clean up and with any luck I'll be buffing by Wednesday. These are pits that should have been sanded out with 1200 but some how got past me, I didn't notice them until I was into 1500. This is 2000, the shine is getting there. Even with guide coat it looks pretty good.


 2 points
 -
1 point
-
1 pointYes, if I end up getting a 240mm flywheel, I’ll need to get the matching clutch and pressure plate. Unless I get the Fidanza, which is 240mm, but apparently can accommodate either a 240mm or 225mm clutch and pressure plate, which is cool. But before I drop $500 on a setup like that, I’m going to call a few shops and see if I can get my existing 225mm flywheel resurfaced and lightened. Will prolly be significantly cheaper than an aluminum flywheel, and add some performance gains. Then I’ll just pair it with a decent (exedy maybe) clutch/pressure plate, and then go through the whole process of making sure I have the correct SLEEVE, ugh. This is prolly my best bang for the buck to eek out some performance gains, using quality parts, without breaking the bank. The trifecta! We’ll see if I can make it happen… Sent from my iPhone using Tapatalk1 point
-
Great pictures of the quarter glass. I need to do those soon!1 point
-
1 pointHow light do you want? https://zcardepot.com/products/copy-of-fidanza-lightweight-aluminum-flywheel-240z-260z-280z-280zx https://zcardepot.com/products/fidanza-light-weight-aluminum-flywheel-240z-260z-280z-280zx?_pos=1&_sid=360548d86&_ss=r And don't forget MSA. https://www.thezstore.com/product/5258/price-drop-kameari-chromoly-performance-street-flywheel-70-83-zzx https://www.thezstore.com/product/3991/high-performance-flywheel-70-83-z-zx-coupe-non-turbo By the way, from what I read the 240mm flywheels have a different bolt pattern. From the ZCarDepot site: New stock replacement flywheel for Datsun 280Z and 280ZX 1975-1983, 2+2 only or Turbo. The 2+2 clutch cover is slightly larger so it has a different bolt pattern. This is a good upgarde from a 2-seater clutch as the 2+2 clutch is larger, but you will need a clutch disk and pressure plate for a 2+2 to work. 2+2= 240mm clutch 2-seater= 225mm clutch1 point
-
On Sunday, I took the diff back apart and reassembled it with .020" of additional shims instead of going back to the .015". The reason for the change? I just figured I'd learn more if I tried something I had not before. First, one pic showing the wipe pattern on both drive and coast sides at the same time with the .030" of shims: Note the wipe patterns are offset. You see it is to the left on the coast side and to the right on the drive side. Ideally, the contact would be in the same area on both sides of the teeth. Now a pic after switching to .020" of extra shims: Ha HA! This is better. With .020" of extra shims, and the .3 mm shim on the left and .4 mm and .5 mm shims on the right, I measured .009" of backlash. When I tried to switch the .3mm shim to the right with the other two, I noticed that everything was bound up as I was tightening the side flange bolts. I was careful to not tight them all the way as it was clear that I had zero backlash. So... I think I am very close to the correct pinion shim size now, but I am thinking I may need to alter the side flange shims a bit to get the backlash within factory spec. Time to order some more side shims to experiment with. More pics of contact pattern with .020" of extras shims - I have been putting the paint on thinner so it is easier to see the pattern:


 1 point
 -
I will never know for sure. However, I got the timing chain off by one tooth (it has a Kameari chain tensioner set up) and the valves contacted the tops of the pistons for a few minutes upon start up while it was like that. I corrected it, and went to Road Atlanta for a track day a week or so later. During the fourth and last session, I had a rod bearing, and then rod let go at over 100 on the main straight. That block had holes on both sides when I pulled it out. According to another Z racer, turns 6 and 7 do a number on cars that run there. He has an Accusump in his Z (and an 8 qt Nissan Competition oil pan like I was running) and he said he sees the Accusump "working" on that part of the circuit, meaning oil pressure is dropping under the high G load.1 point
-
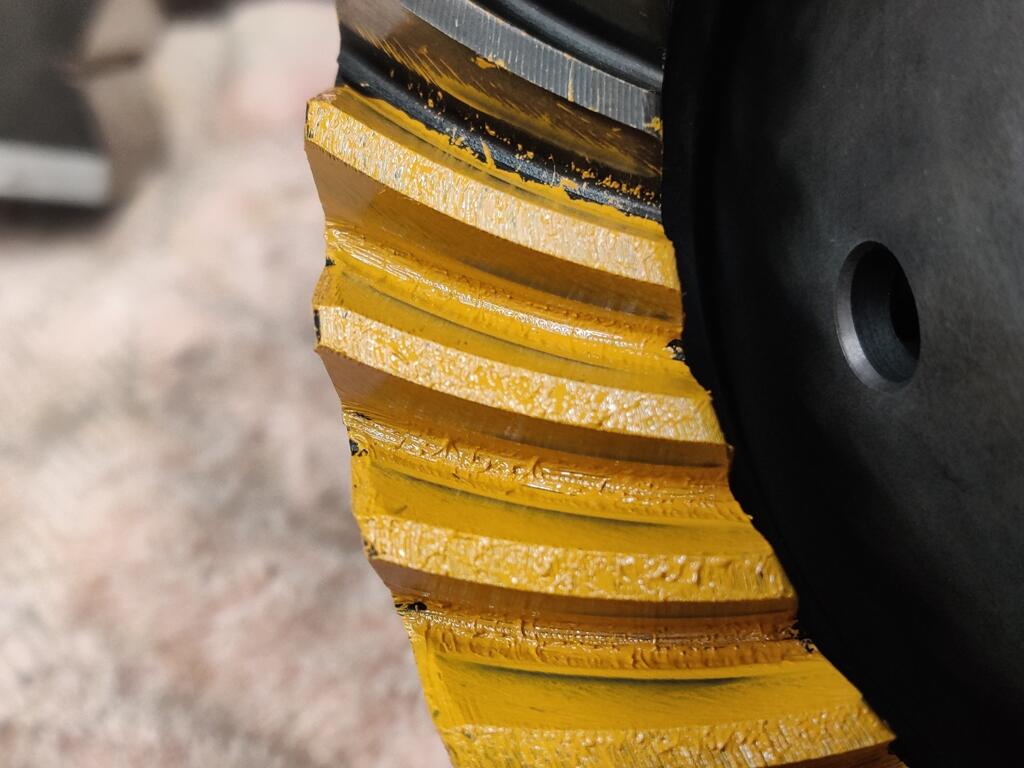
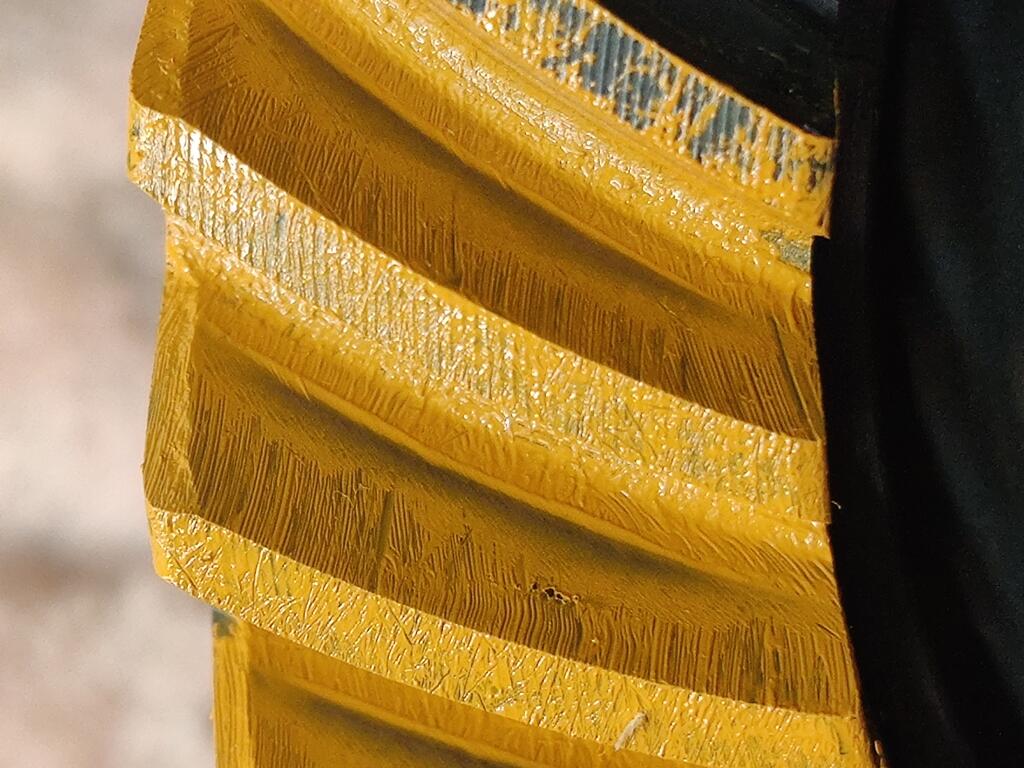
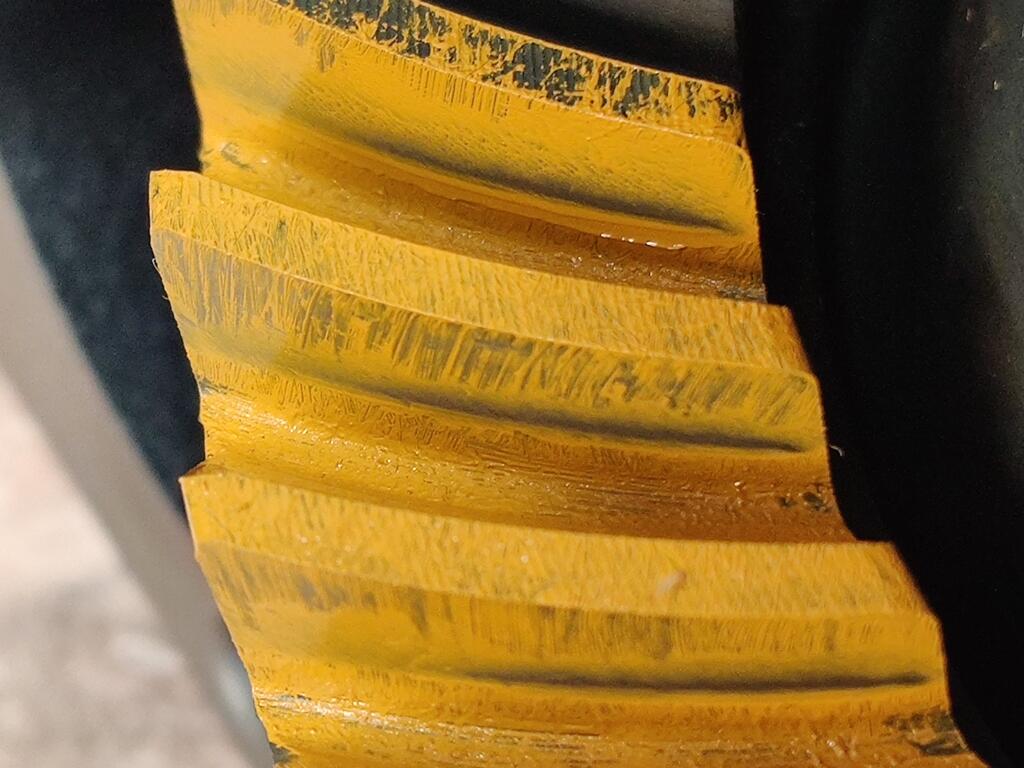
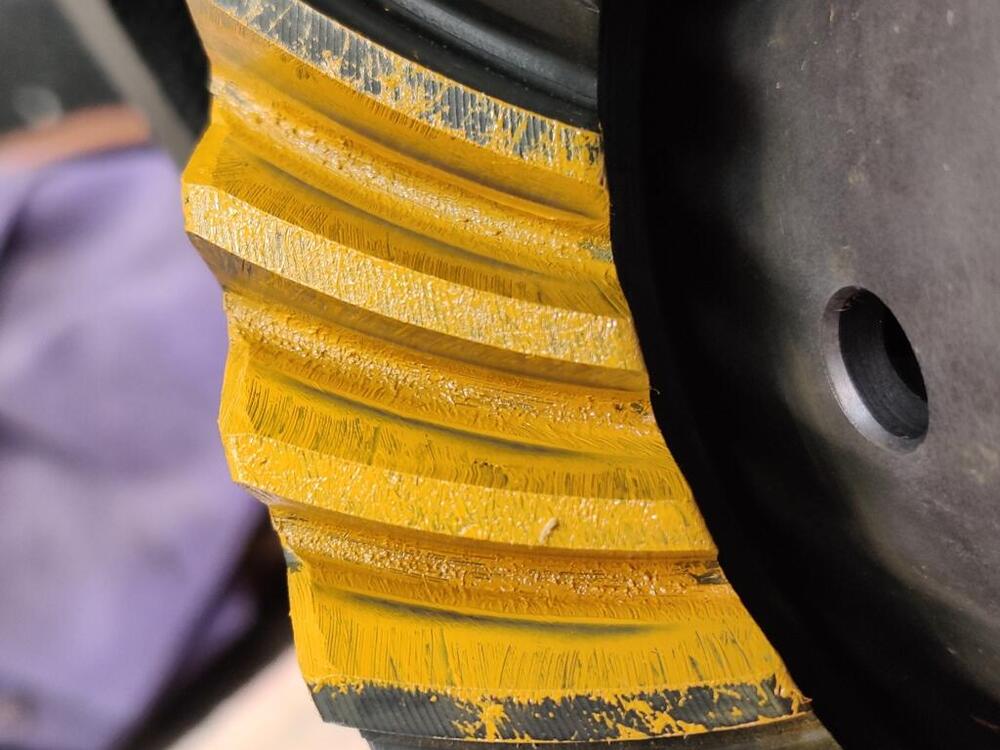
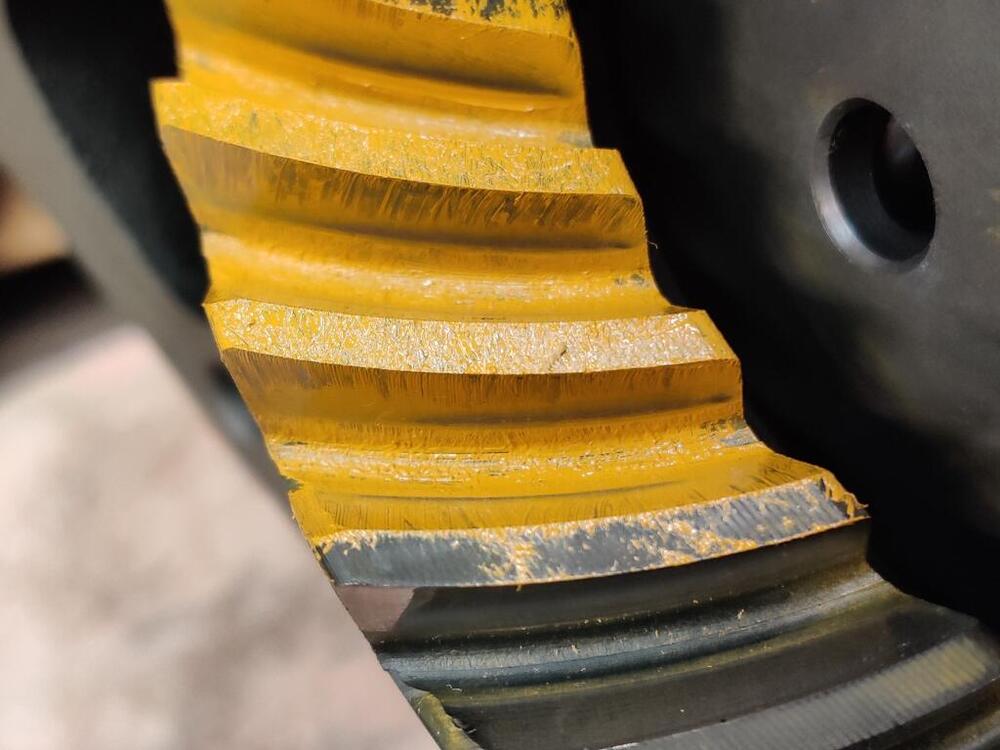
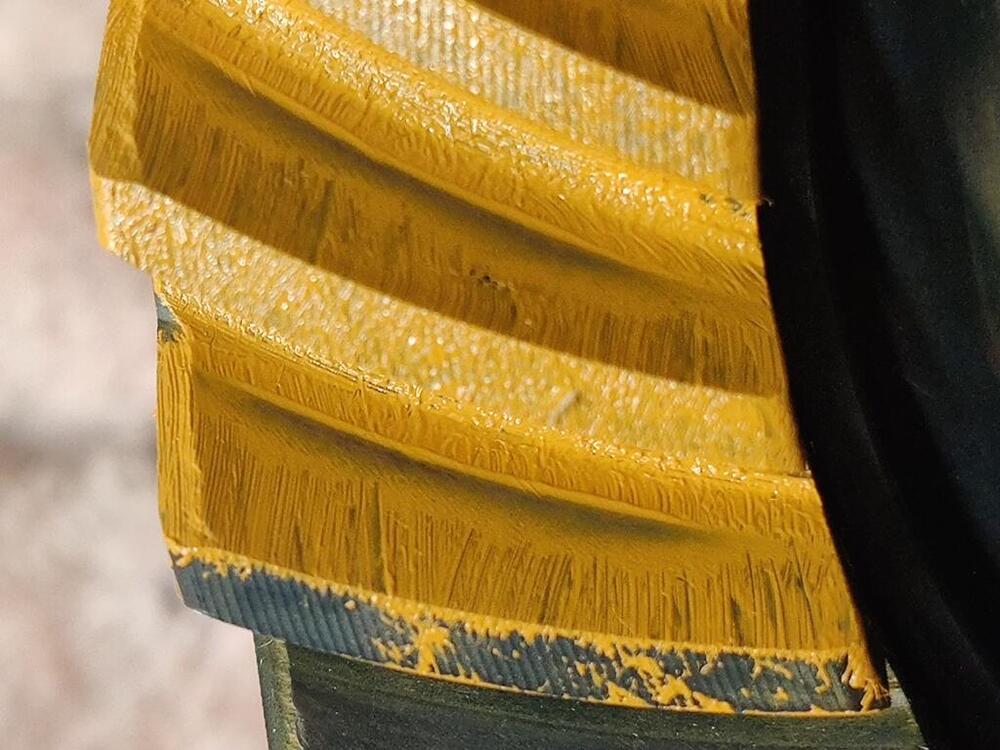
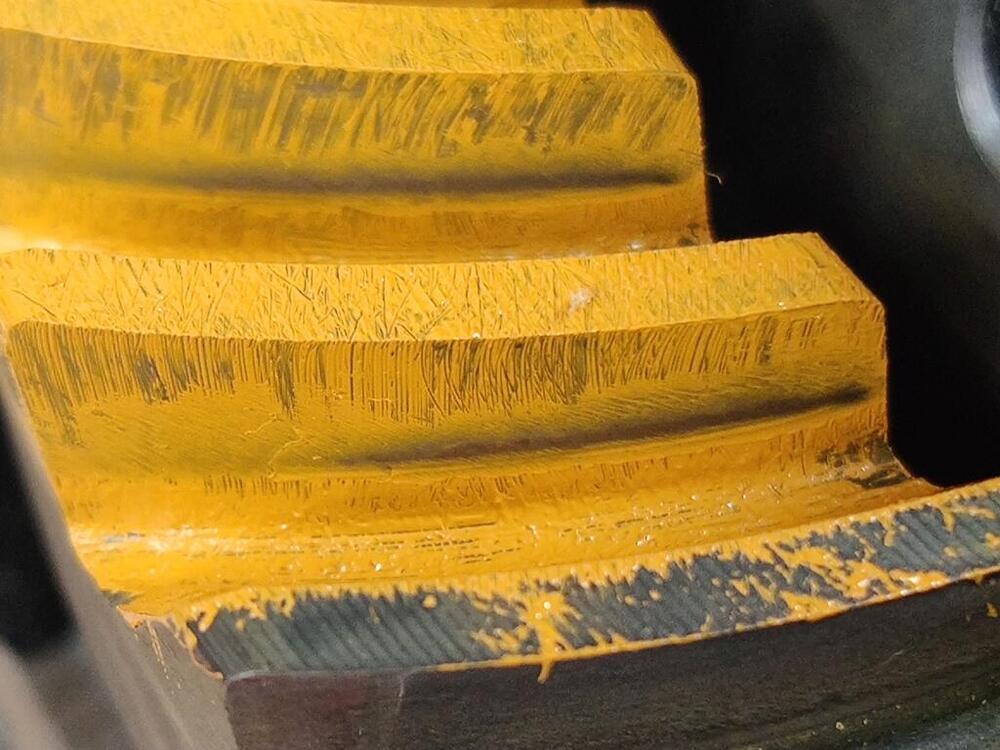
1 pointI think the other face is wider and more round versus the thin edge that touches currently1 point
-
1 pointThat was my initial thought too. Looks like it might be on backwards [emoji2361] After looking up prices, flywheels aren’t too bad either, so I’ll prolly just replace the whole flywheel/clutch combo. Regarding flywheel/clutch, any suggestions(or what to avoid)? Or is standard rock auto pieces just fine? Aluminum flywheel prices are outta my range unfortunately. Sent from my iPhone using Tapatalk1 point
-
Can you post up a sketch of the structure with dimensions and I'll try to size something up? Or you can PM me...1 point
-
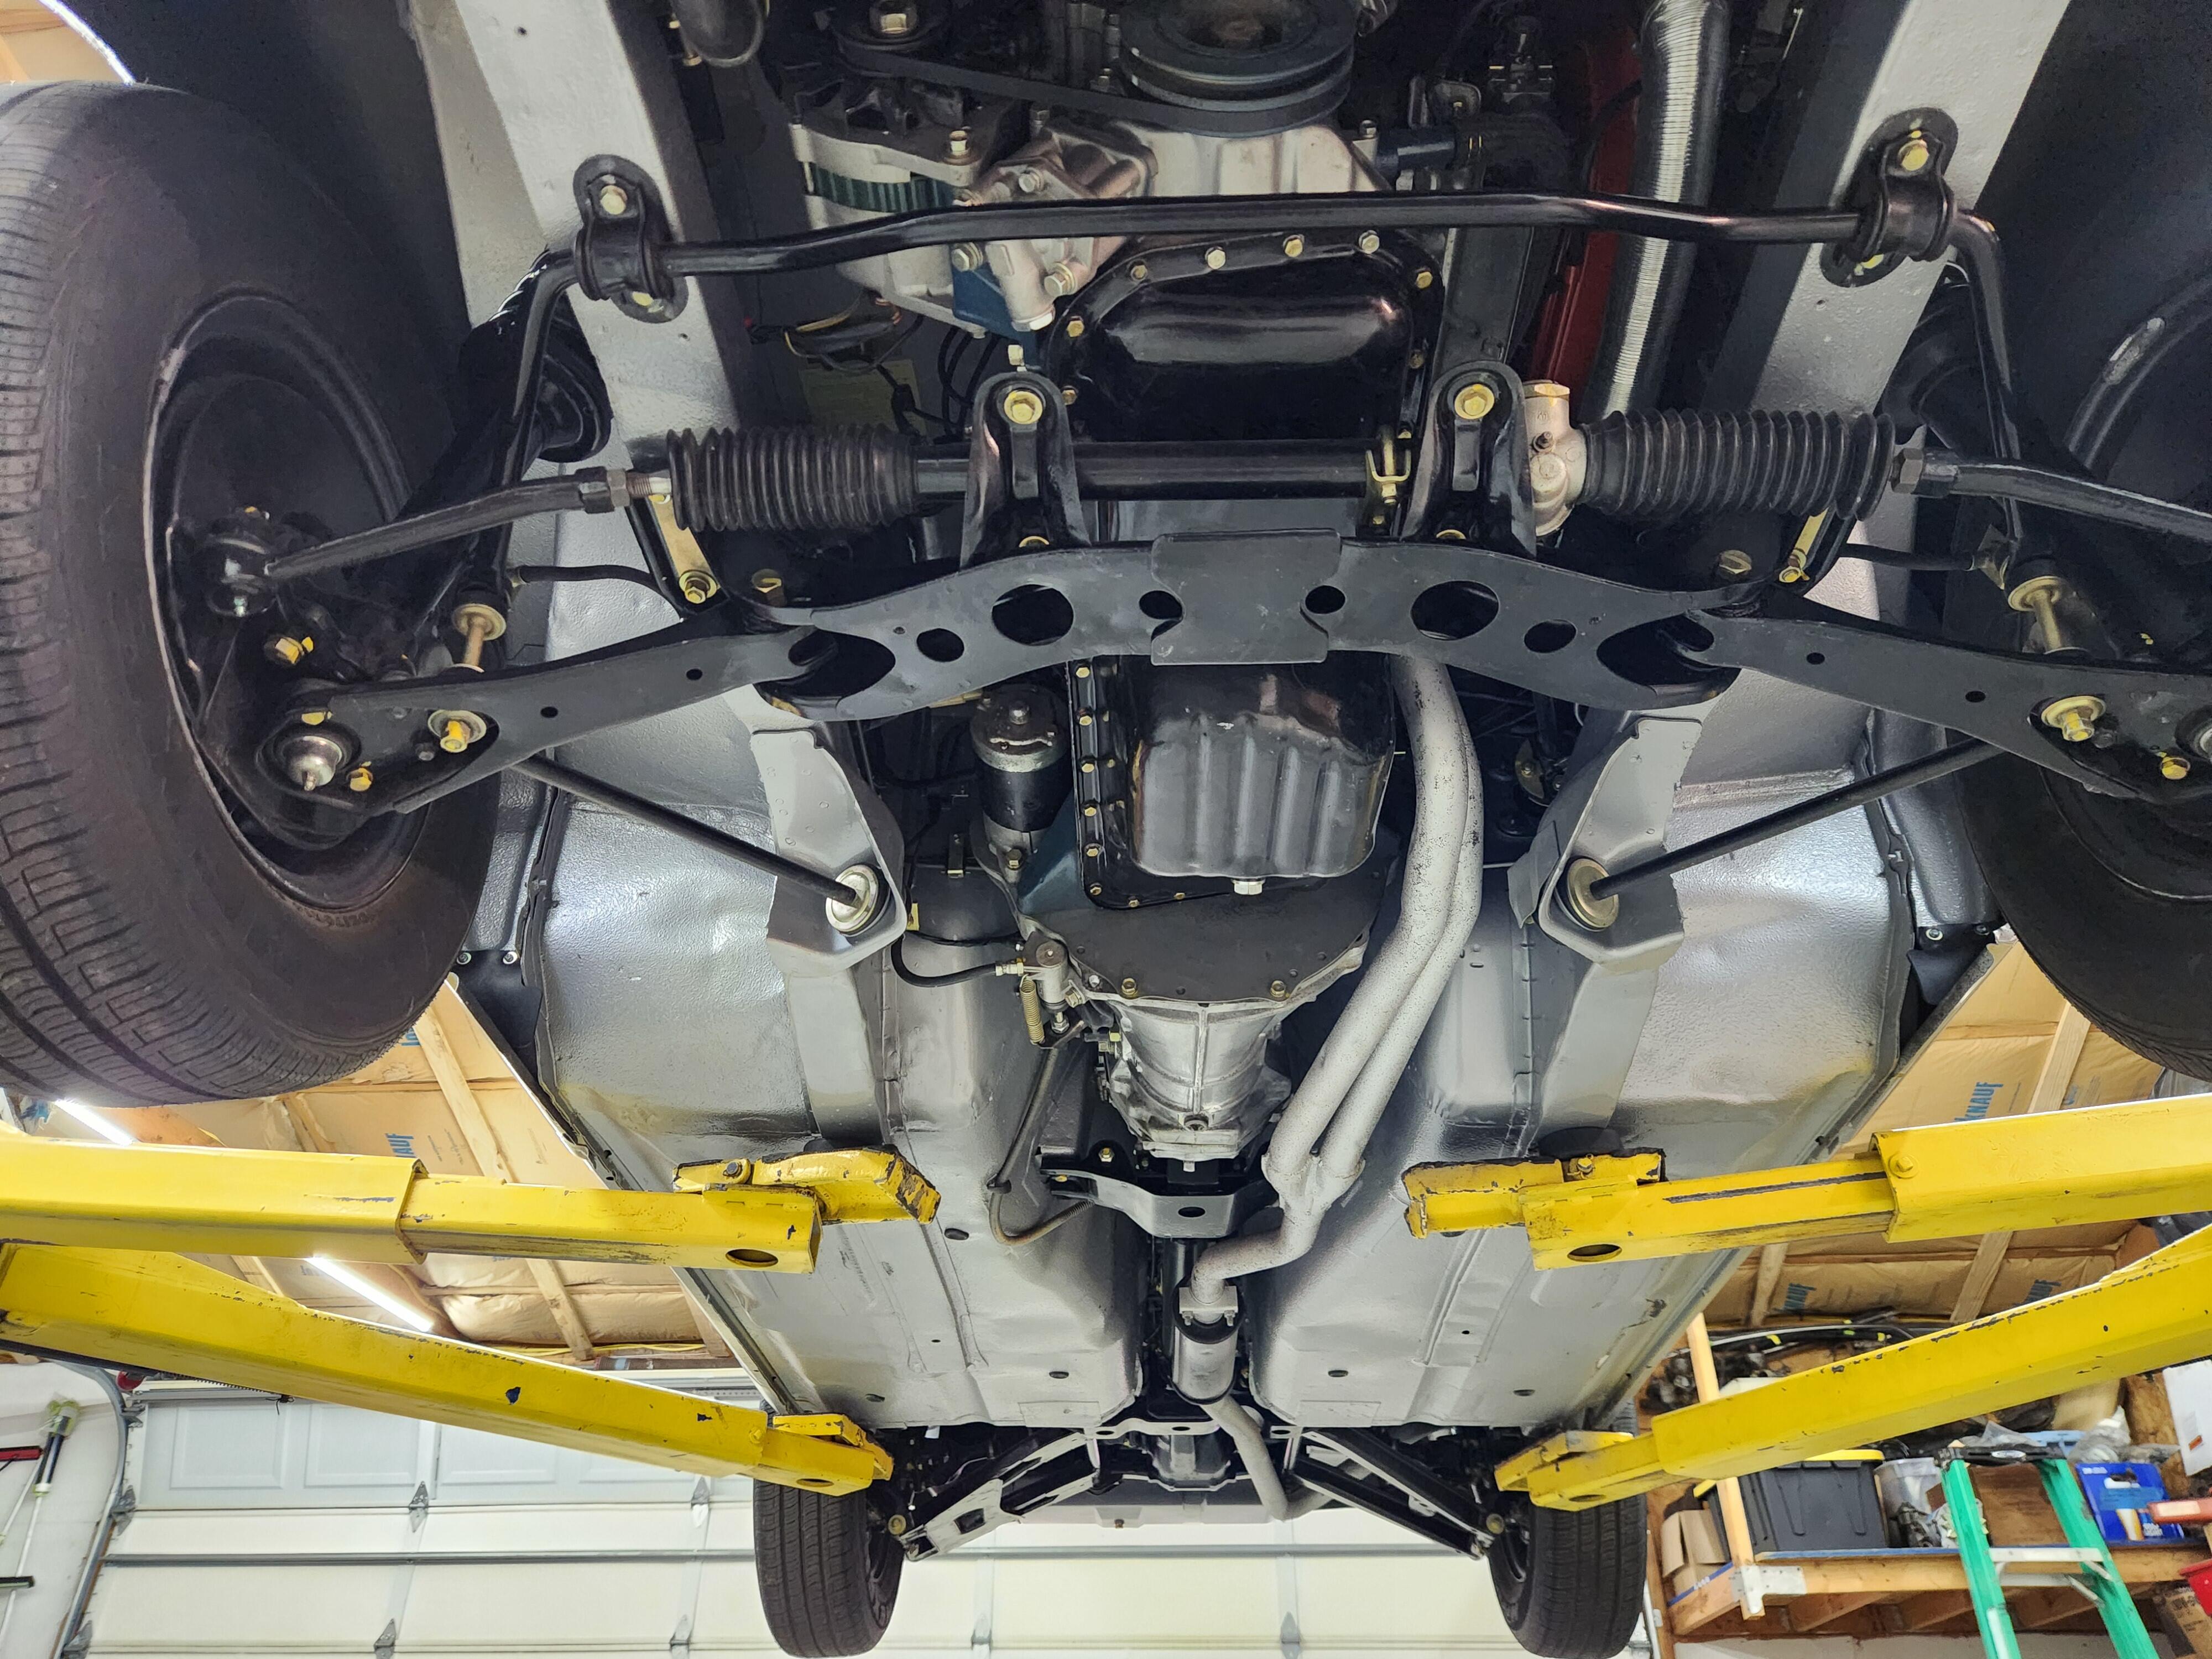
1 pointHow do you know the release bearing is on the right way. If it were reversed it wouldn't be cutting those grooves into the pressure plate fingers. I'm not totally sure it's backwards but if it were reversed it would work the way you expect it to I believe. Also the pressure plate and flywheel look to have been hot at some point. I wouldn't run either of those if it was me. I would surface the flywheel or go to a lighter unit and replace the clutch entirely. It's a lot of work to get there again and the parts aren't crazy expensive.1 point
-
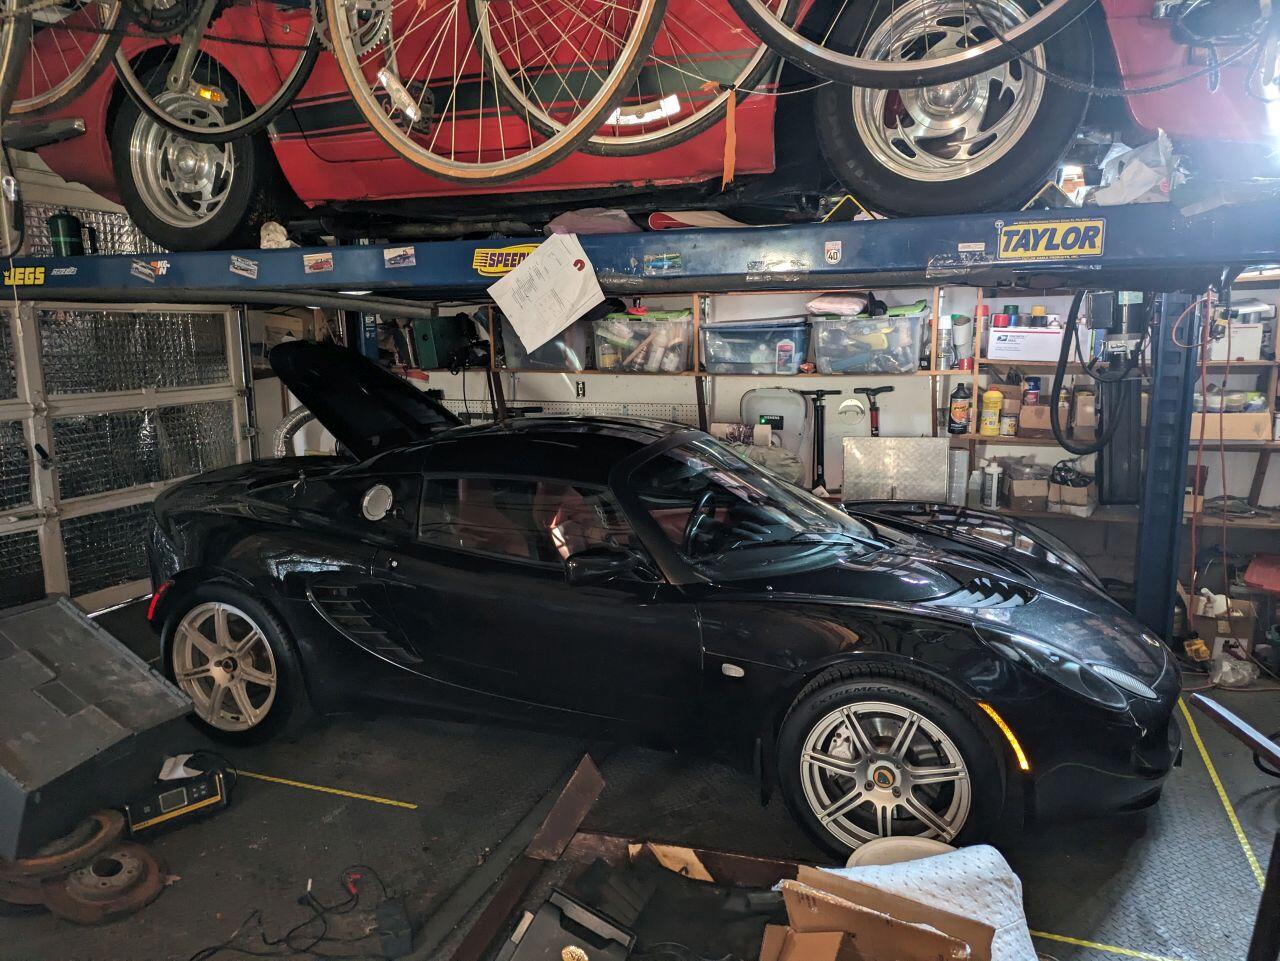
1 pointMy son just purchased a 2005 Lotus Elise. It needs some cosmetic work but is mechanically sound. Its currently stored under my 260Z that is waiting on its differential to be installed. We drove to Chicago from Cleveland to pick it up and had an eventful road trip. On the way there, my son's 2019 Veloster Type N's steering wheel locked while driving at 80 mph on the turnpike. He was able to inch the car to the berm, cycle the ignition off and on and that cleared the lock. We just found out this morning that there is a TSB that covers a slew of Hyundai models that addresses this concern so its sitting at the dealer waiting on a part. Please ignore my junk filled garage in the photo.
 1 point
 -
1 pointAt the time I was too confused to be terrified. I had my seat reclined and I was covered with my winter coat as my son refused to turn up the heat. Then I heard "Dad, Dad... my steering isn't working". Luckily the turnpike was neither curvy or crowded and we still had a couple of degrees in either direction on the steering.1 point
-
1 pointThat’s funny and It’s true Bruce….except for laundry. There is no amount of training that will enable me to meet my wife’s laundry standards. It’s like quantum physics people claim they understand it but nobody really does.1 point
-
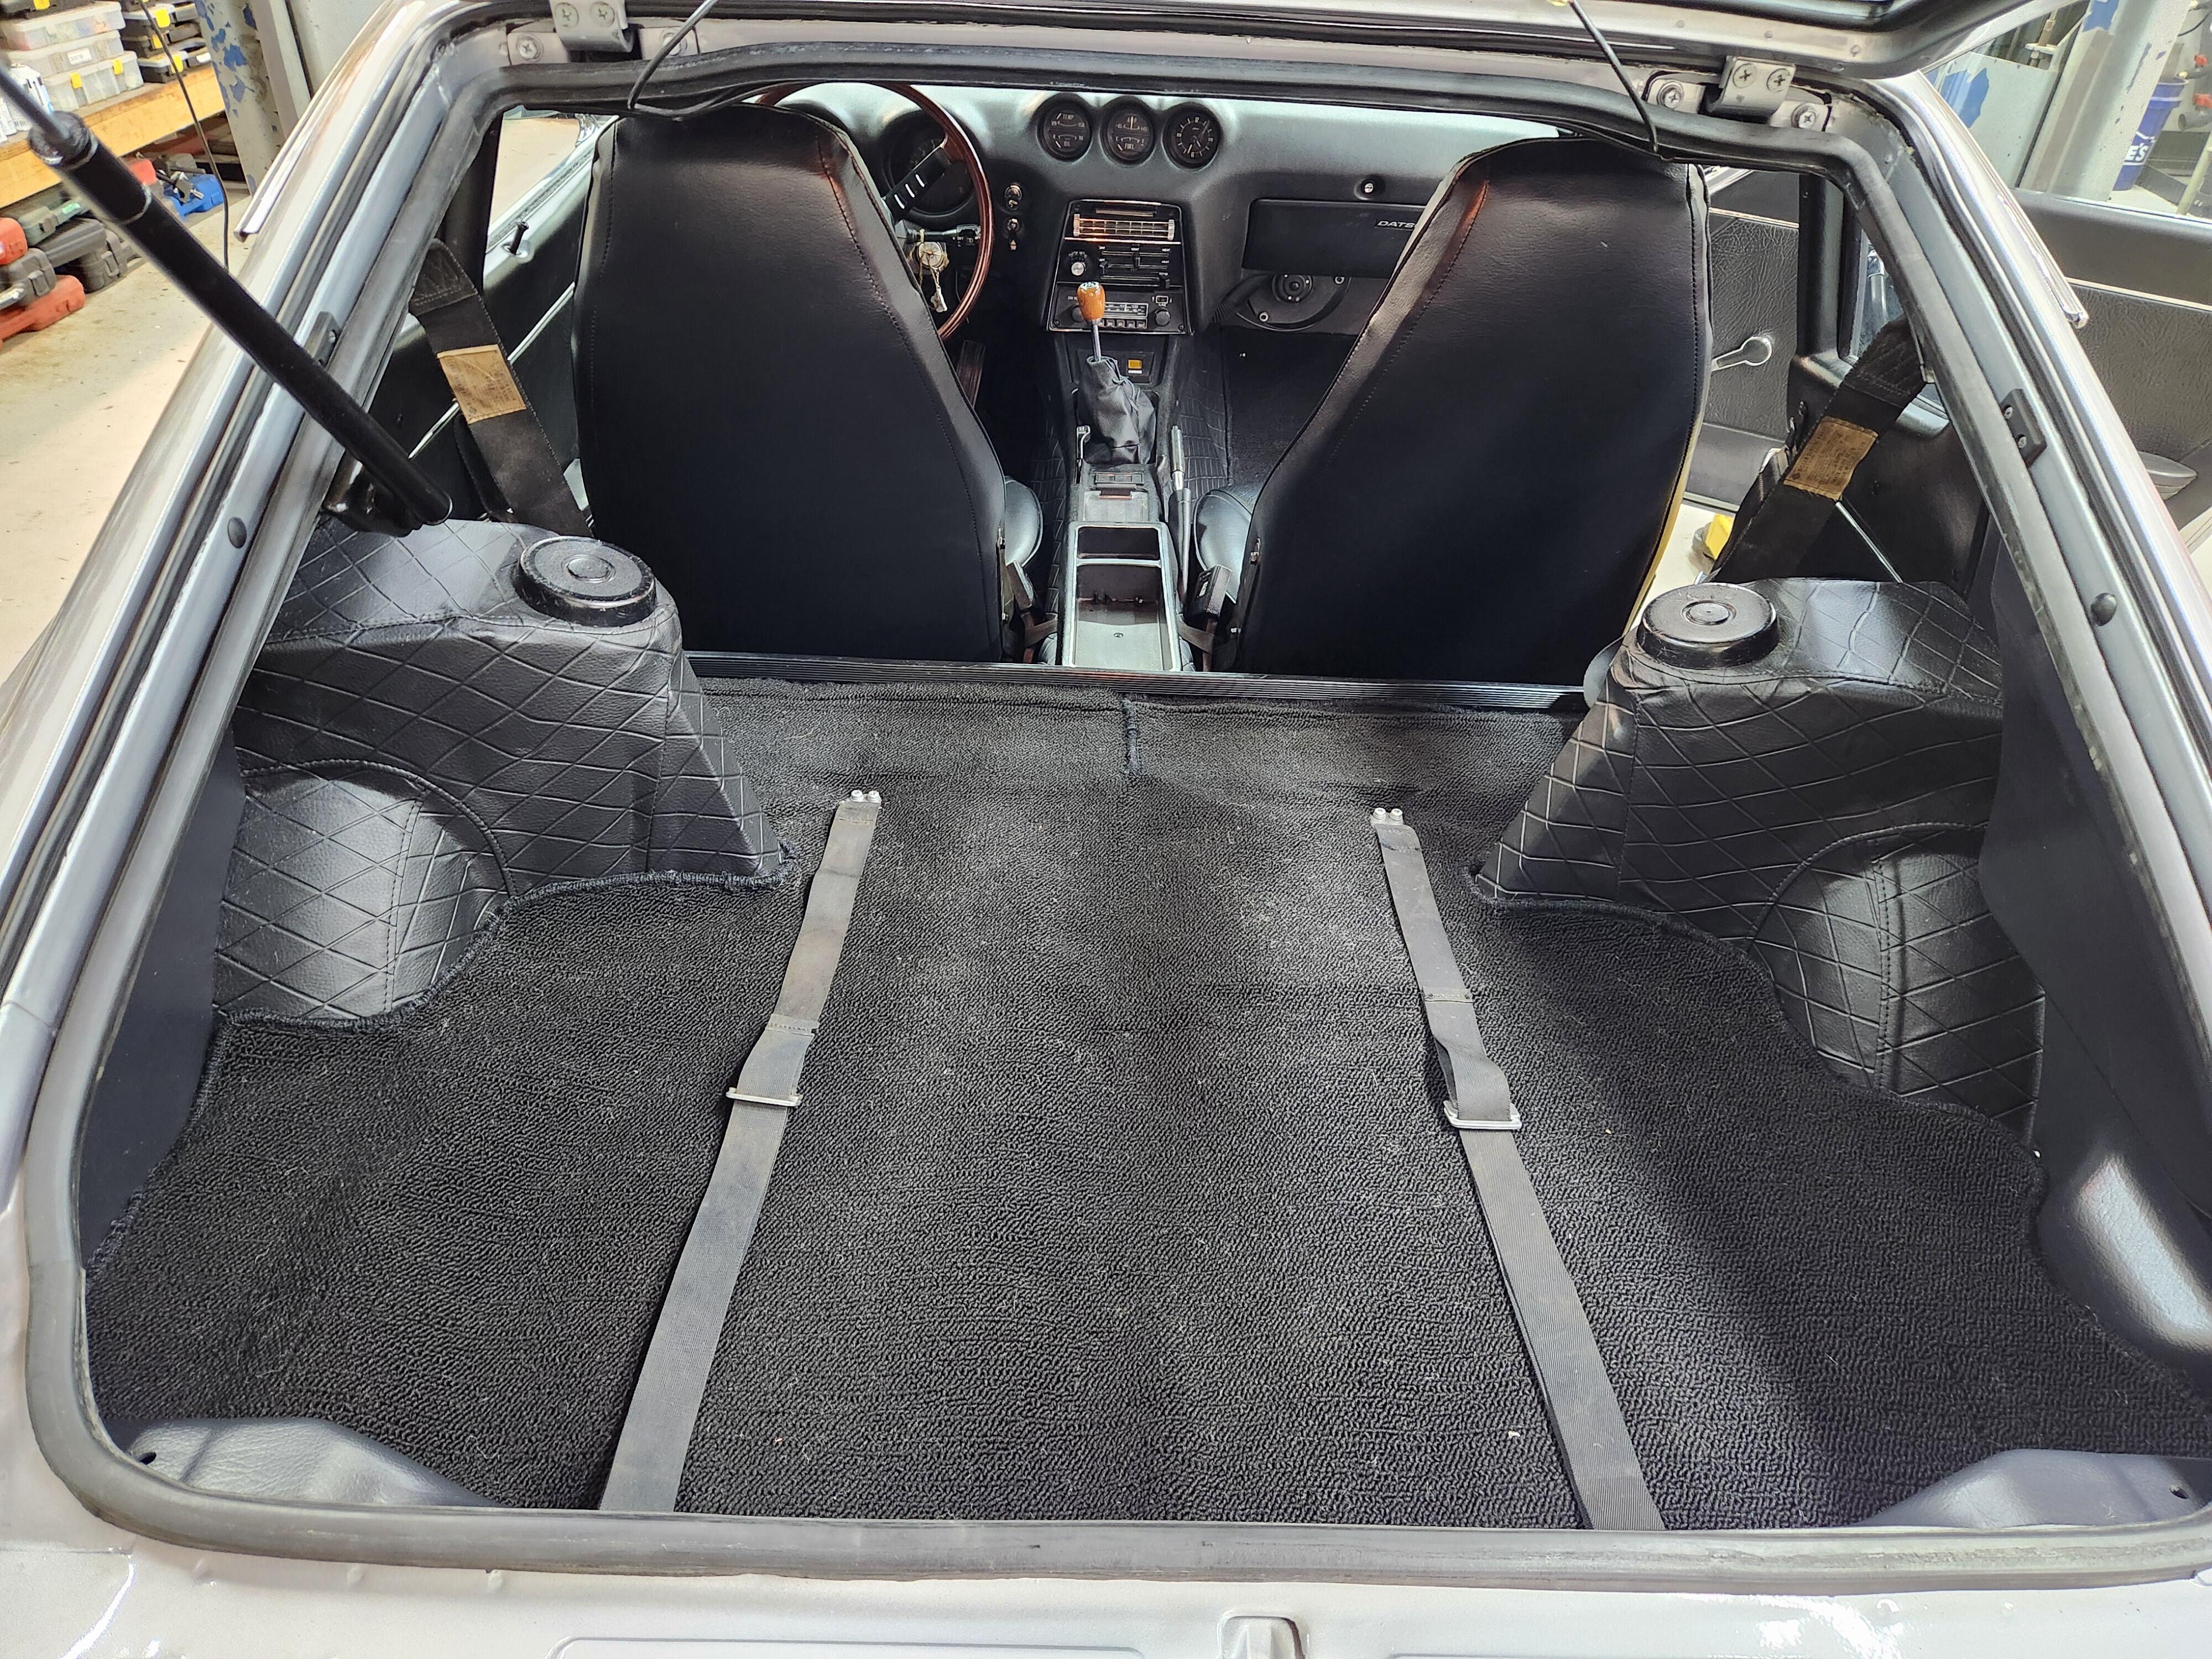
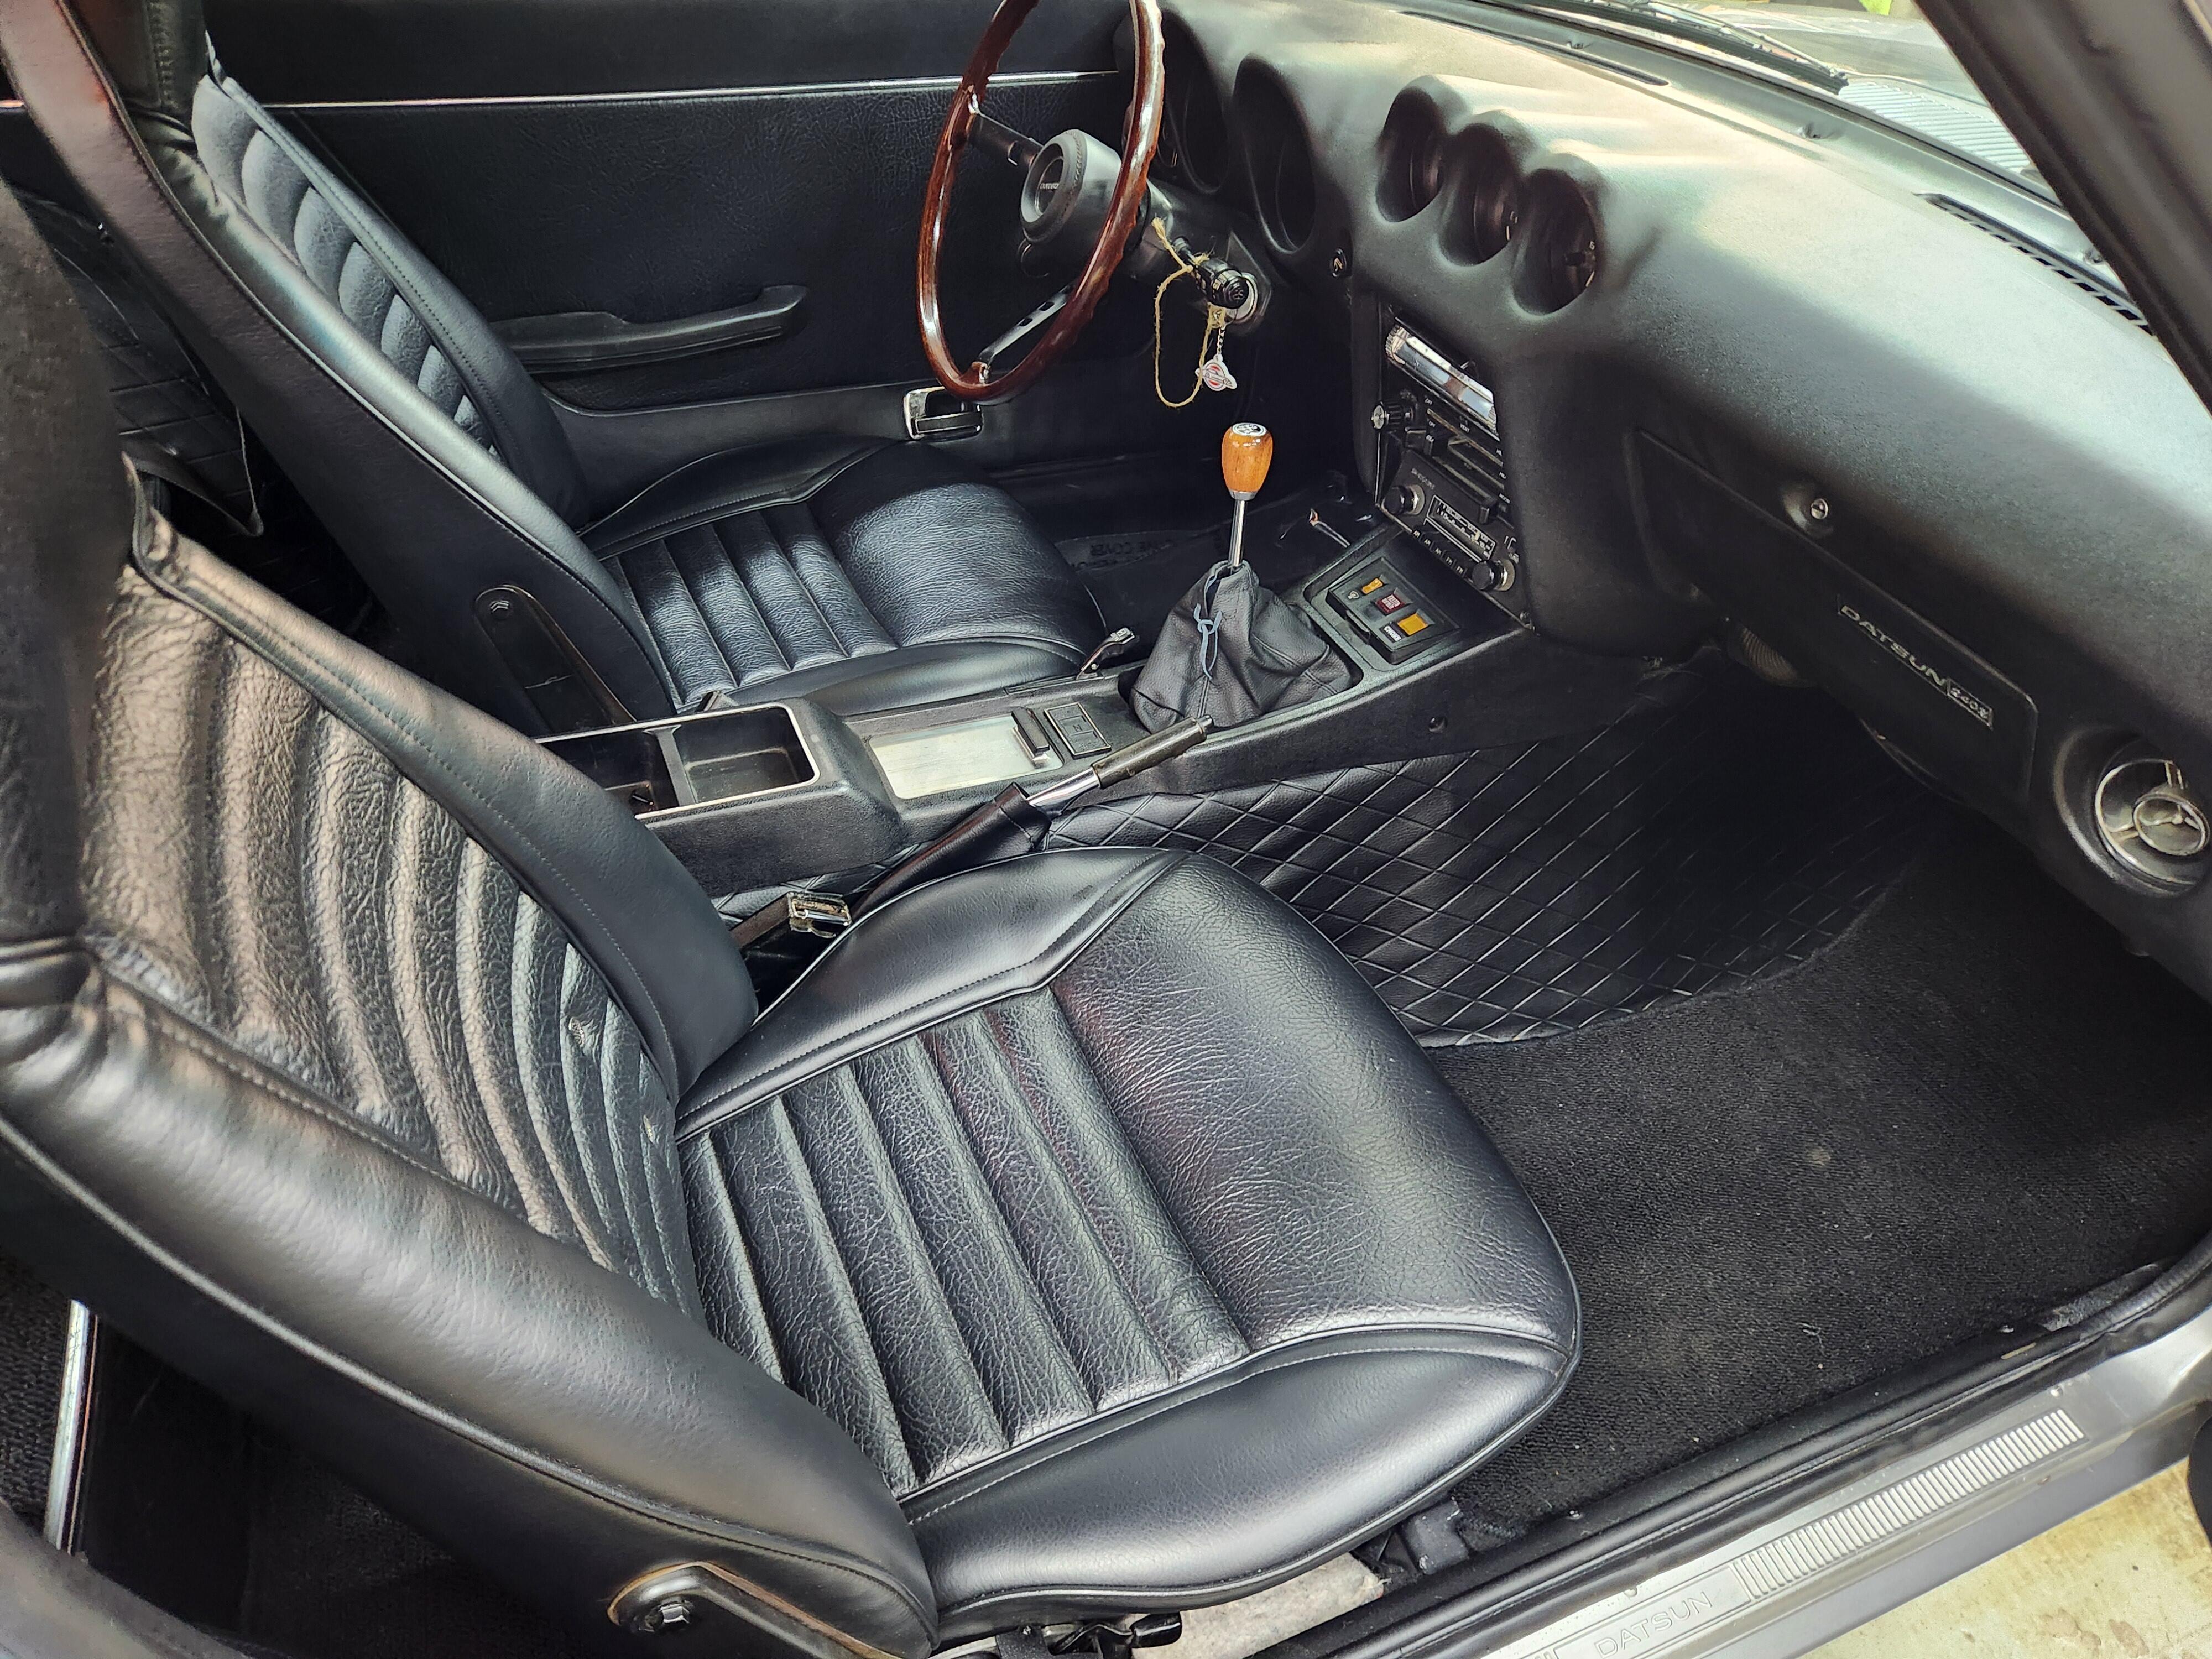
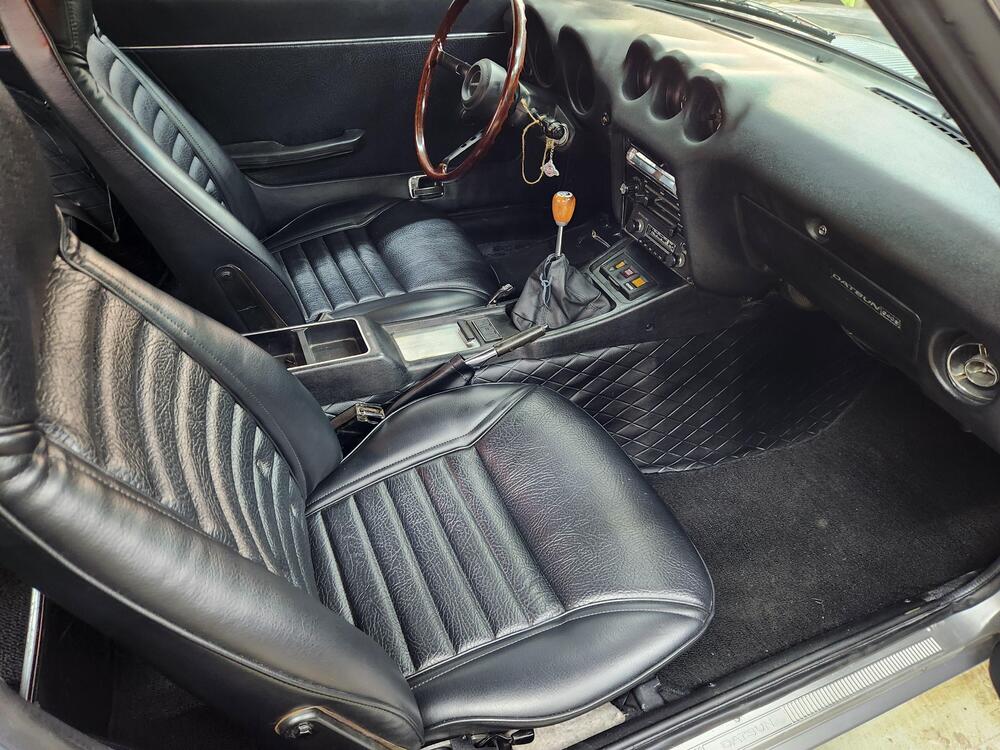
1 pointA few more pictures. My lap belts dont have the clip for the shoulder belt and were on the car when I got it. They appear factory and have the factory seatbelt light plugs. I cant remember if the shoulder belts were on the car when I got it or if I had them as parts. Same with the luggage straps. One is longer than the other one. I had them in storage so who knows where they are from. Did early models without the storage bins have longer luggage straps?? I need to research belts and straps.


 1 point