Leaderboard
-
Patcon
 Subscriber
 9Points11,142Posts
 -

Zed Head
Free Member6Points19,236Posts -
grannyknot
Free Member5Points5,158Posts -
Namerow
Free Member3Points1,551Posts


Popular Content
Showing content with the highest reputation on 12/04/2023 in all areas
-
Thanks for the follow-up. These weird problems need examples. Good luck with the project, you're at the right Z forum.5 points
-
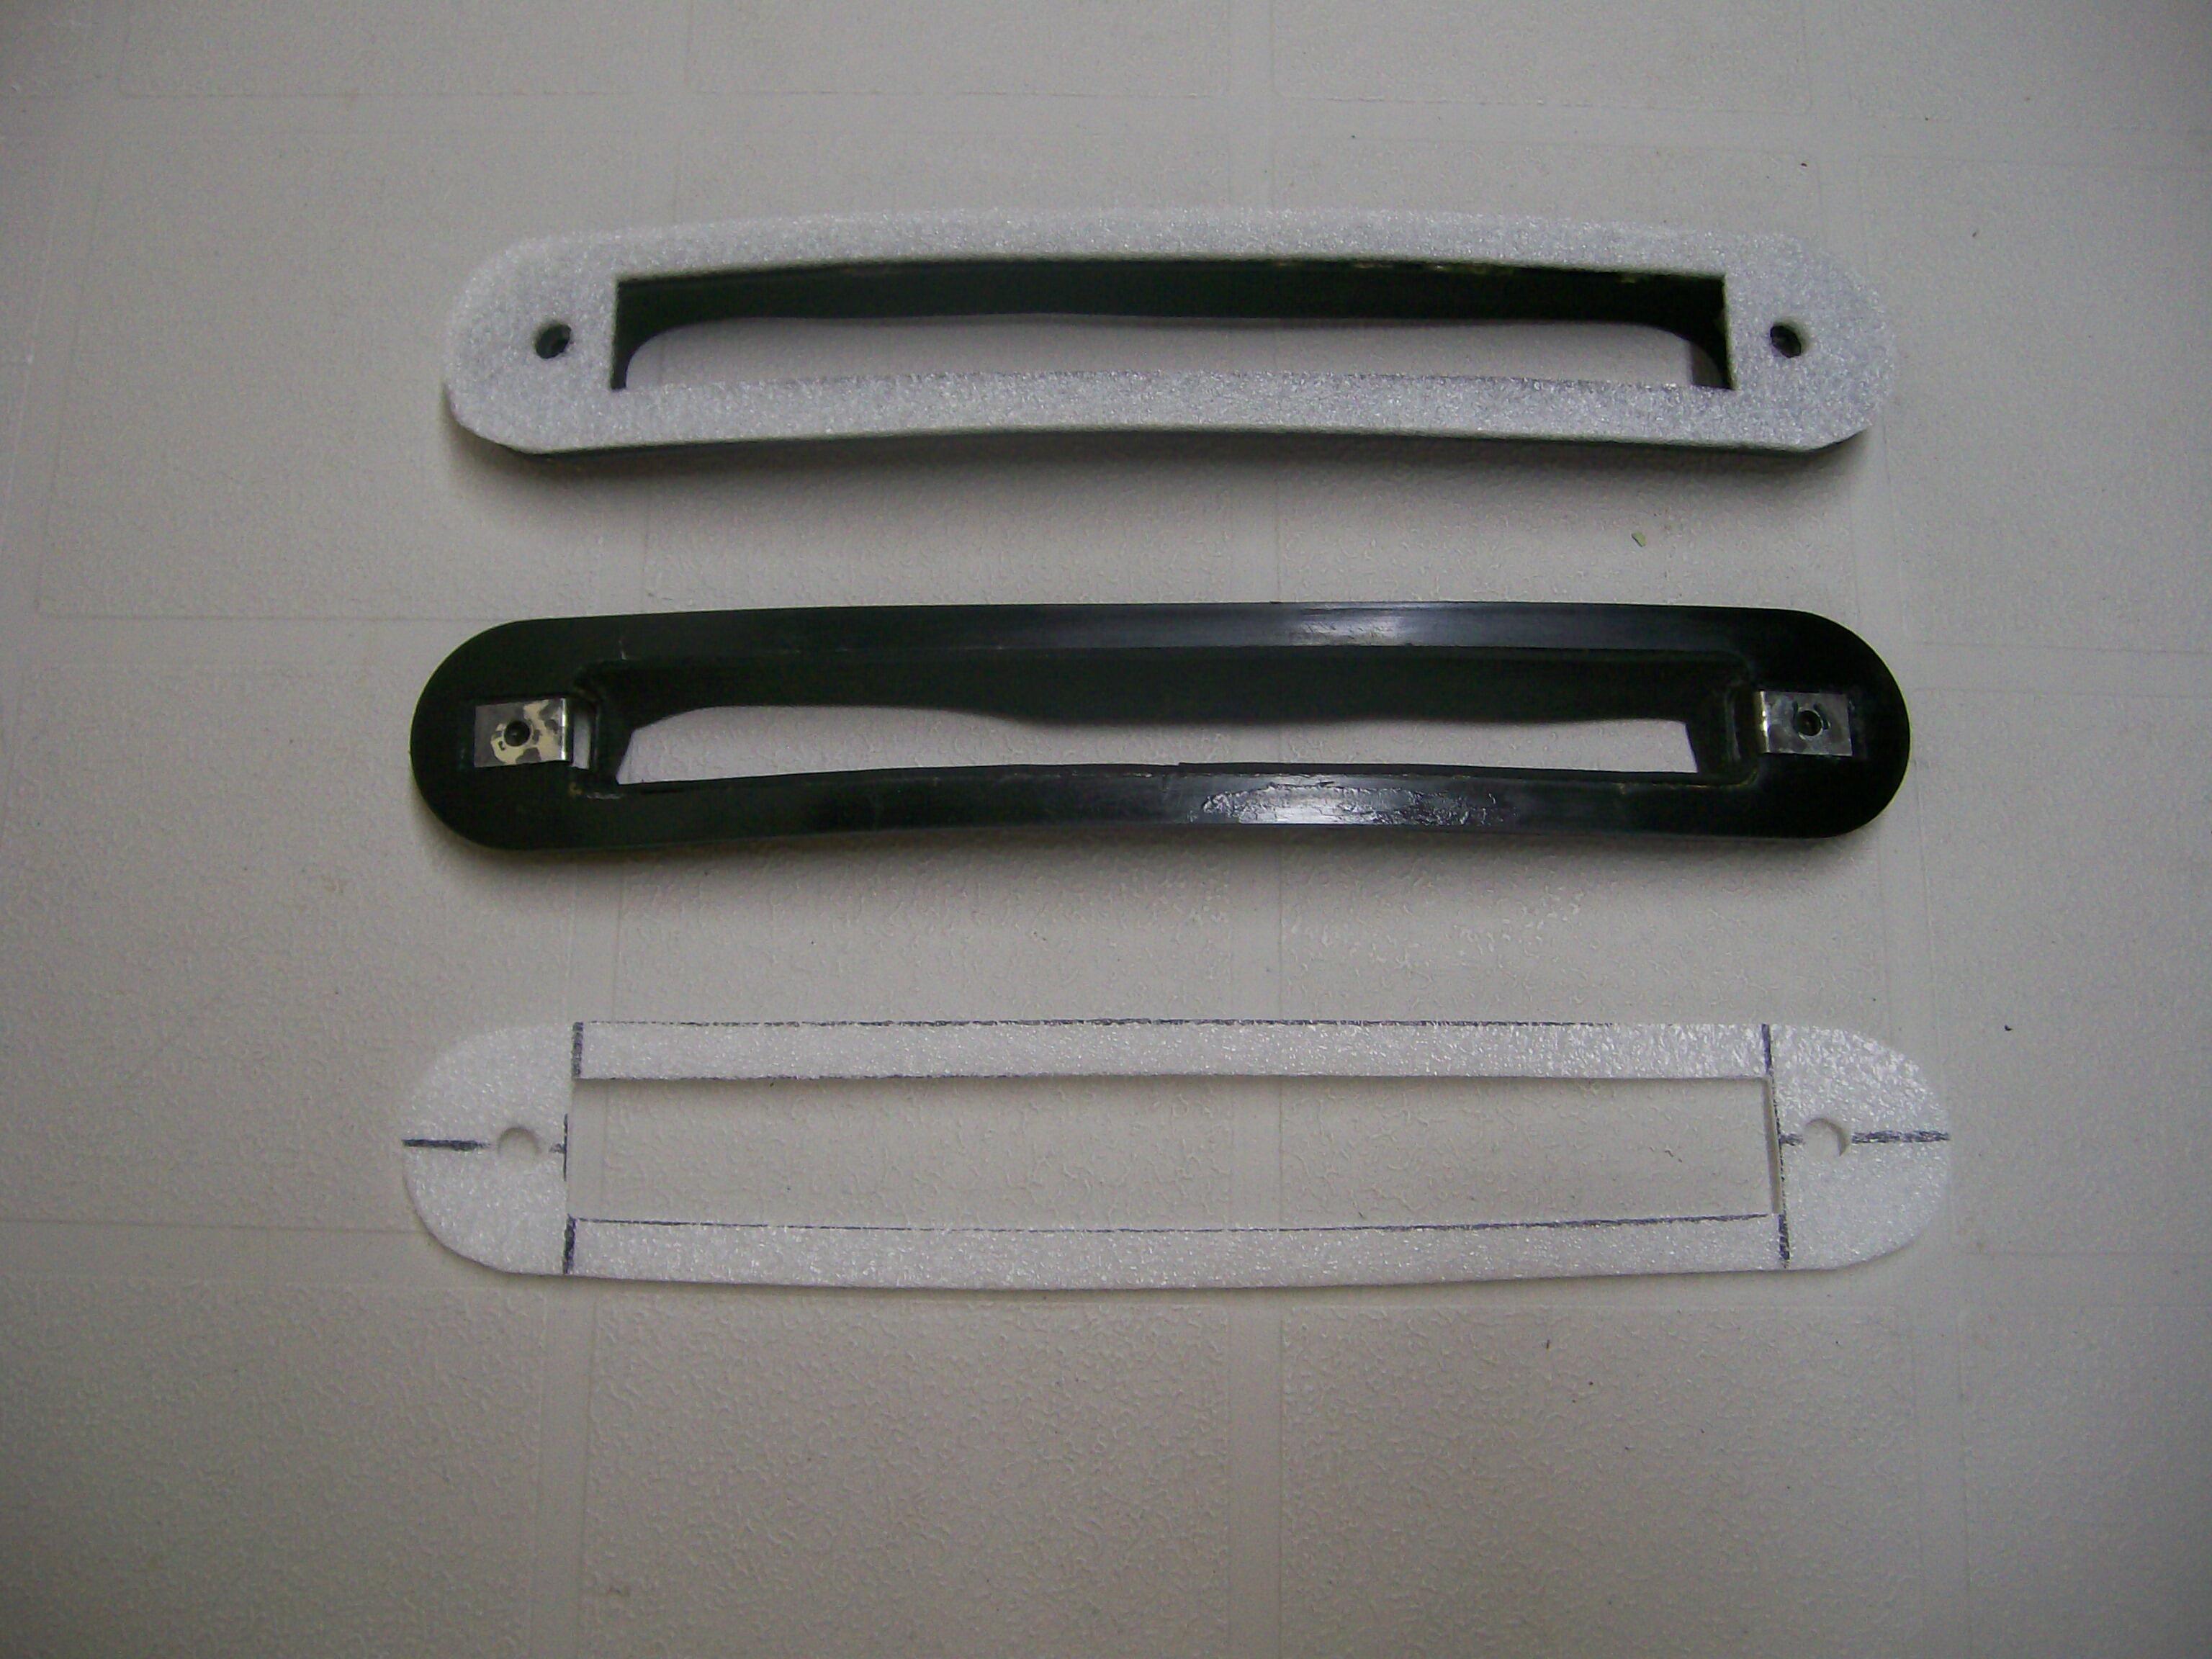
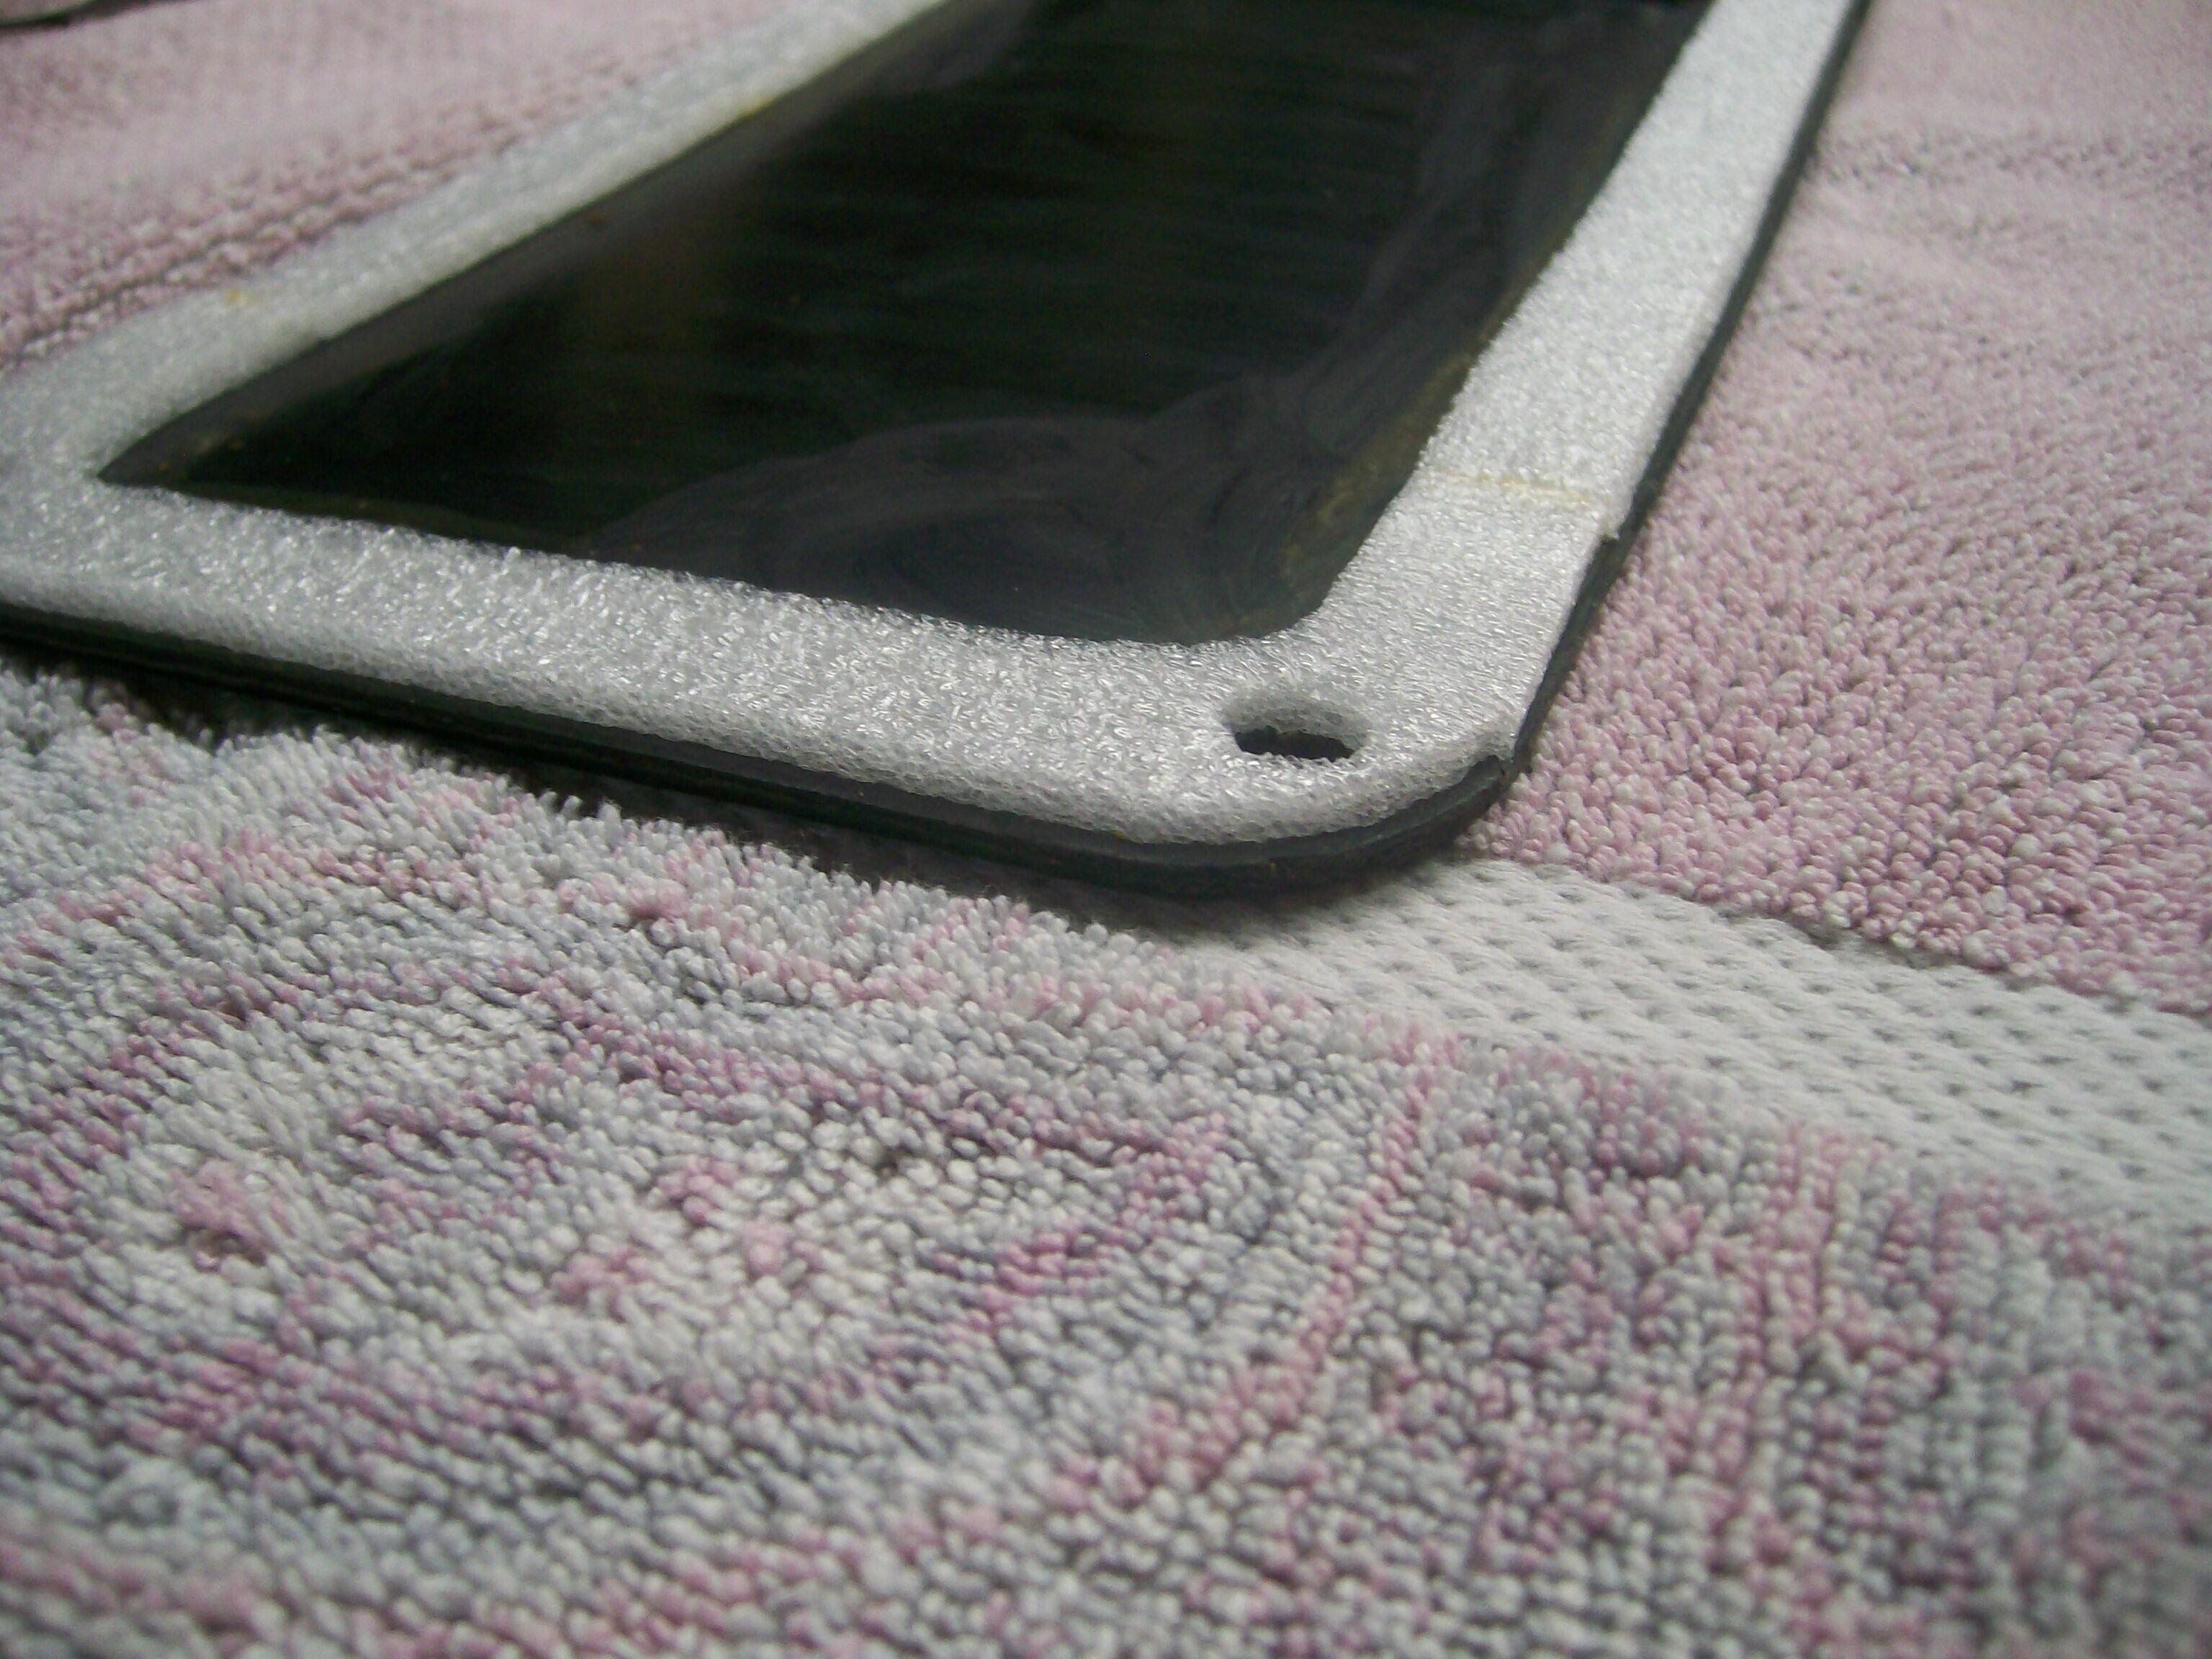
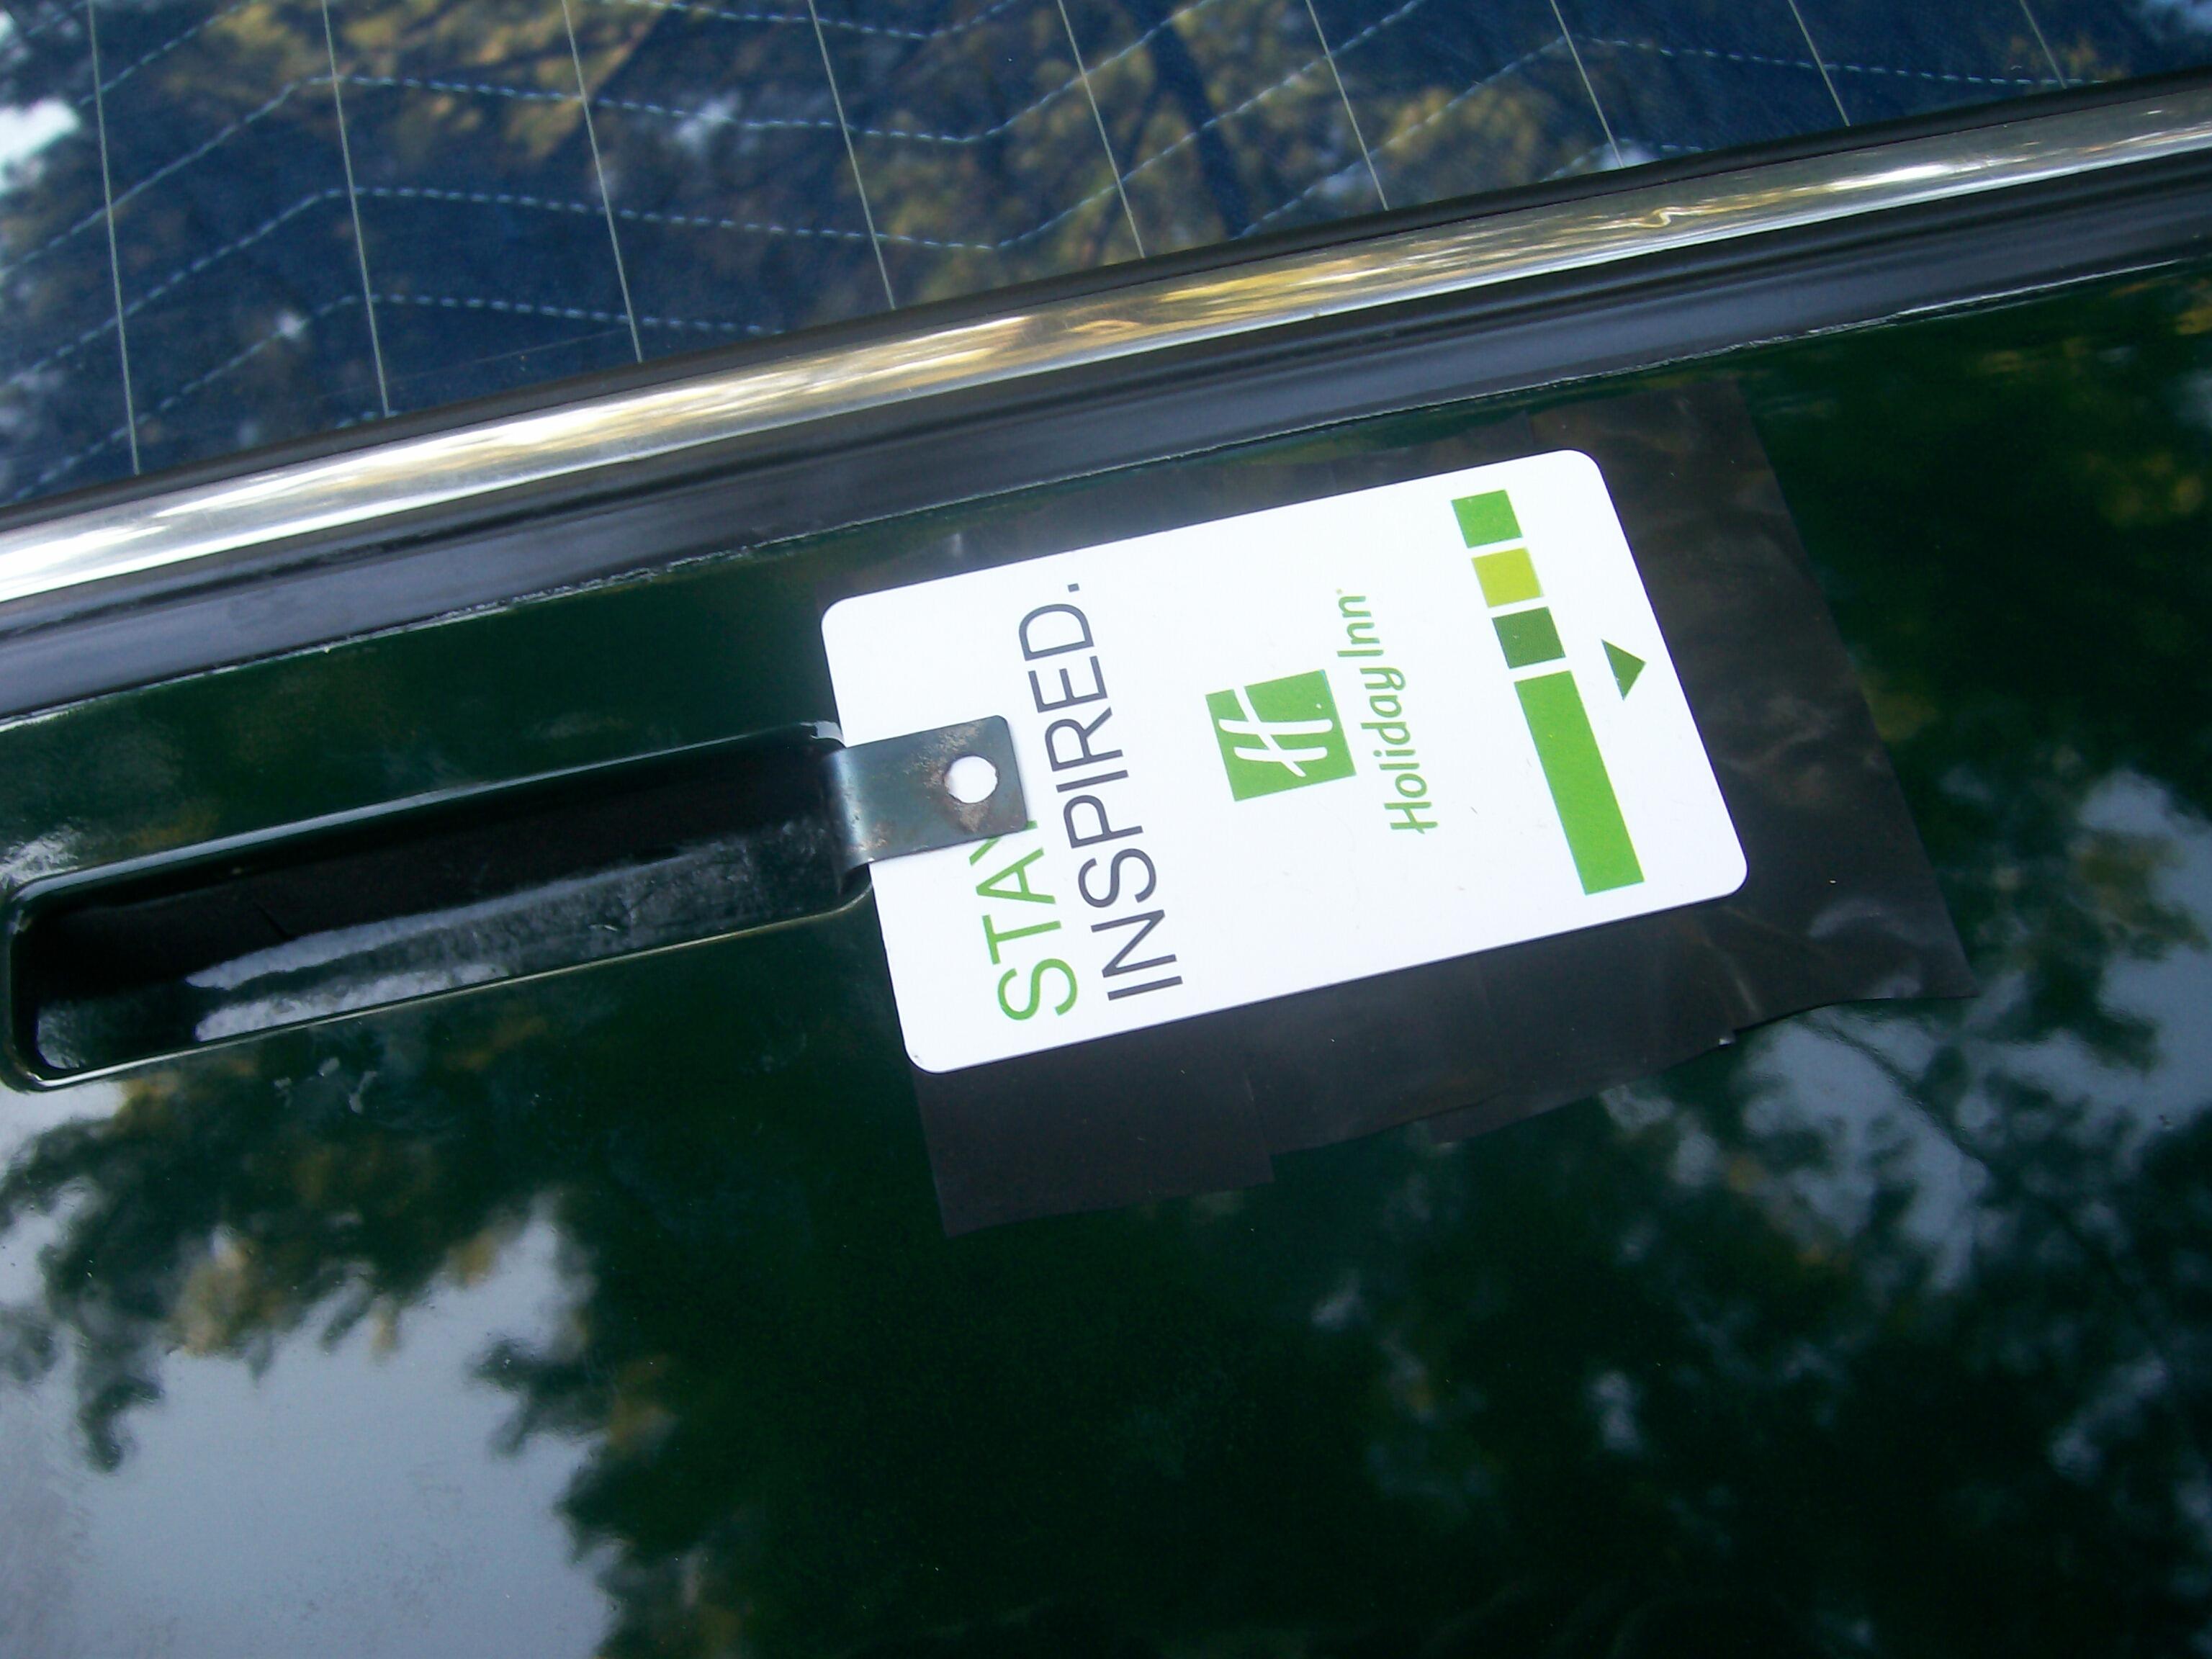
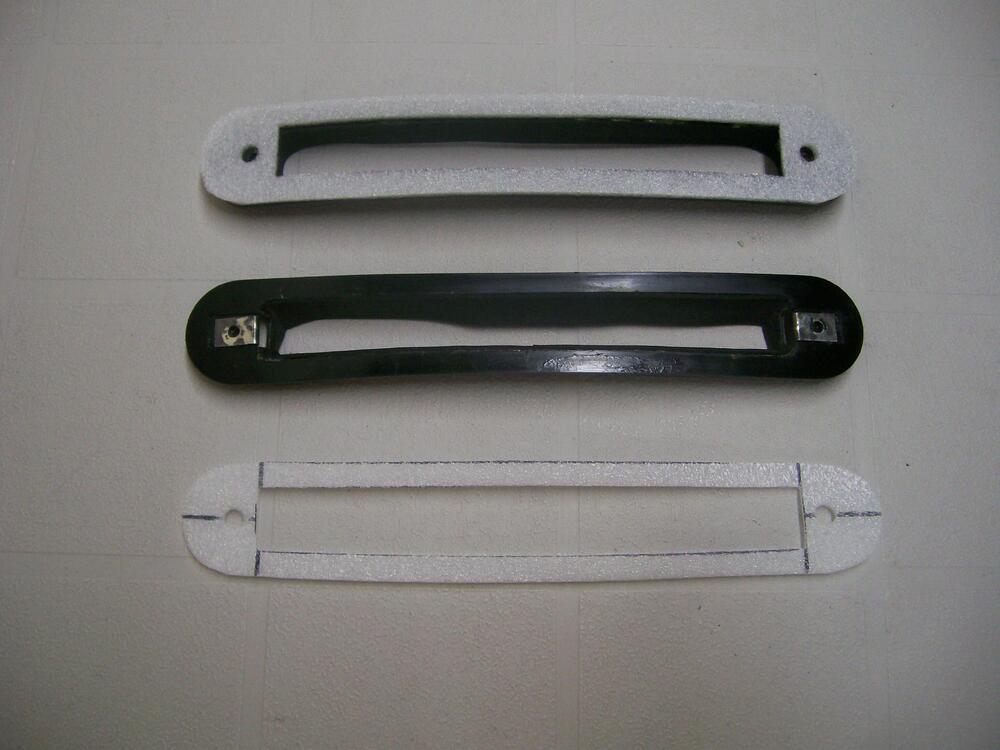
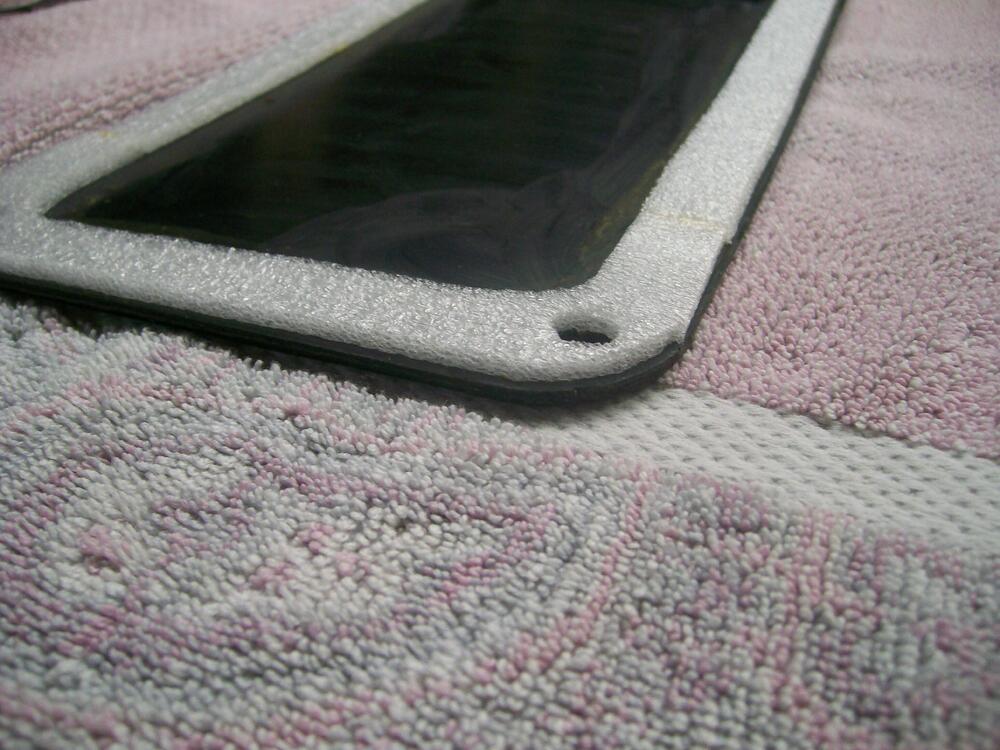
3 pointsHere's a photo that I took when I was getting my hatch vents ready for installation. Self-explanatory, I hope... The factory gasketing for the plastic vent plenums was pooched, so I made replacements from soft, closed-cell foam (it's actually foam strip used for sill walls during building construction). You need to use something that's pretty compliant, because you'll need a lot of 'squishability' (technical term) to be able to push the clip into place... I used the same foam to create a new gasket for the interior trim panel... During final installation, I used strips of wiring loom tape (non-adhesive) overlaid by a hotel key card to protect the paint as I was sliding the clip into place. The key card is pulled free after the clip is in place. Then the tape is pulled away (the section of tape immediately under the clip can be left in place -- no one will see it and the plastic push-pin will penetrate easily when the chrome vent is pressed in place...
 3 points
 -
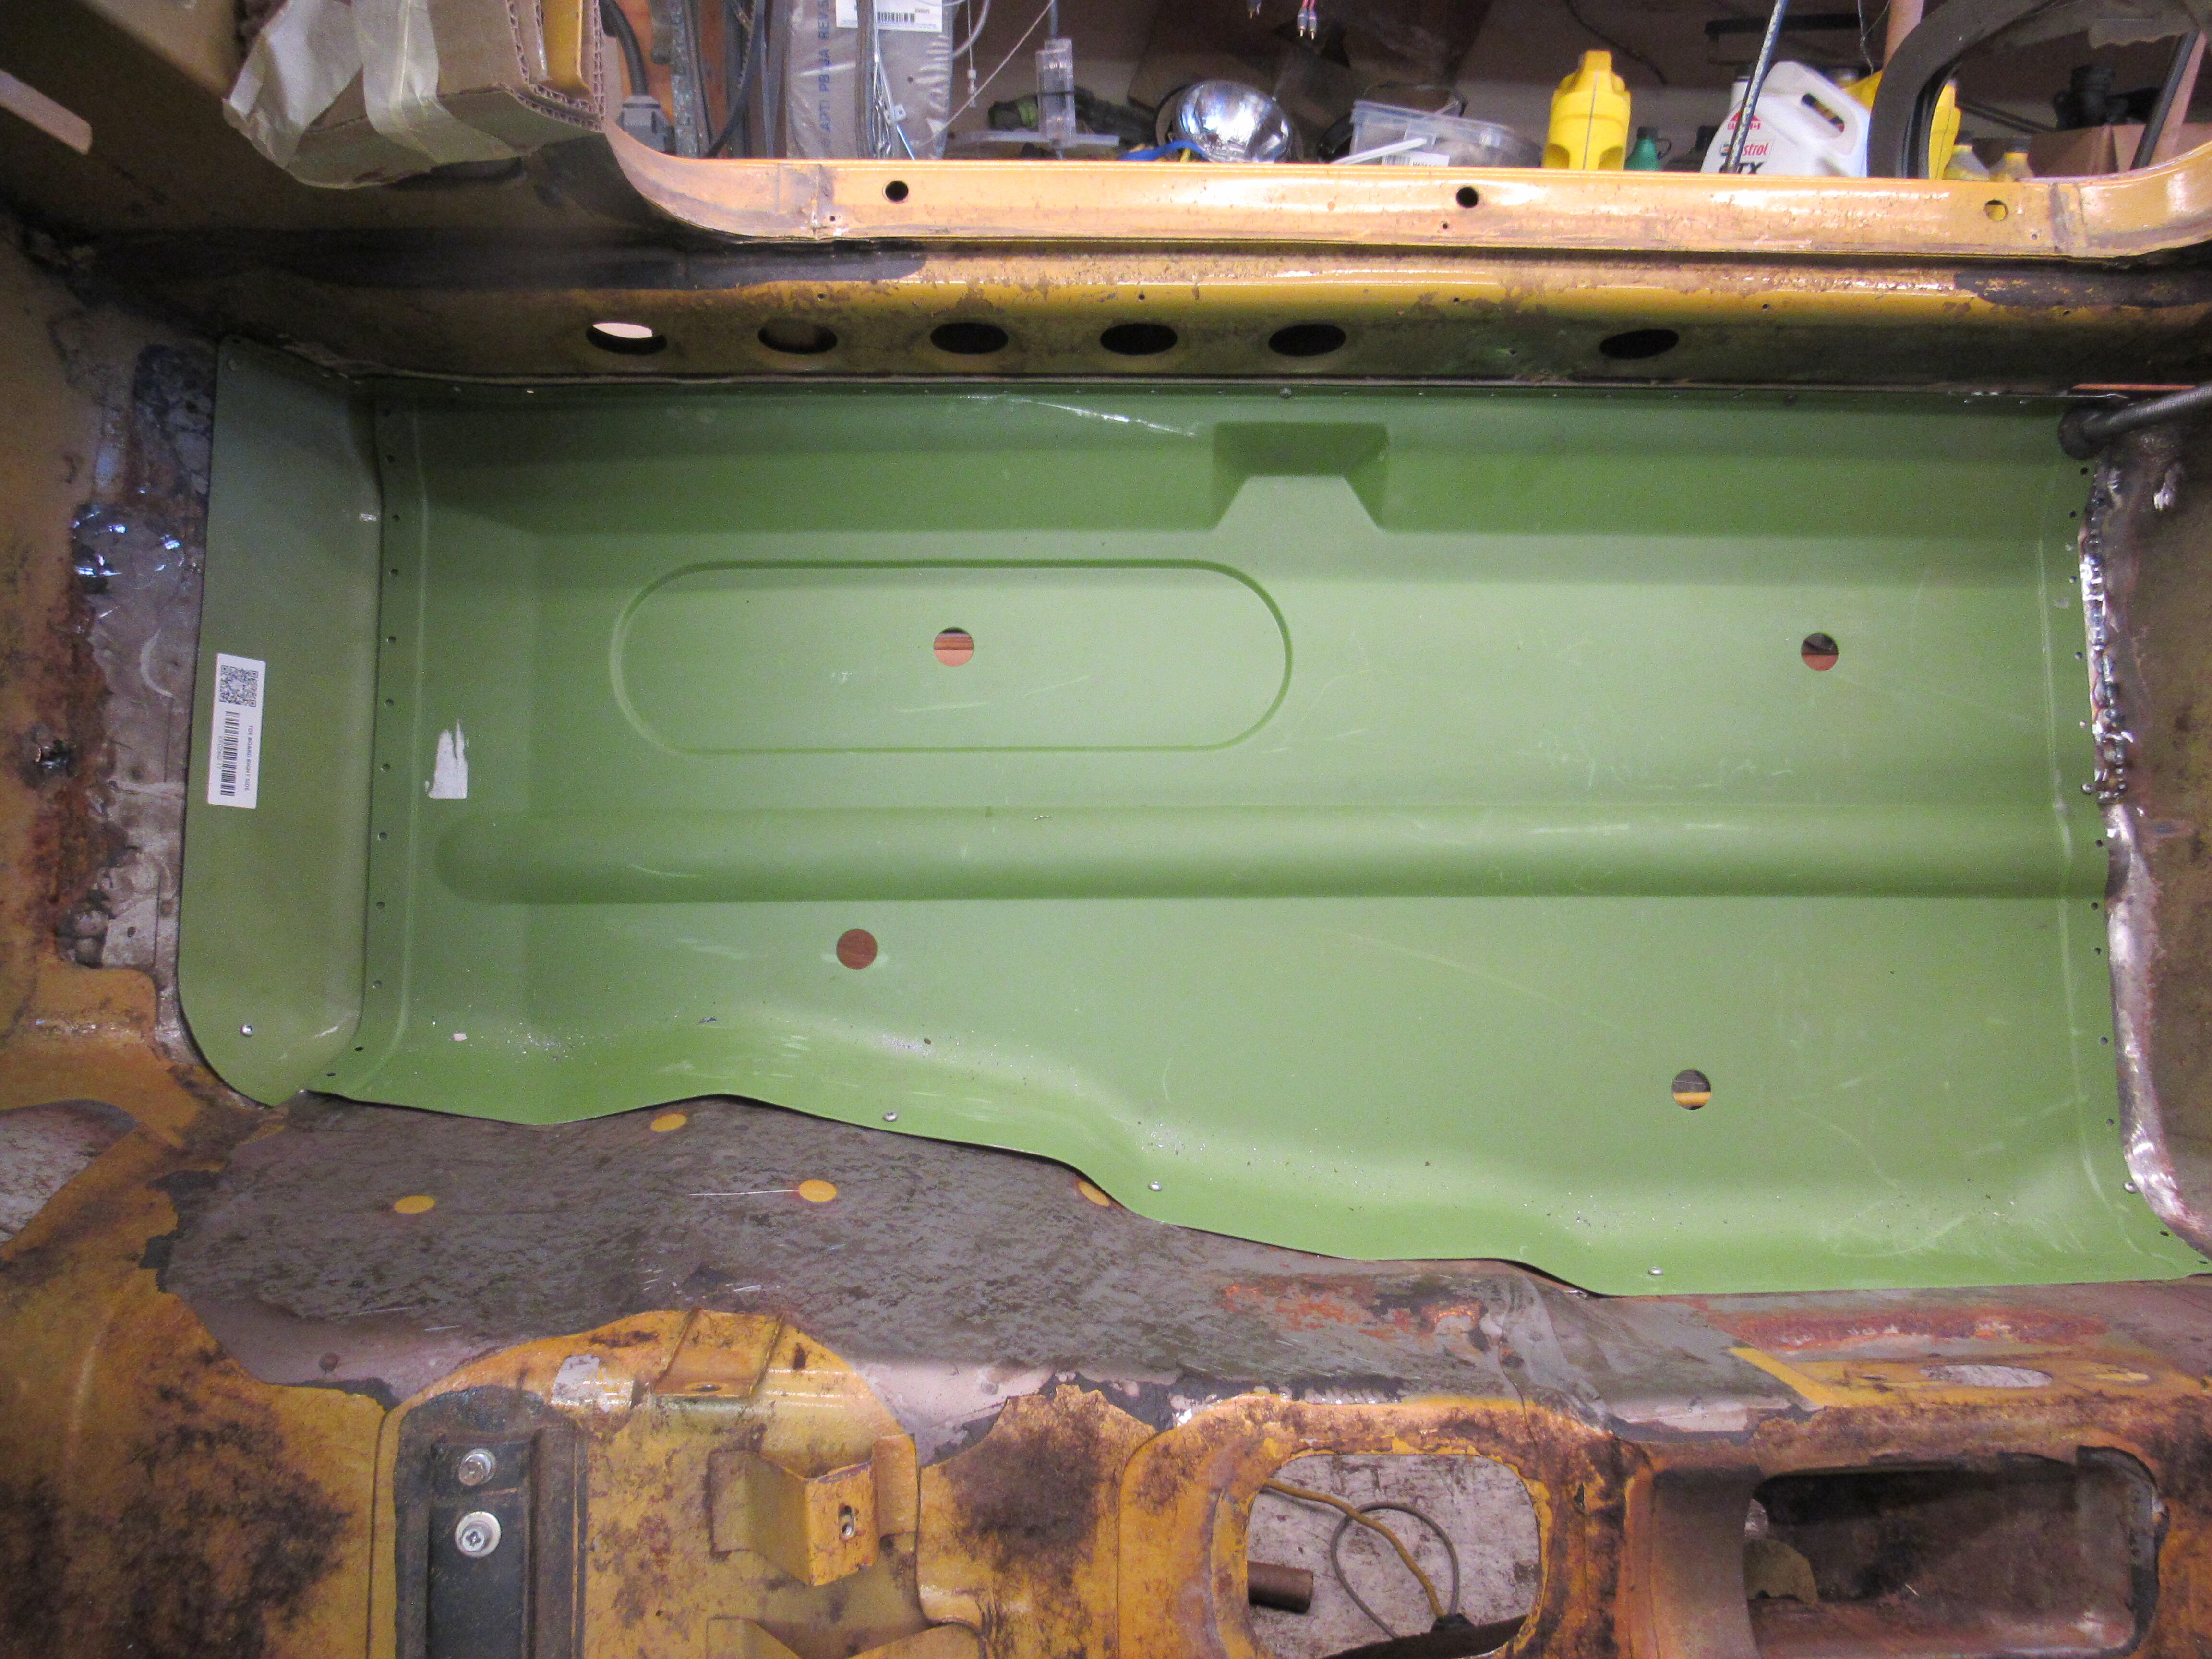
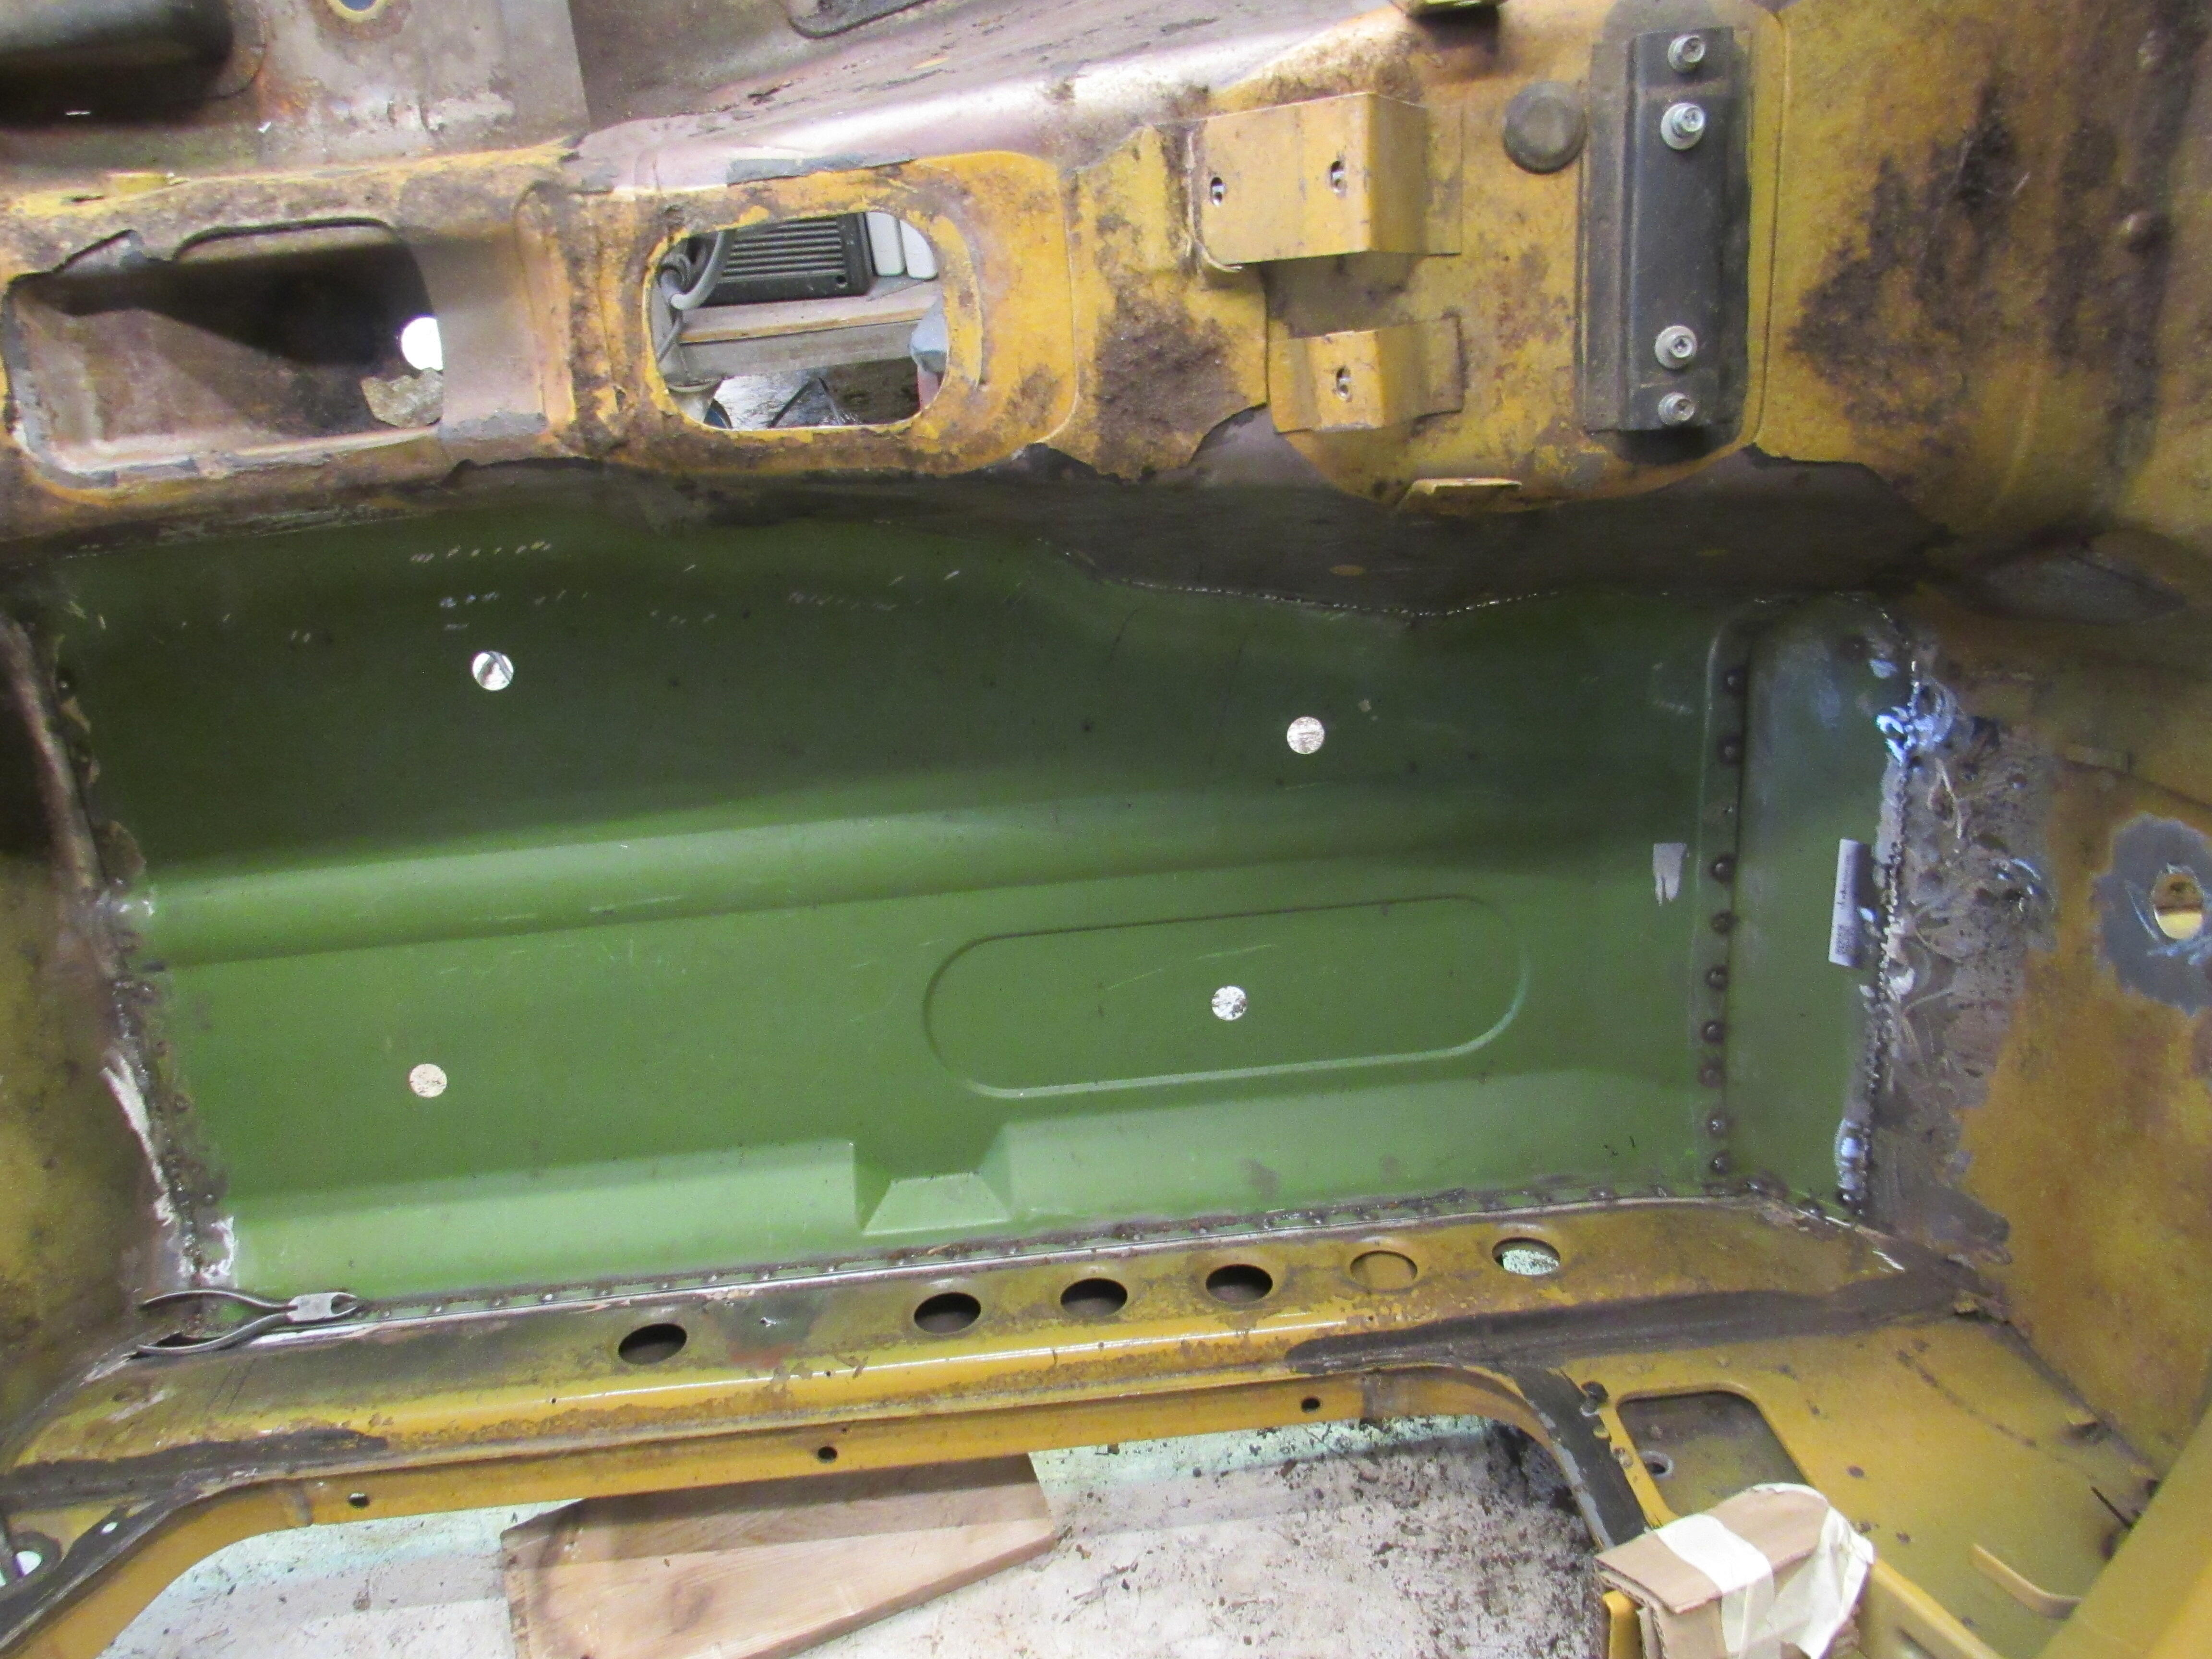
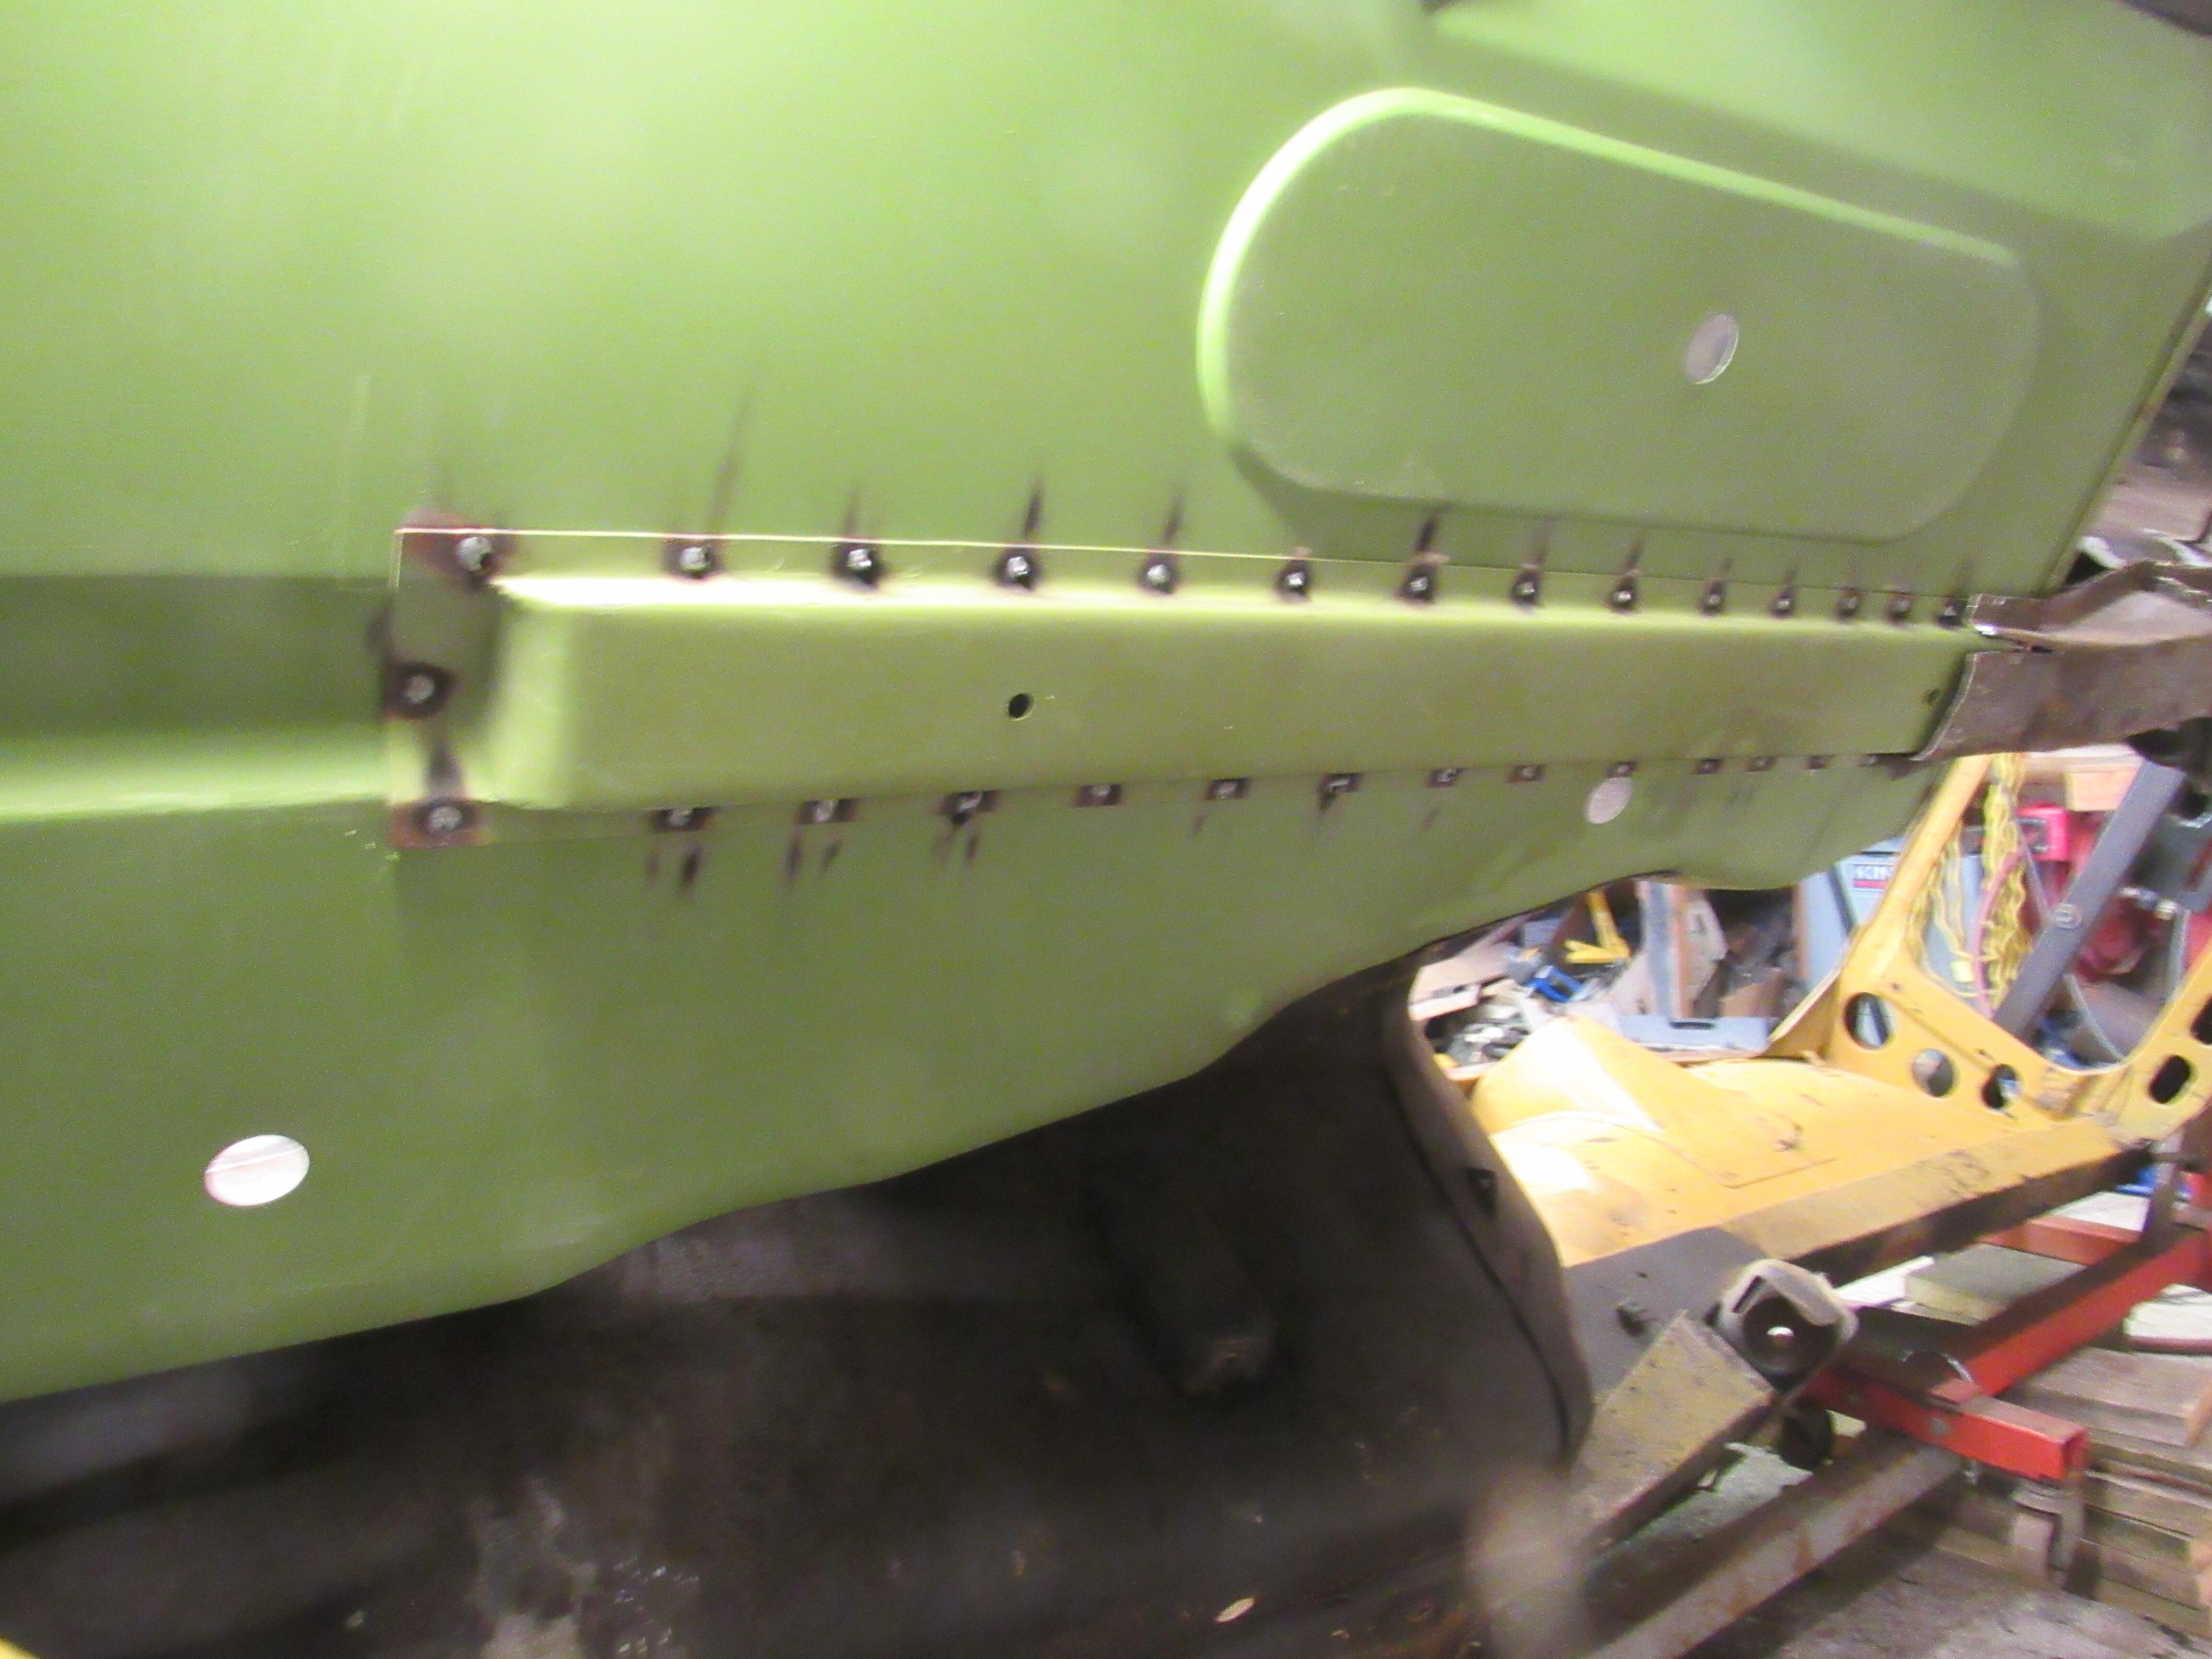
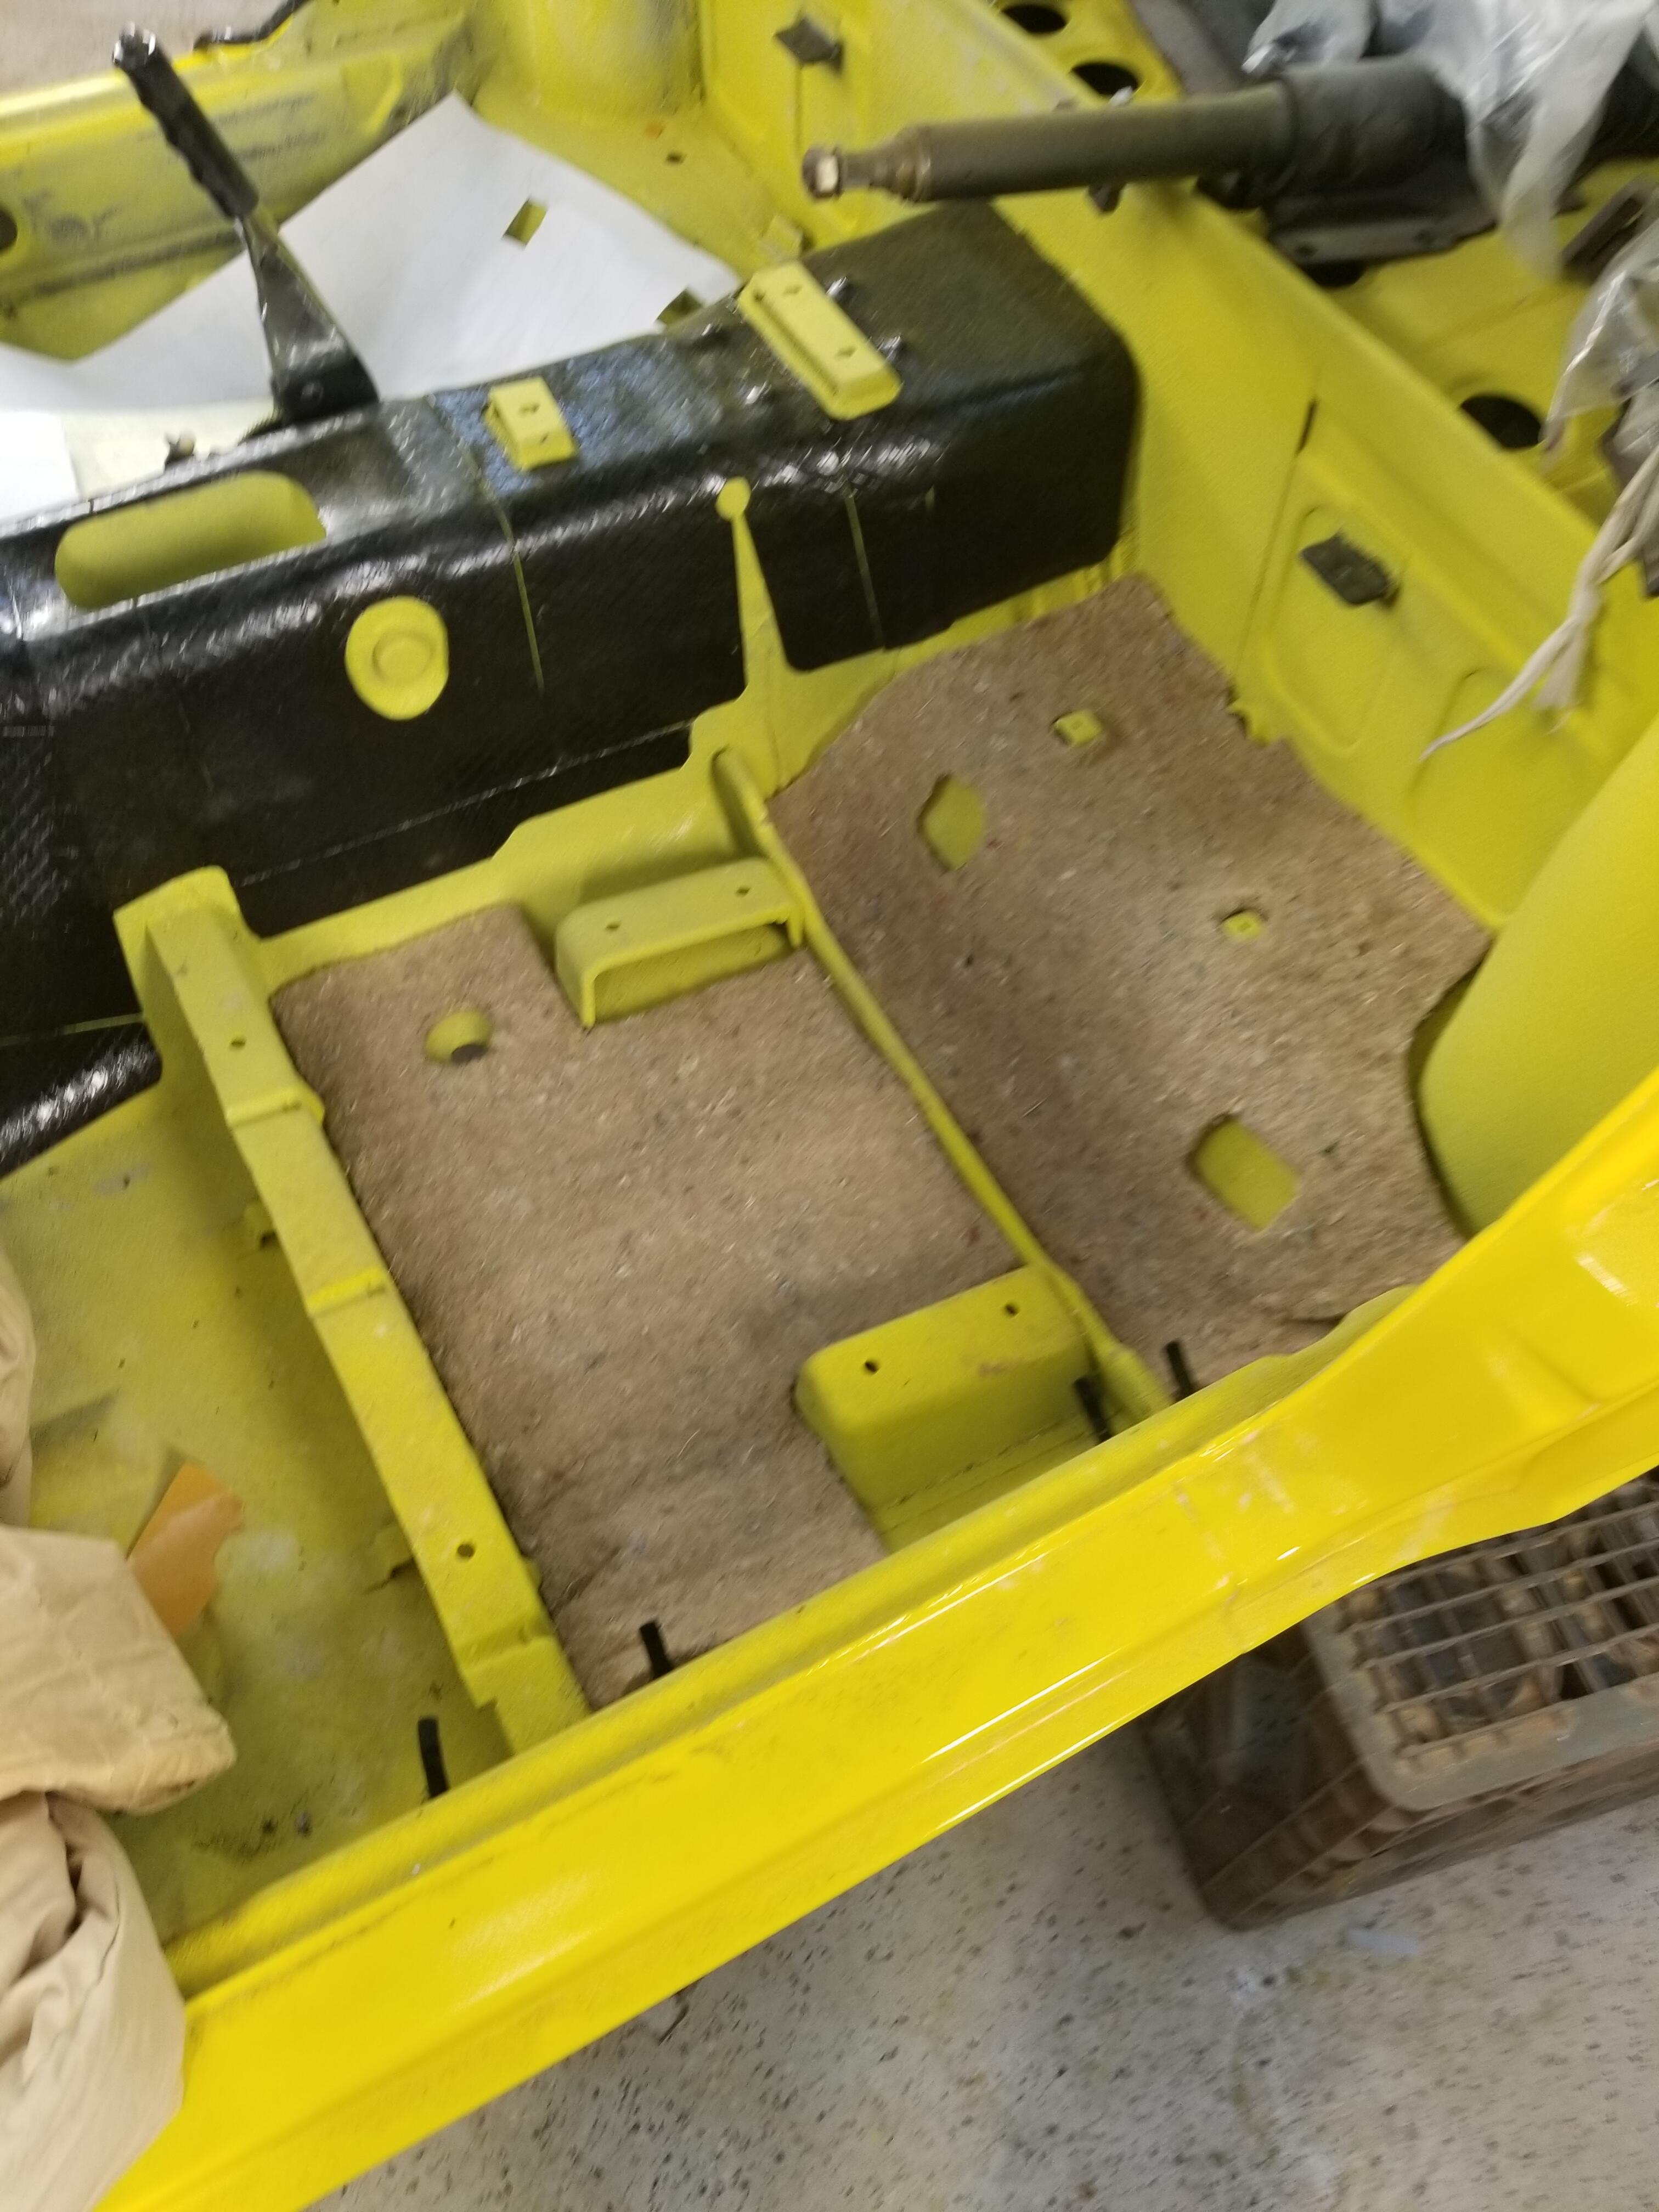
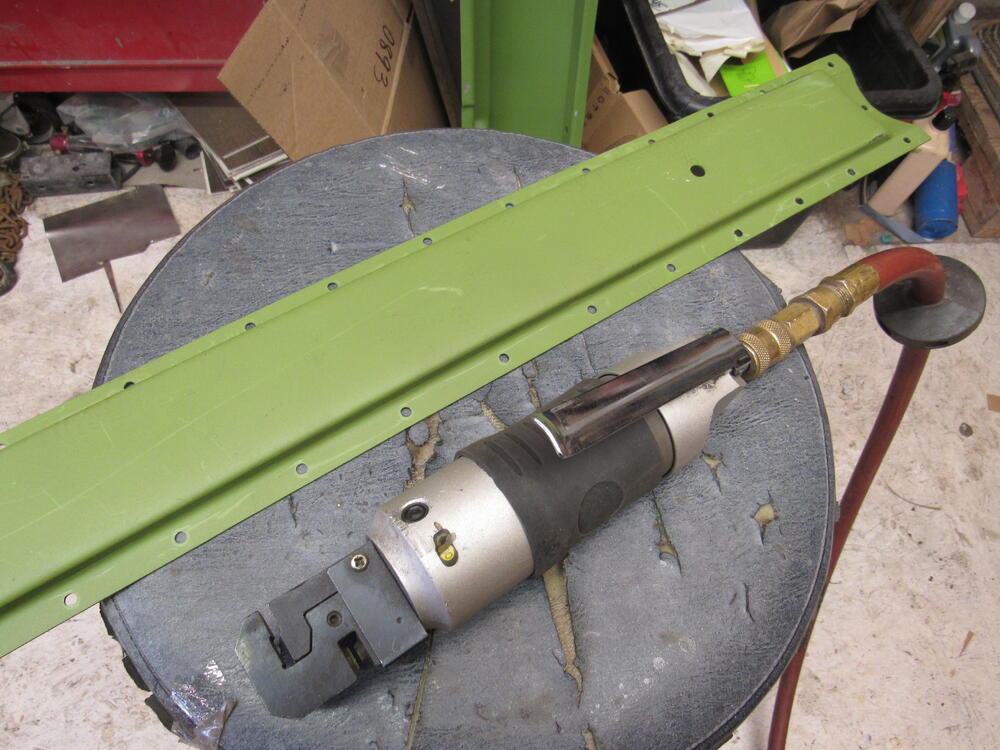
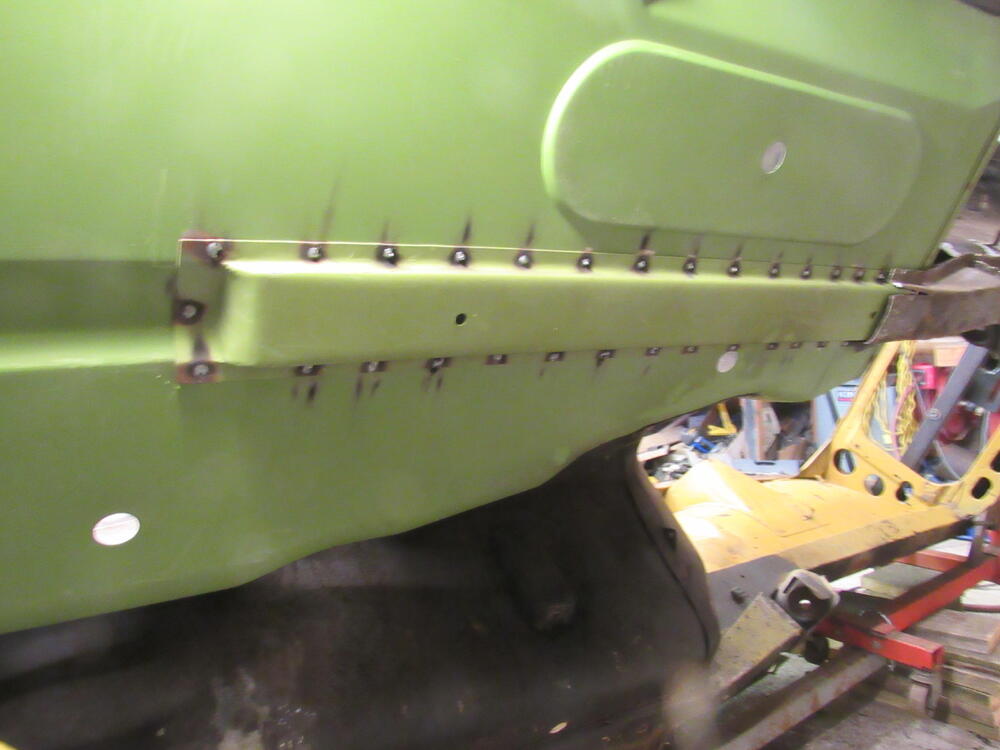
2 pointsI test fitted the floor pan and toe board yesterday, then cut the transmission side and welded in today. I still have to fill in the welds and grind more but it's good enough for now. This is an air tool I don't get to use very often but sure saves lots of the labour of drilling holes, I paid $40 yrs ago at a pawn shop. A hole punch on one side and a flanger on the other.


 2 points
 -
2 pointsEither way, you need a second person. I've always found the rear glass is more difficult to install than the front and having the hatch attached to the car allows you to push the glass and seal down in the corners while the second person, lying on their back is inside working the cord/trimmer line. Preferably a young guy with a good back I think those clips are for the chrome finisher grill, I just double stick taped them down as the pins had broken off. The black plastic drain ducts had to be glued with 2 part epoxy cement around the edges and then I inserted a spacer/wedge between the drain duct and the inside panel of the hatch to keep them in place, easier to do while the hatch is off. Also oversized screws rather than the M4's. My drain ducts were bowed a bit from the heat of the sun so had to flatten them on a belt sander to get good contact.2 points
-
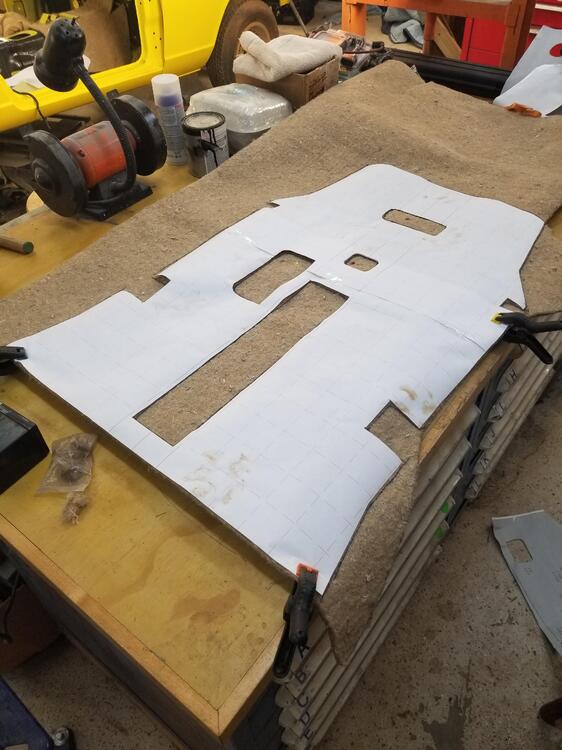
Not yet. I did come across and interesting tidbit of information. @AZ 240 mentioned in a thread some time ago that "Although I made my own patterns and cut all of my carpet pieces, he was able to surge all of the carpet pieces on his equipment and they turned out great." The problem I have with C and H is from what I can see from pics posted by others, the fit of their latest 240Z efforts doesn't look like it is of the same quality as their carpets from years ago. If doing as Dan did is still an option, I may go that route. But, I am not comfortable with ordering their carpets as is given the somewhat recent photos I have seen.2 points
-
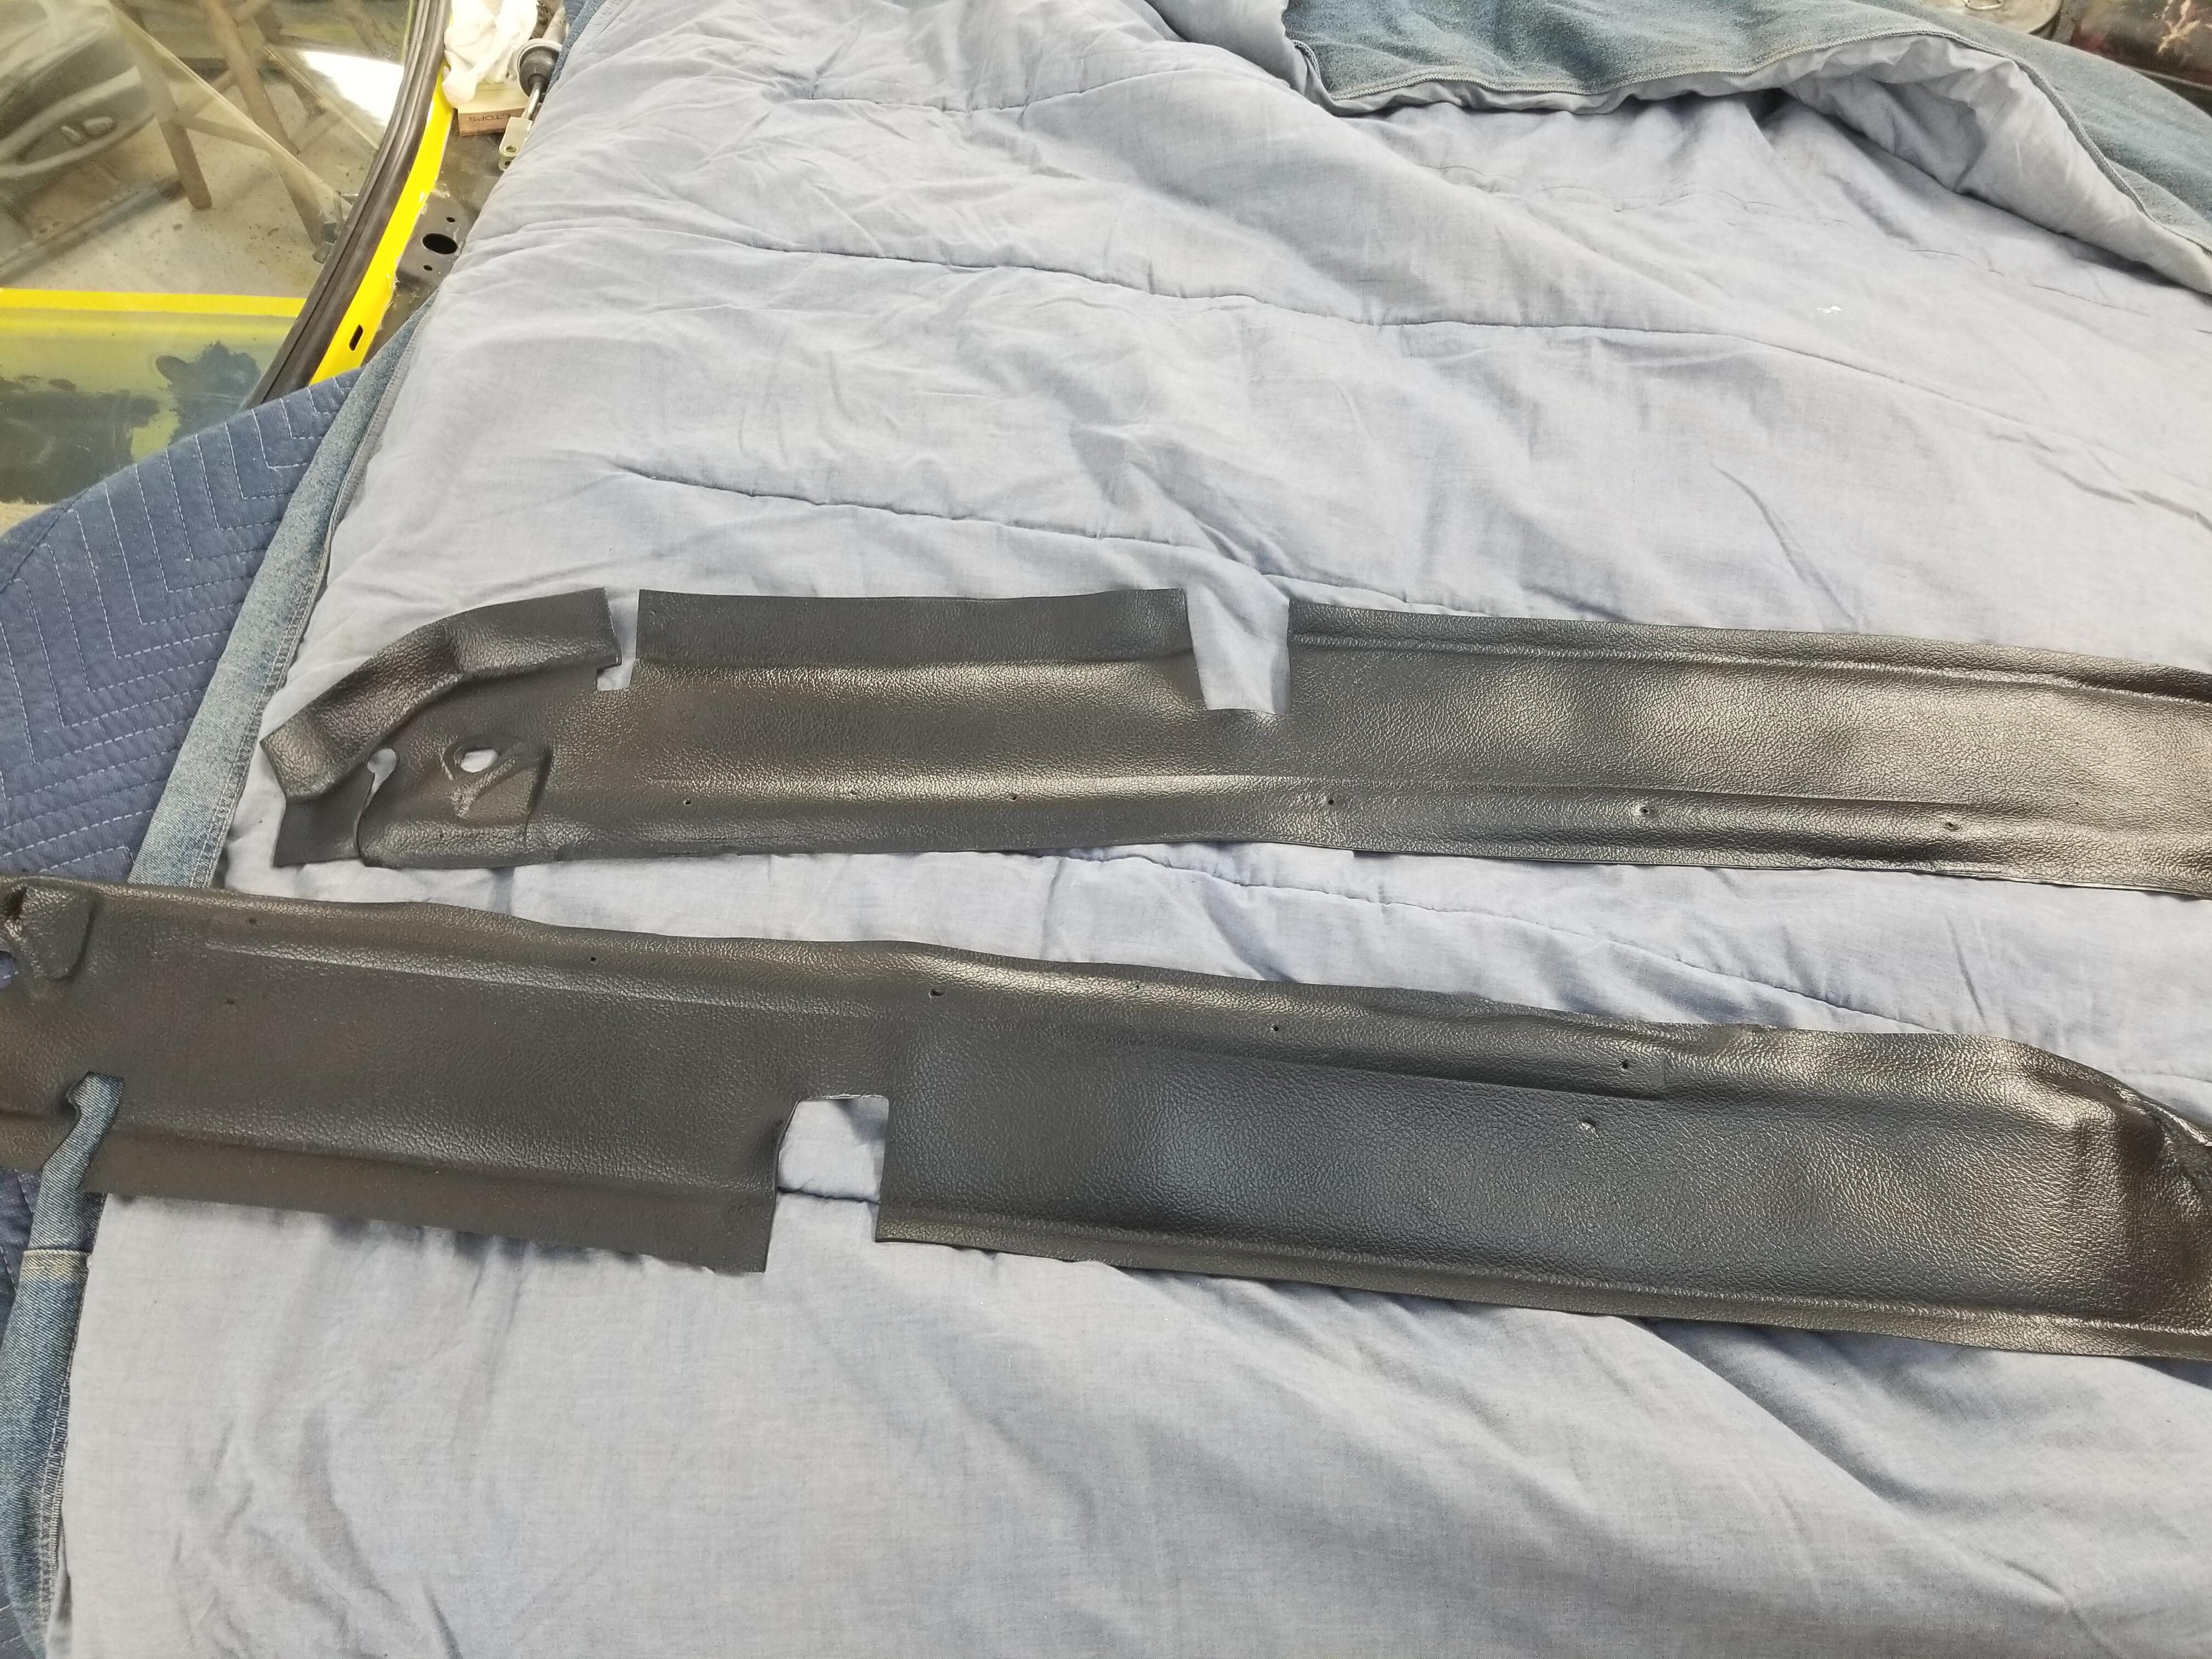
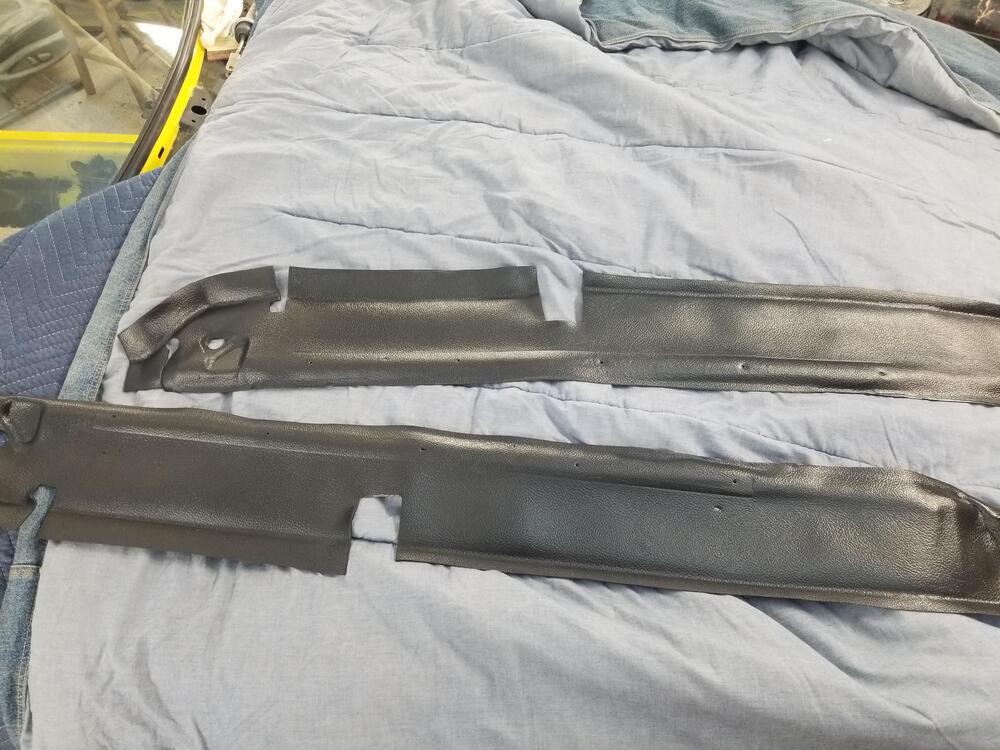
2 pointsI also used some SEM vinyl prep and some Satin black and recolored the rocker trim
 2 points
 -
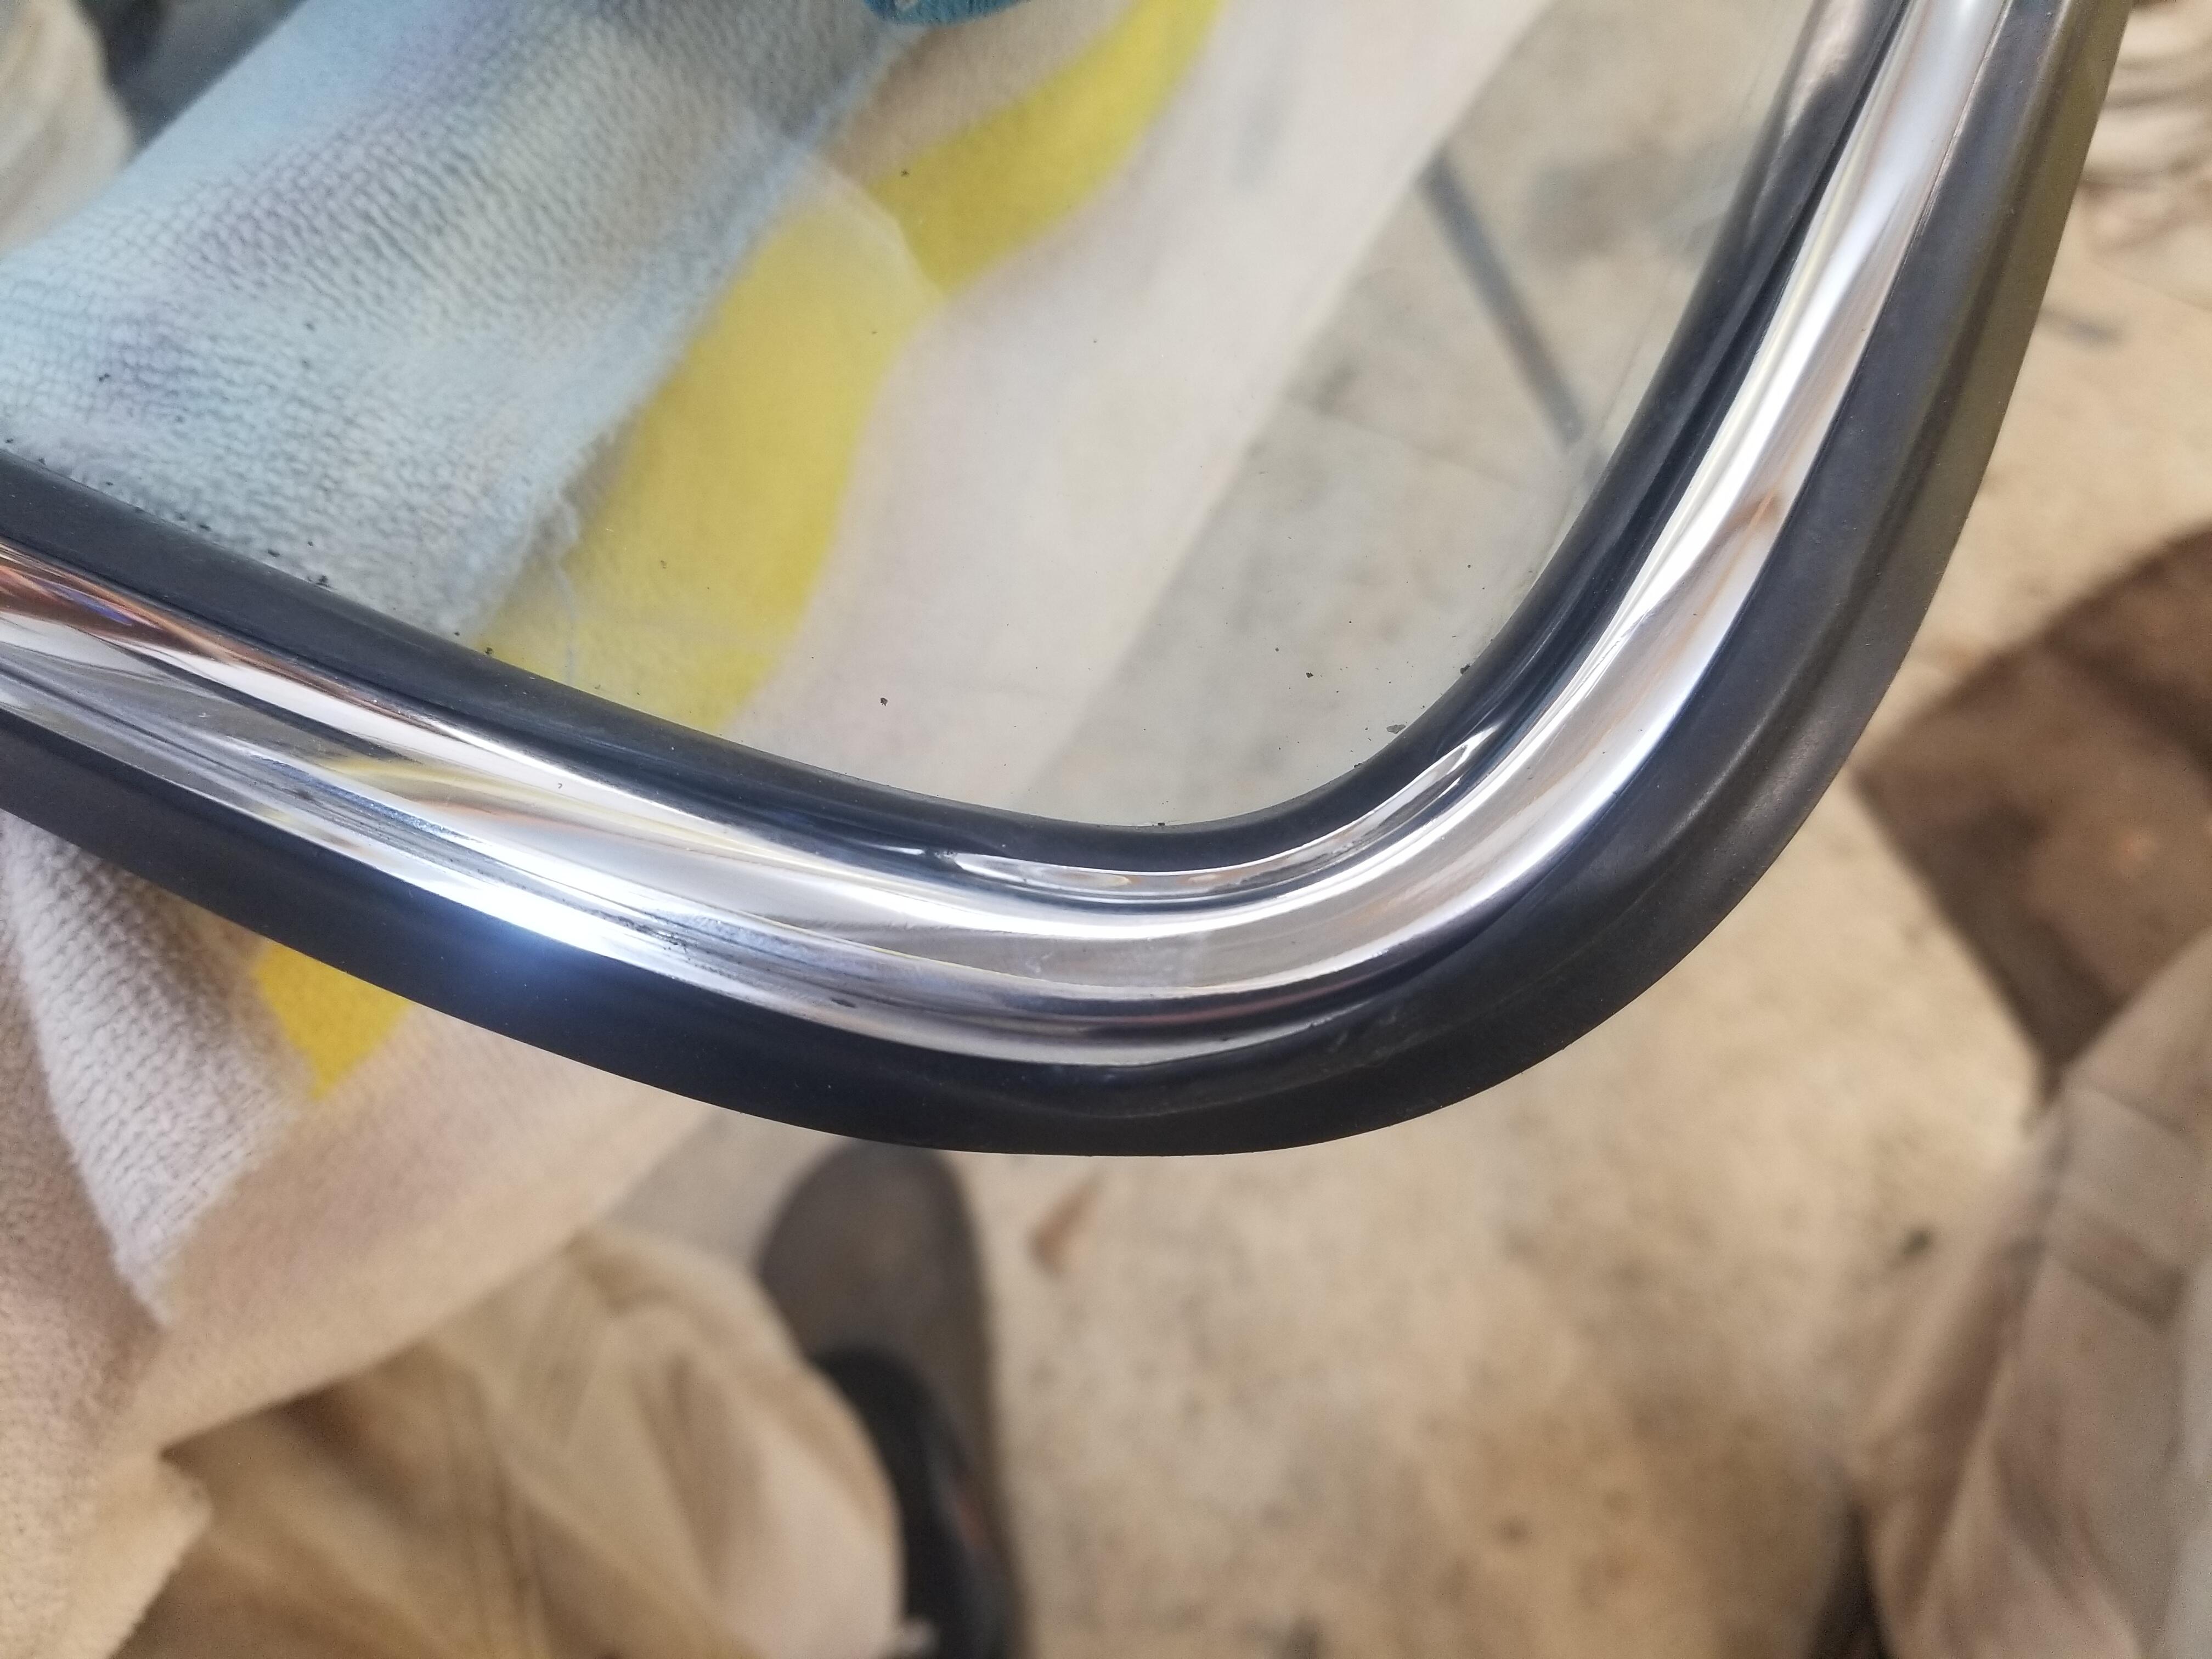
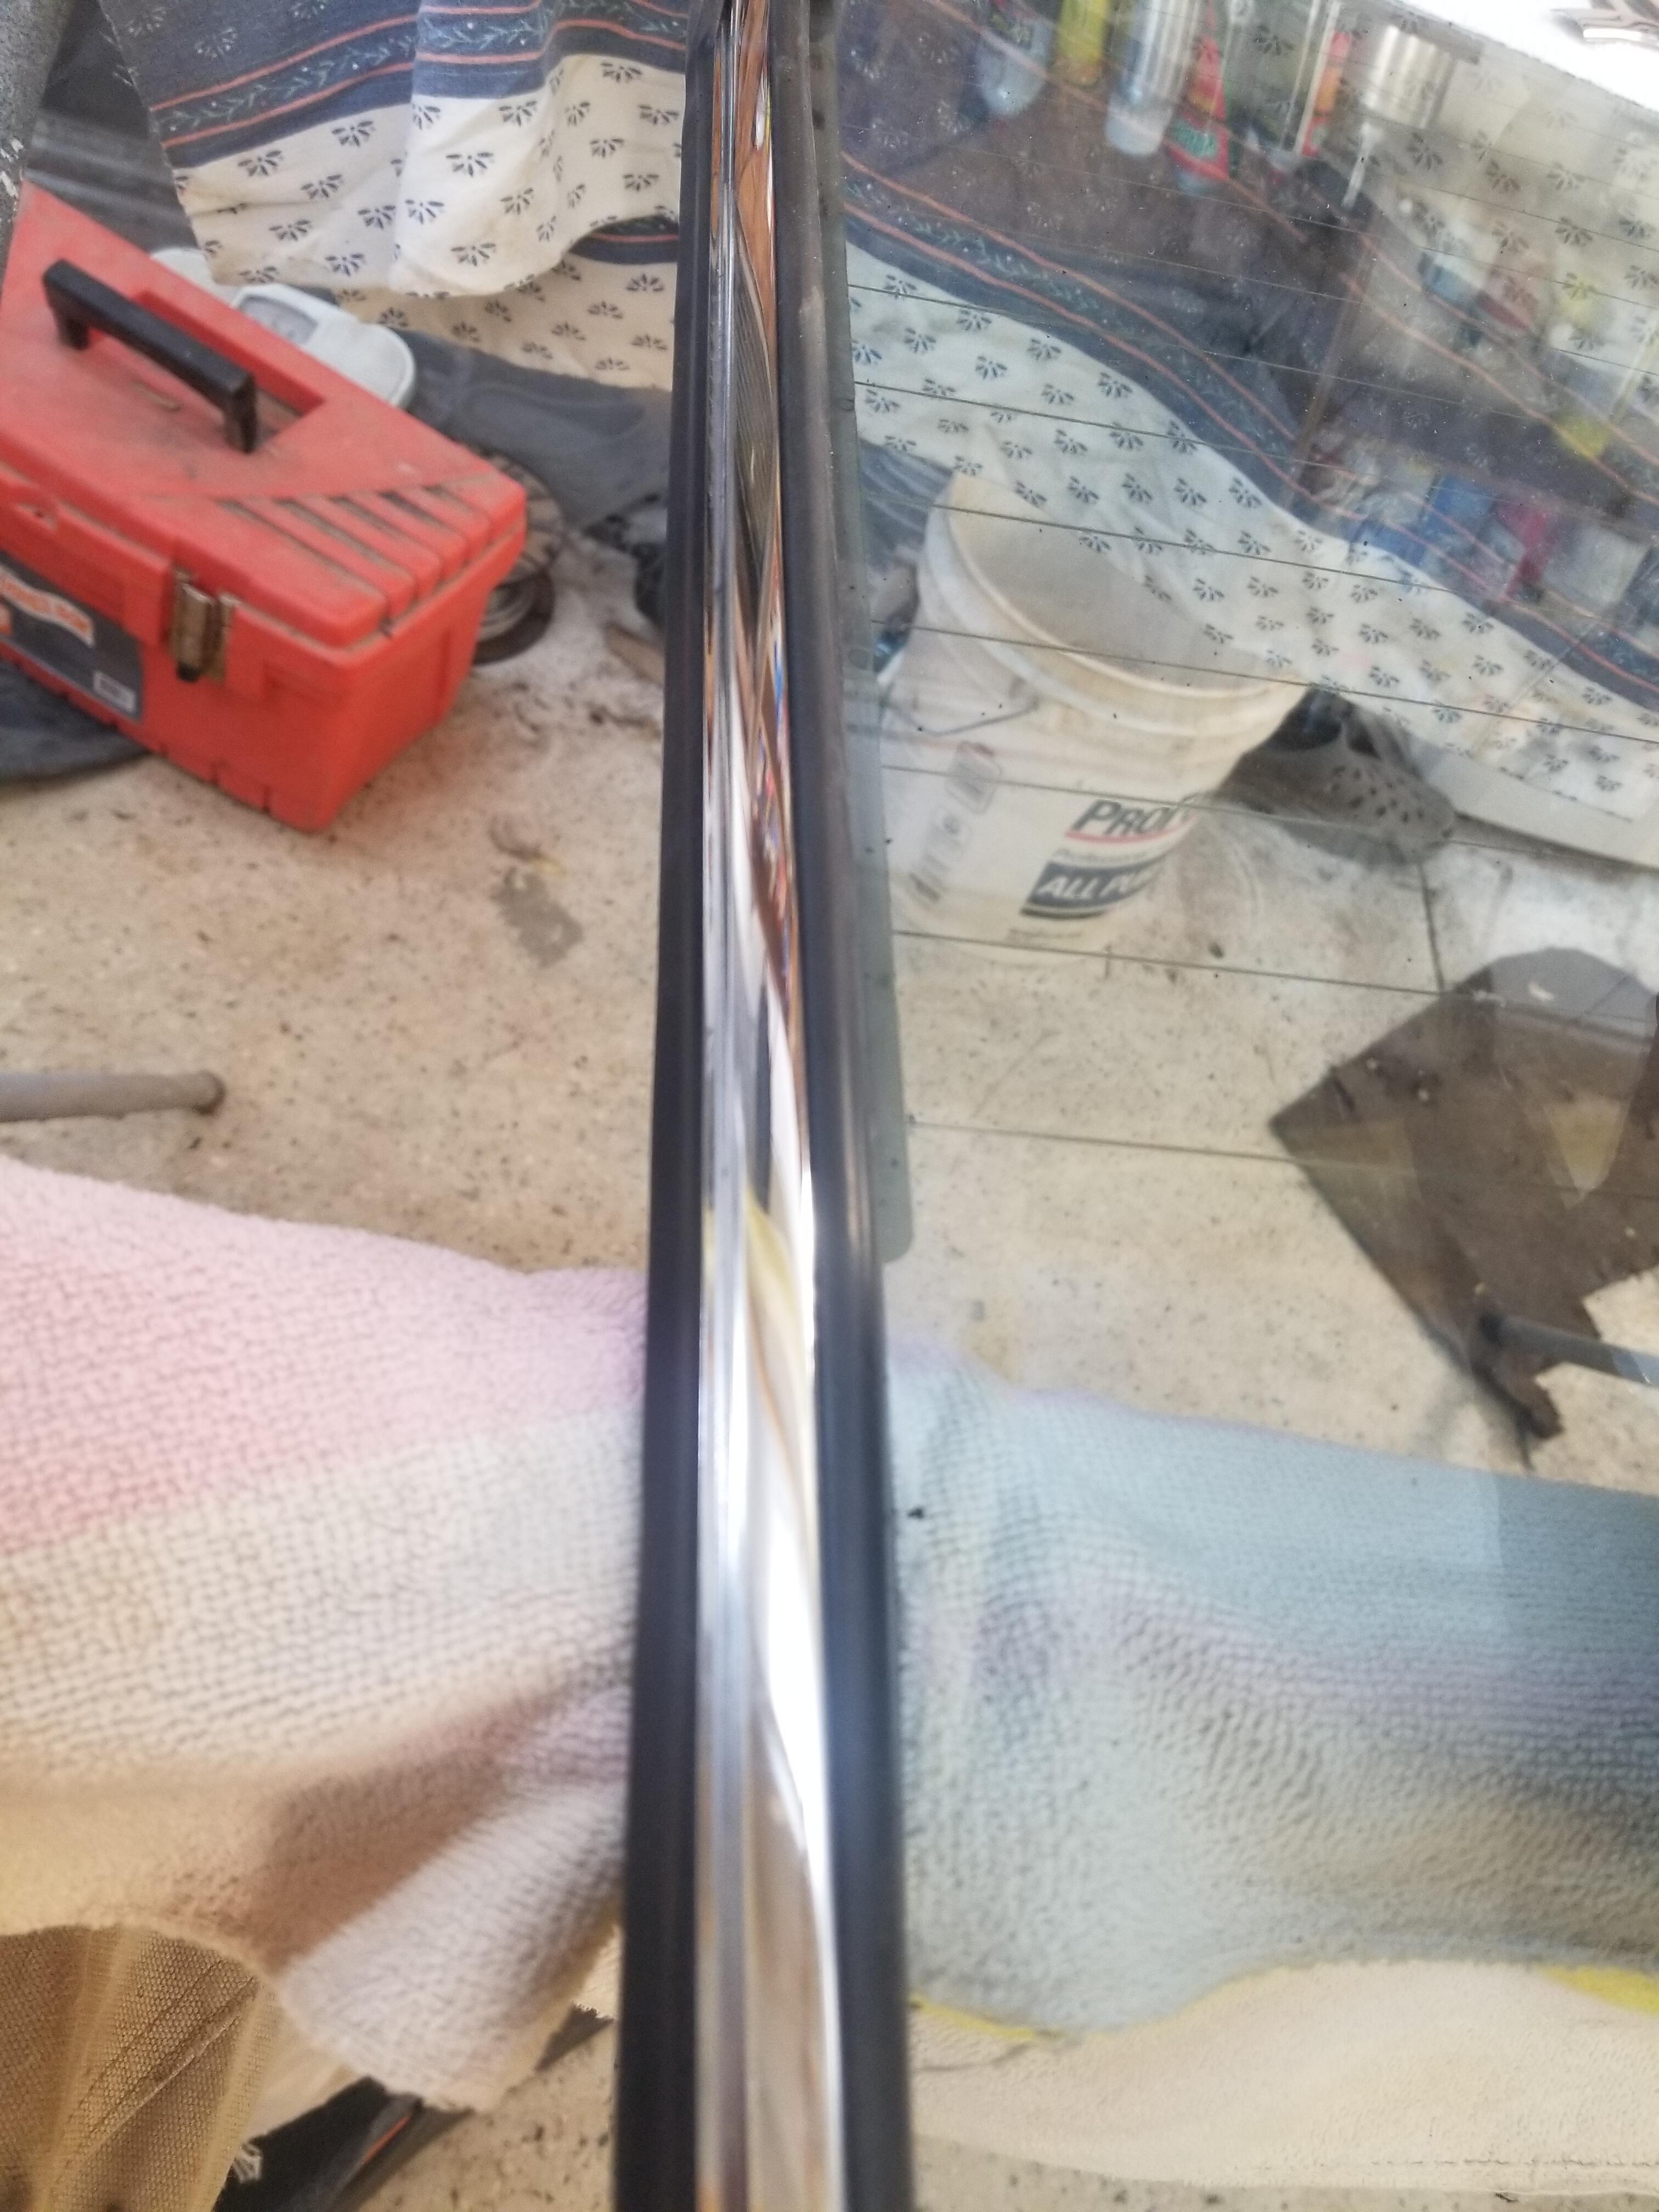
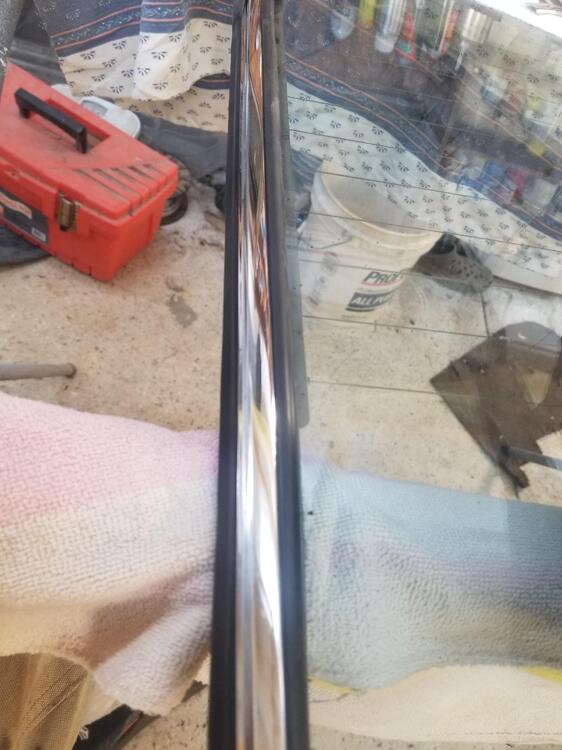
2 pointsI worked on the hatch glass one day last week. I needed to get the trim into the gasket. I started with the top piece and then did the two lower corners. On the top piece I put the inner edge into the gasket and then used my thumb to roll the outside flap out and over the trim. Working my way down the piece. On the two lower pieces, I go them set in the corner so that both legs would go into the inner lip. Then I got one end tucked about 4", then I went to the other end and worked my way towards the corner. The issue gets to be where the trim has a much sharper corner than the gasket wants to make. Have to keep working and trying to shape the gasket to the tighter radius. I did eventually get it. I am hoping the hatch itself will help to reinforce the tight radius

 2 points
 -
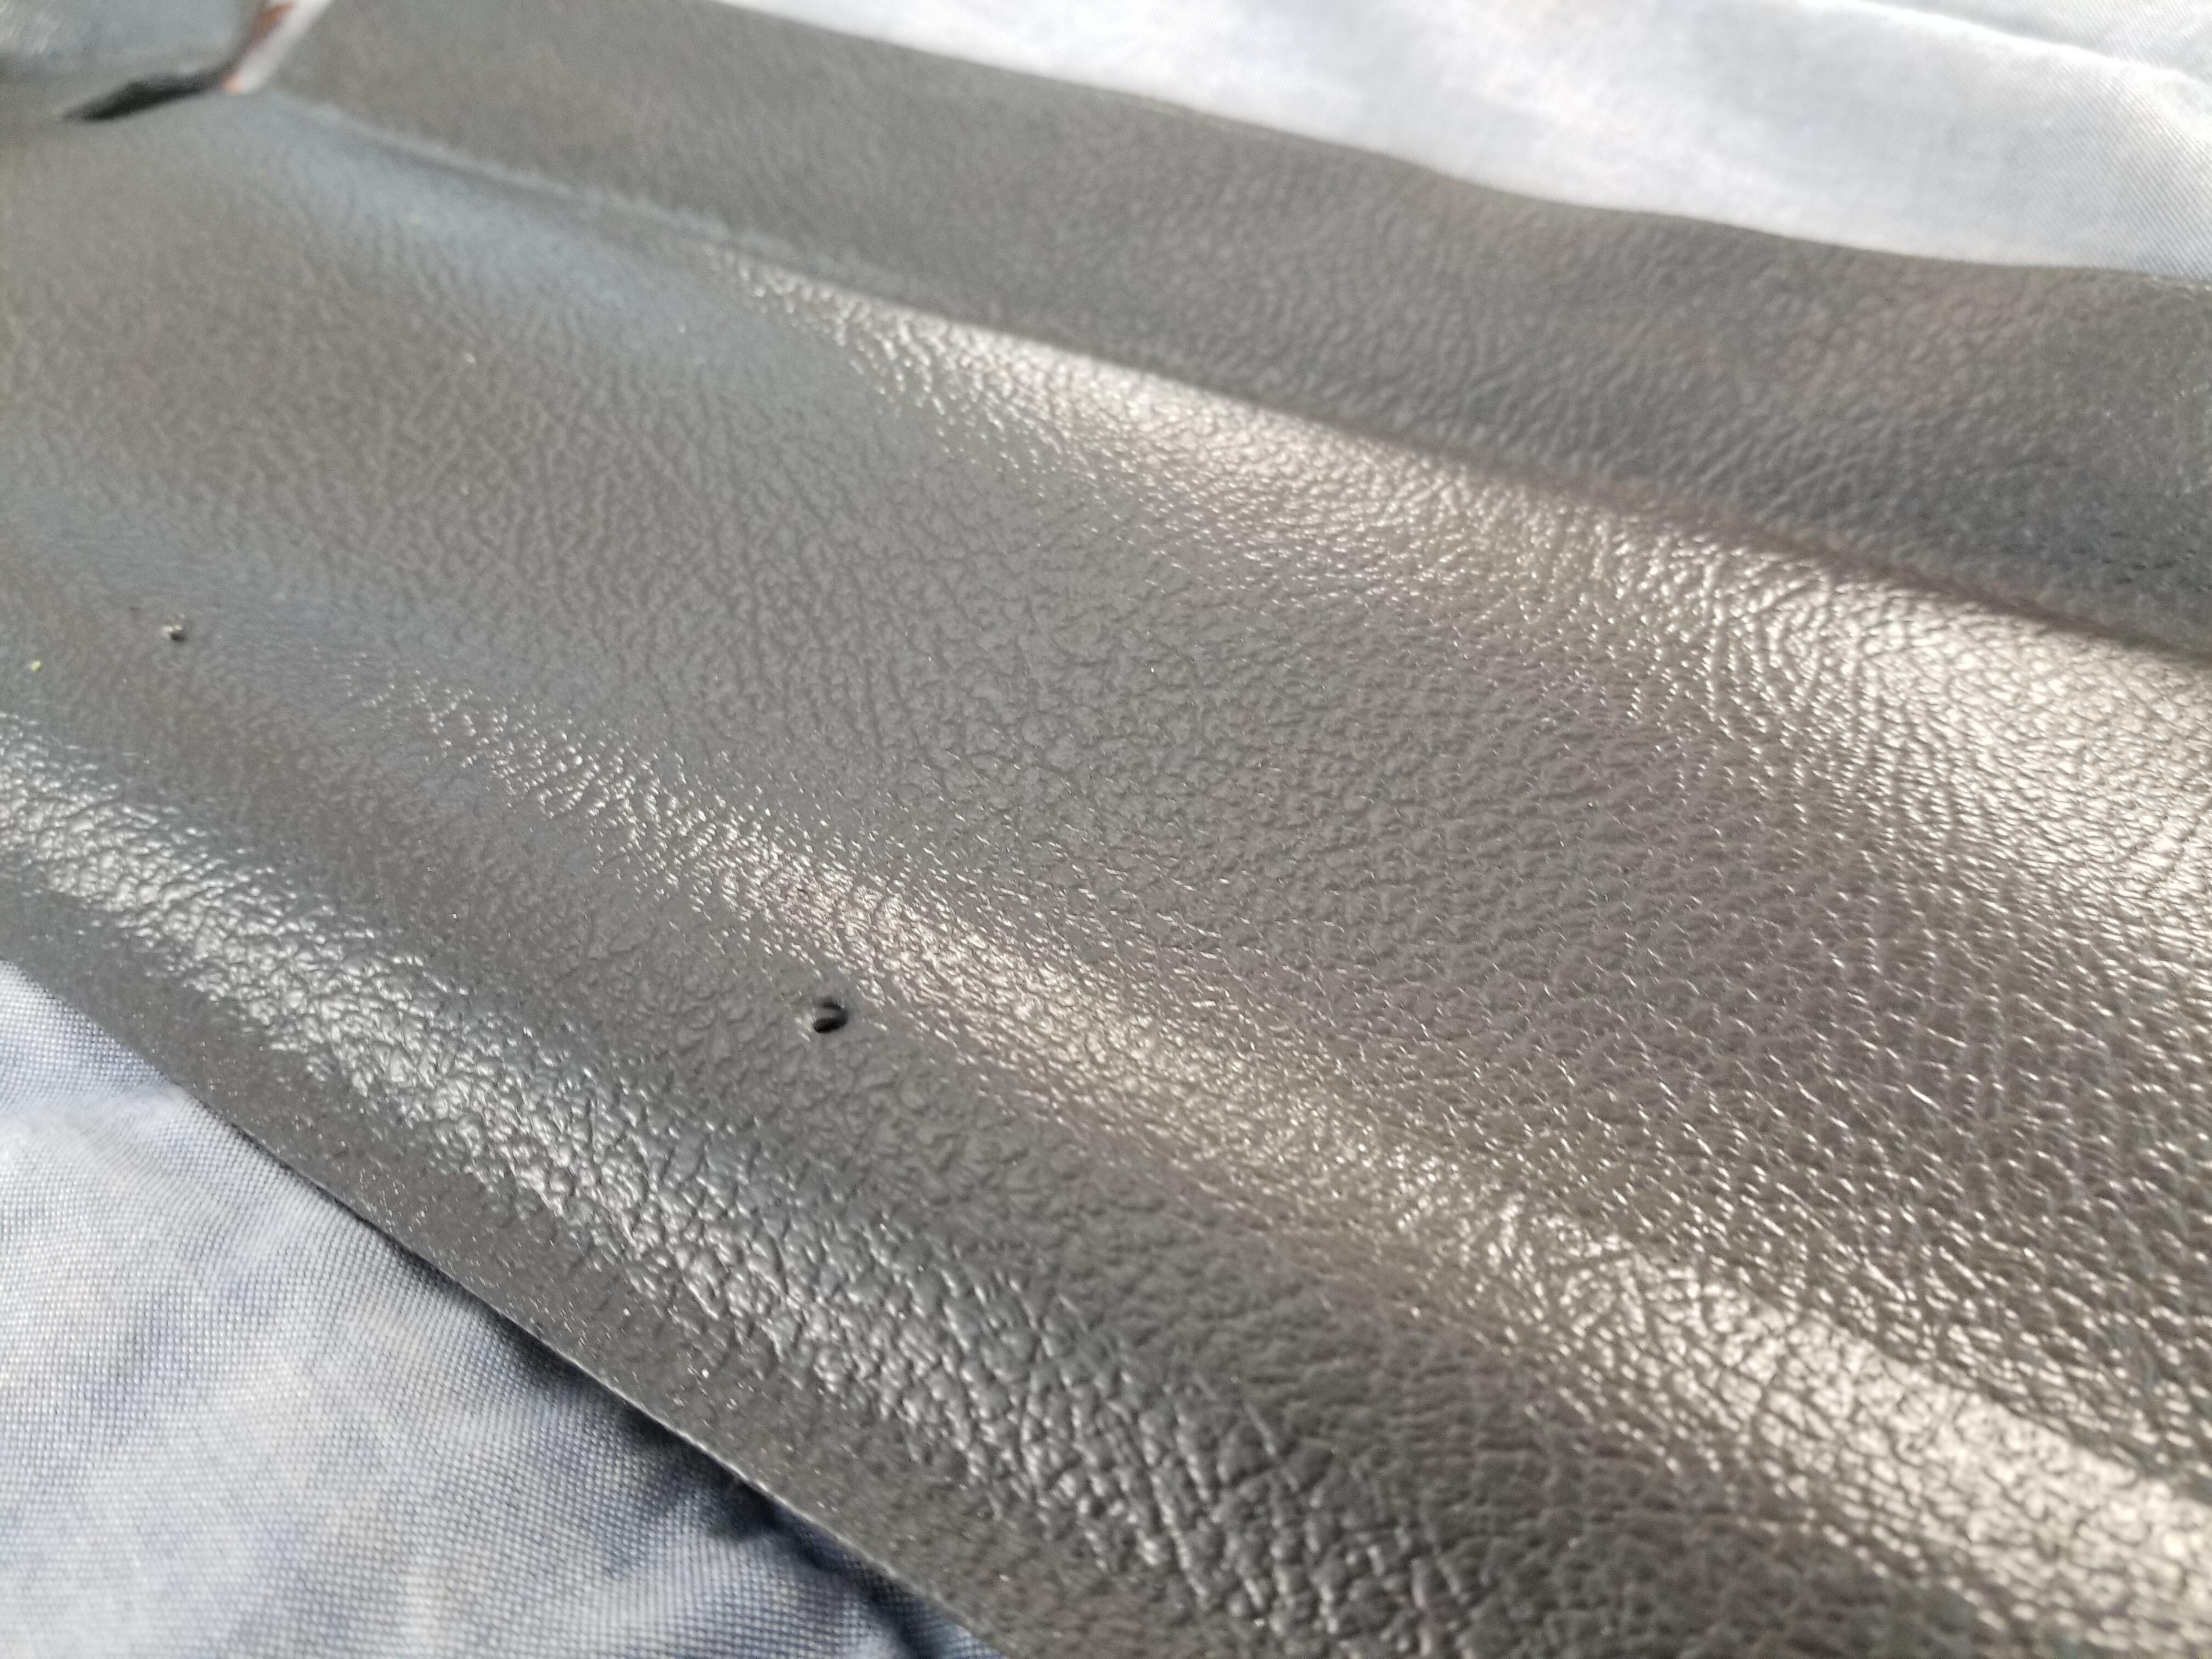
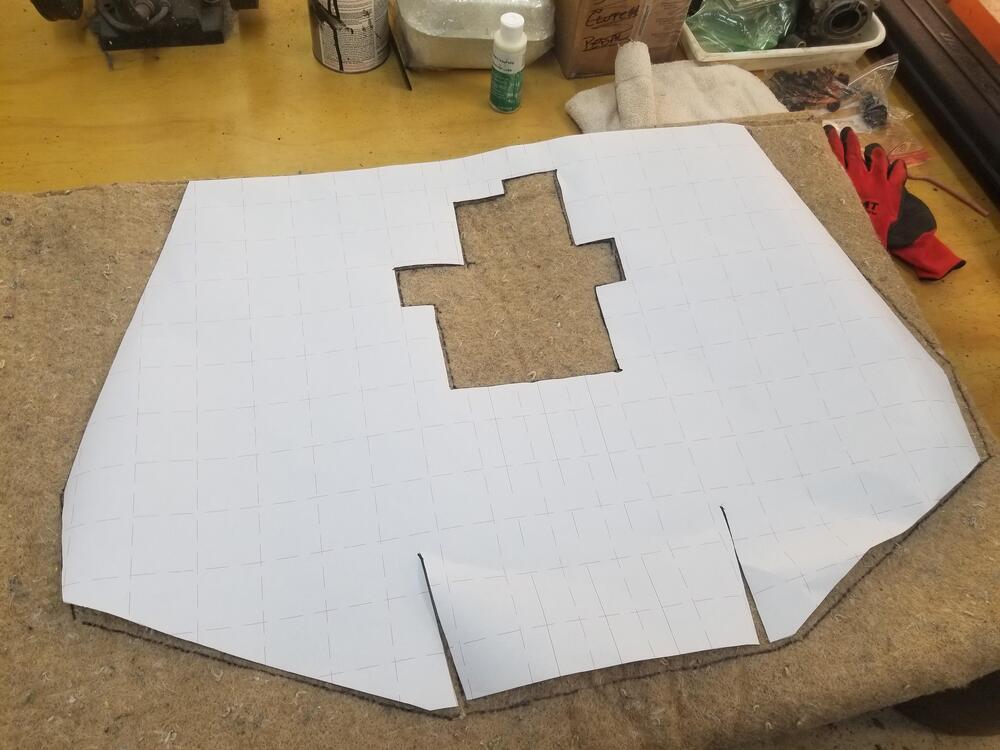
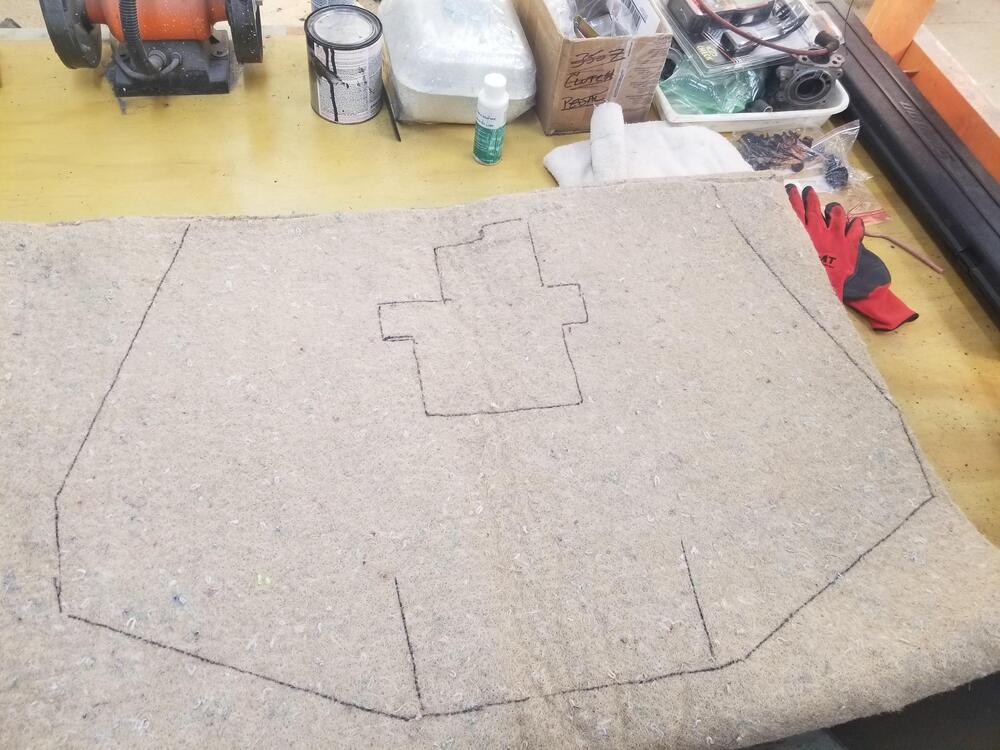
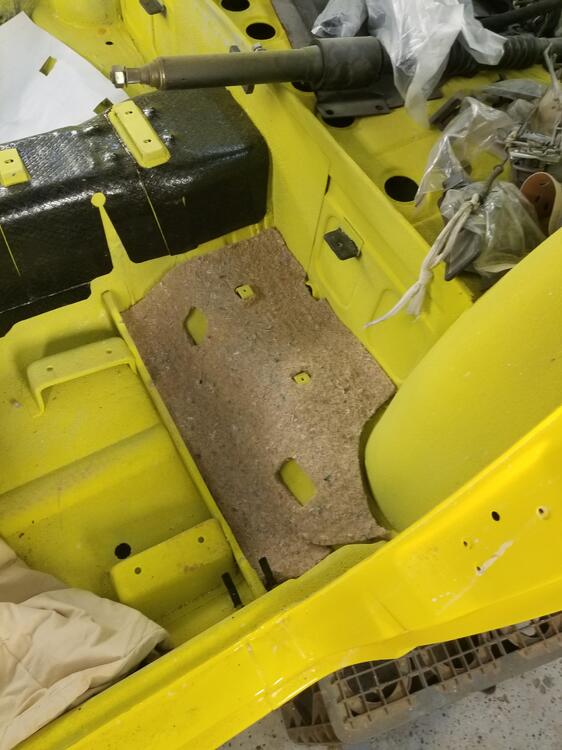
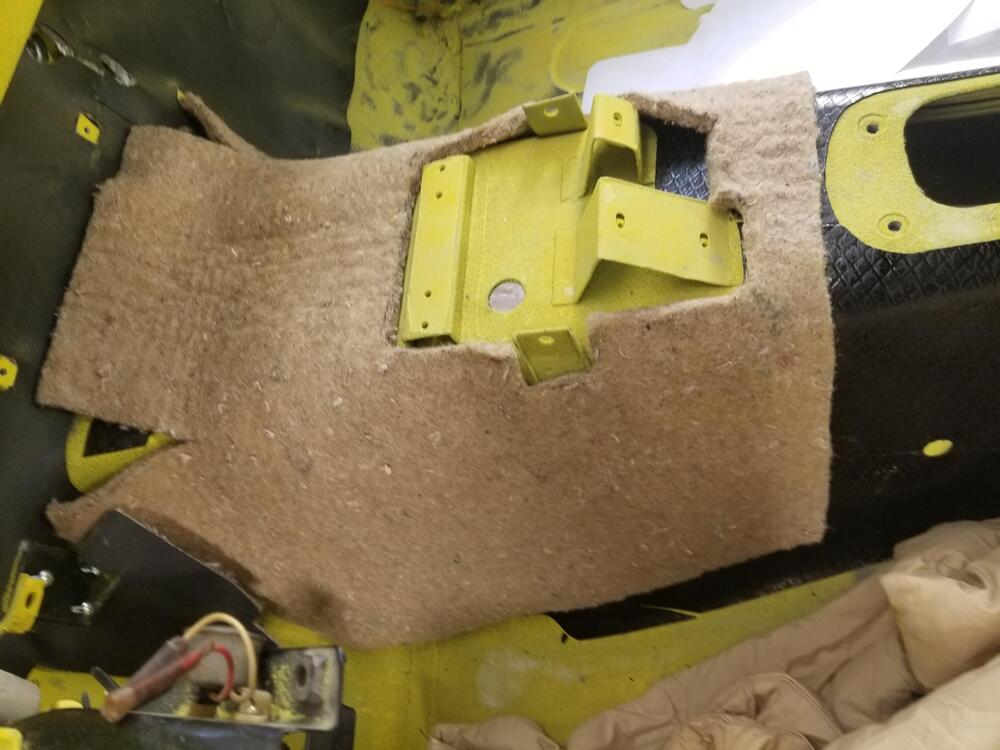
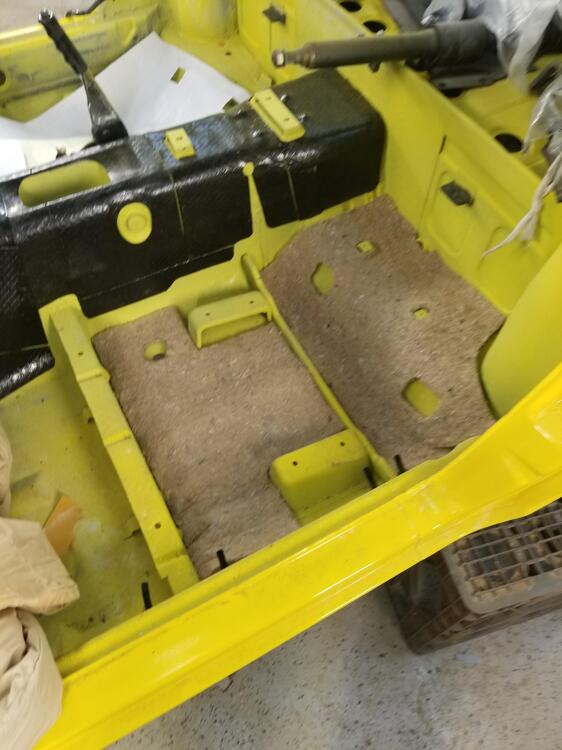
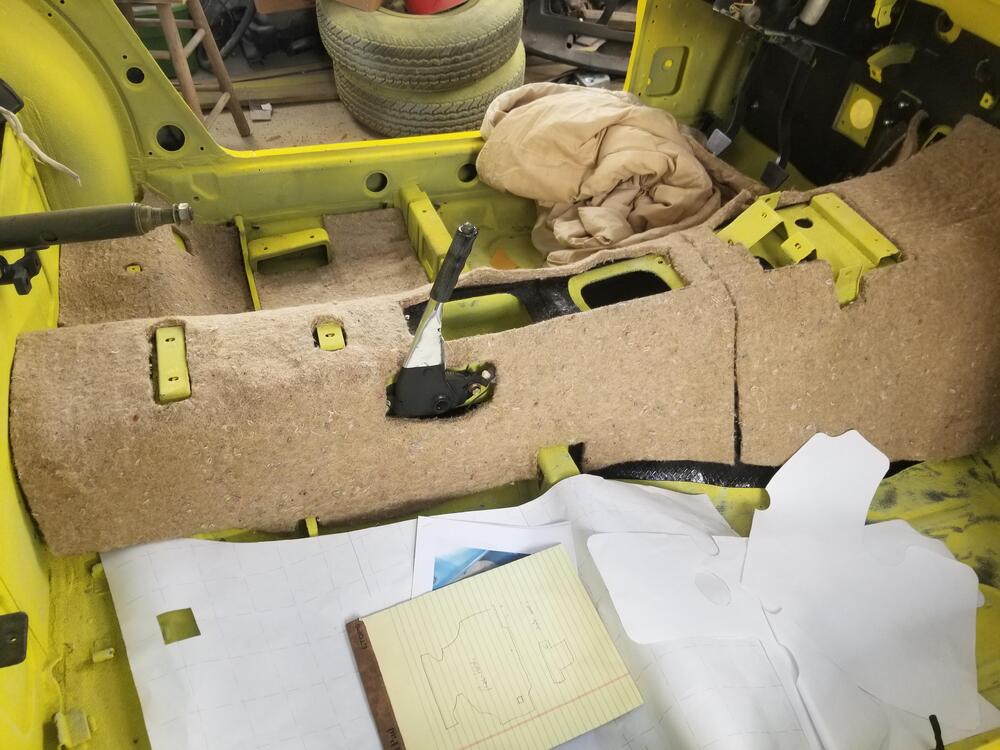
2 pointsSo I worked on jute some more the car. I ordered the jute from "The Roadster Factory" per @Zup. It was not quite enough to do the whole car. I am short one section for under a front floor mats. I also cut and buffed the hatch. That was a disappointing because I believe I have sanding scratches in the base coat. No getting them out now... 😞
 2 points
 -
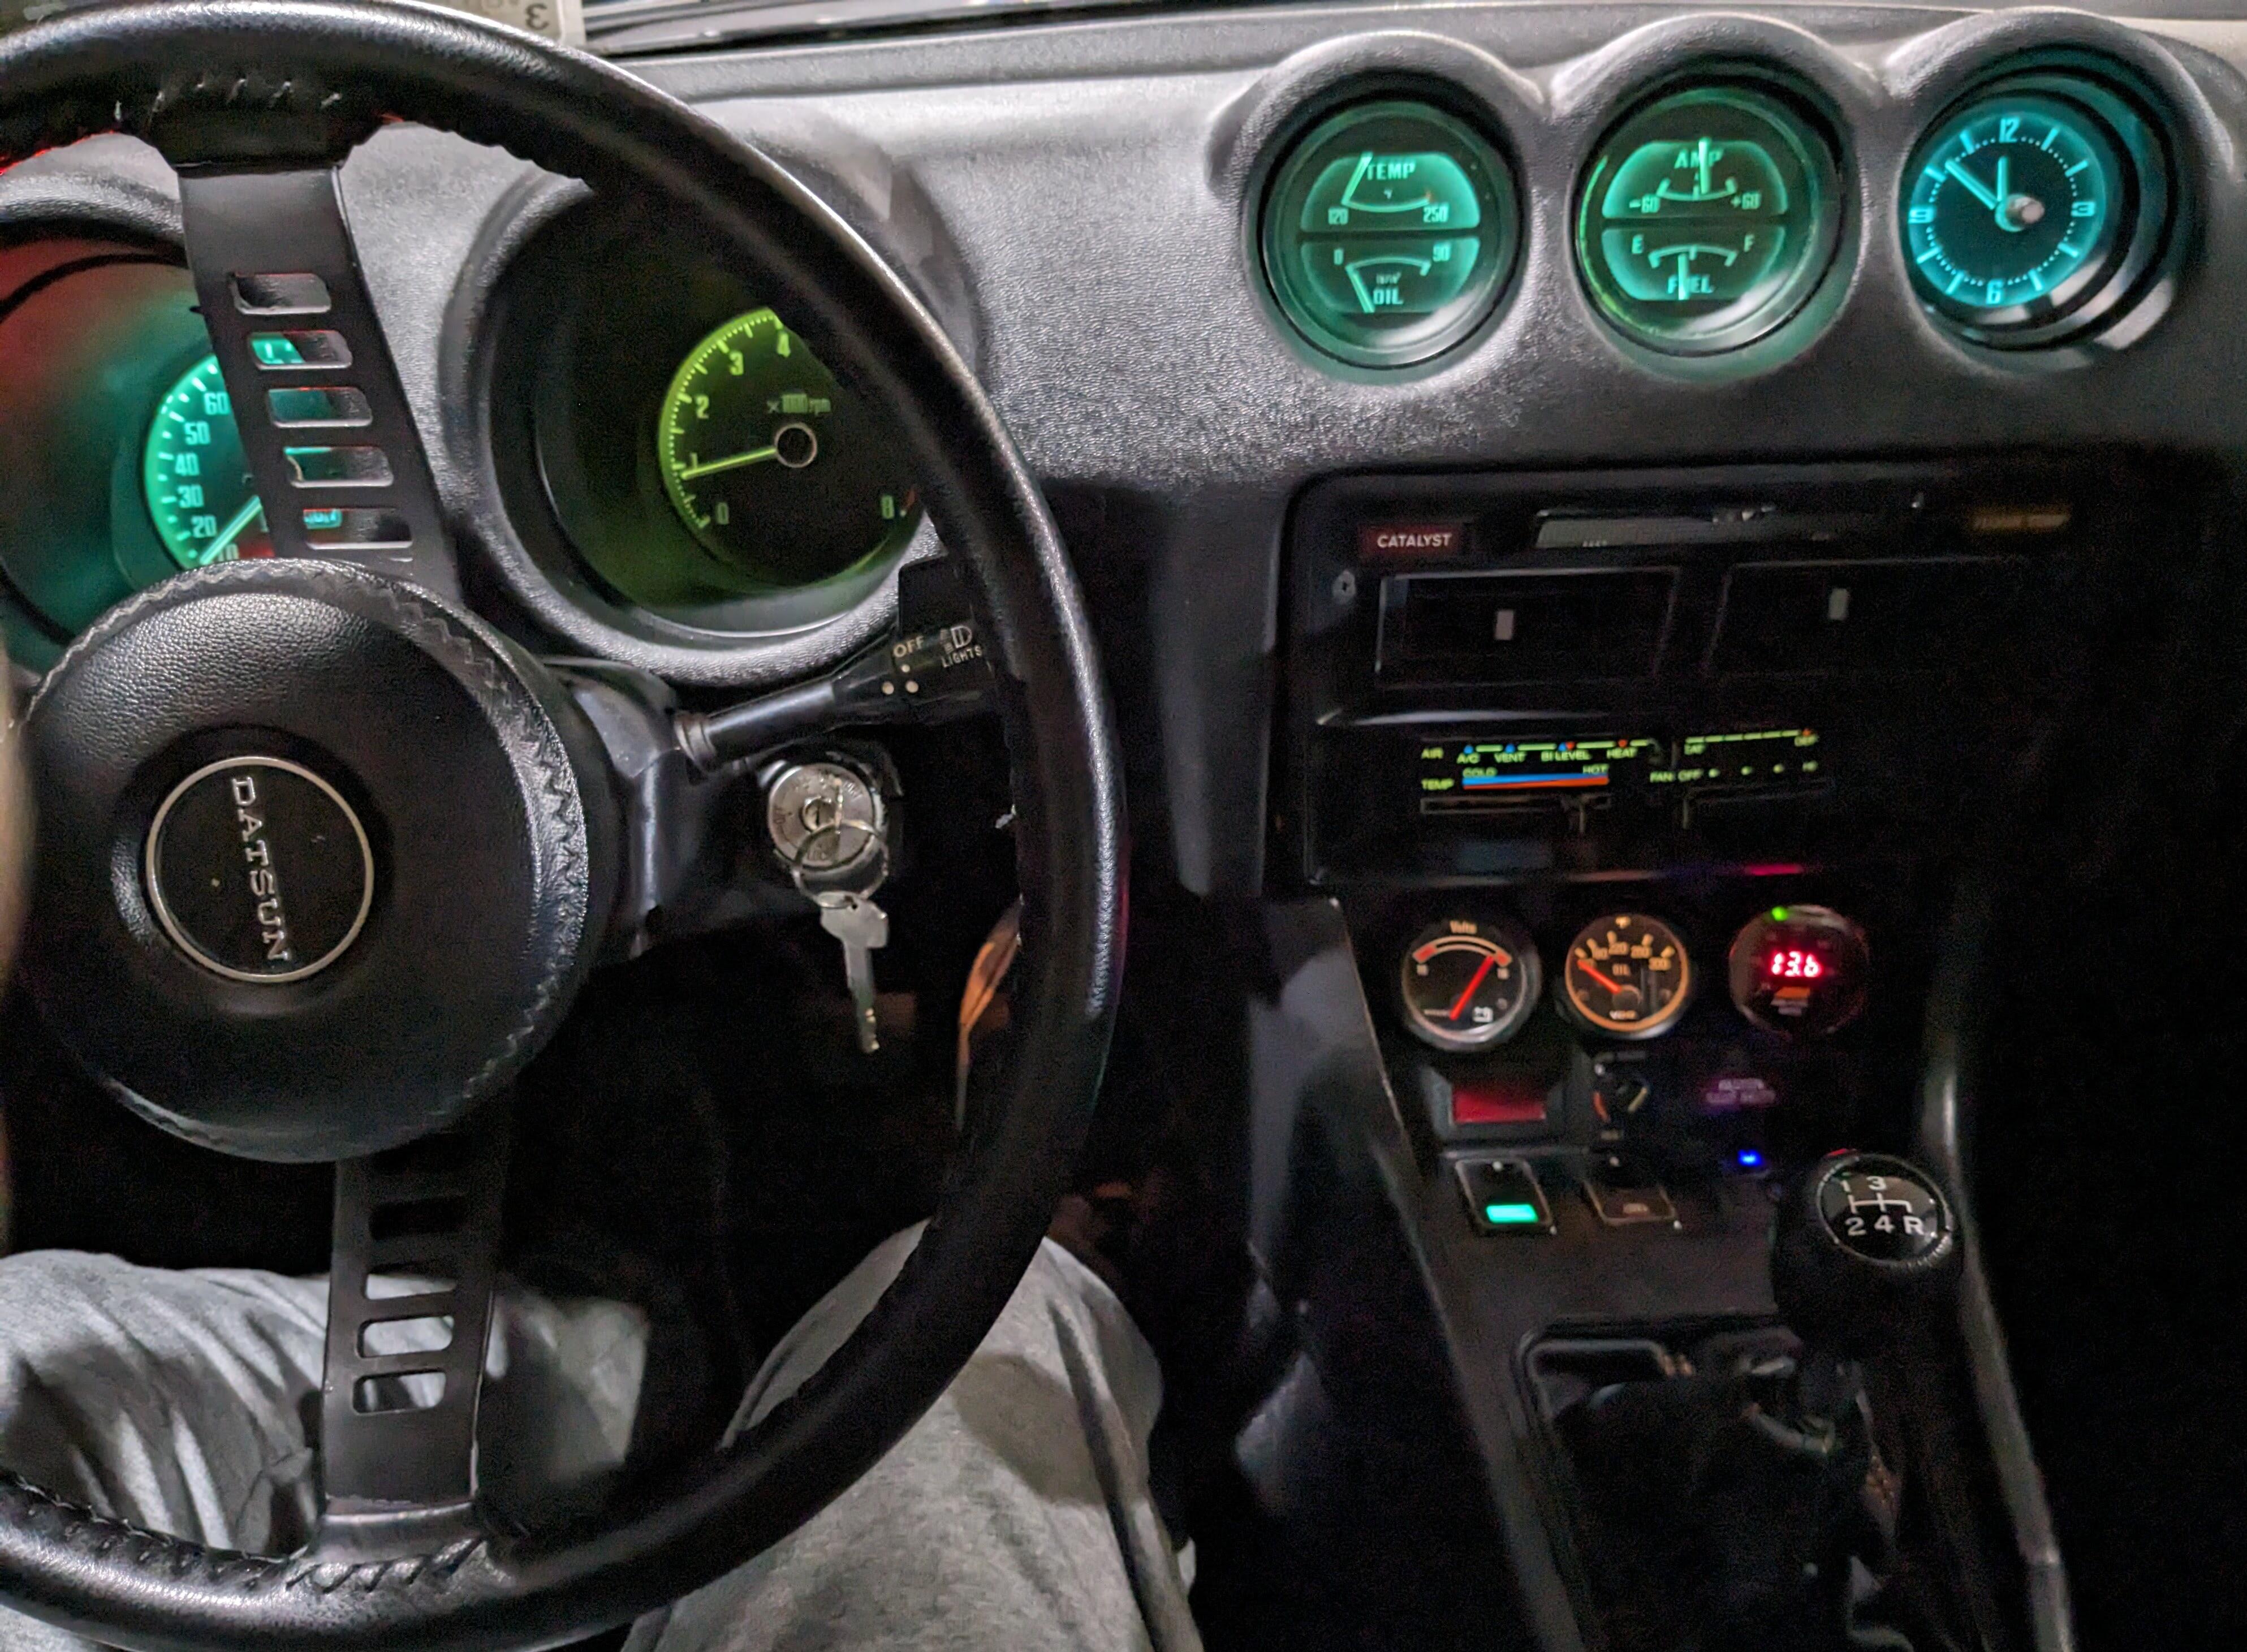
2 pointsHad one of the new LED bulbs fail - the one in the AMP/Fuel started pulsing on/off. Swapped it out after confirming the power, ground & rheostat wiring to the gauge assembly were all not the issue. Interesting that they appear different color cast in the photo - they are all the same bulb. Secondary gauge pod have standard incandescents.
 2 points
 -
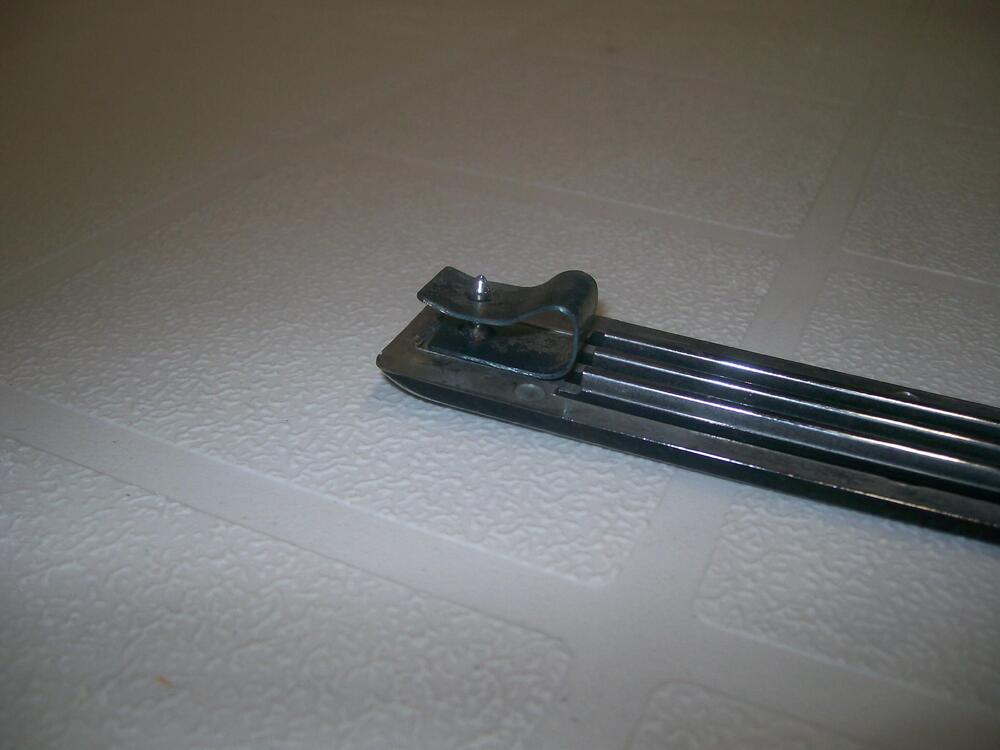
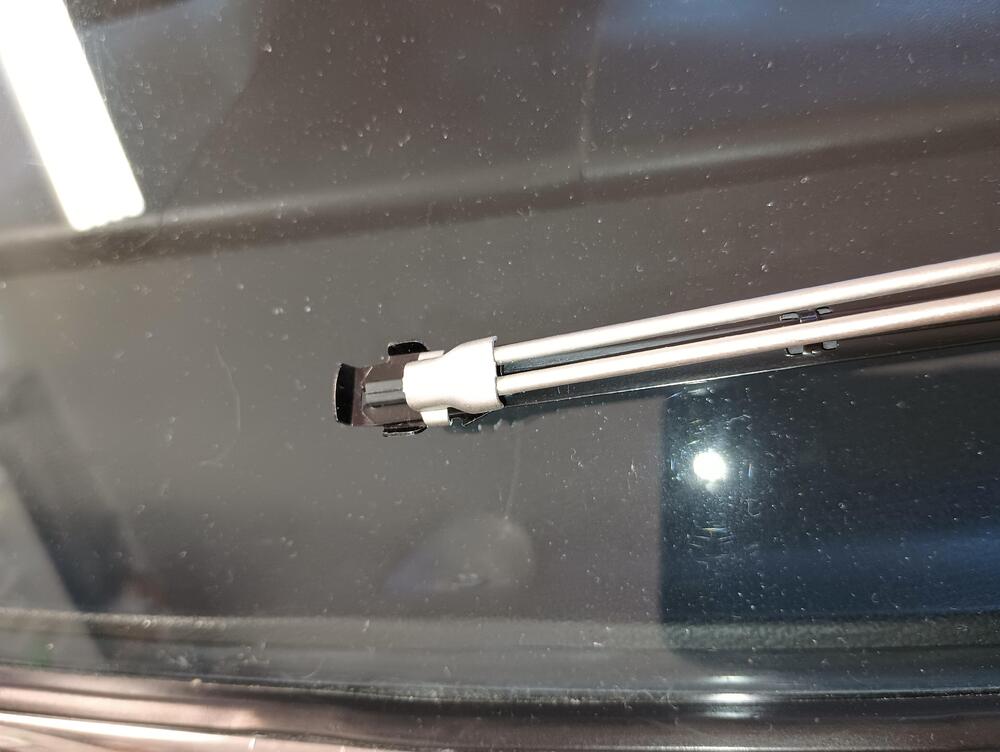
2 pointsWe have a winner! The OER F390 is a perfect fit. It has a full length black metal backbone that slides nicely into the claws on the frame and the retaining clip locks it. Thanks to @SteveJ and @w3wilkes for the referrals.

 2 points
 -
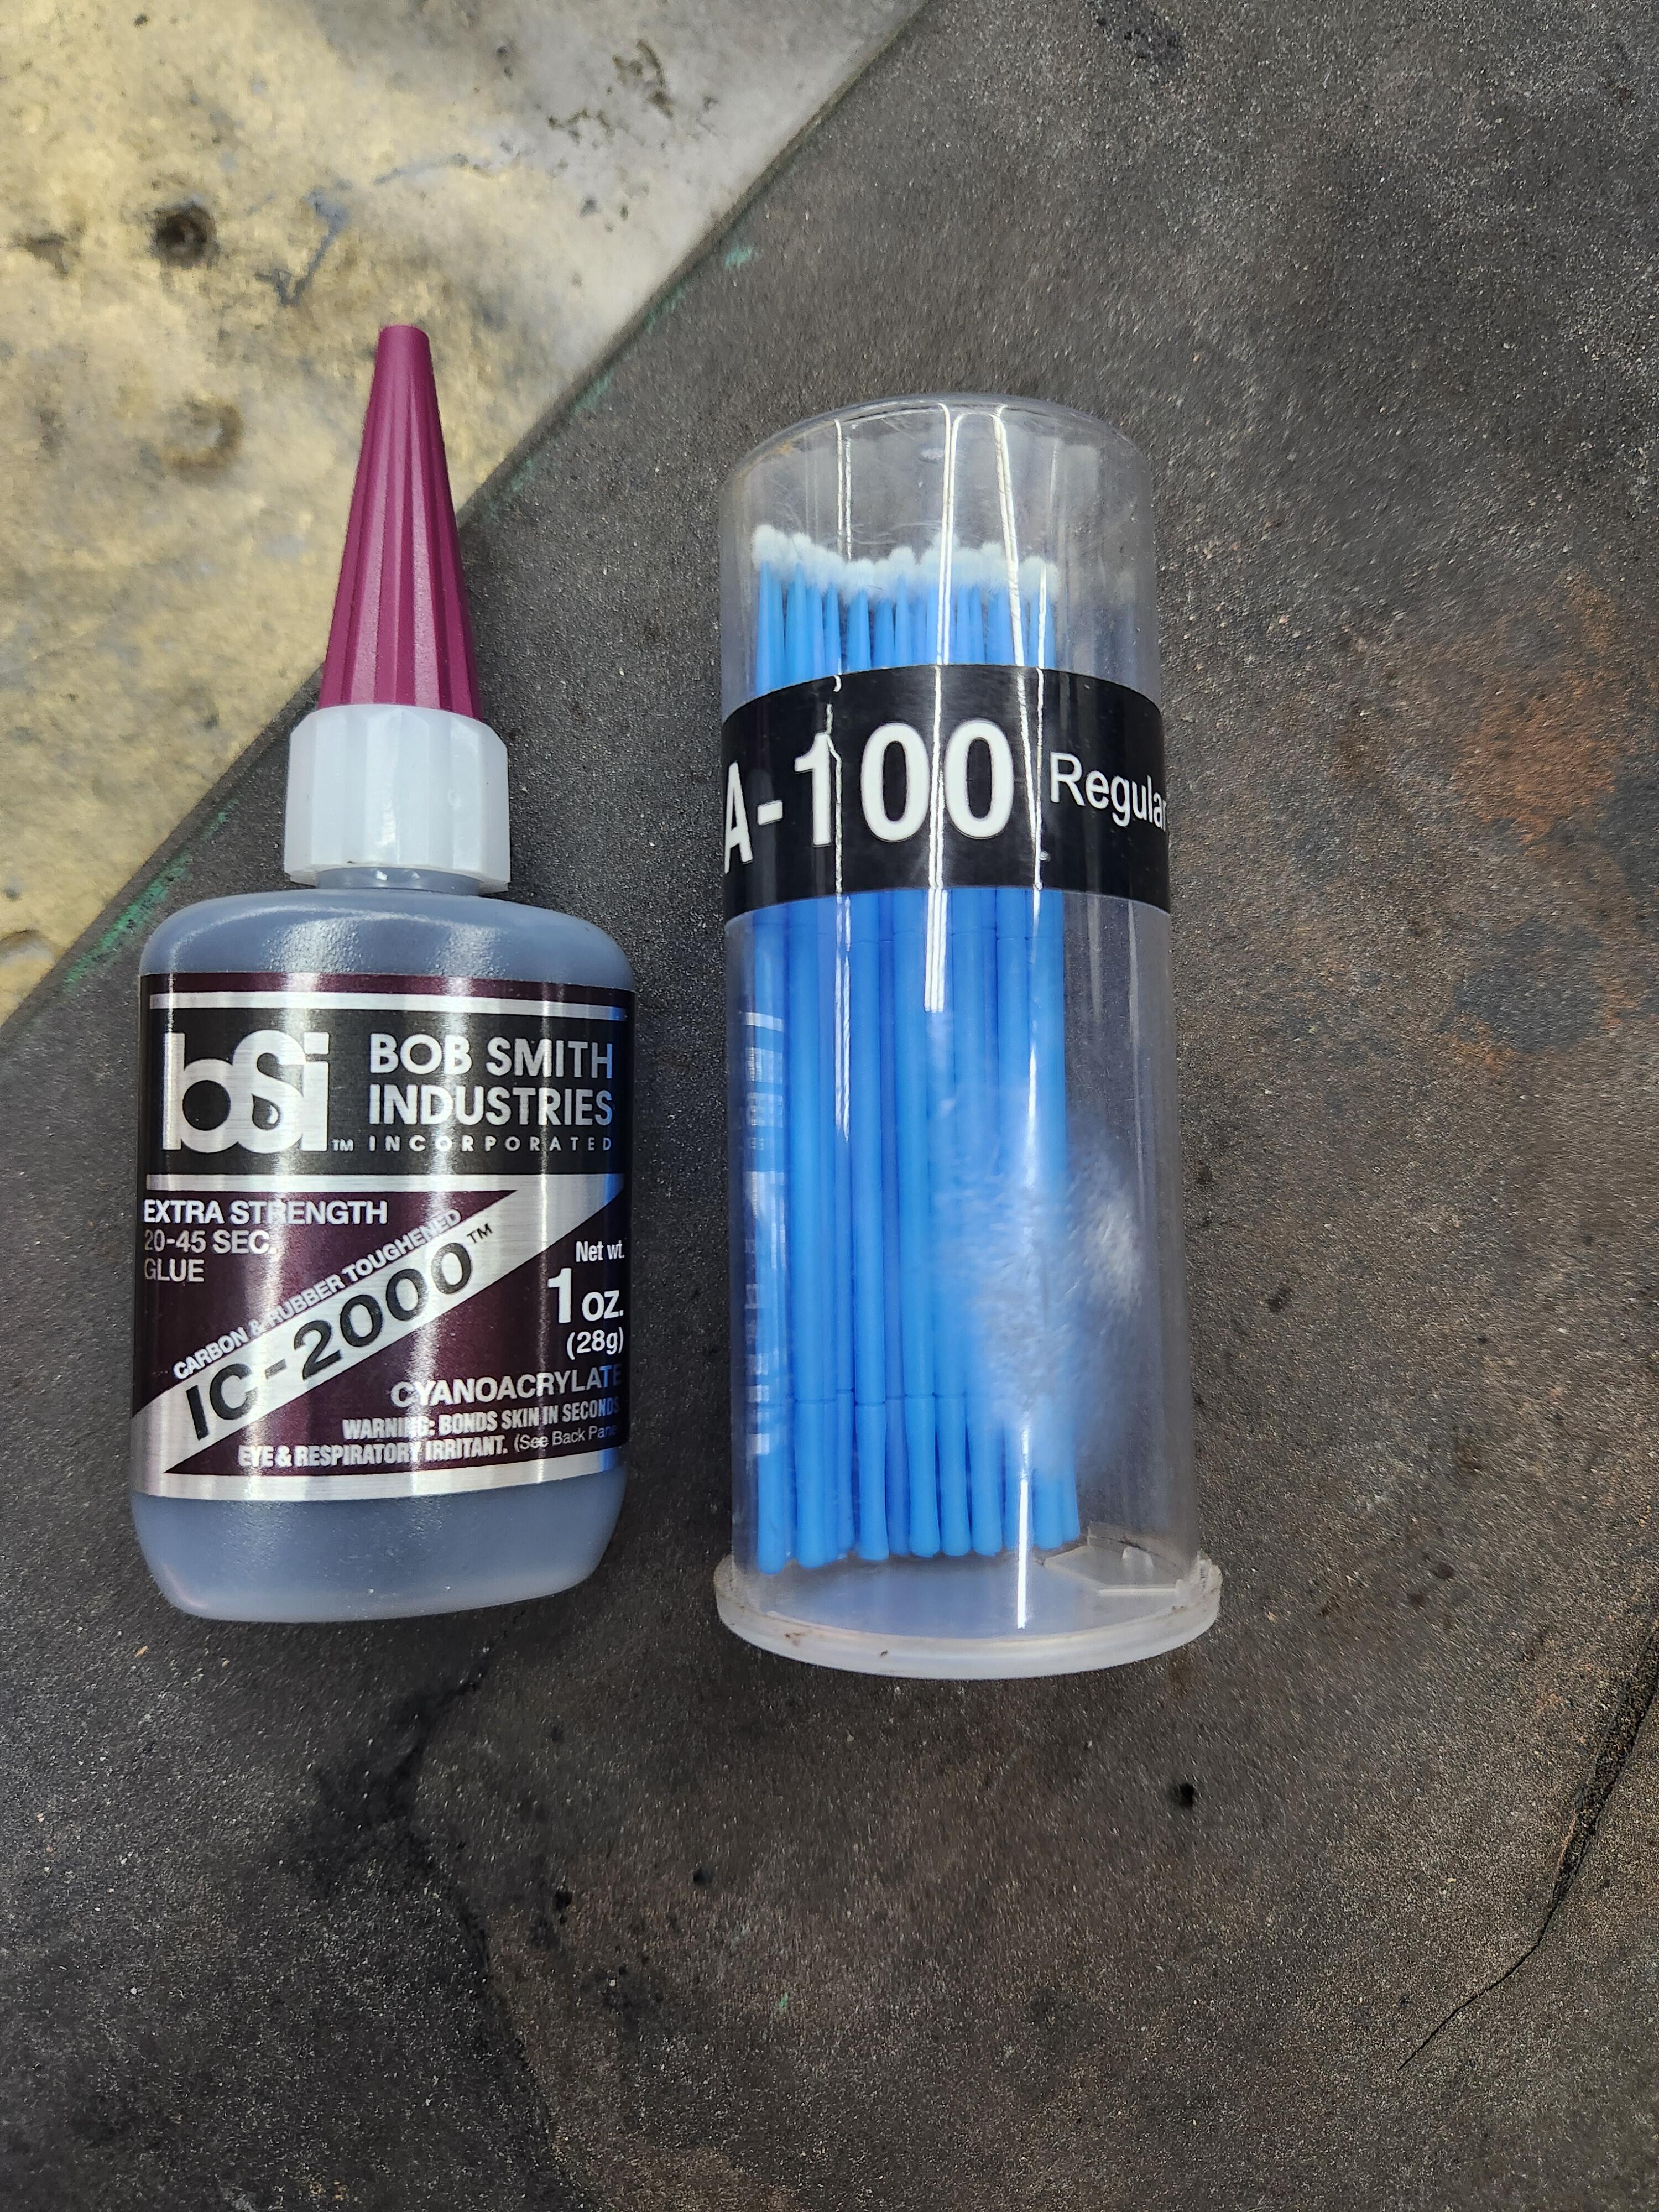
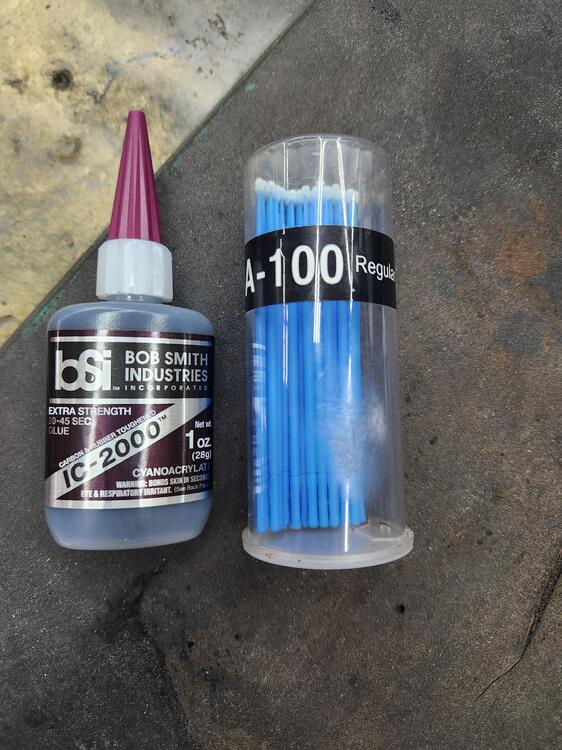
1 pointIn the process of putting my car back together. I have always been a big fan of 3M yellow weatherstrip adhesive. I picked up some of this stuff on amazon and really like it for places that the 3M may get messy. Small pieces like the outer hatch seal or where the window channel curves and wants to fold in. I use these little micro brushes and just hold it together for 20 seconds or so. It is cyanoacrylate, but has a better consistency than regular super glue and is black.
 1 point
 -
1 pointPart of my thought process was, if there is an internal flaw in the latch, swapping them would reveal that. If the condition is the same then I might swap the male part of the latch from the 240. If I still have the problem then I would start trying to think outside the box. Might leave the latch slightly loose and see if it's an adjustment issue. There is some play in all four bolts for adjustment1 point
-
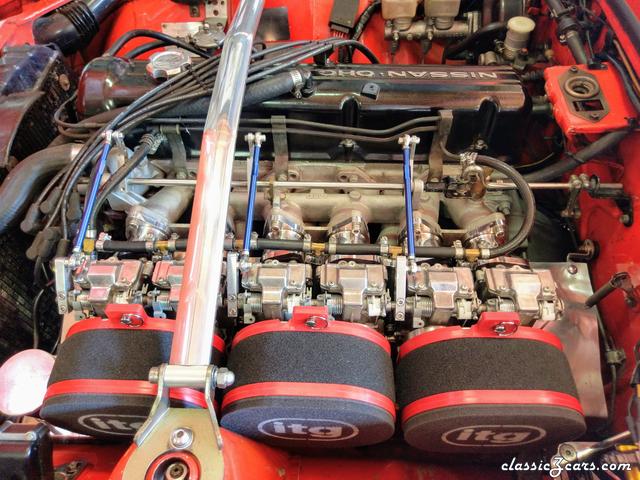 Ebay is a rip off for mikunis. Yahoo japan is or craigslist will be your best bet. If you have a stock 2.8, the 40s are more then plenty.1 point
 -
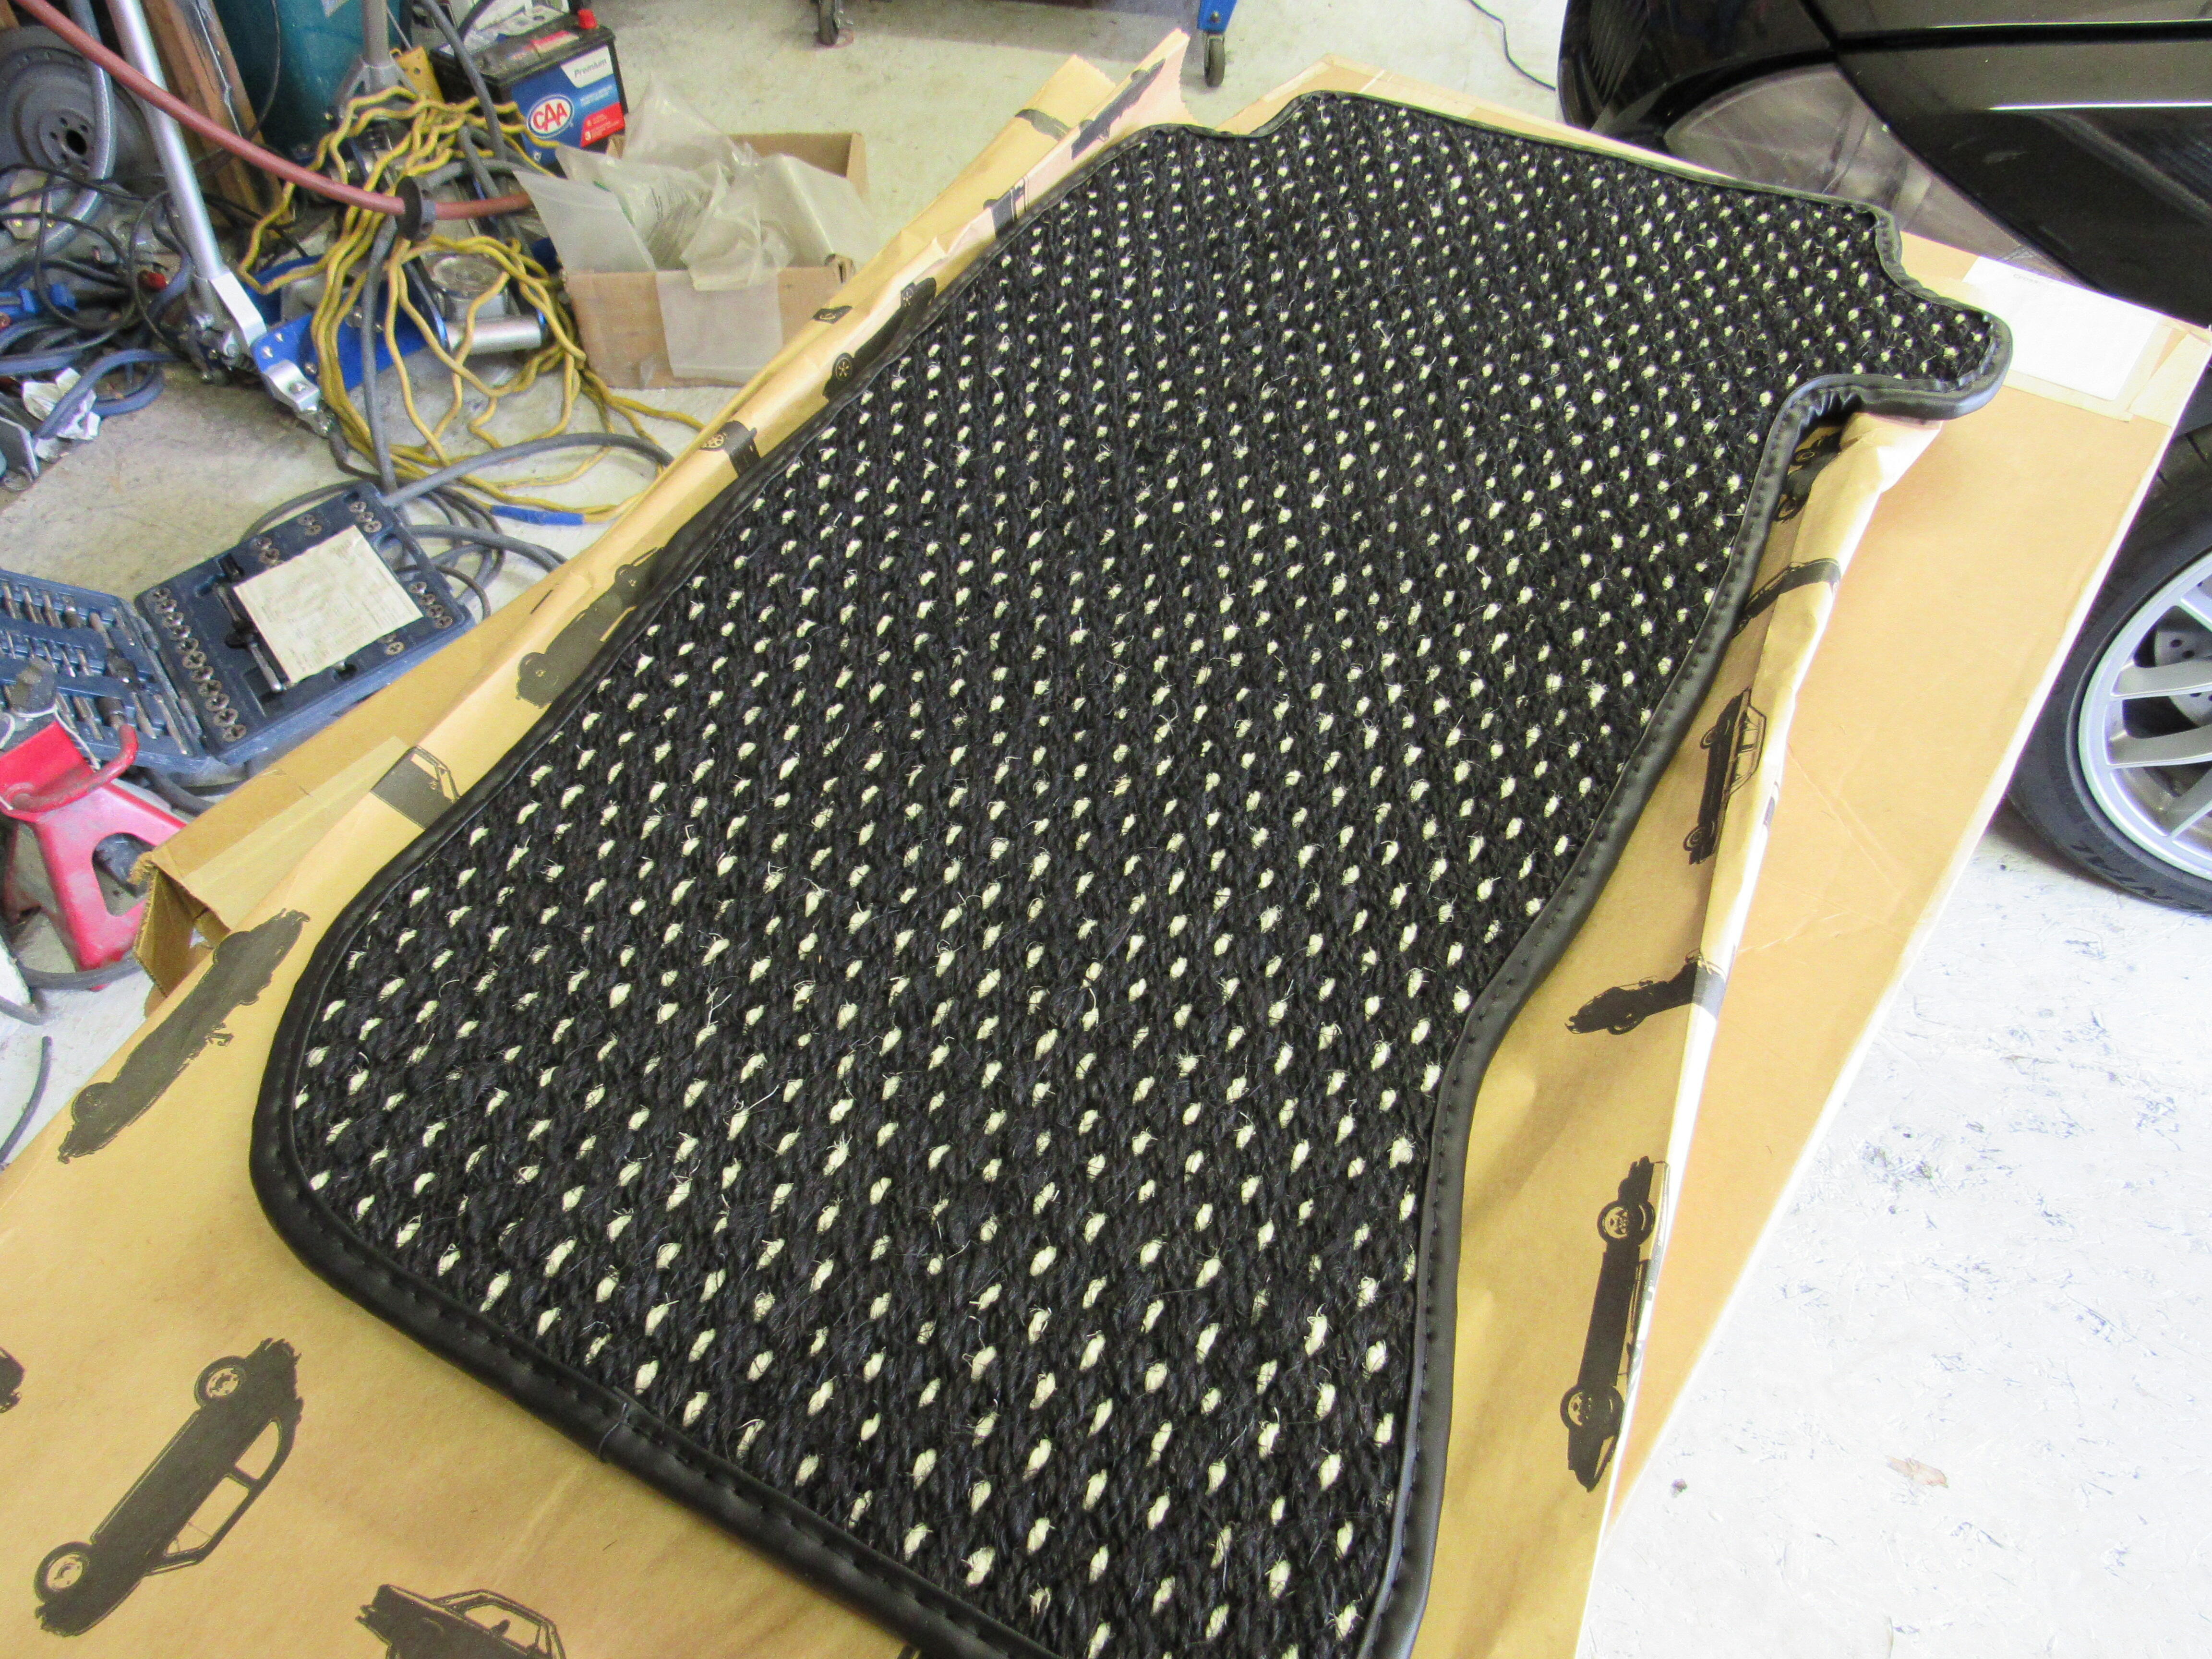
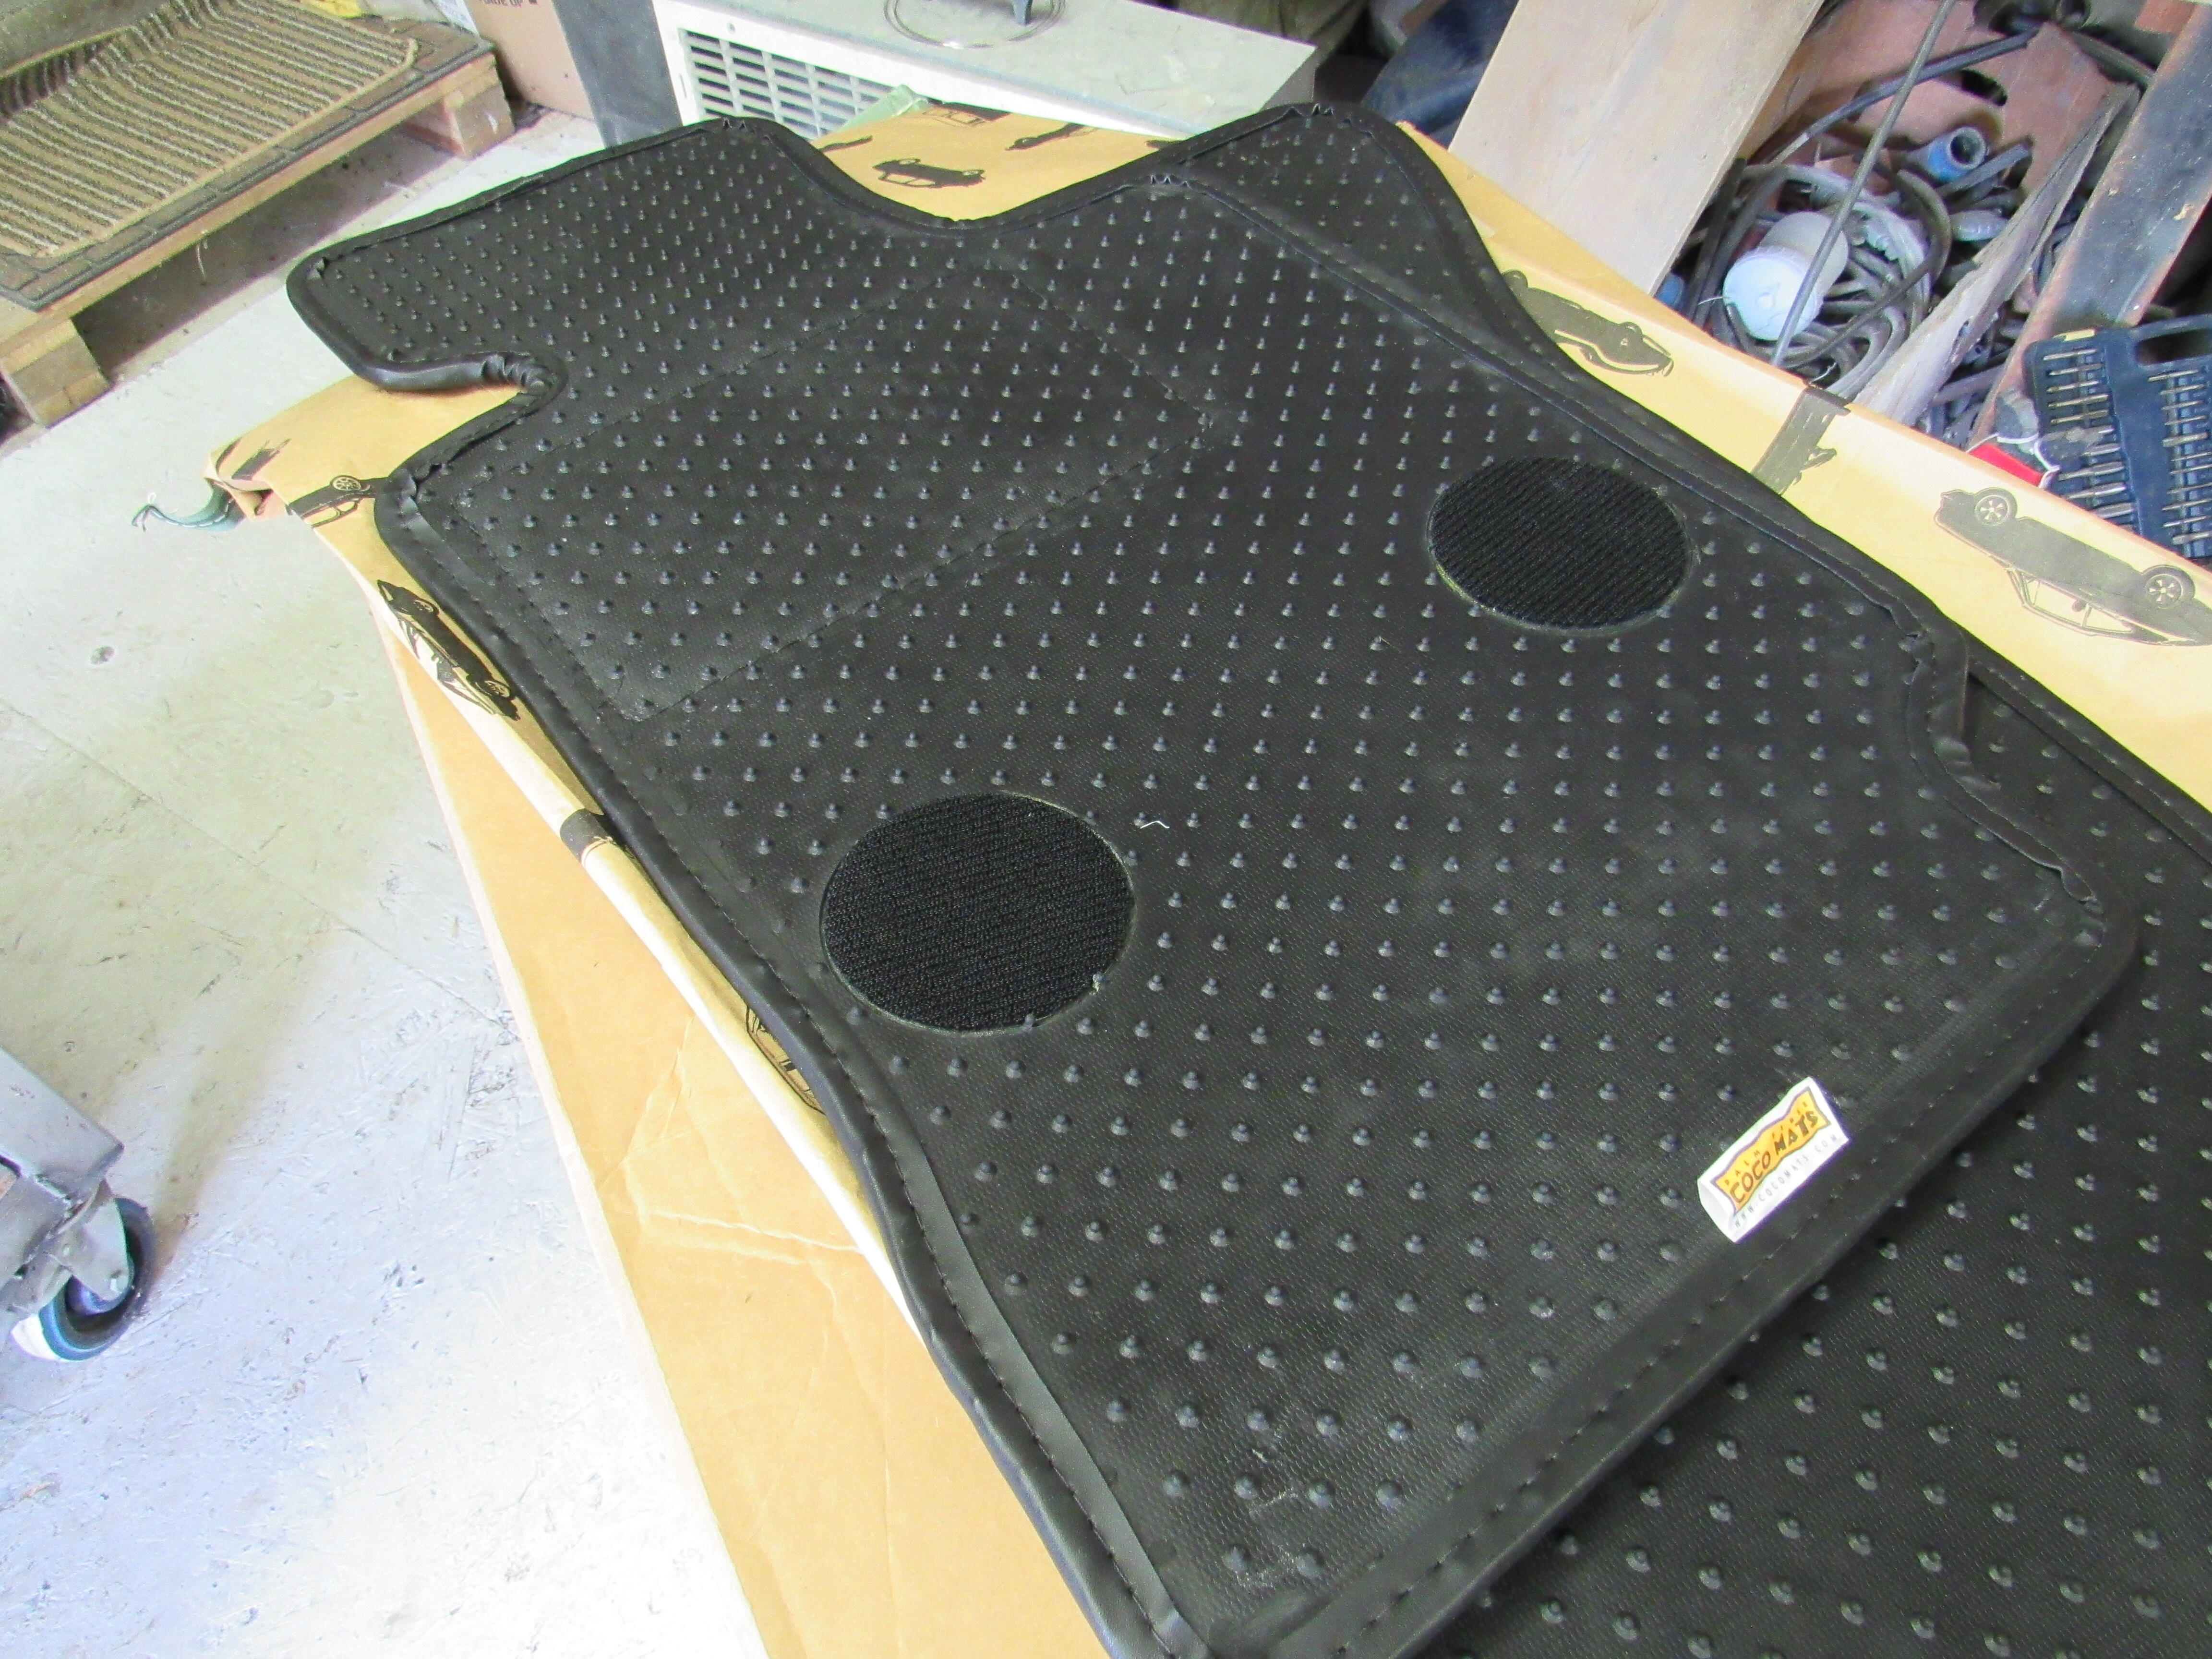
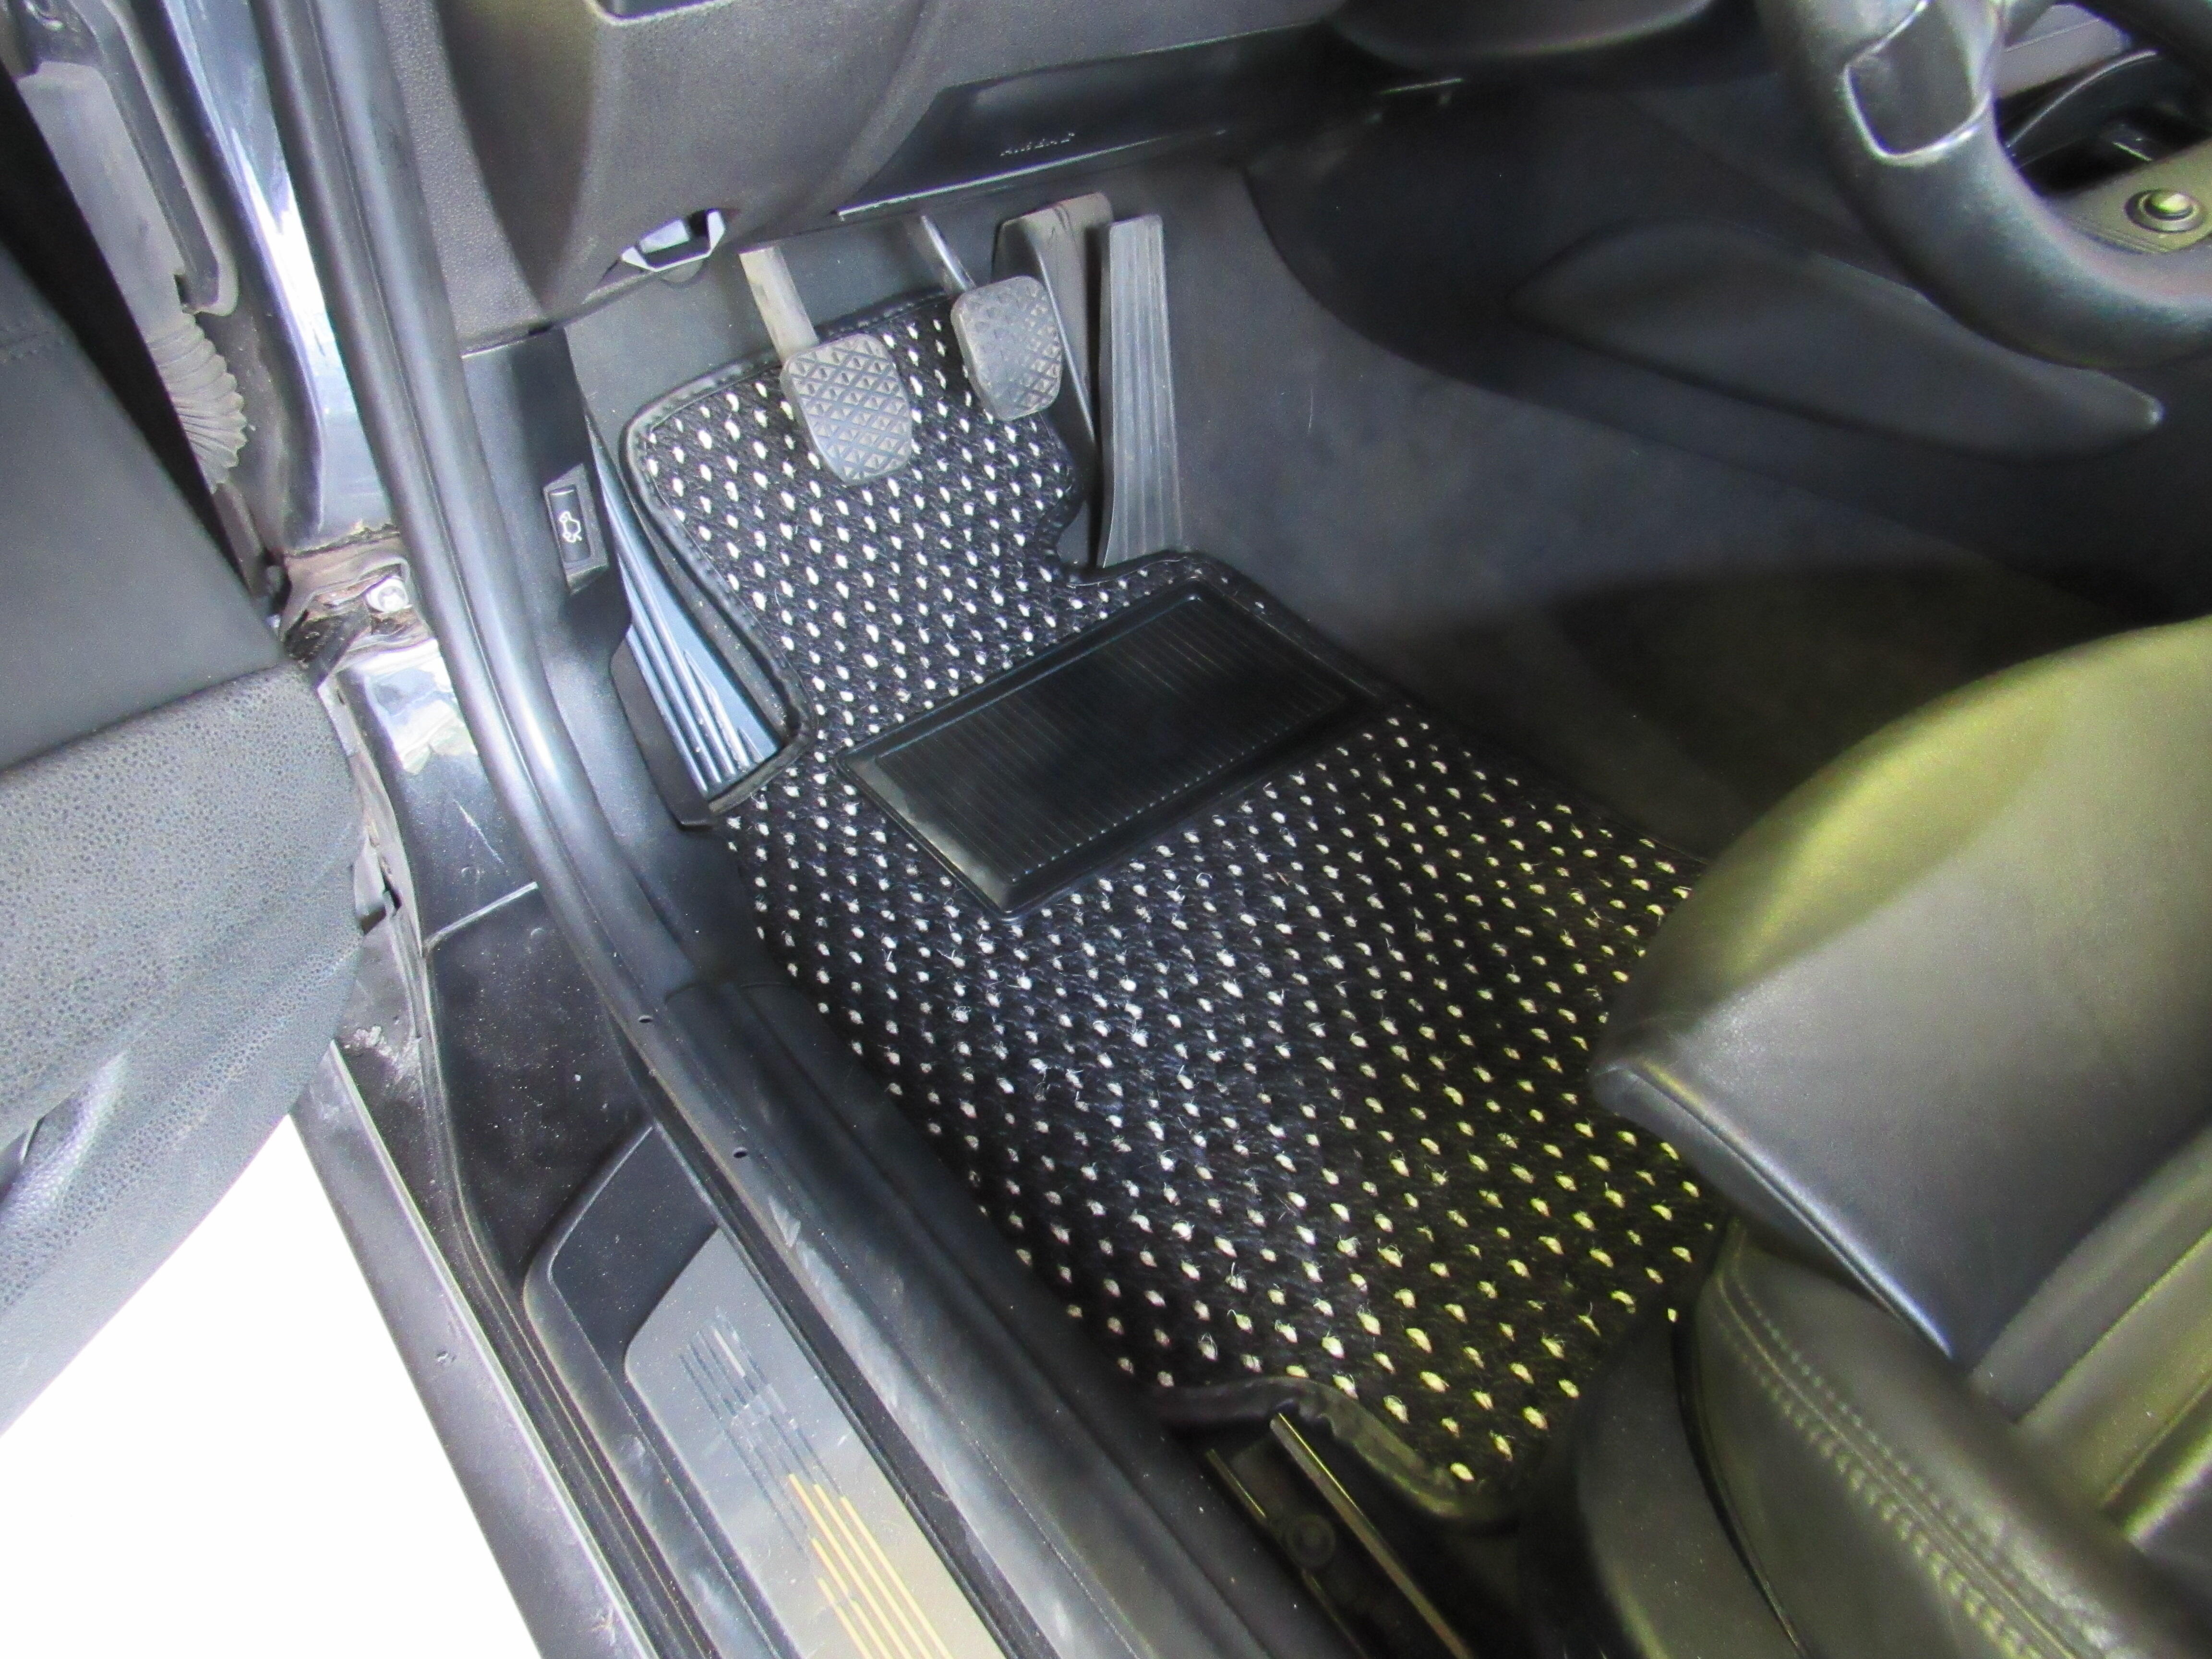
It's a shame, there is market for quality carpets just not a big one. You might want to have a chat with these guys, https://www.cocomats.com/ I bought some floor mats from them for my Z4 M Coupe and the quality is outstanding. I don't know if they would be interested in in doing a carpet set but it would be worth a try. Cocomat is what they work with but I'm sure they could source anything.


 1 point
 -
Fuel pump, filters and at least soft lines- will blow out the hard lines- are on the list. I’ve done some basic tuning of the SUs - and the car drives pretty well other then the fuel issue after a prolonged pull- but not super happy with what the afrs and just not stoked on the SUs. That why I am looking at triples or maybe a rack of 6 Mikunis as such.1 point
-
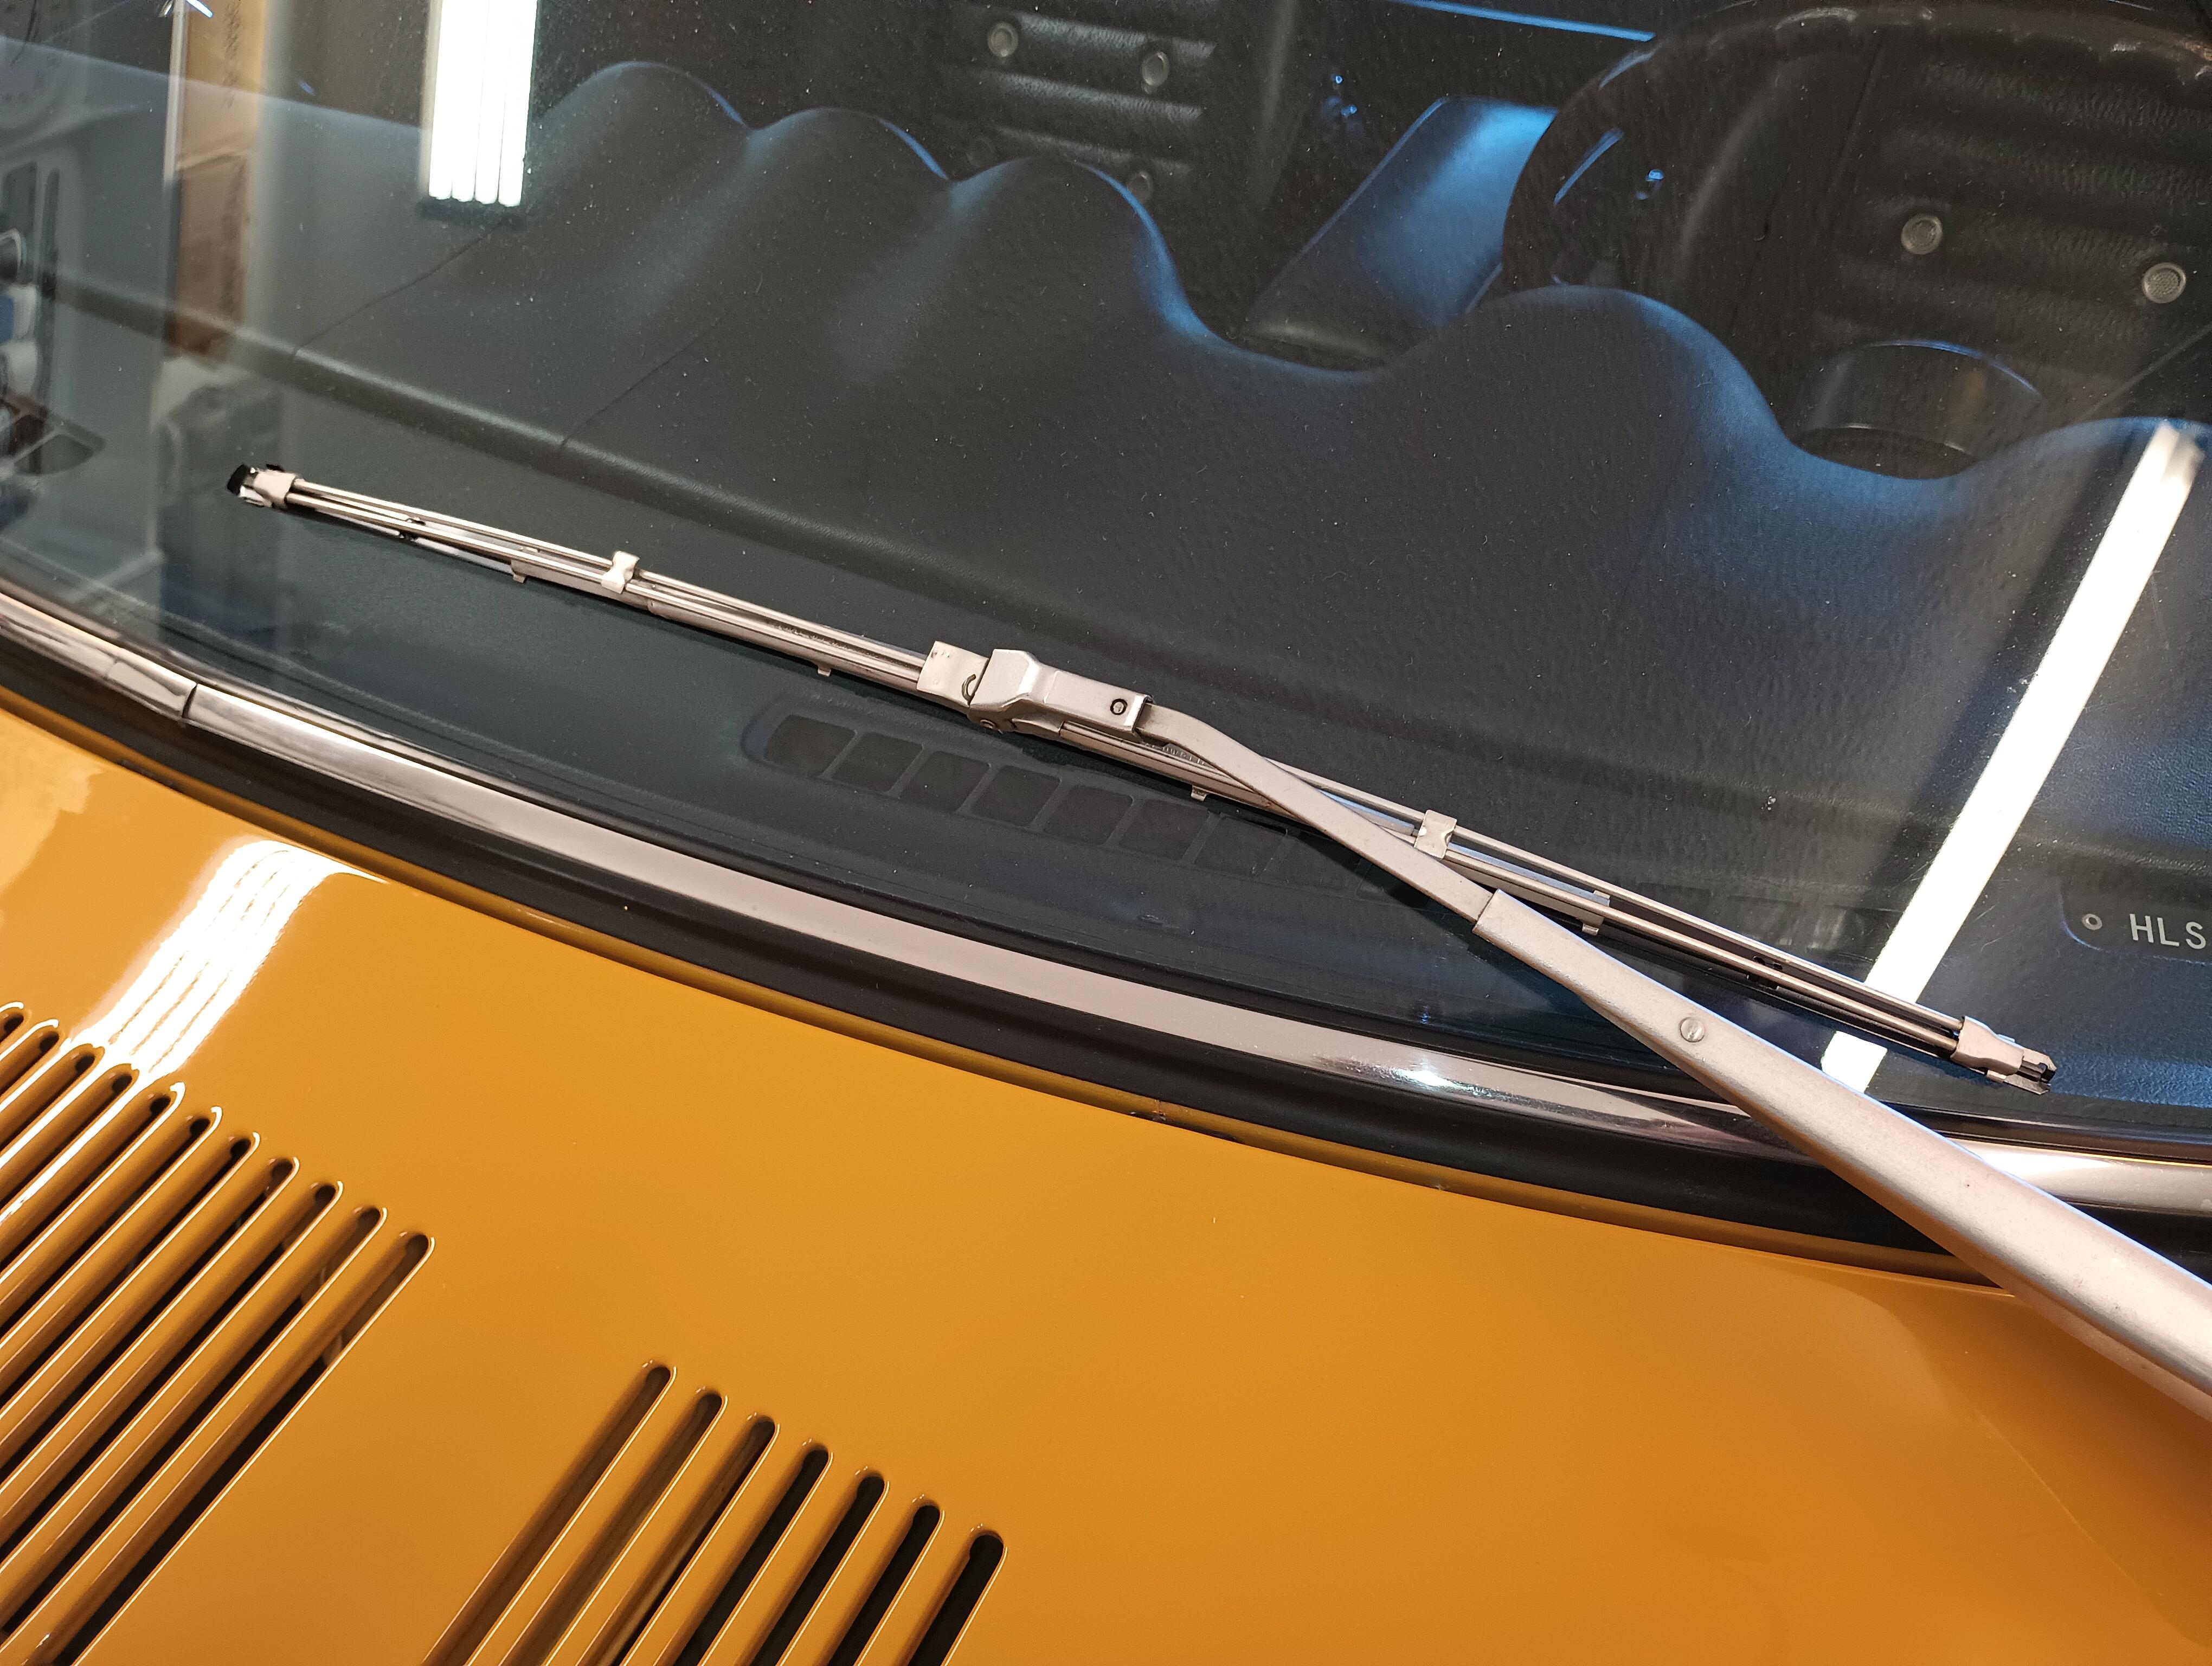
For nice looking wiper system. I just cleaned mine up and greased it. I do remember having one fastener different! I thought the plater mixed them up and sourced a matching hex bolt! I only had one sleeve on the altenator. The strut insert usually has a place for an allen wrench at the top to hold the insert from turning. You need a special "cutout" socket to tighten as you hold the insert. I would be impressed if you actually stripped the threads on the insert as the nut is usually a softer metal and you may be seeing the remnants of the nut on the threads. Oil and chase it and try a new nut. At this point it isn't that much effort to remove the strut. Lately, I have become very good at doing stuff multiple times 🙂 This is what the sockets look like, just make sure the insert doesnt require some funky tool. They make a set that has all the various types for the insert too: https://www.amazon.com/DPTOOL-Socket-Suspension-Spreader-Absorber/dp/B09QLZJWNF/ref=asc_df_B09QLZJWNF/?tag=hyprod-20&linkCode=df0&hvadid=647755312451&hvpos=&hvnetw=g&hvrand=16445937037883011191&hvpone=&hvptwo=&hvqmt=&hvdev=c&hvdvcmdl=&hvlocint=&hvlocphy=1025566&hvtargid=pla-1966980073382&mcid=e98a1b3594b9387ebc33b5bd169ab619&th=11 point
-
"Having fueling issues afyer long pulls" Makes me wonder if your float bowls are set a little low or your fuel pump is weak?1 point
-
1 pointI went back and looked, but I didn't see any electrical circuits that were wrong. 😁1 point
-
It is a normal hydraulic press with only 6t pressure 🙂1 point
-
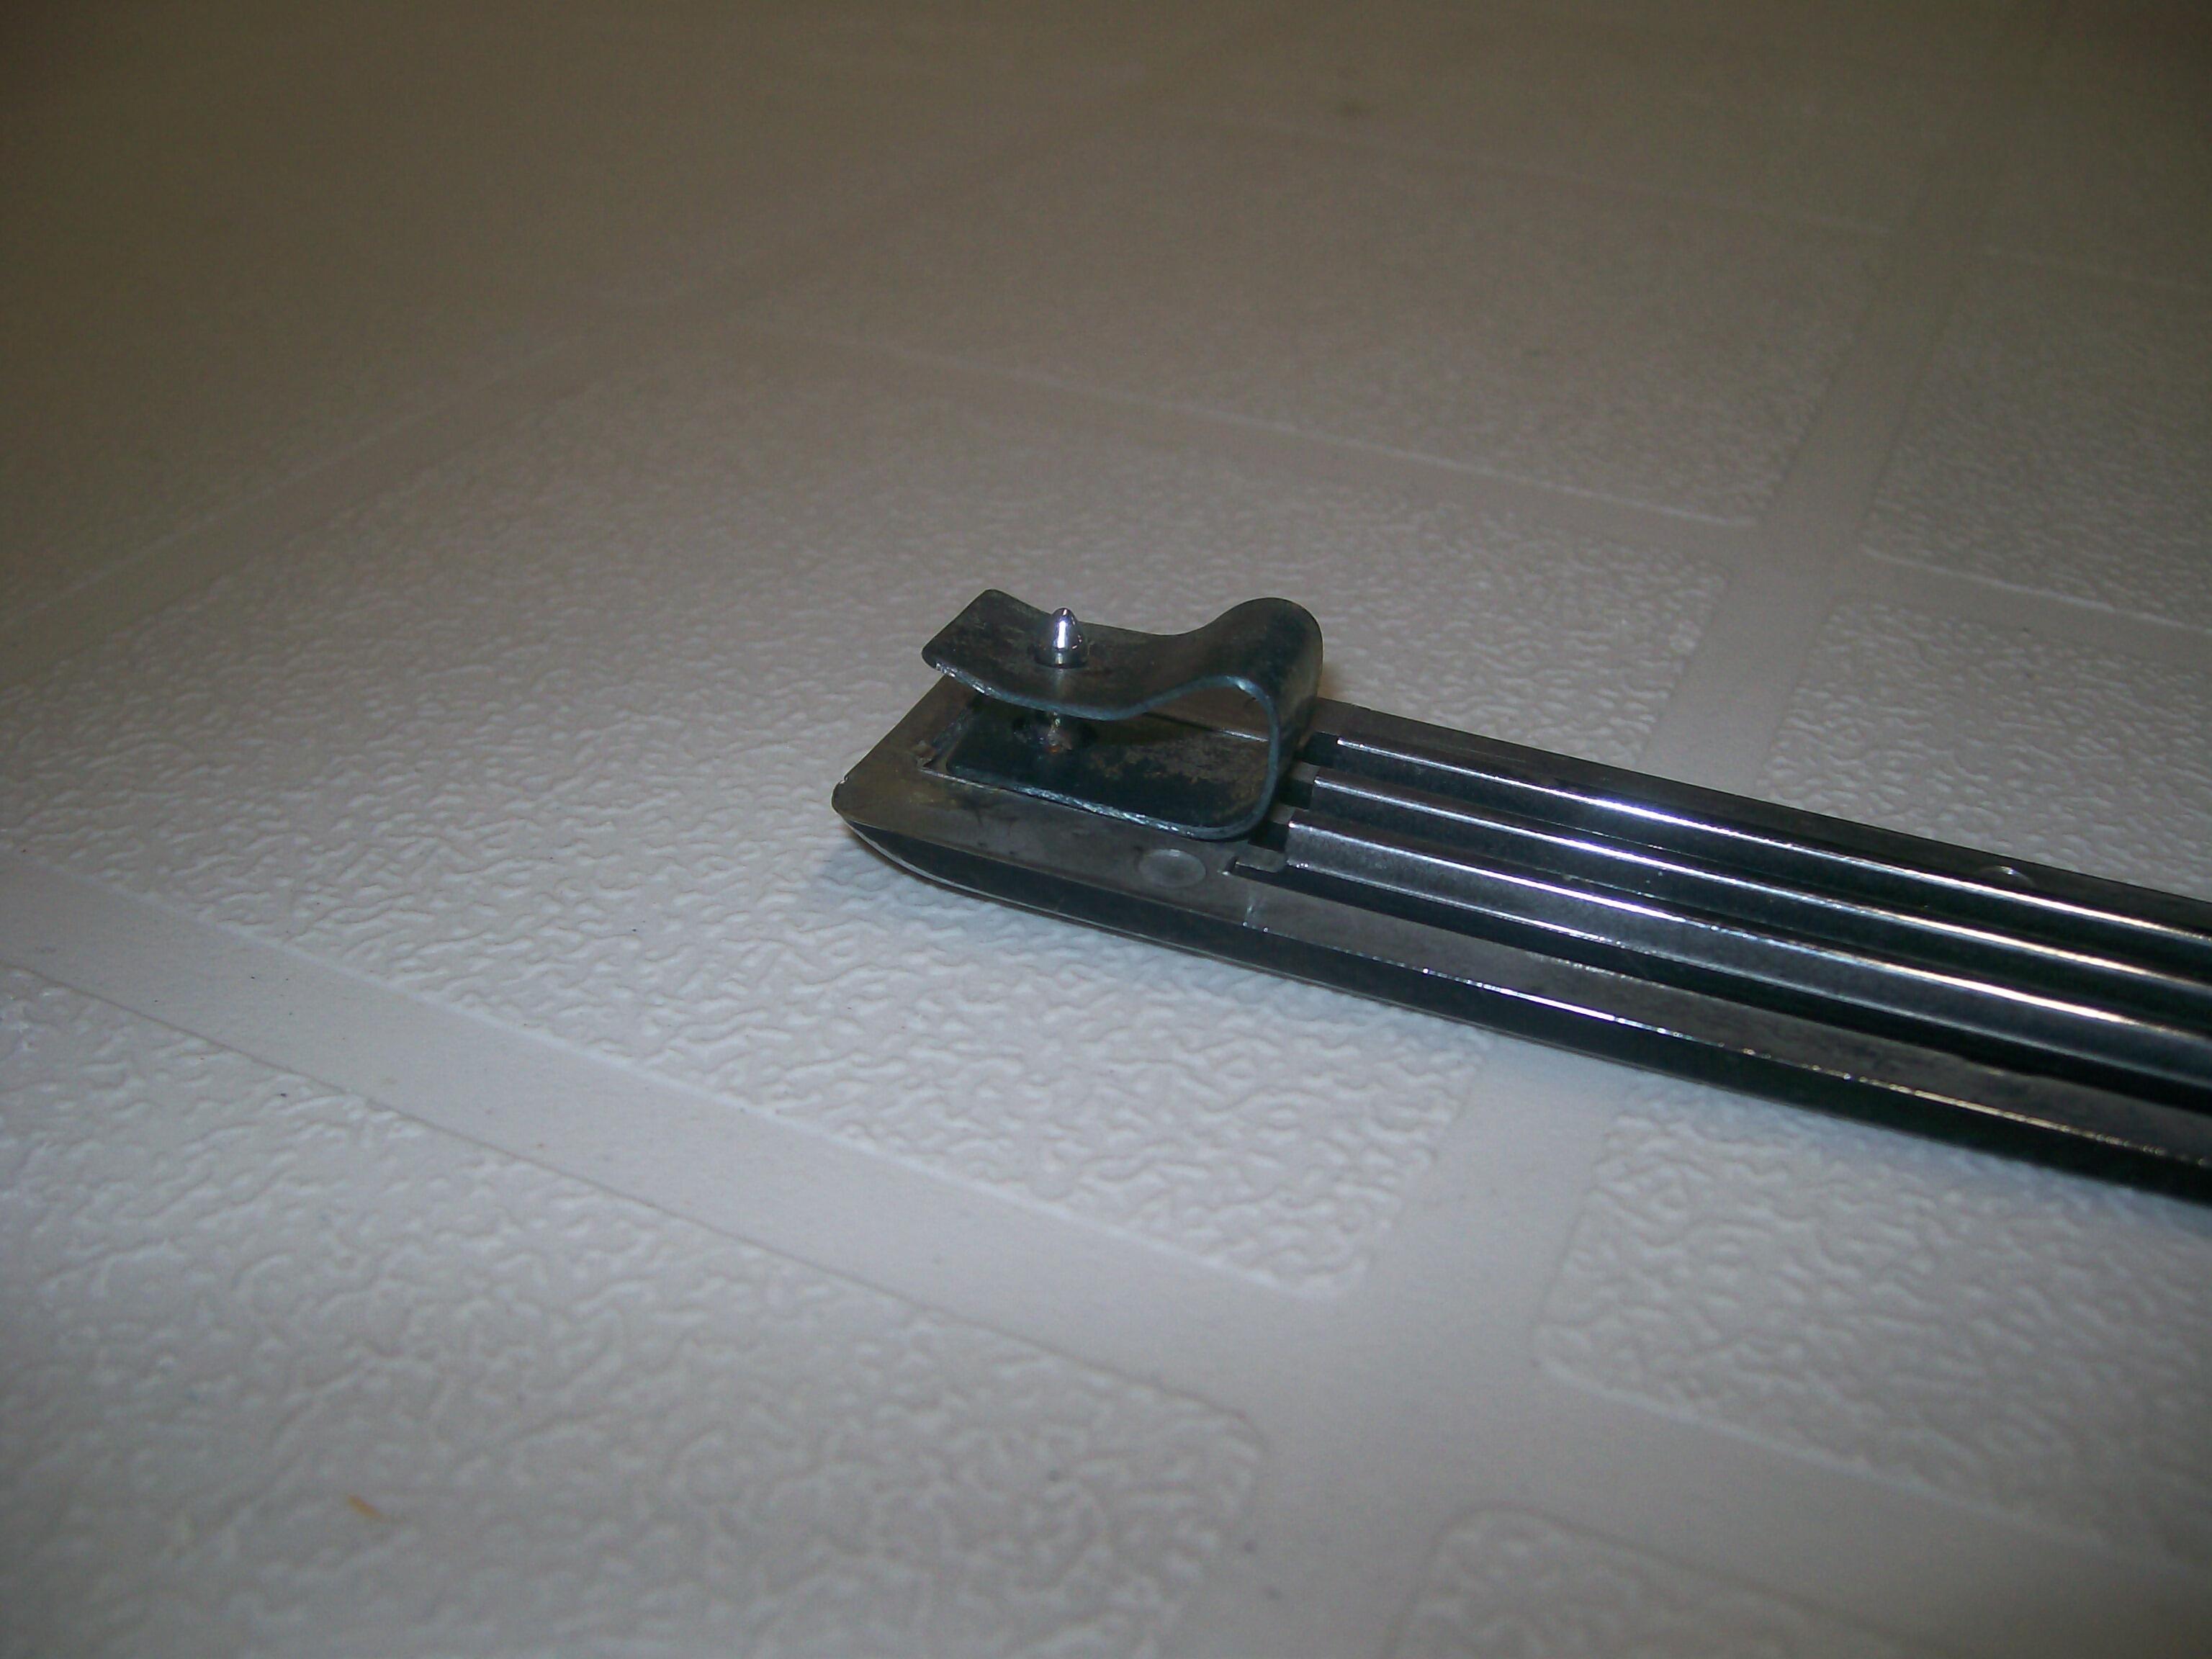
1 pointI have some questions about the hatch assembly. I had thought about installing the glass in the hatch before putting it on the car, but now I'm thinking it might be easier to get the hatch on the car without the extra weight of the glass. That would mean installing the glass from inside the hatch space though Also how do these mount? I may have answered my own question but wanted to be sure. I have new clips for these This is an old clip and it appears that there is emblem retainer that helps hold the clips to the car? I looked on car part manual and they say there are M4 screws holding the vents onto the hatch, but that doesn't seem right... https://www.carpartsmanual.com/datsun/Z-1969-1978/body-240z/tail-gate-panel-trim-lock-rear-bumper
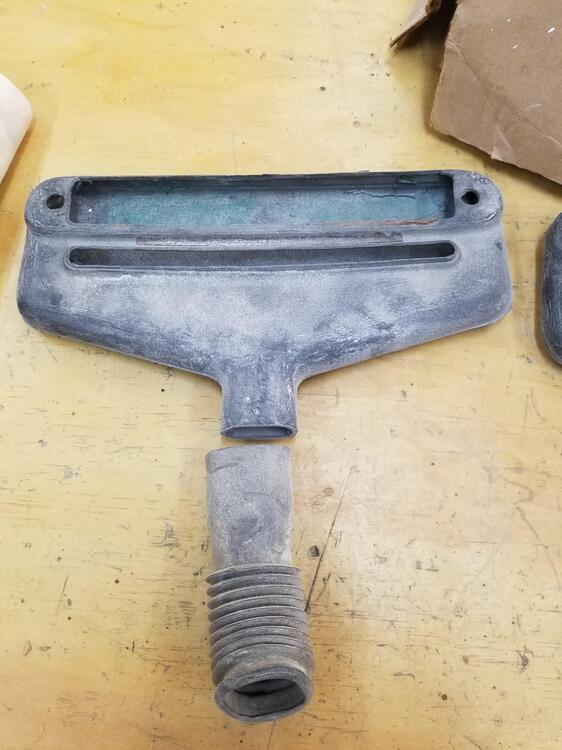
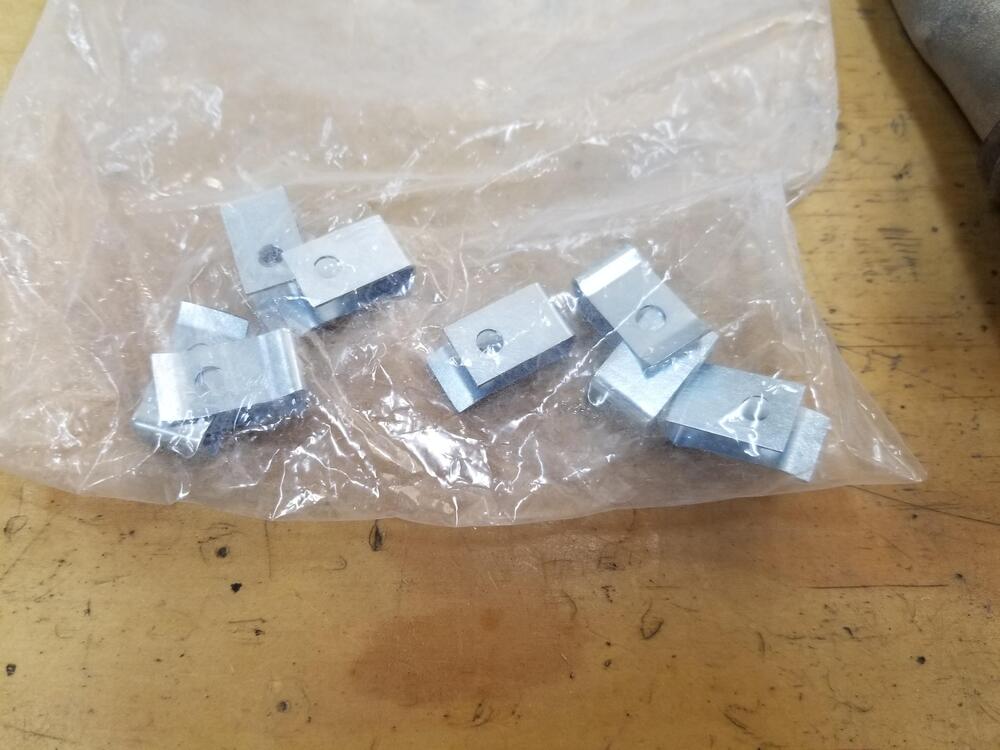
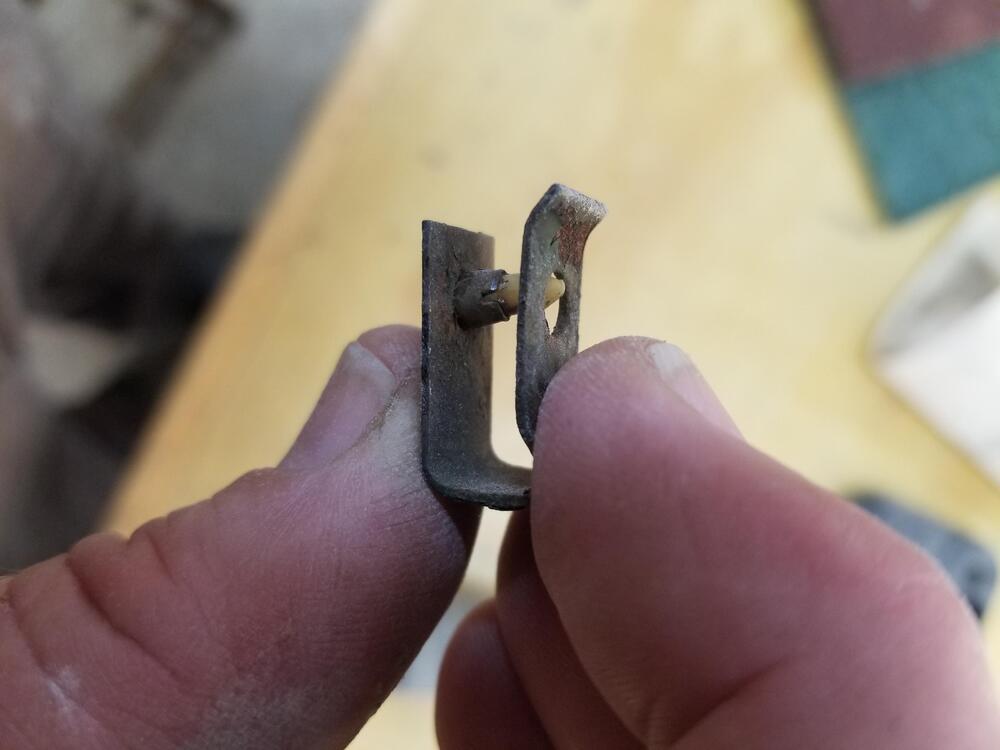 1 point
 -
I discovered this exact problem on a completely stock 1978 parts car. It would not actuate the injectors if the tachometer was disconnected. Apparently, some 280Z's will and some won't. I confirmed it a few different times on the 78 and my 1976 car. You'll find people that say theirs starts just fine without the tach and others like me who say it won't. After I switched to a different ignition system it didn't matter if the tach was connected or not it always started. So it seems like the ECU is very sensitive to what's happening on Pin 1. Short answer - you're probably right and it will probably start right up if you connect the tachometer. It's probably not the ECU. You did all of the right testing too. Good luck. . . .1 point