Leaderboard
-
Patcon
 Subscriber
 5Points11,142Posts
 -
Richie G
Free Member5Points254Posts -
.jpg.697cae2dec04e3d7f78231df77a31622.jpg)
Ownallday
Free Member5Points198Posts -

dutchzcarguy
Free Member4Points2,677Posts


Popular Content
Showing content with the highest reputation on 11/15/2023 in all areas
-
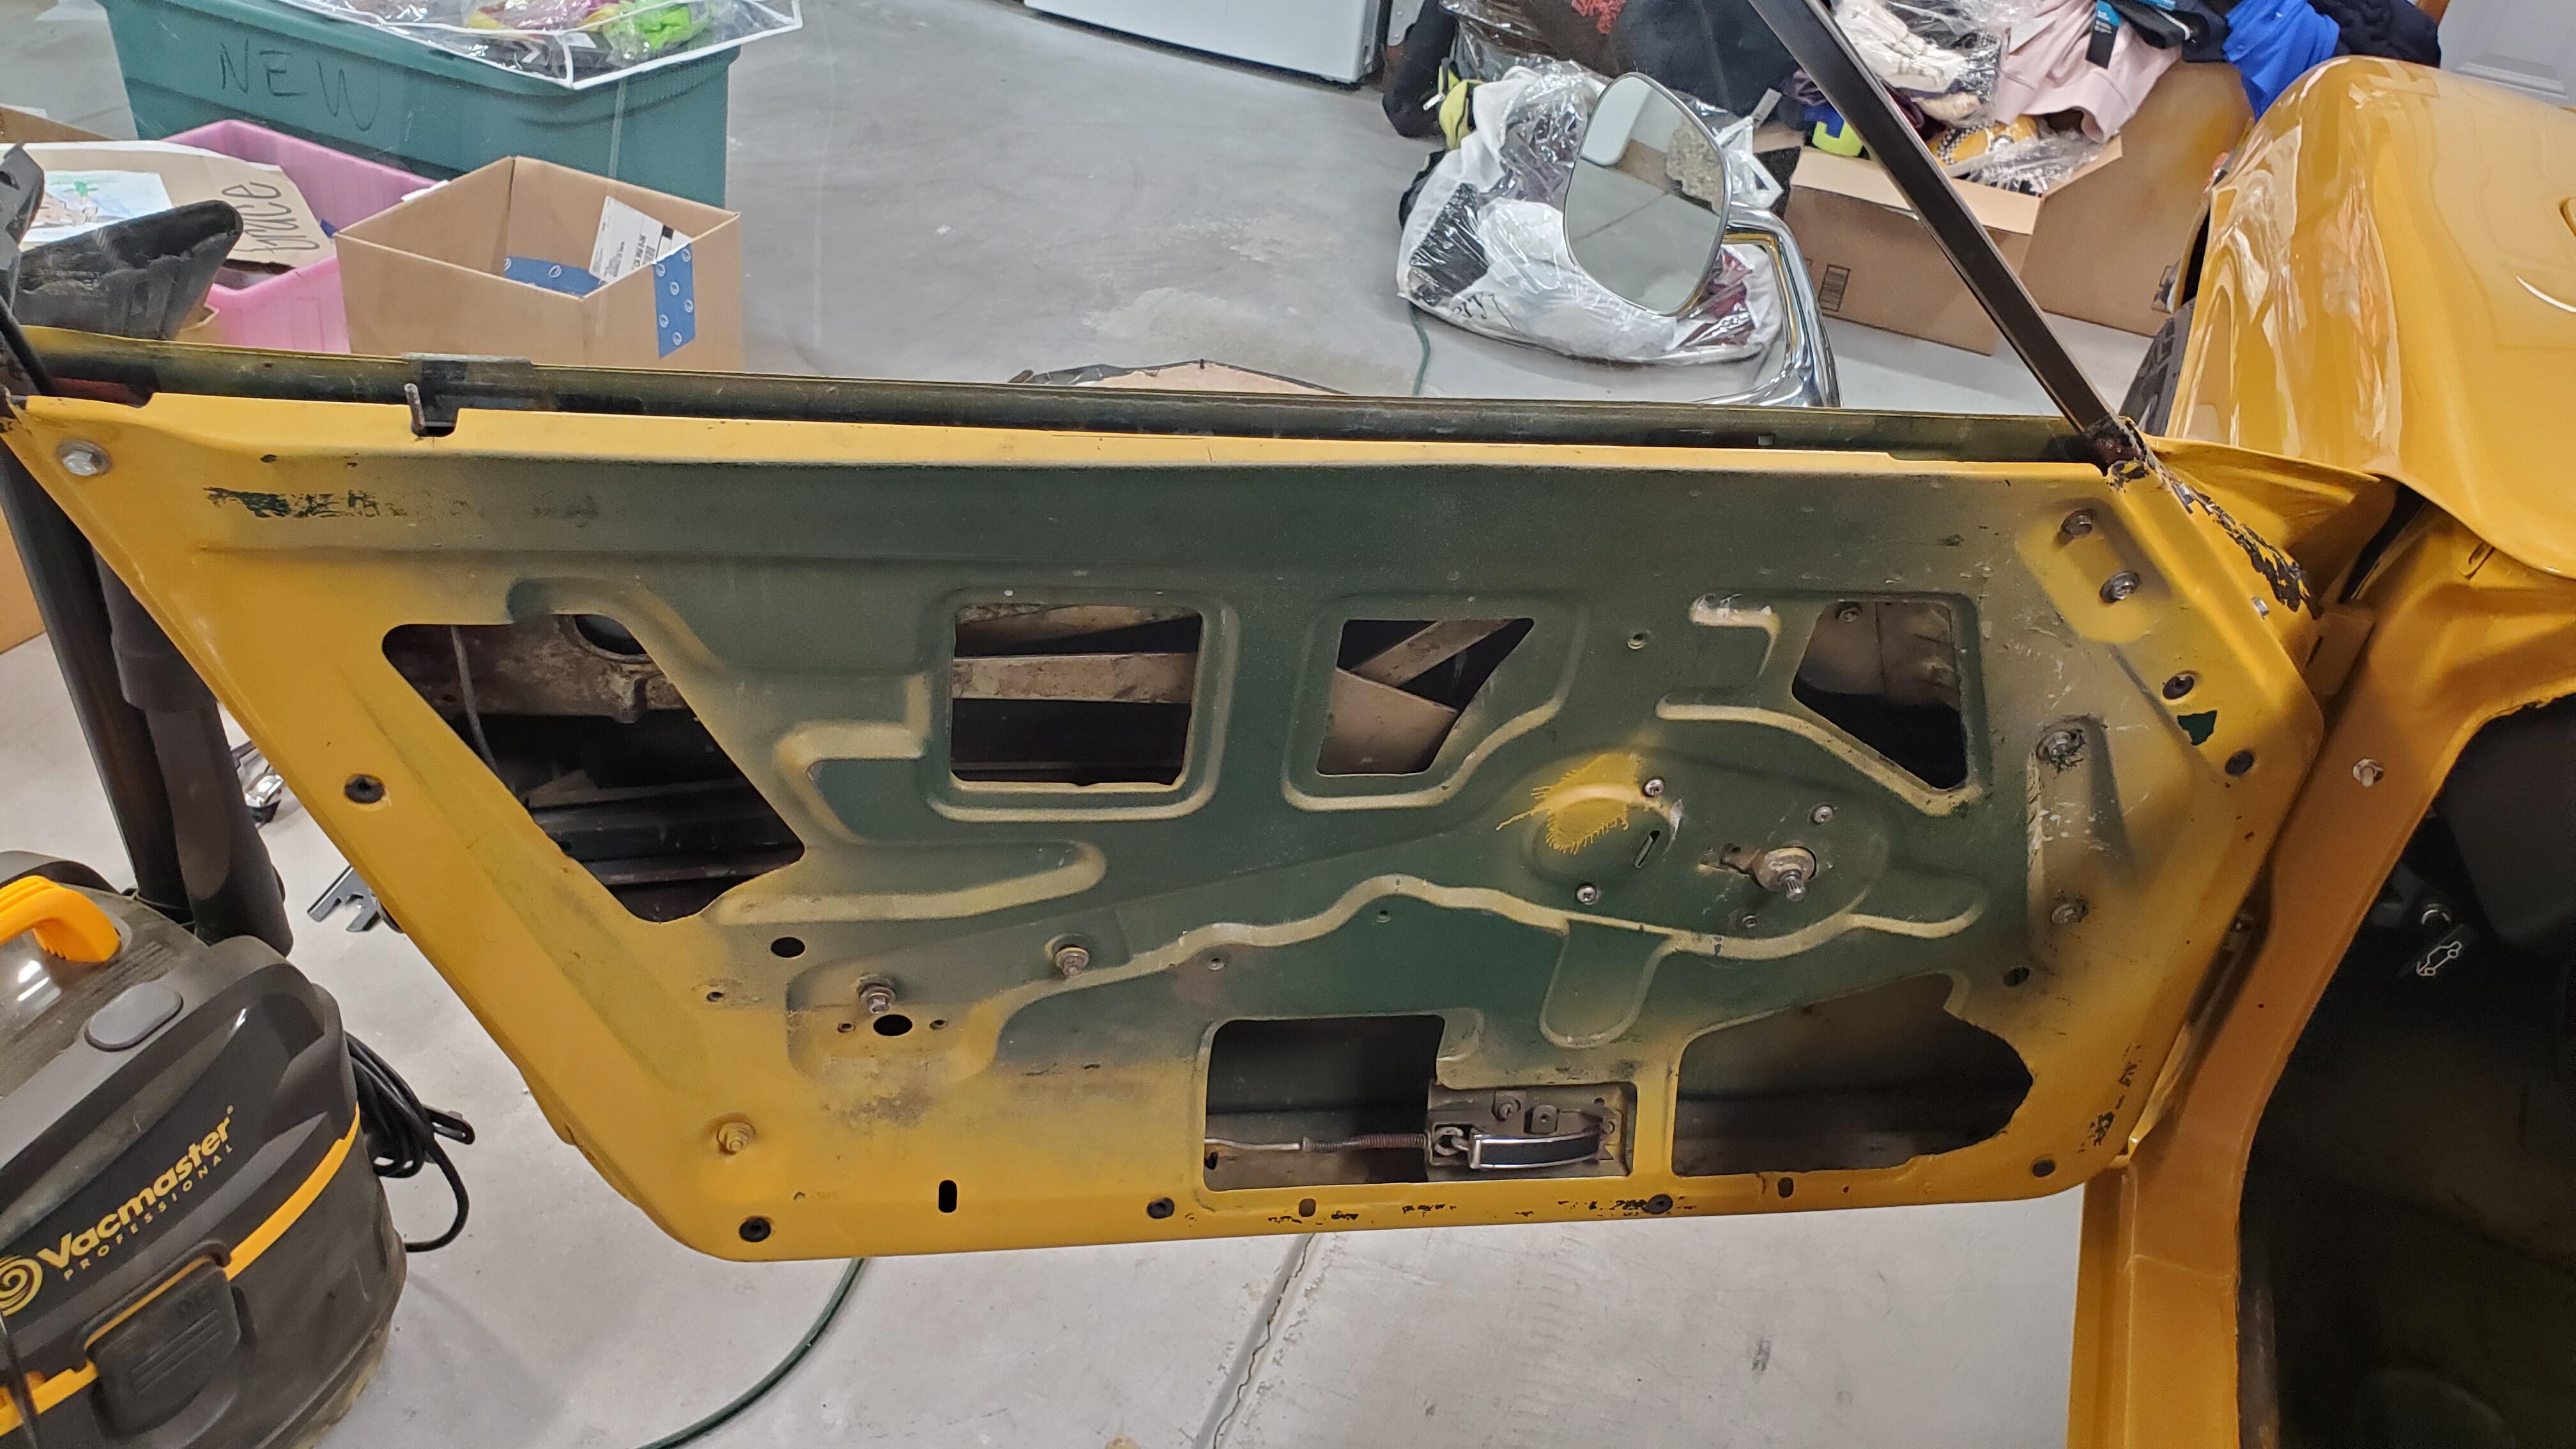
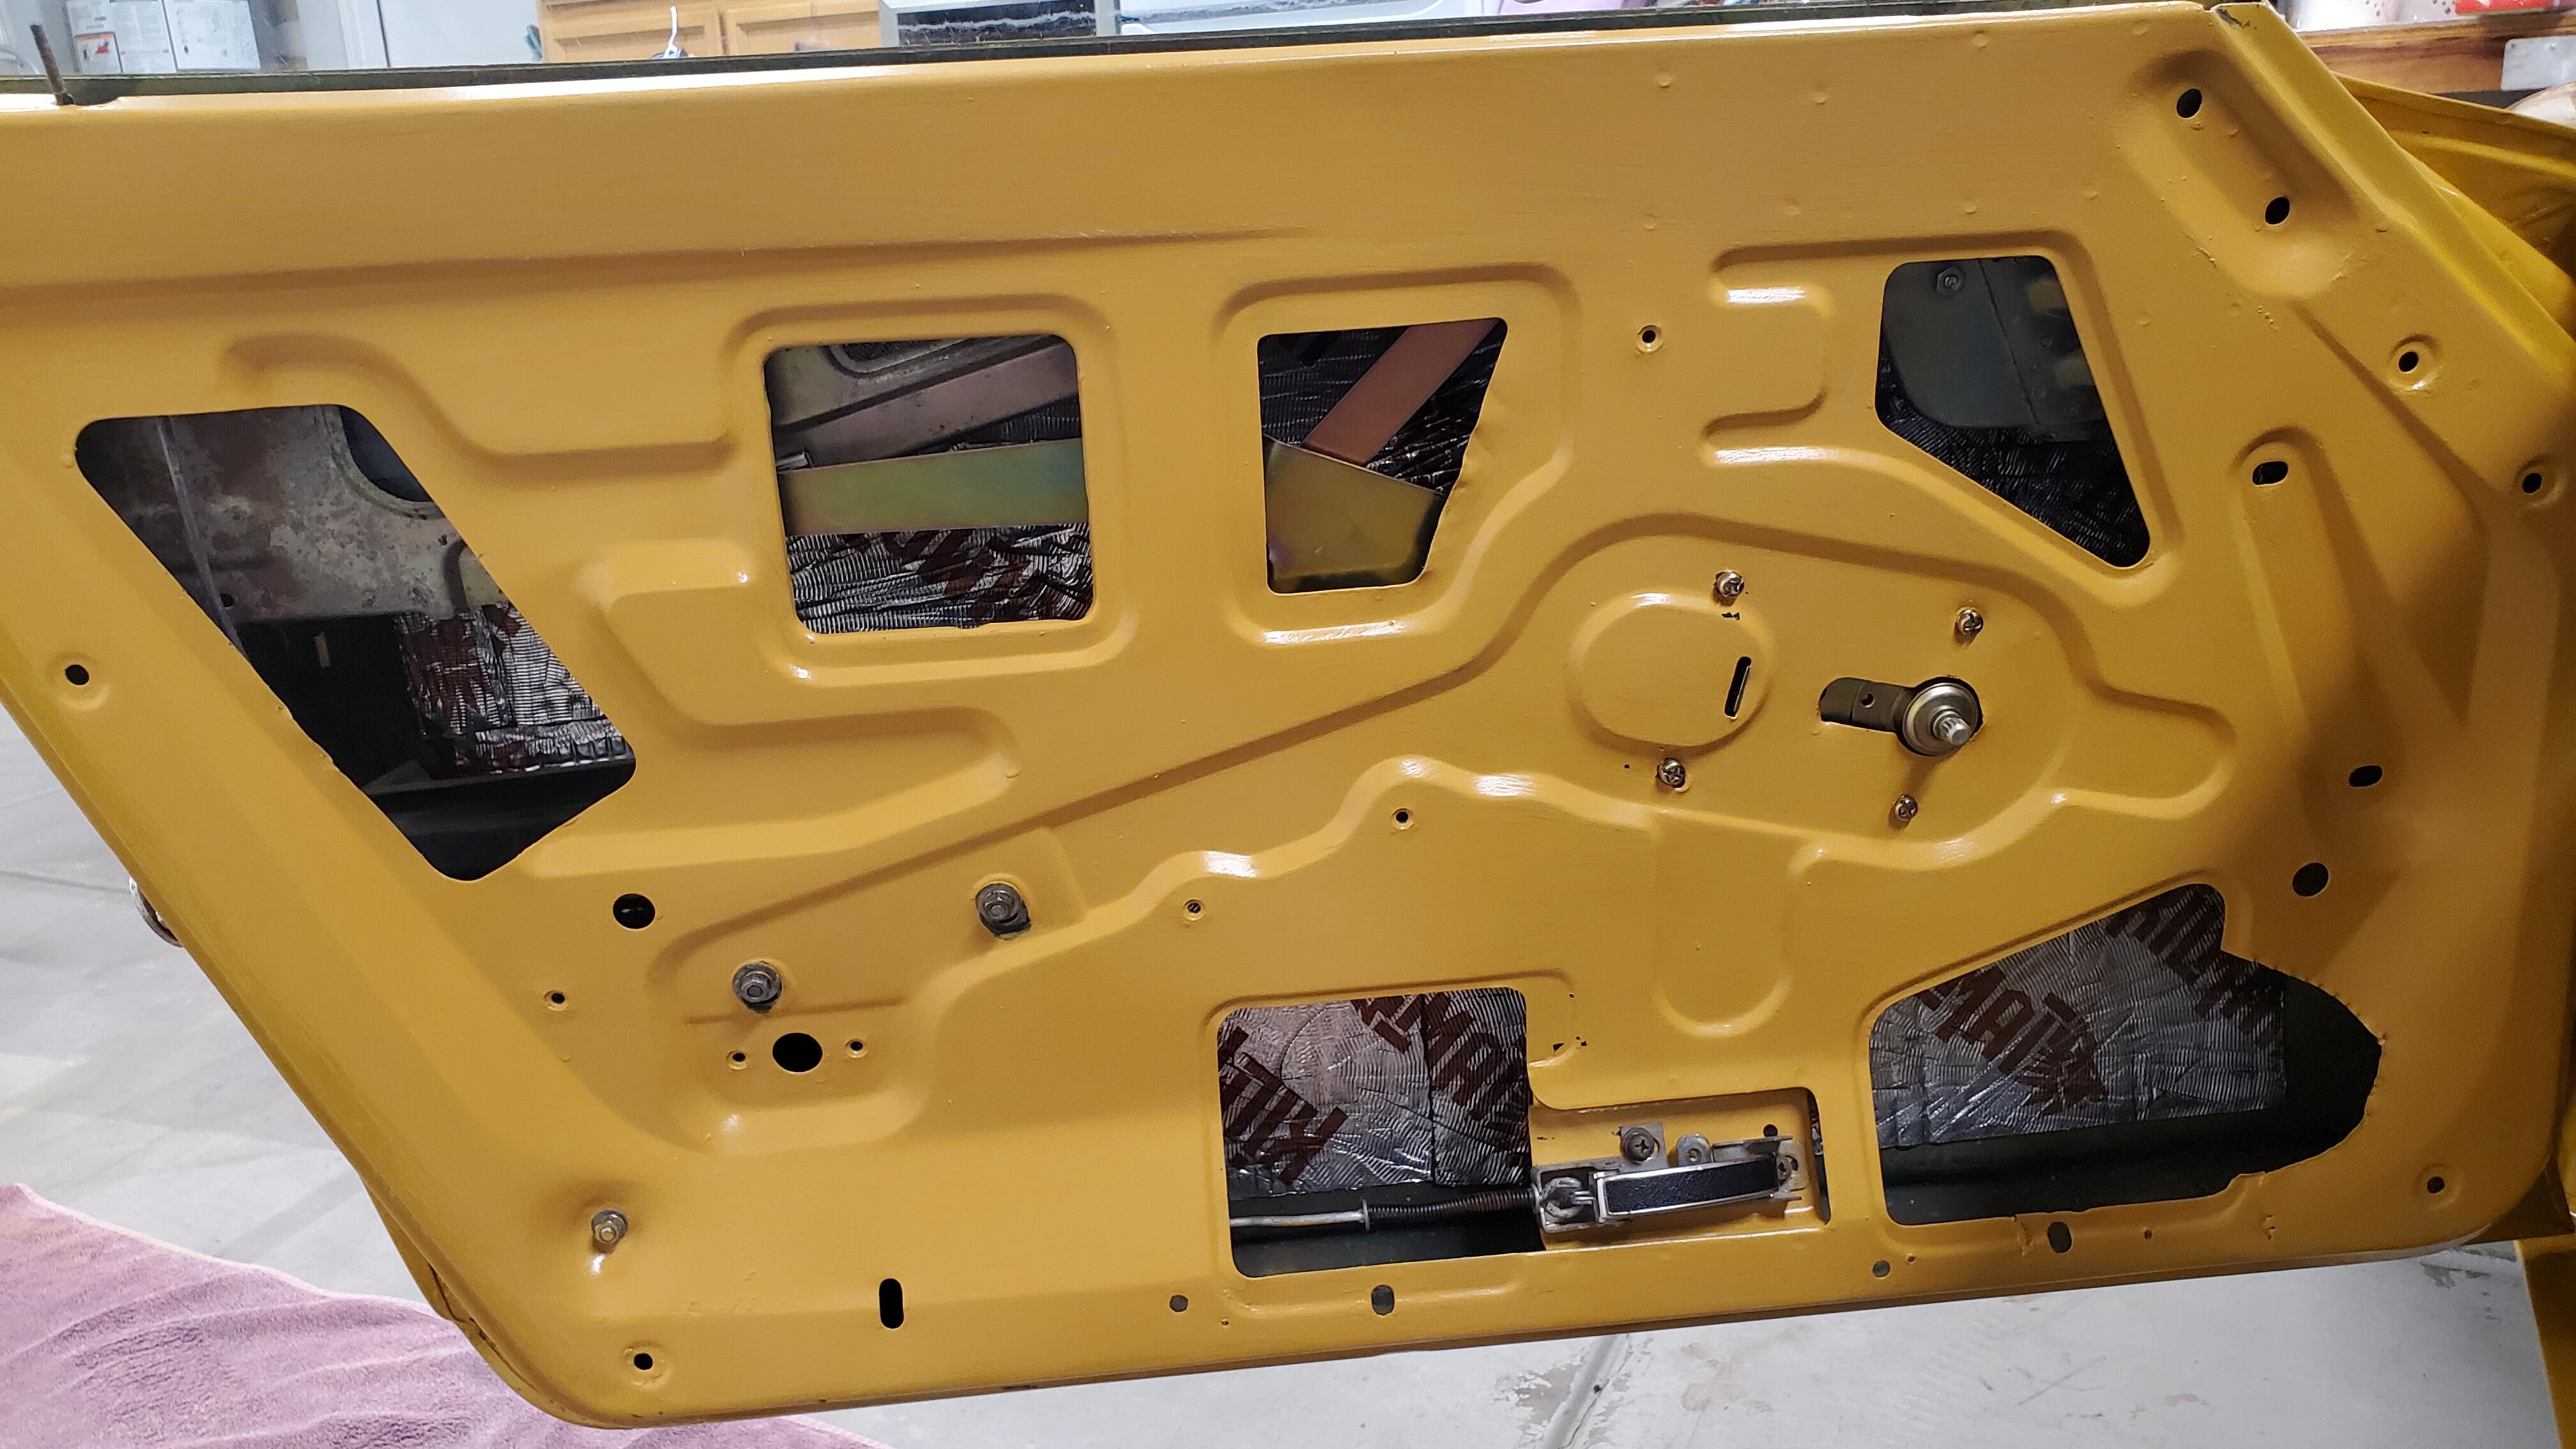
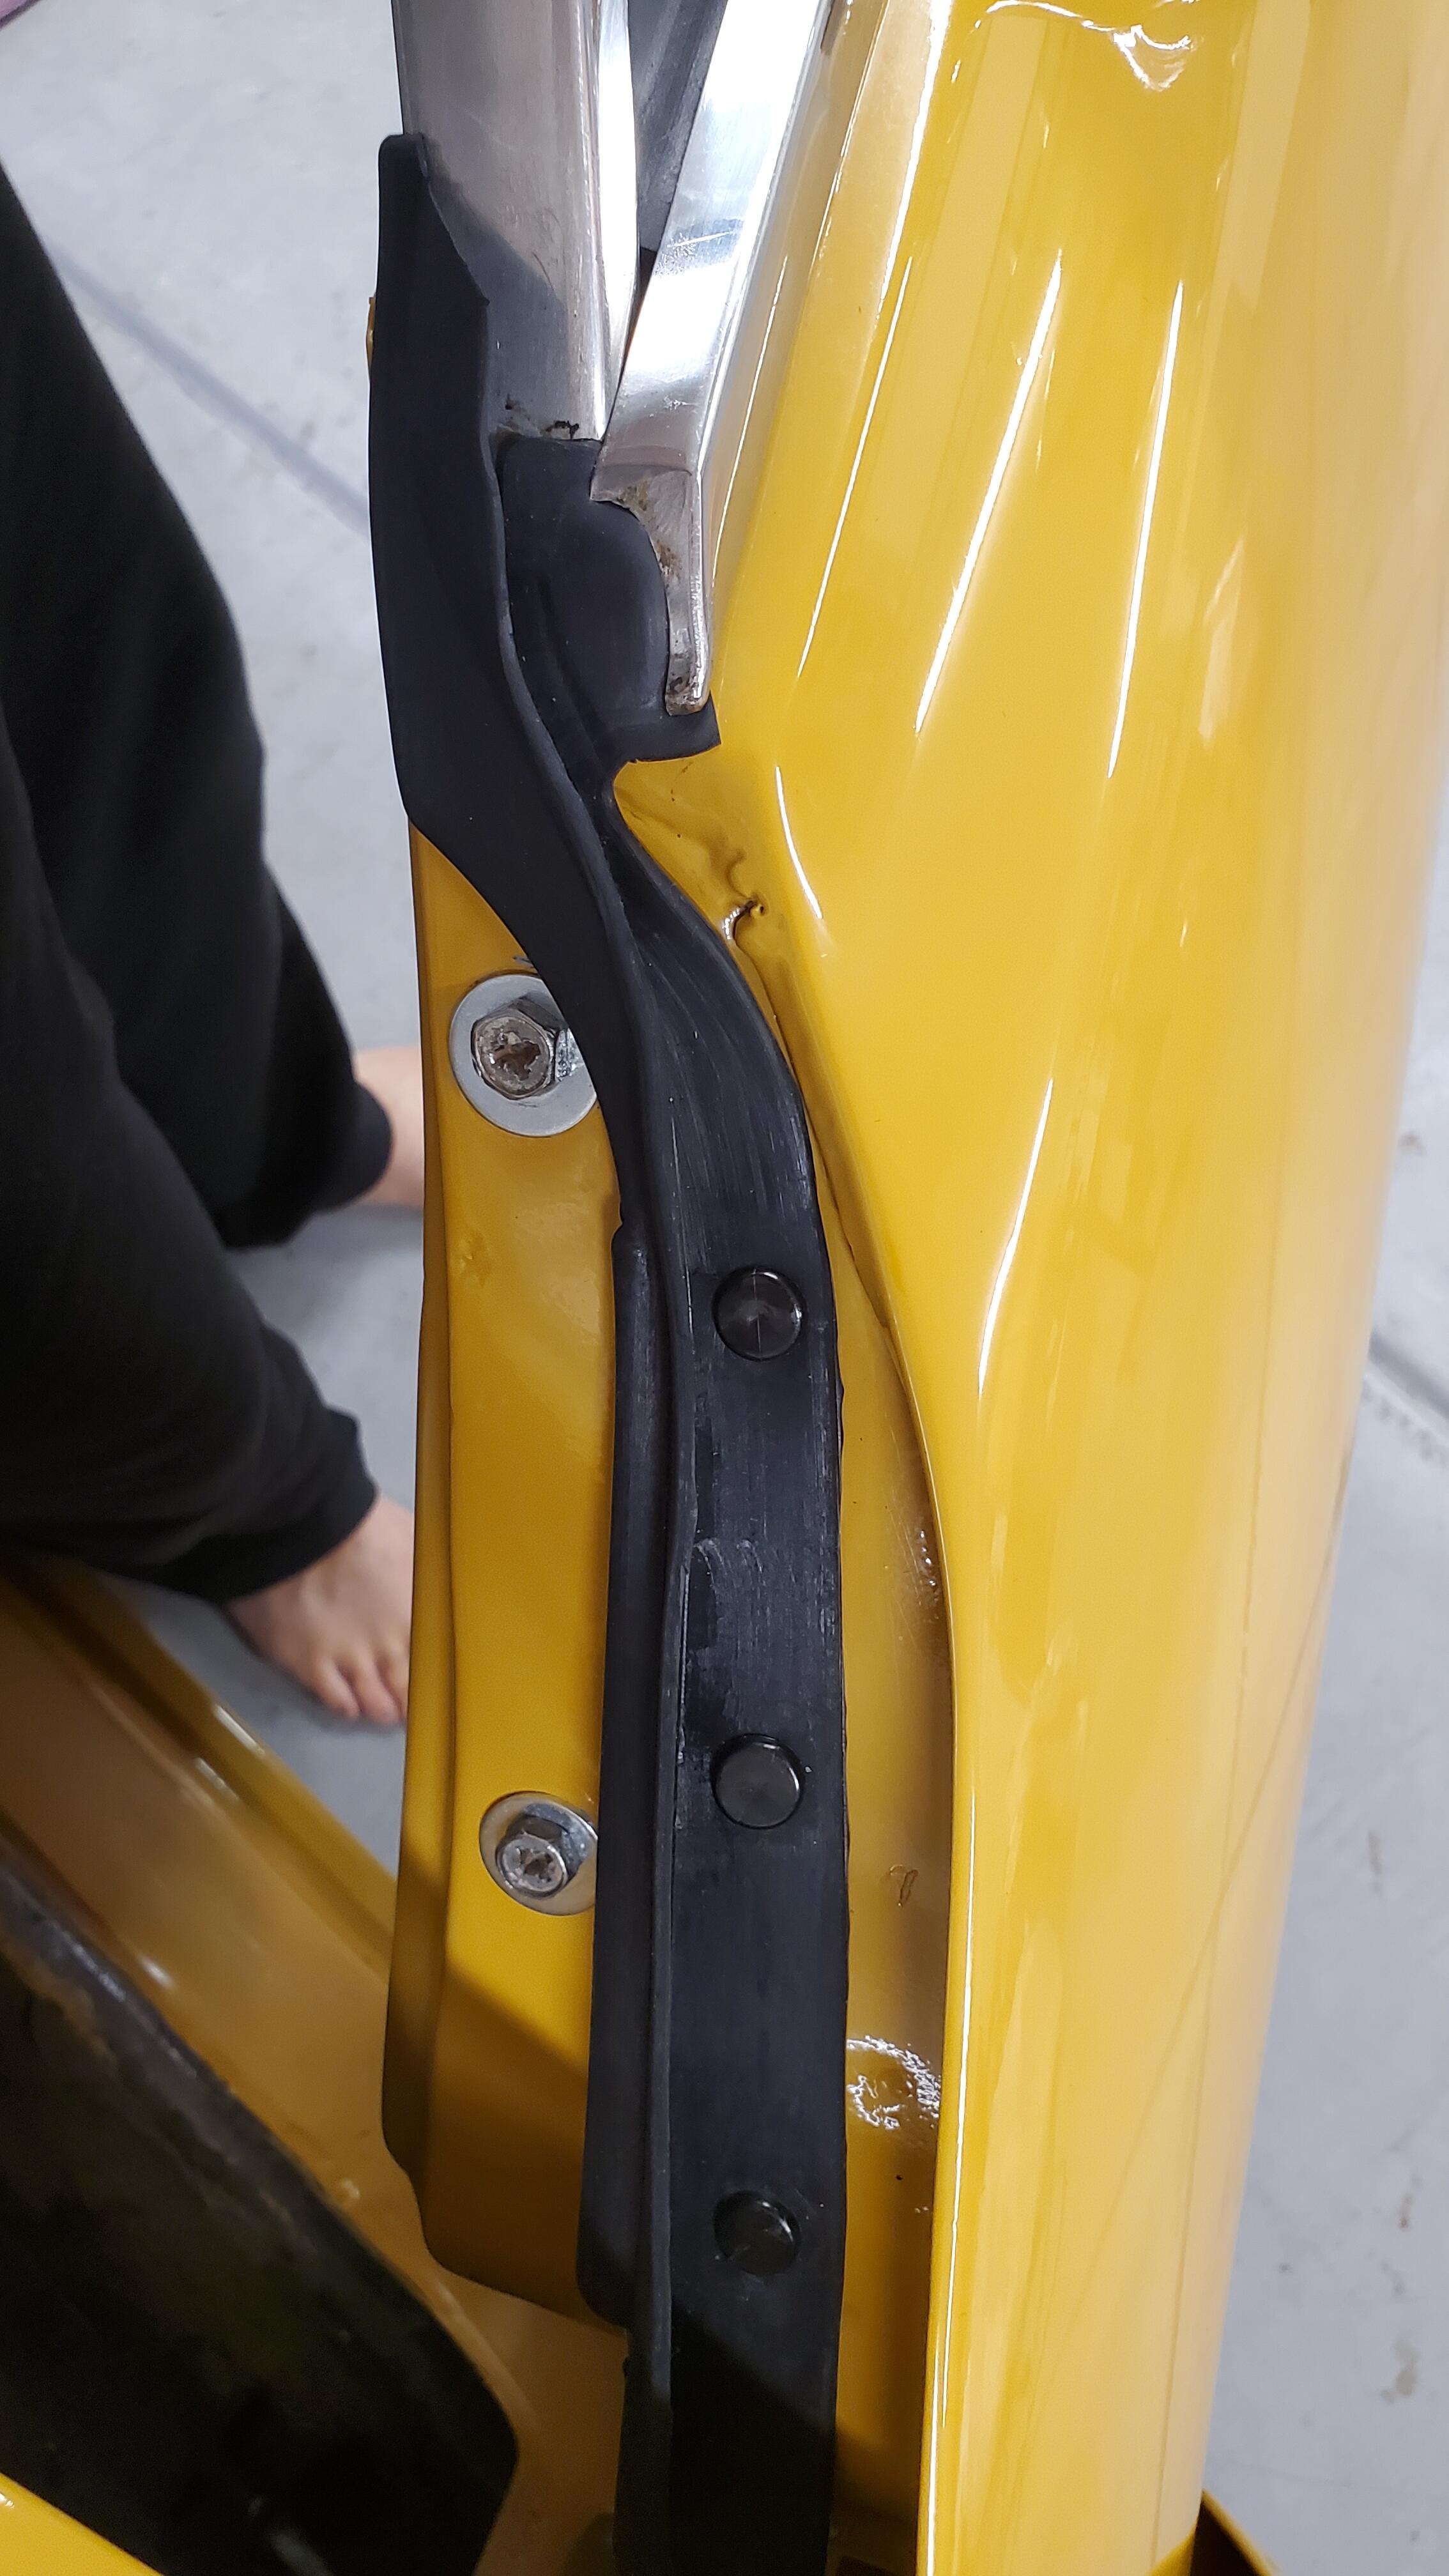
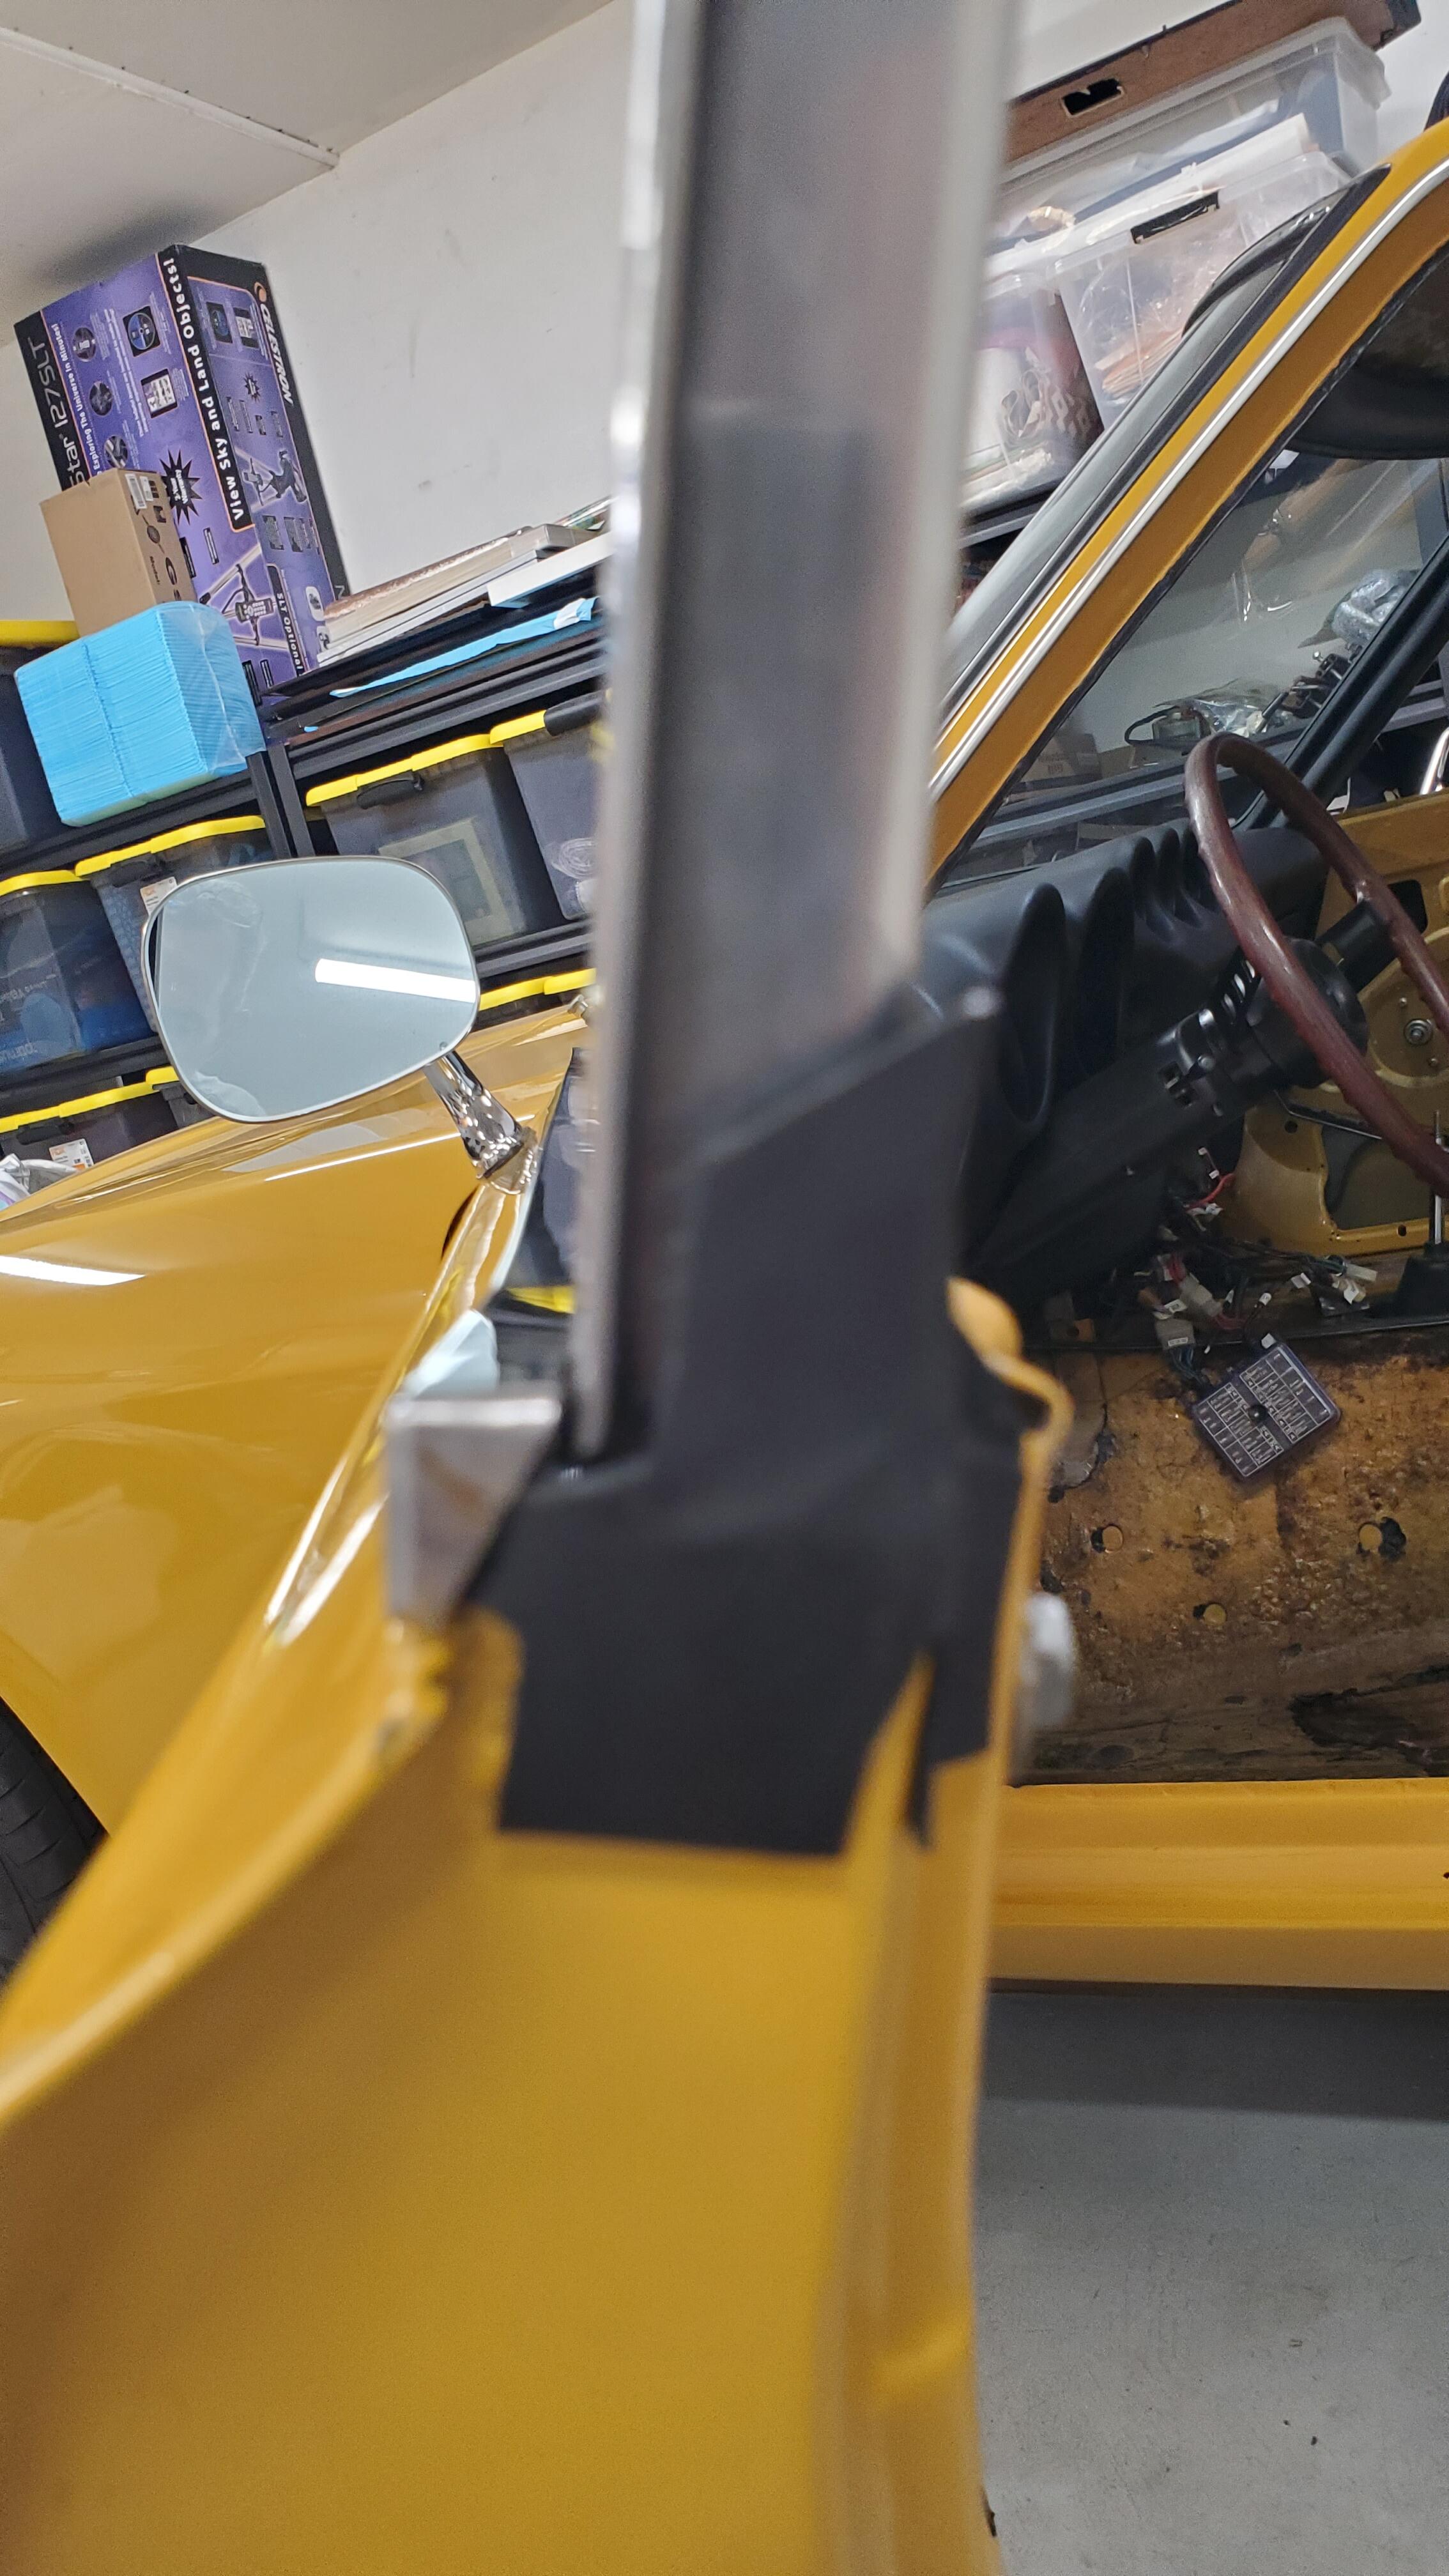
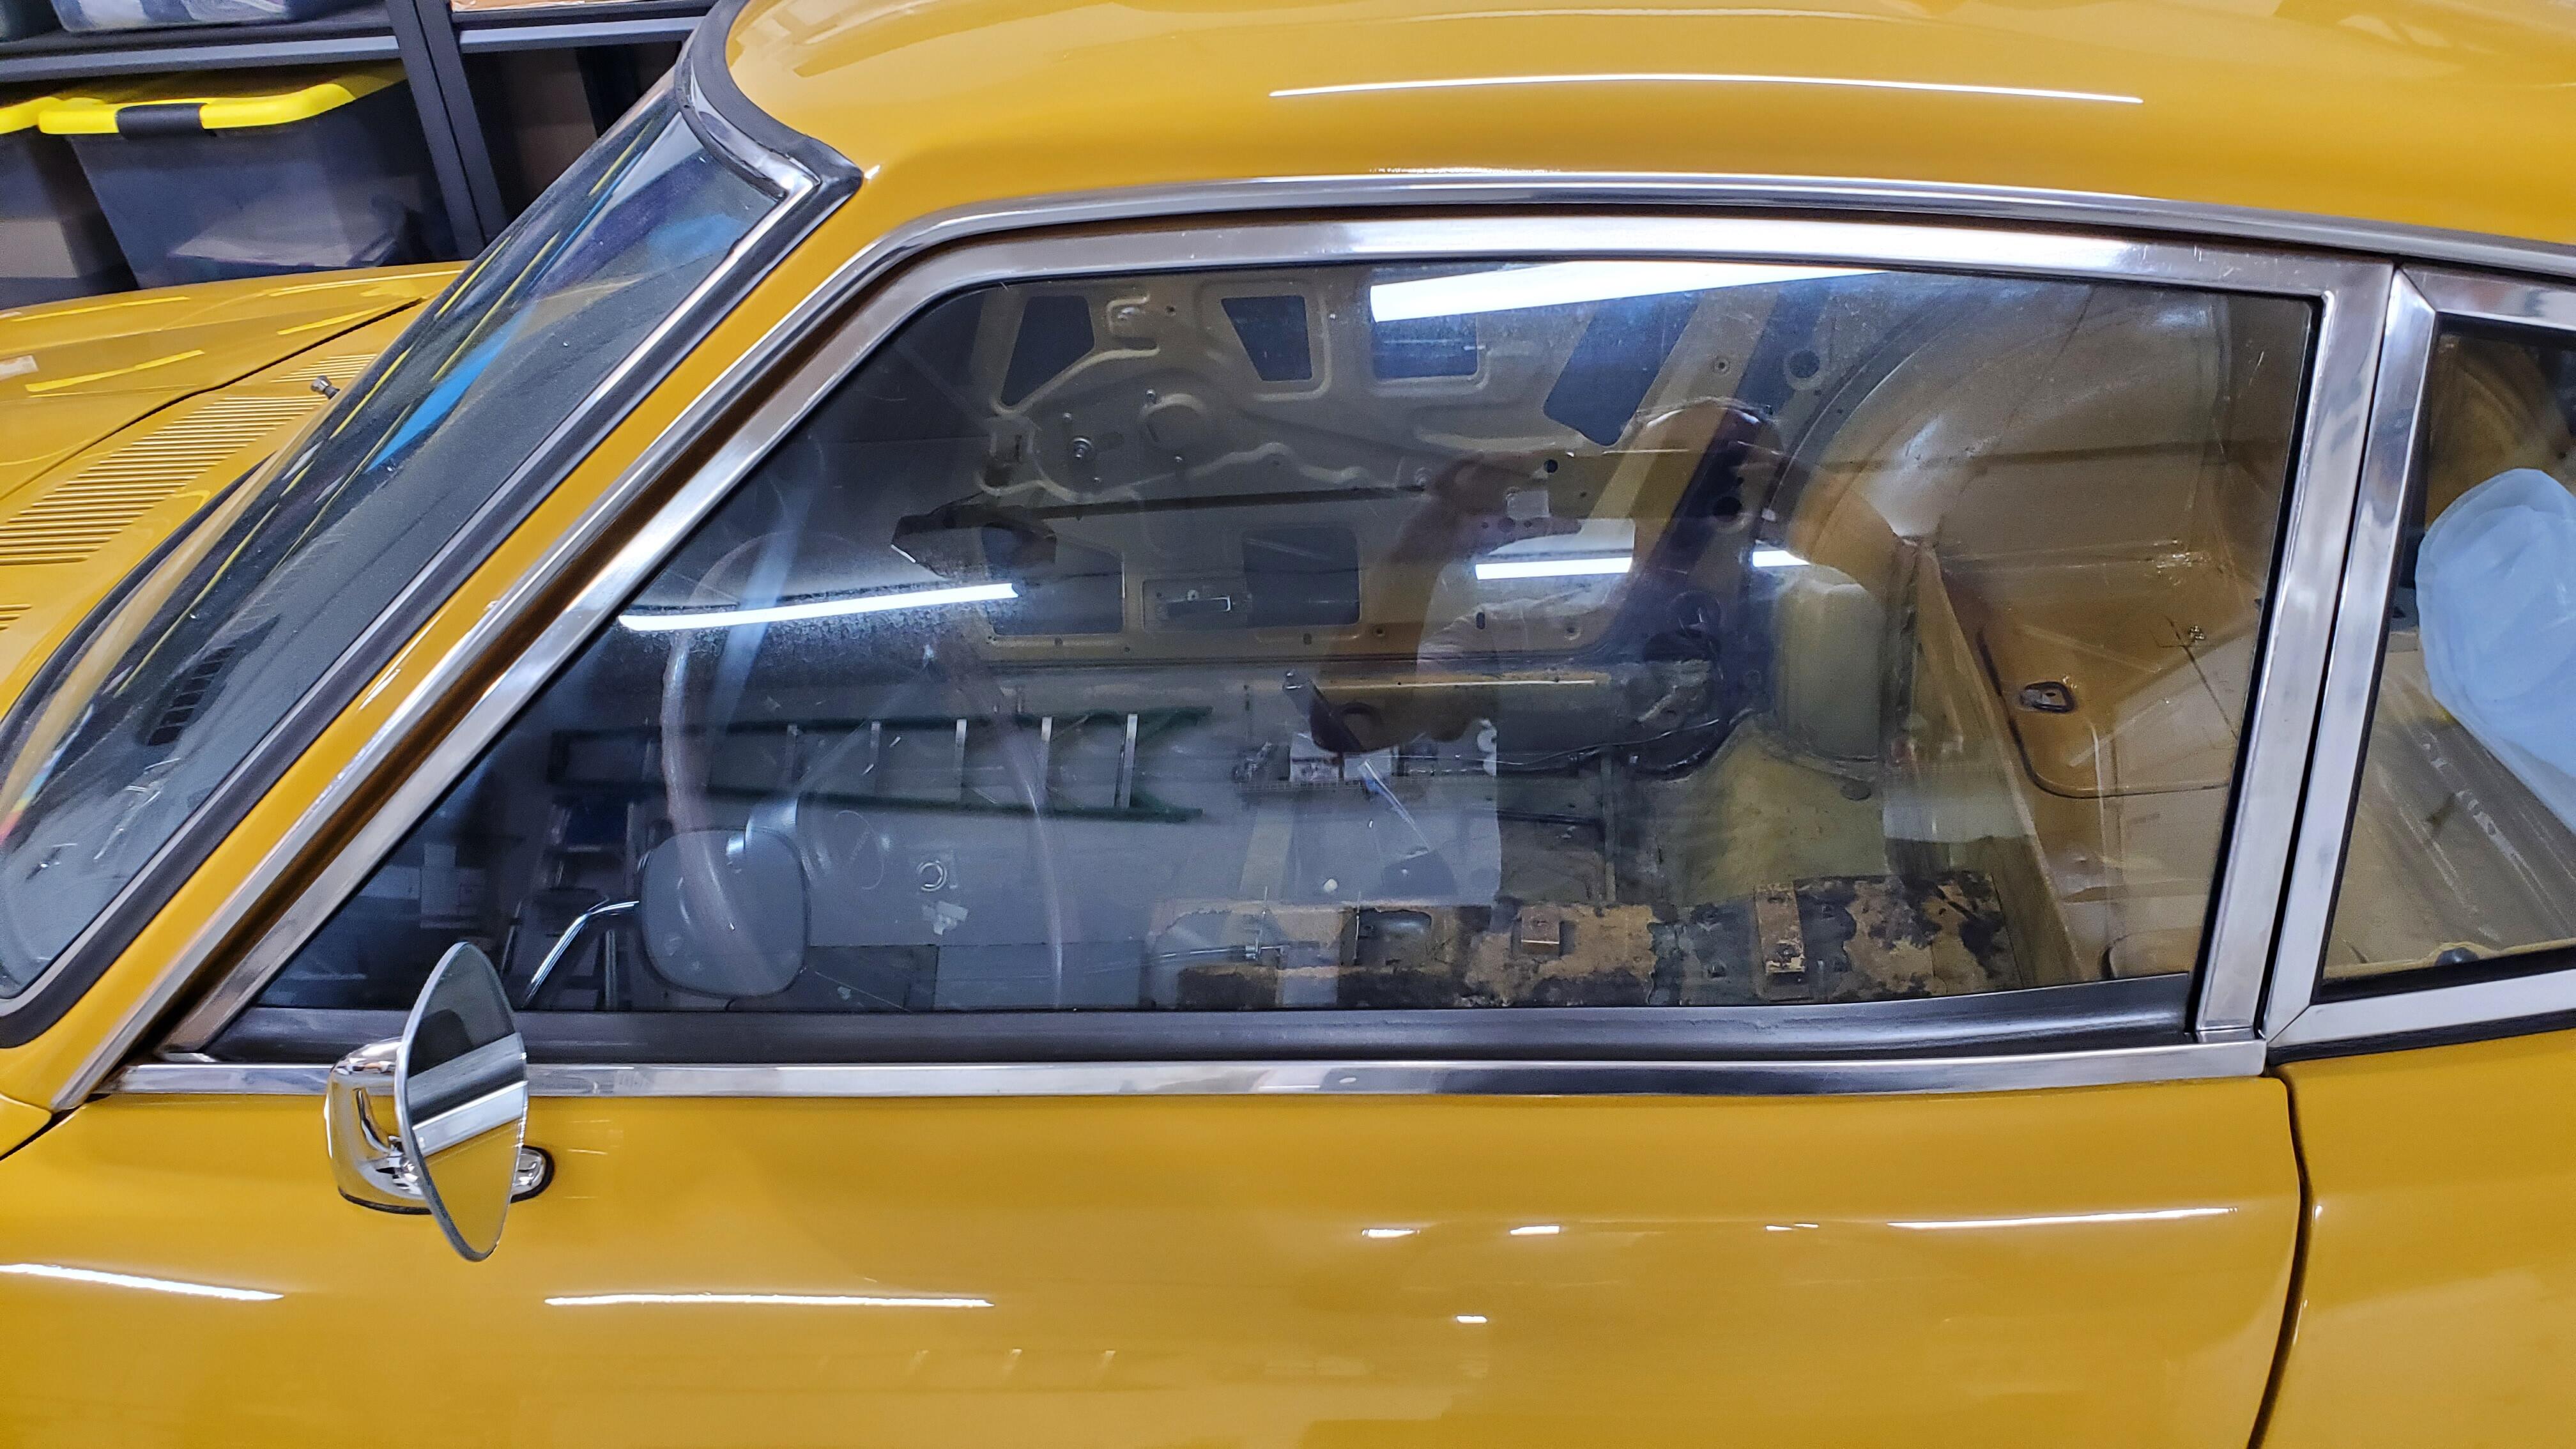
Fiddle completed with excellent results. Turns out I had a bunch of problems in there so decided to do the whole thing from scratch the right way. Tore the door down to the shell by removing the skin, lock mechanism, glass, frame, and regulator. My window problem turned out to be a combination of things. The regulator still had a pretty decent spring tension and crank, but the "pivot point" I'll call it where the two arm meet was pretty much shot. not sure if the prior owner bent it during install or just never bothered addressing it during his decent but not perfect restoration attempt. I also had a problem with the glide that's attached to the front of the glass mount. It was missing a screw so even though the glide was within the front window channel it would pivot about half way up as the weight of the glass rose. That pivot caused the glass to tilt forward when being rolled up and never close properly into the frame. Oh and the glass roller was broken and missing. So I decided to fork over some money for a new regulator, roller, the bumper at the bottom, the two weather strip pieces, and new felt for the frame. the lock mechanism and all the rods were in really good shape but did need degreasing and a thorough cleaning. While the door was empty i even did the whole outer side with killmat and now the door is quiet as a church mouse. 🙂 Couple of things I learned. First, I'm getting better at this. I was really intimated by removing the glass for some reason. All the videos I watched and the stuff I read made it seem easy but for some reason I was worried about breaking glass or just not getting it back in properly. It wasn't hard at all and everything I did worked on first attempt. Second, unfortunately this isn't the original door for some reason . When I pulled the skin it was green! I also noticed the PO probably had a speaker in there since there's a chunk of door missing in that first cutout lol. Couple of things that might help the next guy. Waiting to install the front channel until after the regulator and glass are in and working was key. You do that, roll the window down mostly to the bottom, then can slide the channel over the glide in the window and easily attach the bolts. Keep everything hand tight then adjust front, back channels and the four screws around the regulator to your liking. I also found that the roller I put in worked better in the back notch near the pull knob for the lock rather than the notch up front near the mirror. No matter how I adjusted the roller angle, tension, or location when in the front just didn't keep enough pressure on the glass to keep it from coming out of the frame. i was happy with the frame and smoothness of the window so i really didn't want to adjust anything. Moving it to the rear solved everything without starting over. I also notice now that i have new weatherstrip between the door and body the door takes a bit more force to close. Not a slam really, but I need to keep my hand on the door all the way to the fully closed position (rather than just a decent push). I assume the strip needs to compress a bit but I'll wait to adjust any latch or lock location until after i also install the new weatherstrip around the body opening (need to do some floor board work first). Heres my after, no more green door! This project came out so good I'm gonna strip the other door too in a few weeks. I don't think I'll need to invest as much though, probably just need weatherstrip and felt since everything seems to work fine.


 5 points
 -
They were for tying the cars down and the dealers were supposed to take them off before delivery to the customer, but as they were a bit lazy.. they were left on.4 points
-
I was under the impression that these hooks were used for tying the cars down on the voyage to their destination...?3 points
-
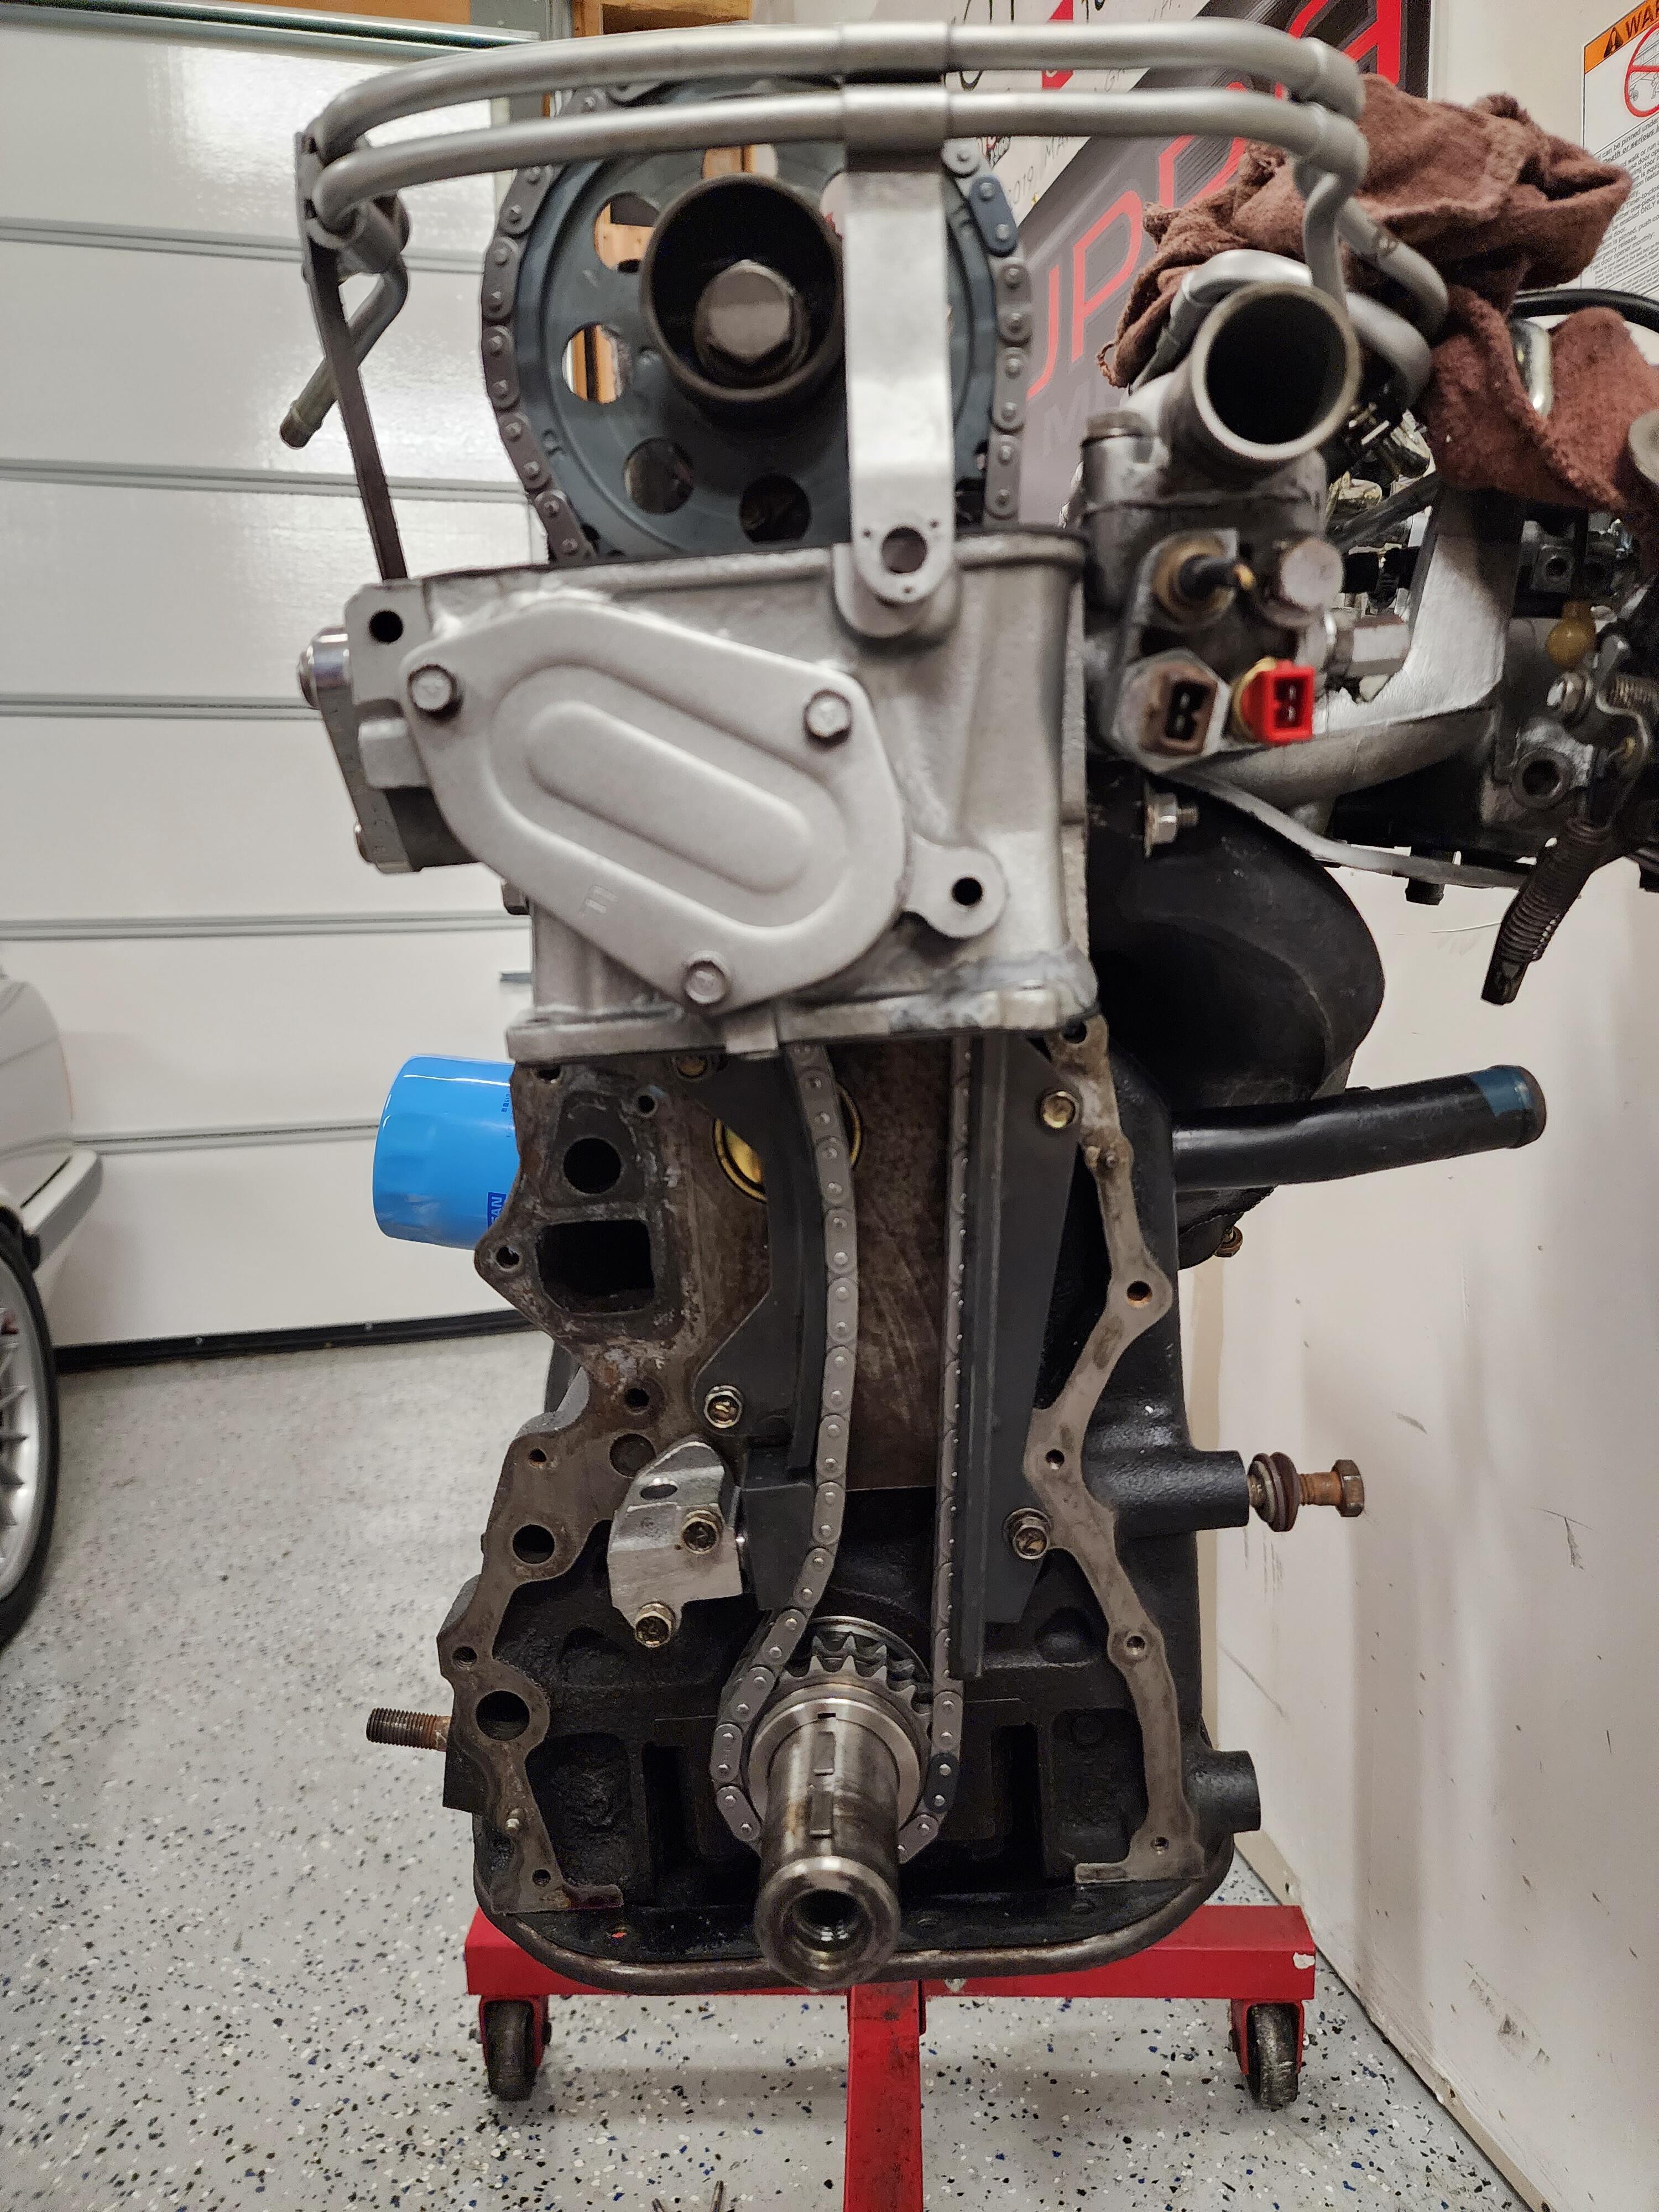
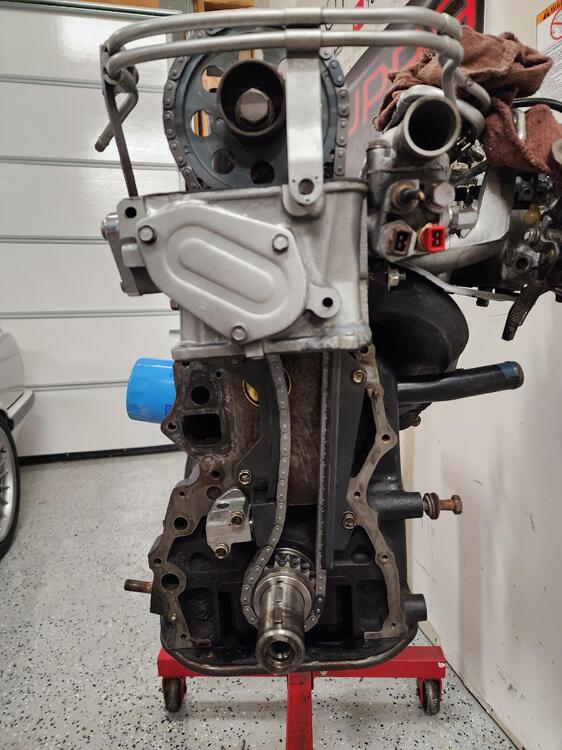
Thanks everyone for your feedback and knowledge. Was able to replace the timing chain and tensioner earlier today in about an hour. Happy to report the issue has been resolved and the tensioner is no longer crazy extended, safe to say the chain was just extremely stretched. Hopefully this week the car will be running again with a fresh new engine rebuild.
 3 points
 -
His been real busy. He teaches race car engineering and they have been building a Mazda miata and a formula ford for scca racing. The formula ford is their own design from the frame up. Soon as he does the shaft bores and install bearings I will post some pictures2 points
-
Alright, I'll remove it after 500 miles since I'll have to go back in at that time to retorque the arp head bolts and probably do a valve adjustment again during break in.2 points
-
1 point
-
I'm actually running the system setup at higher fuel pressure (3bar, w/vacuum reference), and higher ECT values (900ohm increase) to get it richer - with stock pressure & injectors my system was markedly lean - noted once I had the WBO2 in place to monitor AFR's.1 point
-
Yes - I haven't experienced it today, but I didn't drive it under the conditions that previously instigated the heat soak. See what happens over the next couple days. I'm going to make the additional heat shield anyway.1 point
-
Perfect. Then throw the front cover on and fire that thing up!! Haha! I also noticed that you are running the eccentric cam to drive a fuel pump, but you certainly are not going to be running a mechanical fuel pump with that EFI system. Doesn't hurt anything, just unnecessary.1 point
-
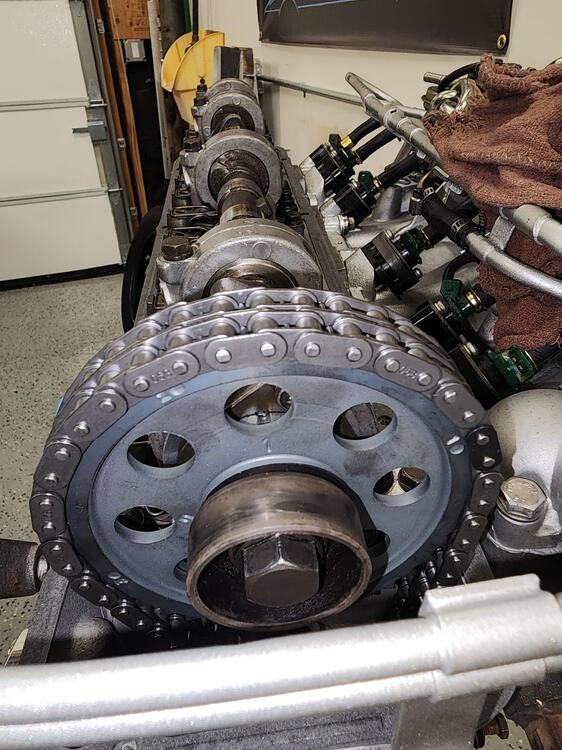
Looks way better! So I can see the timing mark on the cam sprocket. Using position 1 (which makes sense with new timing components), but I can't see the mark on the crank gear. Are you positive sure you got the timing marks correct?1 point
-
1 pointI have these in mine. Cheap too. http://www.atlanticz.ca/zclub/techtips/shifterbushing/index.html1 point
-
You all probably have seen this but maybe not? Go to the bottom to the "flow rate injector list" https://www.atlanticz.ca/zclub/techtips/injectors/index.html There was a write up using Supra injectors long ago but I can't find it now.1 point
-
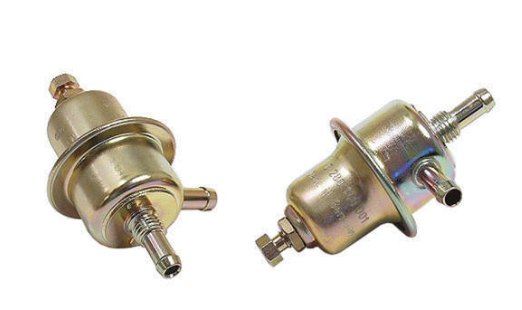
I've mentioned this before also, somewhere. You can take an old Bosch/VW/Porsche adjustable regulator and drill a hole through the center of the adjusting screw to add a vacuum reference hose. There was an old VW dune buggy article about it on the web. Notice the 001 number. Might be the first adjustable from Bosch as they got in to L-Jet. Still available. Spendy, unless eBay. It holds pressure too. https://www.pelicanparts.com/More_Info/0280160001.htm?pn=0-280-160-001-INT https://www.ebay.com/itm/115896285815?mkcid=16&mkevt=1&mkrid=711-127632-2357-0&ssspo=JXCBKhvJSD2&sssrc=2047675&ssuid=bBzFtXzvTQO&widget_ver=artemis&media=COPY
 1 point
 -
1 pointIt's a breadboard, but you were close. The technical terms in America for that kind of relay are form C contacts and SPDT (single pole, double throw). The Bosch terminal numbers for a relay like that are 30, 87 (normally open), and 87a (normally closed).1 point
-
Not sure that a carb setup would be a direct comparison, however that is good to note. I'm not likely to be buying a new aluminum rad yet, as I will need to reverse the rad flow / hose locations when I do the VQ35DE conversion. Edit - just noticed you are in Surrey. I was born & lived in Kingston-Upon-Thames until I was 10, after that we moved around various countries. Where are you?1 point
-
1 point
-
Coincidentally, I've been messing around with the timing chain and tensioner stuff recently and with that in mind, I'm really wondering why your chain has so much slack in it. I've compared a brand new timing set with all new gears, chain, and guides to a used set that has run 150K miles. Of course there was a some difference, but even the 150K used set has way less slack than what you have in yours. Now, of course, yours could be worn and stretched more than the used set I have here, but I'm thinking there could be something else going on. As part of your rebuild process on the engine, did you have the head cut? Having material removed from the head can have a large impact on chain tension. Also, you said you did not replace the chain or the tensioner. So what did you replace? Did you replace the guides with new, or are the guides used as well? I'm thinking if you got the head cut and reused all the old parts, that's what is causing the issue.1 point
-
Don't start that engine, that tensioner piston is extended way too much, when the timing cover is installed the rubber block on the tensioner piston should be up against receiving block just like in the photo that heyitsrama posted. If that piston pops all the way out, the chain will bunch up and there will be many bent valves. You need a new chain and tensioner.1 point