Leaderboard
-
Matthew Abate
Free Member9Points1,204Posts -
Patcon
 Subscriber
 6Points11,142Posts
 -
.JPG.cfcada9cf1c1b502df3f5f2f2ca3ff36.JPG)
SteveJ
Free Member6Points9,646Posts -
Jeff G 78
Free Member5Points3,007Posts


Popular Content
Showing content with the highest reputation on 10/22/2023 in Posts
-
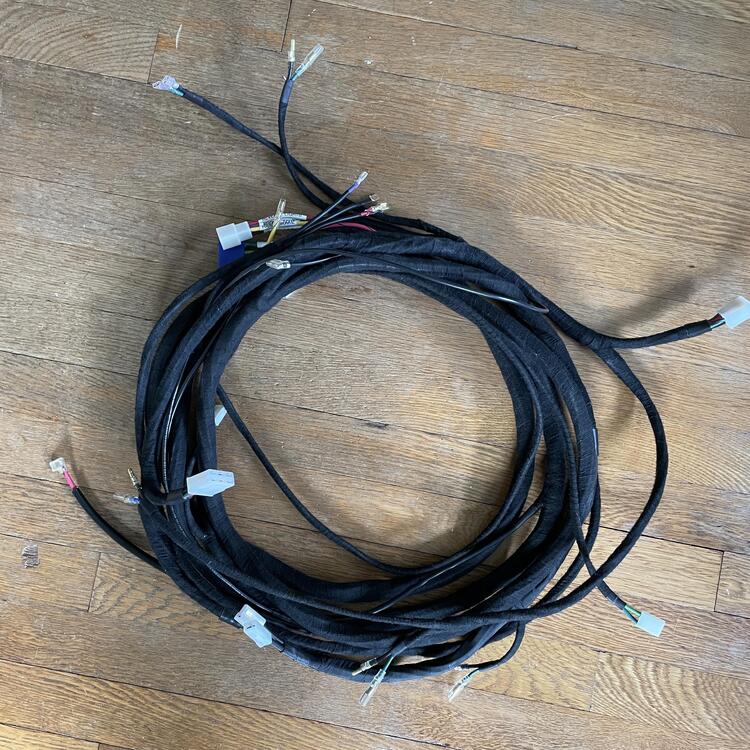
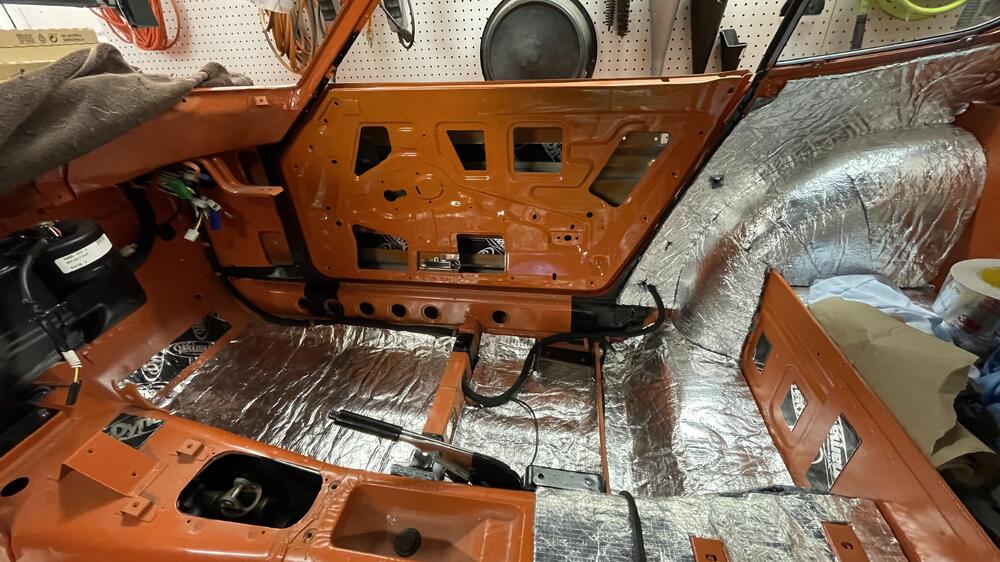
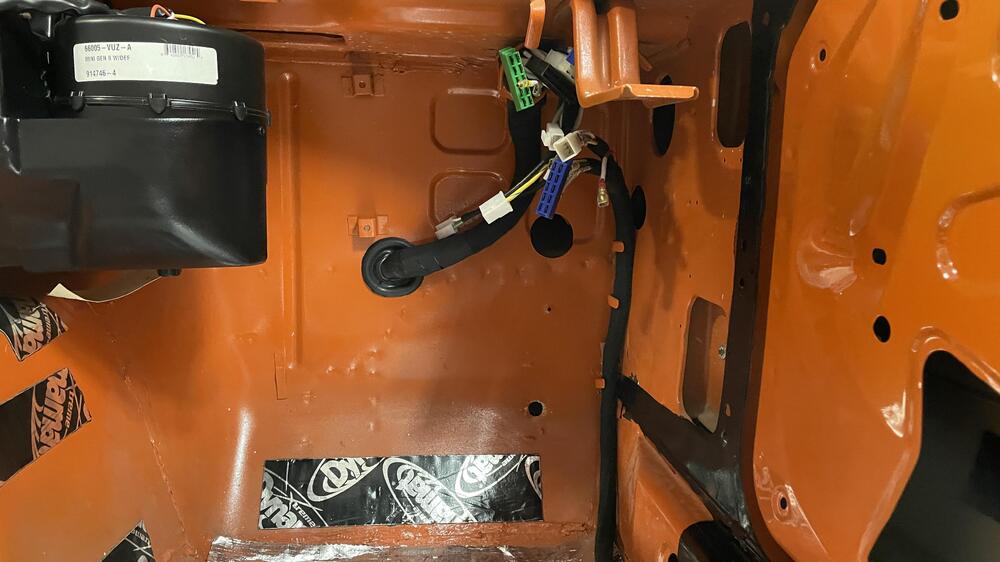
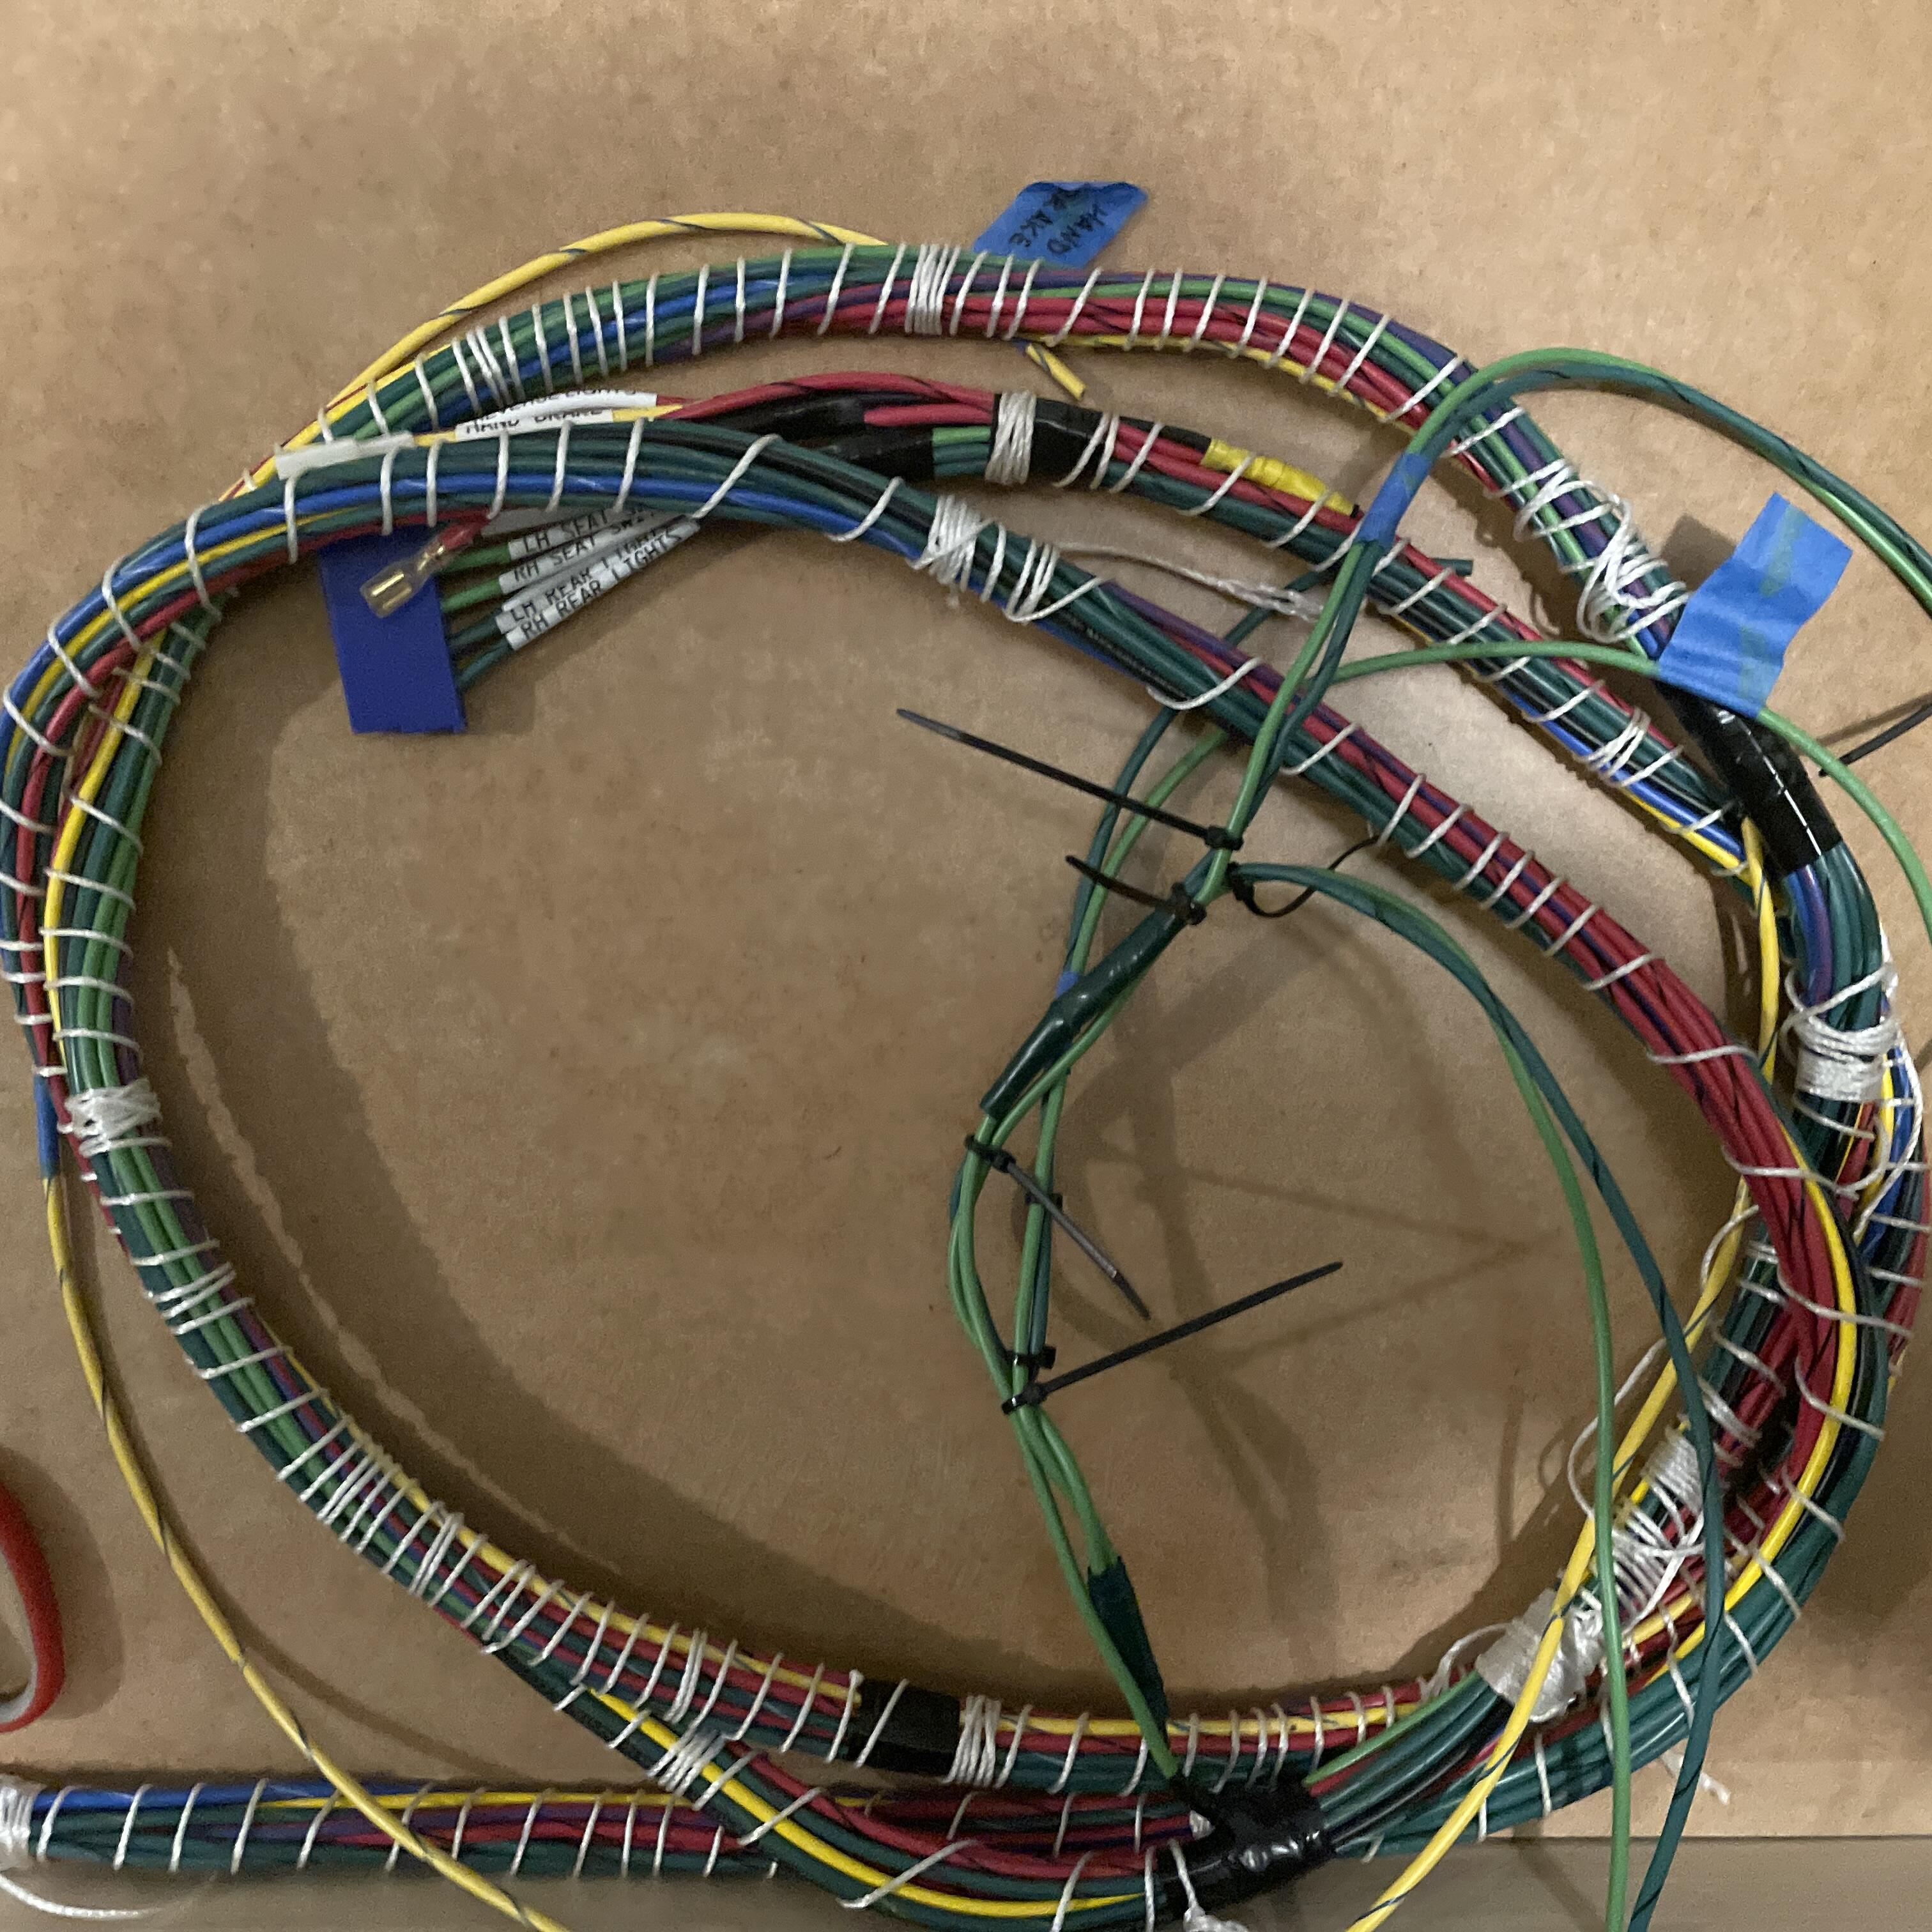
5 pointsBeen a minute, so here’s a progress report: I didn’t take any in progress shots of the body harness as I wrapped it, but here’s the final product, coiled up. One thing I found was that if I wrap the whole thing tightly with string it’s a lot easier to get everything taped off and wrapped in the Tesa tape. I just did the string in the opposite direction so I could unwrap it a bit at a time as I went around it with the tape. I used a harbor freight fish tape to get it in, so it wasn’t a very tough job. $15. I messed up my measurements for the light and defroster wires somehow, but thankfully they’re about 18” too long, rather than too short, so I can cut them down and redo the terminals. Just need to get another set of 90° 6.3mm terminals for the defroster. Oh! And a 52mm blanking grommet for that hole under the battery.


 5 points
 -
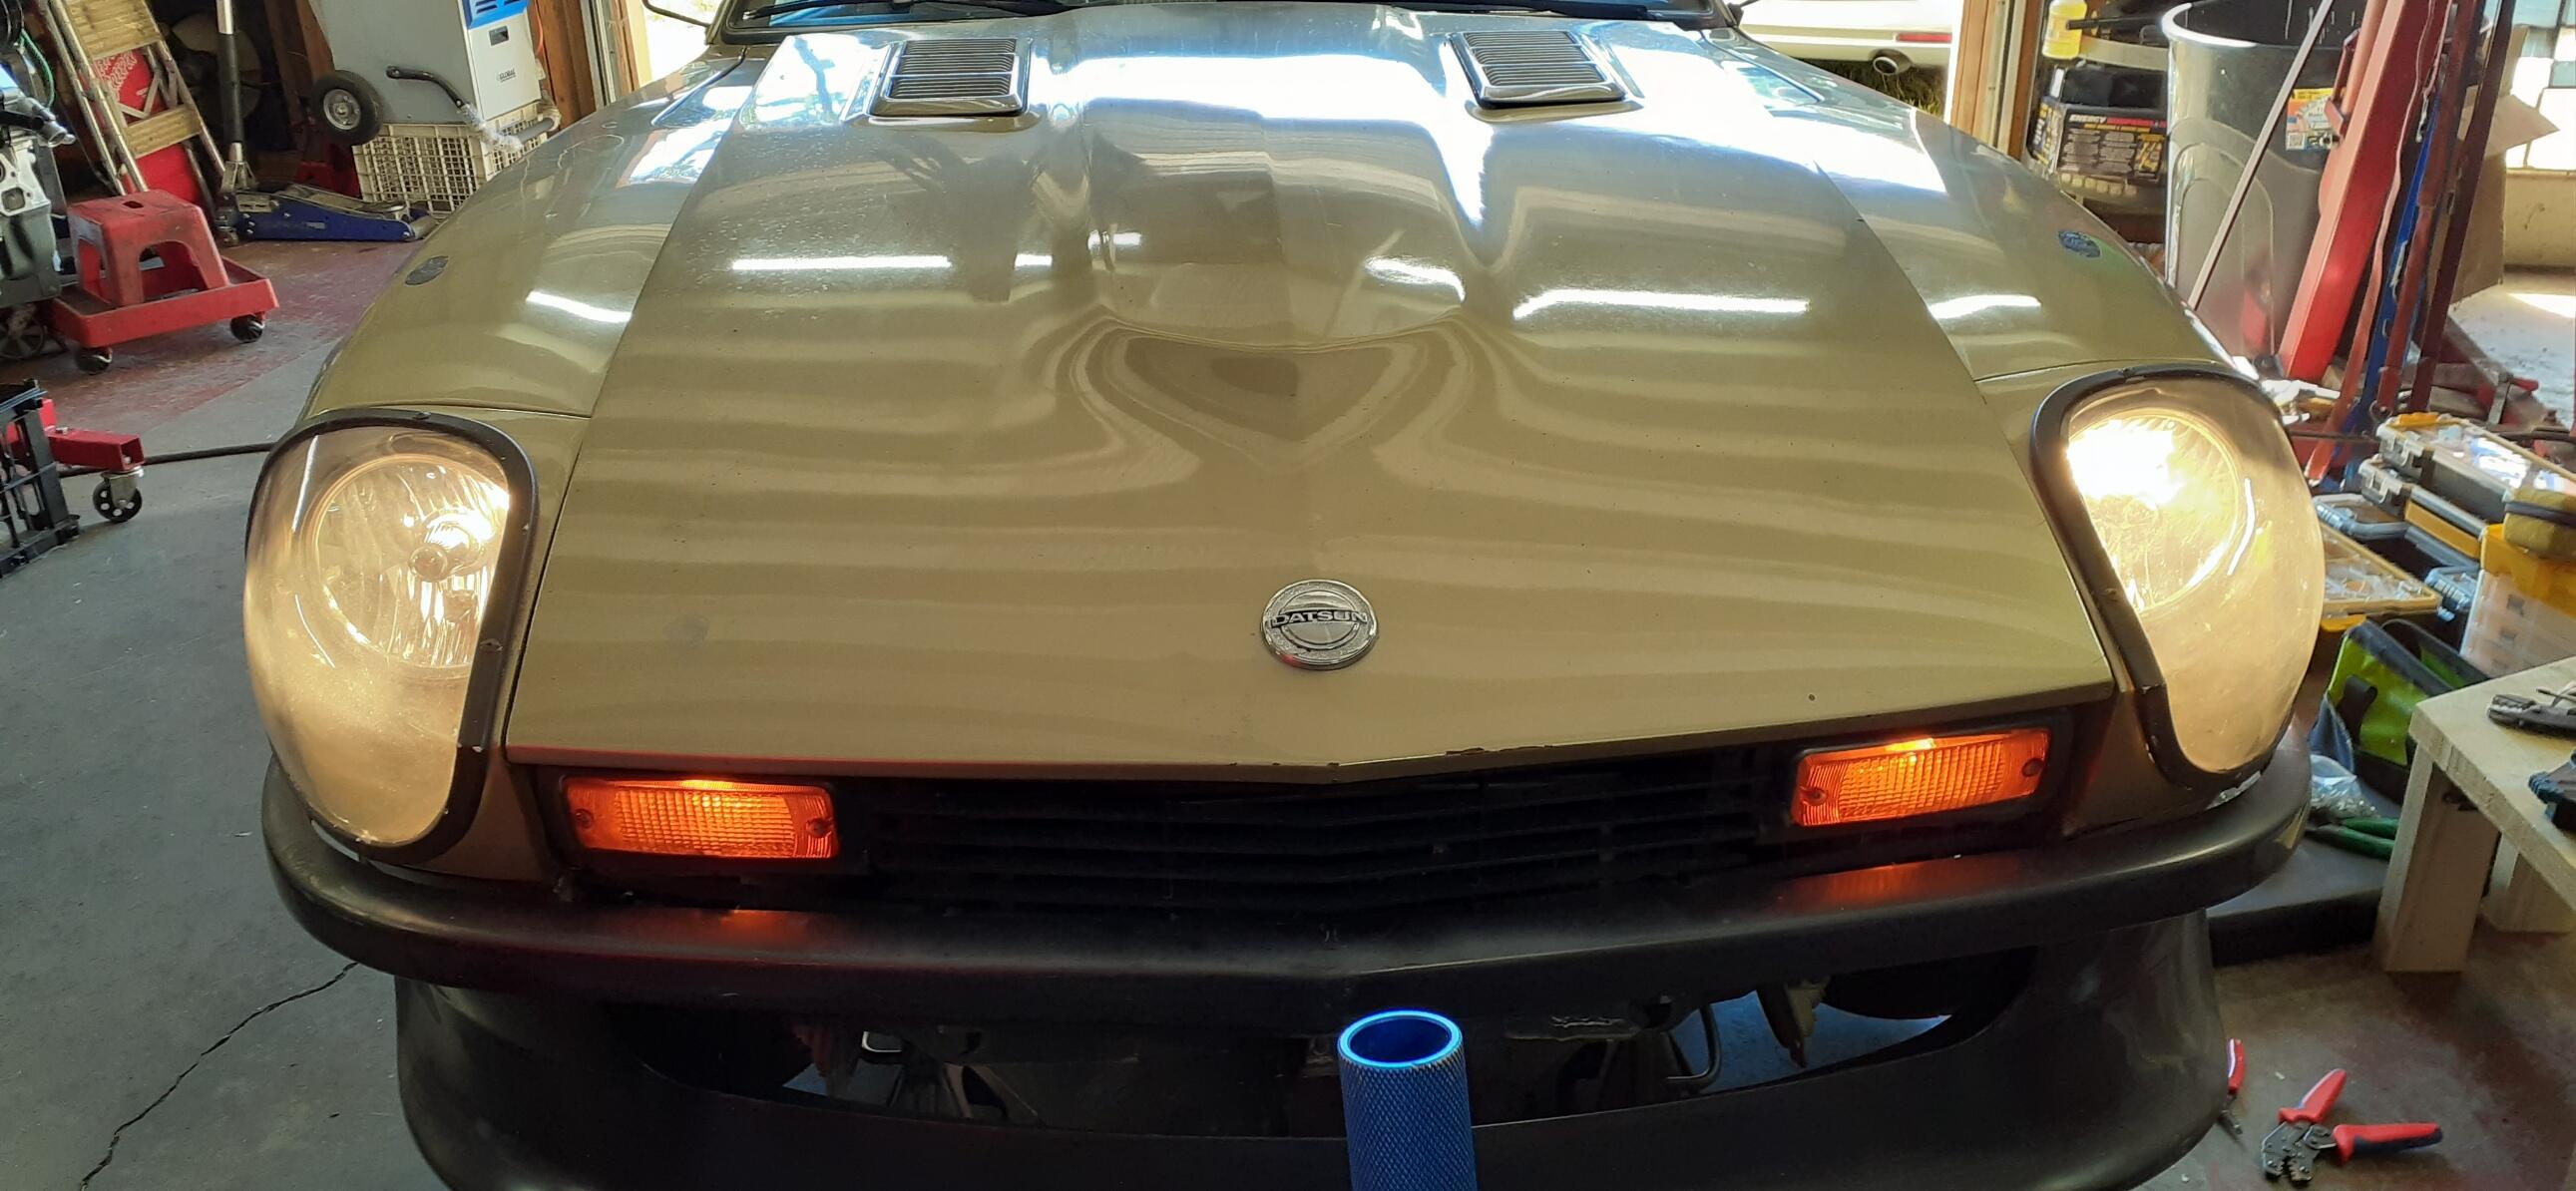
The lights are working again. With some coaching from @Randalla, I pulled the combo switch and cleaned the contacts. That got both high beams working, but not the RH low beam. That issue turned out to be the bulb socket. I cleaned the terminals on the bulb and the socket and everything works again.4 points
-
3 pointsSince its in a stamped portion of the firewall I'm guessing it was an addition from a PO3 points
-
In my latest attempt at logging tens of hours into refusing to spend $30 and up for parts that should cost <$10, I'm focusing on recreating the chromed plastic cover over the top bolt holding the arm rest onto the door of my 260Z. The part was reportedly never offered on its own and is NLA except as a reproduction. One of mine broke in half and the other is almost at that point. https://www.thezstore.com/product/1517/door-armrest-chrome-finisher-74-78-260z-280z I'm playing around with creating a high quality 3D scan, printing the part with a 3D printer, and coating it with chrome. So far I've attempted with a scan using my Android phone, then a $1K+ stand alone scanner. The print is close to being where I want it. I'm going to try and chrome it using chrome vinyl film like what's used in vehicle wraps. I'm posting this to force myself to following through. I plan on posting the final obj file for anyone wanting to print one for their own use. The attached early attempted scan obj file can be opened in MS Paint 3D for viewing. 3DModel_LowPoly.obj2 points
-
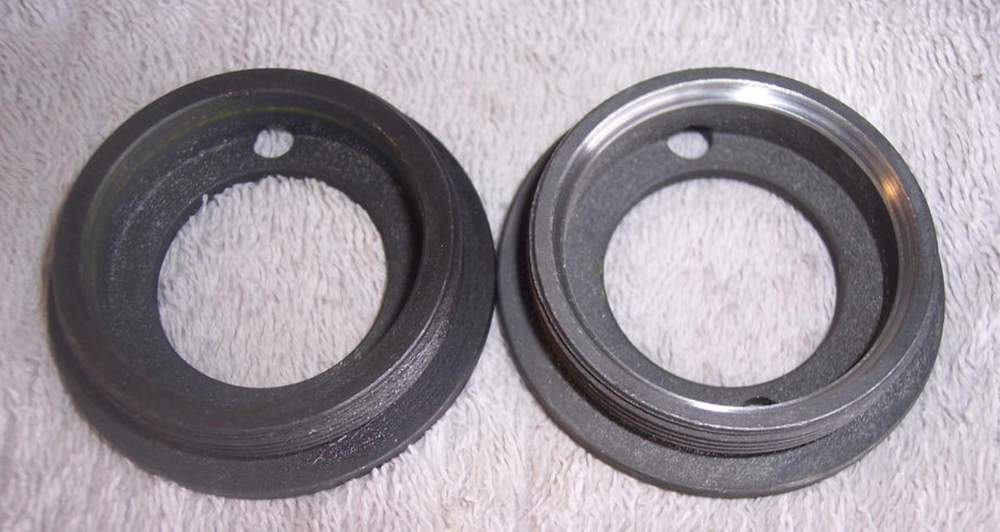
A reading from the Book Of McMaster: High-Load Oil-Embedded Sleeve Bearings Increased iron content makes these bearings stronger and more resistant to shock loads than standard oil-embedded bearings; however they operate at lower speeds. Startup friction causes them to release a thin layer of oil on the bearing’s surface. Color is silver because of the iron. These bearings are also magnetic due to the high iron content. So I bet they are still oil impregnated bronze, but the high load variety with enough iron to be magnetic.2 points
-
2 points
-
I had the first version they put out, was very pleased with it, the newest version is more versatile. https://123ignition.com/products/?filter_brand=datsun&filter_cylinders=62 points
-
2 pointsPrice update: I just picked up a set from my local Toyota dealer for $17.34. $35.44 after shipping and tax.2 points
-
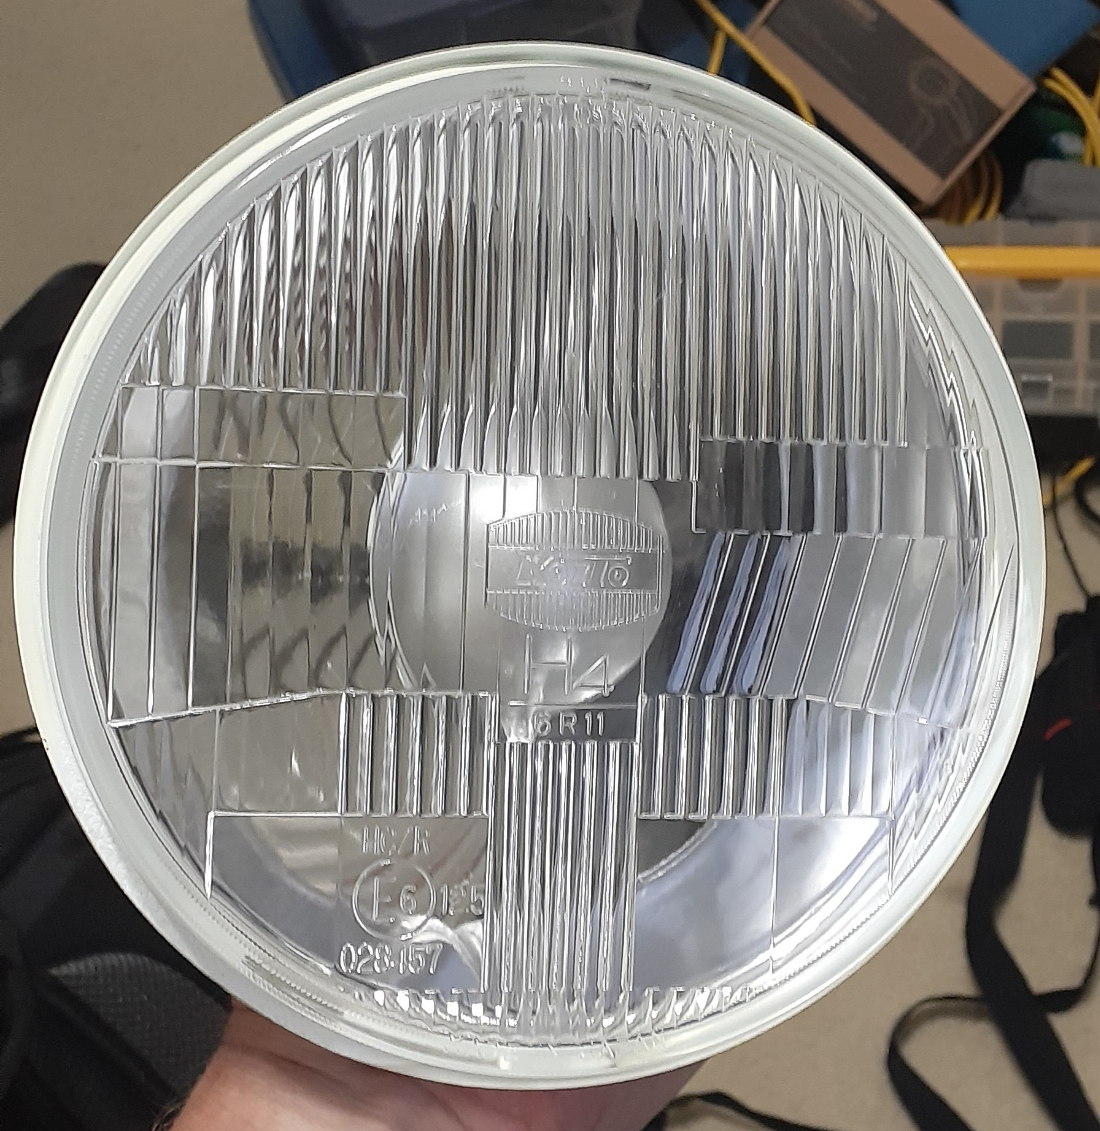
I would advise against those, @HusseinHolland. That pigtail on the back of the light will make it where it won't fit in an S30 headlight housing. You would have to cut a hole in the housing to run the pigtail out. Then you would have to worry about water getting into the housings, and you would also have more issues integrating it. To me, it's more pain than it's worth. I can't guarantee they are polarity independent. The Fiat Spider has 2 positives and one negative. The Z has 1 positive and two negatives. If the Holley headlights aren't polarity independent, you'll have even more work figuring out how you can integrate relays into the wiring harness. Holley headlight: Inside an S30 headlight housing: (Image from https://www.zeddsaver.com//collections/exterior/products/restored-headlight-bucket-set) That is why I use Hella 7" housings or Koito housings. Paired with the Auxito H4 LED bulbs. It works. As an added bonus, the Auxito bulbs are not polarity dependent. I know you like to experiment, but please trust me on this one. Here are links to my recommended parts: Hella H4 housings: https://www.amazon.com/dp/B001G76Q2W or Koito H4 housings: https://parts.toyotasouth.com/oem-parts/toyota-headlamp-assembly-8111060p70 Auxito H4 LED bulbs: https://www.amazon.com/gp/product/B07TQLK6SH By the way, Koito is an electrical parts supplier to the Japanese auto industry. You may still have some Koito bulbs in your car. Toshiba was another common supplier back in the day. All together, it would be about $125 to go my route. With the Holley lights, you're starting out over $380, and then you still have the integration issues.
 2 points
 -
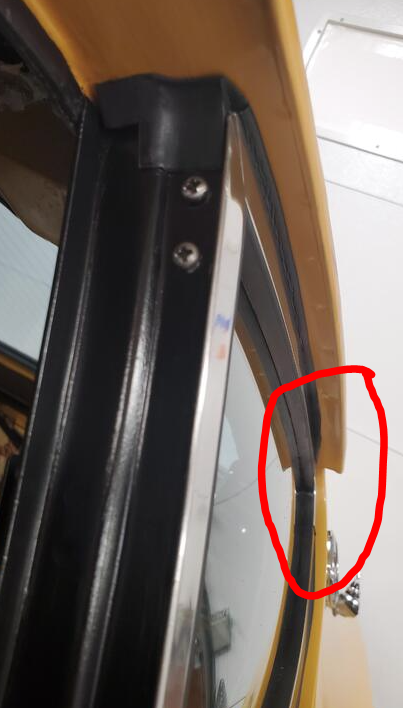
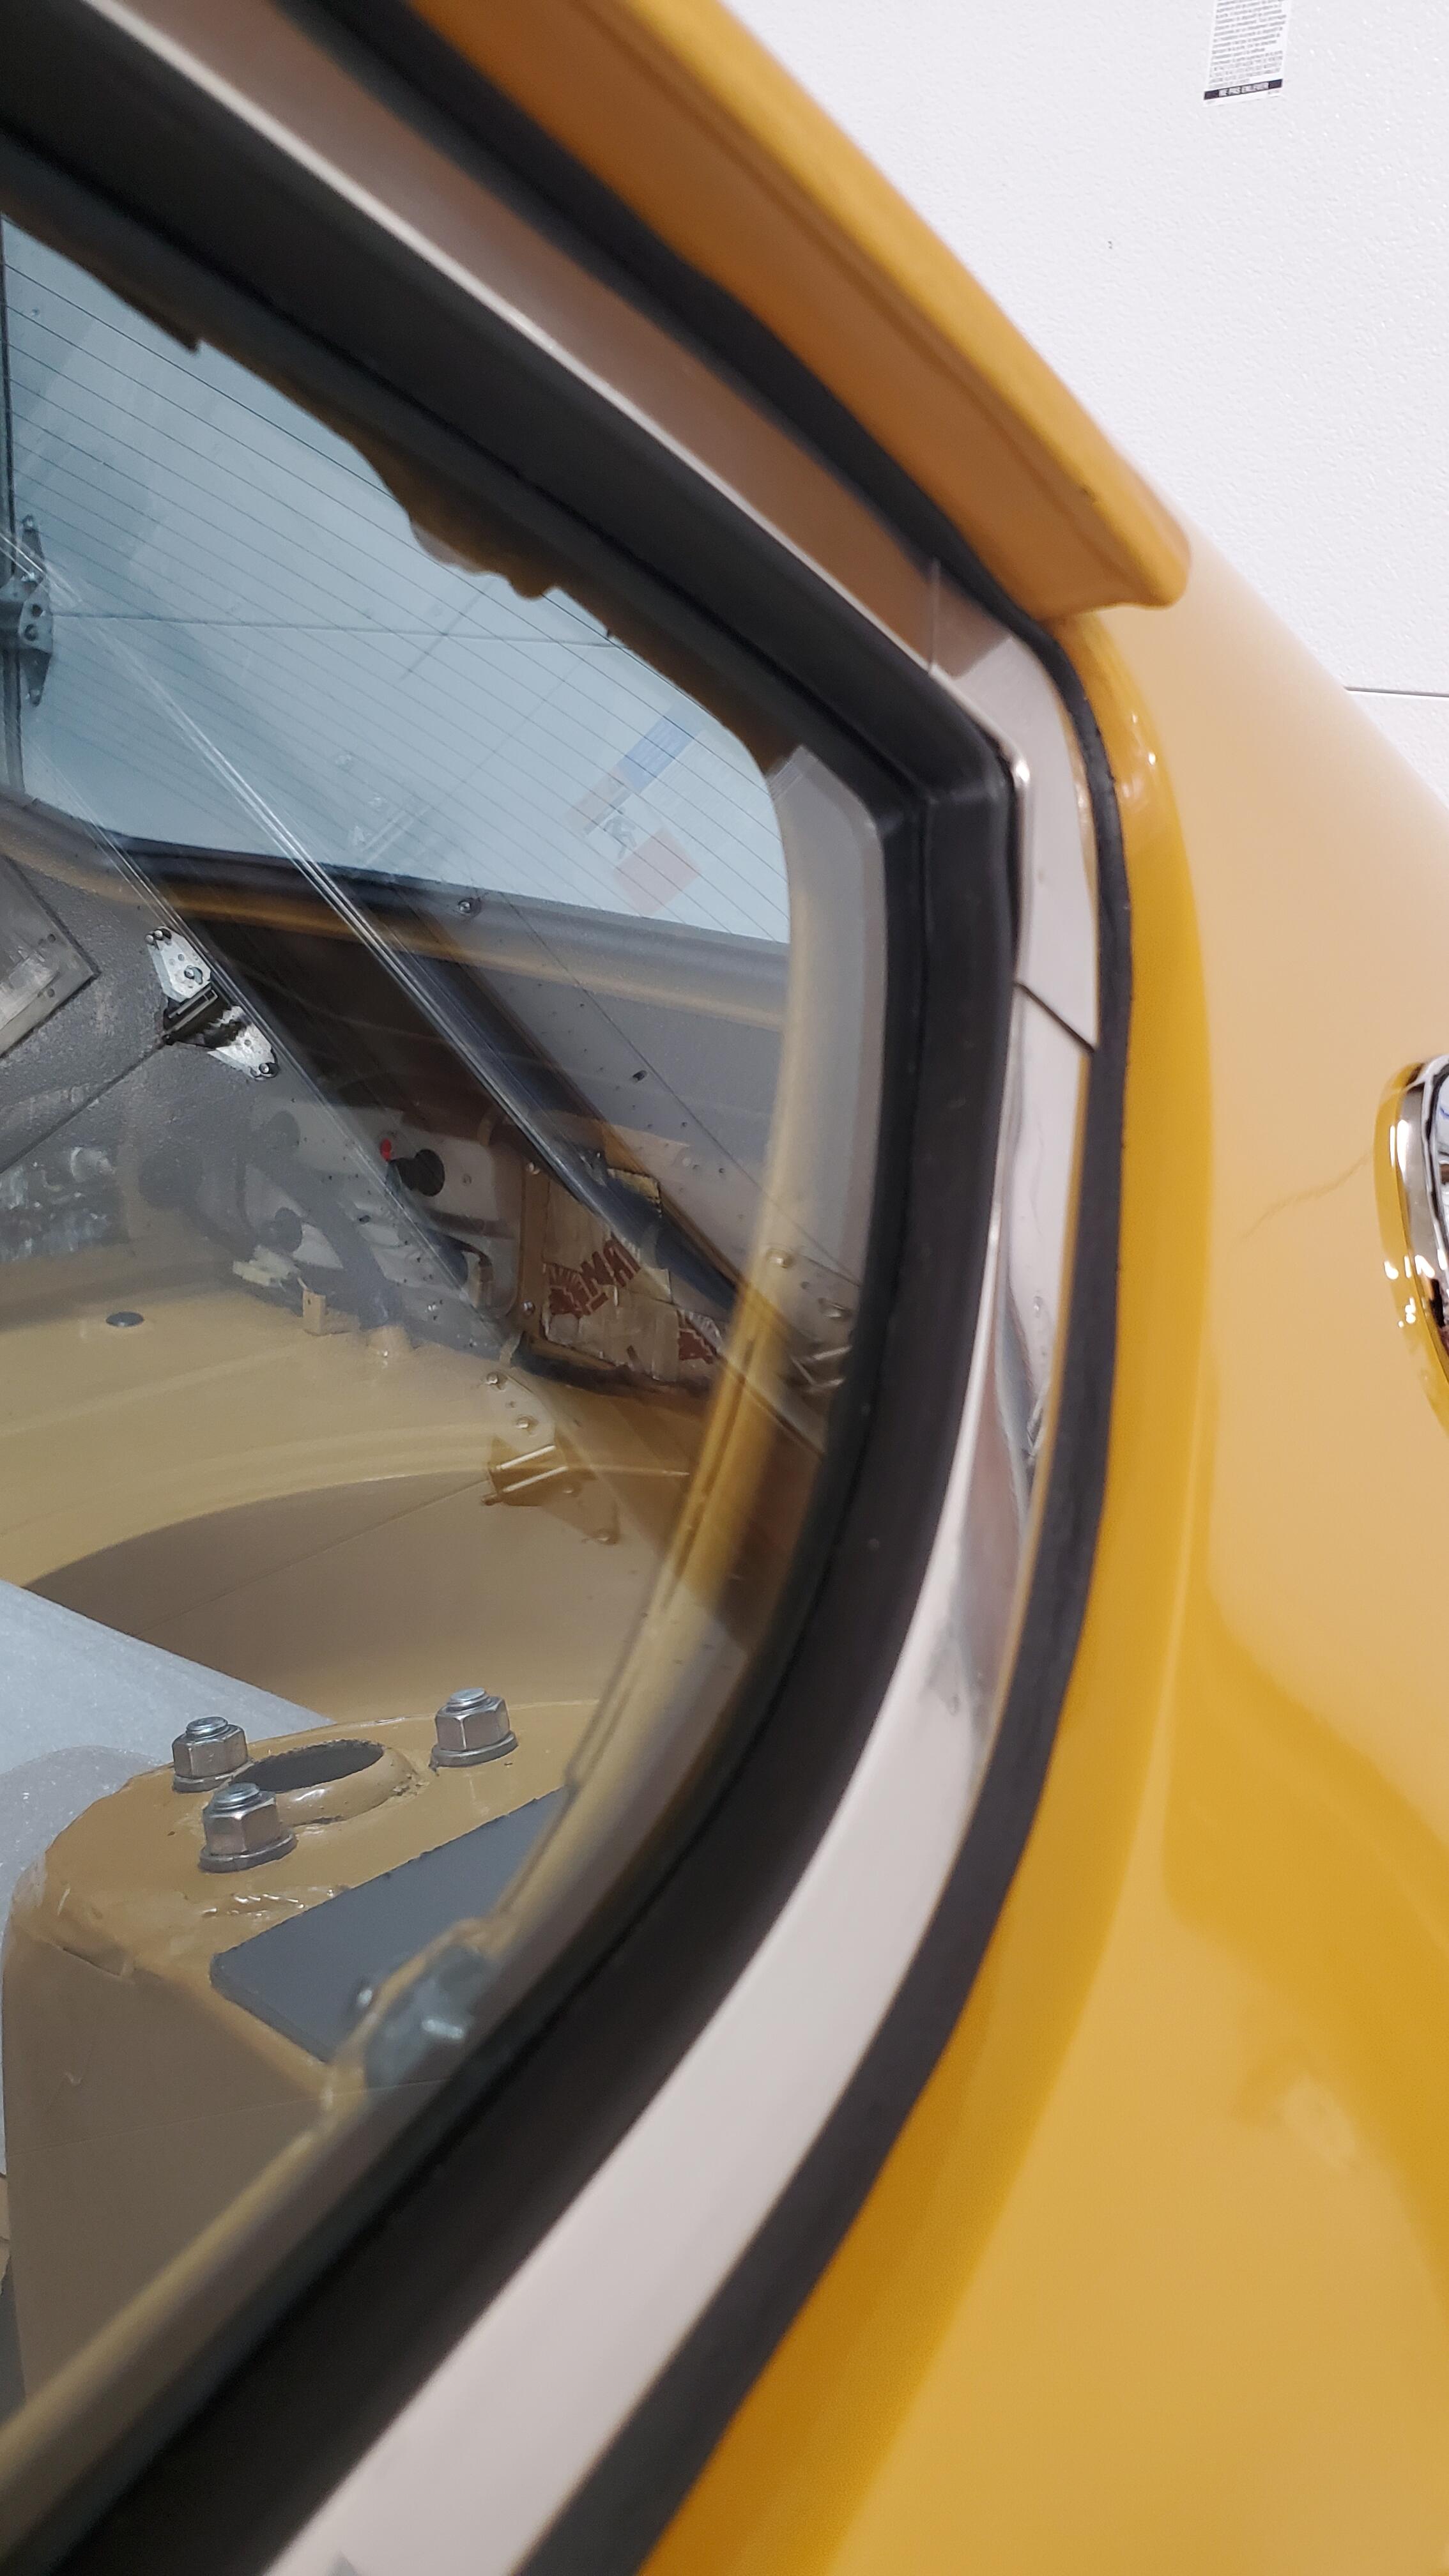
One thing I wanted to correct for future reference for those that still may need to do this. After I posted these pics i was looking at the car and noticed the corner really didn't have as tight a seal as it should. What i realized is that I forgot to put the rubber shims back around the corner to "build it up" before attaching the new channel seal. If you can see here in the original picture the rubber kind of disappears from the pic on the corner because it wasn't really a great seal. i could actually push on it and it would retreat into the opening leaving a bit of an air gap i didn't like. Here's an updated pic with the window replaced and a rubber shim under the corner section The seal is now correct and you can't push the rubber in like I could before. Hope this helps the next guy.
 2 points
 -
1 pointA while back I found that there was an H4 headlight kit for the Toyota Land Cruiser that used Koito H4 housings. This got my attention since Koito supplied many bulbs to Nissan, including sealed beam headlights. The website I found with the best price said they were sold out, so I put myself on the waiting list. Earlier this week I saw a post on Facebook where someone said he bought this kit from Toyota for his Z cars and supplied a part number. Using that part number, I searched dealerships online that said they had the part. One of the dealerships is on the other side of town, so I pulled the trigger and ordered a set. The kit arrived today. It has a nice relay harness that I won't need. I am just after the H4 housings. I'll put H4 LED bulbs in them and install them in the 260Z. If you're interested in a set of Koito H4 housings, the Toyota part number for the kit is 81110-60P70.
 1 point
 -
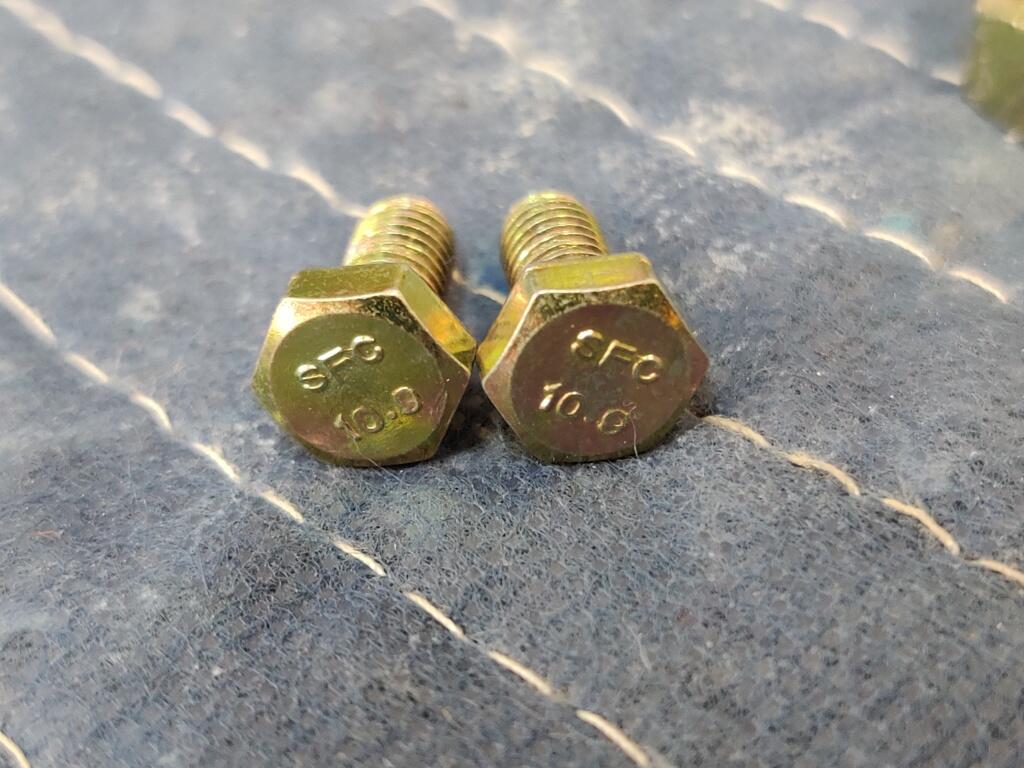
Those steel bushings must be soft mild steel, if you have a used one can you give it a stroke with a hacksaw blade to find out?1 point
-
I am thinking of the single roller that snaps over the weld flange at the top of the door on the outside edge of the window slot. It helps keep the glass from tipping out like this: https://www.google.com/url?sa=t&rct=j&q=&esrc=s&source=web&cd=&cad=rja&uact=8&ved=2ahUKEwiL5dOcwIqCAxW7IUQIHe0tDTUQFnoECA4QAQ&url=https%3A%2F%2Fzcardepot.com%2Fproducts%2Fwindow-glass-roller-bumper-guide-240z-260z-280z&usg=AOvVaw26J0DVuFr-nNenUUkUe5NR&opi=899784491 point
-
1 point
-
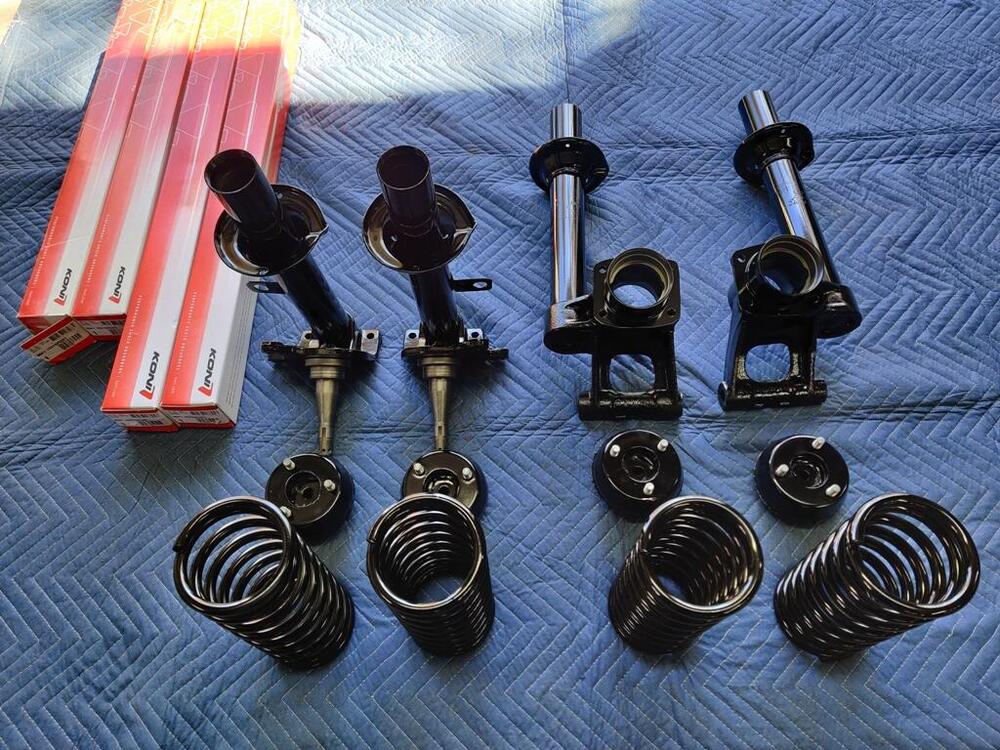
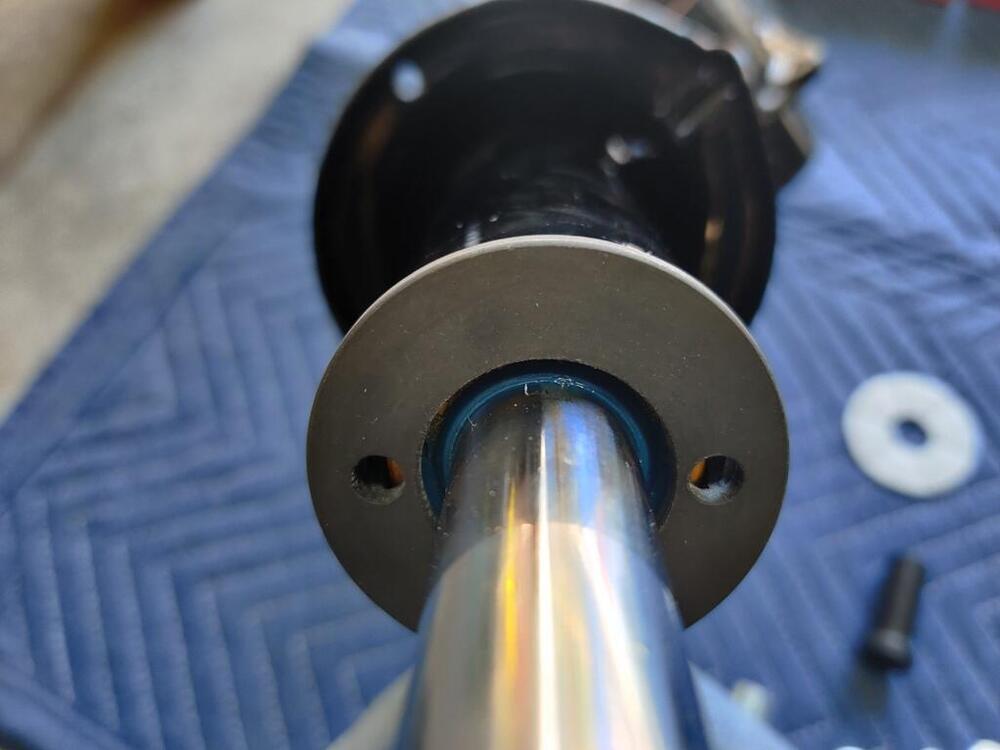
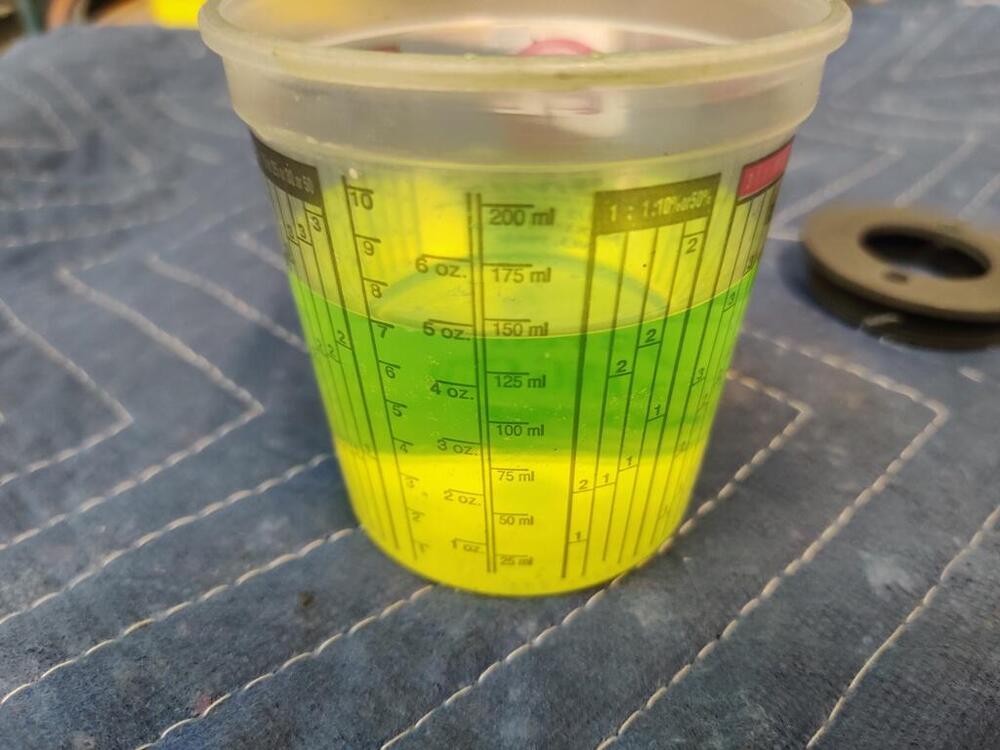
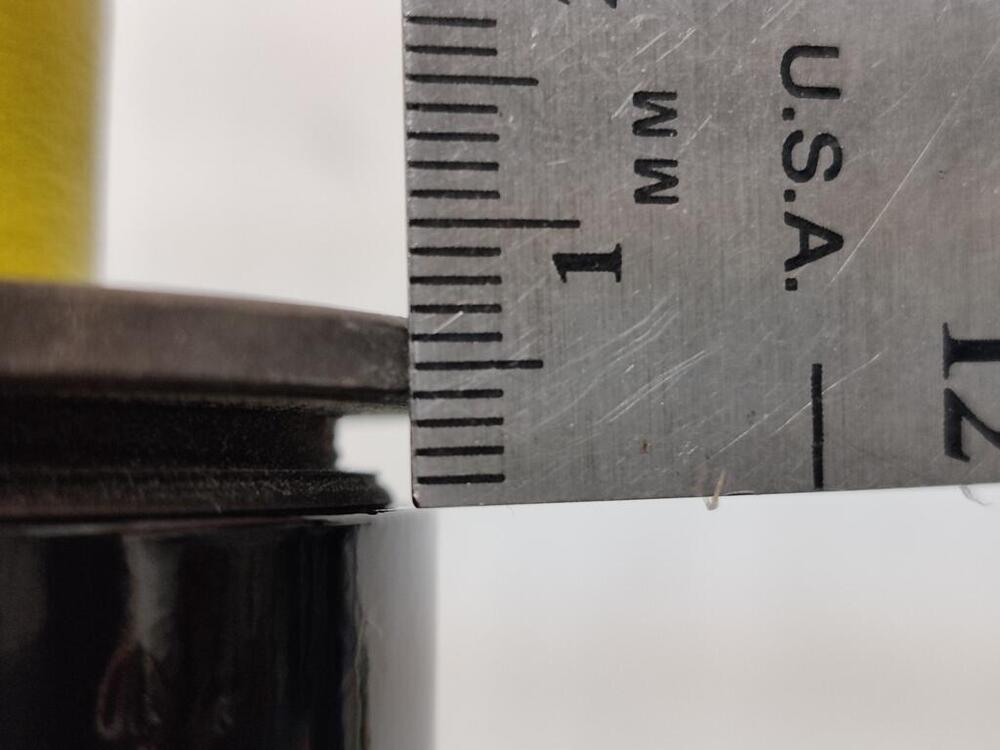
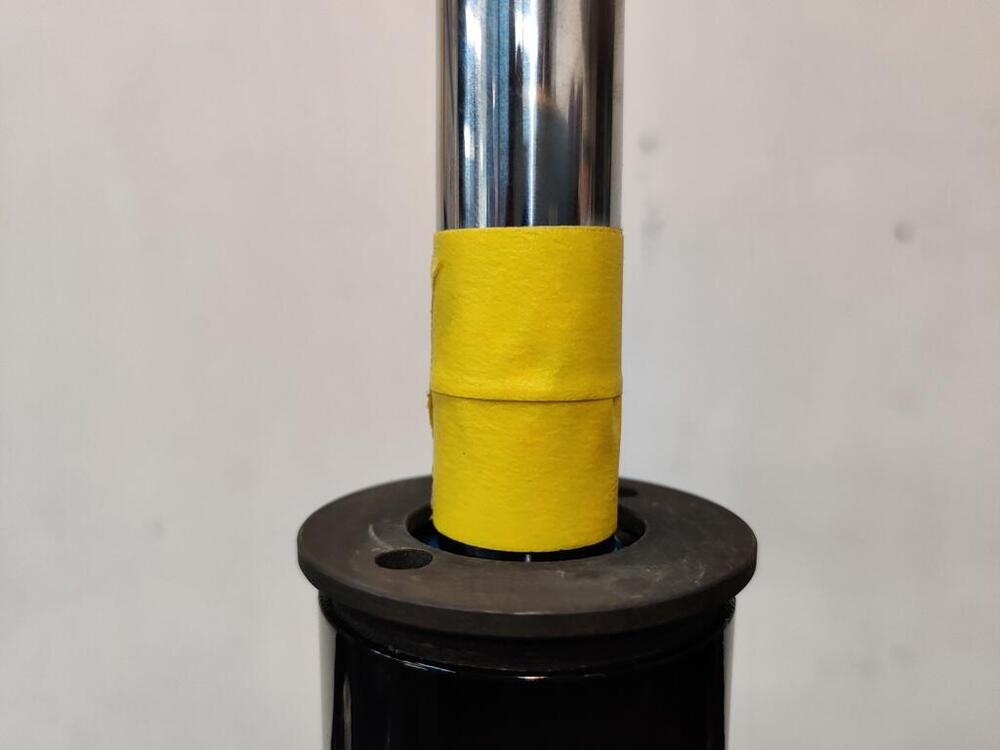
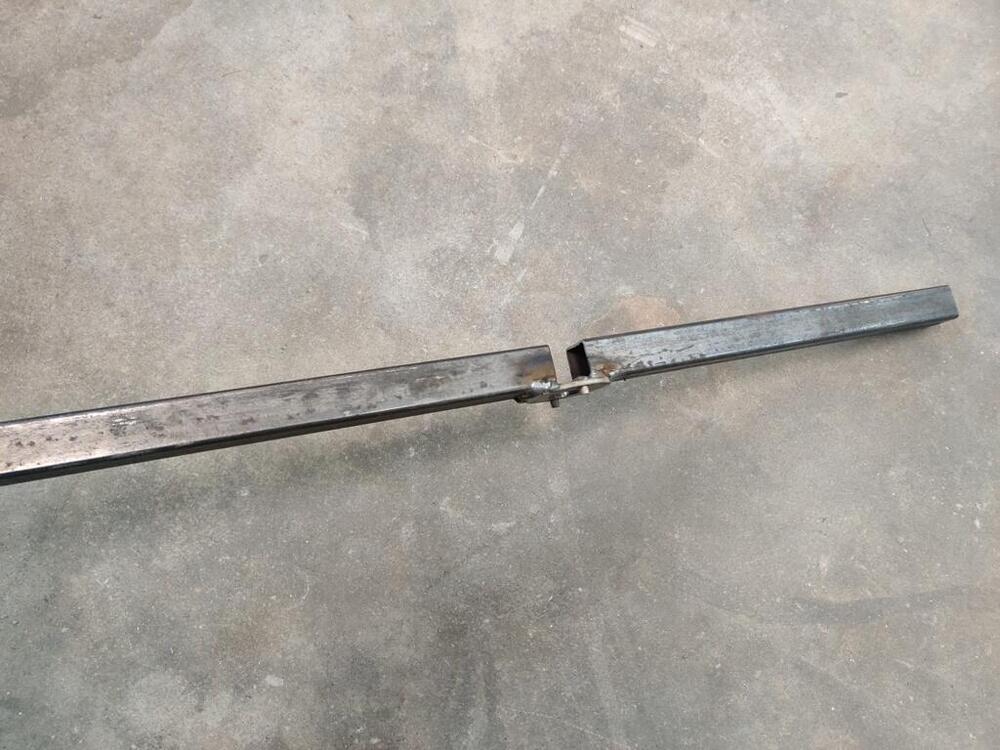
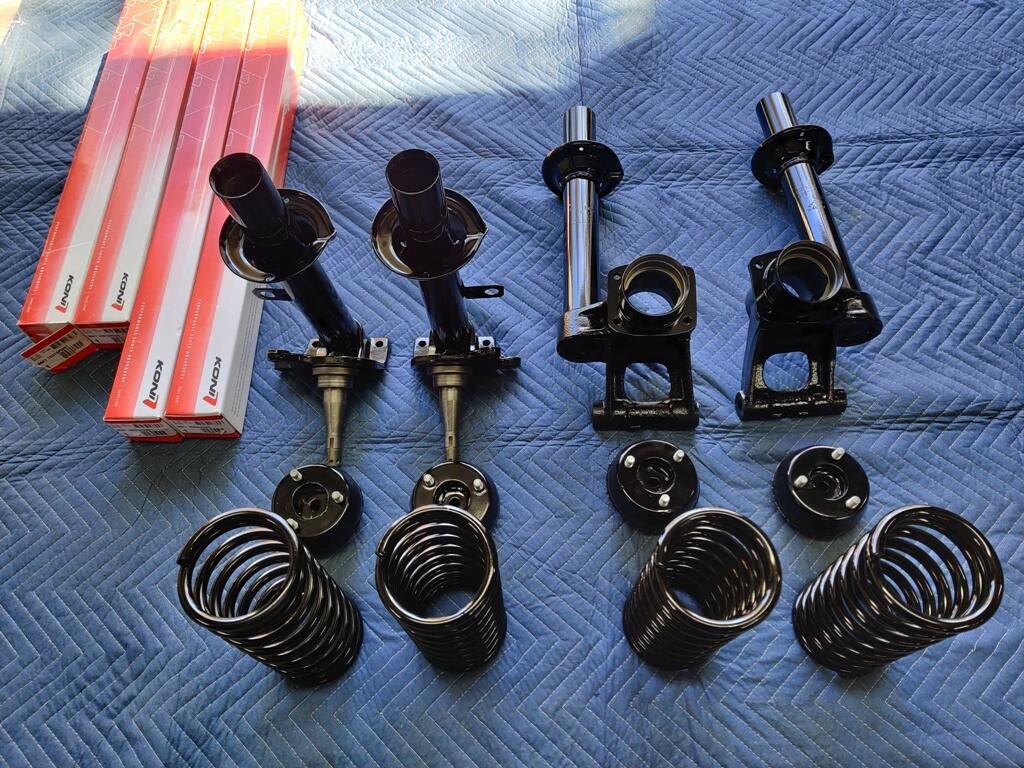
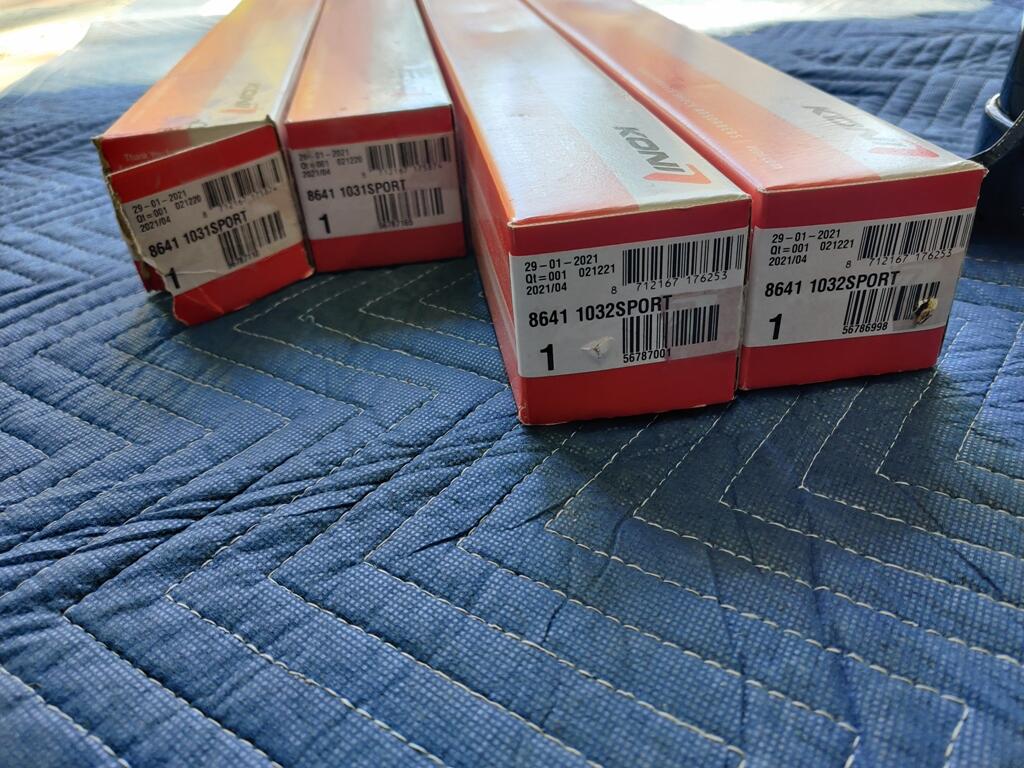
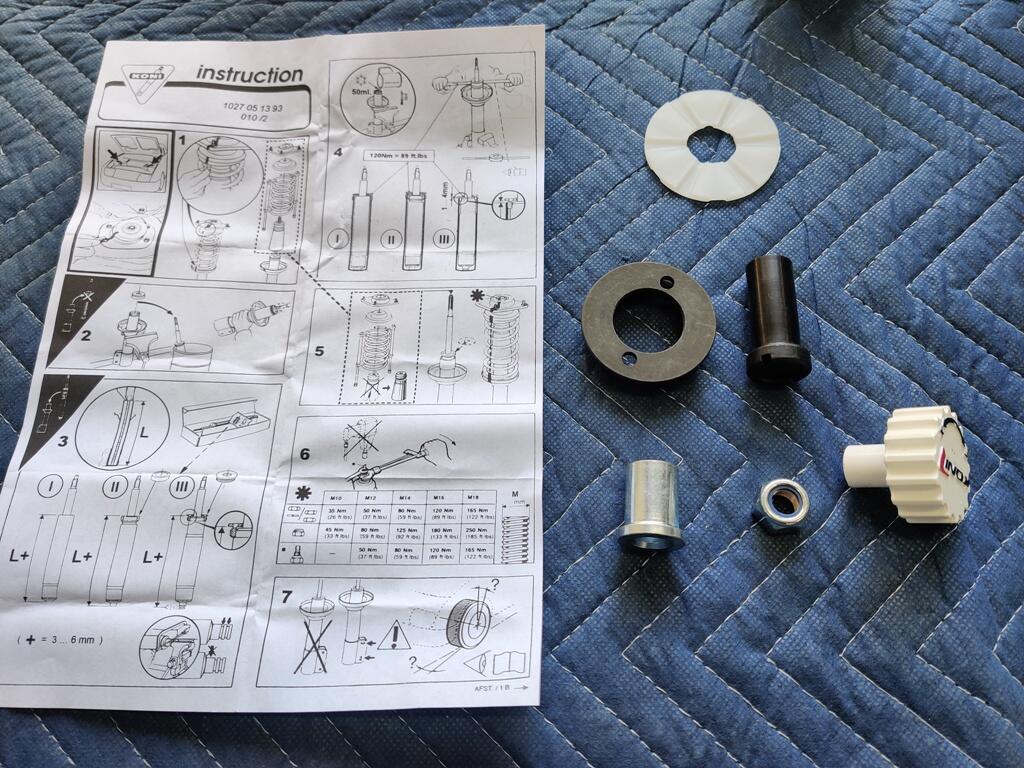
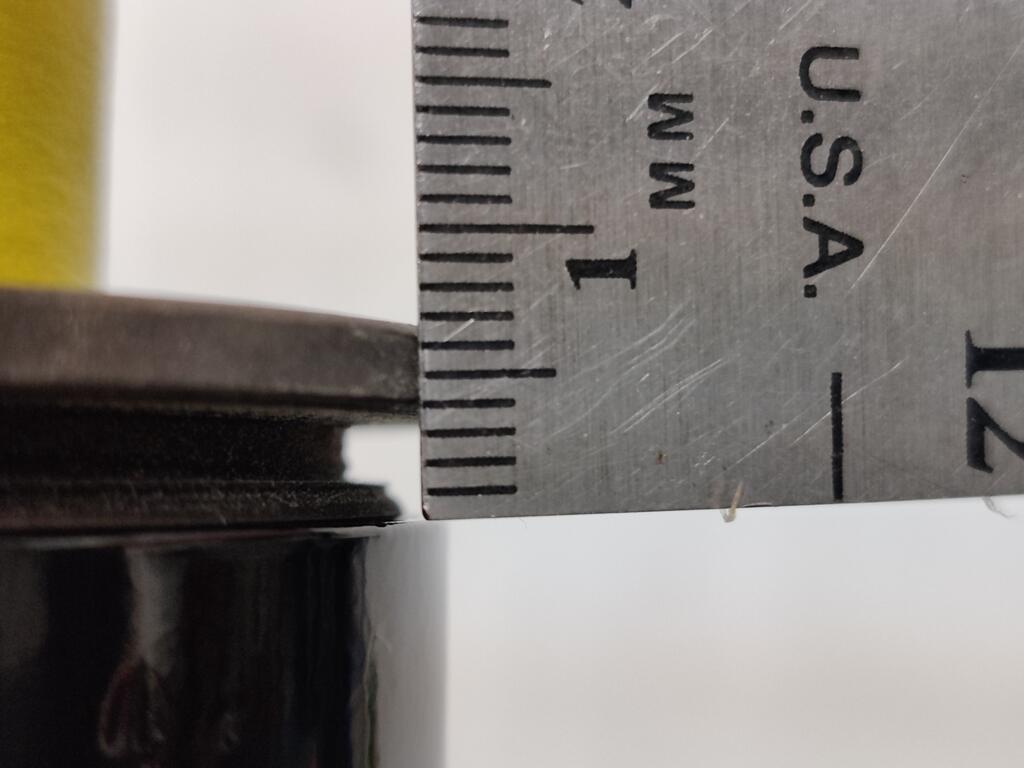
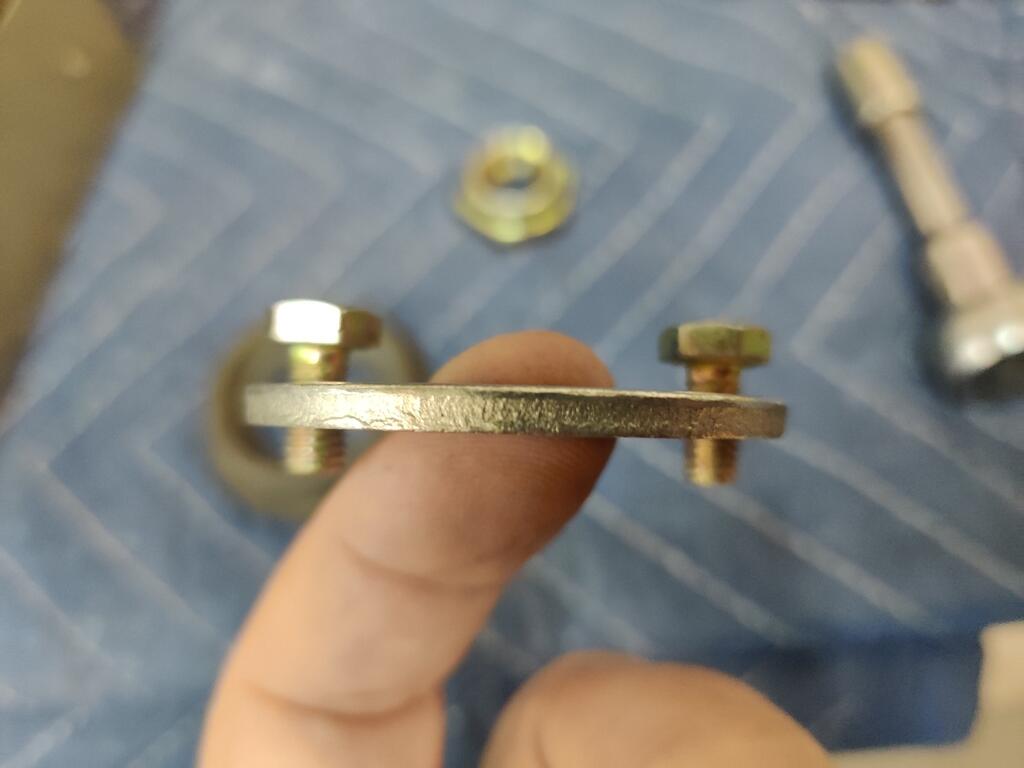
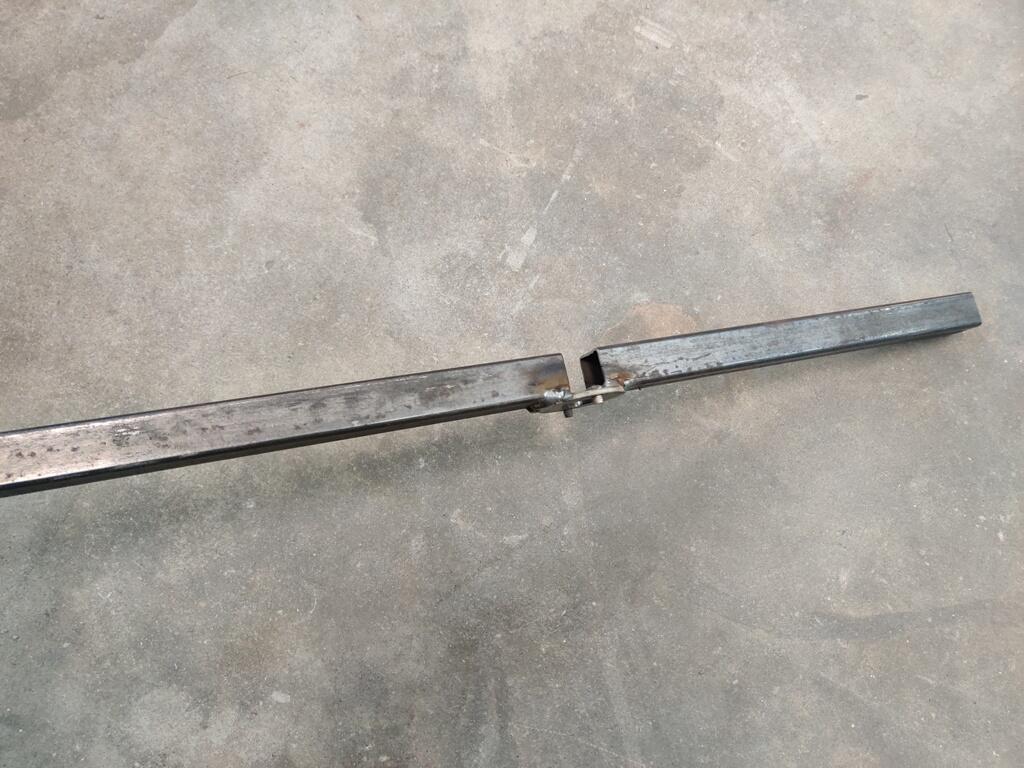
I ran into another issue with getting the engine and transmission in the car last week. None of the clutch throw out bearing collars in my possession were the one I need for this 240z clutch kit. So, I ordered a new one and I am waiting for that to arrive. So, yesterday, I switched over to suspension assembly. I bought the new Yellow Koni's for this car (see the linked thread below). The instructions... do not have any words. Manufacturers save on writing and translating when they do this, but I don't like it. It is not clear to me, in some pictures, what they are communicating. I was surprised to see that the "gland" nuts supplied with the Koni's do not have flats on the sides - they only have two holes in them. I have never encountered gland nuts like this before. I wasn't considering this, and got stuck with having to spend a good bit of time making a tool to deal with these. Essentially, I had to take a thick washer, drill corresponding holes in it, run bolts through the holes, weld those in place and then attach 1 x 1 bar to opposite sides of the washer. I started with the rear struts. Each one calls for 50 ml of non-freezing liquid. I used a 50/50 mix of distilled water and antifreeze. I think this helps with heat transfer from the Koni insert to the outer strut tube. I used two layers of masking tape around the shaft as a precaution to keep from scratching the strut shaft with the tool. After installation of the gland nut, the distance between the top of the strut and bottom edge of gland nut were just under the 1-4 mm specification. Switching over to the front struts, I ran into the issue that others have in the following thread. The insides of my front struts are clean and show no signs of any rust. However the gland nuts would only engage for essentially one turn of thread engagement. In the links below, you can get more context if you wish. I have contacted Motorsport Auto by email and asked about receiving modified gland nuts to fix my issue, as they did for Jim Arnett - @jfa.series1: So, a spacer/shim I think will be needed to assemble the differential is on national backorder with no ETA. No progress can be made on the differential. I am waiting for a throw out bearing collar to arrive. No progress can be made with putting the engine and transmission in the car. I am waiting to see if Motorsport auto can send me modified gland nuts. No progress can be made with assembly of the front struts, but I can continue with the rear struts. Today, I will pivot to the steering rack. Perhaps I can make progress there, and with further assembly of the rear struts.


 1 point
 -
He is what I think I would do: I love the idea of shipping the carbs and intake states side and have them fully sorted and tuned! Maybe somebody like Zcargarage. preferably using a wideband to tune them. They come back ready to bolt on. That will eliminate fueling as a possibility once and for all. That shouldn't be cost prohibitive Secondly I would ditch the pertronix and the coil! Either buy a 280zx match box dizzy (would be used so might be worn out) and a new coil or ideally buy a 123 dizzy and the appropriate coil. This would be an upgrade from what you have and is also more tunable if needed. Run that for a little while. If the problem's solved then great; if not I would probably pull the engine and re-ring it and go through the head provided the cross hatching looks good. Edit: One of the few things we haven't touched in this whole episode is the Pertronix1 point
-
When i hear the word: Pertronix... I get silent.. because i have said it many times.. (most times junk) 🤮1 point
-
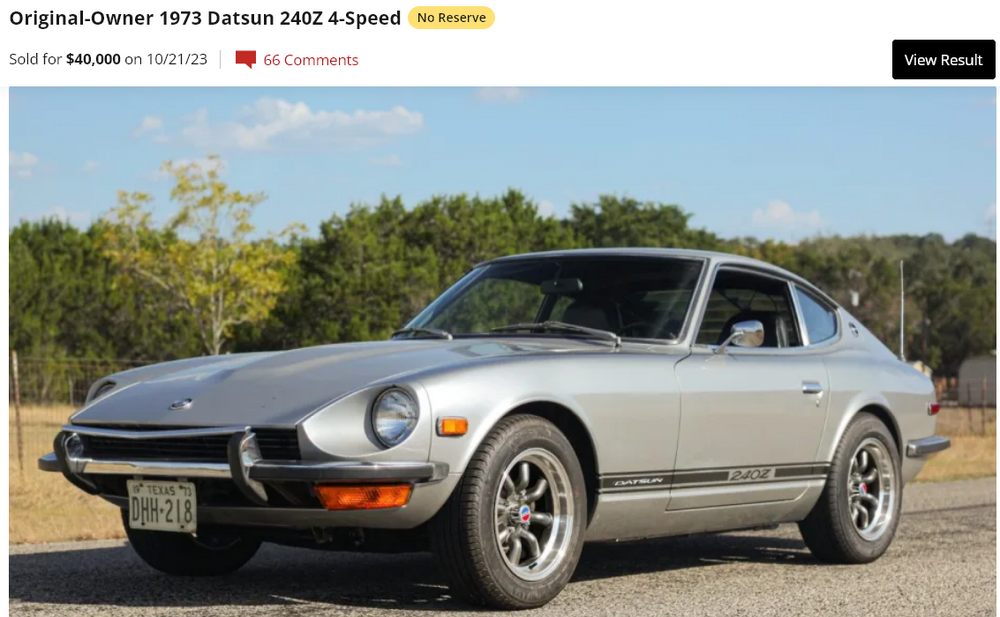
Similar cars go low and high. This one did pretty well. https://bringatrailer.com/listing/1973-datsun-240z-246/
 1 point
 -
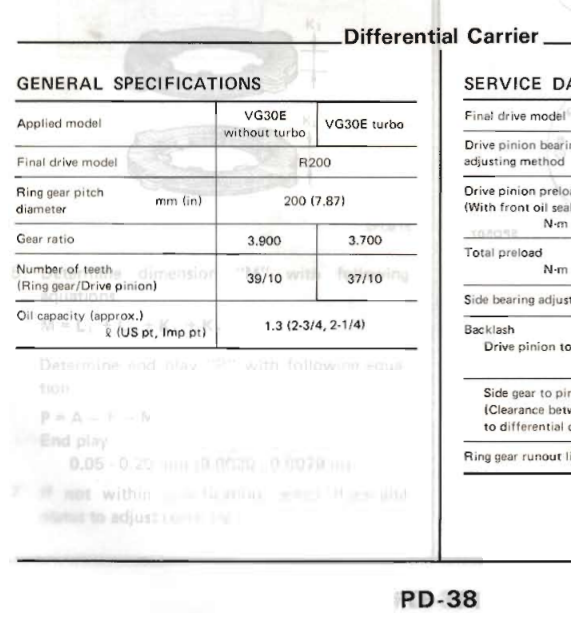
It's probably a 1988-1989 turbo 300ZX diff. They're the unicorn diff for people looking for the easy LSD swap for their Z. The only long-nose R200 LSD diff in the states. 1990 went to the short-nose. This is from the 1989 PD FSM chapter.
 1 point
 -
1 pointIf it is they have a surplus. It was three days from ordering to parts in hand.1 point
-
Just to follow up on the initial post... I returned to the scene of the crime today. I cut off the connector because it had some damaged wire and put a new 9003 connector on. Both headlights worked. Here's how the connector looked. You can see missing insulation from the positive and burn marks on the insulation on the high beam wire. My friend had some small BA15 bulbs so I replaced the side marker bulbs. The front left and rear right had corrosion, so I used a wire brush on a dremel to remove the corrosion. The front lights also were attached without the weatherstrip block, so I got those in place to protect the lights better. Afterward I convinced the owner that LED bulbs, especially the headlight bulbs, would be a good idea. I hope he follows up with doing that. Yes, he does have my list.

 1 point
 -
1 pointYeah, that’s why I DMed you about it. Using the Toyota description to decipher what you get with that part number is confusing. I got that number when trying to get just the housing, and I think the price is supposed to be for just that, but then I got the whole kit, so ¯\_(ツ)_/¯. What else is interesting is how much other places want. JDM Car Parts has single housings for $189, plus they’re probably RHD and would blind oncoming traffic if they’re actually JDM.1 point
-
1 pointI added that to my list. It's interesting that the part number comes up as the number for the kit with relays, too.1 point
-
That's the great thing. H4 housings are H4 housings. The ones from the X1/9 should work just fine. I don't have any photos, but for the people who have that set up, I have never had a complaint. I have those bulbs in both of my Zs. As a matter of fact, I did that for a friend's 280Z, and he then brought his other over for me to convert that one, too.1 point
-
1 point
-
I set them at the back edge of the chamfer. I have always lightly greased the tip of the input shaft. I didn't think it would hurt...1 point
-
1 point
-
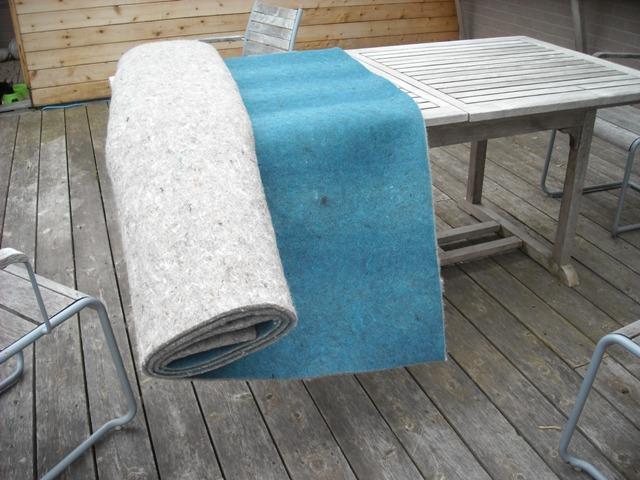
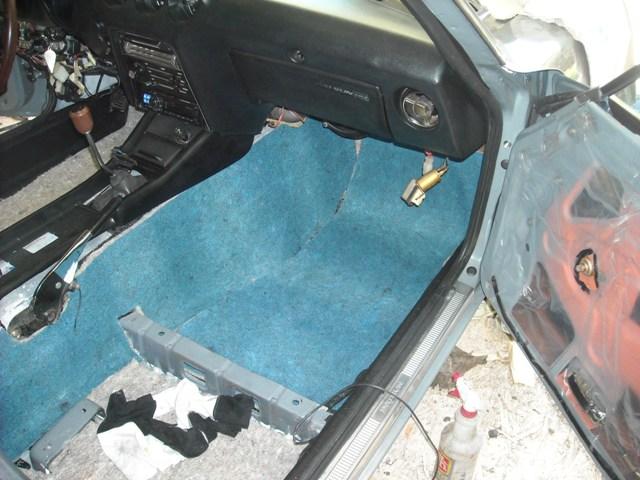
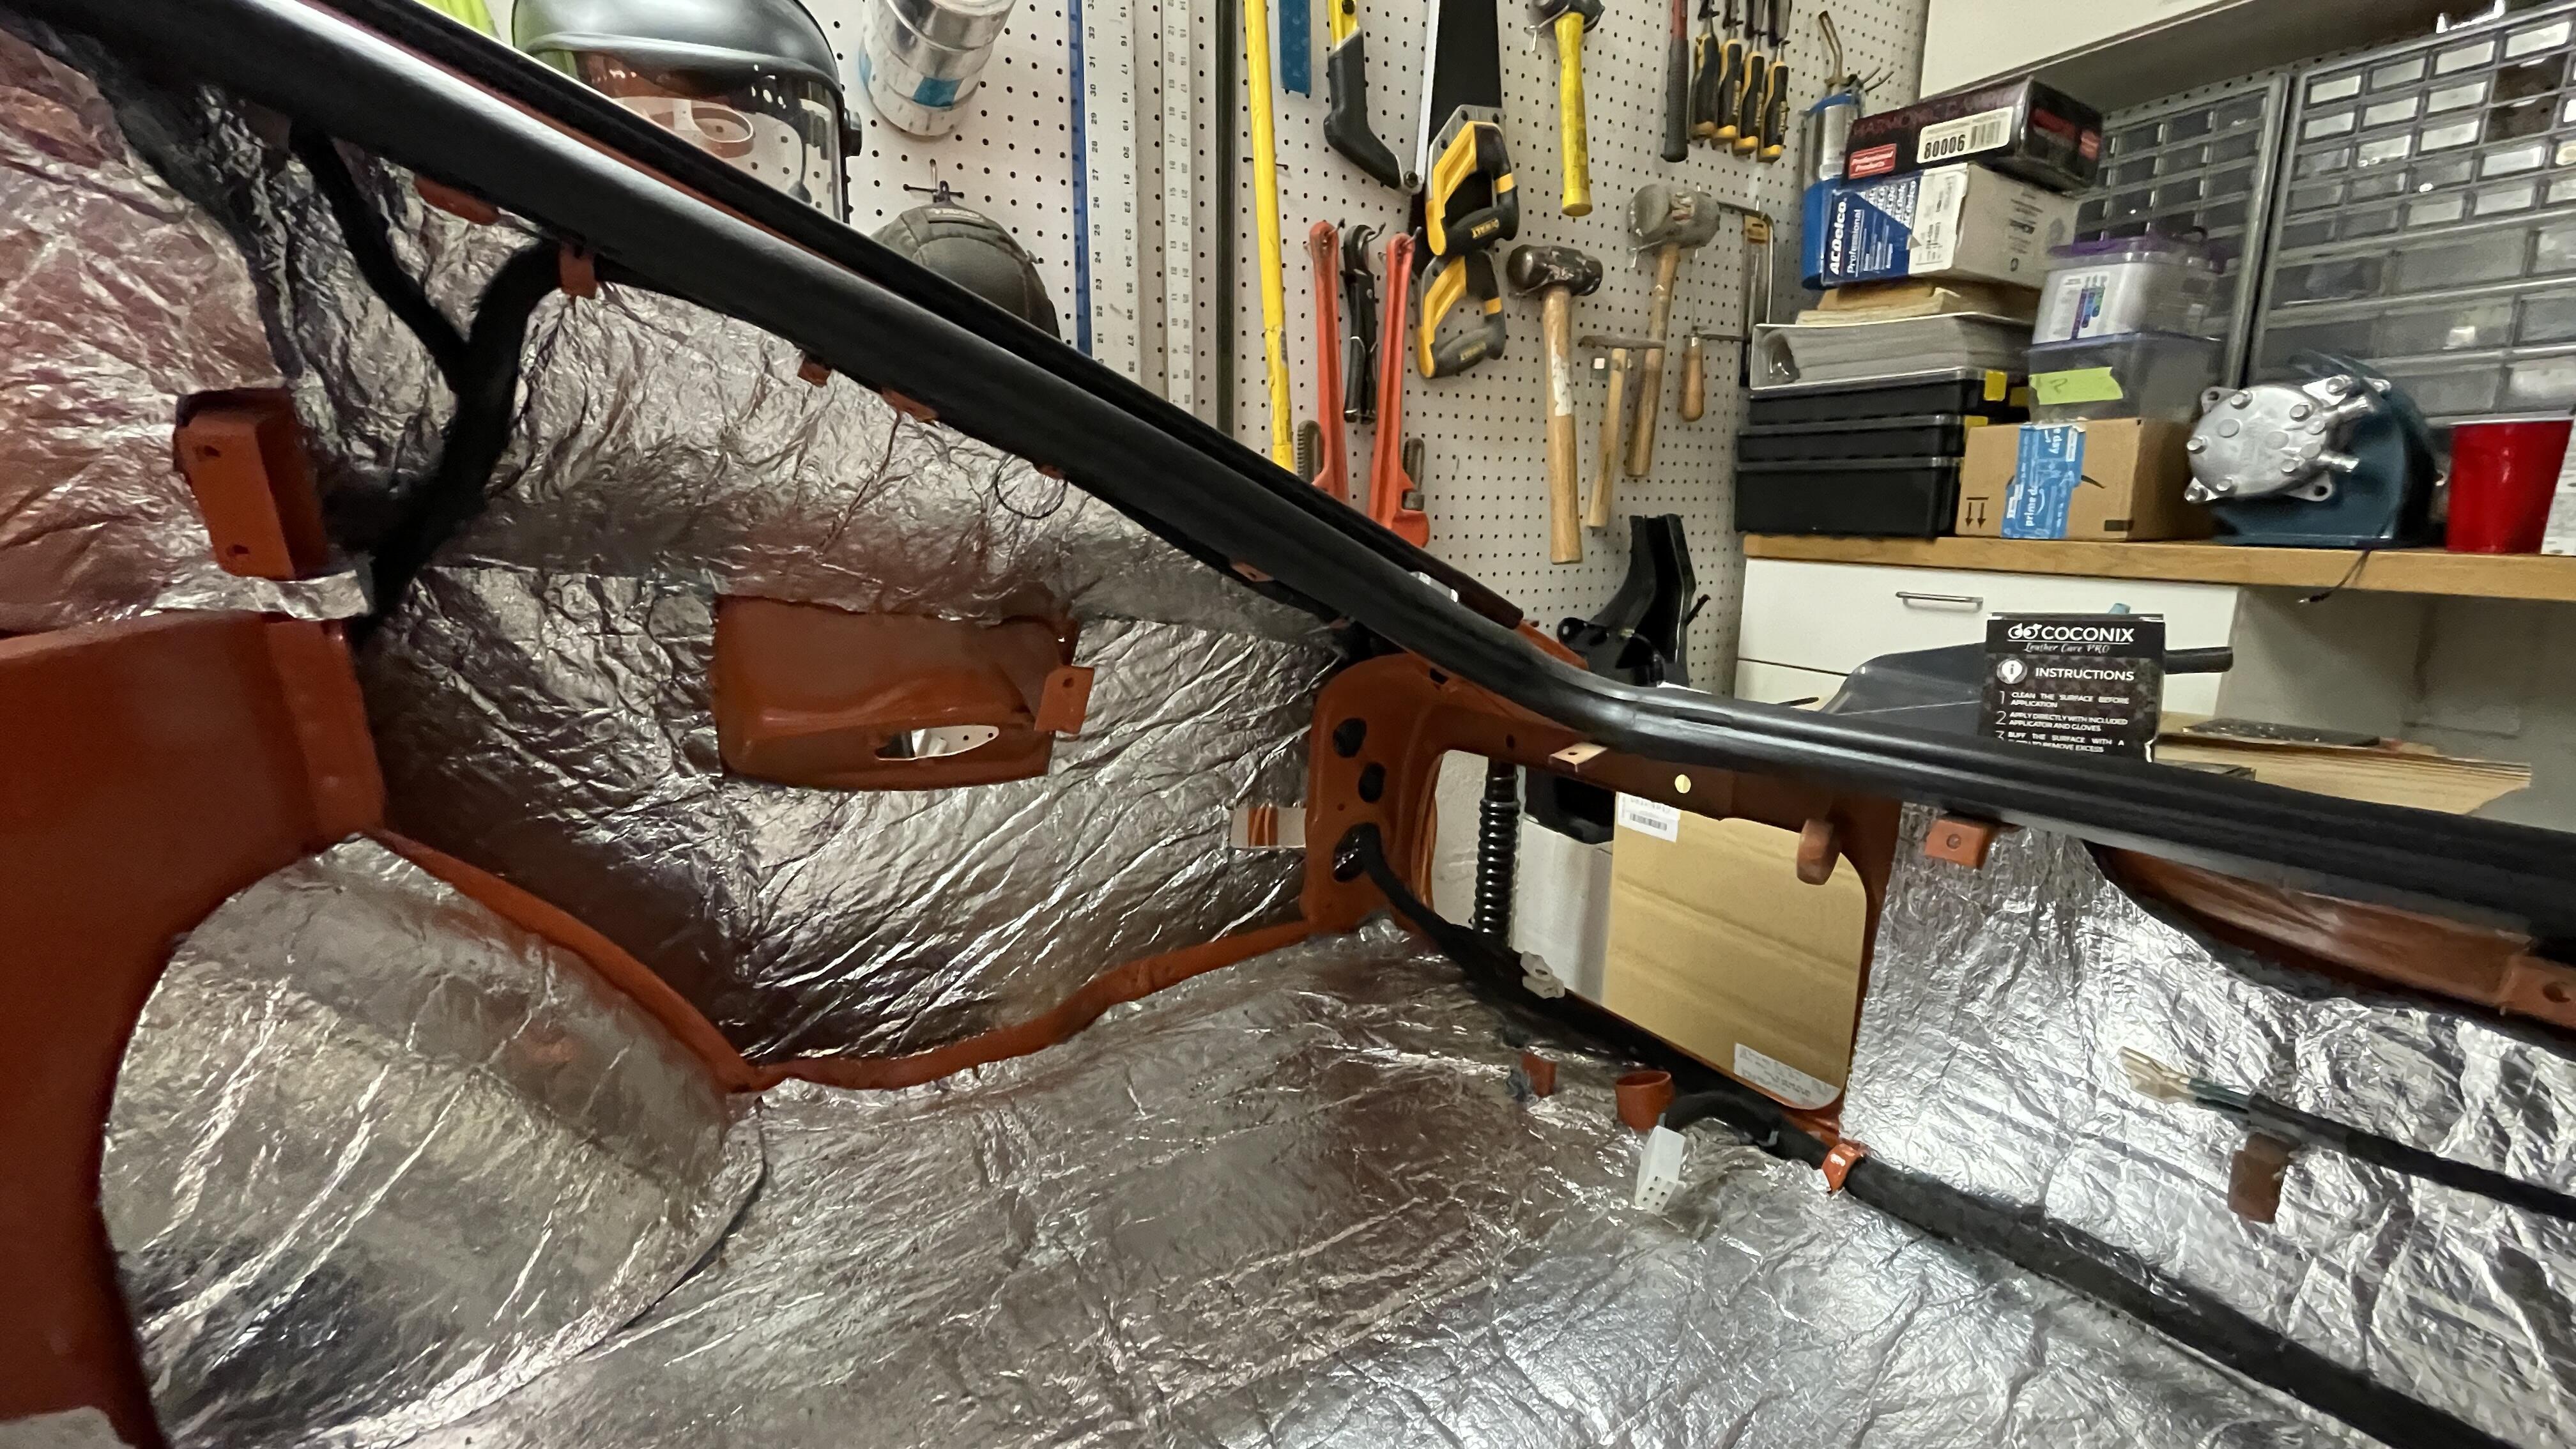
1 pointThat's what I've found but I'm sure not everyone agrees. When I'm driving the Z it is usually on the Hwy so I tried to minimize the road noise as much as possible. Inside the cab the first layer on top of the primer was a Lizard skin type coating of micro spheres or glass balloons in a paint base, then the Dynamat, then dense automotive insulation and finally the carpets. It is not modern car quiet but it's pretty good, yes the car is 50-60lbs heavier than it was but I have some extra HP under the hood to compensate. The 240 was designed as a sports car so minimal creature comforts, I went more for a Grand Tourer.
 1 point
 -
1 pointConsidering it's age and the attempts you made to bring it back to original appearance, I think you've done a great job. Looks very nice, and the small imperfections will be hardly noticed, unless you point them out. Good job! 👍1 point
-
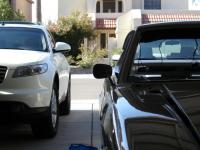
Here's a mounted picture of the rare/elusive right hand mirror manufactured for two weeks only in November 1969. I was lucky enough to get this one from the Pull-a-Part here in Phoenix on 1/2 price days last week. I paid $1.99, plus tax of course. Since I had/have my car torn apart I wanted to try something here. I like the idea of two mirrors, it makes the appearance look more complete, it also gives me a small view of the right side of the car. I realize this deviates from originality so it's definately not for everyone. This isn't perfect either but I got it close enough to satisfy me prior to drilling the mounting holes in the right door. The height/top of the mirror stalk on the right side is 1/4" lower than on the left. I could get it closer but I'd have to cut further into the mirror base and I think I've gone as far as I can. I took a normal left hand mirror and cut the base in the opposing direction/angle. I made a template from ABS plastic of the angle and used that to gage my progress. I made a rough cut with a dremel and then used a fine metal file to get the final result. It took about two hours to complete the job. I also put a small angle in the mounting stud to assure the mirror would mount correctly. Someone that has access to a cmm and a cnc mill could get this darn near perfect. Heres a few pictures of the mirrors on the car. Bruce
 1 point
 -
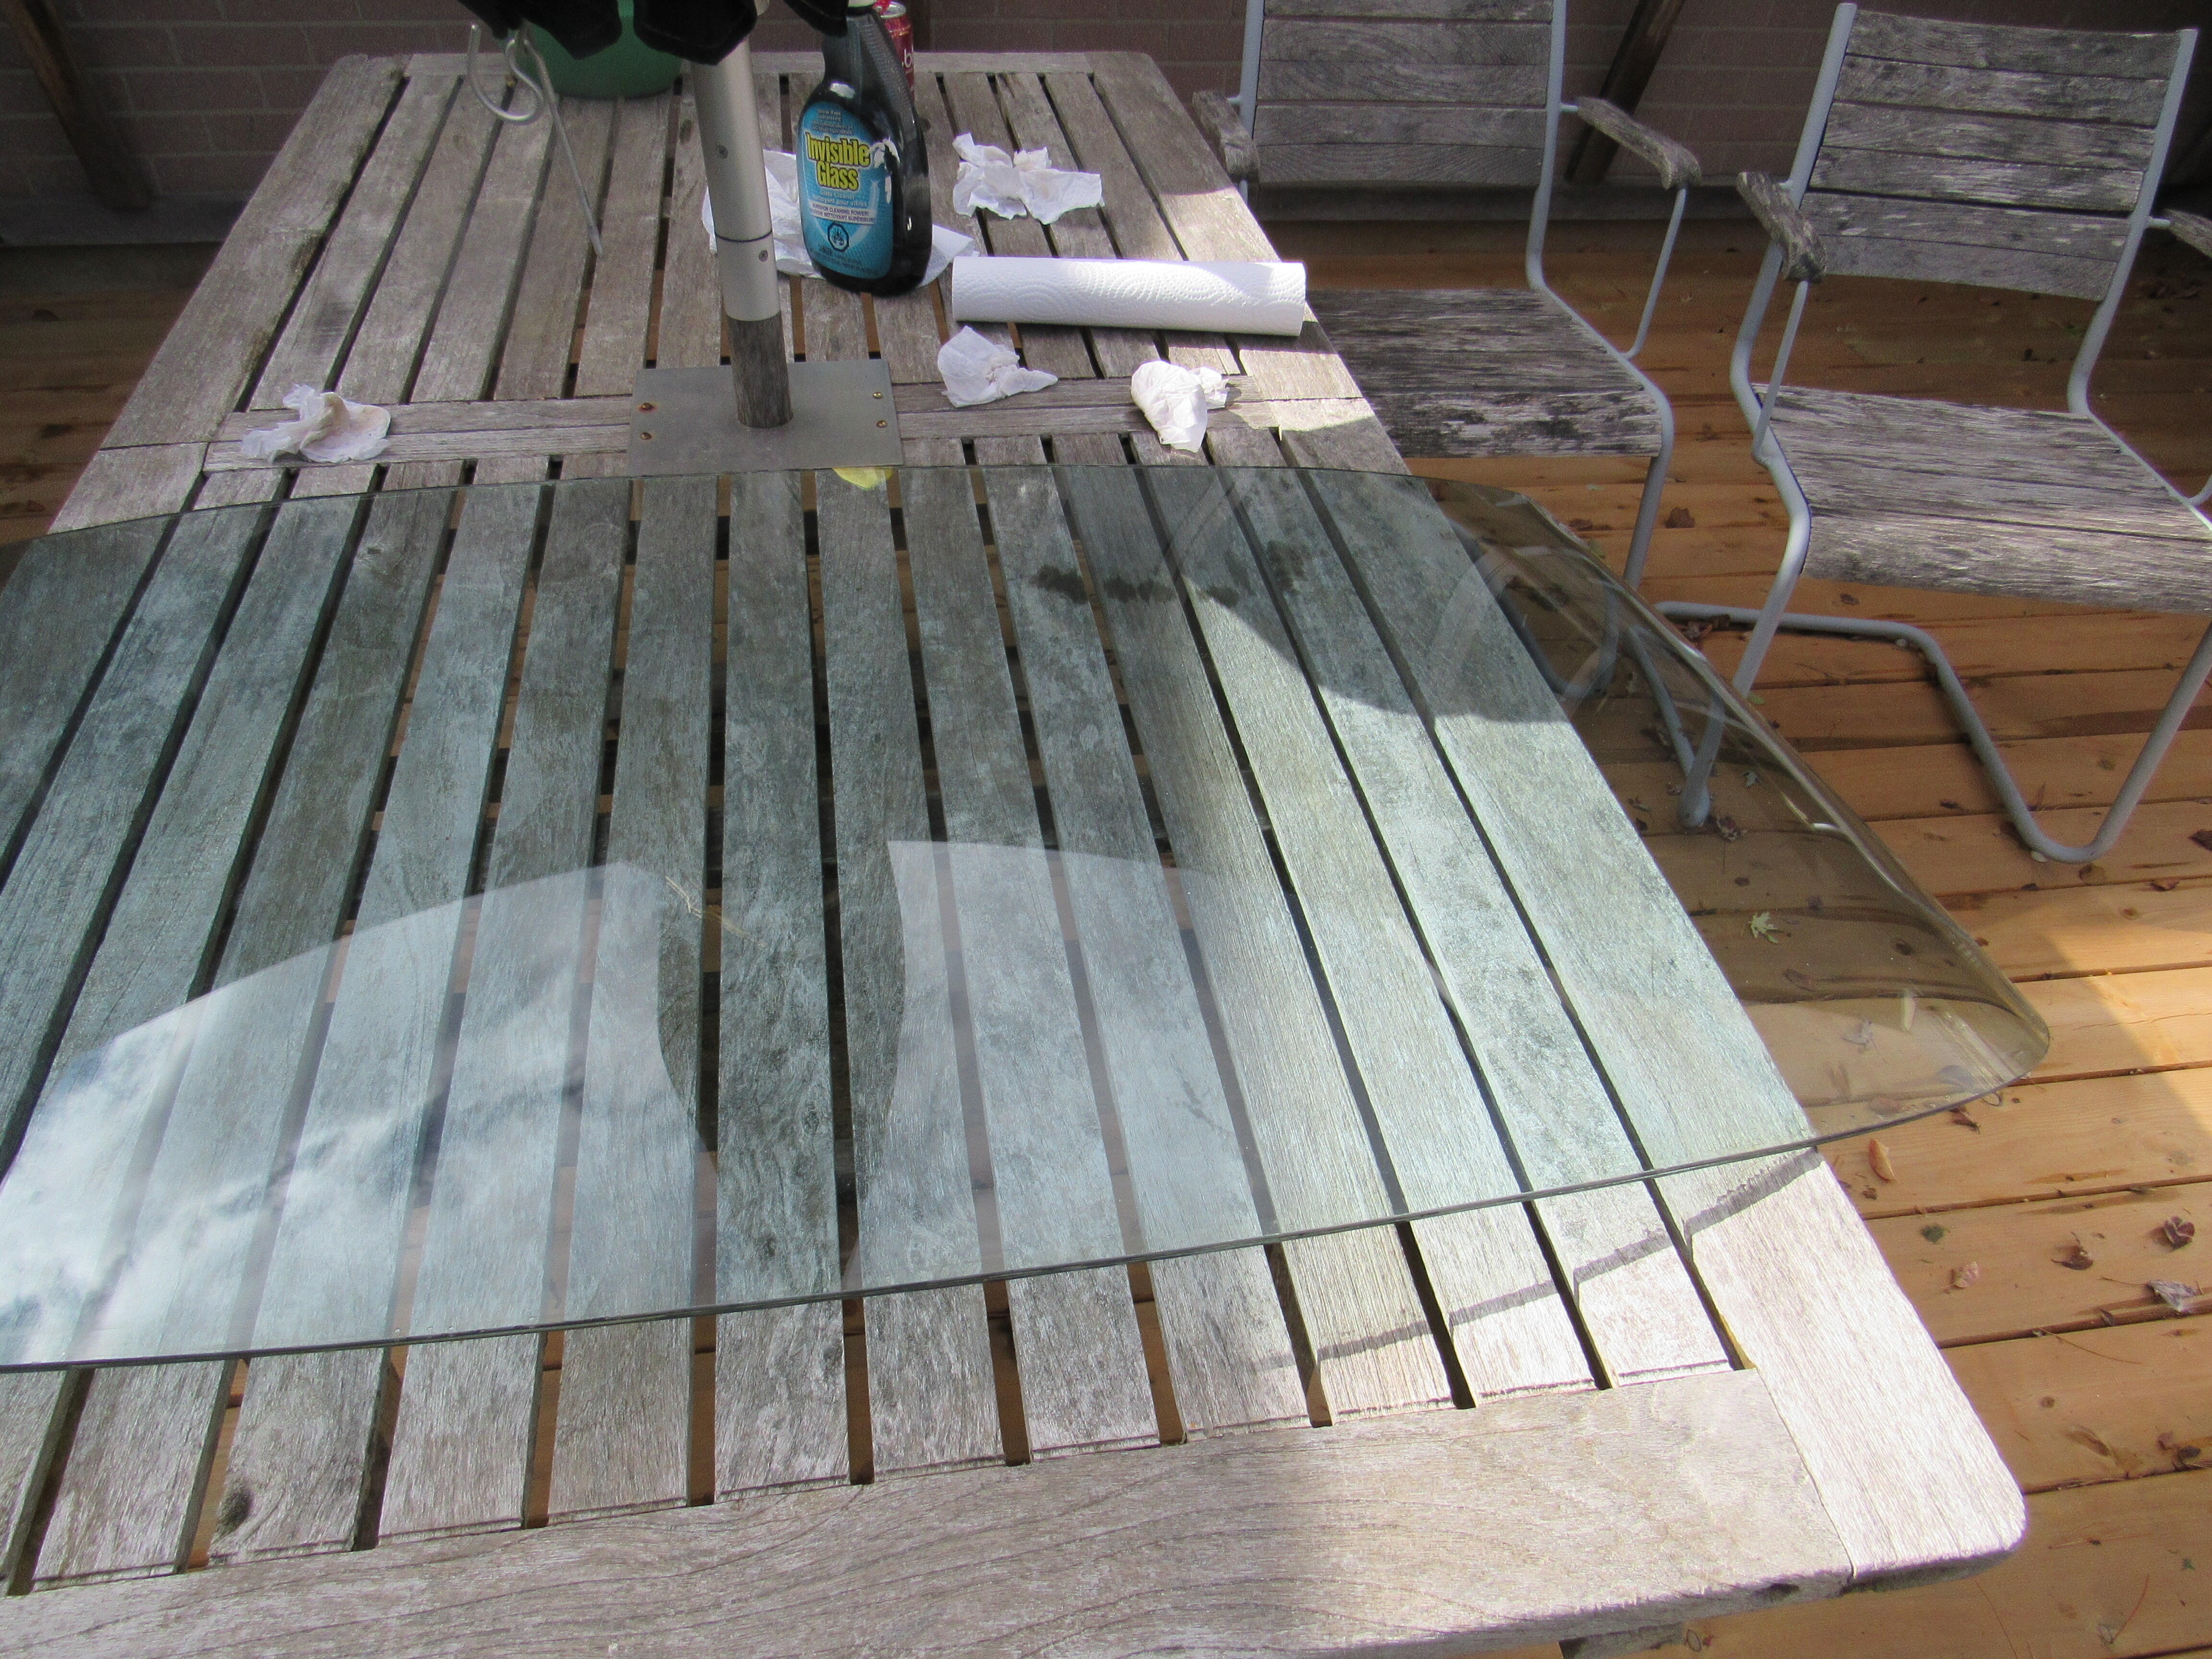
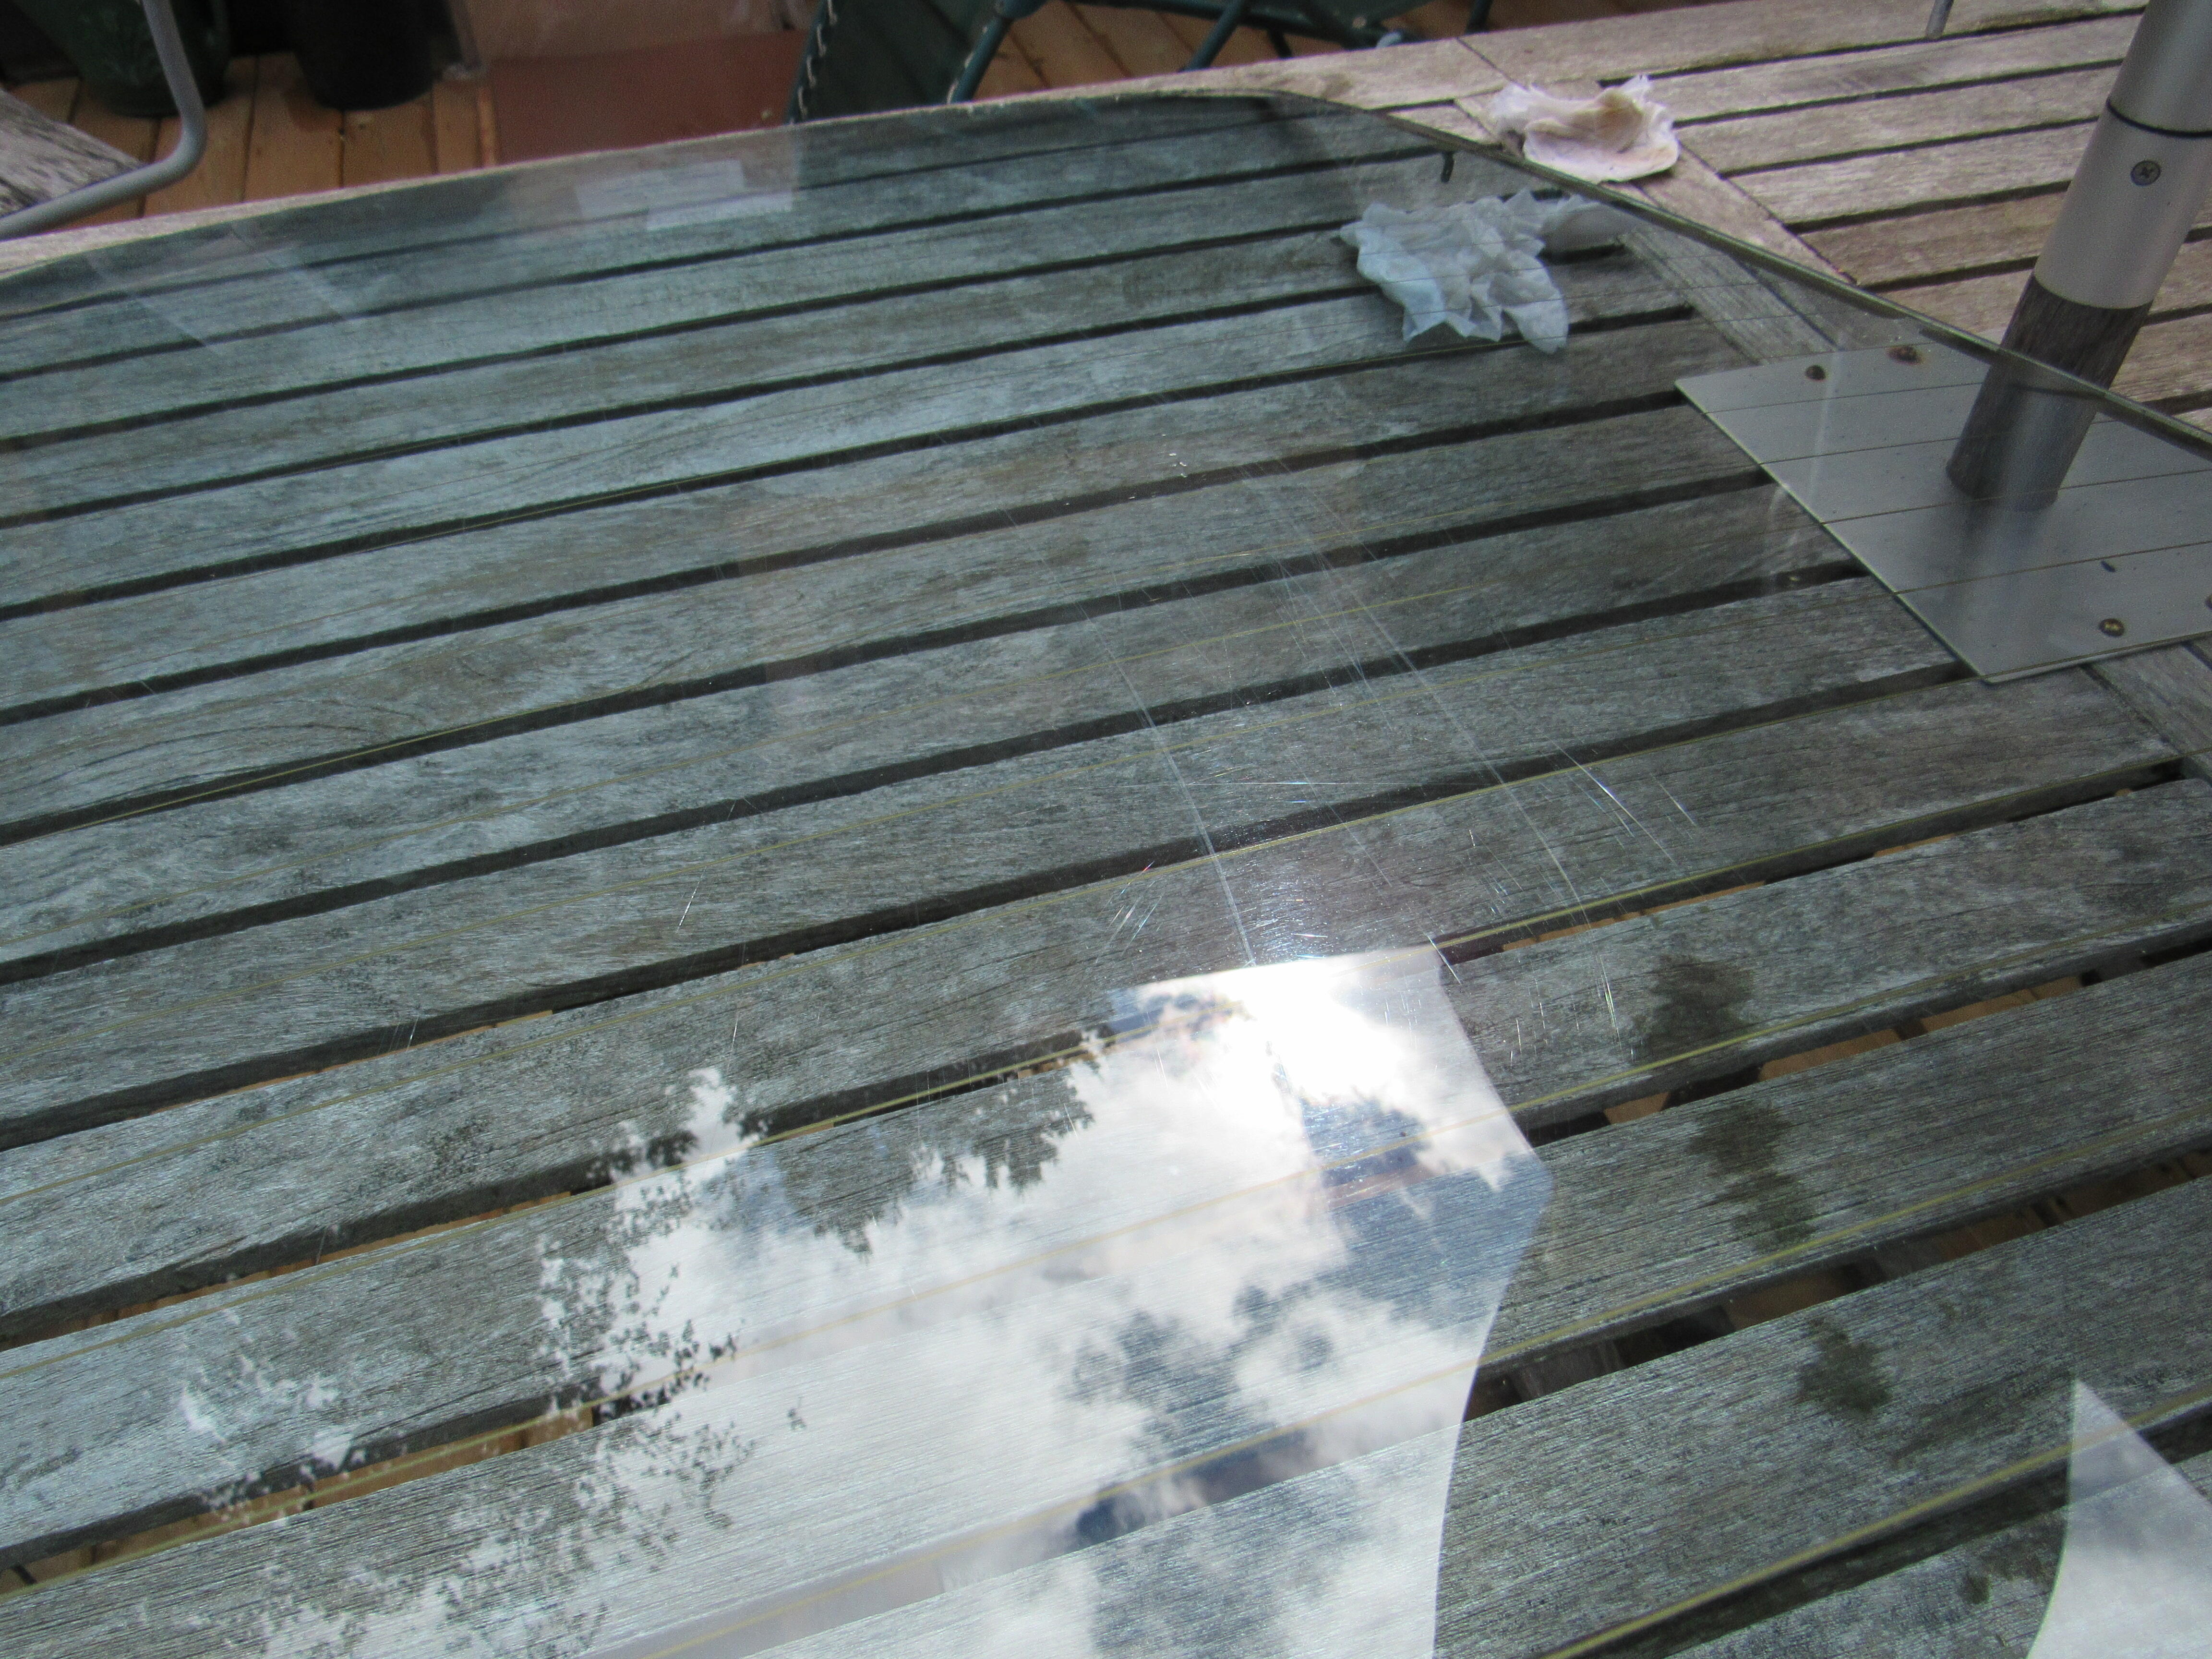
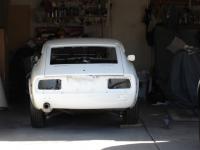
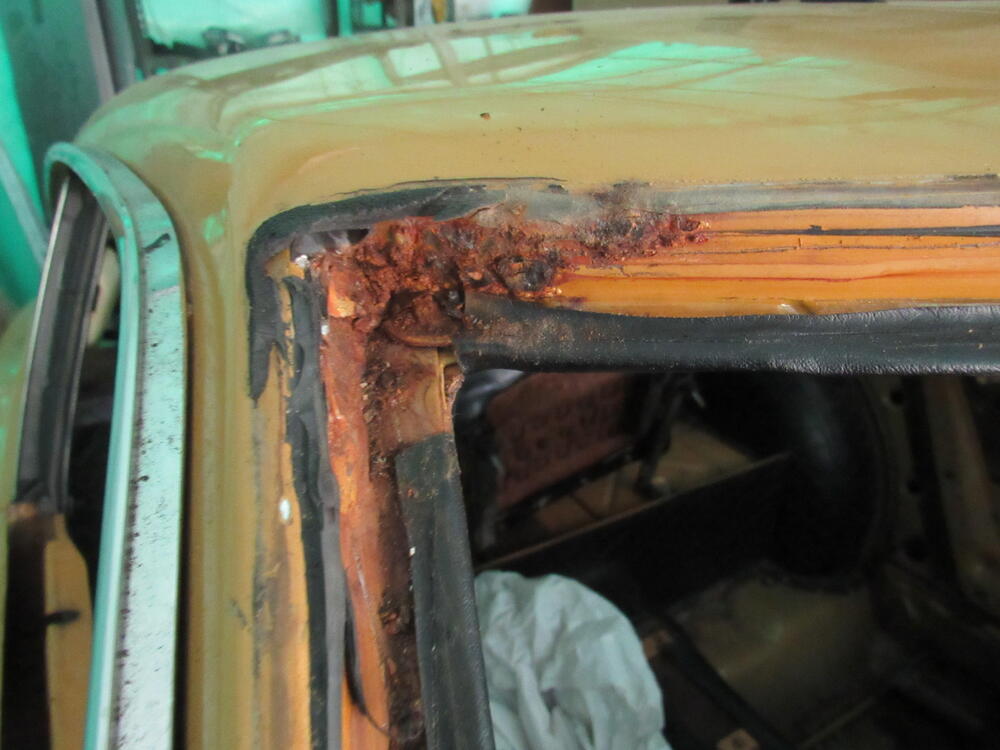
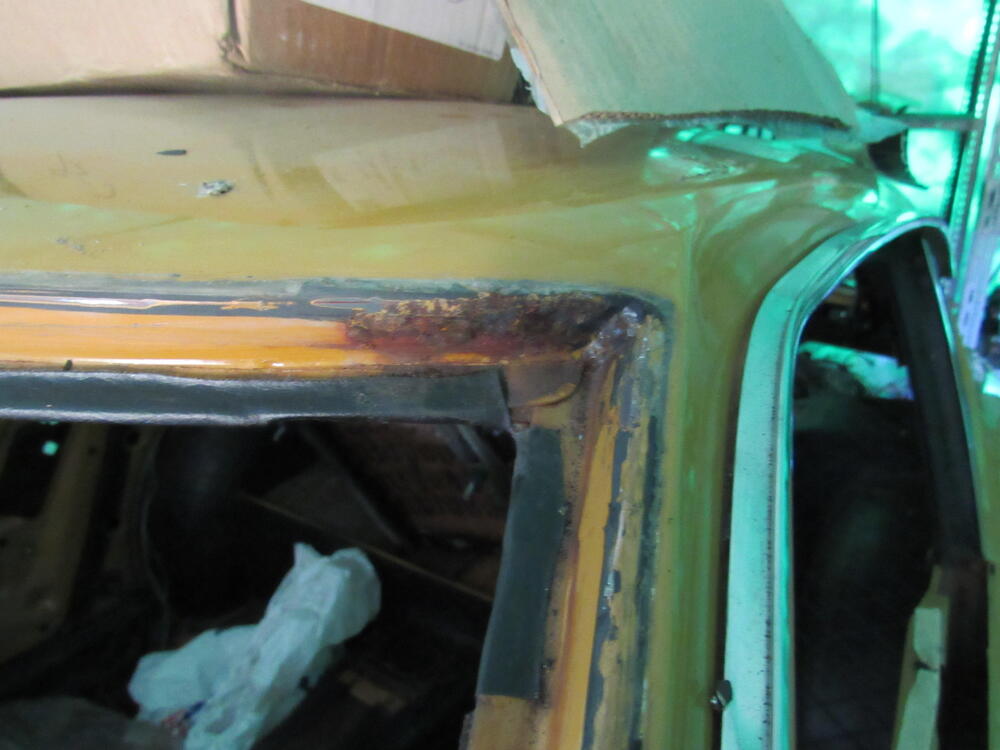
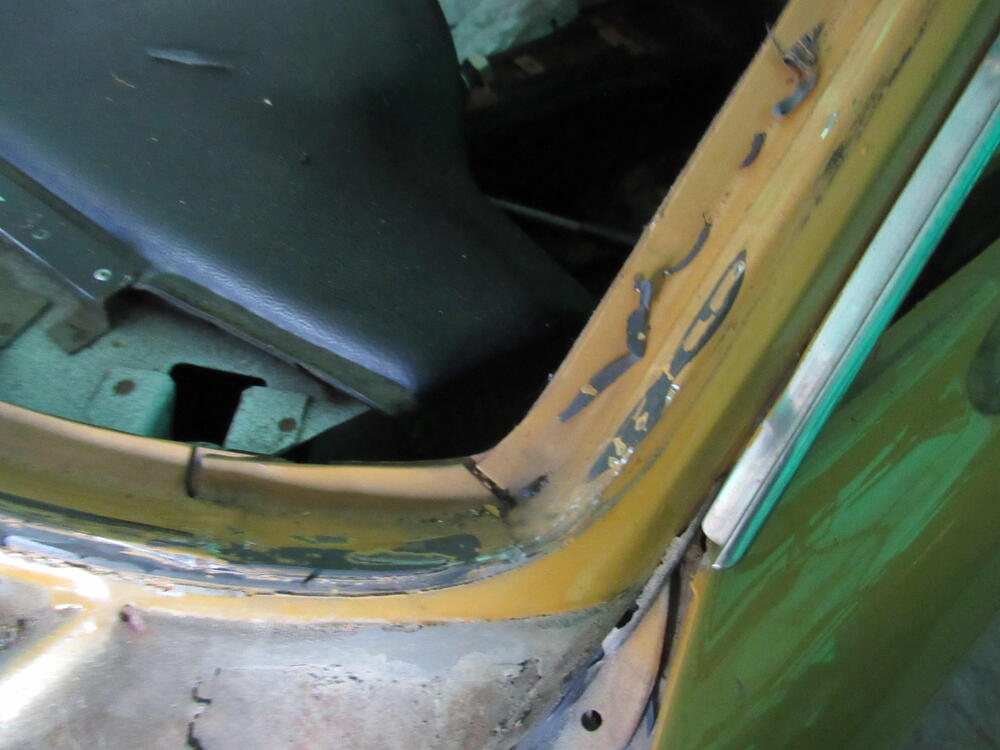
0 pointsI got the front and back glass out today, also polished up the SS trim and put away in storage. Something strange though, at least for me, rust in the top corners of the roof and A pillars, I've never seen that before, anyone else? The bottom corners of the windshield frame are rust free, that is where I usually find it. Windshield came up nicely after cleaning with a garden hose and some strong detergent, just a bit of sand blasting from the highway, the rear glass was wiped down with something abrasive at some point and you can see the marks that didn't wash off. I'll have to go over the rear glass with a polisher and some fine compound to see if I can get that out.
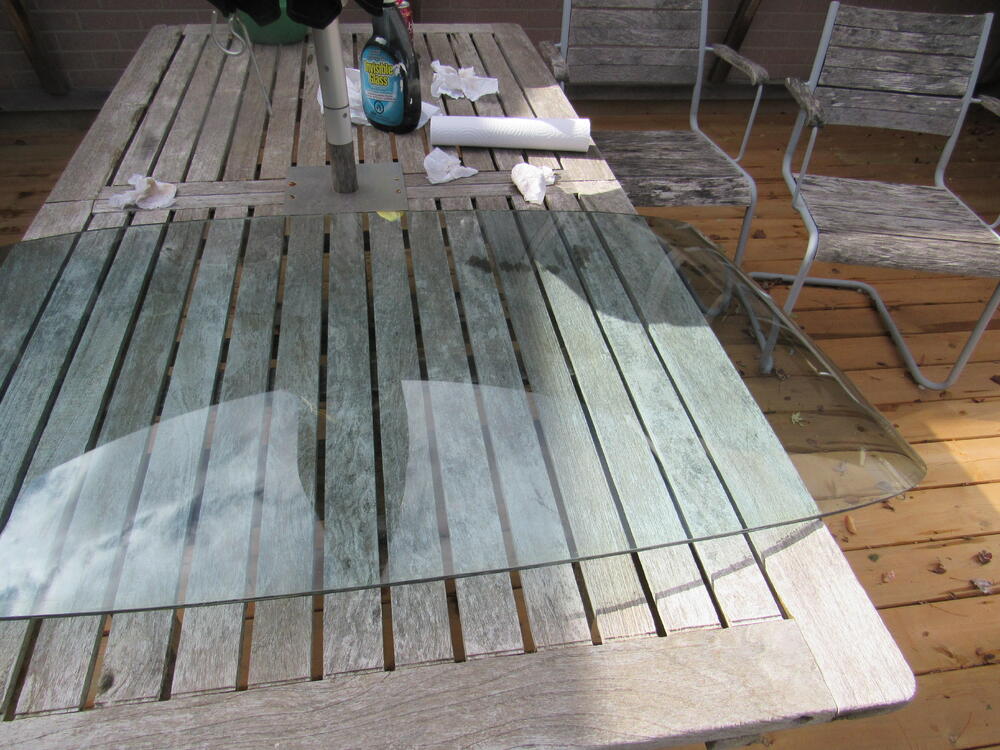
 0 points


.JPG.f69d862fbbca8aaa6701ac477bb32750.jpeg.jpg.96483467ffb87d58fb9788ed8f04a064.jpg)