Leaderboard
-
HusseinHolland
Free Member4Points1,031Posts -
xs10shl
Free Member4Points339Posts -
duffymahoney
Free Member3Points963Posts -

siteunseen
Free Member3Points15,168Posts


Popular Content
Showing content with the highest reputation on 05/08/2023 in all areas
-
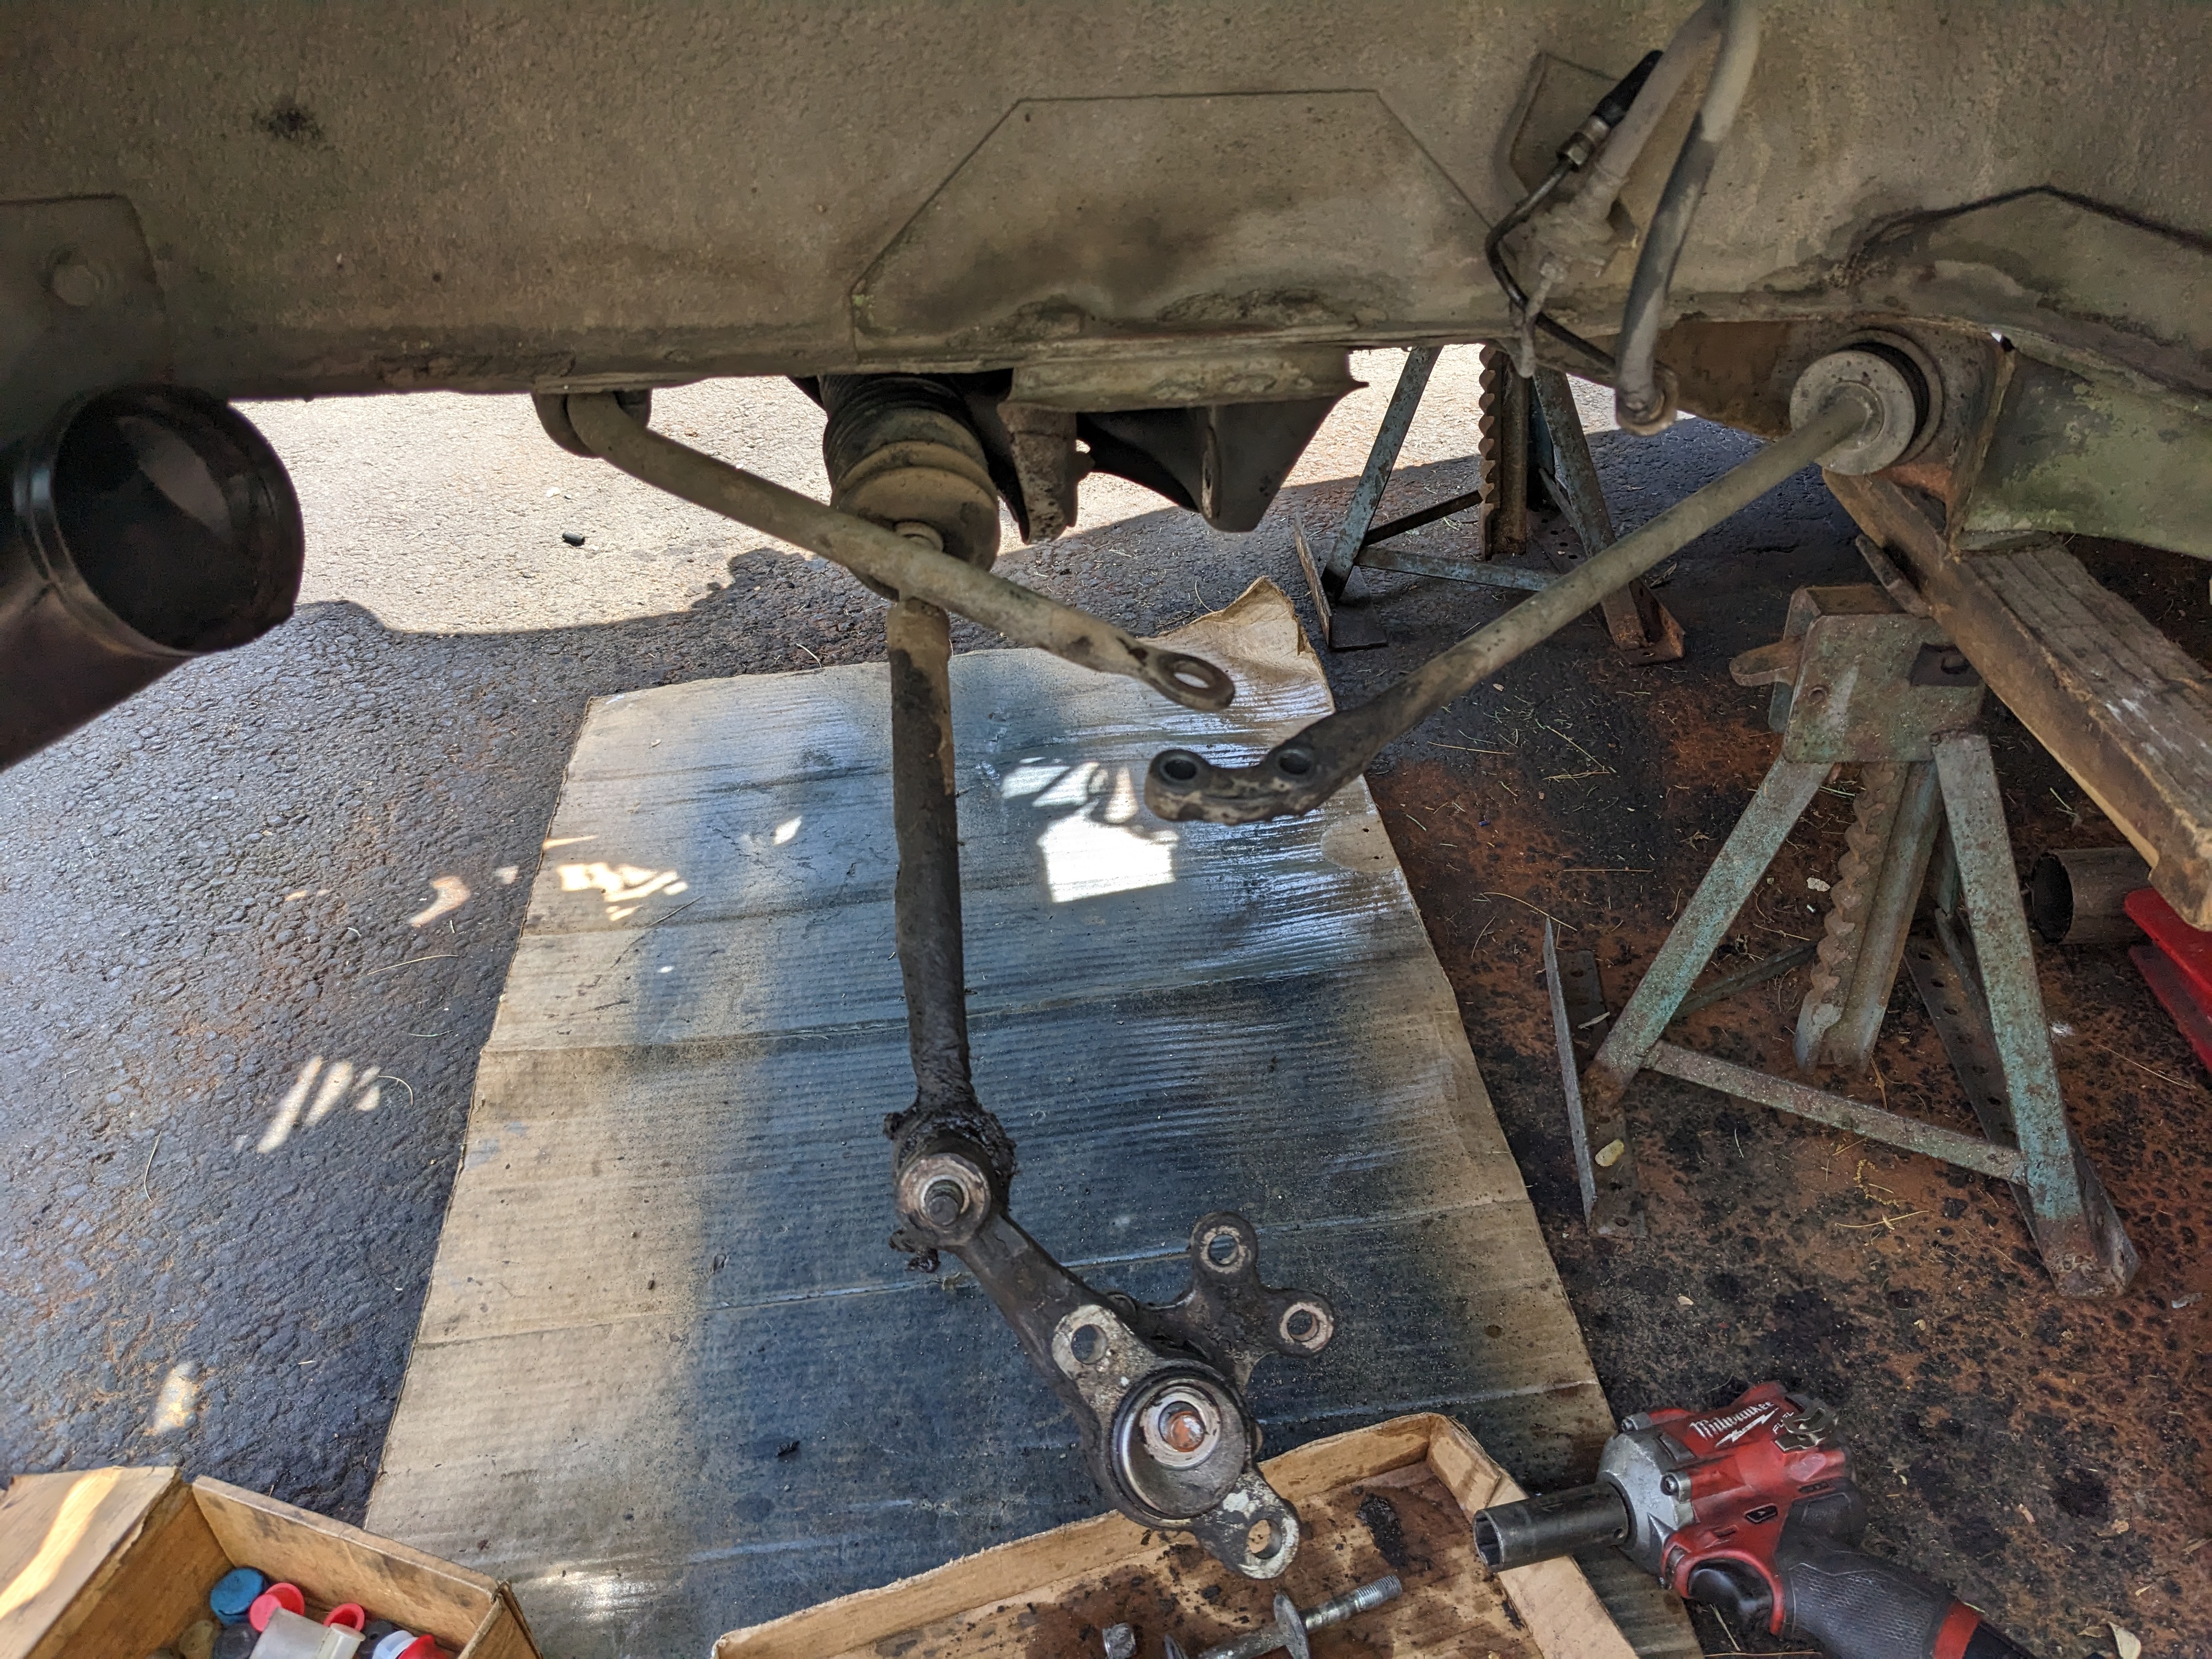
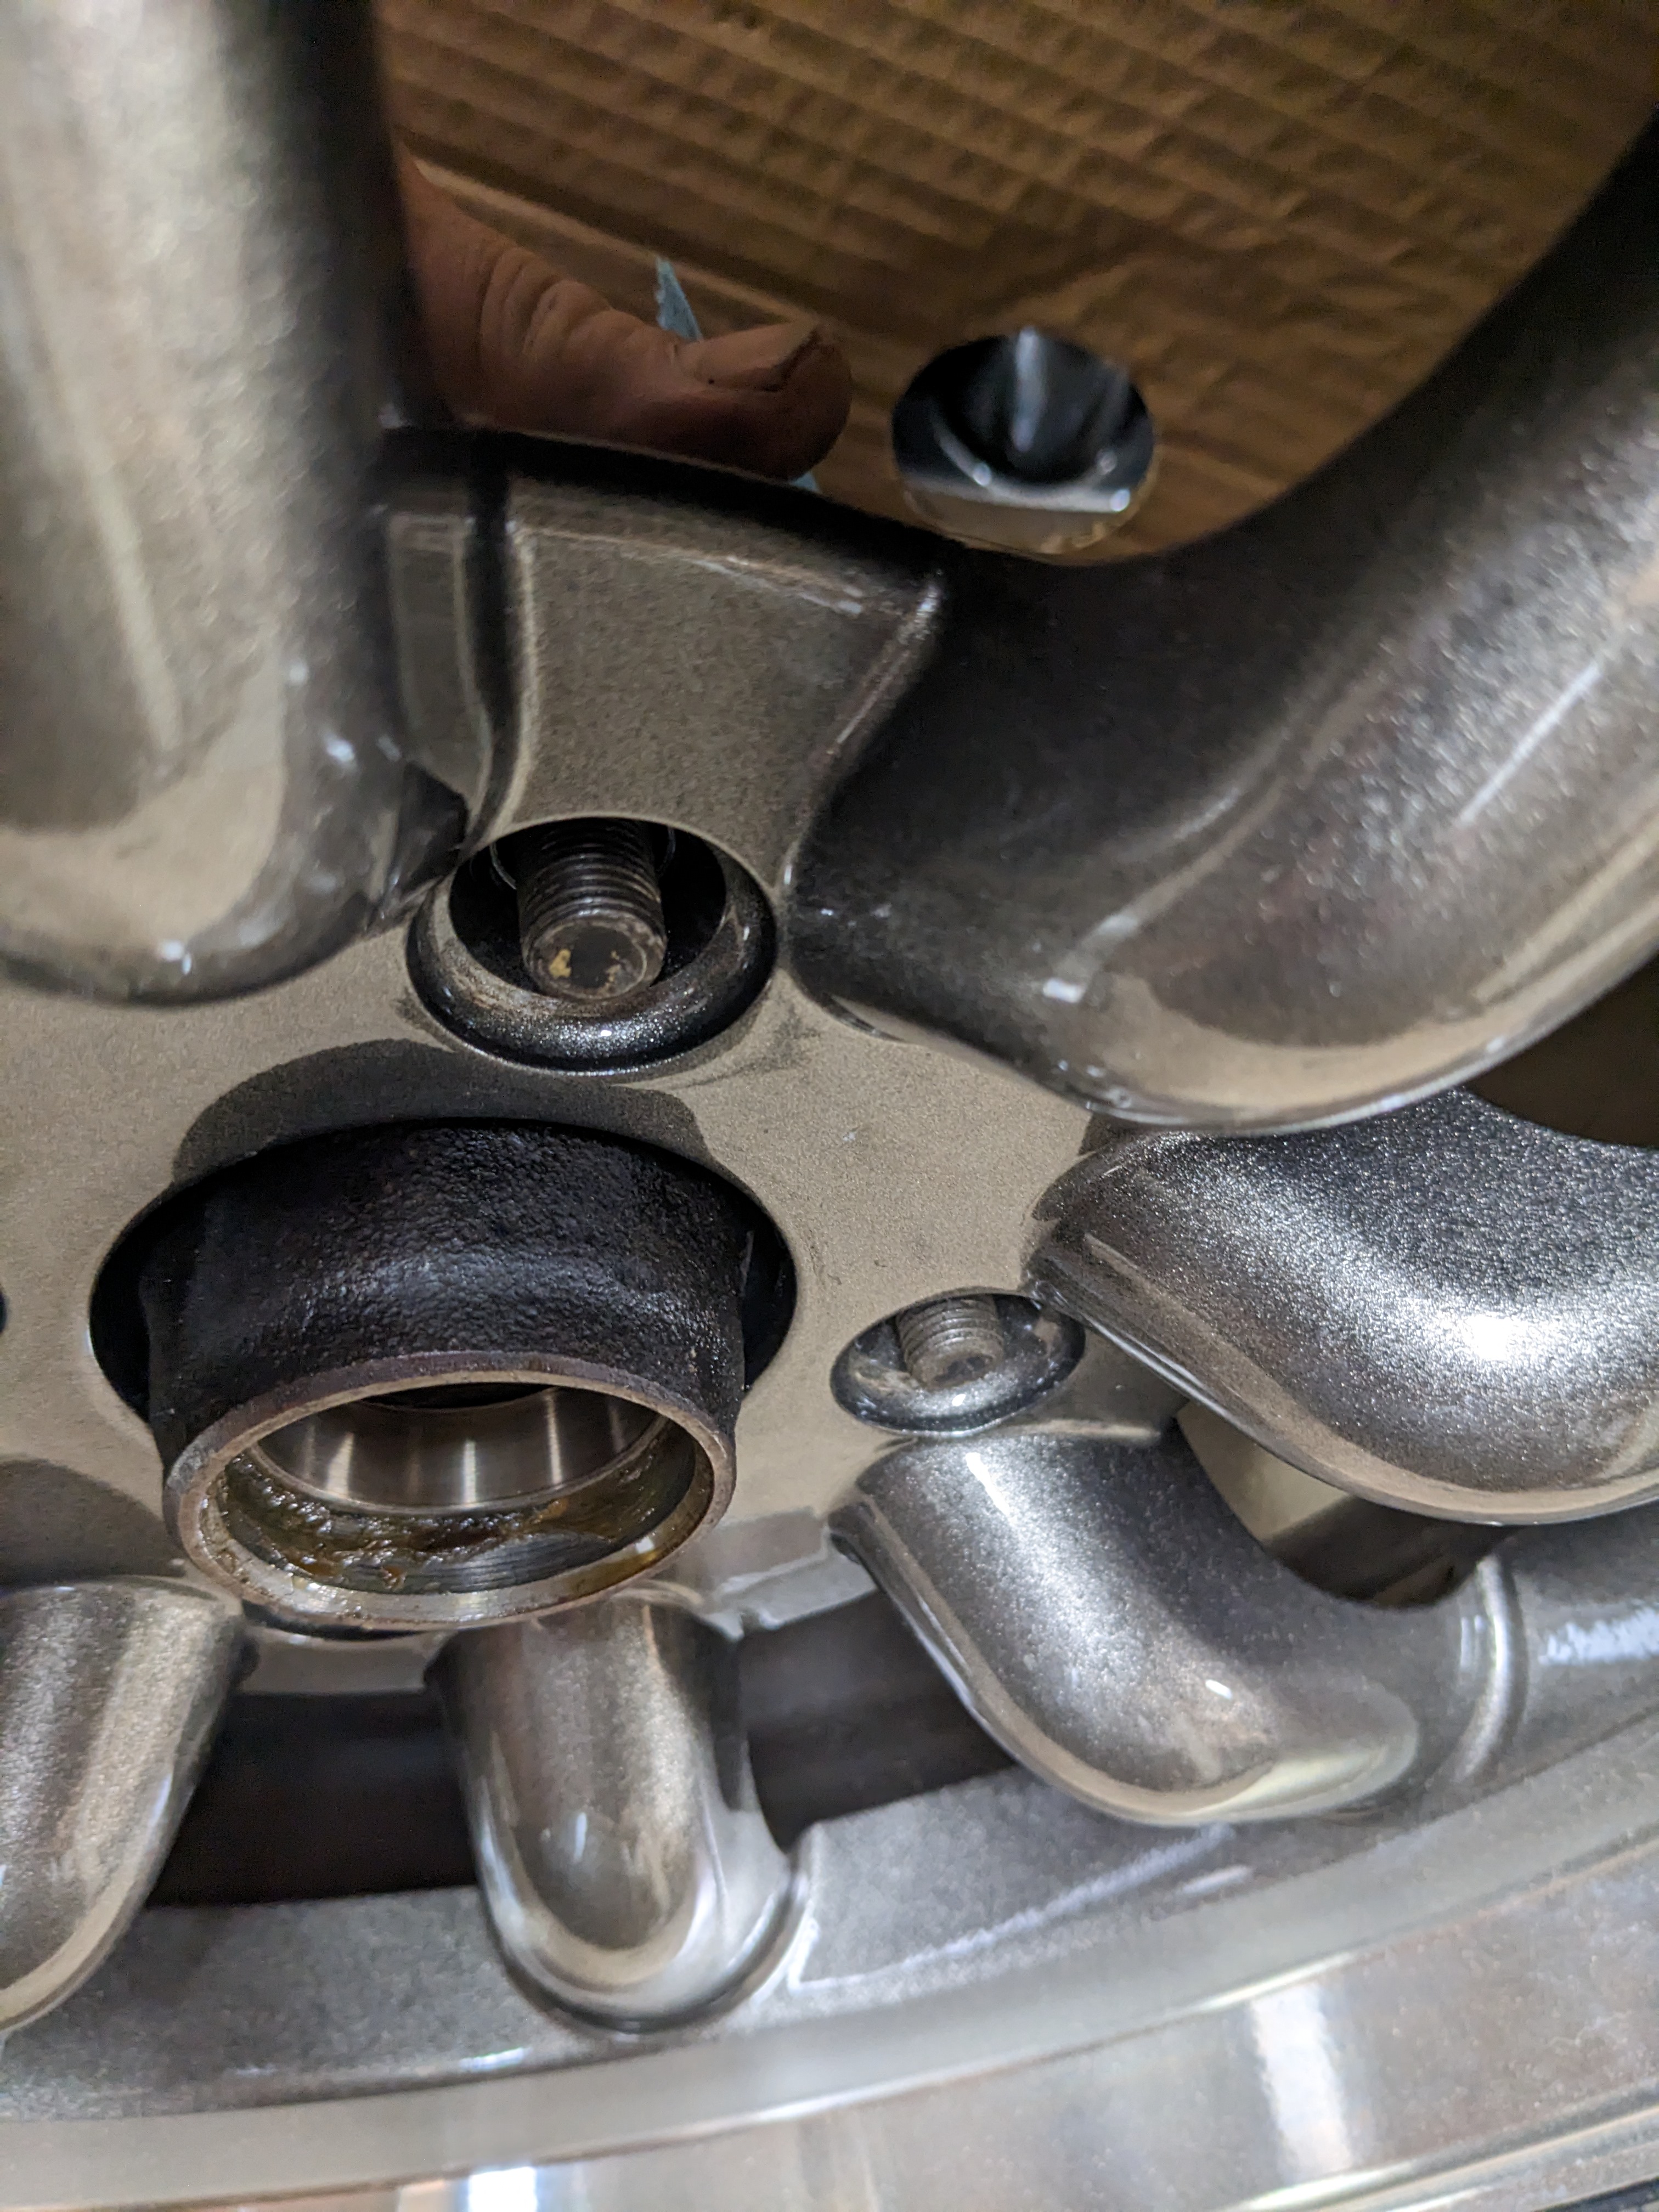
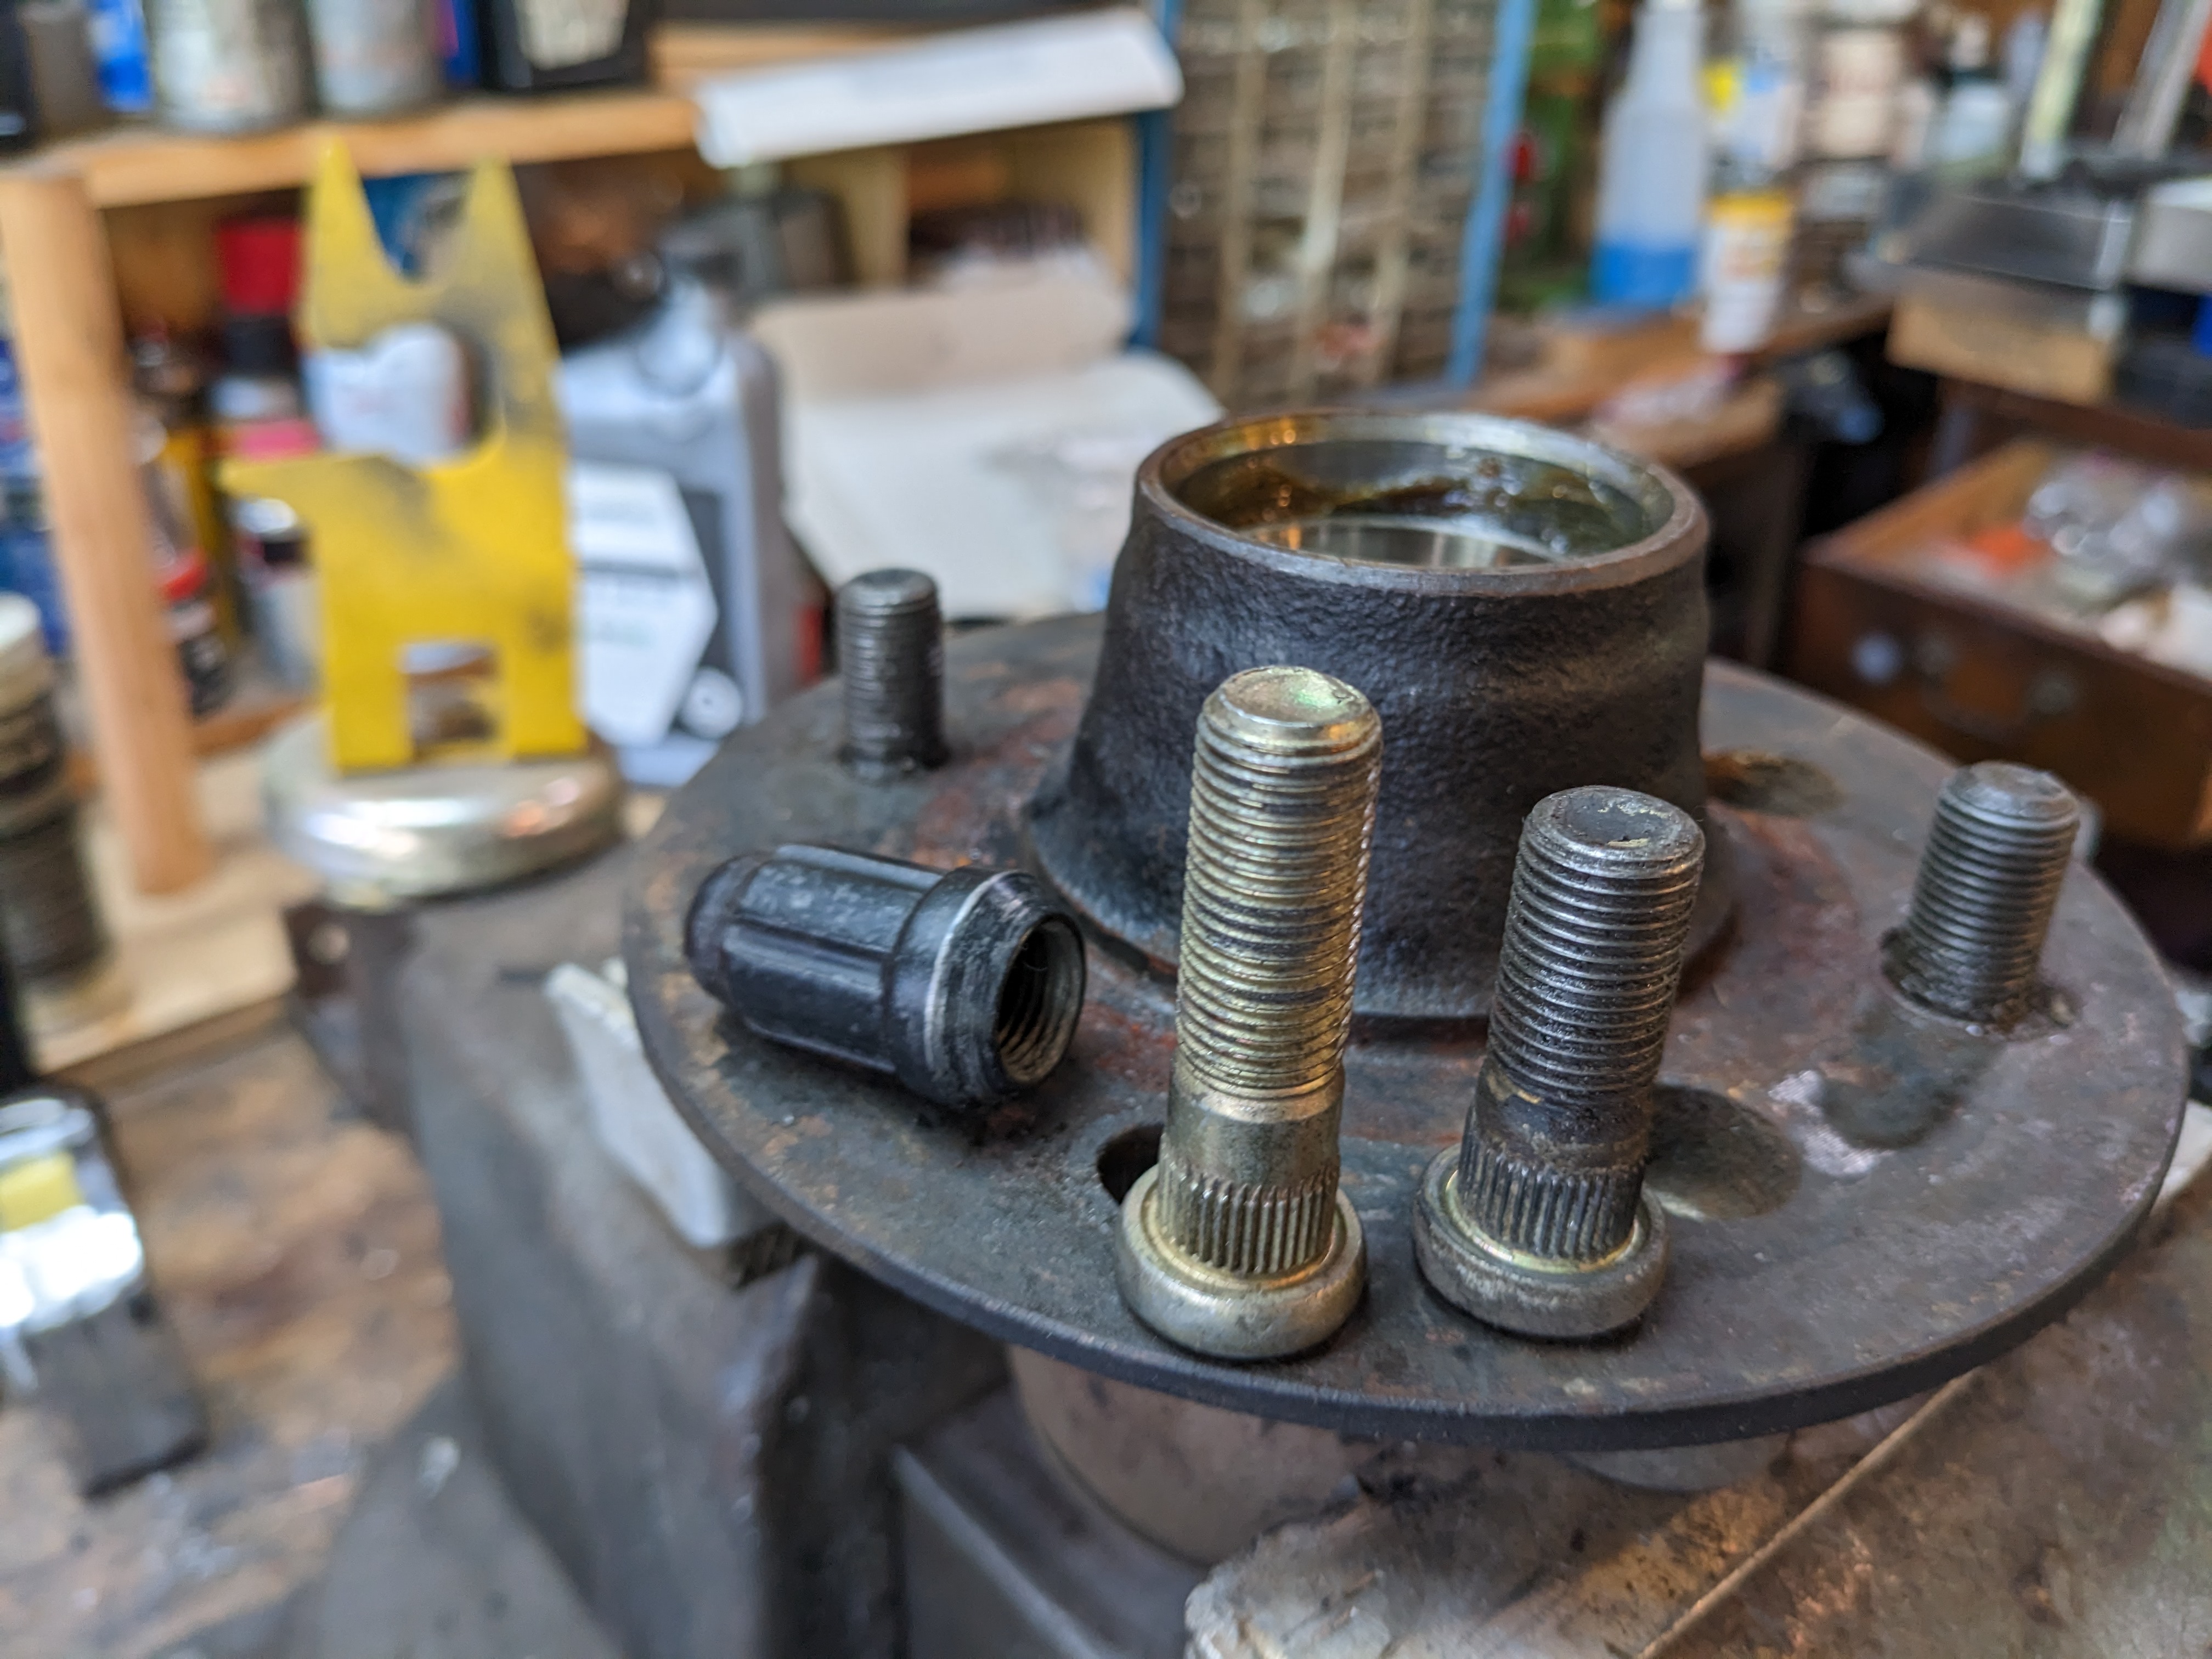
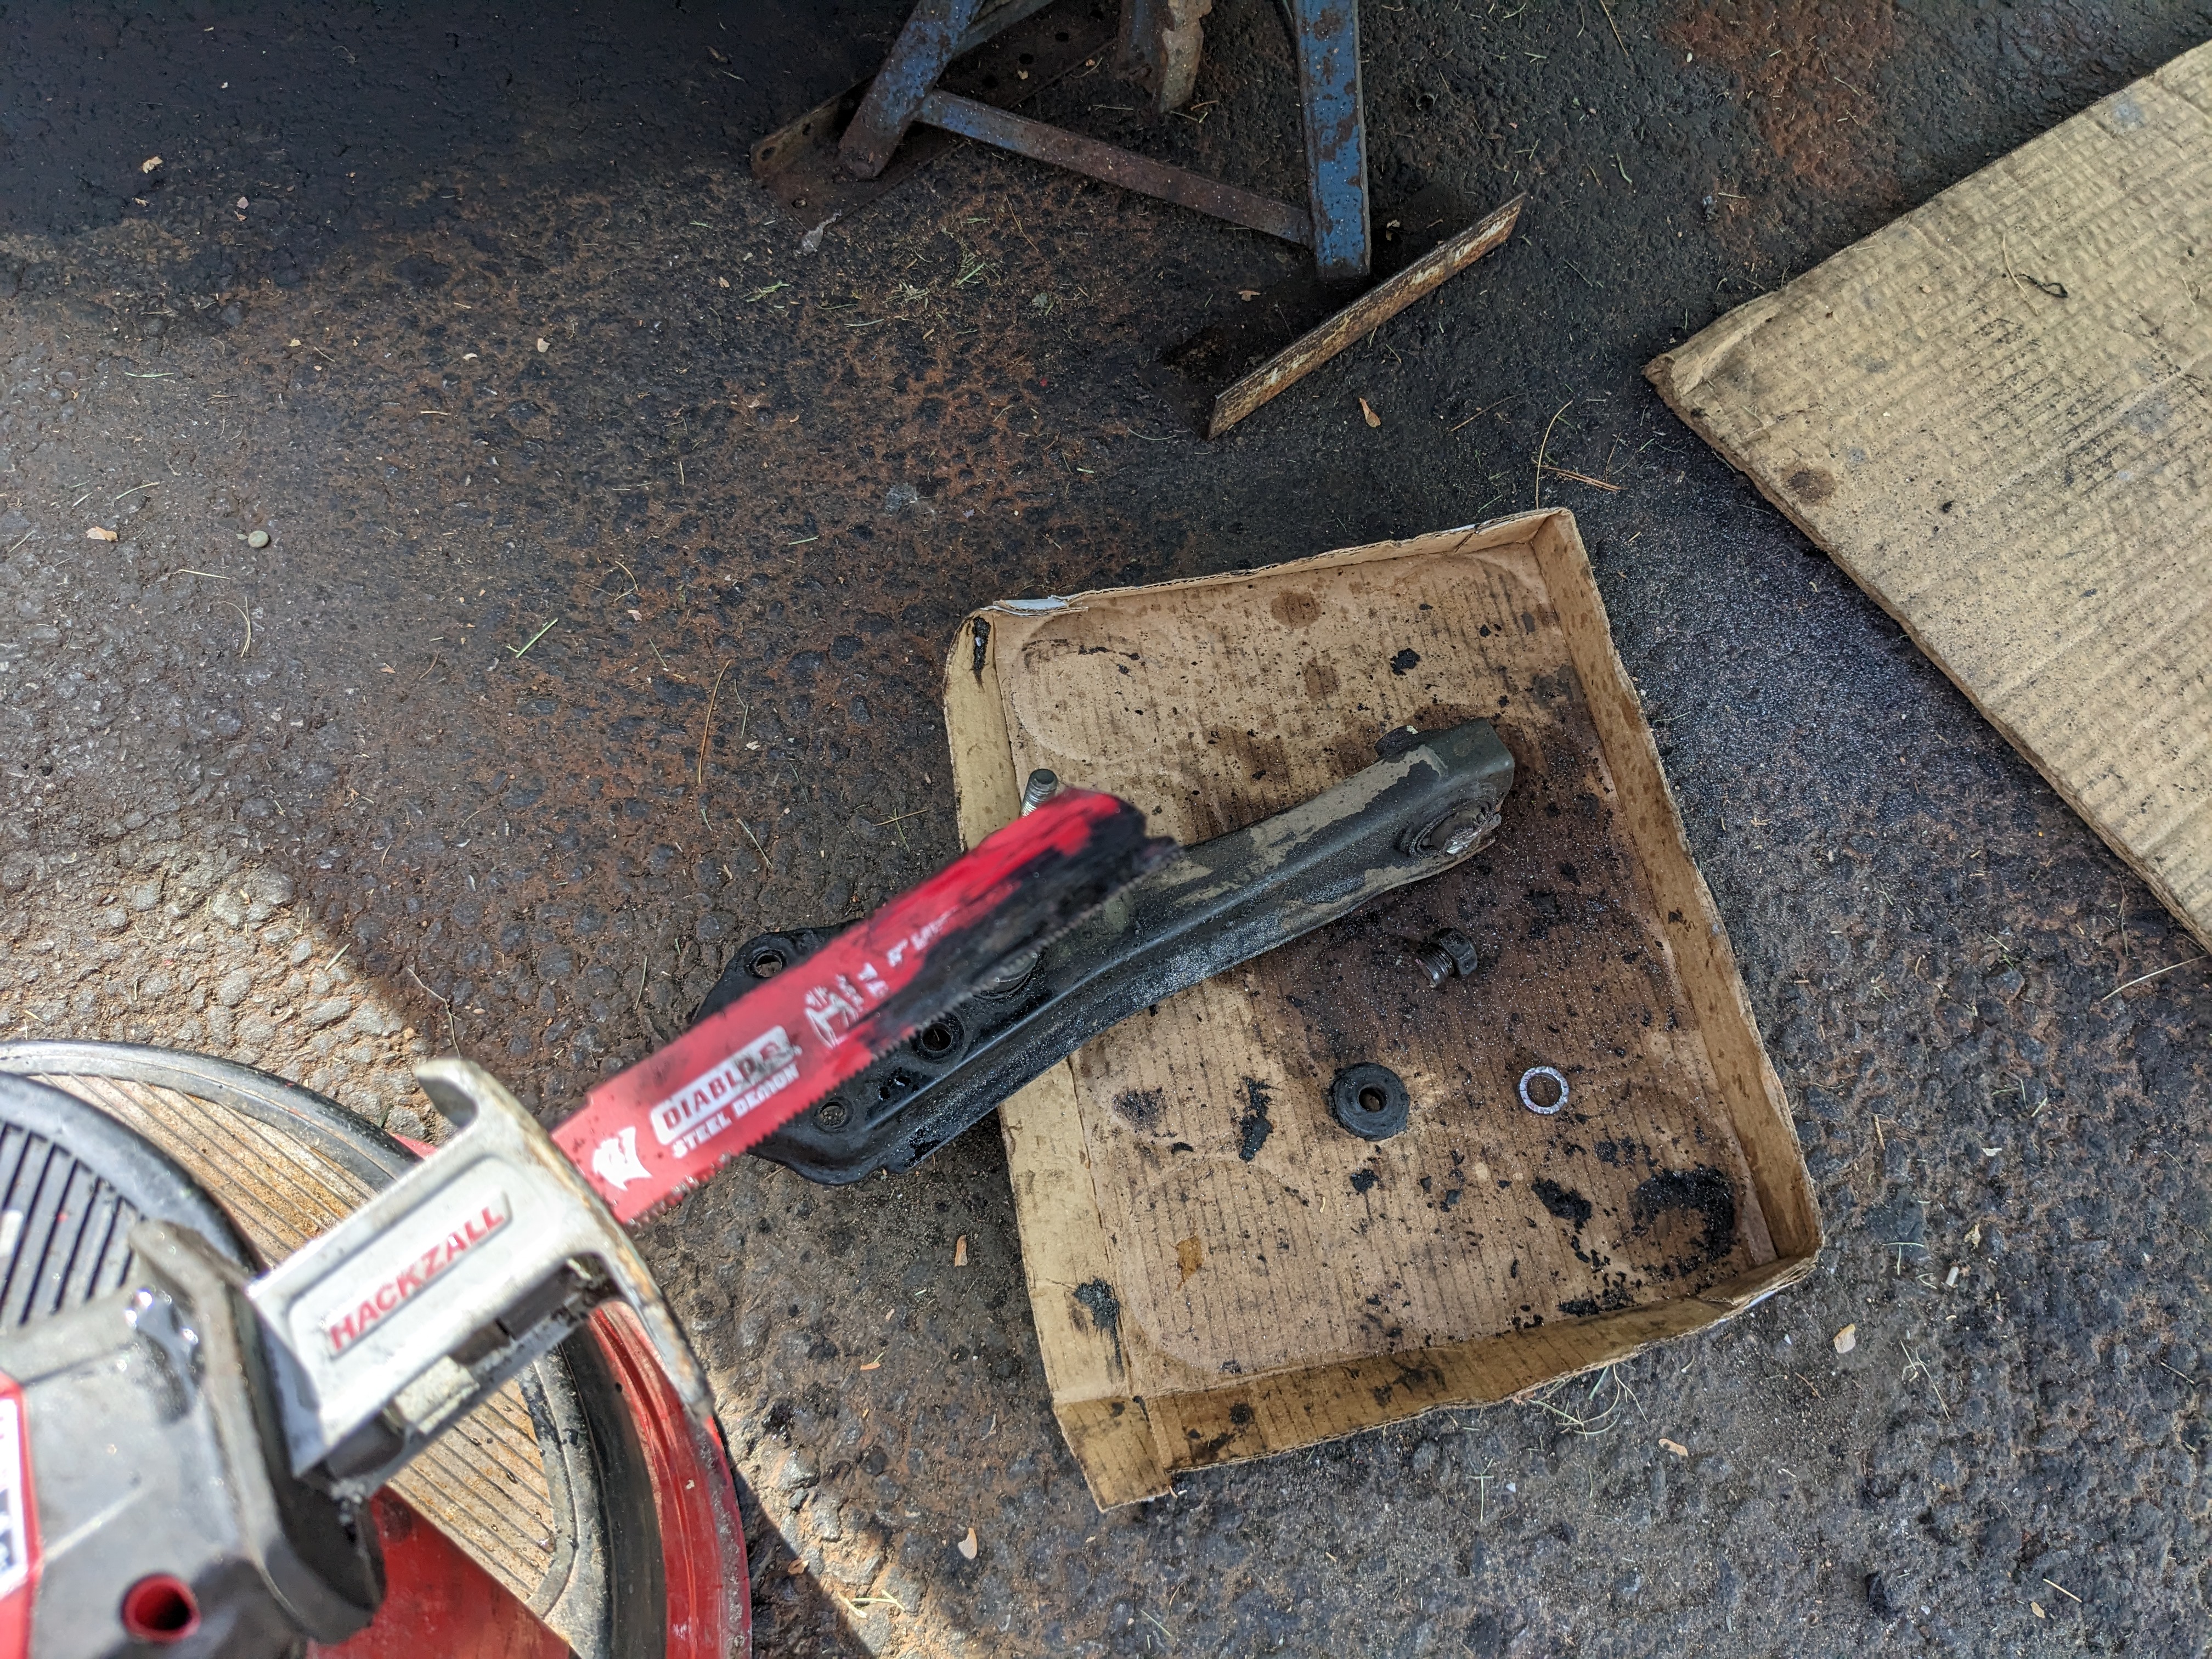
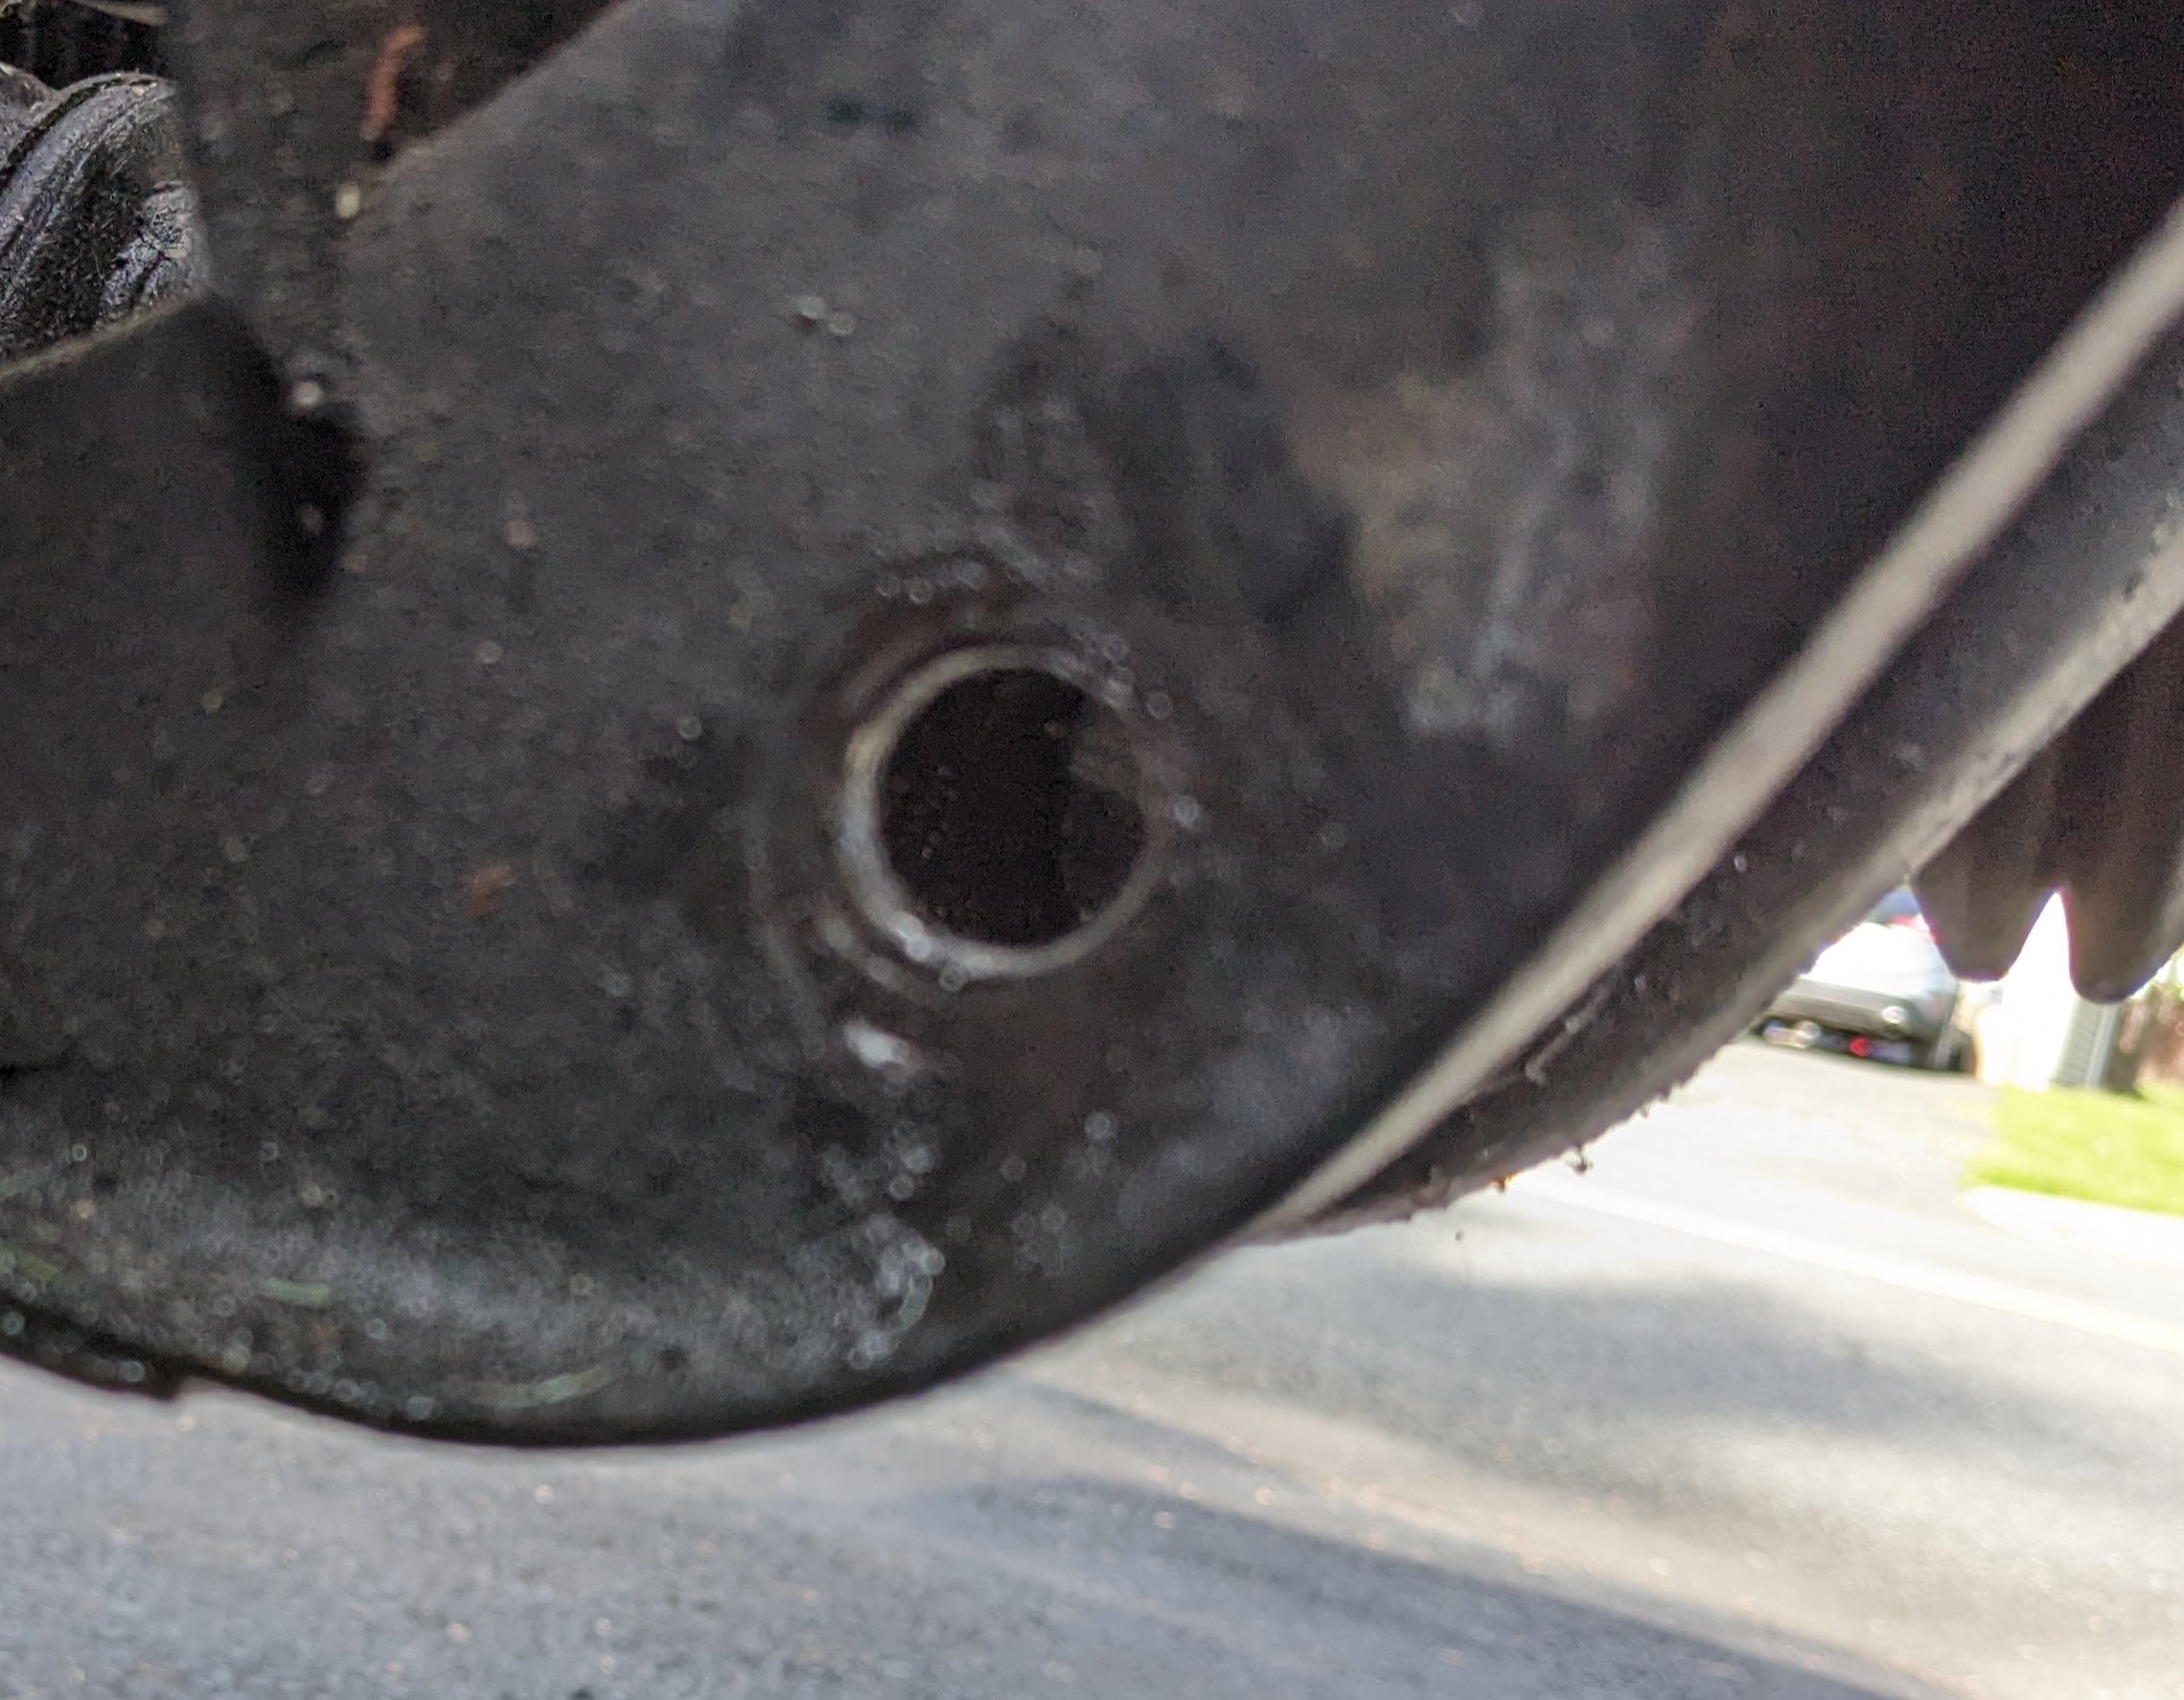
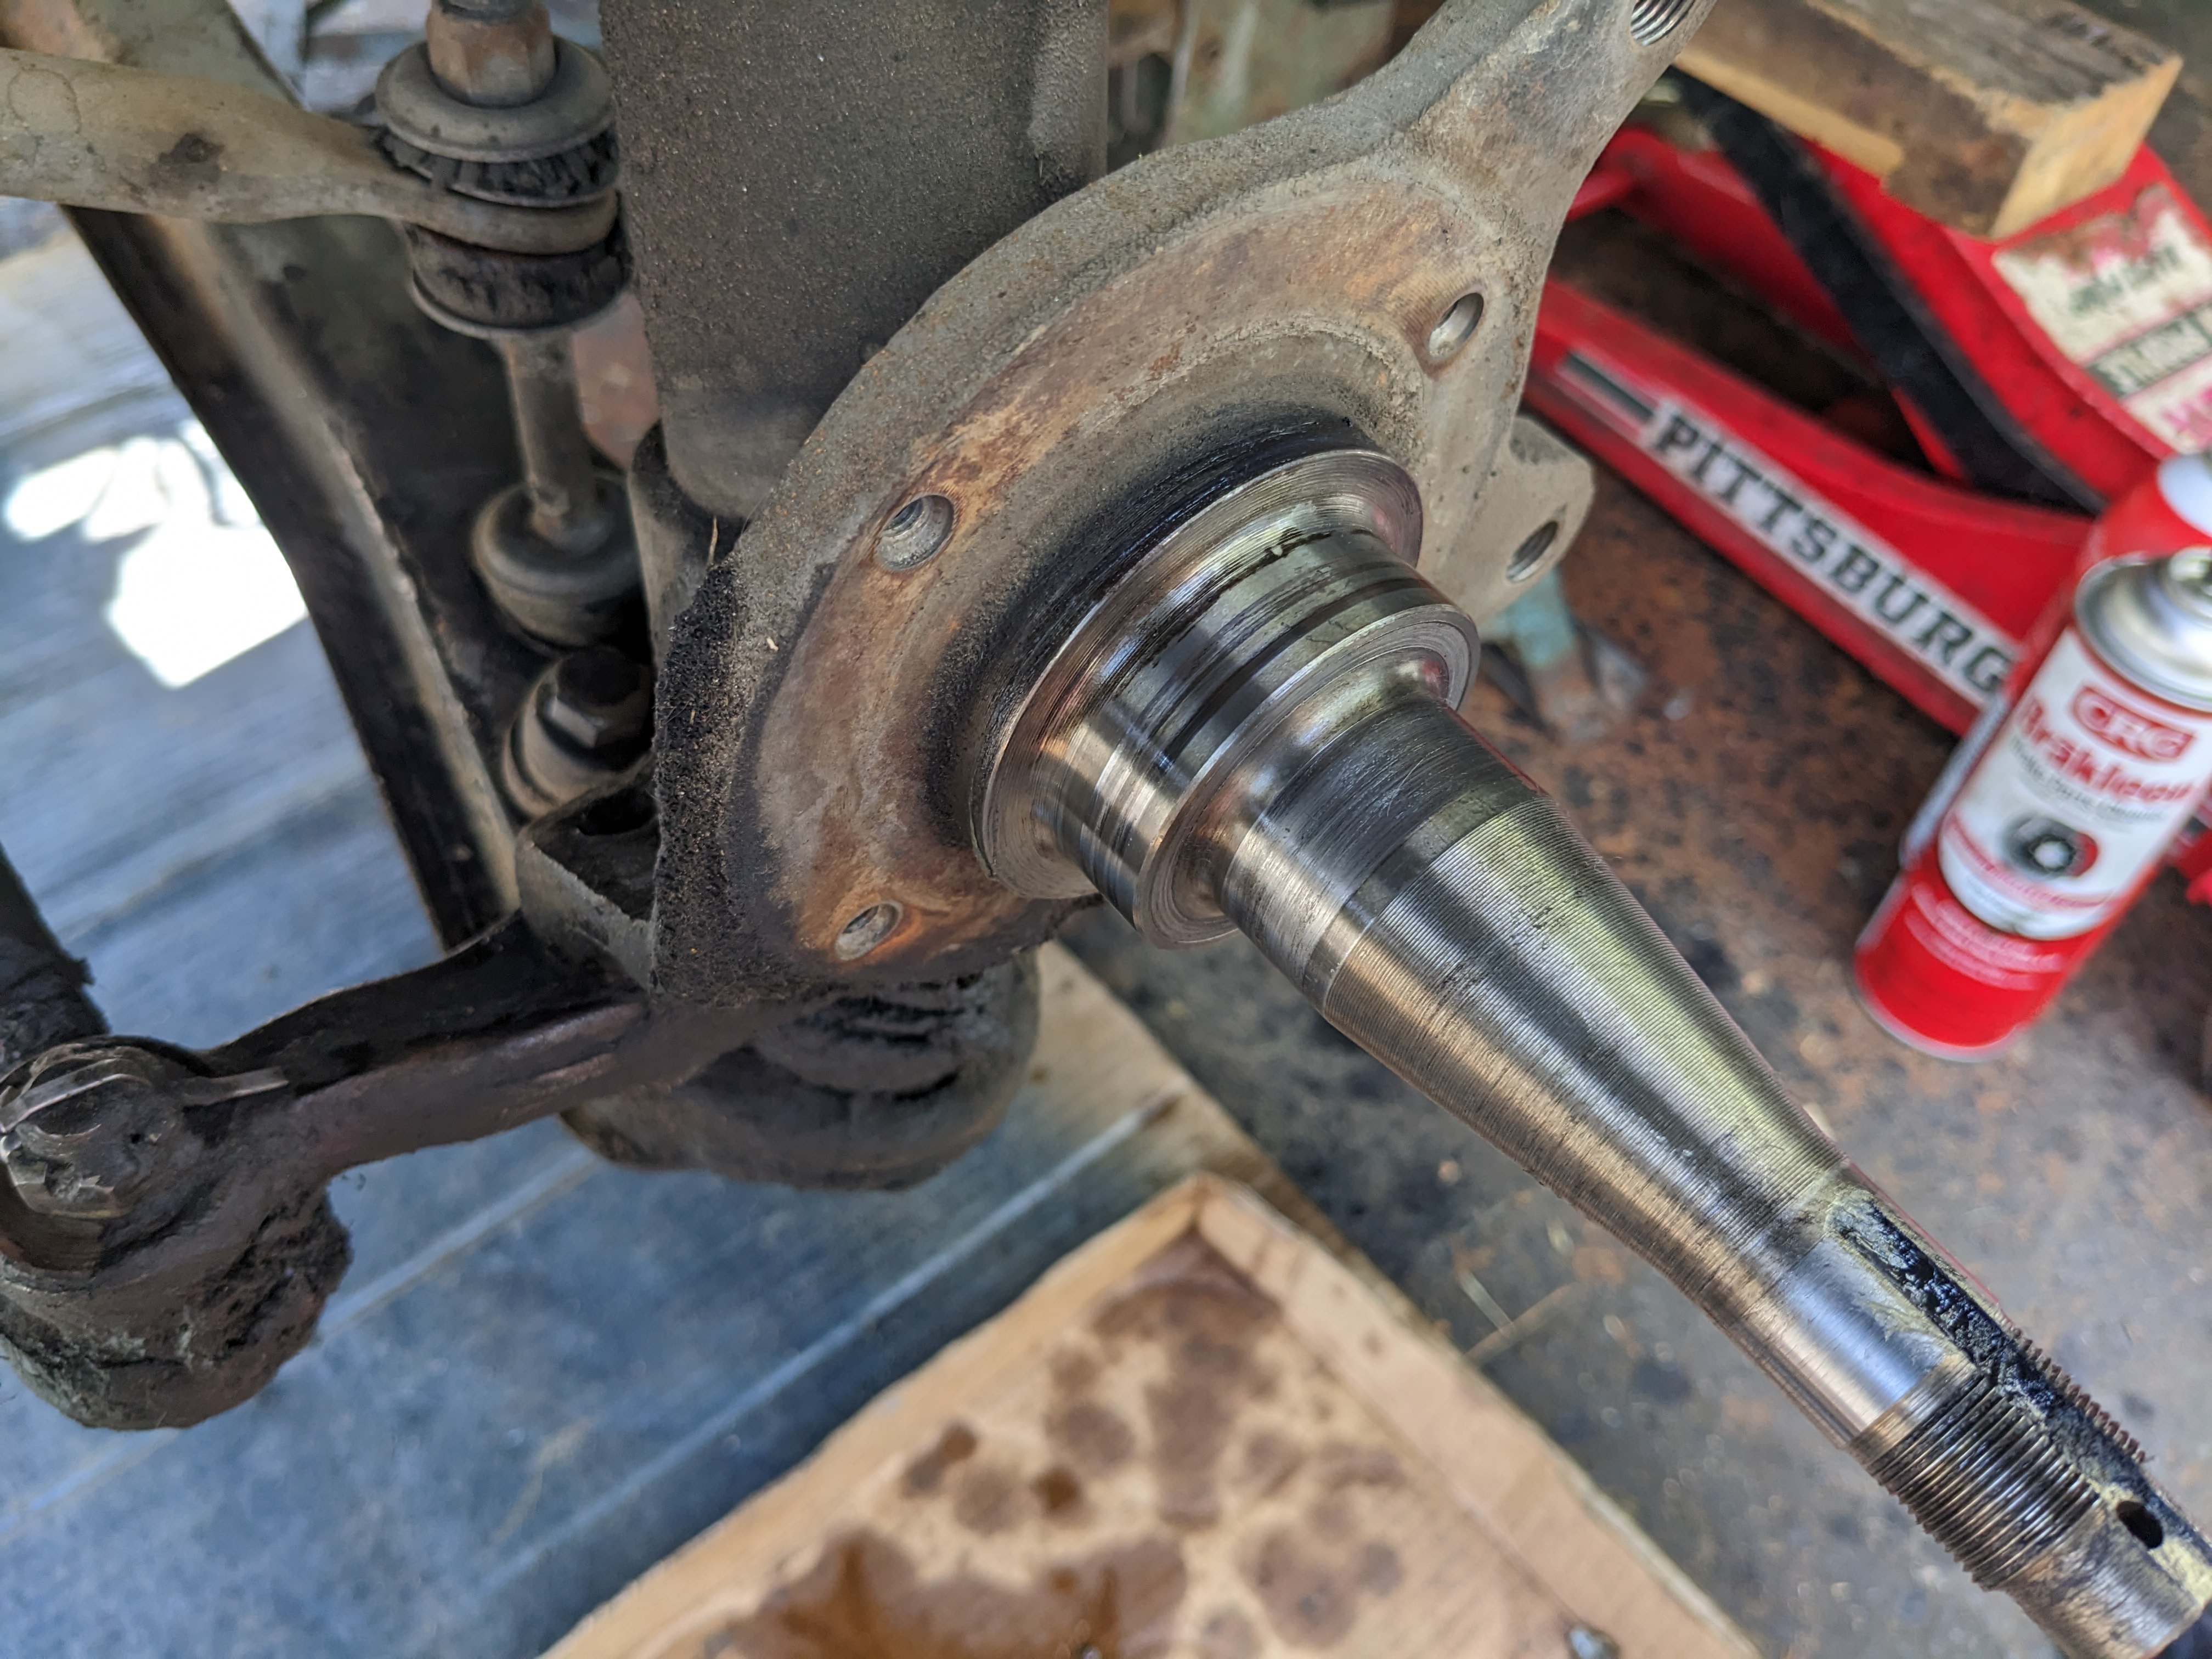
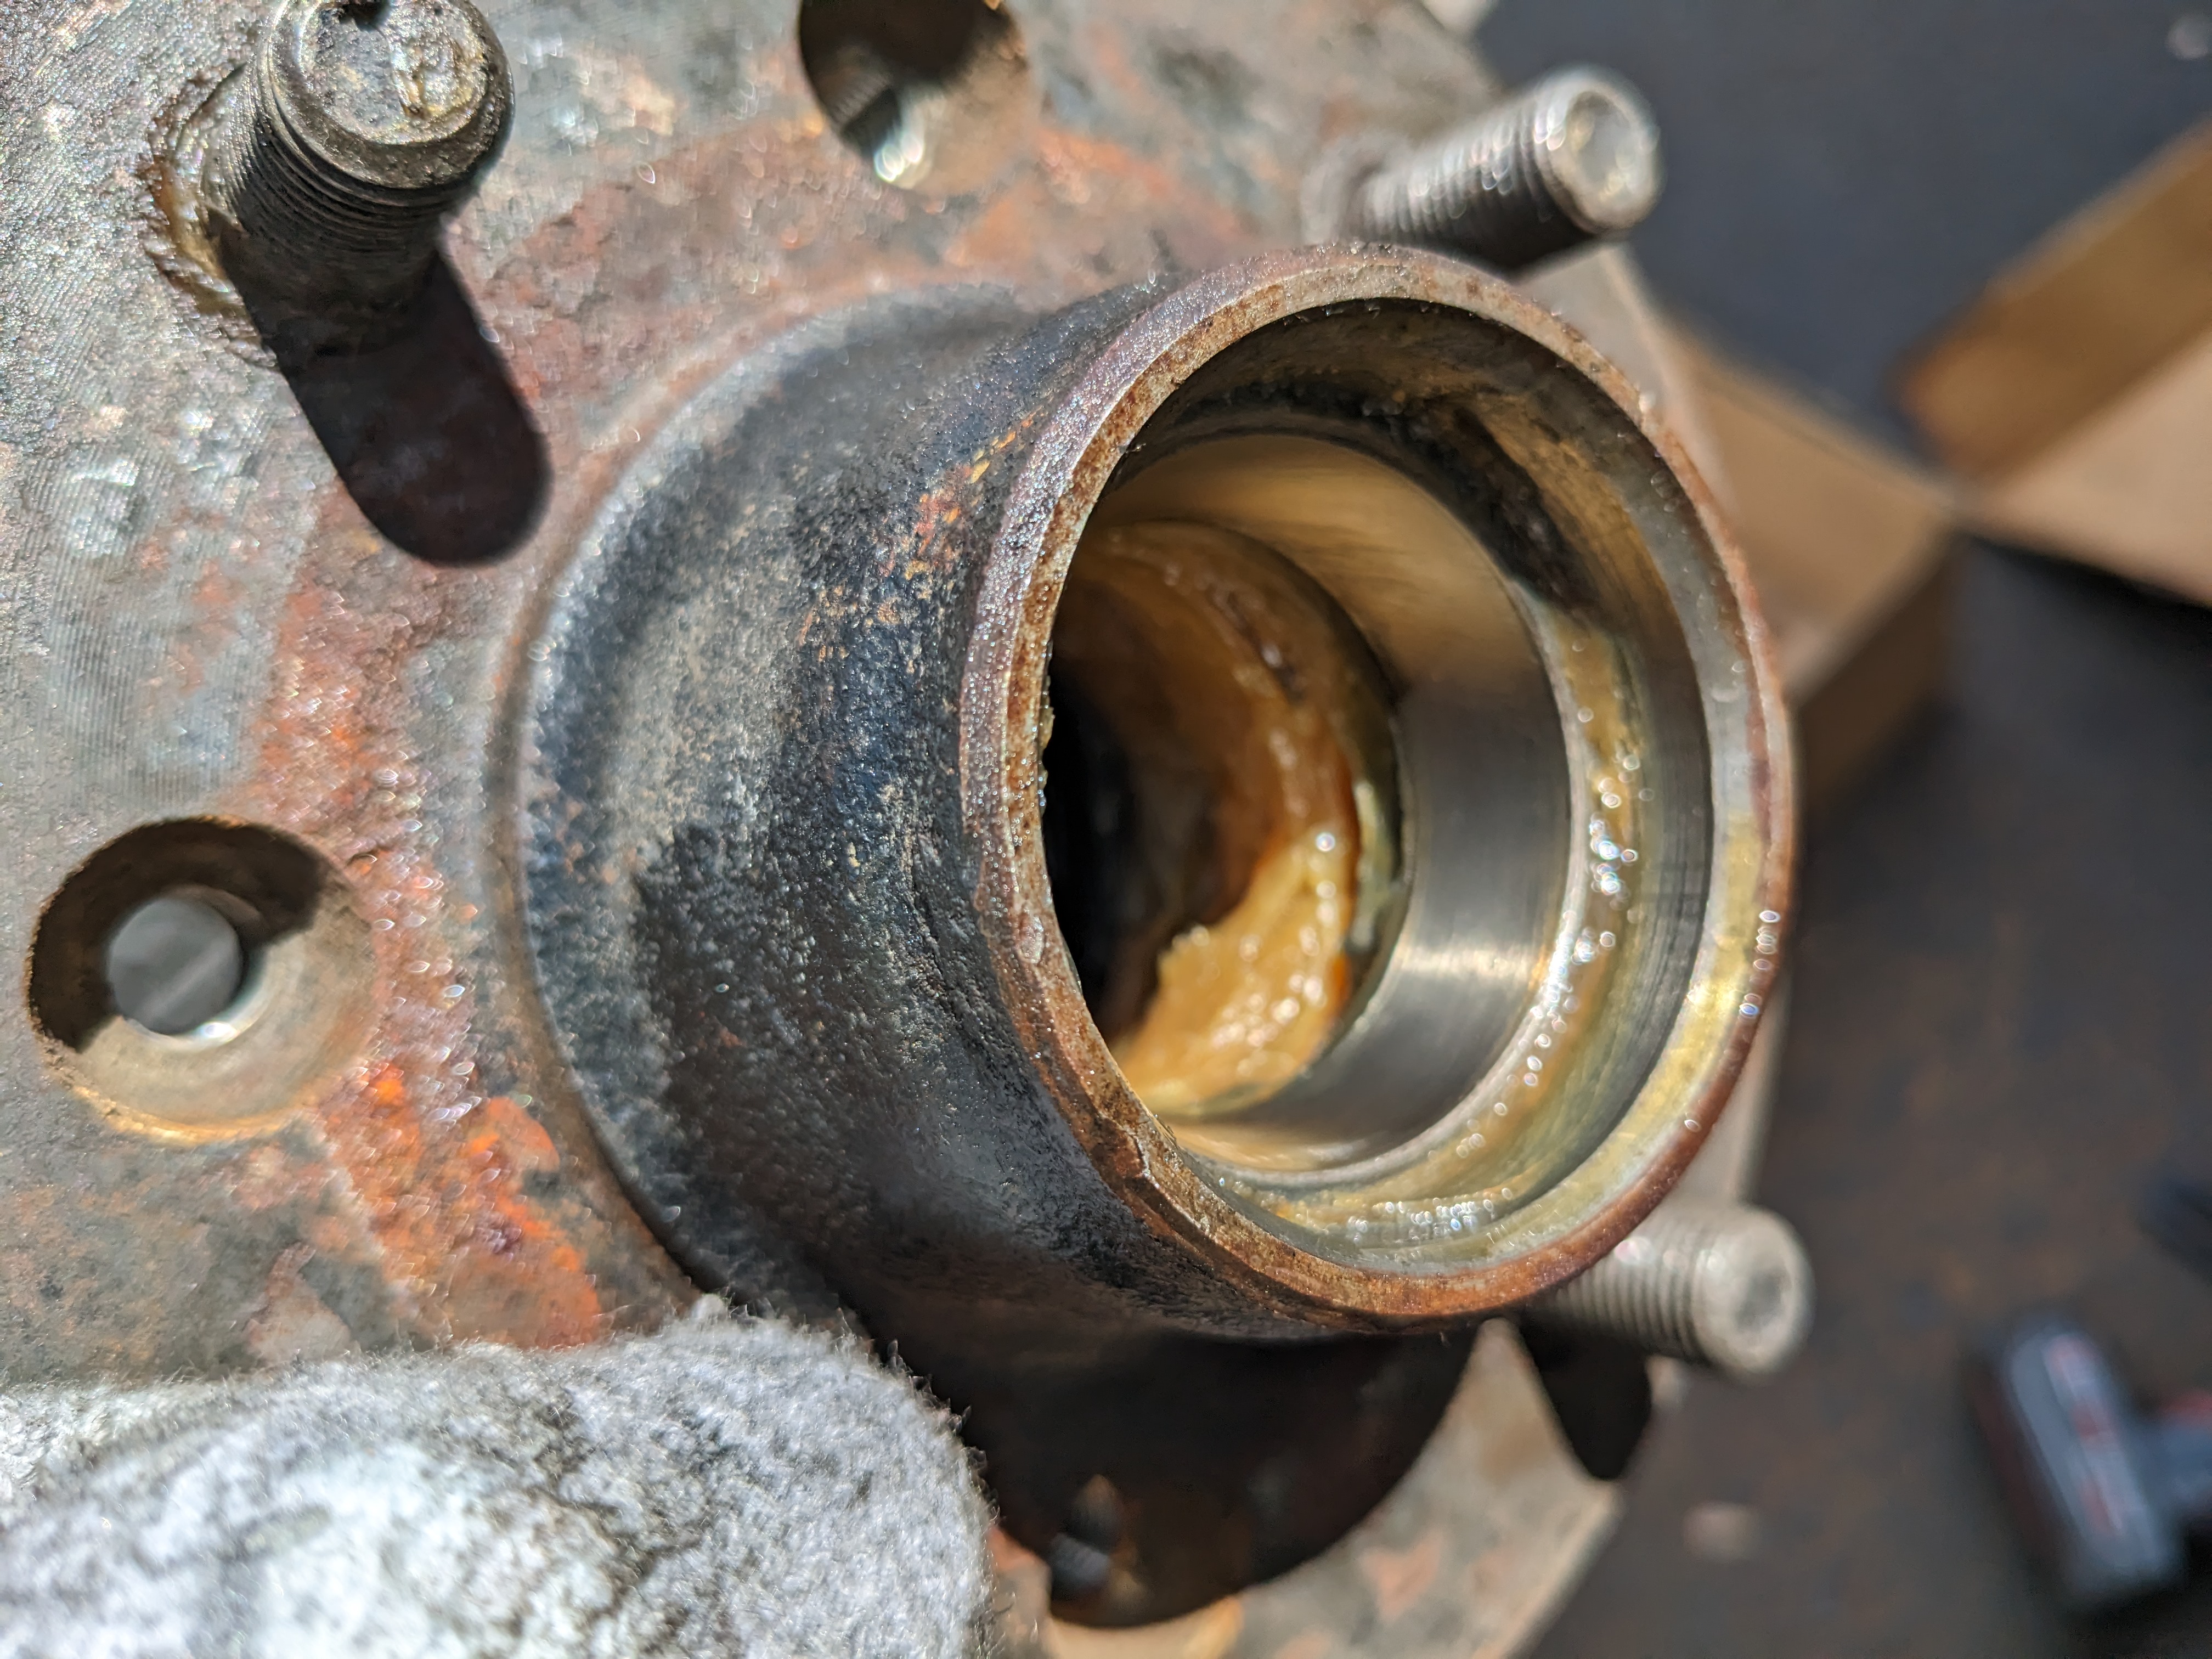
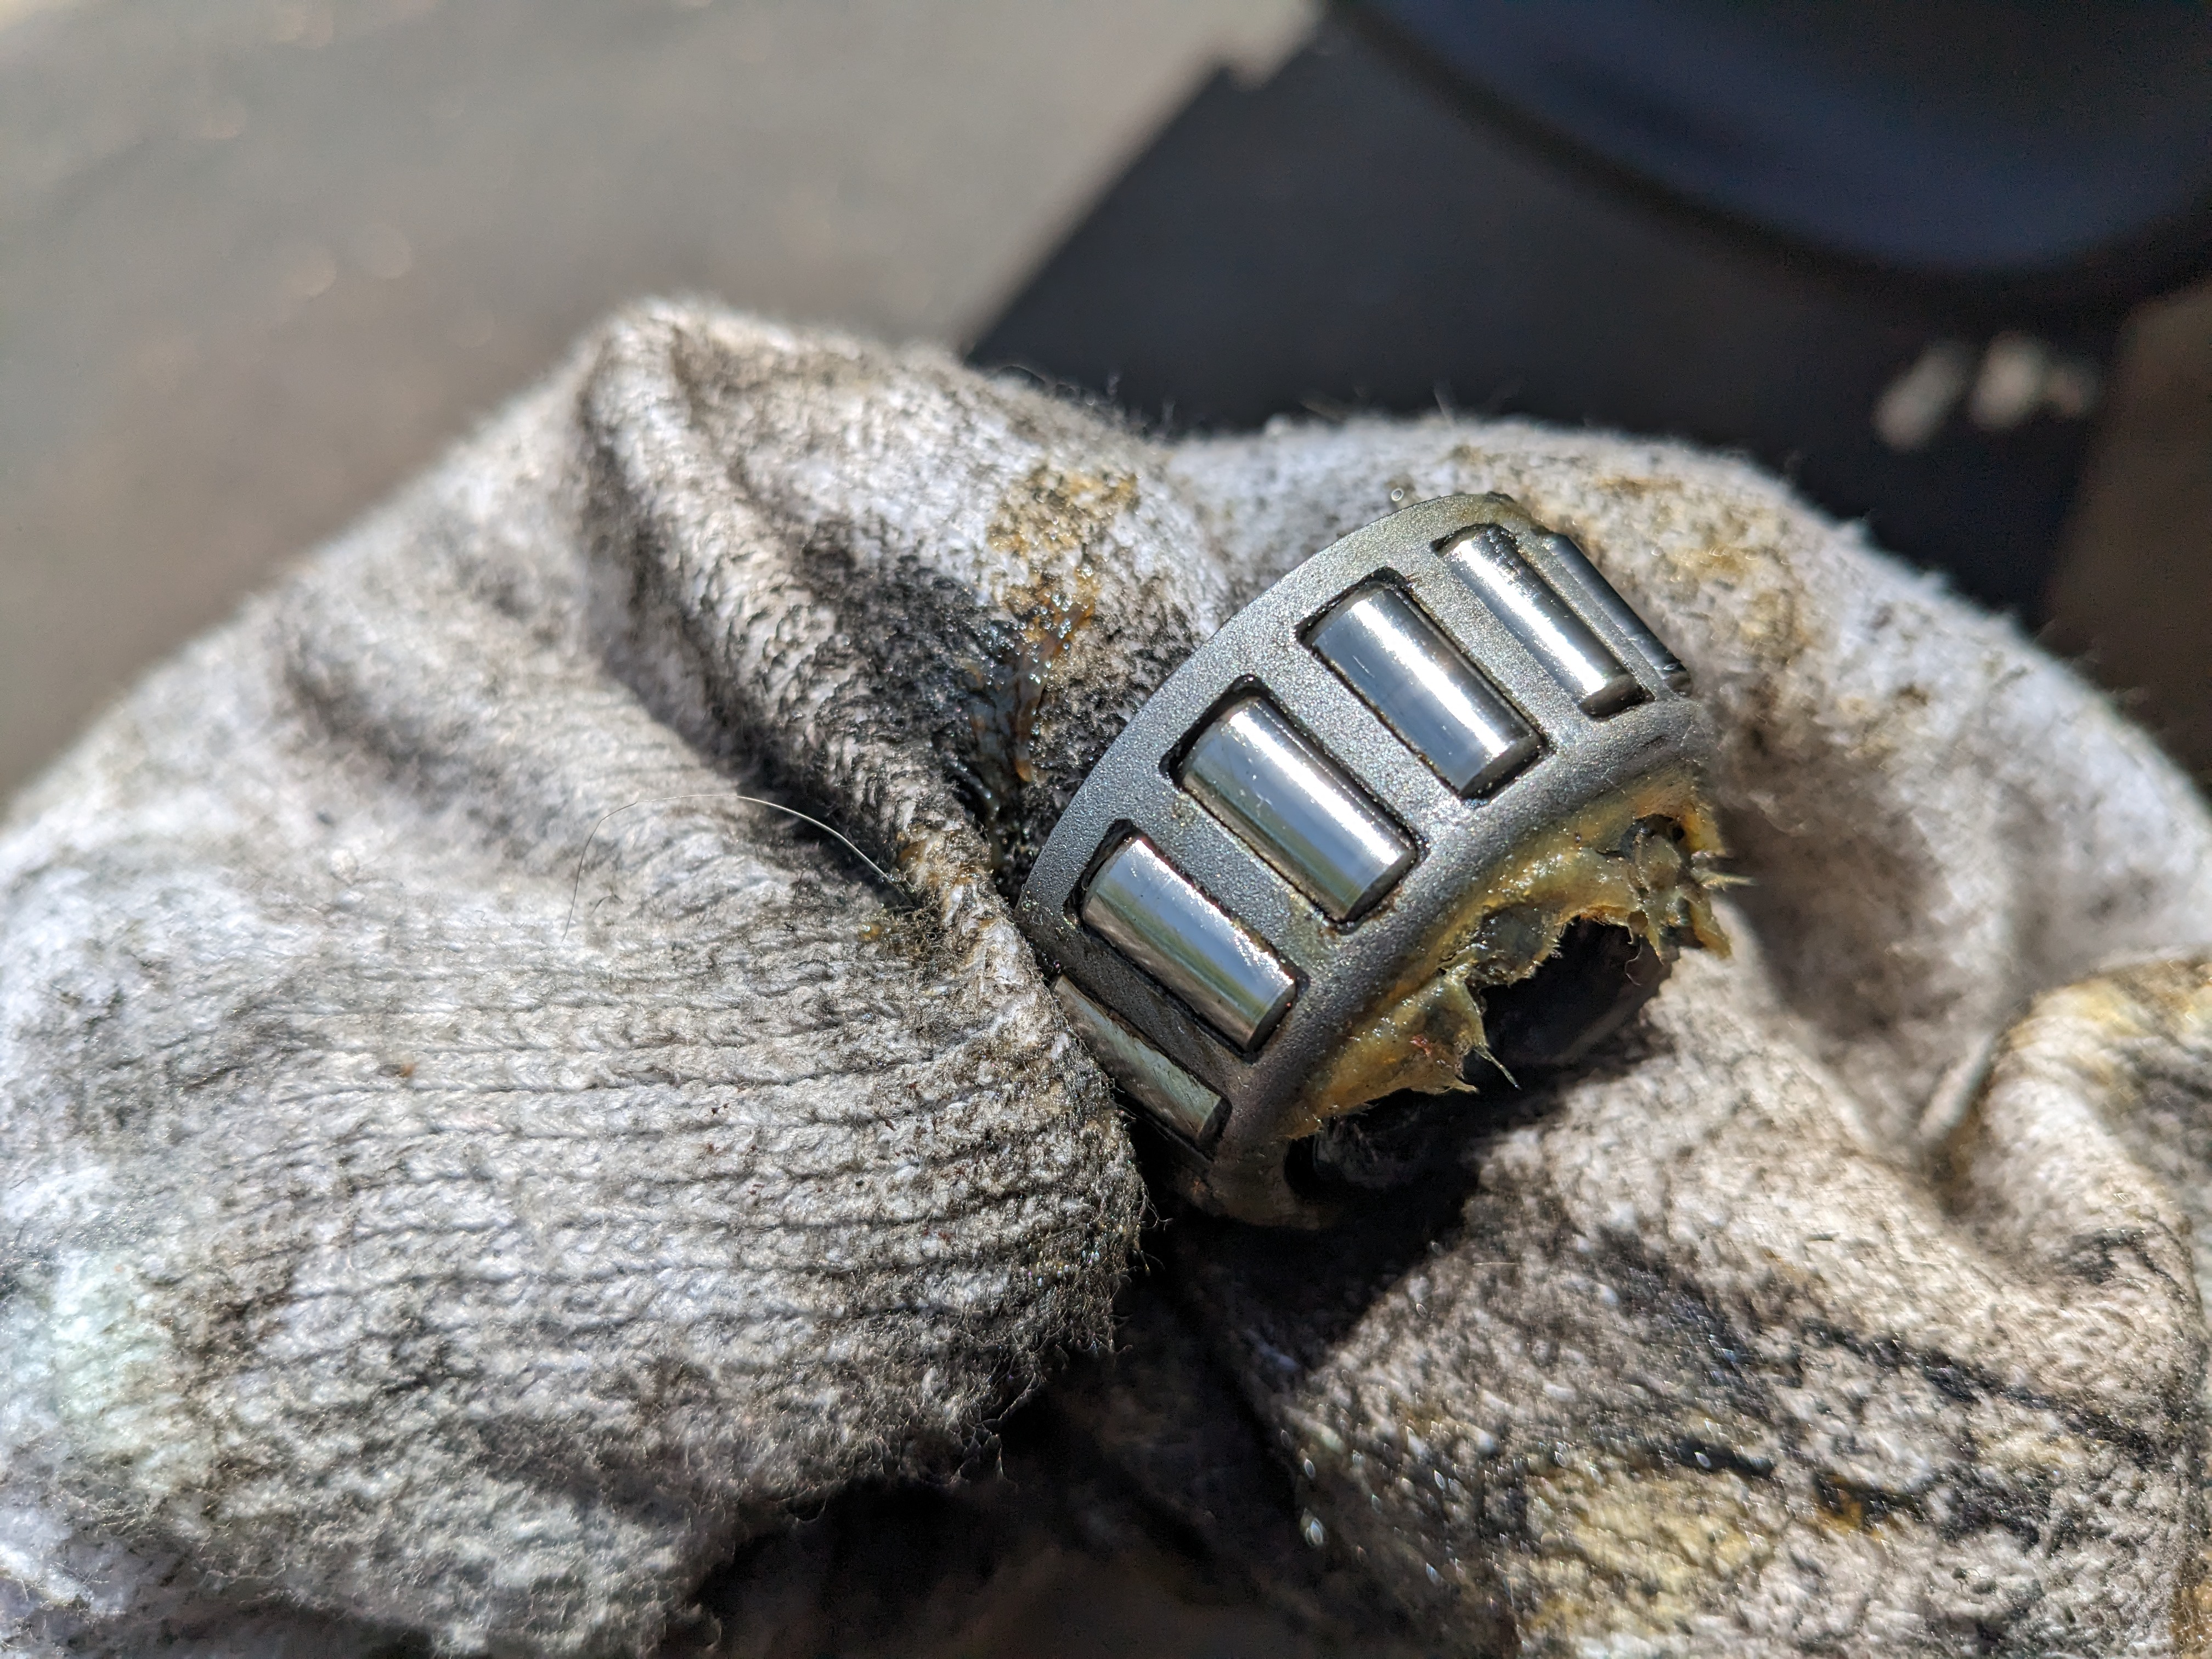
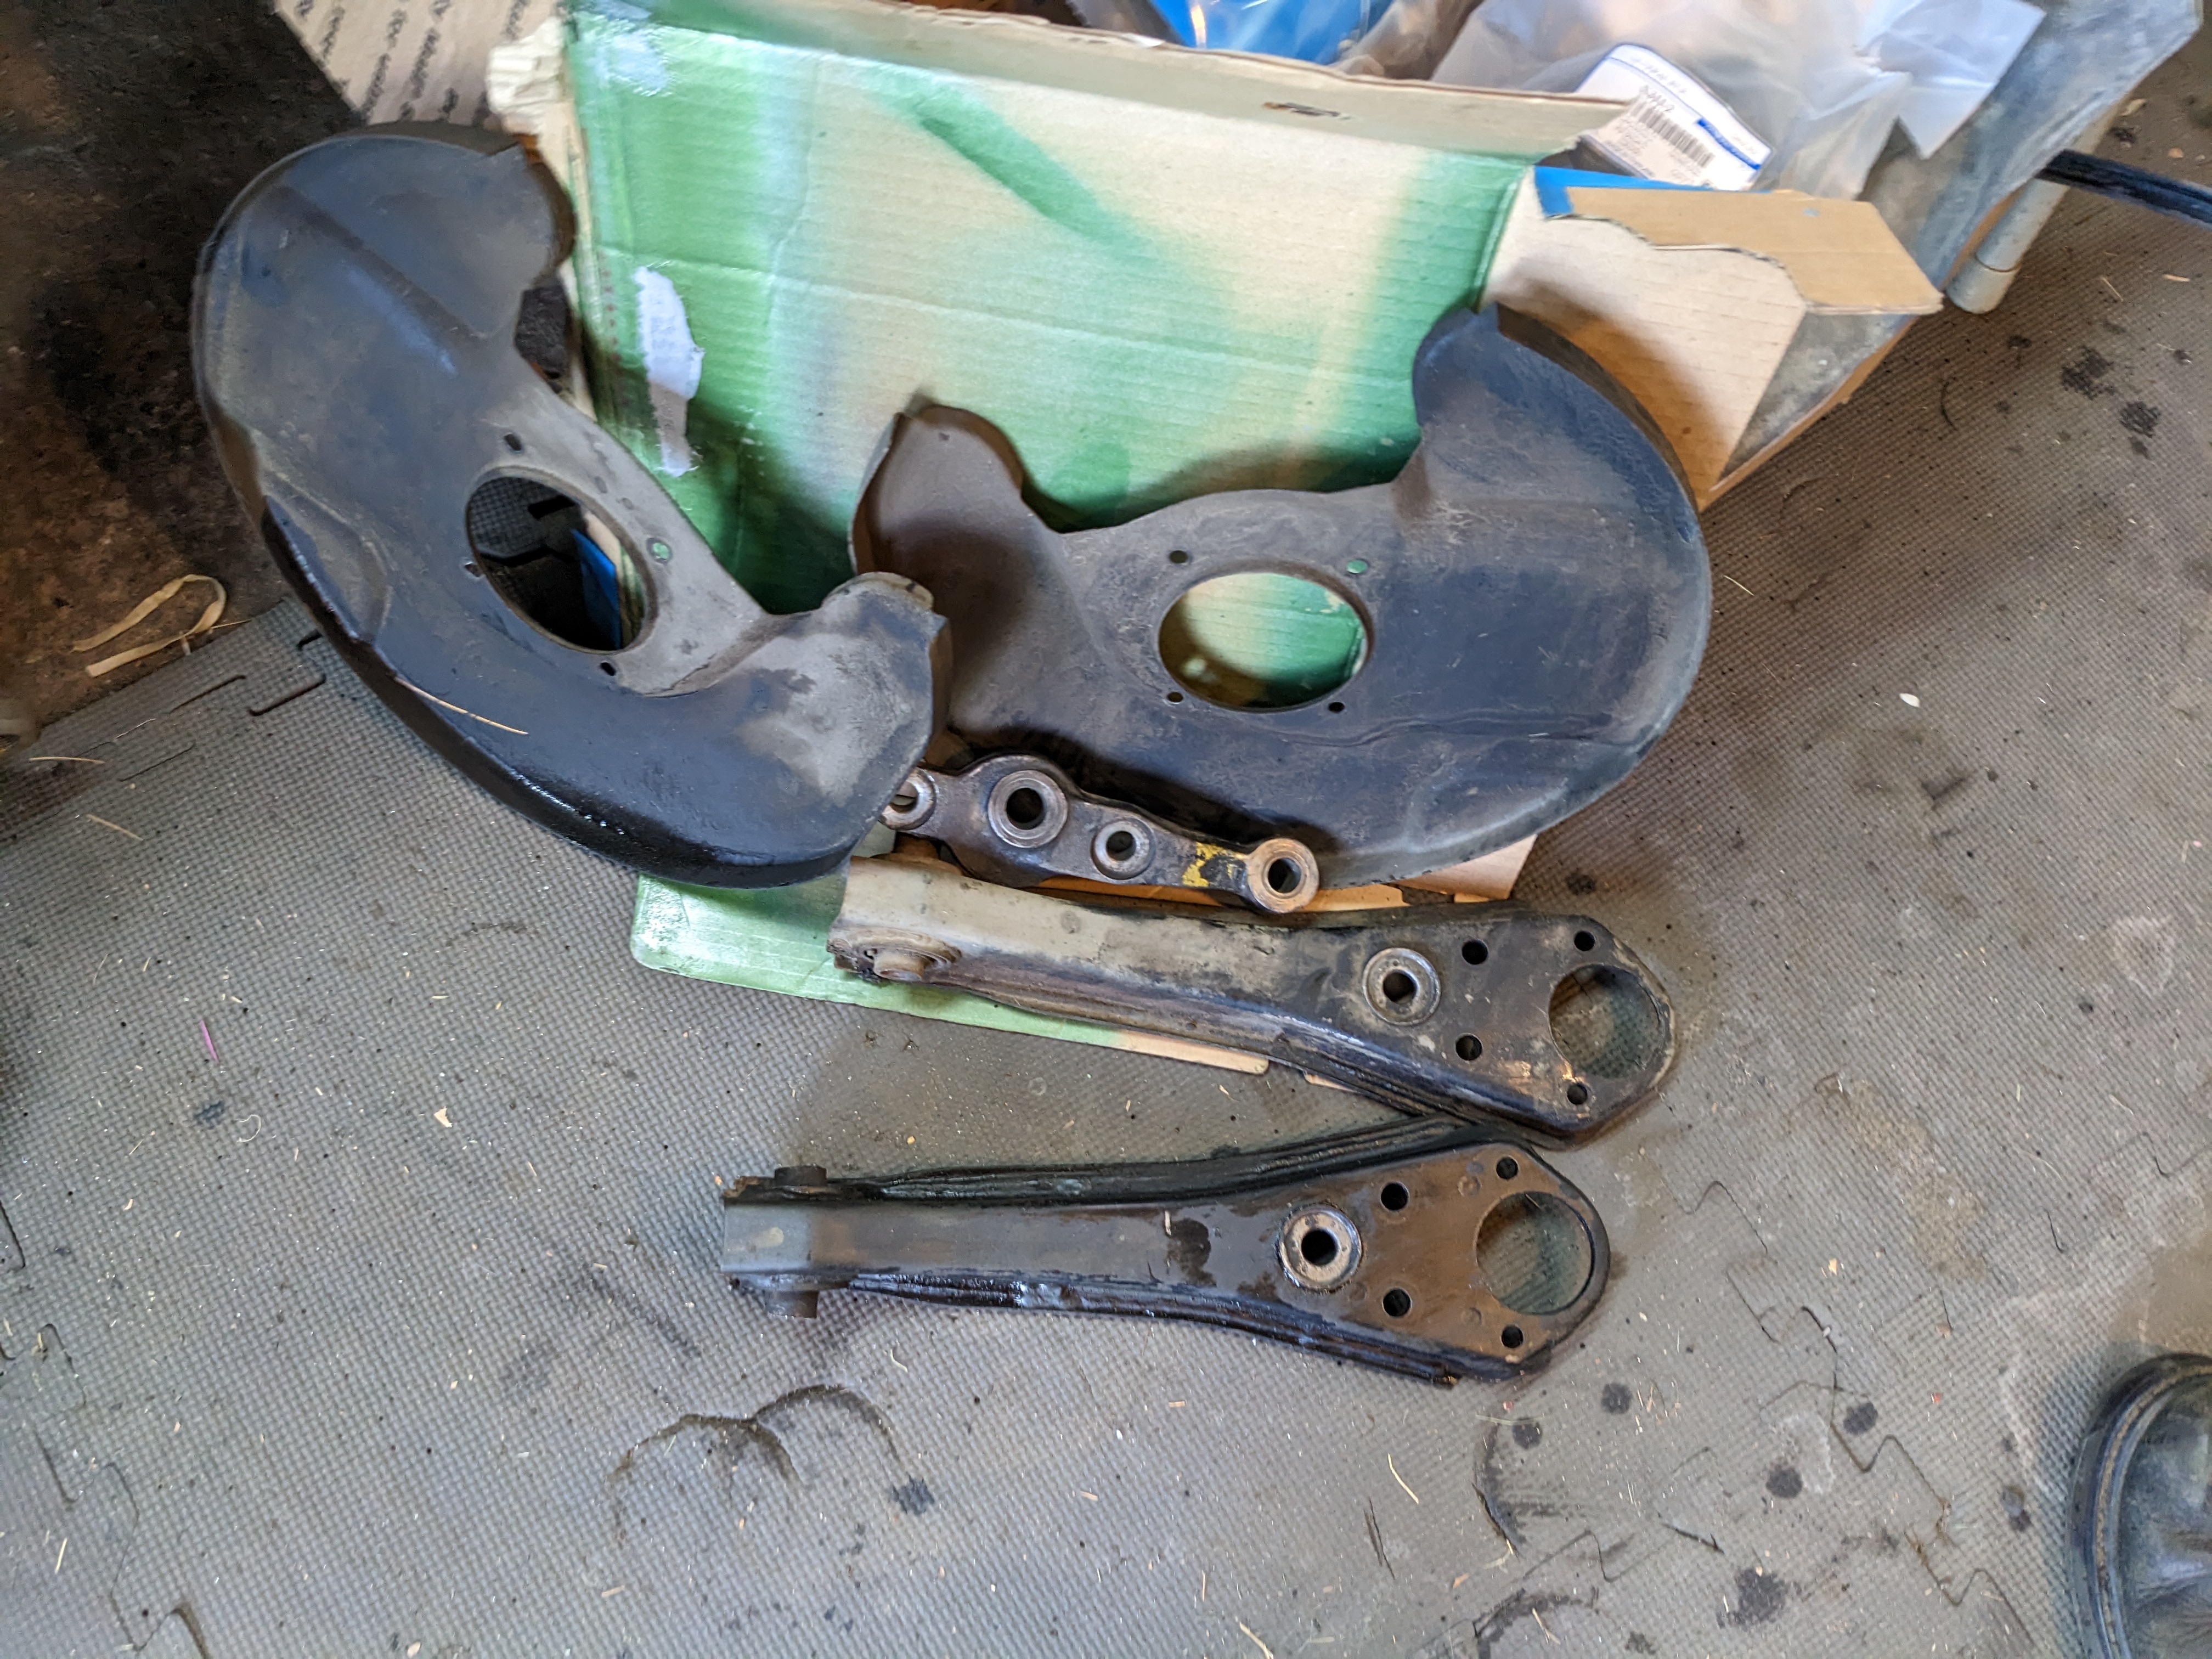
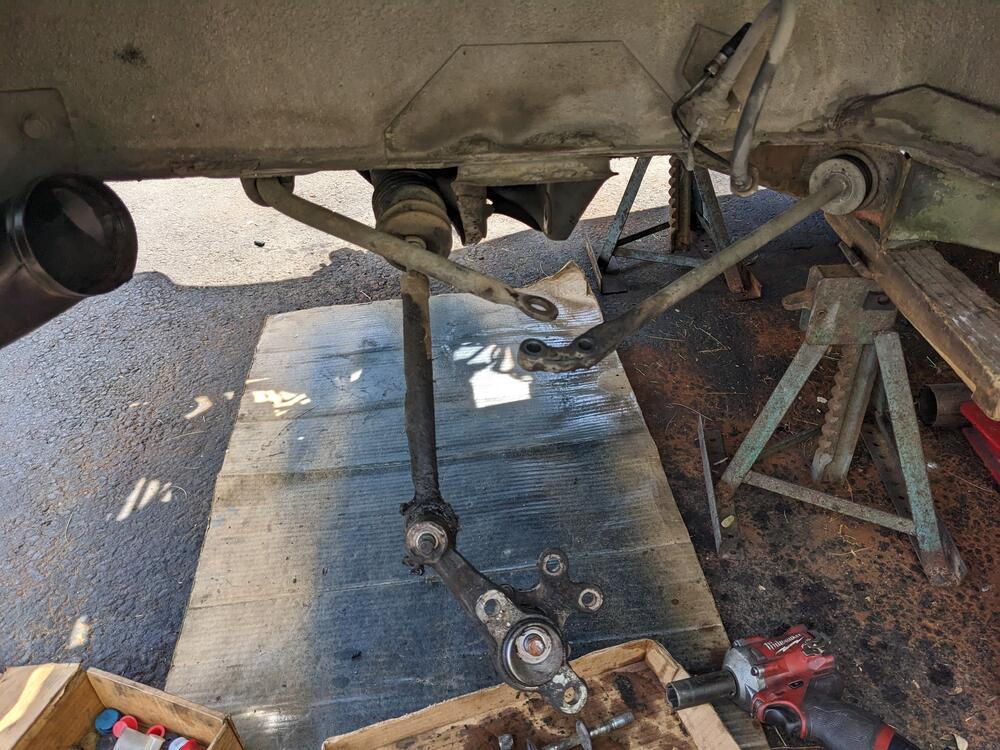
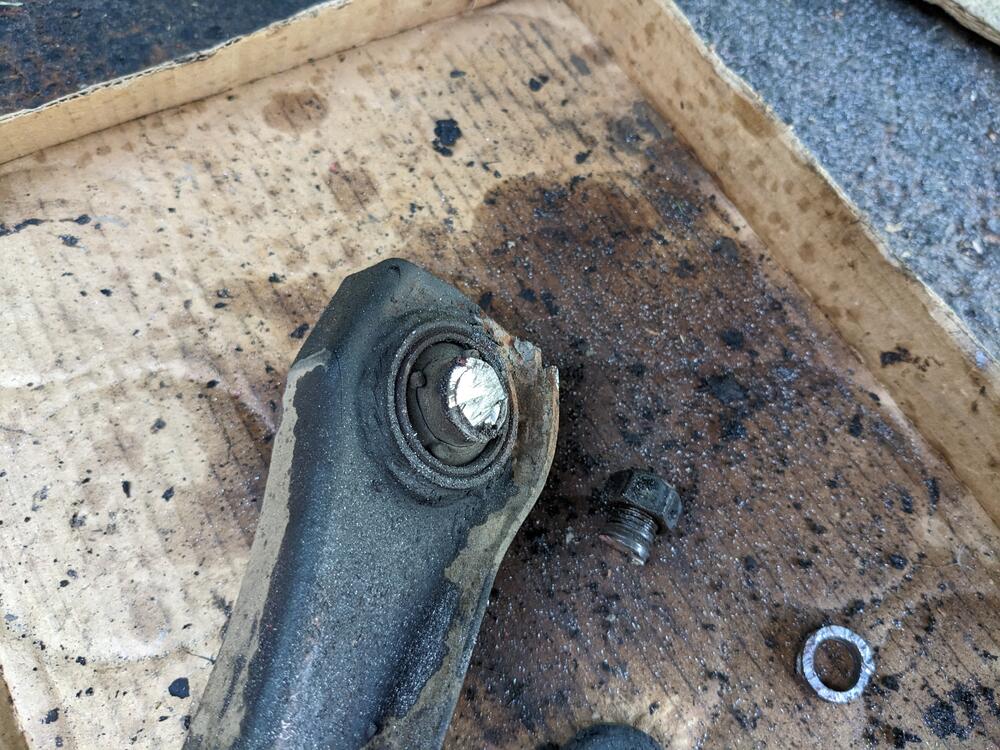
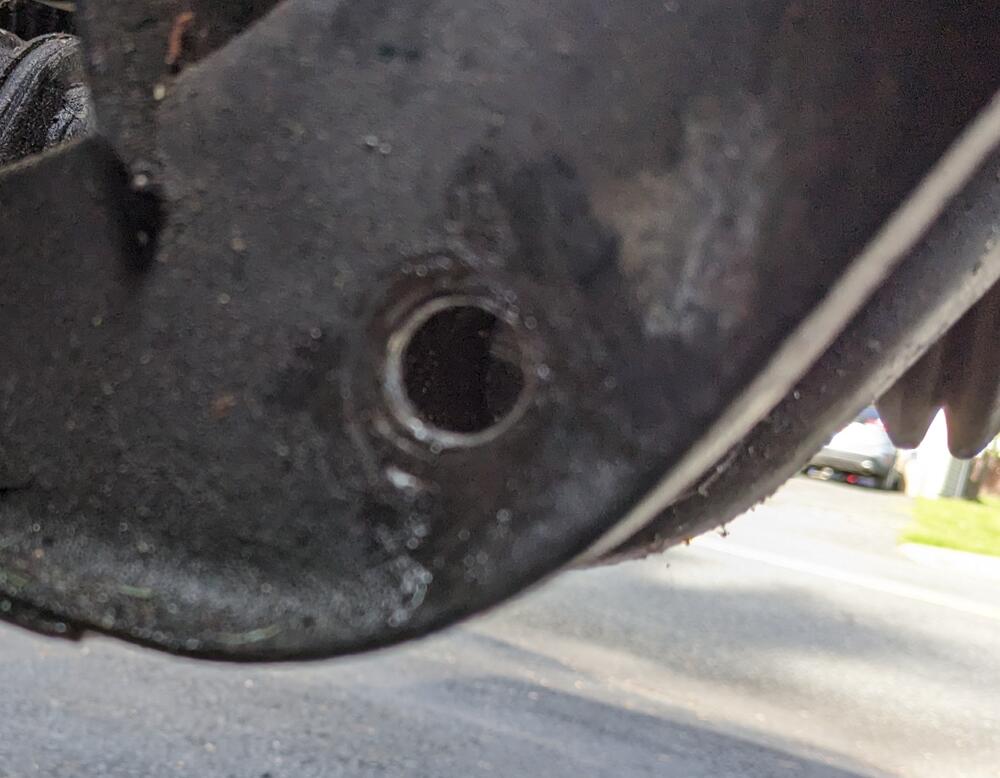
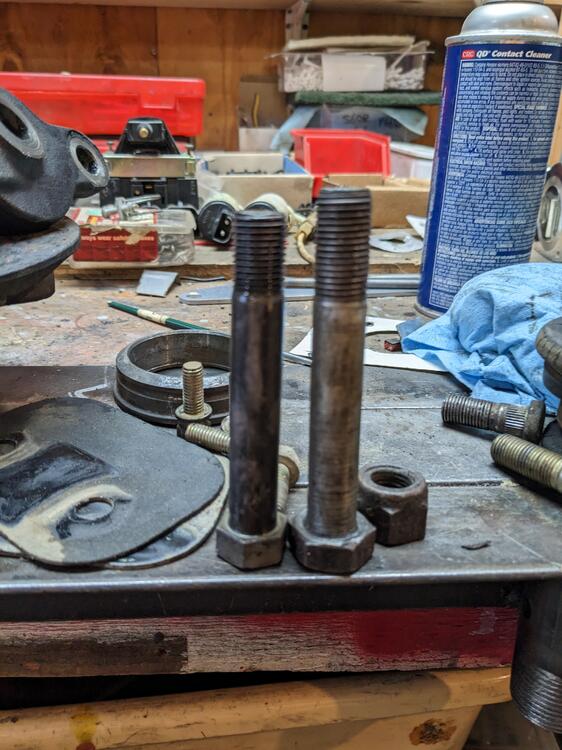
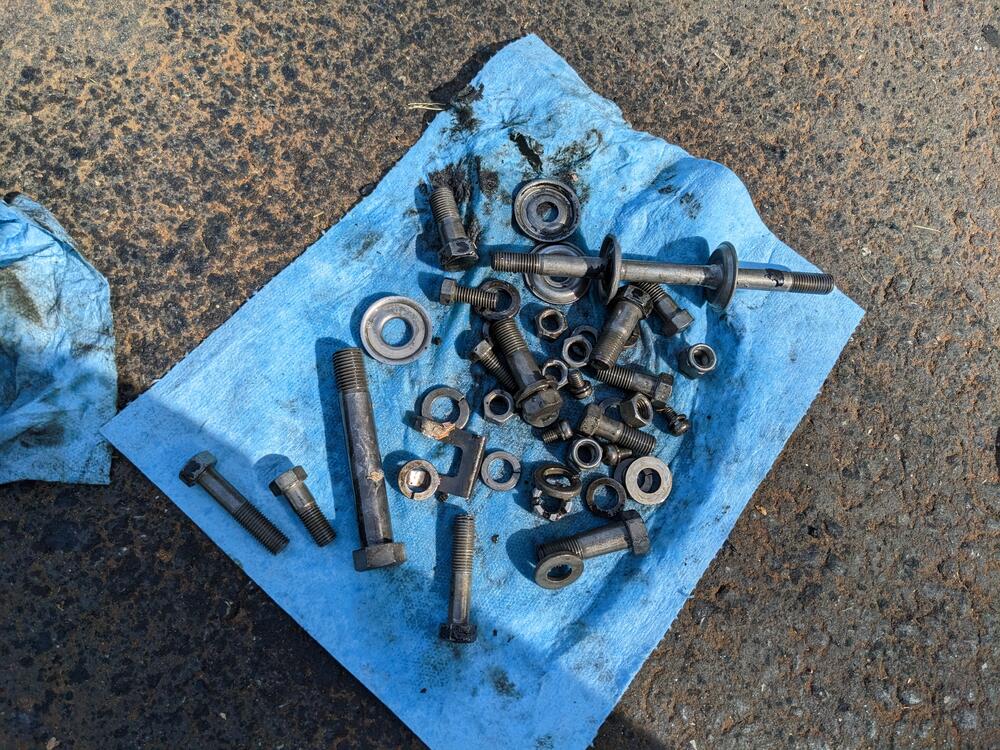
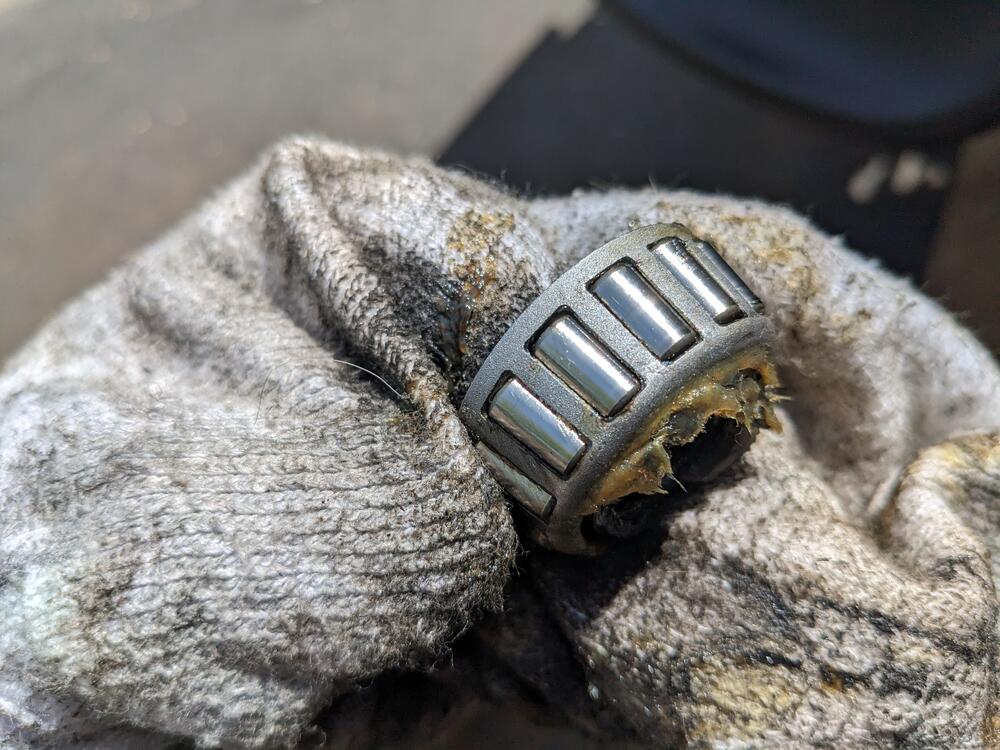
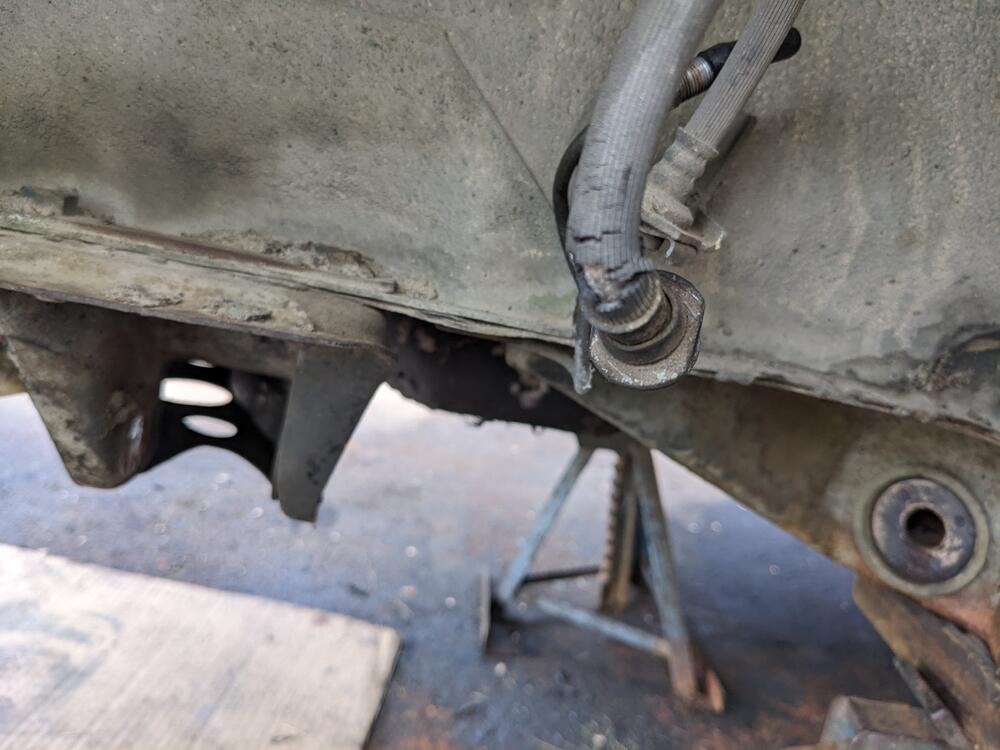
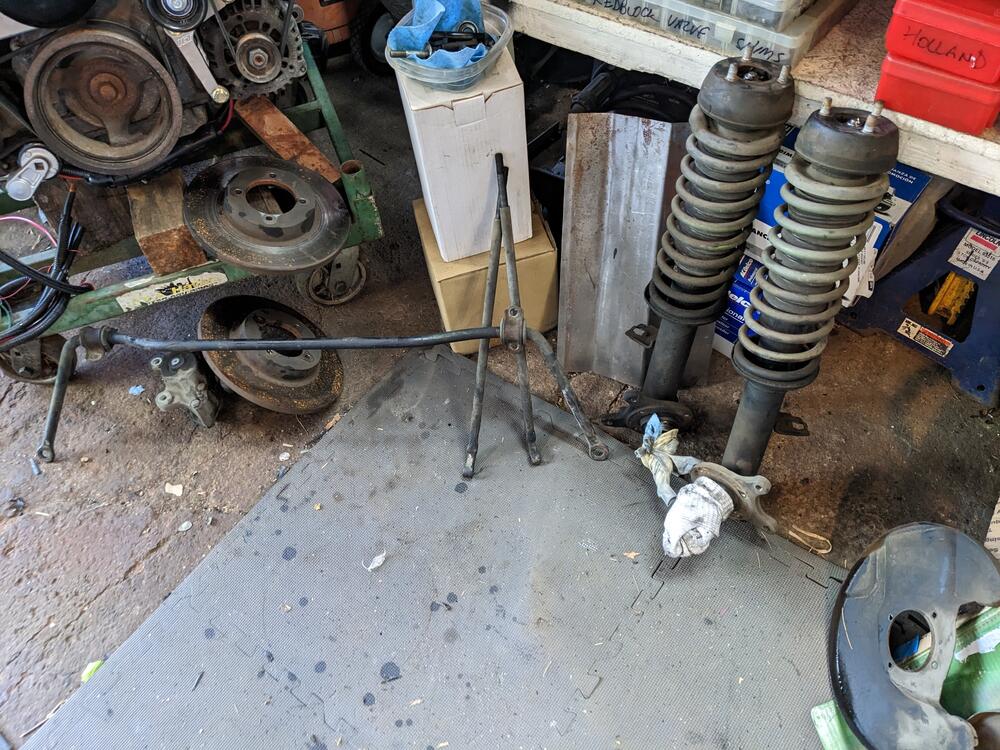
So, I finally got around to stripping the front end. Balljoints fkd, tie rod ends, fkd. Every bushing, fkd. Left side pivot bolt came out clean , no damage to subframe Left side hardware all cleaned up left side spindle. Hub was loose - I was able to turn the nut almost a full flat. The bearings look OK though. So this time around I think I'll just clean & repack them Right side was a bitch. I had to cut the control arm pivot bolt off, it was seized inside the bushing sleeve, and has elongated the holes in the subframe I have a longer M14 bolt (probably off the X1/9, which will work if I have to weld reinforcement washers to the subframe So, the wheels - they will not fit the stock short studs, since they use cone seat nuts that do not recess as deeply as the shoulder lug nuts I removed. Technically, that may be just within safe thread depth for an M12 nut, but I'm not risking that. I didn't see any mention of a stud or lug nut concern when I was searching wheel options. I found the rear studs are longer - so I'll use the 25mm thread depth rears on the front hubs, and get 2" length for the rears Brake hoses are also shot Caster rod seats are good made a start degreasing the back plates, control arms & link arms. Everything was covered in copious amounts of grease from the (lack of) boots of the tie rod & balljoints I'll have to dismantle the struts next. Ho[pefully no nasty surprises with the tubes


 4 points
 -
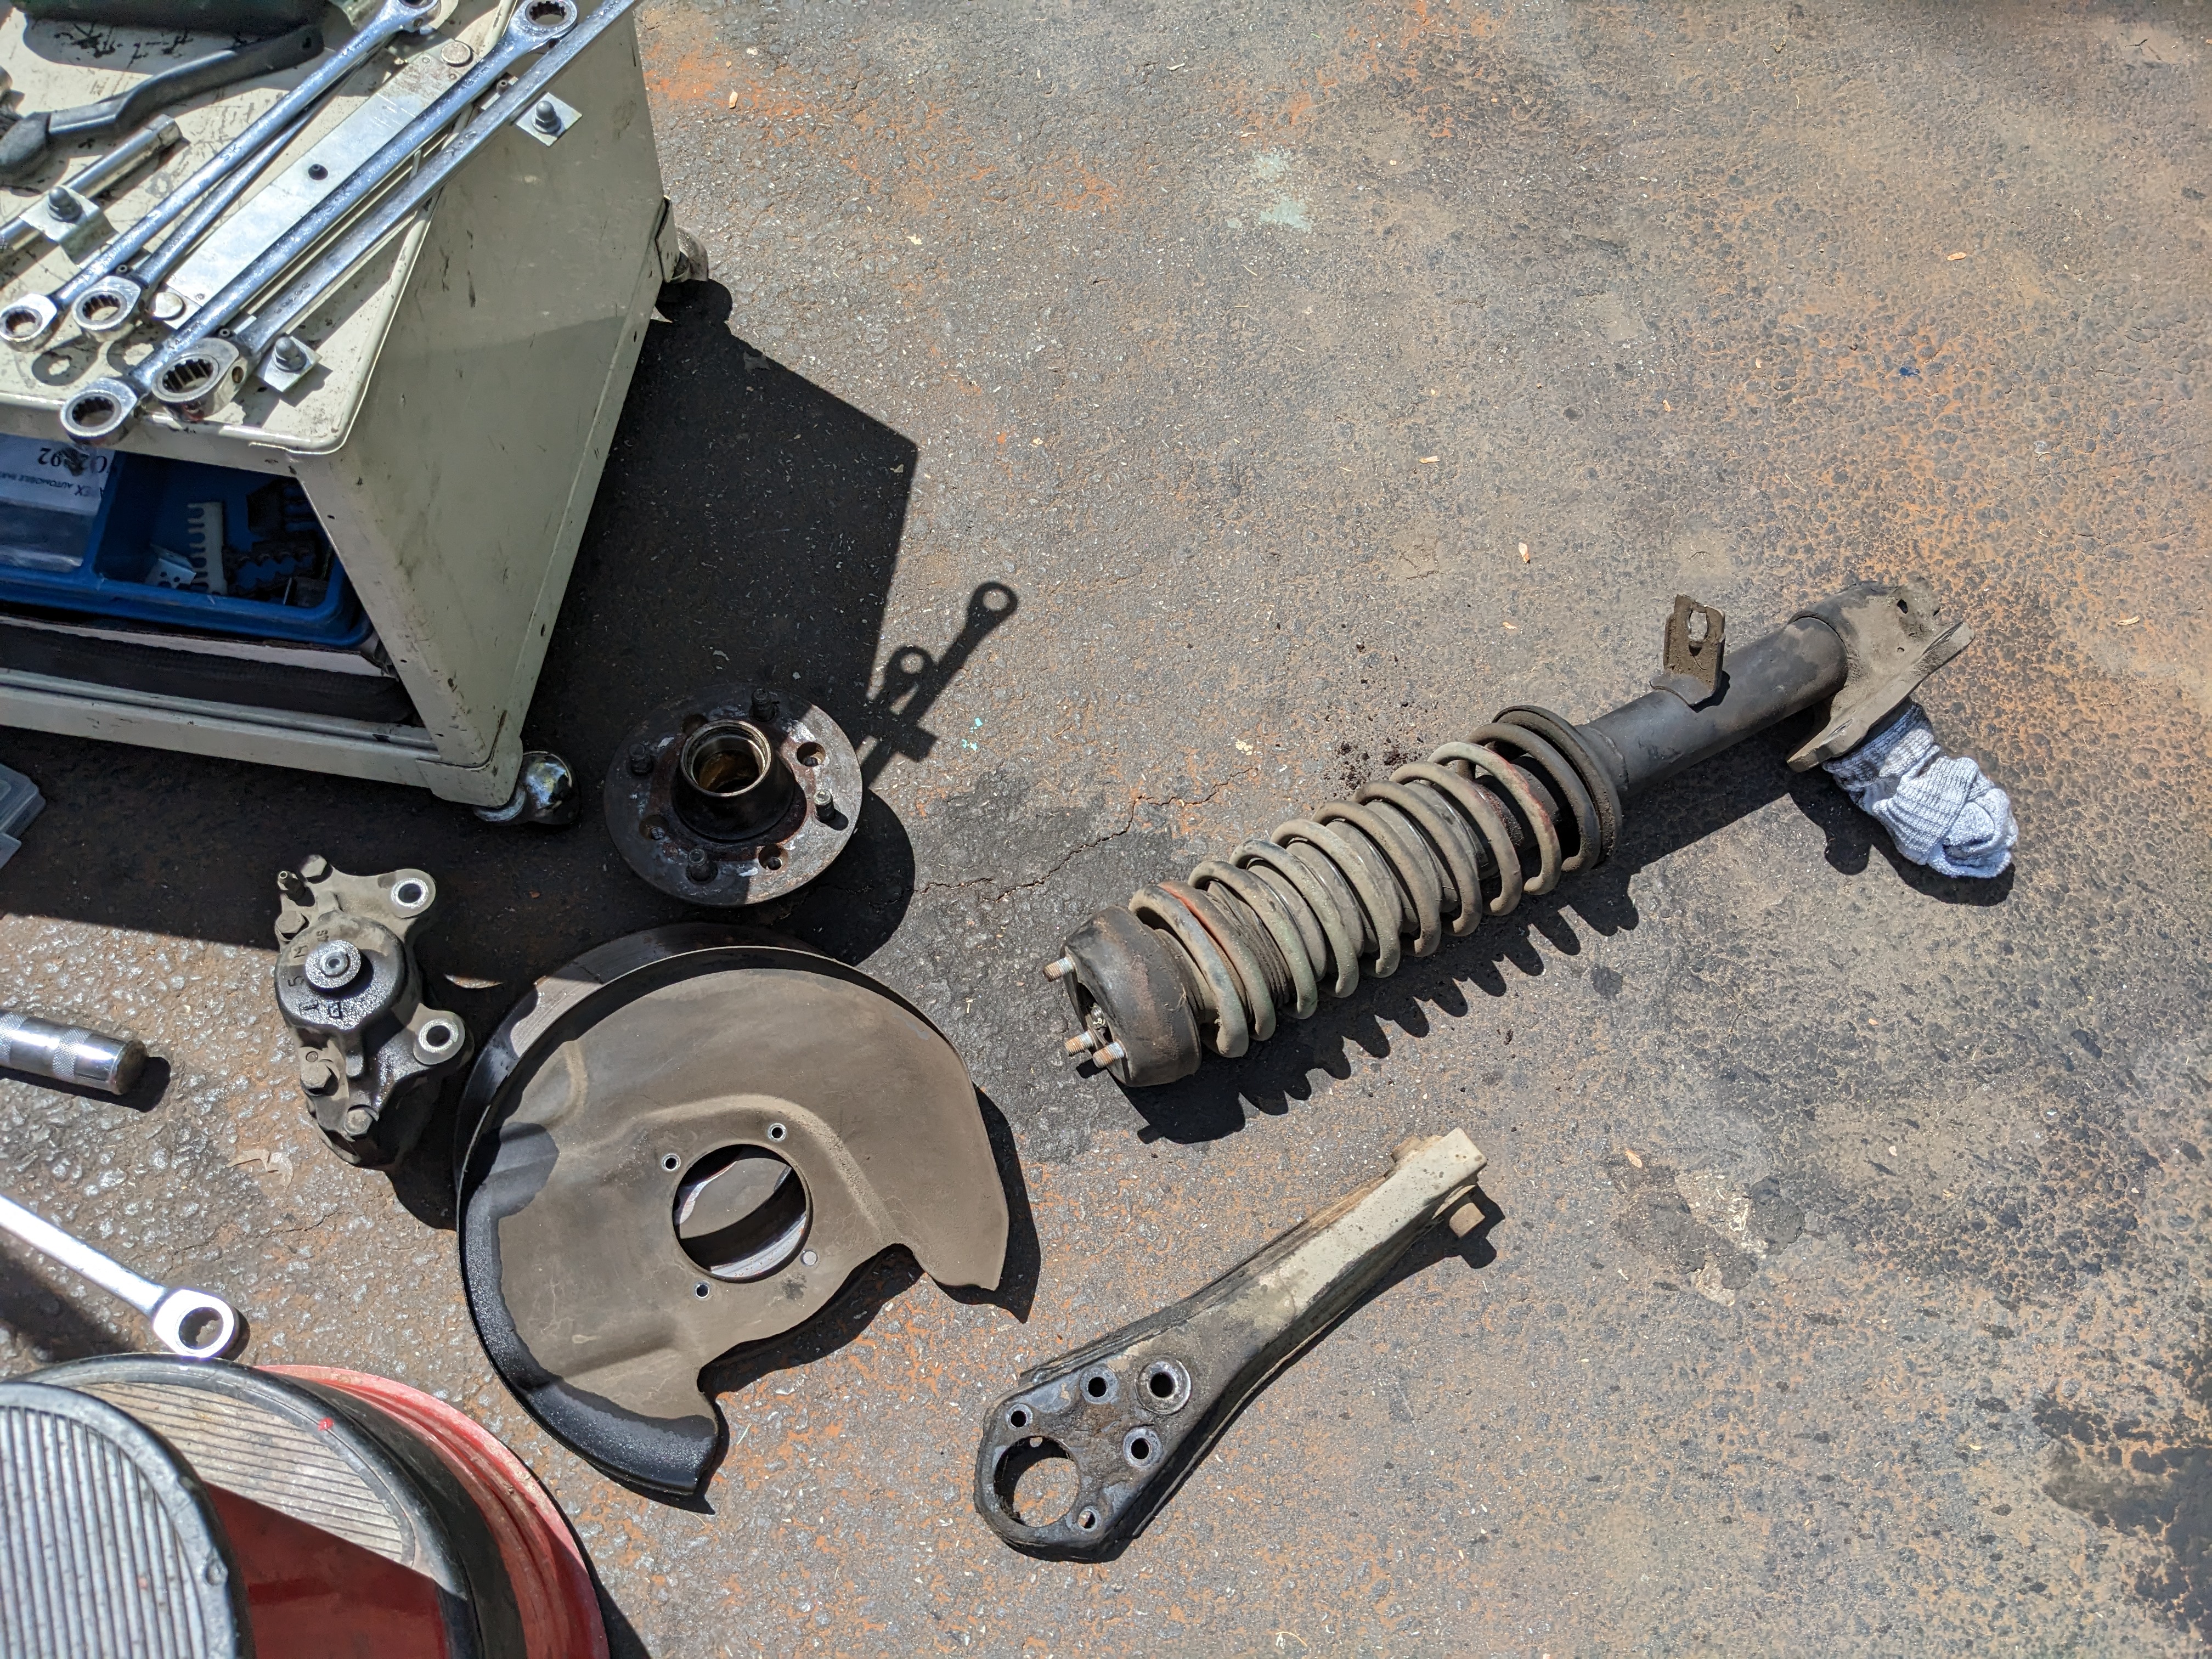
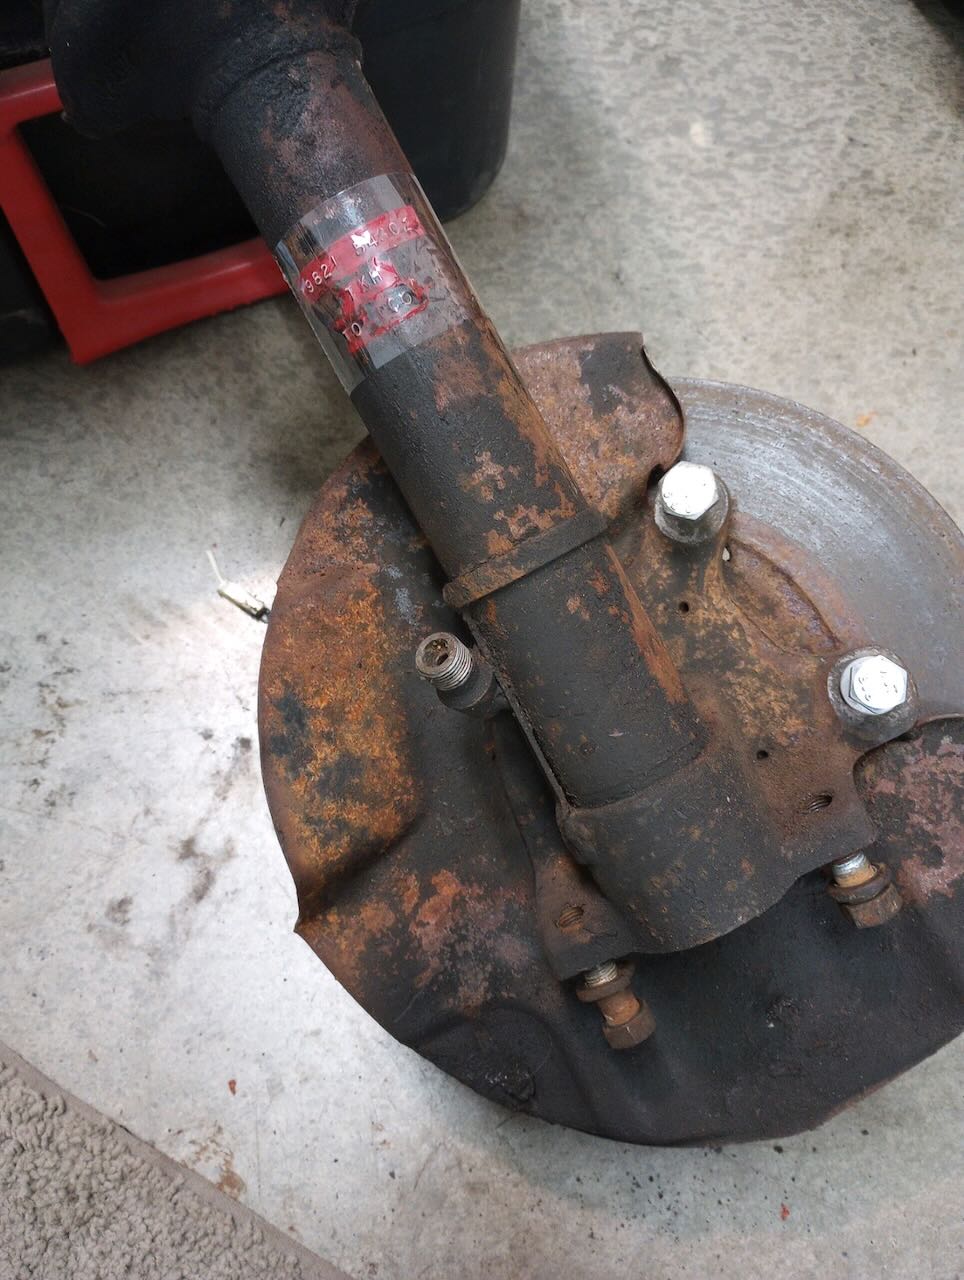
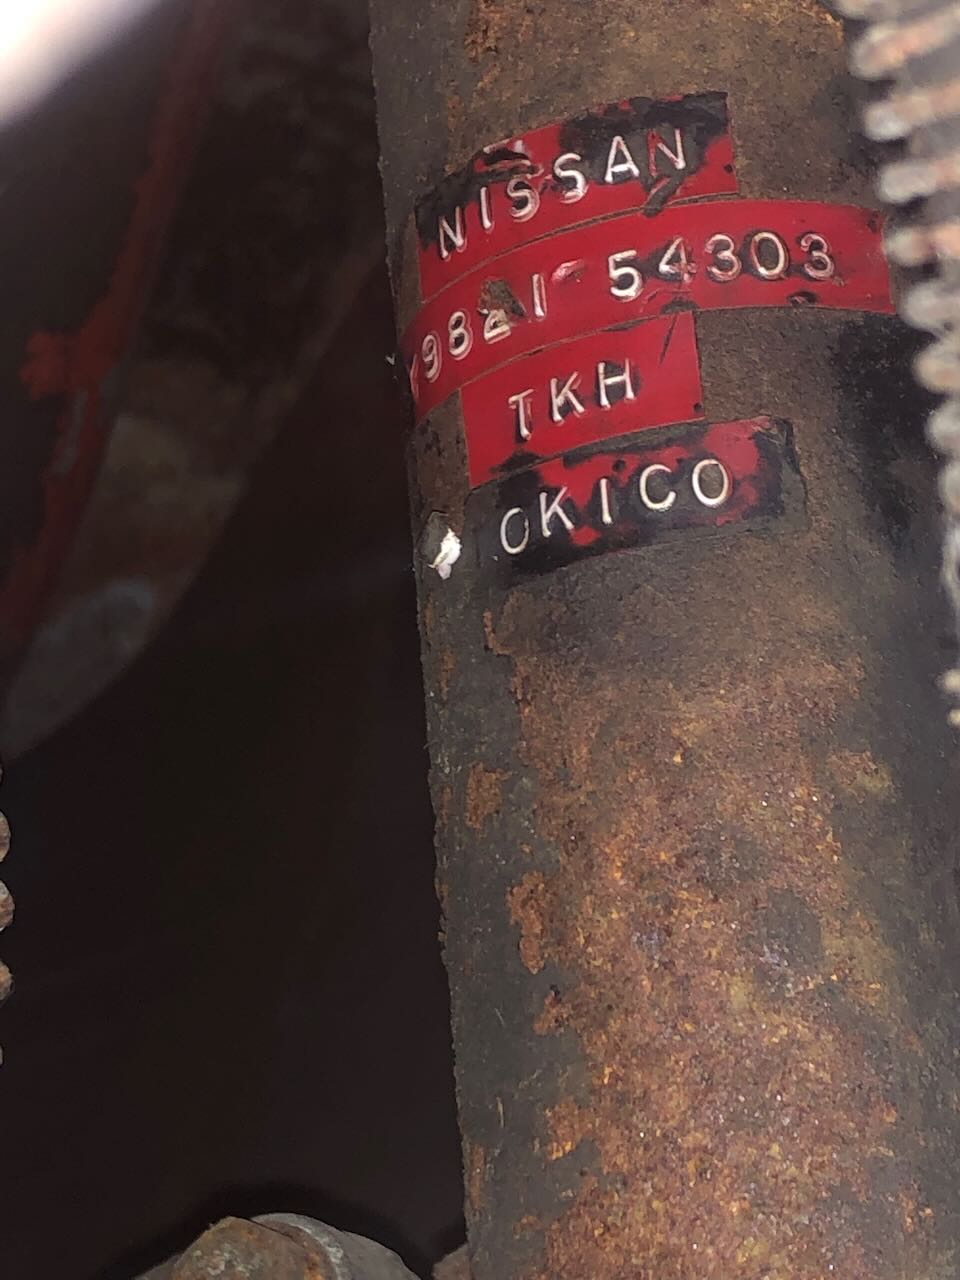
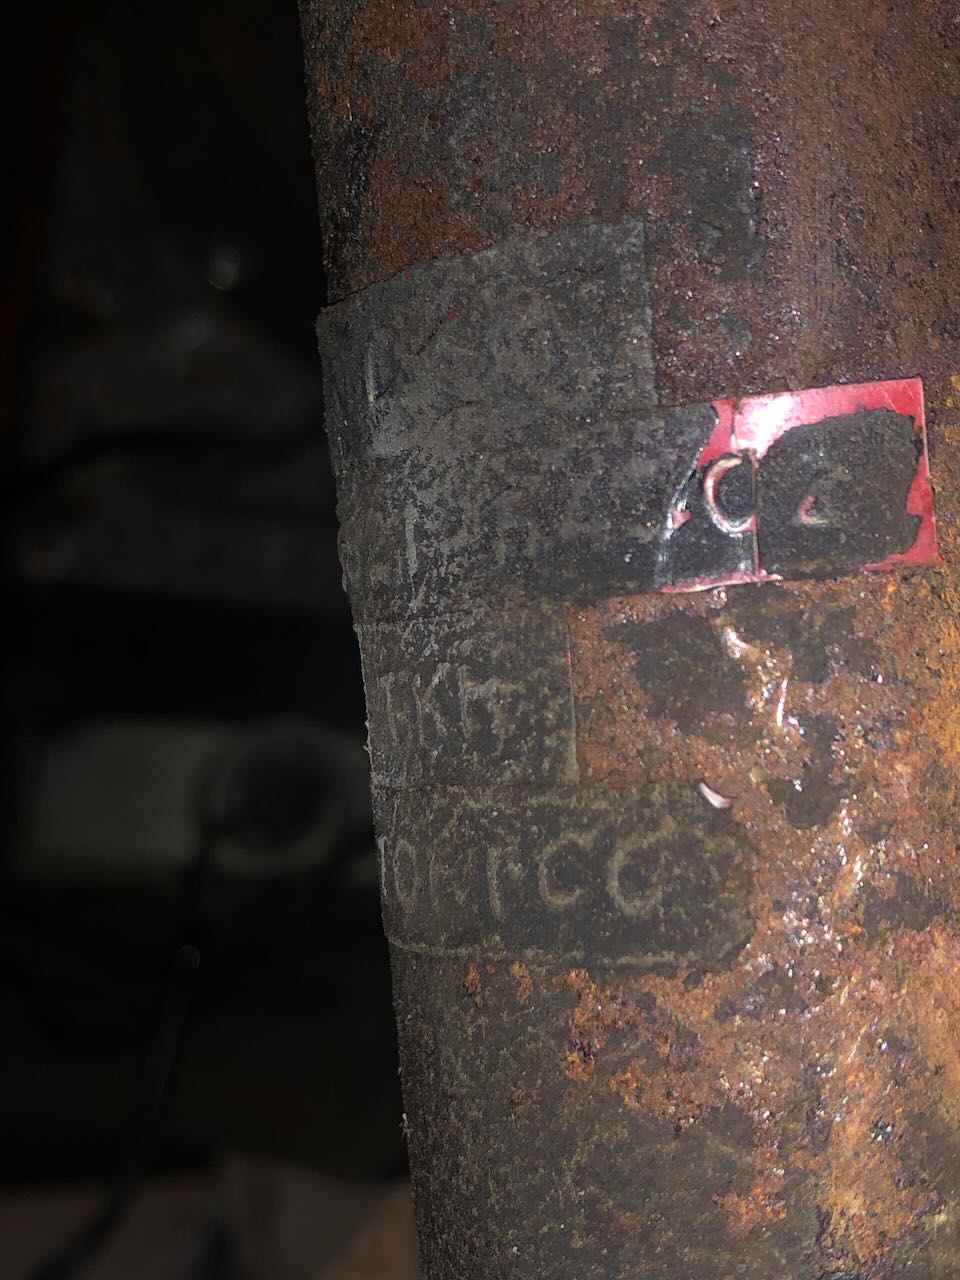
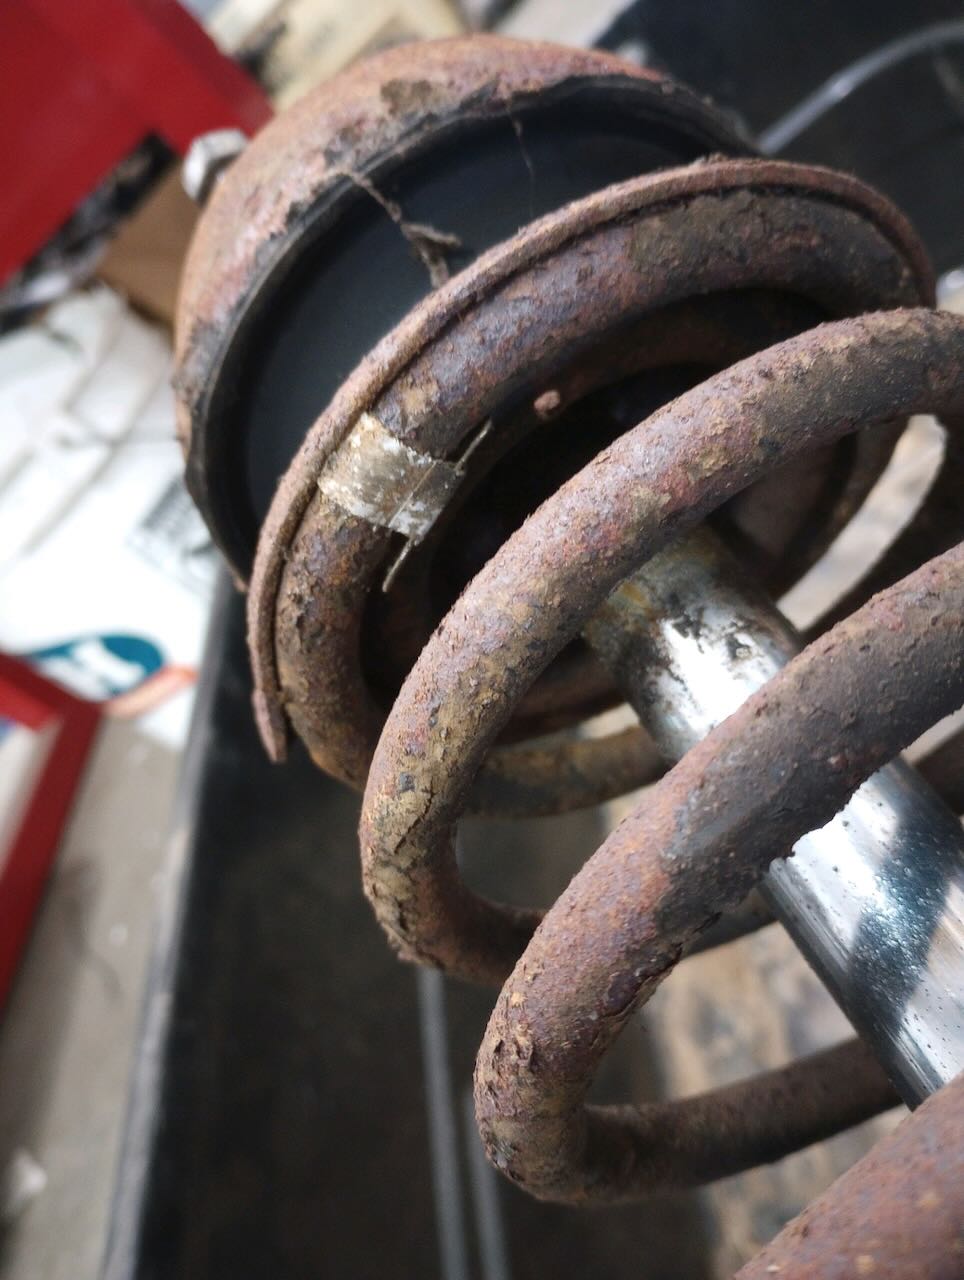
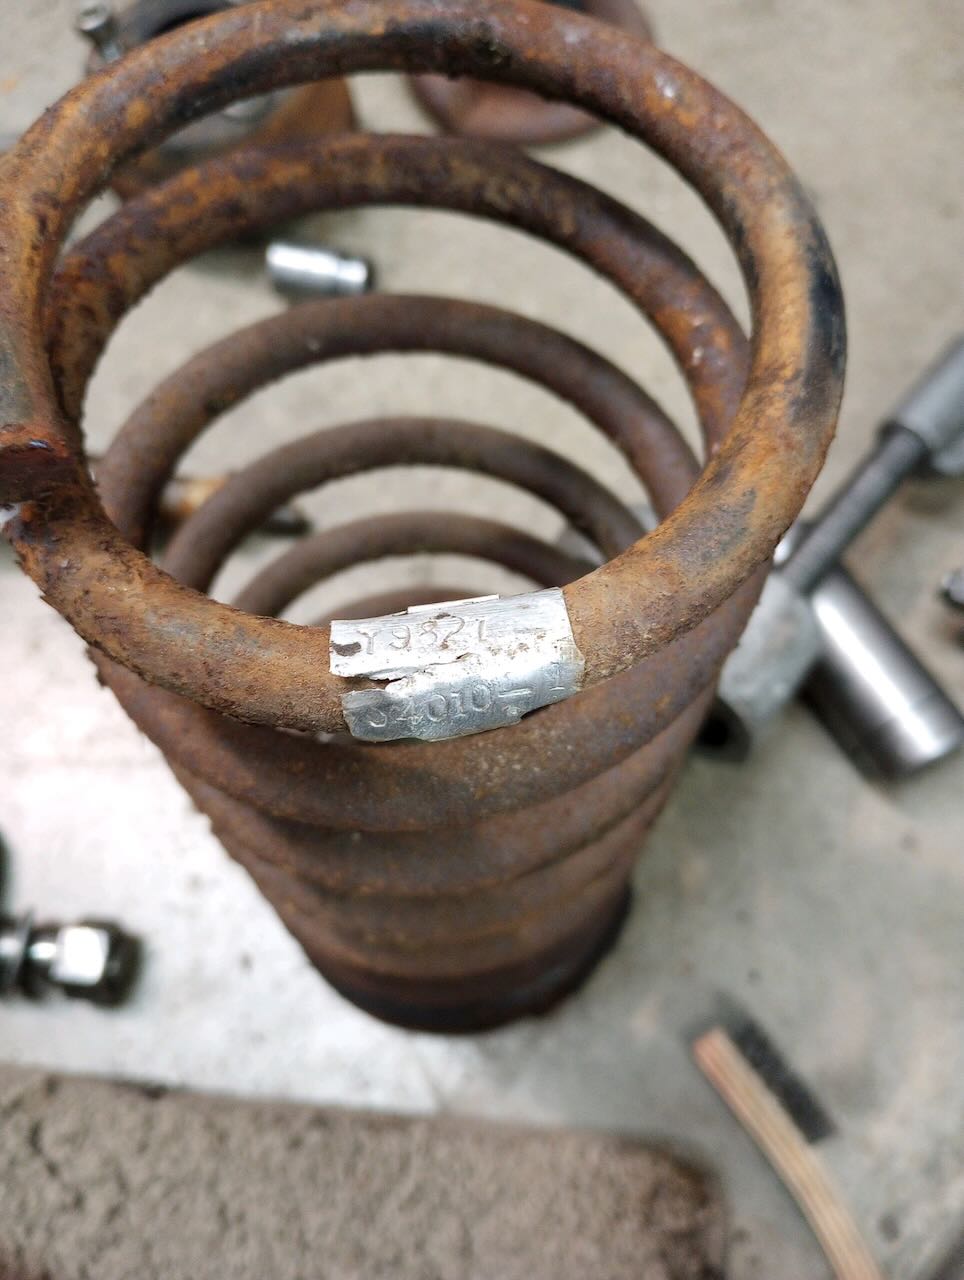
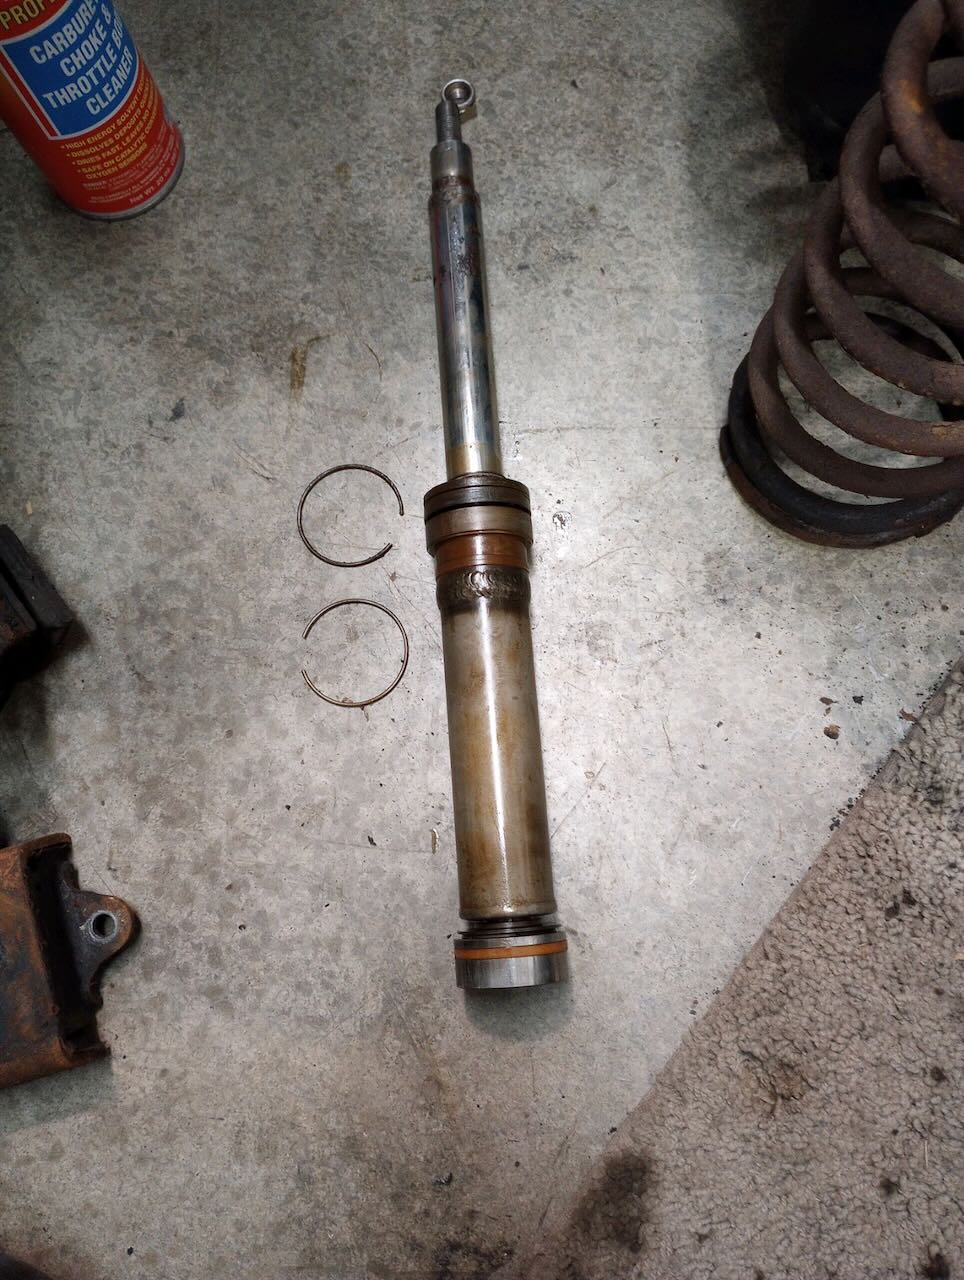
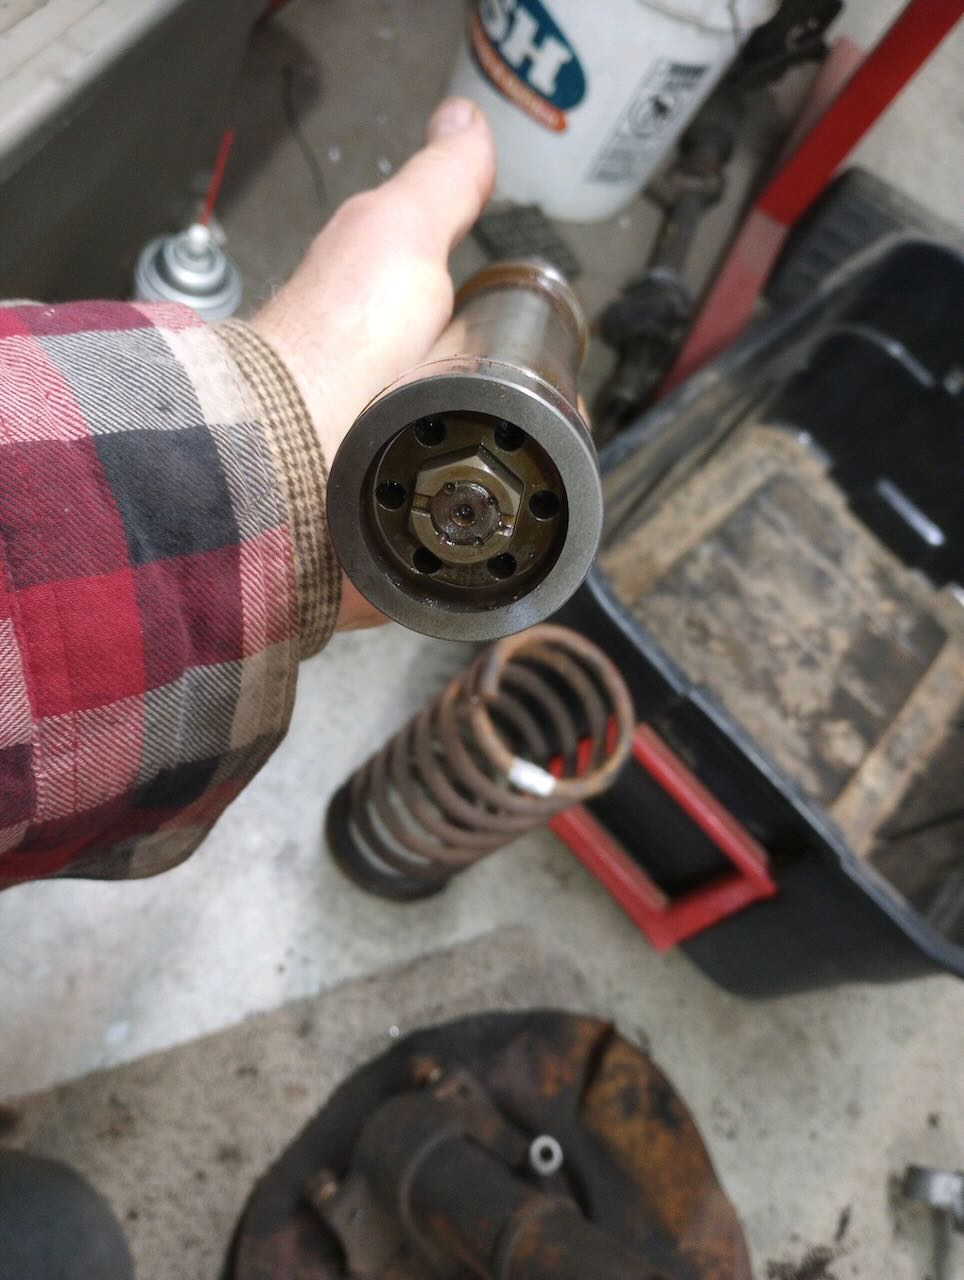
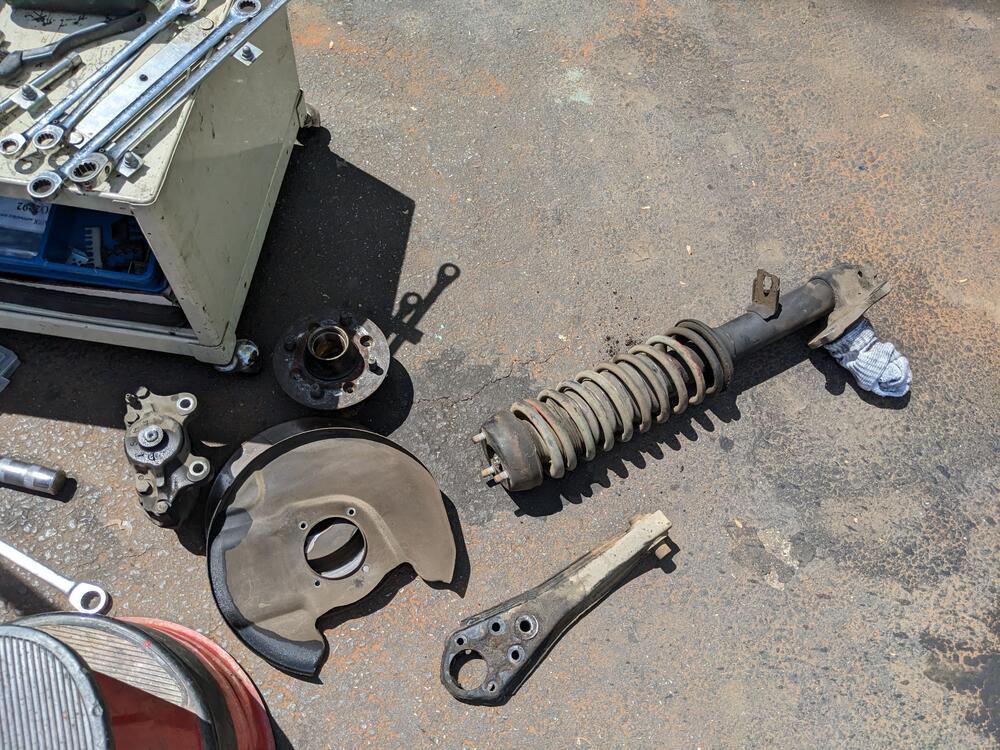
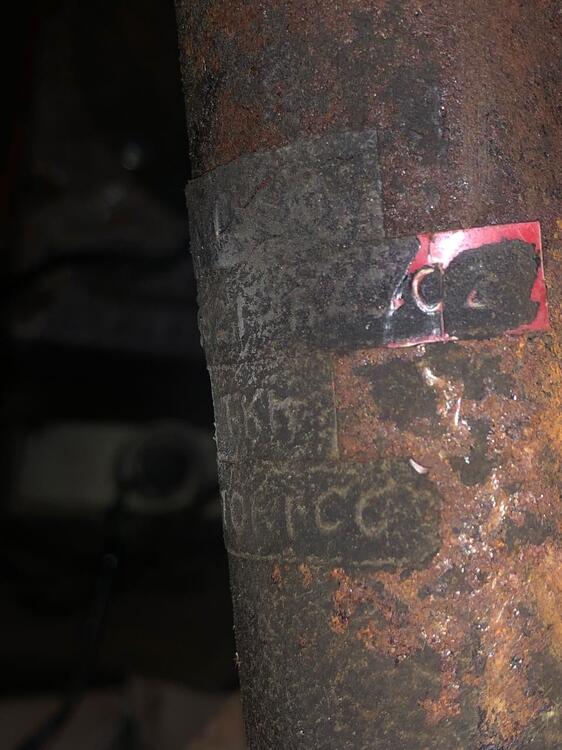
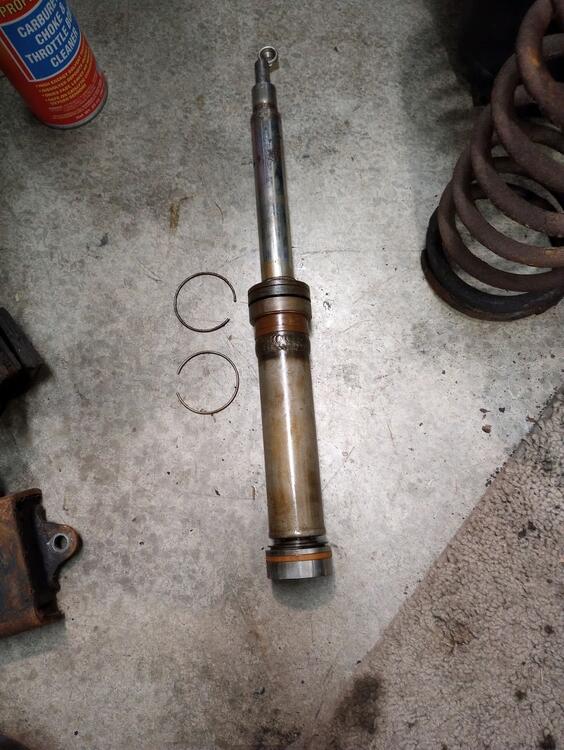
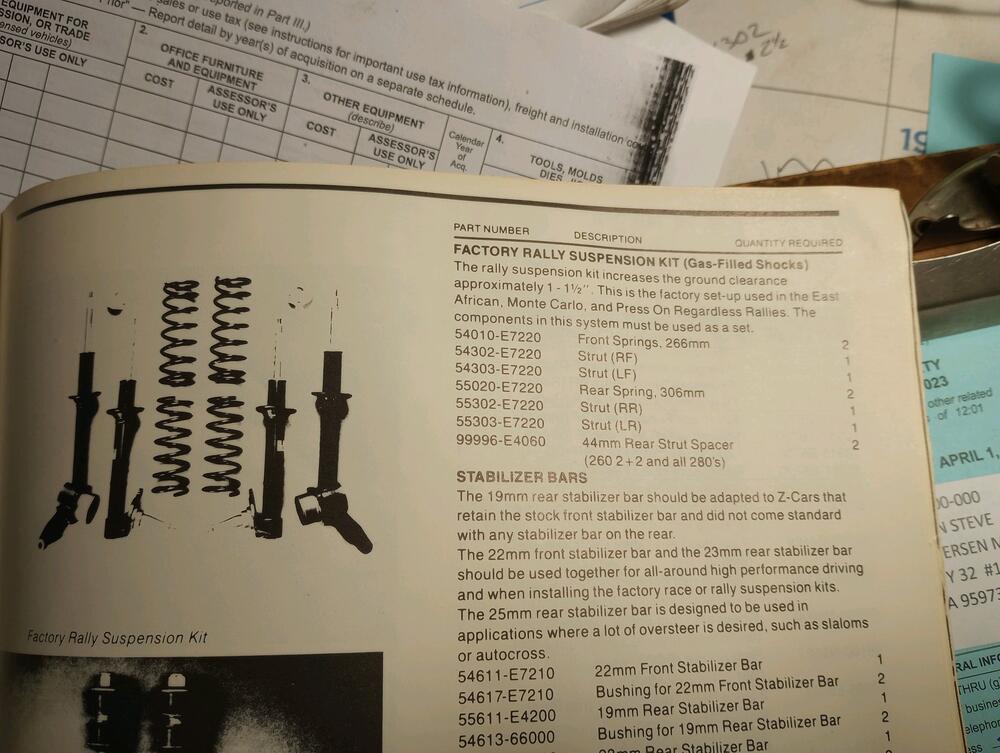
Part two of the Works Rally Struts show-and-tell: Front Struts @HS30-H requested a few specifics about the parts, which are shown below, for discussion. For starters, the RH/LH part numbers are Y9821-54302 and Y9821-54303, with a spring part number of Y9821-54010-1. There does not appear to be a part number on the strut shock absorber. All this seems to potentially coincide with a later parts-manual listing for competition rally parts 54302-E7220, 54303-E7220, and 54010-E7220. [edit: just for reference, stock strut components also have the 54302, 54303, and 54010 prefixes] Some observations: The strut housing and strut itself appears more substantial than a standard strut, although I don't have the parts in front of me to give accurate measurements - everything is out for analysis and rebuilding, so it might be awhile before I can have exact dimensions to share. One thing we did capture is the front spring height, which is 266mm. This matches the listed height of the competition rally spring 54010-E7220. That being said, the competition parts manual only lists a single ride height for the East African, Monte Carlo, and Press On rallies, instead of multiple ride heights. I'd venture to say that I've got what will likely become a "future-standard" rally ride height setup on the car presently, which I already have discerned is not the correct ride height for period Tarmac use (see above post for my thoughts on that). Also, I cant say whether the strut design I have is identical to the listed competition parts, but there is very likely an overlap. Another tidbit that keen observers may have spotted from the first photo is the rally odometer cable attachment point, located at the wheel hub. This served as the attachment point for the twin Halda Tripmasters (one per wheel), which I'll go over in more detail at a later time.


 4 points
 -
Poly in front rubber on the rear. Click on images from this Google search. https://www.google.com/search?q=poly+and+rubber+t%2Fc+rod+classiczcars.com+&client=ms-android-americamovil-us-revc&source=android-home&source=hp&ei=SQVZZNyGMMHKkPIPjdm46A8&oq=poly+and+rubber+t%2Fc+rod+classiczcars.com+&gs_lcp=ChFtb2JpbGUtZ3dzLXdpei1ocBADMgUIIRCgATIFCCEQoAEyBQghEKABOhEILhCABBCxAxCDARDHARDRAzoLCC4QigUQsQMQgwE6CwgAEIAEELEDEIMBOgUIABCABDoLCC4QgAQQsQMQgwE6DgguEIAEELEDEMcBENEDOg4ILhCABBCxAxDHARCvAToICAAQgAQQsQM6FAguEIAEELEDEIMBEMcBENEDENQCOggILhCABBCxAzoRCC4QigUQsQMQgwEQxwEQ0QM6CAgAEBYQHhAPOgYIABAWEB46CAgAEBYQHhAKOgUIIRCrAjoICCEQFhAeEB1Q0Q9Y-akBYMe2AWgBcAB4AIABywGIAeIhkgEGMC4yNi4xmAEAoAEBsAEA&sclient=mobile-gws-wiz-hp2 points
-
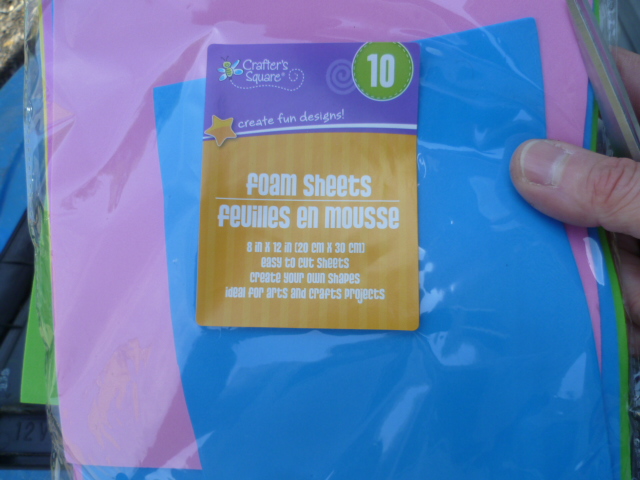
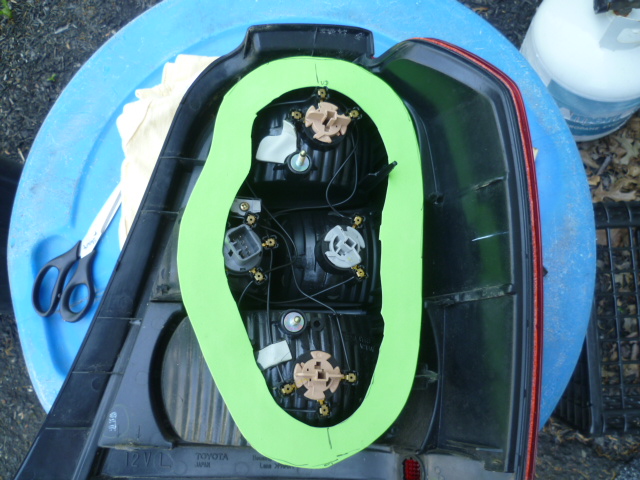
2 pointsCraft foam sheets from the local arts and crafts store? That's what I did on my family truckster when the taillights started leaking on that one. Leave the original gasket in place and augment with a thin layer of auxillary foam. And maybe some seal-n-peel as well? Something like this: doesn't have to be neat... Just enough that it won't show from the outside:
 2 points
 -
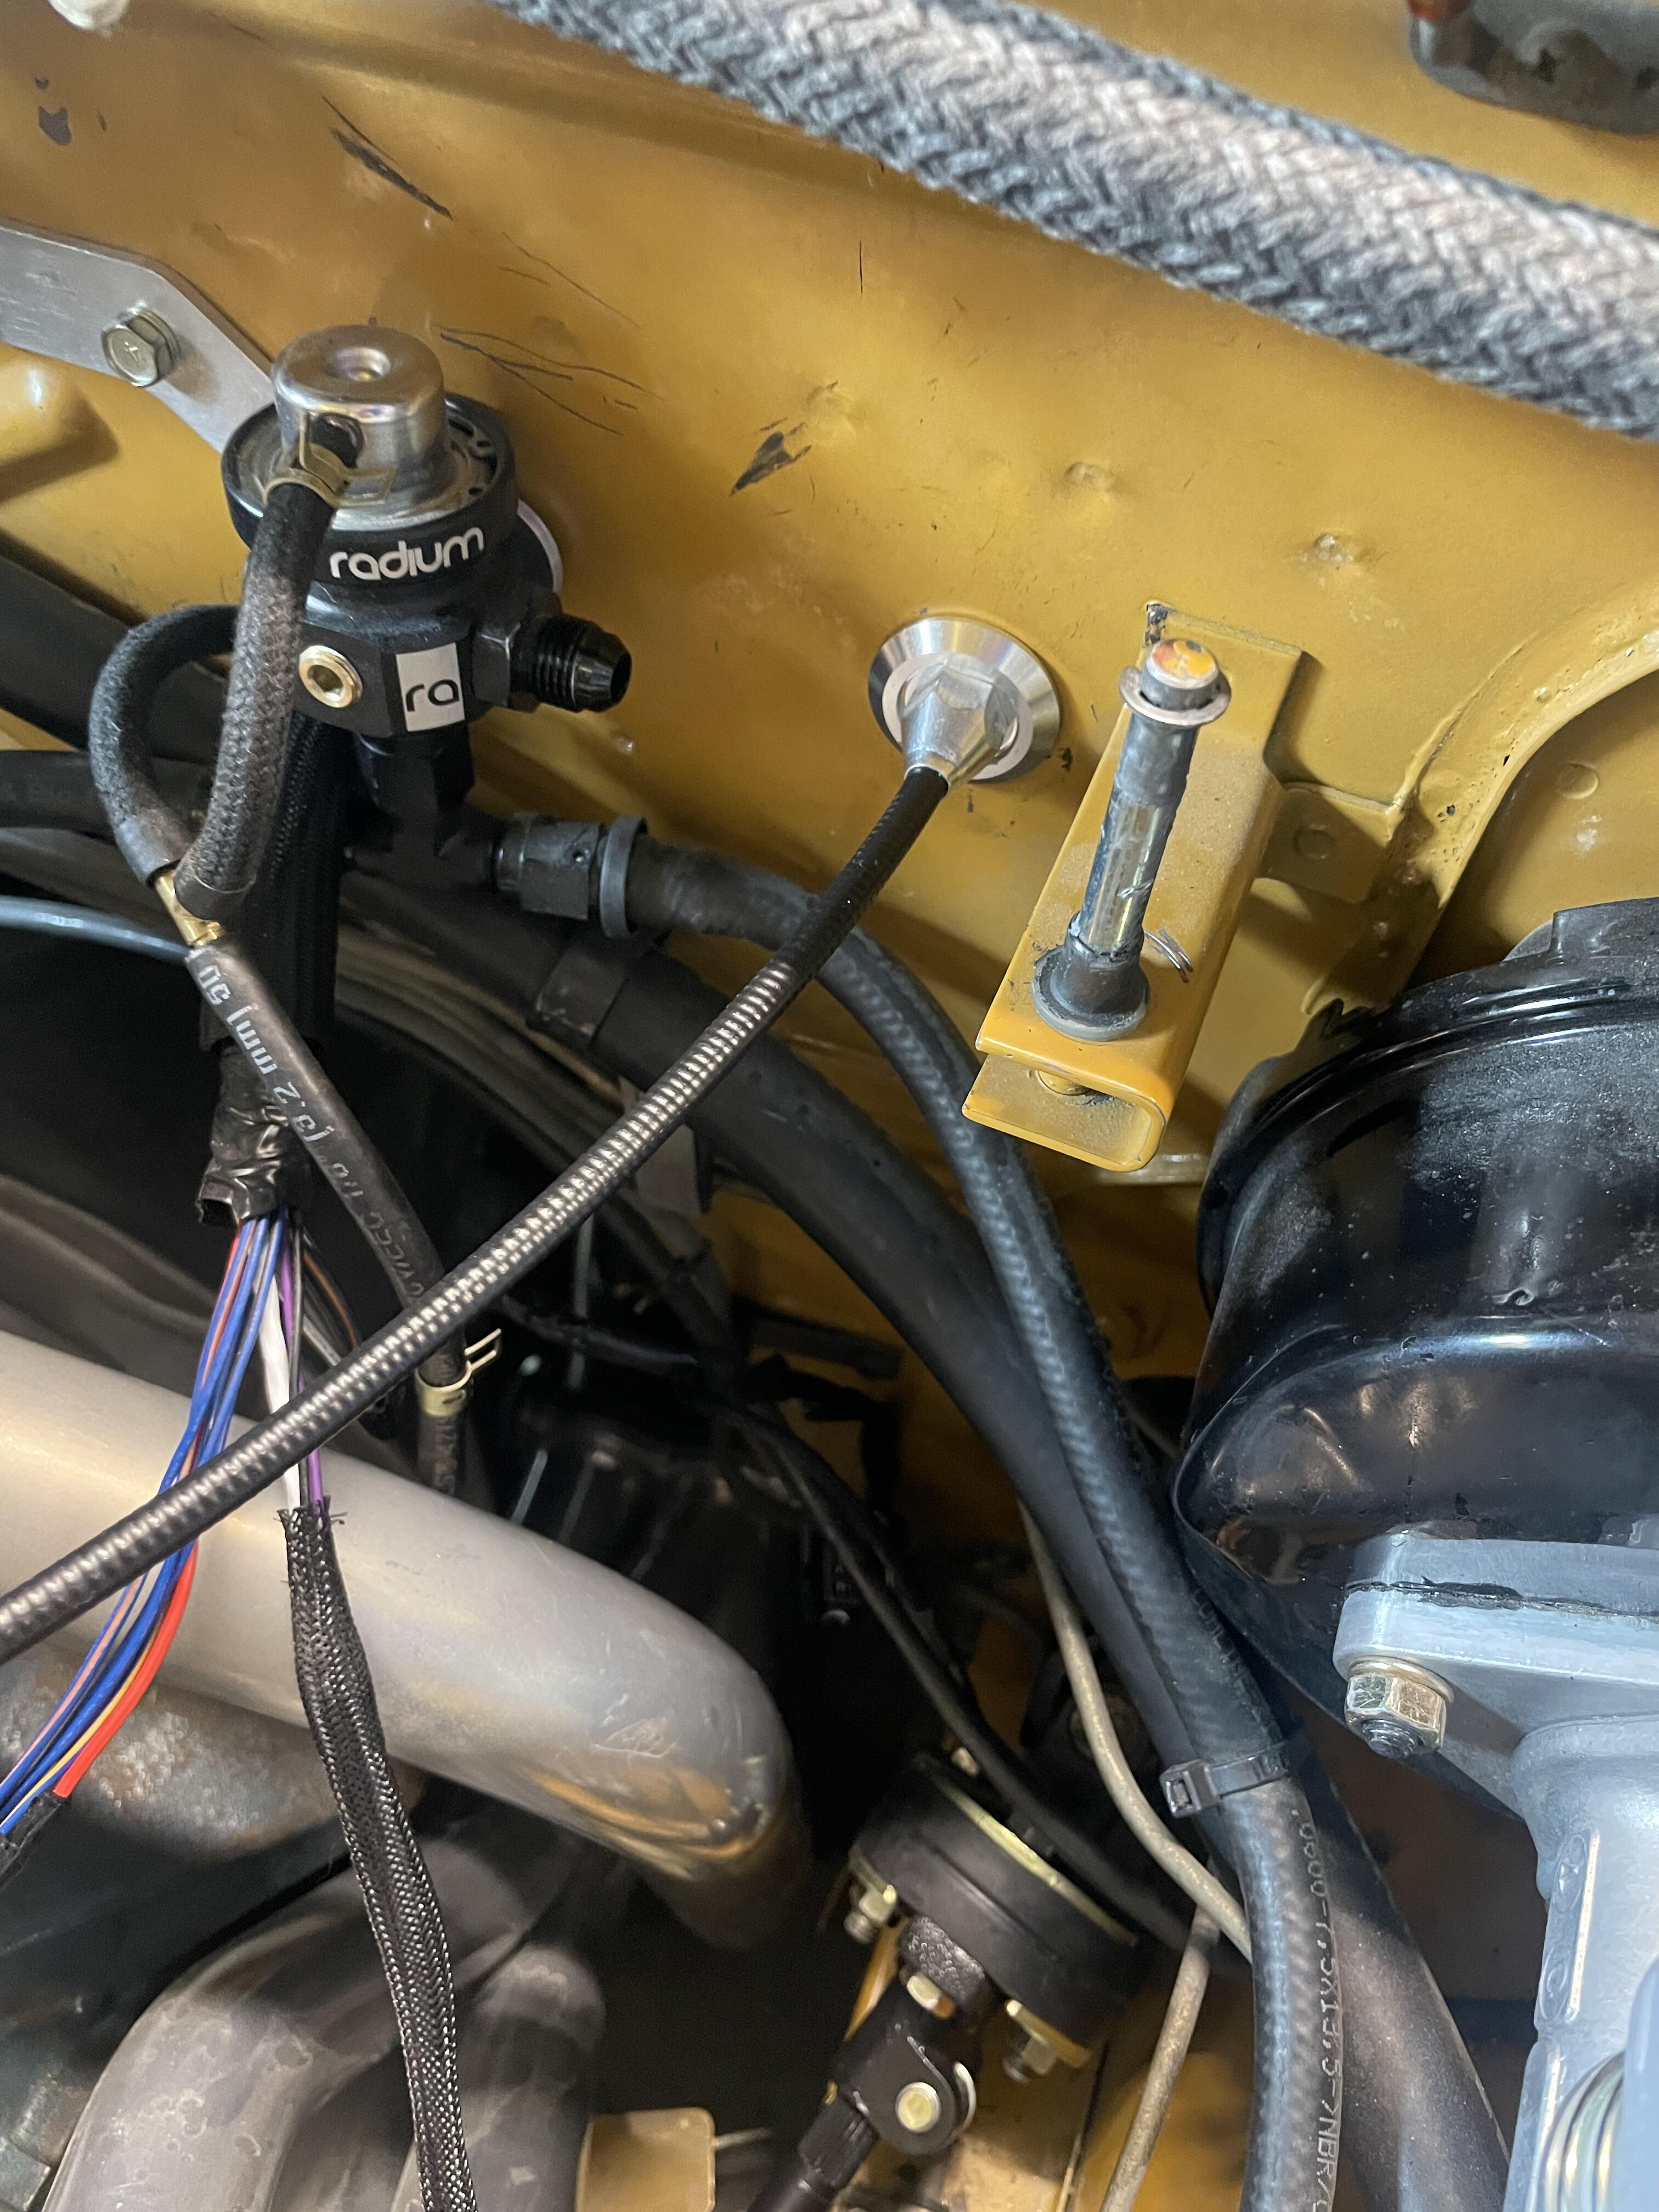
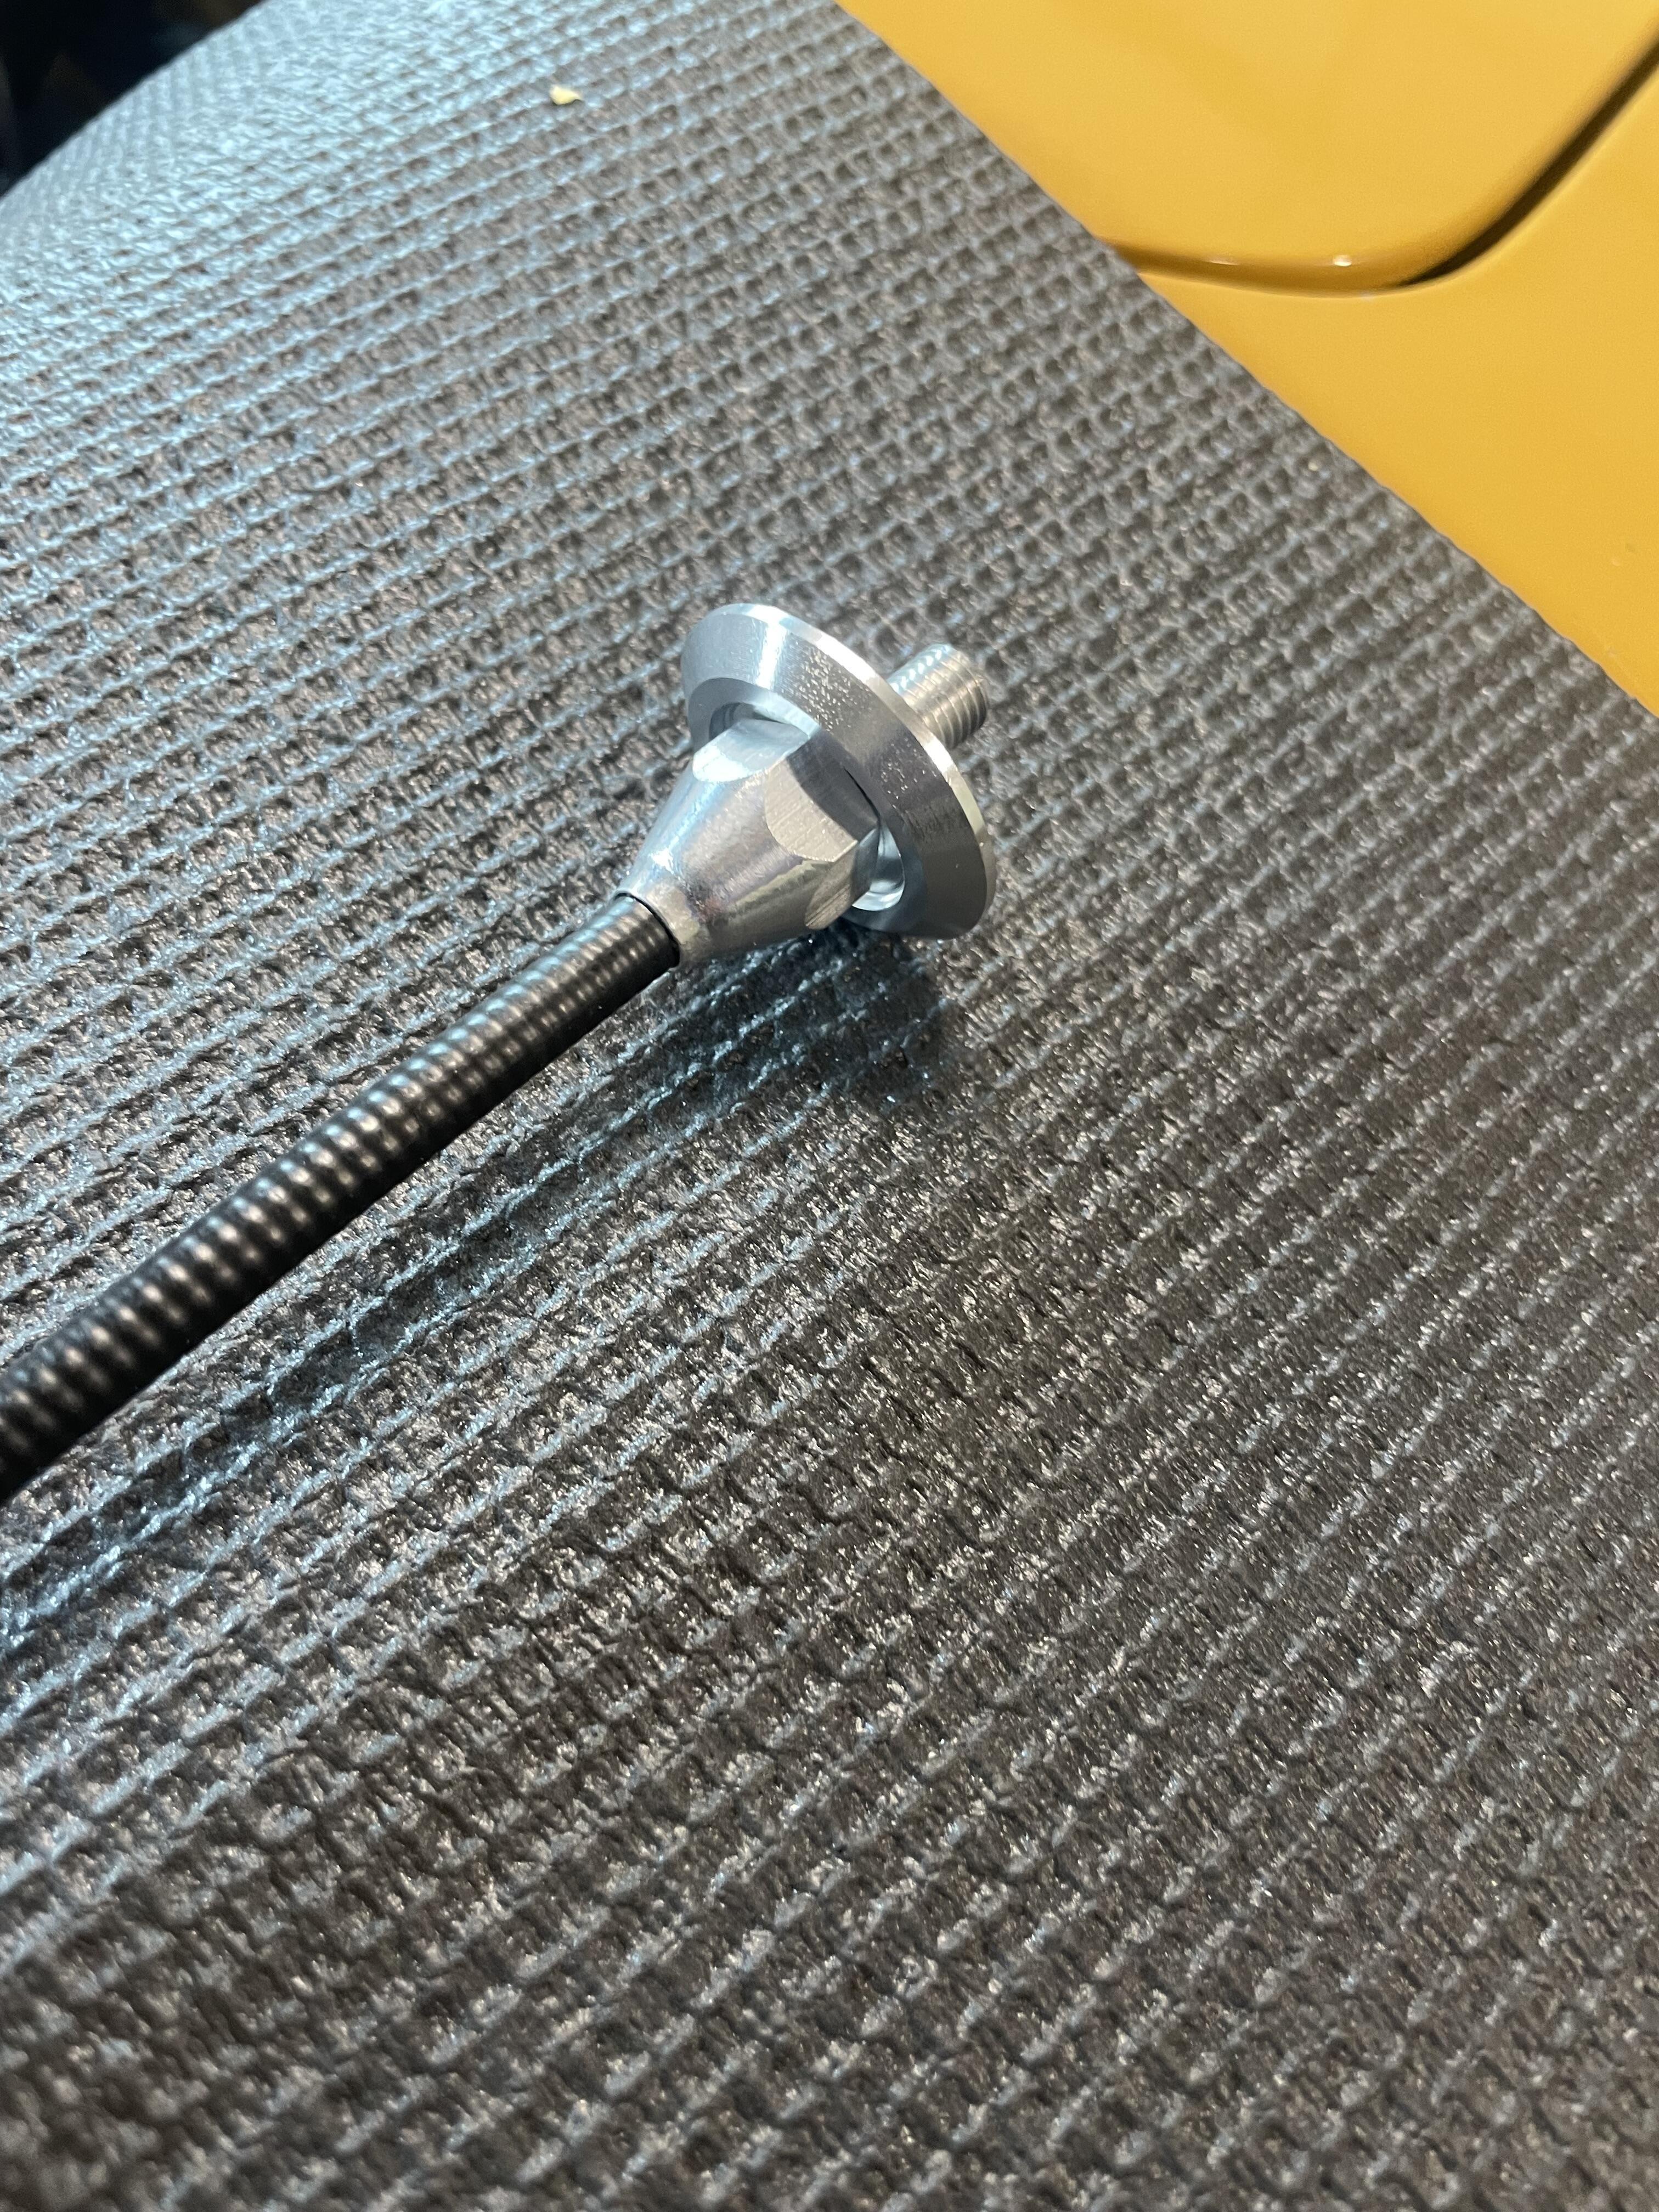
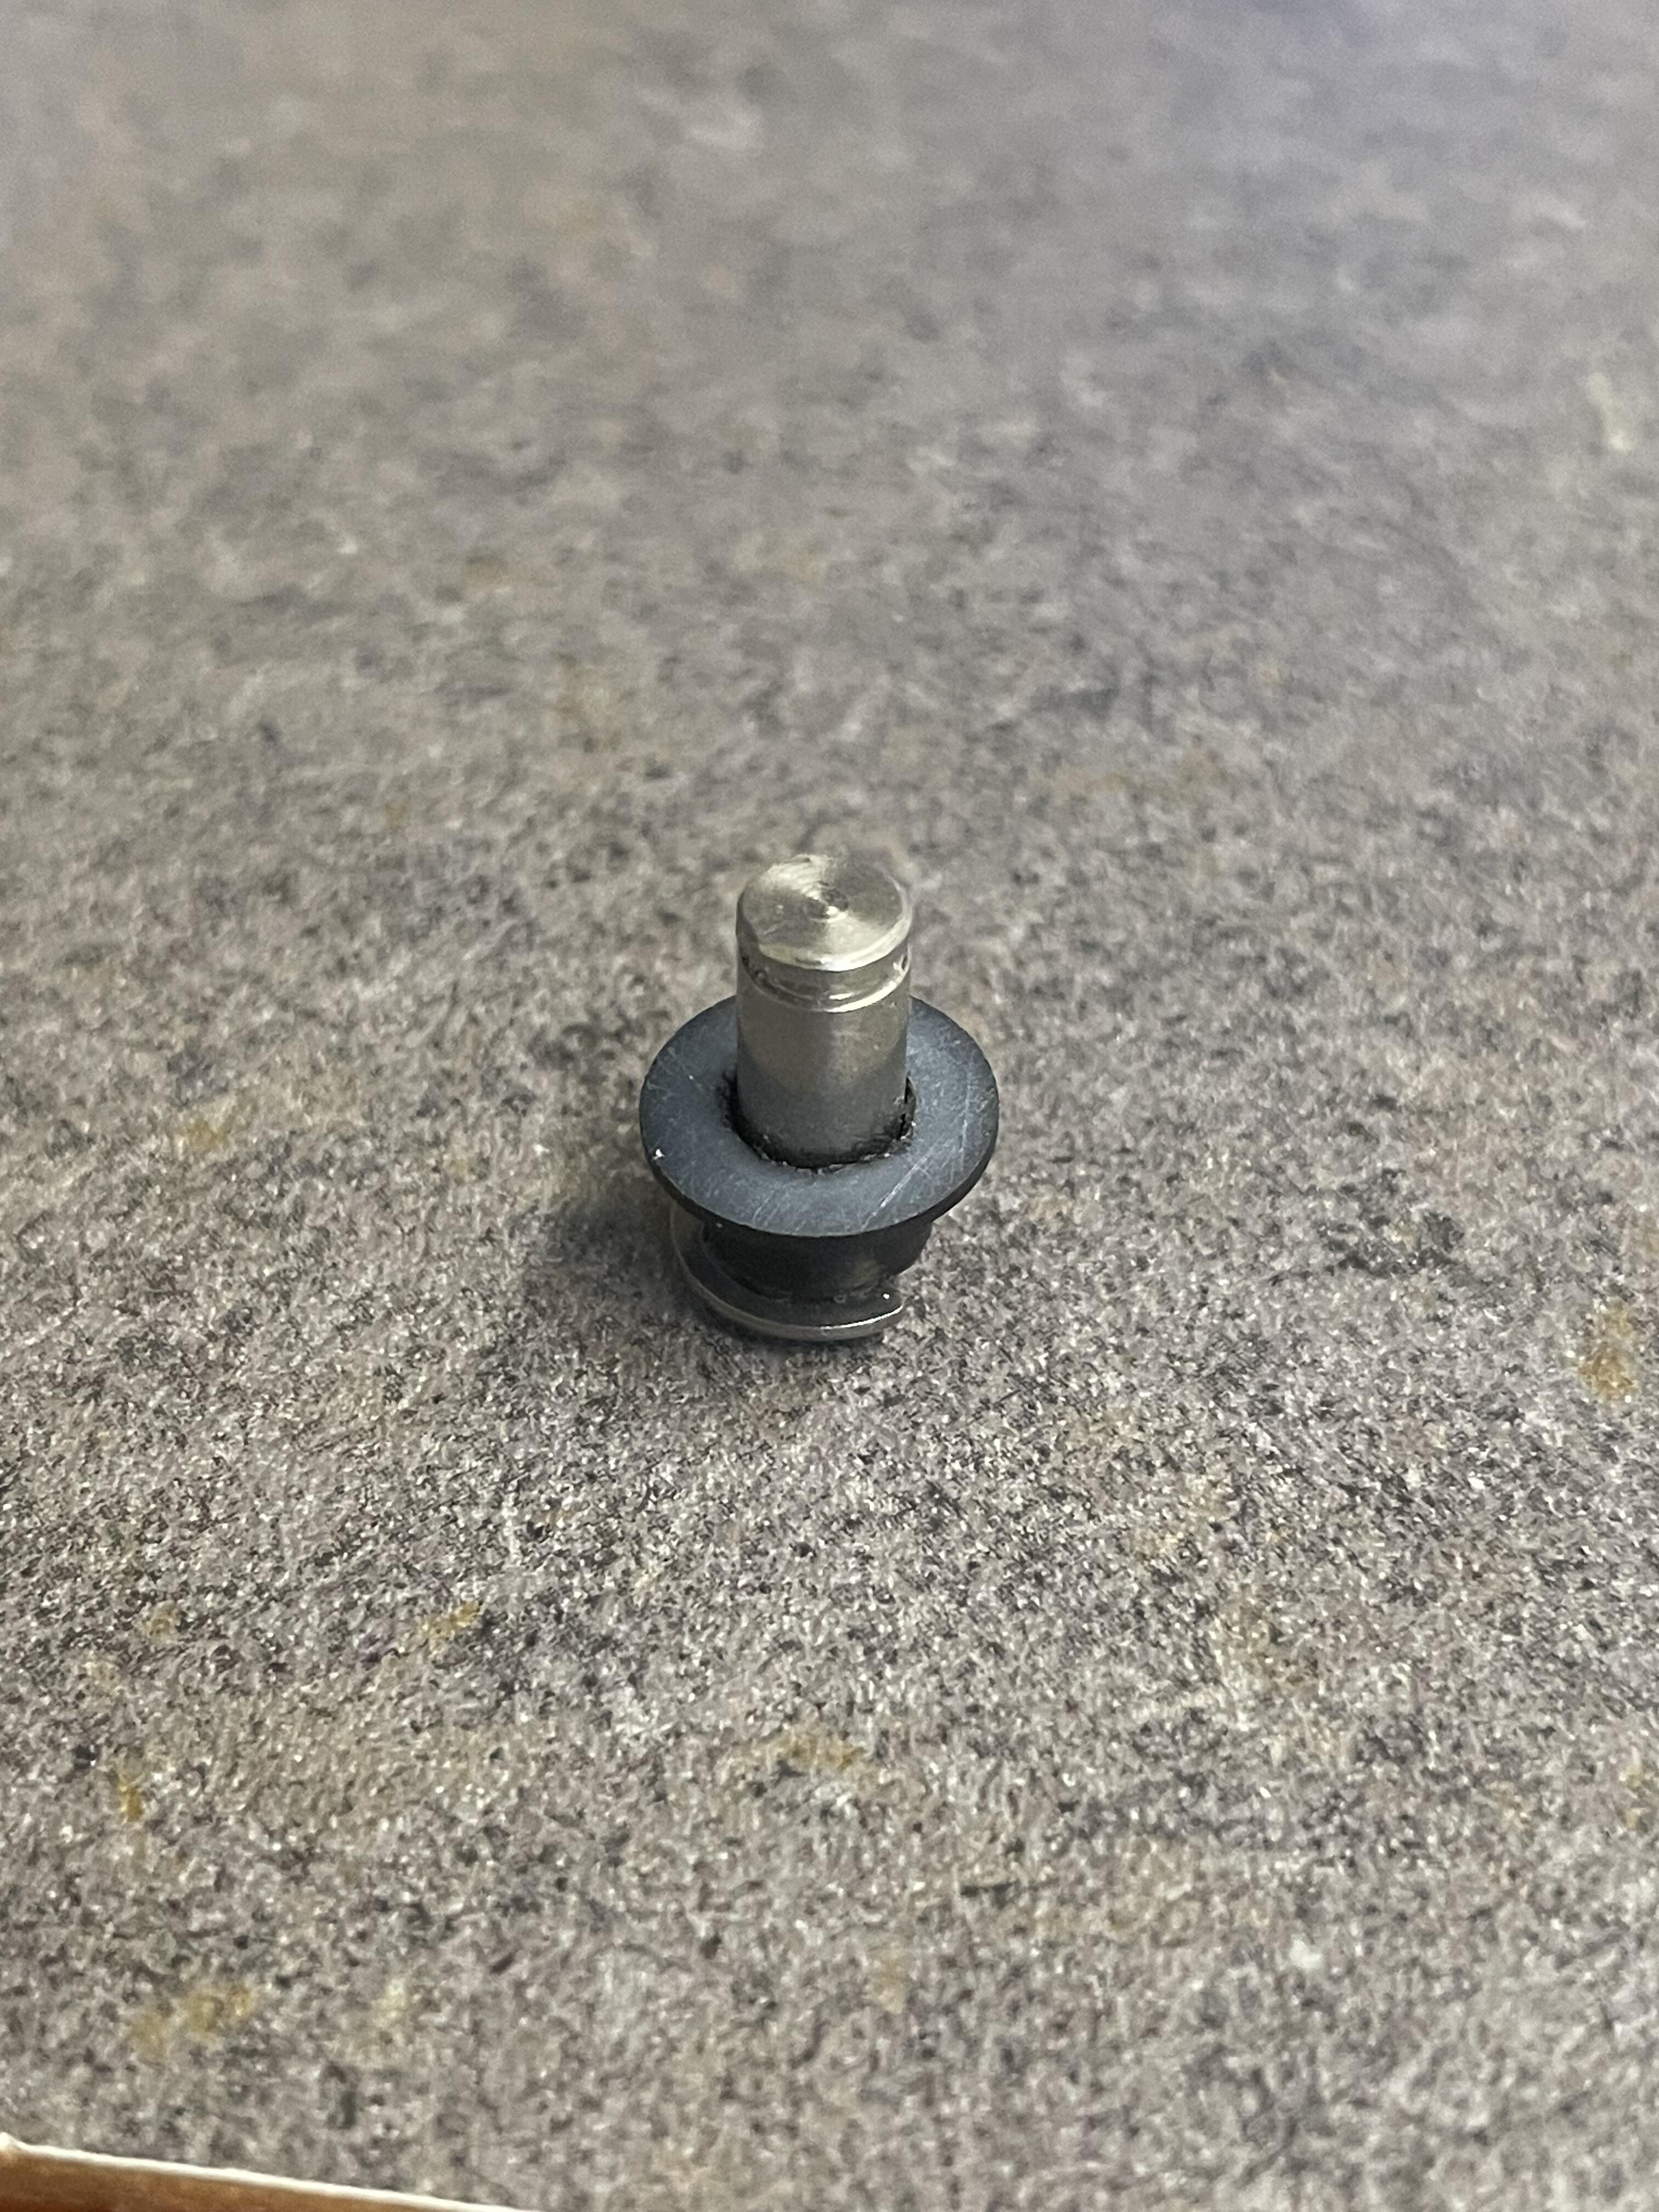
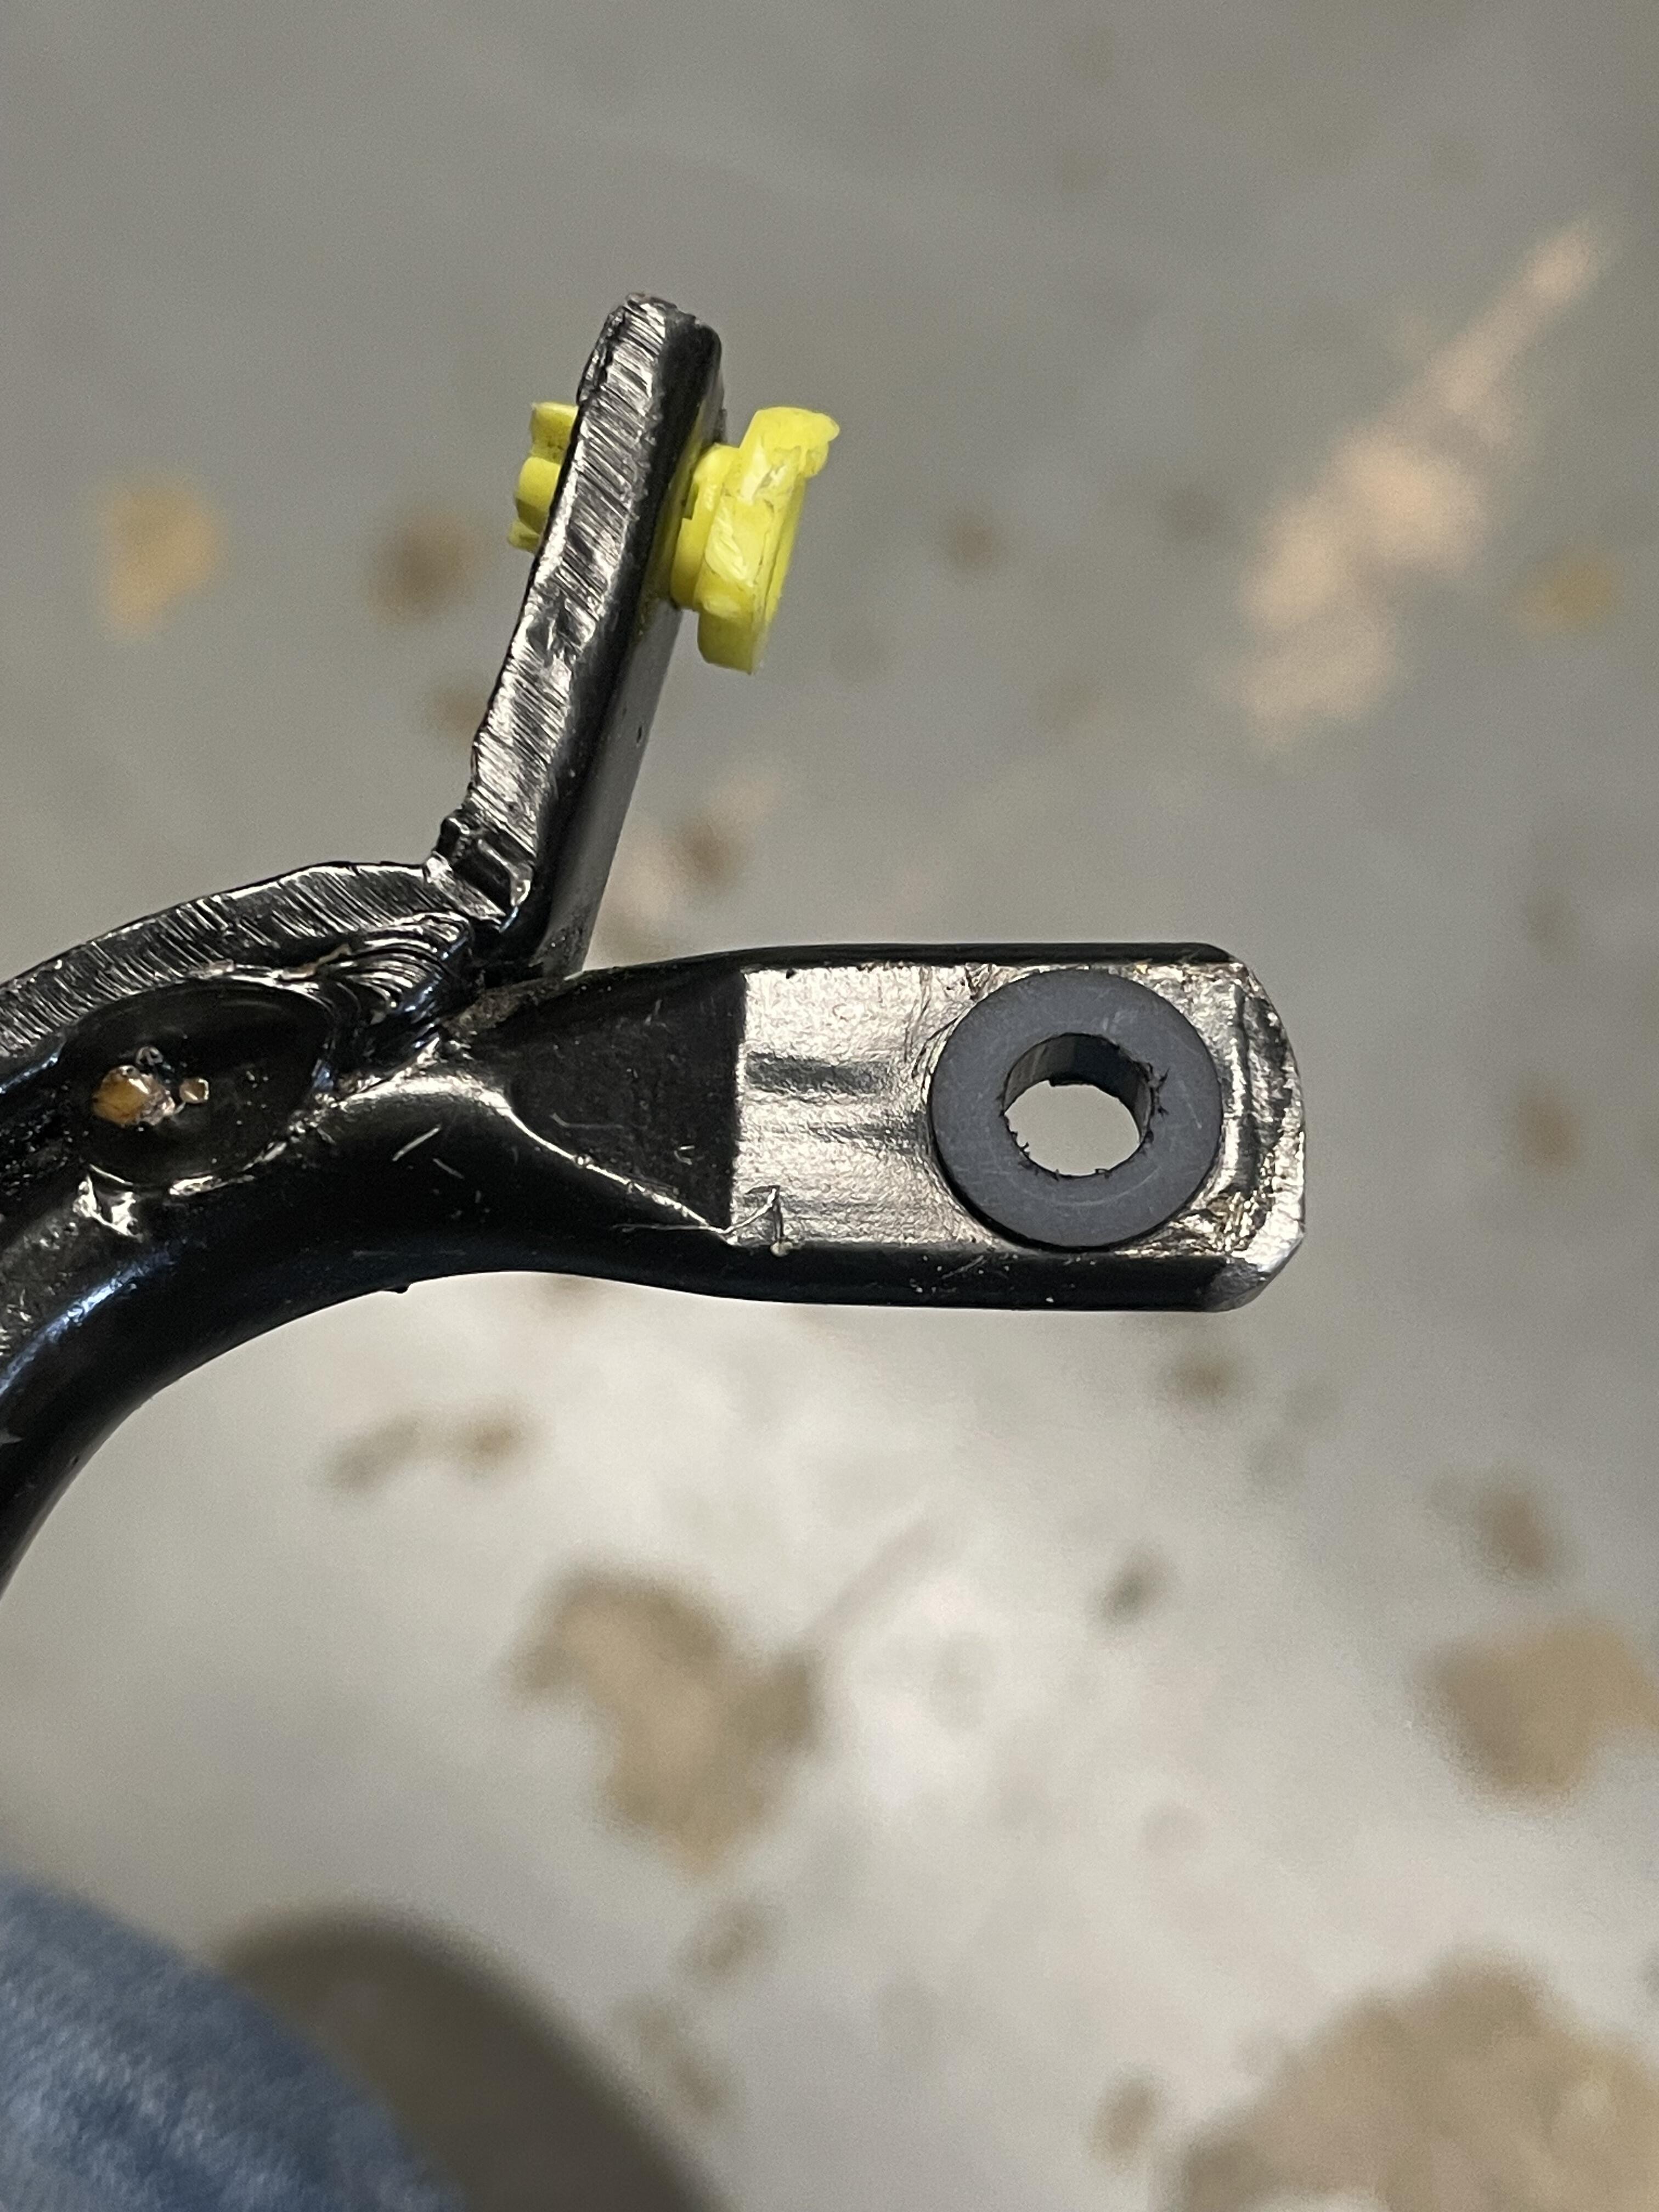
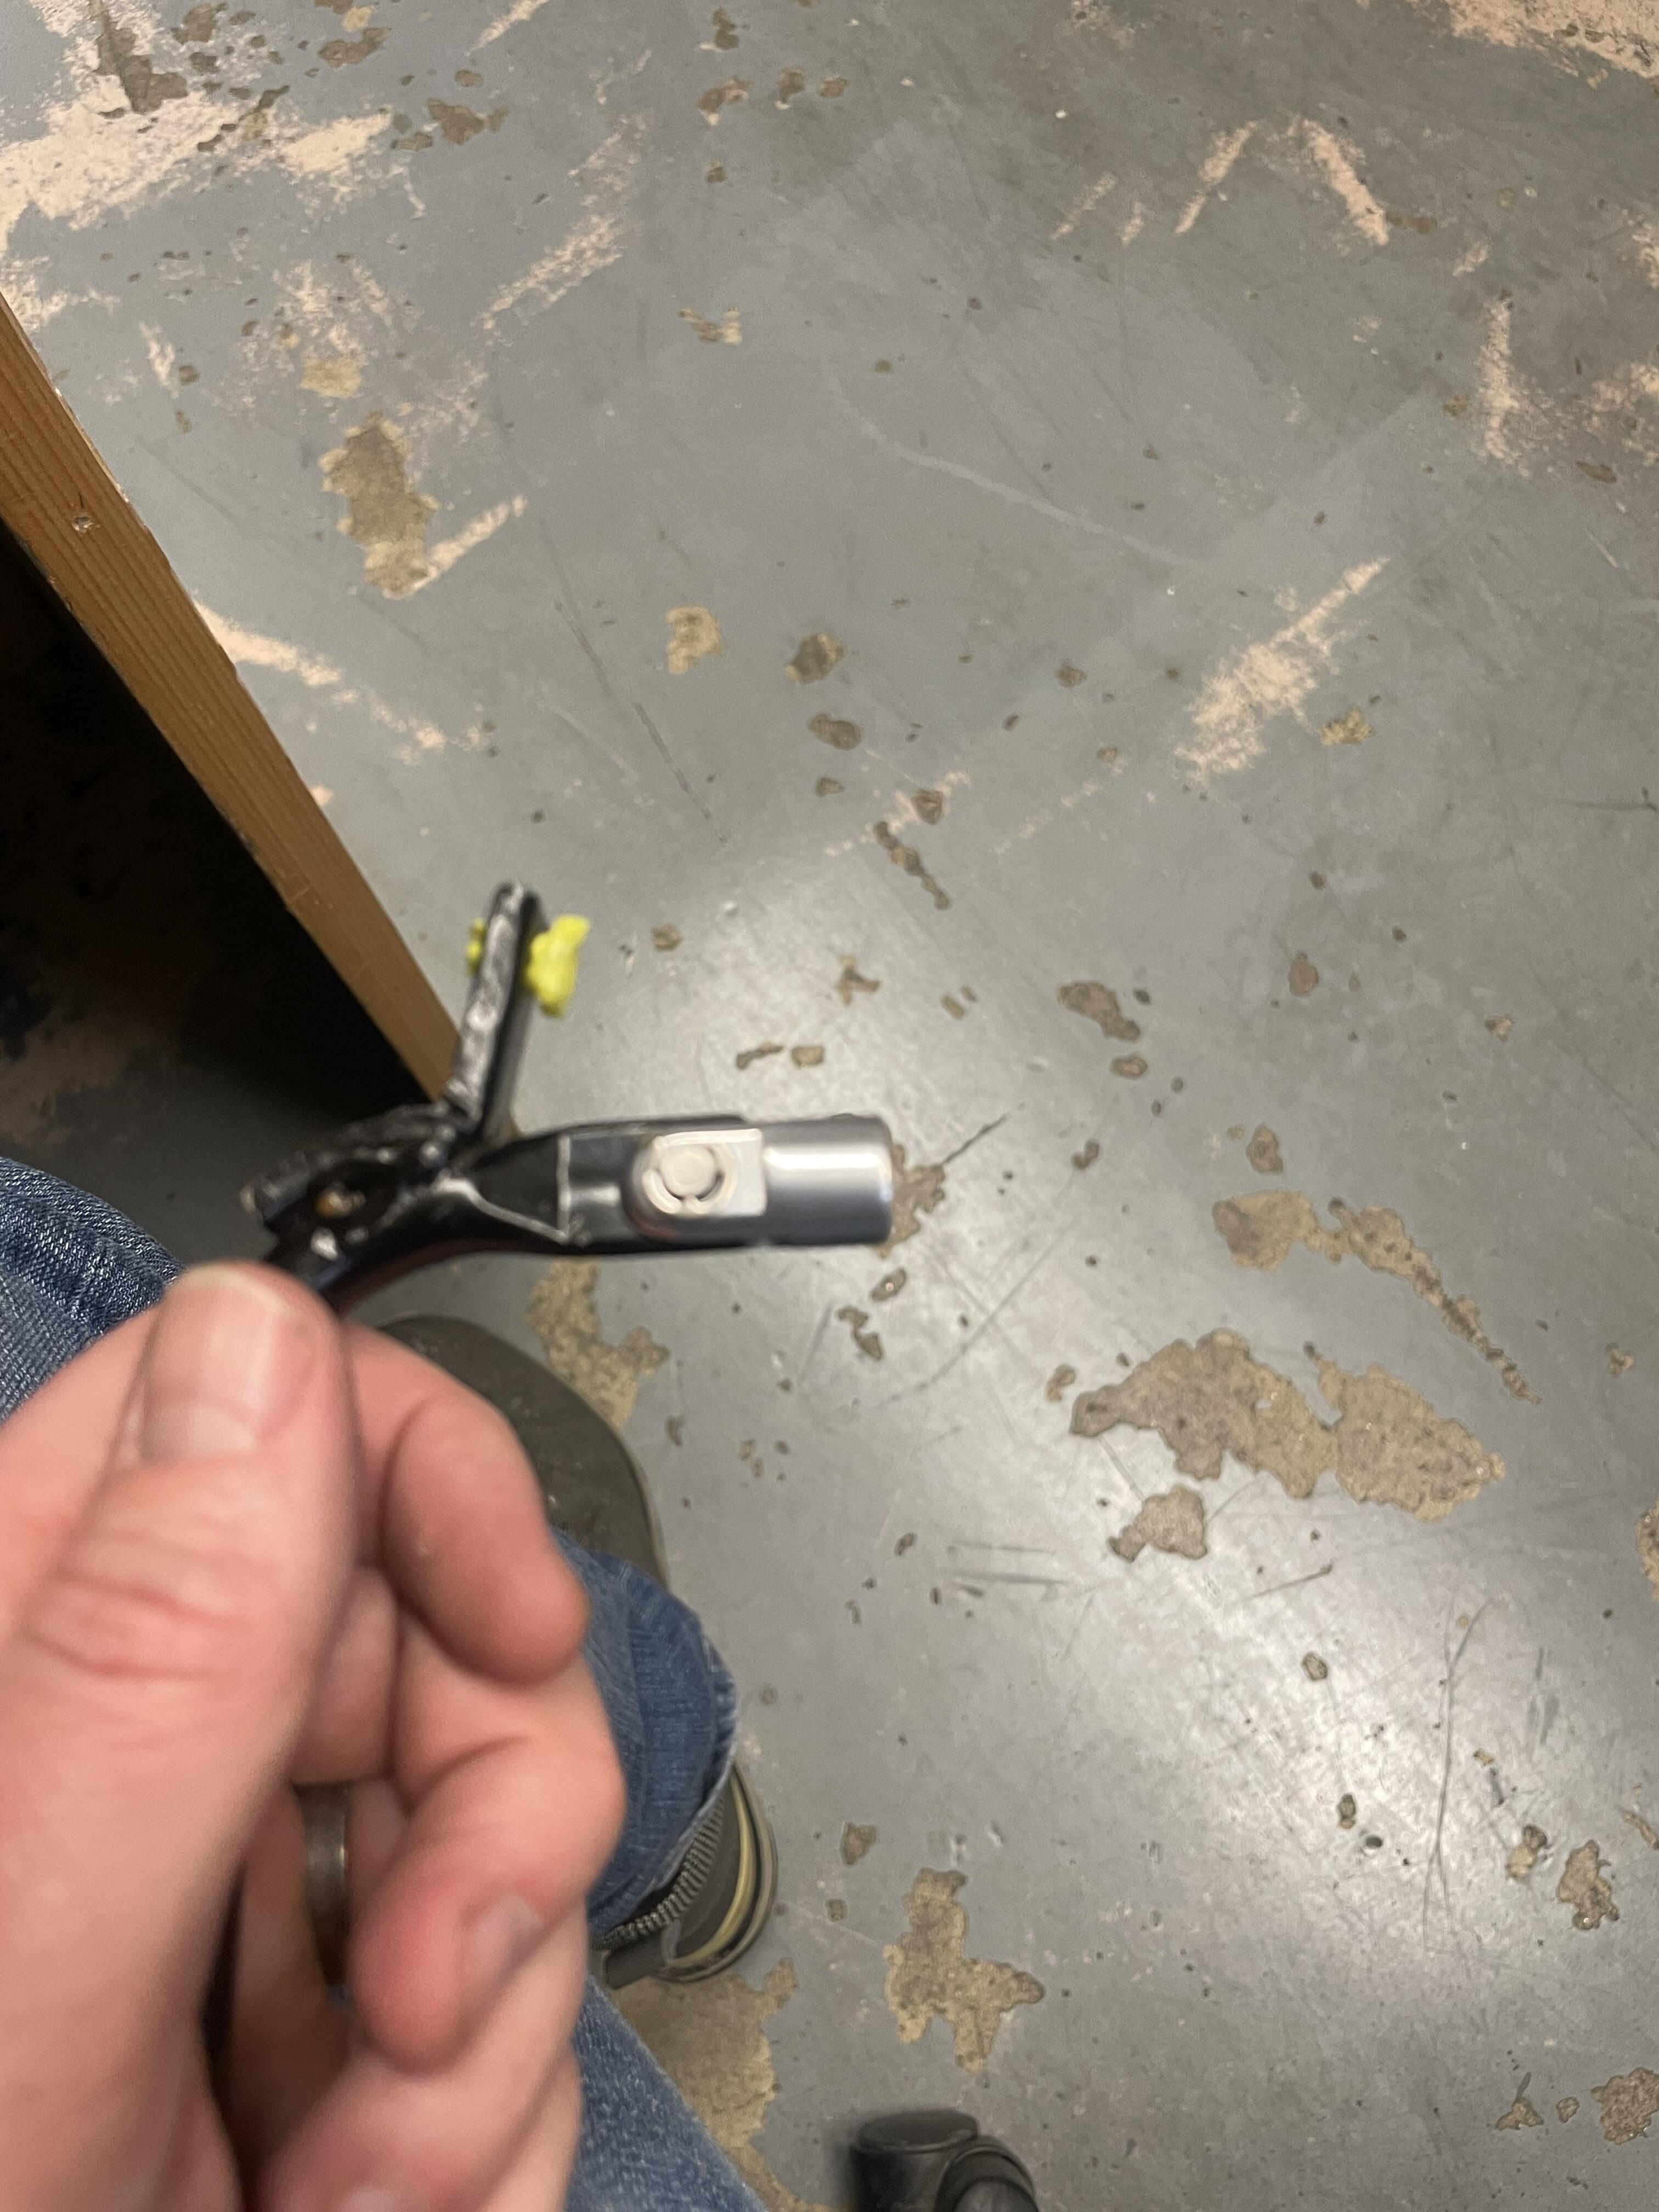
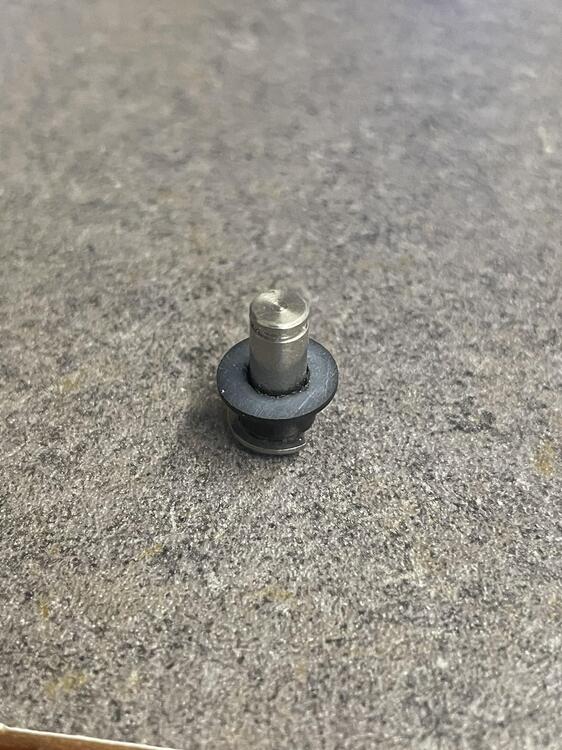
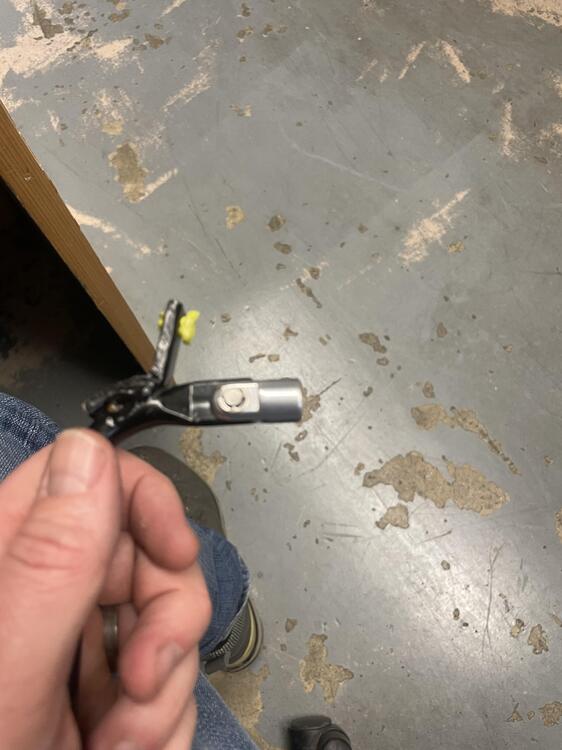
2 pointsRainy Sunday z project! Finally got my cable mount installed for my new cable driven ITB setup. This is a lokar cable to a stock 240z pedal with the ball end removed. Then I made a tiny bushing. Everything is snug and works as it should. IMG_5385.mov


 2 points
 -
1 point
-
1 pointDbw will be down the road. I first need to get the car up and running with the new intake. dbw requires a new ecu and more effort.1 point
-
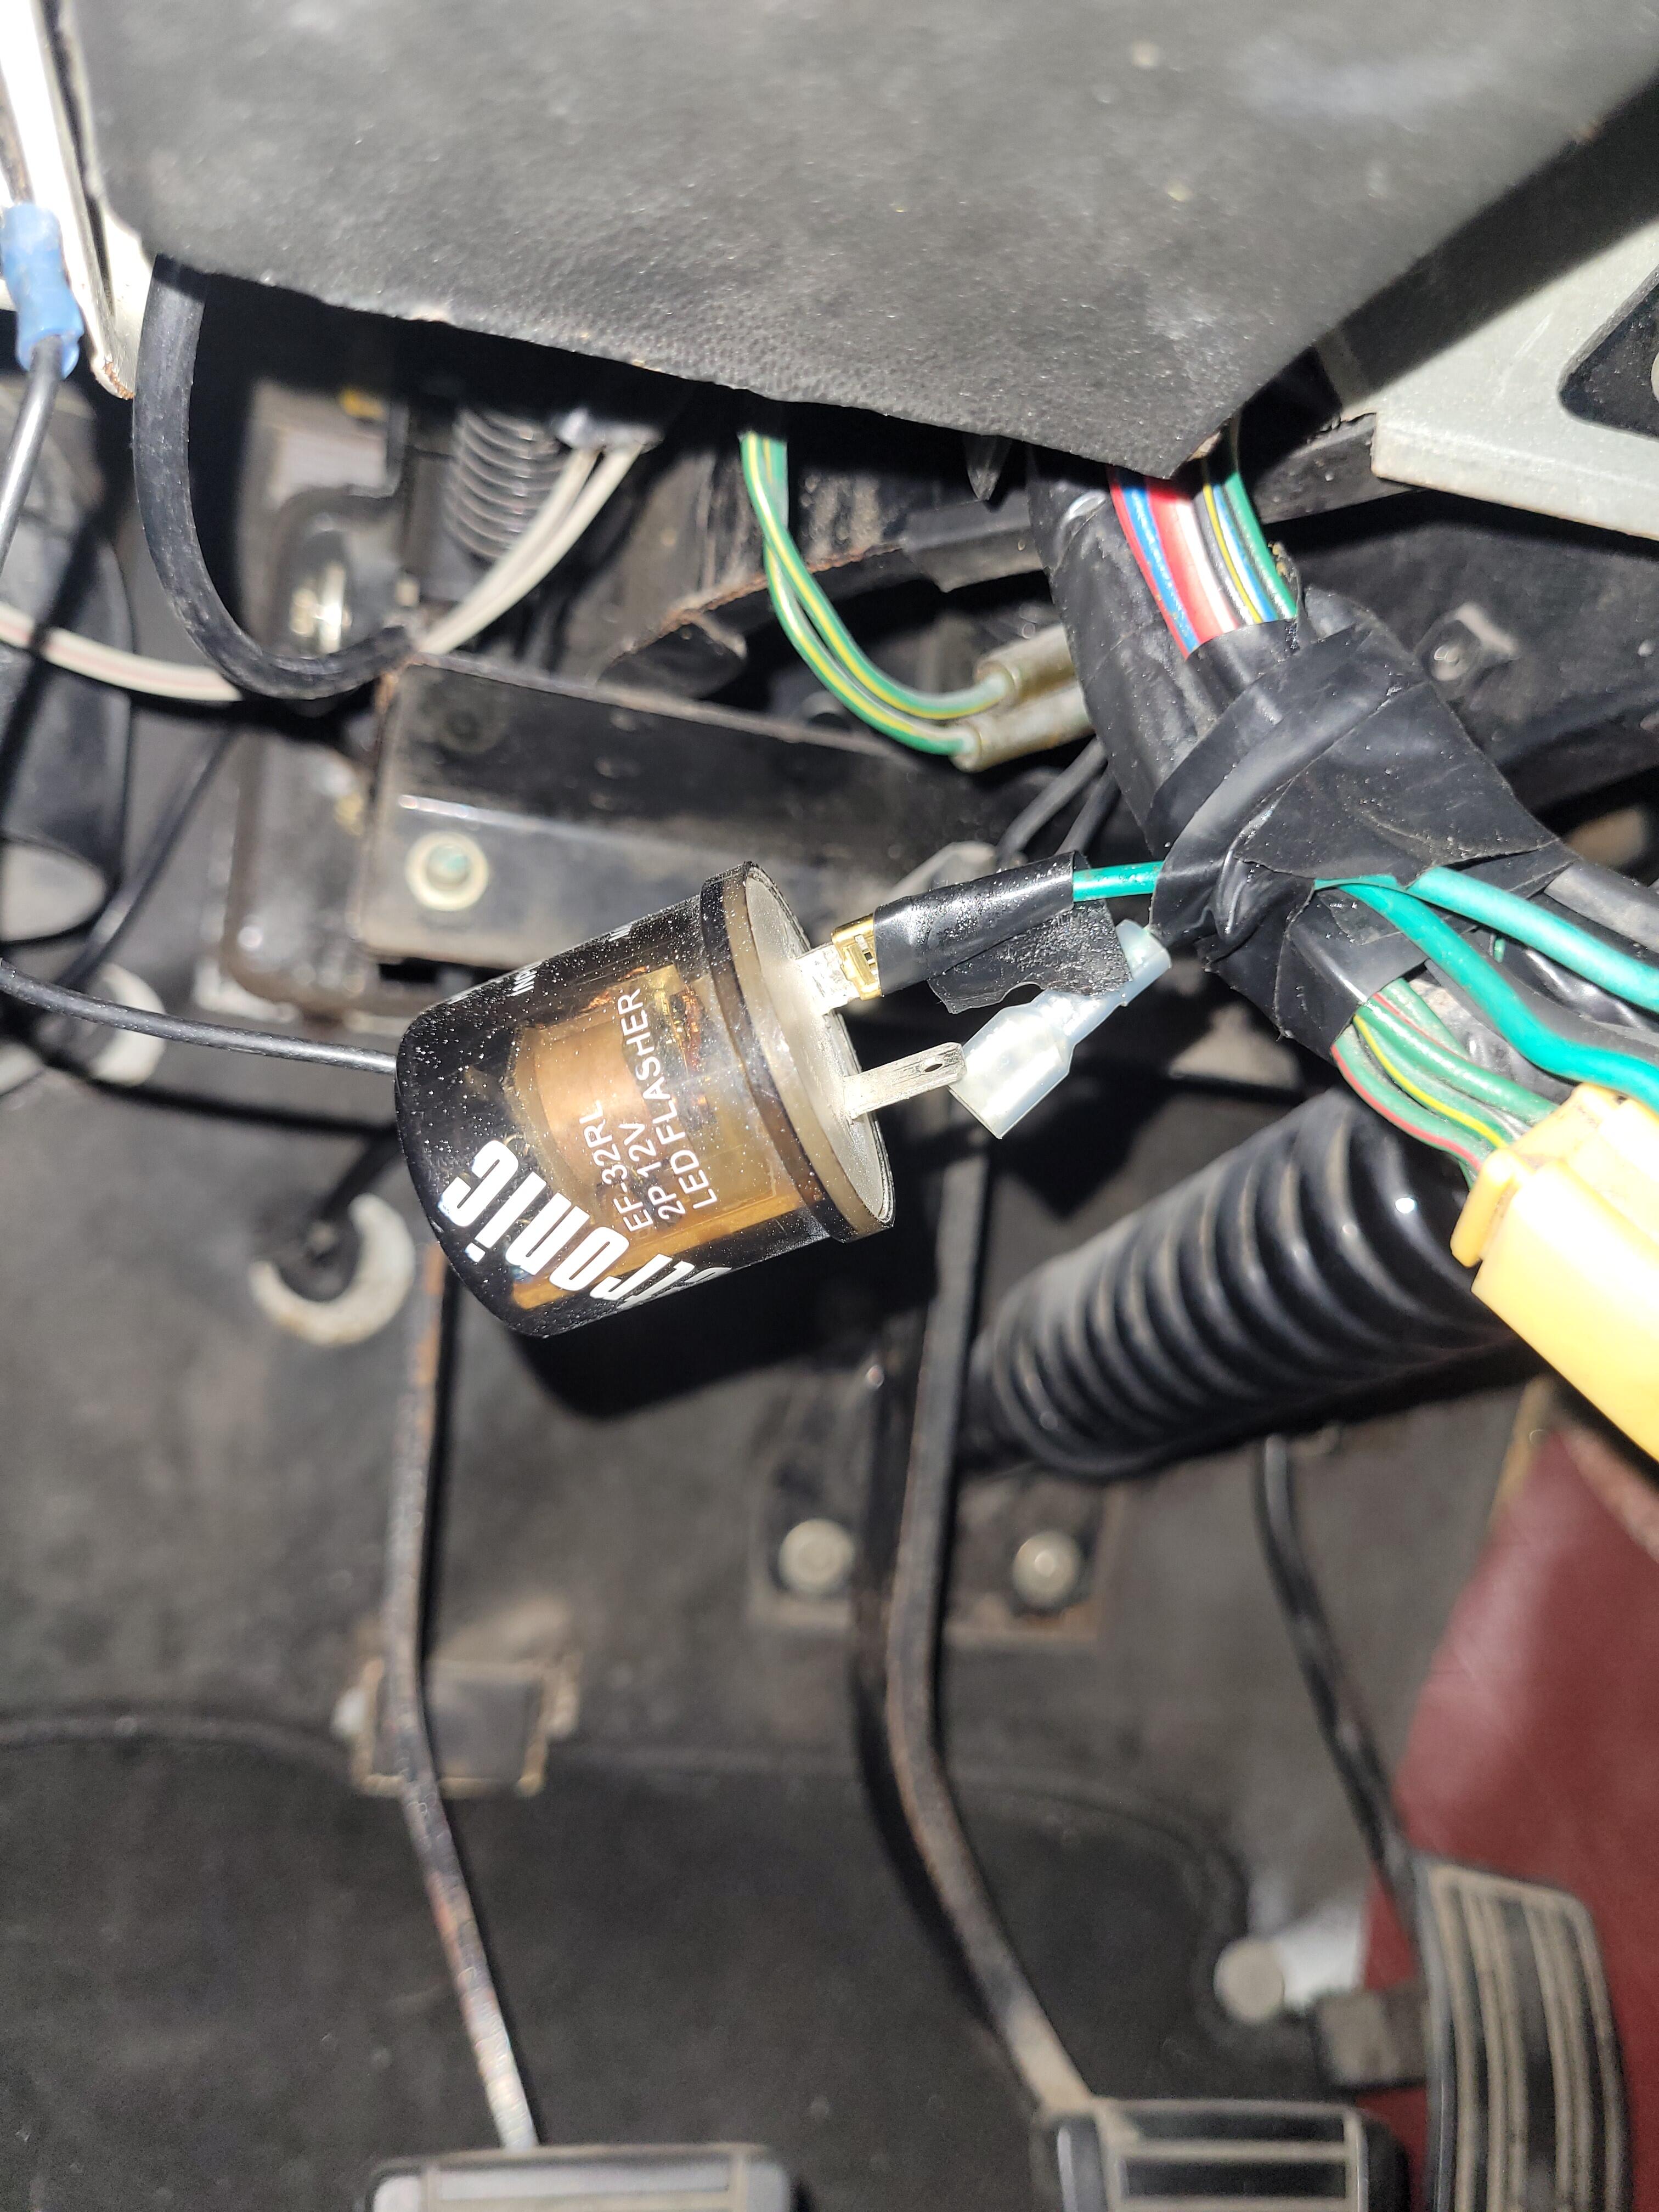
Problem fixed. I guess it was a bad contact. I also found a spare one i purchased many years ago identical as the one installed. Is this model correct for this application?

 1 point
 -
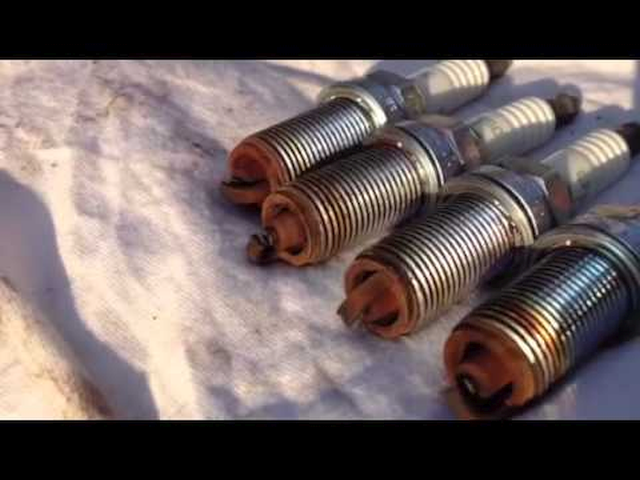
Octane boost fouls plugs. I had someone come over for a tune-up. I pulled a plug, and asked, "Do you run octane booster?" He was surprised I knew, but the plugs ratted him out. Example: Image shamelessly stolen from https://www.e90post.com/forums/showthread.php?t=1162289&page=2 Stabil is a fuel stabilizer and doesn't foul plugs AFAIK.
 1 point
 -
I put a few gallons a year in my '72, it's 93 with 10% ethanol. To be honest the most problems I've read on here is a result of low fuel chambers. Get the floats right then you can adjust the carbs & timing correct. I tried and tried for a month then went to basics like my Dad taught me, now it's rock solid.1 point