Leaderboard
-

Diseazd
Free Member6Points3,362Posts -

siteunseen
Free Member4Points15,115Posts -
HusseinHolland
Free Member2Points1,031Posts -
S30Driver
Free Member2Points1,580Posts


Popular Content
Showing content with the highest reputation on 04/16/2023 in all areas
-
6 pointsEiji will have everything you need to build the perfect head. If you need any help, feel free to PM me. We had him over this weekend for number 50.

 6 points
 -
2 points
-
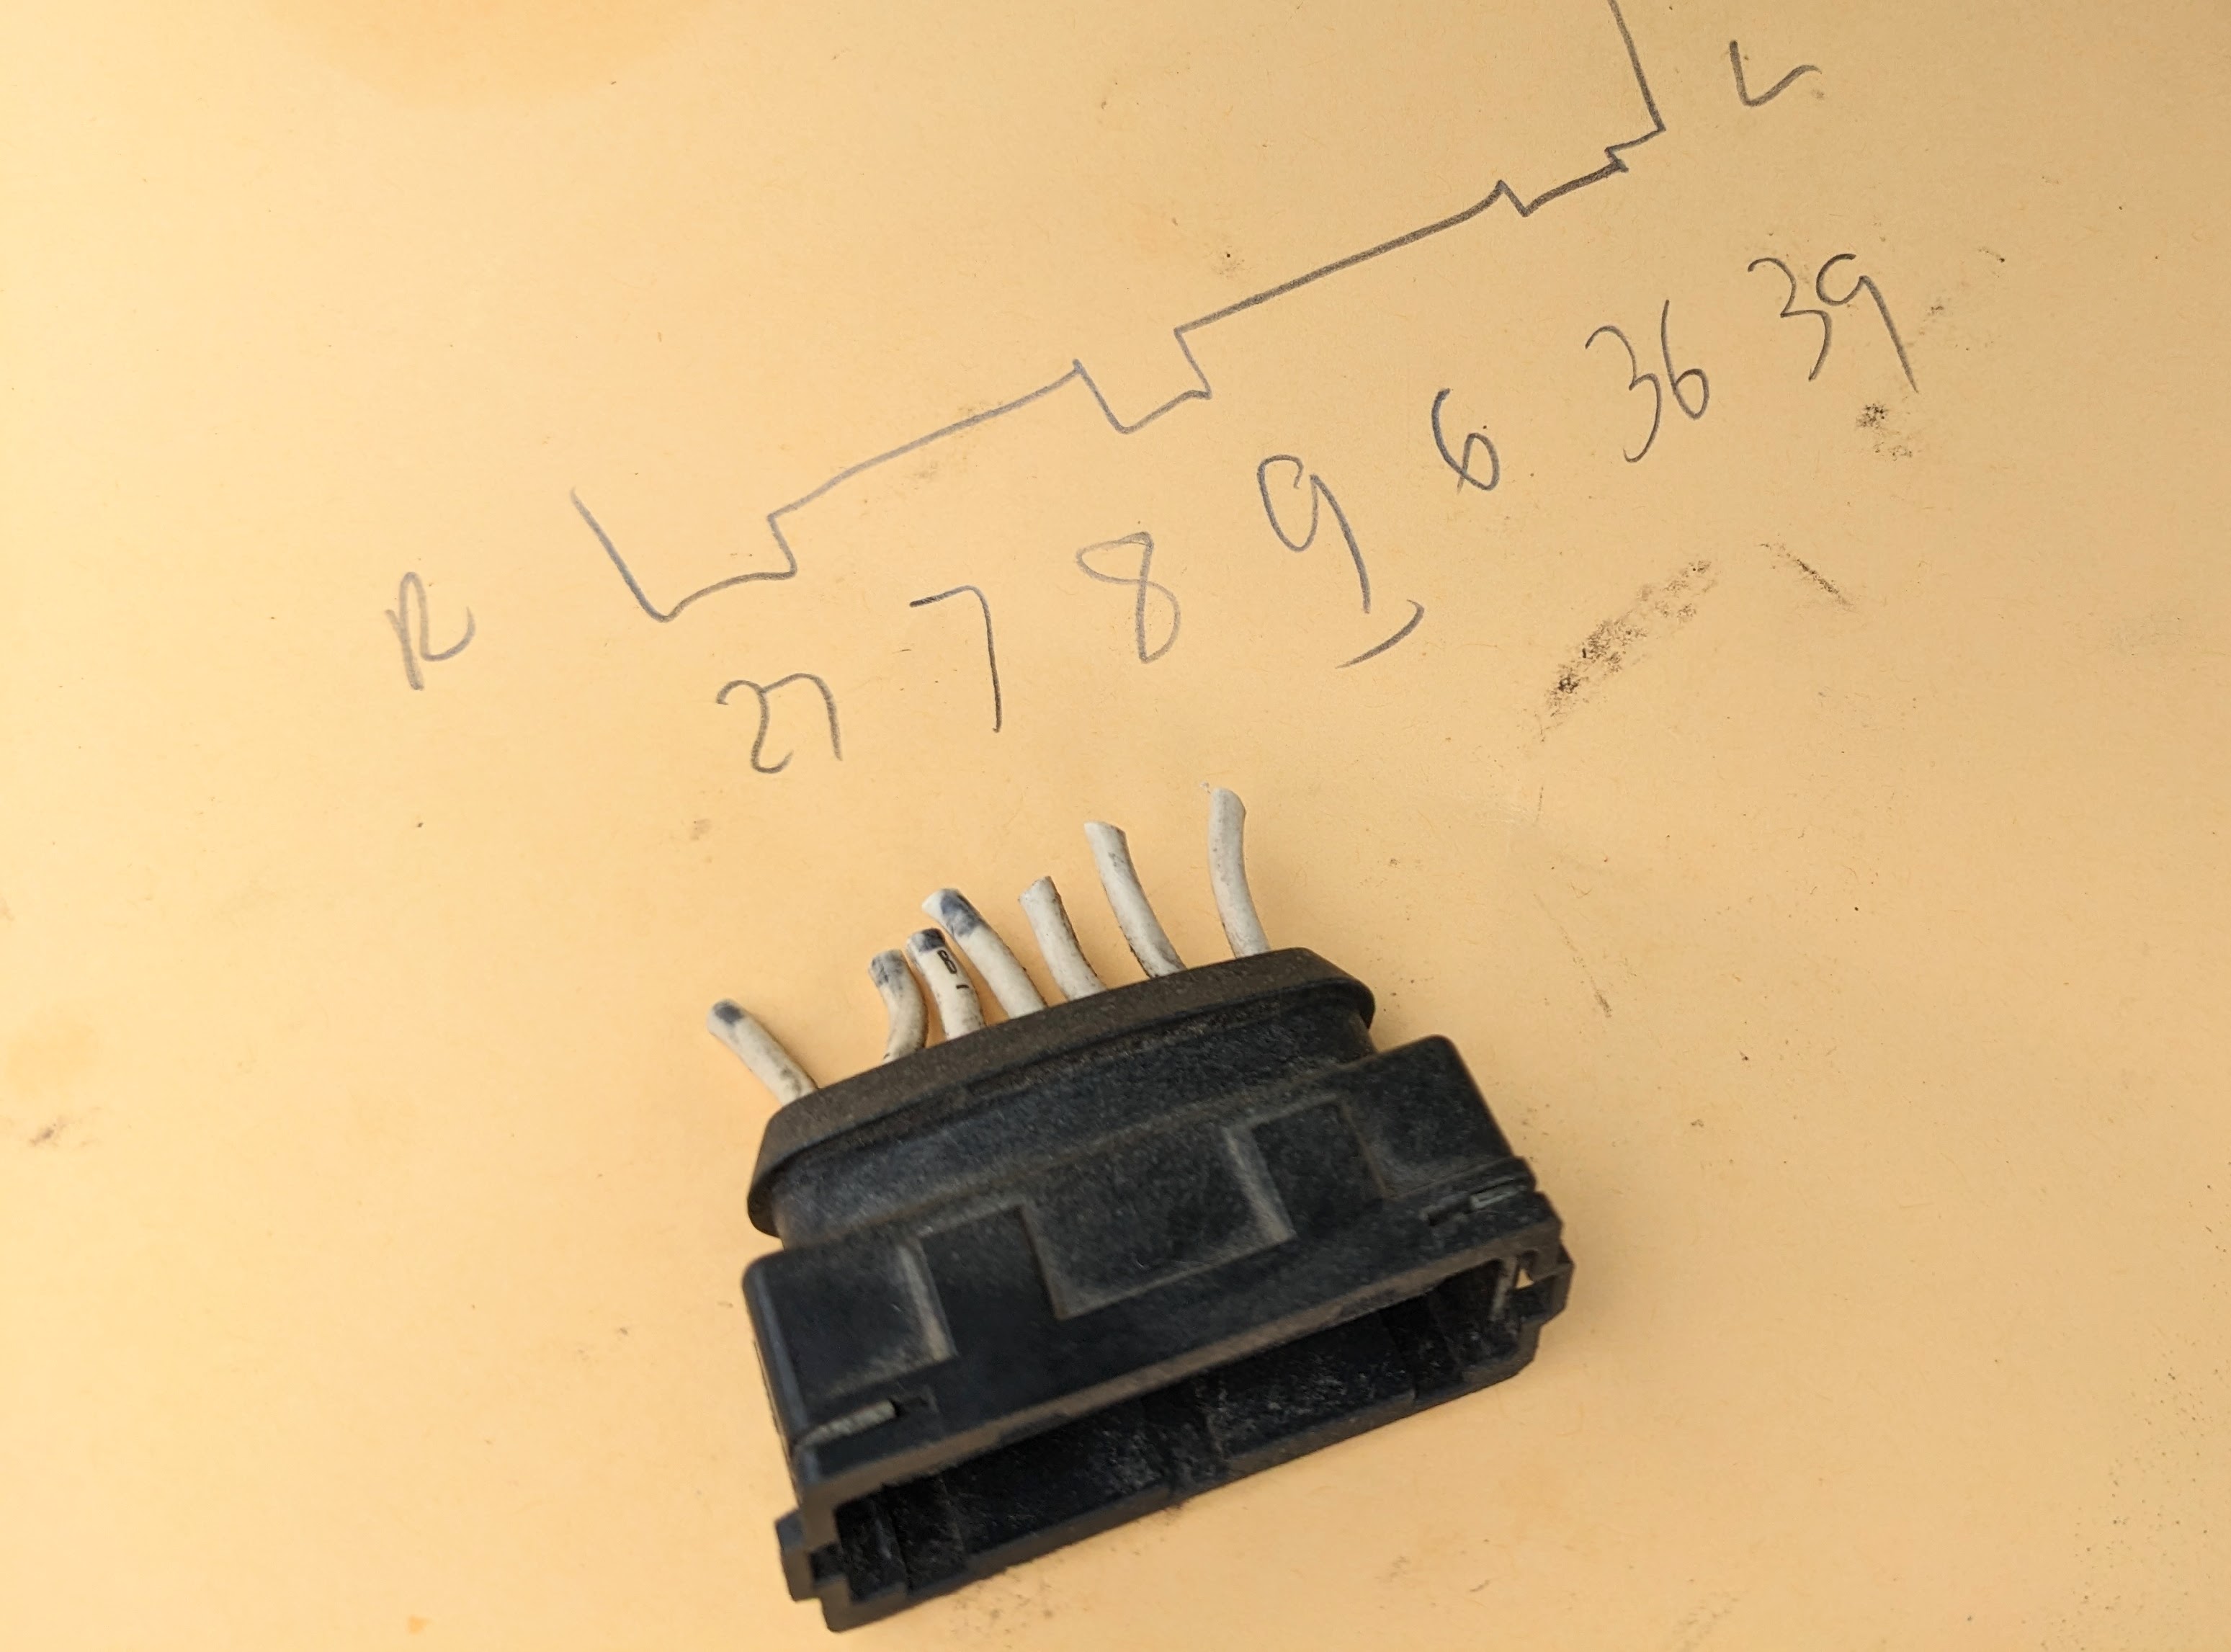
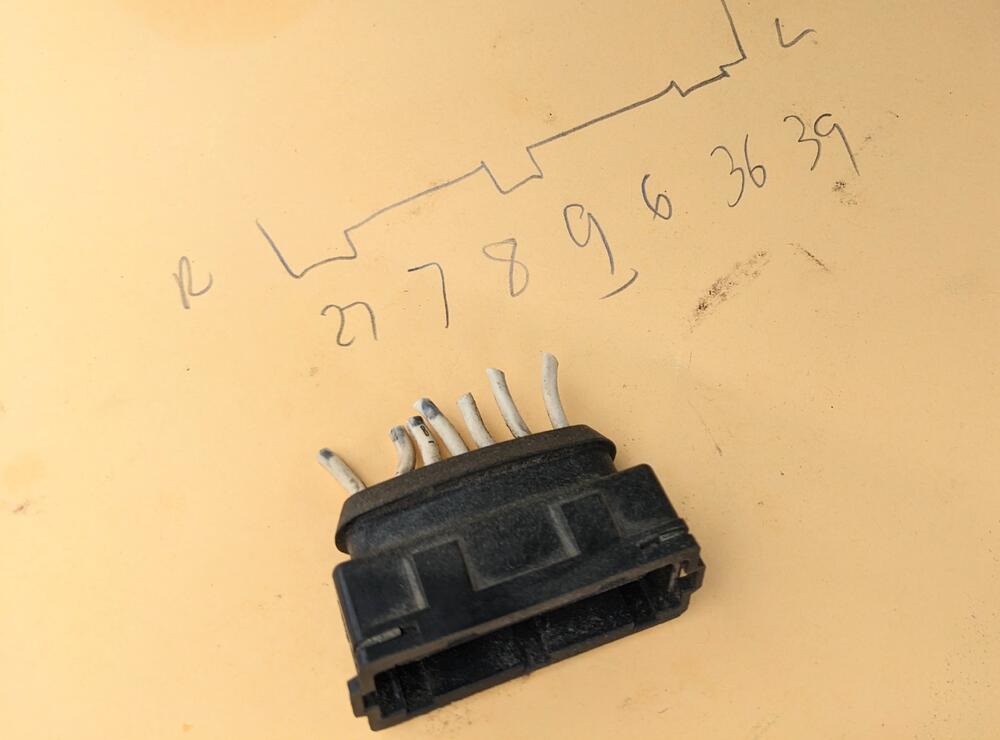
Since you are using the CHTS instead of the water temp sensor, warm up the motor, shut it off, and use your multimeter to check the resistance at the big ecu connector. The fuel injection bible has the chart for the temperature reference. If I remember correctly, it is pin 13 measured to ground.2 points
-
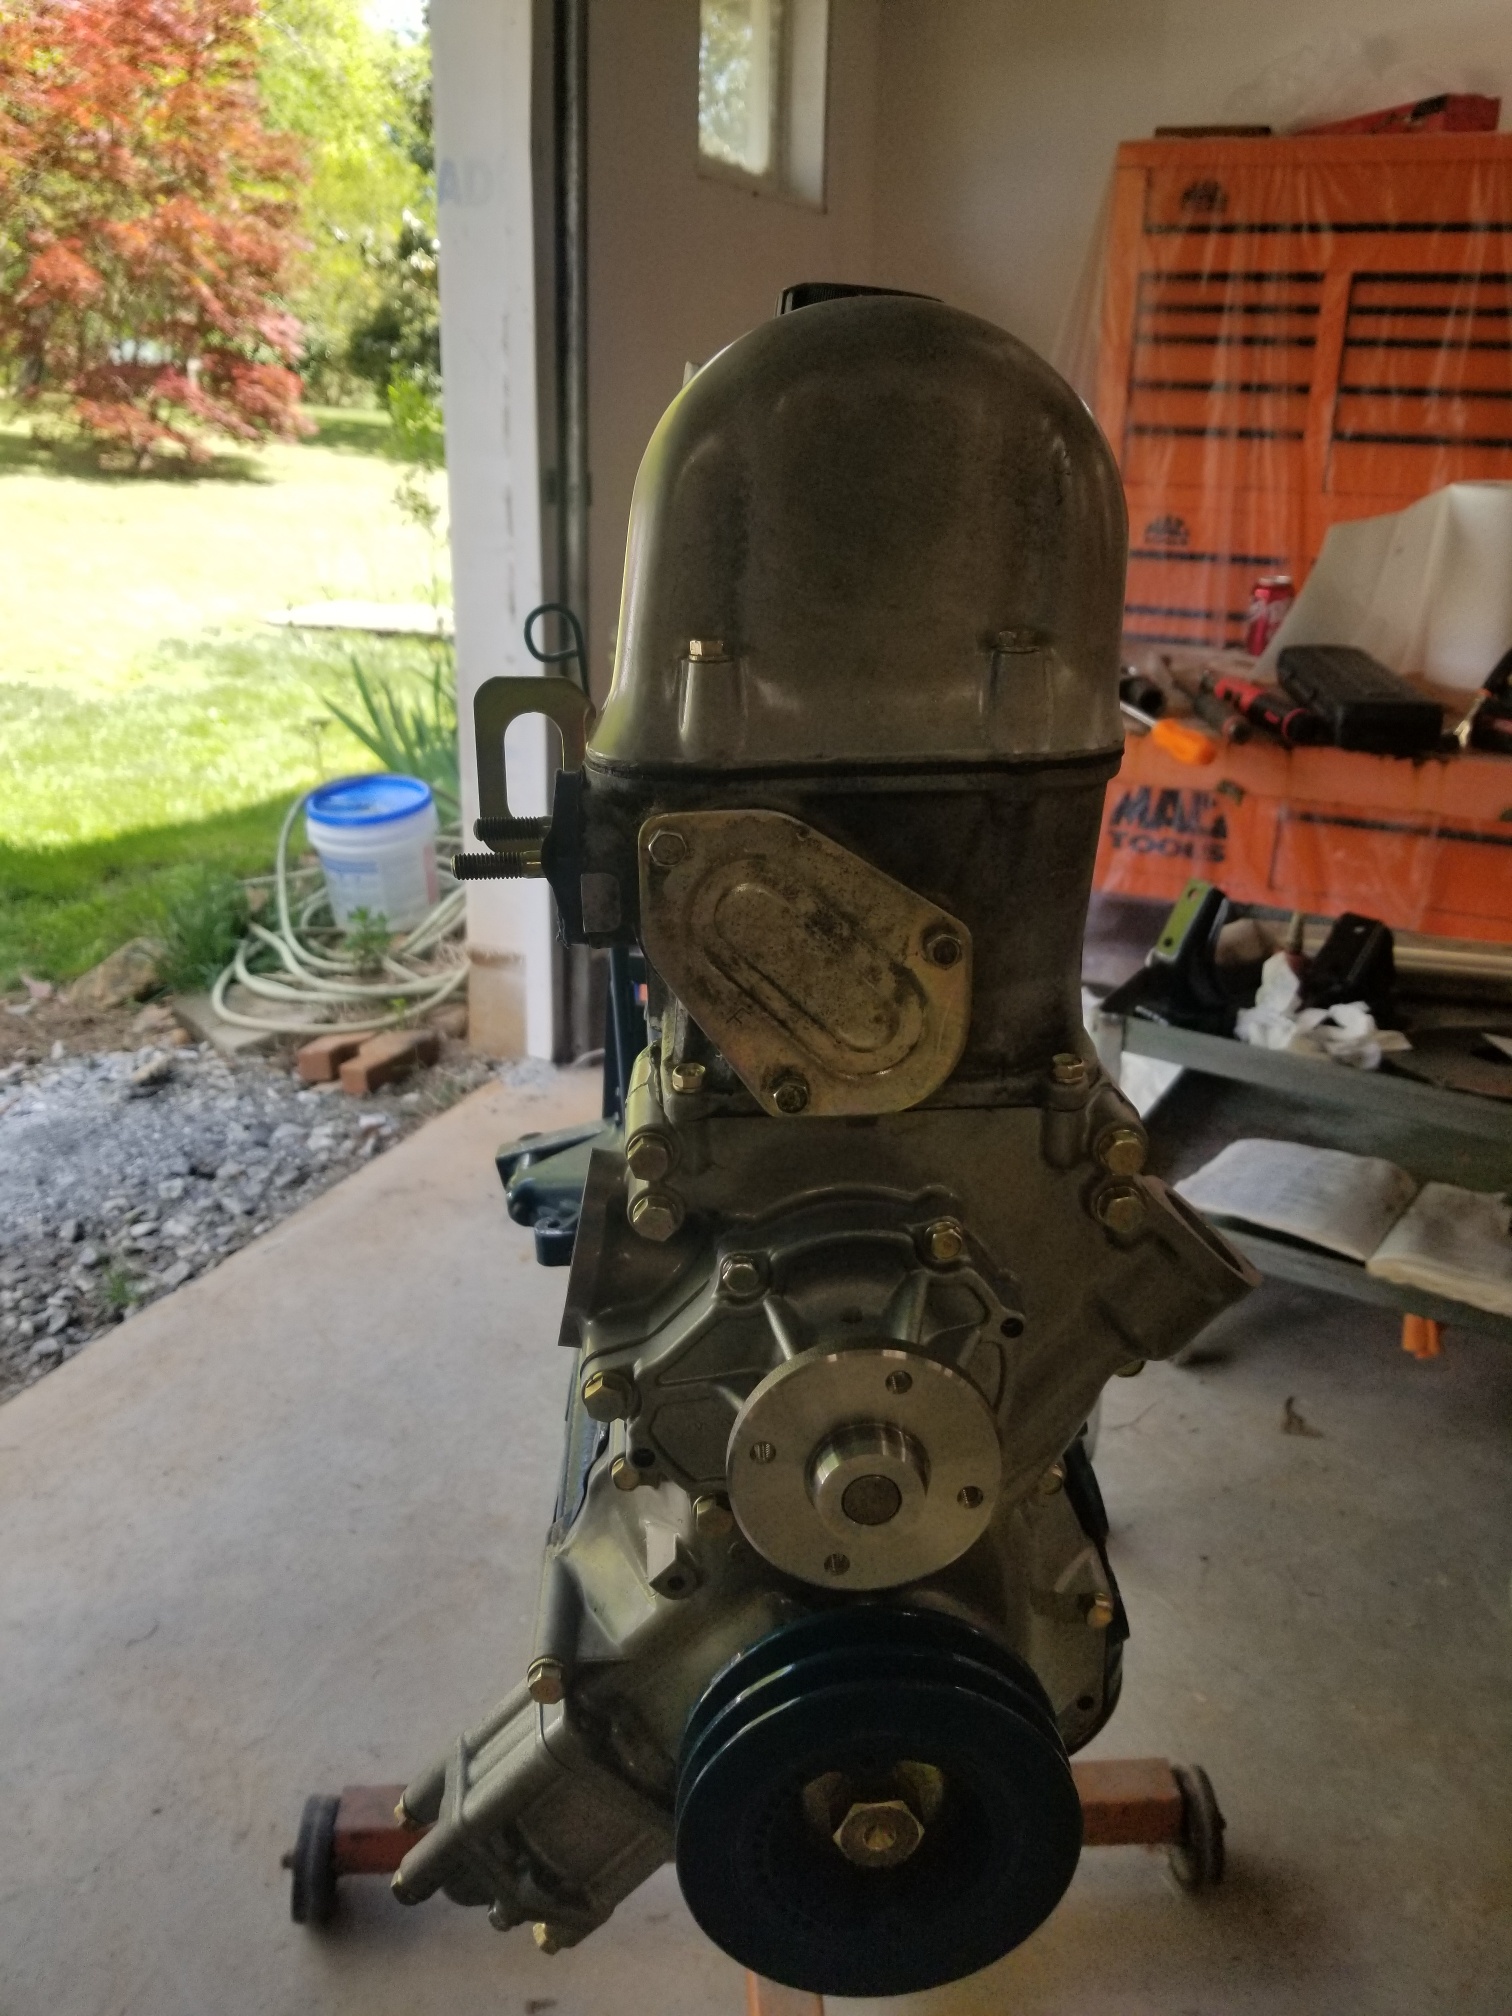
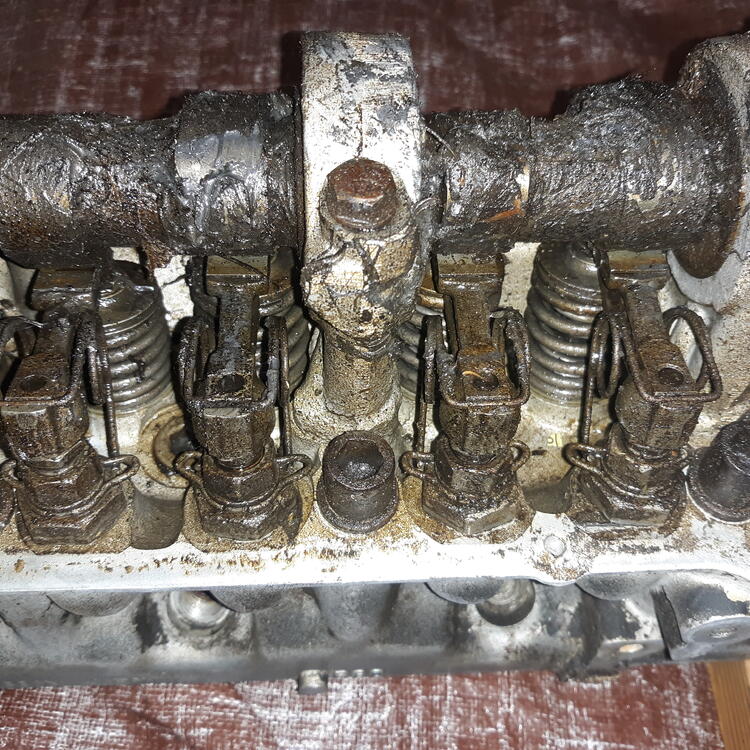
1 pointI'm going to try and take pictures of this paper weight as I make it lighter. Bought it from a guy that works at a scrapyard. $20 dollar scrap price but an old friend that works there knew what a Datsun 280ZX was and gave him $25. Called me and now it's my toy for the next month or so. With you guys asking about it I'll get it done. Pictures so far.
 1 point
 -
I believe you have to give it a bit of a twist to remove it. I'm not sure about the twist part. I've only worked on 4 screw carbs. @siteunseen1 point
-
1 point
-
1 pointMy .02 cents...have ordered from Zcar Depot many times..no issues, delivery via standard USPS takes about a week. I'll continue to order from Ryan in the future.1 point
-
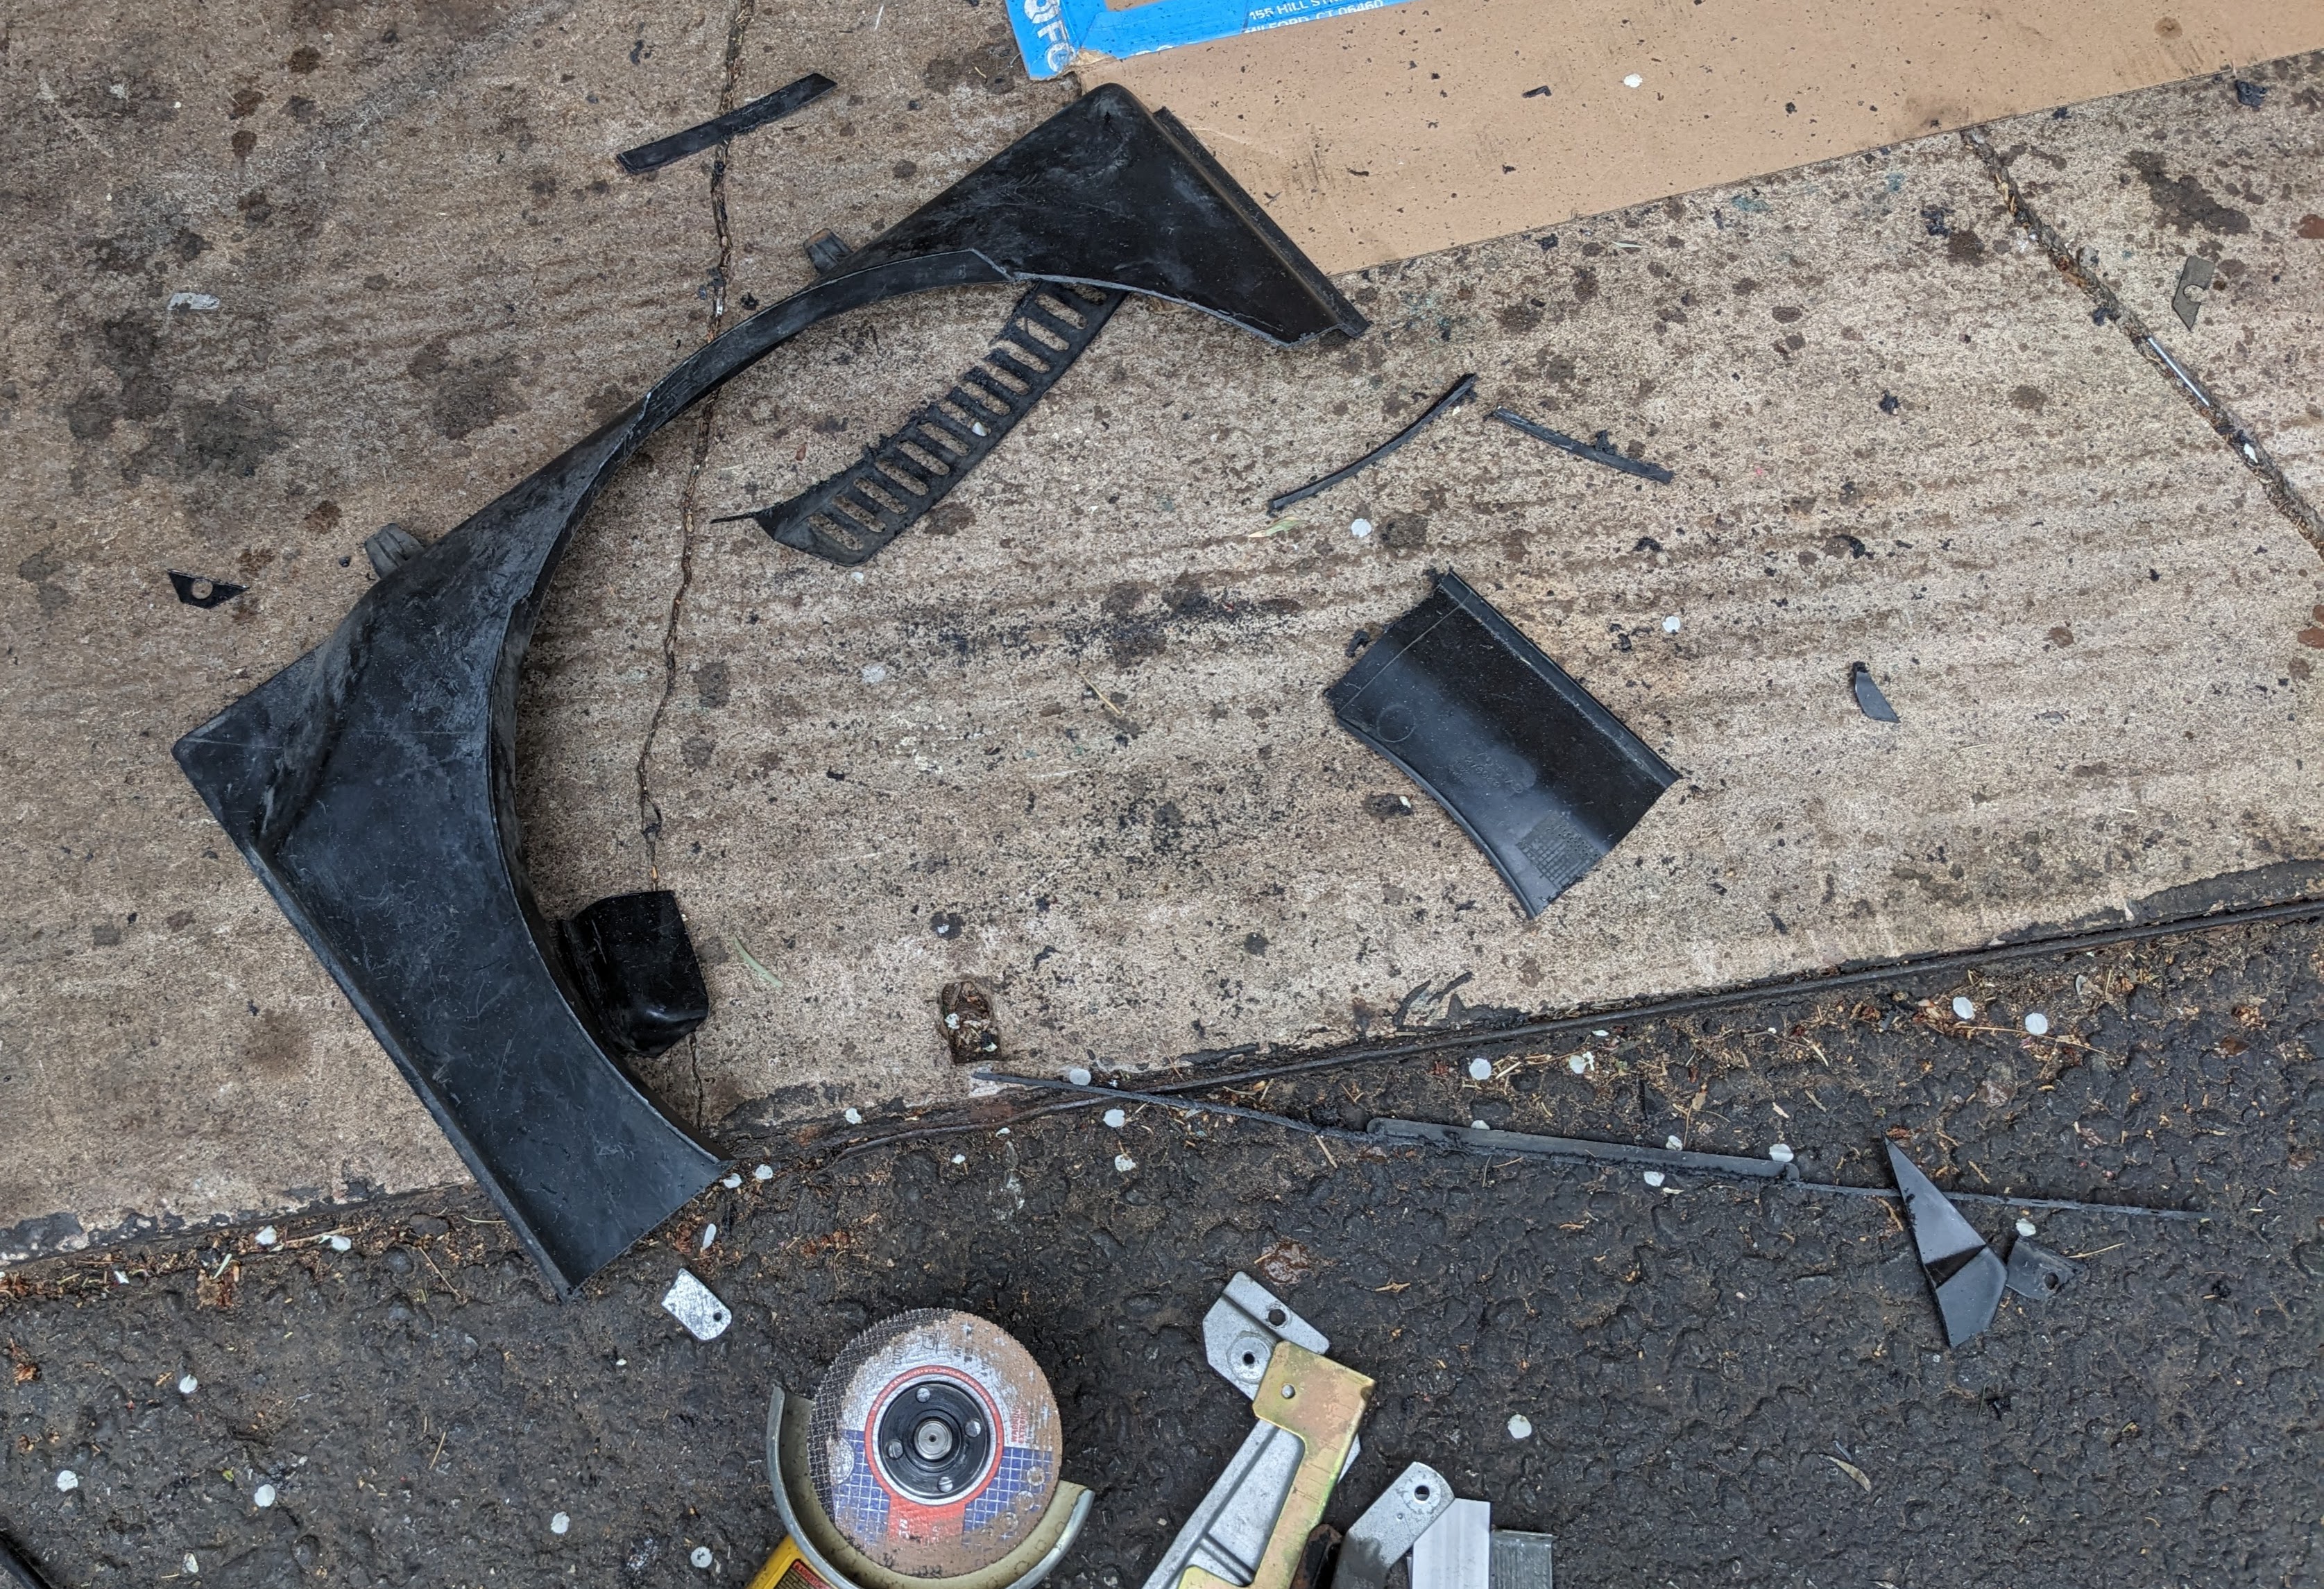
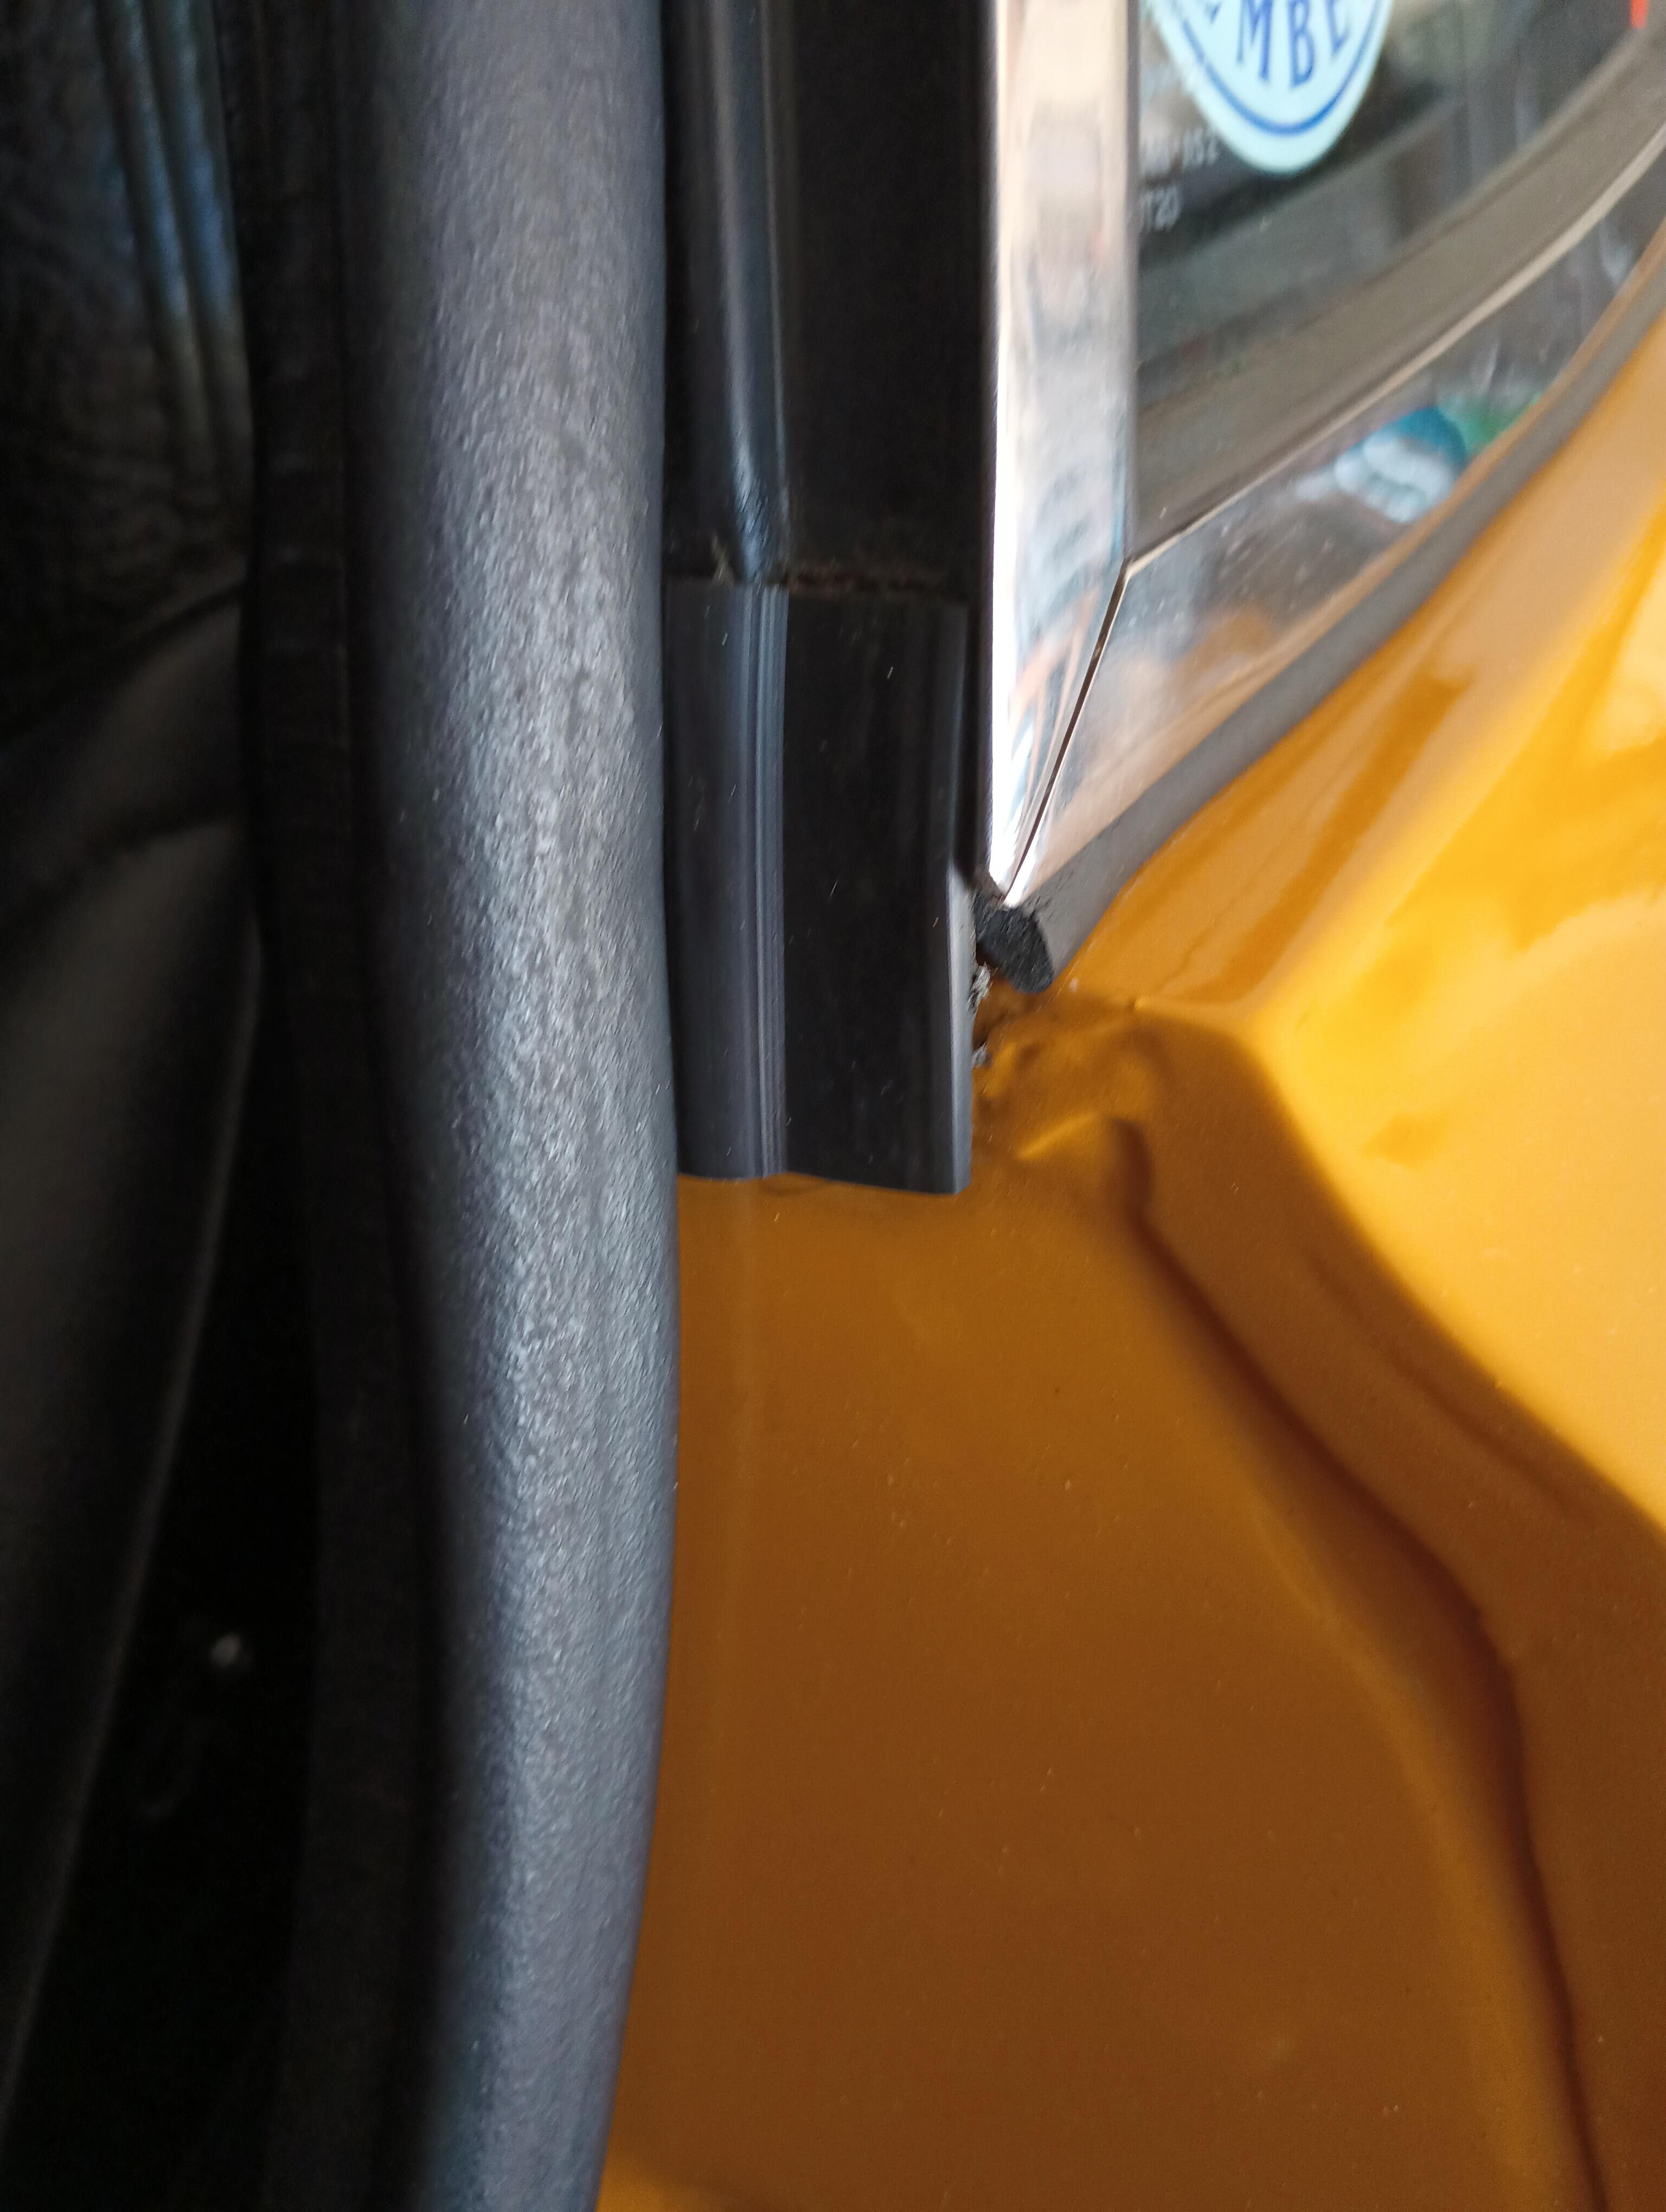
1 pointWith no pic, I'm going to take a guess and assume you are talking about this piece circled in red that goes on the "B-pillar". If it is the piece in the following pics it goes on the door.
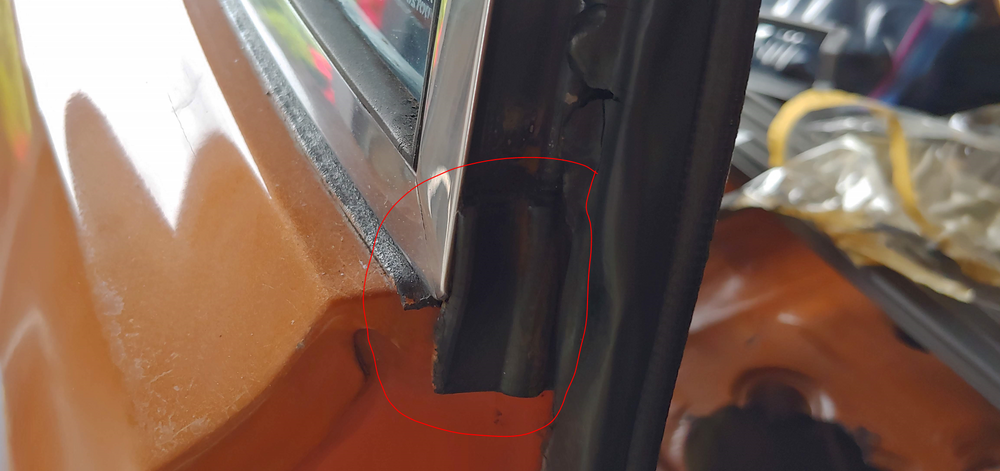
.thumb.jpg.074fe9b6bf35c9bc9a3345d6b7a0aced.jpg)
.thumb.jpg.f7ef53fae9a5baa566e2251adbc7e690.jpg) 1 point
1 point -
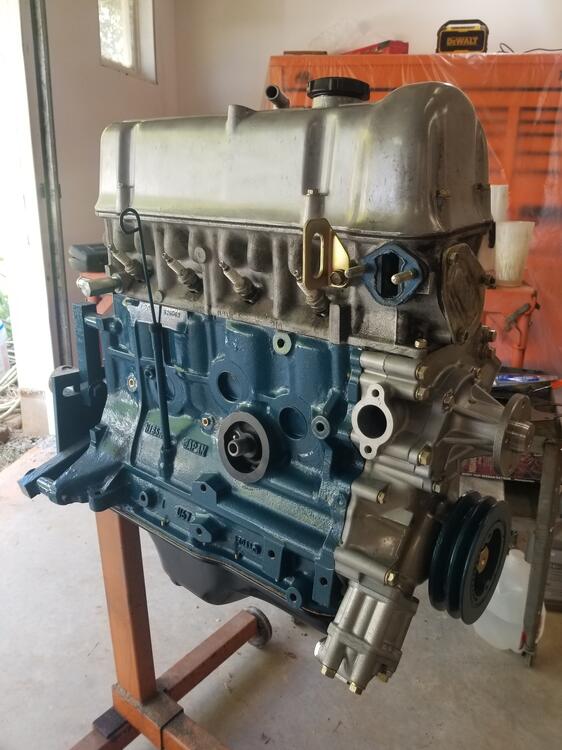
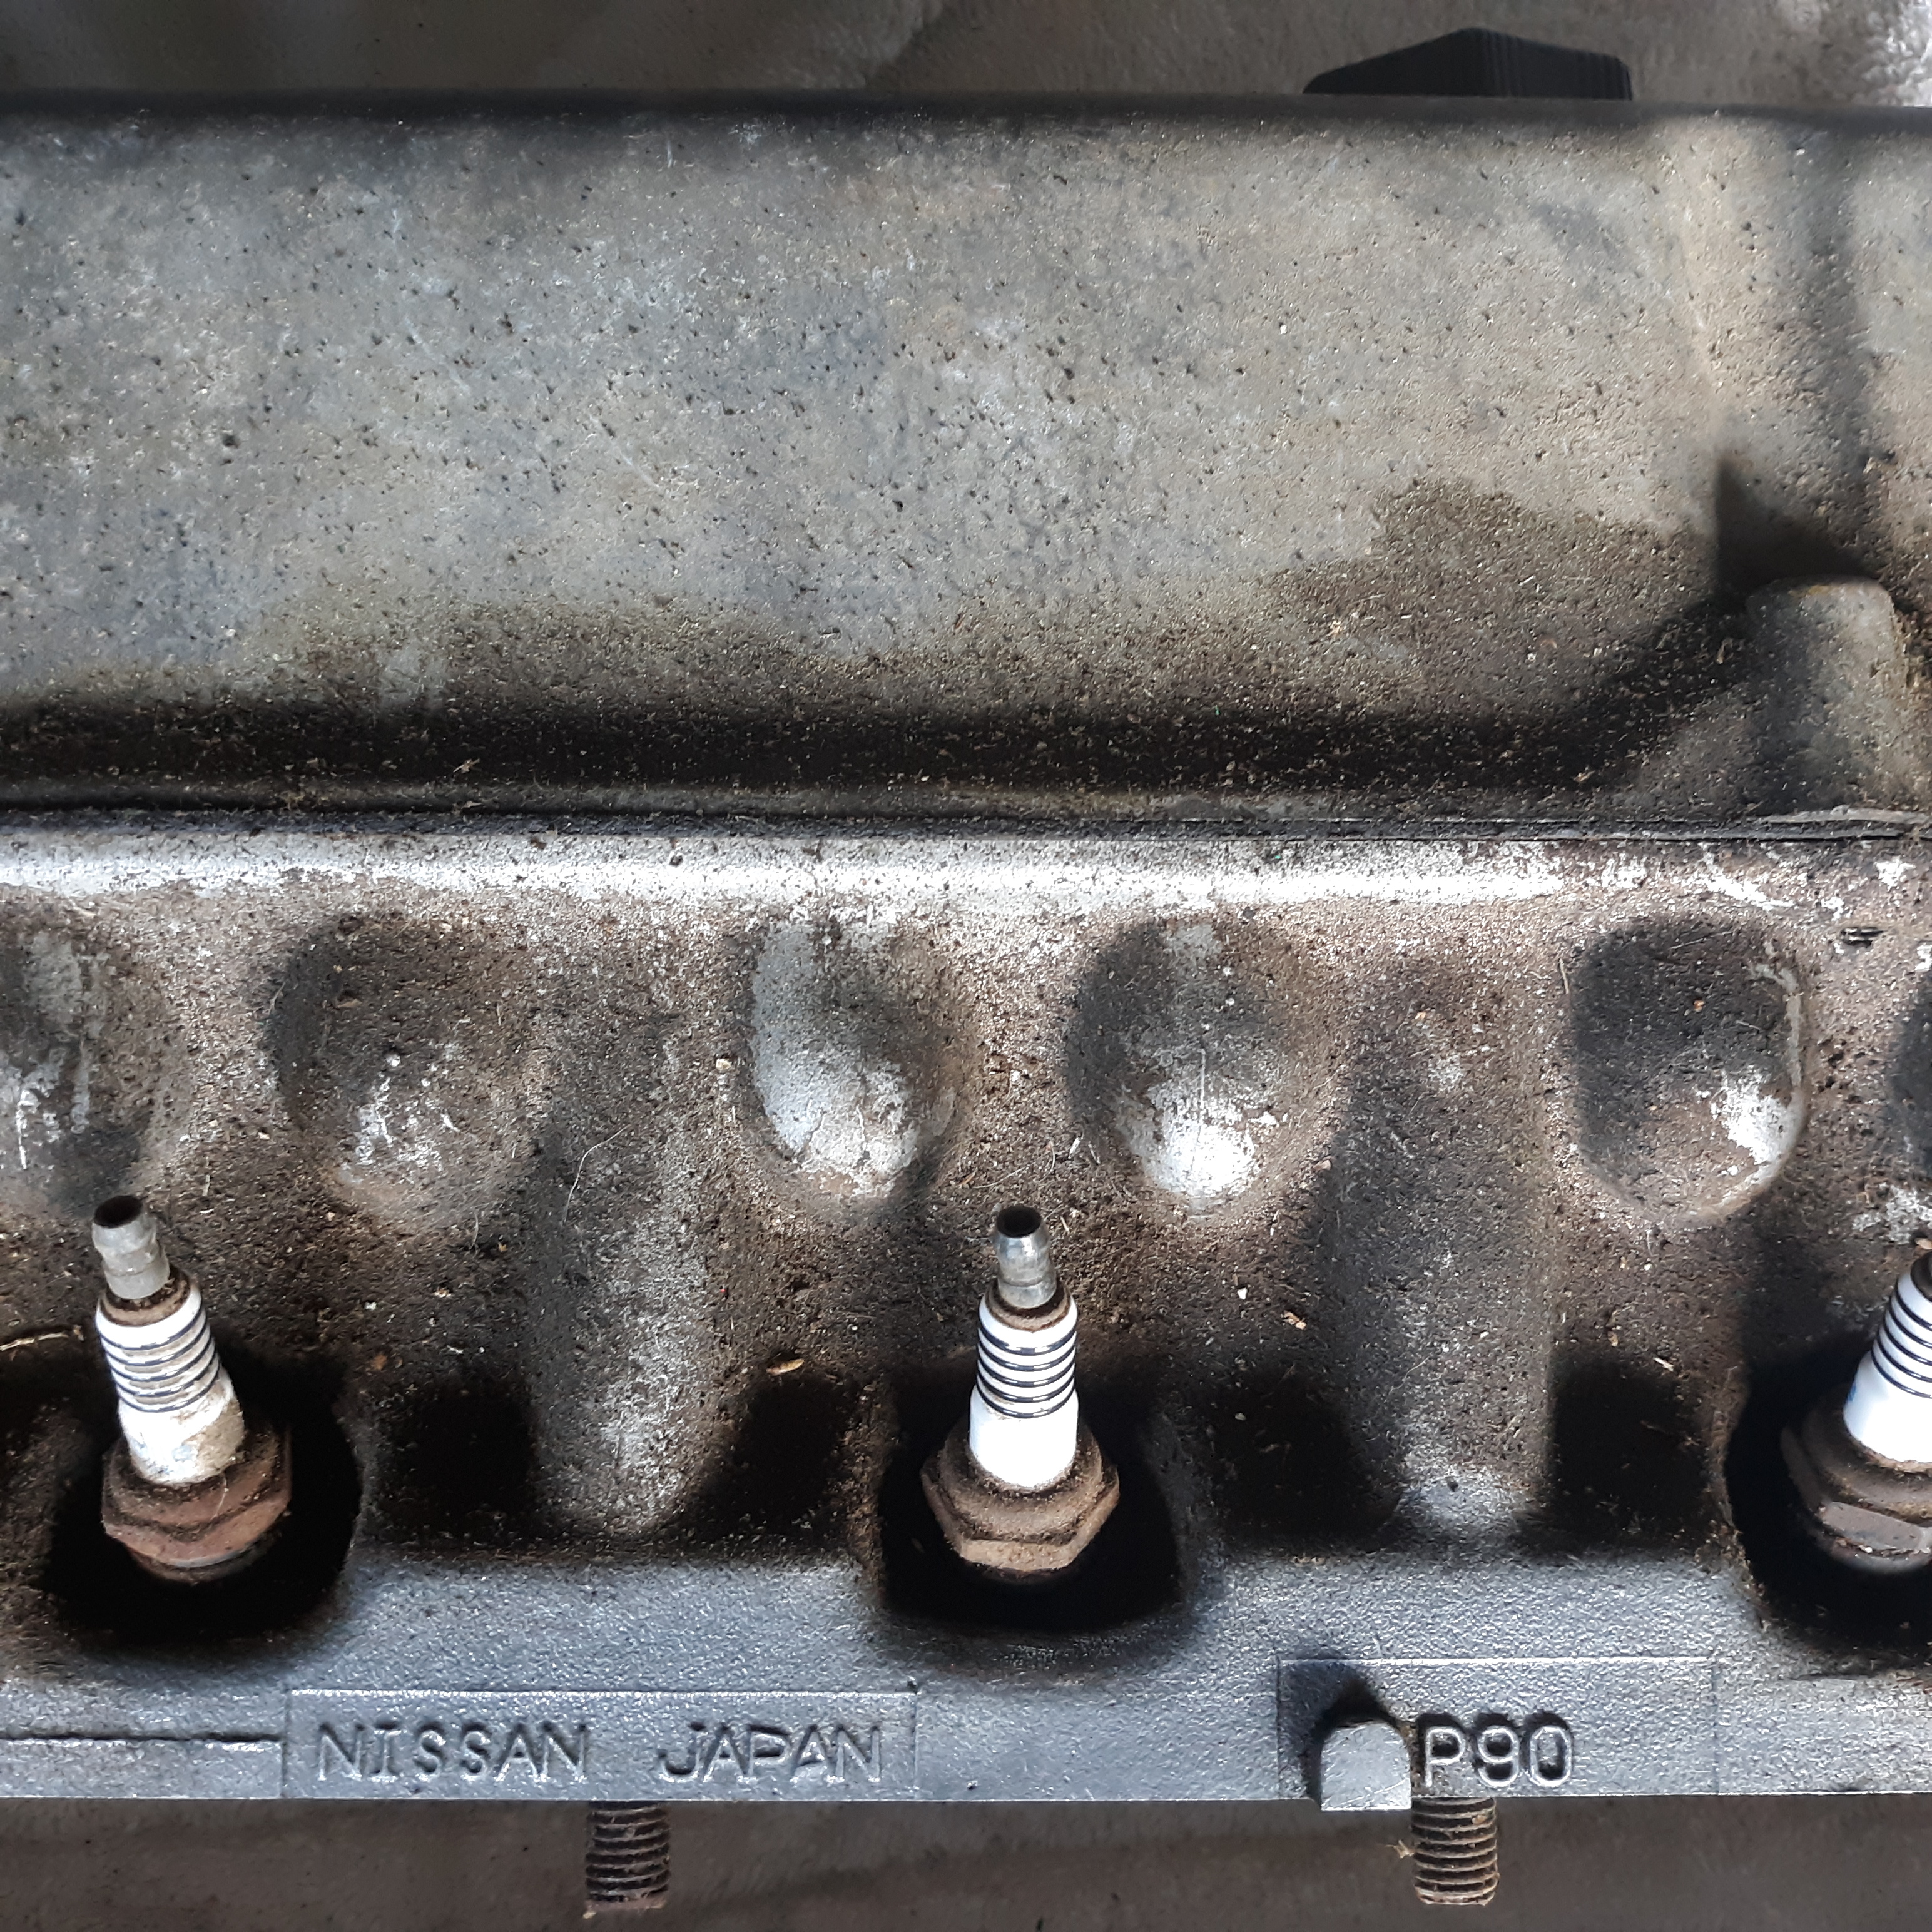
1 point"Home is where the head is" I'm going to take it to my job and disassemble it when I can. Bag and tag all the parts then bead blast it. In the meantime I can read up on the mod to figure out what to do next. Hopefully I can use this one instead of the 53 year old E31 I was planning on putting that cam kit on. Most likely use up all the parts I've collected to make a higher compression motor then drop it in the 280. I'm not touching that 240 unless I have to, fenders already have elbow dents all over the tops. @Jeff G 78 I found this for less than shipping that P79! $475 less than the ZX motor. Does this sound about right @Diseazd? - shaving the head .080" - installing 1975-78 L28 valves which have .080" longer stems - shimming up the cam towers .080" - shimming up the spring bases by .0801 point
-
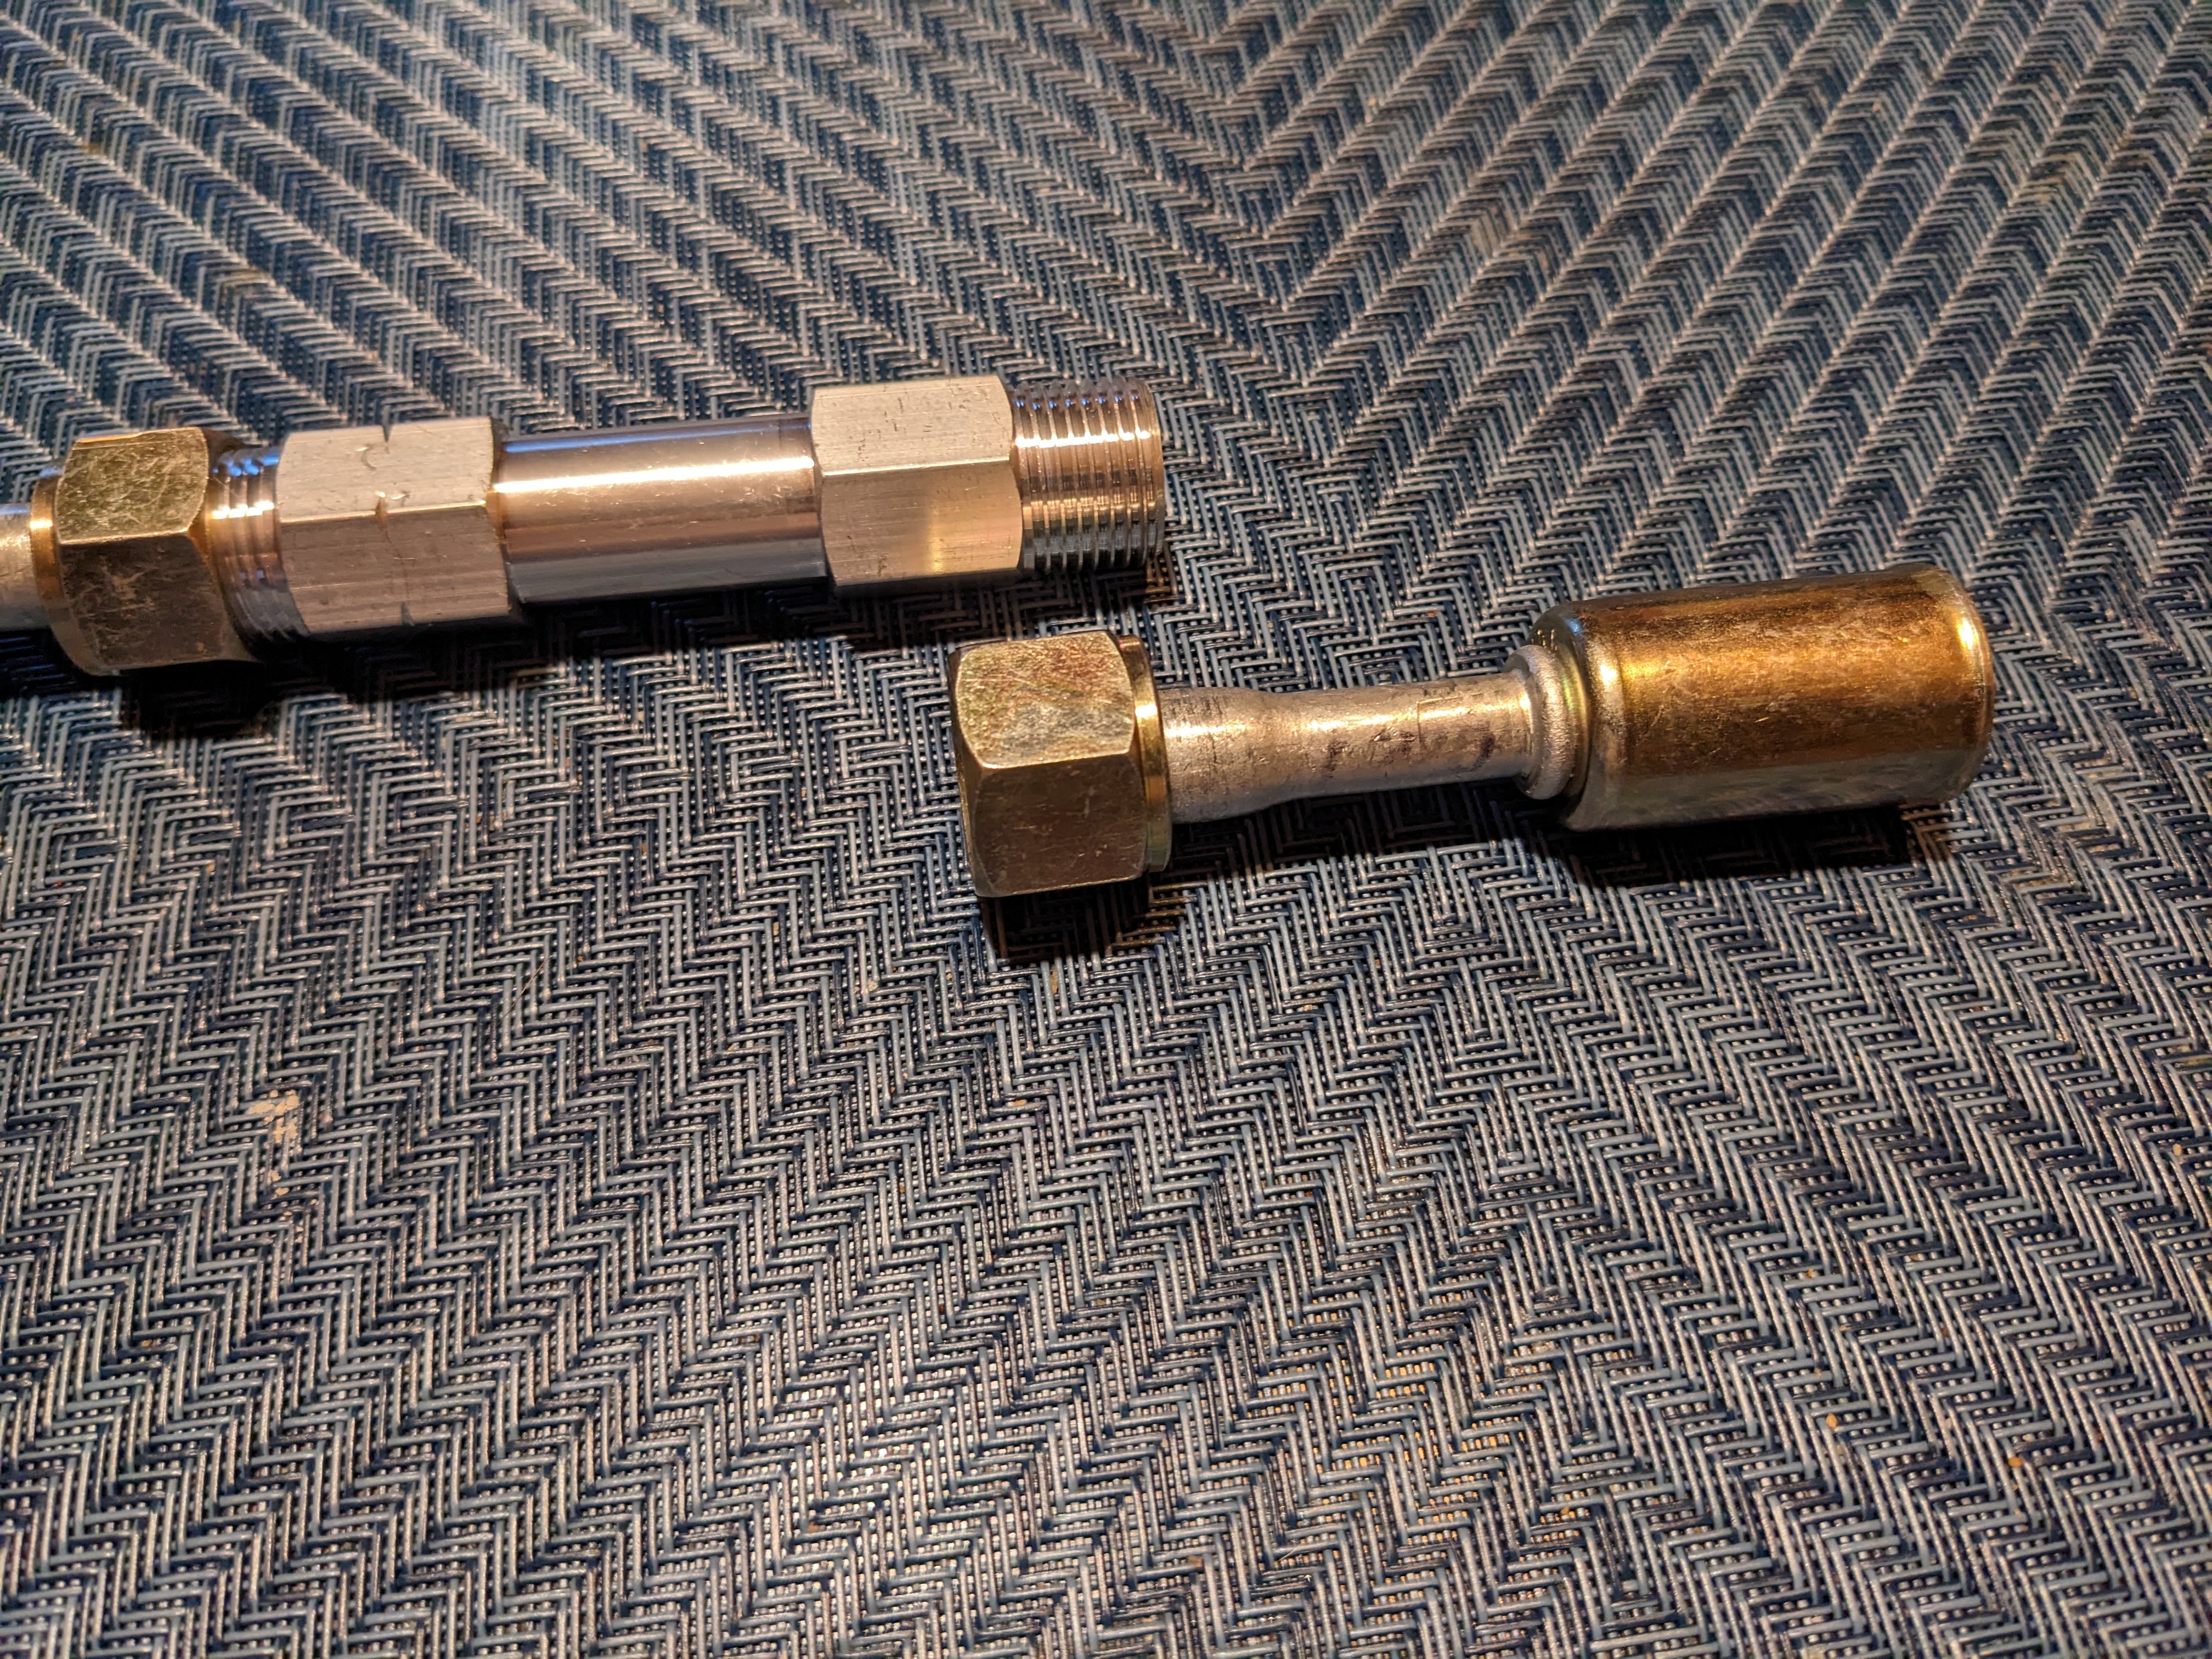
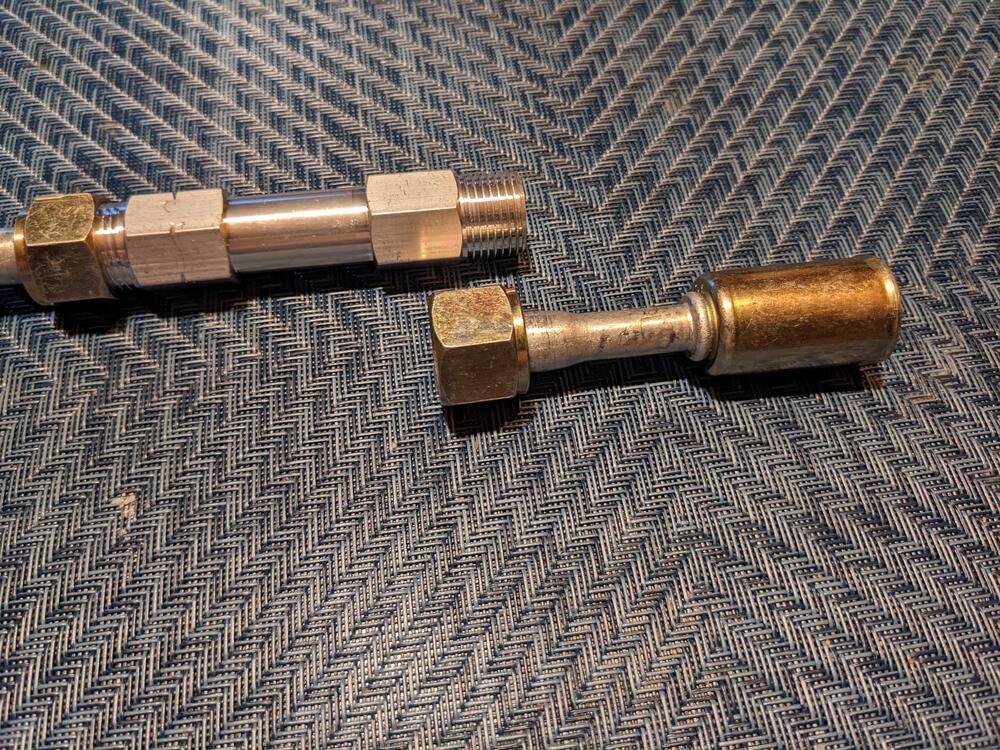
Yes, the orifice tube will be in the #6 hose from the evaporator to the condenser, in the engine bay. The expansion valve gets gutted or removed if possible. Accumulator will go pretty much where the receiver/drier was placed, but higher up. Has #12 fittings, I will step down to #10 hose. low pressure switch goes on the accumulator (Four Seasons 33197, Volvo 740 application)
 1 point
 -
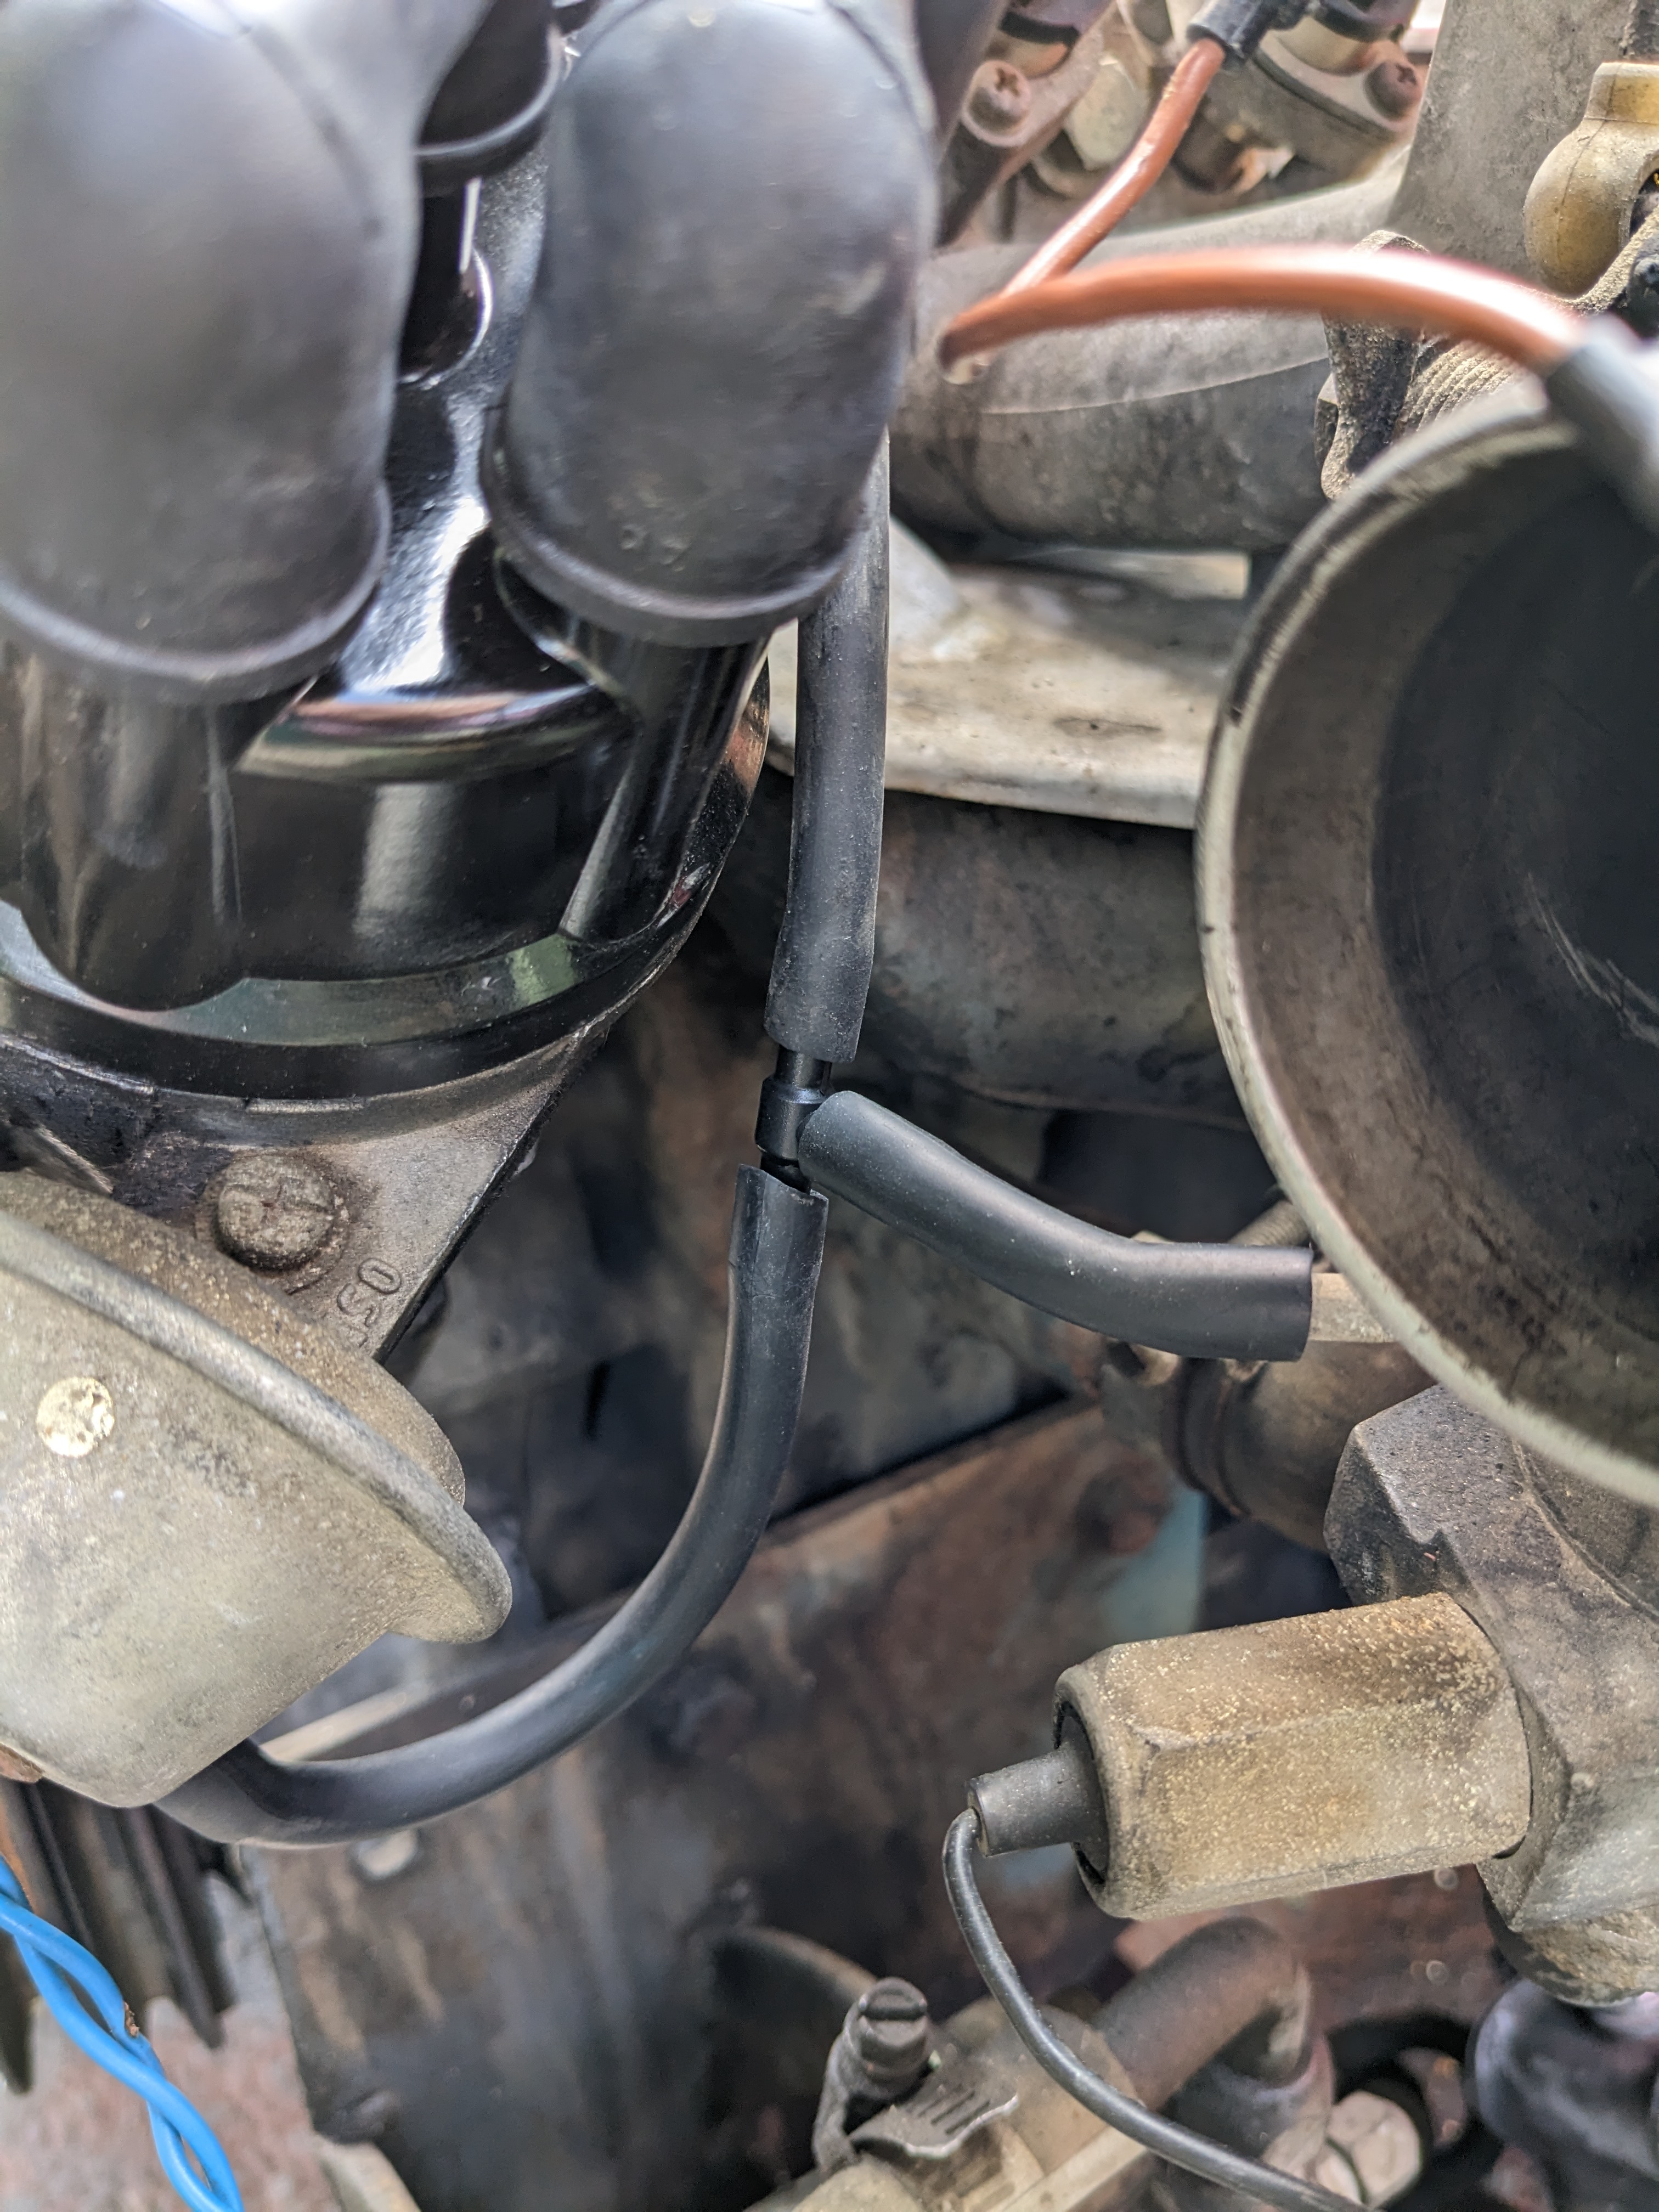
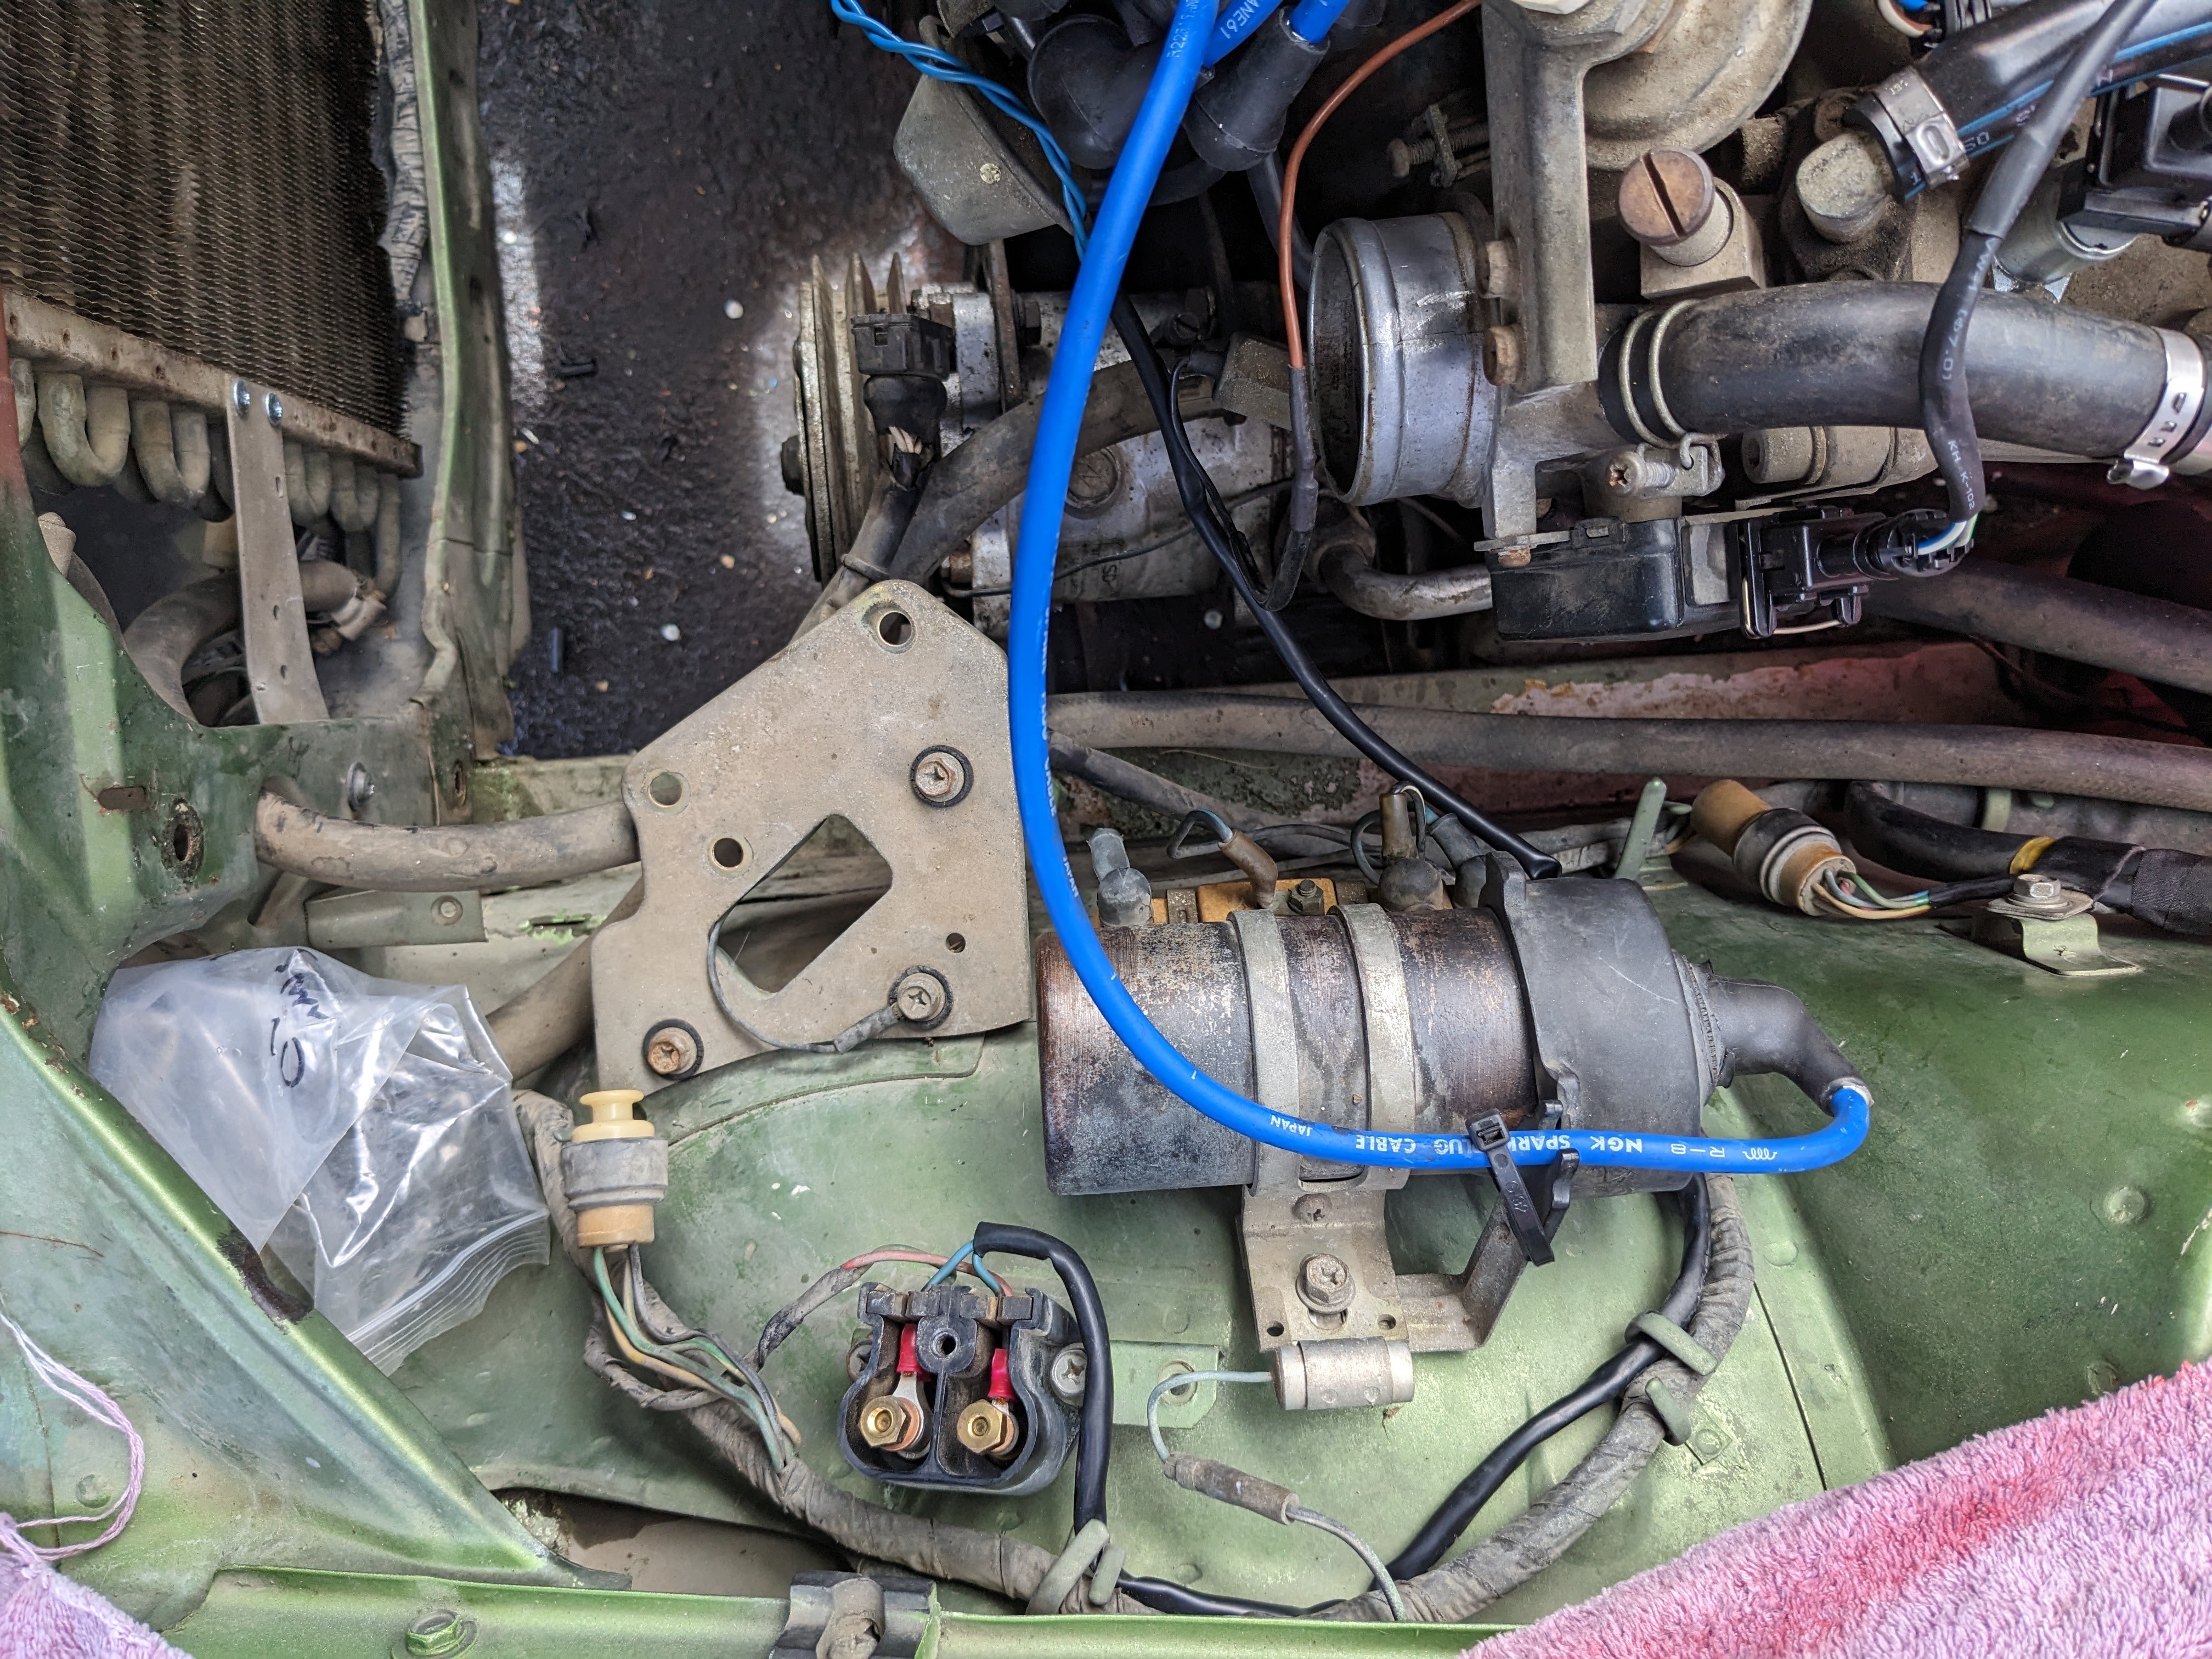
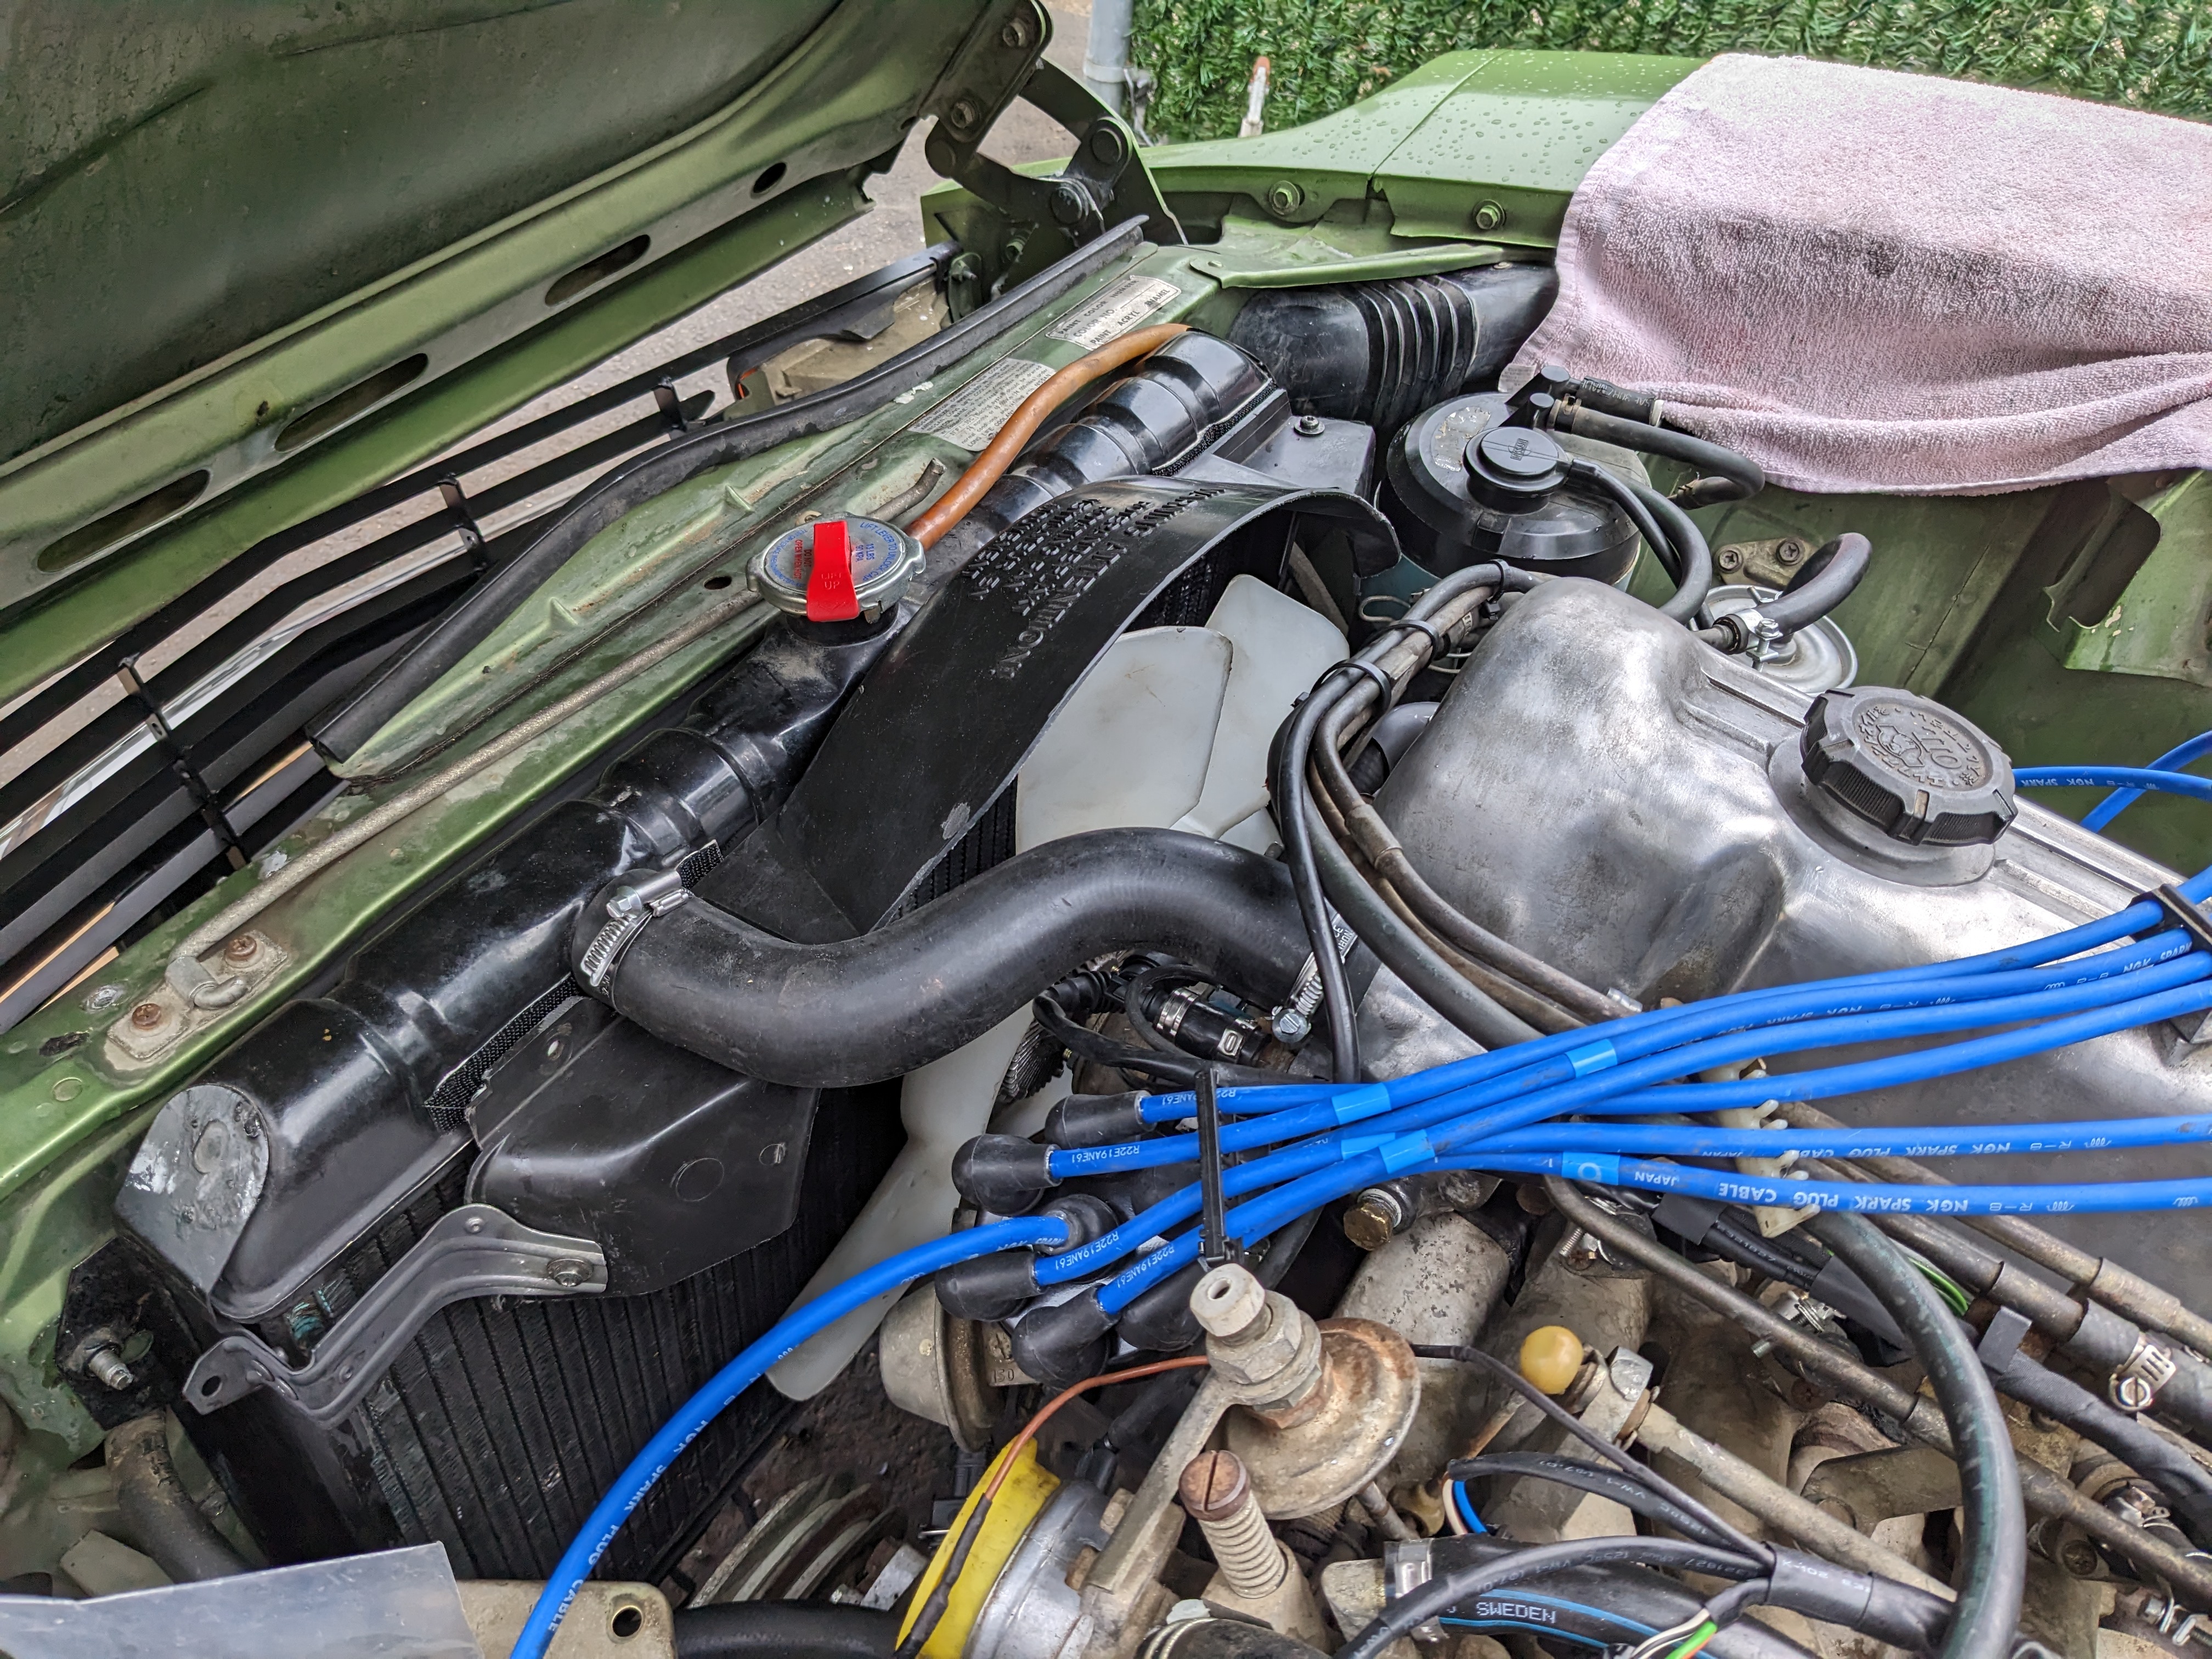
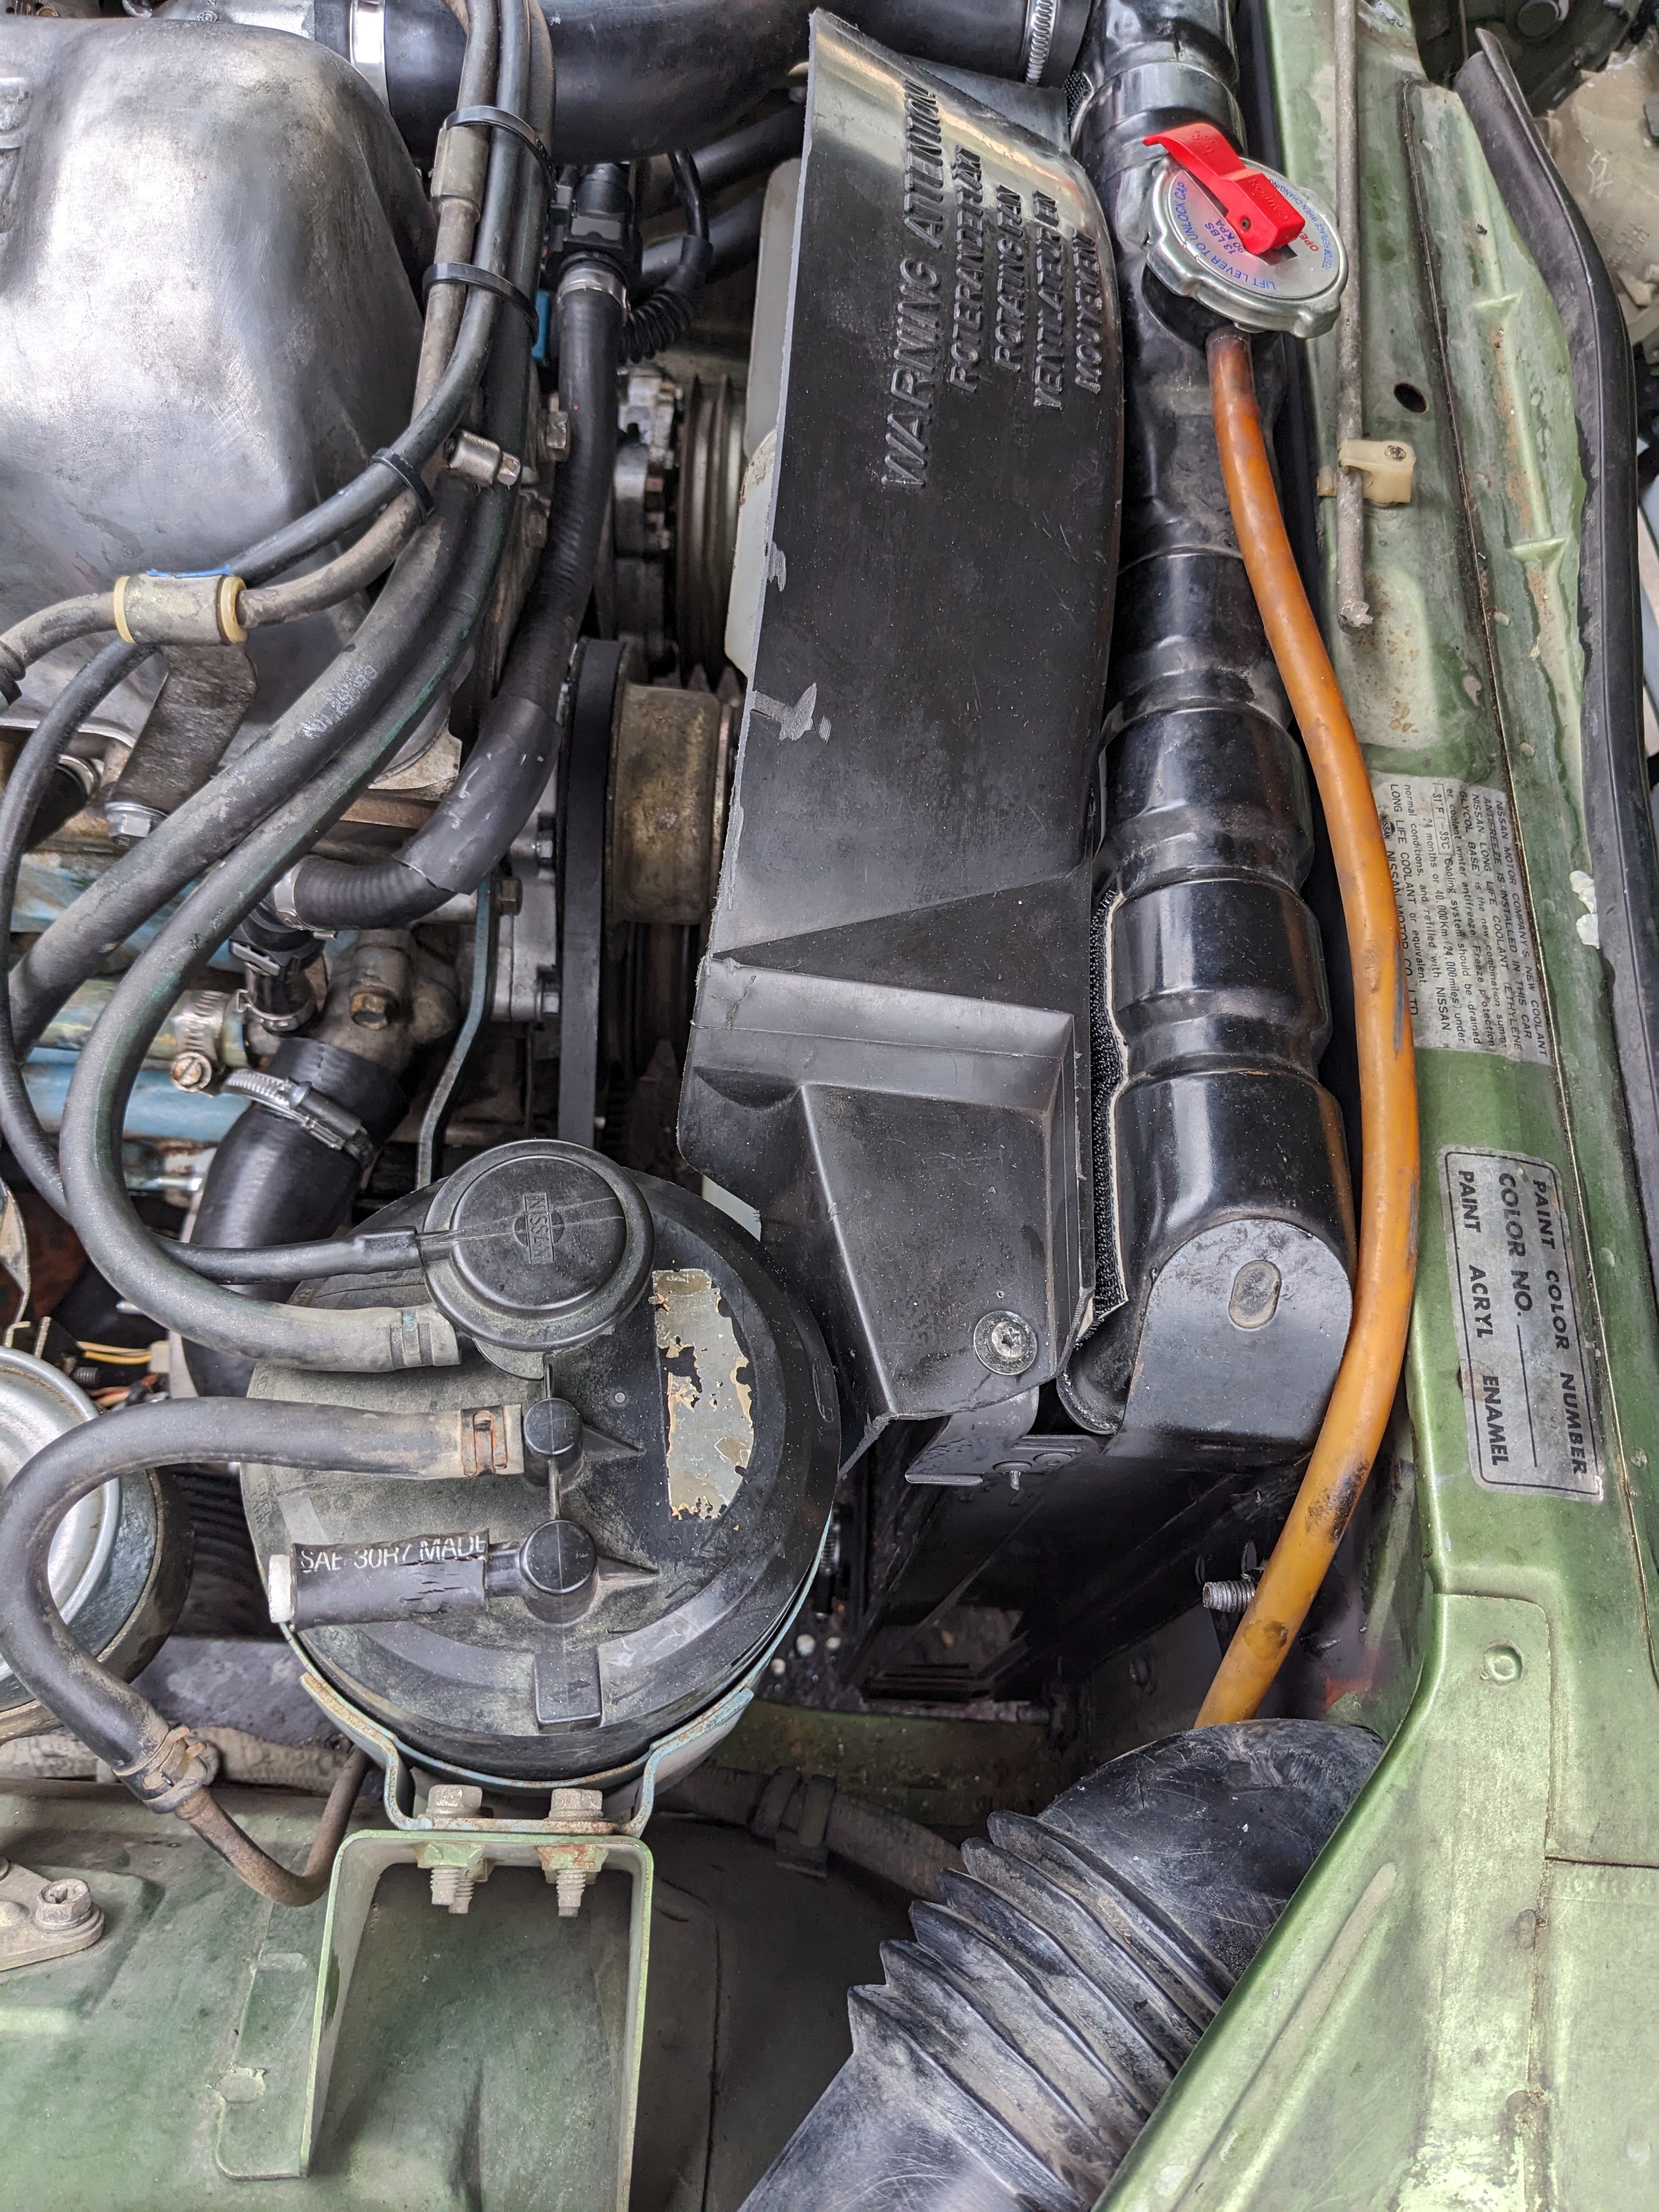
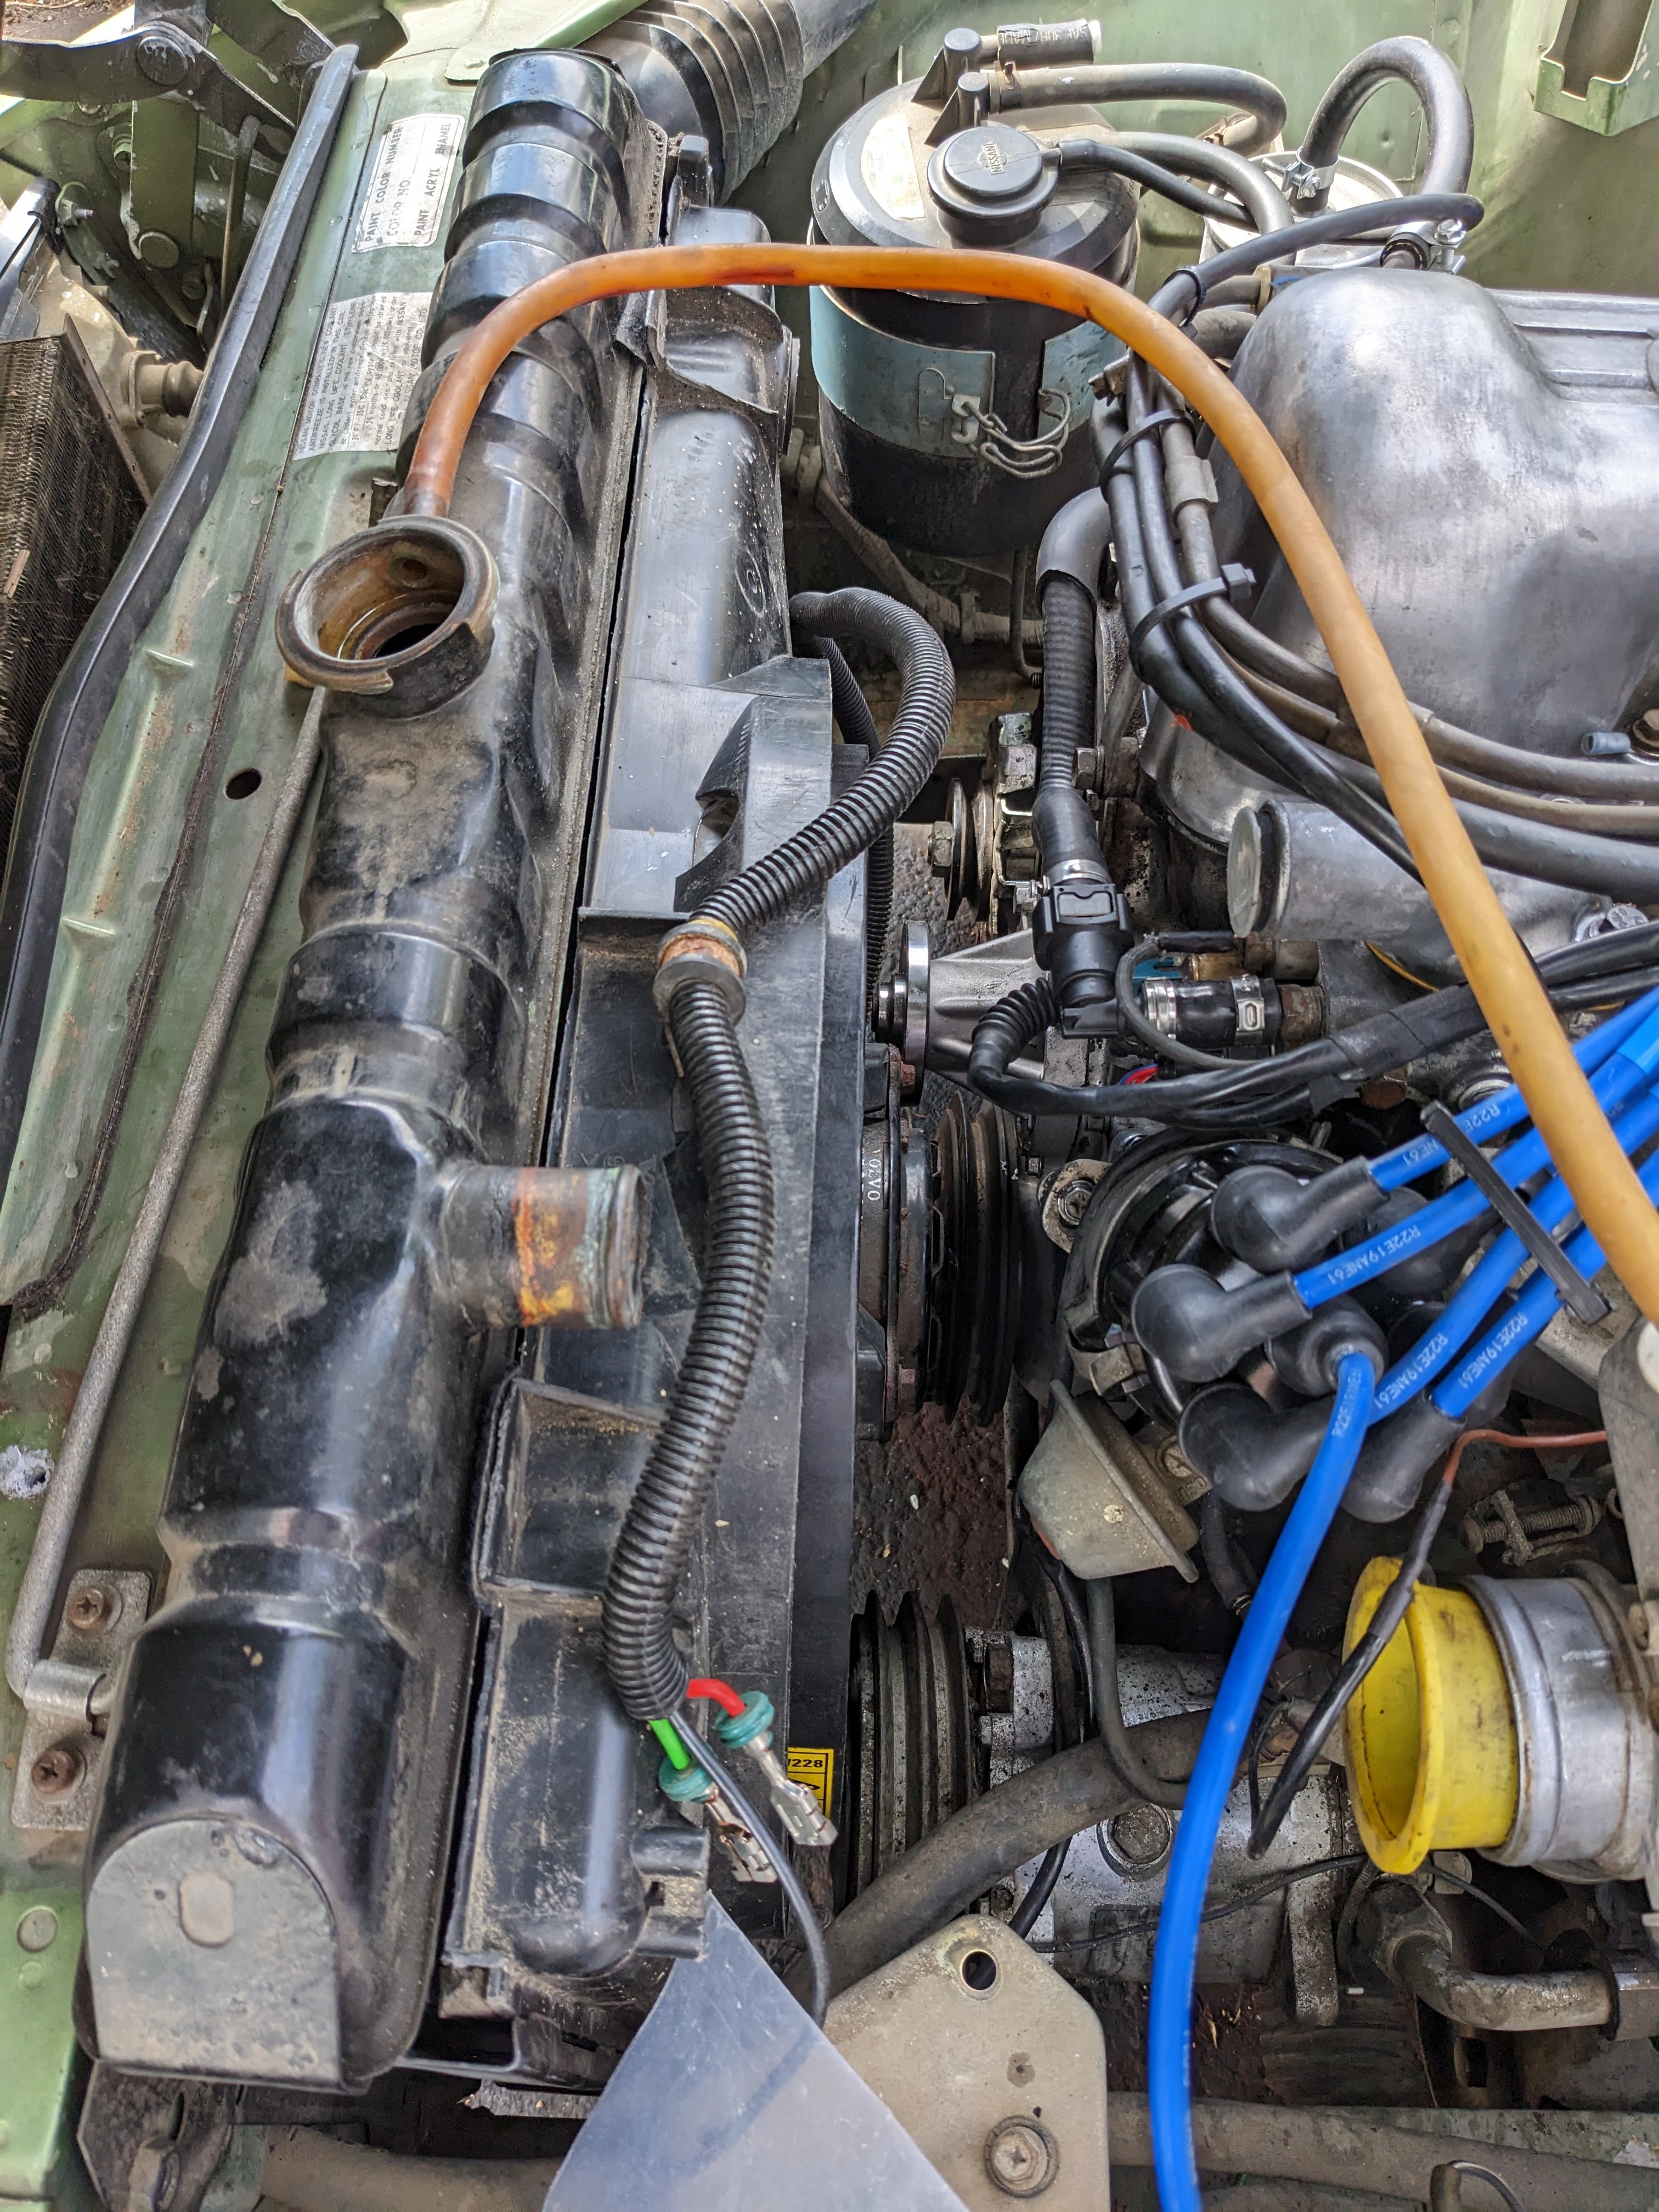
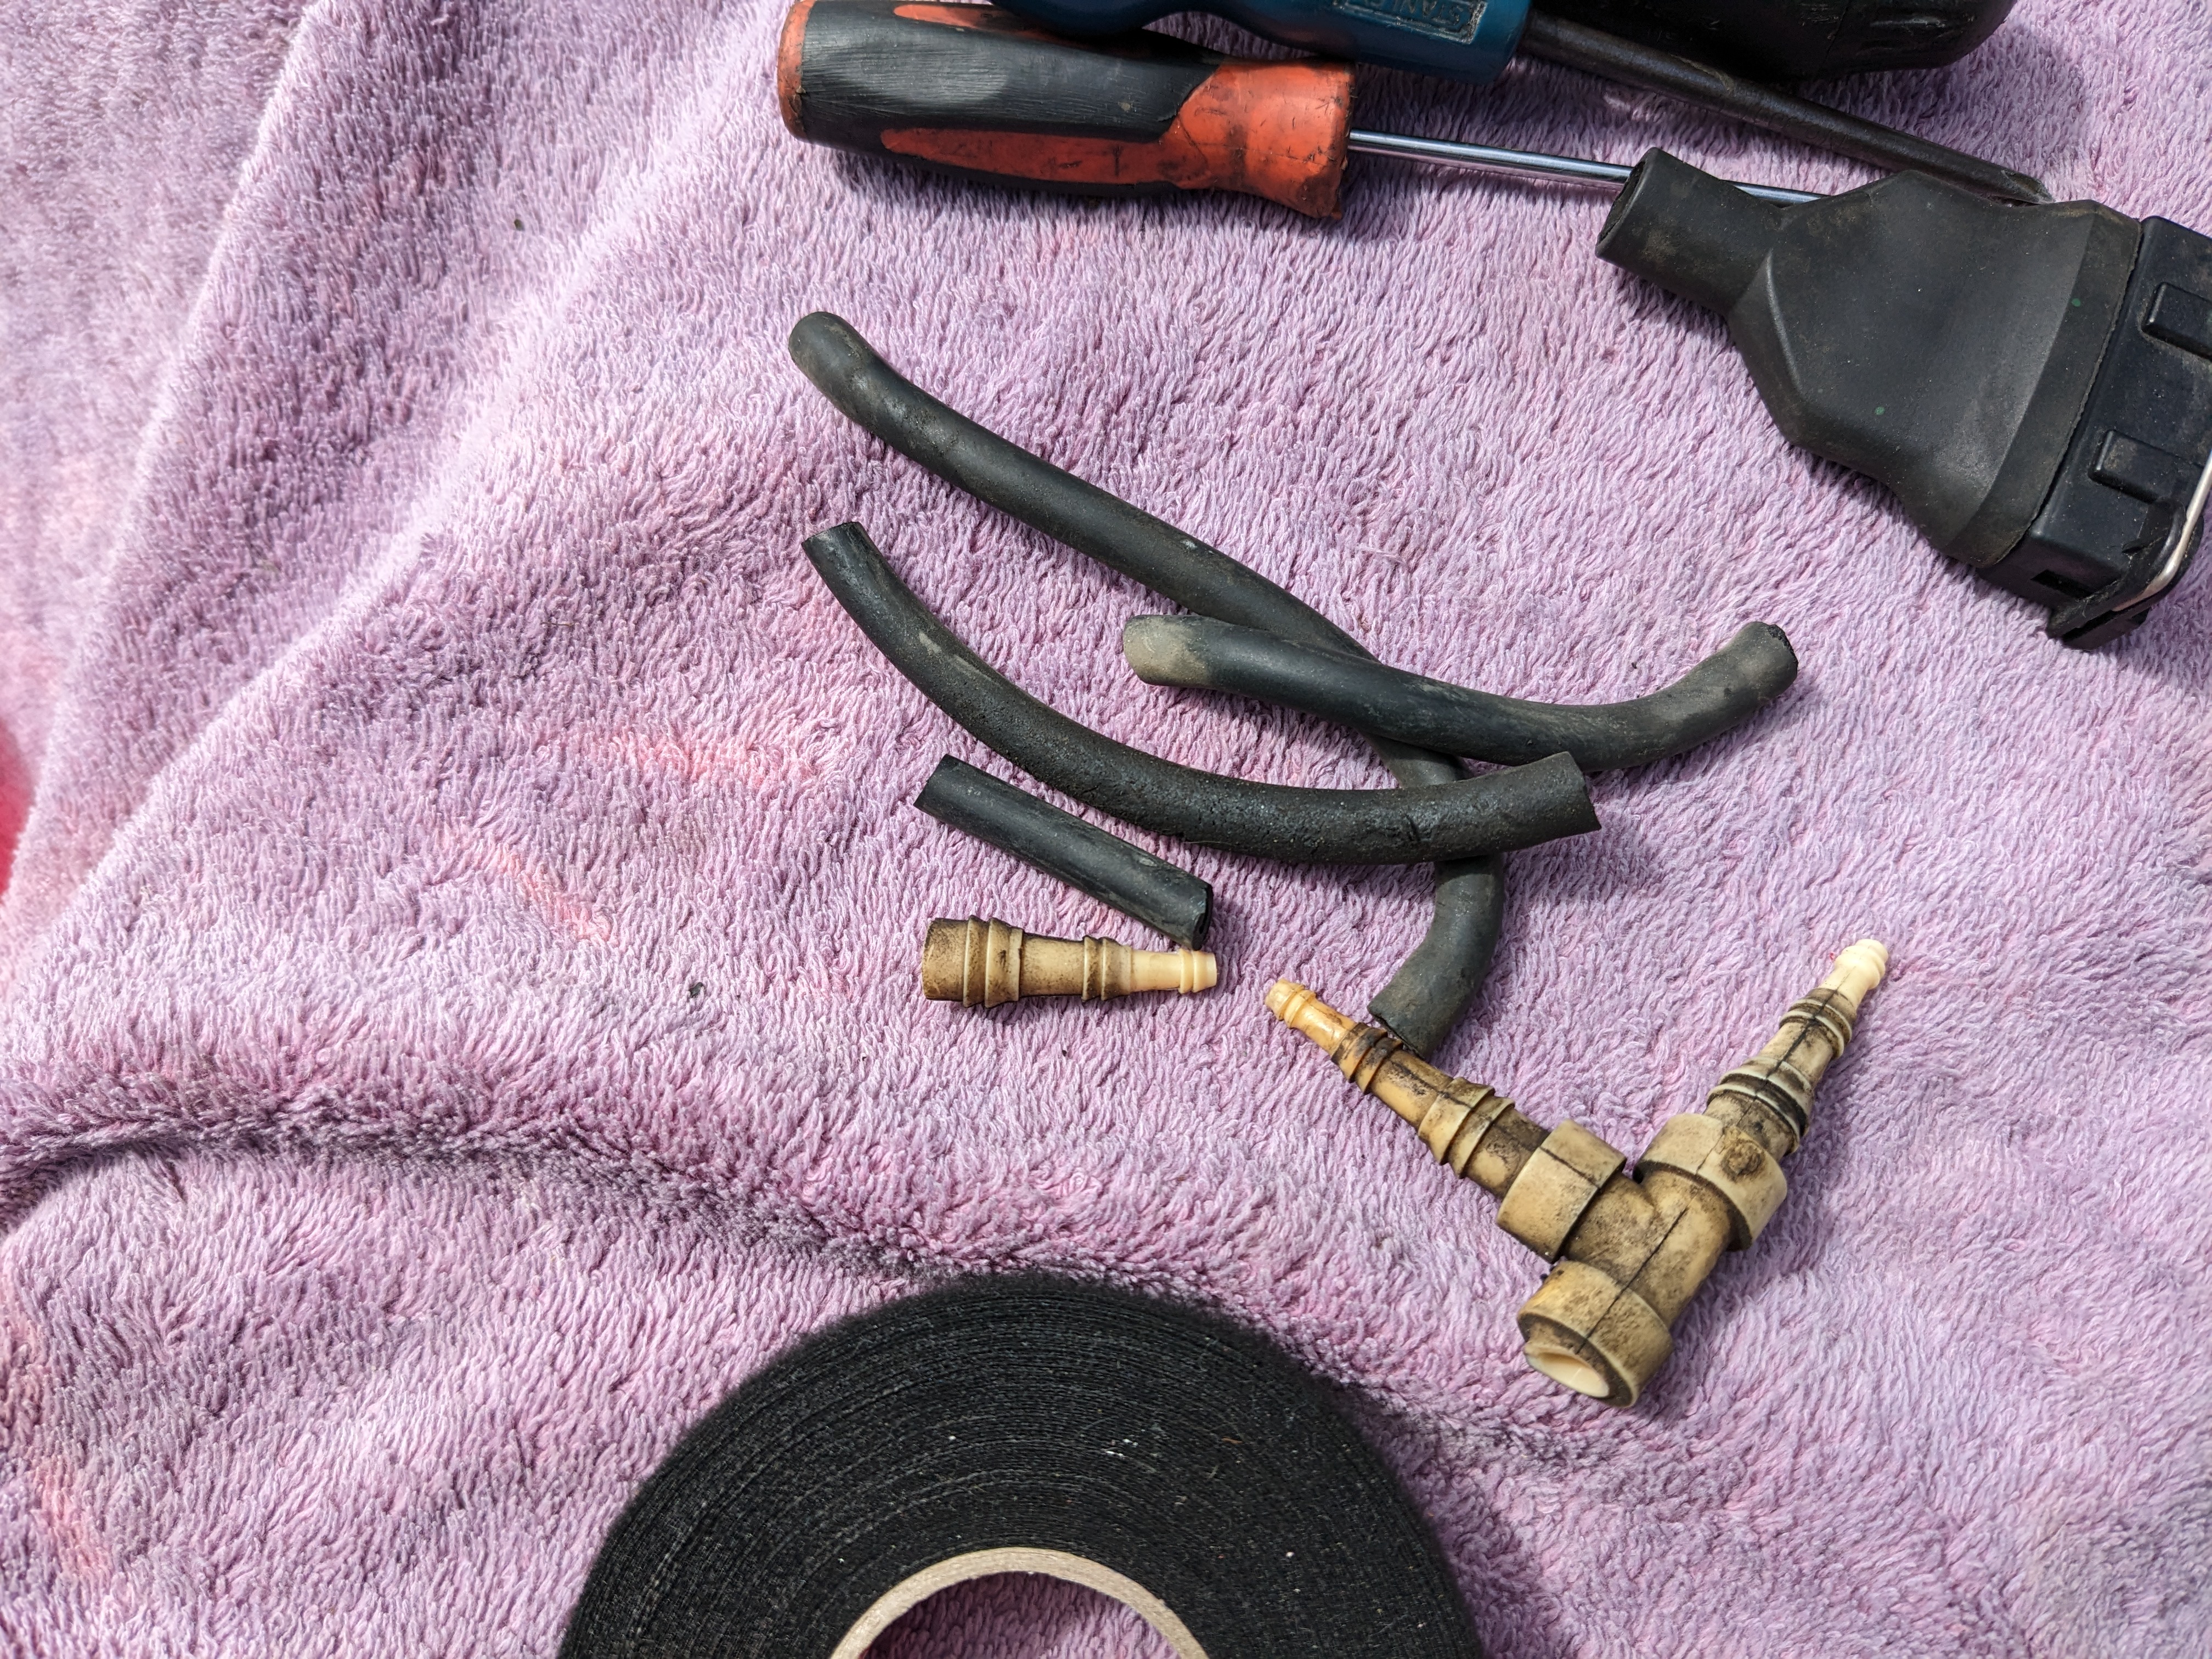
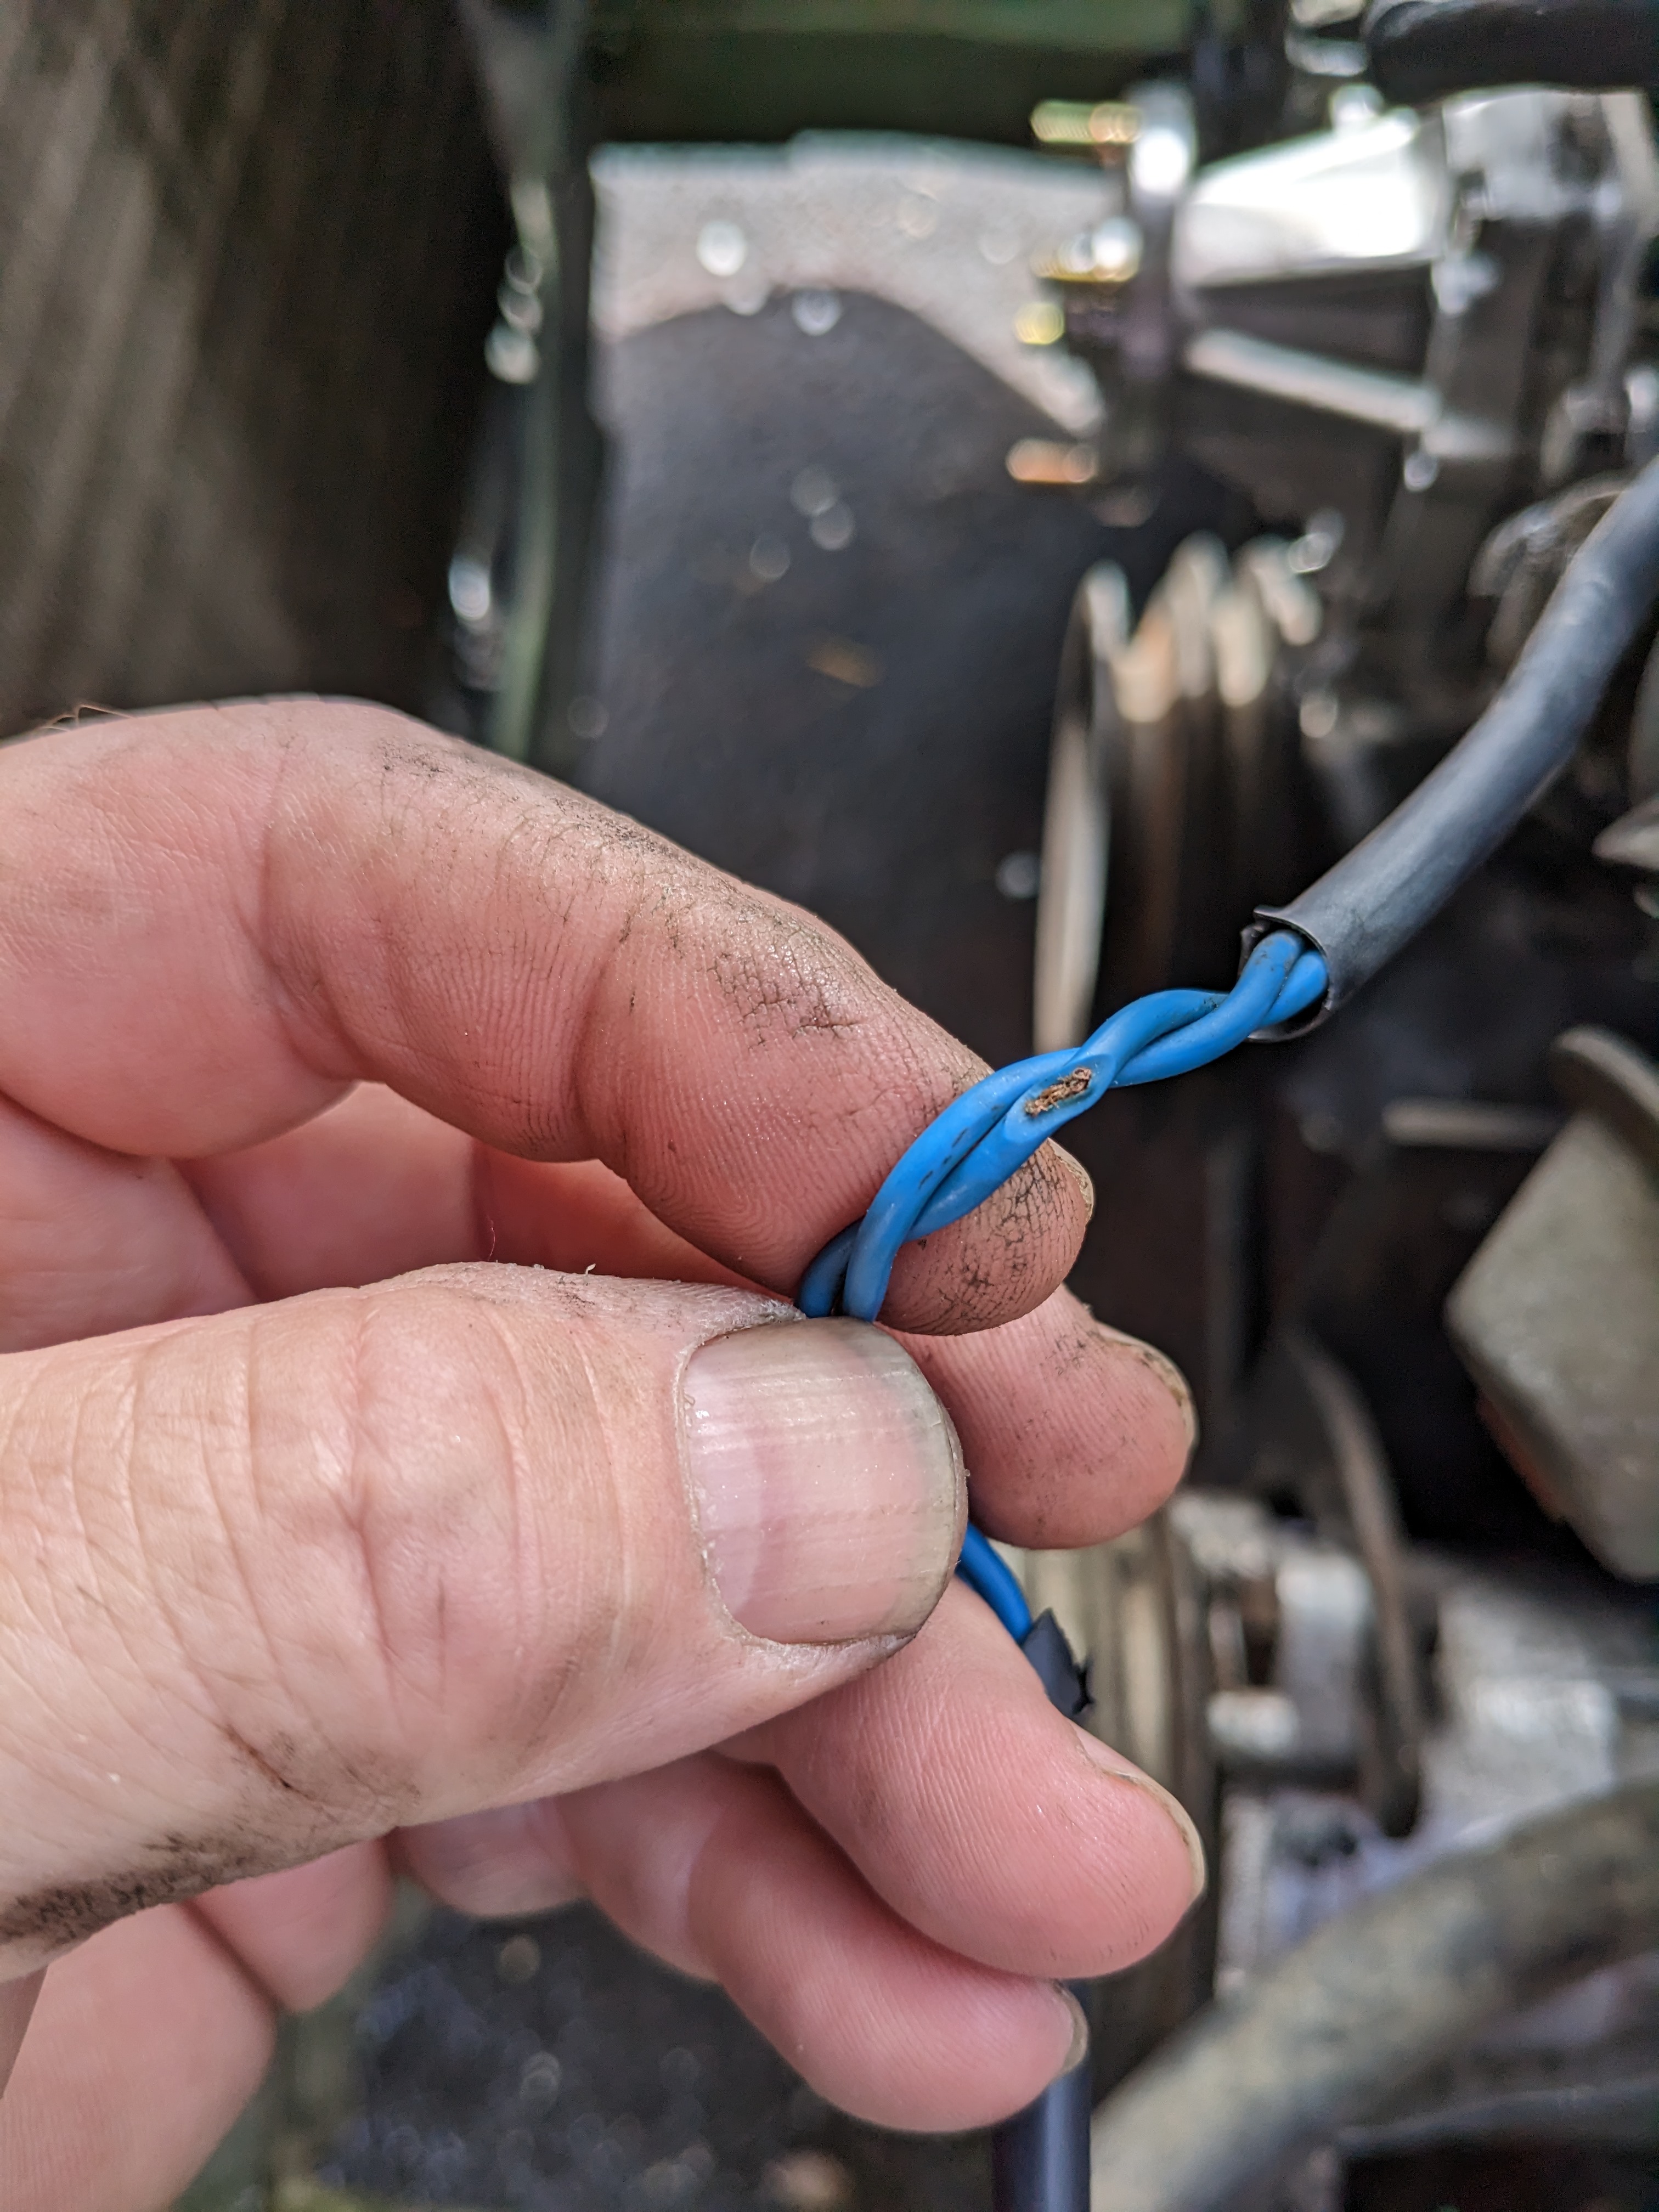
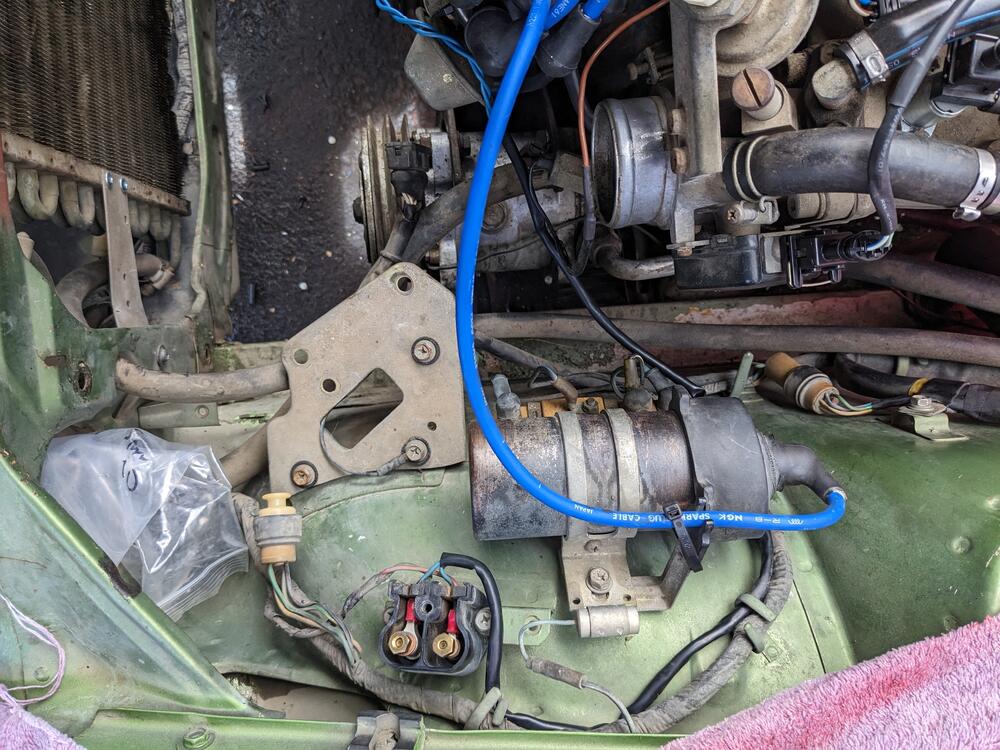
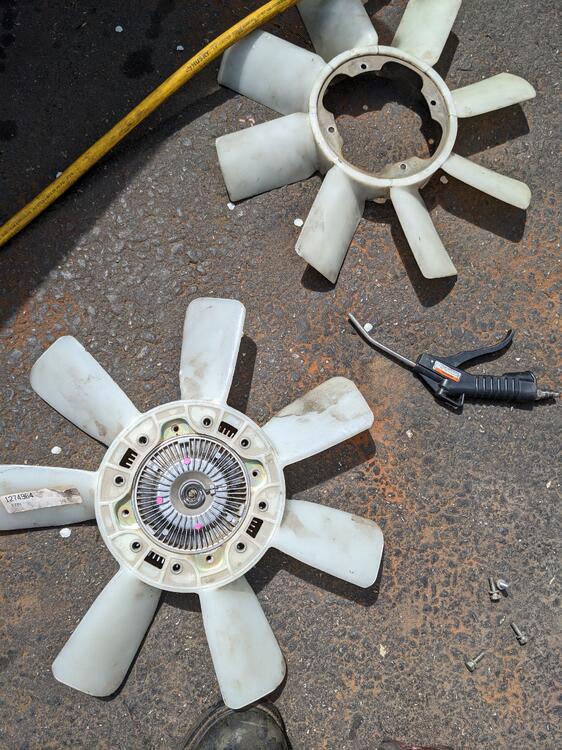
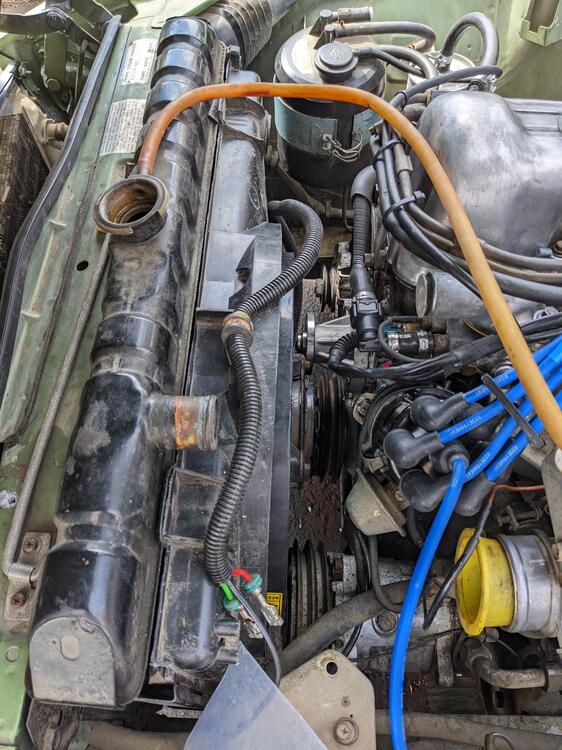
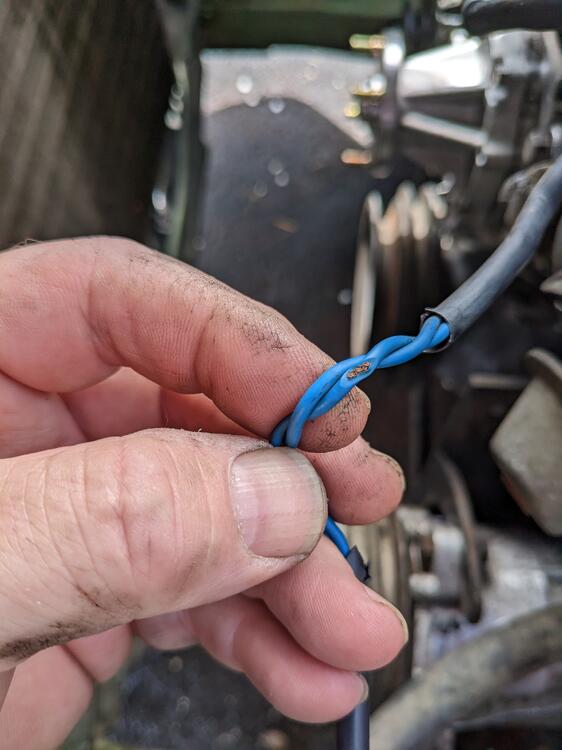
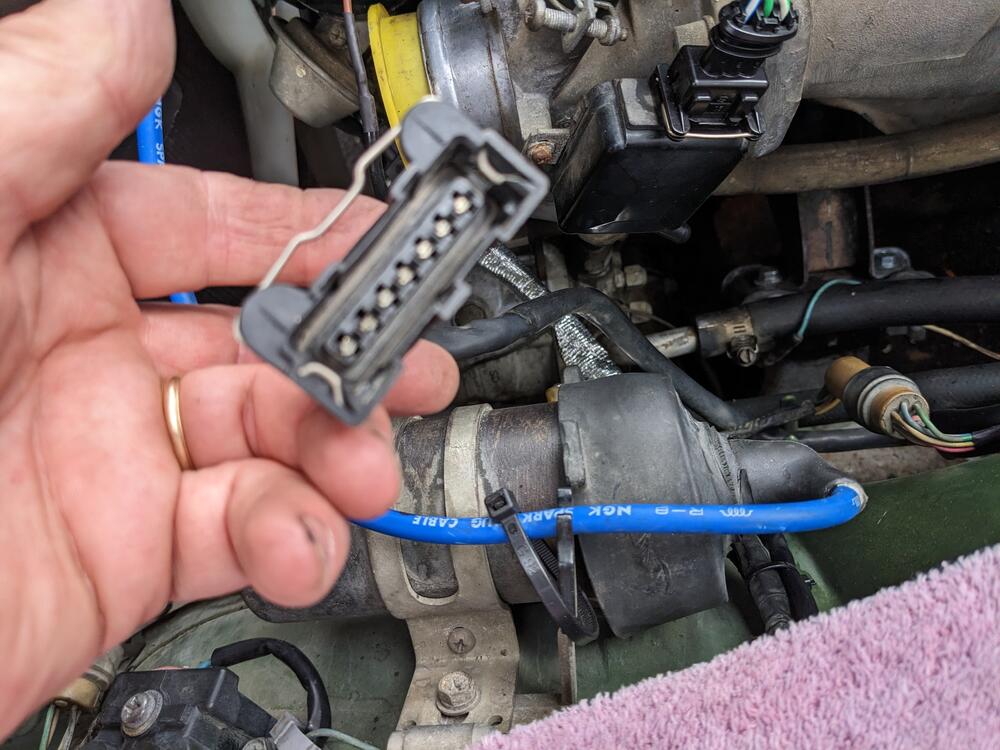
Played with the eFan. No way it's gonna work. I can't get clearance no matter what. I don't want to use an aftermarket eFan, they just don't have the pull of the Bosch units. So, I trimmed the Volvo (Aisin) fan to fit the Nissan clutch I trimmed the top half of a Volvo standard shroud to fit, I don't like the fan blade exposed. Riveted brackets to either side of the rad vertical plates to retain it ( I used 3M Velcro to hold it while I figure those out) While I was in there, I fixed the distributor vacuum line/tee connection to the TB and charcoal cannister The distributor wiring had been nicked at some point by the fan, so I re-routed that, and added a sealed 2 pole timer connection where the wire was damaged (no pic) Rewired the AFM also - blurry pic. The heat sheath below is on the dist wiring - since it is now closer to the manifold.


 1 point
 -
I'd pull injector plugs. Electronic ignition systems don't like it when their spark can't get to its intended destination. It will go somewhere though. I damaged an HEI module when I left two plug wires off.1 point
-
1 point
-
0 pointsNo they didn't. They couldn't have. The marks he made on the flywheel and the pressure plate for where to install them balanced are off by 120 degrees.0 points
-
0 pointsWe made a little more progress on the motor today Unfortunately we got stumped today! We started working on the flywheel and pressure plate. The rotating assembly all got balanced including the pressure plate. Unfortunately the machine shop didn't put the dowels in the flywheel before balancing. They must have just bolted the pressure plate up to the flywheel without the dowels. They assumed that the pressure plate could be mounted any of three ways, 120 degrees apart. That is not the case!!! Once the dowels are in there is only one way it will mount up and it's not the way they balanced it. So I'll go by and see what they say. Hopefully it's an easy fix. We'll see... Really disappointing... In their defense I didn't know that either

 0 points


.jpg.fbeed193aa2d95c119717d9330a6f9be.jpg)
.jpg.609225e737477b66144c190d77b8e8b1.jpg)