Leaderboard
-

Zed Head
Free Member7Points19,149Posts -

Racer X
Free Member7Points1,877Posts -
.JPG.cfcada9cf1c1b502df3f5f2f2ca3ff36.JPG)
SteveJ
Free Member5Points9,644Posts -

siteunseen
Free Member2Points15,083Posts


Popular Content
Showing content with the highest reputation on 10/17/2022 in all areas
-
3 pointsResurrected Classics Hood - https://resurrectedclassics.com/collections/sheet-metal3 points
-
2 pointsSlow down. You need to read up a lot more. You can remove a rocker with a big screwdriver leaving the valve and spring in place. Pry the spring retainer down with the screwdriver against the cam. Move the rocker off the lash pad, remove the mouse trap spring and the rocker is free. But like Zed Head says you can see the rocker pad by getting the lobe base just off the pad.2 points
-
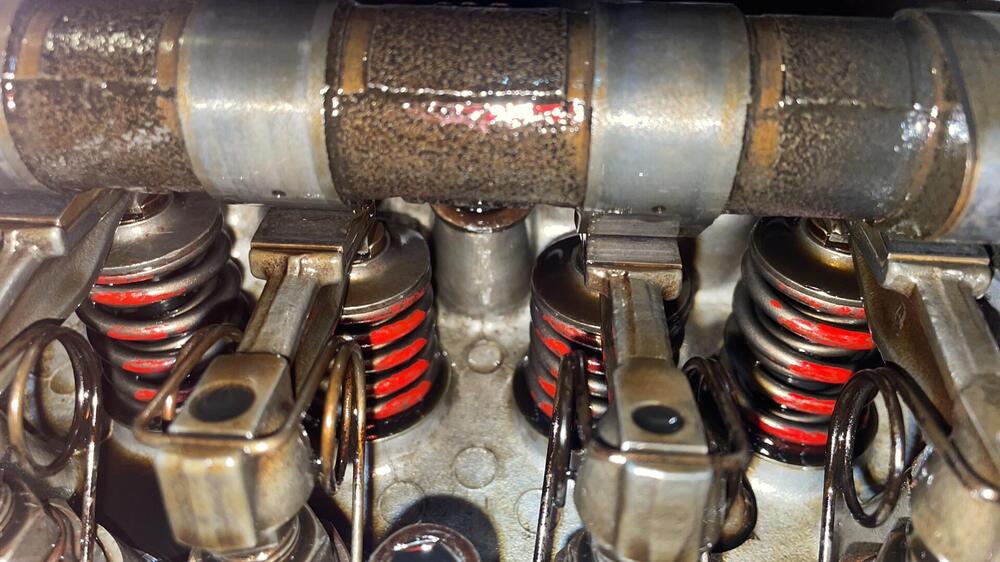
2 pointsYou can see the wear pad without removing the rocker arm. It's more difficult but a bright light and holding your head in the right place makes it possible. They're facing up, right there under the cam lobes. Worth taking a look before you get too deep in to things. Actually you were looking at them when you were measuring valve lash.2 points
-
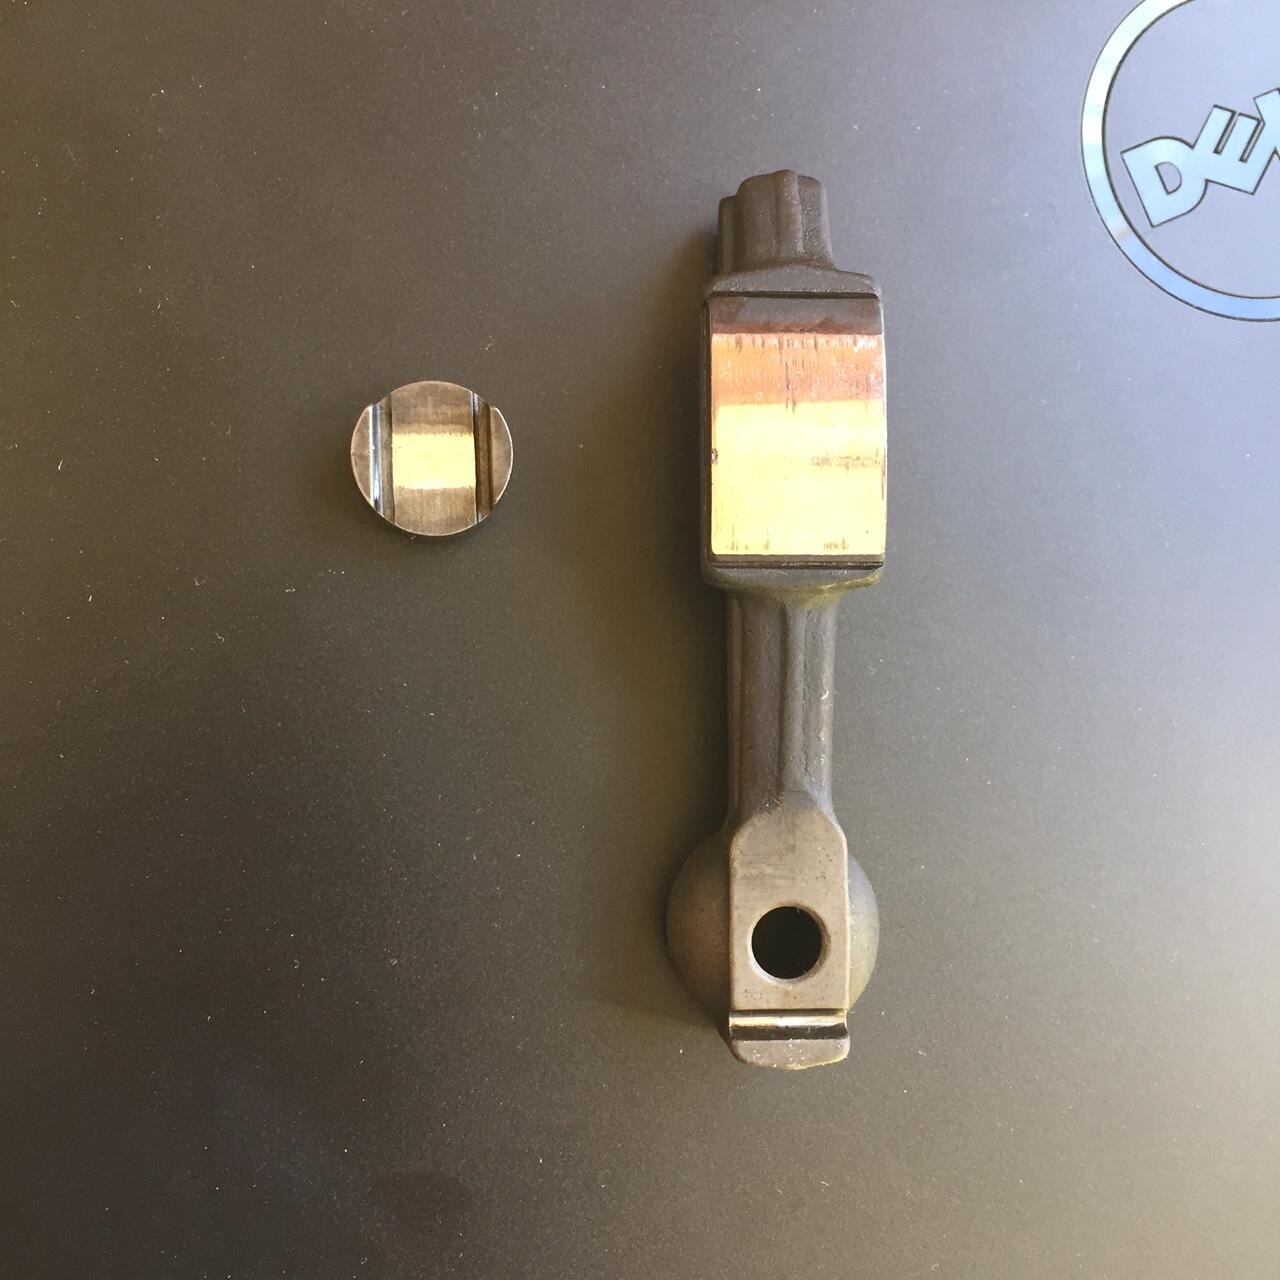
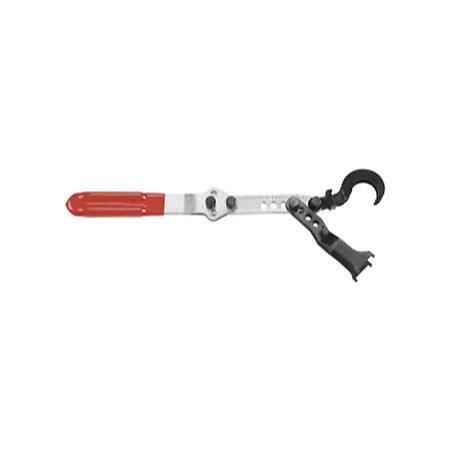
2 pointsIf you have the right tool you can pop each rocker out one at a time to inspect them. With whatever rocker you wish to remove, rotate the engine until that rocker’s cam lobe is at the base circle of the lobe. Then use the tool to depress the corresponding valve until the follower can be lifted out. Inspect, make notations, then reinstall the follower, taking care to not dislodge the lash pad. The tool looks like this:
 2 points
 -
2 pointsSort of like this, but centered on the pad. The pattern is too close to the pivot. The pattern on the lash pad looks OK. The cam followers have three wear points, where the follower sits on the pivot ball, where the cam lobe rides on the middle of the follower, and where the follower rides on the lash pad (which sits on the valve stem). Look for a clean, smooth pattern, no grooves or excessive wear, and it should be centered on the pad.
 2 points
 -
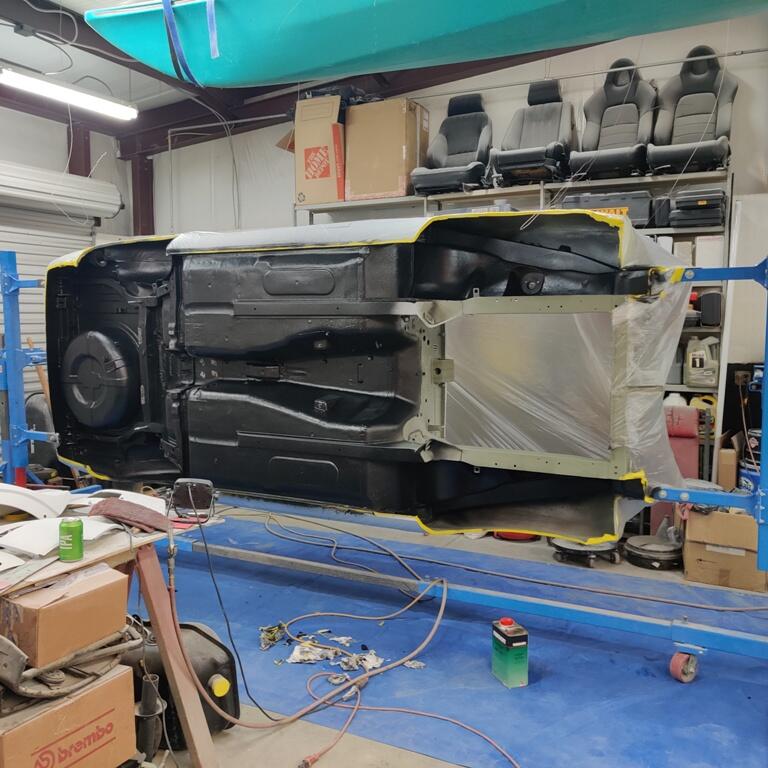
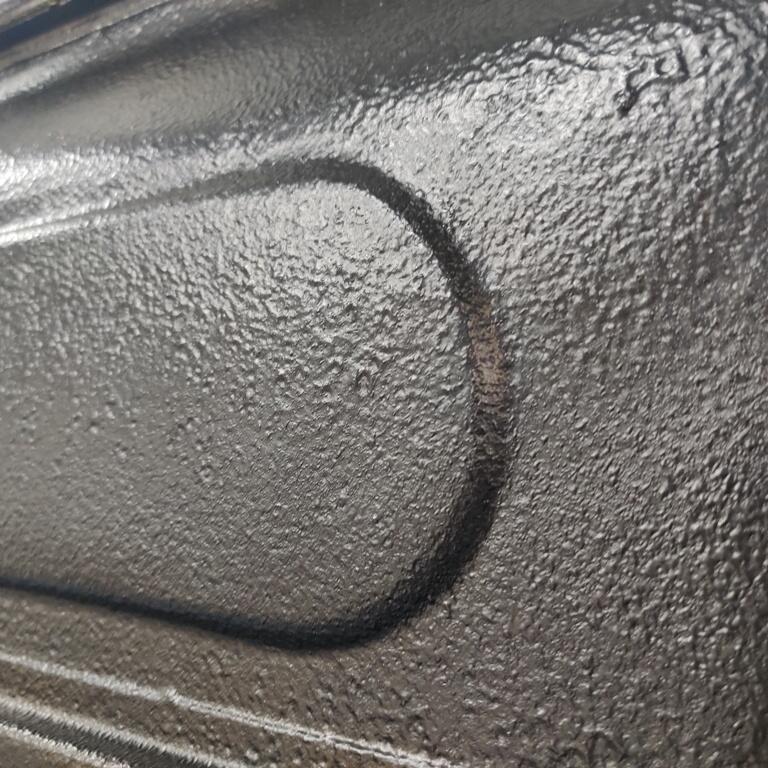
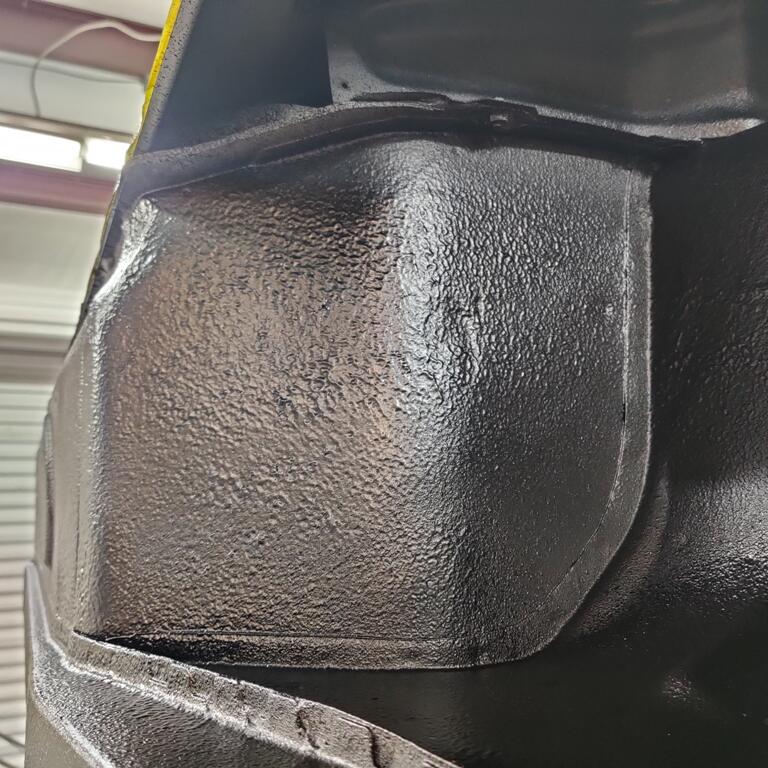
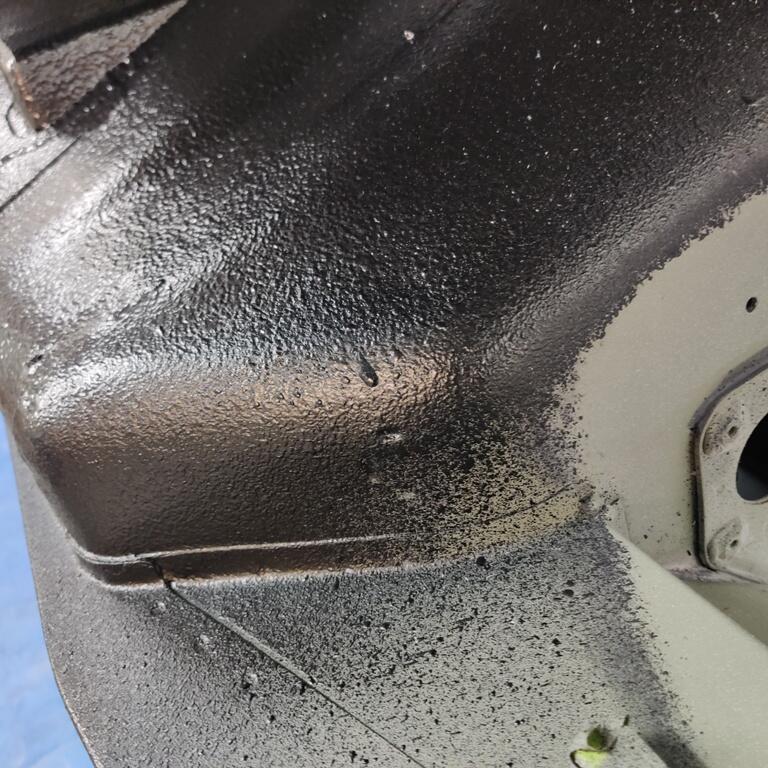
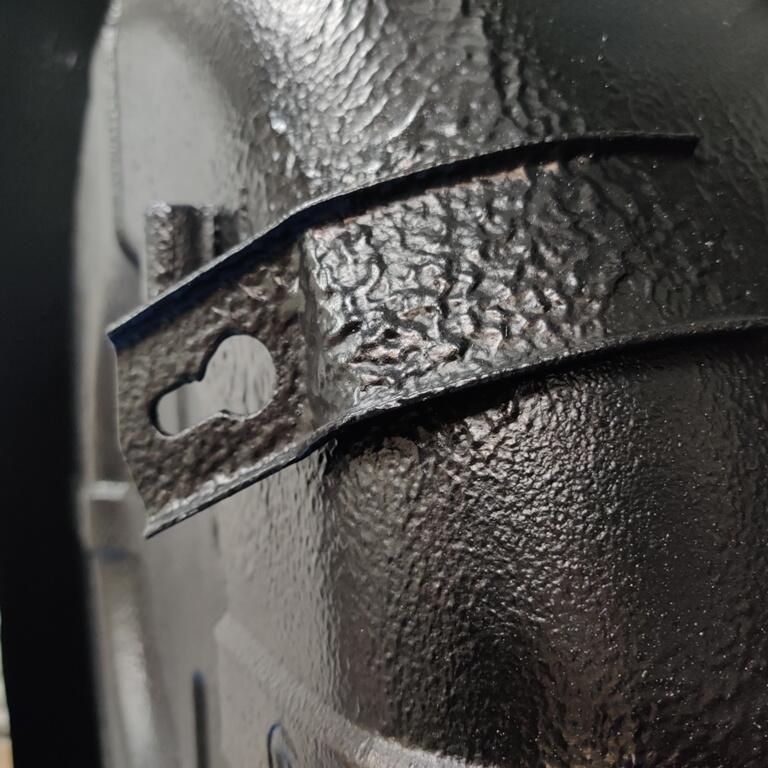
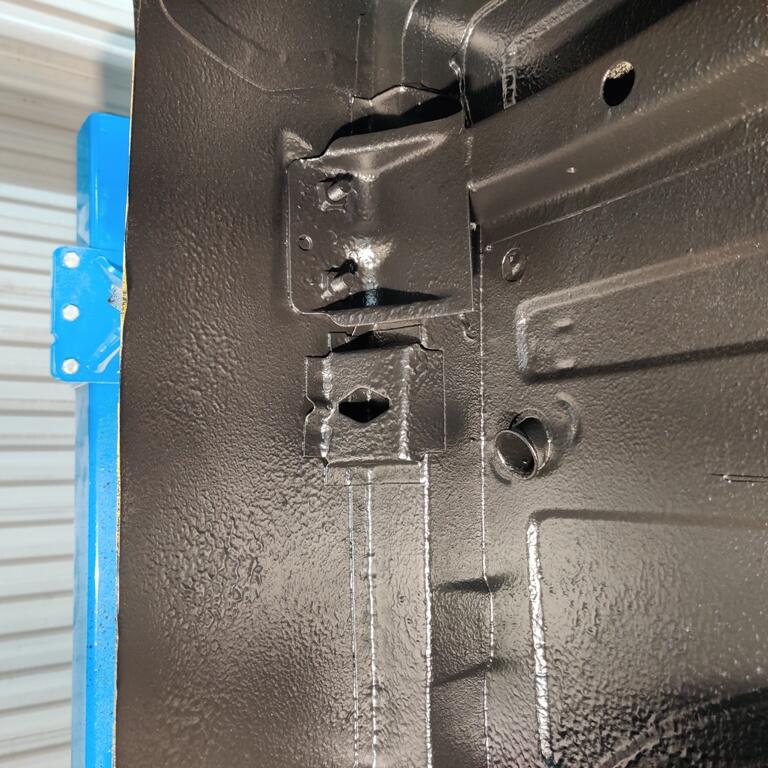
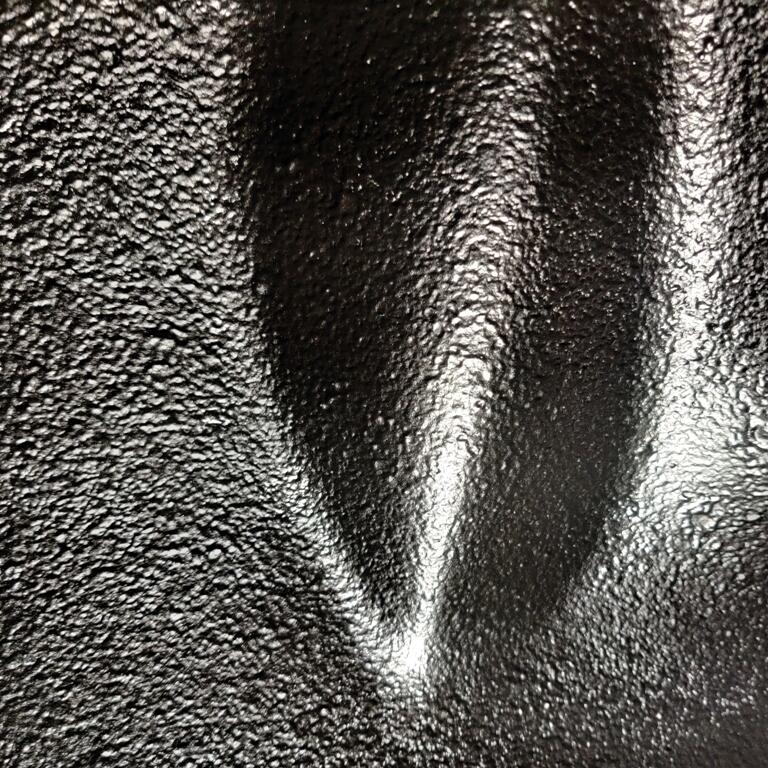
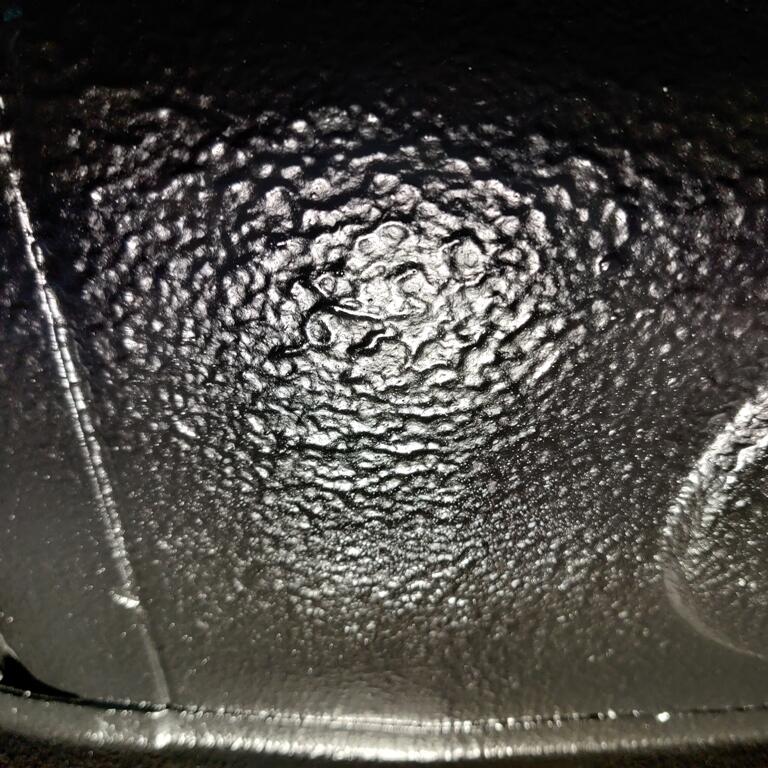
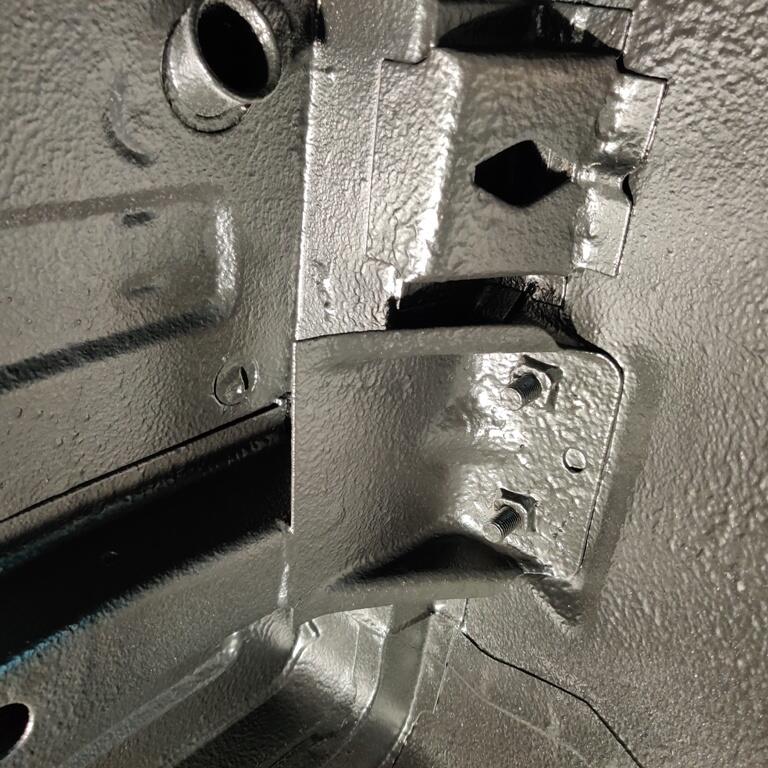
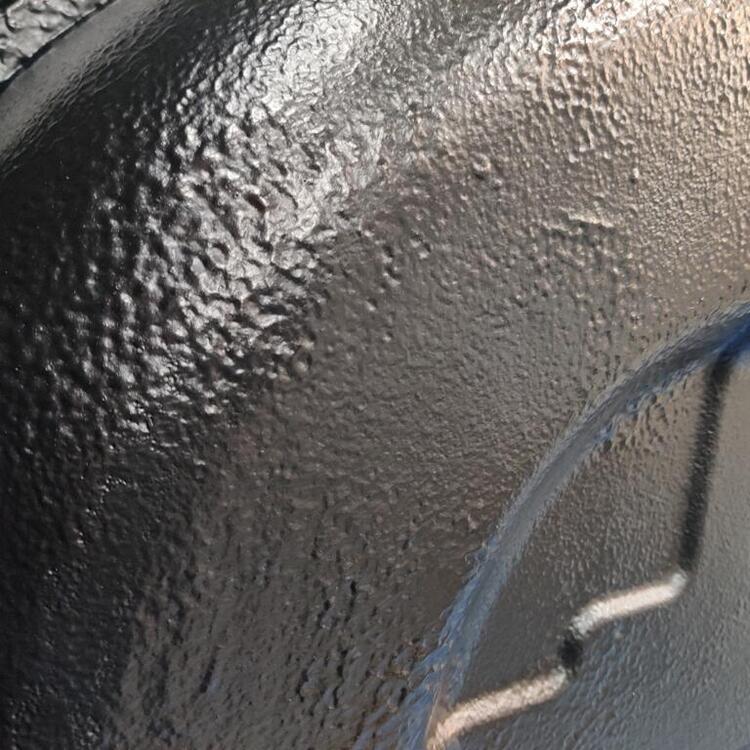
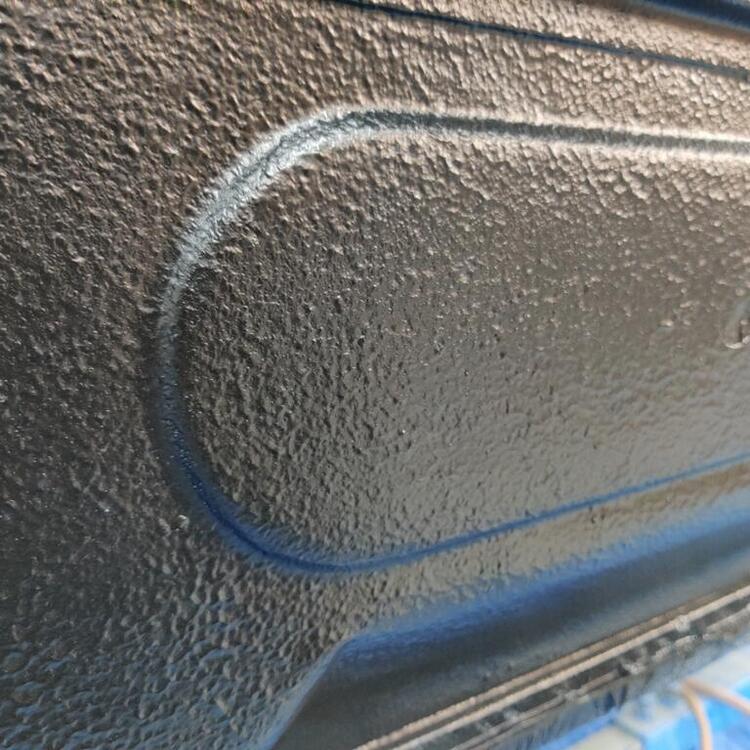
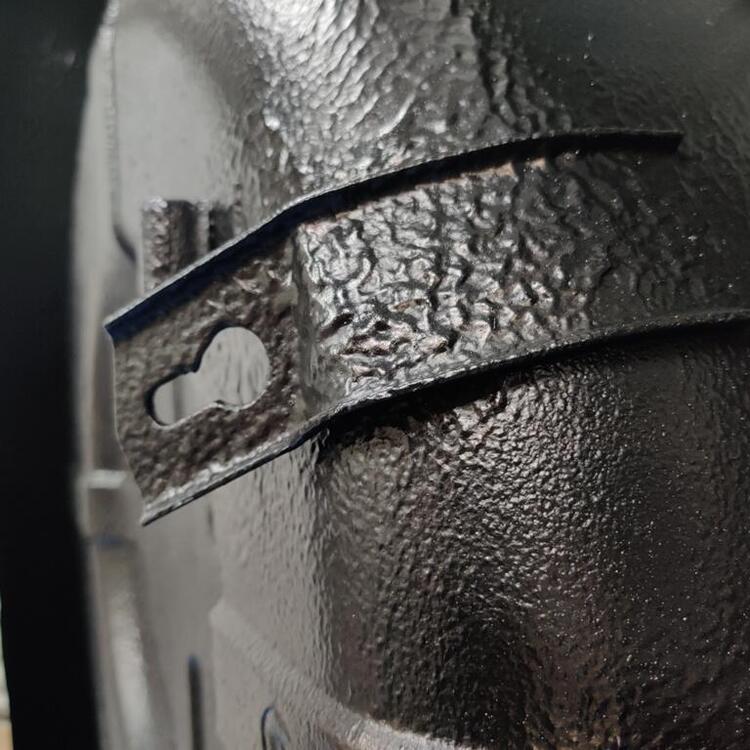
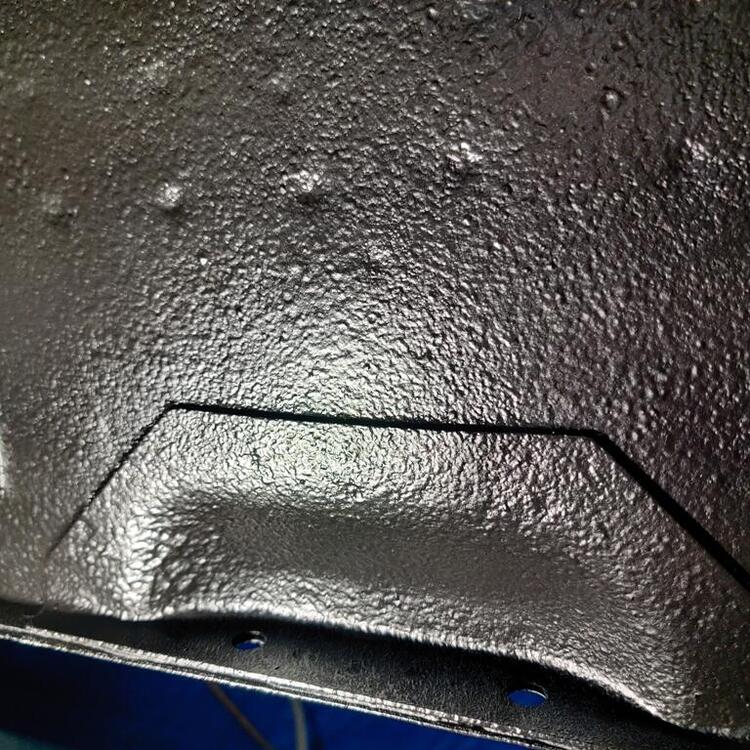
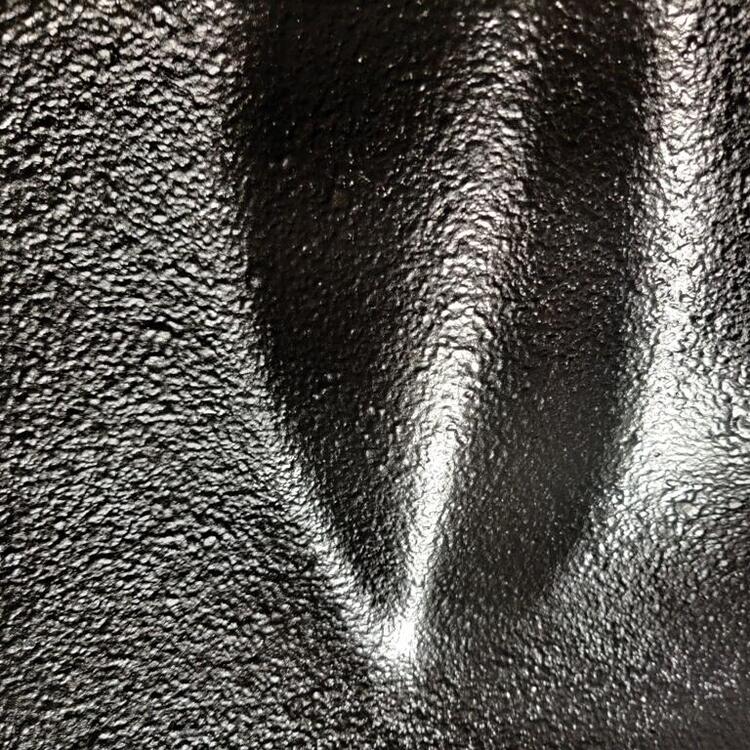
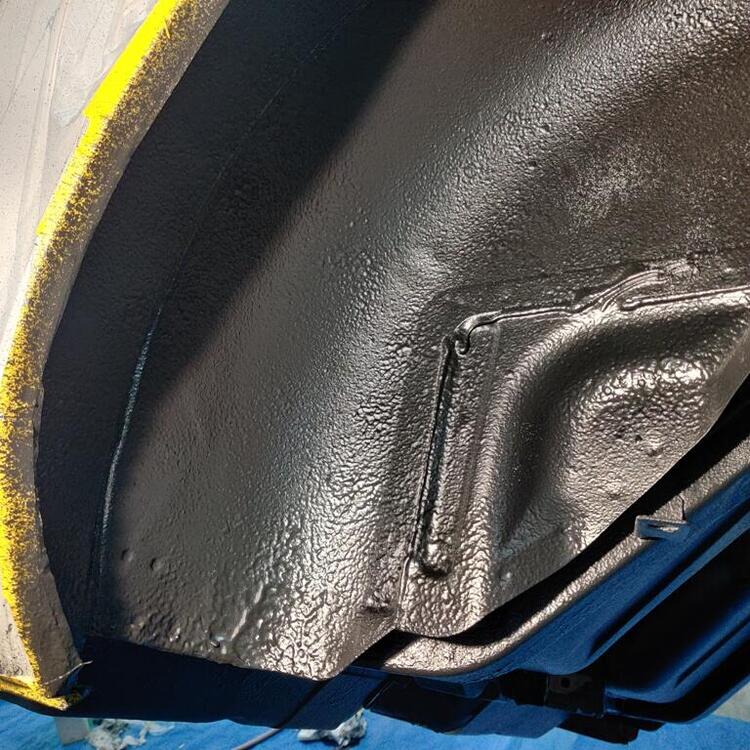
I was able to get the Raptor Liner applied today. With all my planning, I had hoped for a better outcome, however, it is hard to achieve what I planned without having some experience with this stuff. The standard mixing calls for 3:1 of Raptor Liner with the hardener, and up to 20% urethane reducer. I mixed 4:1 with hardener and would have gone 4:1:1 with thinner, but that mix wouldn't all fit in the Raptor container. As part of my planning, I watched videos that said it was a bad idea to mix more than one container at a time. If you are doing a truck bed liner, that is probably wise advice. However, for my custom mix, and at the gun, I was using 60 psi, I was able to get through a full can in like 2-3 minutes. Then I would have to stop, and go mix again. And that would take 5-8 minutes, so the stuff already sprayed on the car would dry for that amount of time, and when I came back and started spraying, you could see the transition. That is not ideal. Had I to do it over again, I would have mixed all four bottles with hardener and thinner at once in a large bucket. And then fill the bottle and spray. Refills of the bottle/container would take less than a minute, and stops and starts in the material on the car would be indiscernible. My plan also included spraying undisturbed factory coating with the HVLP gun to refresh the appearance. It became quickly apparent that wherever the new coating wasn't, it was going to be very noticeable because the texture is a bit rougher than the factory. In addition, my first full can only covered the wheel well area and rear lower apron. So, it became clear to me that I may not have enough material completely spray the whole car, and I quickly ditched the idea of using the HVLP gun. So, I applied a little less thick on the remainder of the car to attempt to get full coverage on everything that remained to be sprayed. My test samples ended up consuming enough material to cause me an issue of running out prematurely. 4 cans is just enough for the mix and psi, etc., I used. Keep that in mind if you attempt to follow any of my experience here. With all of that said, it could have been much worse. So, here are some pics to share the outcome: Again, for the wheel well and rear lower apron, I went a little thicker because I was unaware that that point that I didn't have material to spare. I like the look of that first can of material - still not quite as smooth as the factory coating, but I prefer it. Once I realized how much area I had to cover with the remaining cans, I had no alternatives.


 2 points
 -
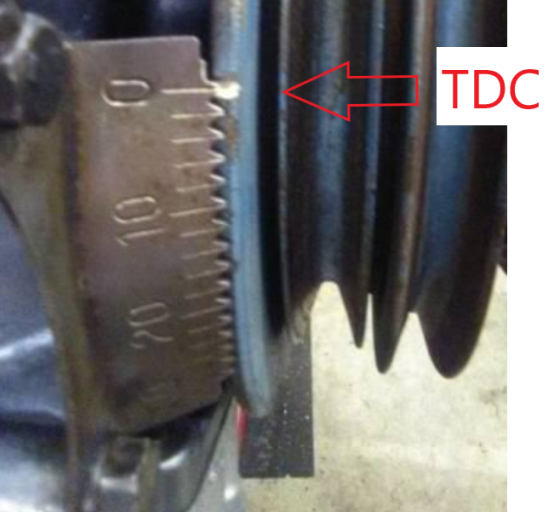
2 pointsReptoid showed how a normal timing tab and damper pulley work together in post #11. You have to be able to eyeball where the mark is when your timing light flashes. Unless you put up a new video nobody knows what the actual noise is that you're hearing when the engine is running. Your video was the wrench on the camshaft sprocket. Here's Reptoid's picture and yours. All I'm saying is know what you're working with. We're at post #42 and there's still no reliable way to check ignition or cam timing. Engines are all about timing.
 2 points
 -
1 pointI'm relaxing at home when I got a call from a number I didn't recognize. Since the caller left a voicemail, I played it. He told me he got my number from a friend. He has a 78 that he drove to the gas station, and it wouldn't "catch". He said another friend worked on the car, but that friend wasn't available. I called him back and found out that the engine would turn but wouldn't fire. Knowing that the friend who worked on the car is a very good Z wrench, I knew I had to run through possible esoteric solutions. "Beat on the ECU." "What?" "Hit the ECU with the side of your fist. Just bang on it a couple of times. Then try to start your car." "Where is it?" "When you're sitting in the car, it's by your left leg on the kick panel." "I see a piece of plastic there." "Yep. Hit it." "Oh my God. It worked." I told him he might need to replace the ECU. It looks like MSA is out of them for right now. When I told the story to another friend, he responded, "Percussive maintenance." What can I say? He's right.1 point
-
1 pointHere’s the other side. I just changed my oil recently but it’s been run pretty hard with it.
 1 point
 -
1 point
-
1 pointYou need to support the valve. You can do with compressed air or some rope pushed in through the spark plug hole.1 point
-
I'll vouch for Resurrected Classics. That should be a very nice hood from them.1 point
-
I believe the young guys who are in Georgia are making reproduction hoods, hatches, as well as other panels. Their company name escapes me right now. I think a hood is about $6001 point
-
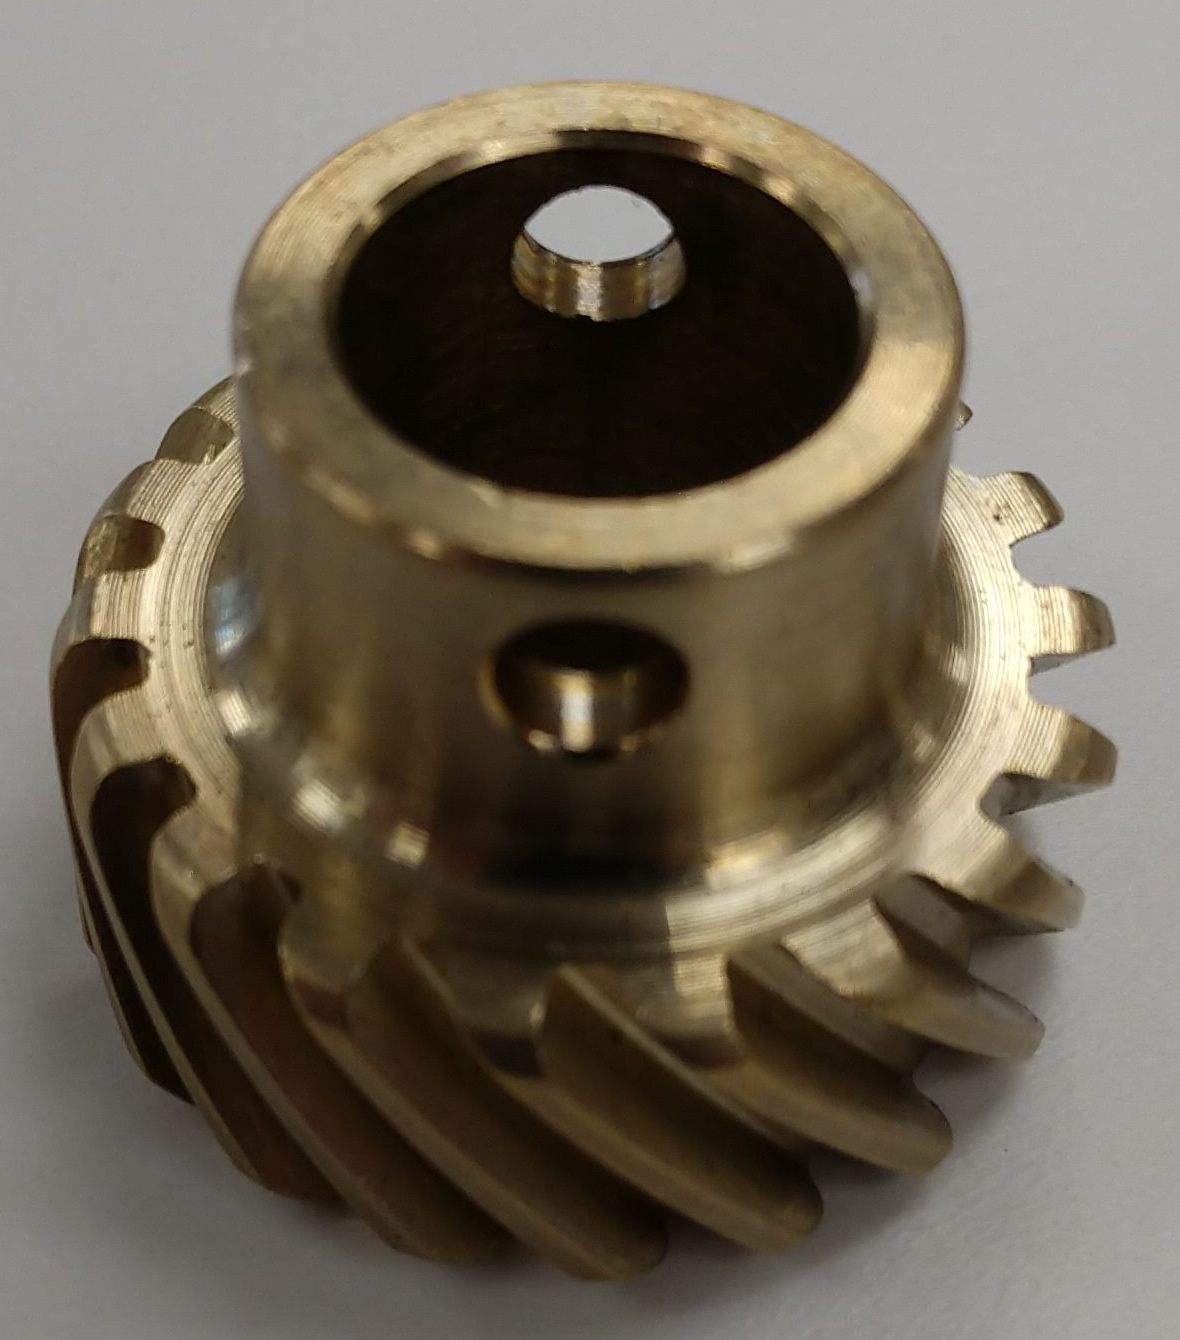
I guess I have a different take on the bearing. I see that some foriegn material has been fed through the oiling hole that has scratched the surface of the bearing at its midline - not terribly, just notably. The filter should have snagged that but either didn't get the chance or it occurred during a bypass event. Also, it looks like the bearing has spent some time without an oil film between it and the crank, hence the polishing/removal of the bearing liner material. Oddly though, only the bearing edges are worn - not the middle and the wear area seems narrow. I would expect to see that wear pattern uniformly across the bearing surface and involve more of the circumferential area. I like @Racer X's suggestion of either bronze gear failing.1 point
-
1 pointI'd spend some time figuring out what you have and what shape it's in. Get the numbers of the cam, find TDC, get a proper set of timing marks installed, set your distributor correctly to TDC, measure cylinder pressures to see if they're all balanced, etc. Kind of seems like you just bought this Z with a modified engine and started driving it. How did the PO set up MS if he couldn't even use a timing light to see the timing? Your "doofer" is miles away from the damper. (p.s. apparently doofer is British for doohickey). Here's some stuff on what you probably have under the distributor cap. https://www.diyautotune.com/product/54-mm-optical-trigger-wheel-for-nissan-l28et-or-vg30e/#tab-ywtm_78211 https://www.diyautotune.com/support/tech/hardware/nissan-trigger-disc/1 point
-
1 pointIt does seem to not be valve actuation sounds, but I still think it is related to the valve train/cam/chain/sprocket. The reason I suggested to rotate the cam back and forth is to examine the amount of wear on the sprocket, and the individual chain links. It is possible that wear of the pins and rollers on the chain is causing them to not pass over the sprockets cleanly, and the click is resulting from those worn pins and rollers binding.1 point
-
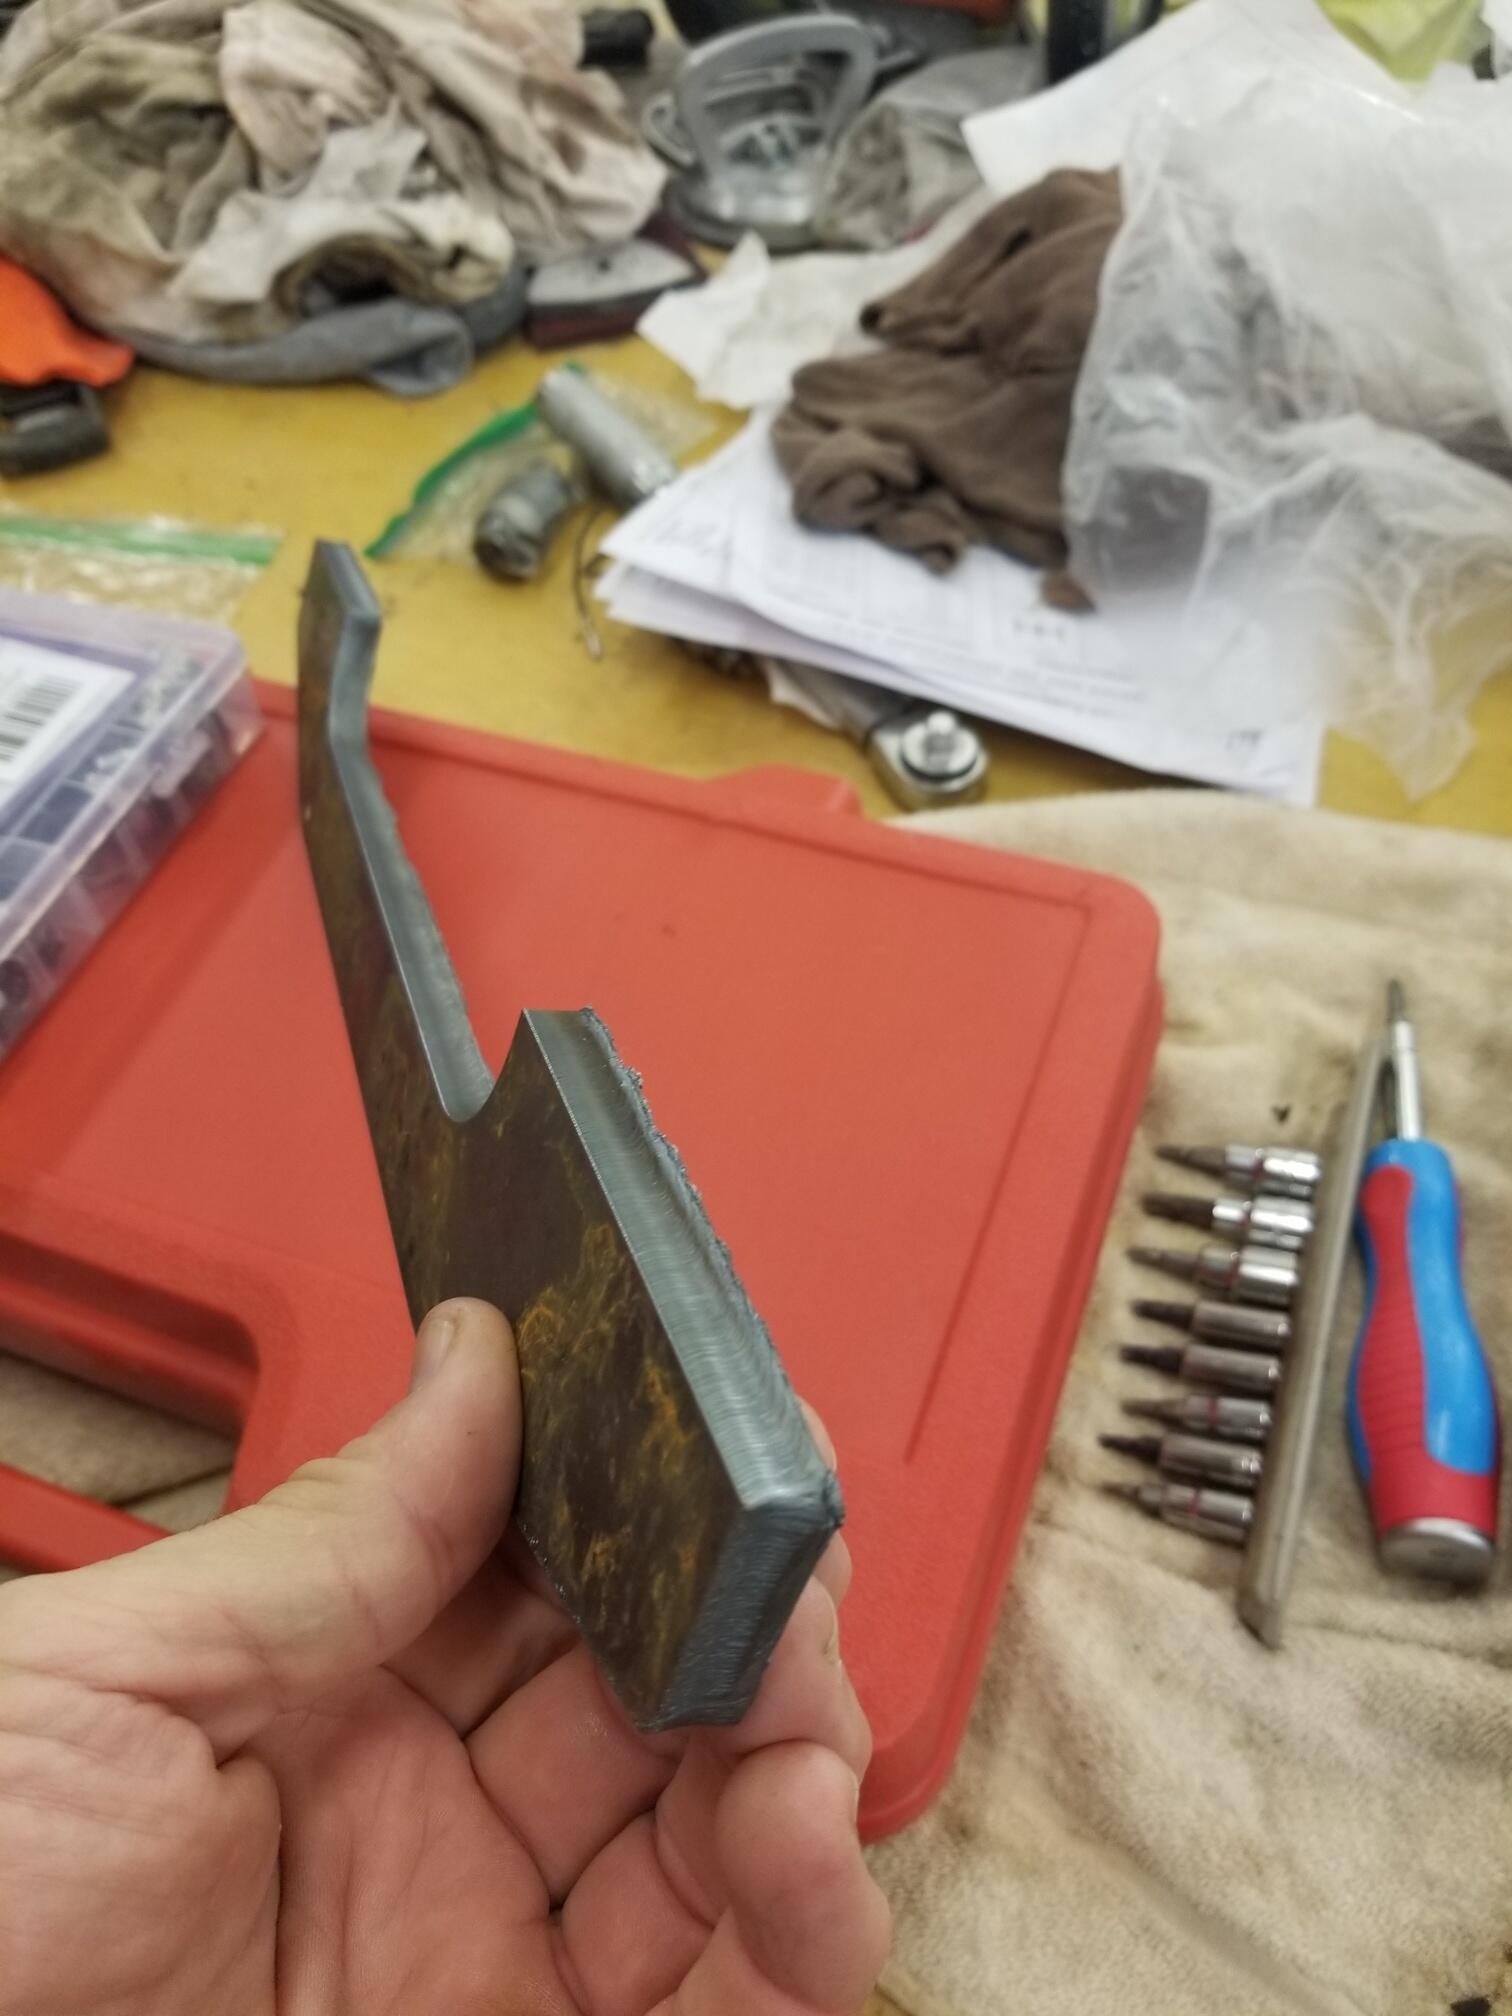
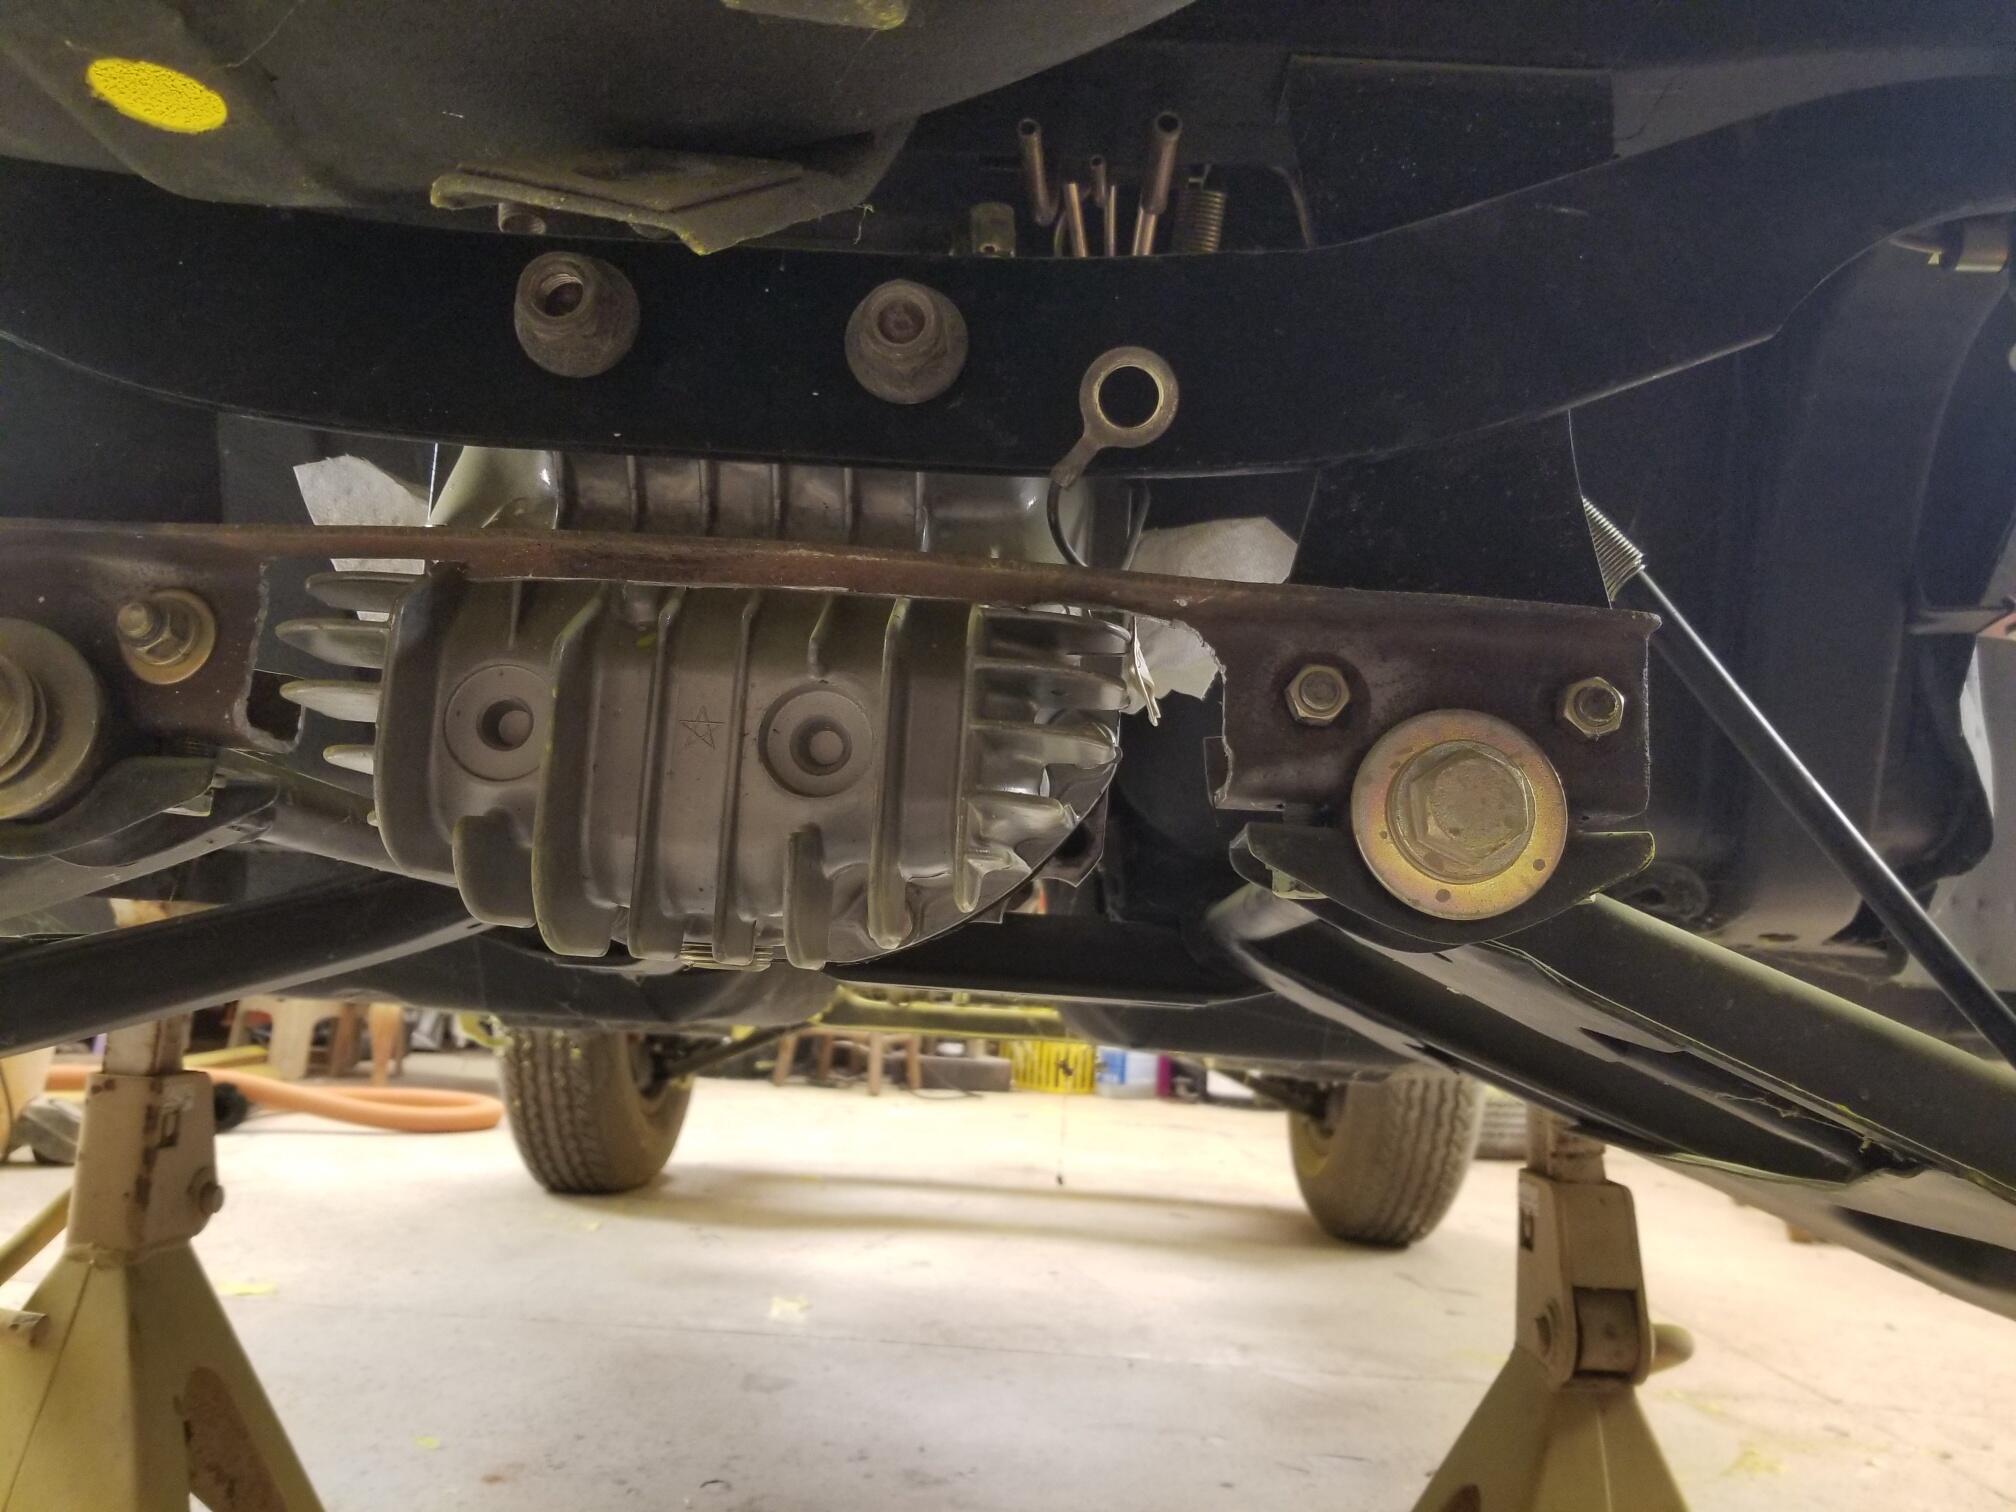
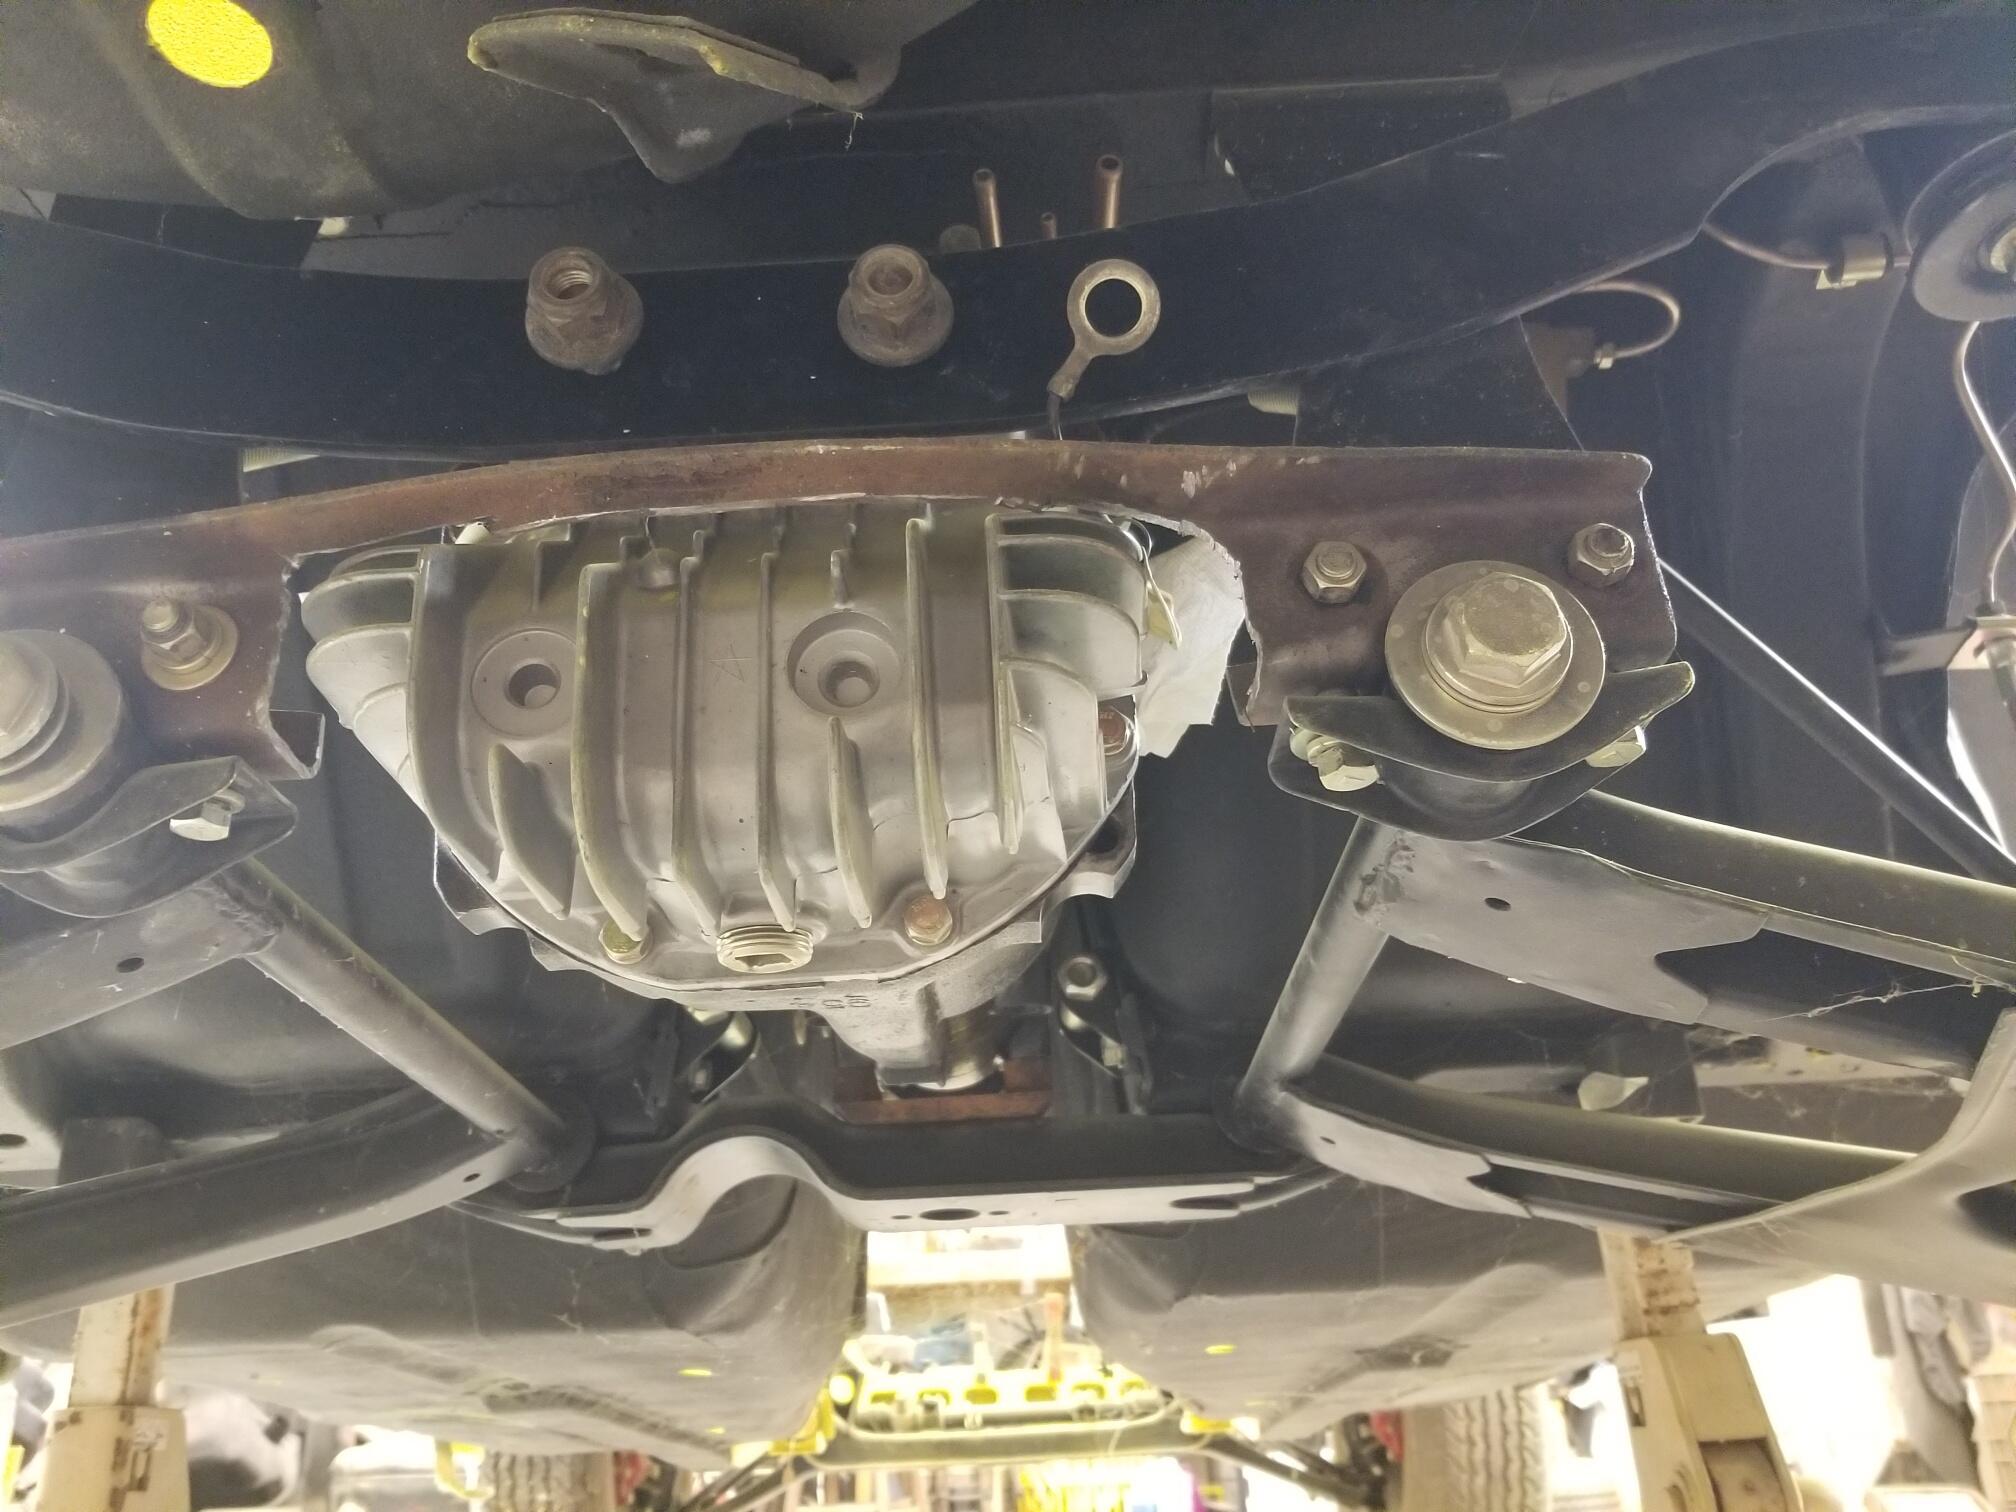
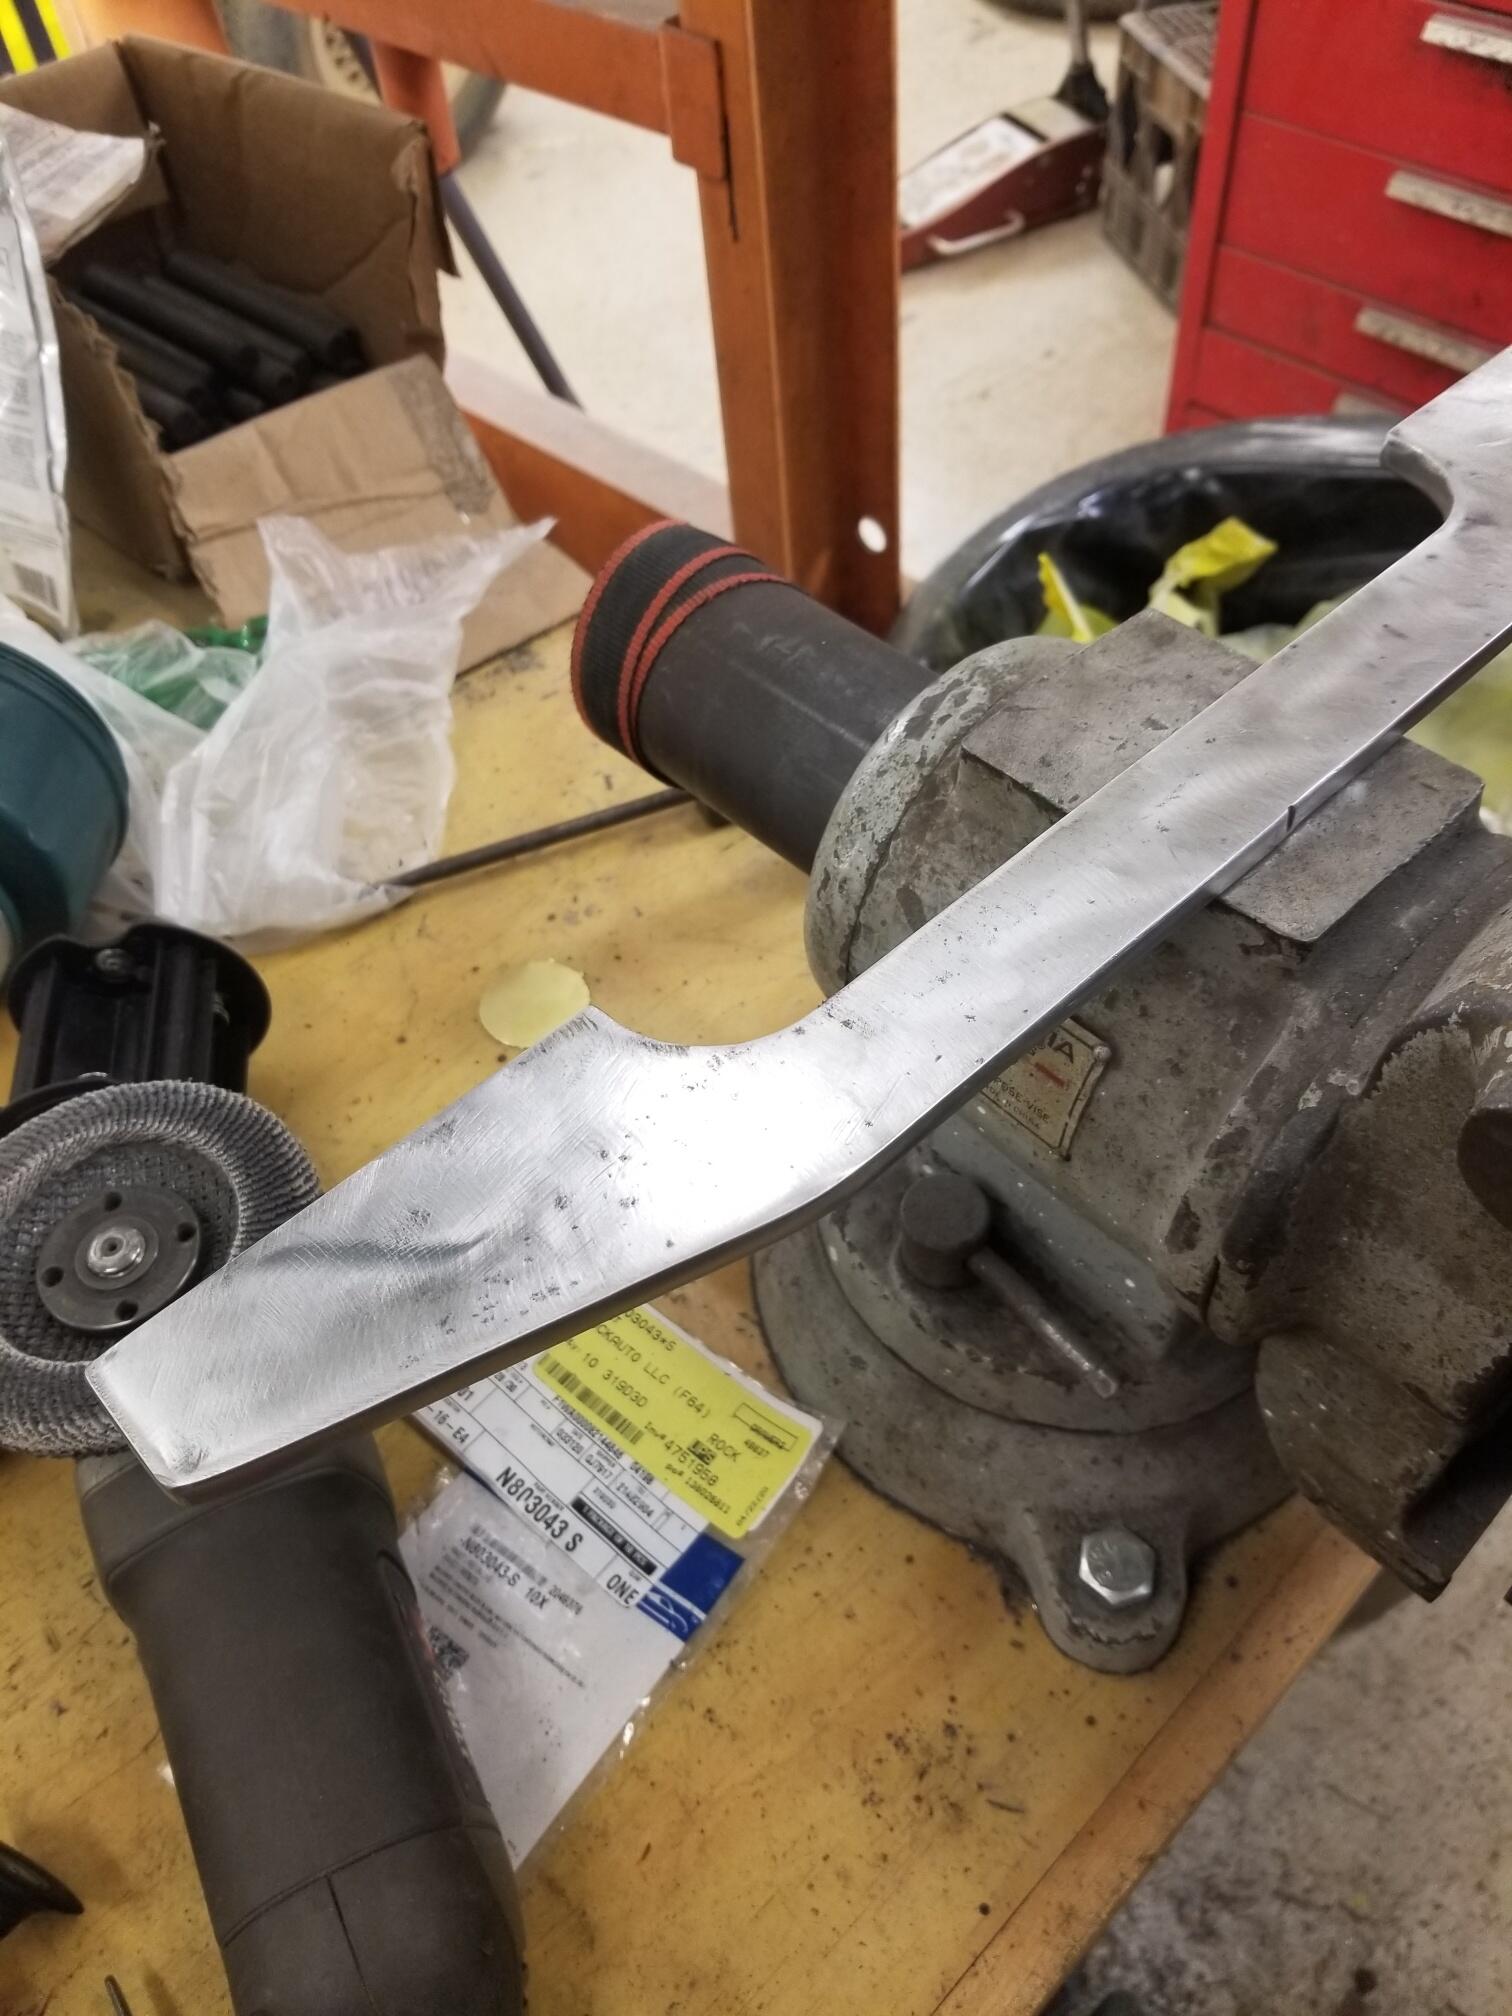
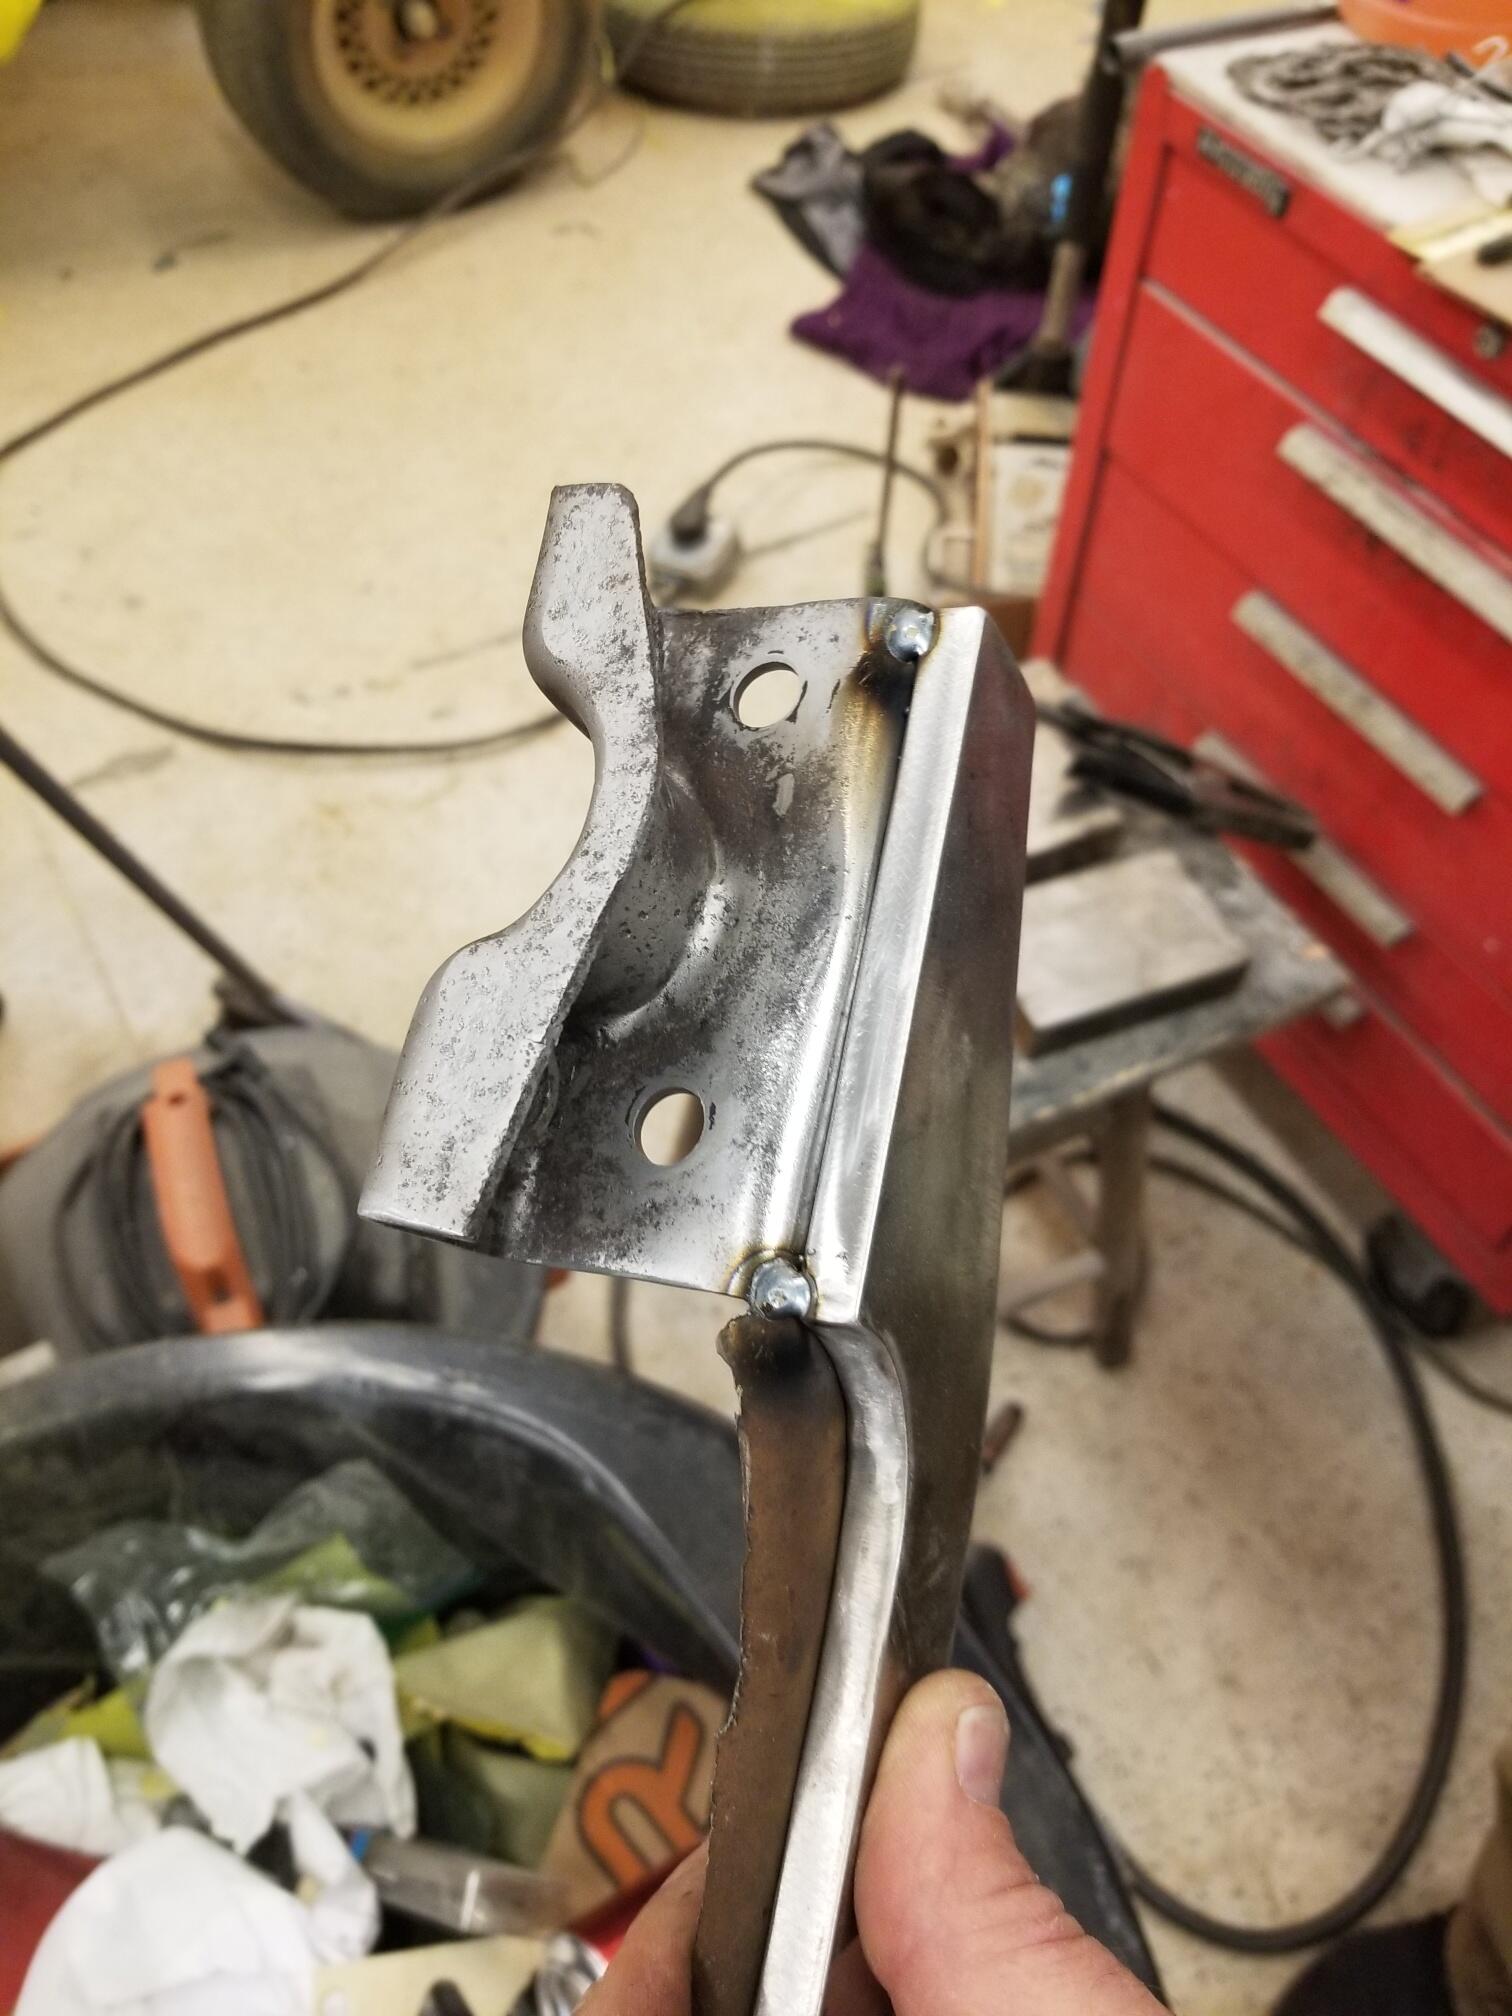
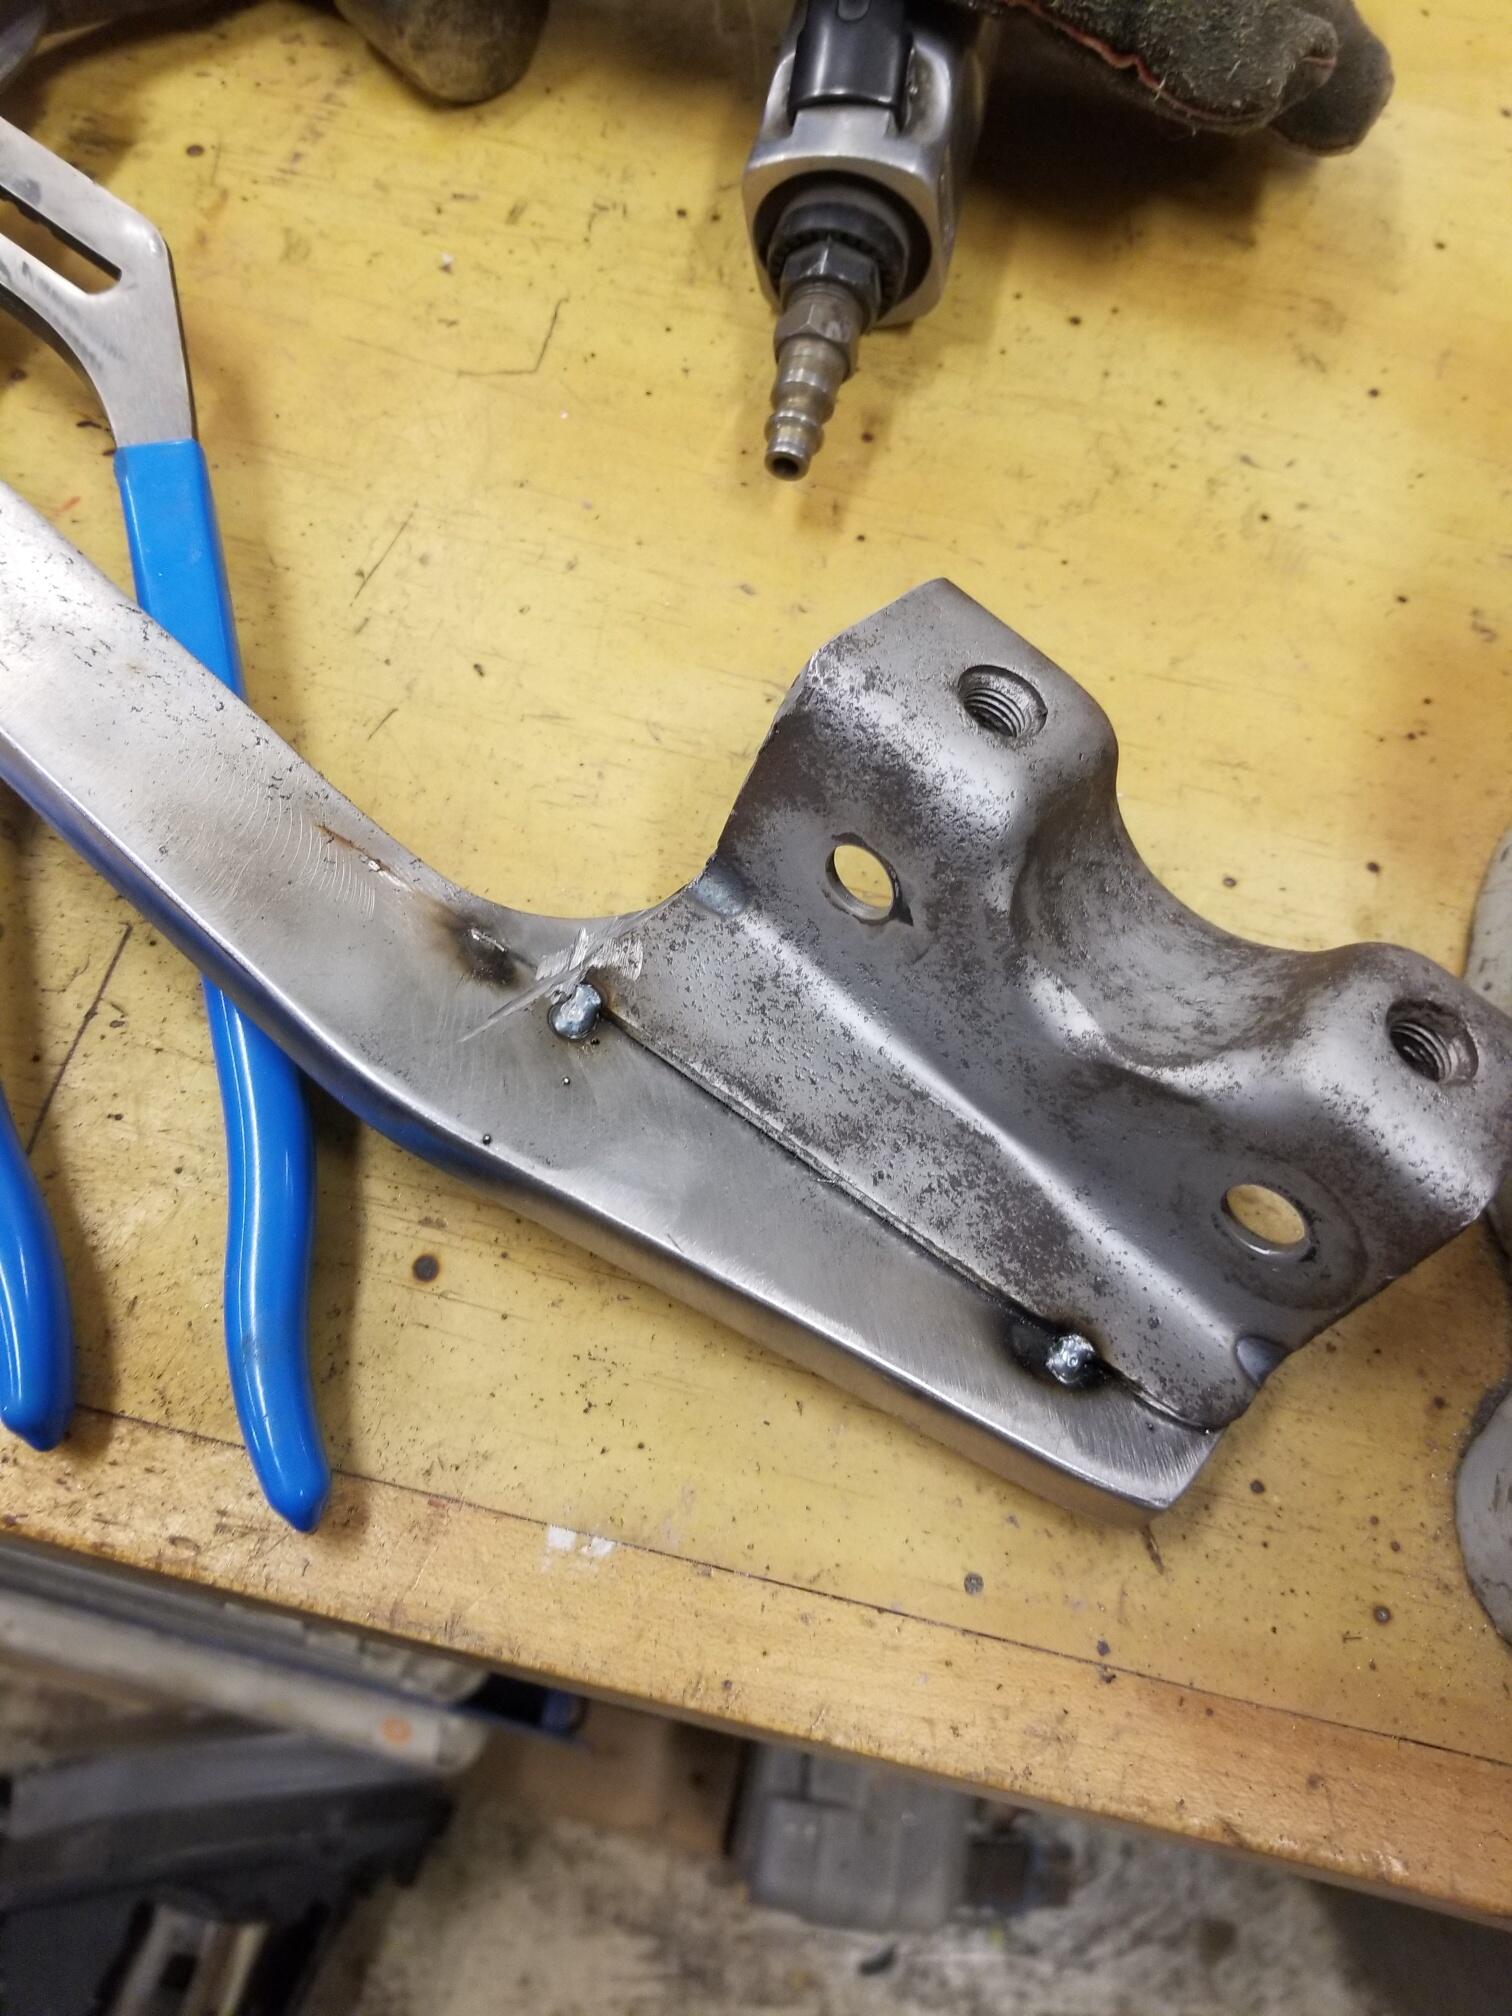
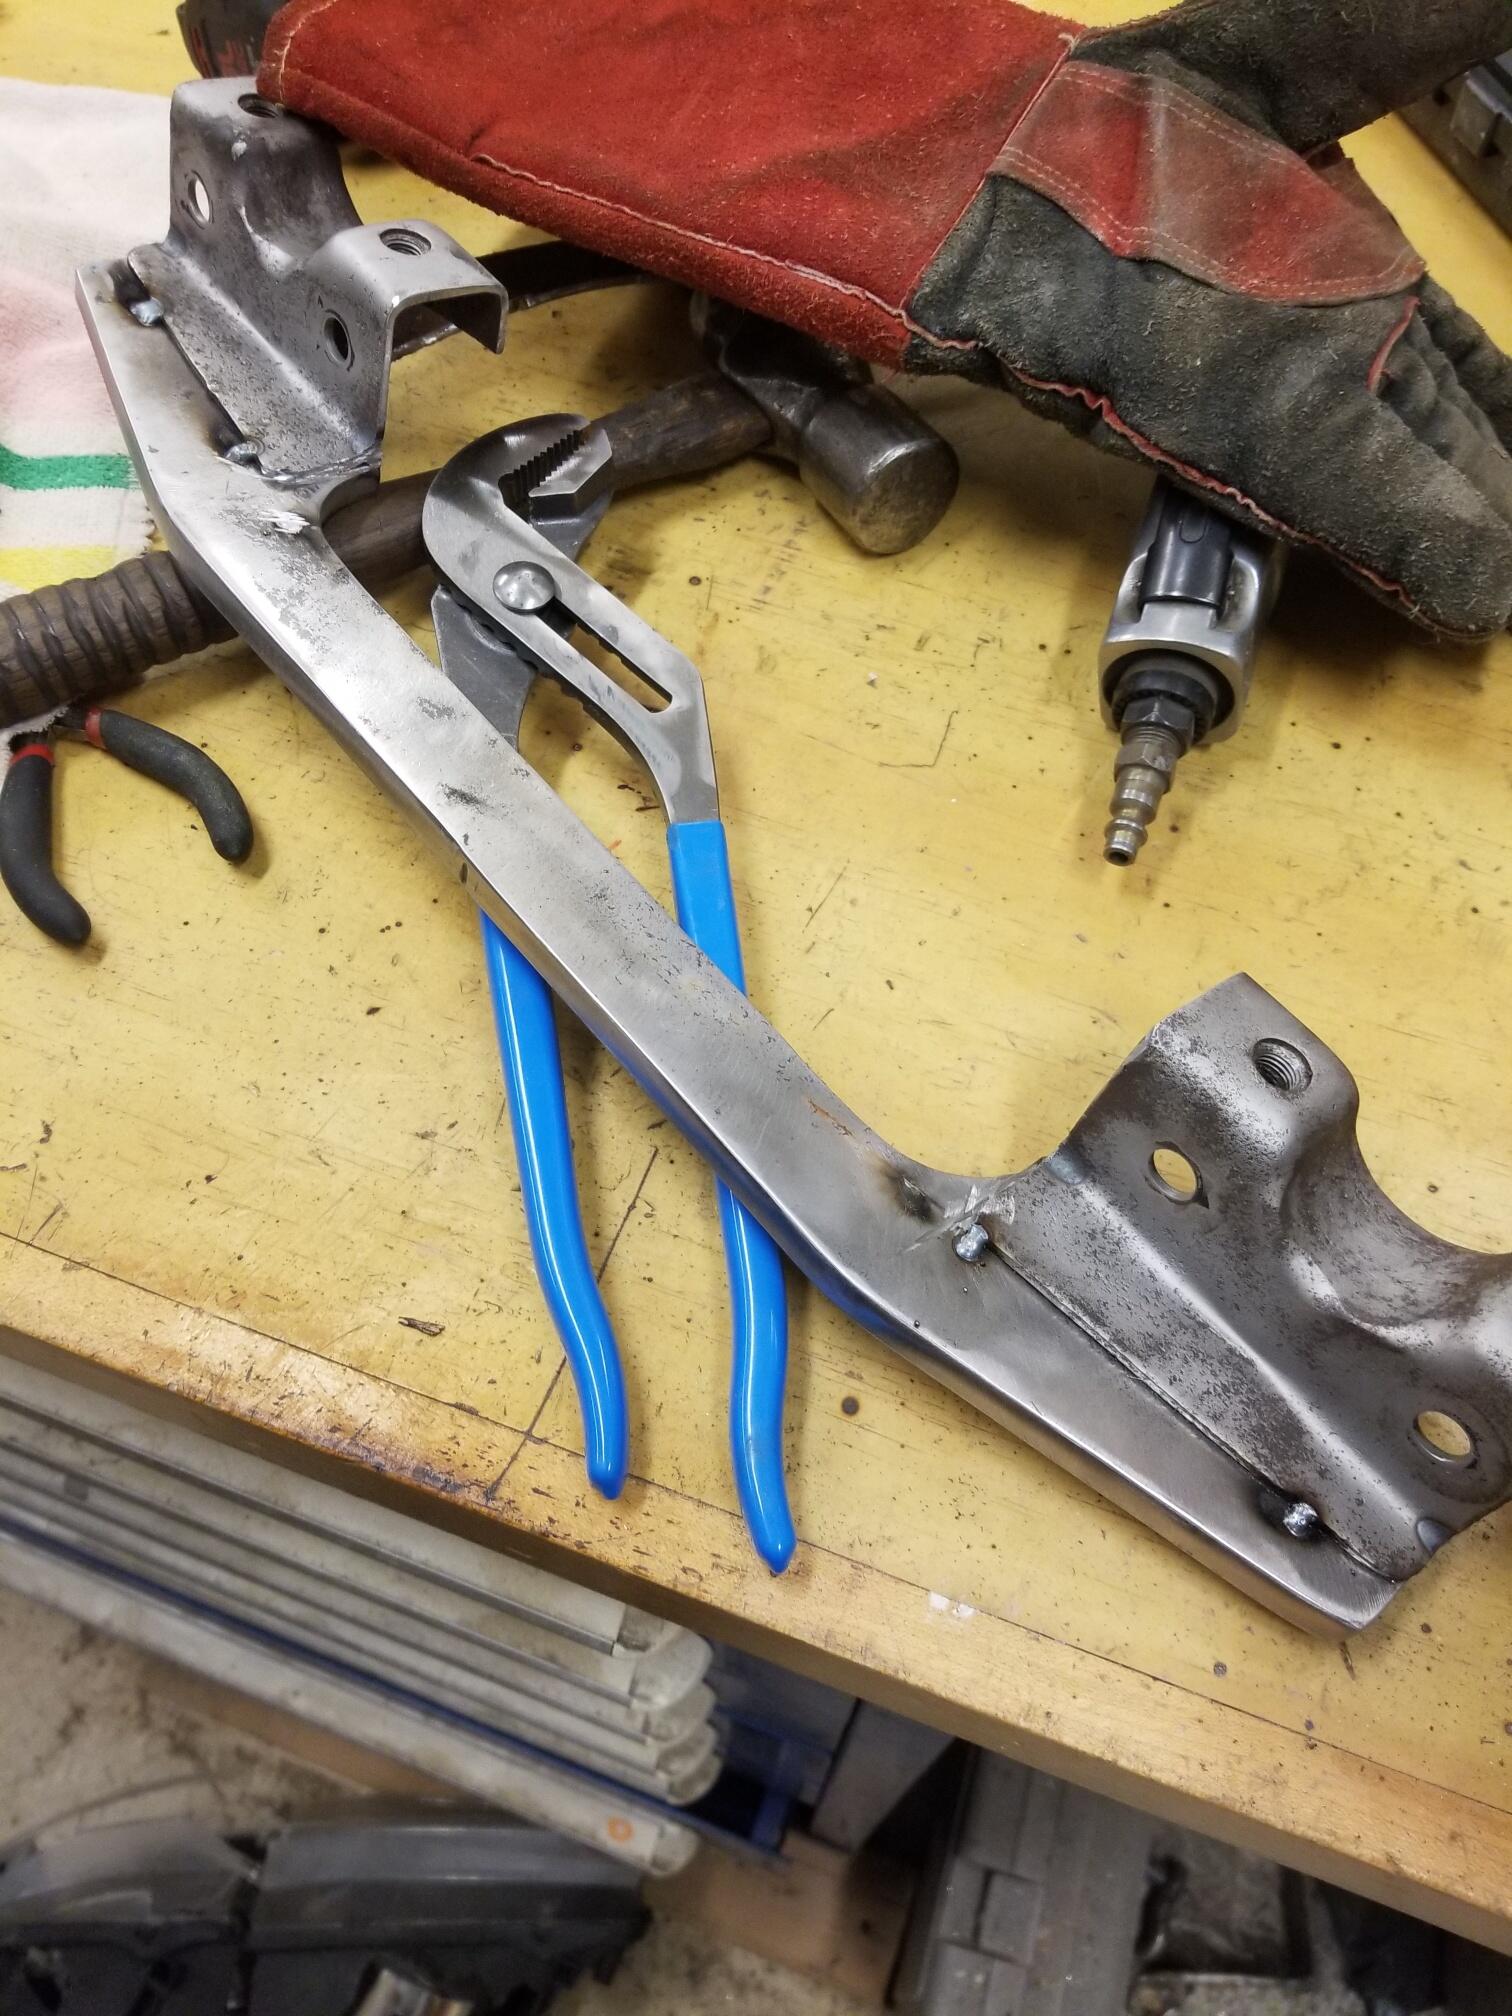
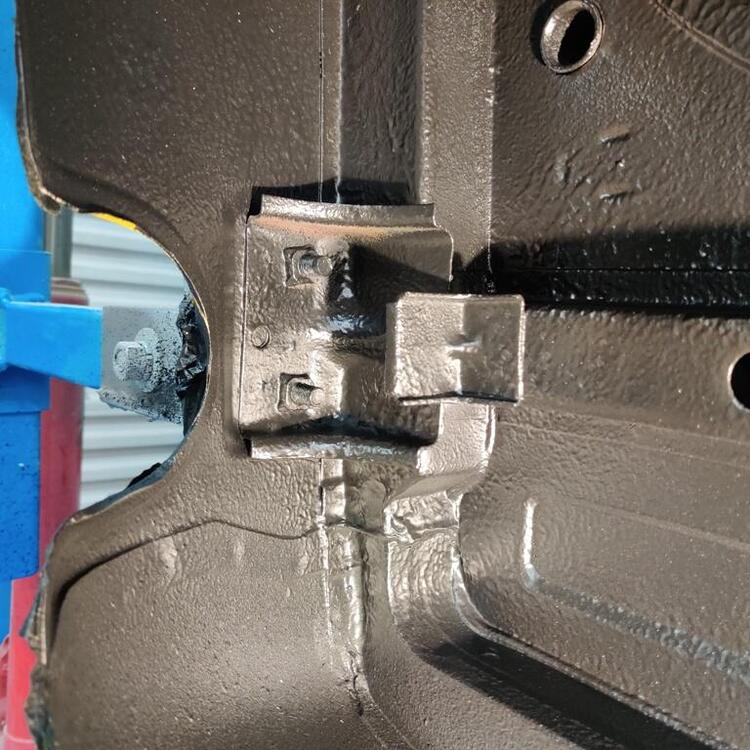
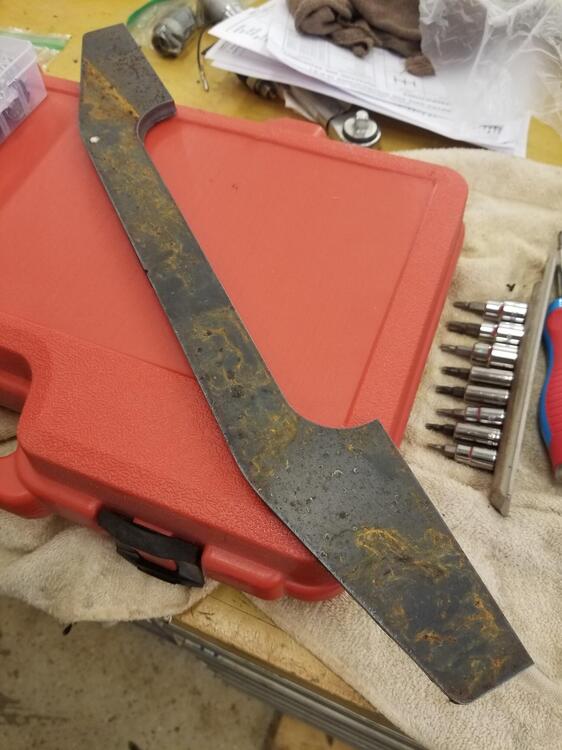
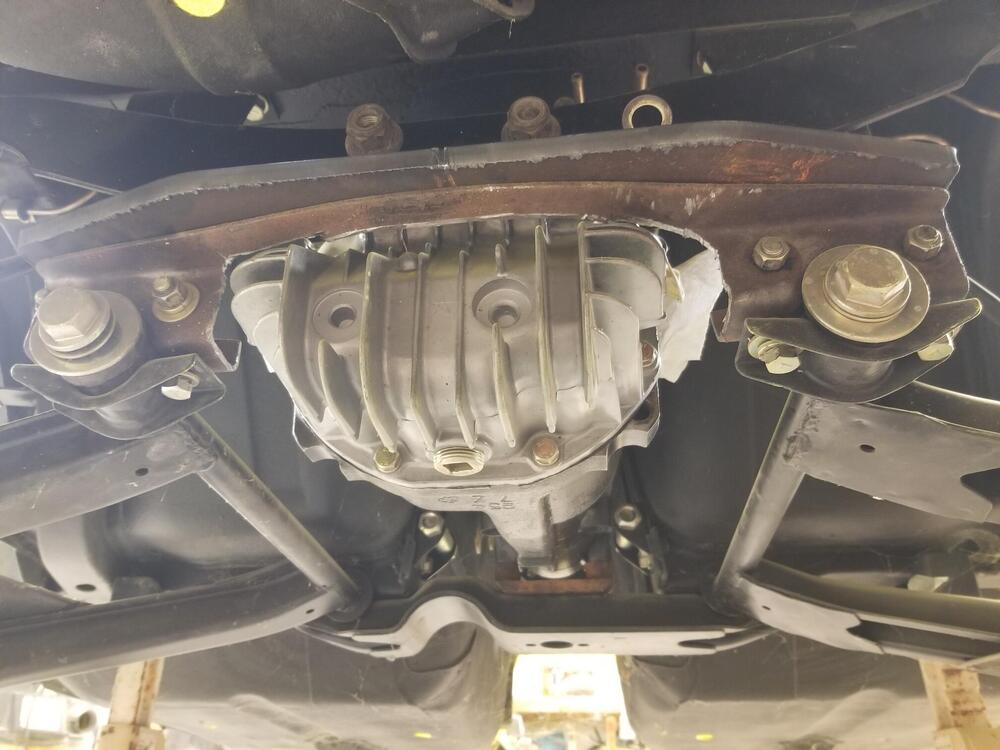
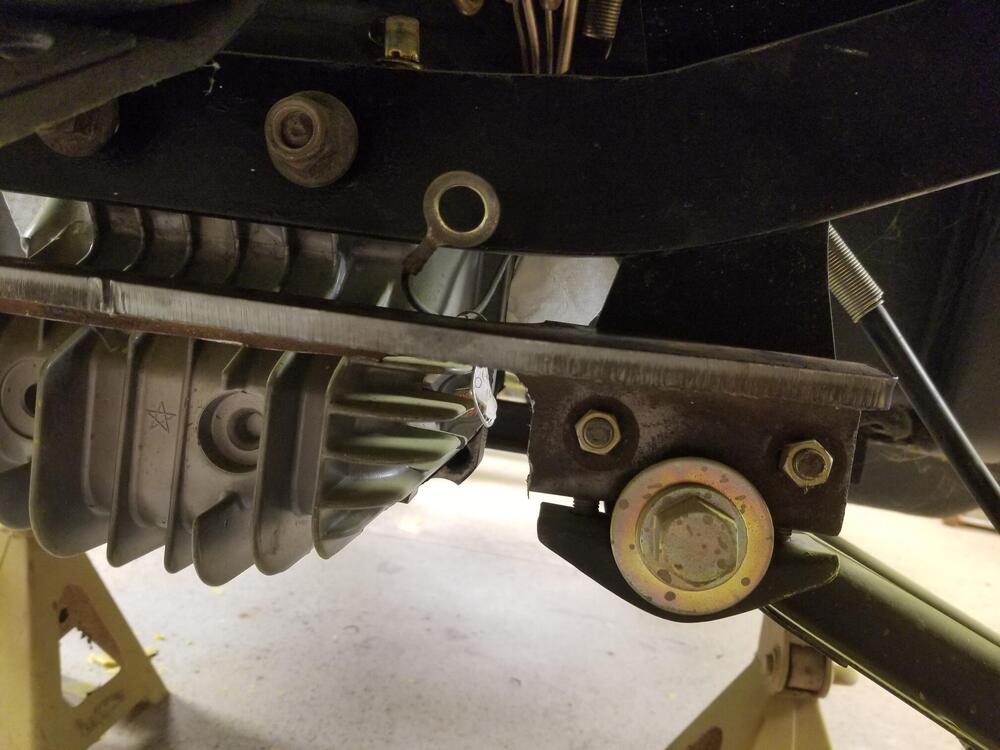
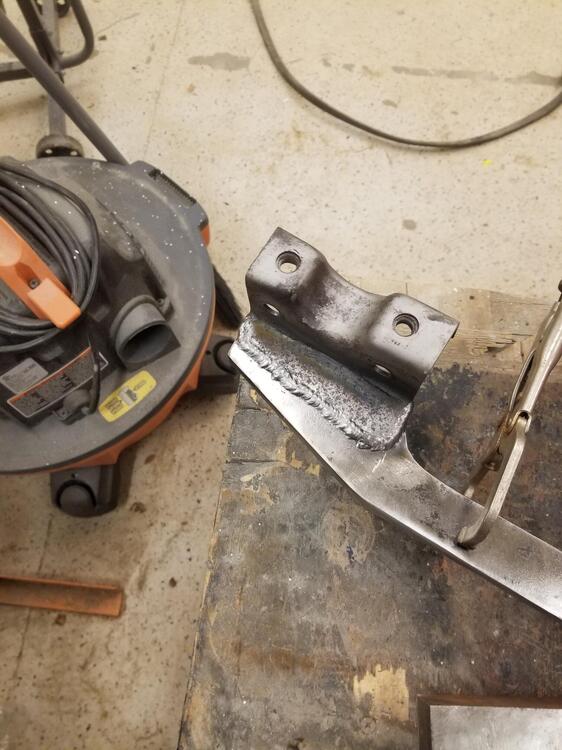
1 pointSo I worked on the differential brace some more. I finally got the 3/8" steel from the machine shop a couple of weeks ago. He gave it to me free because it took so long. The sides had some beveling to them so I had to do some clean up first I checked a little more and then let Cody MIG it up for me. He was gonna TIG it but the MIG was close by so we went that route n it Cody wasn't pleased with the welds because the feed was being a little erratic, probably because the wire was dirty. I will do a little clean up on it and make it black.Should be fine for what I'm trying to do. I can post up the CAD file for the plate if anyone is interested


 1 point
 -
1 pointReminds me of the last page in a Cleaver Brooks (they made pressure vessels and other fabricate steel stuff) catalog. It had a number of tongue in cheek "standards". One was, "Cut to suit, beat to fit, paint to match." Also reminds me of an electronic engine controls class I was in during my apprenticeship. The instructor had a "road shock simulator", a two foot long piece of 1" wood dowel. Start the car, open the hood, and give various electronic devices a sharp whack. When you whack one, and the engine stumbles, dies or otherwise acts up, you've found the problem.1 point
-
What about the oil pump/distributor drive spindle? I've seen the teeth shear off before, and found bits of metal that size. There are bronze gears available, and the pieces do look a little like bronze.
 1 point