Leaderboard
-
inline6
 Subscriber
 4Points1,282Posts
 -
HS30-H
Free Member4Points5,509Posts -
emccallum
Subscriber3Points428Posts -
240ZBUILTBYME
Free Member2Points237Posts


Popular Content
Showing content with the highest reputation on 08/13/2022 in all areas
-
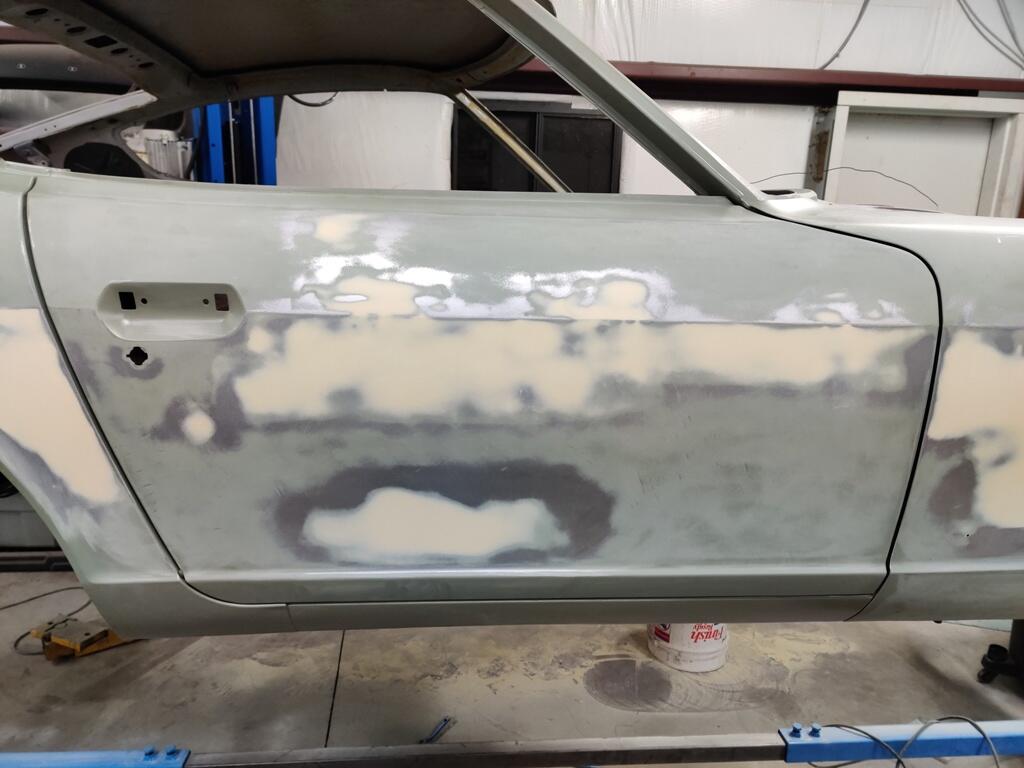
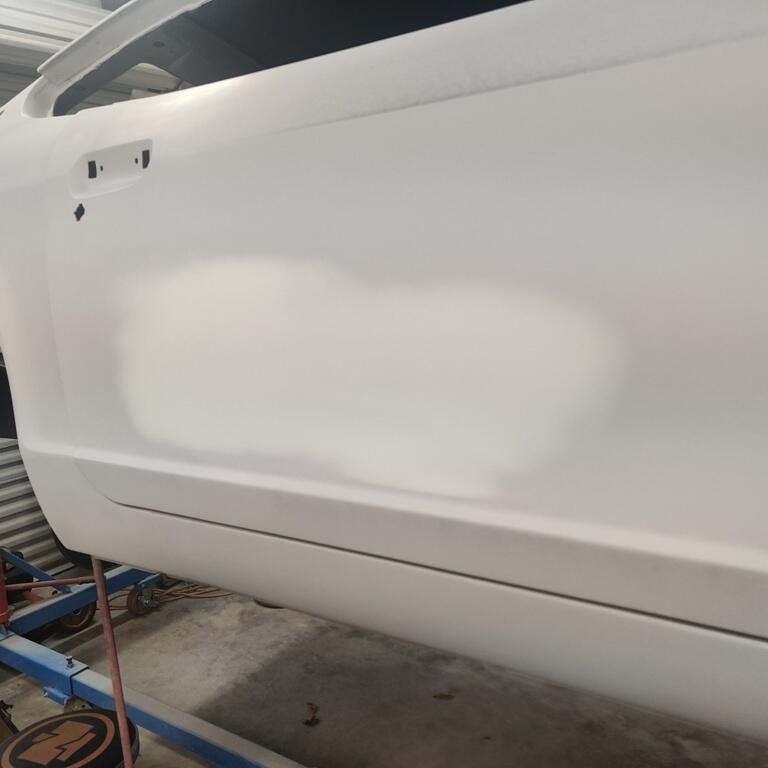
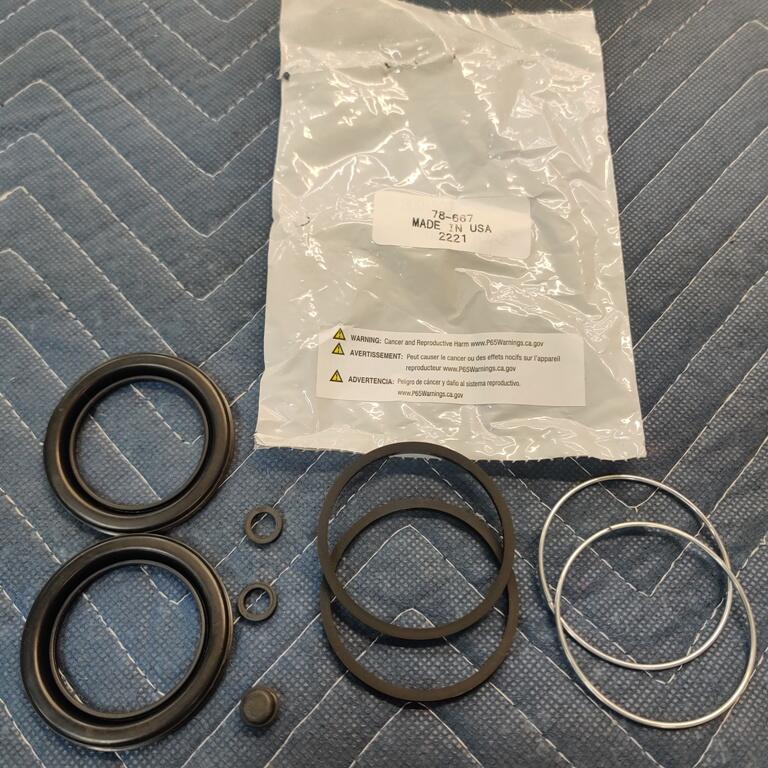
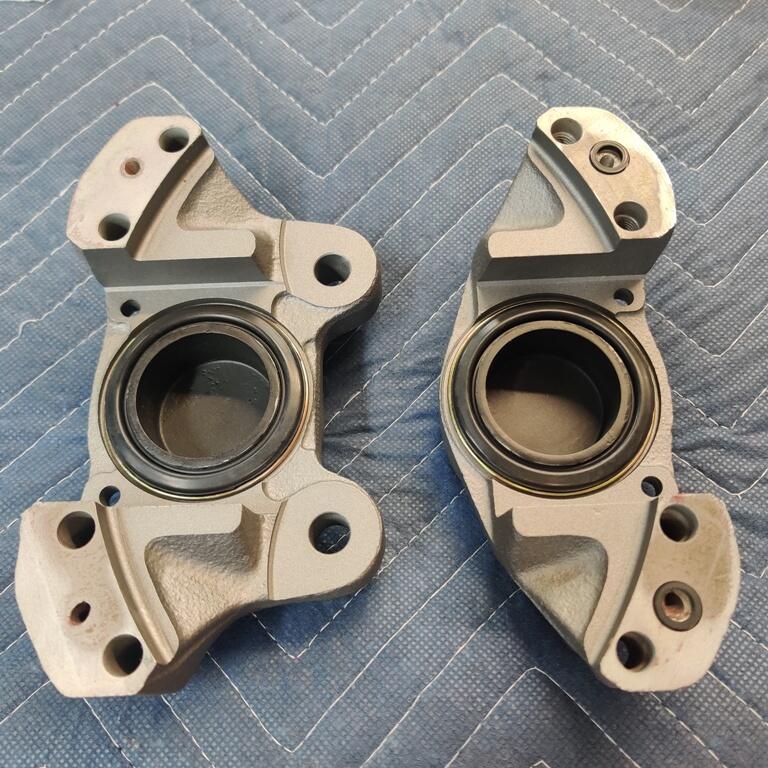
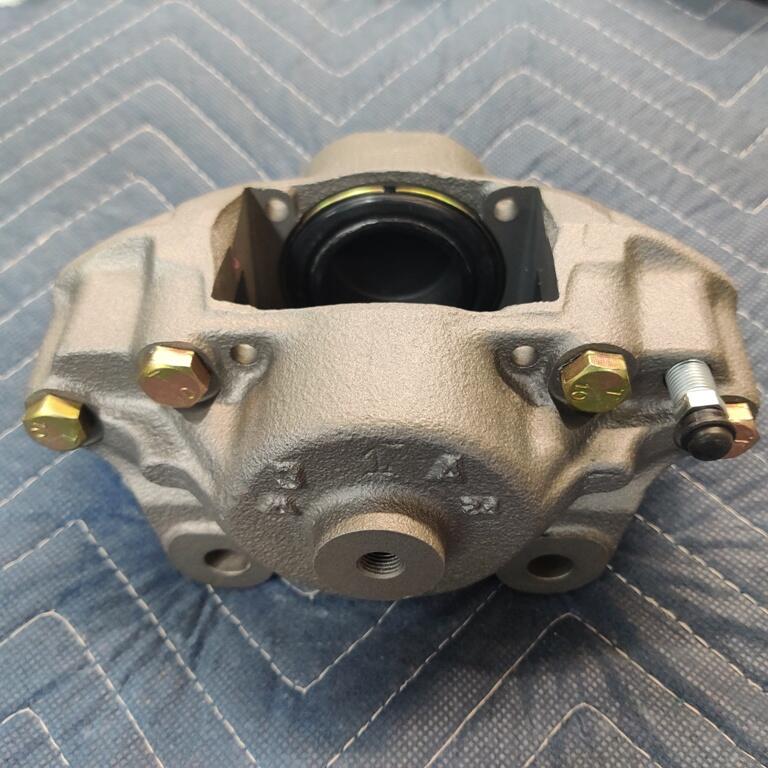
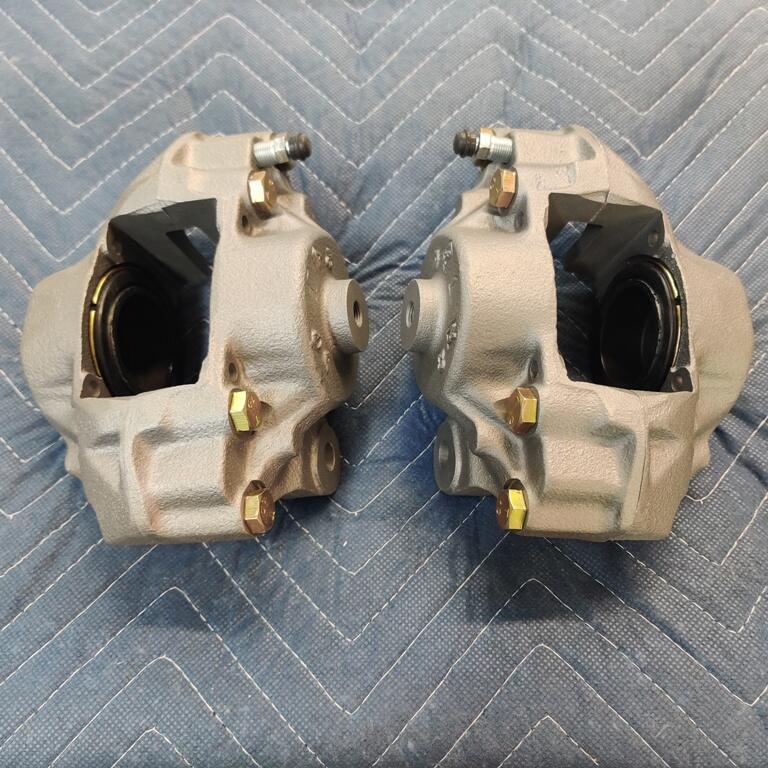
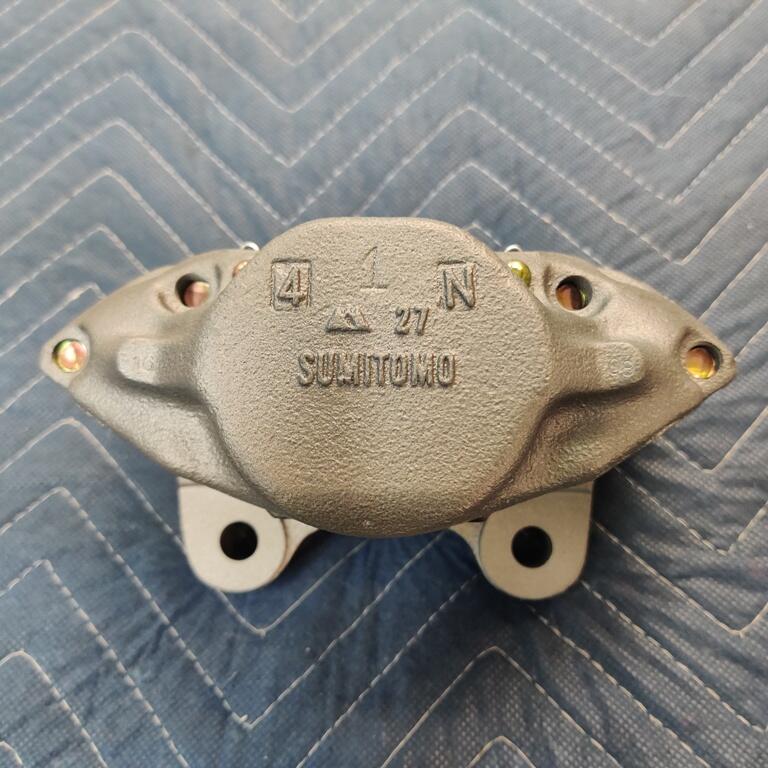
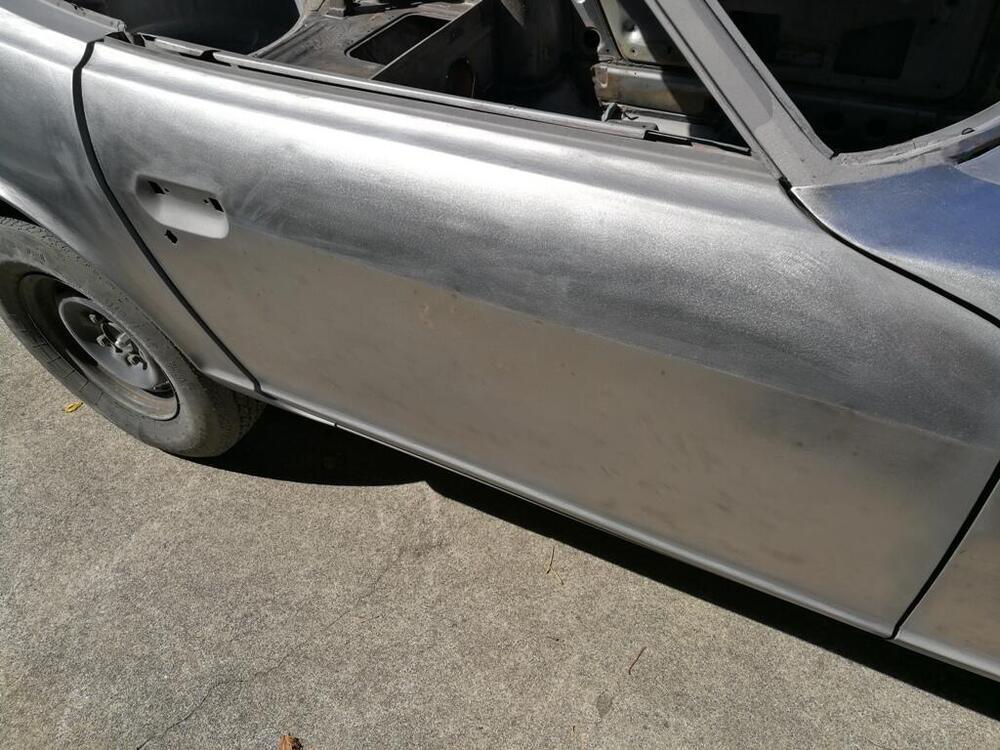
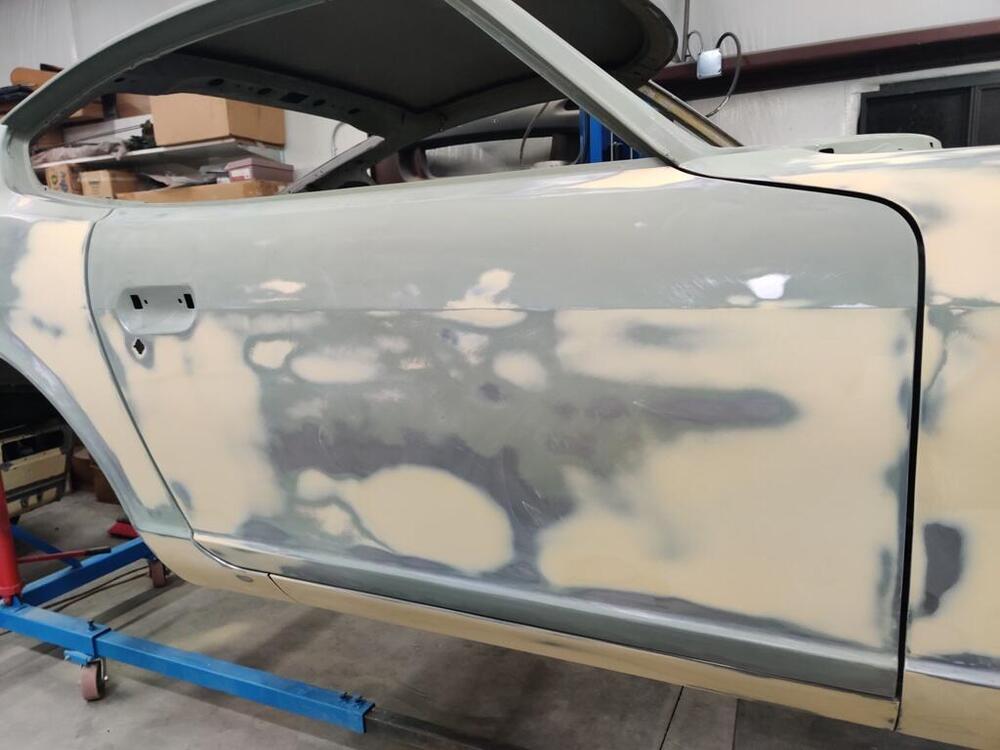
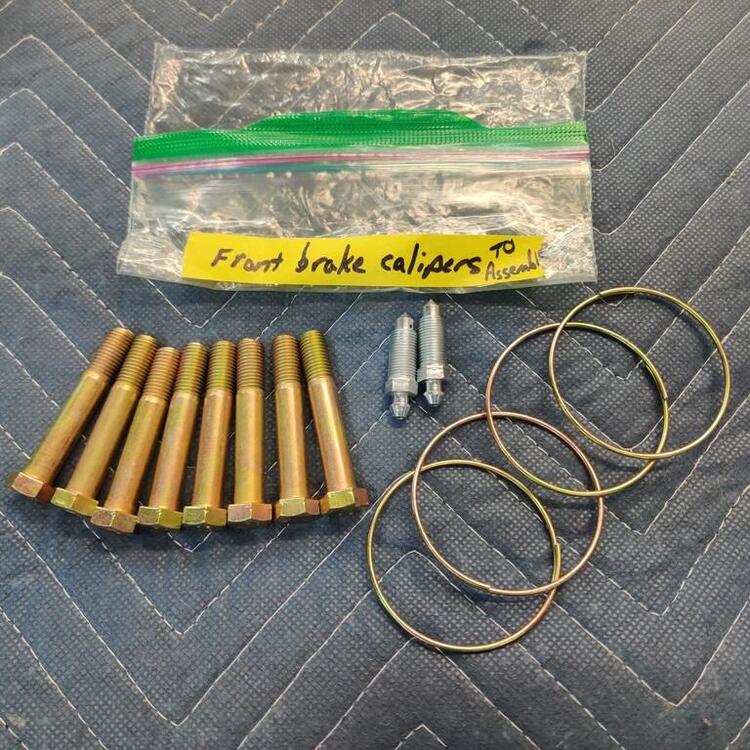
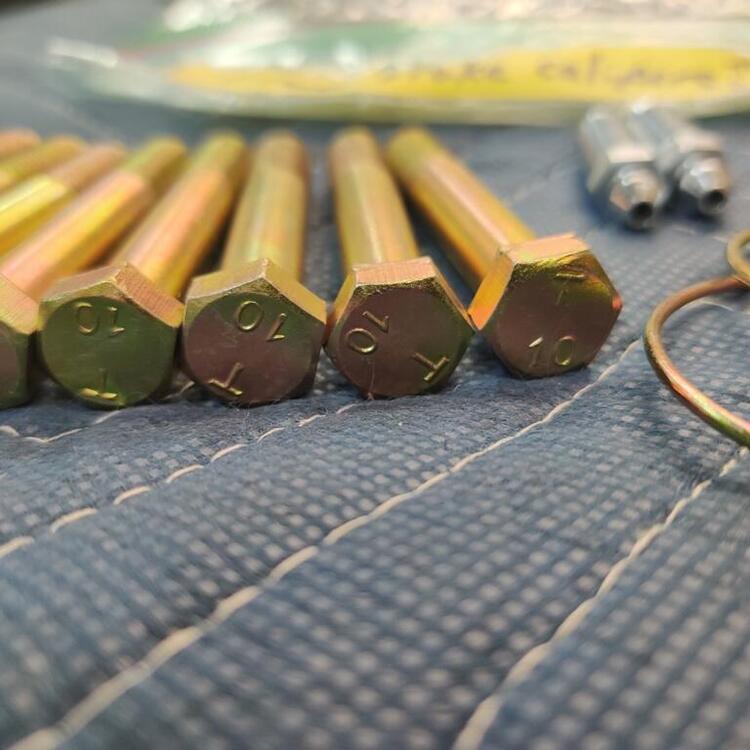
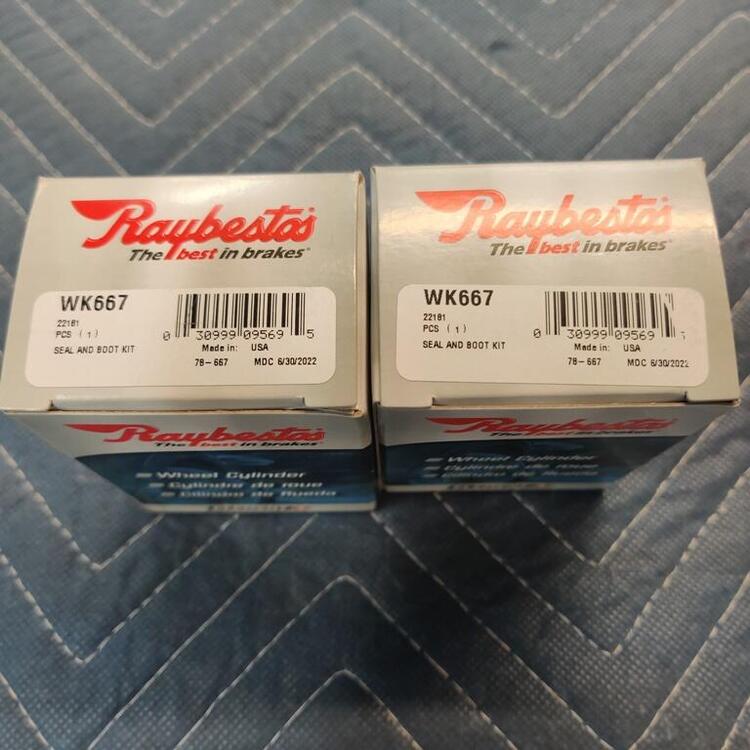
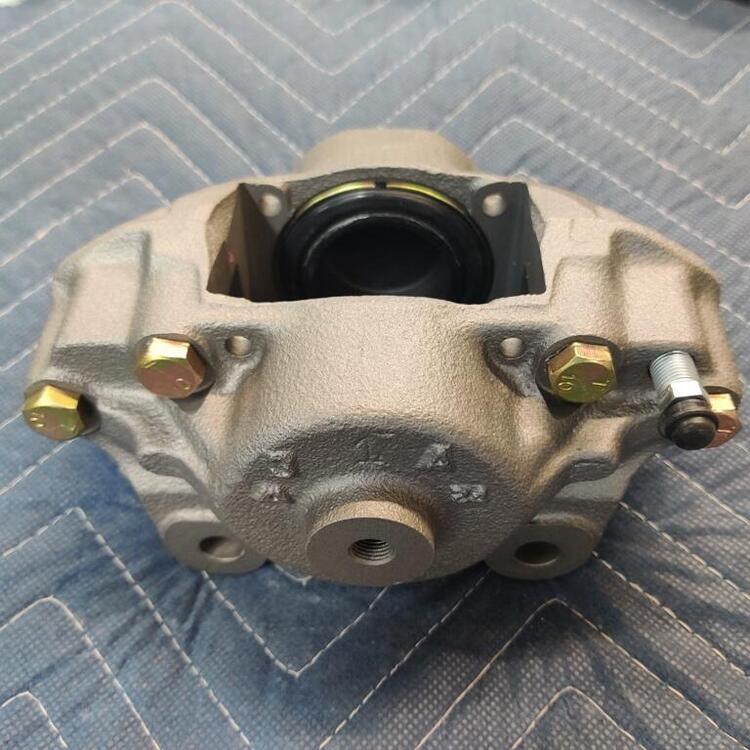
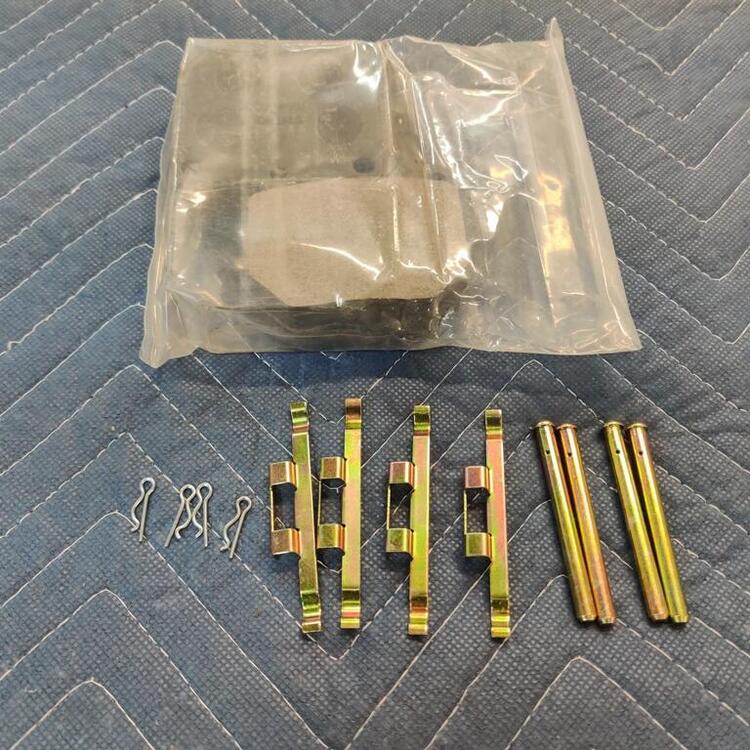
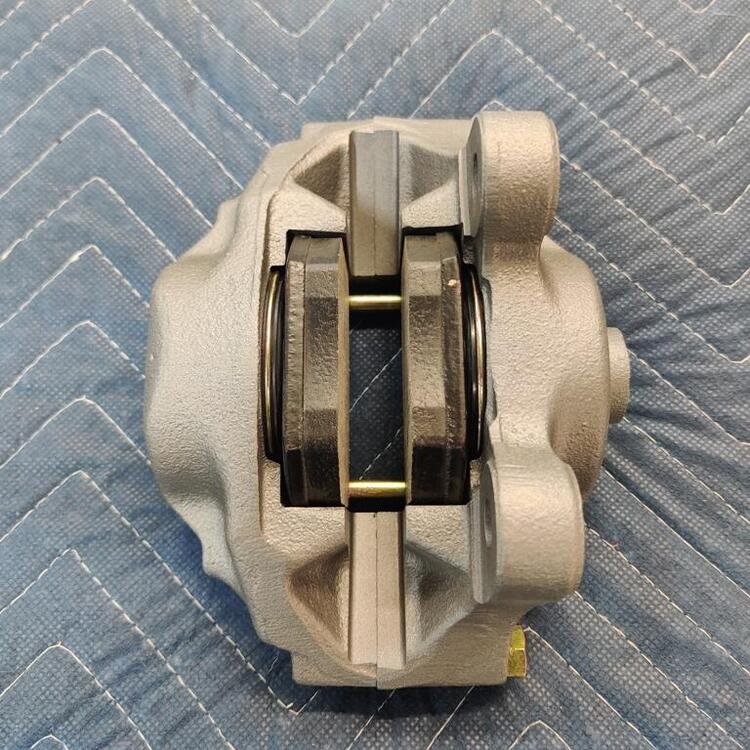
So, my latest learning from doing the bodywork on this car... This is a pretty important lesson to learn with regard to filler work. Here is how my passenger door looked in bare metal: The door wasn't sand blasted. Don't do that, by the way, of course. The paint was stripped off with a 36 grit disc on an air sander. Followed by 80 grit on a DA. Next pic shows body filler which was applied on top of epoxy primer. An obvious issue is that I have over sanded the filler and broken through the epoxy primer to bare metal. The instant you break through to bare metal, unless it is a high spot which will be pretty obvious, stop sanding. But, what I really want to point out is with a large panel, such as this passenger door, you can't assume it is flat enough to just skim coat with filler, sand, and spray a couple of high build primer coats on it and call it done. Note the bottom half of the door and that oval spot of body filler: After more filler applied and more sanding... note the oval spot is still there: In this pic, I have applied high build primer filler... and note the oval spot on the lower half of the door... this time with white body filler added. Are you starting to get a sense of the repetition here? right Almost a year ago, the bodywork on this door still wasn't right. So, here is what I have learned. Don't over sand. Other than possibly being a good workout, it wastes time and materials. Critically, for large panels, use a straight edge, or look at the reflection with a coat of wax and silicone remover on the panel, and check for any concaveness across the span of the door. It is exceedingly difficult to address the panel being ever so slightly concave after you have sprayed primer filler. You need to check it while it is bare metal, and again while it is in body filler stage. Get the panel flat while in the body filler stage. Do not move on to primer filler until the panel is flat. Use guide coat, and wax and silicone remover and check progress. Primer filler is not going to fill a concave panel. That is another thing I was doing that was wrong. A picture from today - note the white filler in the same location as the oval low spot in the pics above, and which can be seen in the video above also: I have learned a lot, but have done it the hard way. And it has cost hundreds of hours and hundreds of dollars in materials. The reflection looked really good prior to application of primer filler today, so I think this door is super close to done, at long last. While waiting for filler to dry, I also assembled my brake calipers today. The original hardware was re-plated, insides of pistons sand blasted zinc primed and painted, caliper halves sand blasted, zinc primed and painted with Eastwood cast iron look paint:


 4 points
 -
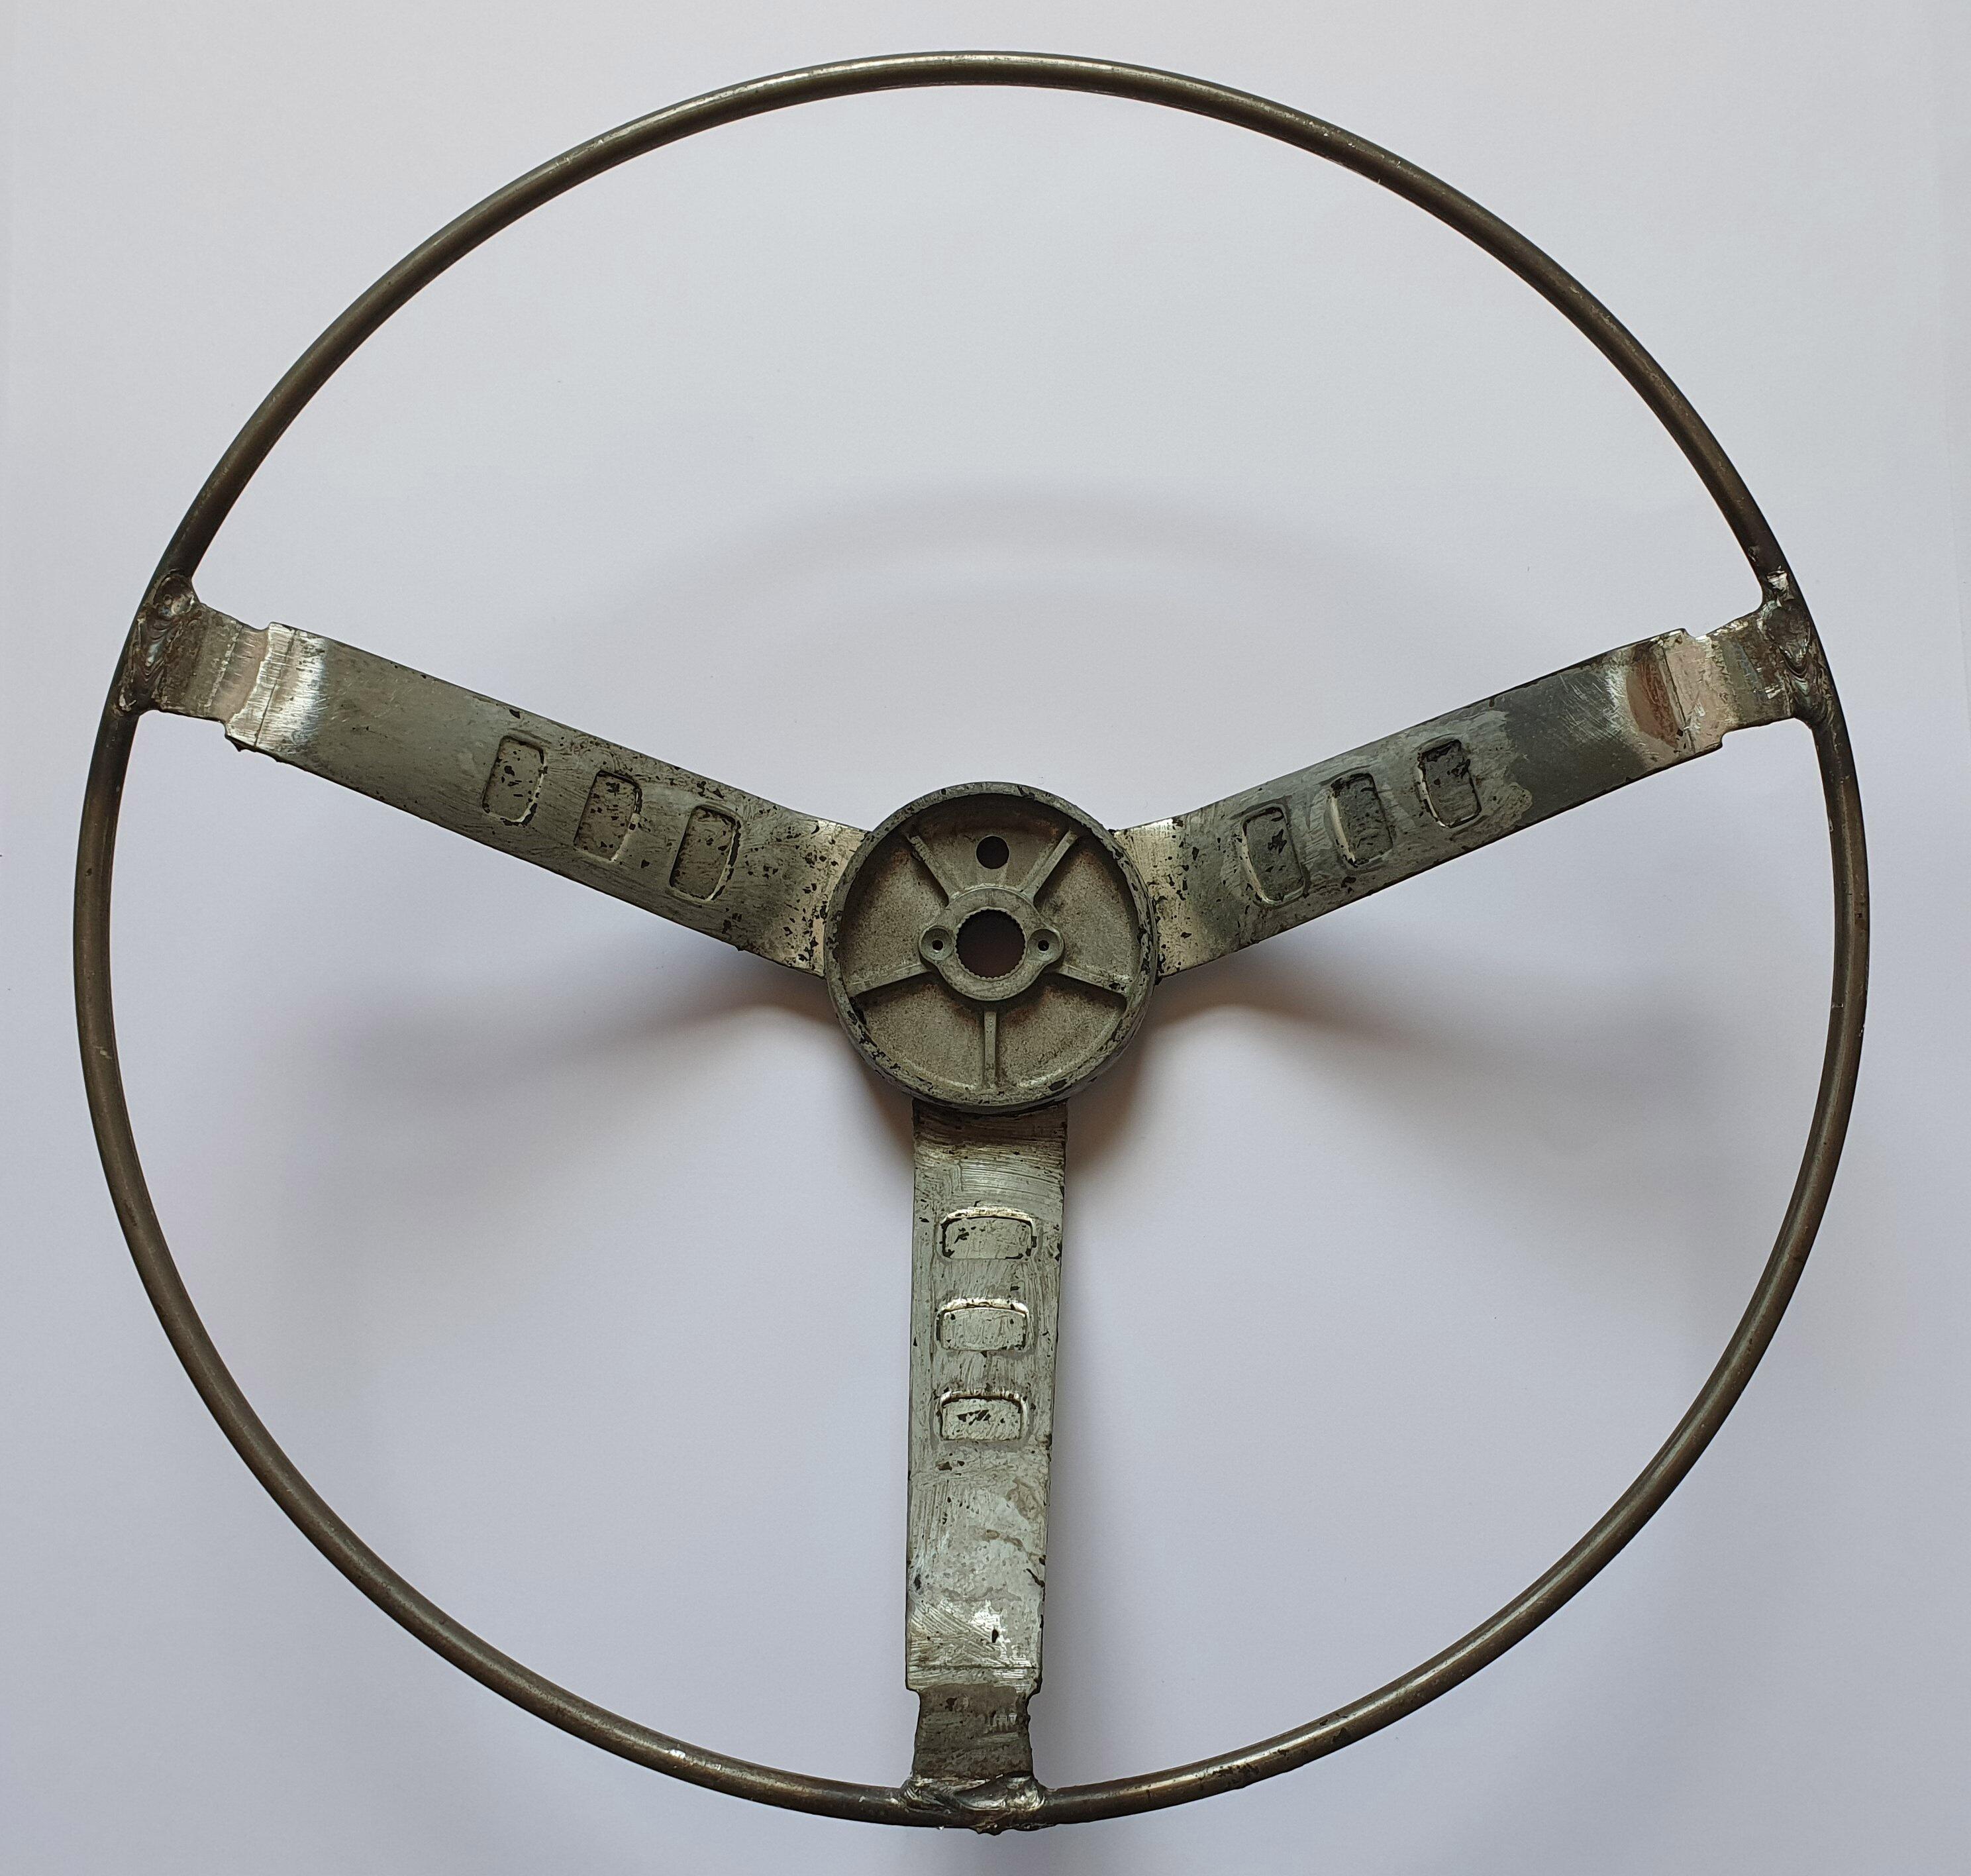
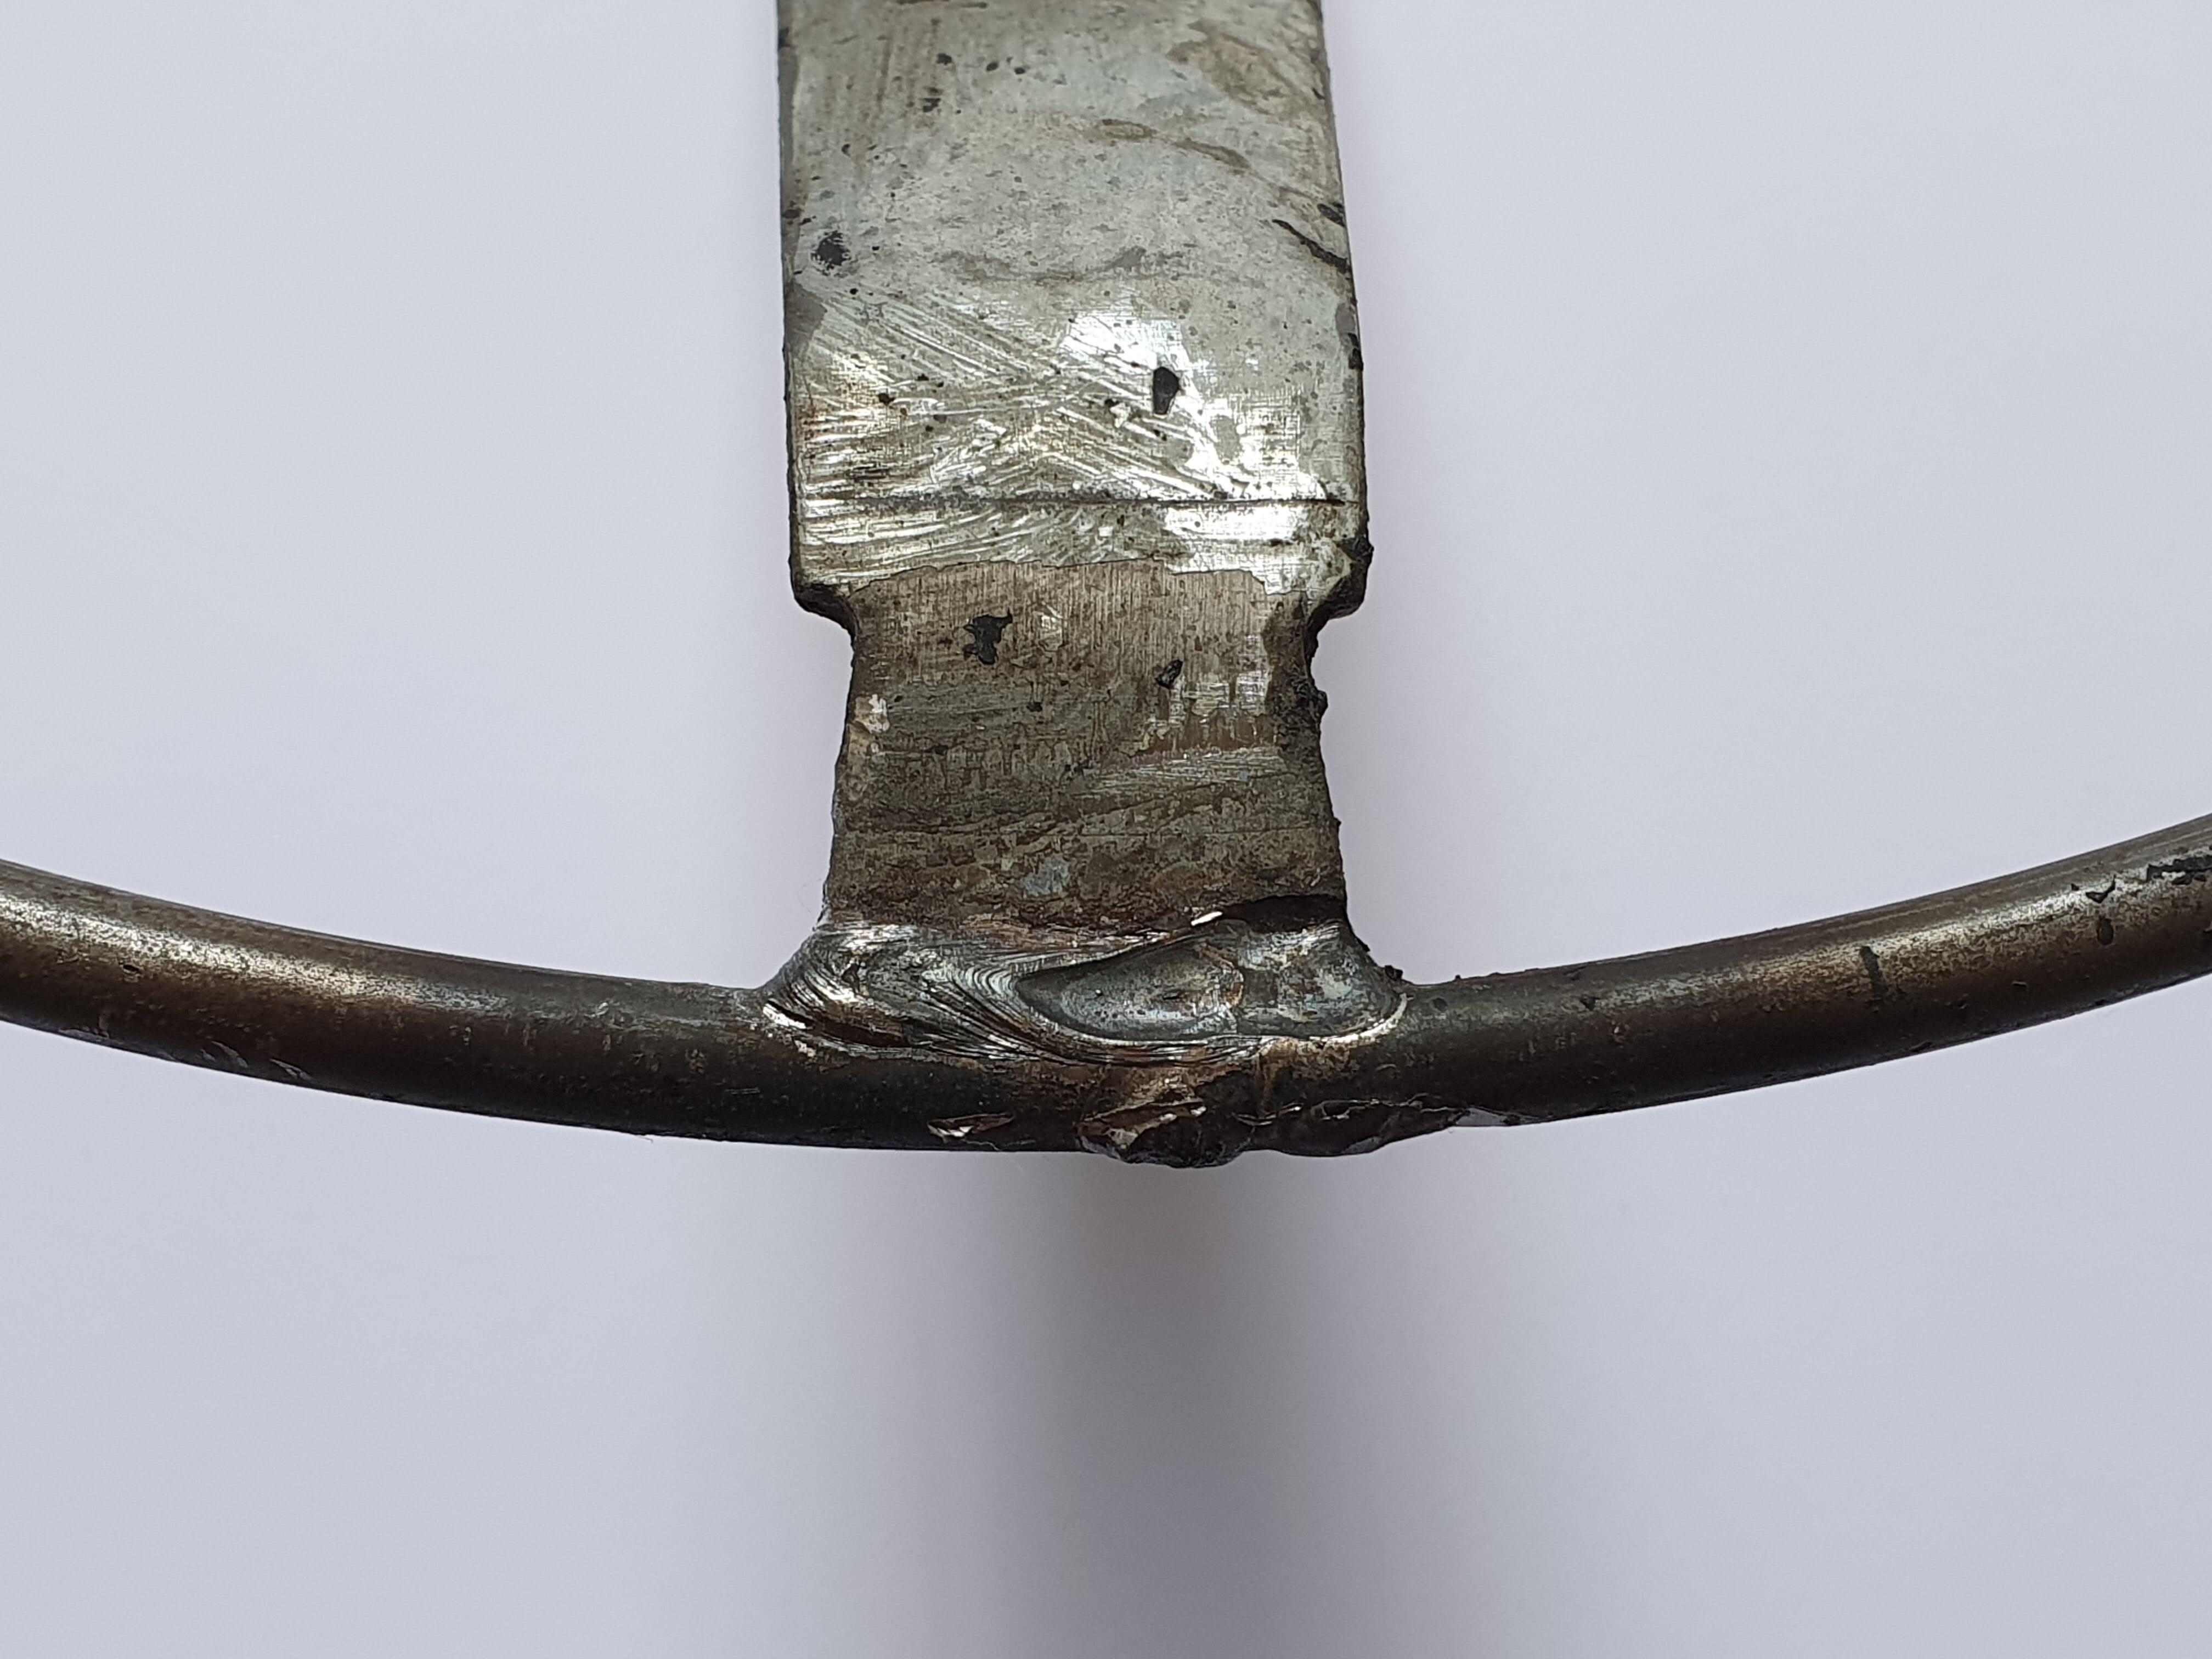
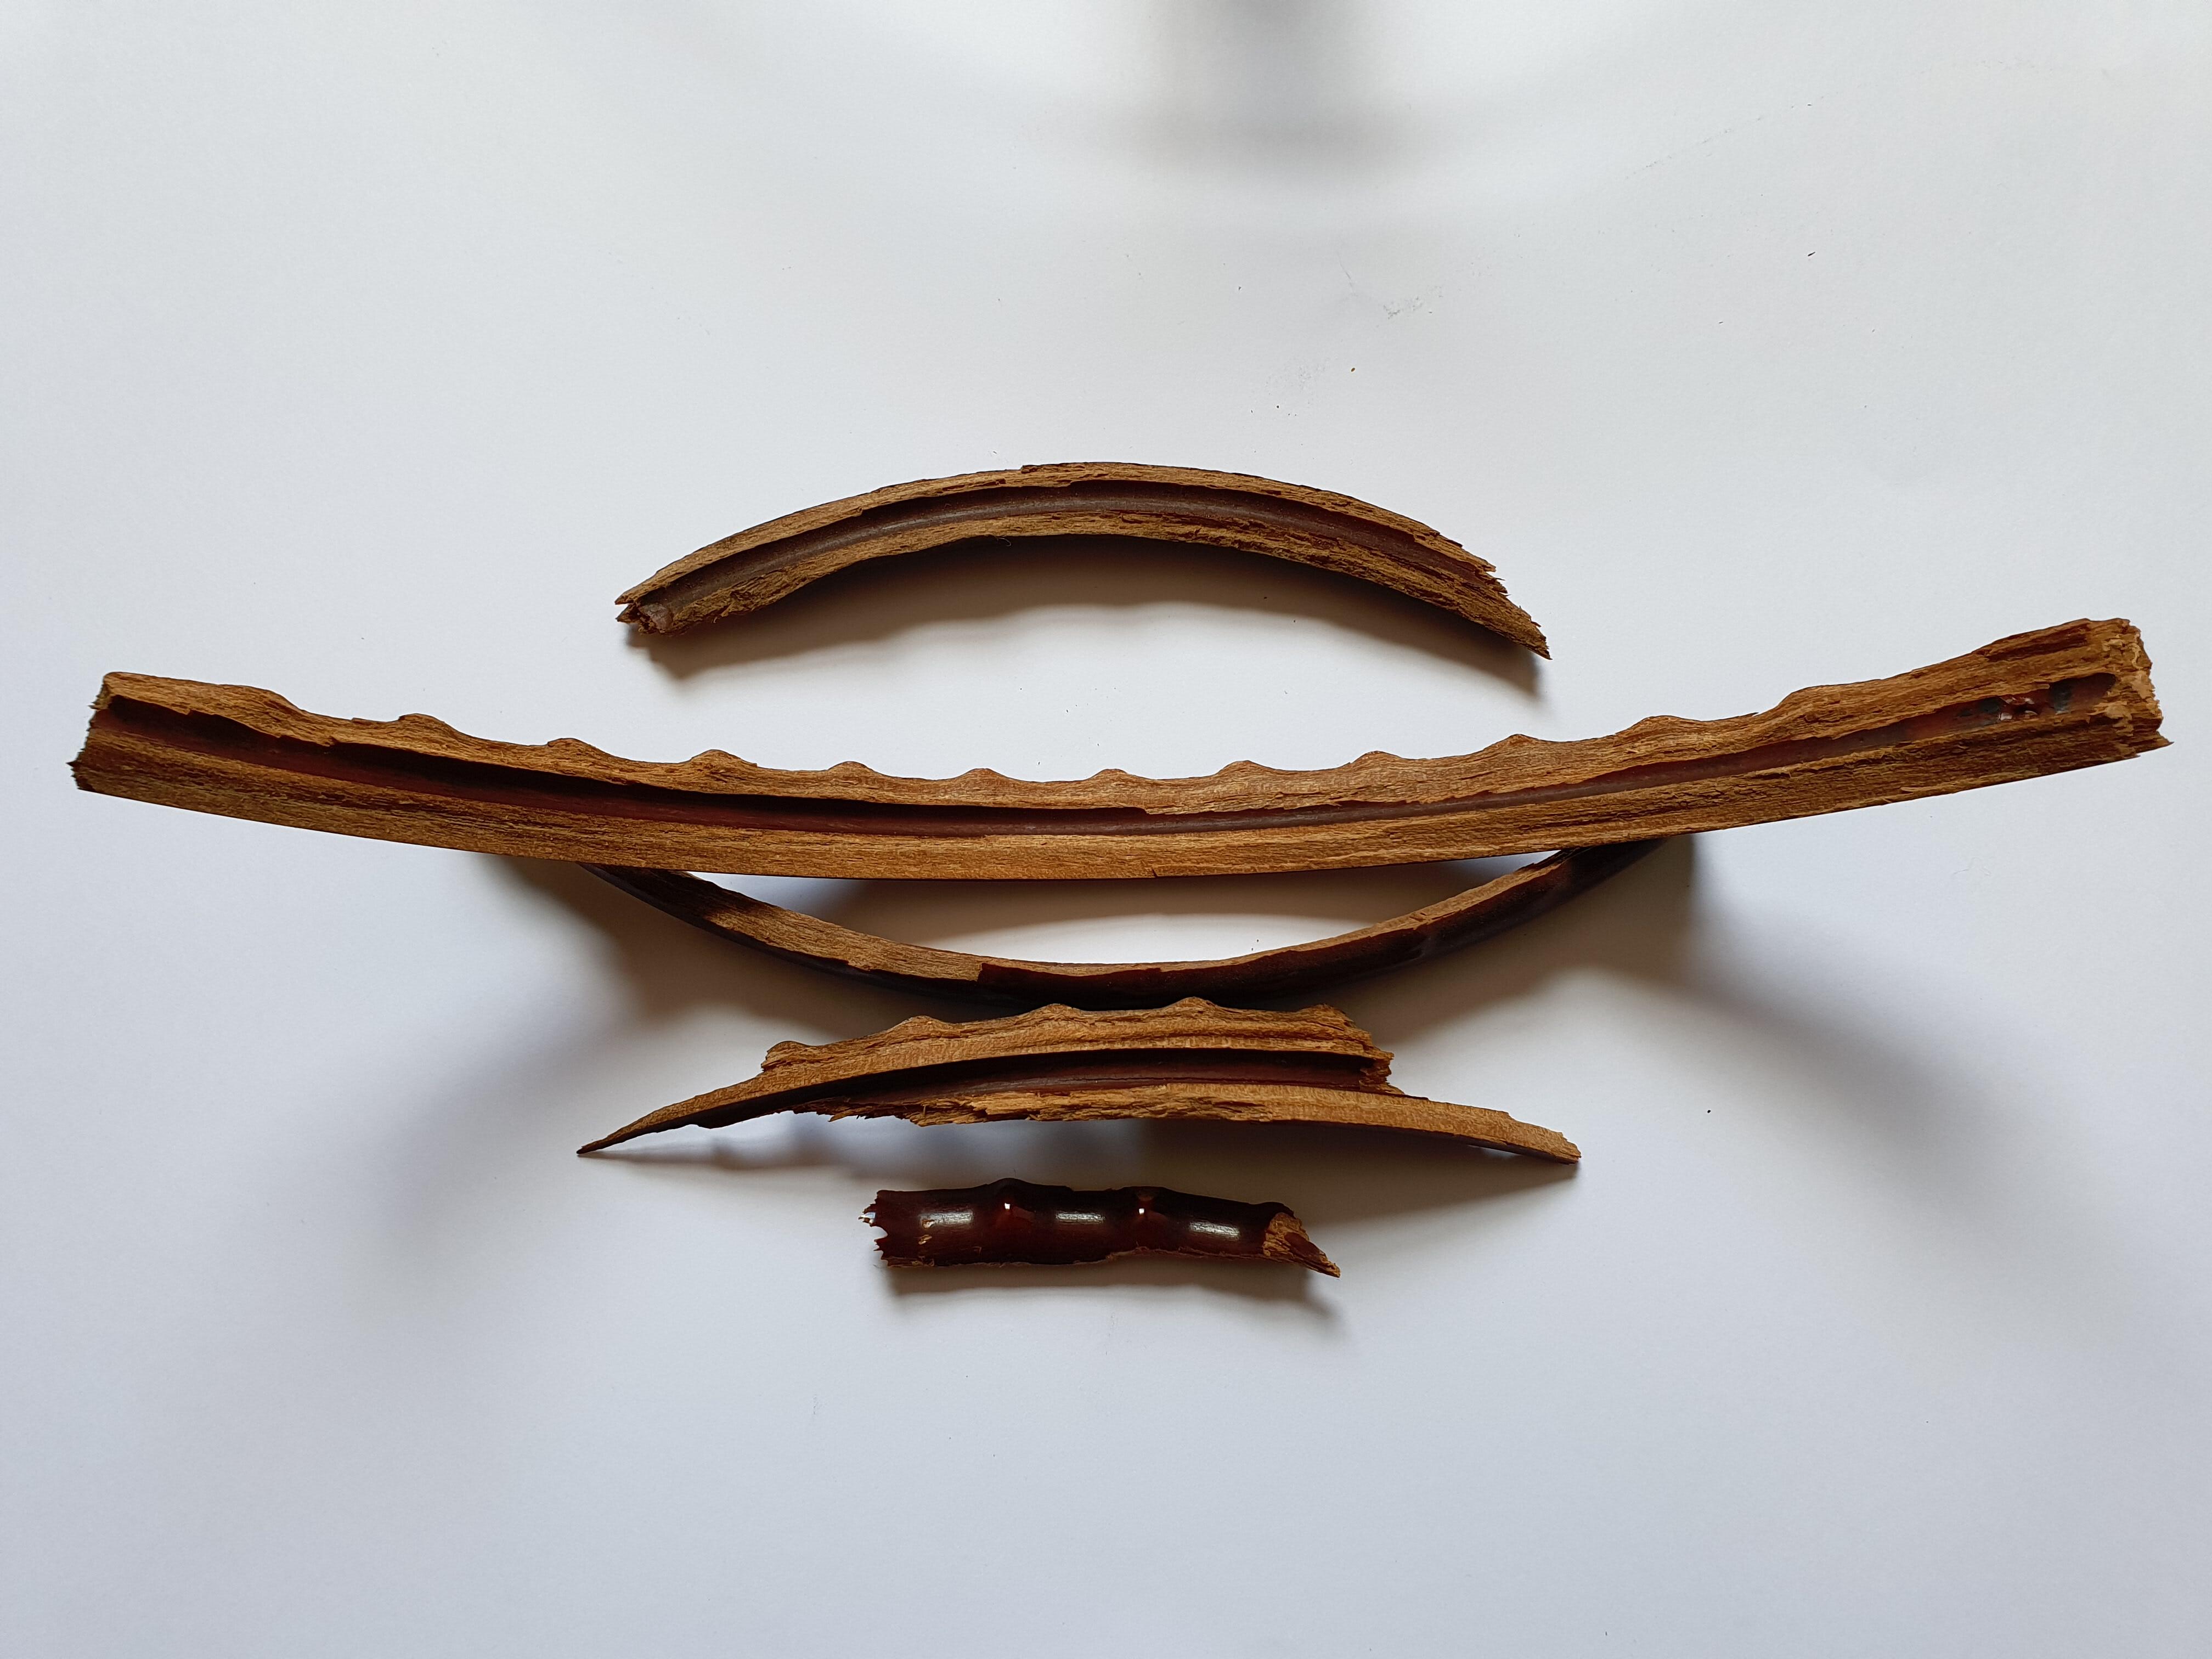
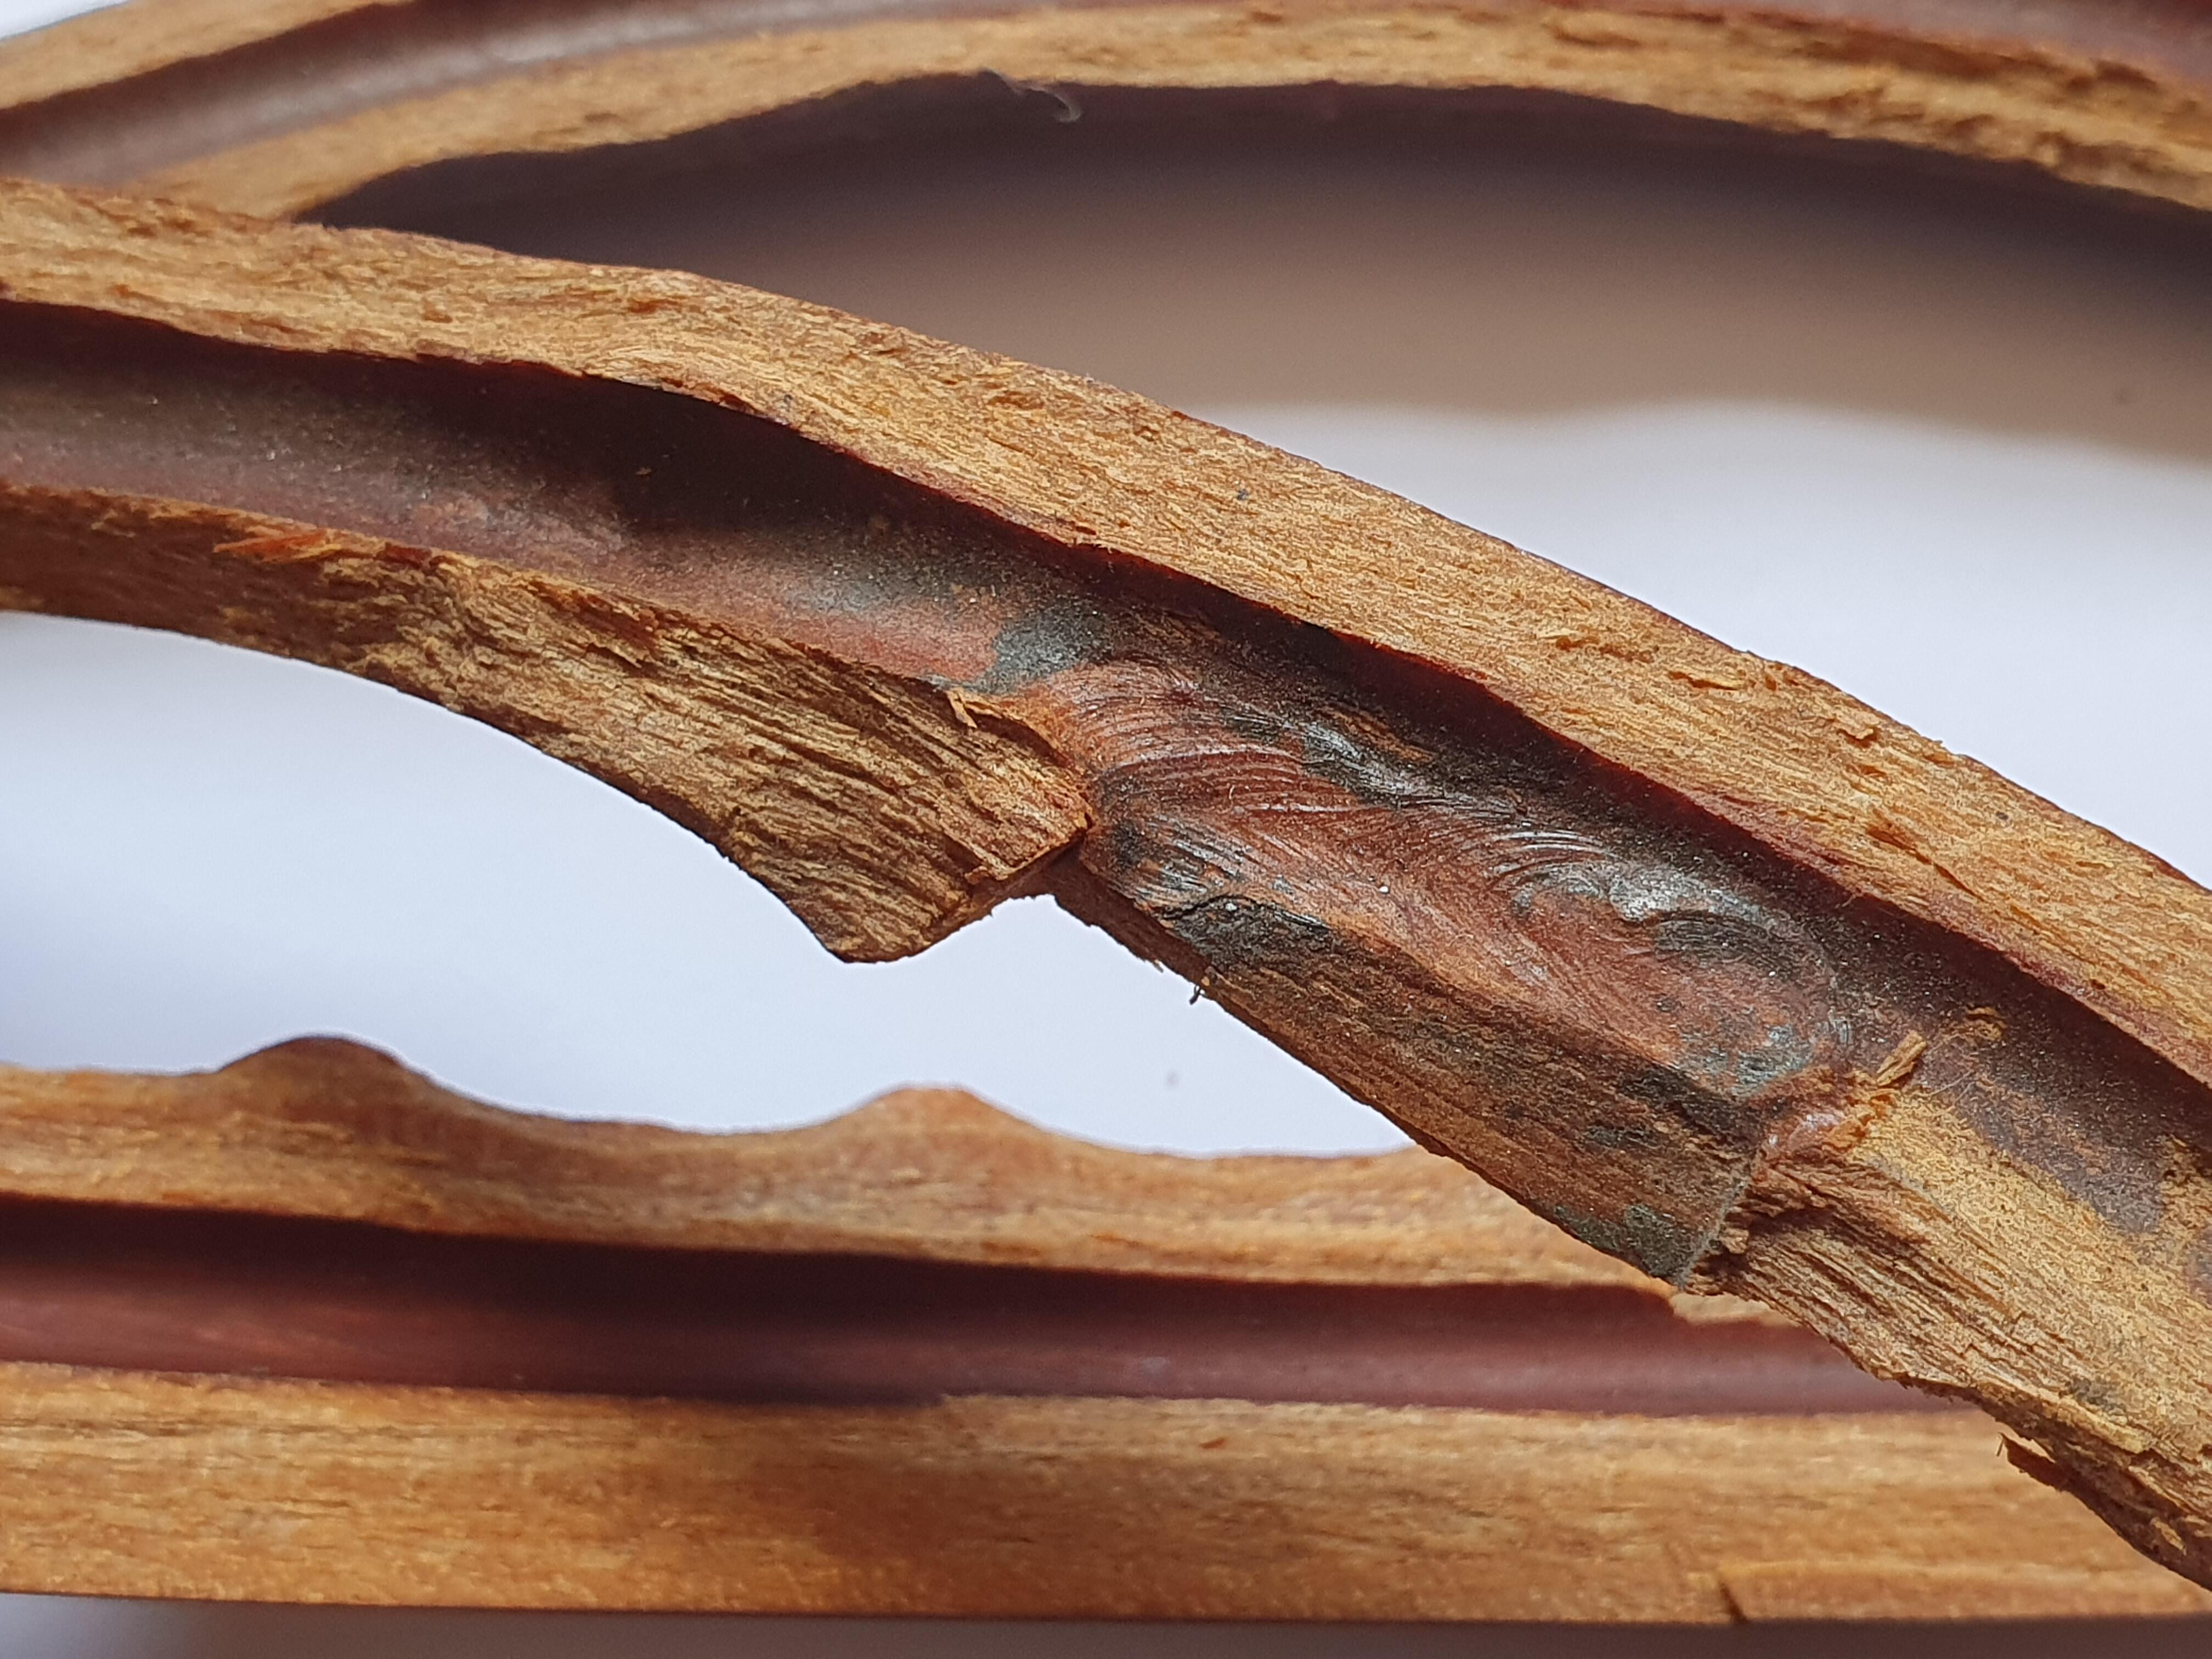
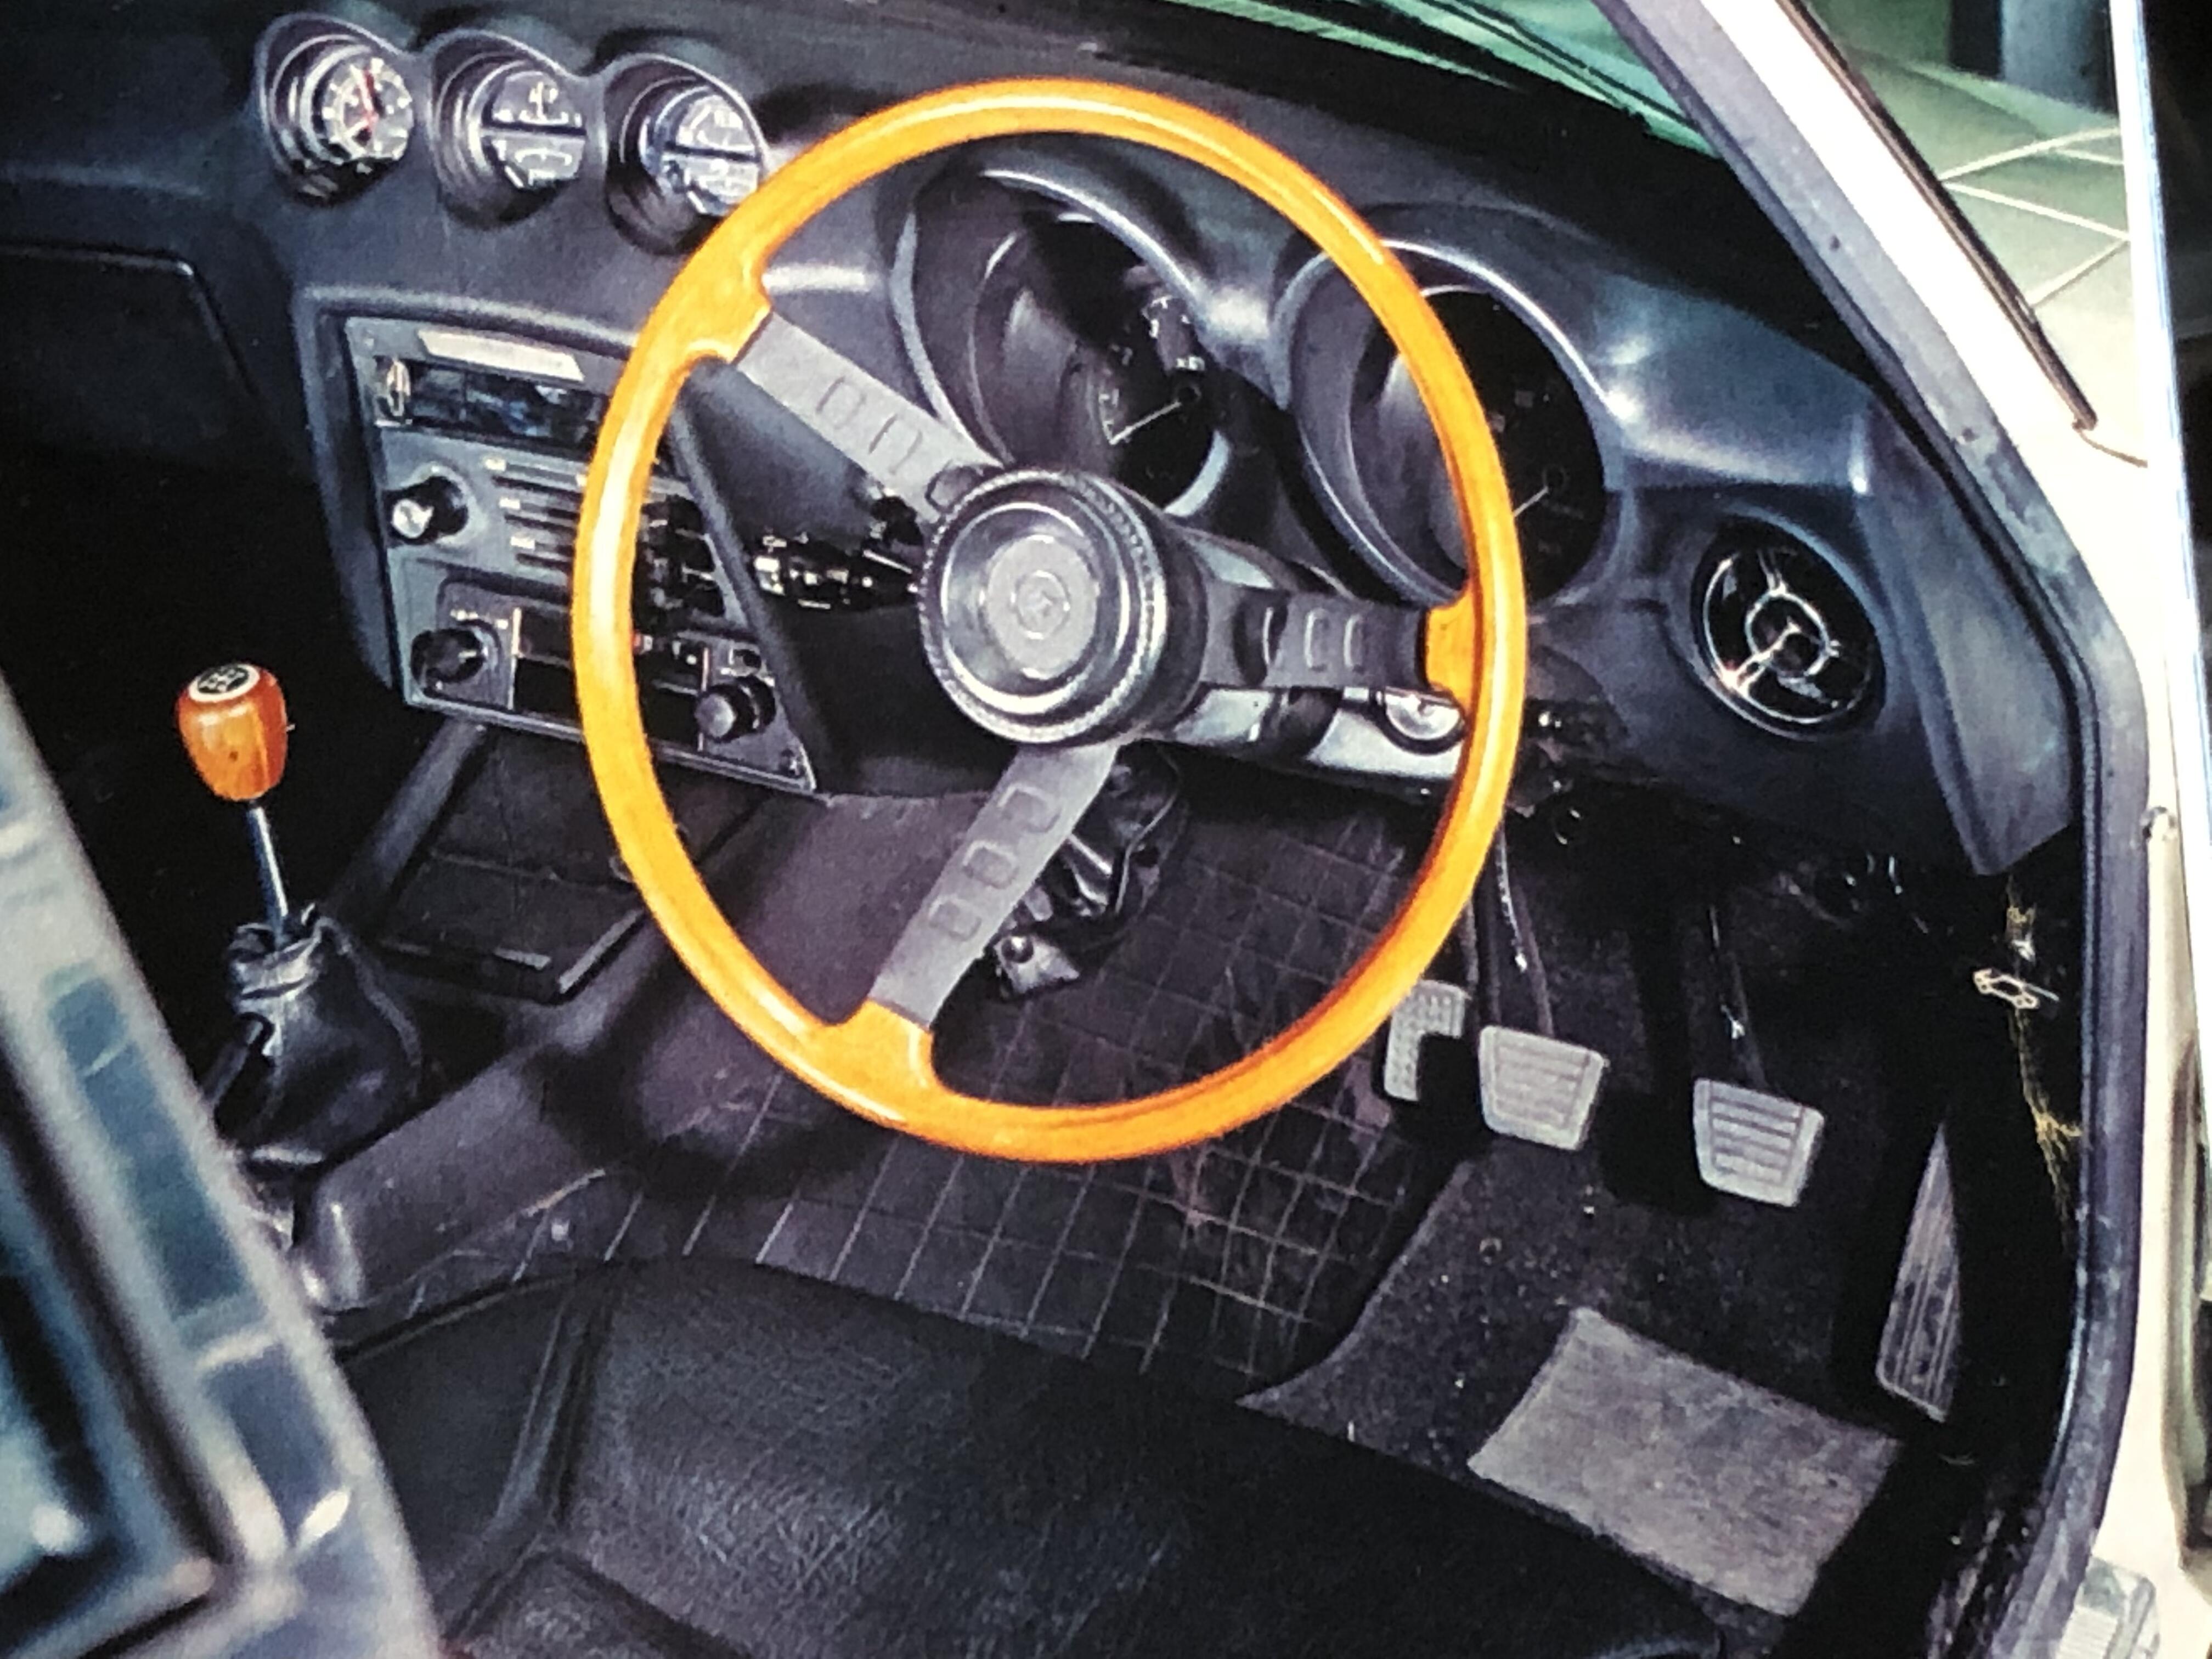
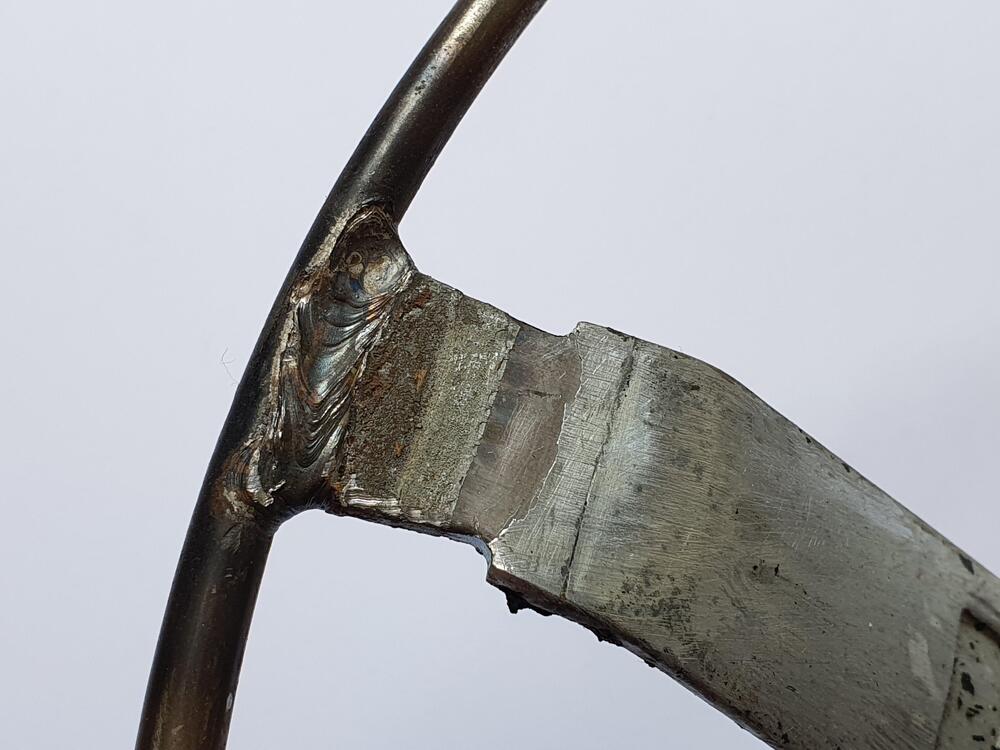
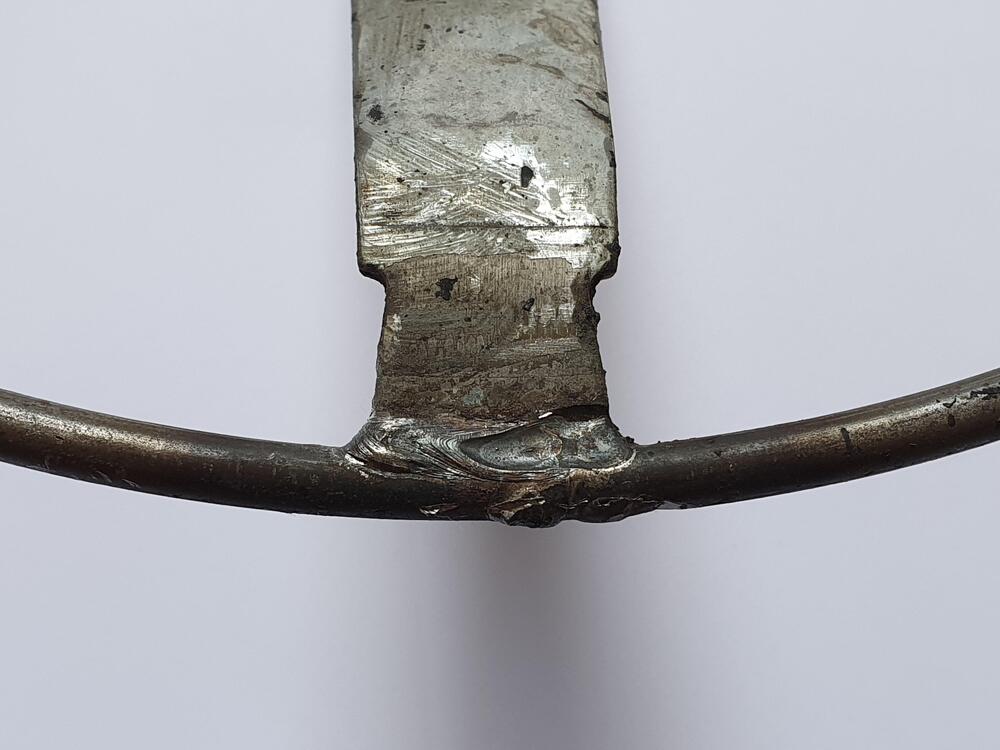
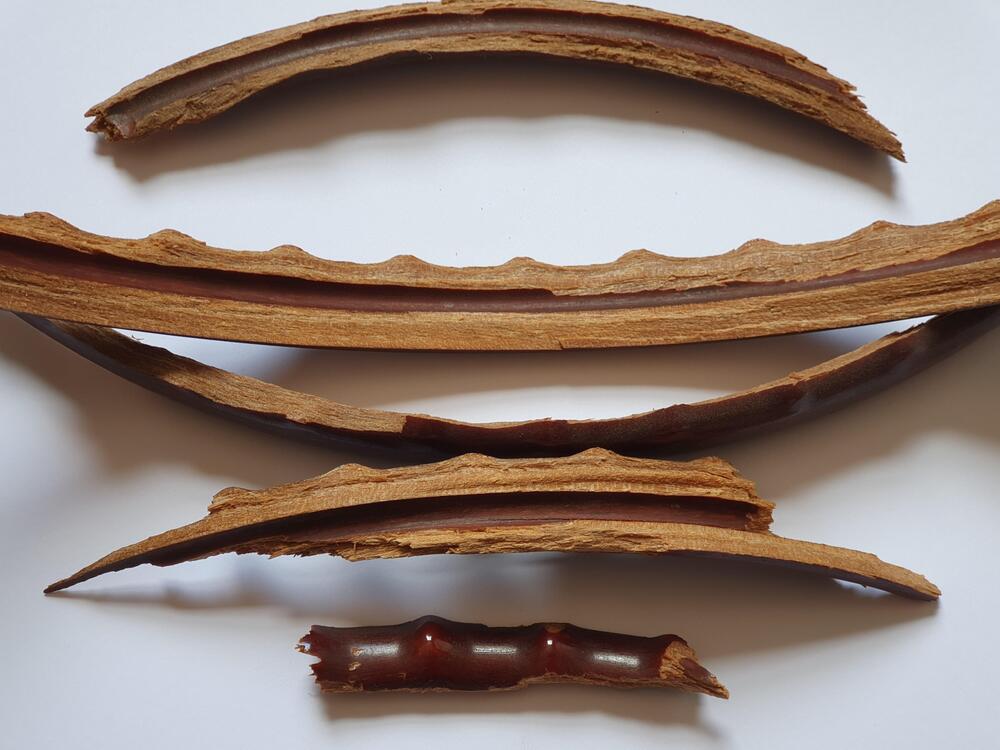
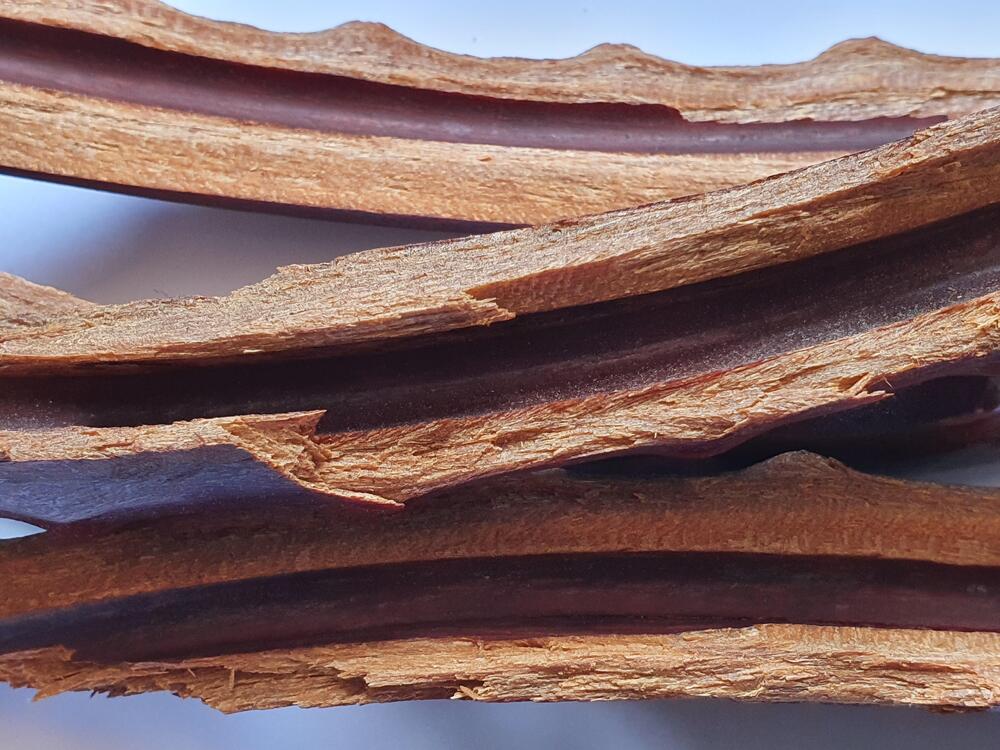
The 'hoop' on my 4/70 steering wheel - as seen in the photos on the first post of this thread - is mild steel bar and measures at 7mm. 6.3mm seems a strange - non-standard - size? I would imagine it being far more likely that they would use a readily available standard size, no? I don't know where this talk about wood "powder" and even "sawdust" comes from. There is an easily-observed grain and structure to the wood material used. That grain follows the shape of the wheel circumferentially. There are no readily-seen end joins. In a way it is rather like wool, where short strands of carded wool are spun together to make a continuous thread. The wood fibre used here seems to have been processed in something of that nature. Yes, it is not a traditional wood-rim wheel in the way that your custom-made version is (we have already covered that) but it IS wood.3 points
-
It was $50 Aussie for 5kg, it was just in a polystyrene cooler, and I used my welding gloves to handle it. 5kg was just enough to do all the flat surfaces2 points
-
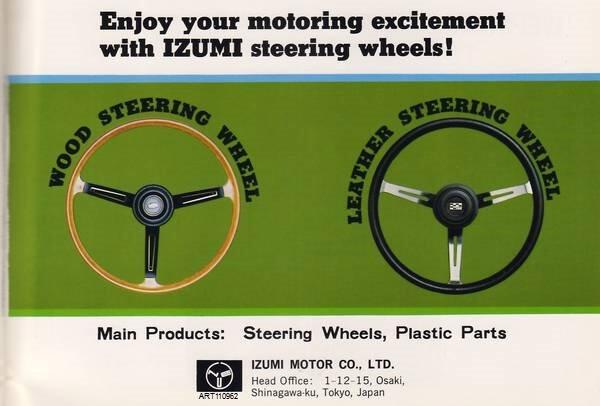
I've been prompted to start a new thread on this subject after reading - for what seems like the thousandth time - somebody describing the OEM steering wheel on a late 1970 production HLS30UV as "Plastic". No. The OEM steering wheel on the '1969 through 1973 production S30-series Z was WOOD. Real wood. They were manufactured for Nissan by specialist Izumi Motor Co. Ltd, based in Shinagawa, Tokyo. Izumi made a wide range of steering wheels for Nissan, as well as selling their own aftermarket 'sports' stering wheels with a cheeky 'Izumi' engraved script which aped Nardi, one of their inspirations. Izumi used a patented high-pressure heat moulding process. Real wood fibres, impregnated with resin, were laid - following the grain - in a heated mould around the steel hoop of the steering wheel. High pressure, combined with that heat, moulded the wood permanently around the hoop and cured the resin. The result was a wood steering wheel, complete with finger grips on the rear, with no joints or seams. No splinters. My theory is that people found them a little 'plasticky' or just couldn't believe they were real wood, and it stuck. After 50+ years it is hard to shake this off, hence me reading a comment on yet another Bring-a-Trailer auction from somebody who is convinced they are plastic. Evidence: I've cut one up. I'm making a 'special' wheel using this 1970 production Izumi as a base (it was already damaged, so don't weep...) and can therefore show what's under the surface. I'll let the photos speak for themselves...


 1 point
 -
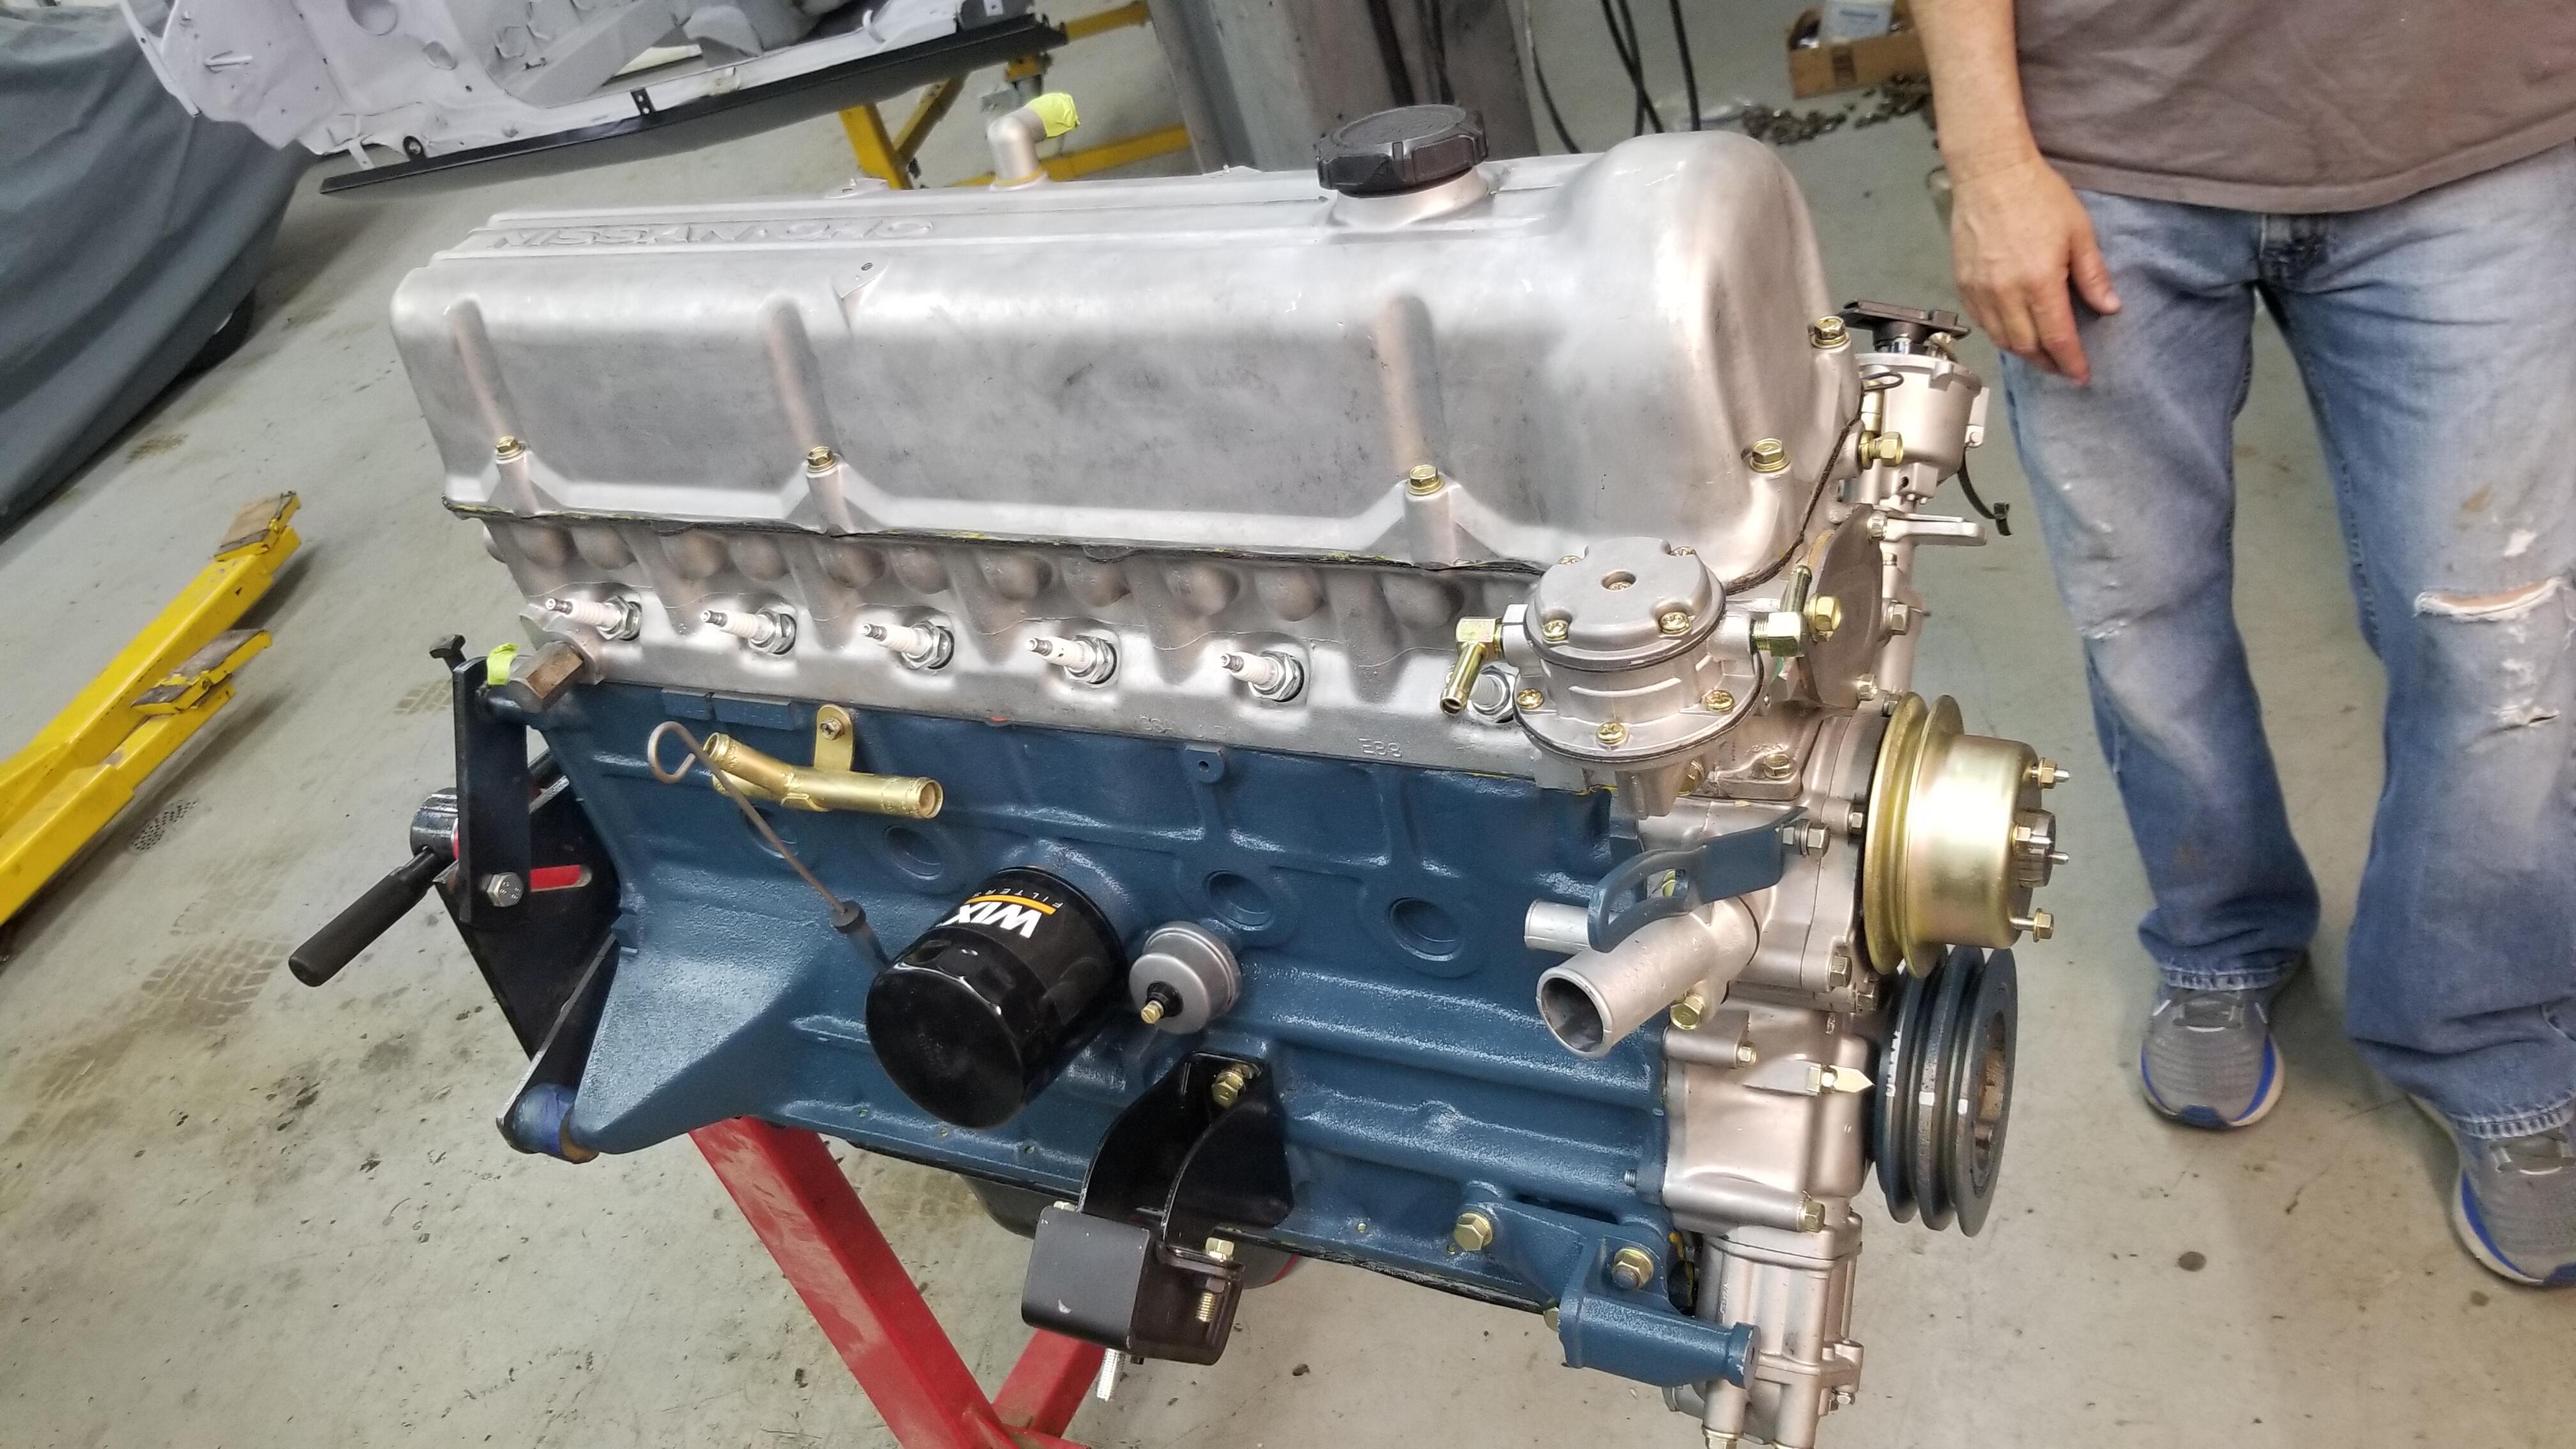
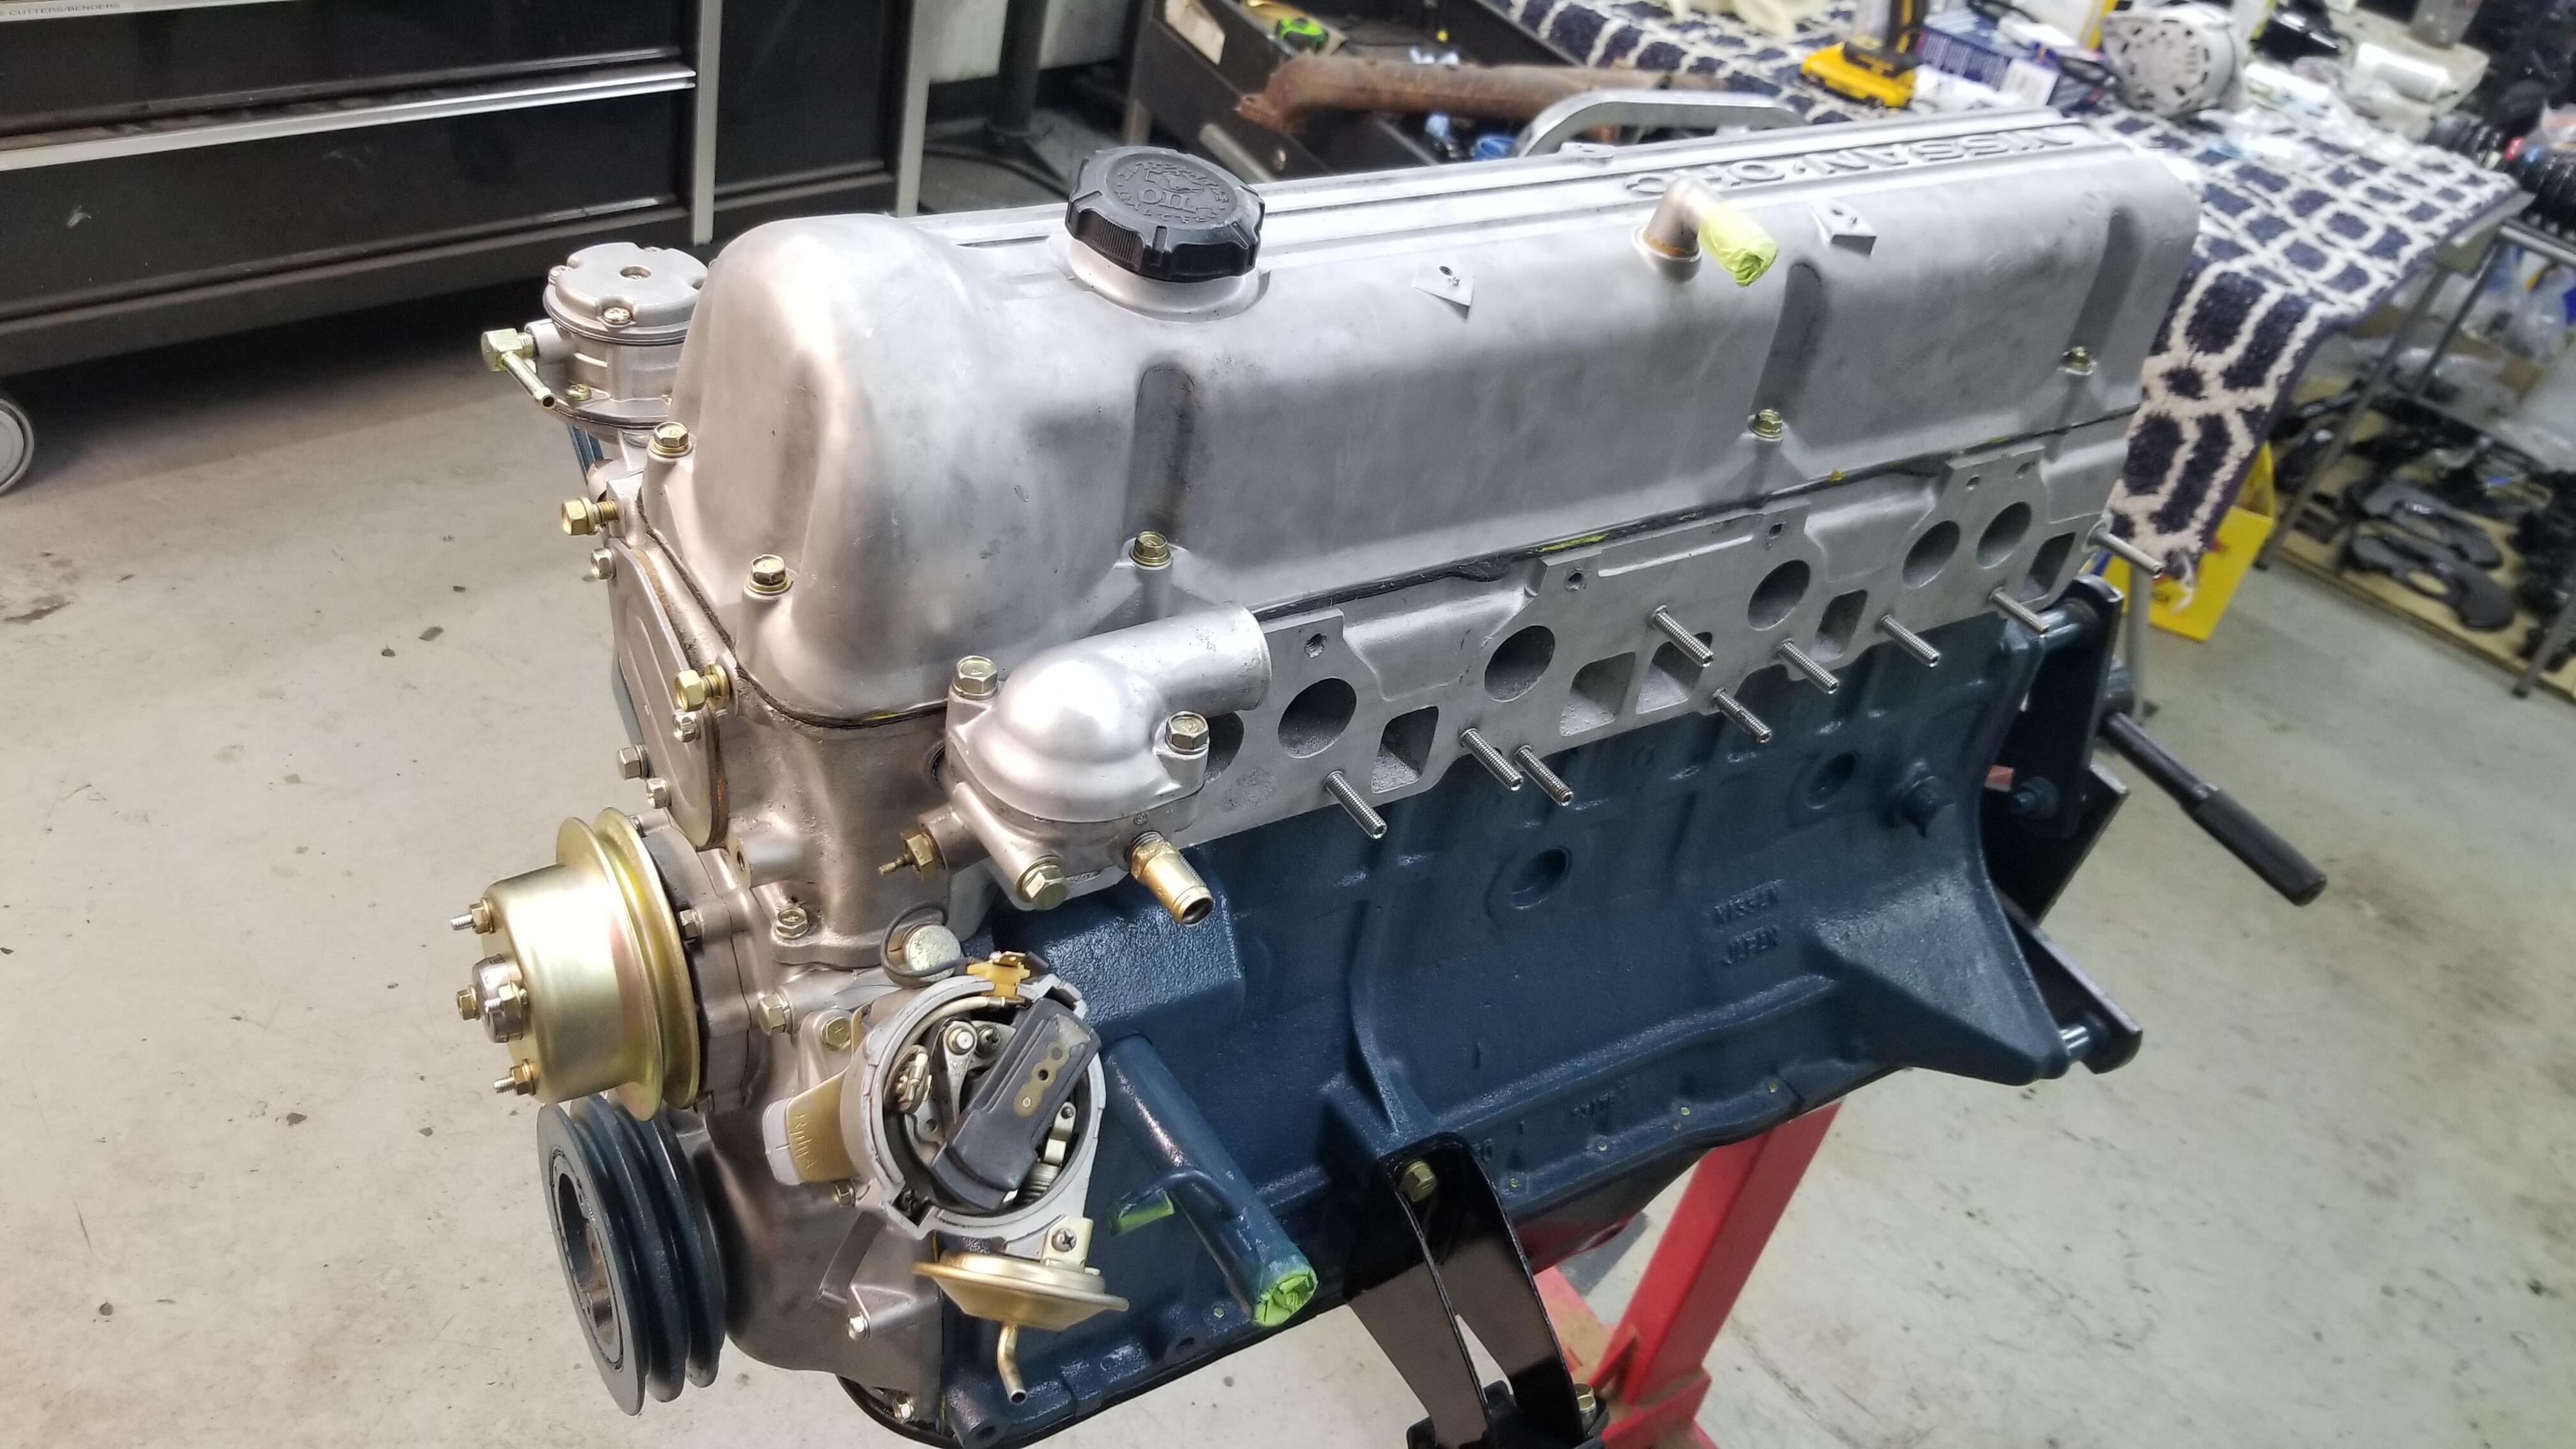
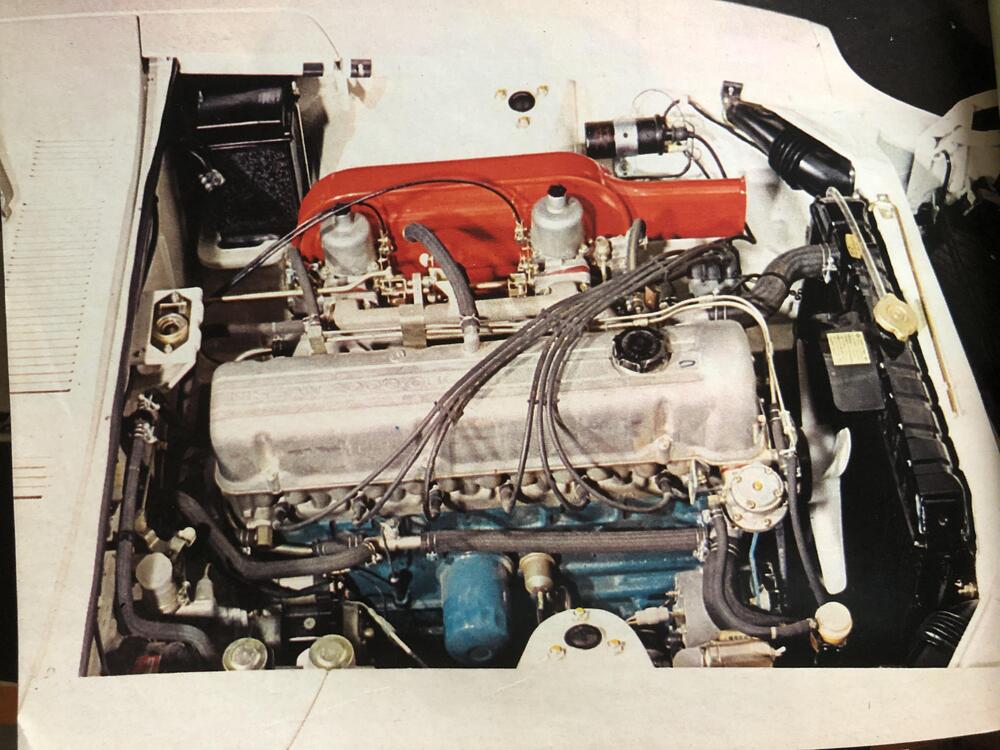
1 pointThanks. I think it it coming together pretty nice. I am planning to keep the manifold "cooling" 🤣 intact unless it gives me an issue.1 point
-
1 pointHAHA! It is. My brother put that on. Shouldn't ever trust an attorney. Thanks for the heads up, I guess I would have noticed eventually.1 point
-
I get the impression from the various comments around the internet that people feel that there are more buyers than cars out there, therefore if a car is priced appropriately it will always sell. In other words there is a group of many buyers out there looking to buy. Maybe that's not the case and the number of buyers/collectors is actually limited. I also had the impression that the car probably had more value as a collector car than an enthusiast's car, like you're implying above. If I was a collector I would cringe at the driving video, each rev to 6000 RPM was subtracting value. But as an enthusiast it was fun to watch.1 point
-
1 point
-
1 point
-
1 point
-
1 pointIf you've tried holding the plastic "knob" in the front while using a flat blade screwdriver at the back and it didn't unscrew, then I'd assume the knob is pressed on the shaft like many other knobs on a steel shaft. Since it's a thing that's meant to be turned, I'd think it was the latter - a knurled shaft with the knob pressed on. Since it has a spring behind it, the fit would have to be very tight. It has a few disparate parts, so there had to be an assembly procedure. Now, whether it was meant to be disassembled is another matter... I have a few at the shop but I've never tried to take that particular assembly apart.1 point
-
Maybe he had a bit too much fun in the driving video. I think on a one week auction your timing has to be pretty good. August is not a great time for selling either, I think. The people with the extra money are often spending it on vacation. Spring is when you want to sell. https://bringatrailer.com/listing/1970-datsun-240z-86/1 point
-
1 pointI’ve been involved in the purchase and installation of 1.5 of Hung’s dashes. They are faithful reproductions and good quality. Hung is always great to work with.1 point
-
Oh, and I have these NOS. How OEM do you want this thing to be?
 1 point
 -
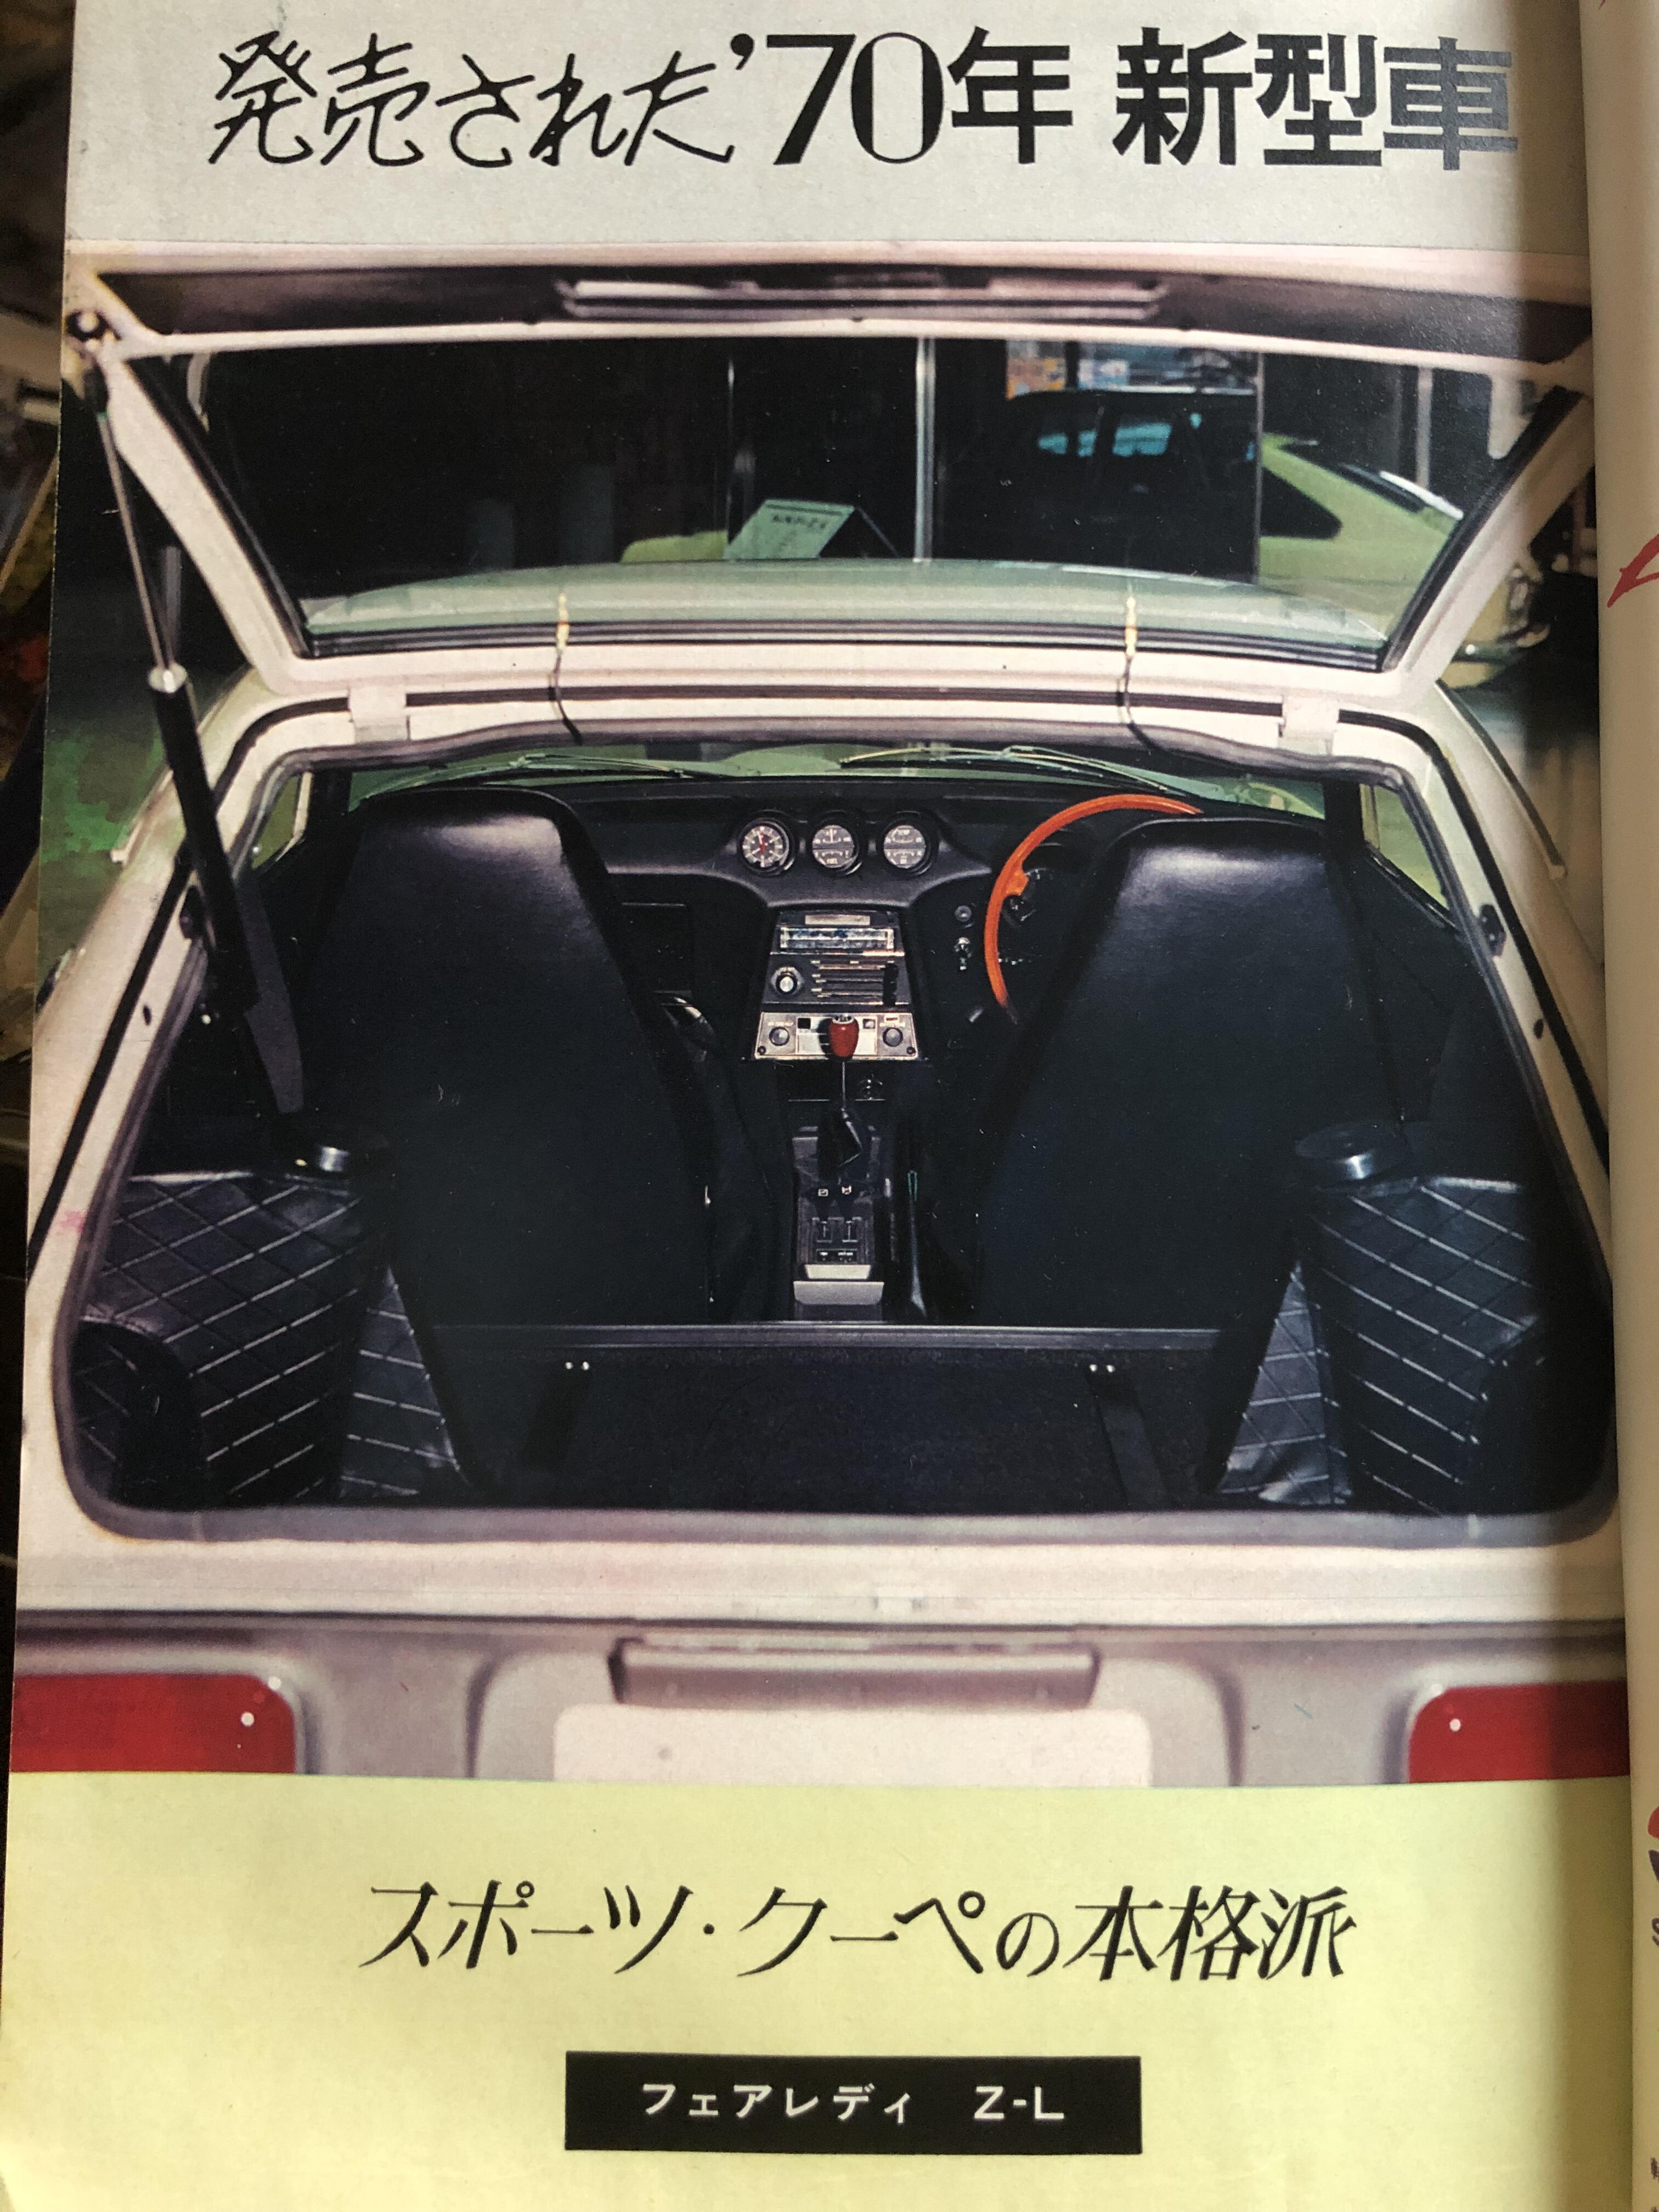
1 pointBefore getting back from Watanabe san , here are some pictures from 1969 cars at Tokyo Motor show , and Nissan Ginza head office gallery.The color pictures are 1969 Fairlady Z-L . As a side note , there are some indications which tell us this car is super early. No hood bumpers , tiny rubber bumpers on the inspection lid , etc . Kats


 1 point
 -
Good presentation. Thanks. A few questions: What was the cost of the dry ice? You would have paid in Australian $, of course. How was it packaged for transport? How did you handle it when working with it in the shop... gloves? garden trowel? Was 5 kg enough?1 point
-
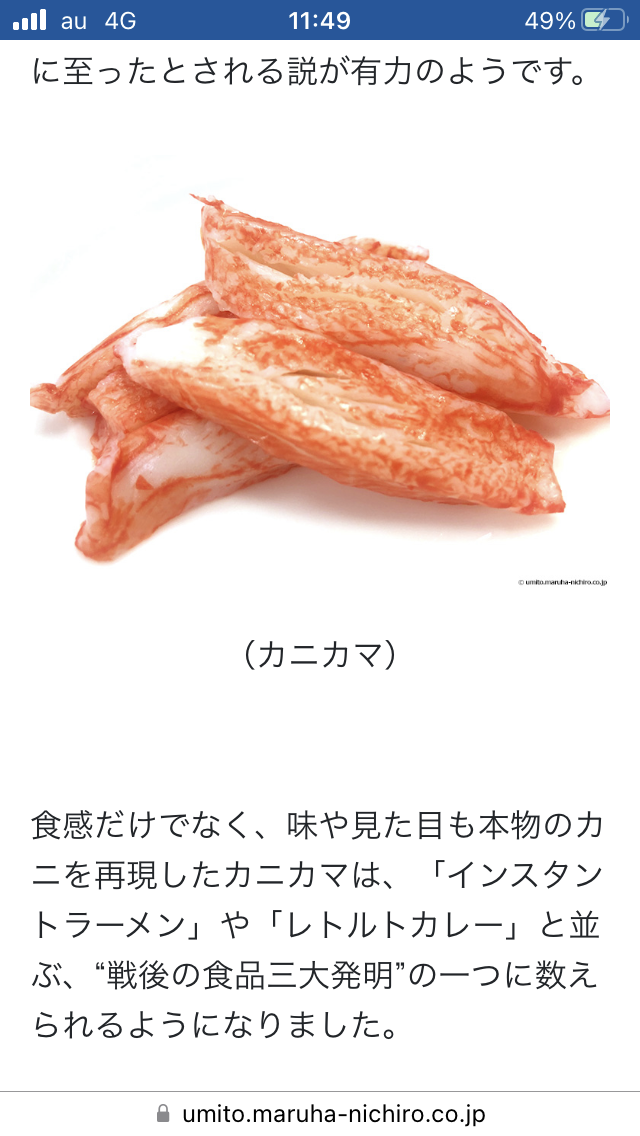
My pleasure SpeedRoo ! I remember the article “ simulated wood “ . Now one thing came up in my mind , this 蟹カマ ( simulated crab meat ) . This is so popular food in Japan . It has been continuously better and better, very tasty and I am so surprised it’s quality. But I can’t say this is crab meat because it is made from minced cod . No crab meat at all. I can’t say our steering wheel is simulated wood . I see there is wood . I call our steering wood . Kats
 1 point