


Leaderboard
-
Patcon
 Subscriber
 9Points11,142Posts
 -
conedodger
Free Member3Points12,516Posts -
.JPG.cfcada9cf1c1b502df3f5f2f2ca3ff36.JPG)
SteveJ
Free Member2Points9,646Posts -
BoldUlysses
Free Member1Points344Posts


Popular Content
Showing content with the highest reputation on 06/27/2022 in all areas
-
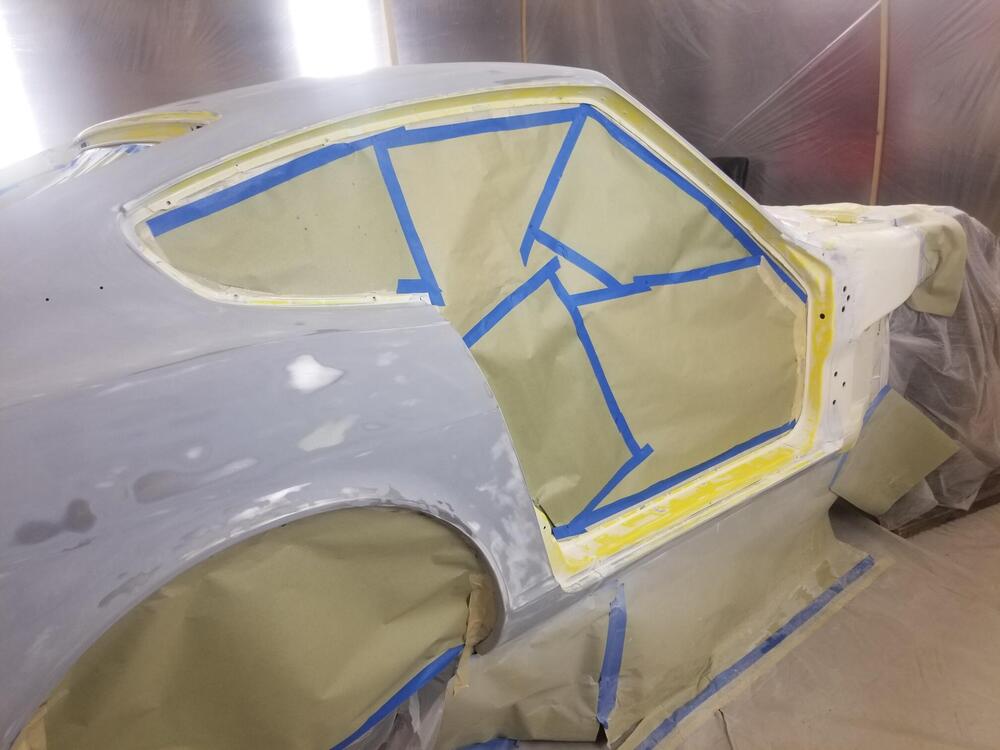
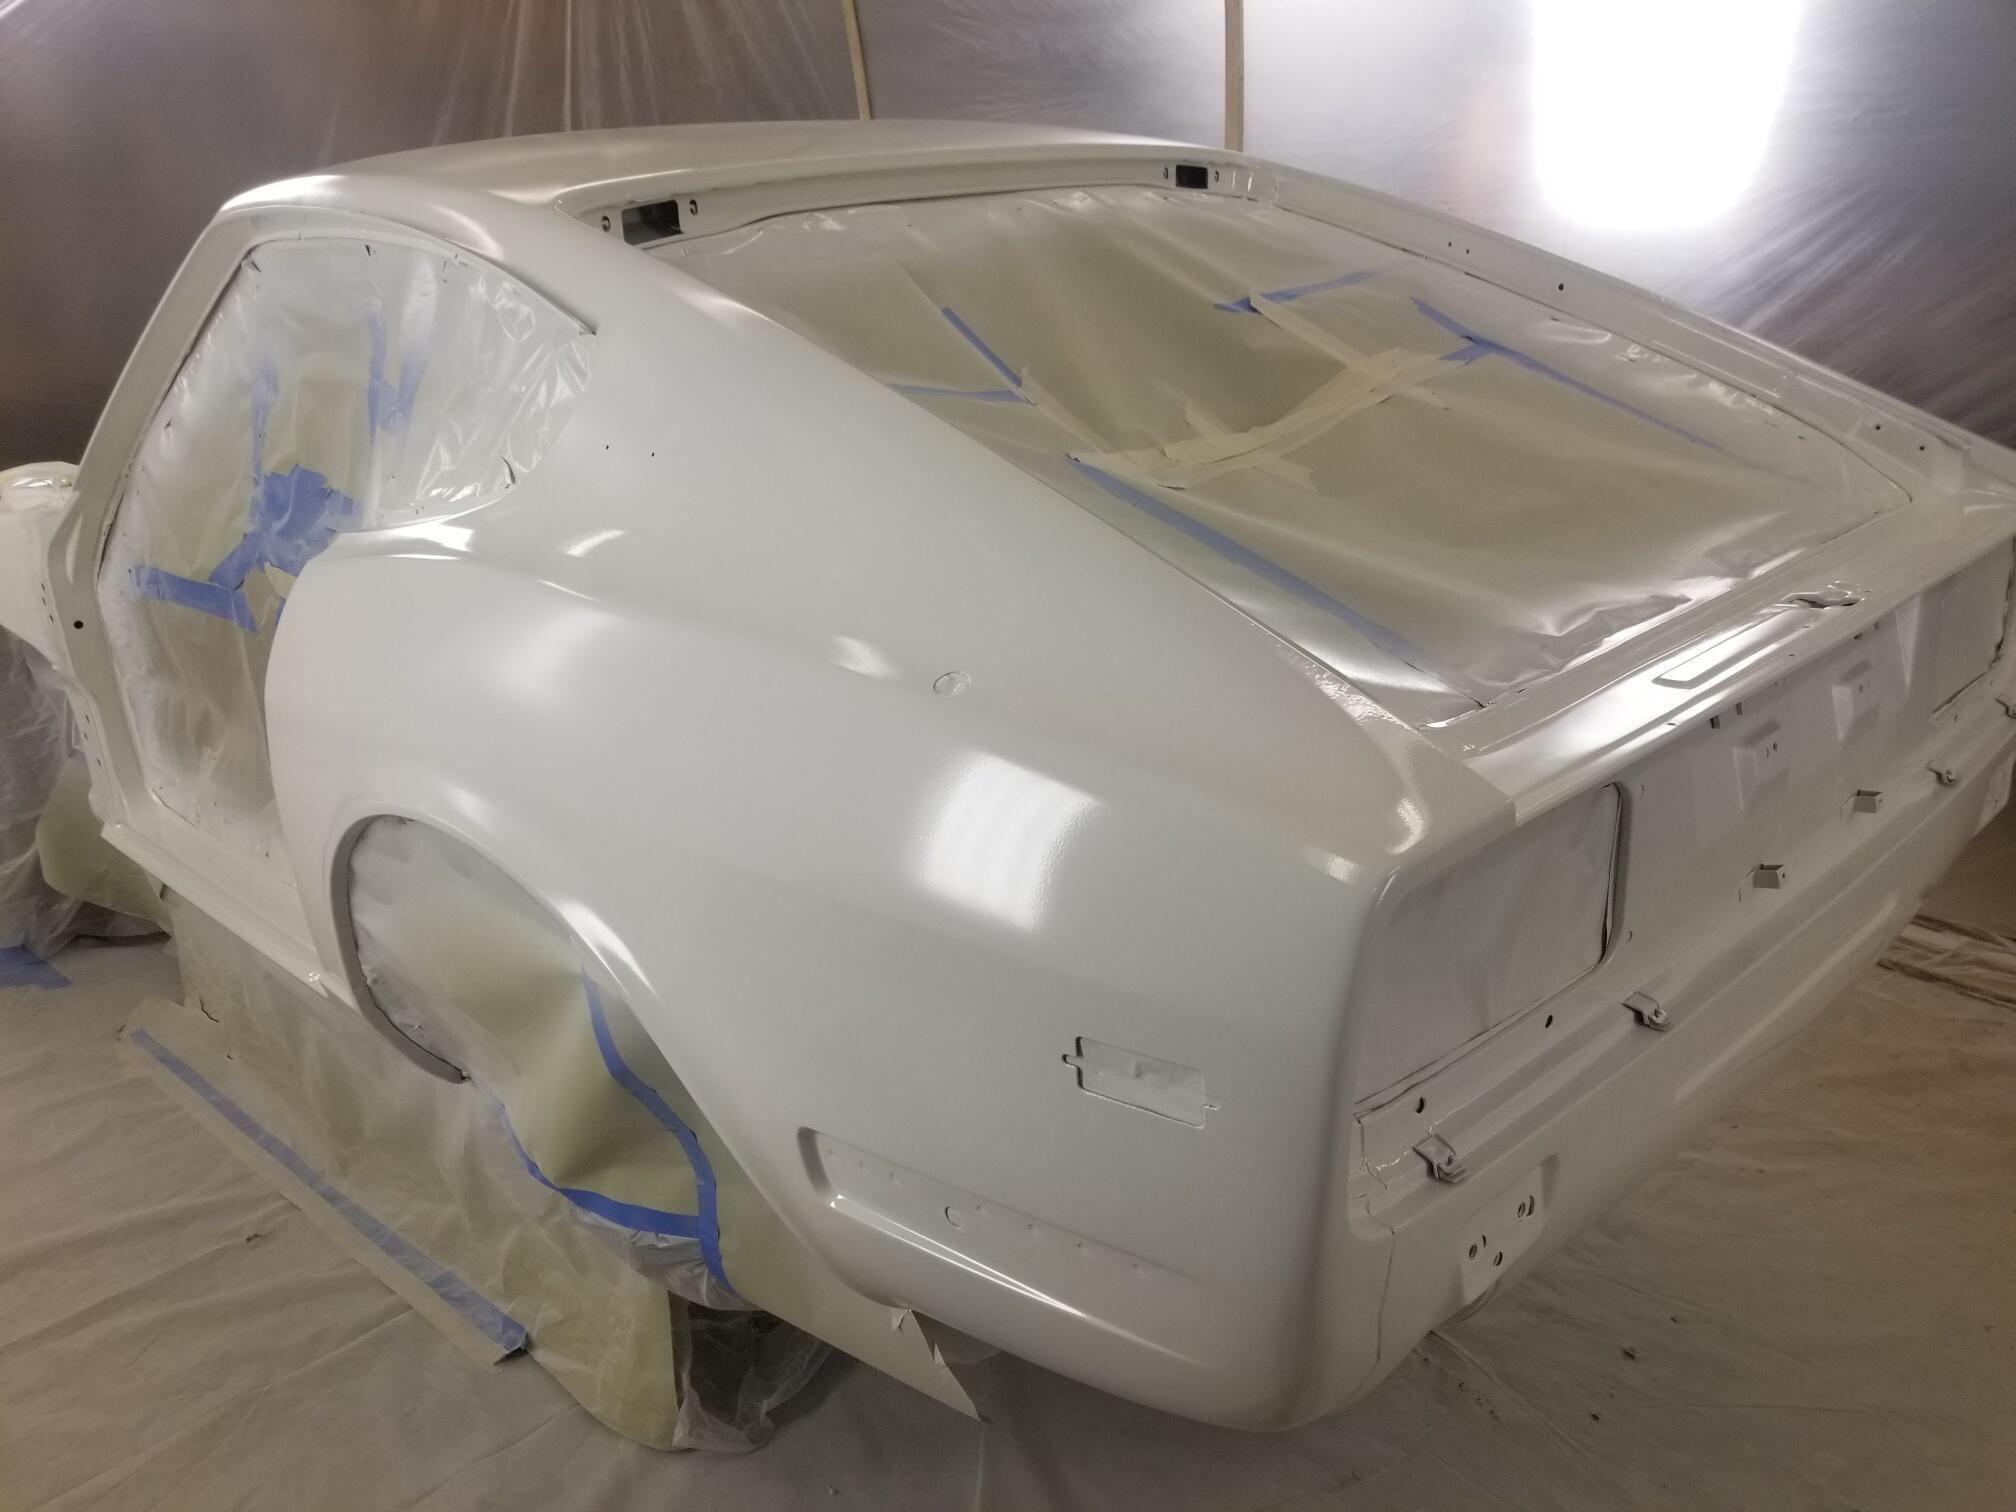
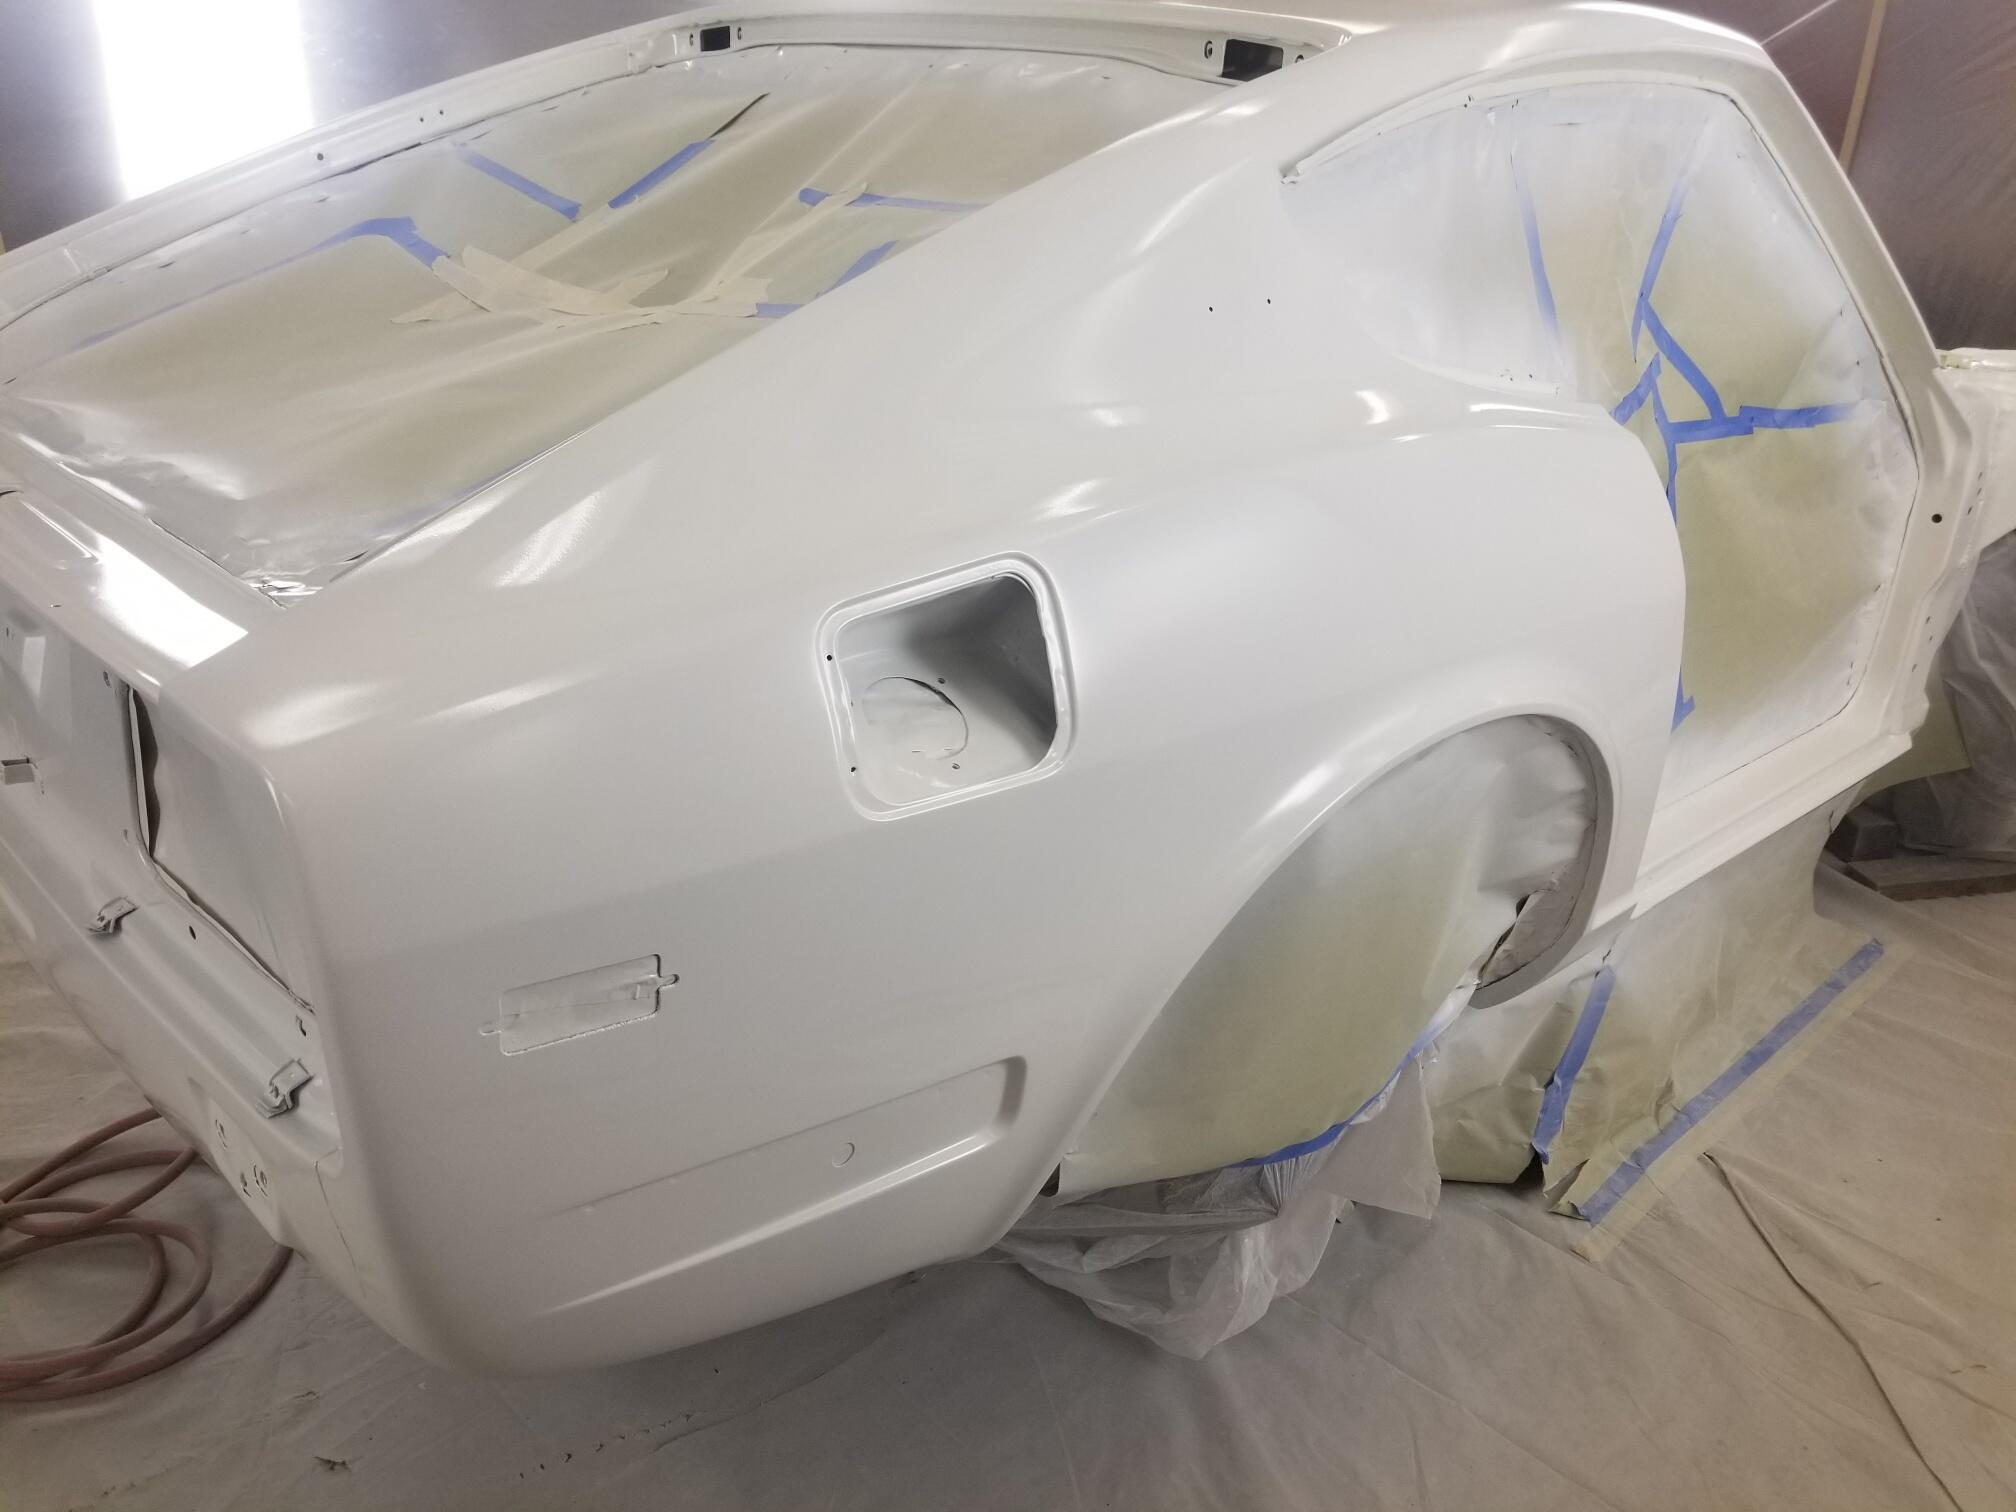
4 pointsThis epoxy is a sandable primer so I wasn't too worried about the fisheyes. I mostly filled them in on subsequent passes but no I didn't shoot a test panel. The car will be bright yellow when done4 points
-
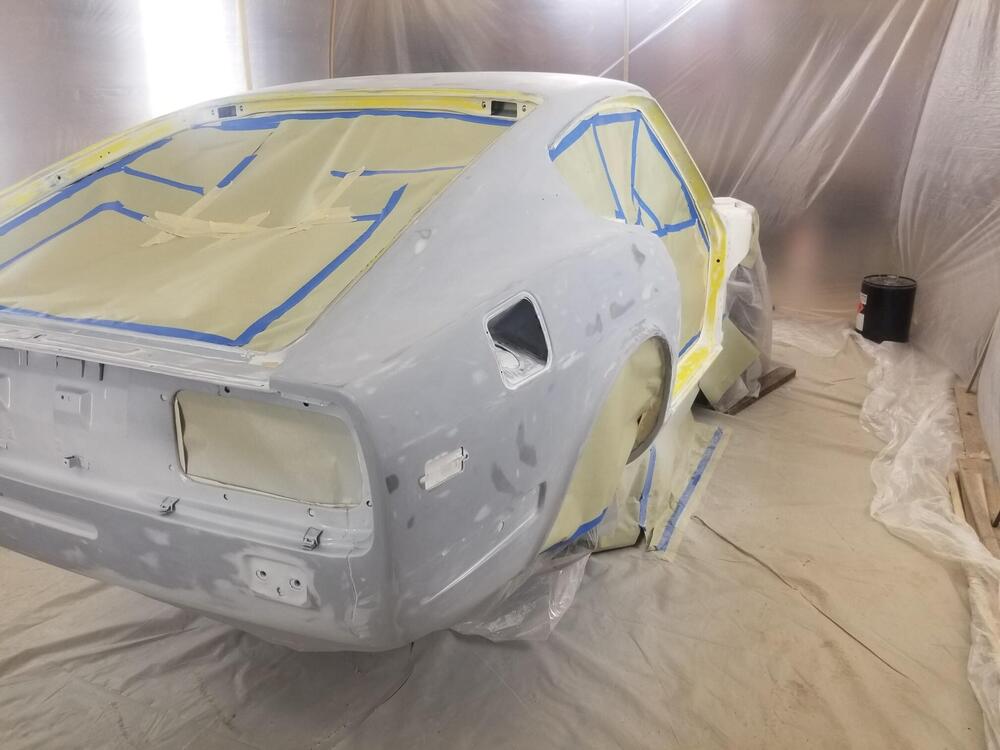
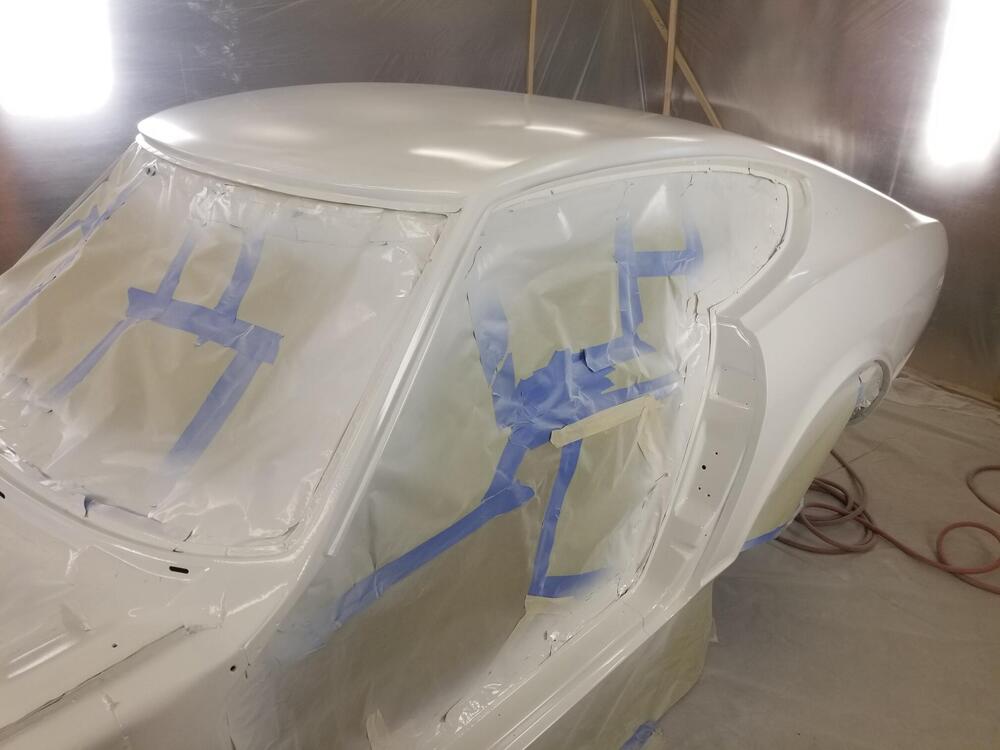
3 points3 pointsStacked some high build right before supper. Hopefully it will block out pretty close without needing too much more work
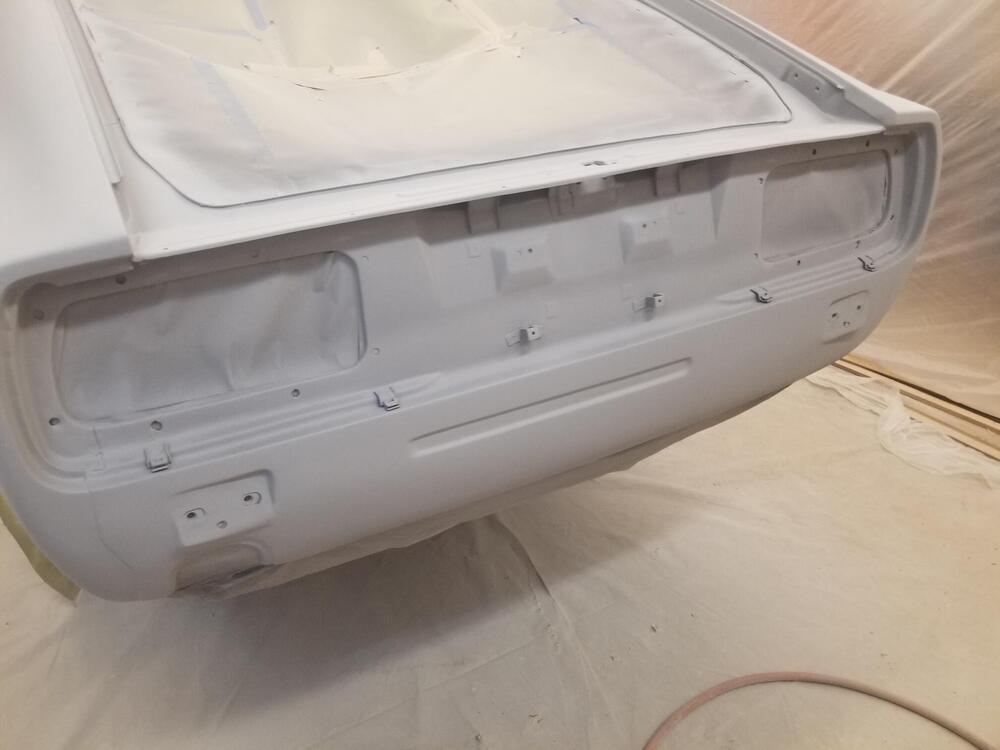

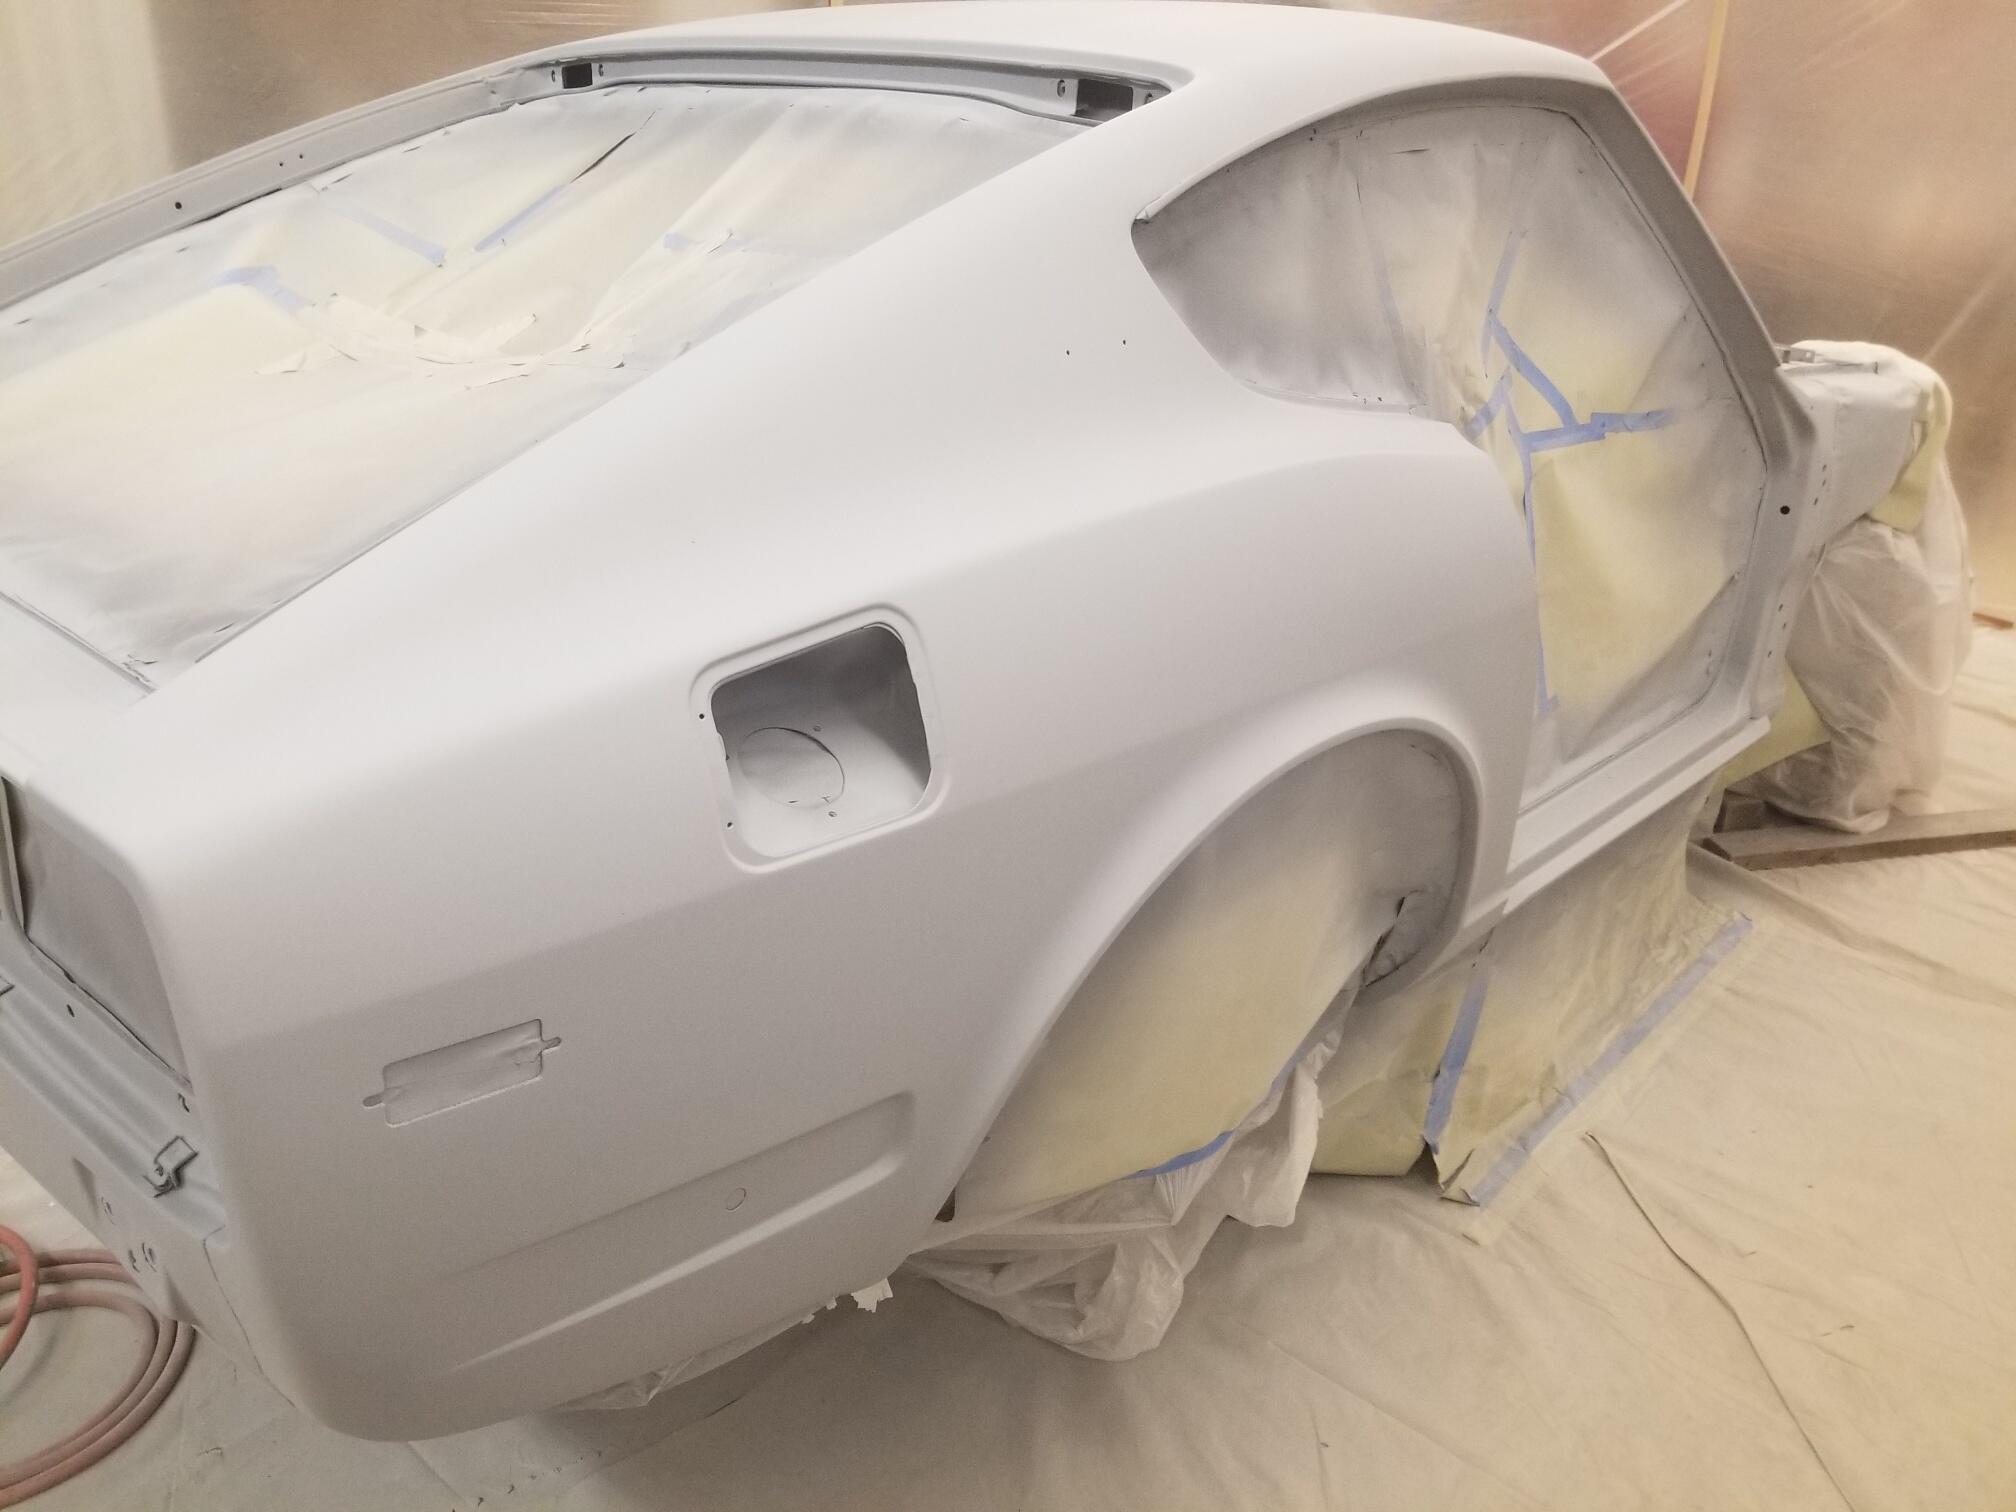
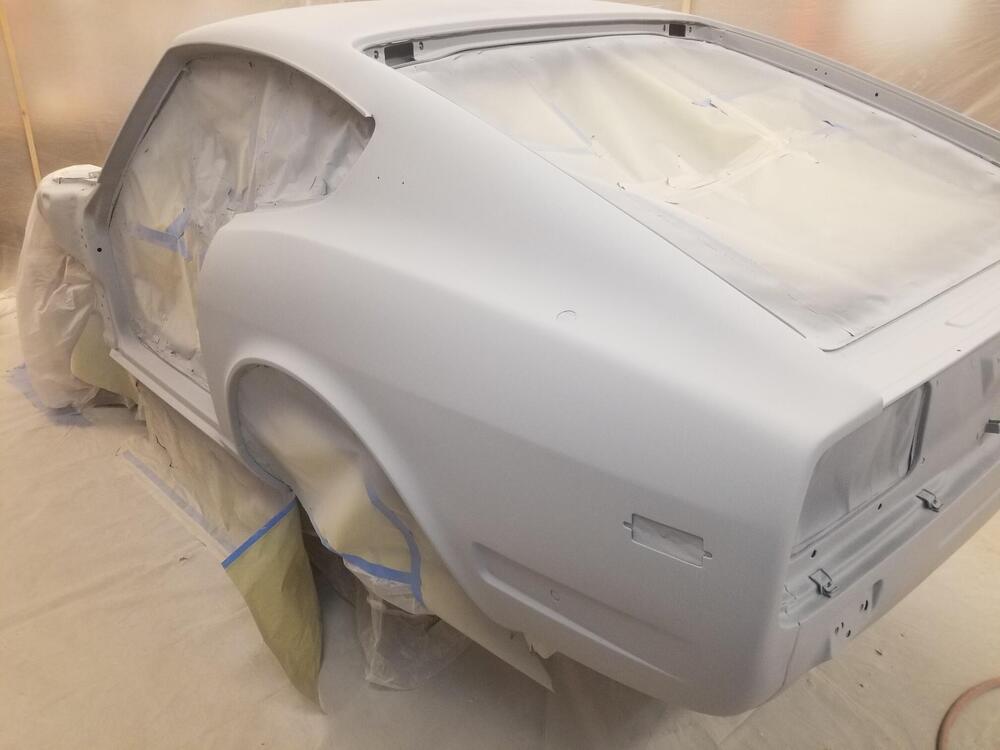 3 pointsIf you're getting one brake light to work, but not the other, things to consider: It's still the turn signal switch. Sometimes the tabs are not bent at the correct angle to make contact. Bad/wrong bulb Wiring issues You should try to check the voltage at the white/red (right) and white/black (left) wires at the 6 pin connector at the steering column. I suggest using a t-pin to allow you to monitor the voltage with the connector put together. Stick the t-pin into the back side of the connector, and touch the positive probe of your voltmeter to the t-pin and the negative probe to a good ground. Step on the brakes to see if you have voltage. You can also see if you have continuity between the green/yellow wire at that connector to both the white/red and white/black wires. If either of those tests fail, your turn signal switch may need to be tweaked to adjust the contacts.2 points2 pointsSo I finally got the car sanded down as far as I was willing to go. I taped it all up over the last week or so and reset the booth. Then shot some SPI white epoxy over that. It's a little different than what I am familiar with. It will fish eye if you lay the first coat on too heavy. Being white it can be hard to get full hiding coverage. I may stack some high build tomorrow. I've got 7 days to coat. We'll see...
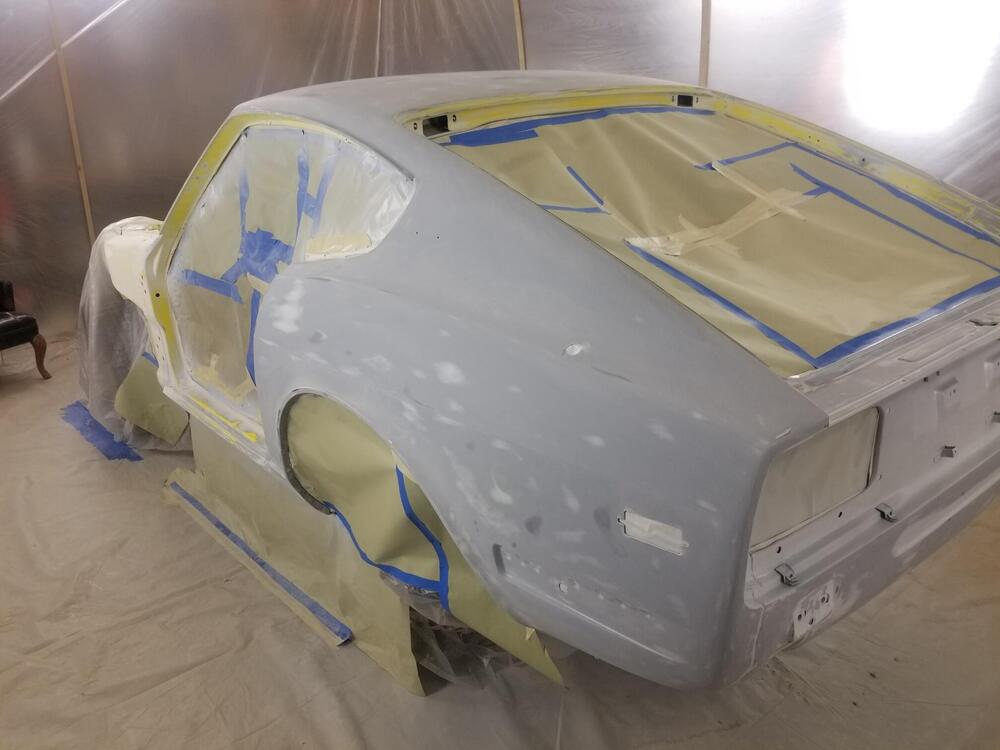

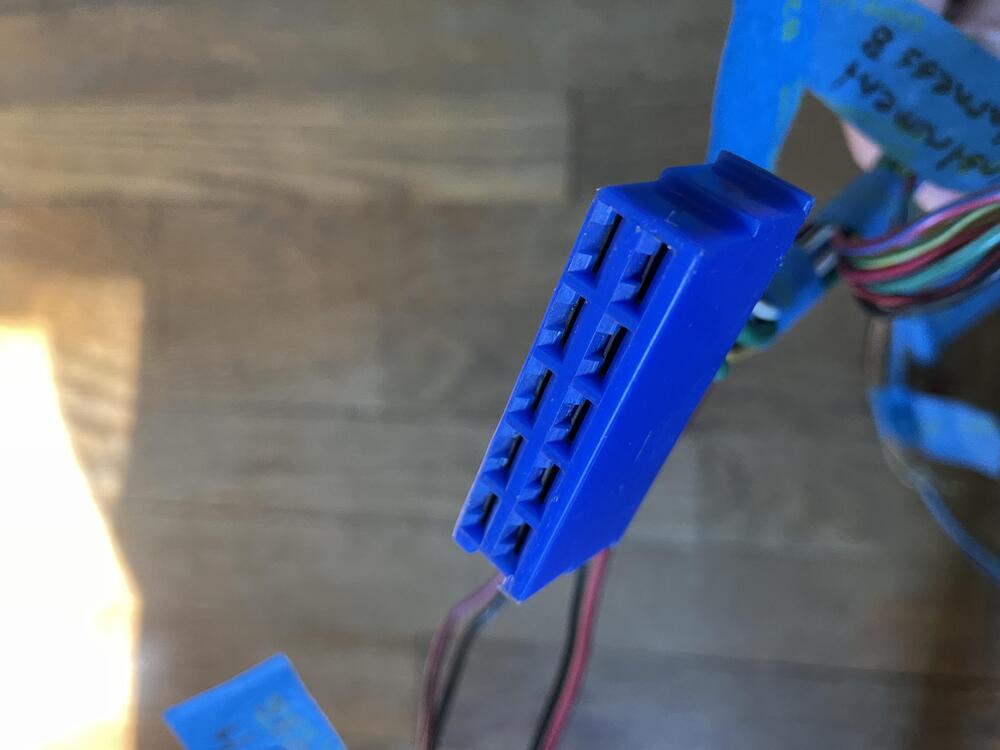
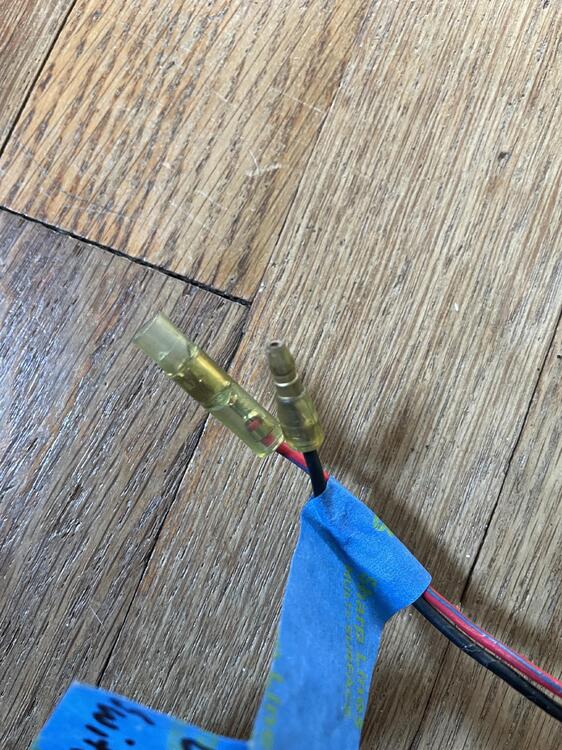
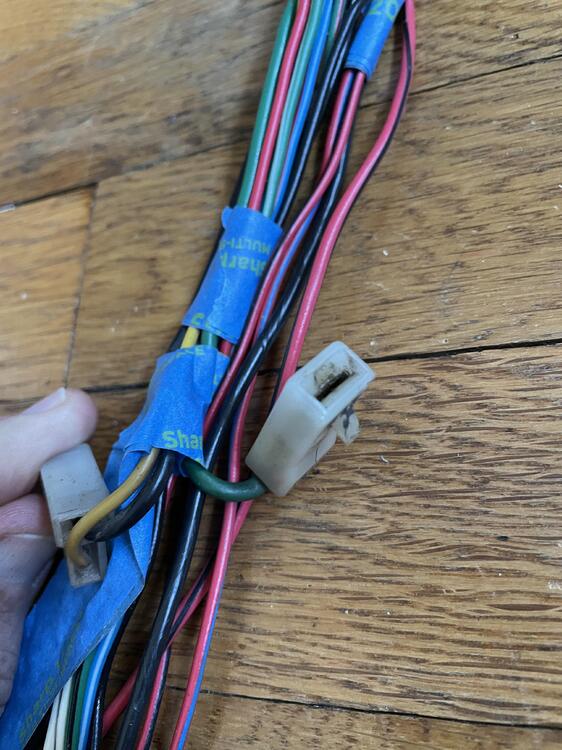
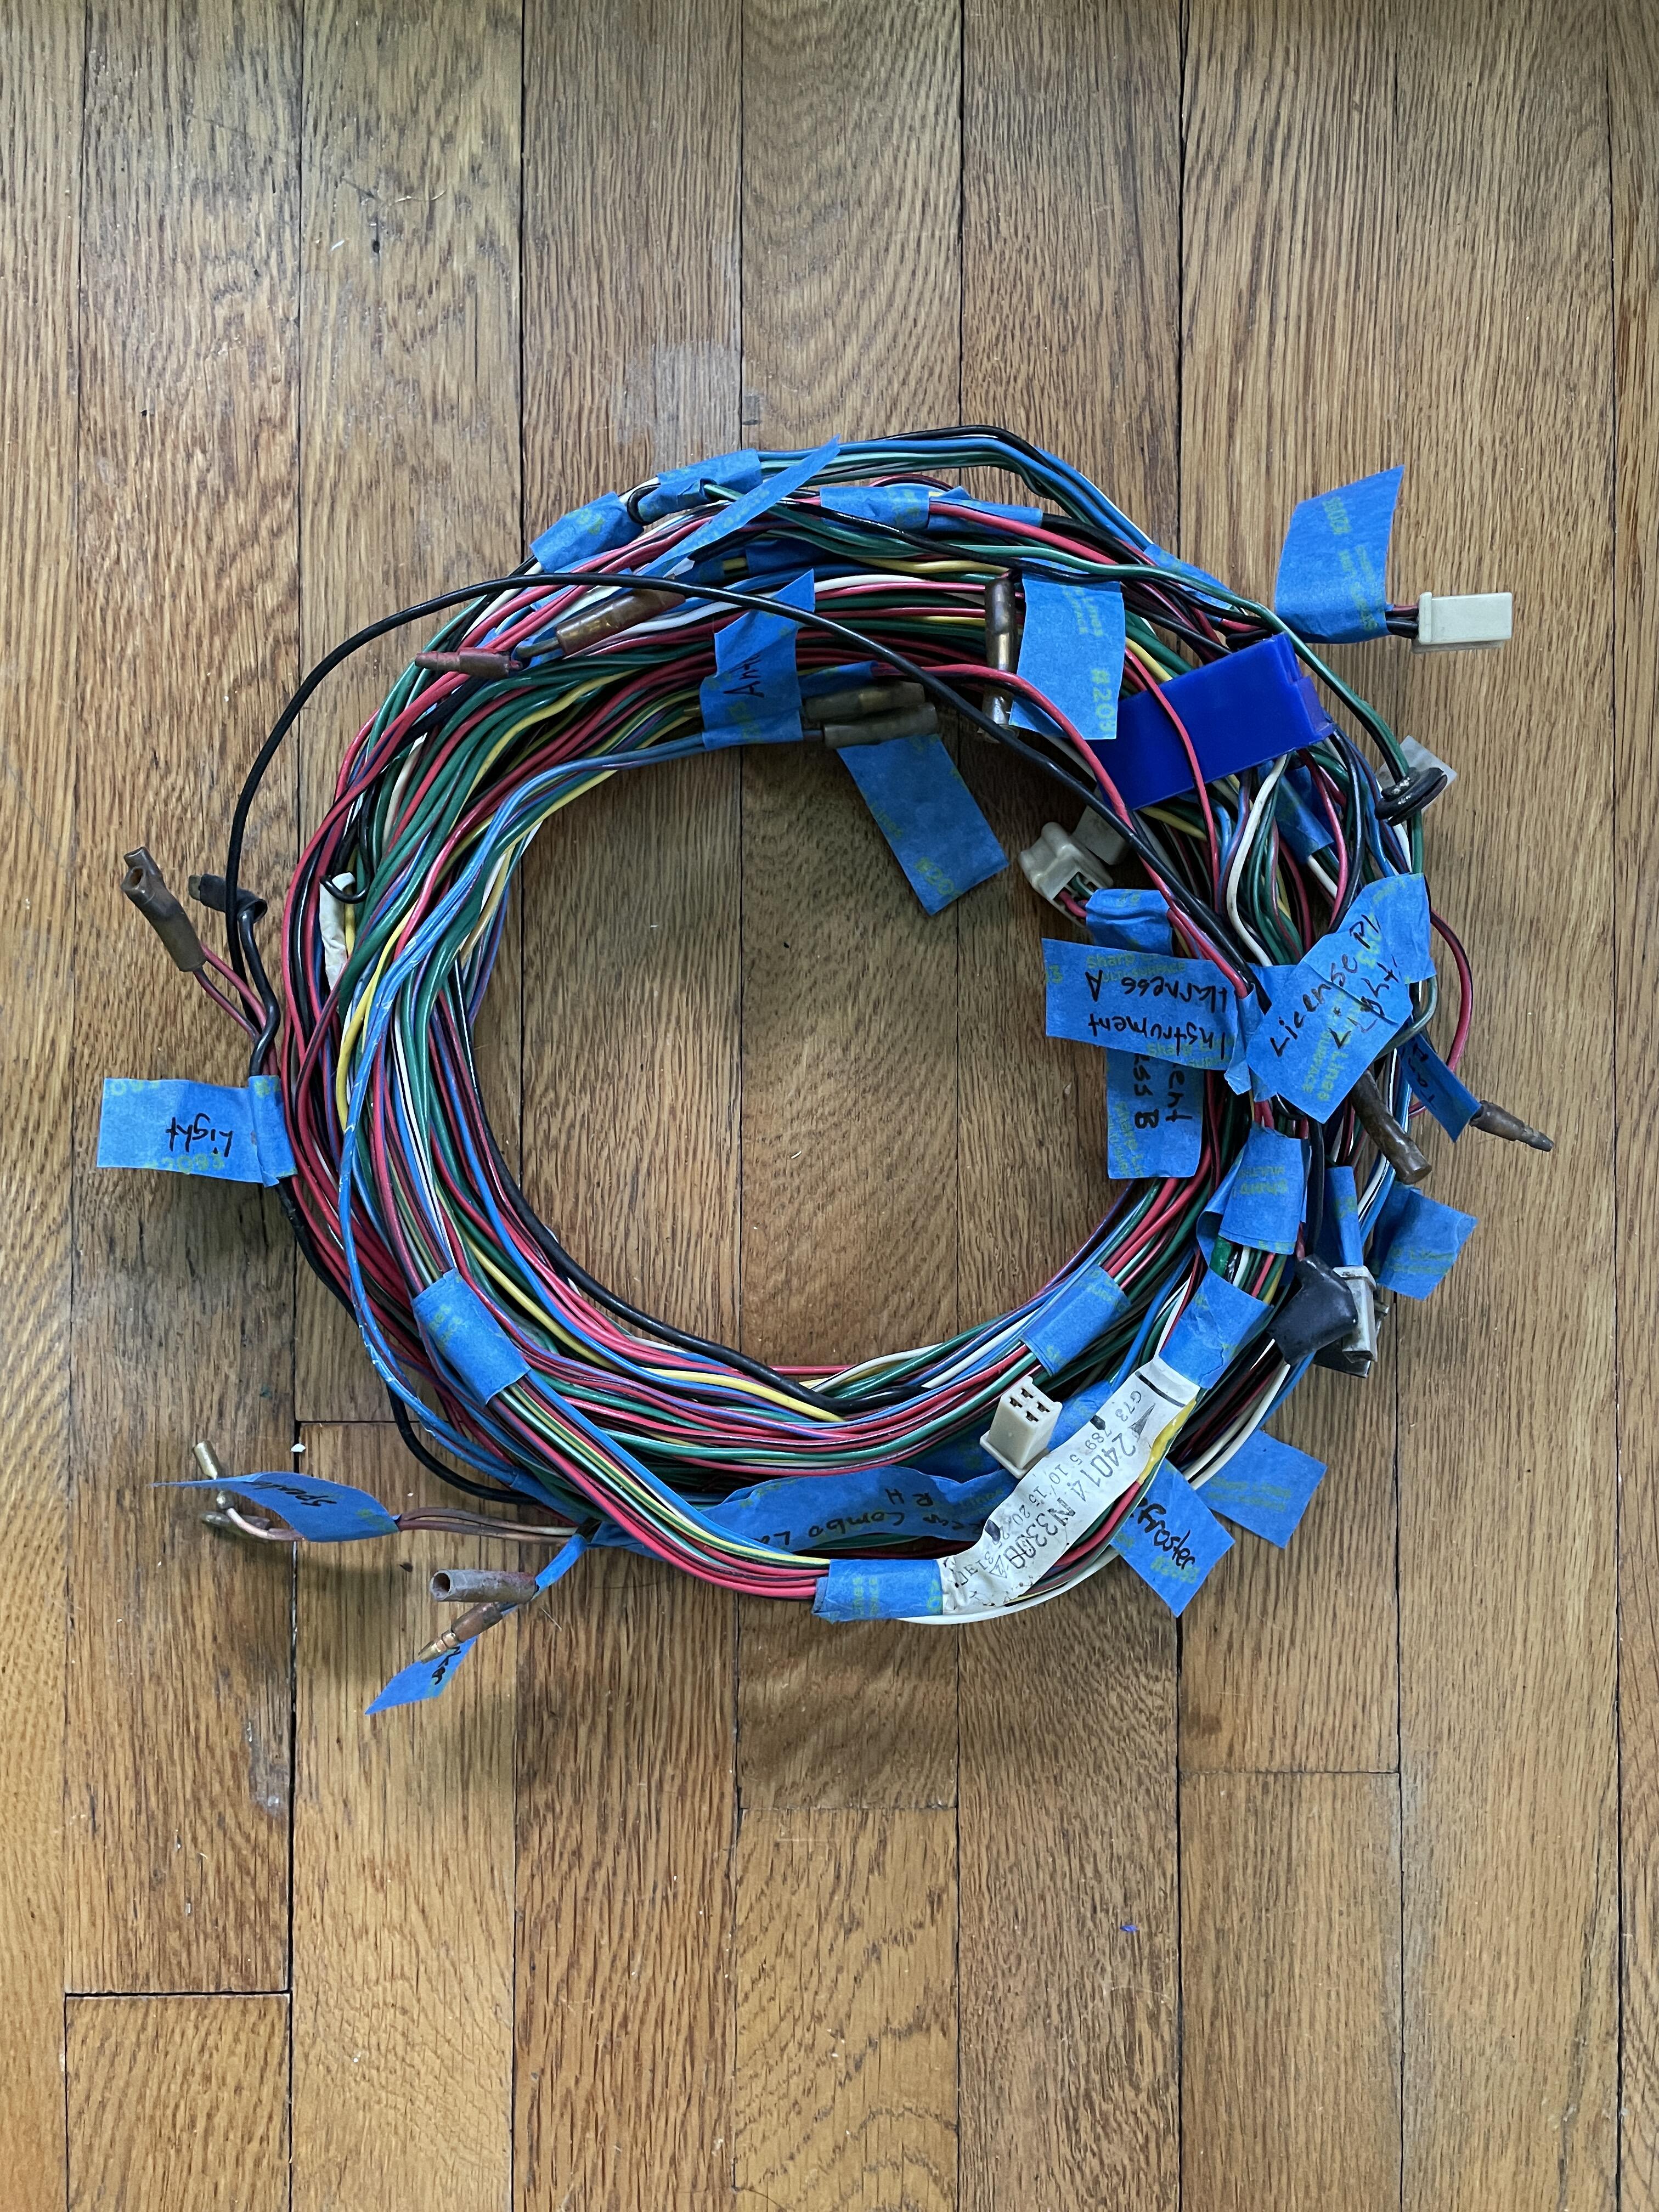
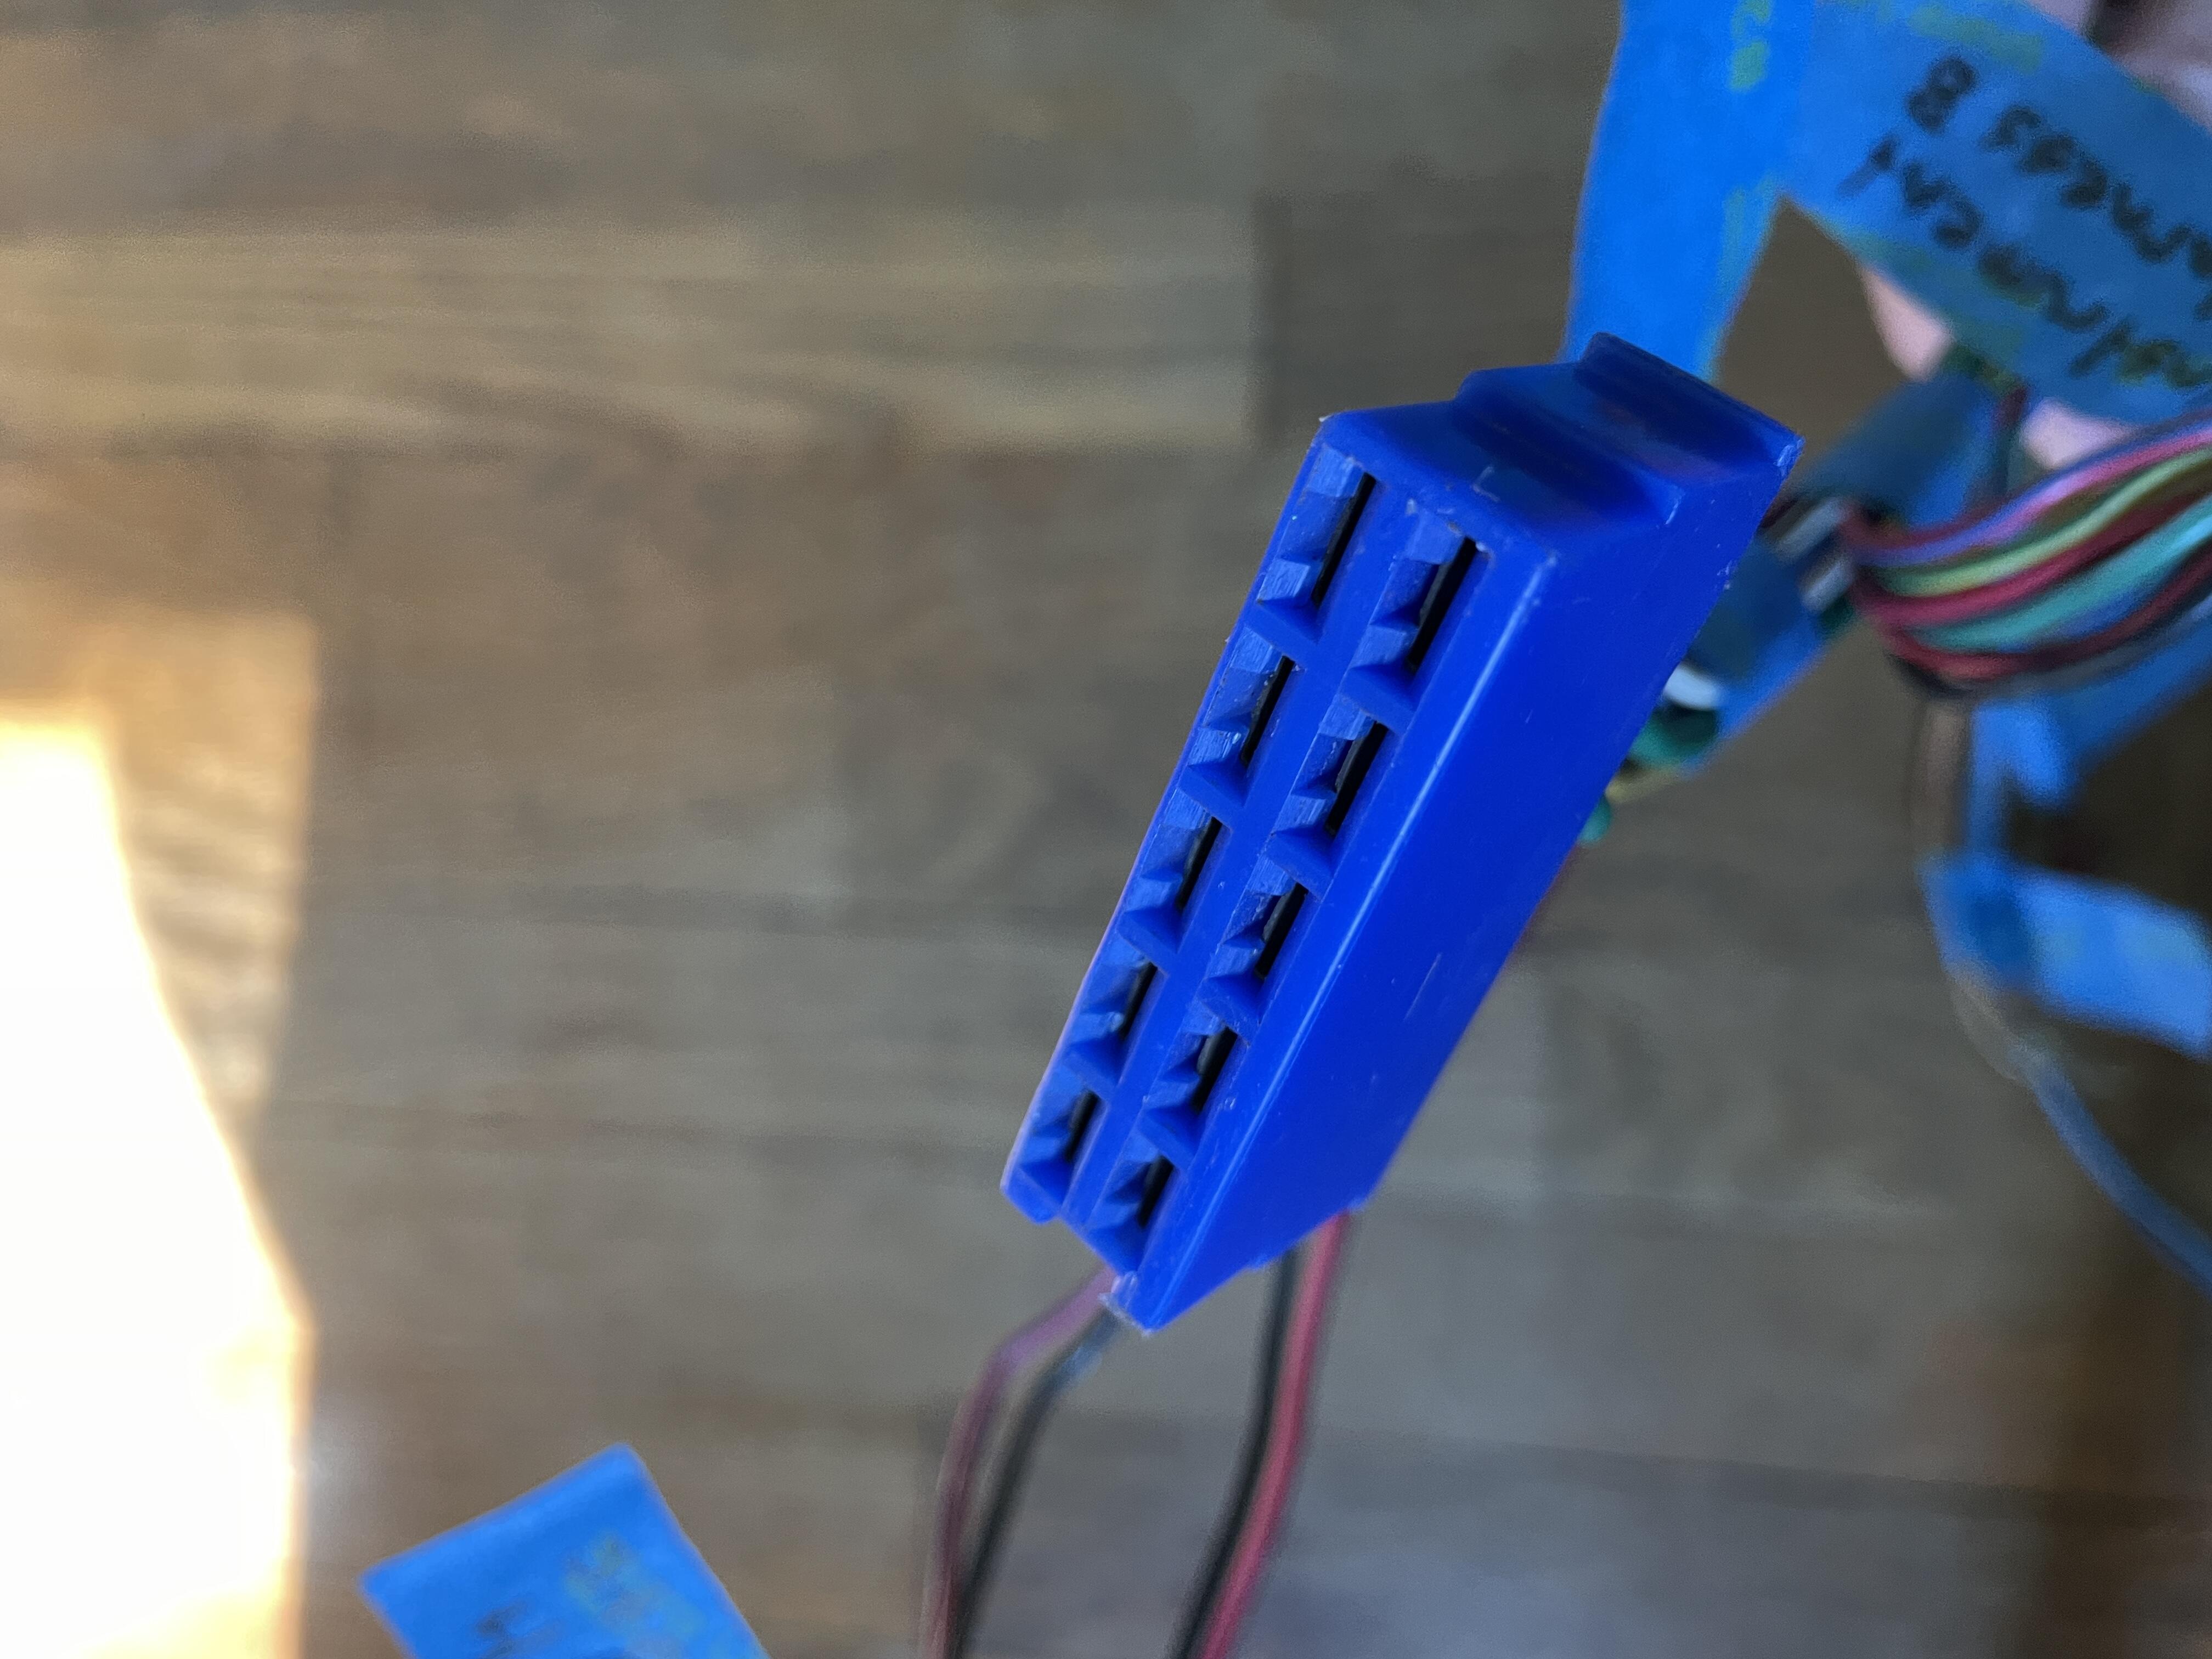
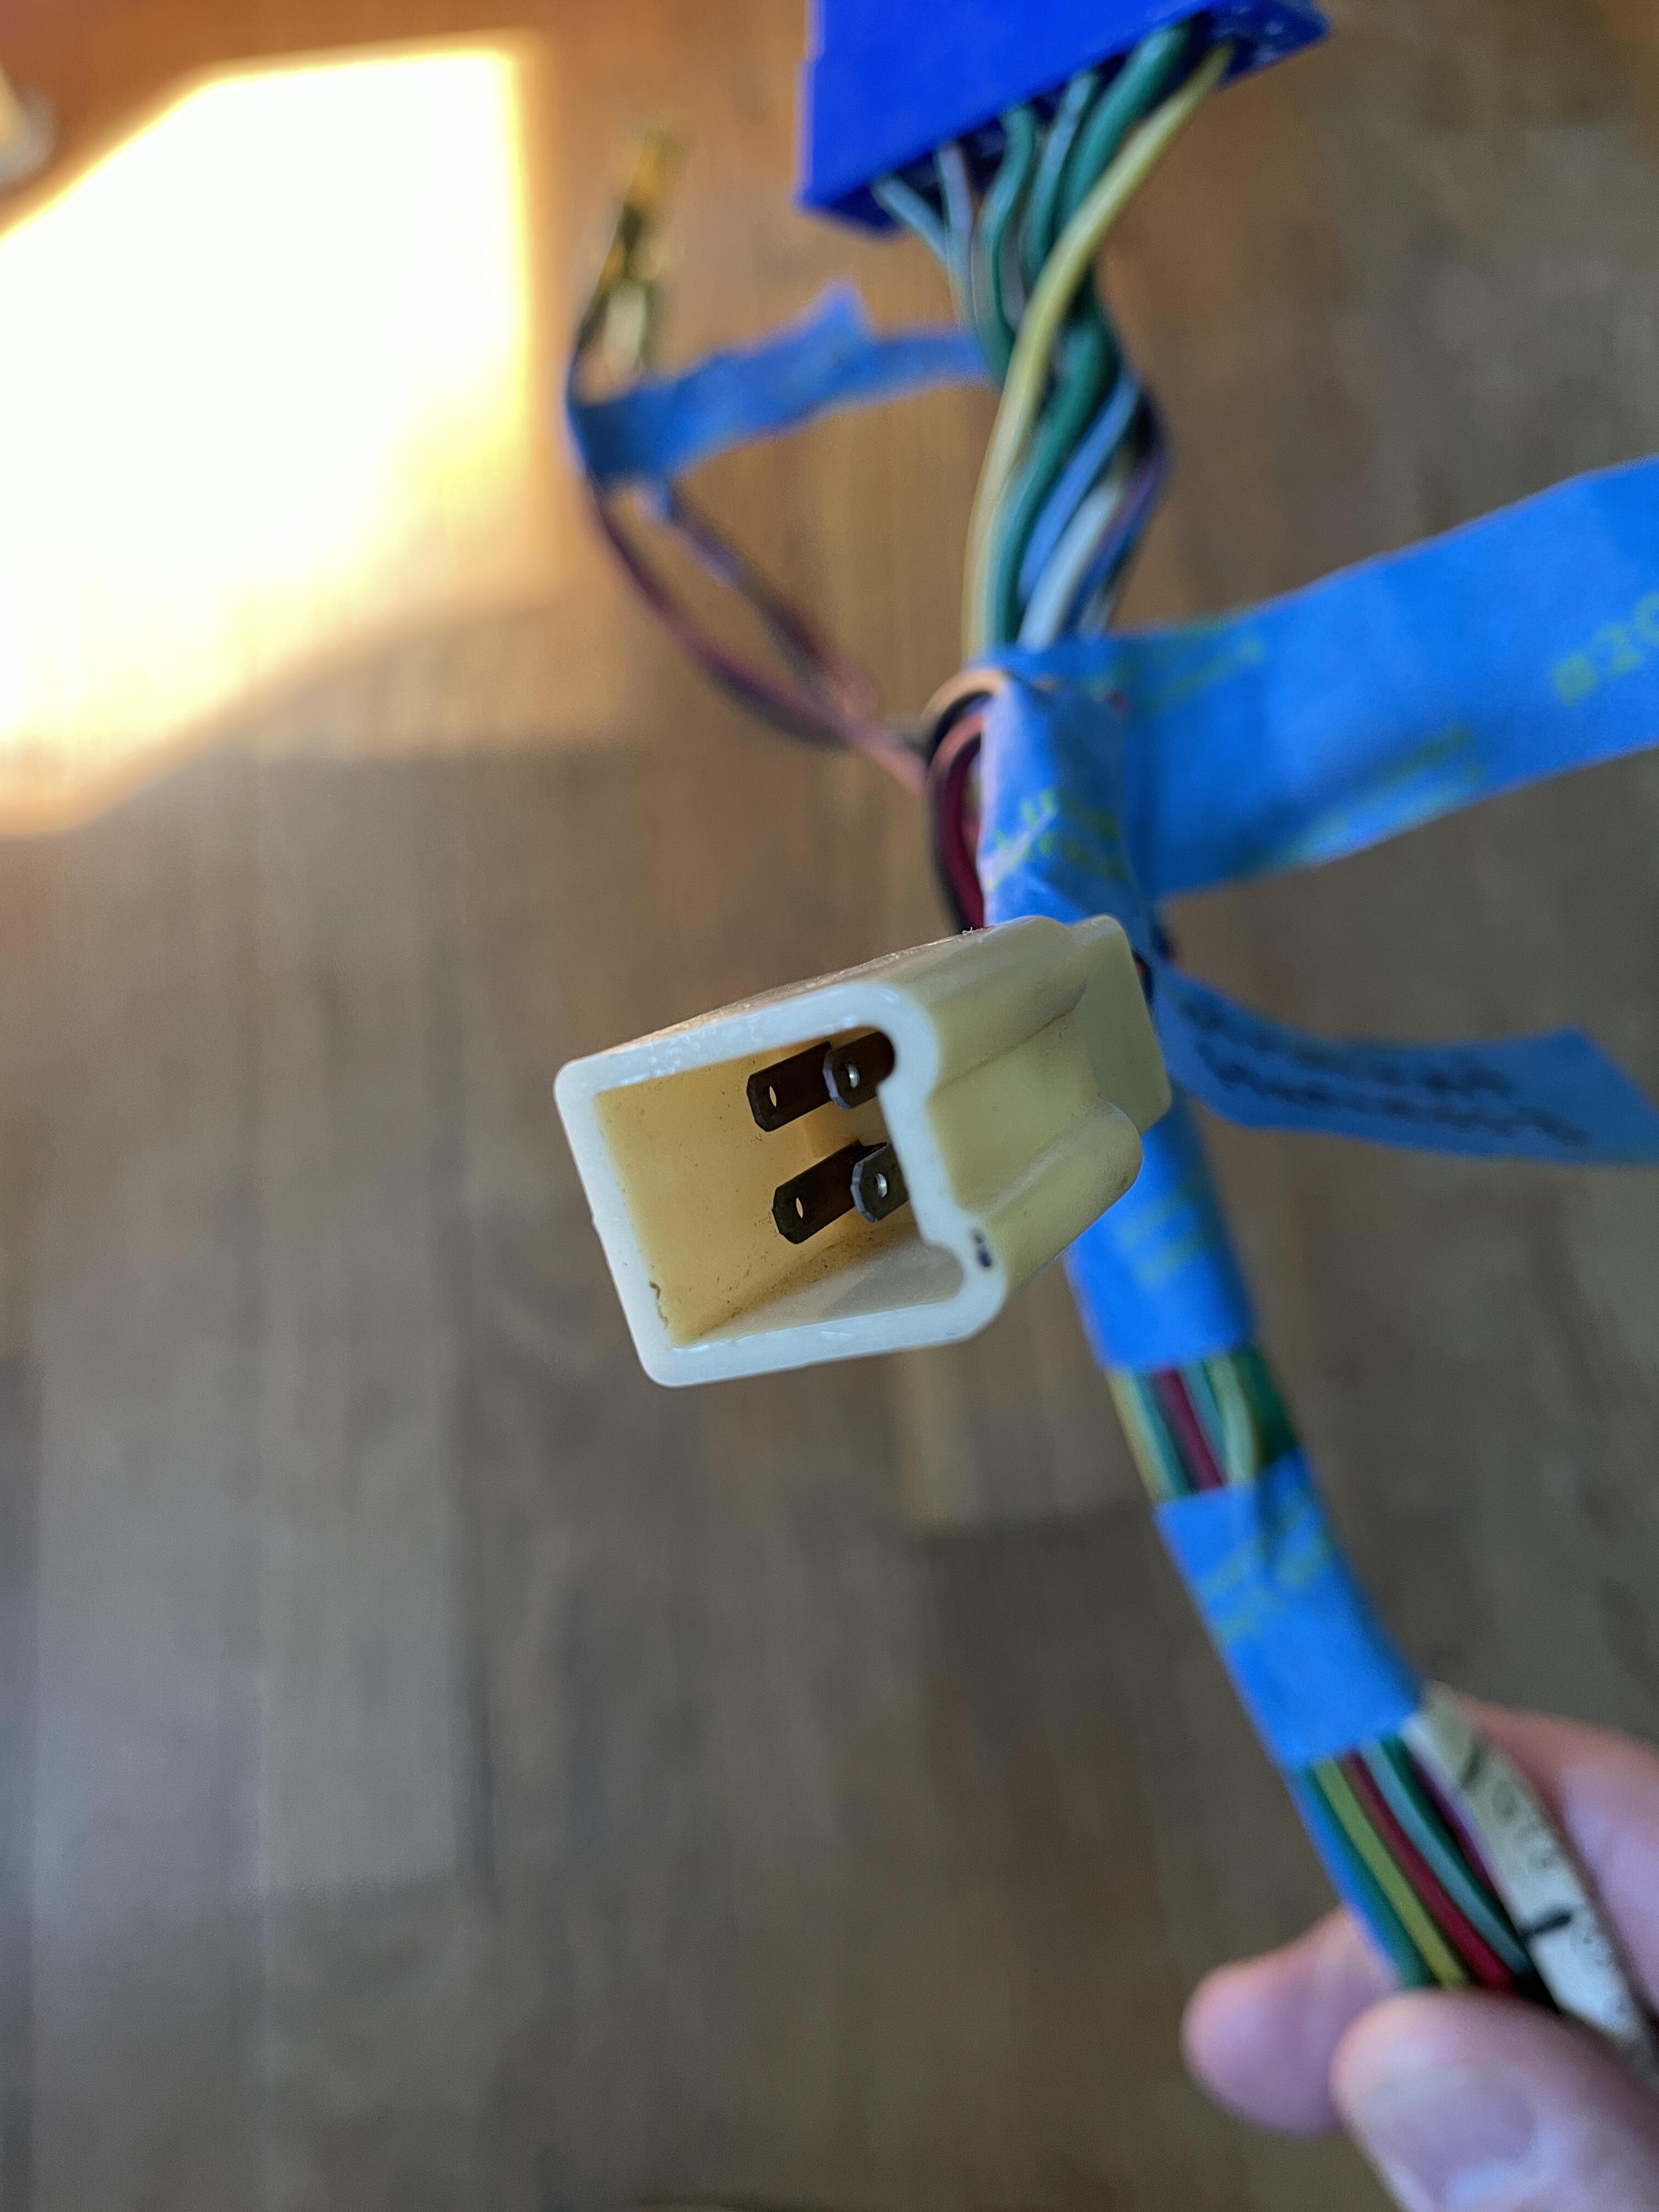
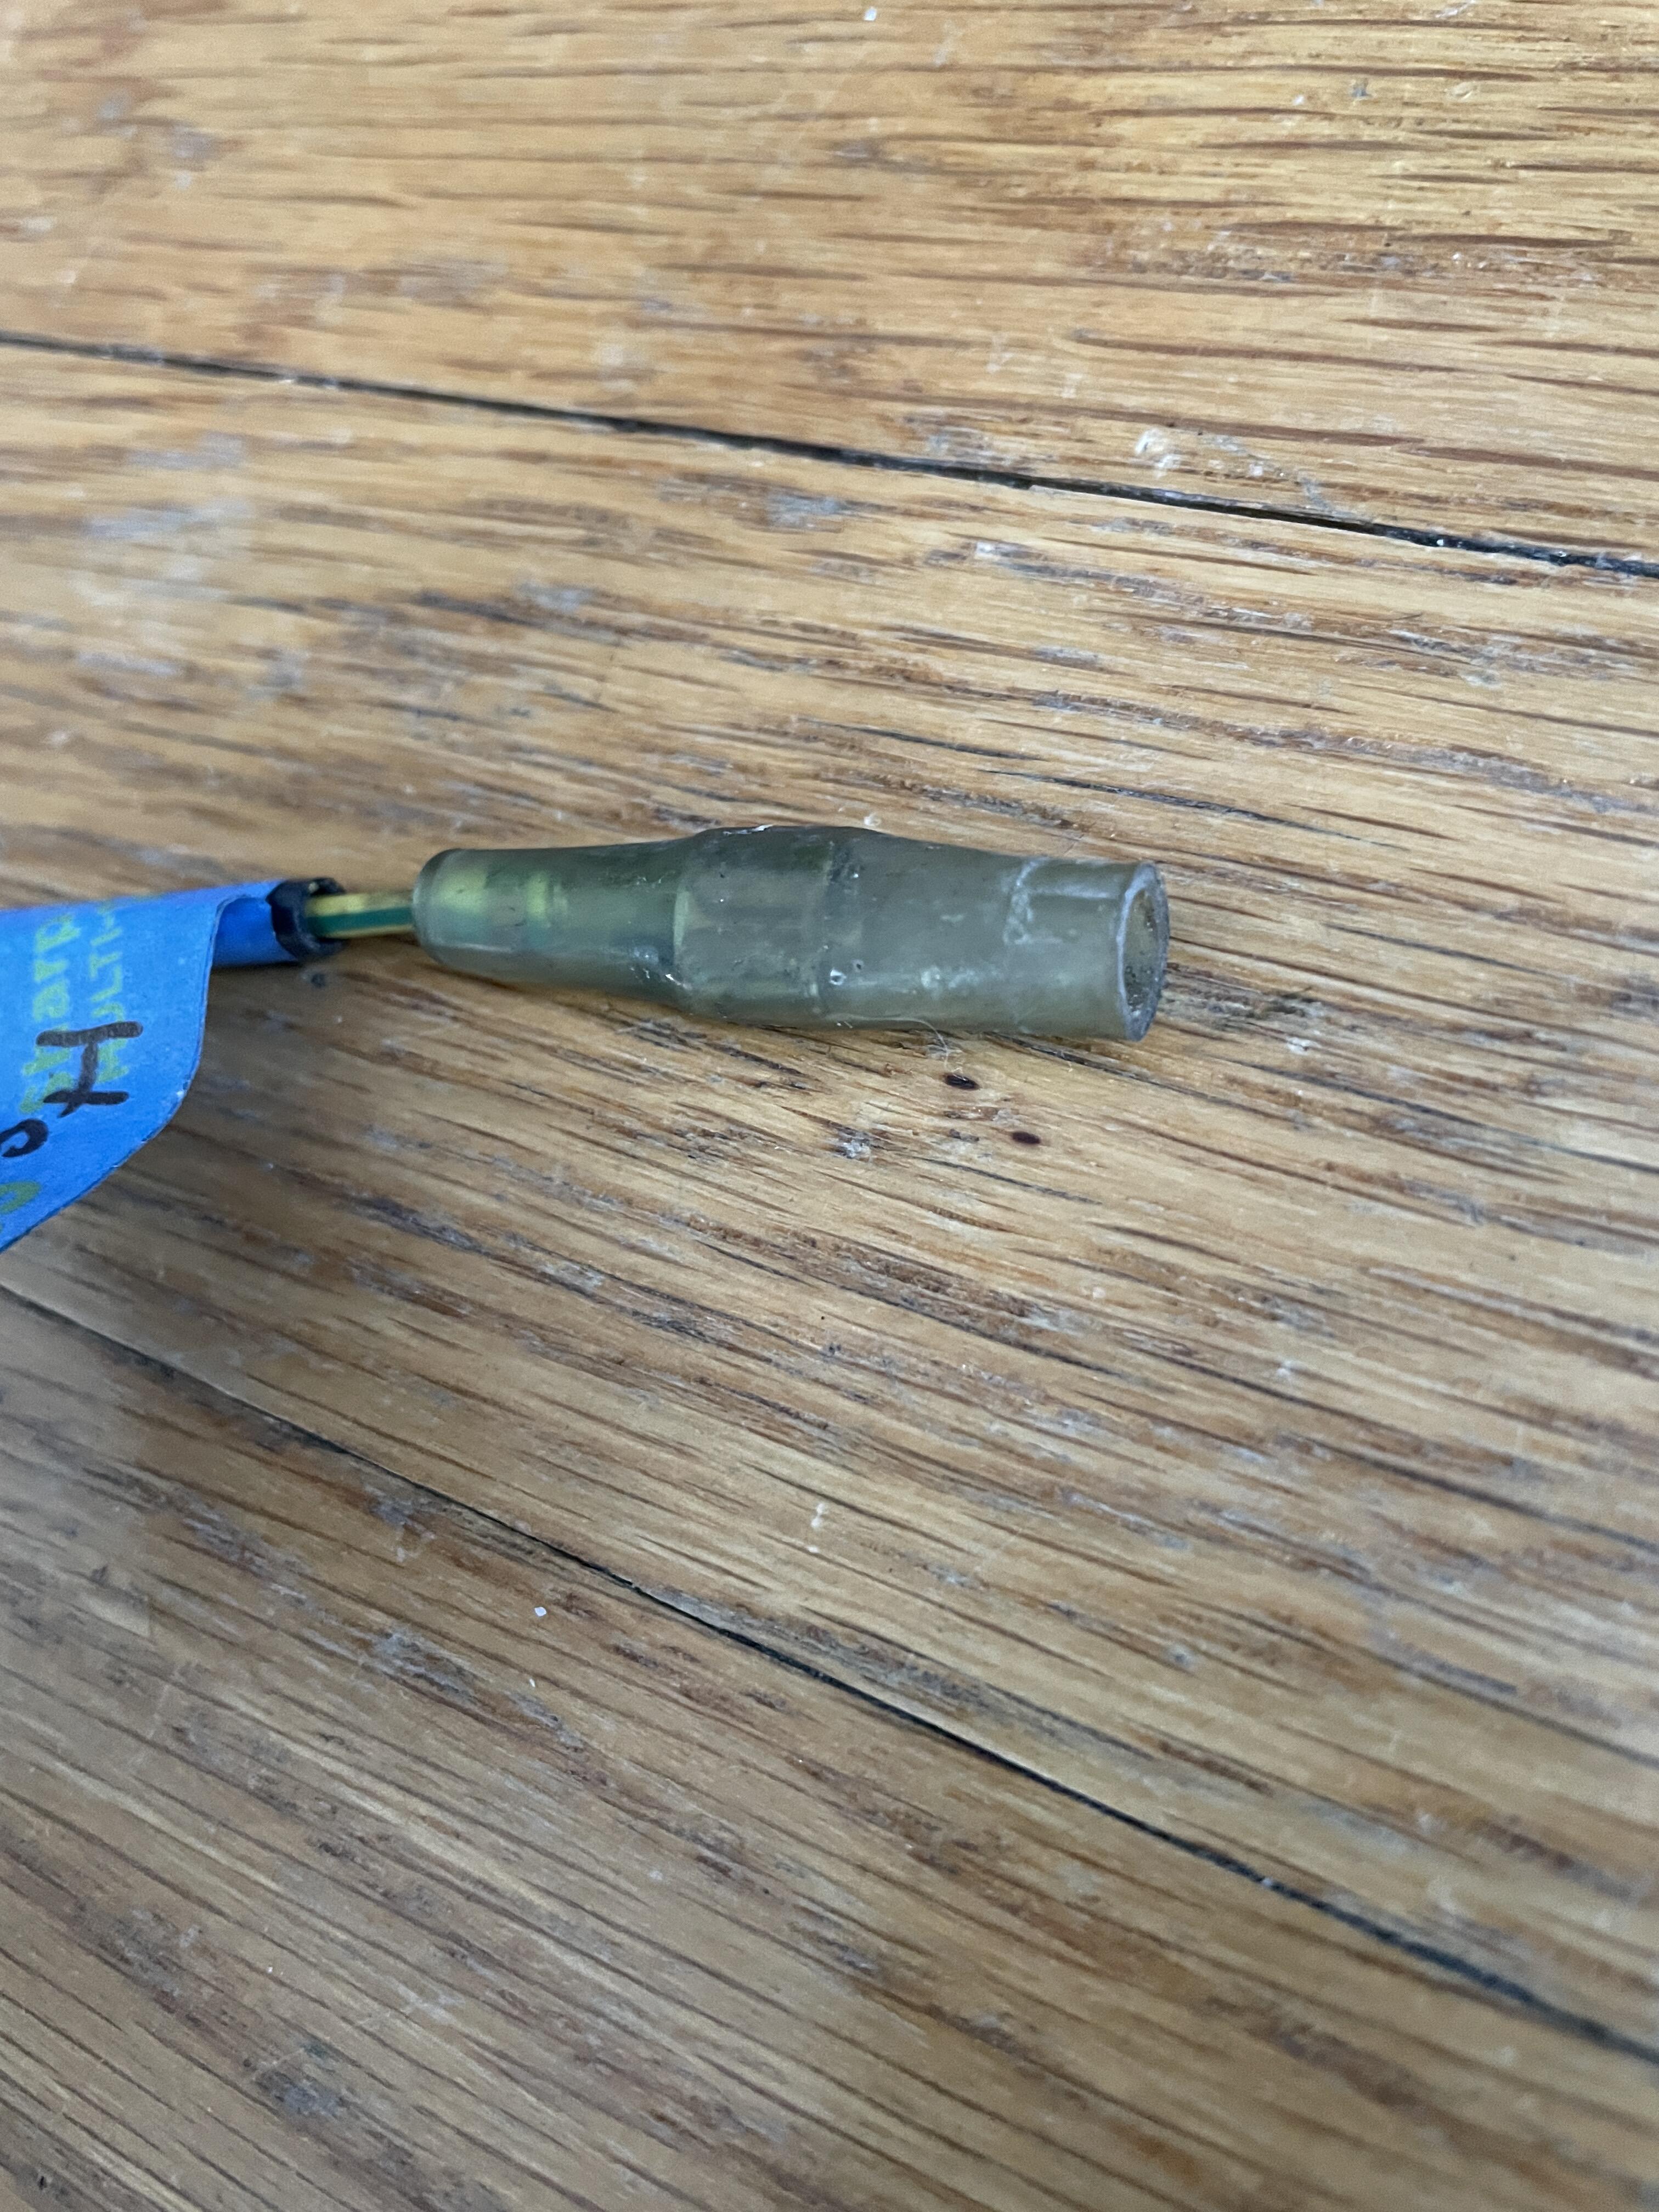
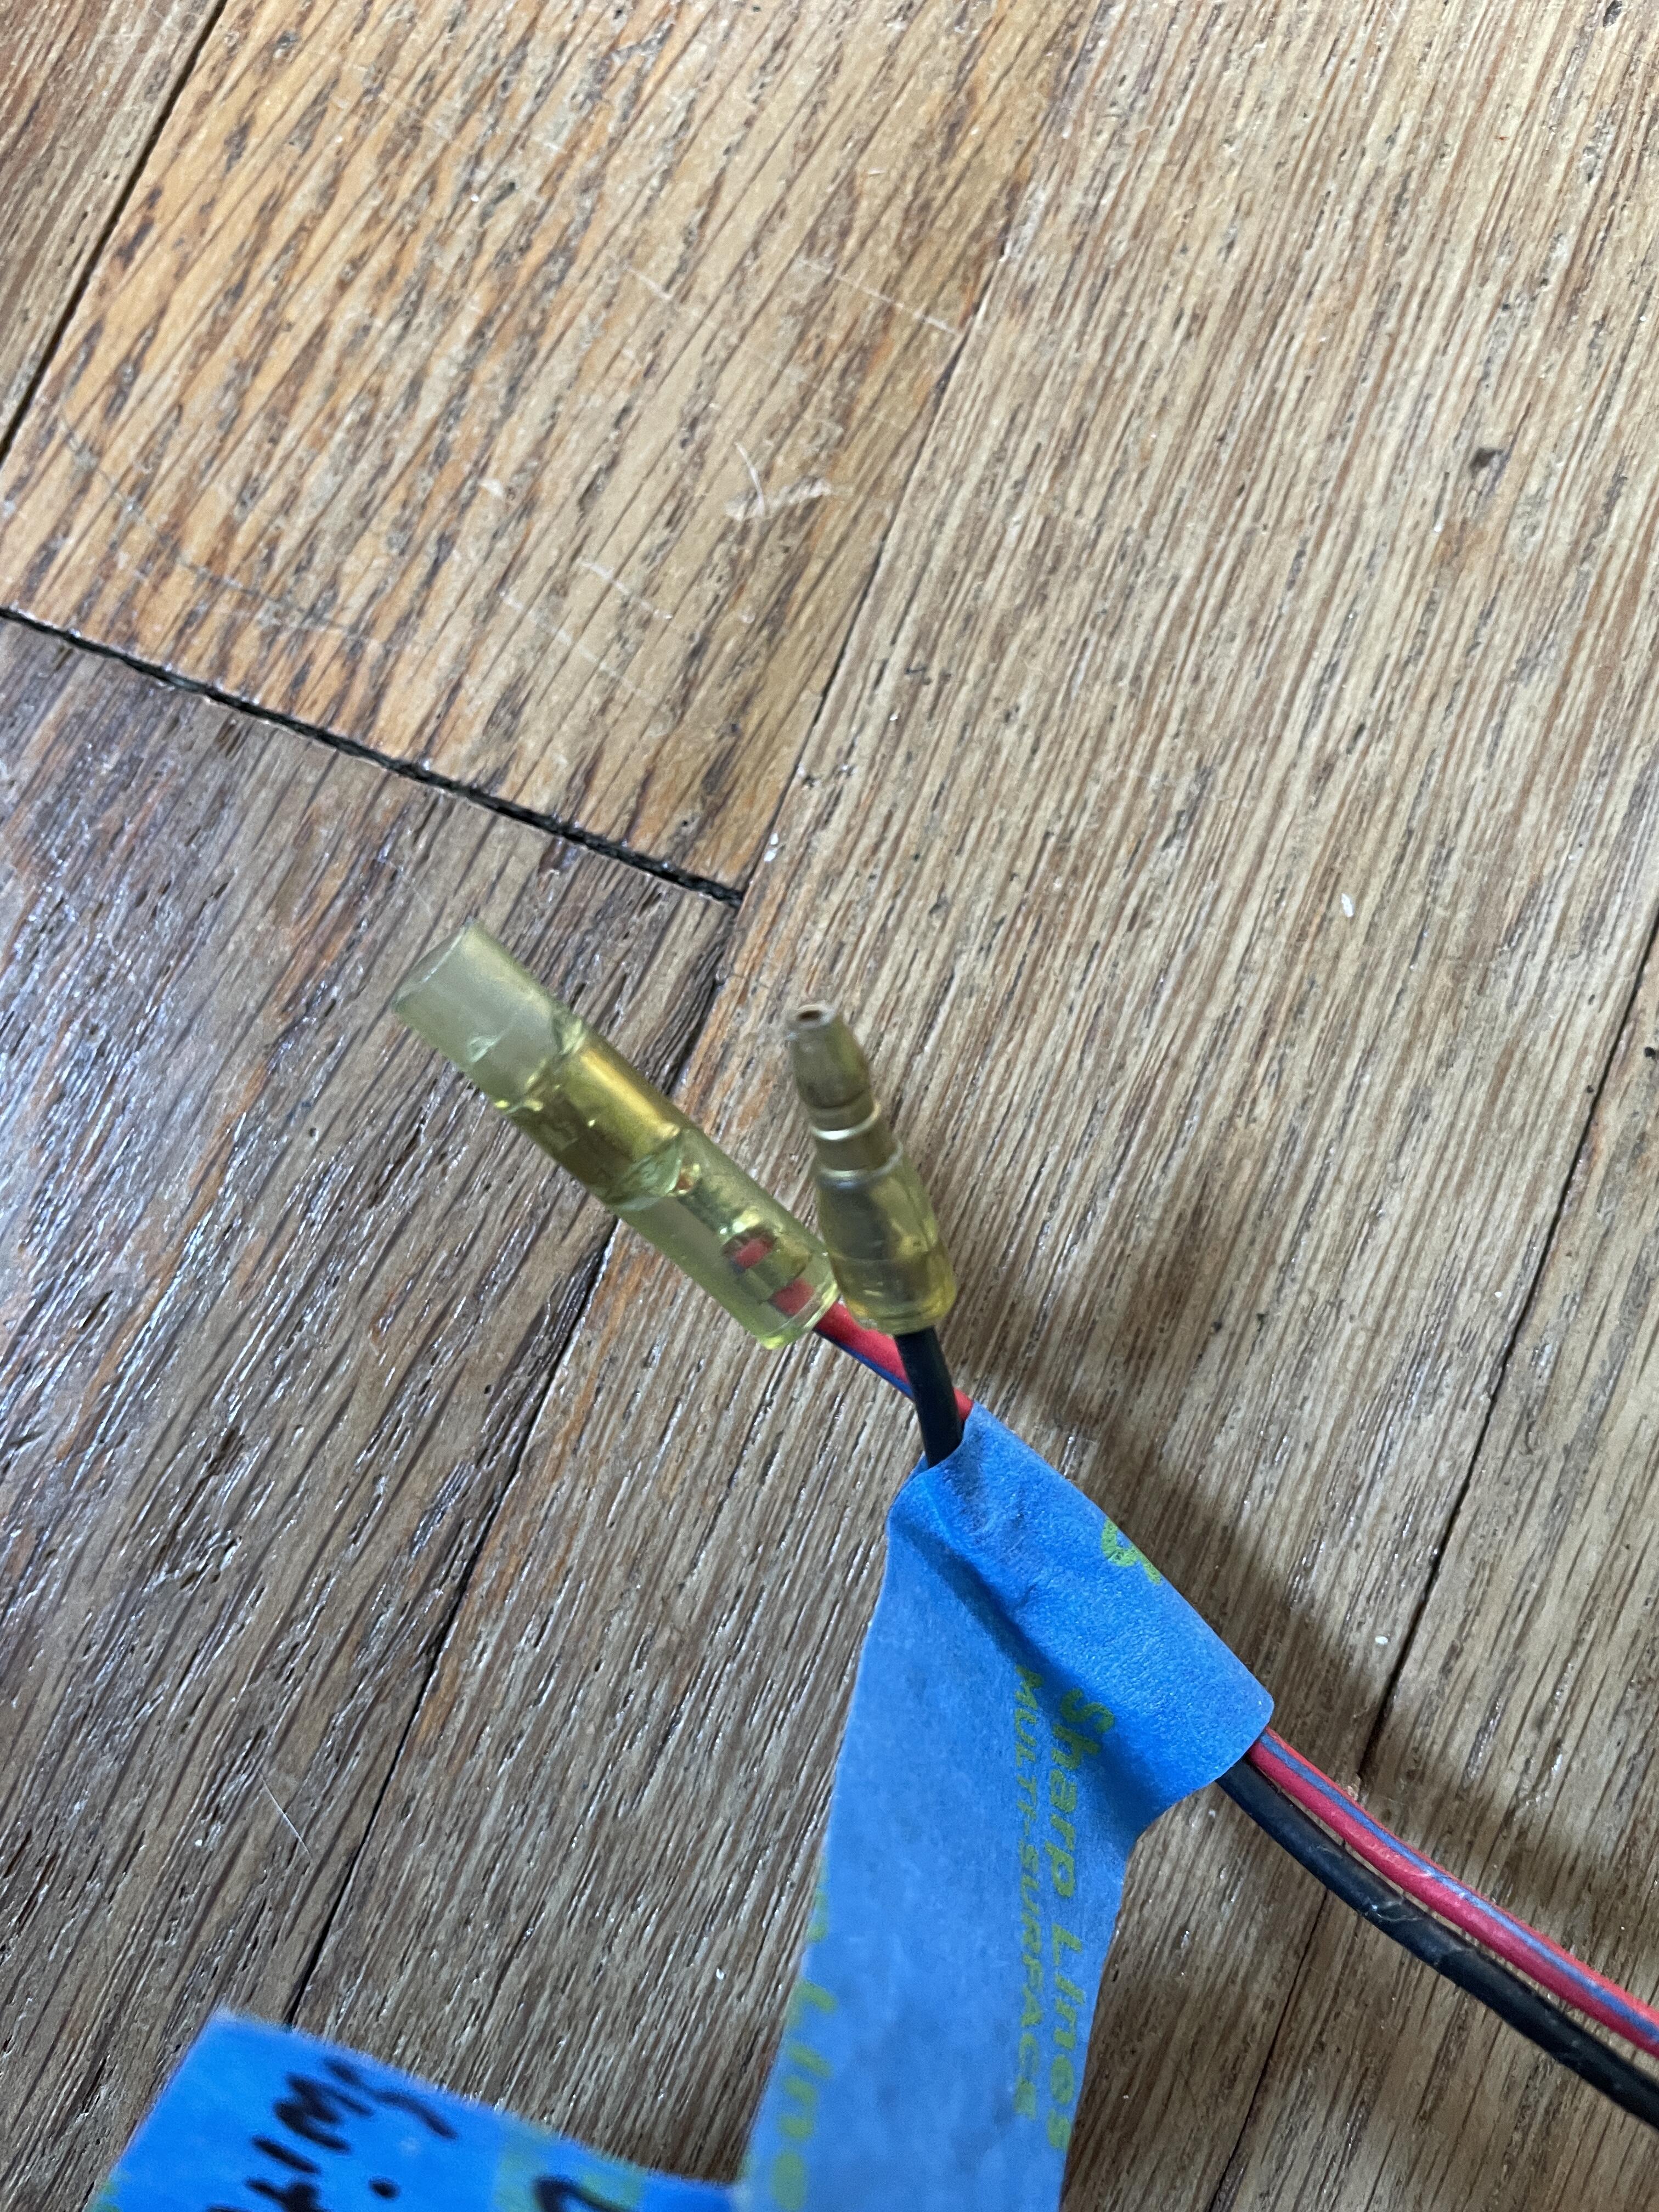
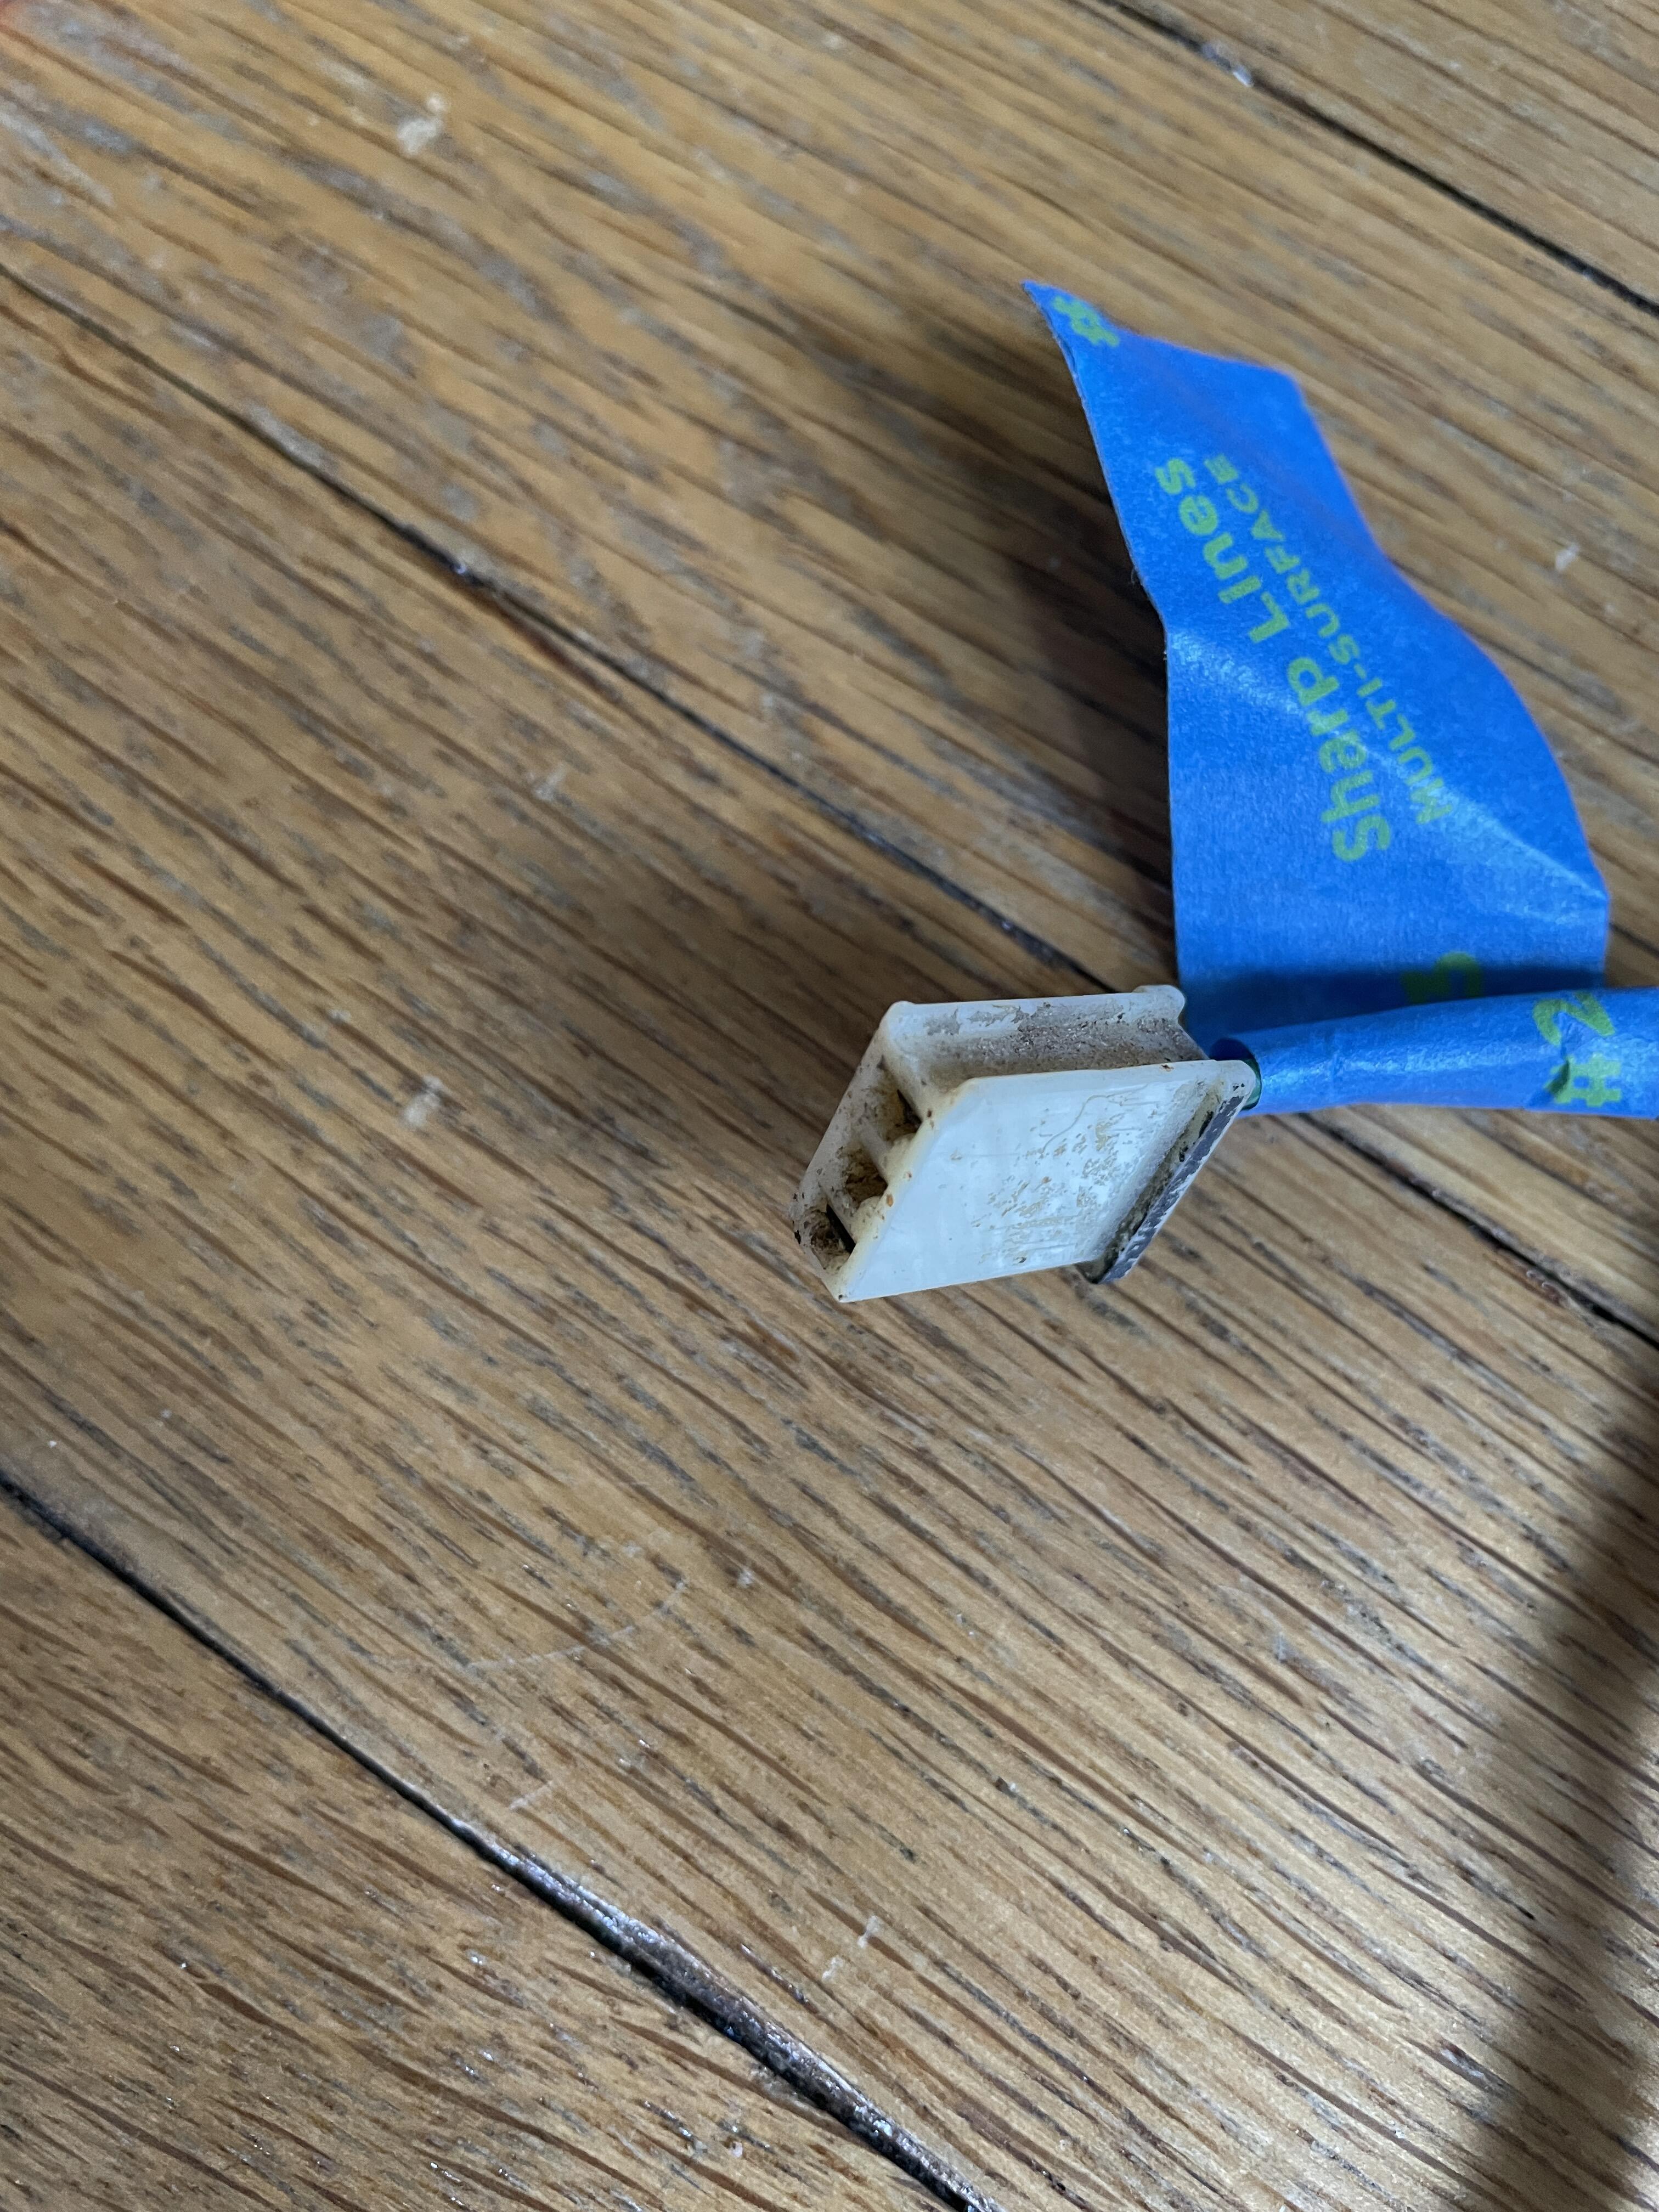
 2 points1 pointIf the rack is worn, there'd be excessive right and left motion of the steering wheel with no movement of the wheels. You could compare the amount of movement of the steering wheel while the wheels are straight and also at the right and left locks for a clue as to the extent of wear. If the play is similar at all three locations, the problem may well go to another component - tie rod ends, (or as @dutchzcarguymentioned) differential air pressure, different tire tread patterns, any of the three alignment variables, etc. You mentioned you had a concern with a shop's possible non-understanding of how to properly align the car. How do you know the last shop had a clue?1 point1. I've had the turn signal switch apart 4 times now, and I tried bending the tabs slightly a couple of different ways. No difference. It's spotlessly clean inside also. Not sure what else to do there. 2. The bulbs are the same as they were before the restoration. 1157LL I believe... 3. So after cleaning out the hazard switch and getting it plugged back in, the right taillight works, and the turn signals works BUT ONLY when I physically move the 2 connectors coming out of the back of the hazard switch a certain way with my hand. I really think there's a break or a short in the dash wiring somewhere. I'll perform the above test, but I really think the dash is going to have to come out again. Thanks as always for the input, Steve.1 pointFinished the inventory of the body harness… Tagged all the connectors and checked them against the diagram. Measured the lengths and identified all of the splice points. Here’s everything I’ll need to replicate it (except the optimal wire gauge), with the splice color indicating the color tape covering the splice: 1973 240z Body Harness Inventory Position Component Conector Color Connector Style Connector Image Direction # of Pins # of Wires Diagram Wire Color Harness Wire Color Min. Feet of Wire Needed 1 Instrument Harness A Blue 10-Prong F 10 10 White w/ Black White w/ Black [See Speaker] Blue w/ Red Blue w/ Red [See Antenna] White White [See Speaker] Blue w/ White Blue w/ White [See Antenna] Yellow Yellow [See Fuel Pump] Green w/ Black Green w/ Black [R. Comb. Lamp RH] Green w/ Red Green w/ Red [R. Comb. Lamp LH] Green Green [See Belt Switches] Green Green [See Seat Switch] Green Green (Heavy) [See Fuel Pump] 2 Instrument Harness B White 6-Prong M 6 6 Red w/ Black Red w/ Black (Thick) [See Rear Glass Defroster] Red w/ Blue Red w/ Blue [See Room Light] Yellow w/ Green Yellow w/ Green [See Hand Brake Switch] Green w/ White Green w/ White 18 (to Green Splice C) Red w/ Black Red w/ Black [R. Comb. Lamp LH] Black Black 1 (to Yellow Splice) 3 Door Switch Clear Spade F 2 2 Black Black [See Step Light Harness] Black Red w/ Black [See Room Light] 4 Step Light Harness Clear Bullet M 1 1 Black Black 2 Clear Bullet F 1 1 Red w/ Blue Red w/ Blue 1 4 Yellow Splice N/A N/A N/A N/A 2 2 Red w/ Blue Red w/ Blue N/A Black Black 5 Hand Brake Clear Spade F 1 1 Yellow w/ Green Yellow w/ Green 8 6 Green Splice A N/A N/A N/A N/A 3 3 Green Green N/A Green Green Green Green 7 Belt Switch RH White 3-Prong Mini F 3 2 Green w/ Black Green w/ Black [See Seat Switch] Green Green 7 7 Green Splice B N/A N/A N/A N/A 3 3 Green Green N/A Green w/ Black Green w/ Black 8 Seat Switch White 3-Prong Mini F 3 2 Green w/ Black Green w/ Black 1 Red Green 1 (from Green Splice A) 9 Belt Switch LH White 3-Prong Mini F 3 2 Green w/ Black Green w/ Black 1 (from Green Splice B) Green Green 12 9 White Splice A N/A N/A N/A N/A 2 2 Black Black N/A Black Black 10 Room Light Clear Spade F 1 1 Black Black 3 (from White Splice A) Clear Spade F 1 1 Red w/ Blue Red w/ Black 17 Black Spade M 1 1 – Red w/ Blue 17 11 Rear Glass Defroster Black Spade F 1 1 Black Black 19 Black Spade F 1 1 Red w/ Black Red w/ Black 15 12 Green Splice C N/A N/A N/A N/A 3 3 Green w/ White Green w/ White N/A Green w/ White Green w/ White 12 Rear Side Marker Light RH Clear Bullet M 1 1 Black Black 1 (from White Splice B ) Clear Bullet F 1 1 Green w/ White Green w/ White 1 (from Green Splice D) 13 Tank Sending Unit White 2-Prong w/ Clip F 2 2 Black Black 6 (from White Splice A) Yellow Yellow 14 Fuel Pump White 1-Prong F 1 1 Black Green 14 Yellow – – 14 Rear Combo Lamp RH White 4-prong Small F 4 4 Black Black 3 (to White Splice A) White w/ Black Green w/ Black 16 Green w/ White Green w/ White 2 (to Green Splice E) Red w/ Black Red w/ Black 1 (to Green Splice D) 14 Green Splice D N/A N/A N/A N/A 2 2 Red w/ Black Red w/ Black N/A Red w/ Black Red w/ Black 15 Green Splice E N/A N/A N/A N/A 3 3 Green w/ White Green w/ White N/A Green w/ White Green w/ White Green w/ White Green w/ White Green w/ White Green w/ White 15 License Plate Light Clear Bullet M 1 1 Black Black 2 (to White Splice B ) Clear Bullet F 1 1 Black Green w/ White 1 (from Green Splice E) 16 Rear Combo Lamp LH White 4-prong Small F 4 4 Black Black 1 (to White Splice B ) White w/ Black Green w/ Red 18 Green w/ White Green w/ White 1 (from Green Splice E) Red w/ Black Red w/ Black 18 16 White Splice B N/A N/A N/A N/A 2 2 Black Black N/A Black Black Black Black Black Black 17 Side Marker Light LH Clear Bullet M 1 1 Black Black 2 (from White Splice B ) Clear Bullet F 1 1 Green w/ White Green w/ Black 3 (from Green Splice E) 18 Speaker Clear Bullet M 1 1 – White w/ Black 19 Clear Bullet F 1 1 – White 19 19 Antenna Clear Bullet F 1 1 Blue w/ Red Blue w/ Red 20 Clear Bullet F 1 1 Blue w/ White Blue w/ White 20
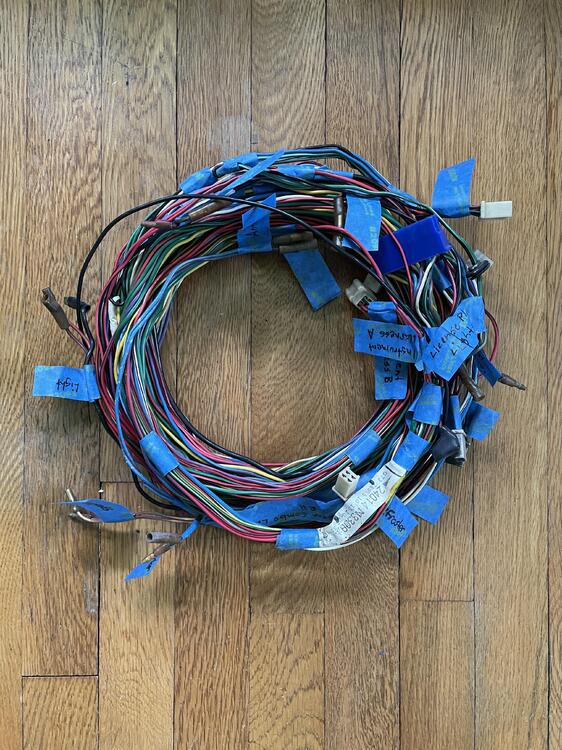

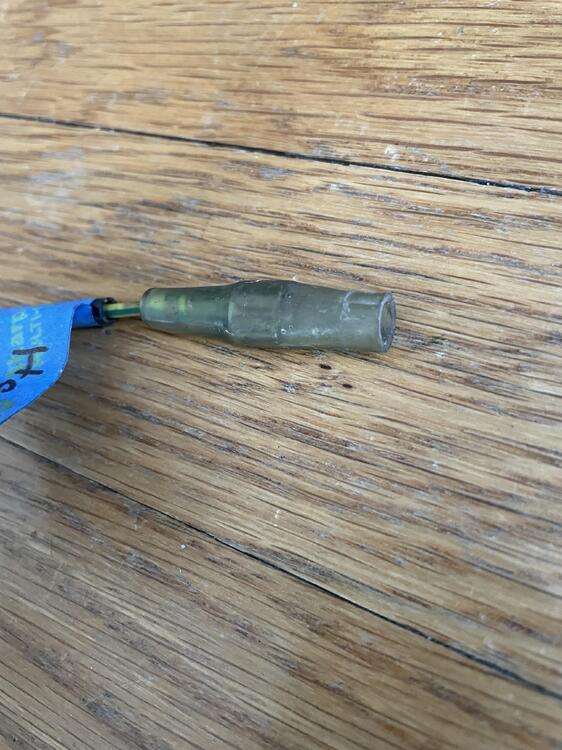


 1 point1 pointJackpot! I knew there was a zcar antenna around somewhere. I went out to the shop and gave a look around. I thought I had previously gone through all the boxes. For some reason, I missed it. In the bottom of a box was this electric antenna wrapped in a bag. I am pretty certain it came out of my Dads 77 280 right after he bought it. He was into CB radios and bought an antenna that would work with a radio and a CB. The original antenna went into storage. About 30 years ago my mom said I am throwing out all this old car stuff, so come get what you want. I did. The 280 antenna looks to be very similar to the 240. The tip unscrews and the mounting hardware is mint. I fell like I won the lottery. The switch to the right looks to be an early 240. The switch that was attached to the antenna looks to be factory, but I just dont know the 280's very well.
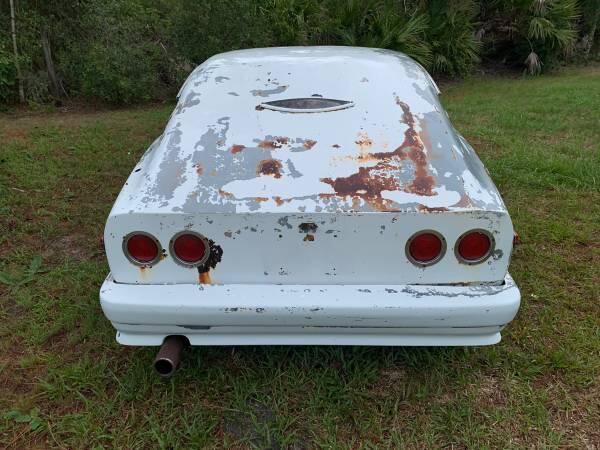
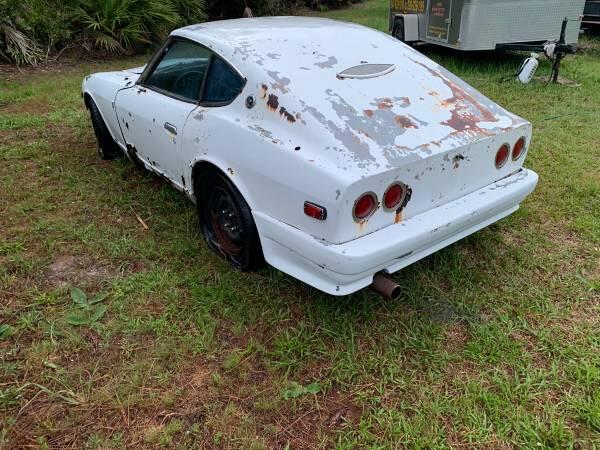
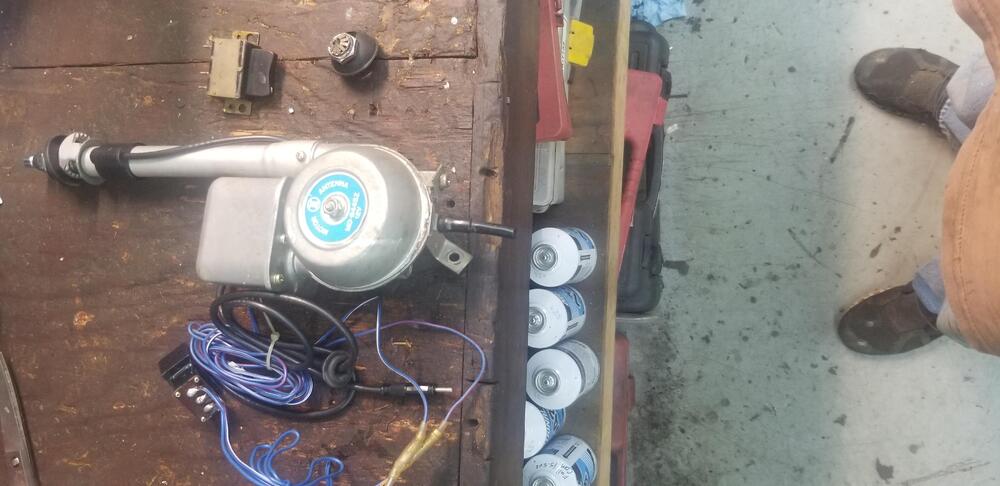 1 pointCheck out this ugly ducking on Craigslist located in Sarasota, Florida!
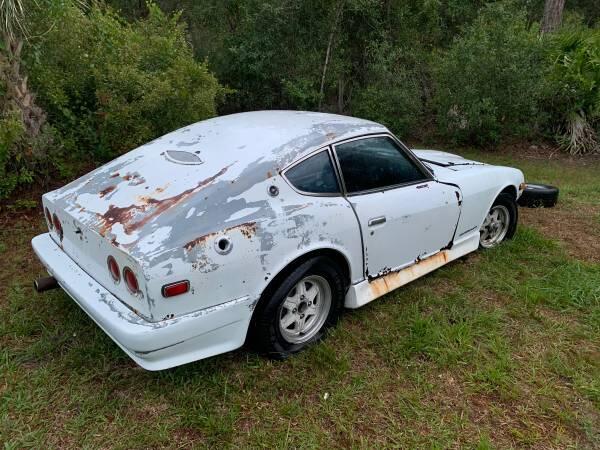

 1 point


Important Information
By using this site, you agree to our Privacy Policy and Guidelines. We have placed cookies on your device to help make this website better. You can adjust your cookie settings, otherwise we'll assume you're okay to continue.