Leaderboard
-
.JPG.cfcada9cf1c1b502df3f5f2f2ca3ff36.JPG)
SteveJ
Free Member5Points9,646Posts -

siteunseen
Free Member4Points15,115Posts -

Av8ferg
Free Member3Points1,538Posts -
Jeff G 78
Free Member2Points3,007Posts


Popular Content
Showing content with the highest reputation on 11/15/2021 in Posts
-
3 pointsOkay, final step before filling the cooling system today was to flush the heater core. Ran a garden hose in the inlet and a hose out the outlet to a bucket. Ran for fresh water for 5 mins, then filled the core with Distilled Vinegar and let set 30 mins, flushed again and ran vinegar again sitting 30 mins and ran fresh water and then blew out all remaining liquid. The water ran brown the first 15 secs on first flush. I got a fair bit of debris out of the core and that stuff that won’t be in my engine. Of note, when flushing the vinegar out after sitting 30 mins, the water came out green for the first 15-20 secs, I’m assuming glthat was build up on the copper coils. Here’s the particles in the bottom of the bucket. Now I have to flush the tankless water heater for the house, it’s time and I have all the gear out already. Sent from my iPhone using Tapatalk3 points
-
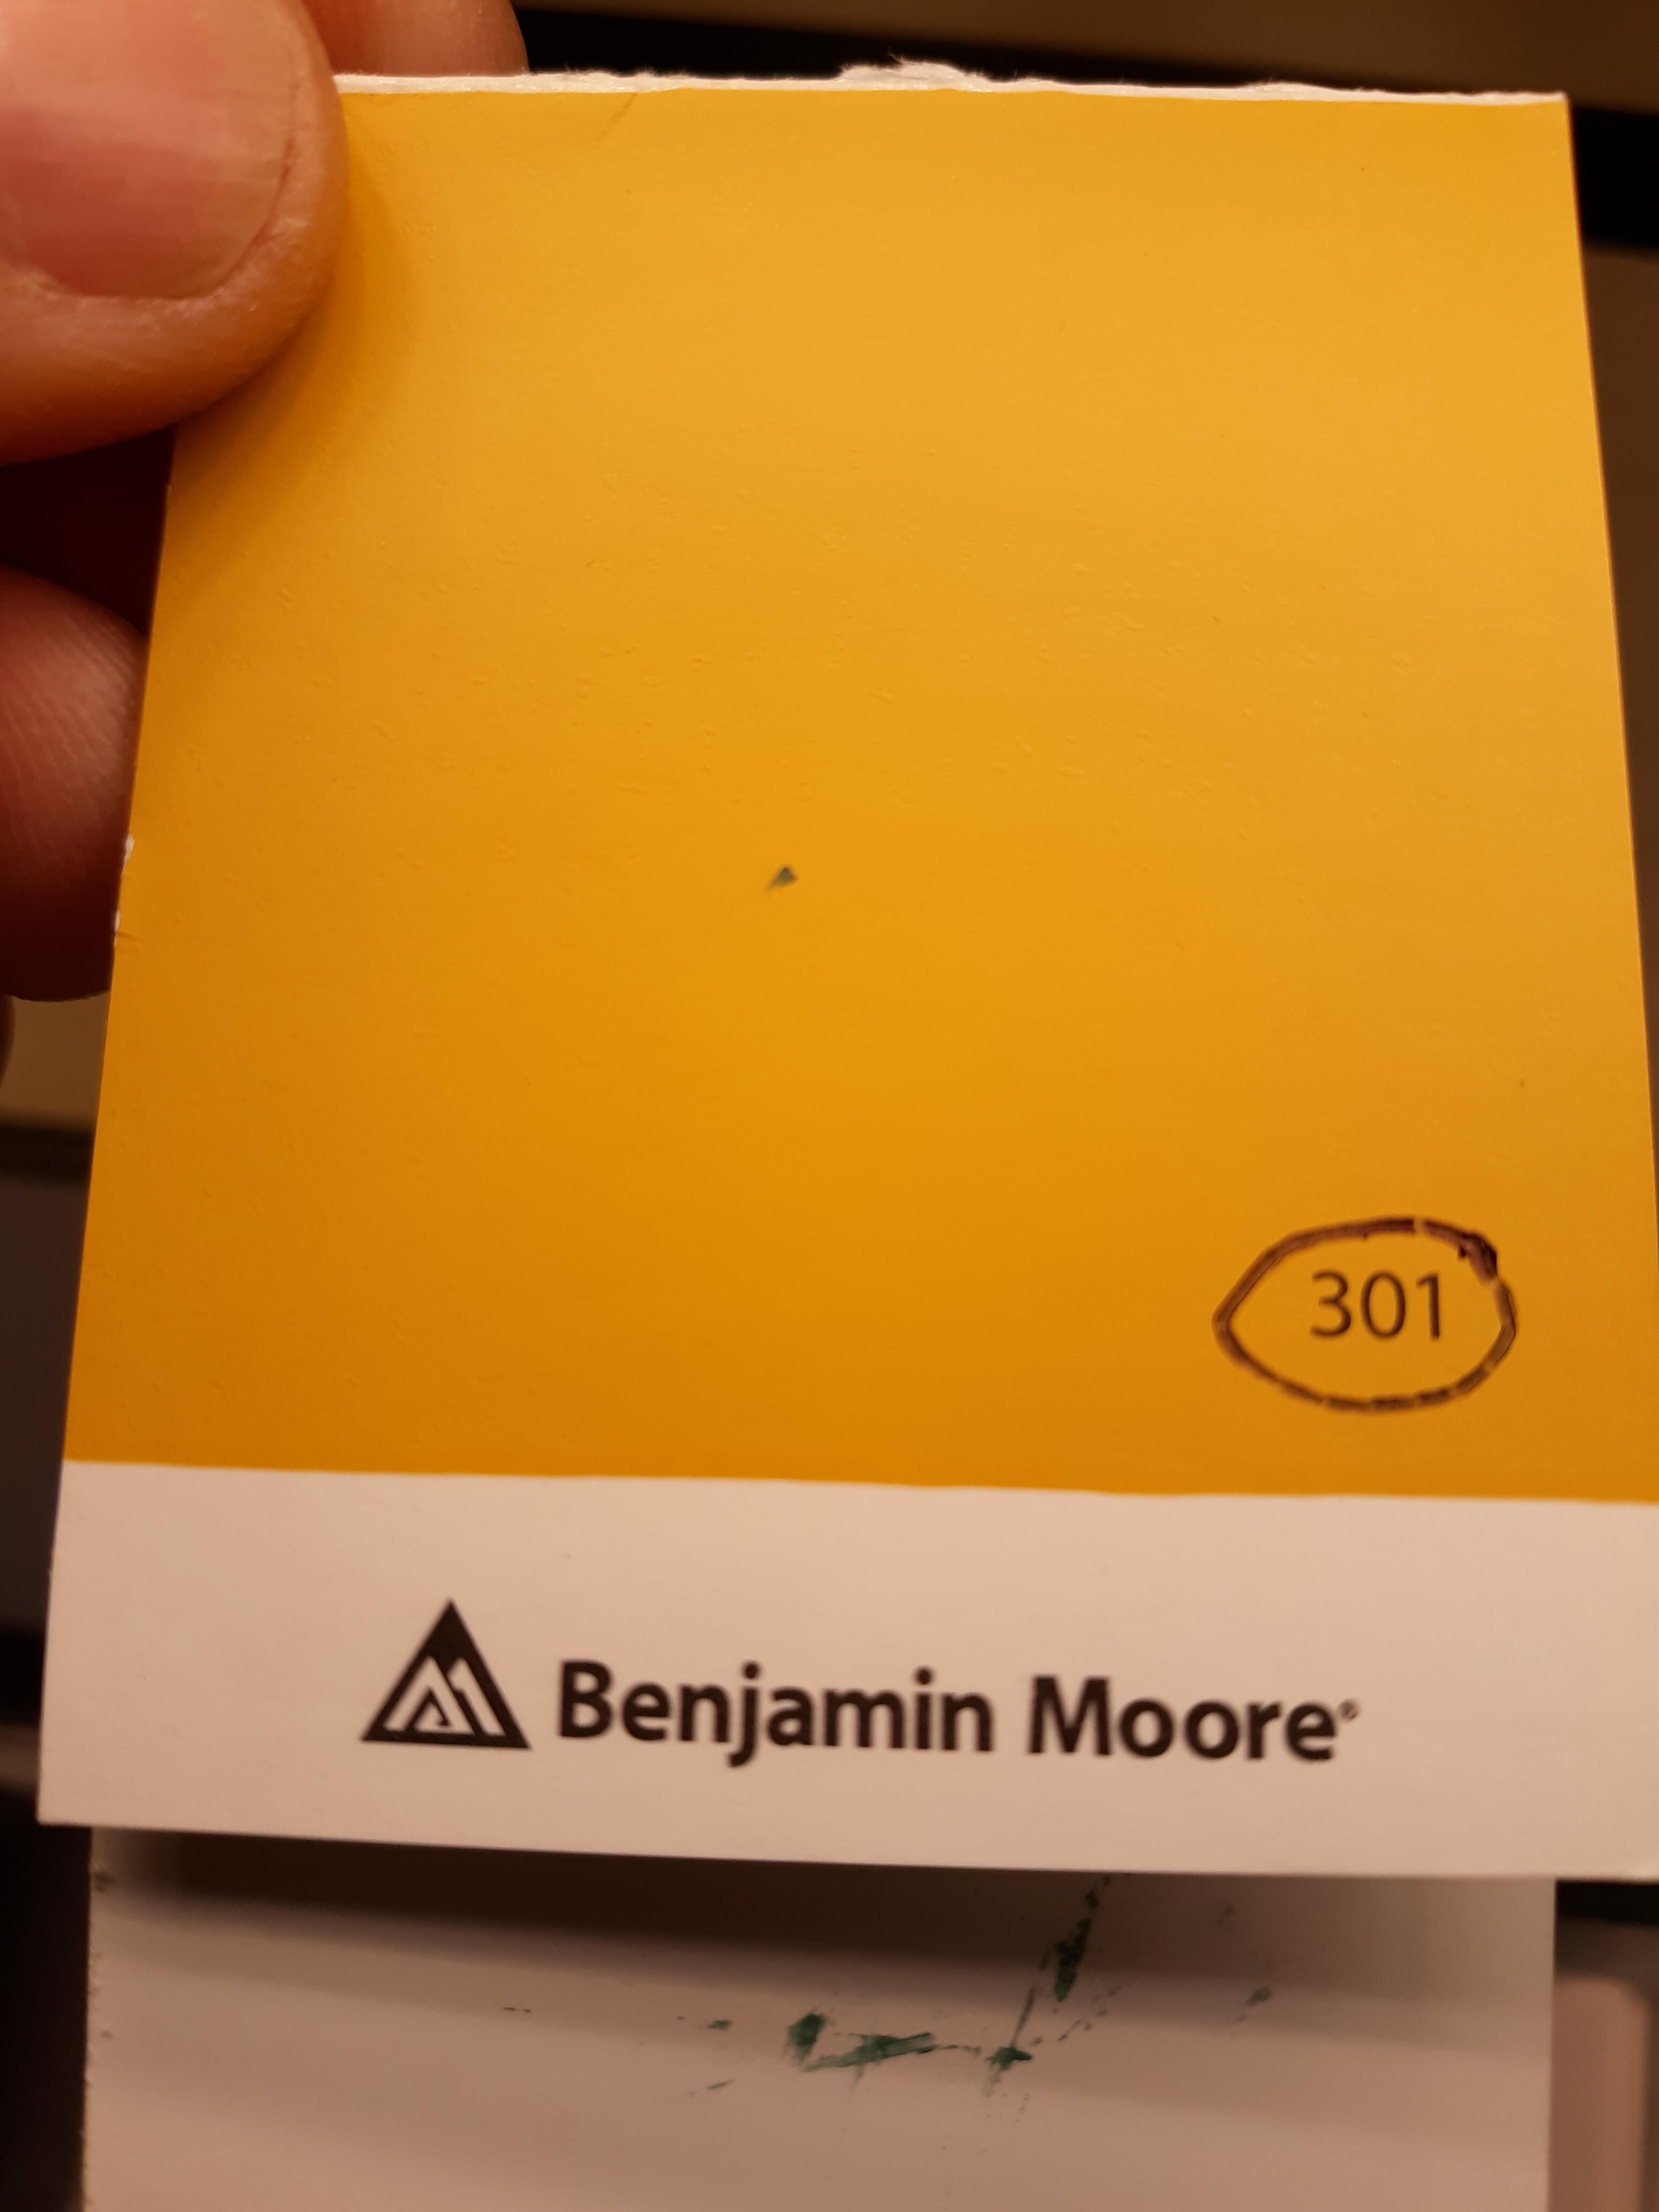
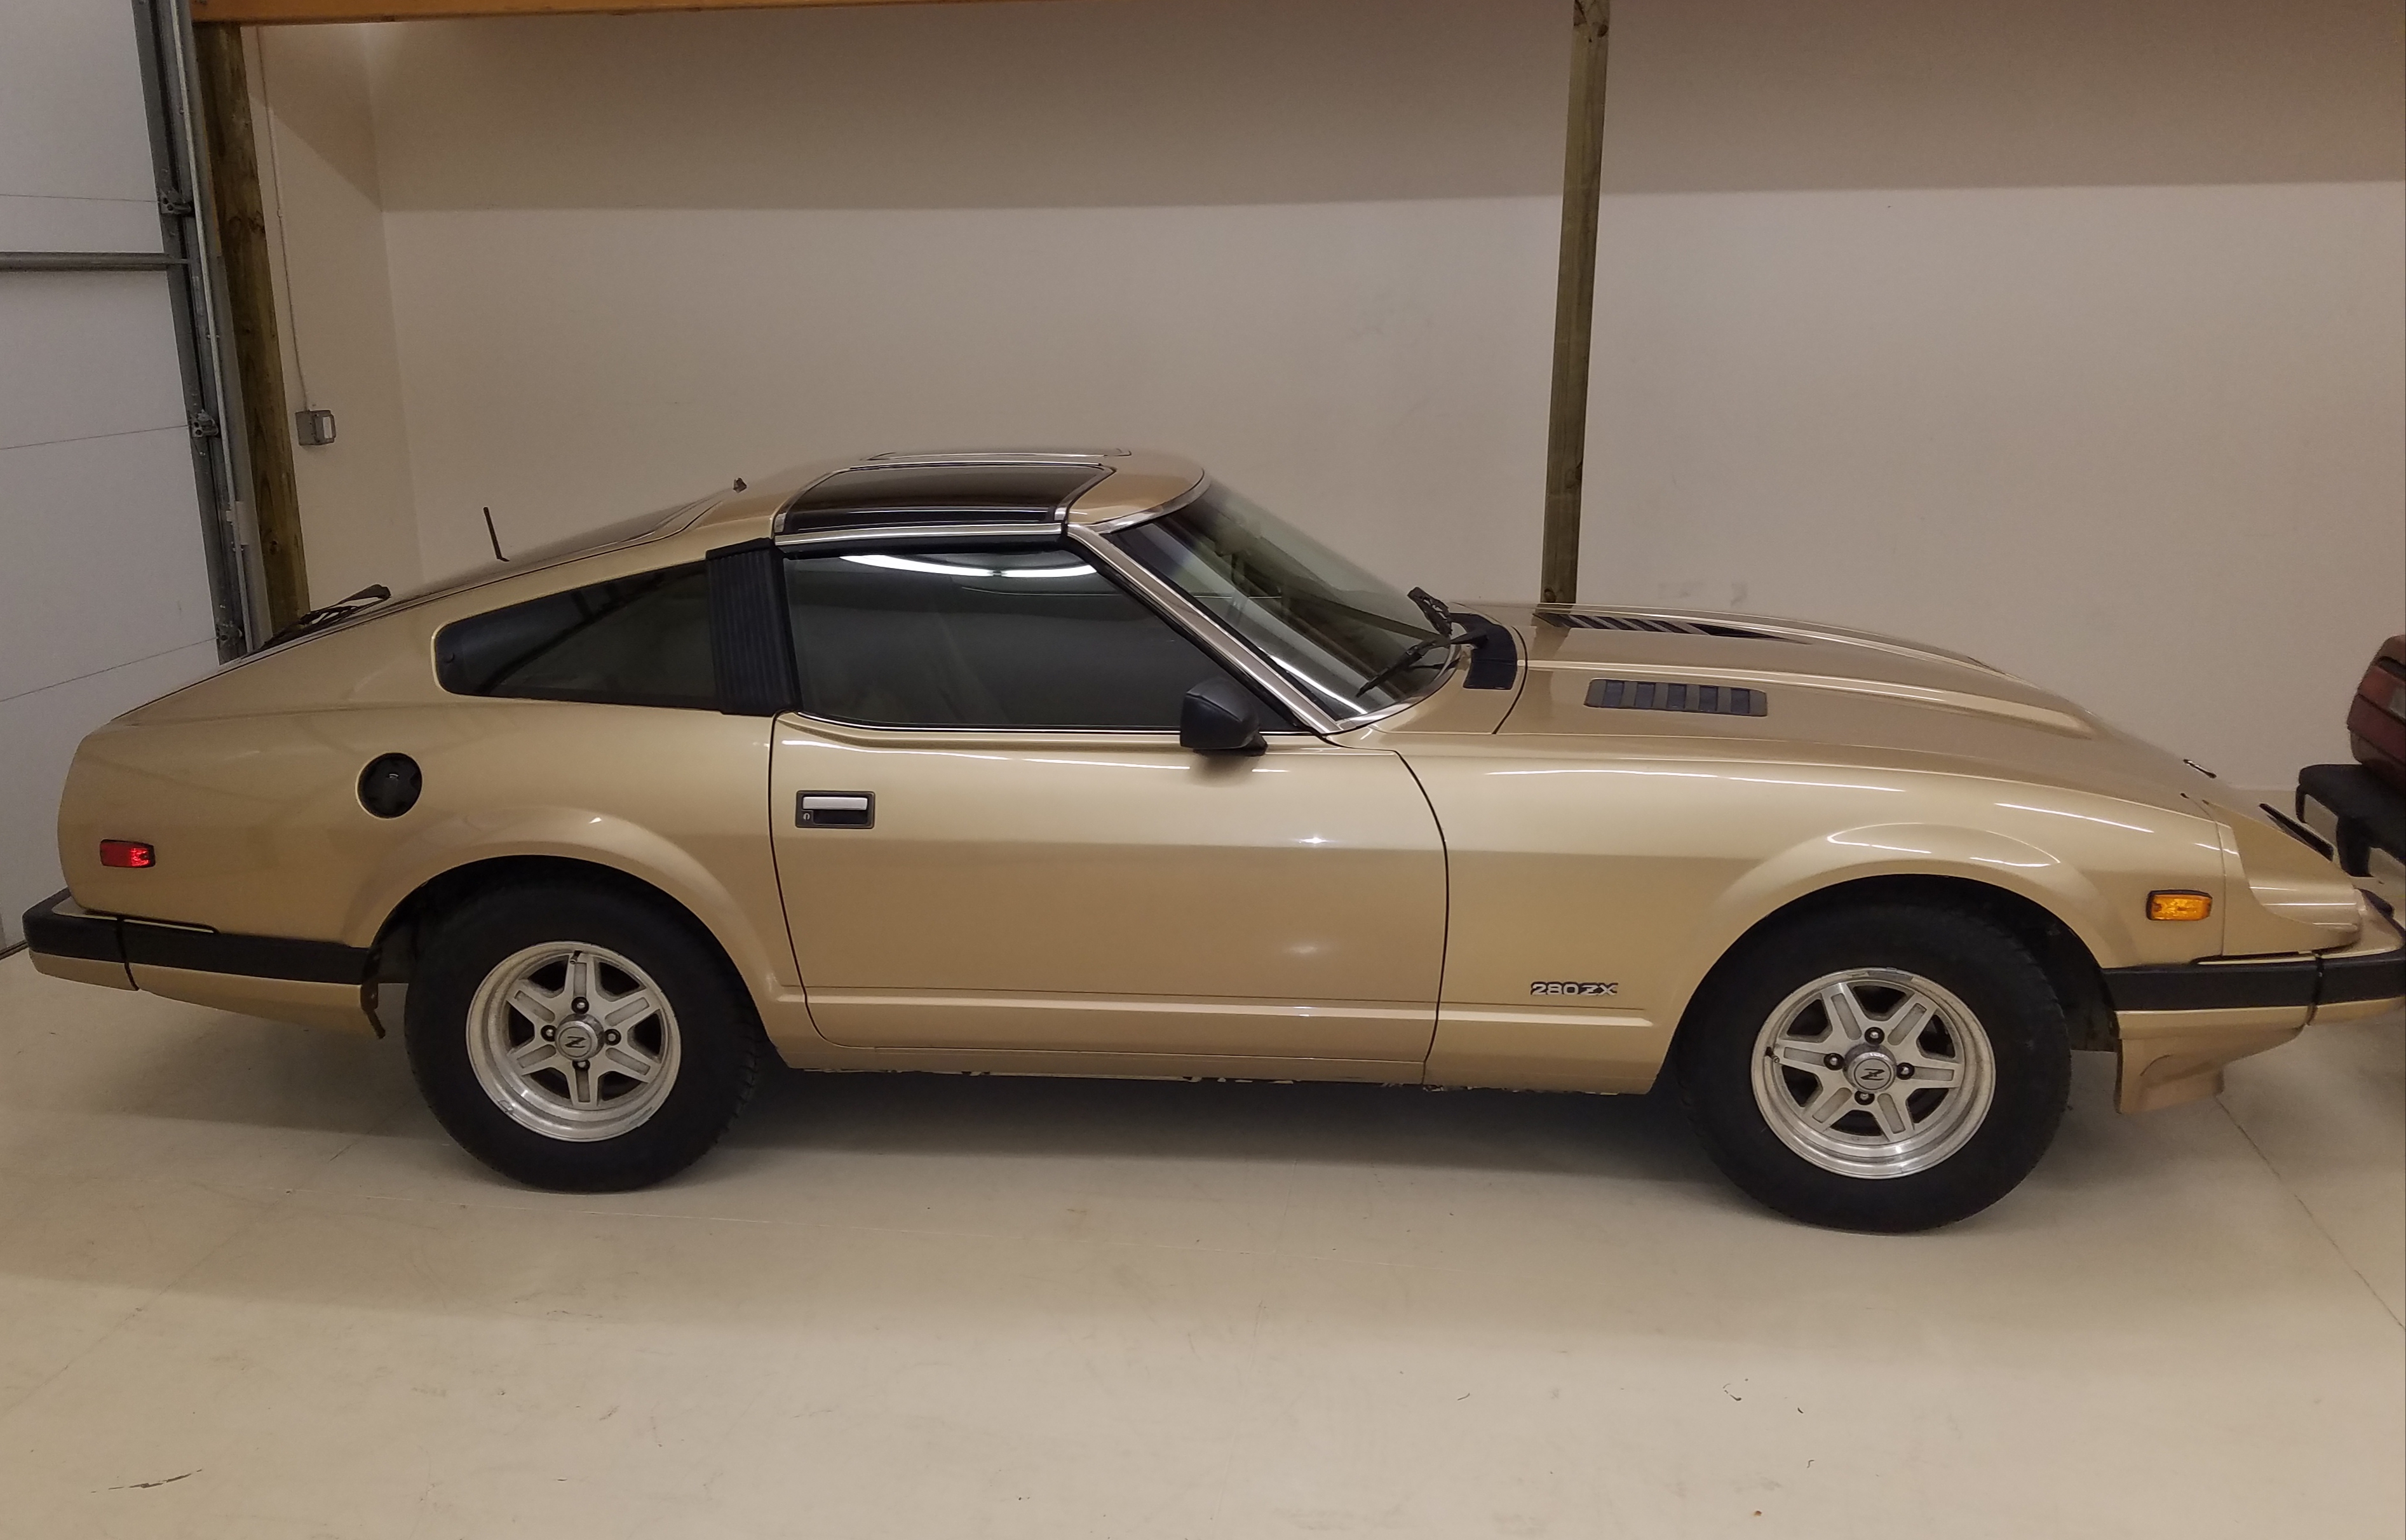
3 pointsDoes this look close to safari gold to anybody else? It's the closest I found at the paint store. Going to paint my front door on the house with this in a satin finish. Thanks for any opinions.
 3 points
 -
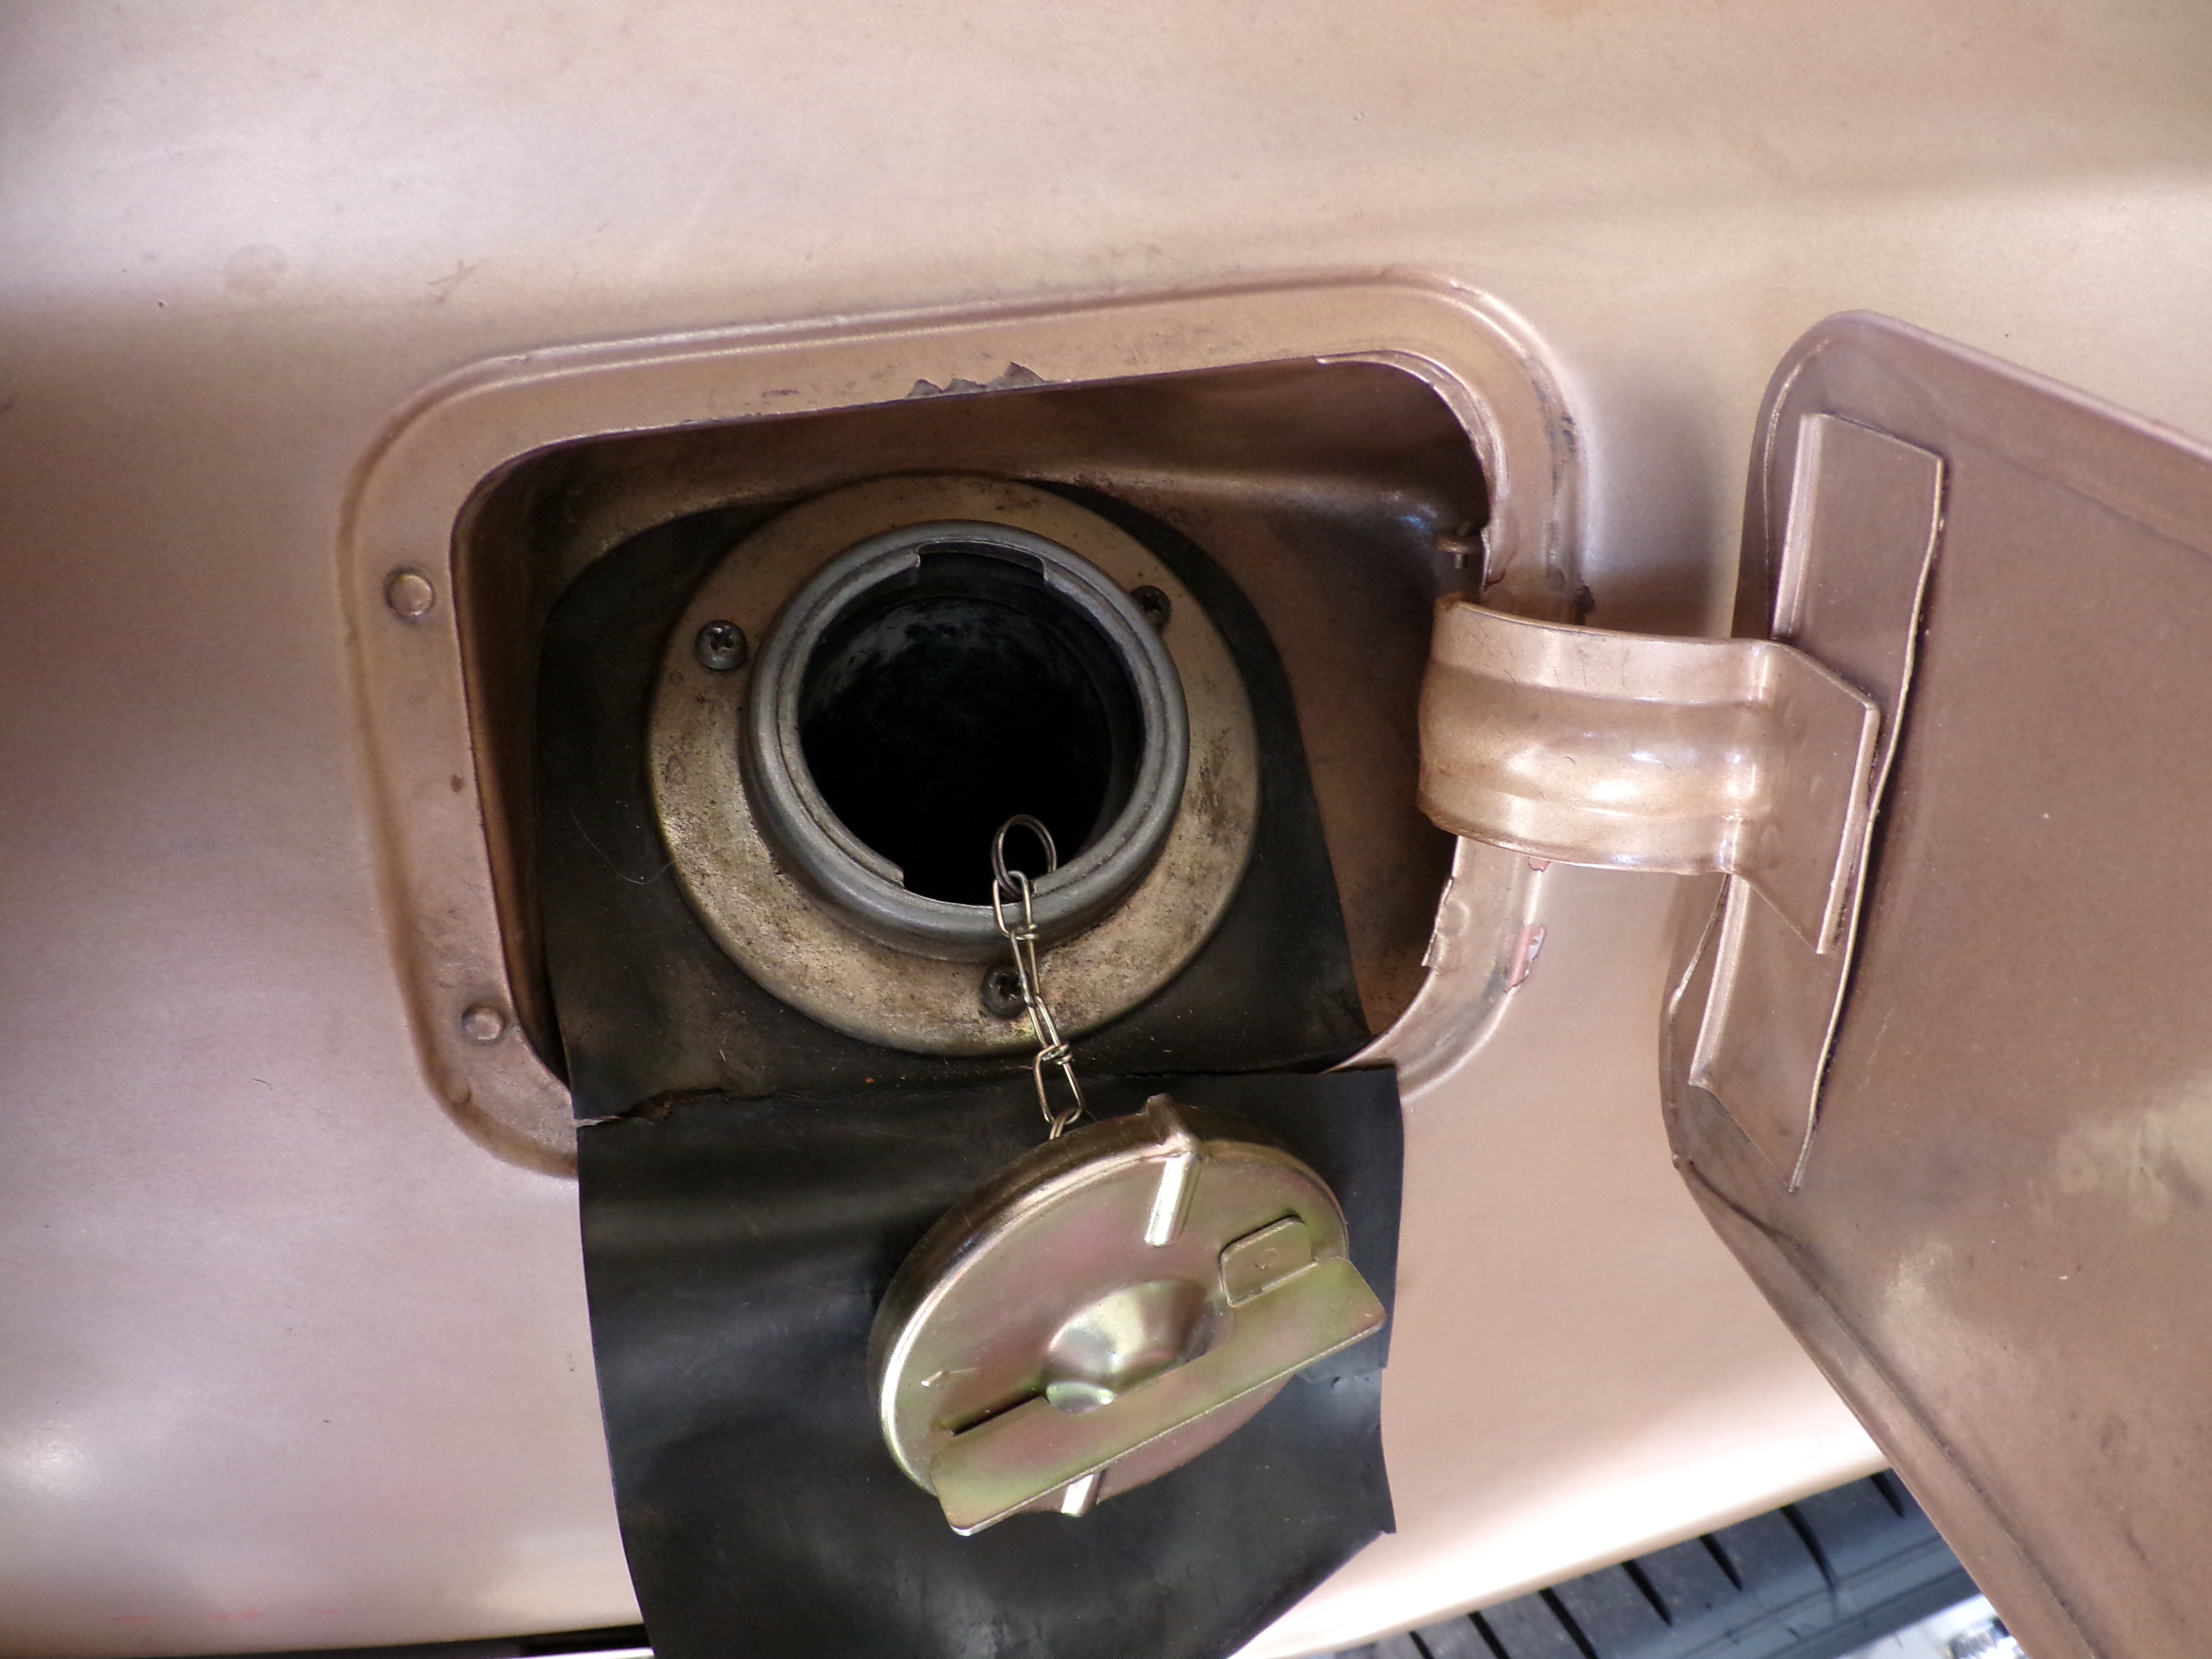
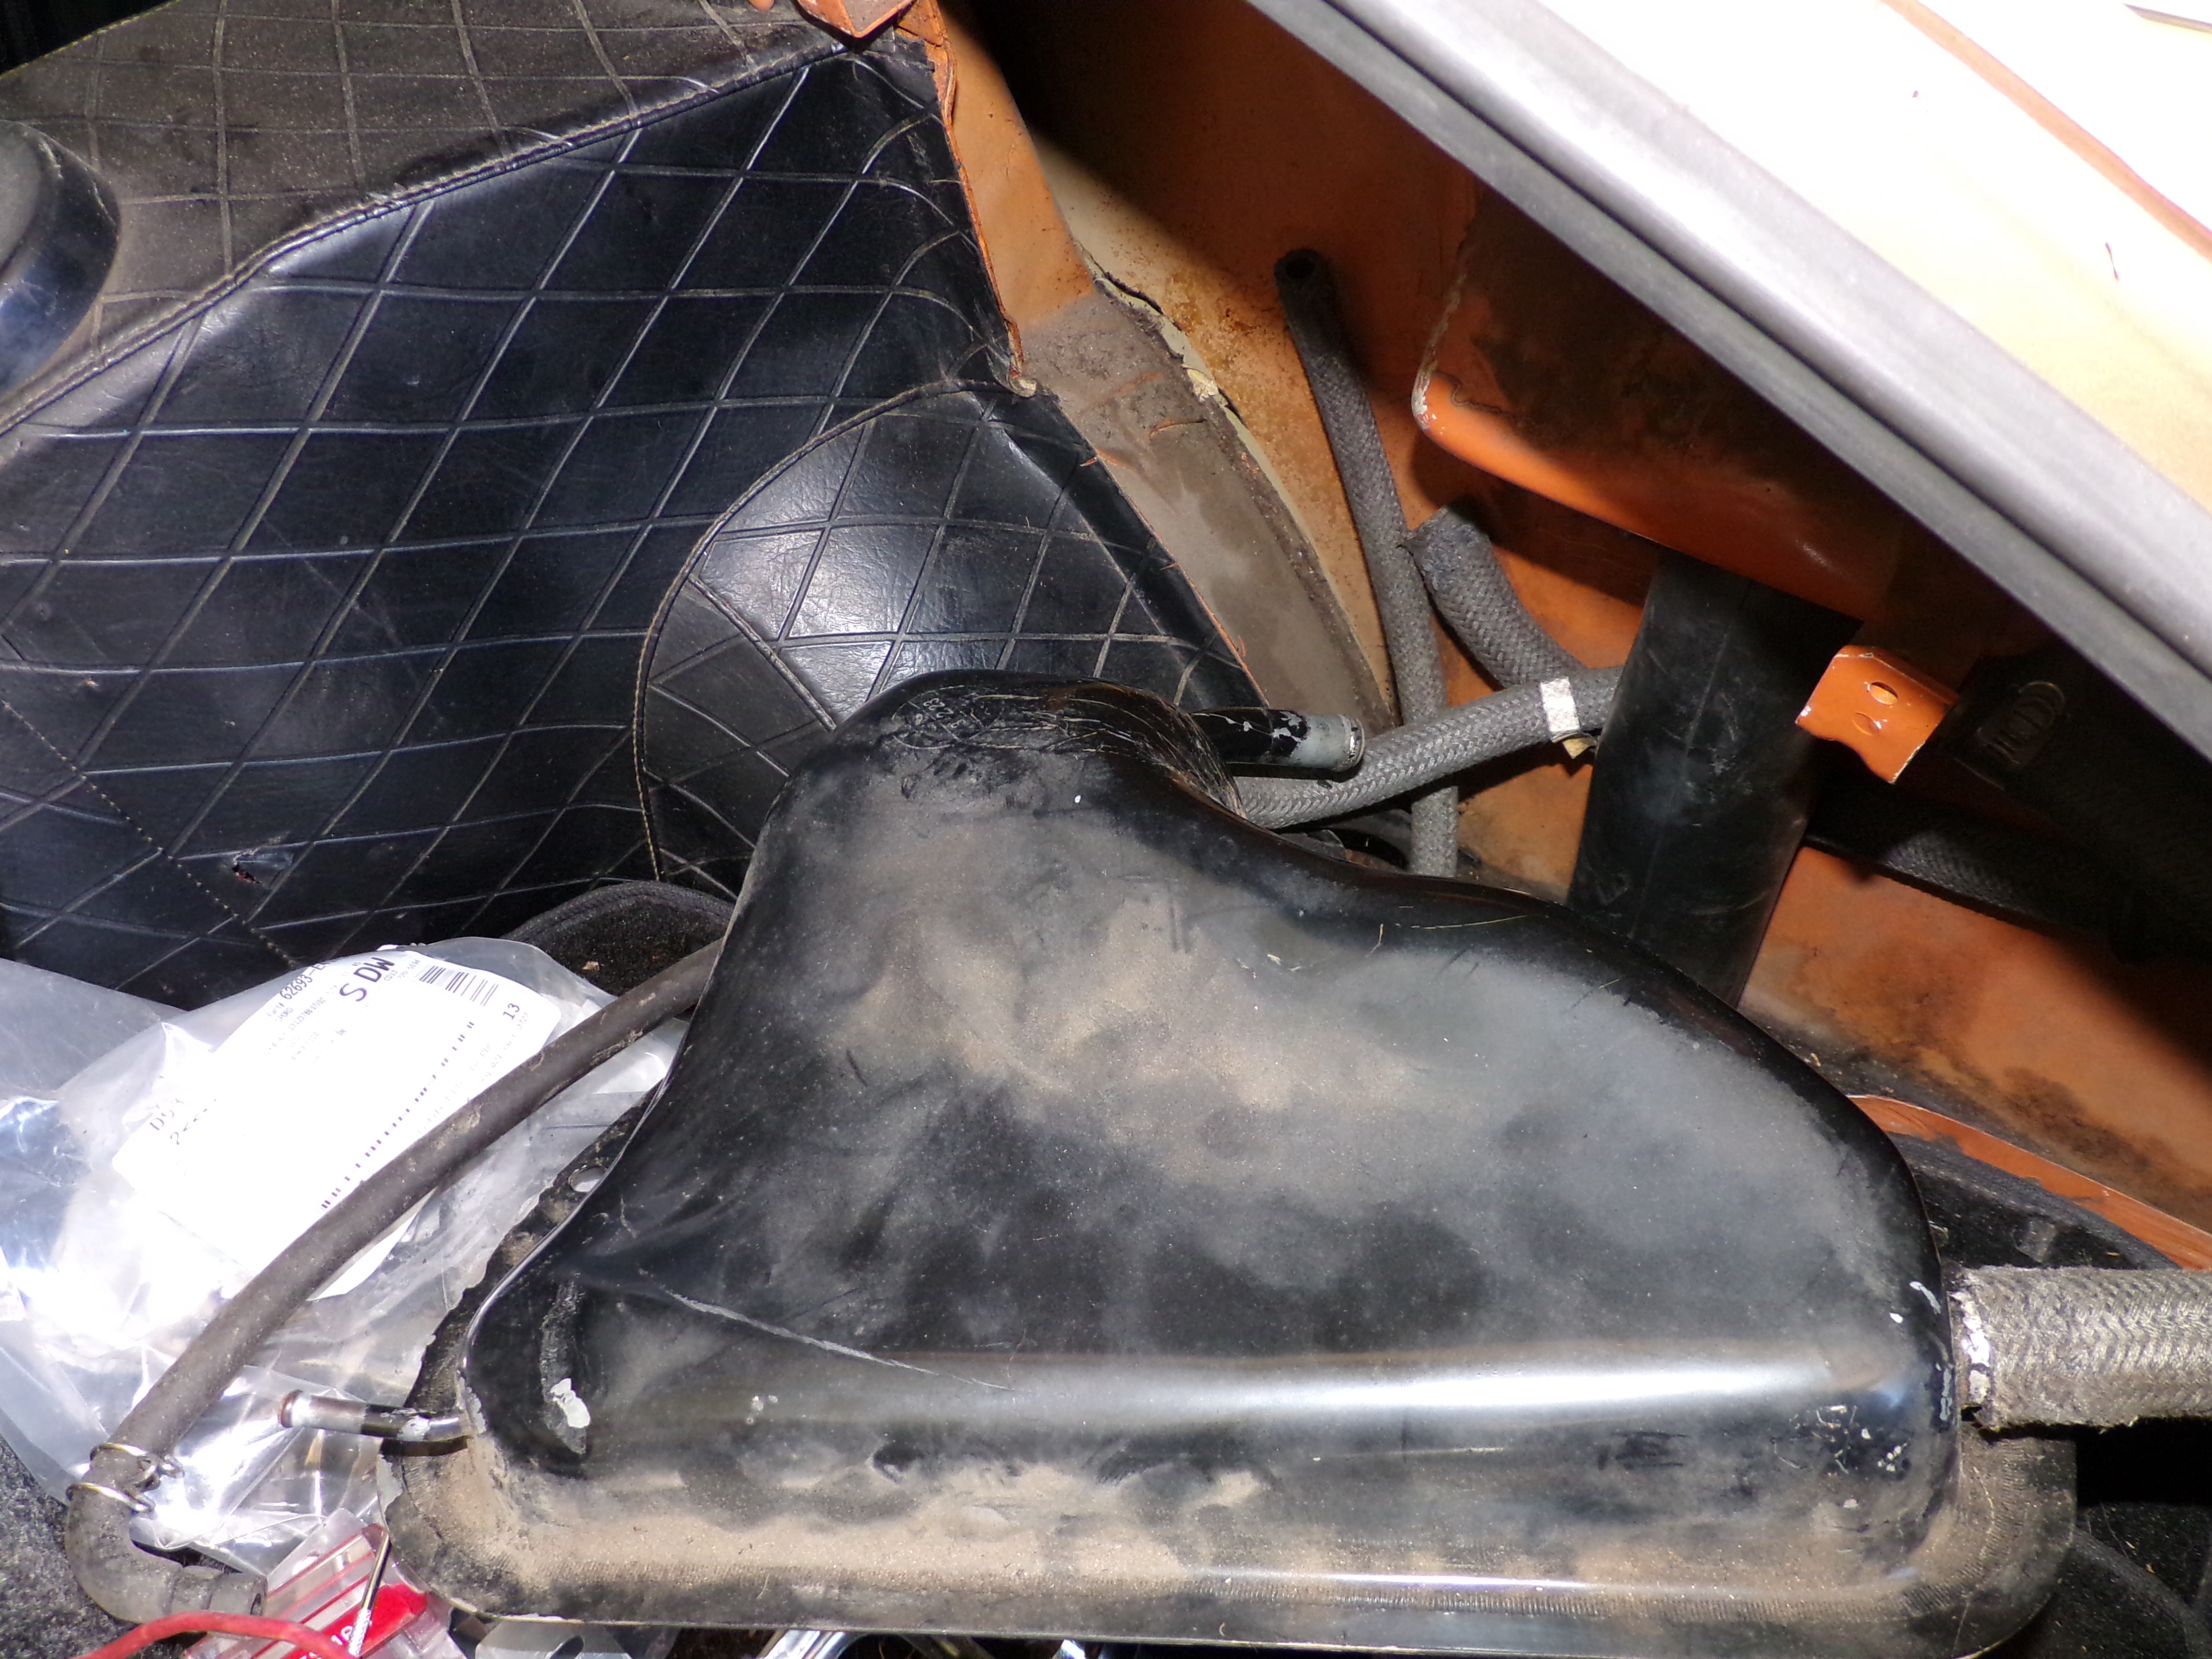
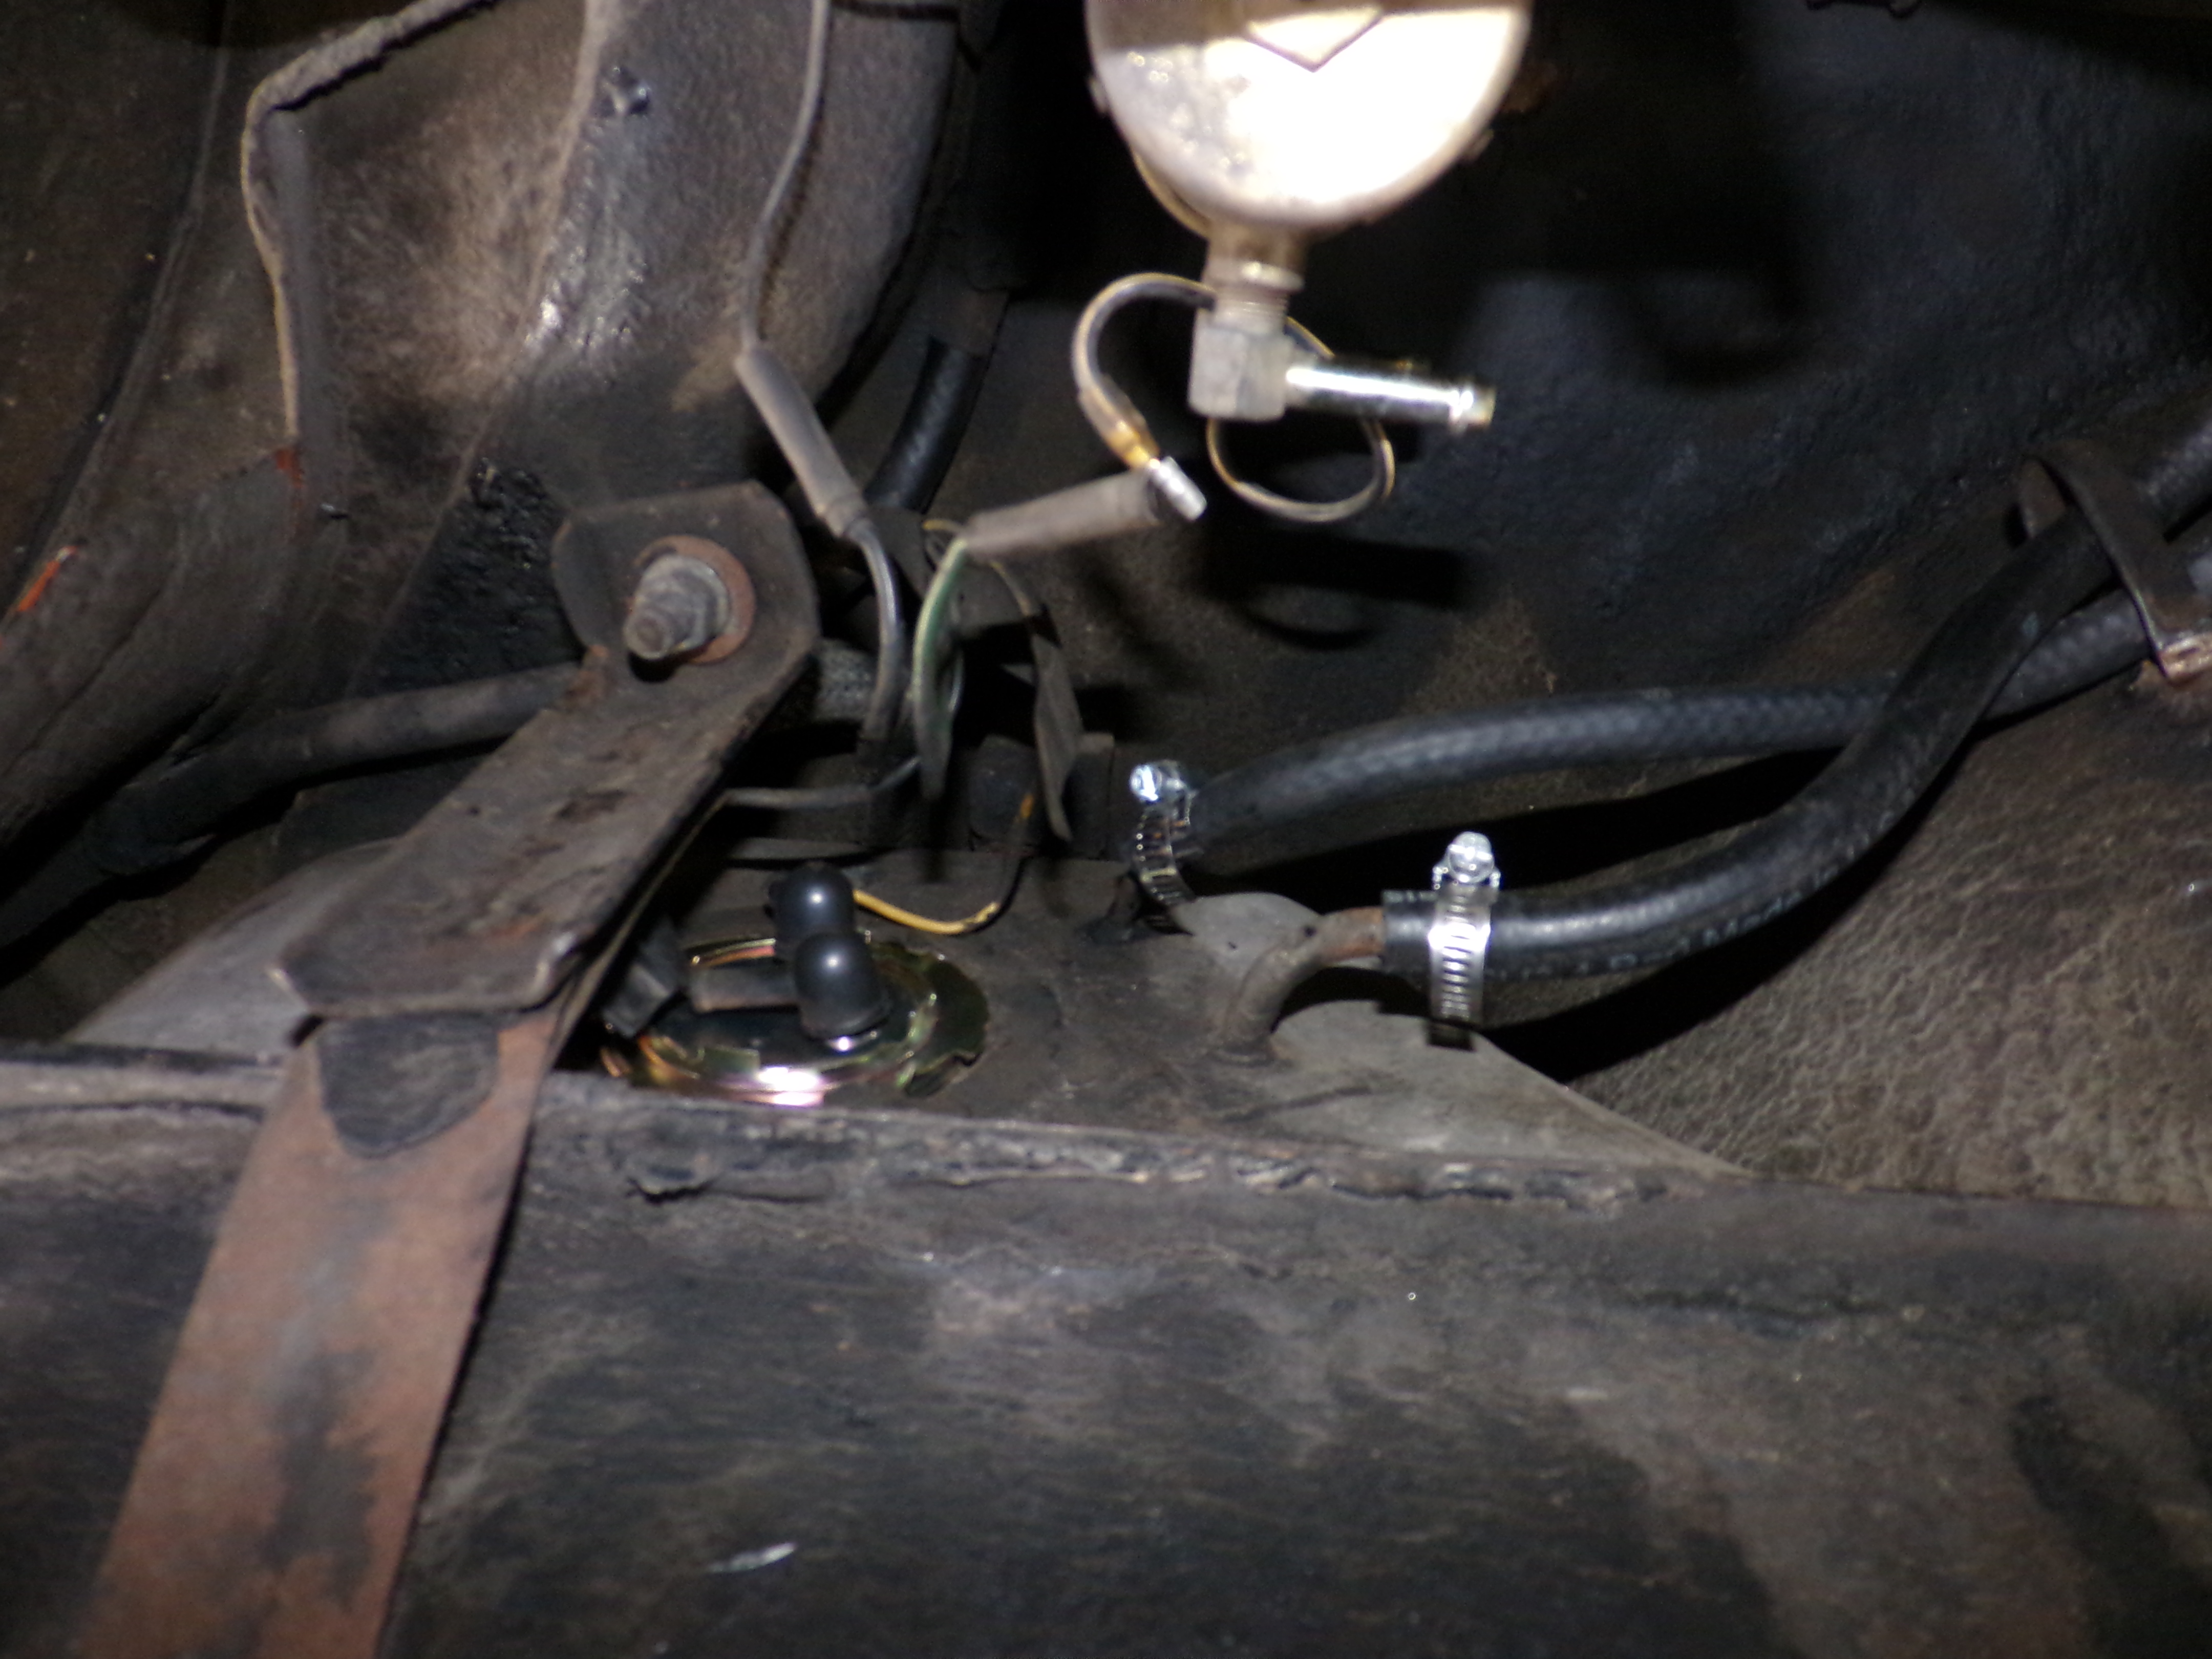
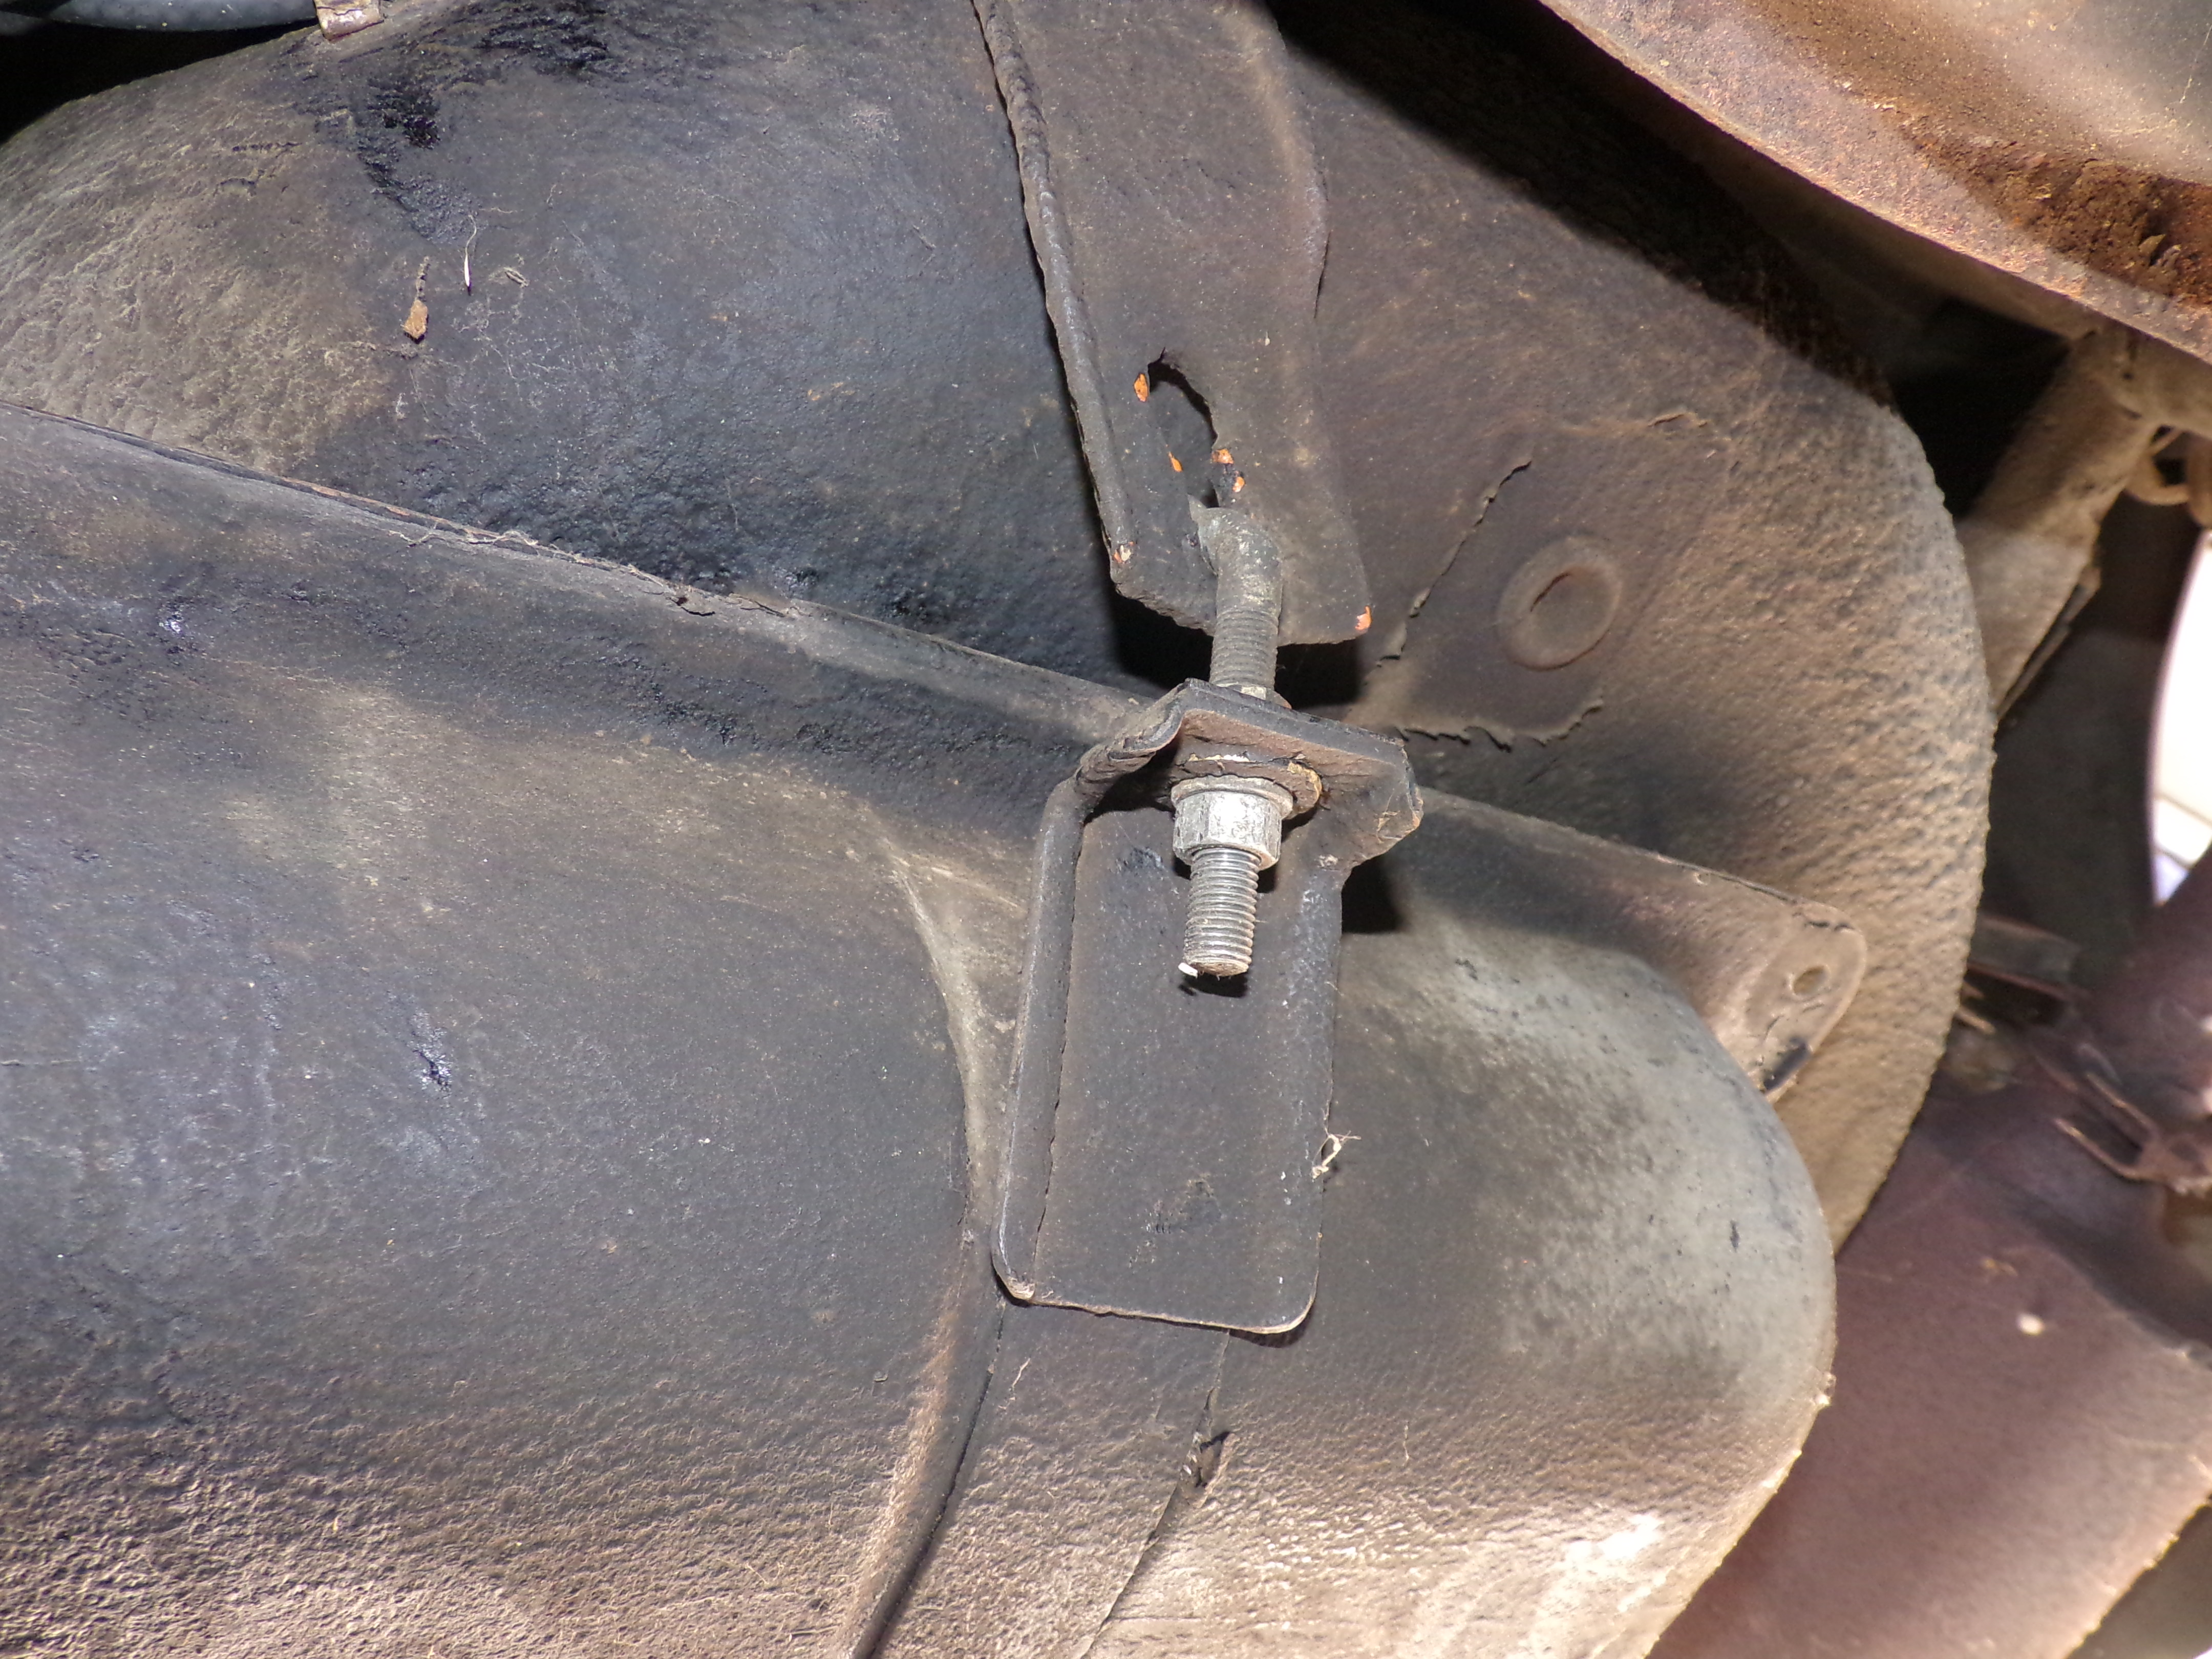
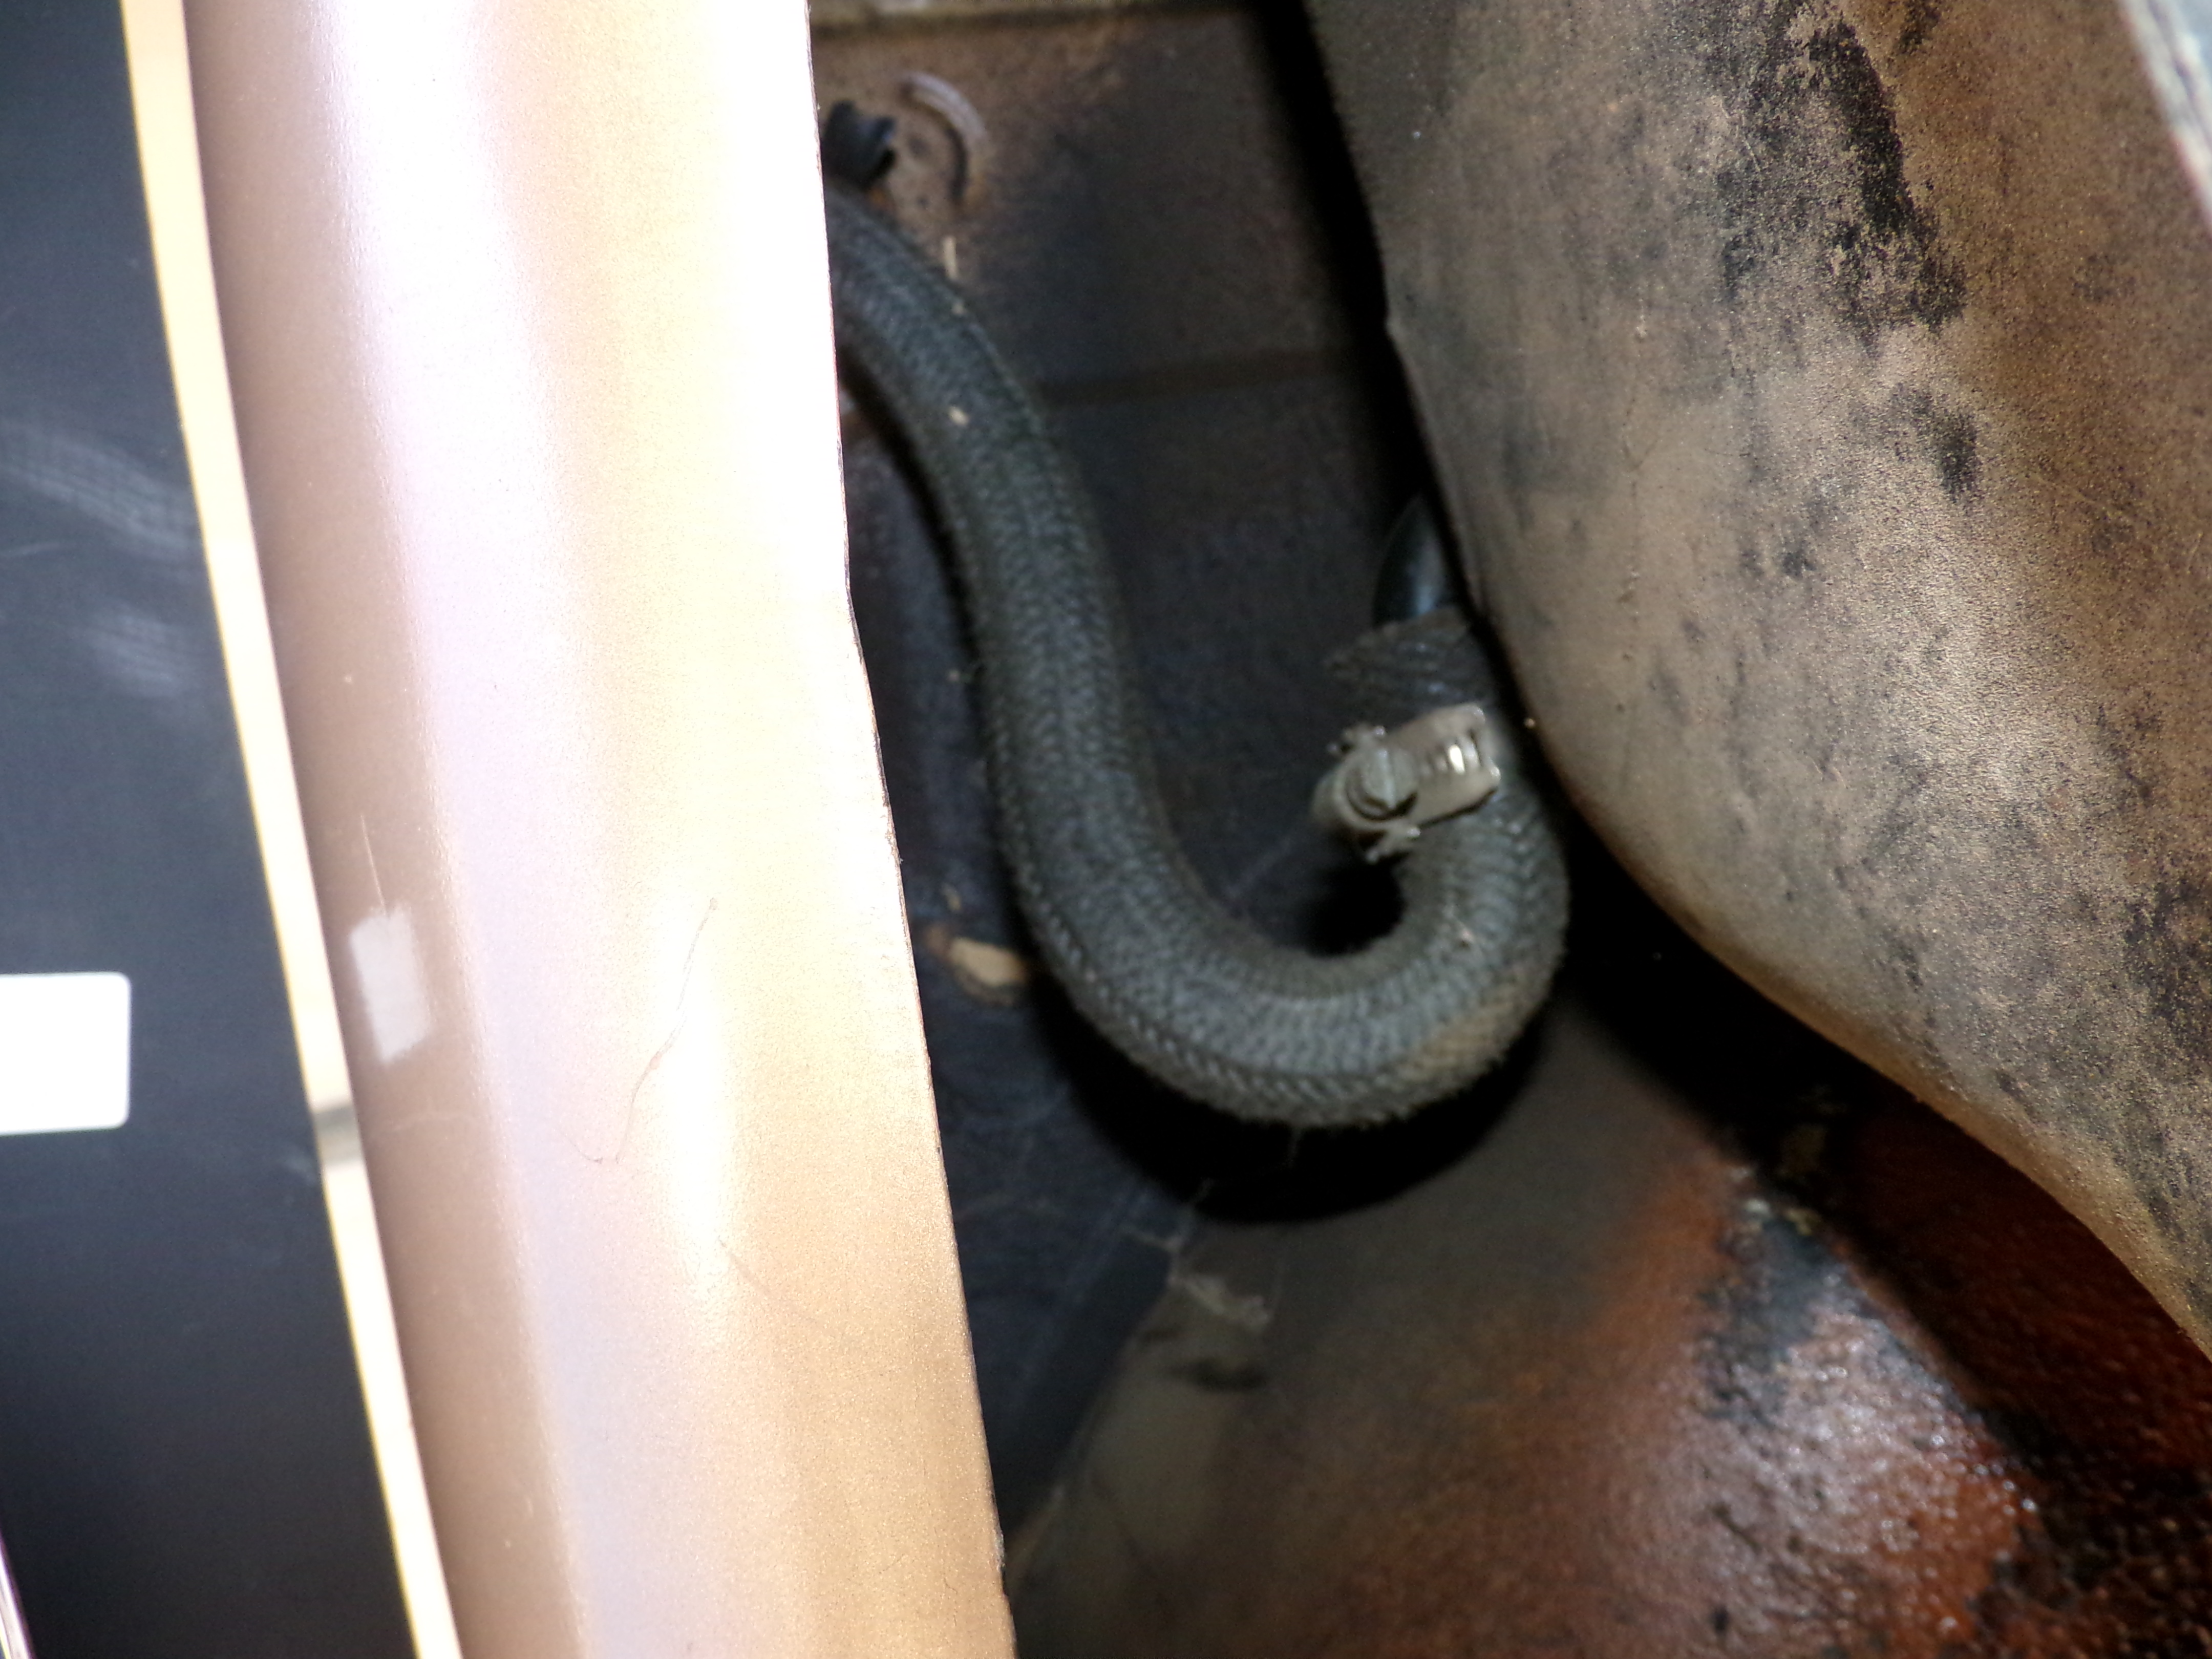
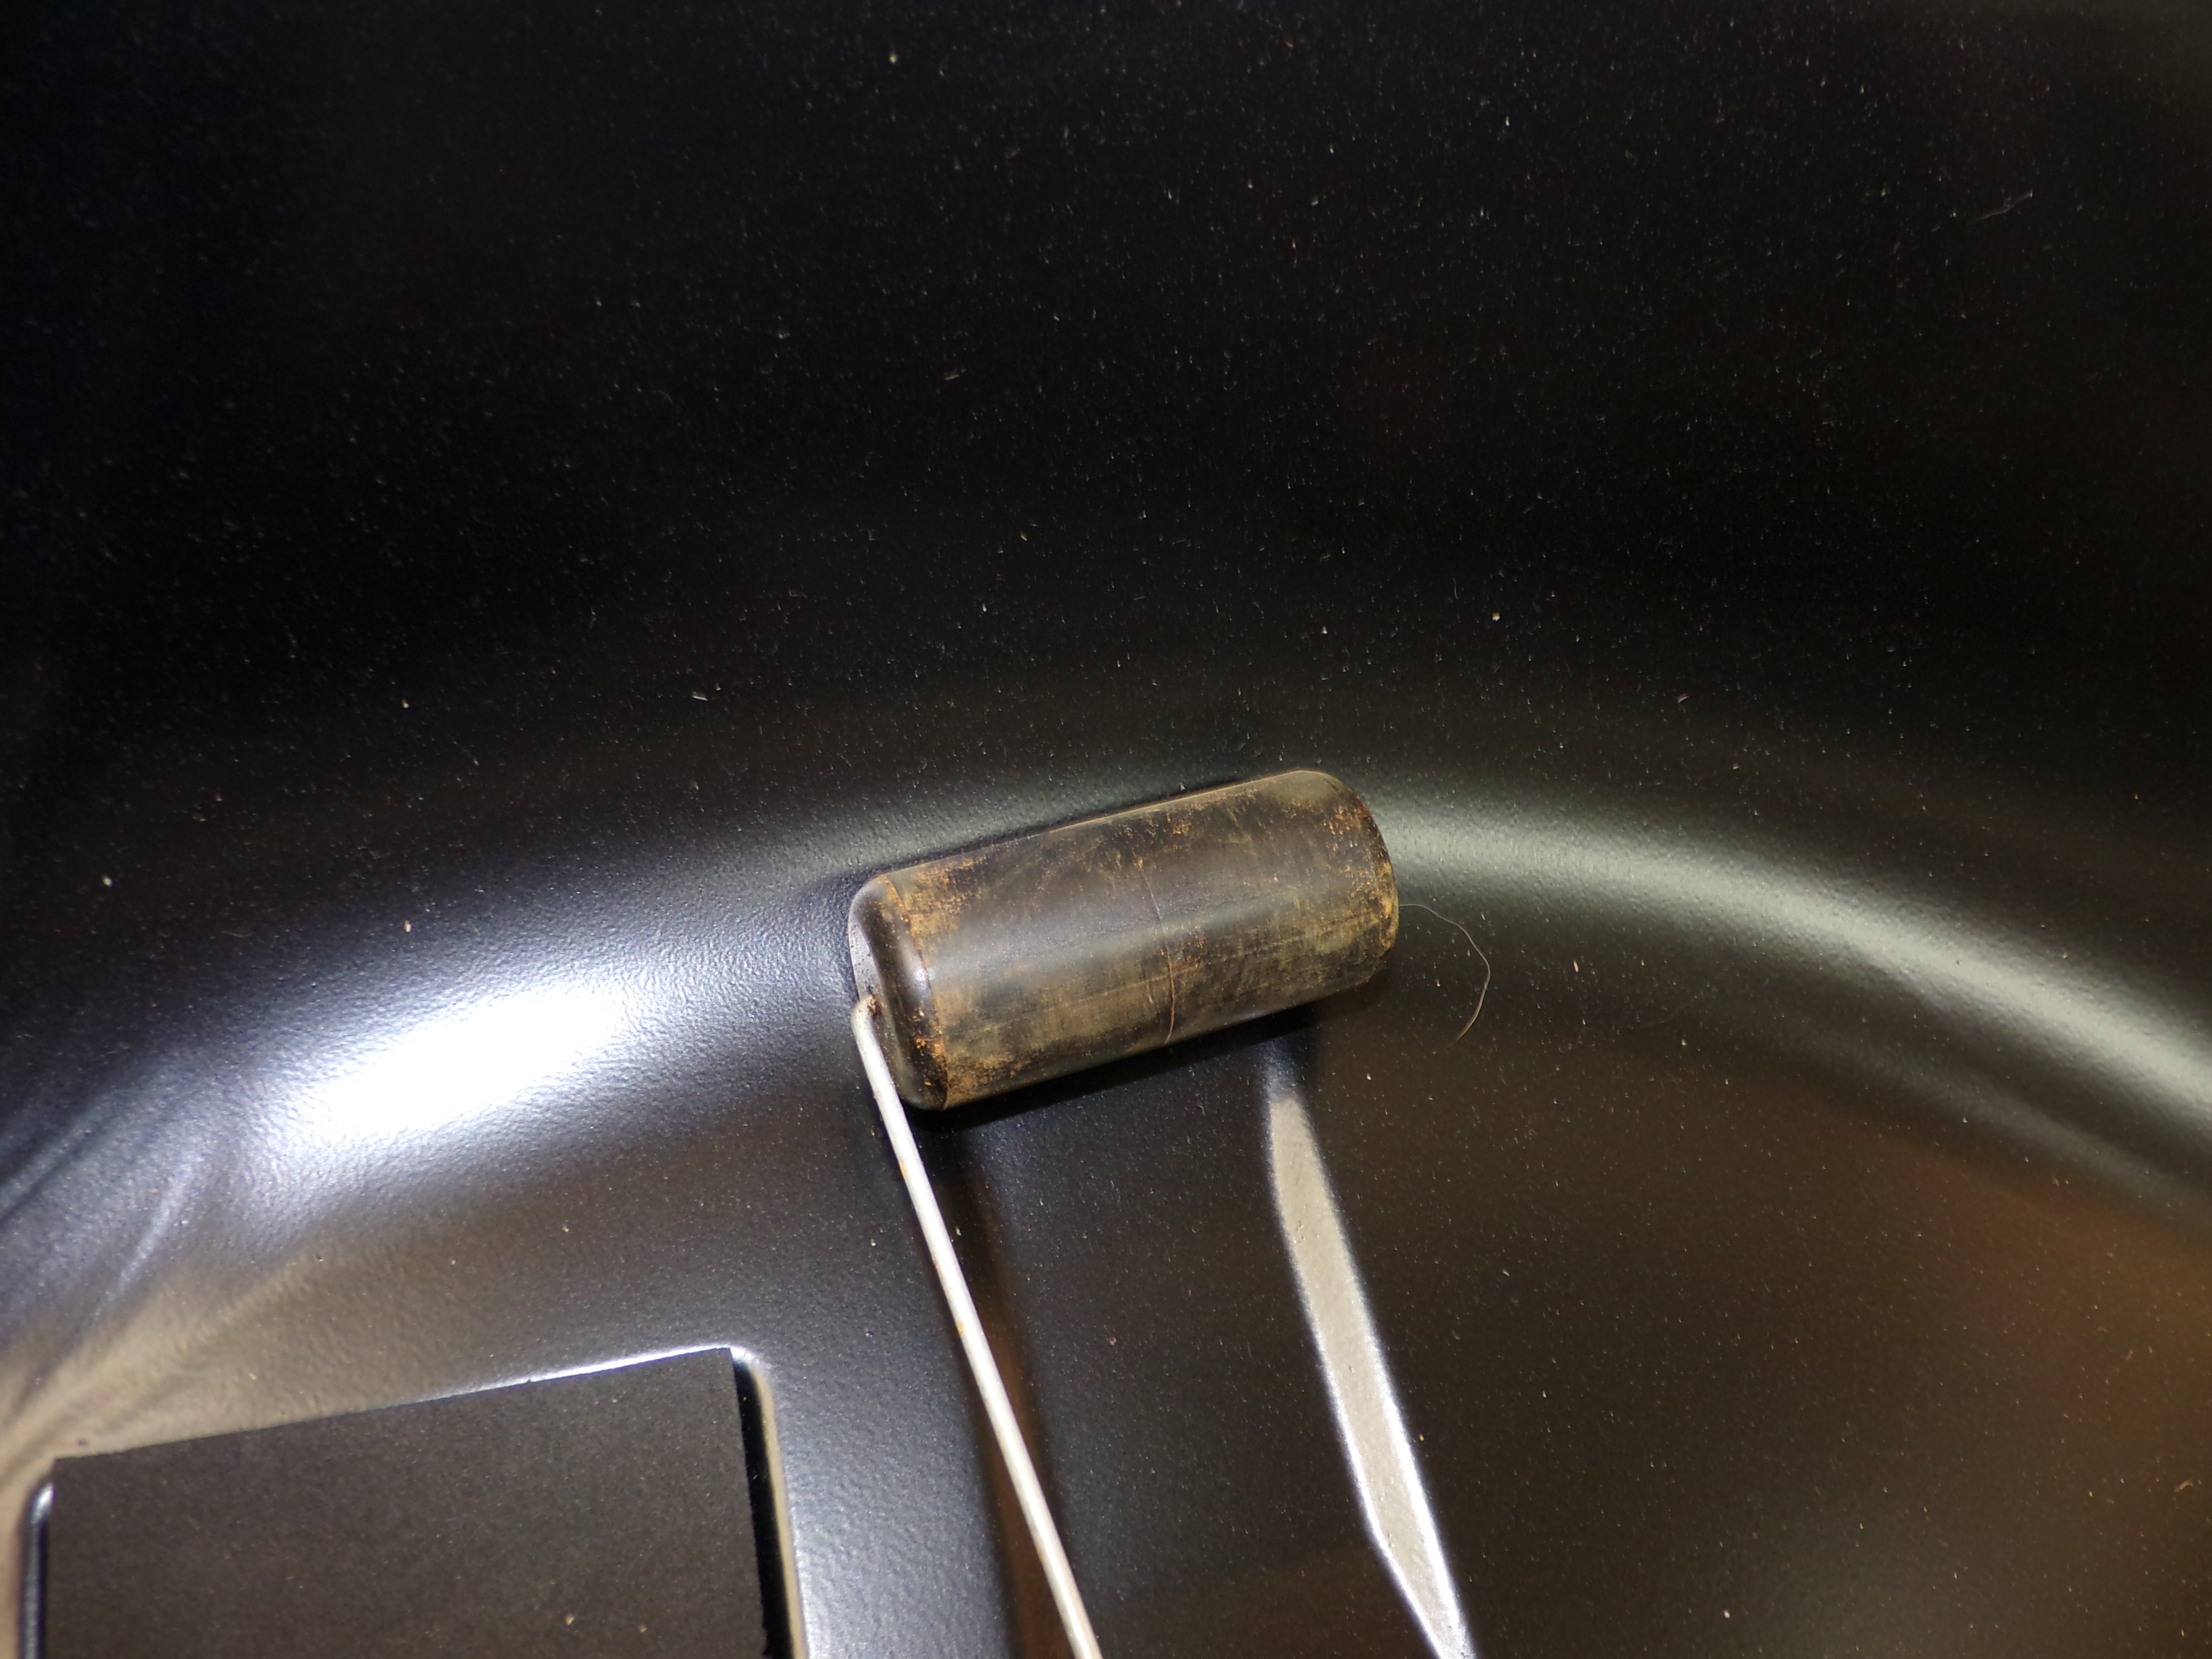
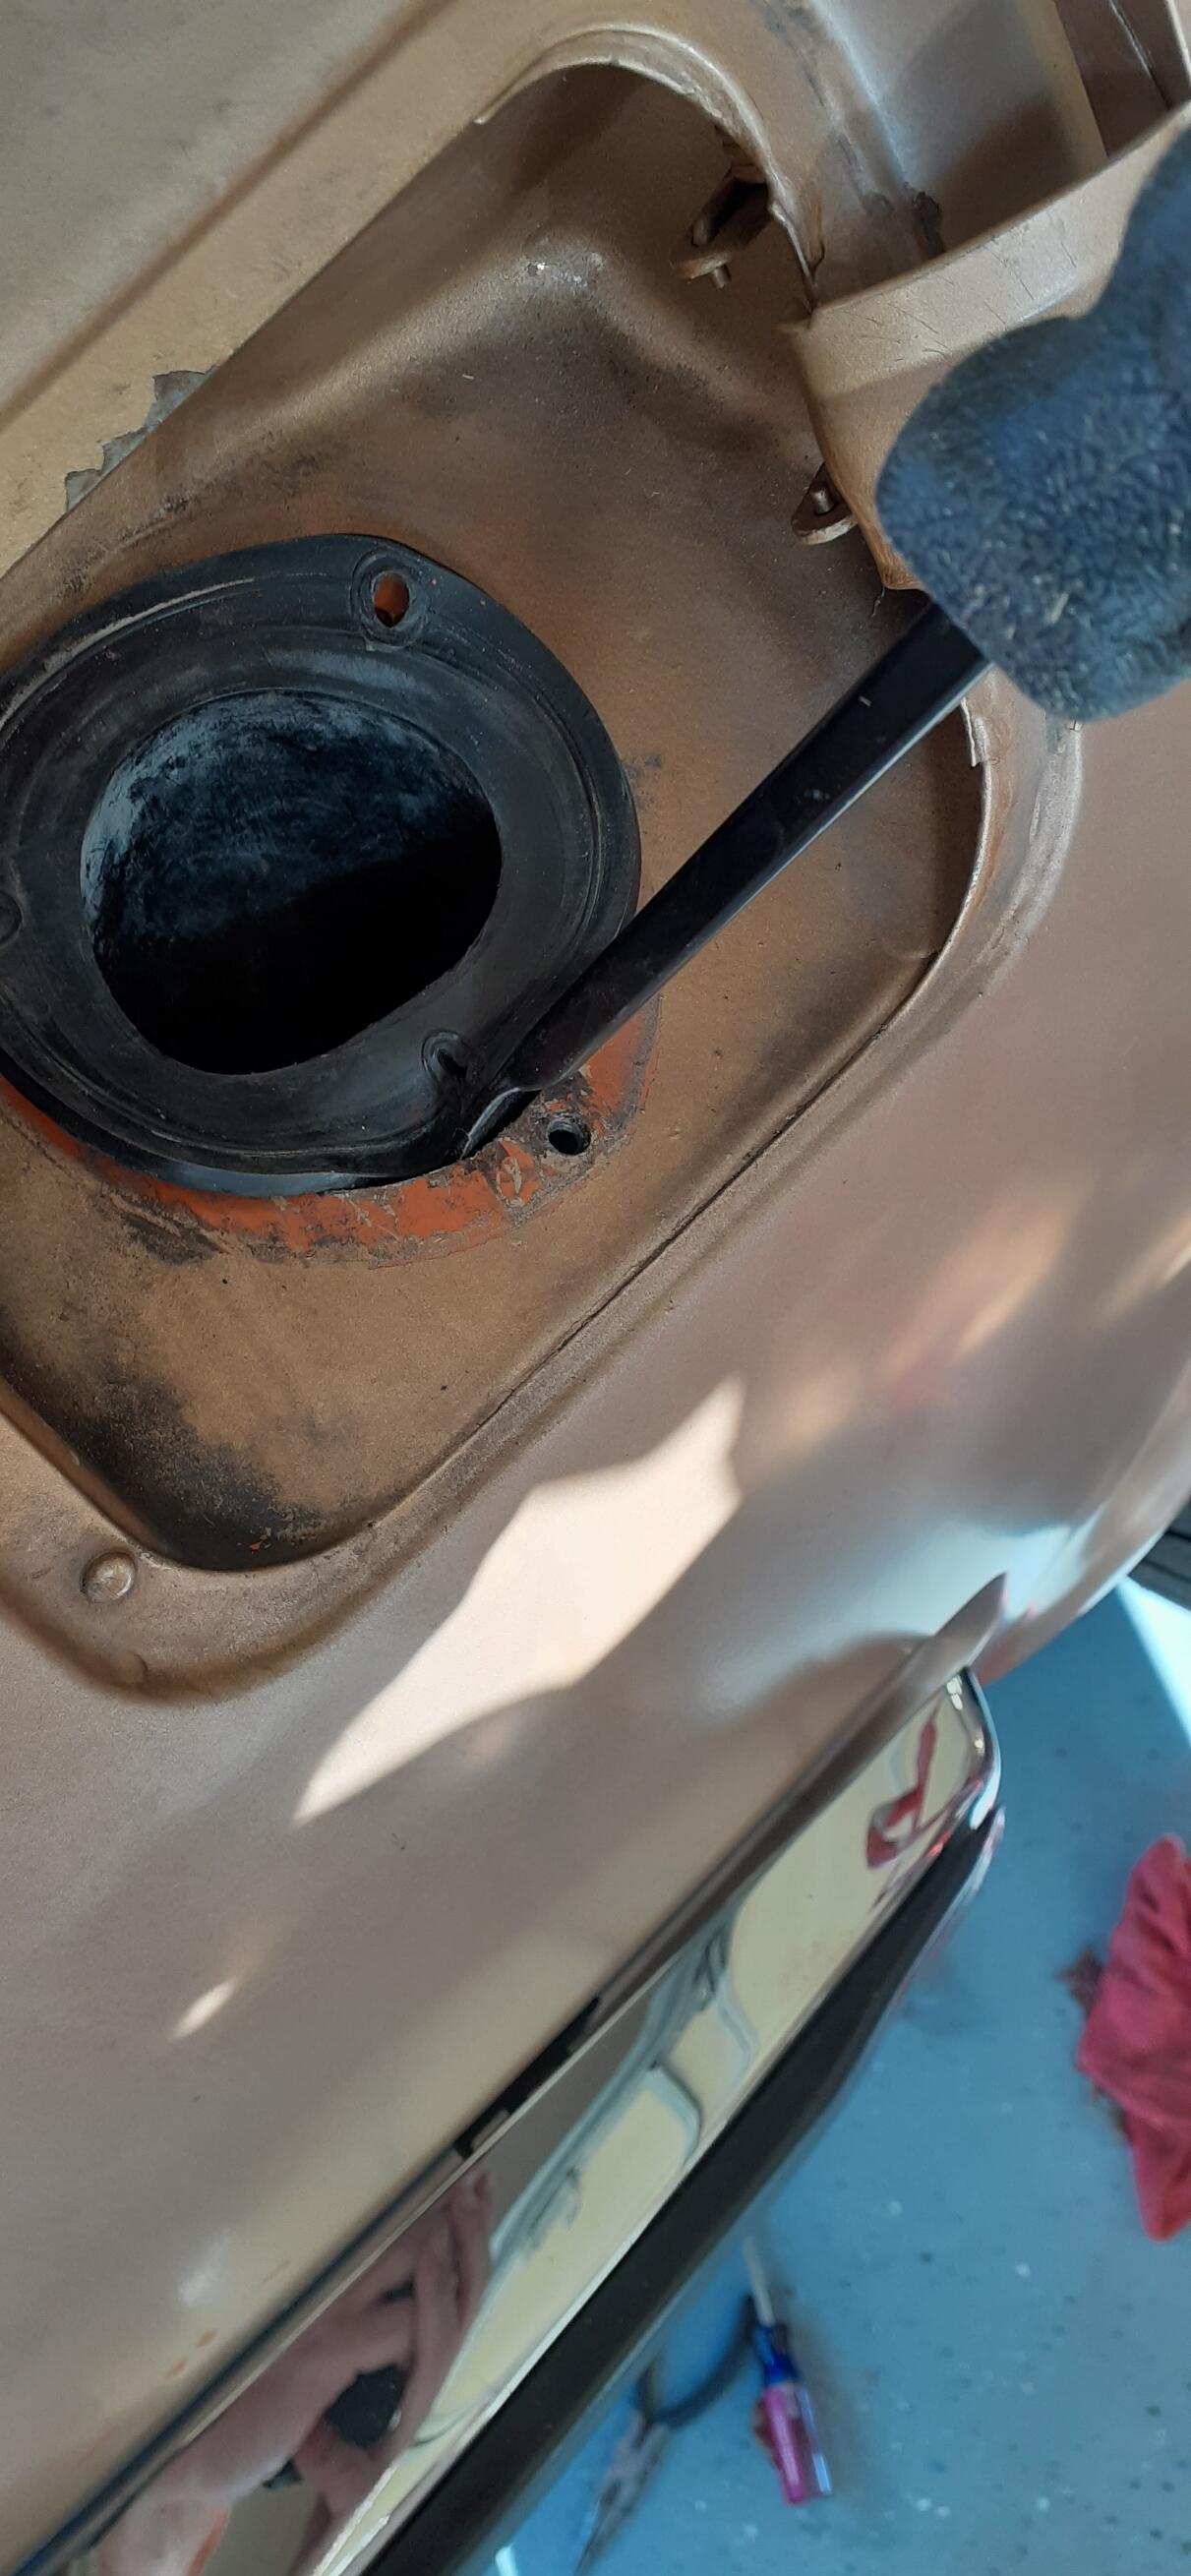
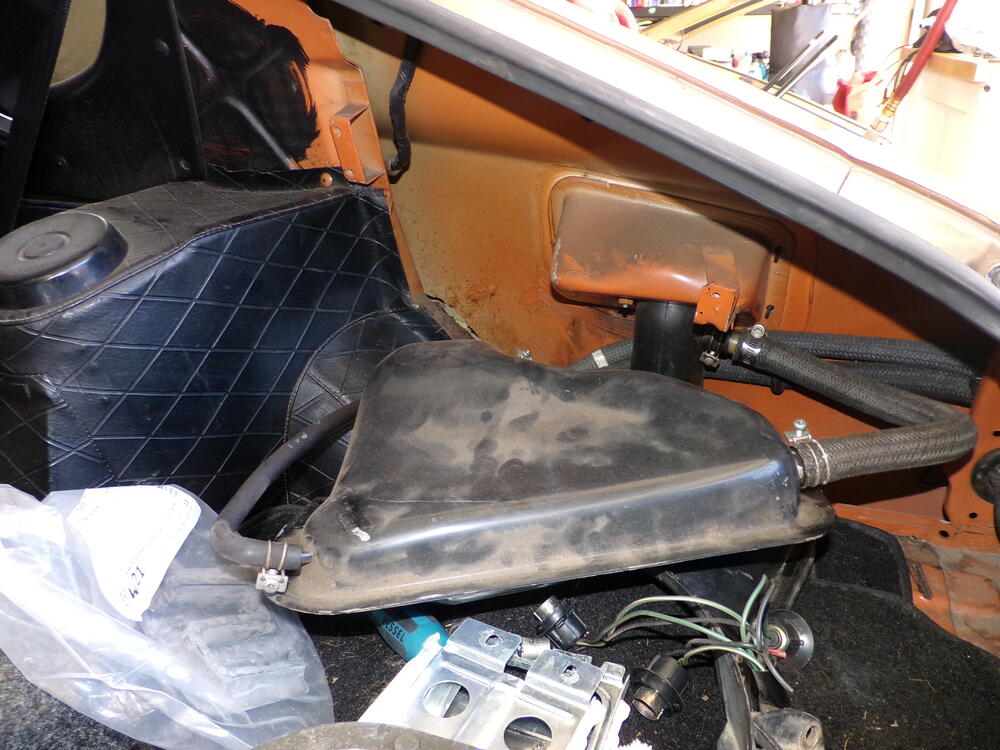
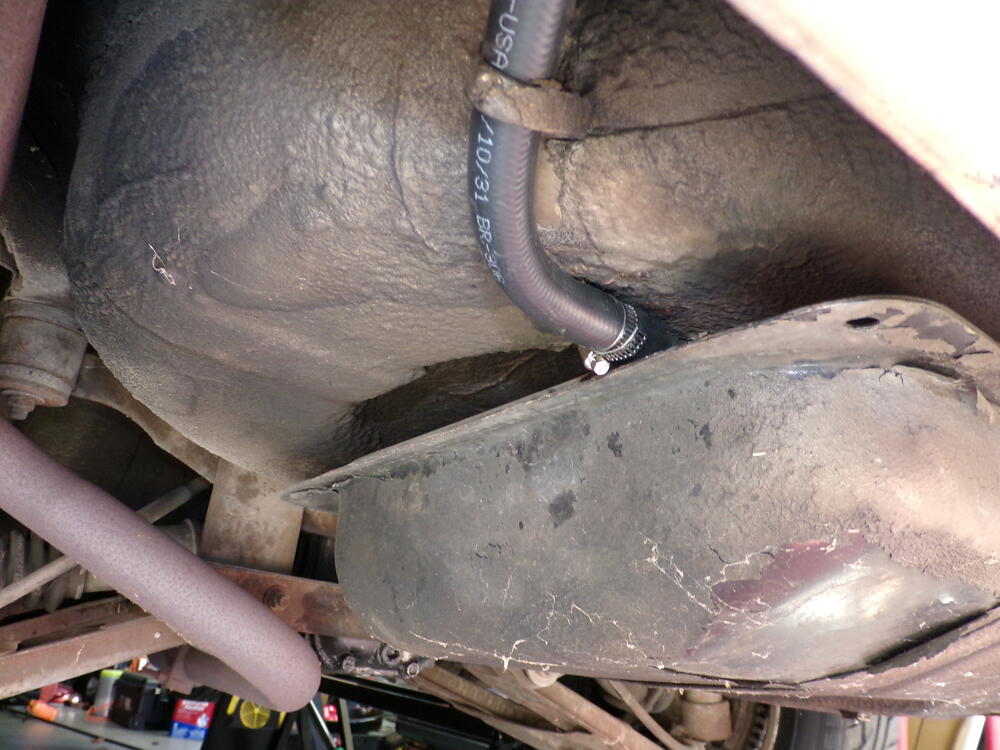
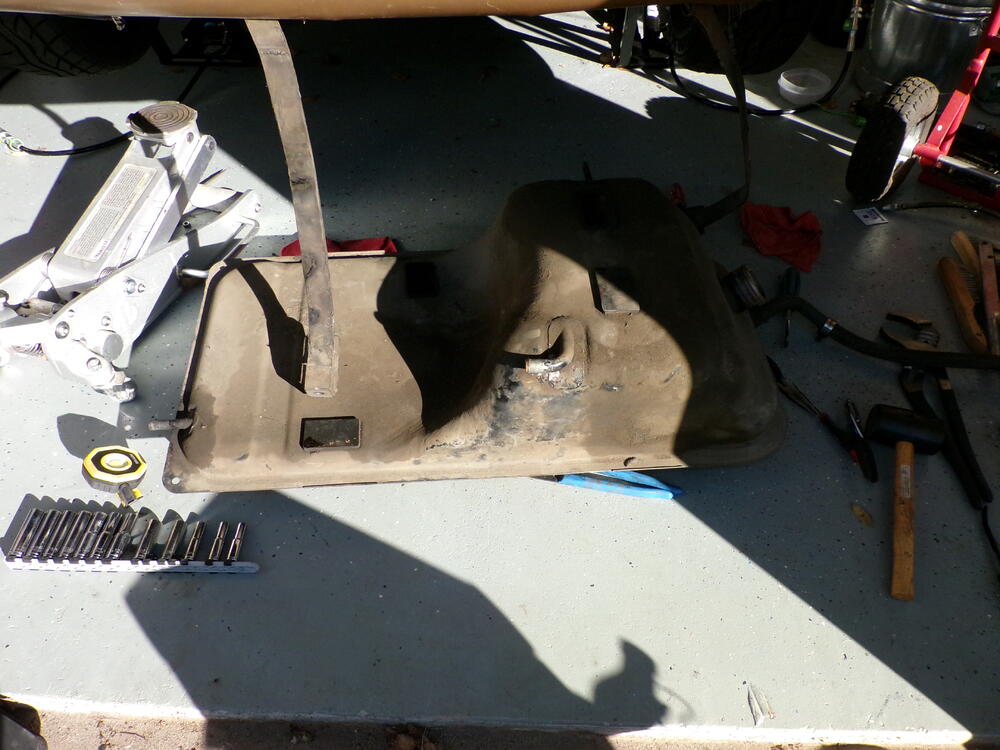
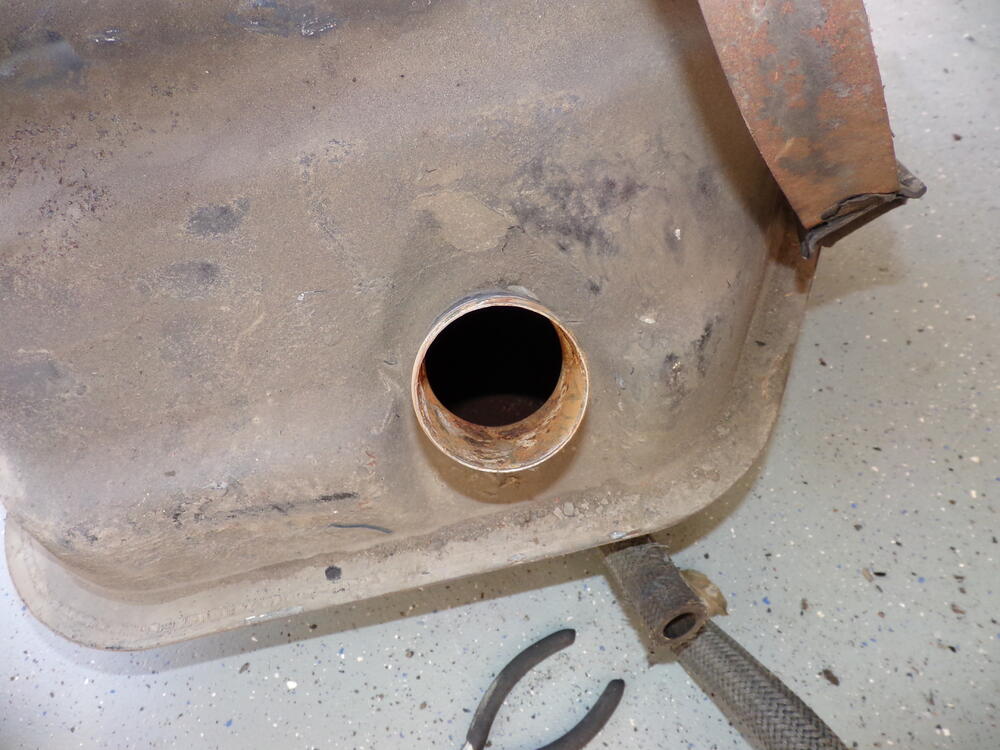
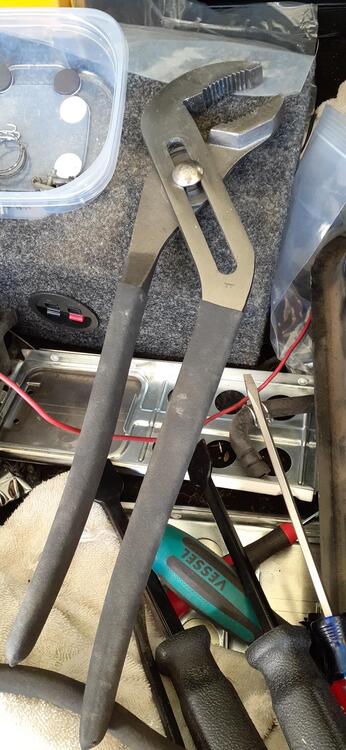
3 pointsSo I finally had some energy and motivation today. That meant I could drop the old tank. In case anybody needs a primer on dropping the tank, this may help. I already had the trim panels removed and the gas tank drained. Next is taking hoses off the expansion tank to give slack underneath. The only hoses that IMHO have to be removed is the large vent hose that goes through the floor on the right side near the tail panel to the tank and the hose from expansion tank to filler neck. Taking off the other hoses just ease access to the large vent hose. It's good to have some small picks to run along the inside of the hose where it is on the neck of the expansion tank to break loose the hose. I replaced all of the vent hoses only 24 years ago, so they are in fairly good shape. Go ahead and remove the 3 screws on the filler neck. There is only one vent hose that is somewhat accessible before starting to drop the tank. It's on the left side of the tank. Even then, you'll need to loosen the nuts on the J-bolts some to get full access to it. Before you take off the J-bolts, on the passenger side, remove the leads to the fuel sender and the supply and return hoses. With the driver side vent hose removed, and the tank straps disconnected from the J-bolts, you should be able to access the small vent hose on top of the tank. It is a good idea to support the left side of the tank with a floor jack or jack stands to keep from stressing the hoses. You'll also want to get the filler neck down to access the hose clamp holding the filler to the tank. That was a challenge for me this time. At first I tried to pry the lip in. That didn't work so great. Then I got out the big honkin' pliers and squeezed the neck enough to get the lip through the top hole. At that point, I fed the large vent hose through the floor to give enough slack for the tank to come down more. I got the large vent hose off the tank. Then I used a small pry bar to push the filler neck hose off of the tank. The tank was on the ground. I don't think it was as bad inside as the one @siteunseenhad with his display of chips that he likes to use, but I don't want to take any chances. The old tank is in the shed for now. I'll probably try to clean it up. The new tank will go in the week of Thanksgiving since I'm taking off from work that week.


 3 points
 -
2 pointsI had really good results from Redkote. As @siteunseen has mentioned before, it is important to let it cure for a few weeks. I let mine sit for a month. Haven't seen any trace of red in the fuel filters, etc. Here is a summary of what I did. Fyi, my tank was in pretty good shape...not full of rust...more like flash rust where the internal zinc / cad coating had failed. Plug all holes. Use rope to suspend it between two trees...allowing you to rotate the tank while it is filled with whatever cleaner you are using. I also came up with a way to hold the tank still in certain positions. In other words...if I flip the tank in one direction I wanted it to sit in that direction for 20 minutes or whatever. I used muriatic acid first. I used a phosphoric acid after that. At this point, everything looked clean inside. Used alcohol to final clean and evaporate dry. Kind of have to work fast with the Redkote...fill...plug...rotate over and over....make sure fully coated....pour out remaining unused redkote from tank. J2 points
-
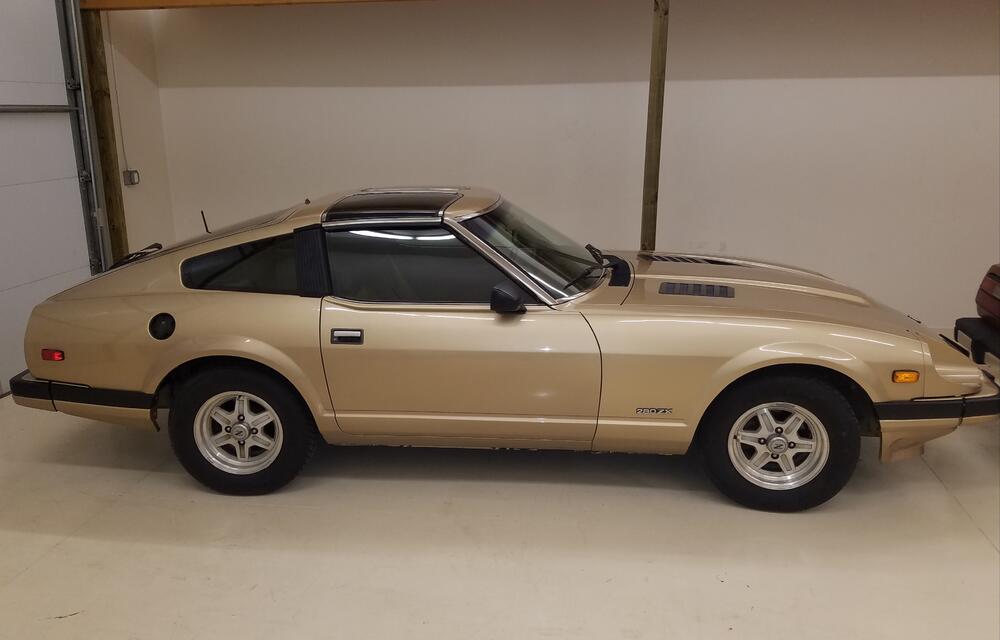
If Mikes are miles.. 😉 thats just a 1000 km a year.. i drove those as well in my 240z every WINTER! and last winter the left fender came loose.. (lower rear end) it was rotten round the bolt i guess.. the car needs a resto after it had one in 1998.. I think thats normal wear on the fenders.. after the 280zx is ready maybe i make some new parts for the 240z fenders. sandblast the corner and repair whats necessary. (Yeah i drive a 240z in the snow, better than a 300zxtt, that would be a pity.. also a 240z chassis is much easyer to protect and repair if necessary. Also a 300 would be all but problems due to his weight and a 240z is lightfooted and a blast to drive in the snow!)2 points
-
2 pointsI too have good personal memories of Bob. I first met him when I took his 4 day school in 1997 and then a few times in the early 2000's during testing both at his location and then in Dearborn. In Dearborn, he drove one of our SVT F150 Lightnings on our handling course and as I rode with him, I couldn't help but to turn the tables and ask him if I could give him some pointers. He didn't hesitate and welcomed my expertise of both the vehicle and the track. He was a very good student and immediately improved greatly. He thanked me for setting him straight and was a super nice guy.2 points
-
I'm almost beginning to think that the best thing we can do is to snake some 1/2" OD polyethylene tubing down each drain hole in the cowl and give each side a 30-second blast of compressed air (run through some desiccant drier first) each time we suspect it might have accumulated a bit of moisture; like when the temperature has dropped overnight and its humid. That will guarantee our cars get the loving attention they deserve. Sorry, honey, I have to go give my Z a blow job.😖2 points
-
1 pointI was thinking of trying something different on the old tank. I was thinking of buying this stuff: https://www.amazon.com/dp/B0031HQJWW I'd mix it up in the tank and let it sit for a week or two since it's cold right now. After that I would dump it out and rinse the tank with denatured alcohol. After that dried, I could do some Redkote or similar product. Even if I wait to coat the inside, I could use some fogging oil to keep it from rusting. That would just require a soapy rinse afterward and denatured alcohol to give a good surface for the coating material.1 point
-
Funny how "temporary" is a relative term in "temporary repairs". Re: inspections, gotta love the thinking of government.1 point
-
a longer bolt will allow you to get the washer and nut on and compress the bushes down.1 point
-
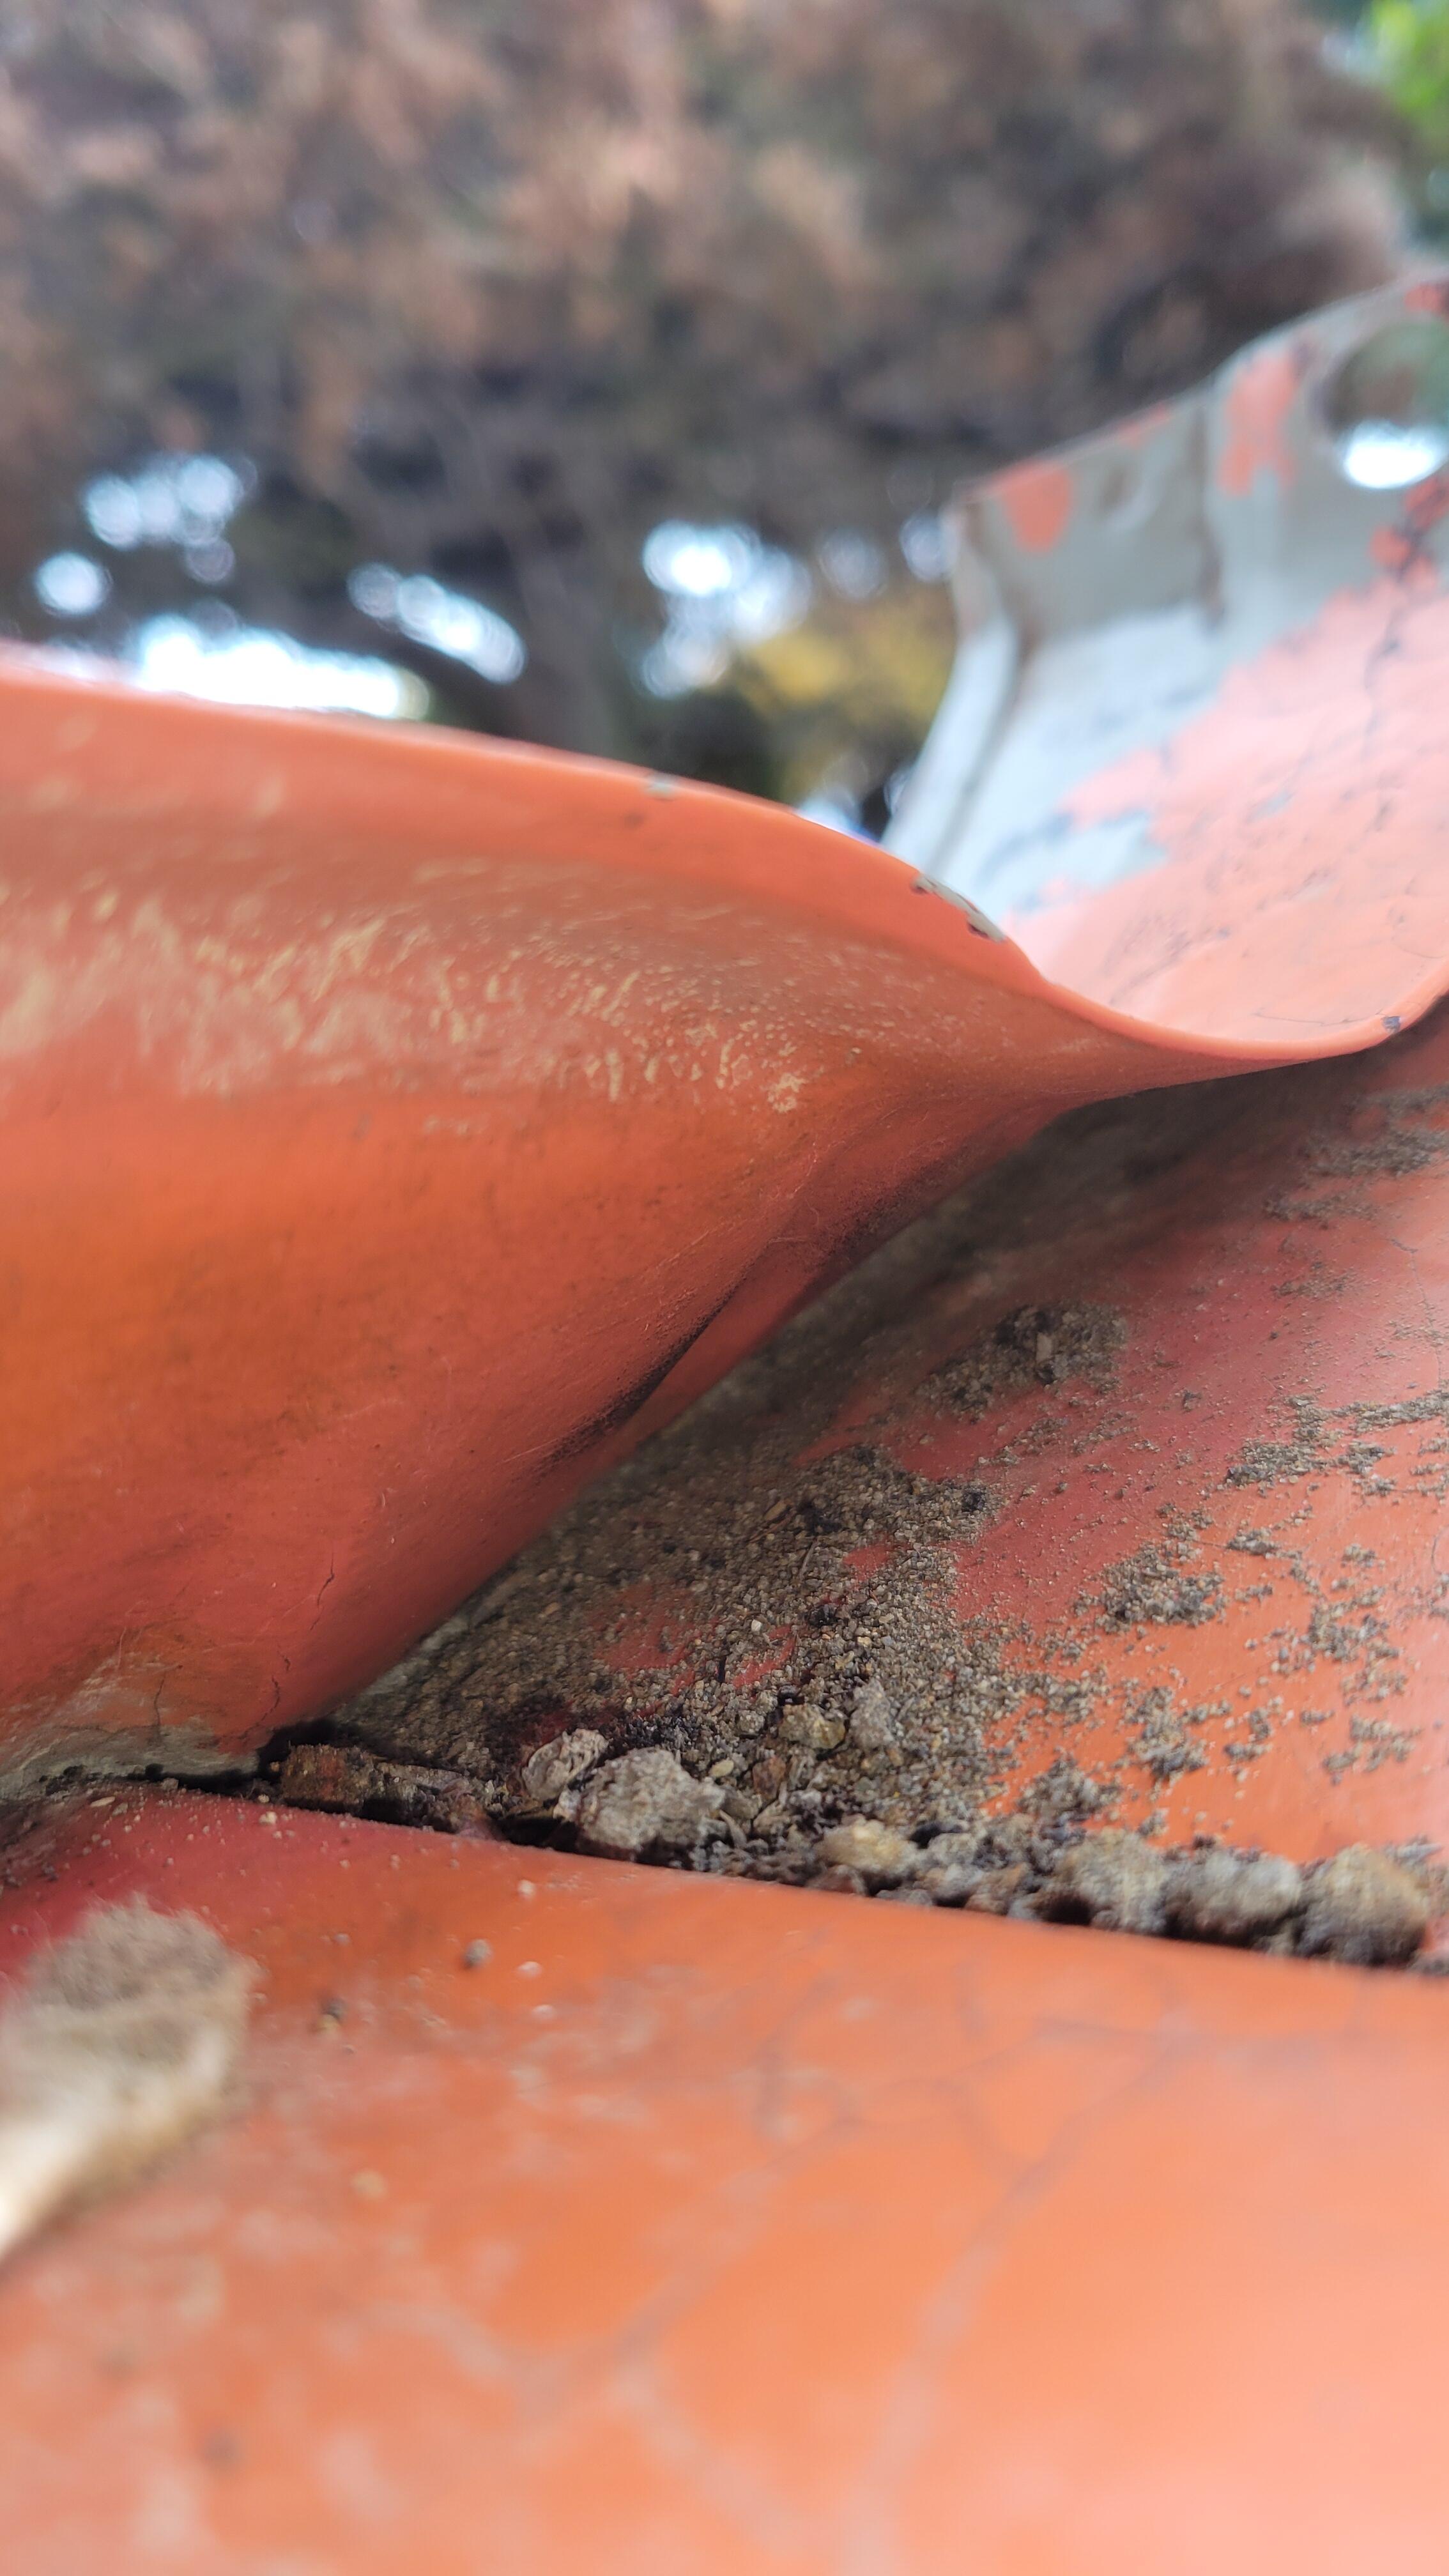
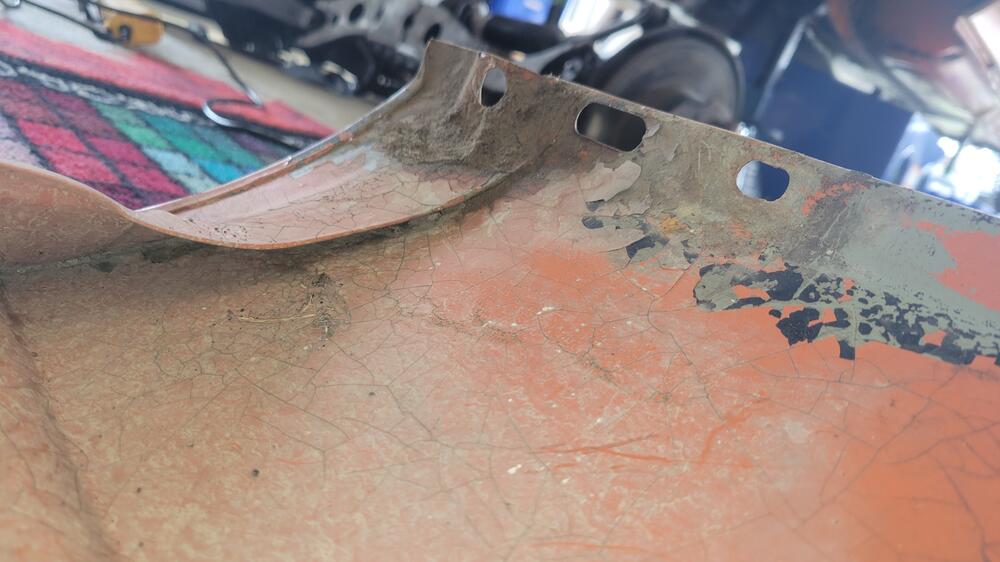
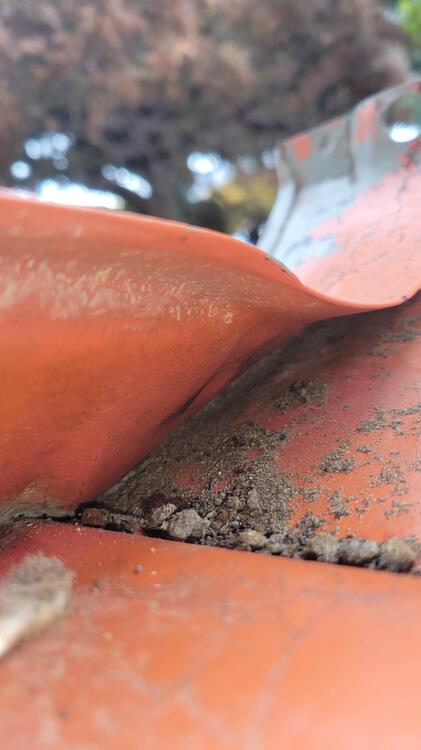
For reference here are some pictures of what my RH fender looked like when I removed it, before and after cleaning. When I did my first restoration on this car in 1982 and I had new fenders (from my local Datsun dealer) put on. No special sealing or rust proofing was done beyond what I think was a light prime and top coat over the factory primer. After 39 years only a small amount of debris had accumulated and after cleaning I found no paint bubbling and virtually no rust. I guess I'm one of the lucky ones. Full disclosure, since 1982 only about 25K miles have been added. After the first few years of light daily driving (no winters) it's been infrequent pleasure use only in good weather, but I have been caught in a few downpours.

 1 point
 -
Hydraulic principles say that if the system is connected correctly that you will get equal pressure on left and right. It's not possible to have one side pressurized and the other not. So, air leaks are not an option if the right side works correctly. If you are getting fluid from both sides by pressing the pedal then what might be happening is that the piston is bound up in the caliper. There's pressure but no movement. Assuming that the hydraulic lines are correctly installed. Or, there's a blockage inside the switch. You might disconnect both lines at the switch and see if you get good flow from each port. I sure hope that I don't start seeing a bunch of pharma ads about flow or stream... p.s. I wrote this while others were posting. But, "first principles" apply here, as far as problem solving. The end of the warning switch has an inlet and two outlets, and hydraulics apply. The only other variable might be time, but if somebody is sitting in the driver's seat with their foot on the pedal the fluid pressure will equilibrate.1 point
-
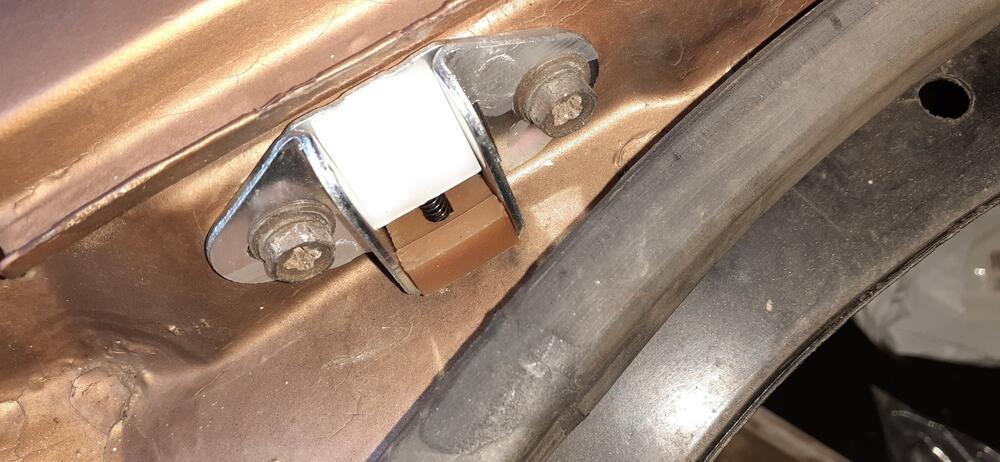
Here are a couple of pictures of a new stopper. The lower rubber piece is about 10 mm tall at the thickest point. I think that ridge is about 3 mm thick. As you can see it is quite pliable. I hope this helps in your thoughts to restore them. Frankly for me, it was too easy to spend a little money and never have to think about it again.
 1 point
 -
1 point
-
1 pointI have been running the F54 on my '80ZX without that valve for several years and have found no negative side effects. I have no way of knowing if my heater core is original, but being as it's no longer available, I'd guess it's at least a decade old. I inspected it last year when the dash was out while fixing floorboard rust holes and such. No apparent problems. I run the heat pretty much constantly in the winter. I'm not sure if that would ave anything to do with coolant circulation to the rear of the head, but during the break in procedure of my engine, I checked temperatures from the front of the engine to the rear and did not notice any wild variations in temperature(with IR temp reader and spark plug observation). Roughly 3,000 miles since rebuild.
 1 point
 -
Here is a picture of my $3000 naughty girl who has become a real gem!
 1 point
 -
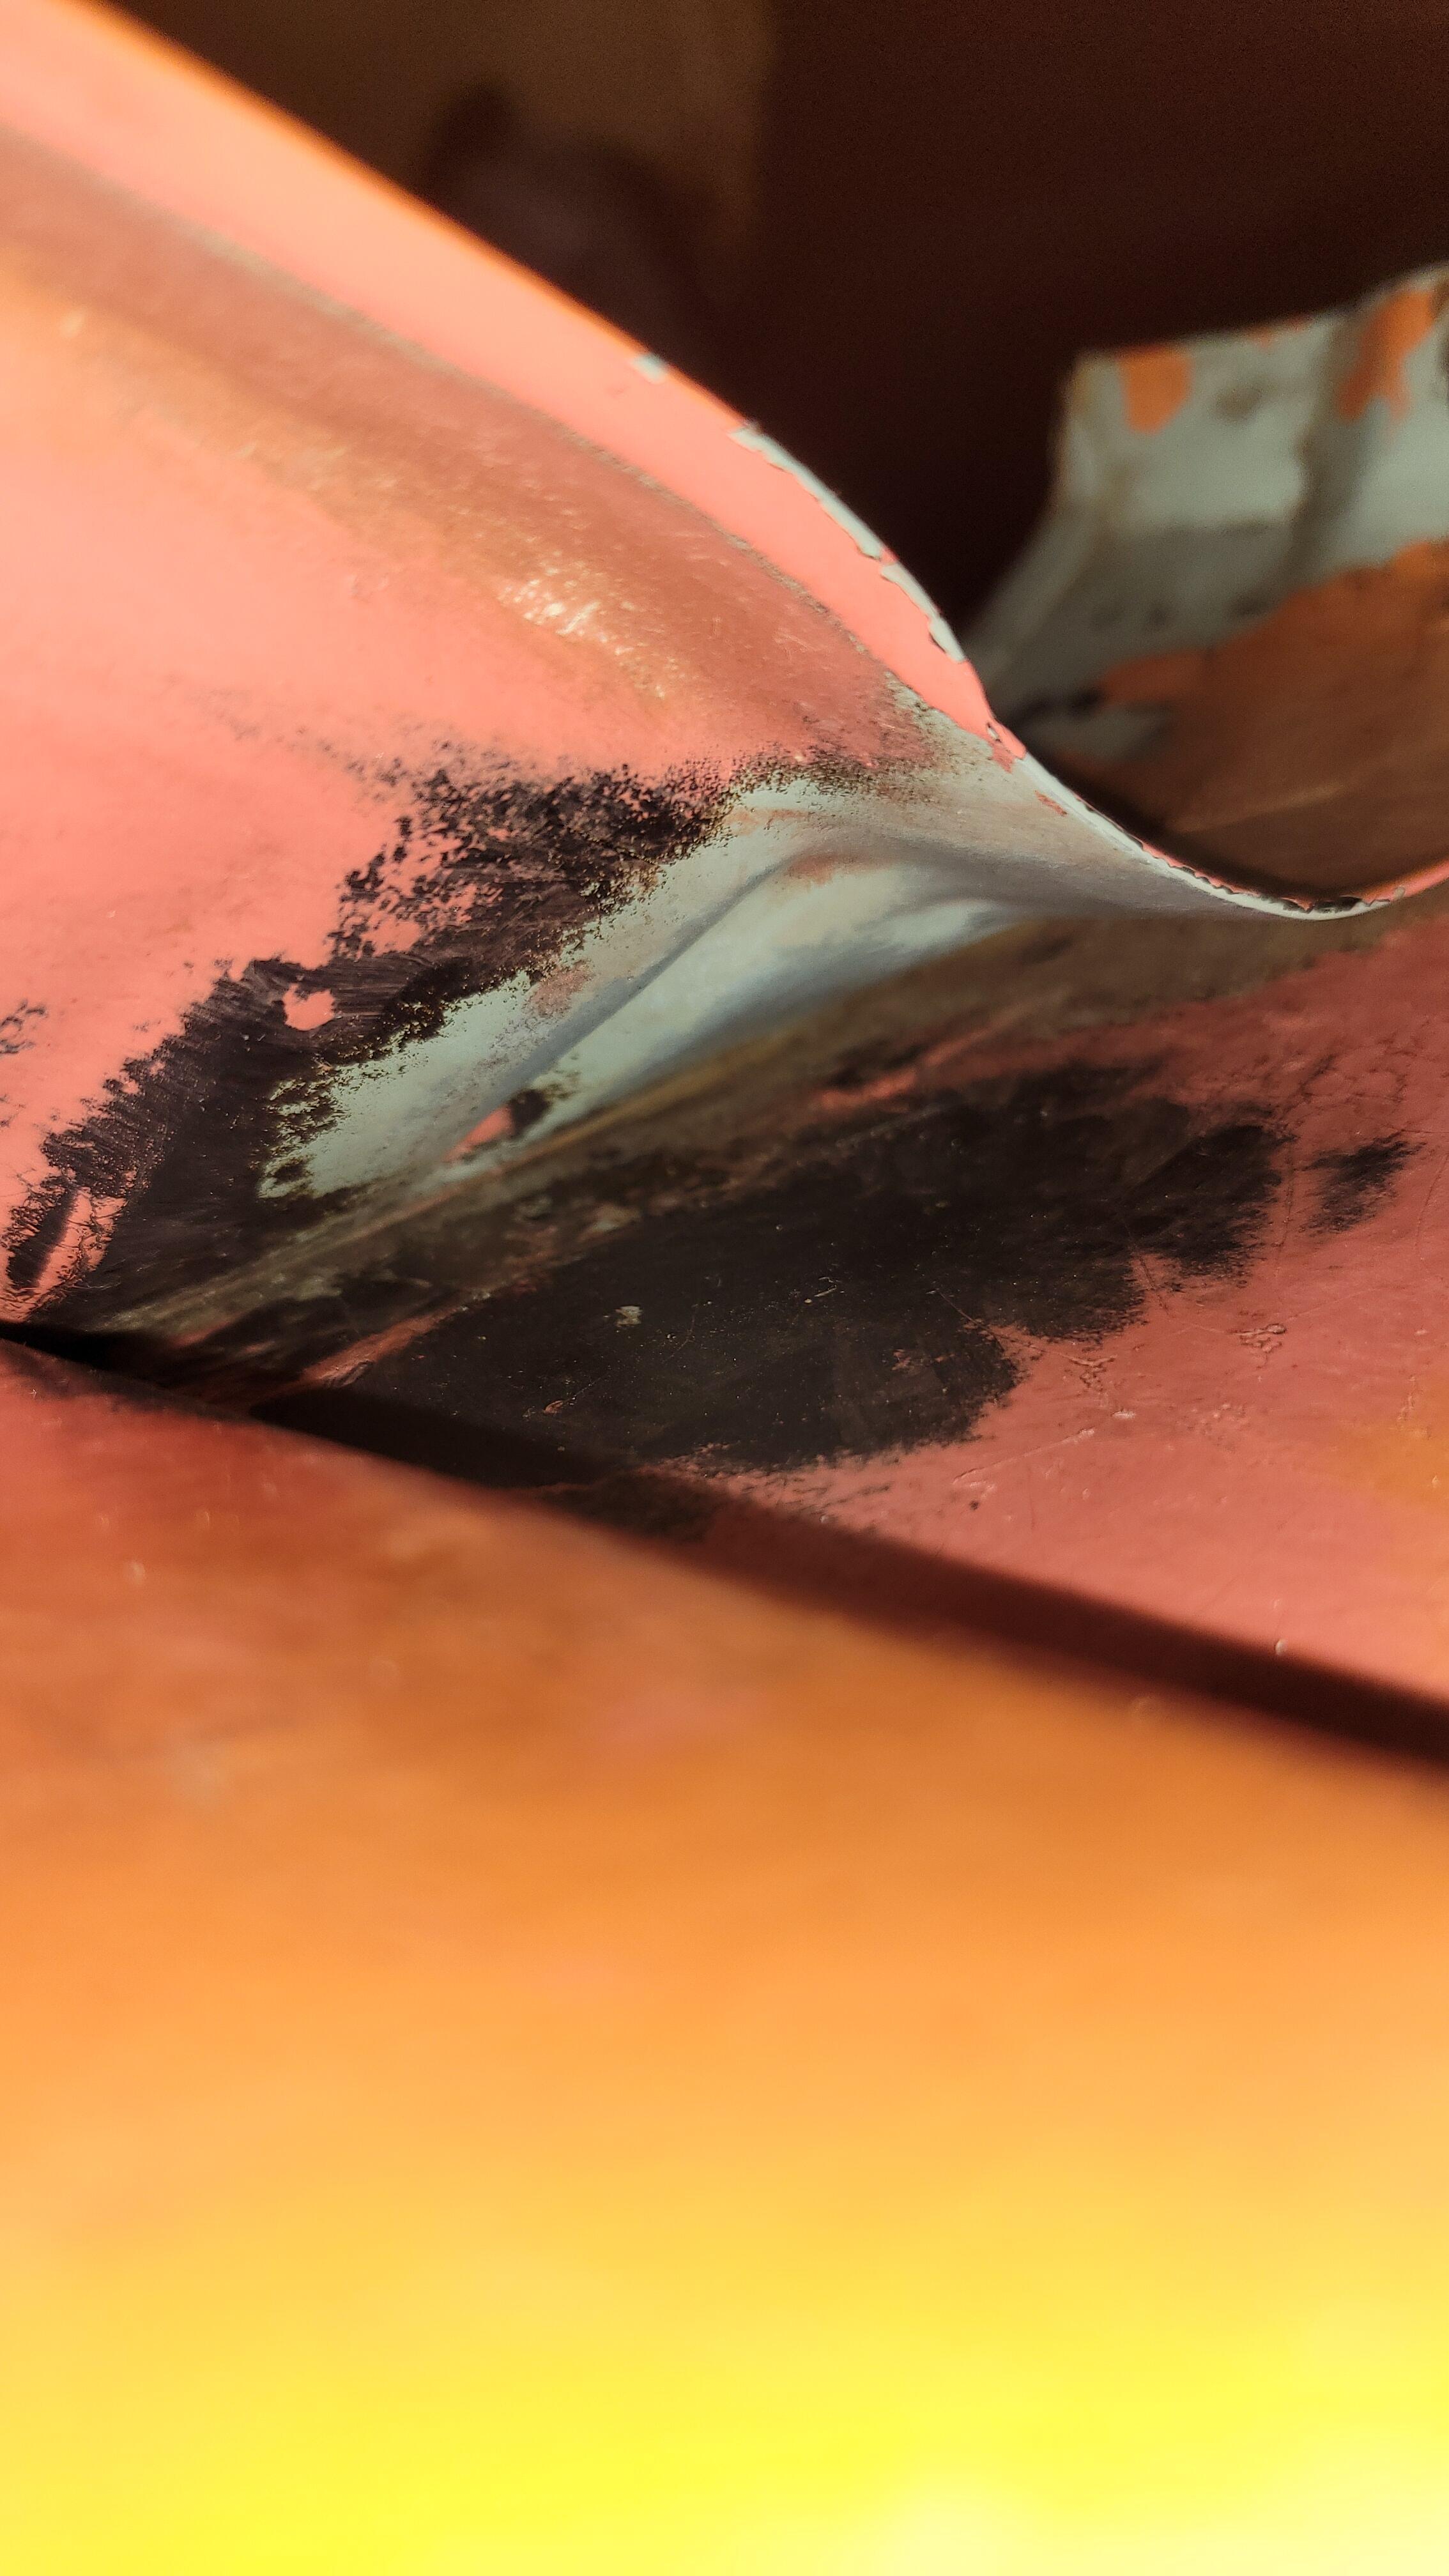
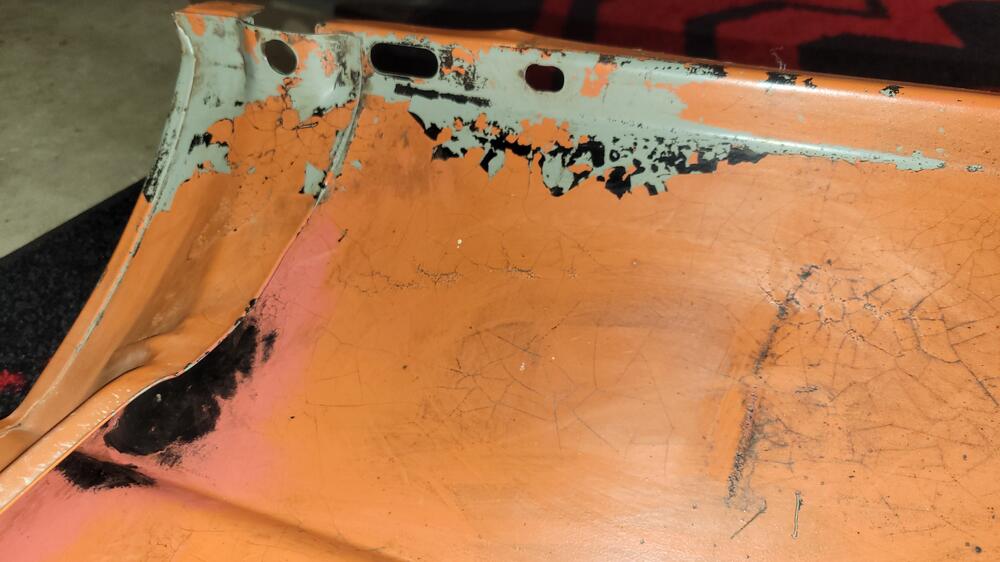
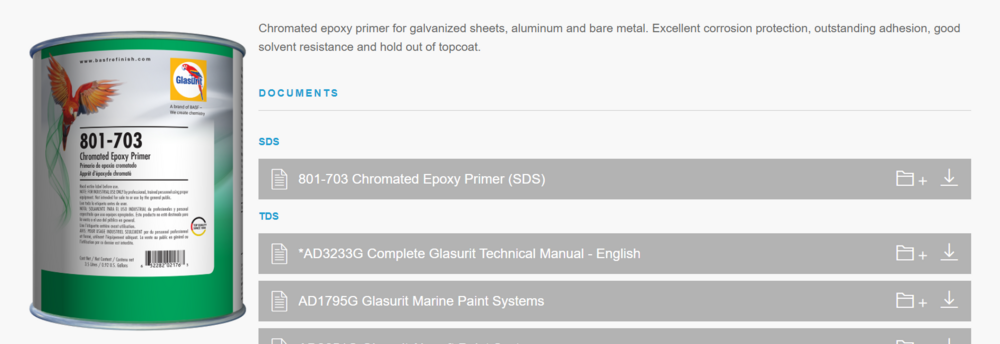
On my first 240z, with new fenders back in 1993, I sprayed chromated primer into the area we've been talking about. I did not immerse the corner of the fender in the primer. For my 240z undergoing restoration currently, I used the existing fenders. They had some rust in this area. I cut out the rust and welded in replacement metal. I also unfolded the metal that wraps around the reinforcement panel because some rust had occurred within. As a result, the area captured by the folded rear edge of the fender had "expanded". This happens when metal rusts. It expands at the same time. So, I unfolded the bottom two or three inches where the outer panel wraps around the reinforcement panel. I manually removed the rusted metal that was loose from within the pinch, and then re-pinched the reinforcement panel. This time, I poured the epoxy primer into the inside of the reinforcement panel. And separately, I applied seam sealer to the outside of the pinch to seal the other side of it. So, that corner of the fender has been "soaked" in chromated epoxy primer on the inside, and seam sealed on the other side. And of course, now it has a fabricated panel that hopefully will keep debris from settling into this trouble spot. The chromated epoxy primer I have been using is pretty bad-arse. That said, again, I do not recommend relying on it (plus top coat) alone to save this area of our cars from rusting.
 1 point