Leaderboard
-

siteunseen
Free Member12Points15,115Posts -
EuroDat
Free Member4Points3,309Posts -
w3wilkes
Free Member4Points972Posts -
.JPG.cfcada9cf1c1b502df3f5f2f2ca3ff36.JPG)
SteveJ
Free Member3Points9,646Posts


Popular Content
Showing content with the highest reputation on 10/30/2021 in Posts
-
4 pointsMy Dad told me something similar. "Pull the the radiator cap and drive another car under there, call it a day. You'll be better off".4 points
-
3 pointsIf I was new to the L series motor I would buy the "Tom monroe's how to rebuild" book. It answers all the questions you've asked that I've read. $20 from Amazon.3 points
-
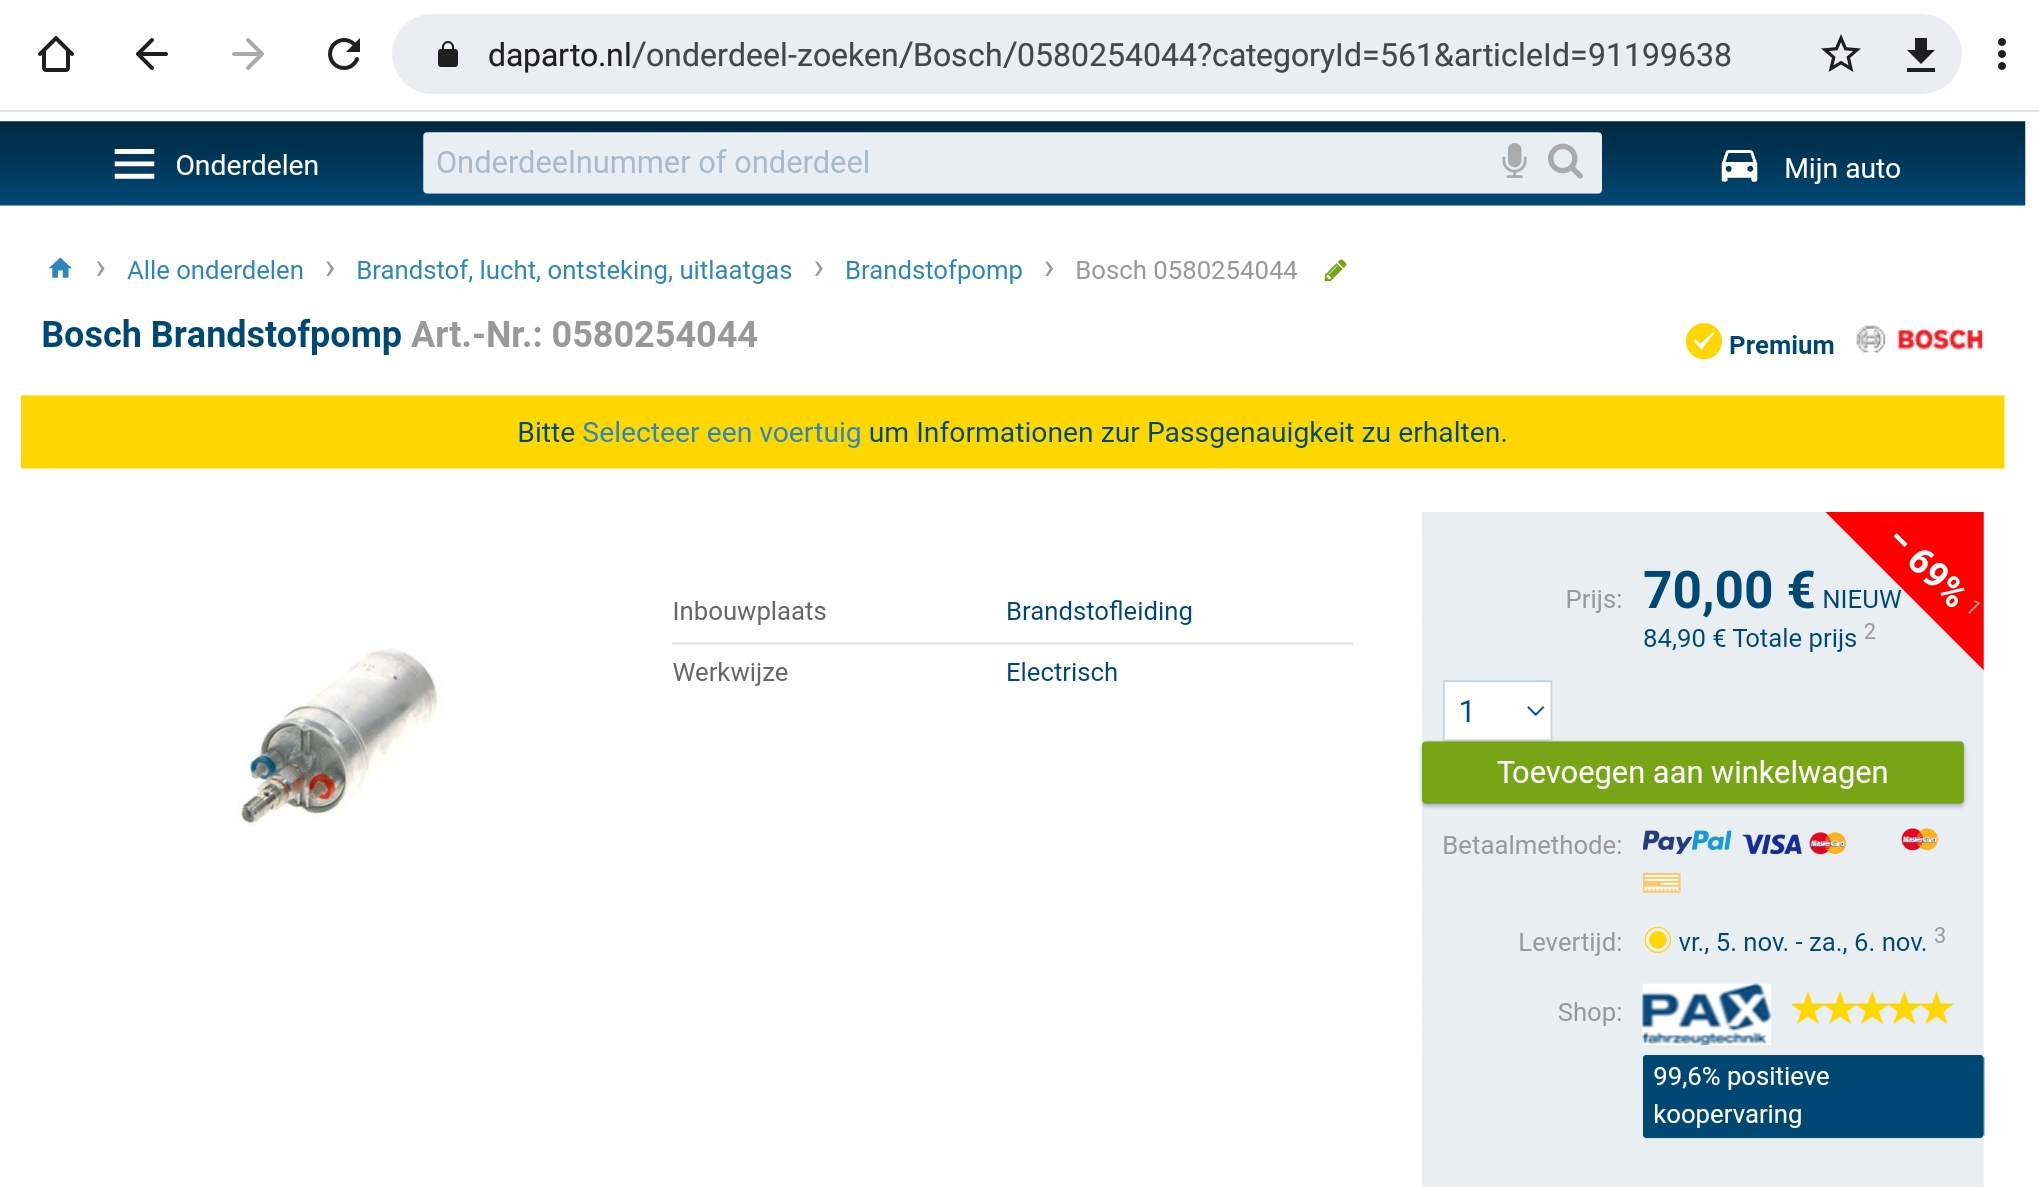
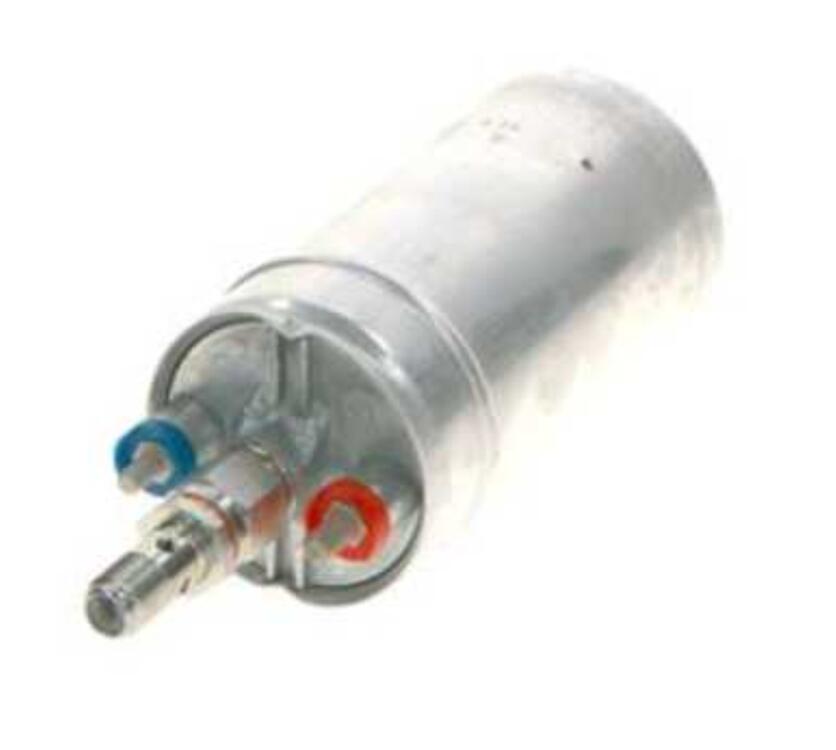
I don't know of any flow rate test in the FSM, but I made a simple write-up when I was having trouble with my EFI fuel system. There is a simple flow test in it. The document is in the Knowledgebase section on this site. I haven't checked, but there could be something on the atlanticz site tech tips section. There is a lot of info on that site if you brouwse through it. It's easy to come across something and forget where you read it. Looks like the OP has a Bosch 044 or similar aftermarket fuel pump. The 044 is a very good alternative to replace a defective original pump. It's also the pump Bosch reccomends since theis original pump is NLA You can find them from €70 upwards. Back in 2017 I paid €35 * €4,95 shipping.🤔 That is inflation....

 3 points
 -
3 pointsThere's a way to set the spindle in the pump I learned in the "Monroe how to" book. You go half a bolt counter clockwise when instslling then it falls dead on when you bolt it up. Let me see if I can find that... Here's a thread that might help then the whole Google search below that. Good luck. It's really easy once you wrap your head around the process. https://www.google.com/search?q=tom+monroe's+how+to+rebuild+a+nissan+oil+pump+alignment+siteunseen+classiczcars.com+&tbm=isch&ved=2ahUKEwif7cPQ_vDzAhVTQkIHHS2EA0QQ2-cCegQIABAB&oq=tom+monroe's+how+to+rebuild+a+nissan+oil+pump+alignment+siteunseen+classiczcars.com+&gs_lcp=ChJtb2JpbGUtZ3dzLXdpei1pbWcQAzoFCCEQqwJKBQg9EgExUM4OWLc3YNhDaABwAHgBgAHnAYgB-guSAQUwLjkuMZgBAKABAcABAQ&sclient=mobile-gws-wiz-img&ei=oqB8YZ-UBNOEieoPrYiOoAQ&bih=449&biw=320&client=ms-android-americamovil-us-revc&prmd=svixn3 points
-
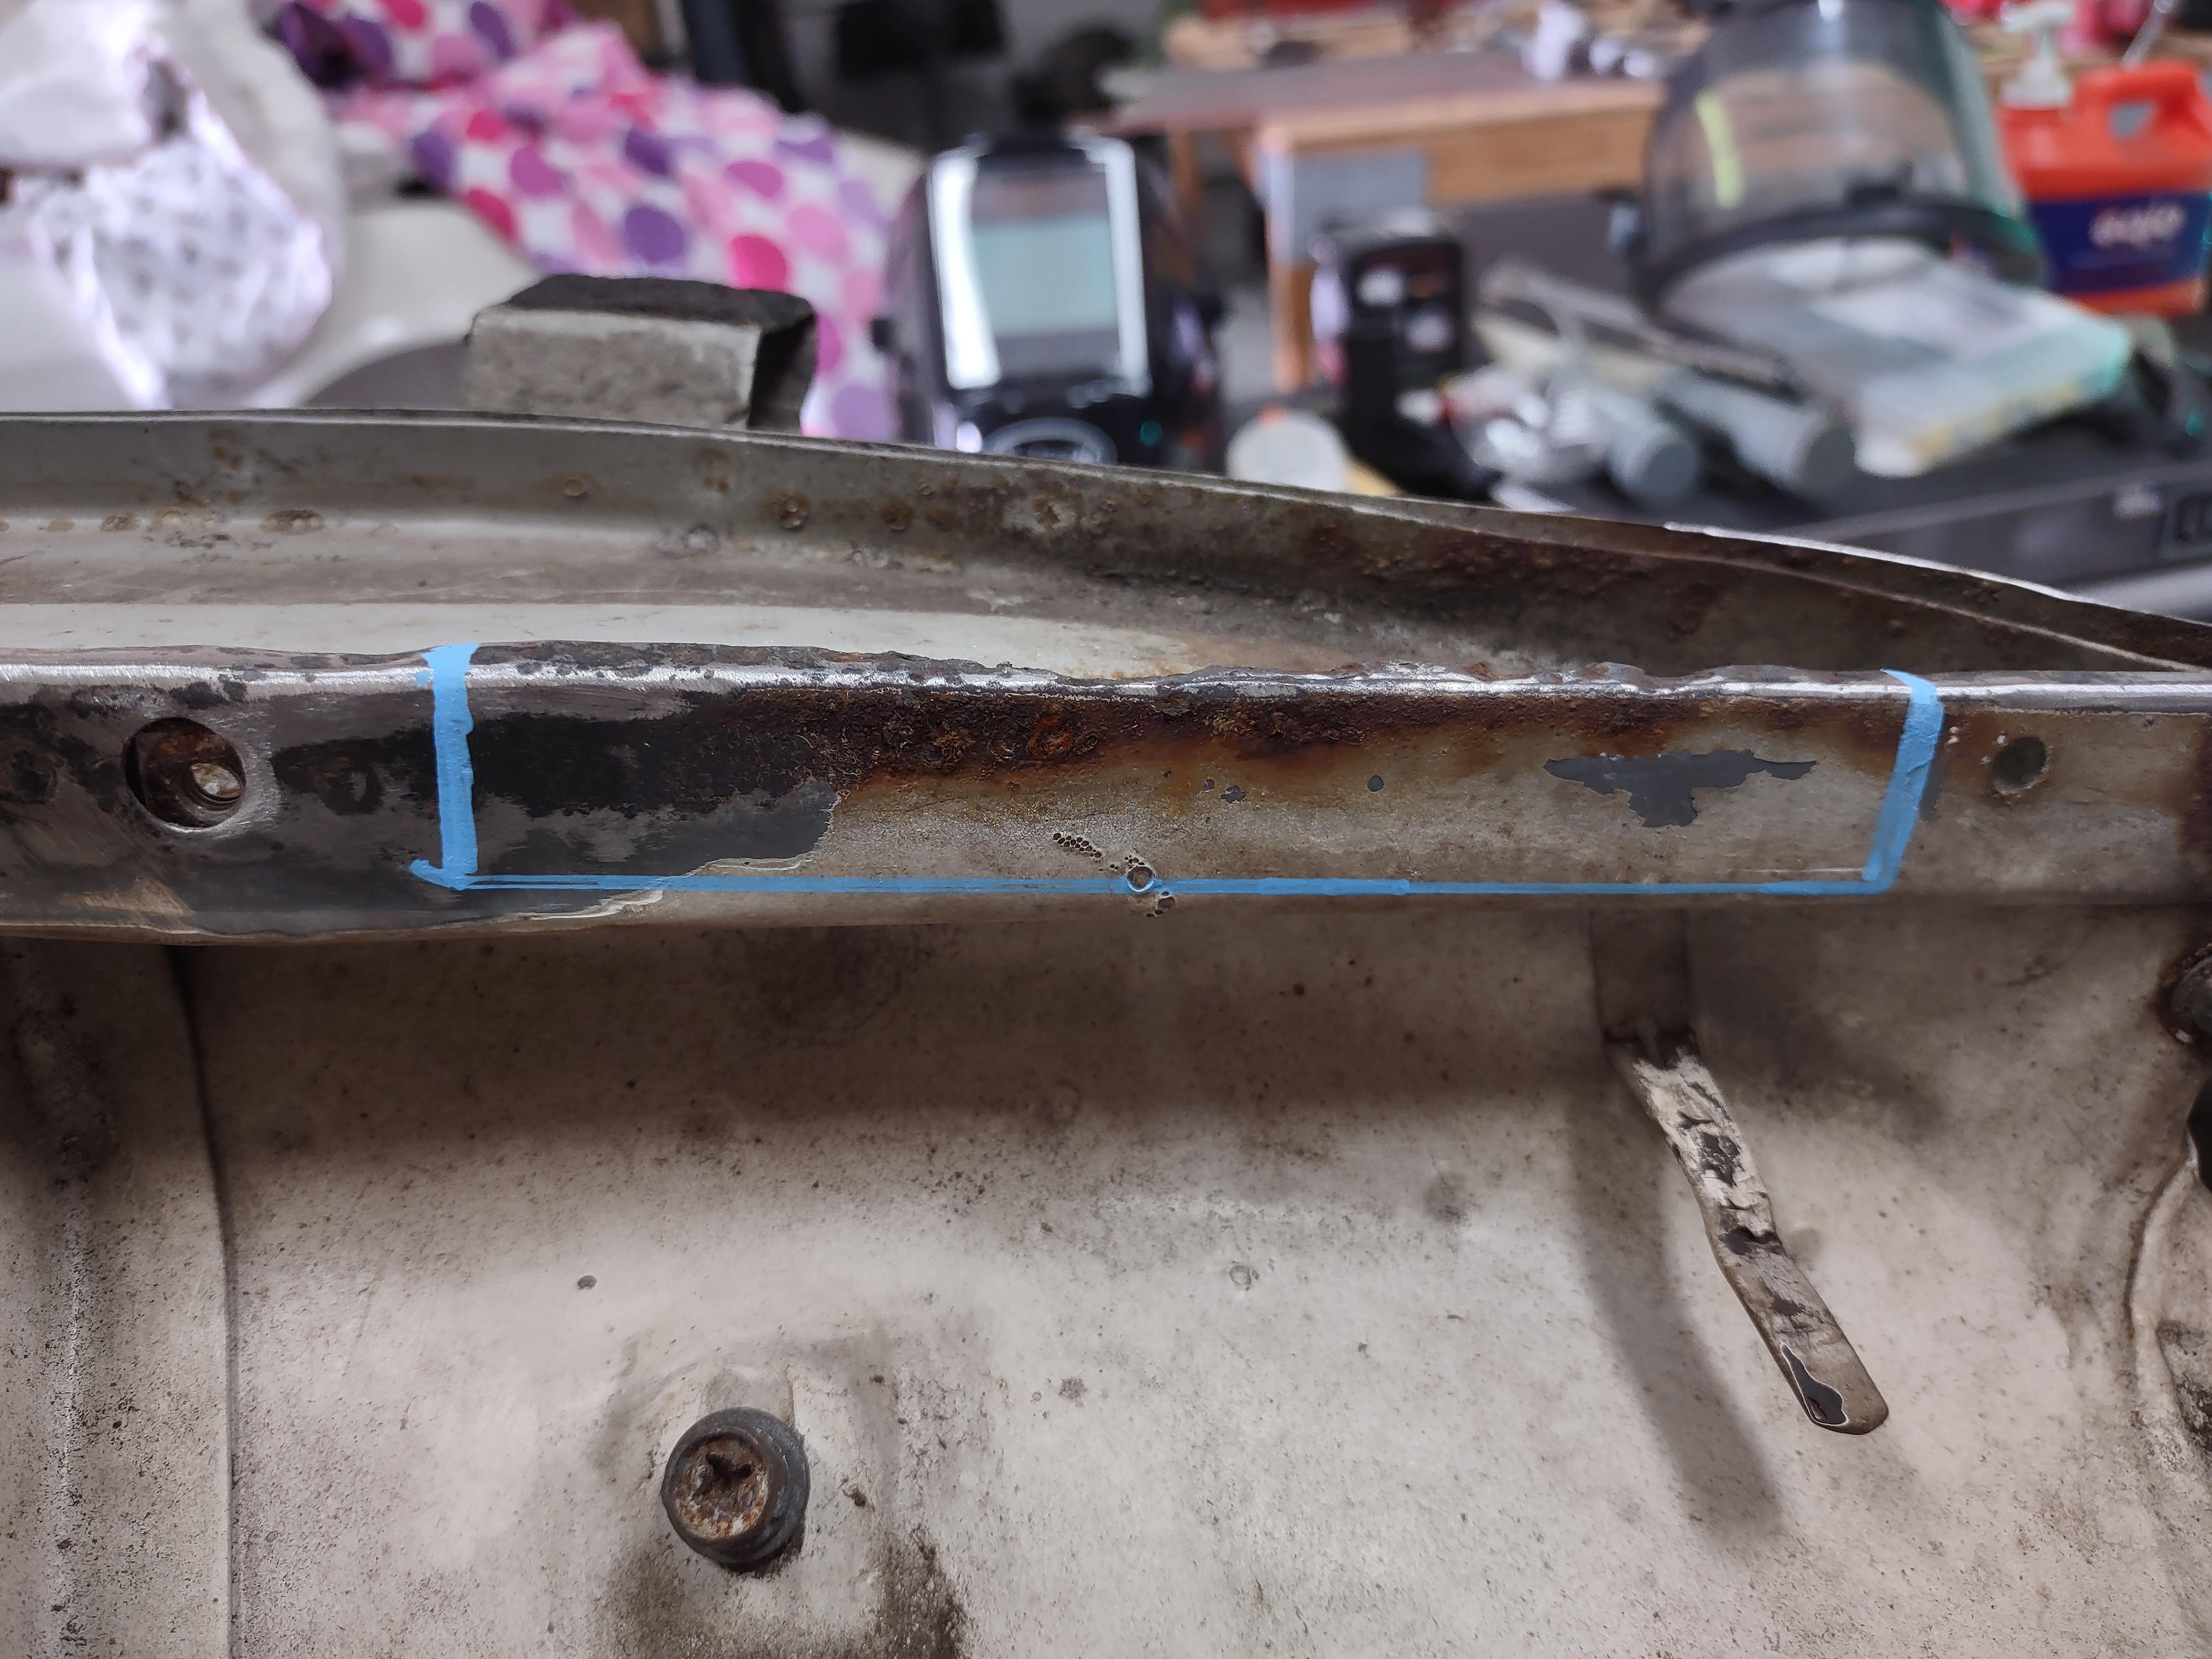
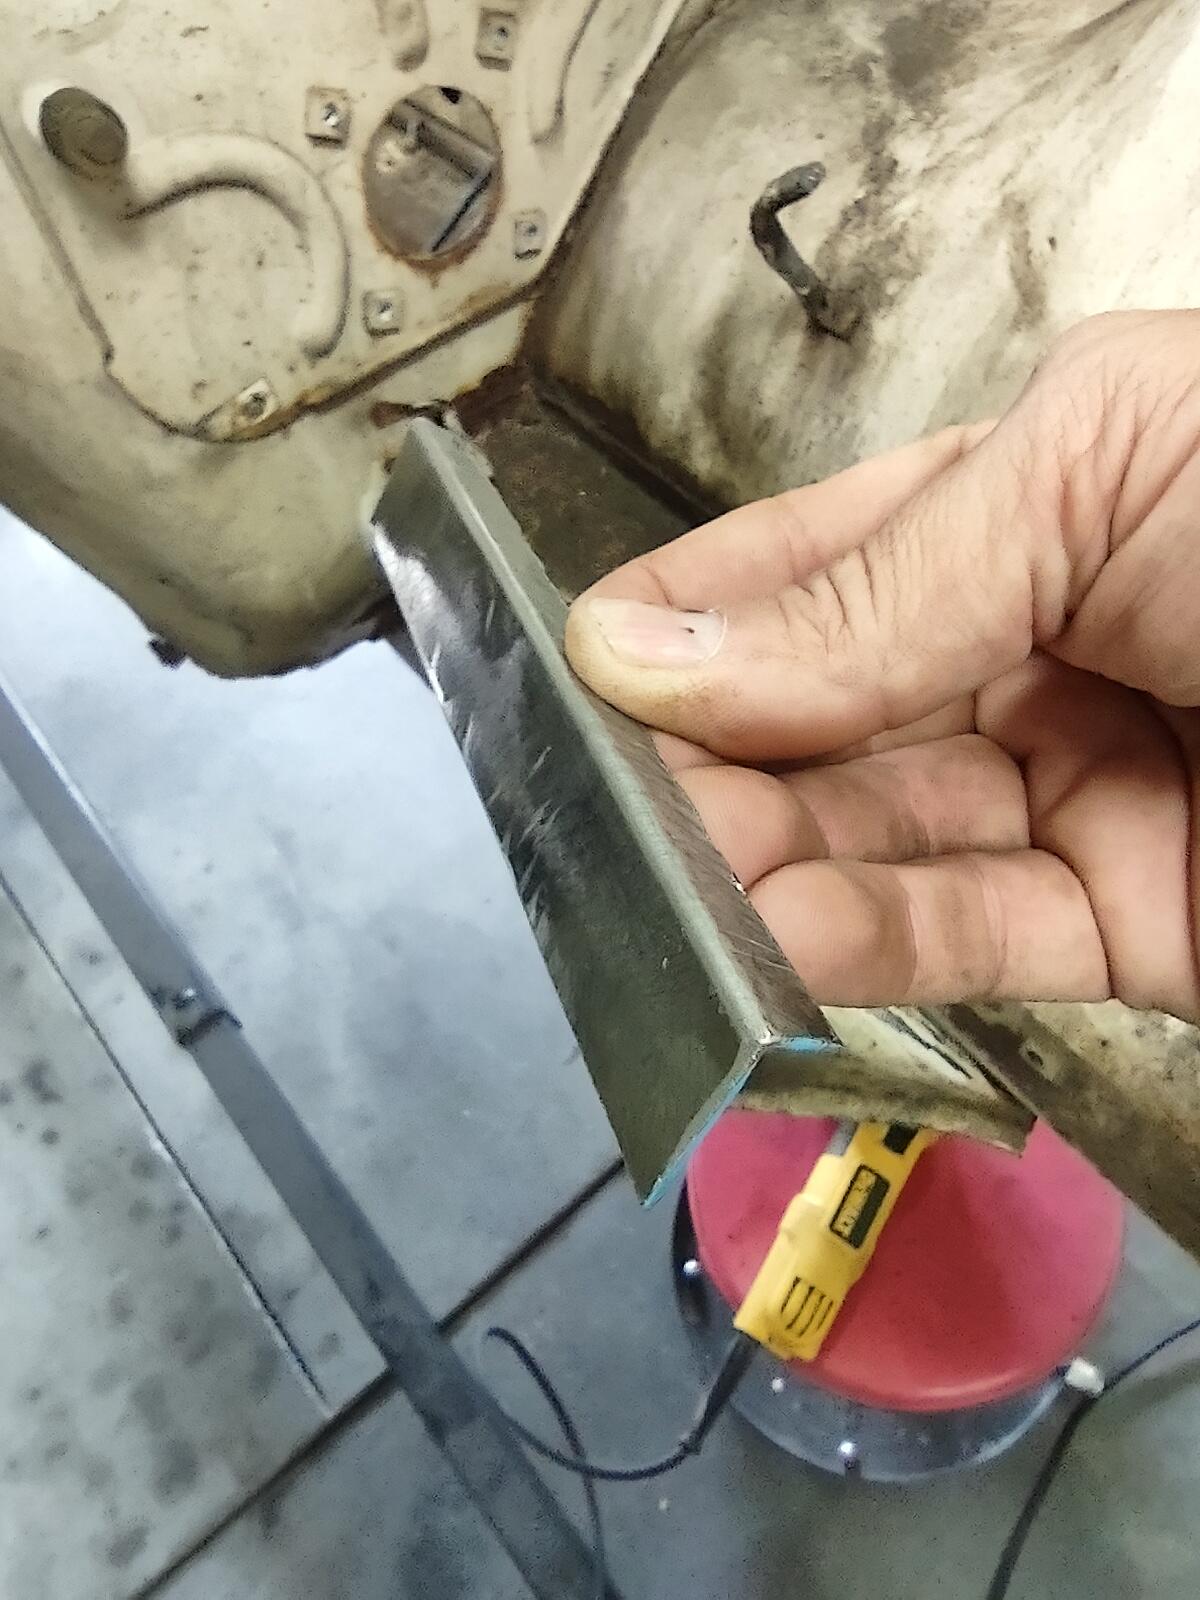
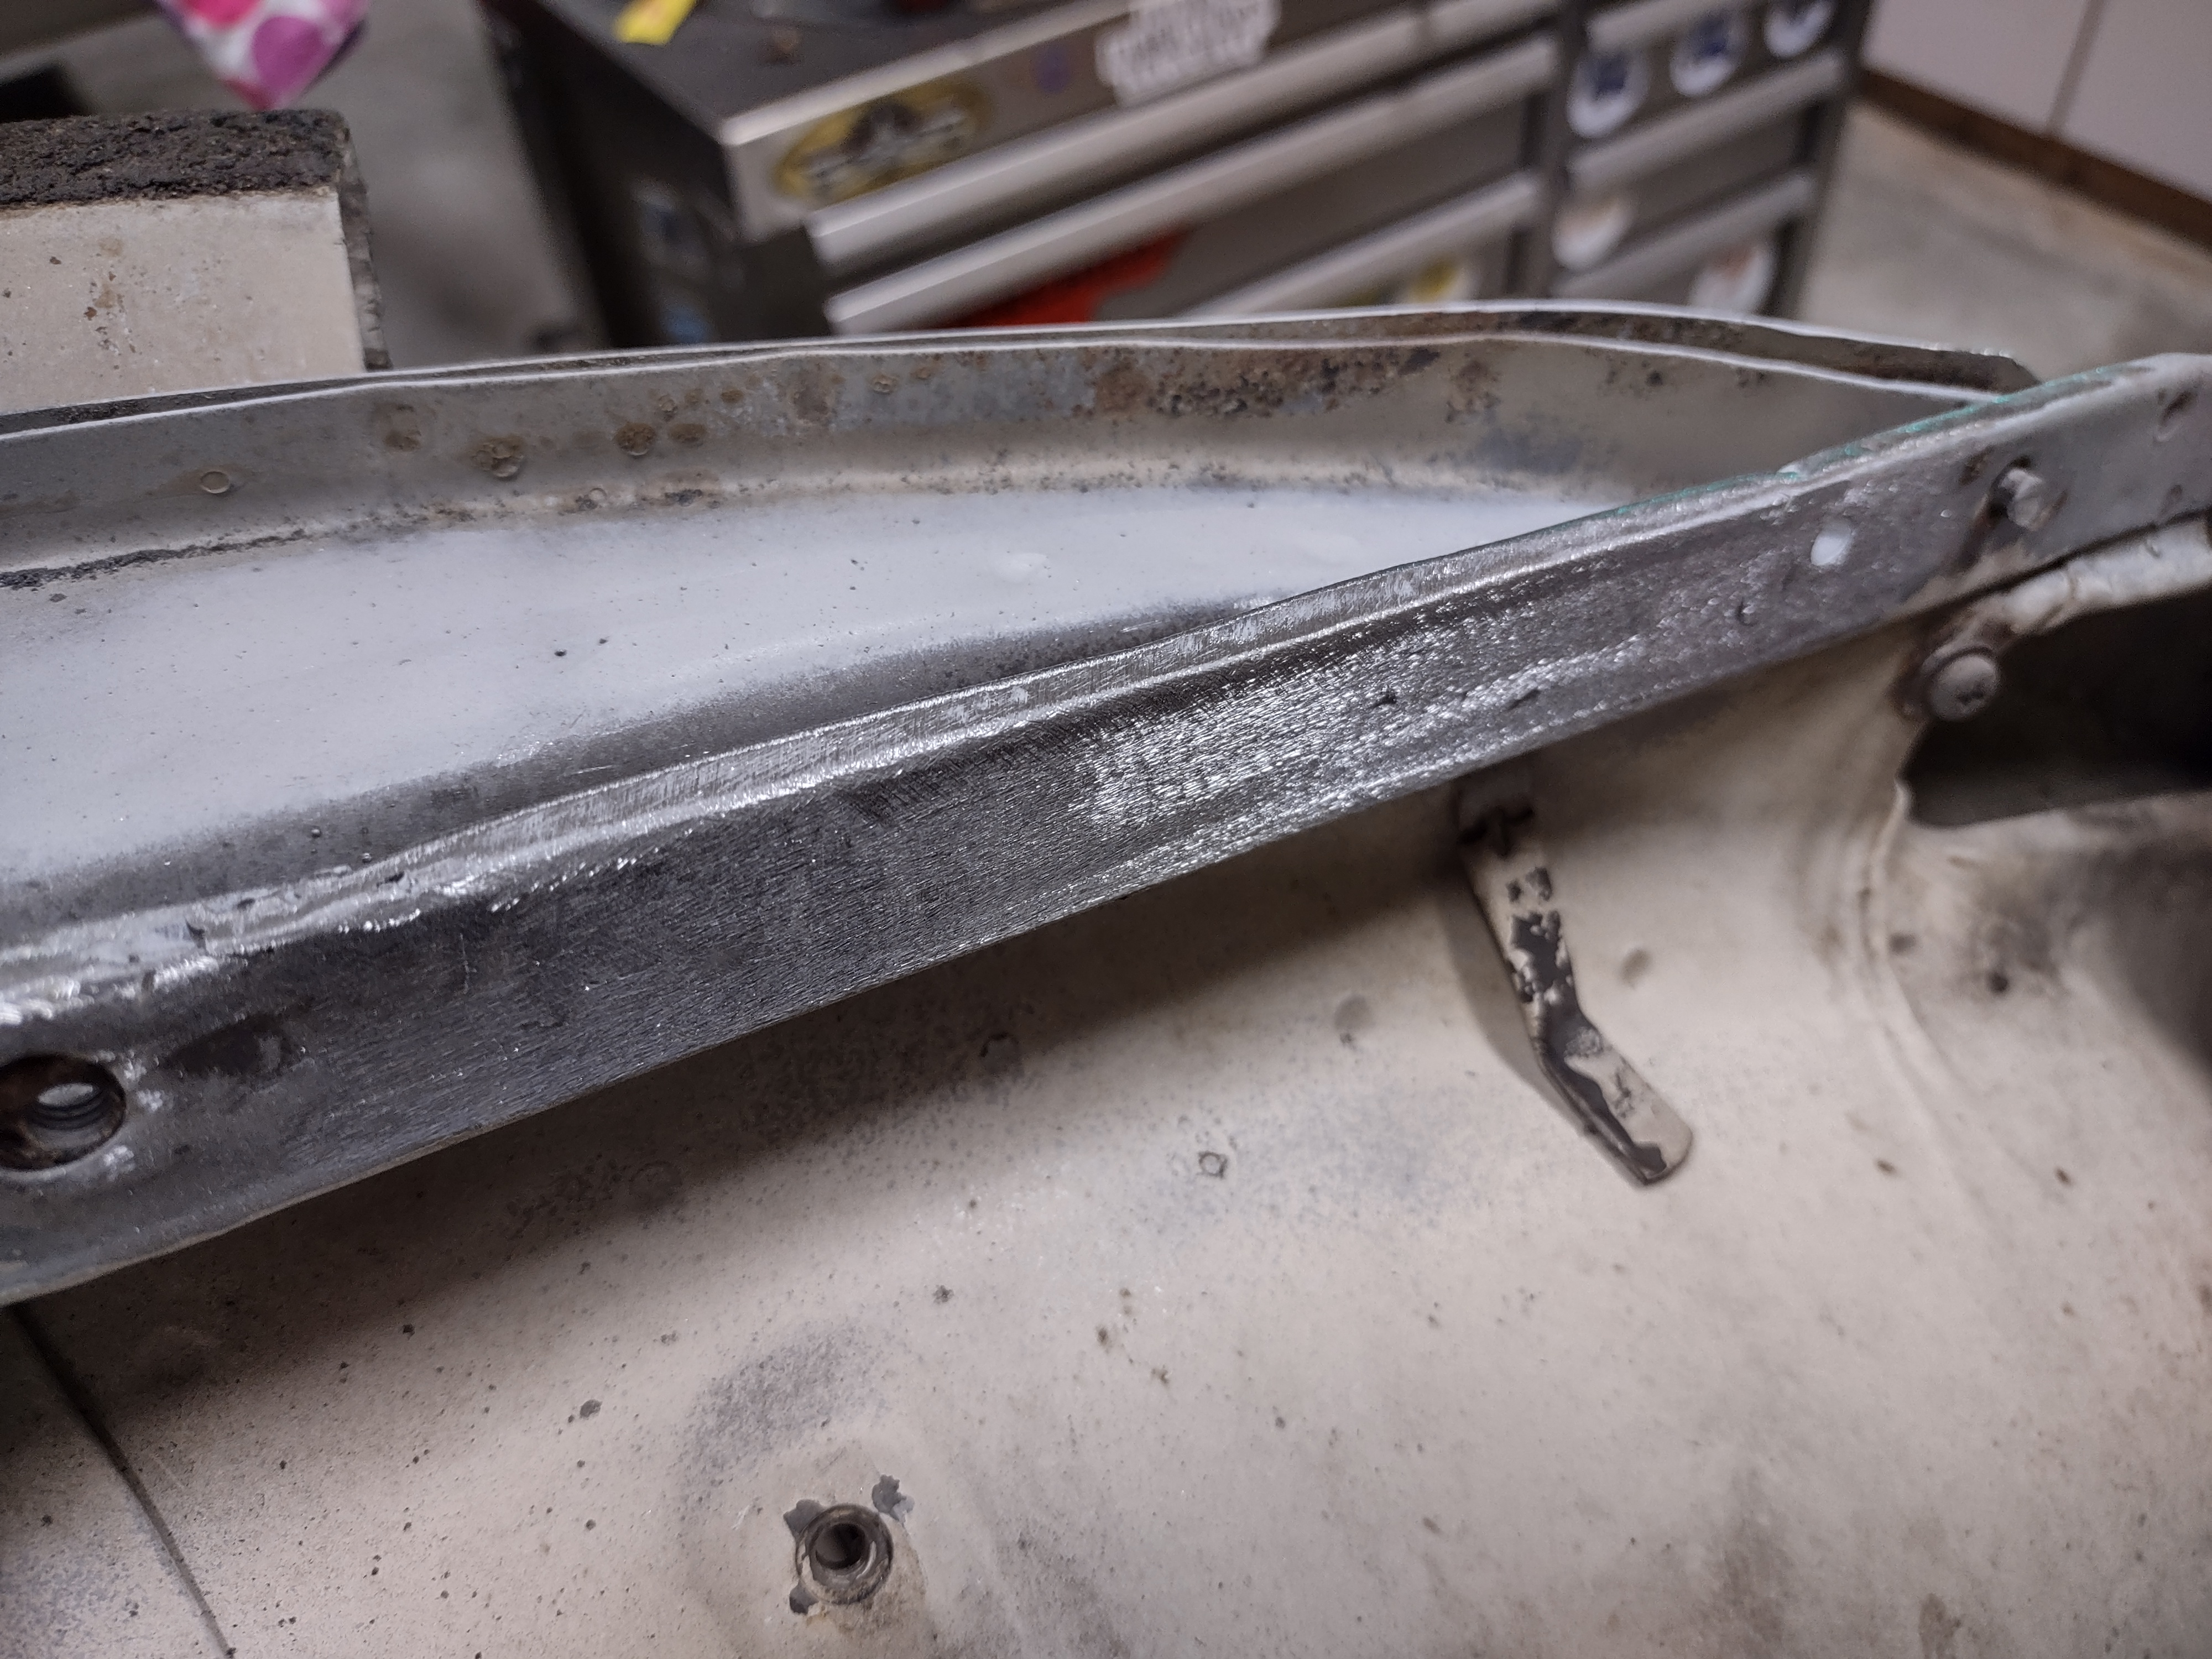
3 pointsWow, that's the smallest start I've seen for a build! And it appears to be rust free! 🤣3 points
-
3 points
-
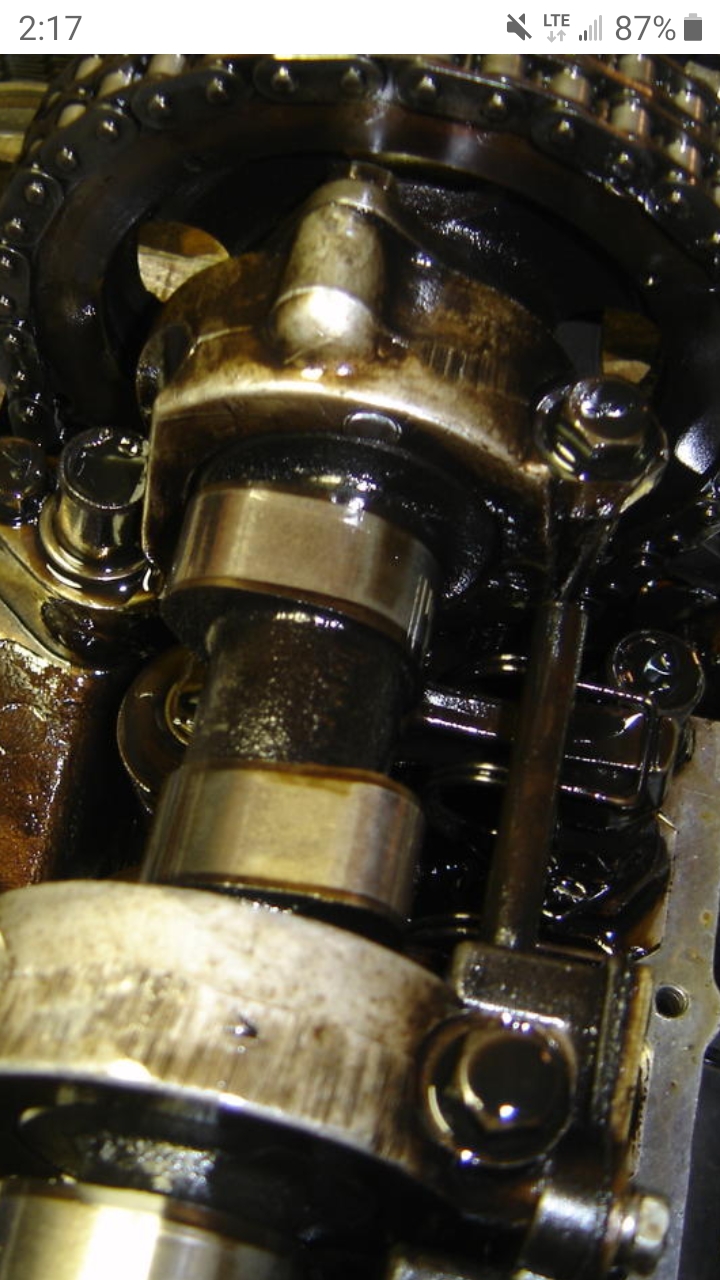
2 pointsThere is no "play" there when the engine is turning. The play you have there is only because the cam isn't in a spot where it's resisting the crankshaft motion. Roll the crank a bit clockwise and it'll tighten right up. Then check for chain stretch as per the FSM and linked above. But, if you're that far into the engine already, replace the entire timing set. When the engine is running the tensioner isn't just using the little spring inside it - it's using oil pressure to keep tension on the chain. You can't really mimic that with the engine apart and there's really no need to.2 points
-
2 pointsHere's an image that @Zed Headposted in a thread a few years ago: And here's one of how the oil pump shaft should look from the top before you install the distributor (courtesy of @siteunseen)2 points
-
1 point
-
1 point
-
1 pointHi John, Your wiring harness looks great. Top work. Can you give some tips on how you went about it? The car is coming along great btw🏆1 point
-
The Fuel Pressure Regulator is supposed to maintain a fuel pressure differential of 2.5 Bar (~36.3PSI) between the fuel rail and Intake Manifold Pressure. So on a running EFI engine, fuel pressure is not a static value - it (constantly) changes with manifold pressure. If you have 10 PSI of vacuum, the FPR is going to pull 10 pounds of fuel pressure. Likewise if you're making 10 pounds of boost it's going to add 10 pounds of fuel pressure. To verify the correct fuel pressure on a running engine you need to know the value of both fuel rail pressure and MAP (manifold absolute pressure) at the same moment in time. The fuel damper is installed to smooth the output of the stock fuel pump which squirts fuel in pulses rather than a steady even flow. Injectors work better with a steady even flow. Must be a little important, and nearly every modern EFI car has one too (probably much more critical with todays emissions engines than it was back in the day). That's if it's still working properly after 40+ years... The stock FPR held fuel pressure even when the engine shuts down, so the fuel pump must also check fuel flow back to the tank. I've noticed that most aftermarket FPR's don't, and that also includes most adjustable FPR's. Did you ever say why you think your fuel pressure is a problem?1 point
-
1 pointIt's a bit confusing, Wally. The TDC occurs twice-once is the exhaust stroke and with the valve cover off the exhaust lobe points down and the exhaust valve is open. The next crankshaft revolution will be TDC on the compression stroke. The lobes will be just as in the picture siteunseen sent you. The distributor only rotates once and the crank twice. You can rotate the crank with a breaker bar and socket on the damper bolt if all the plugs are out. You can also accomplish this by putting the car in gear (stick shift) and rocking it. Check the timing mark and see where the rotor is pointing. It appears you are out of phase.1 point
-
1 point
-
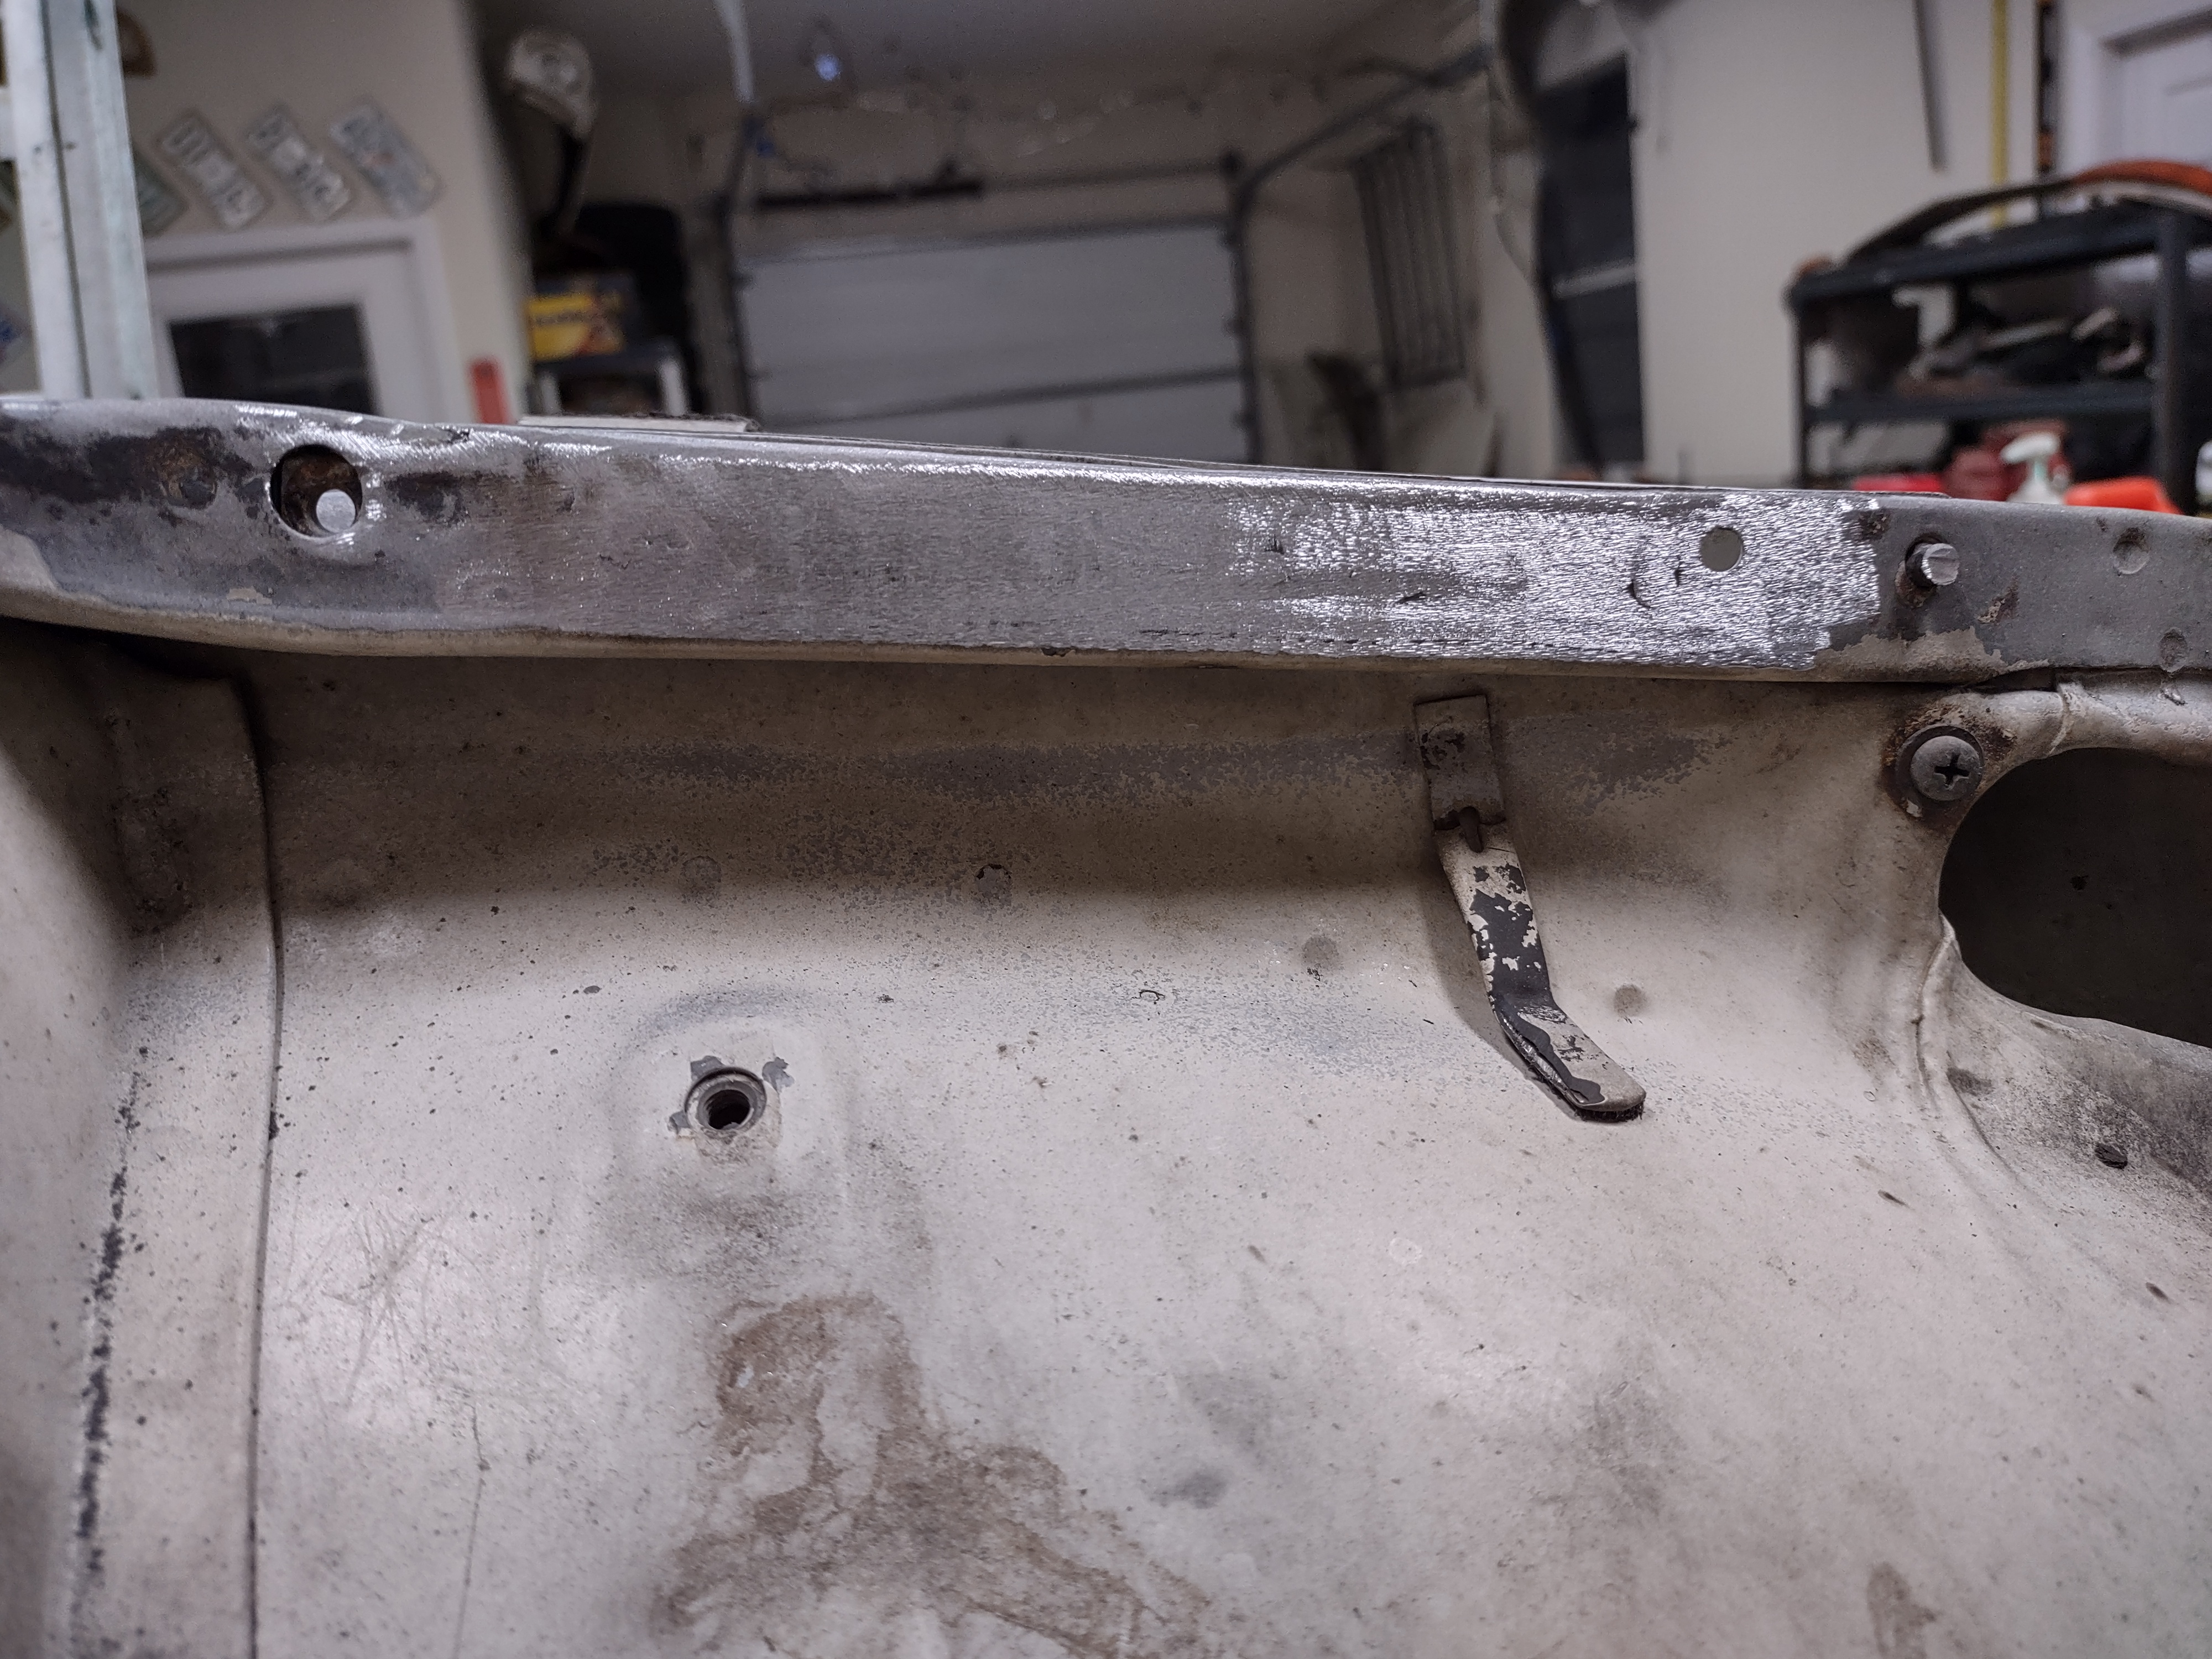
1 pointNeed a little help. I’m almost to a point where I can start the engine, but still waiting on a heater hose and radiator hoses. Hoping they arrive today. I need help deciphering the vacuum lines first. The FSM hasn’t been helpful and I’m trying to figure out where things go. 1. There are 2 vacuum lines coming off the throttle body. One on either side. I think... one goes to the distributor vacuum advance and one to the EGR. Guessing the one on the side closest to the distributor goes to the advance dash pot. I have removed the EGR so I guess I just plug up the other hole? 2. There are three line to carbon canister. One goes to my intake (mine actually has a label on it). The middle one says “purge”. Where does that go. Other like comes from fuel line. 3. The Throttle body return spring. Mine was removed but I found it in a box, it has a arm and a spring (see pic). Does anyone have a pic of how this attaches and where the other part of spring connects? All the Wiring around the coil still needs sorting but I won’t attack that today. I have a ZX distributor so I’m working through reading Blues write up on that but I still extra wires over there. Expect questions on this at a later date. BTW, found some really nice battery post connectors with rubber covers that make easy to add the extra wires . See pic below. I pulled the Neg cover off for the pic. The extra wires are for the battery maintainer Got the terminal connects on Amazon...of course. Sent from my iPhone using Tapatalk1 point
-
1 point
-
1 point
-
Occams razor reared its' head on this one, I think. The problem was the battery....I replaced it with a new battery, and the car cranks fast and strong. When I saw the voltage reading, I assumed it was sufficient, but it doesnt look like it could move enough amperage fast enough to turn the engine over. Thanks so much for your help folks!1 point
-
Thought I'd come and update. I replaced the belt (I noticed it was starting to tear a little) didn't fix the sound. I went ahead and finally got my starter delivered, installed it and sadly that was not the issue. My car does start a lot better and faster now though and it no longer hits my flywheel so that's a plus This Tuesday I will be performing a valve adjustment, taking off the oil pump and swapping with the old one, and getting the motor back at tdc when I reinstall everything and check timing again once that's all done. I will update then.1 point
-
1 pointYou can take the bushings out and plate them, but more important i wanted to say put the rubber in some washing powder and some hot water, leave it there for some days.. maybe take it out and scrub it a bit and put it in new mix of ordinary washingpowder and hot water.. the rubber rejuvenates very well most times! I found this out in the time i restored a pinball machine, those rubbers were white (where the ball bounced against.) and after a lifetime they had thausands of little holes in them when stretched! After a week in washing detergent they were as good as new!! I must say the softer the rubber the better it works..1 point
-
https://www.carbuilder.com/uk Their inventory is so extensive that I think it might be worth the extra shipping.1 point
-
1 pointIt looks off, and probably one crankshaft revolution. It has to sync with the oil pump so there is some trial and error involved. You can verify the compression stroke on #1 by taking off the valve cover and checking that the cam lobes are not opening the valves on #1. Get the engine on the #1 compression stroke and rotate the engine, by hand with the plugs out until the timing mark on the damper is between 0 and 10 degrees on the timing tab then set the distributor back in place with the rotor pointing at the # 1 plug wire.1 point
-
You could just disconnect the outlet of the filter and do a volume test. That will tell you something. There's a test described in the FSM. Remove the hose, put it in a container, run the pump for a certain time, you'll have flow rate. If it's low, replace the filter and try again. I thought there was a rate test but there's not, that I can find. Must have seen it somewhere else. Anyway, when the flow is good, it's obvious, when it's not, it's obvious.1 point
-
I did see that and gave it a lot of thought. In the end, I was just looking for an excuse to make something on the lathe (and mill). 😁 I am really trying to clean up the engine bay to remove, or make less obvious, all the hoses, wires, etc. running around. That's why I decided to mount mine under the intake. The filtered air hose will run to a port at the bottom of the MAF sensor boot from the air filter. The air valve body can rotate to any position to facilitate the routing of the hose to get it to follow the same route as the boot. Also, the hose, air valve body, and boot will all be black and less visible - especially against the blinding brilliance of the polished intake, head, timing cover...... Well, a fella can dream can't he?1 point