Leaderboard
-
Captain Obvious
Free Member2Points10,081Posts -

Zed Head
Free Member2Points19,238Posts -
AZDatsun
Free Member1Points412Posts -
S30Driver
Free Member1Points1,580Posts


Popular Content
Showing content with the highest reputation on 06/03/2020 in all areas
-
1 pointThere should be some decrease in the vacuum on pedal push, but I would expect there to be more on pedal release. As long as it doesn't continue to bleed out when you hold the pedal push constant, then I don't think you have a leak in the booster diaphragm. I'm no booster expert and I hope I'm not coming off as one, but from my looking at the design, I believe that's the case. The whole thing is actuated by a pair of valves on the pedal shaft. With the pedal not pressed, it opens a valve between the two sides of the diaphragm and allows vacuum to build and equalize on both sides. Then as you press the pedal, the first thing that happens is it closes off that valve between the two sides. Then as you continue to press further, it'll open up a second valve to vent off some of the vacuum on the rear side. What I'm trying to test with the "set amount" of vacuum bleed on pedal push is... Does that "close before open valve" work properly and are there no other parallel paths between the front and rear sides of the diaphragm (like a hole). I'm trying to come up with scenarios that you can look for on the bench that give you some confidence in the operation. "Holds vacuum indefinitely while static" is a good first start. "Goes whoosh when you press the pedal" is a good second test. "Drops a set amount, but not all the way when you press the pedal" is a good third test. if it passes all three of those I expect it's good enough be worth the time to install it and give it a try.1 point
-
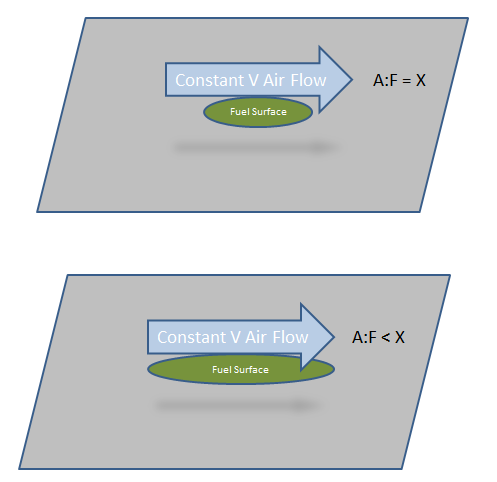
Here is a quick calculation based on the following general assumptions: Air Flow over a puddle of fuel draws fuel into the air flow The larger the puddle, the more fuel is drawn The air does not saturate with fuel Air flow is constant Depression over exposed fuel is constant and here are the SU assumptions: venturi effect of bridge is ignored effect of piston raising is ignored air flow is constant over exposed fuel puddle fuel depth in well is ignored exposed fuel puddle is proportionate to diameter of fuel well (2.54mm) minus the area blocked by the needle's diameter at the surface. Station one Top needle dia is 0.095" Station one Bottom needle dia is 0.094" Here are A:F Ratio calculations for lowering a jet for an SU carb with: Top of station (Jet drop = 0) AF is 14 with N27 needle dia of 0.095" reducing to 0.094" at bottom of station. The math seems to match observations ?
 1 point
 -
1 pointSomebody used silver paint. That is not a clear coat or typical protective finish. I have no idea what Aitoku does or did but your after sale replacement cover has silver paint on it, by your description/ Maybe Aitoku was given the contract to produce replacement covers and that's how they did theirs. Painted them silver. So, in car show terms it's not "factory" so you'll get dinged. In historical terms it might be a bona fide replacement valve cover, part of the complete history of the cars. But you have to destroy the Aitoku history to win your car show points. Seems ironic.1 point
-
1 pointGas restore completed and ran much better today! Onward to suspension, and then my paltech round top carbs, pertronix ignition upgrade, interior restore, etc. Side note: the electric fuel pump runs all of the time; not just at cranking. Anyone wired this to only run at startup? I thought about adding a switch that lets me cut it off after starting. It's noticably loud through the floor of the hatch area.
 1 point
 -
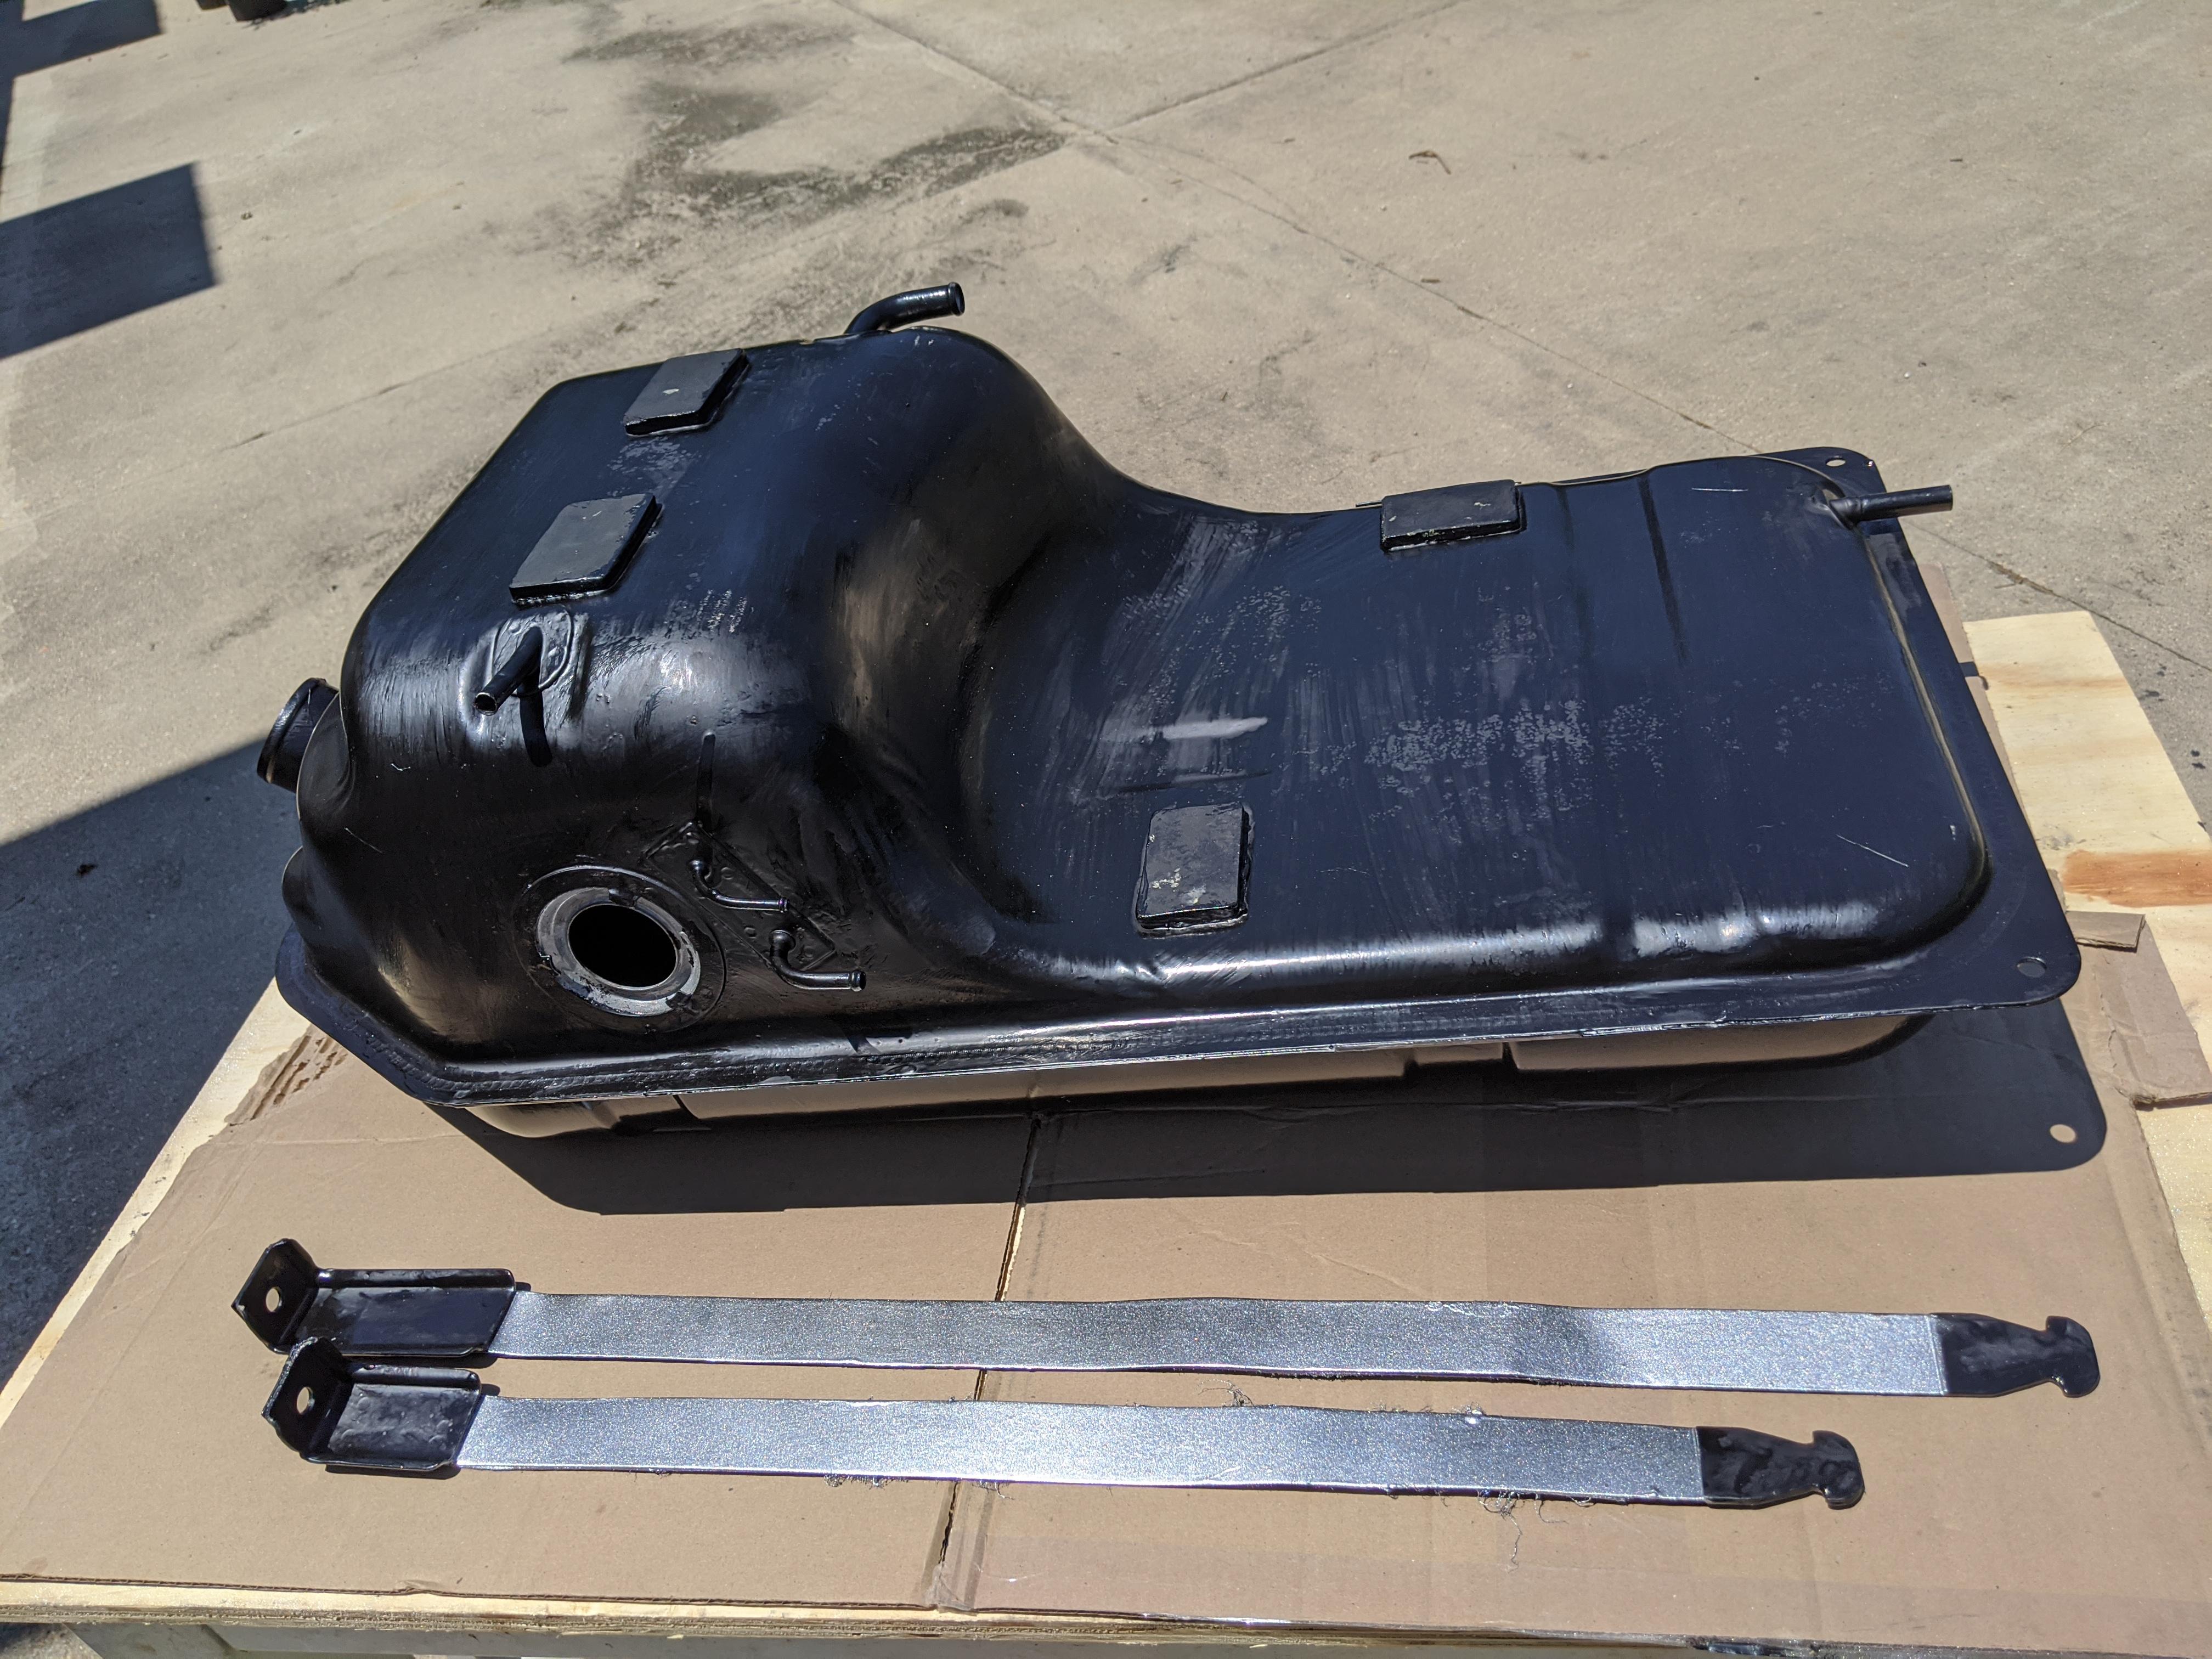
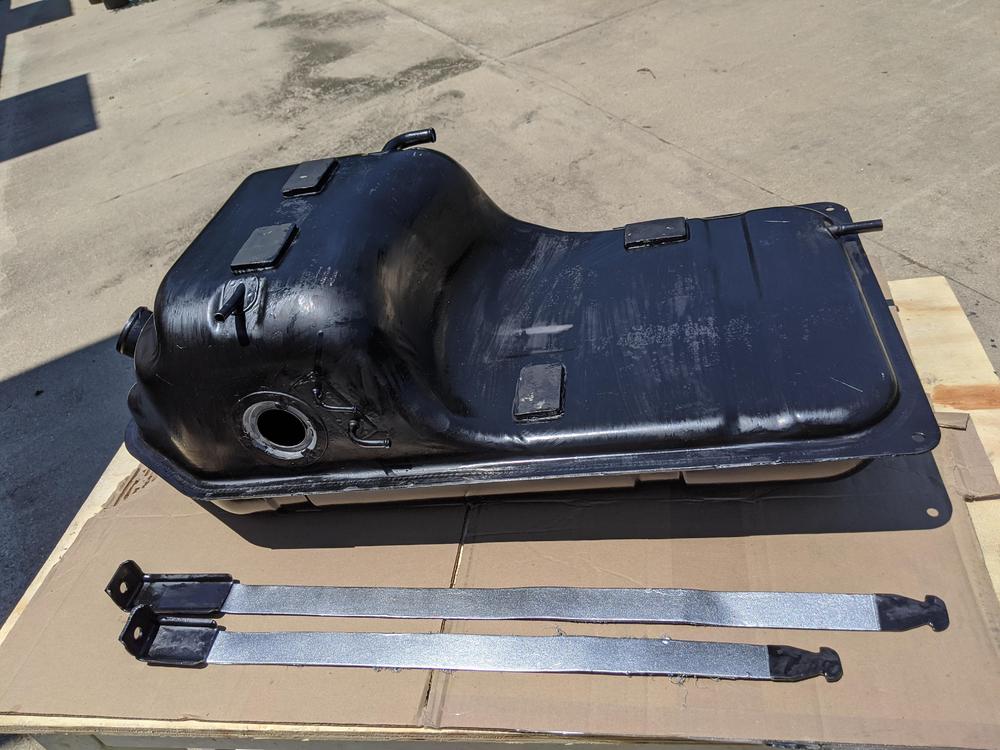
1 pointFuel sender is in I used a very long skinny screw driver to tap out the lock ring and to tap it back in. My gauge now reads like how it should my older one would never go past half full (or is it half empty jk) It also moved the needle over a lot faster. Now just need to see if my fuel light actually works. Thumbs up! Sent from my iPhone using Tapatalk1 point
-
1 point
-
I plan to get rid of the downdrafts and in fact already have a new stroker motor in development. Will probably be going ITB’s on this build.1 point
-
Thanks for the tag Jim, but what are webers? Never heard of it.1 point
-
1 point
-
I've had numerous problems with my gauge lights. The sockets get screwed up and the contacts in the socket don't make good contact with the bulb. MSA's replacement bulbs were too big and rubbed on the inside of the housing. Some of the sockets have a ground wire attached to the socket itself, some of them ground through the edge of the mounting hole. Generally, the gauge lights are pain and require special attention to get working right, and installed without knocking something loose. My complaint might not help you but the point is it could be one of several different possible problems with each bulb. I had to go through each socket individually. And one of them still is intermittent.1 point