Leaderboard
-
grannyknot
Free Member3Points5,158Posts -
Patcon
 Subscriber
 3Points11,142Posts
 -
newbzee
Free Member2Points59Posts -

kats
Free Member2Points2,215Posts


Popular Content
Showing content with the highest reputation on 08/24/2018 in all areas
-
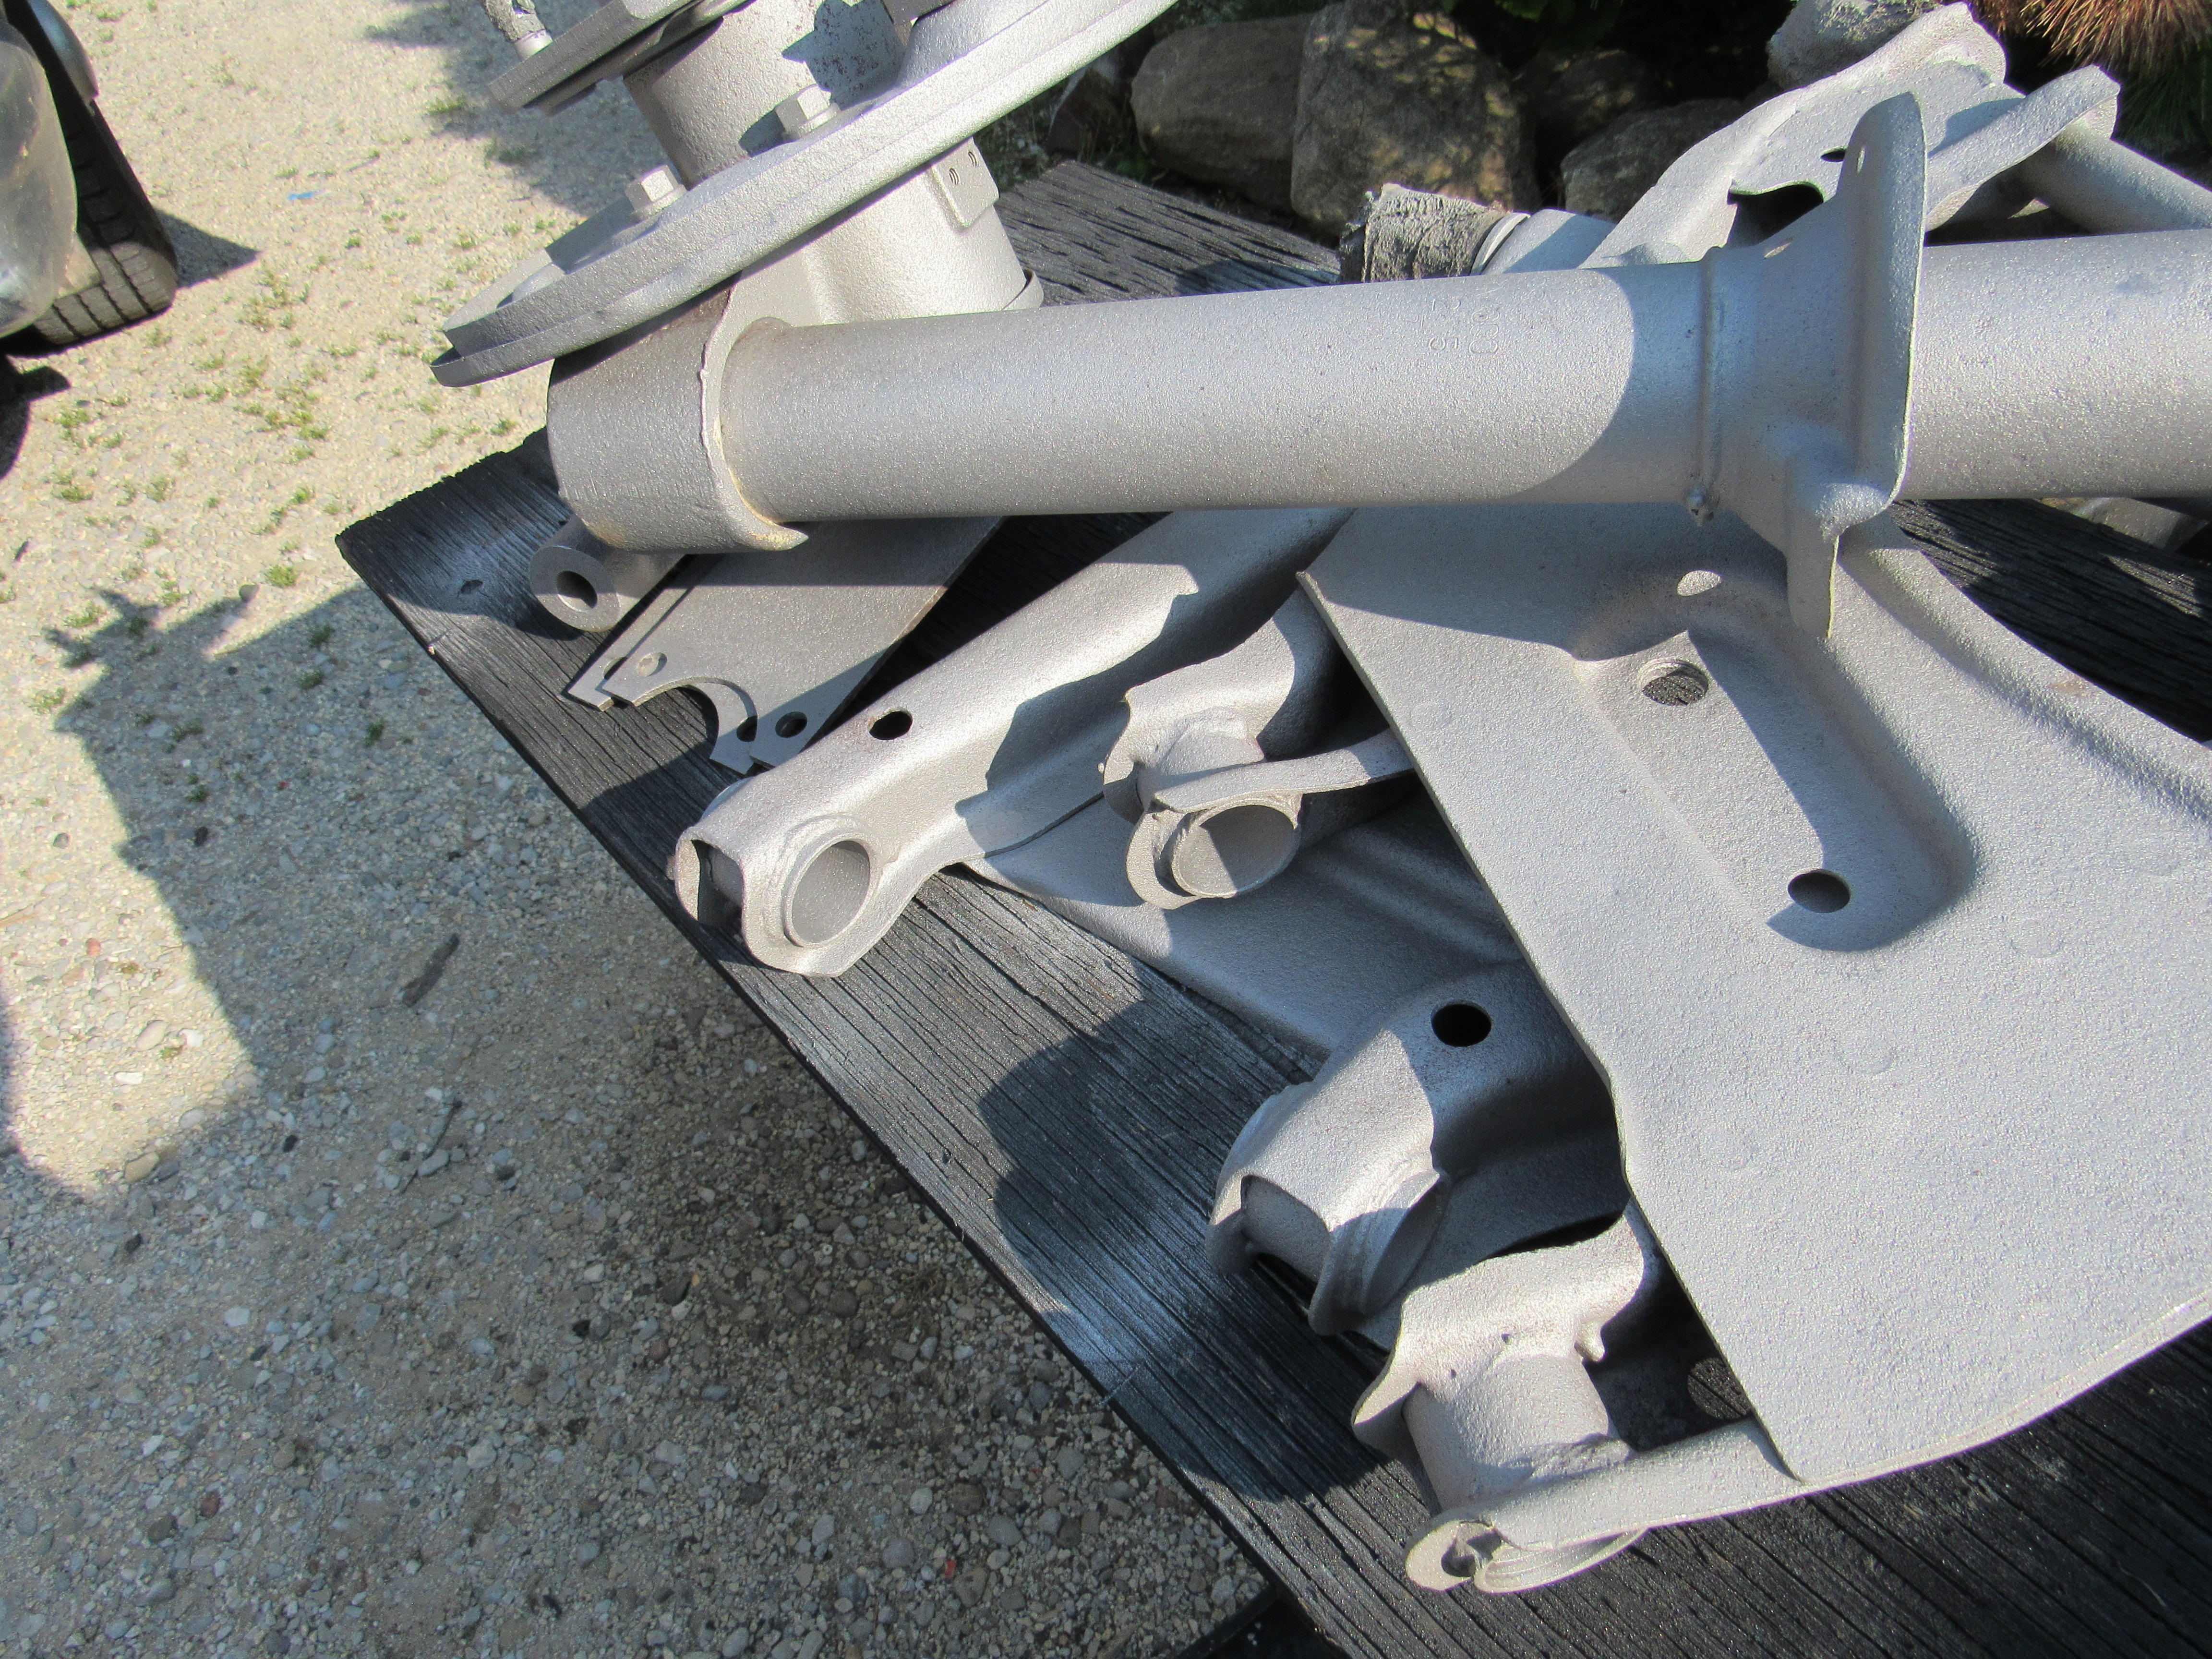
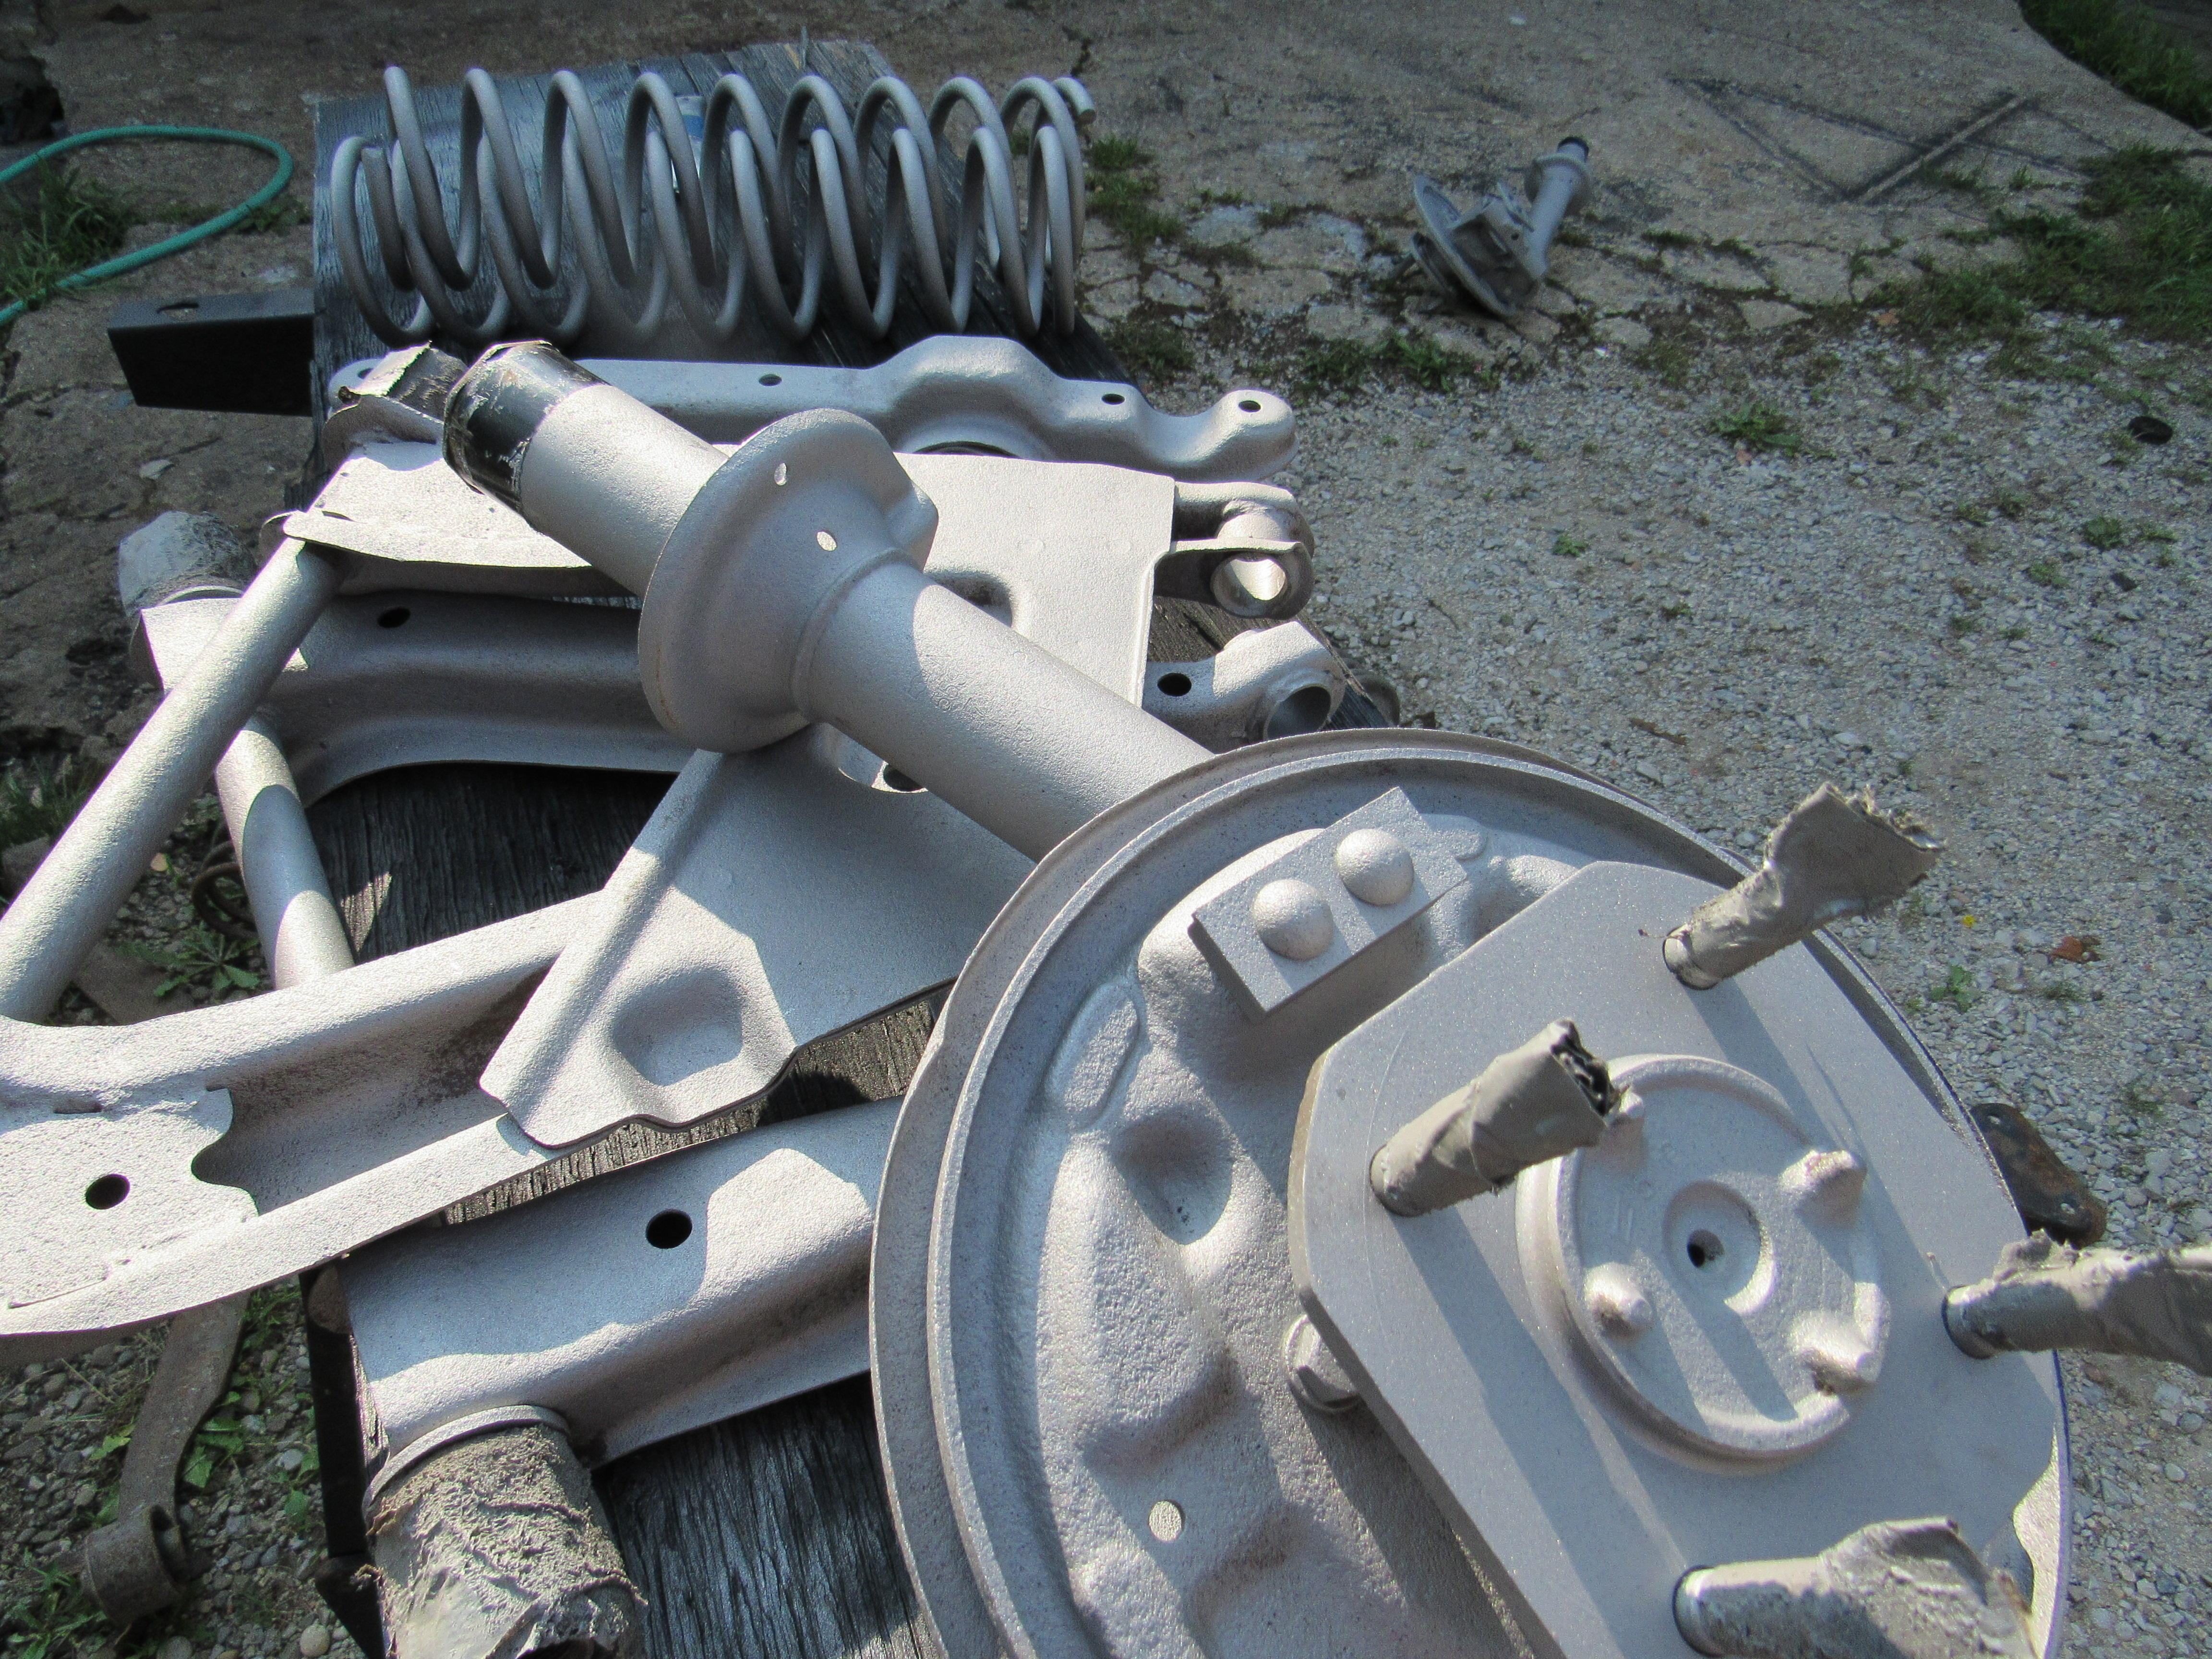
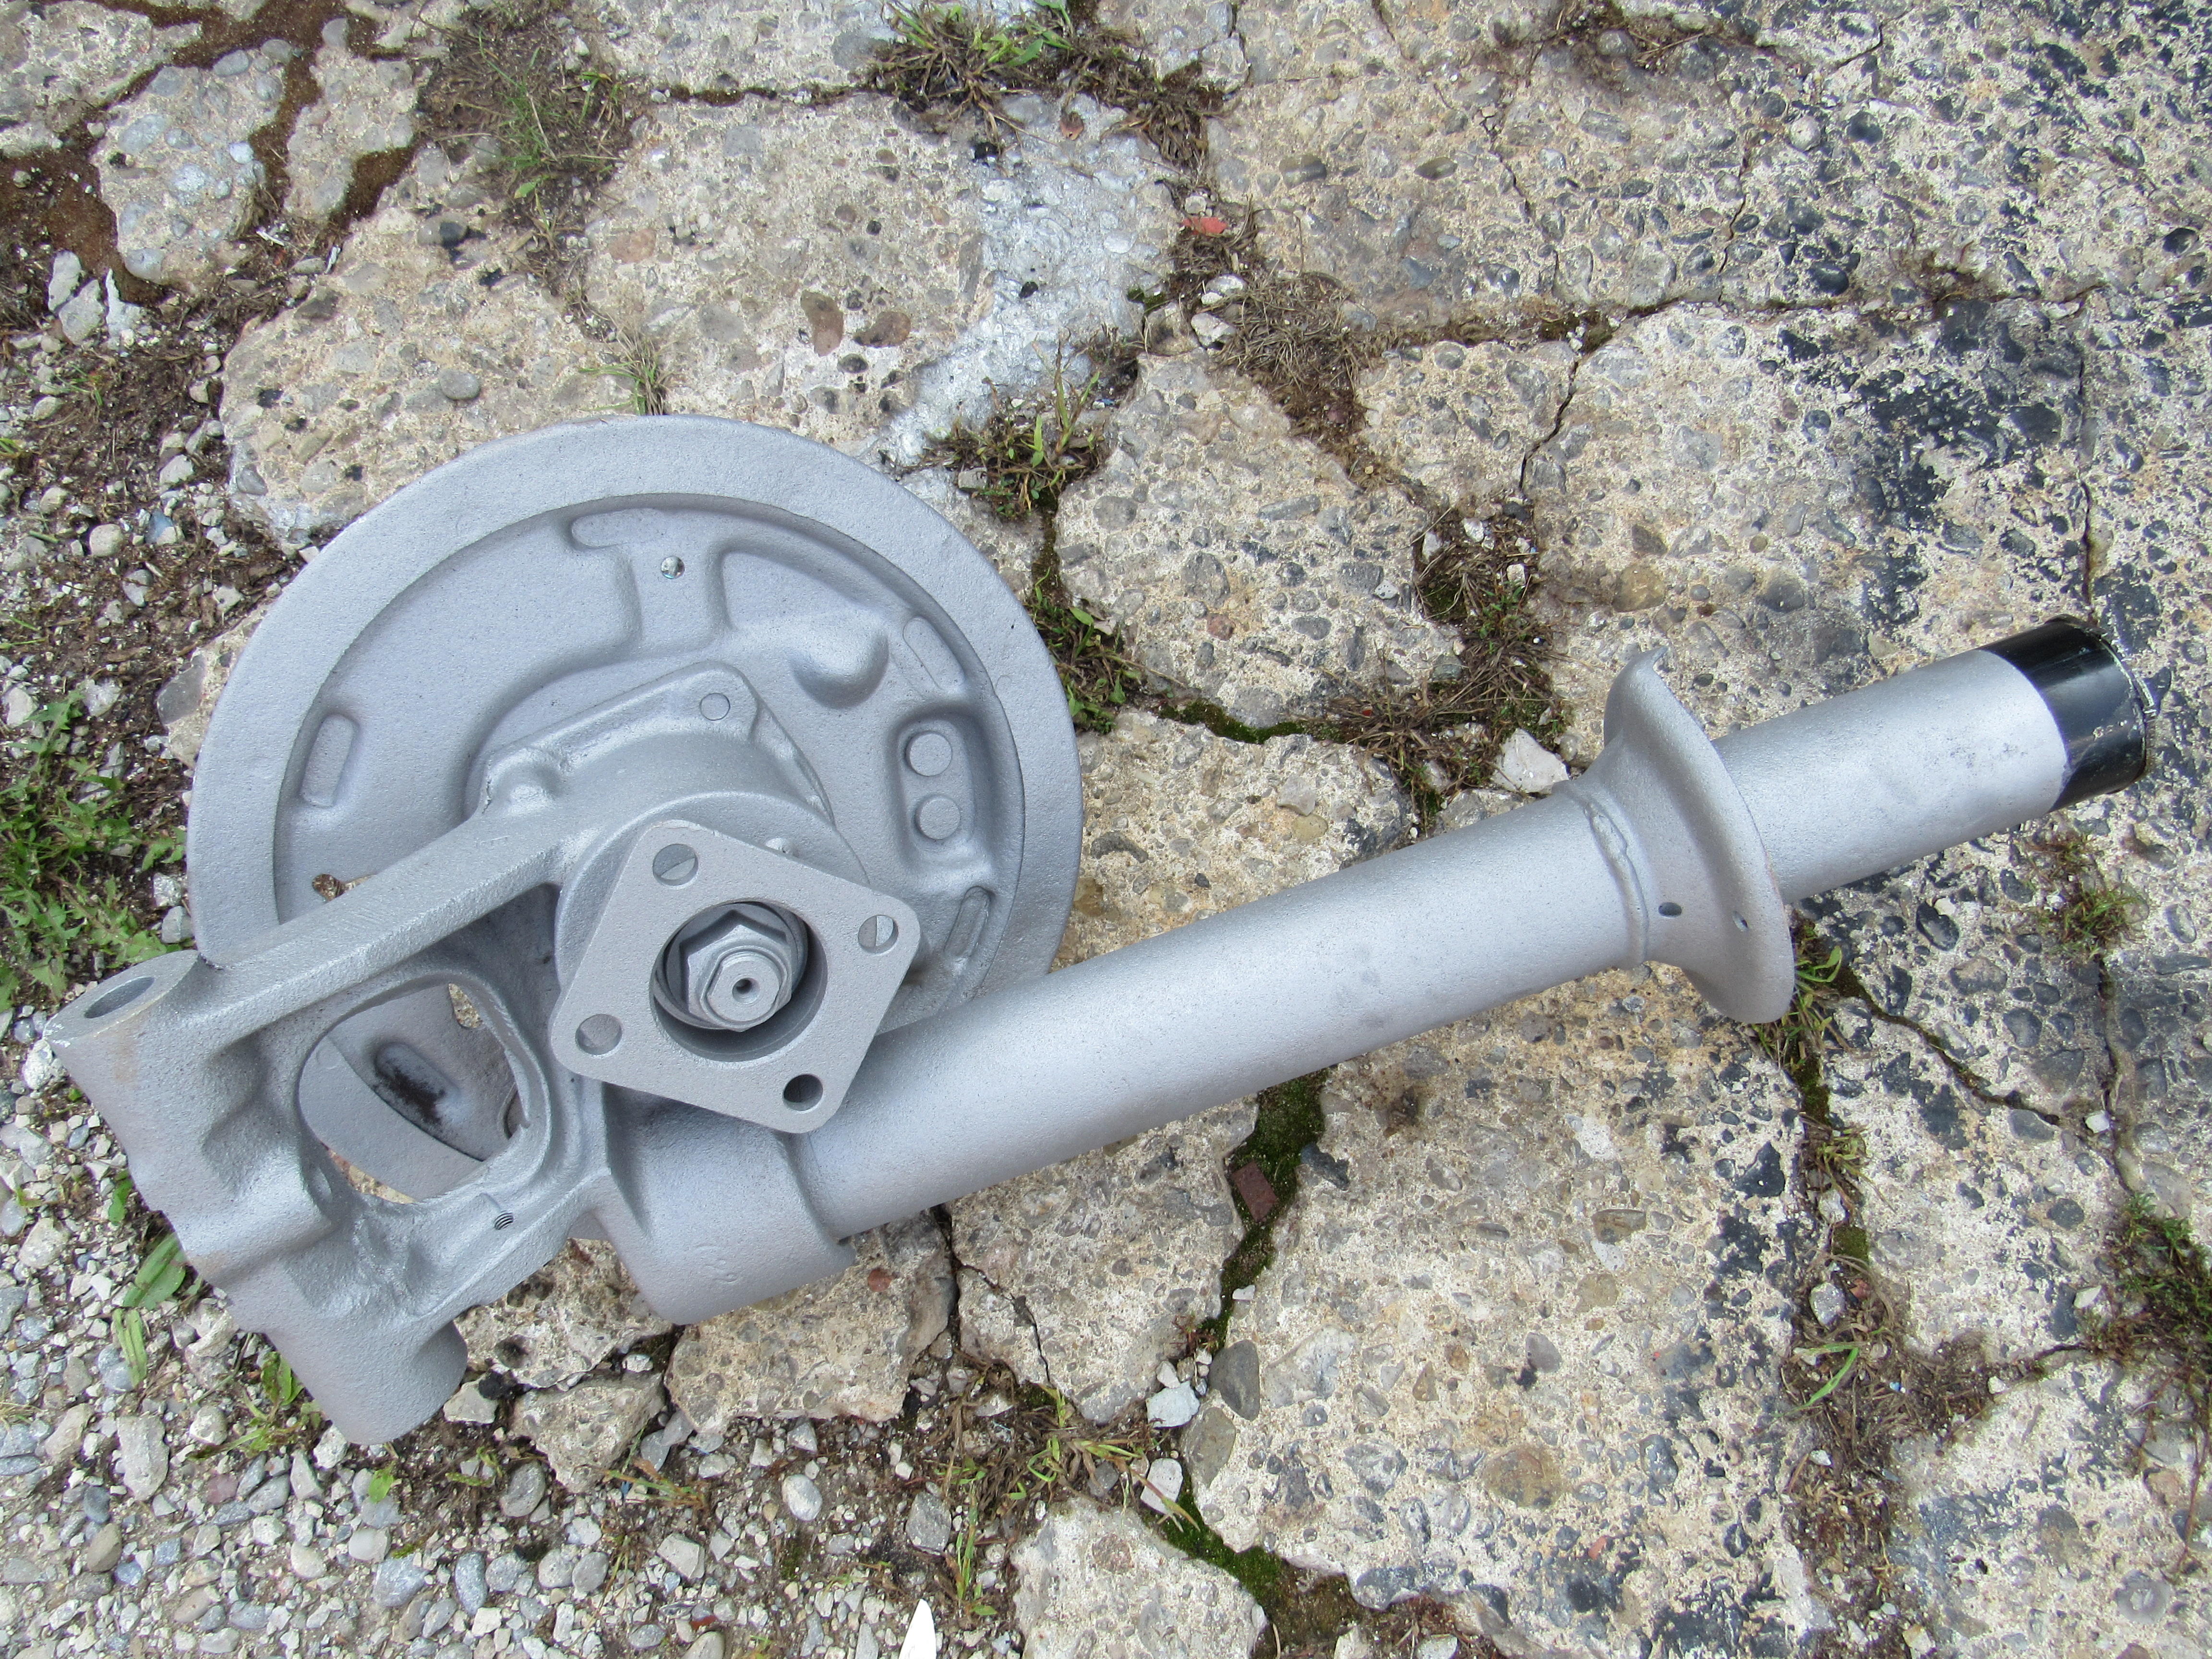
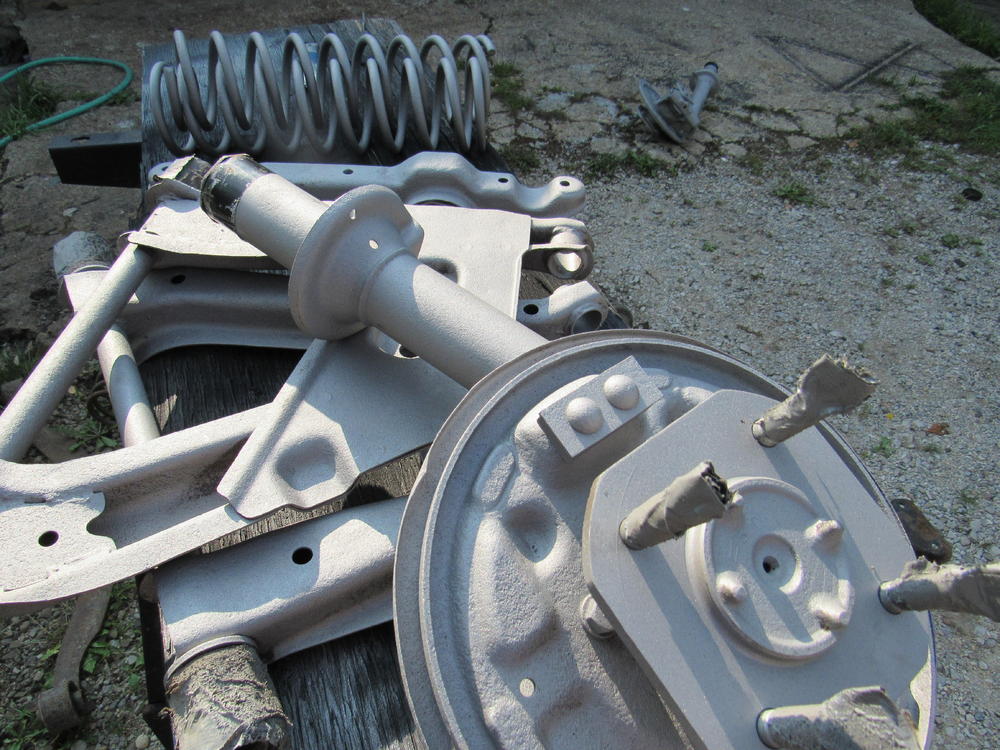
I got the engine back together, just waiting on two more freeze plugs that were missing from the kit. The valve cover is a spare, the good one is on the shelf until the engine is back in the car. Picked up freshly sand blasted parts, now that they are clean I'll disassemble and replace the bearings. One more batch of of suspension parts to be blasted and painted and then on to the shell and the wiring harness.


 3 points
 -
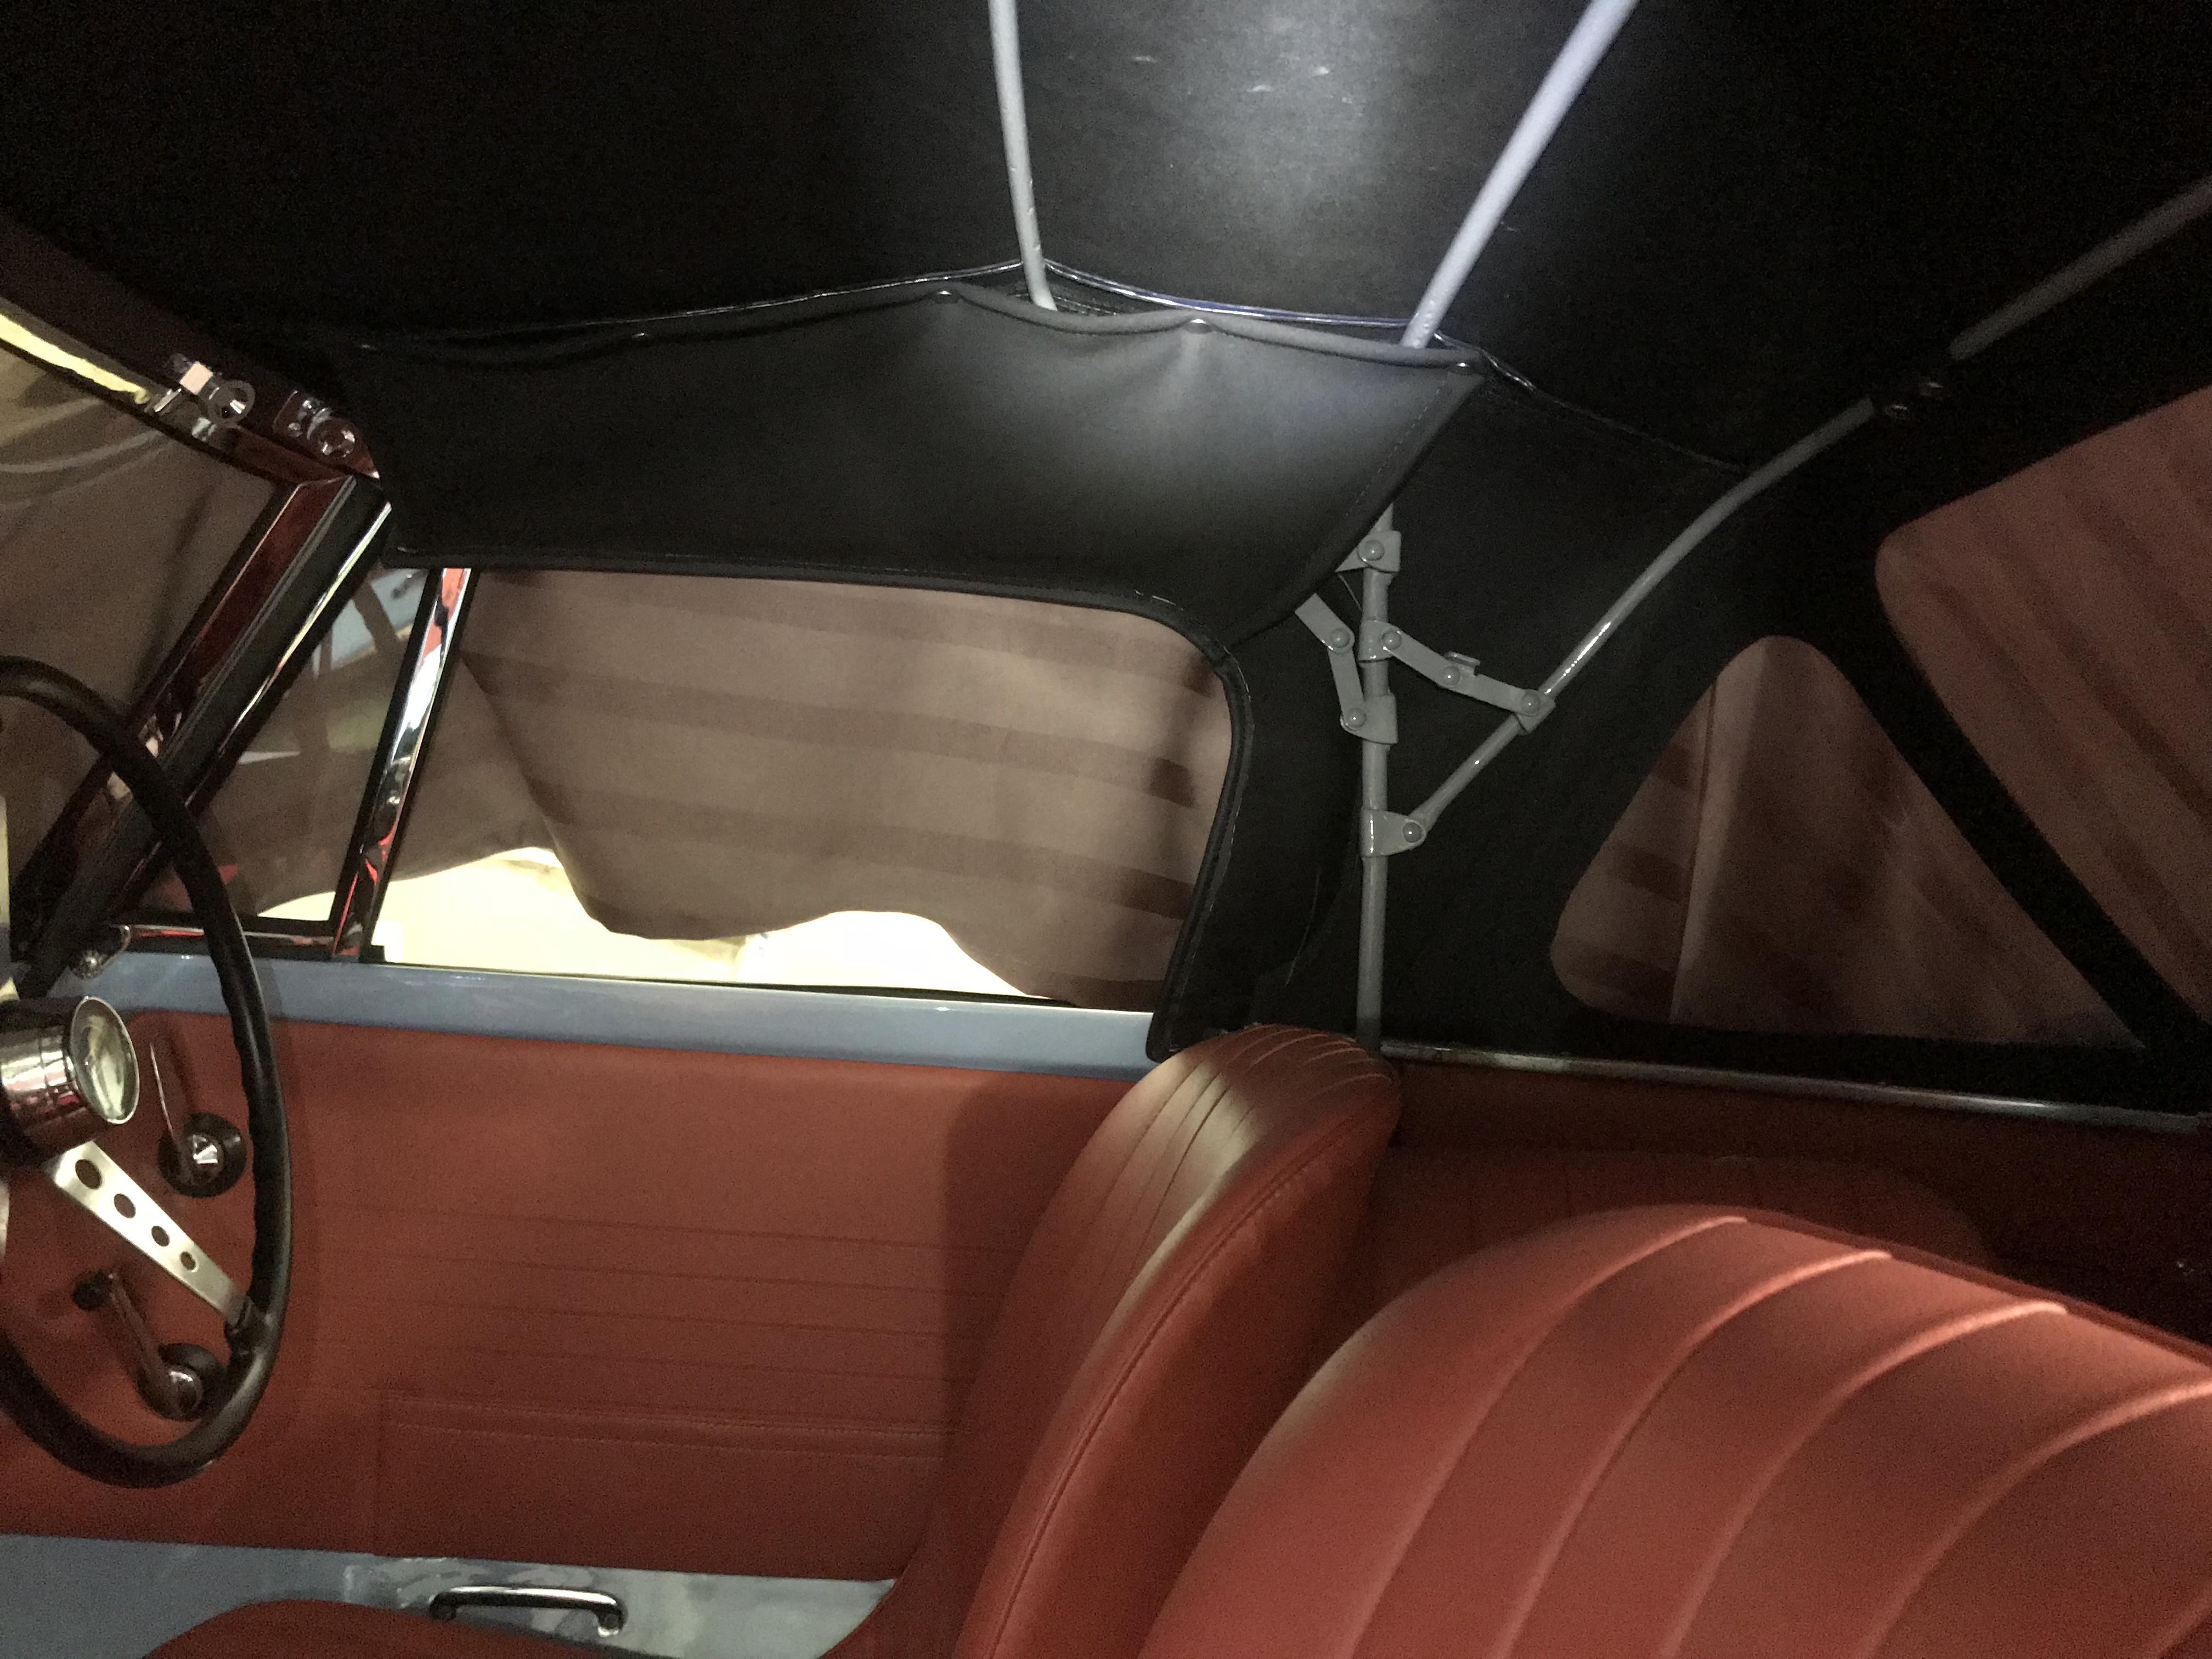
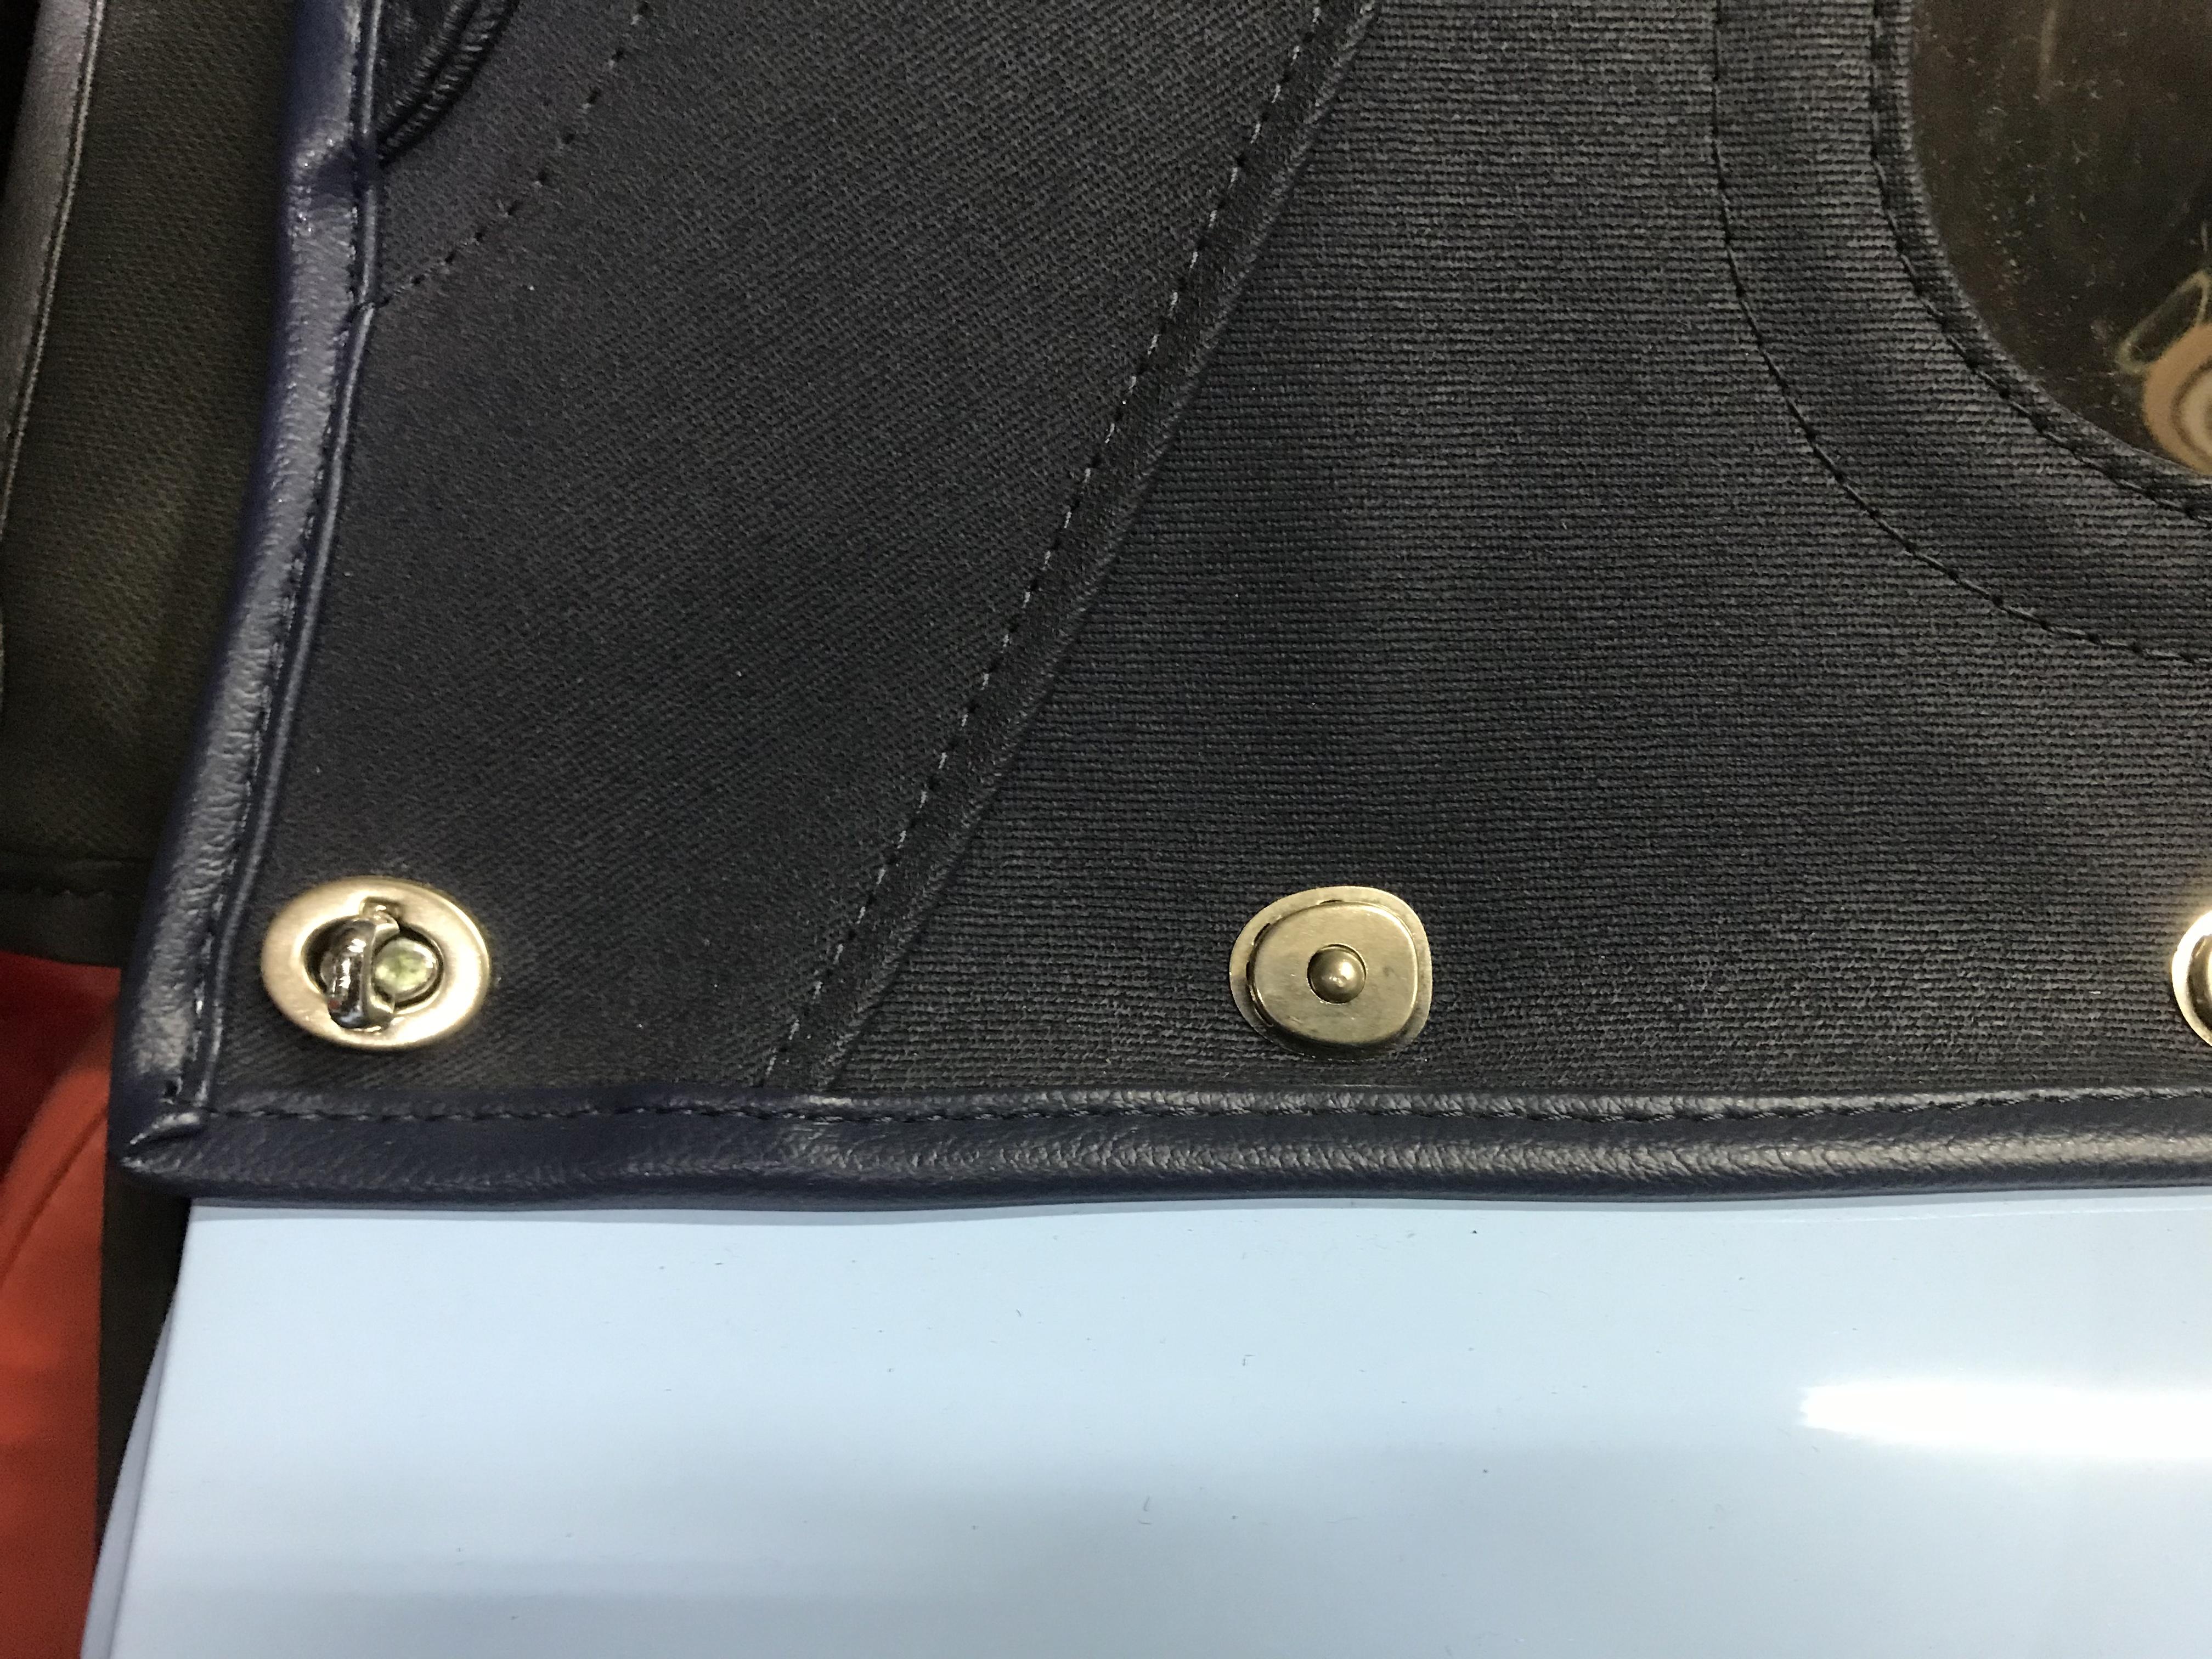
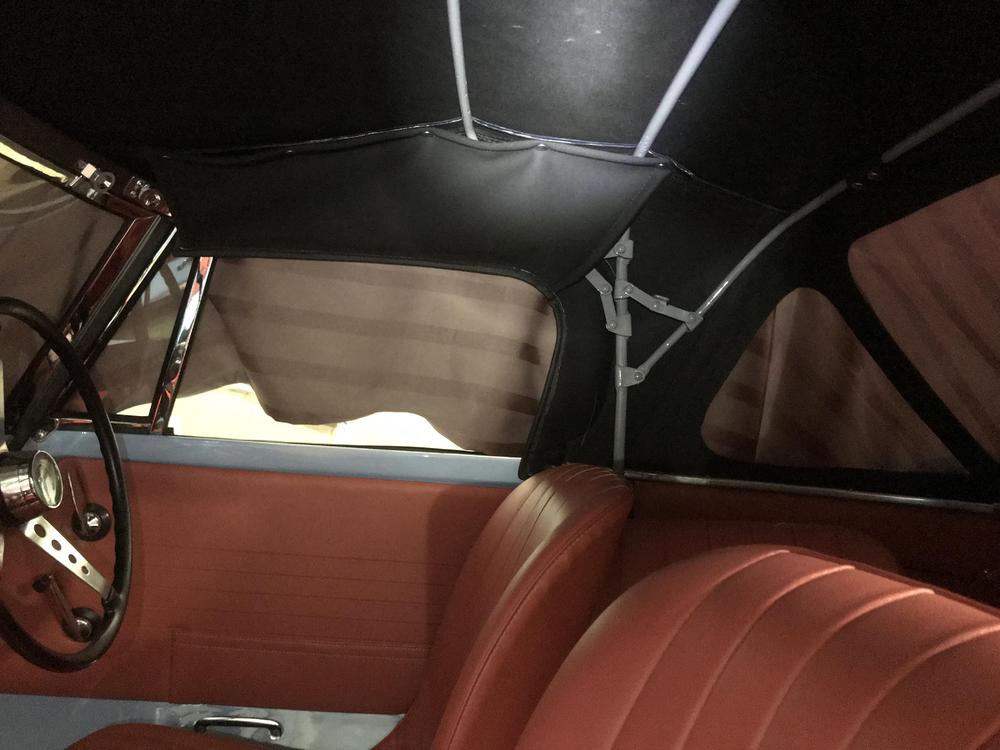
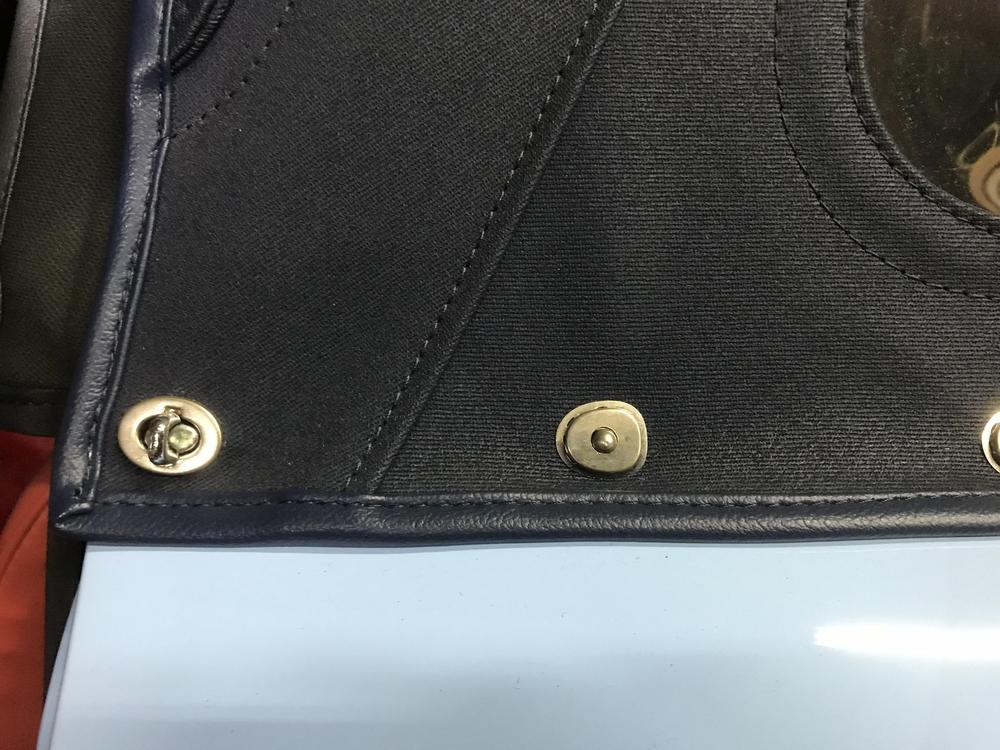
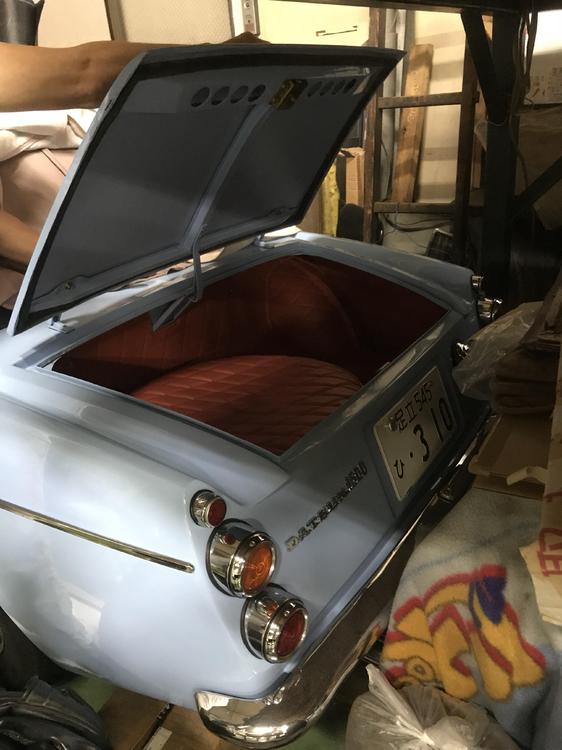
2 pointsThank you everyone, I think so too , no more covers , that is our loss . Mr. Sudo really love Fairlady Roadster , he also did his work for his car . Nice red interior and navy soft top ! Kats


 2 points
 -
1 point
-
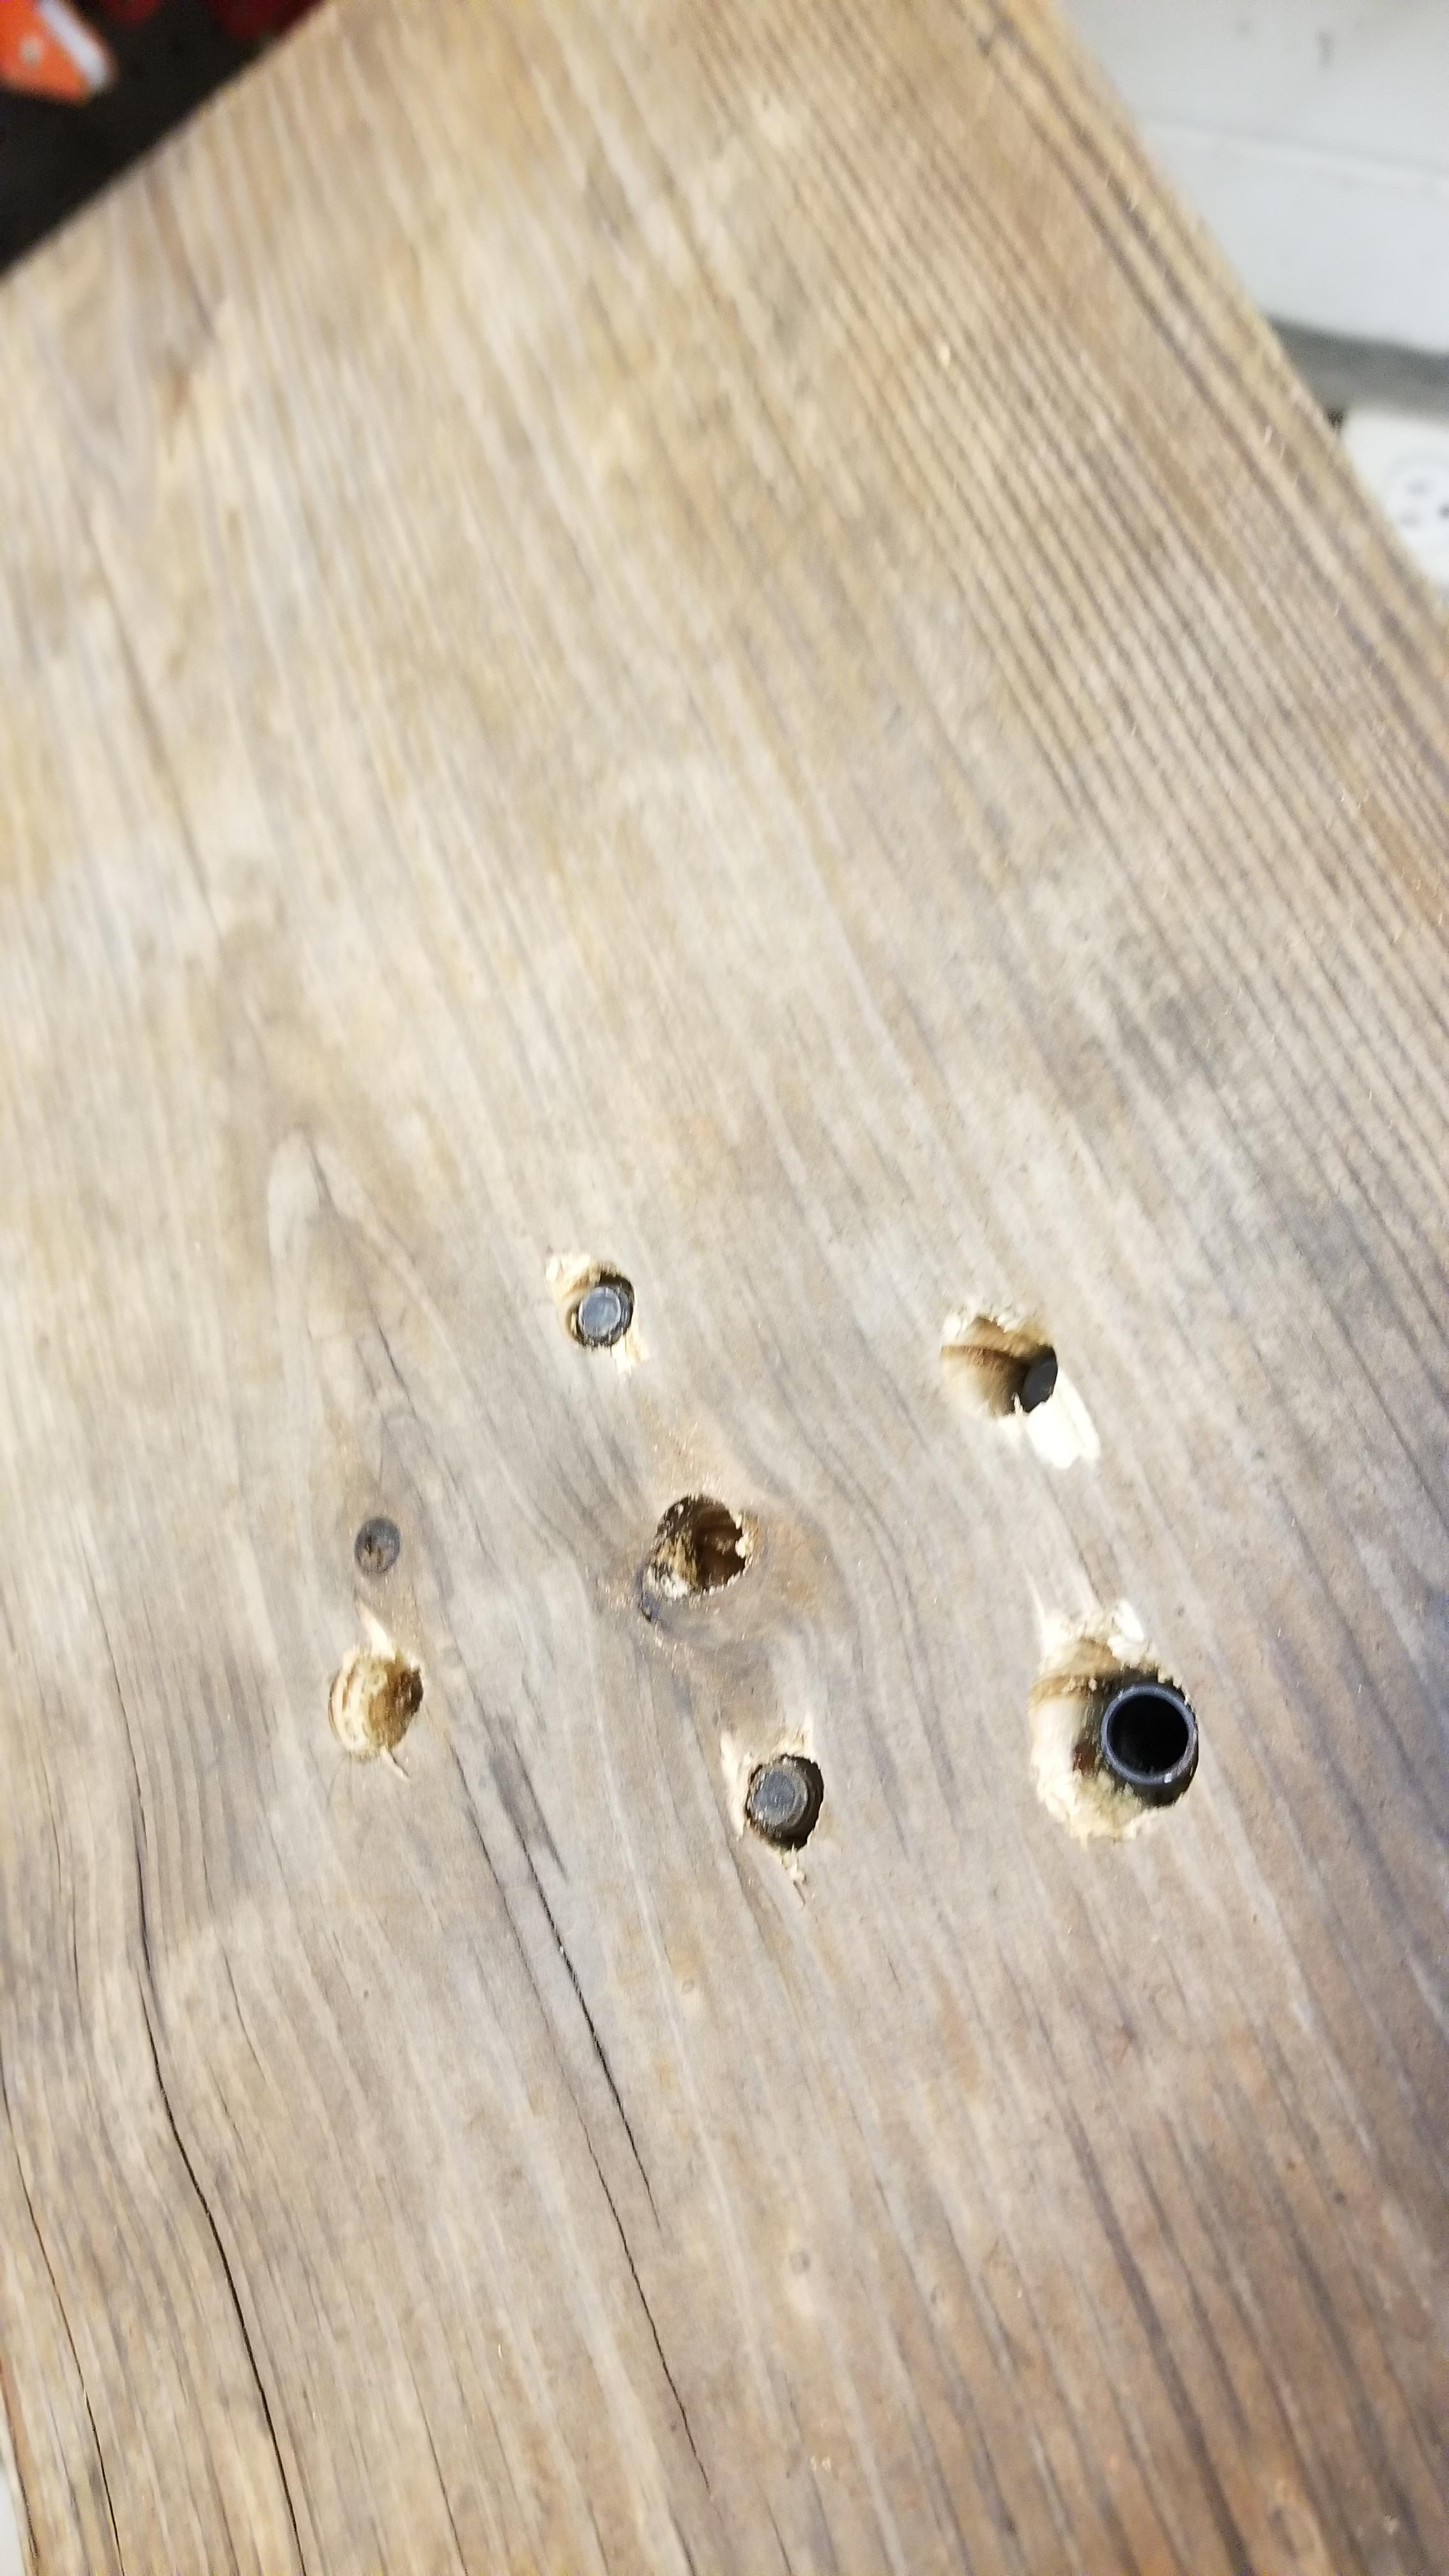
Let me provide some history so we all have them same baseline. I was finishing up a project (1971 Porsche 911) and was looking for another project. My Wife said she would only agree if it were a 240z because that was her HS car. I found this car for $300. A kid bought it as a project and it was too much. The car ran and moved under it's own power but was not in any condition to drive. I think I've welded more metal into this car than it came with. The entire car was disassembled and new floors, floor rails, and front frame rails welded in. I'm very sure the car had damage to that side based on these efforts. I used data points from the FSM when fixing the car so it's pretty straight. Perfect, no, but pretty straight. So, seeing this doesn't surprise me, just annoys me because I missed it, but thats part of having a project. Maybe it was a hidden problem and the car was out of wack and it's showing up now after making repairs? I'm not sure , I'm definitely going to pull the other side apart but I have a small shop area and at this point it doesn't effect repairing this side. I've had the entire front suspension and cross member out with the engine, and everything went back in easily after repairs so I'm hopeful this is the last problem from what ever happened. Yes Chuck, Front Left side.1 point
-
1 pointI bought that bolt kit for my rebuild. It's labeled and individual packing made it a breeze putting things back together. I will say some of the bolts are too long and bottom out so be careful when torquing. I remember the oil pump bolts specifically. The manifold studs have allen wrench fittings on the ends for a good tight install. keep your old bolts for comparison and use anti seize to smooth out the new stainless threads. They are a bit course compared to the OE bolts.1 point
-
Cool! I found the 160s tonight and installed them. I’ll retest in the next few days.1 point
-
1 pointI've never held any 280Z struts but looks like you got your answer. My early 260Z struts were the same diameter as the 240Z.1 point
-
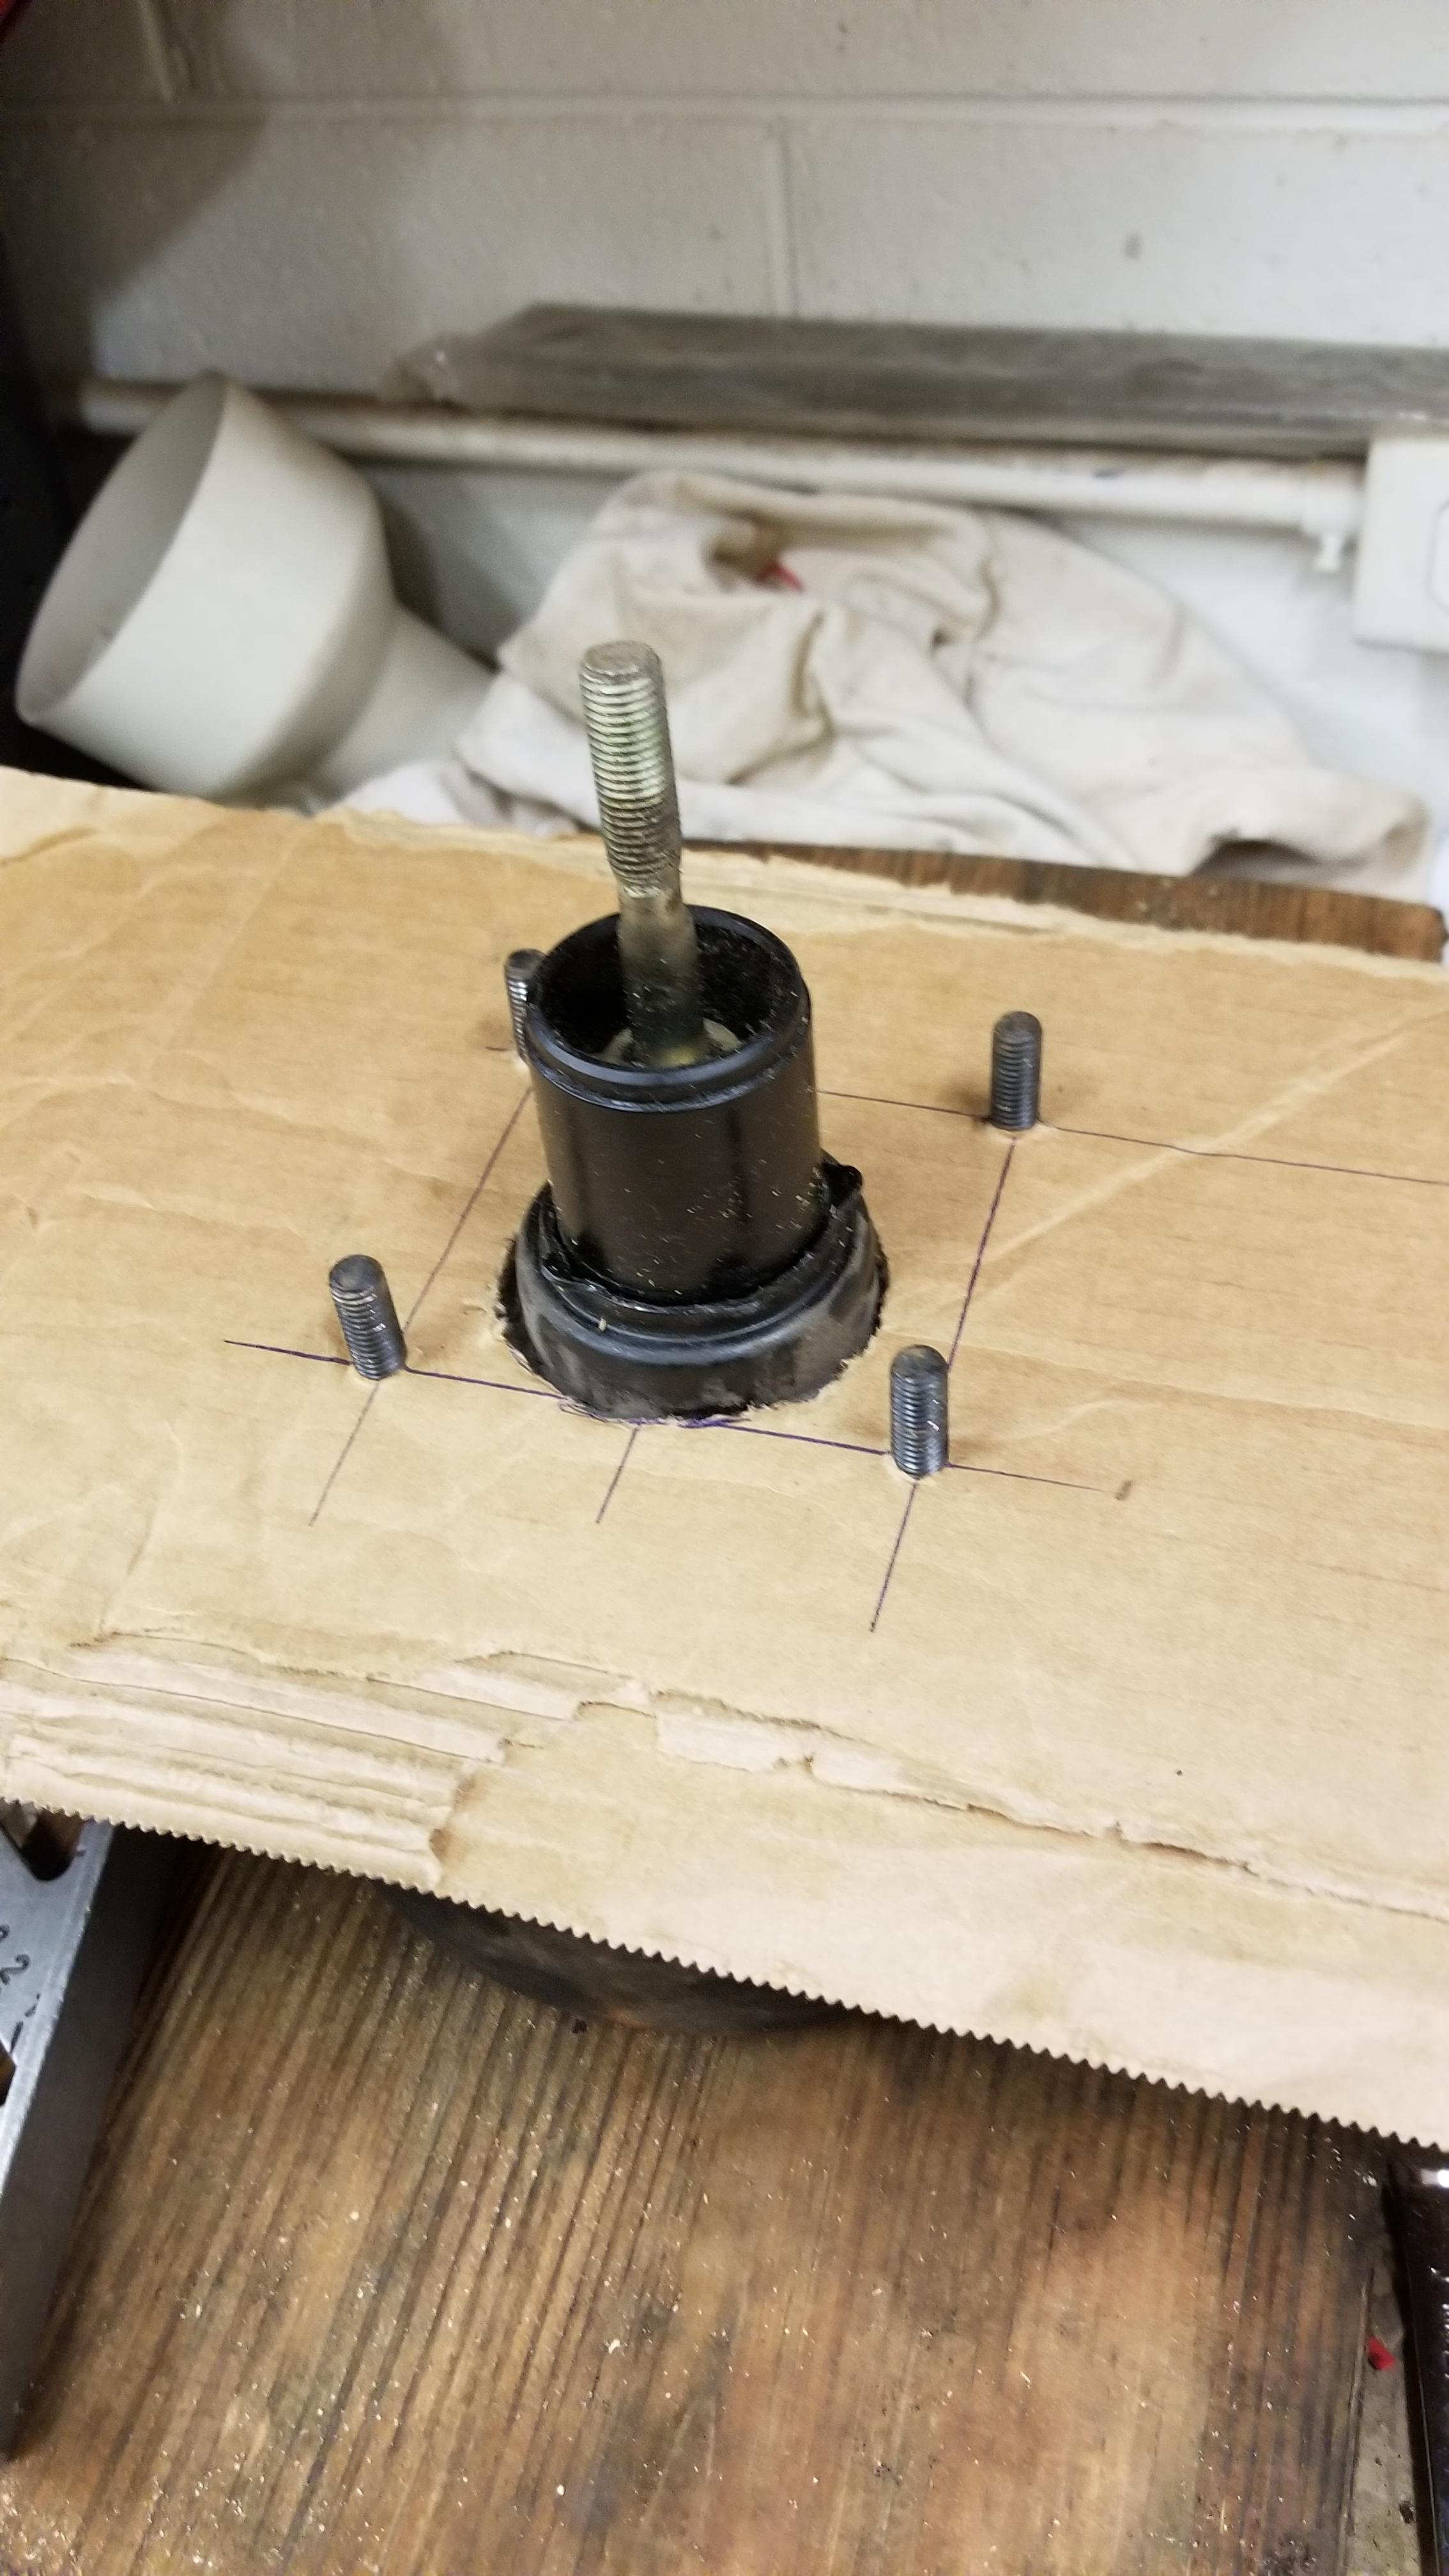
Of course it does! I don't know of anyway to turn it from the perimeter. On the first one I opened up I tried to drive it open like a fuel sender ring and started to cut the tab off the case. Then I built a couple of wooden templates with long 2x4's and that worked. It is easier if you apply clamping force to the case. So I will make the new setup work in the hydraulic press1 point
-
Looks like fun. I like the big chunks of wood. Looks redneck. Any way to get the forces acting on the outer edges, where the contact points are? Those studs are not meant for that type of twisting force, I think. You could torque/bend those surfaces, or the studs. The clamping points are way out at the perimeter at those dimples.1 point
-
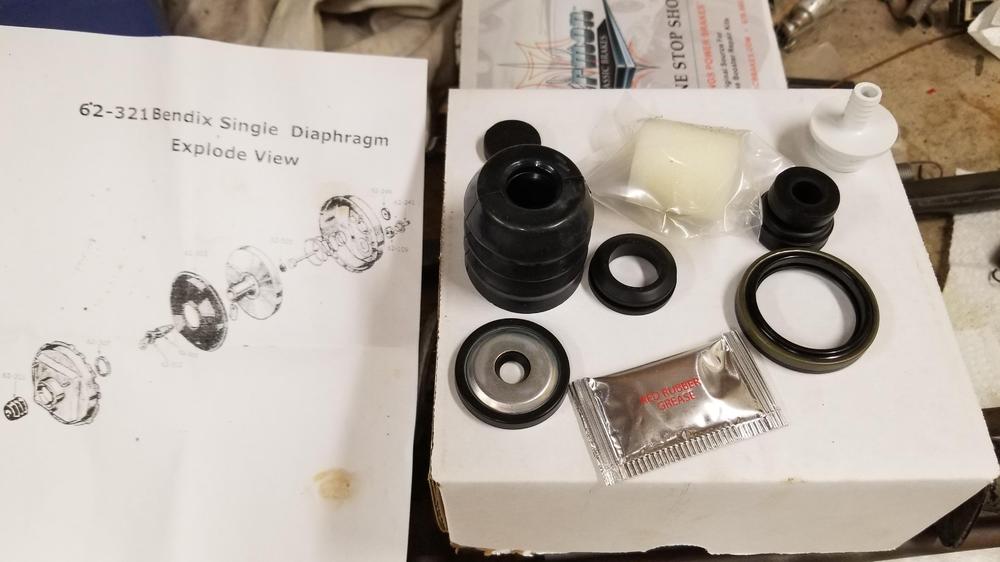
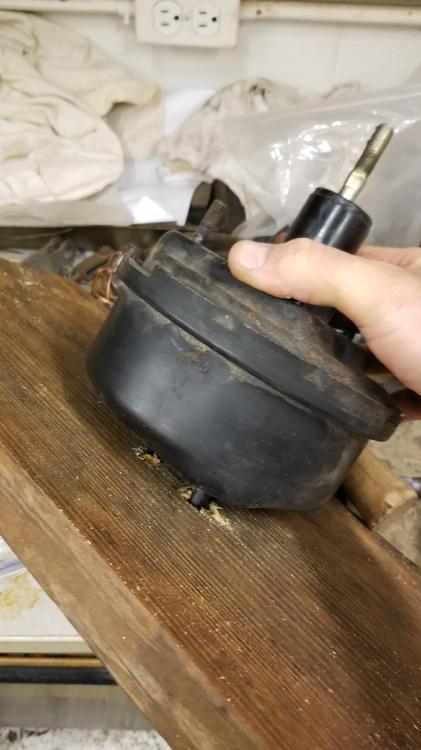
So here is the mustang kit all laid out. I believe, the white part and one of the grommets is the vacuum port for the Mustang. I am not sure what the part that is at 7:00 to the vacuum port is. I believe all the other parts are the same or very similar to the ones used in the Datsun booster The only number on the disc So I started on a new booster tool. I will use the press to help squeeze it a little Bottom section is drilled into a 2x12 to receive the booster Making a template for the lever, it will be steel

 1 point
 -
1 pointI don't believe it was sealed from the factory. Which is why they rust out there. I wouldn't use any of the marine caulk products. I would get a dedicated seam sealer and use that. The seam sealer will take paint. I would also try to treat any rust that is down in there first1 point
-
I understand what your saying but I really think with the experience of those helping tearing in even deeper isn't something I'm interested in just yet. There is definitely an issue with the one side and I feel pretty confident the other side is correct based on crude camber measurements and overall clearance. I think as suggested we are down to a fix group of culprits. If I need to tear the other side apart I will but I would need some specific comparisons that can't be obtained while it's together to do so.1 point
-
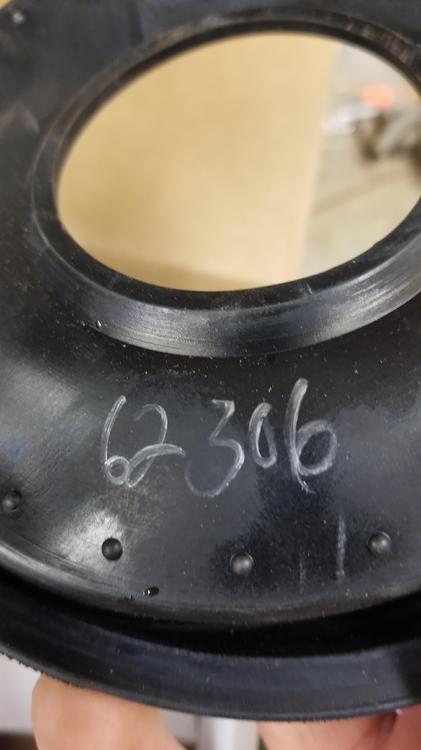
Cool! I did a bunch of digging around on the website for the guy you got that kit from, and I noticed that he was using the same pictures for several of the kits. "Stock photo" and not necessarily accurately representative of what they parts really looked like. I was worried that what you saw might not be what you got. Can you take a pic of the other parts besides the diaphragm? I'd be interested in taking the poppet valve seal off your hands and seeing if I can get that onto my old booster plunger. Also, are there any numbers cast into the new diaphragm? When I had my rebuilt booster apart, there were numbers on the diaphragm inside that I wrote down somewhere. I'm wondering if they got their diaphragm from the same source. I wonder how many people in the world are casting that part.... In other words, I'm wondering do all the rebuilder companies get their stuff from the same source, or do they all make their own?1 point