Leaderboard
-
zKars
 Subscriber
 4Points3,770Posts
 -

Av8ferg
Free Member3Points1,538Posts -

siteunseen
Free Member3Points15,115Posts -

heyitsrama
Free Member2Points1,185Posts


Popular Content
Showing content with the highest reputation on 07/31/2018 in Posts
-
So I finally got to take this thing for decent drive last night. Other than a loose fuel inlet fitting on the fancy kyosanki thingy fuel pump that stopped me for a few minutes to figure out (sucking air is apparently not a good thing), this thing is freaking amazing! I rarely get to drive a bone stock, far from new L24 in a bone stock chassis,, but I have to tell you, this thing is not slow or boring. Torquey as hell! It's not my stroker, but its quiet and smooth and very well behaved. Well the Maxtor 185/75-14 tires make cornering a bit of a squeal and howl affair, but they spin real easy off a stop light which totally makes up for the cornering drama! Then there's that slightly crunchy 2-3 shift, that slightly wobbly A-Type trans stick feel, and the stock AM/FM radio blasting tinny tunes through a single speaker in the back, and I'm in old man heaven! Ahhhhhh I am totally not trying to sell it, I am actually quite surprised with how fun this old clunker is to drive. Maybe having a mostly stock 240 with body work you don't care about, isn't such a bad thing after all.2 points
-
Well I didn't make to the Edmonton show with the Z. Just ran out of time on Saturday solving a little ignition problem. Took the 510, had fun. Today I worked through the ignition problem. Very interesting problem and solution. I had an intermittent spark miss as you apply throttle under load, getting worst as the RPM's rise. Long story short, it boiled down to bad connections. Even though I used brand new spade connector crimps with brand new terminals and a pro crimper to connect to various spades on the ballest resistor and terminal strips on the coil terminals, they were making poor connections when pushed onto the terminals. The fix was stop using them and go to soldered on ring terminals on the coil posts, and soldering on wires to the ballast resistor to completely remove the use of the spade connectors. They seem to press on tightly, but if you wiggle them once all the way one, they are NOT tightly connected. And they get worse each time you disconnect them. These are terminals purchased from Vintage Connections. They sell two qualities of the female 1/4" spade connectors. One are made of thin brass, the other is much thicker and stiffer, BUT they latch SO tightly that you pretty much can't push a 4 or more terminal connector together with pliers. The thinner ones are great, BUT if you mate them more than once or twice, they FM side loosen up and the connection goes to pot. Both have their issues. Along the way I also discovered two, yes two bad NEW mechanical fuel pumps. At one point I was wondering about fuel volumes under load and if that maybe part of the "missing" problem, ie going lean. I had installed one of these "tin can" style replacements that I foolishly bought a while ago, when I first got this thing running again. Maybe it is as bad as they say, I think. So I recently bought a GMB brand pump that looks like the original, so I put it on. It worked for about 10 min of test and tune driving. Suddenly the car wouldn't restart. As I was in the throws of solving ignition problems, I was about to light a fire under it all, wonder WTH could possibly be wrong now. It usually starts instantly with the slightless touch of the key. So I take a hose off of one carb, and crank the motor. Not even a dribble. You've GOT to be kidding me. Take the hose off the pump outlet. Still not even a dribble. So I put the tin can back on. I leave the hose off to see what it is doing. Well it's dribbling, but sure as hell not pumping properly. Ok, that's it, off it comes, both go in the scrap metal bin, and I pull out my NOS Kyoto or whatever pump I've been hoarding and bolt that on. OMG that thing pumps like a freaking fire hose. I'm still stinking of gas from the bombardment. So, DO NOT use that tin can thing (didn't we already know that?) and don't bother with the $37 GMB pump, it's trash too. I'll have to take it apart and see what ripped. So today's lesson? Even when you have a bunch of NEW parts, no matter how carefully installed, don't trust nothing. And now I can go for a decent little toodle around town this evening and get some proving miles on this thing and GET IT SOLD.2 points
-
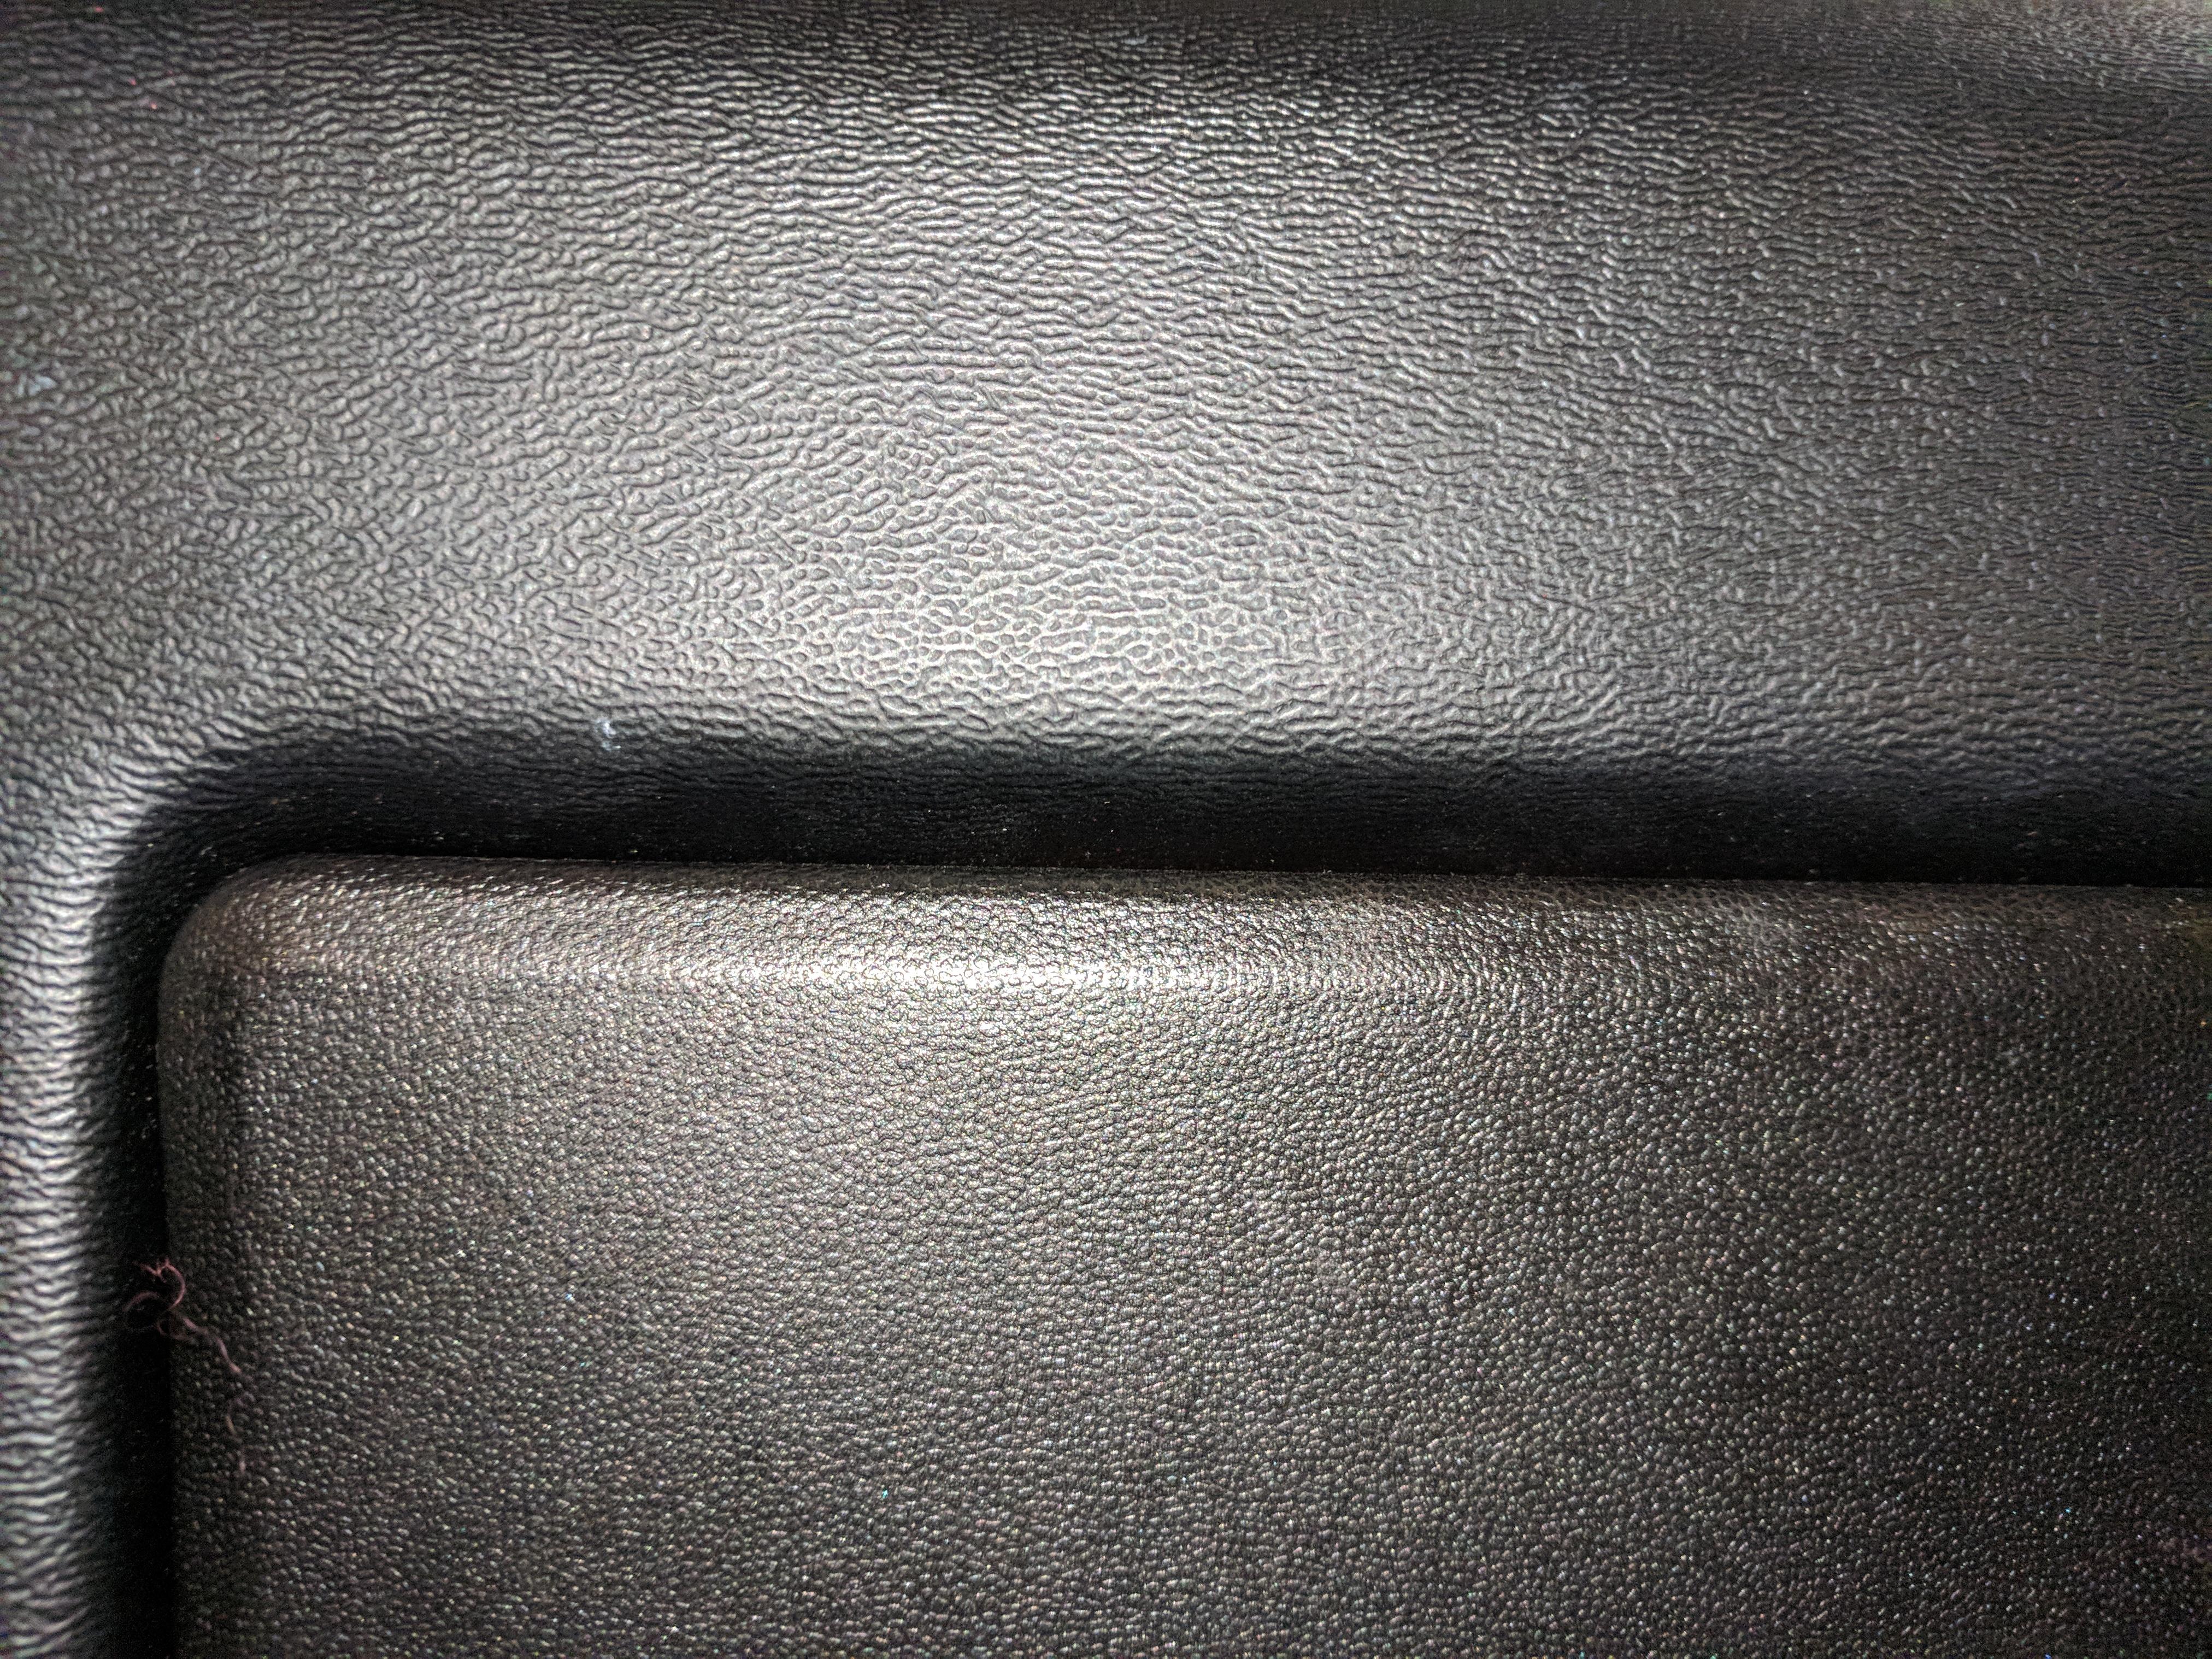
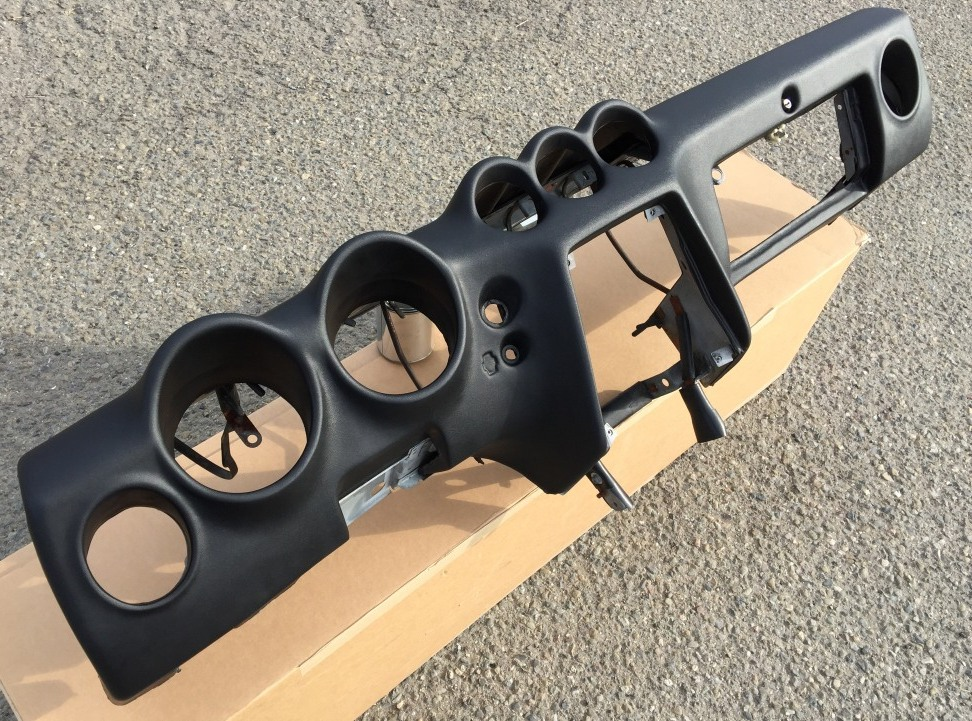
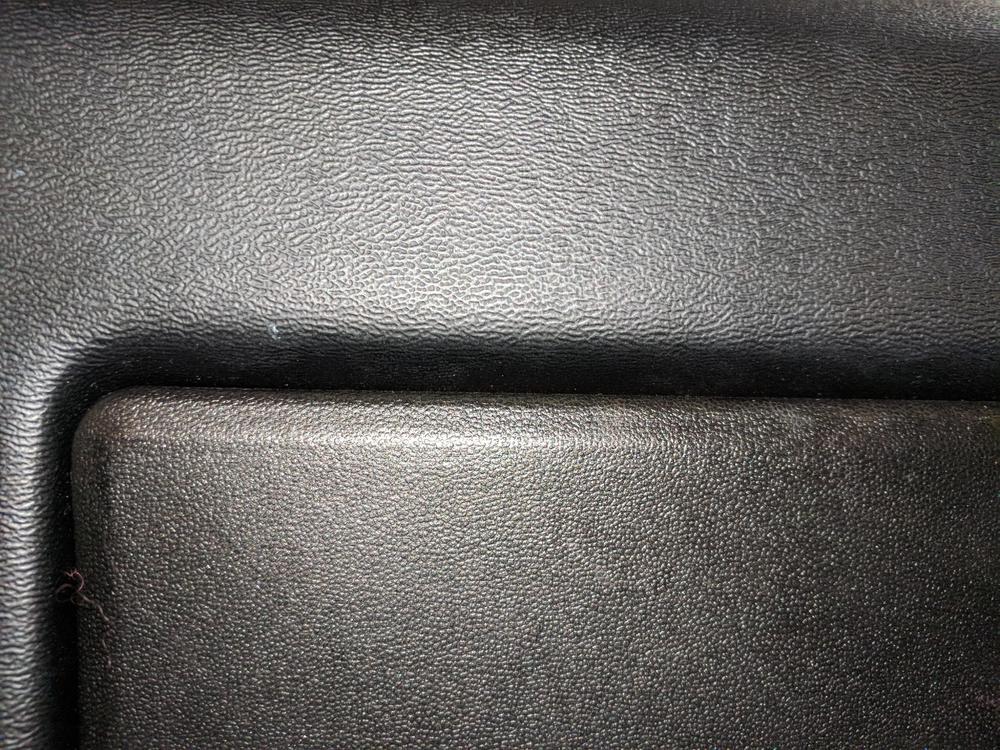
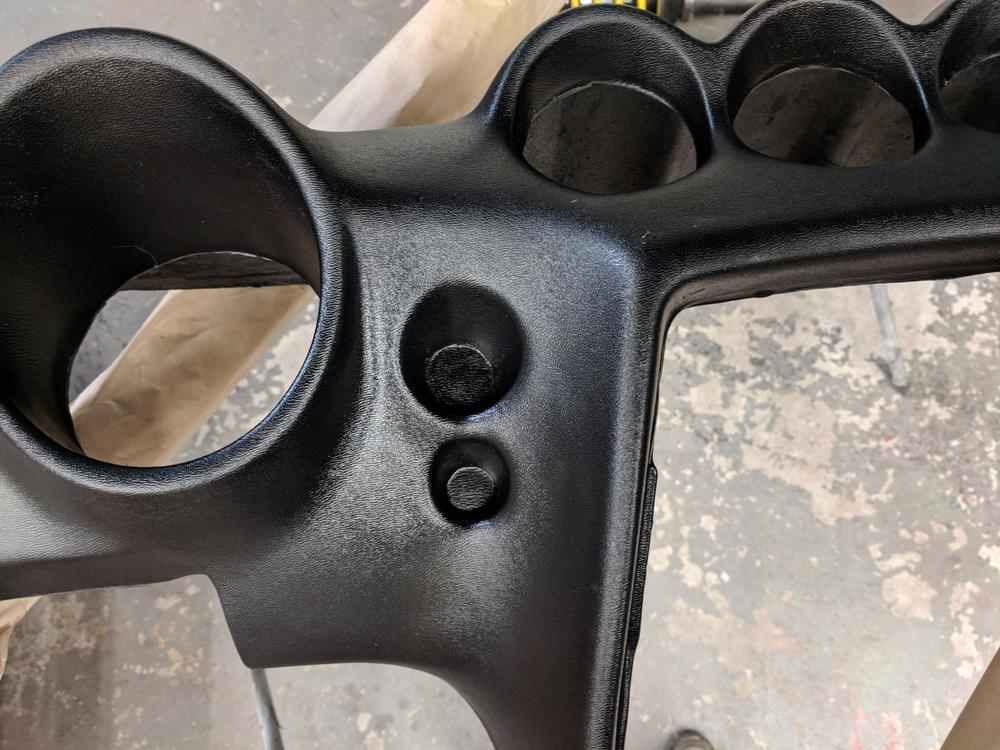
At Motorman7's request, today I visited the shop of Vintage Dashes to check out their dash to replace the cracked dash on my car. Their dashes are less than half the cost of Just Dashes. They do an injection mold and vacuum formed dash (similar to Datsun's original process, apparently) and you attach it to your existing dash frame. They currently are shipping 240Z Series 1 and Series 2 dashes, but not one specifically for the '73. However, the '73 dash is essentially identical to the Series 1 dash, so it looks like a good choice for our restoration. (subject to Motorman7's review of the photos I sent him!) A '73 owner posted the details of mounting the Series 1 Vintage Dash for a '73 here: https://imgur.com/a/vLTnkk9#8UVRDwF The Vintage Dash (for a Series 2) fresh out of the box: A Vintage Dash Series 1 dash close up of the area for the cigar lighter and emergency flasher: Picture of the metal brackets built into the inside of the dash for attachment to your existing frame: Picture of a Vintage Dash Series 1 dash with an original Series 1 glove box door. You can see in the close up the difference in grain, but looks pretty good to me. (Vintage Dashes may get around to new matching glove box doors in the future, but they are busy expanding their dash lines to 510s, 260s, 280s, and other marks, so I'm not holding my breath...) :
 1 point
 -
1 pointI think it’s good enough no welding needed Sent from my iPhone using Classic Zcar Club mobile1 point
-
1 point
-
1 pointThat’s what mine is. Check the sticker in the engine bay next to the radiator1 point
-
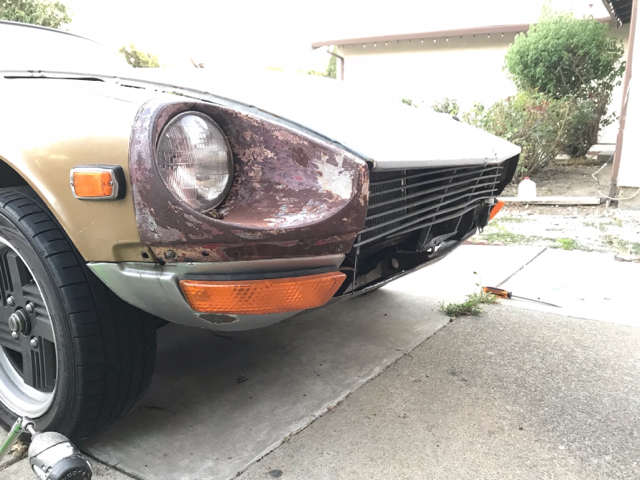
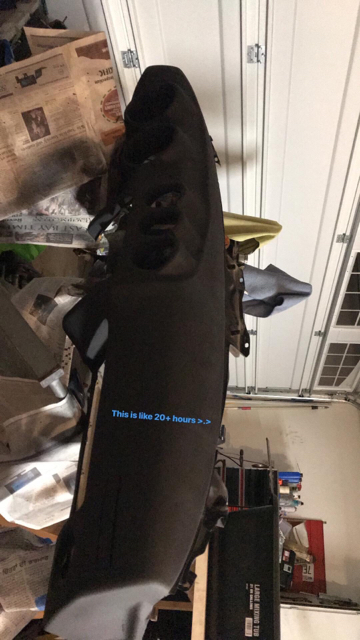
Whaddya mean it’s the worst one you’ve seen?! I spent so much time on this [emoji12] Have to strip paint off the front end, and prep for some paint, I guess I should try to find a 260Z grill, this one looks all jacked up, I think it’s a late 240Z model, but looks super tweaked.
 1 point
 -
Amazing job! I think that's the worst dash I've seen?1 point
-
Fixed my dash, a lot of stuff to get this car back up and running. Have to paint it next
 1 point
 -
1 pointDustin, This is a labor of love as you probably experienced with your Ghia. (I like those car BTW). I have 2 VW Bugs. A 1965 and 1968. 65 has been stripped and painted but has no engine or steering column. Long story there...the 68 is stock and just needs some love and a battery tray. The EFI on the Z is very simple. I had to educate myself and was very frustrated at first to the point of almost switching to carbs. I was advised by guys here that might be more painful and costly. So I stuck with it, download the EFI manual for the car. It teaches you about the entire system and then has a detailed troubleshooting section. I discovered I needed a new ignition switch, fuel relay and ECU which I bought all on EBay for a total of about $100. Bottom line is I’m glad I kept the EFI. Yours runs so, you might just need to wire ends for the injectors (they usually need replacing). I bought a kit for $54 on eBay that has all the harness connections. Here is he EFI guide: http://www.atlanticz.ca/zclub/techtips/efisystem/280zfuelinjectionbook.pdf Sent from my iPhone using Tapatalk1 point
-
1 pointThe efi on these are very basic and simple. There's tons of info here and people willing to help too. I refreshed my efi for about $500, new injectors and high pressure pump. Also cleaned the fuel tank and coated it with red-kote tank liner. Putting a cheapo fram g-3 filter between the the tank and the pump is an easy way to keep crud from going further into the system and also will let you see if there is any crud. Those filters are clear plastic. A member here has one that color I believe. Maybe he would post a pic. @S30Driver is a nice guy but he's busy as hell working all the time, aren't we all.1 point
-
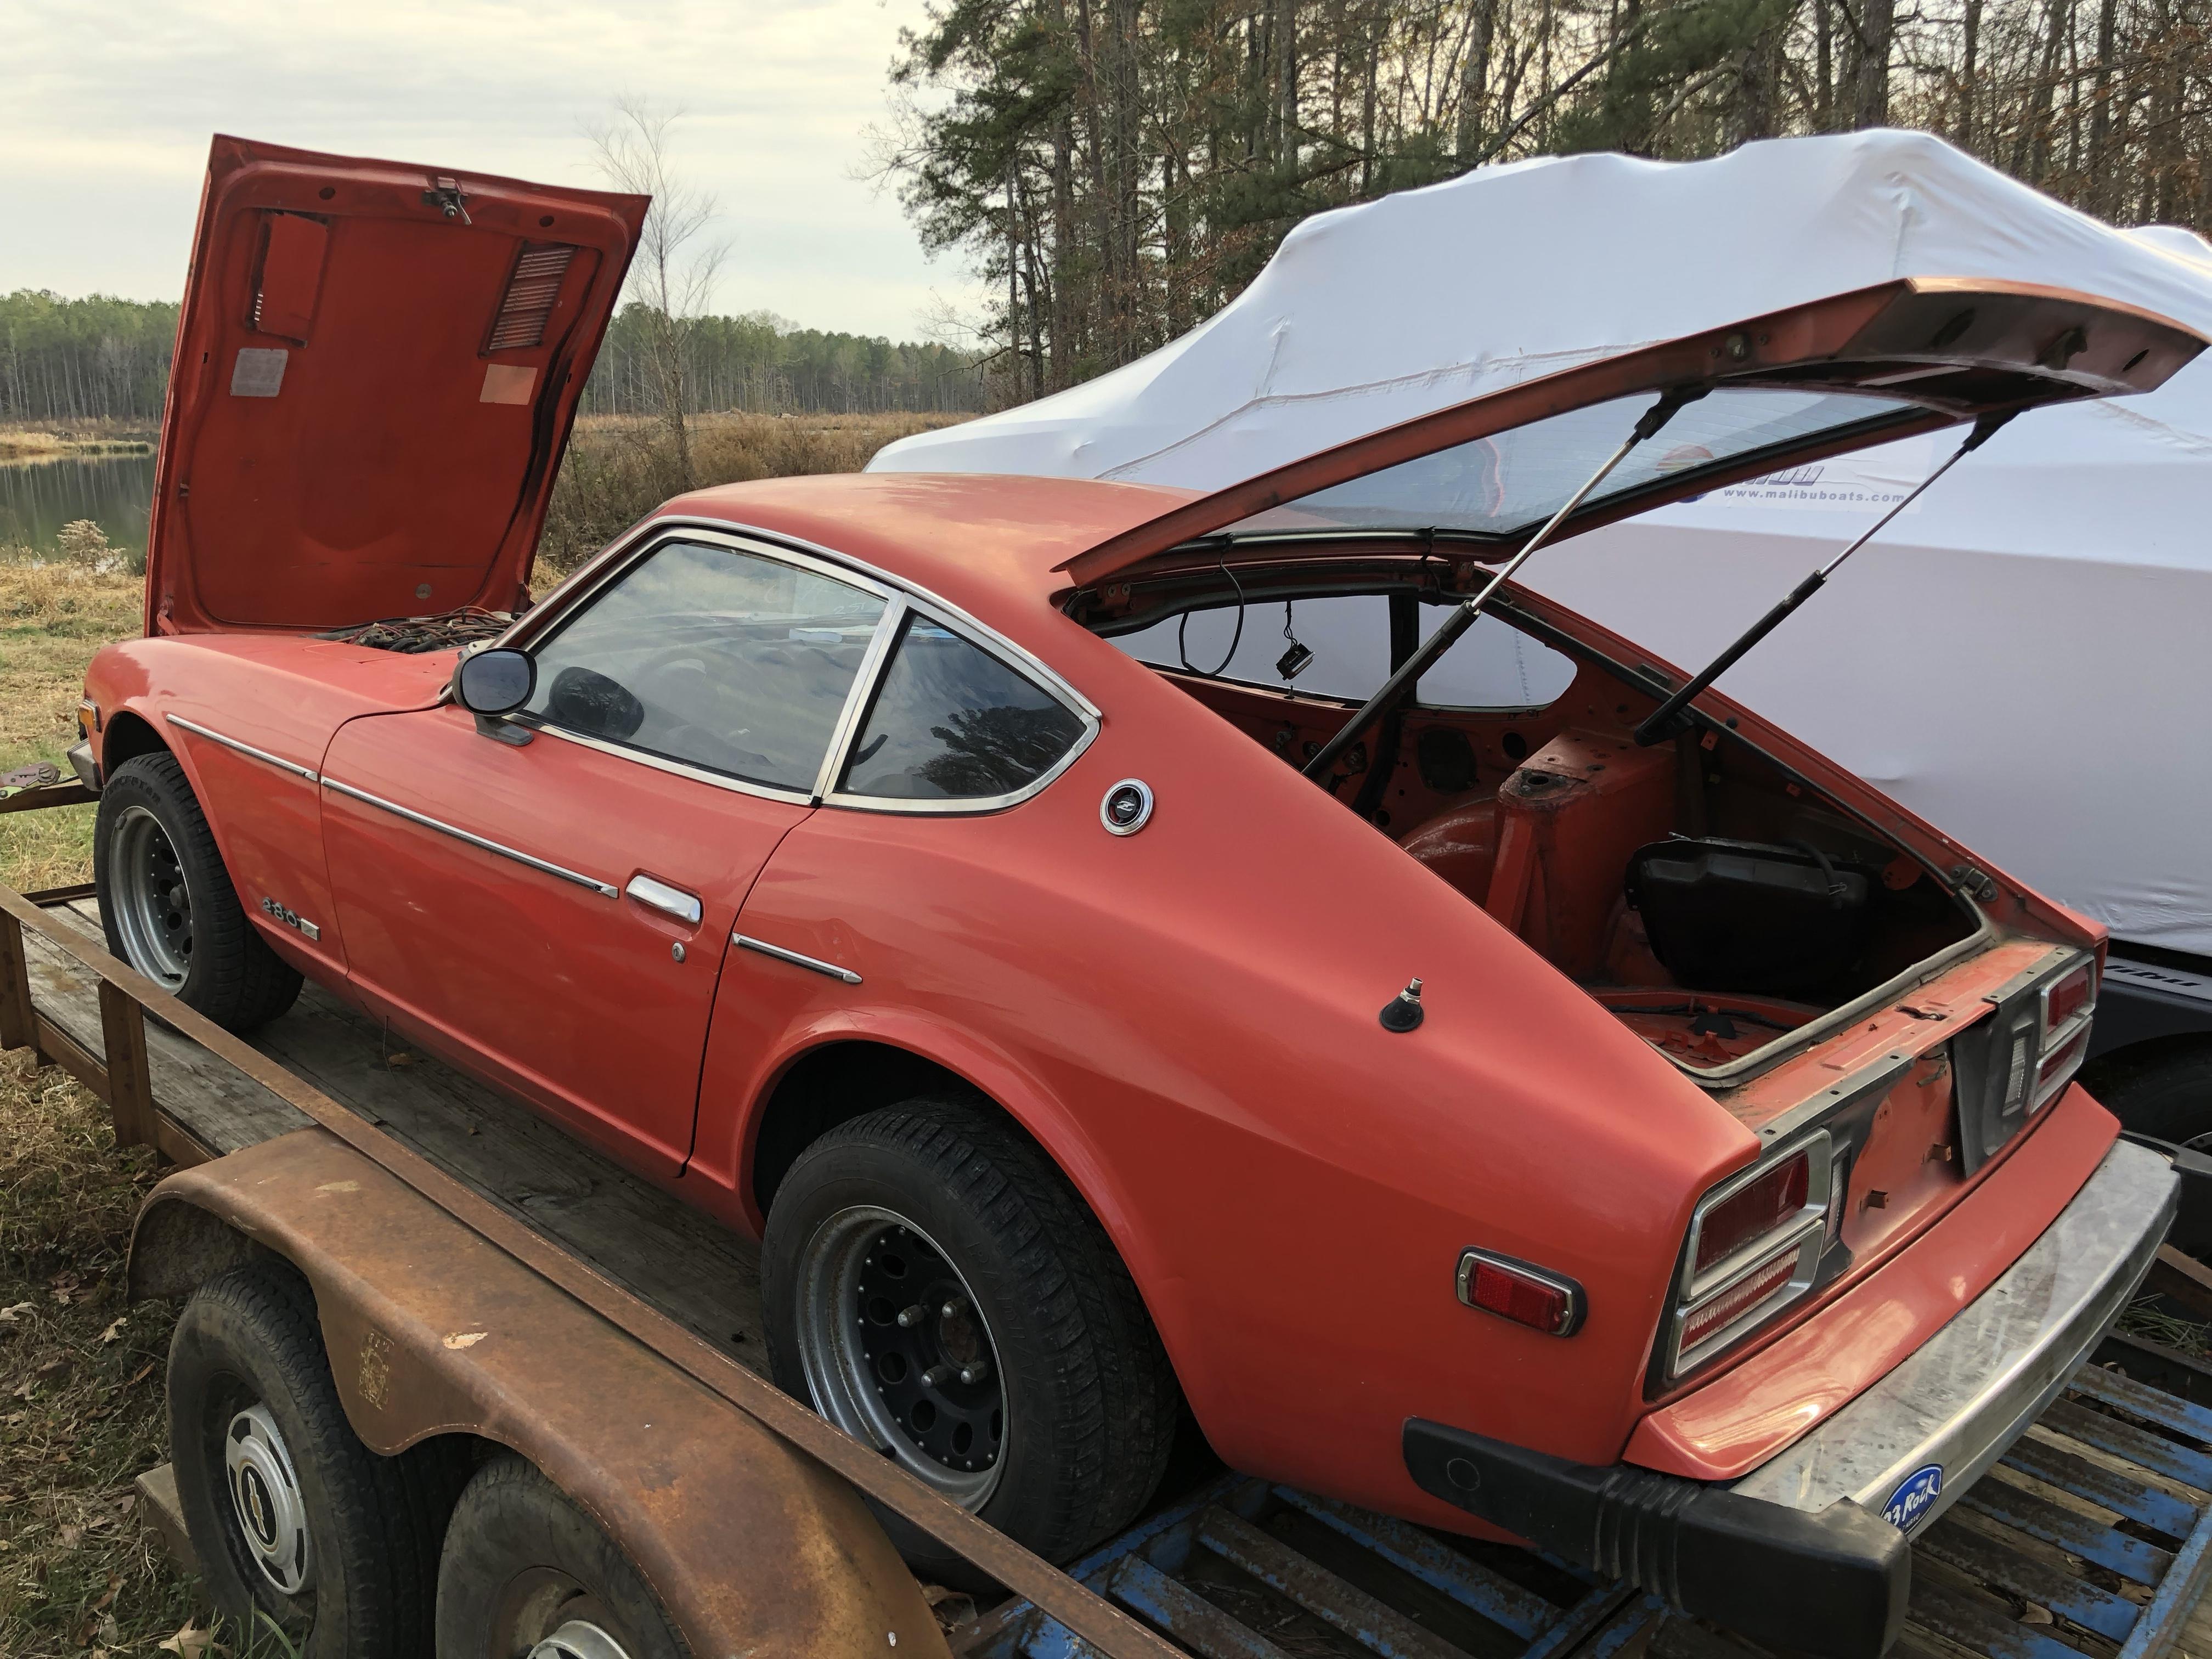
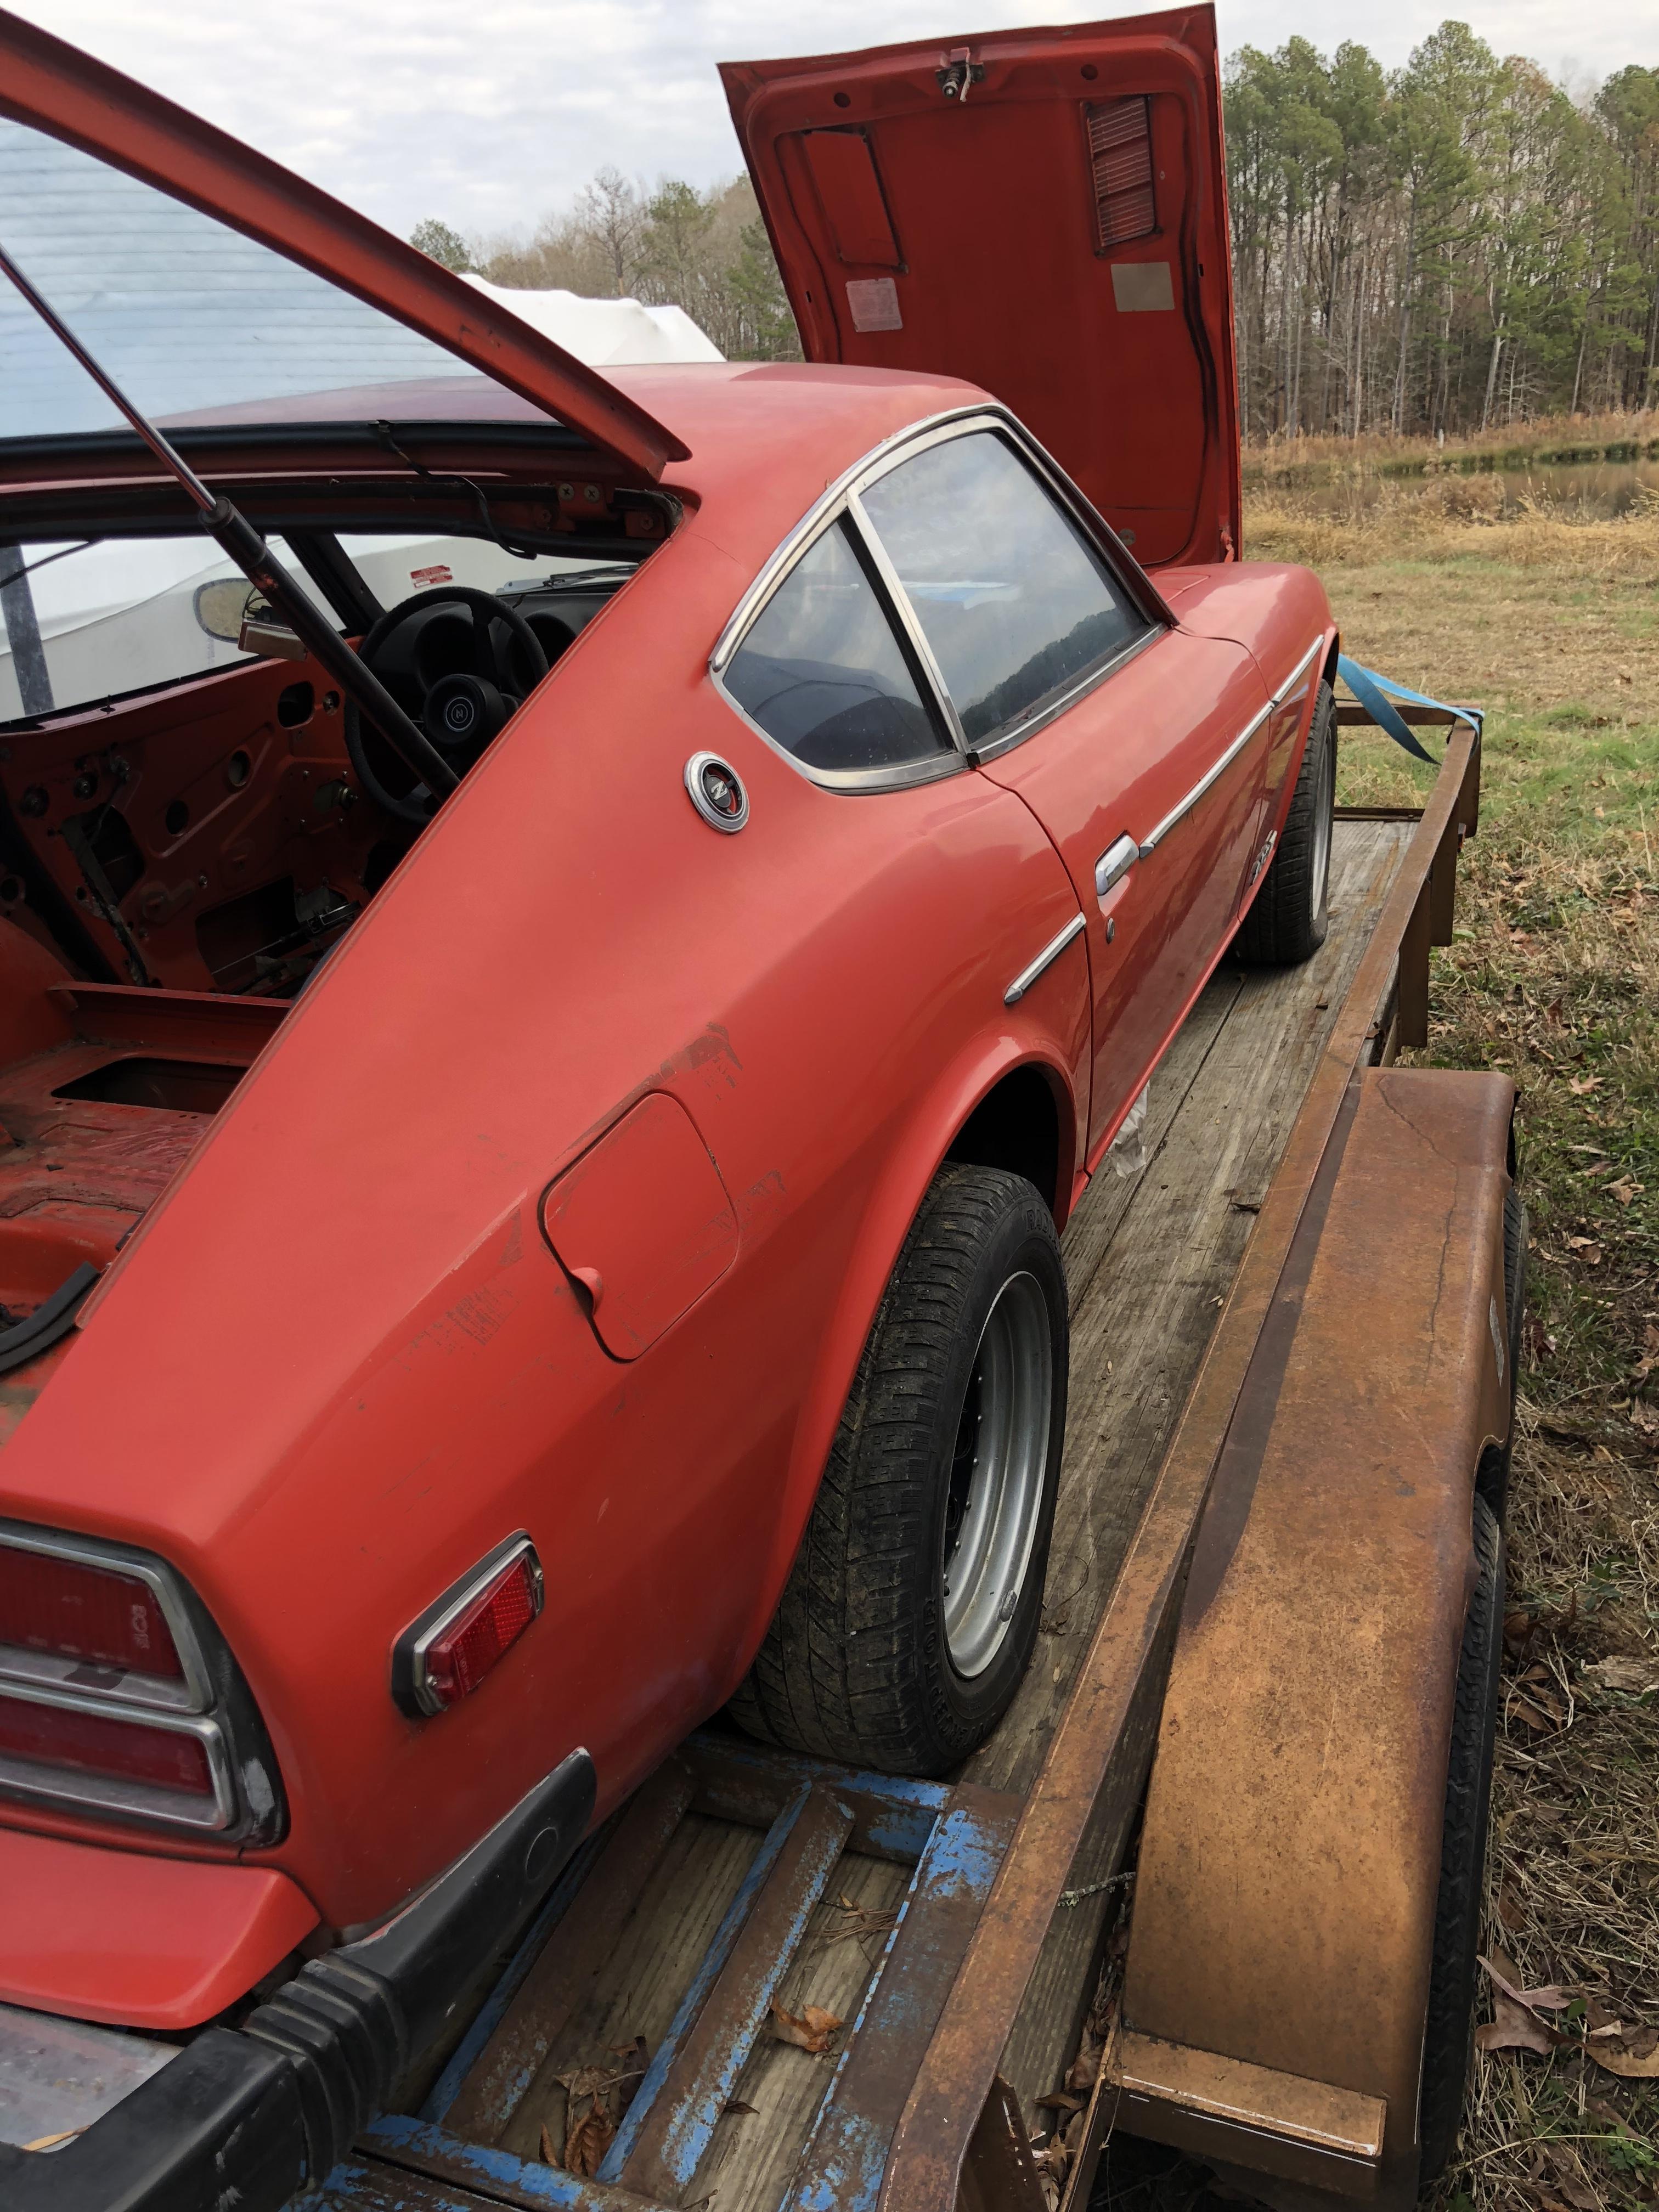
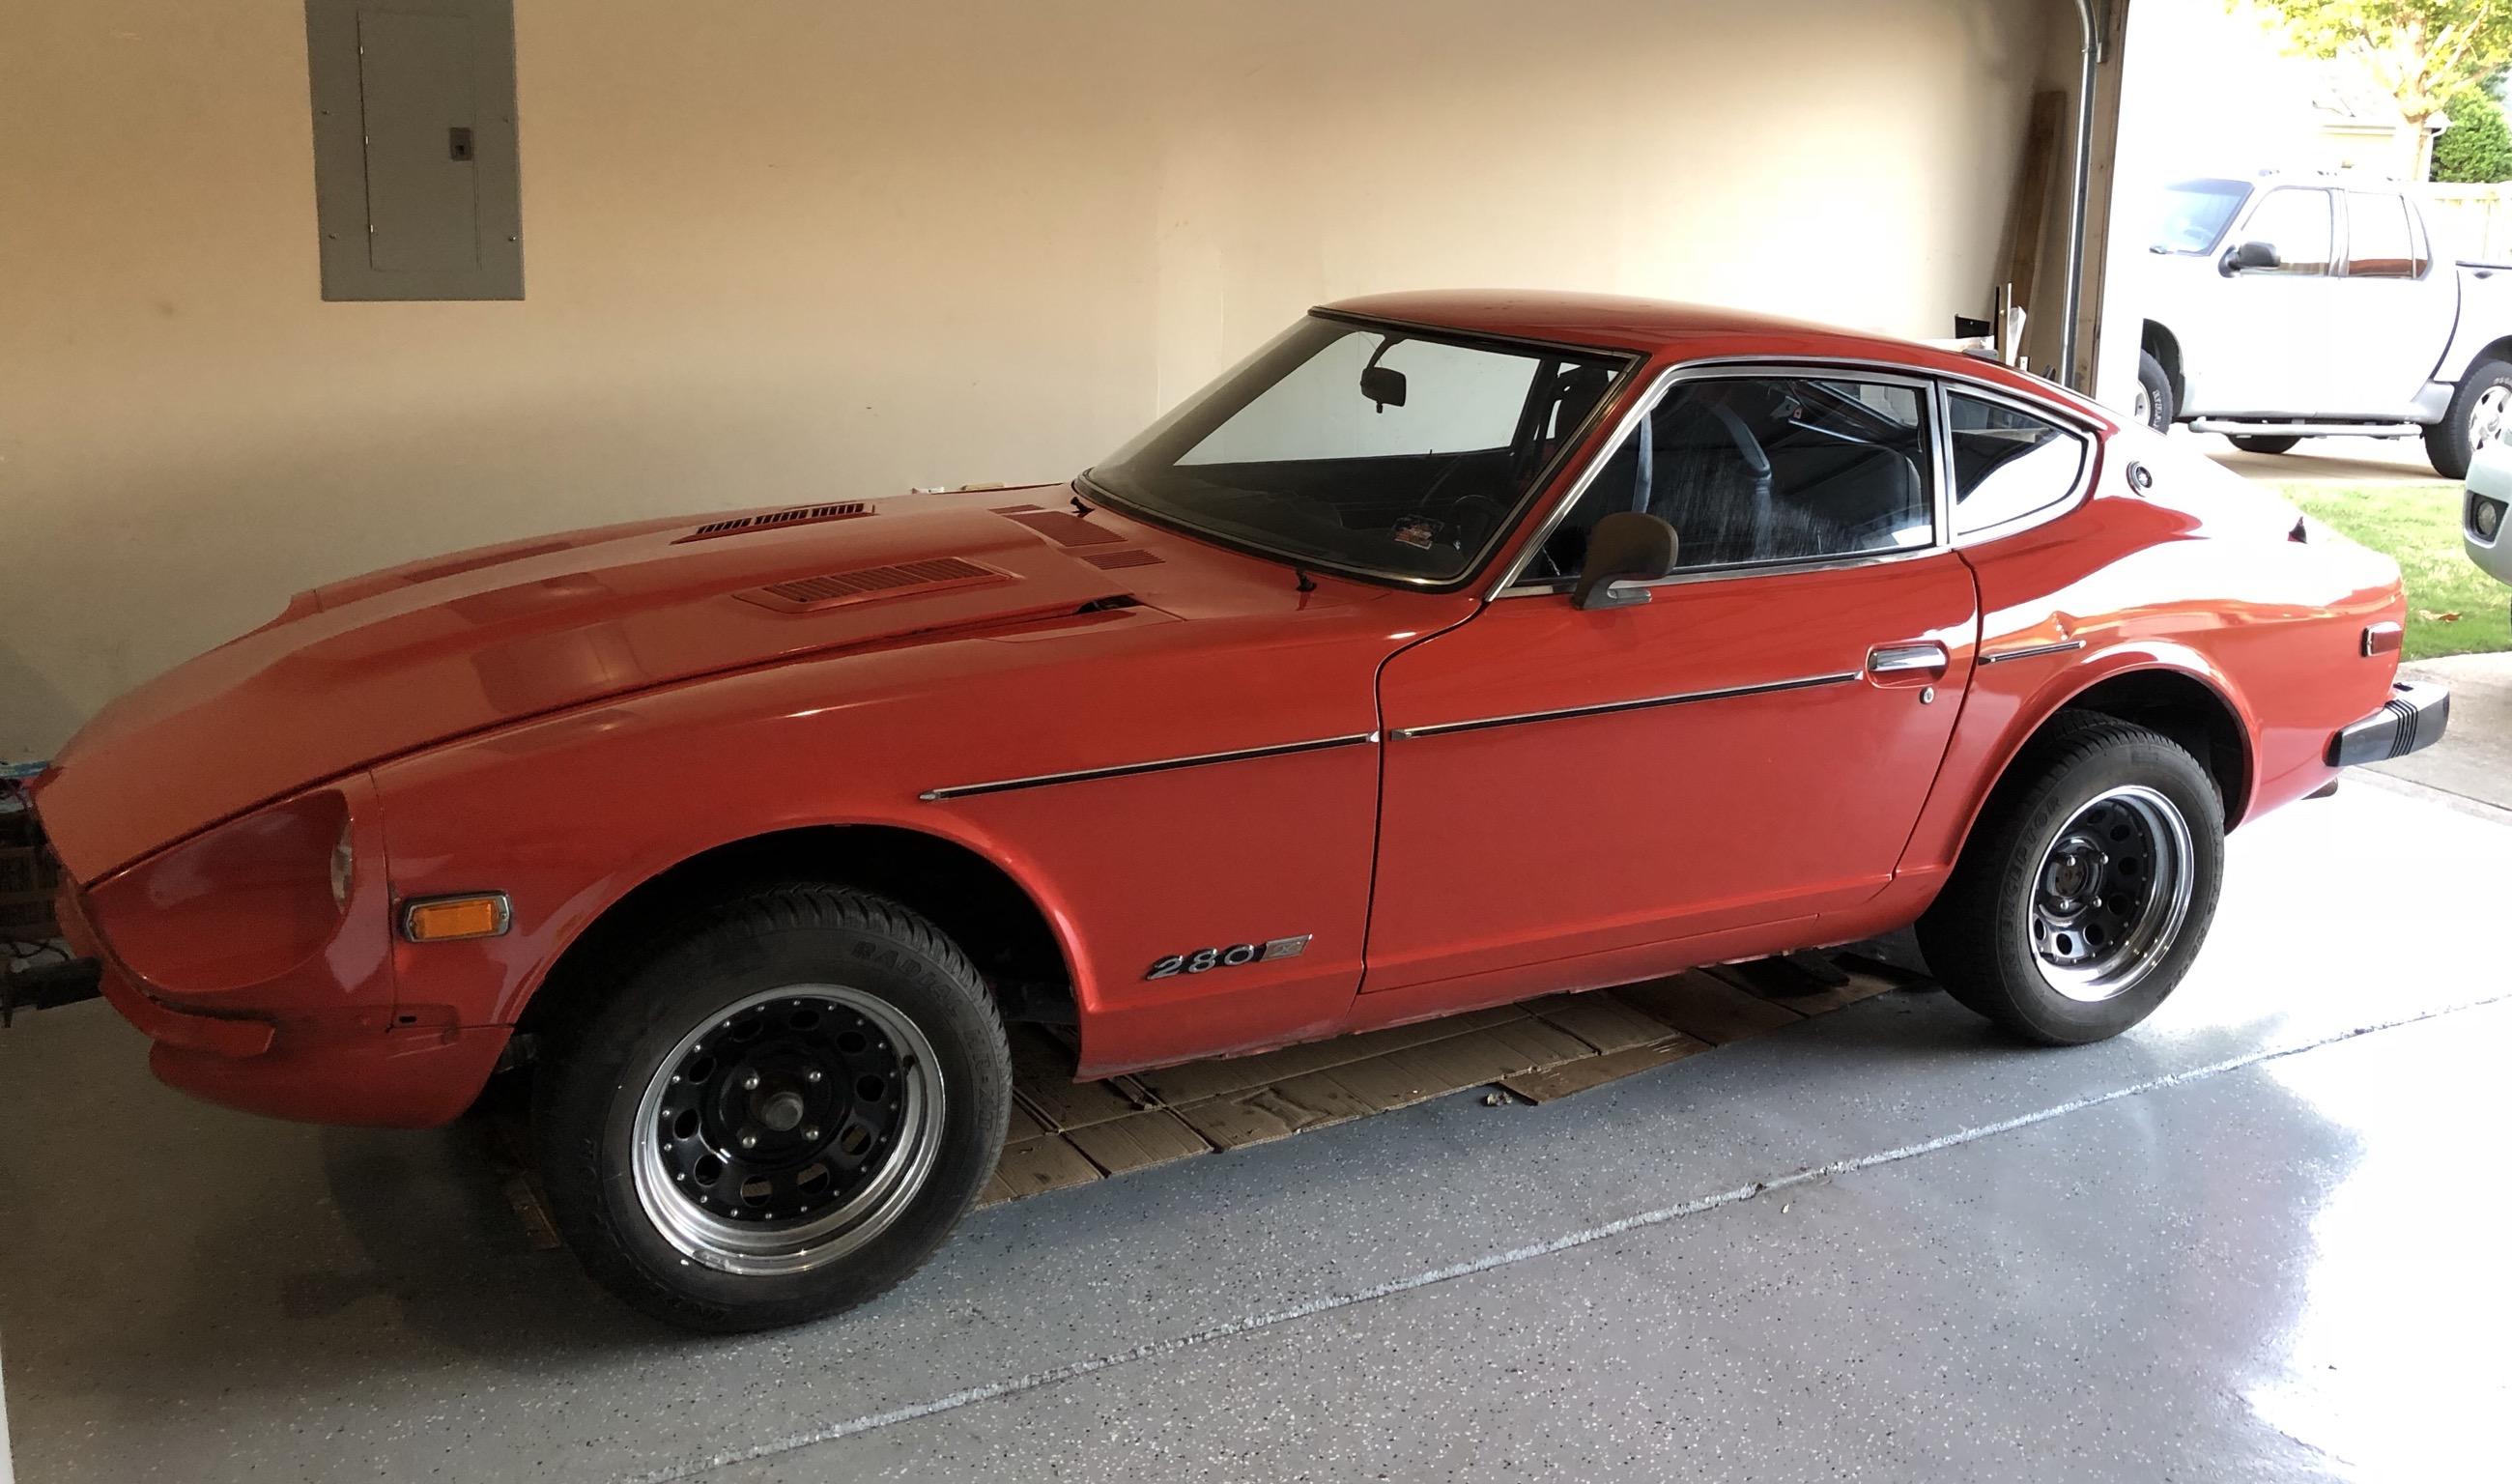
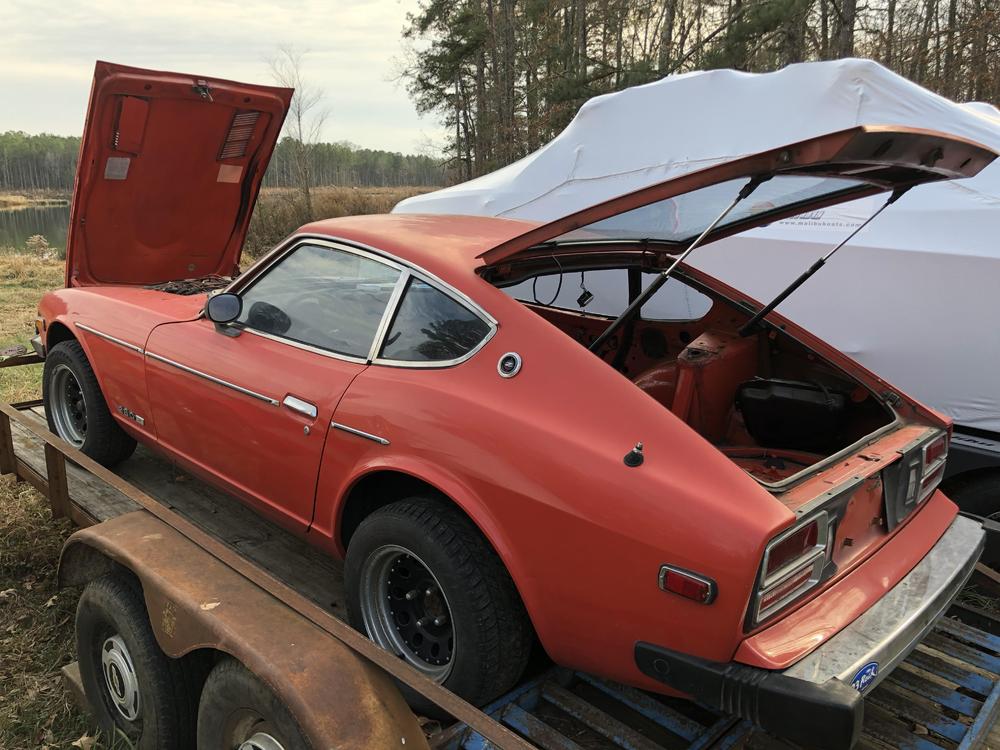
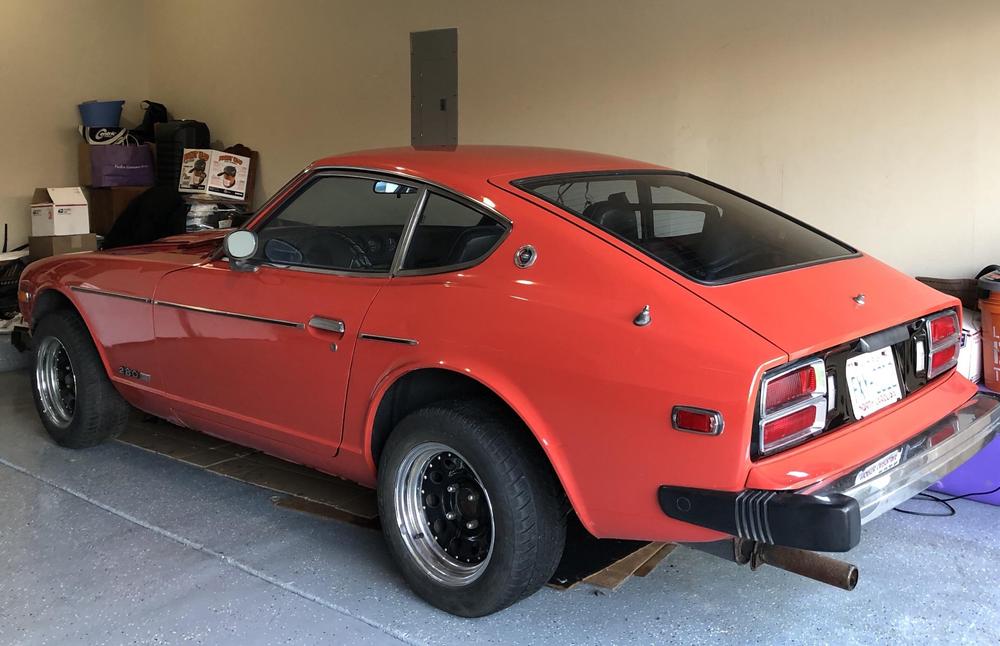
1 pointDustin, Welcome....I’ve been semi-restoring a 77 also. I paid about 2k less than your guy is asking. Mine didn’t run at sale (guy wasn’t mechanically inclined) and the interior had been completely stripped out (parts in boxes, except it had no seats). I got it running after lots of help on this forum (thanks Capt Obvious, Cliff, DaveM and Zedhead to name a few great dudes on his forum) and about $400 in parts and some bloody knuckles. My body was in better shape than yours and needed no rust repairs at all. It looks like the front of your car needs some parts and work, so I’d take that into consideration also. You’ll find some replacement parts for Z’s are very inexpensive and others silly expensive. Overall, they’ve very affordable to restore and parts readily available. The good news is they are fun cars to work on and fairy straight forward but sometimes you’ll need small hands to get to things. You’ll also get lots of help on this forum. I’d go in with a 4K offer and negotiate from there. These car are only getting more valuable and I expect to see prices continue to climb over the coming years. Rust has put many of them into a final resting place and there is a lot of interest in them in general. Here is a pic of mine at time of sale on a Trailer and the pics in the garage are recent.

 1 point
 -
LOL. Well I'd check it out if I were a 510 owner. Like a 72 510 wagon. Haha! Gold mine. Goose chase. Gold mine. Goose chase.1 point
-
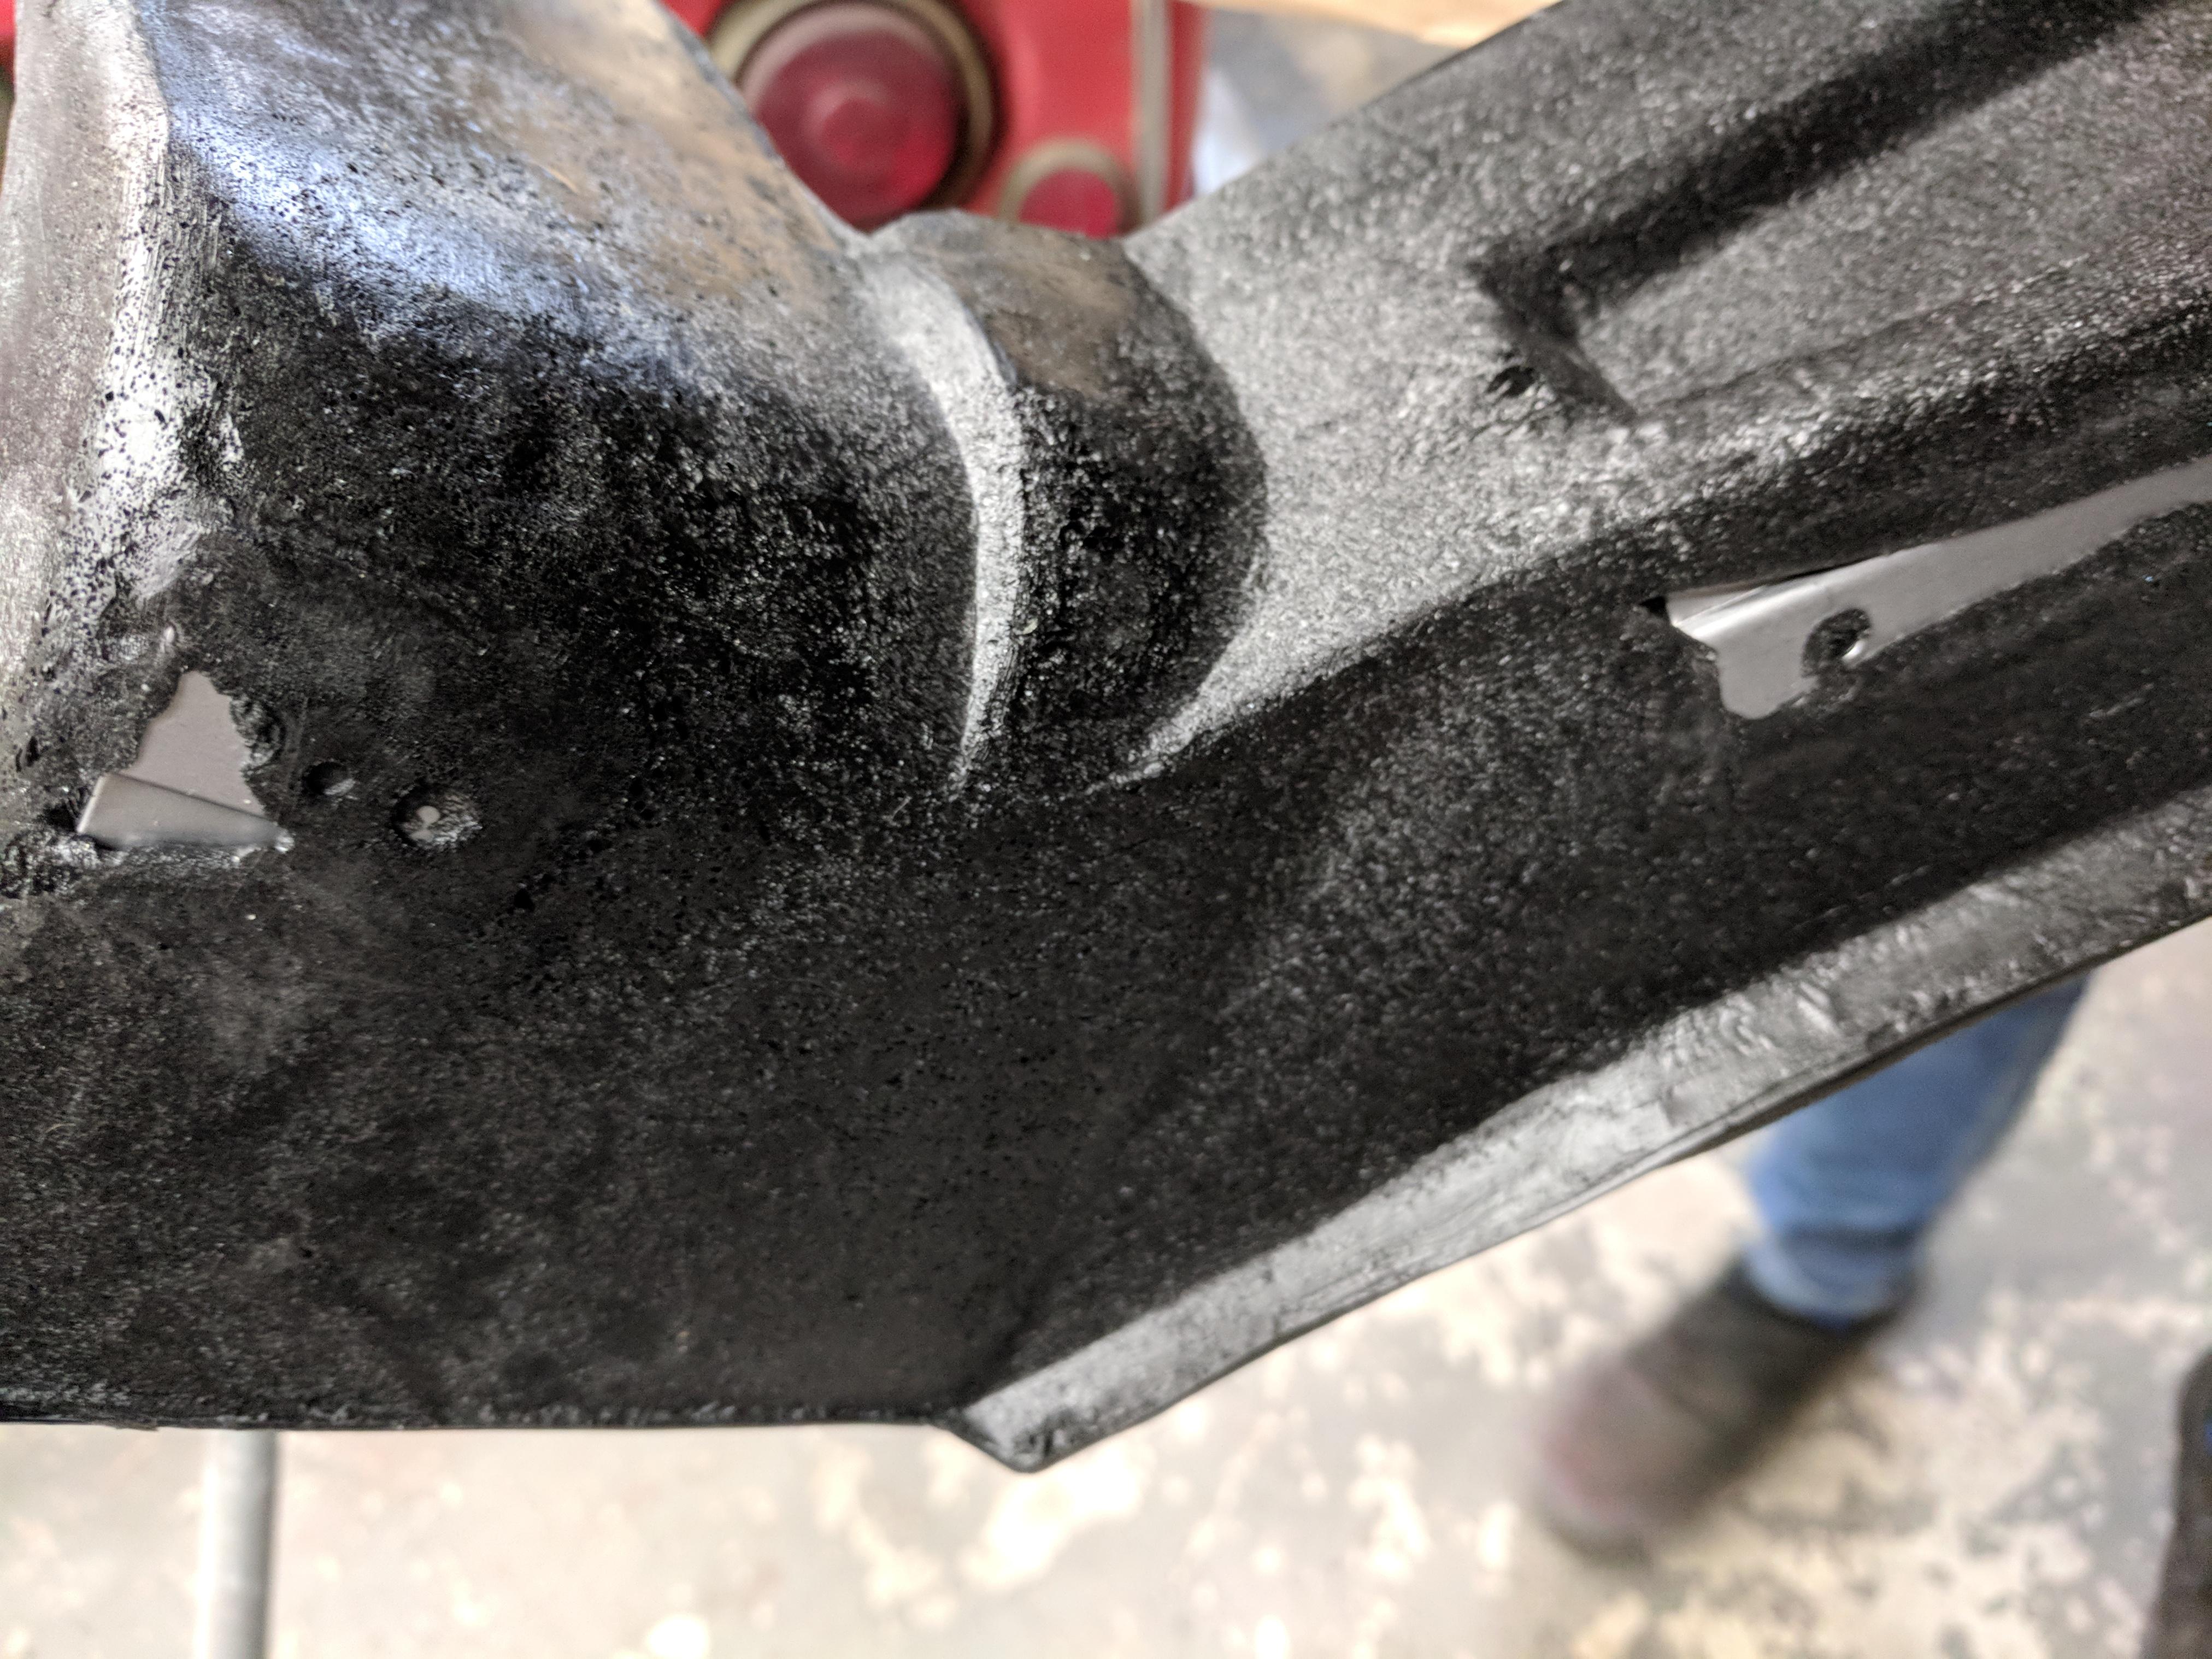
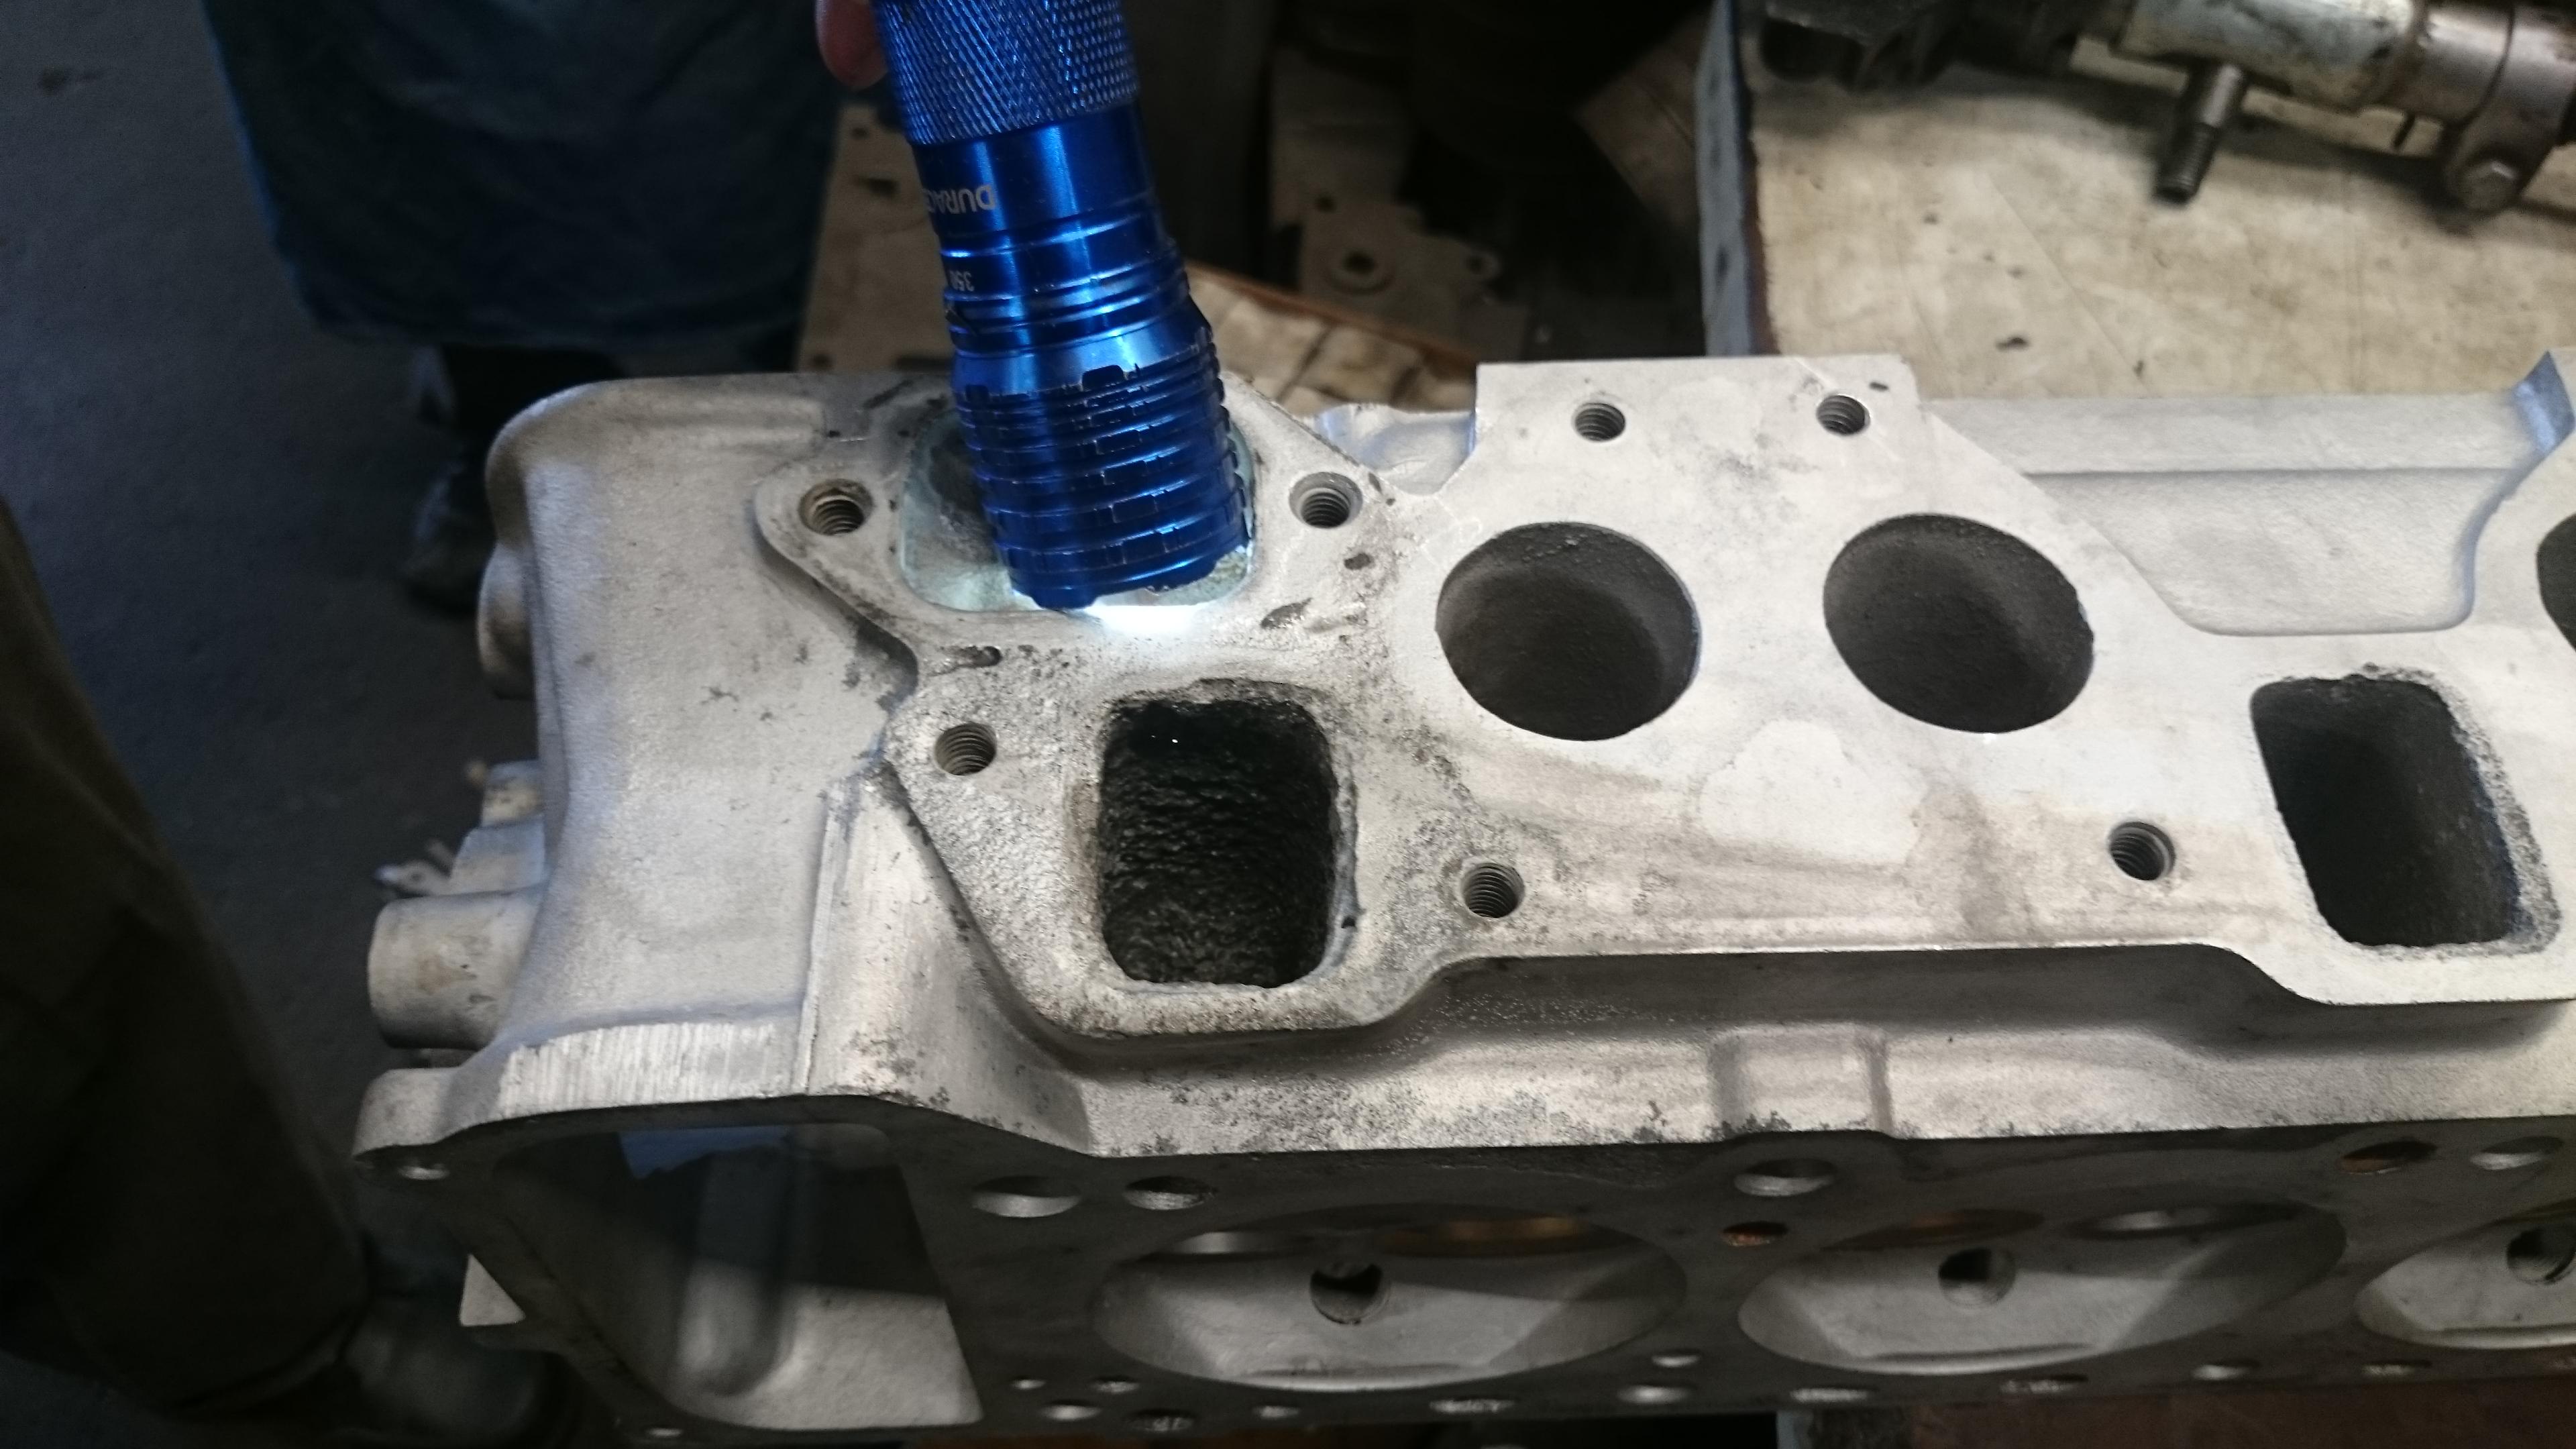
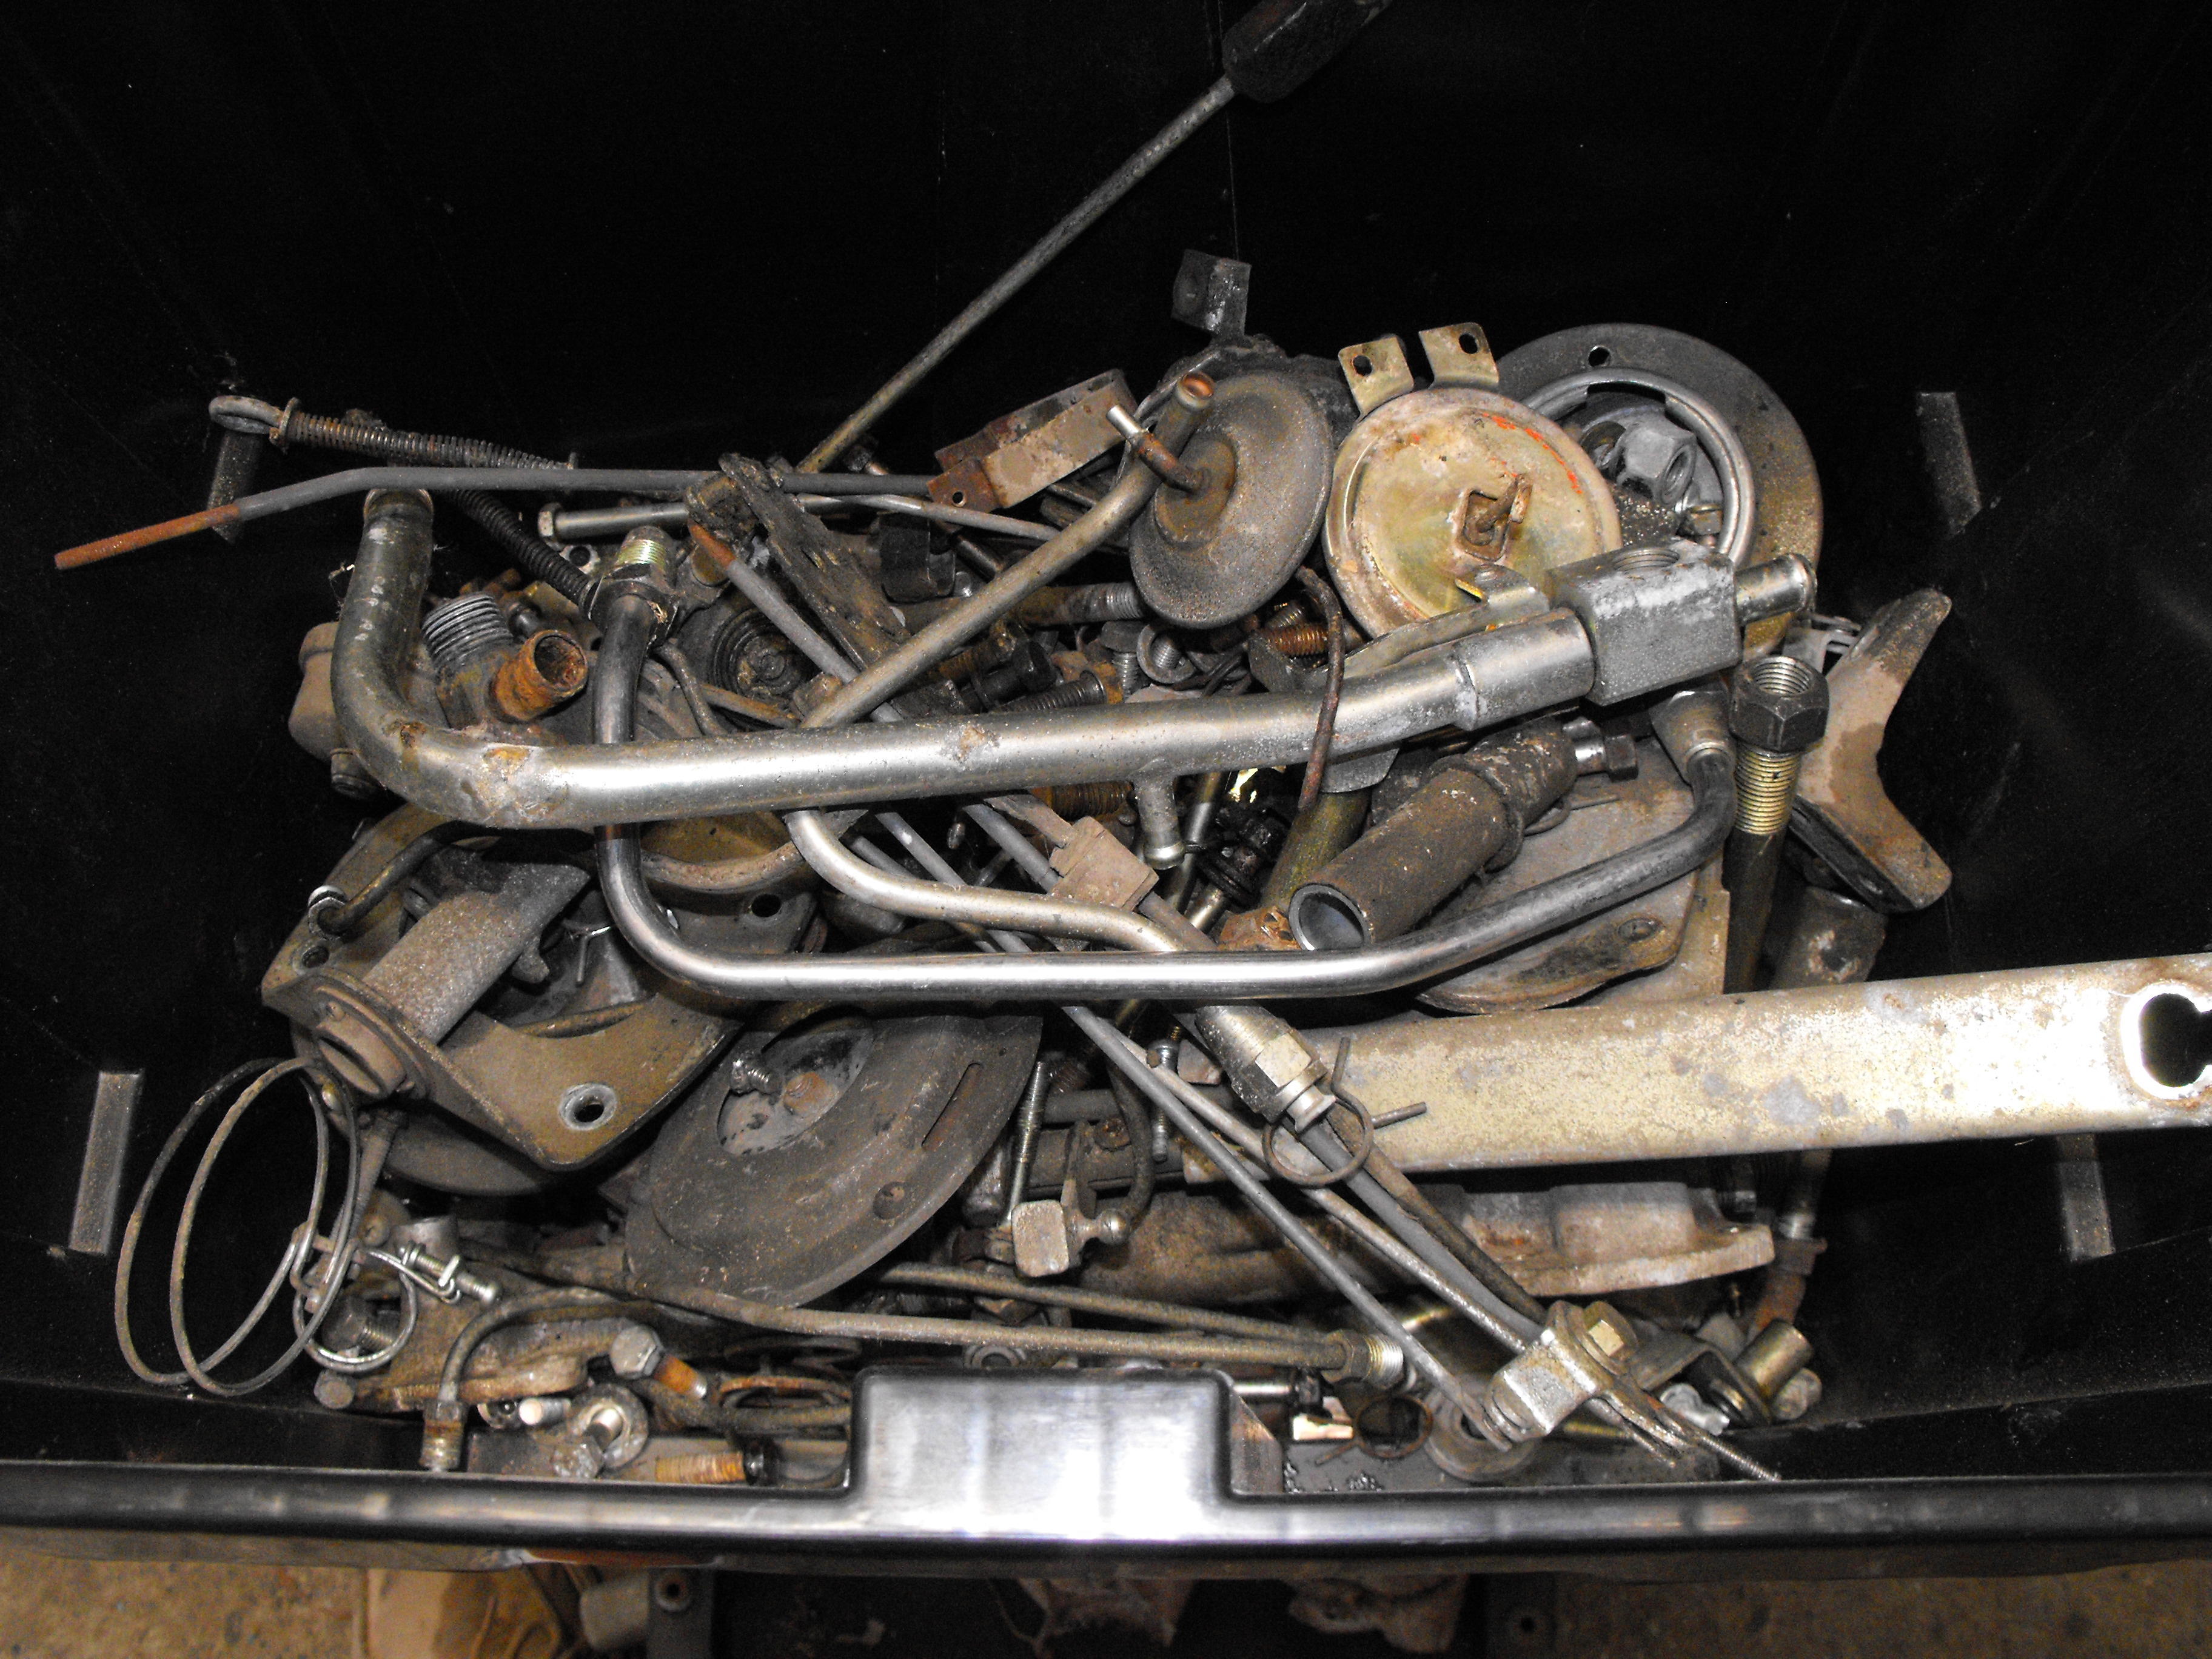
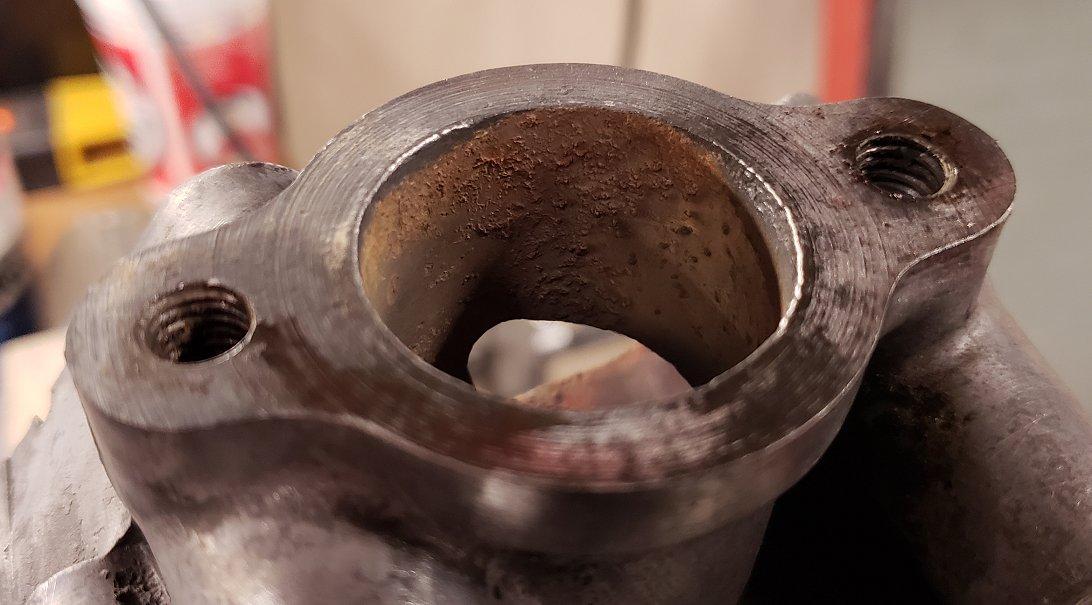
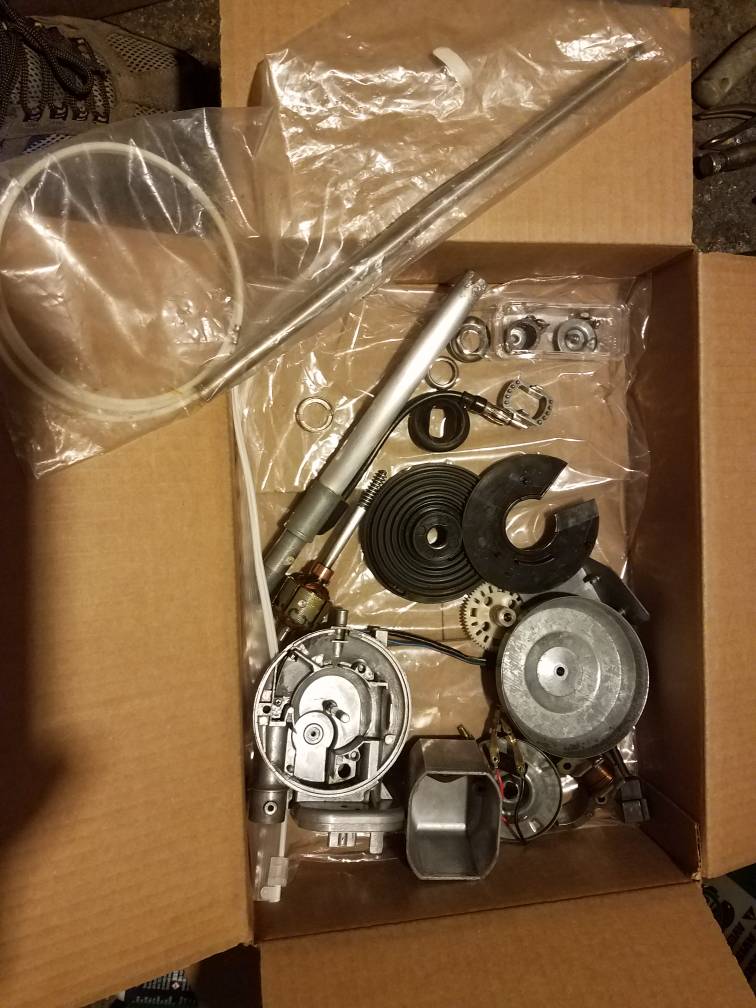
Well, lot's of stuff going on here. Currently I am sorting, disassembling and cleaning parts that will be sent out for zinc plating. Most likely I will have several batches to send out. The box of parts in the picture below does not look like much, but it actually goes fairly deep. I would guess the box weighs close to 50 pounds. That is a lot of parts to plate. I got a call from the machine shop early this morning. They said the head is not in very good shape and that the water jacket and exhaust port were disintegrated enough that there were two small holes between the two and the metal was very thin. I almost felt like I could touch my fingers together when I went to check the thickness of the material. Not easy to see from the pic but if you shine the flashlight into the water port, you can see light in the exhaust port of the first cylinder. The exhaust ports of cylinder 2 and 3 were also eroded. Welding would be a bit of a challenge as the exhaust port area seems to have lost a lot of metal. Not sure how that happens. Anyway, while I was waiting to talk to the shop owner about the head, I noticed another Z head on their 'unclaimed parts' rack. As I passed by the shelf , I checked the serial number and saw that it was an E88 head just like the one I brought in, all completely serviced and ready to go. I asked the owner about the head and he said it had been sitting there unclaimed for almost a year. I asked if it was available for sale and he said he would love to get rid of it as it is just taking up shelf space, the price was $300. After inspecting it and comparing it to @jayhawk E88 head, I told him i would take it. Such a deal. That's about what the valve job would have cost anyway if the head were in good shape. So, the shop owner said he would clean the head up, since it had been sitting for a while and run pressure and leak checks and I can pick it up tomorrow. I will probably keep the original head but, not sure what to do with it. Tomorrow, I will go down to the paint shop and pick up all of the suspension parts. The shell is now lifted and on rollers so the body can be easily moved and worked on. Will take pics of that tomorrow.

 1 point
 -
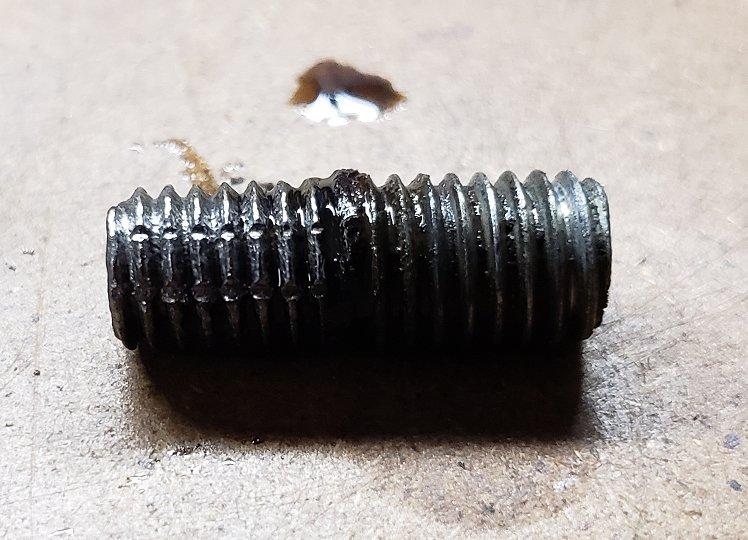
I was one step ahead of you 240260280 as that was my prescription for removing it. Some heat and a little counter-clock wise pressure with some vise grips and the bolt saw things my way. I did not hit it with a hammer as the heat and penetrating fluid did its job. It actually came out easier than I expected. Nice to have it crossed off the list so I can do a final clean up on it before laying down some paint.

 1 point
 -
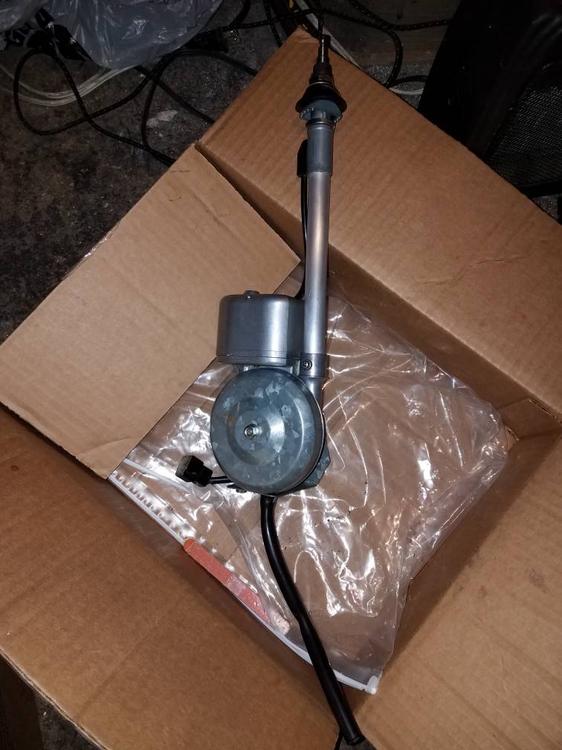
1 pointTook my '78 power antenna from this.....to this....and it works. I'm currently rebuilding two other antennas. Sent from my [device_name] using http://Classic Zcar Club mobile

 1 point
 -
1 point
-
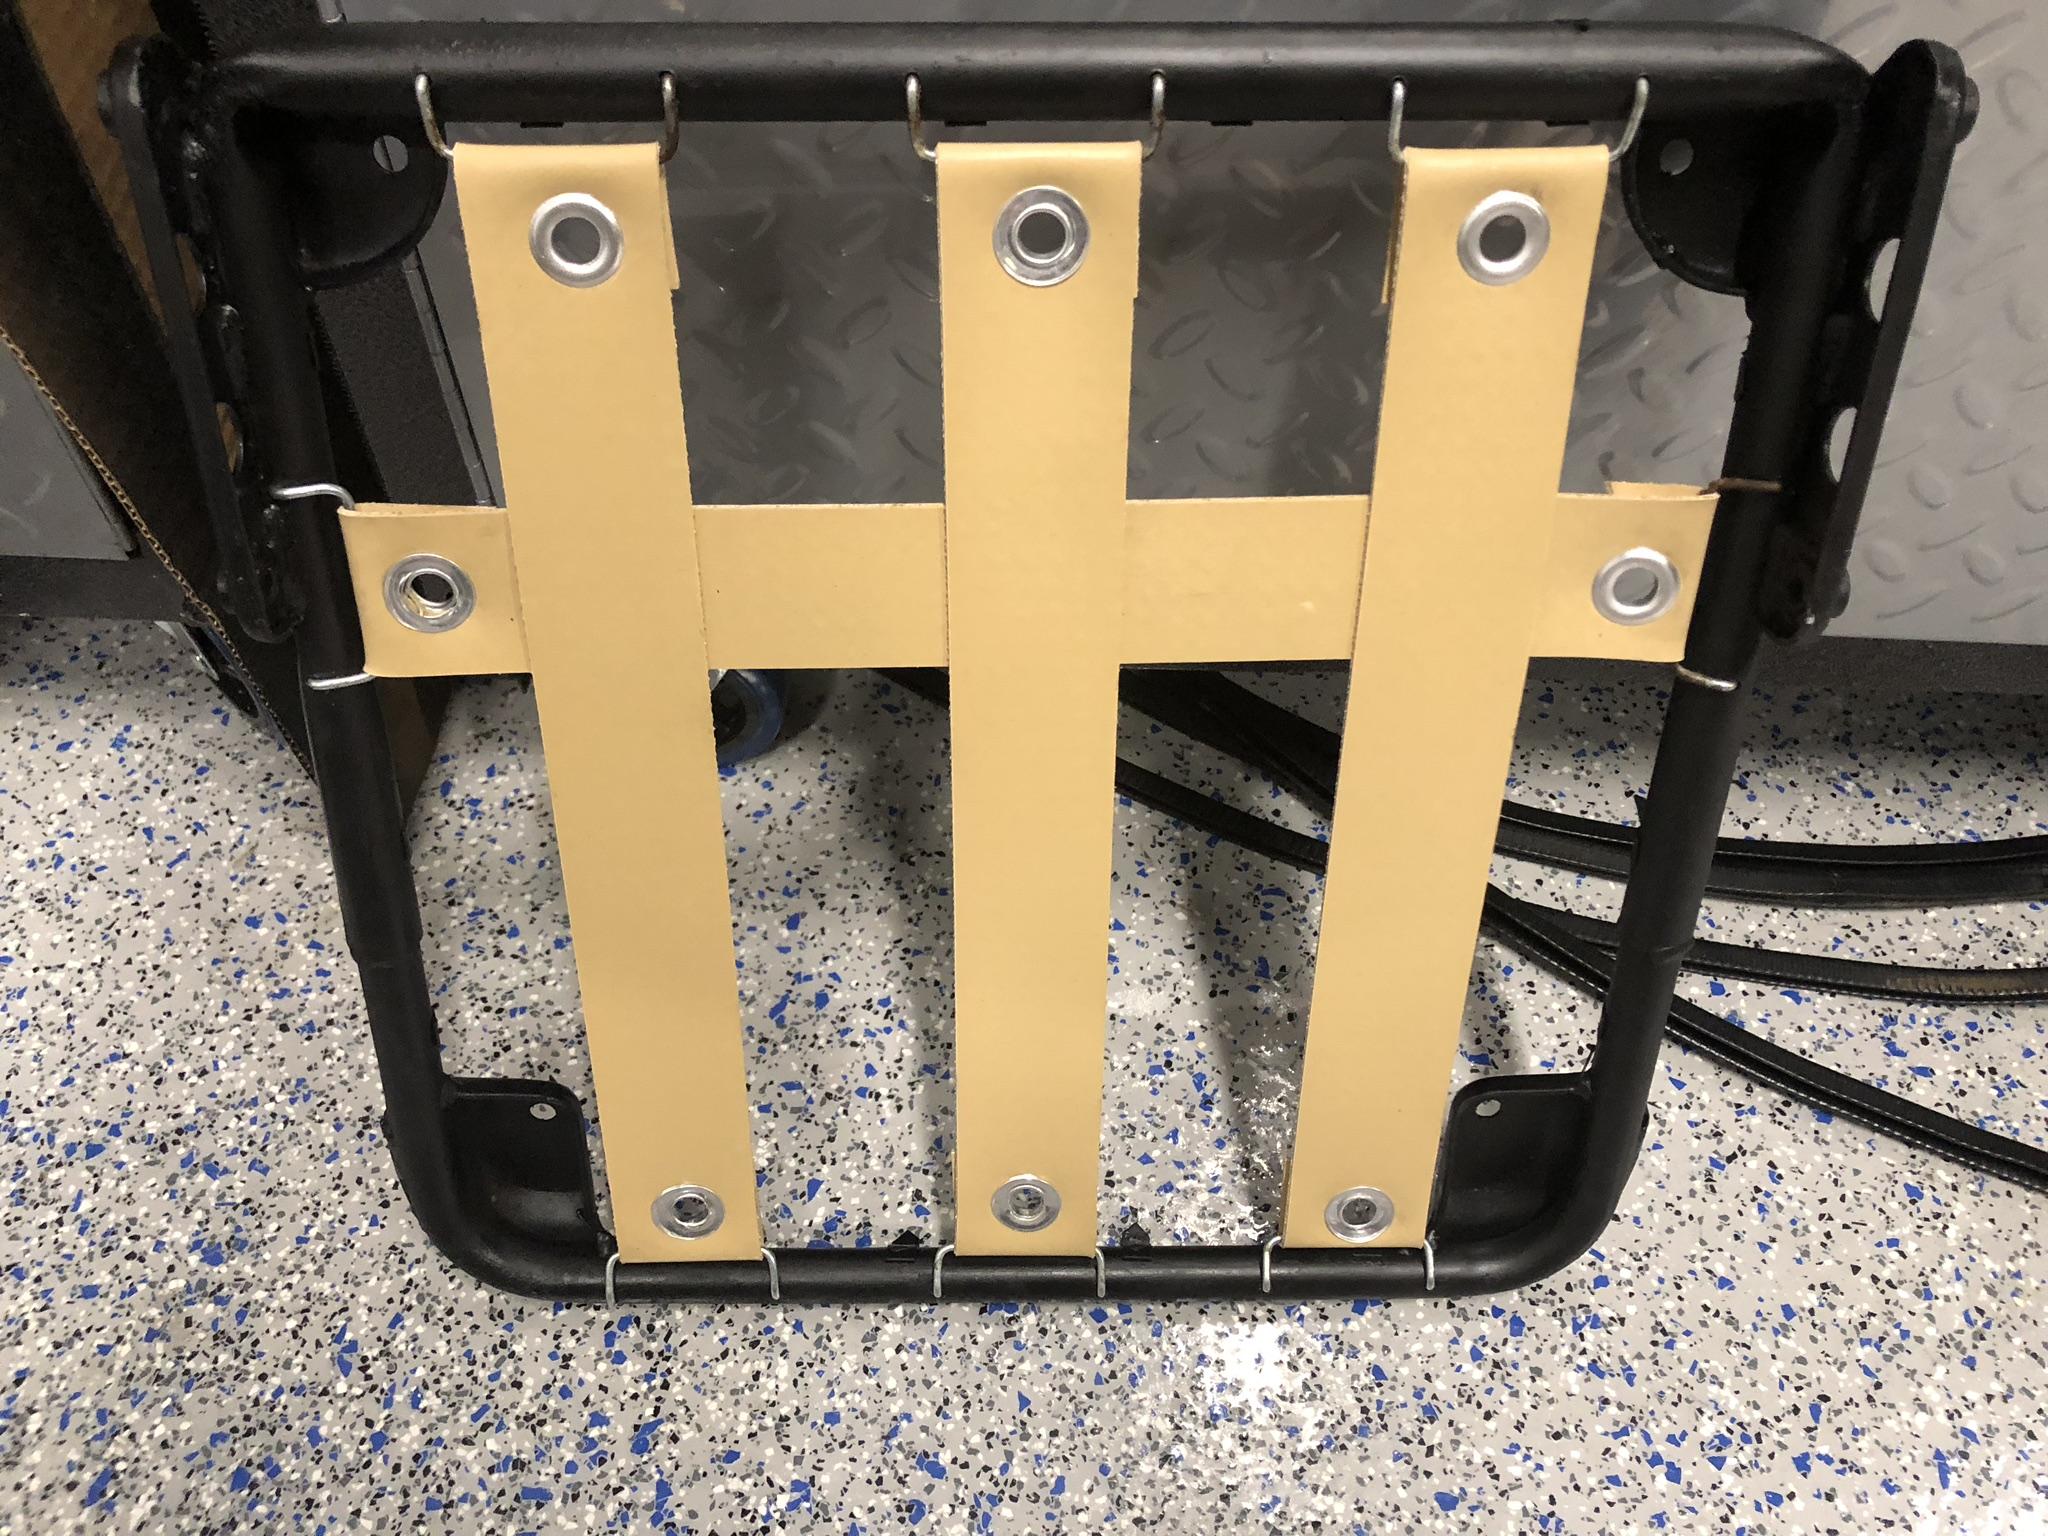
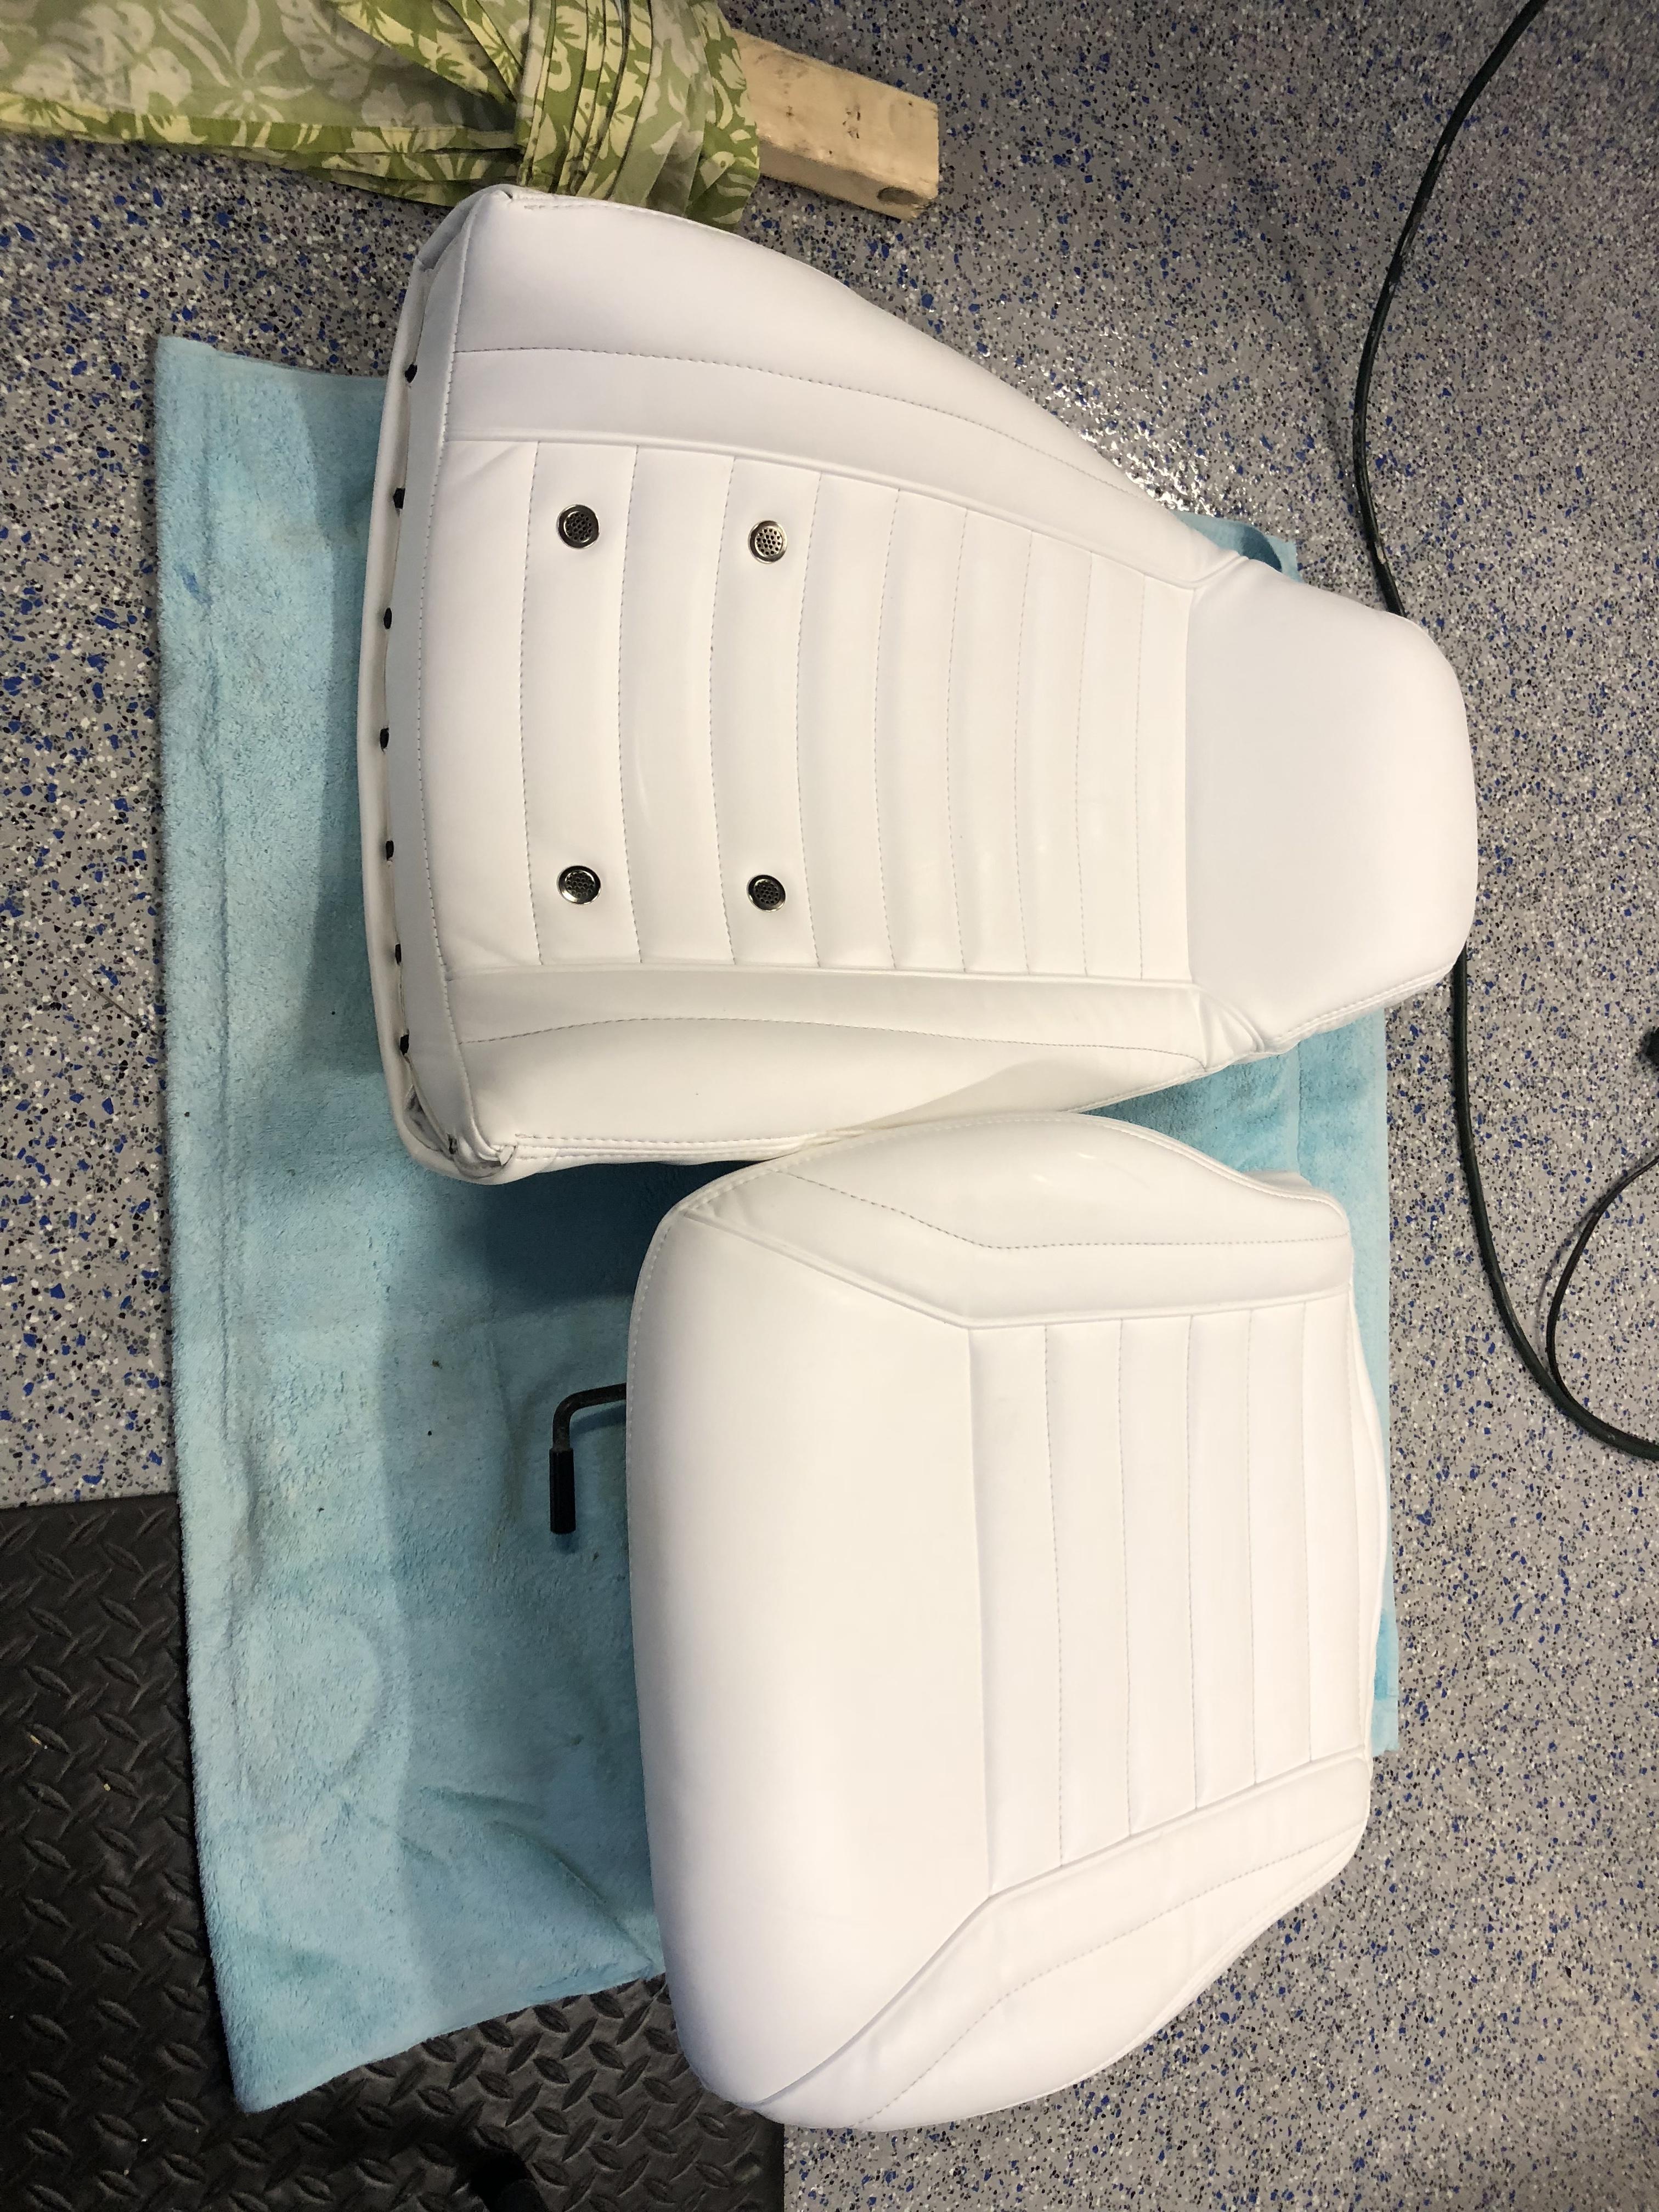
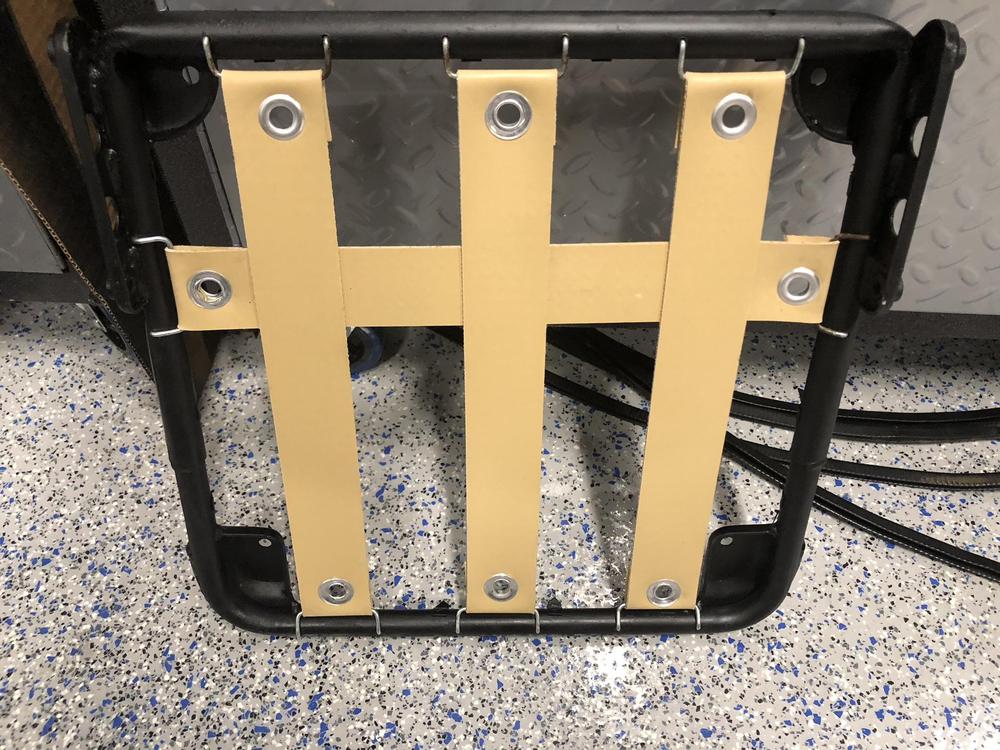
Prepped and painted seat frame, reinstalled rubber strapping and installed new foam and seat cover.
 1 point
 -
1 pointGorilla Glue some pubic hair on there and I'd take it to the Red Lobster.1 point
-
When did they get hot? With the key Off, On, or at Start? Any chance you installed the battery cables backward? You need to give more detail than "difficulty starting" and "replaced some parts". Why did you replace the parts if you thought it was the reset button?1 point