Leaderboard
-

wheee!
Free Member3Points4,607Posts -
grannyknot
Free Member2Points5,158Posts -

Jeff Berk
Free Member2Points620Posts -
borini63
Free Member2Points456Posts


Popular Content
Showing content with the highest reputation on 12/02/2017 in Posts
-
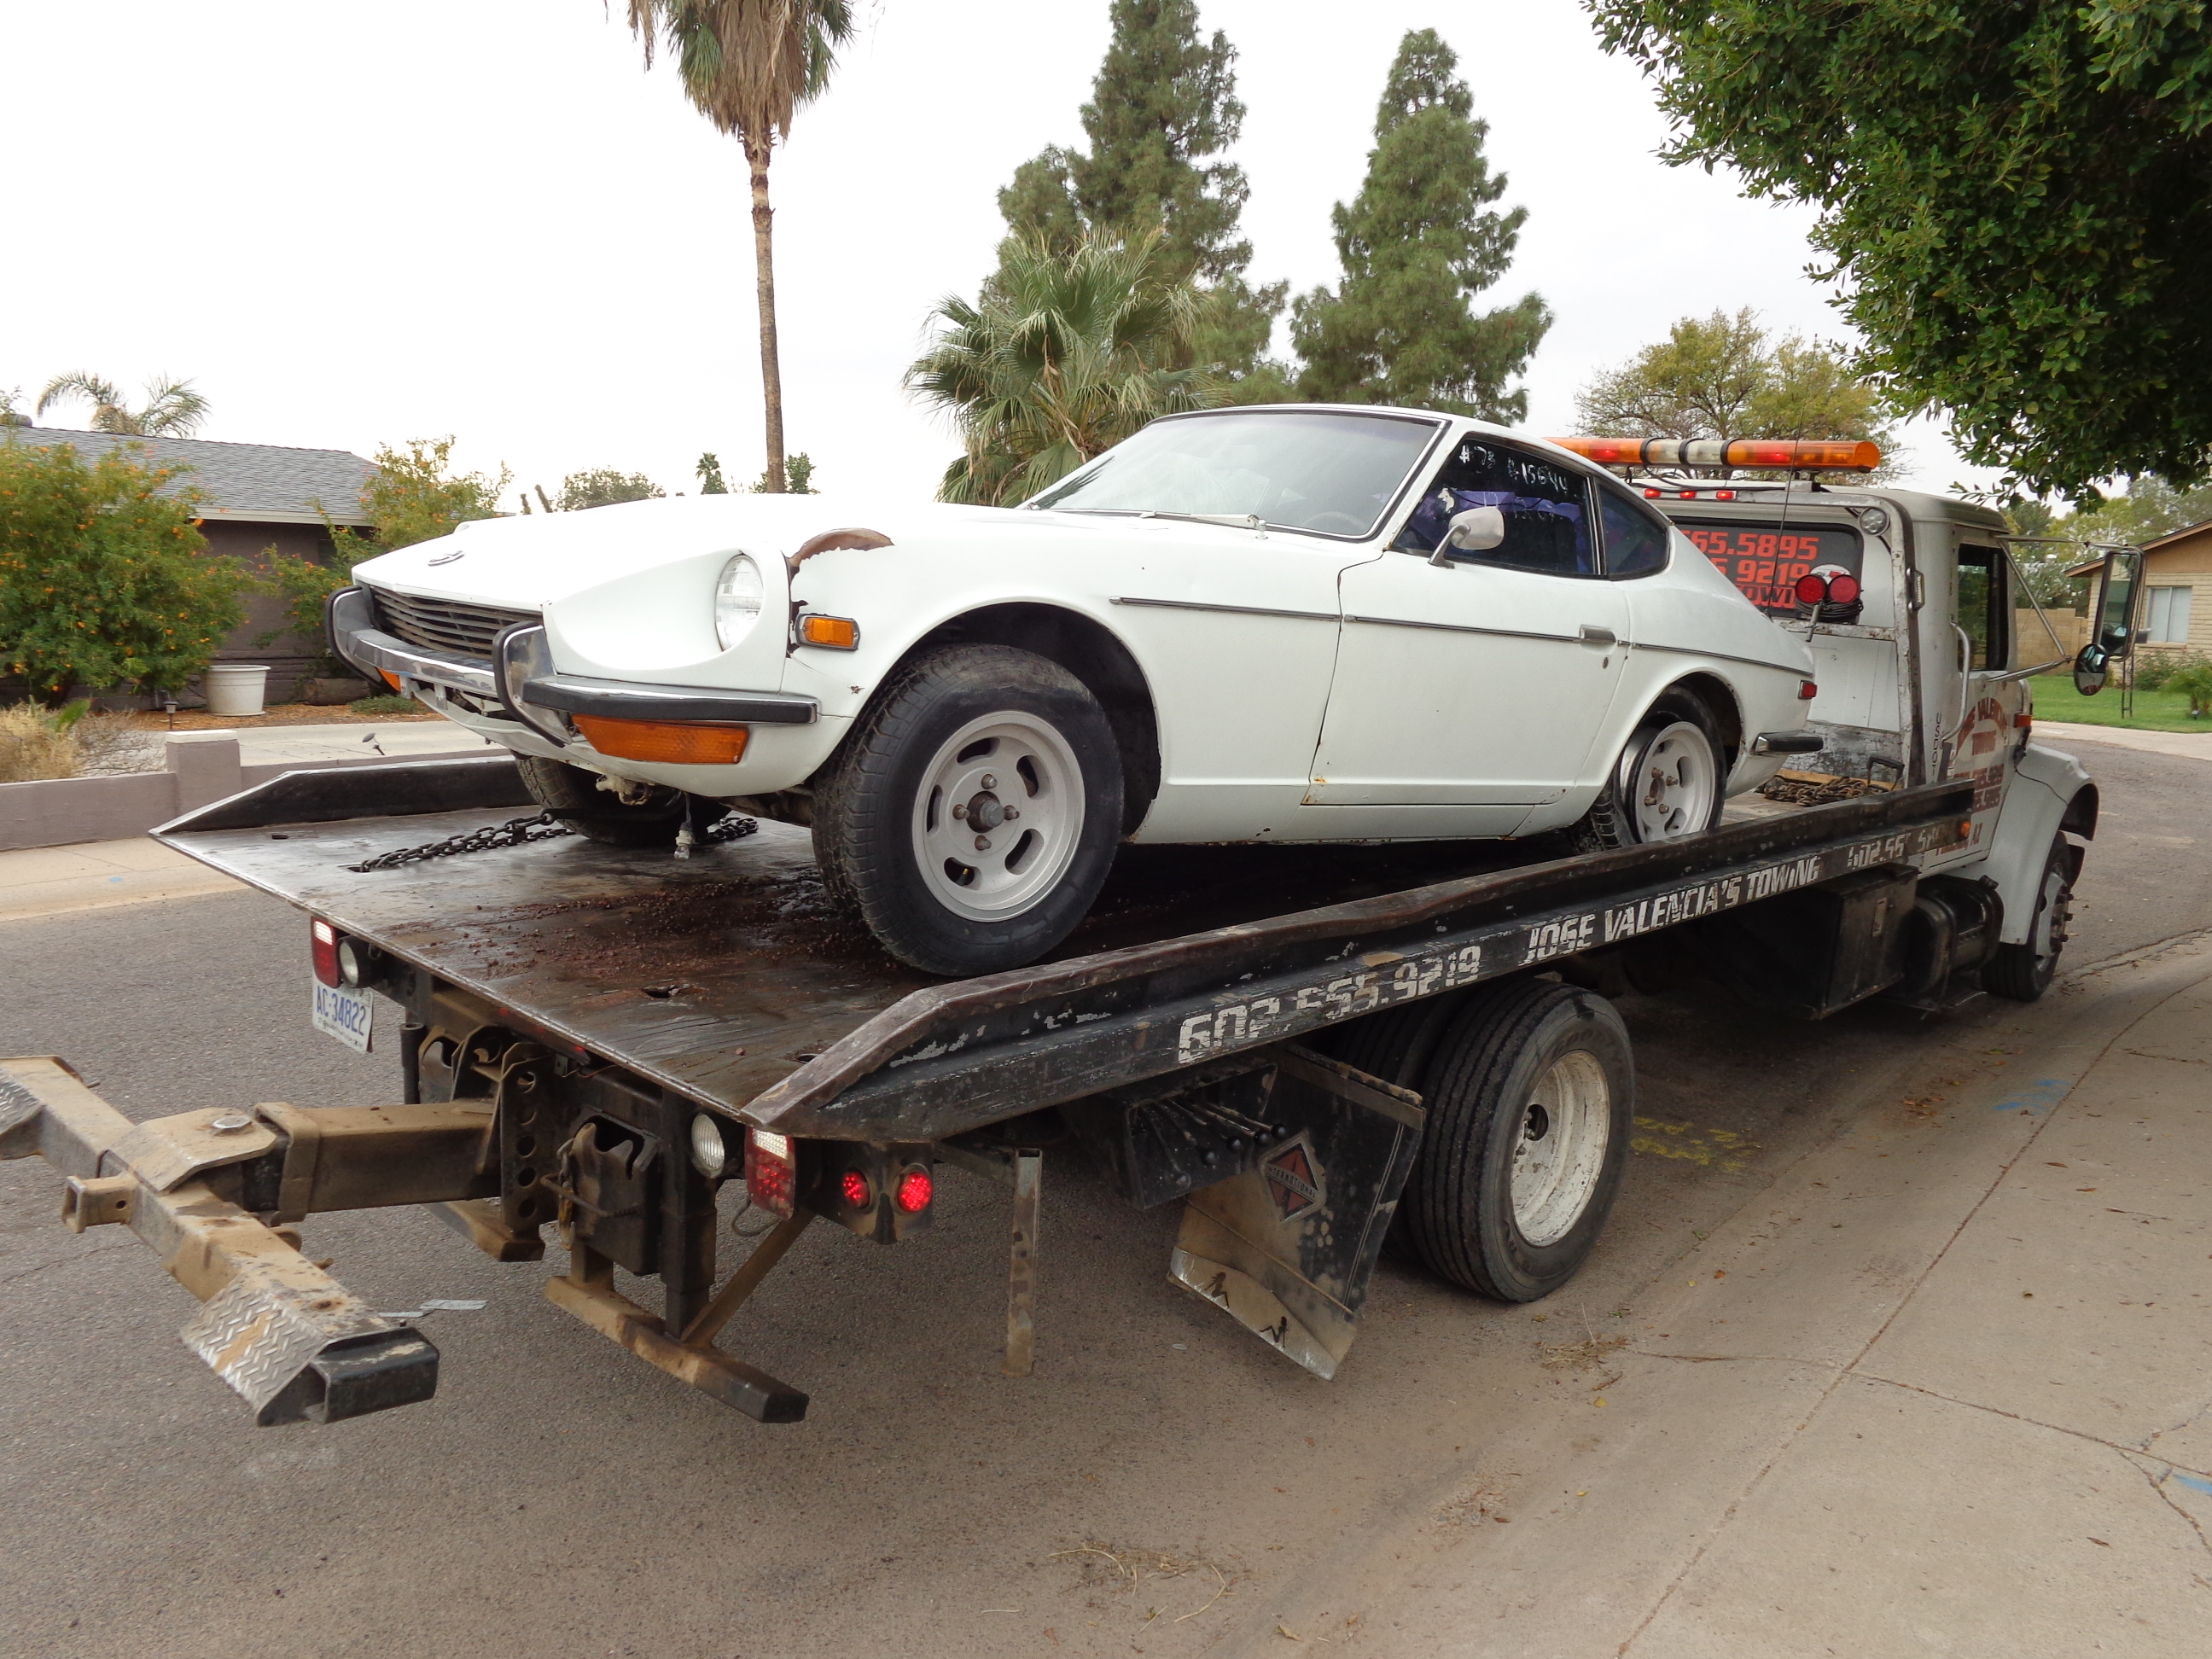
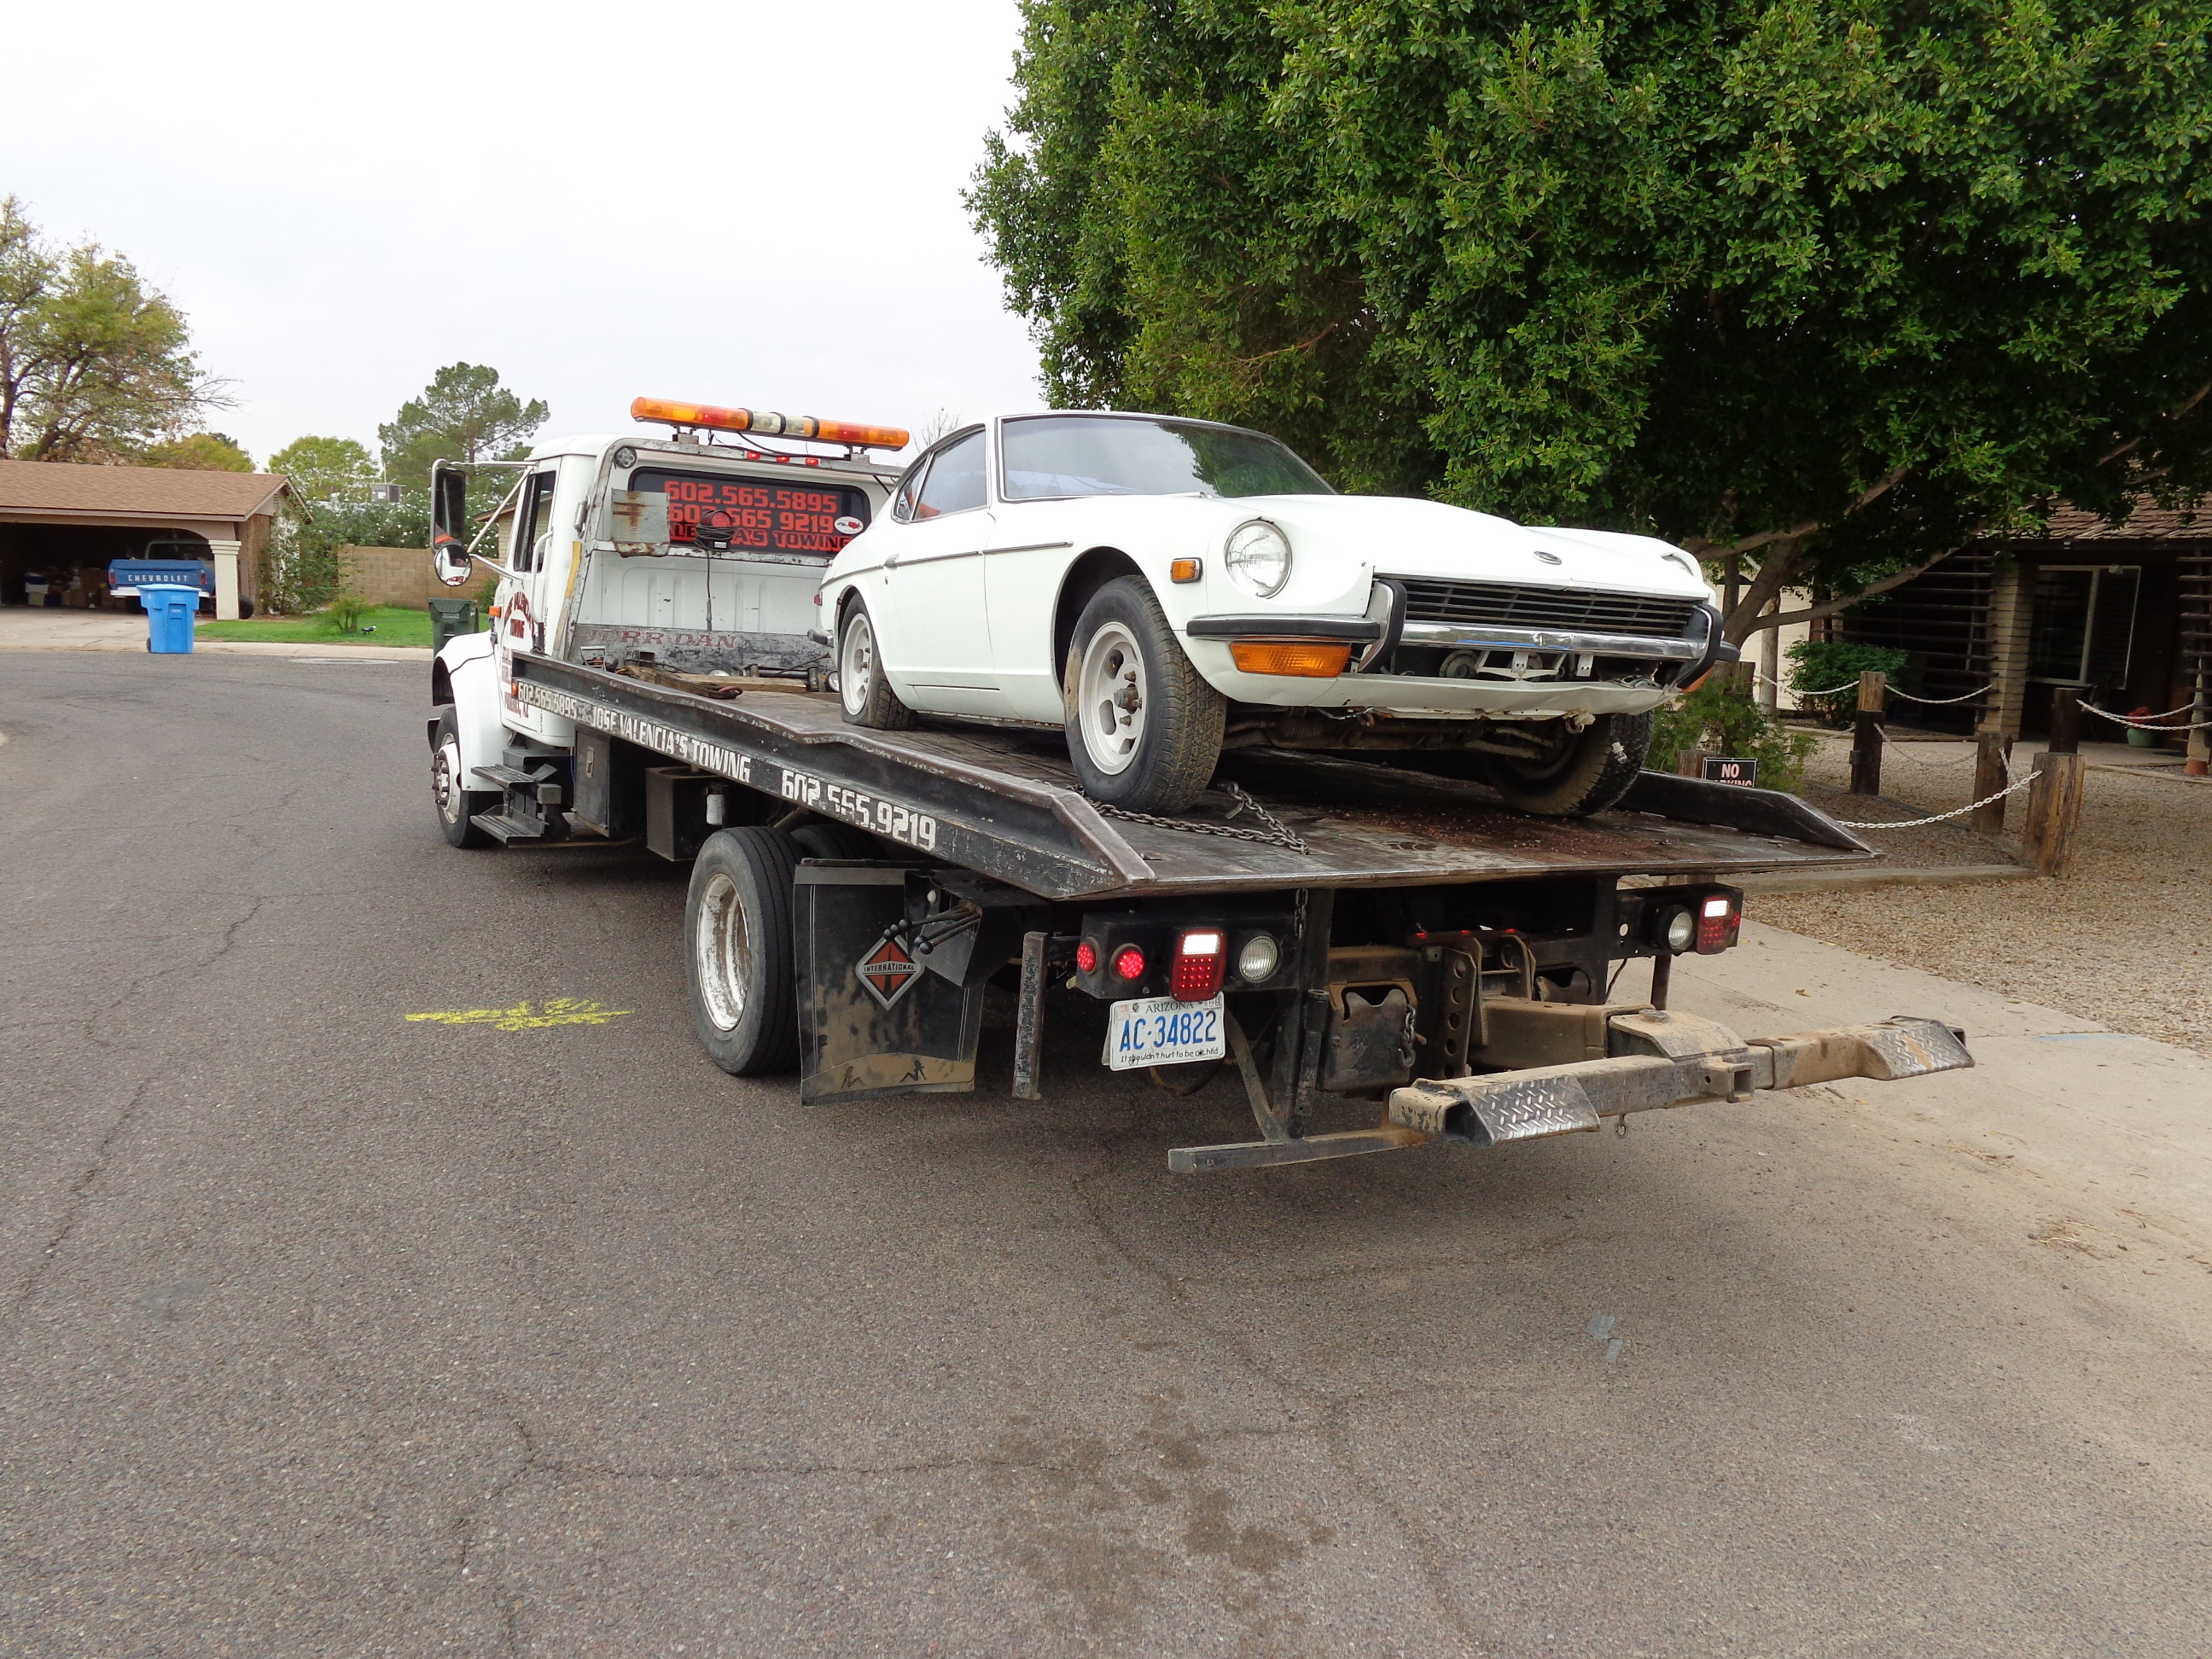
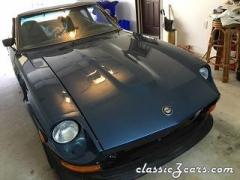
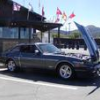
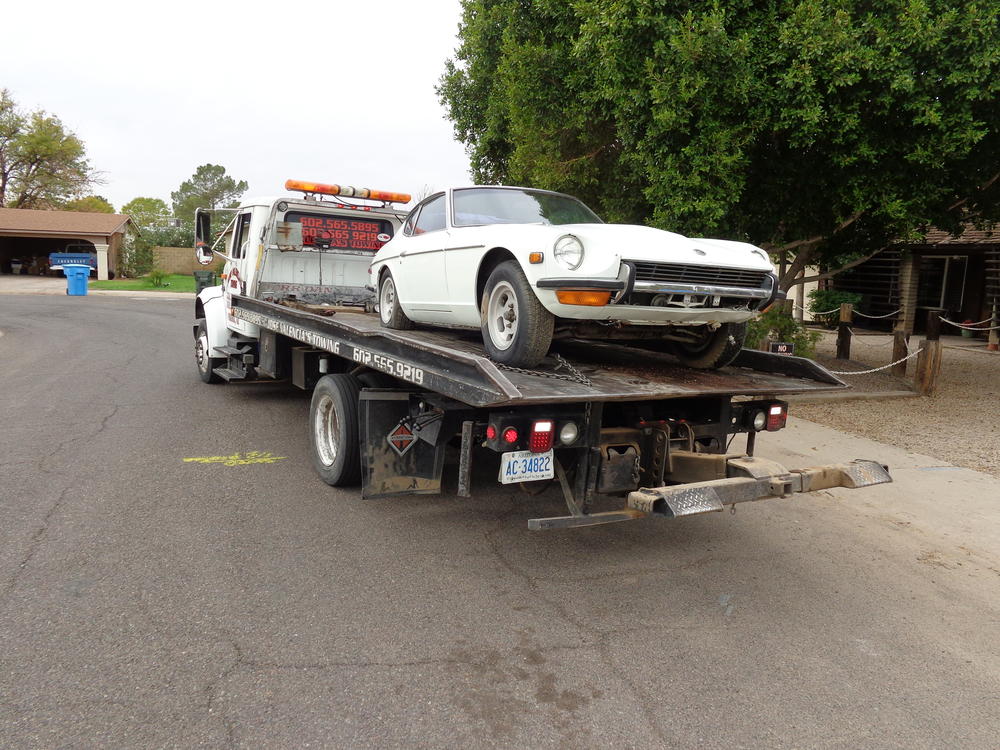
2 pointsJust bought a 70 240Z # 6920,last time ran was on 2002....needs a lot of work but almost a complete car. I will update you guys on her.... The Z arrived to new home.

 2 points
 -
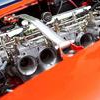
I like that valve cover Siteunseen. Right now I have mine polished with Mother's. It's tempting to sand blast it to get that effect. Did you tape over the lettering or buff them out afterwards? I decided to pull my intake and started the project tonight. I seem to be one of those that likes to tinker with cars as much or more that drive them. I still have two bolts under the intake to remove that are difficult to get to. I found it odd that the lower bolts don't go through the flange but instead bolt to the block with wide washers that hold the lower flange against the engine. Nothing seemed overly tight so snapping off a stud or bolt is unlikely.2 points
-
1 pointHey guys, I have owned my 1971 240Z for around 12 months now, but this week I have finally been able to start work on it. I have been going hard on my other project, a 1973 Porsche 911 RSR inspired build, but I am waiting for custom engine parts, so I can finally start my Z project. I bought the car as someones failed project, so it was completely stripped. Everything is there though, and it is an amazingly clean, rust free shell, so it should make for a great project. This week I first needed to replace the front wheel bearings on the 911 so I could put wheels on it and move it out of the way. I then got into doing a stocktake on my Z to see what it needed, and start formulating a plan for the build. Here is the episode.1 point
-
1 point
-
1 pointNot my car, but it might be worth a call. https://www.facebook.com/groups/386021341481608/?multi_permalinks=1516368178446913¬if_id=1512236803404500¬if_t=commerce_interesting_product It's the black 78'.1 point
-
1 pointFor a taste of what you’re in for with a restoration of a 280 with average to substantial rust, check out my thread....1 point
-
1 point
-
1 point
-
1 pointA lot of guys/gals daily drive the 280, I know mine is much quieter and I don't have to worry about breaking or running into something like I do the 240. 240s are getting rare but a 280 can still be bought fairly cheap. Just my $.02.1 point
-
Hi guys: I want to provide an update on the replacement rockers. I installed four new rockers and adjusted the valves cold then I let the car idle for a hot valve adjustment. Great news the tapping is gone and it's just regular valve train noise now! Howard1 point
-
1 pointAnd there they were! Right across from the stem, TOPY 2-72, same build date as my car so I'll say it's the OE. Thanks Chuck.1 point
-
1 pointYeah I would agree on the wheel arches. The bat had better pics and that crack by the antenna is likely all bondo. Hard part about cars from out west is they go fast or people know the prices now and are asking $$$.1 point
-
1 pointHere's a pic of some 240Z wheels. You can see the date across from the valve stem. Chuck Sent from my Moto G Play using Classic Zcar Club mobile1 point
-
Atta boy, they're just nuts and bolts, nothing fear. Mind you, once you have made the carbs and intake shine like new the rest of the engine bay will look kinda sad, it's a slippery slope. As much as I love driving the Z I'd rather be tinkering too.1 point
-
1 pointThe Milwaukee car was up on BaT not too long ago, it didn't reach the reserve but have a look, much better photos than the Craigs ad. https://bringatrailer.com/listing/1972-datsun-240z-36/ I don't mind a bit of rust if the price is right. If you are serious about this^ then the first car will teach you everything you need to know about these cars, it will have to be stripped down to the shell and mounted on a rotisserie and then every section will have to be gone through and repaired. It is a big job but can be fun and is very rewarding when you get it back on the road, besides someone has to fix these rusty cars or they will just be parted out.1 point
-
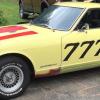
1 pointThat car is better but rear wheel arch is rusted out. Rear deck lid has rust on the rear edge and bumpers look like they are rusted through. Considering it was originally green, I would assume there is more rust under the gold respray. If you want to look for a clean car, search in Phoenix, Southern California or some where else in the South West. The cost of shipping is well worth it. As for daily driver, they are more than capable of that but in states that salt roads it's a bad idea to run these cars when there is salt on the roads.1 point
-
1 pointIn the overhead pic of the engine, note the discoloration around the battery compared to the opposite side by the brake master cylinder. Discoloration doesn't look too bad until you pull the battery and find the fender well, firewall and the frame are all severely compromised by rust. If they are still there, that is. Z's have some areas that are prone to rust. When looking for a Z, find the best "rust free" chassis that you can afford. Period. Mechanical bits on the Z's are well built and easy to repair. Can't say the same for the bodies.1 point
-
1 pointBetter. Rust is your biggest enemy. Have him text your frame rails, floors with carpet pulled back, above tail lights with hatch open, better rocker pics, under side of doors and under battery.1 point
-
1 point
-
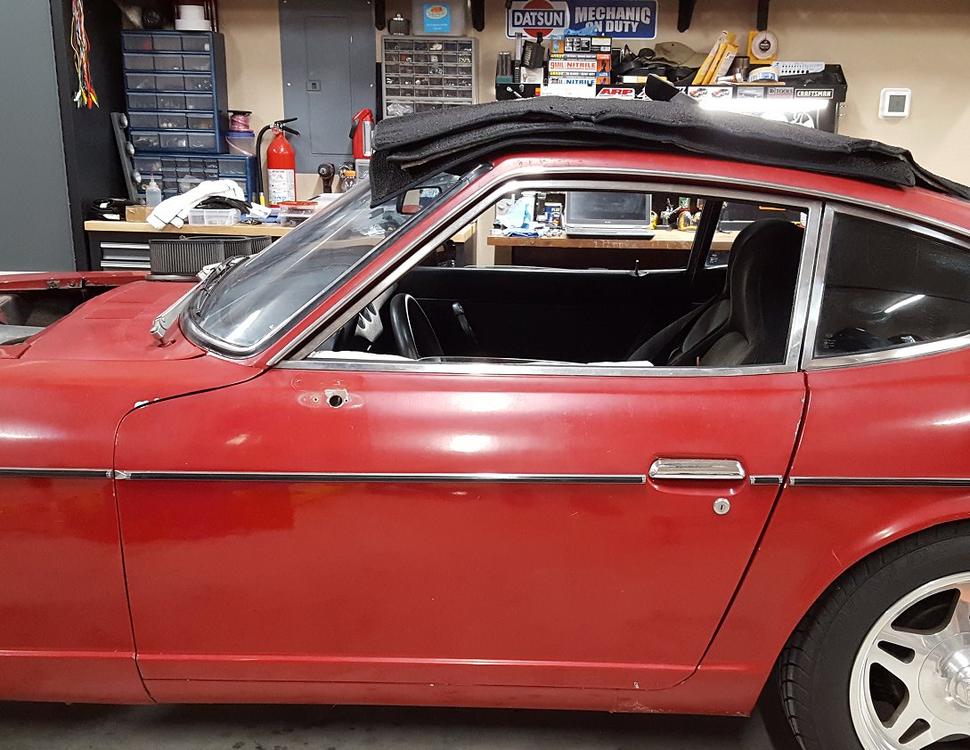
1 pointNot very much! There is rust all the way across the front of the roof panel and I'm sure there is a lot more you can't see. You would be better off to buy a car from somewhere with less rust and pay to ship it...1 point
-
1 point
-
1 point
-
I just took a L24 apart and bores were drilled( bored) to 86mm - which I guess is not unheard of. Maybe not recommended doing before sonic testing. You don’t have to go huge bores to make fast fun engine . Put money in the cylinder head . 150 hp at the rear wheels is fun car with correct gearing1 point
-
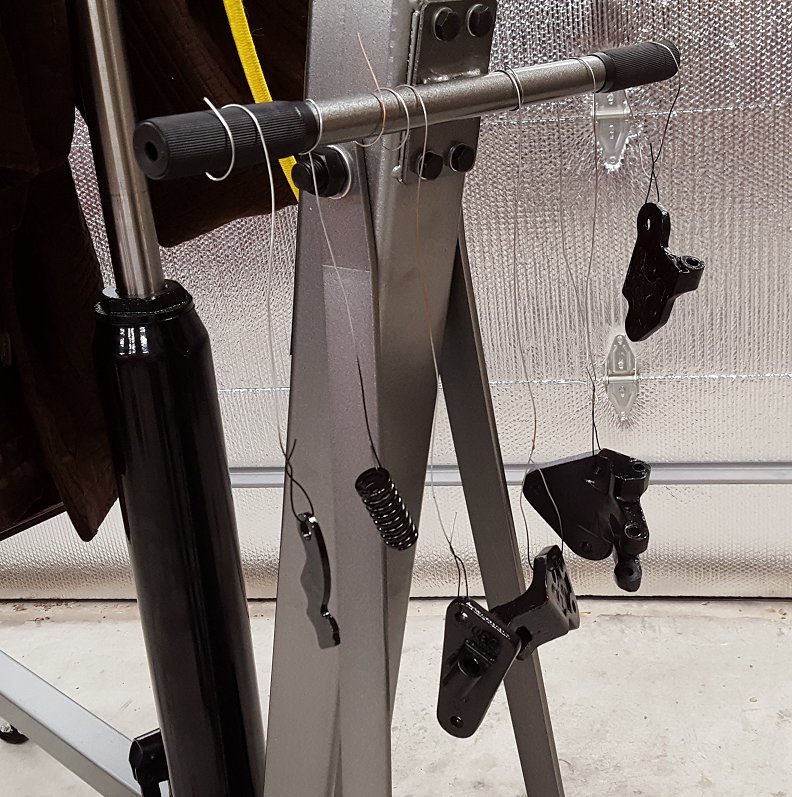
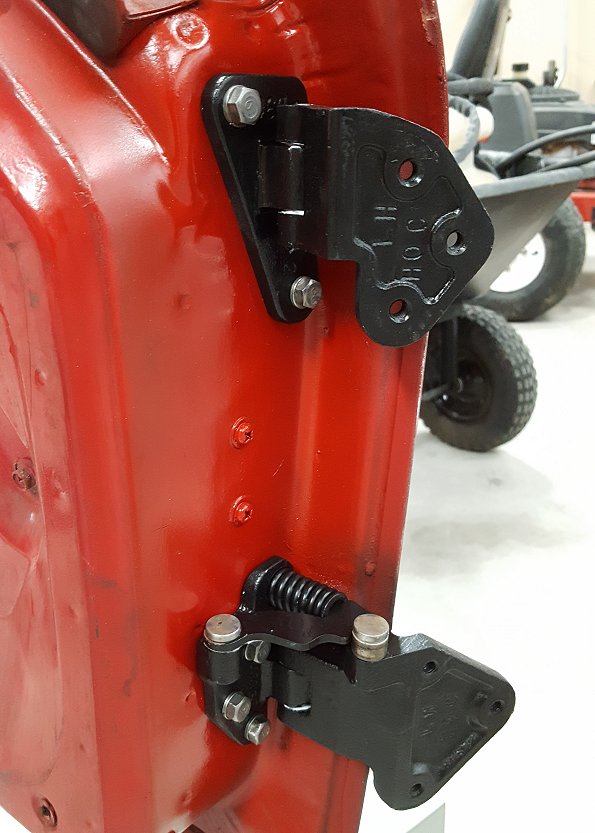
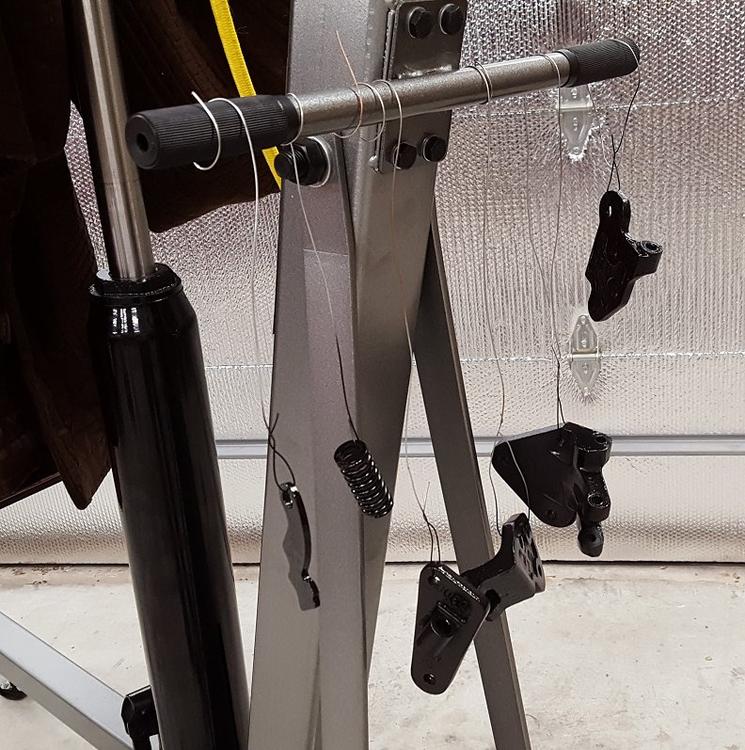
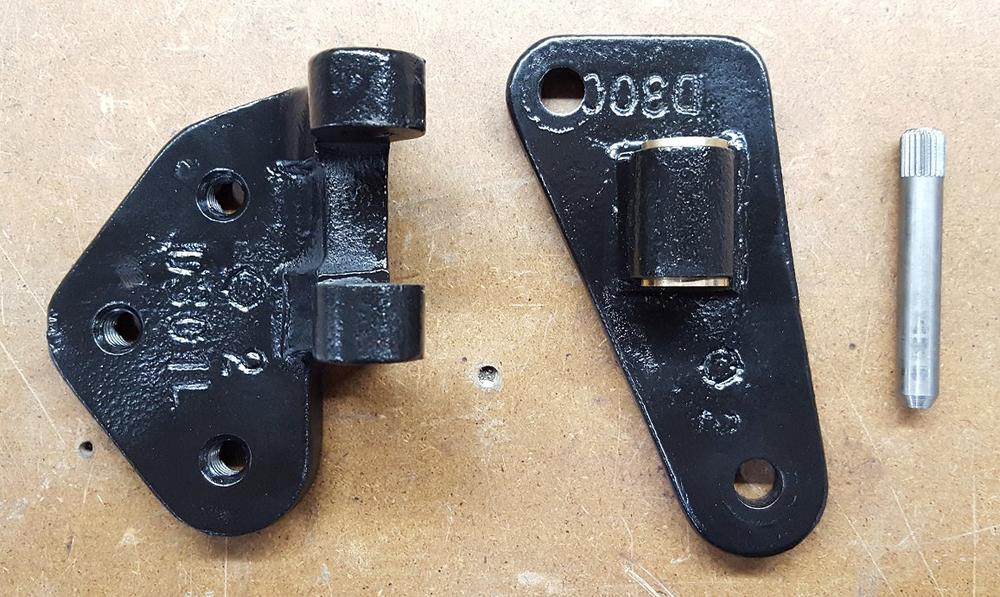
1 pointWith all the parts wire wheeled I covered them in some Rustoleum satin black. The car is red but I didn't want to paint them red as the car may not be red all of its life so black it is. With everything cured after 7 days I started the reassembly process. The upper hinge was first. Using my bench vise I pressed in the brass bushings. They went in perfectly. Since the brass bushings were thicker than the originals I had to use the metal lips of bench vise to spread the side of the hinge a part just a little. I lubed all of the contact surfaces with lithium grease. Once I got the hinge halves together I used my 20 ton press to install the new hinge pin. The end result is nice and tight upper door hinge. The reassembly of the lower hinge was the reverse of the disassembly. The bushings in the lower hinge looked good and felt really good with the new pin so I opted to leave them. Just like the upper hinge, everything lubed up with some lithium grease. The inside of the door received some clean up and fresh red paint. The fasteners were treated to some wire wheel action to clean them up as well. With the help of my wife we got the door with minimal damage to the paint. I had taped a thick towel to the top of the door but still managed to pull some paint off. The end result is a door that functions like new again. Seeing that there are no new hinges to be had and there is a service on eBay charging $100 - $150 to rebuild each hinge, the is a lot of value to be gained by doing this yourself. It does take an investment in some specialty tools like the HF press but it will pay for itself over and over just as mine has over the course of many projects. I welcome any questions or feedback.
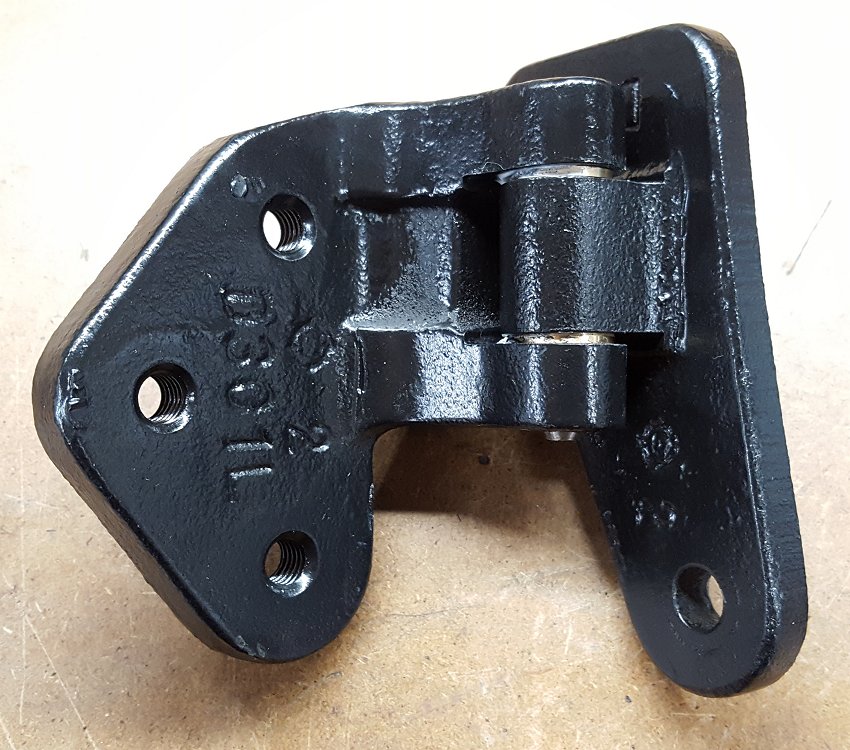
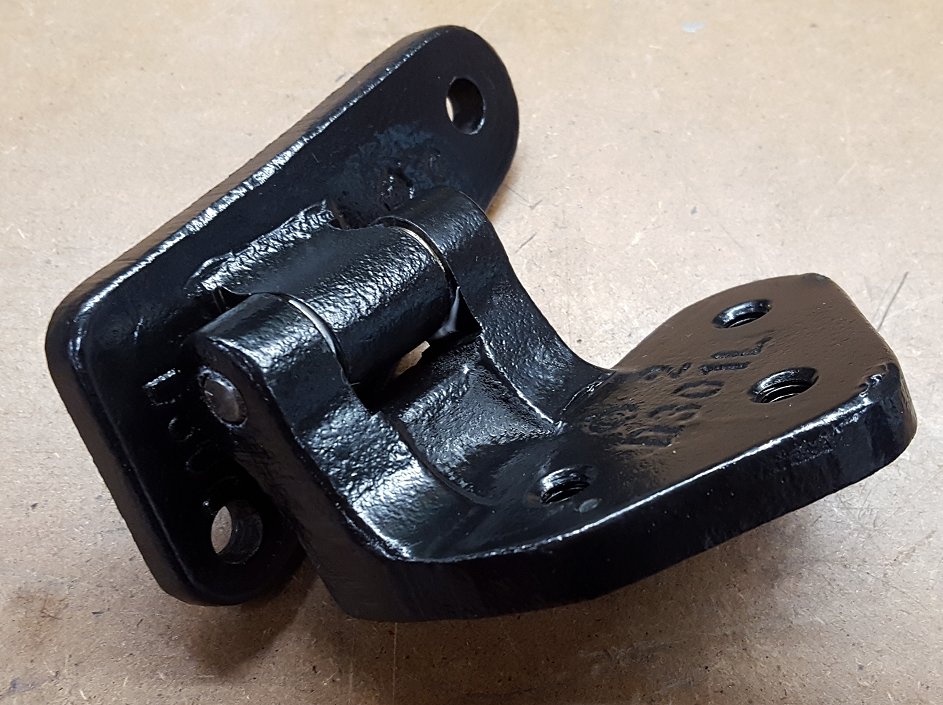
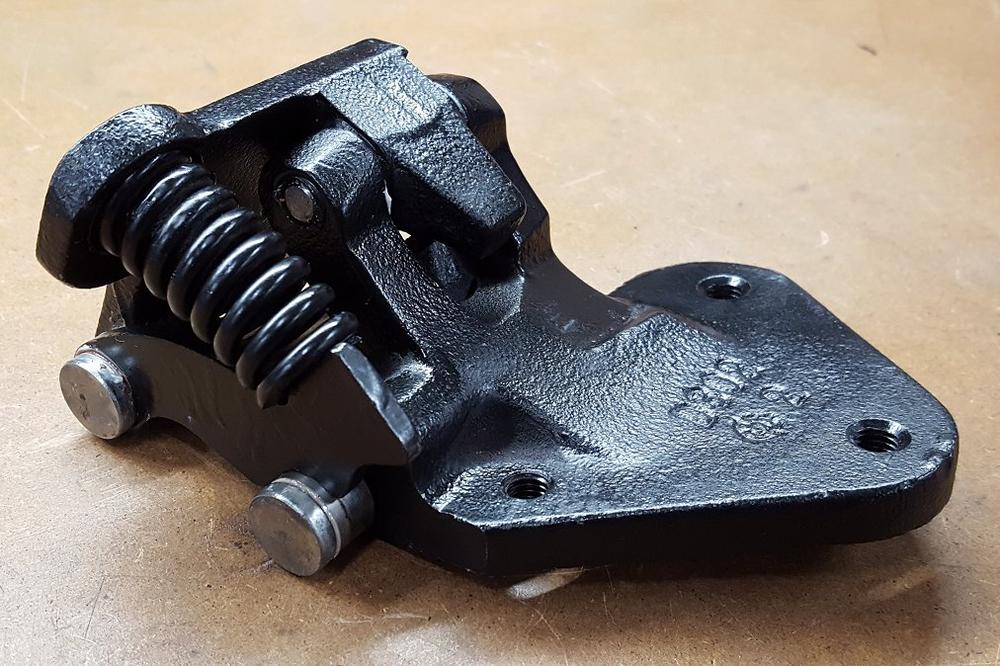
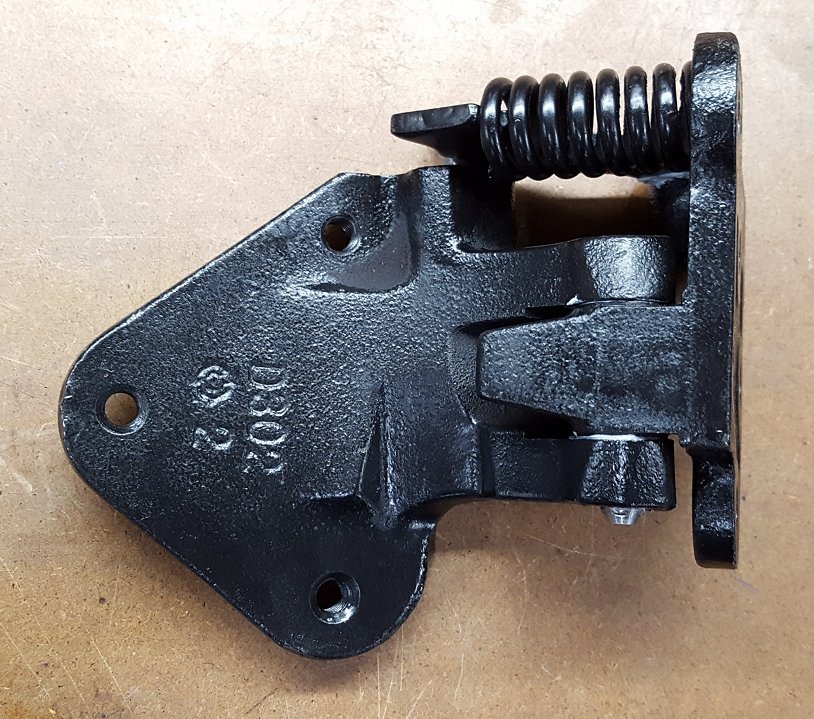

 1 point
 -
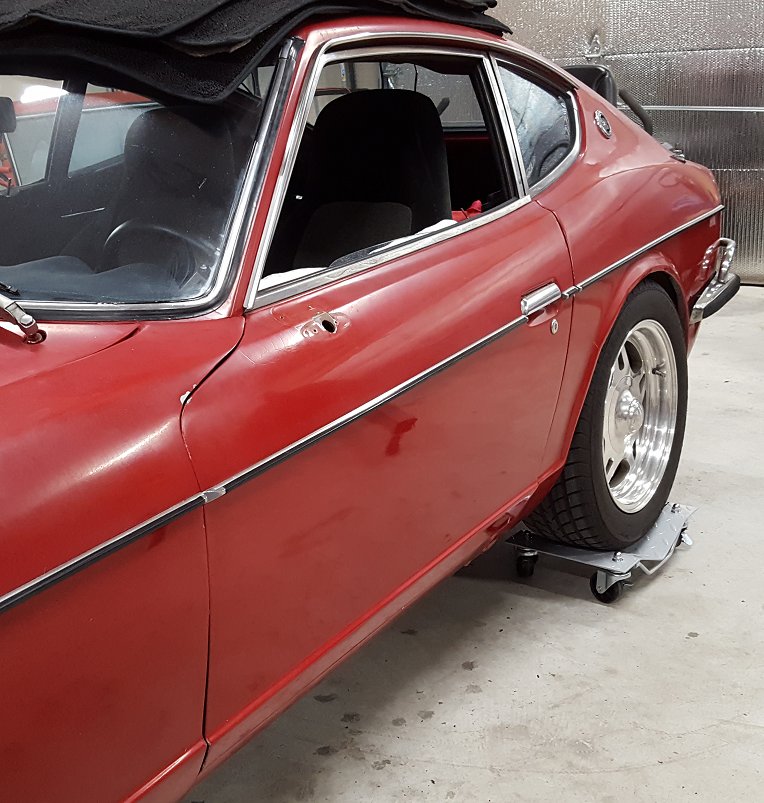
1 pointThis week I work away at finishing that terrible door. It is a lot of rust and a lot of work, but I am stubborn enough to keep at it. Jeff1 point