Leaderboard
-
wil84911
Free Member2Points150Posts -

Dave WM
Free Member2Points3,591Posts -
grannyknot
Free Member2Points5,158Posts -

siteunseen
Free Member1Points15,115Posts


Popular Content
Showing content with the highest reputation on 10/20/2017 in all areas
-
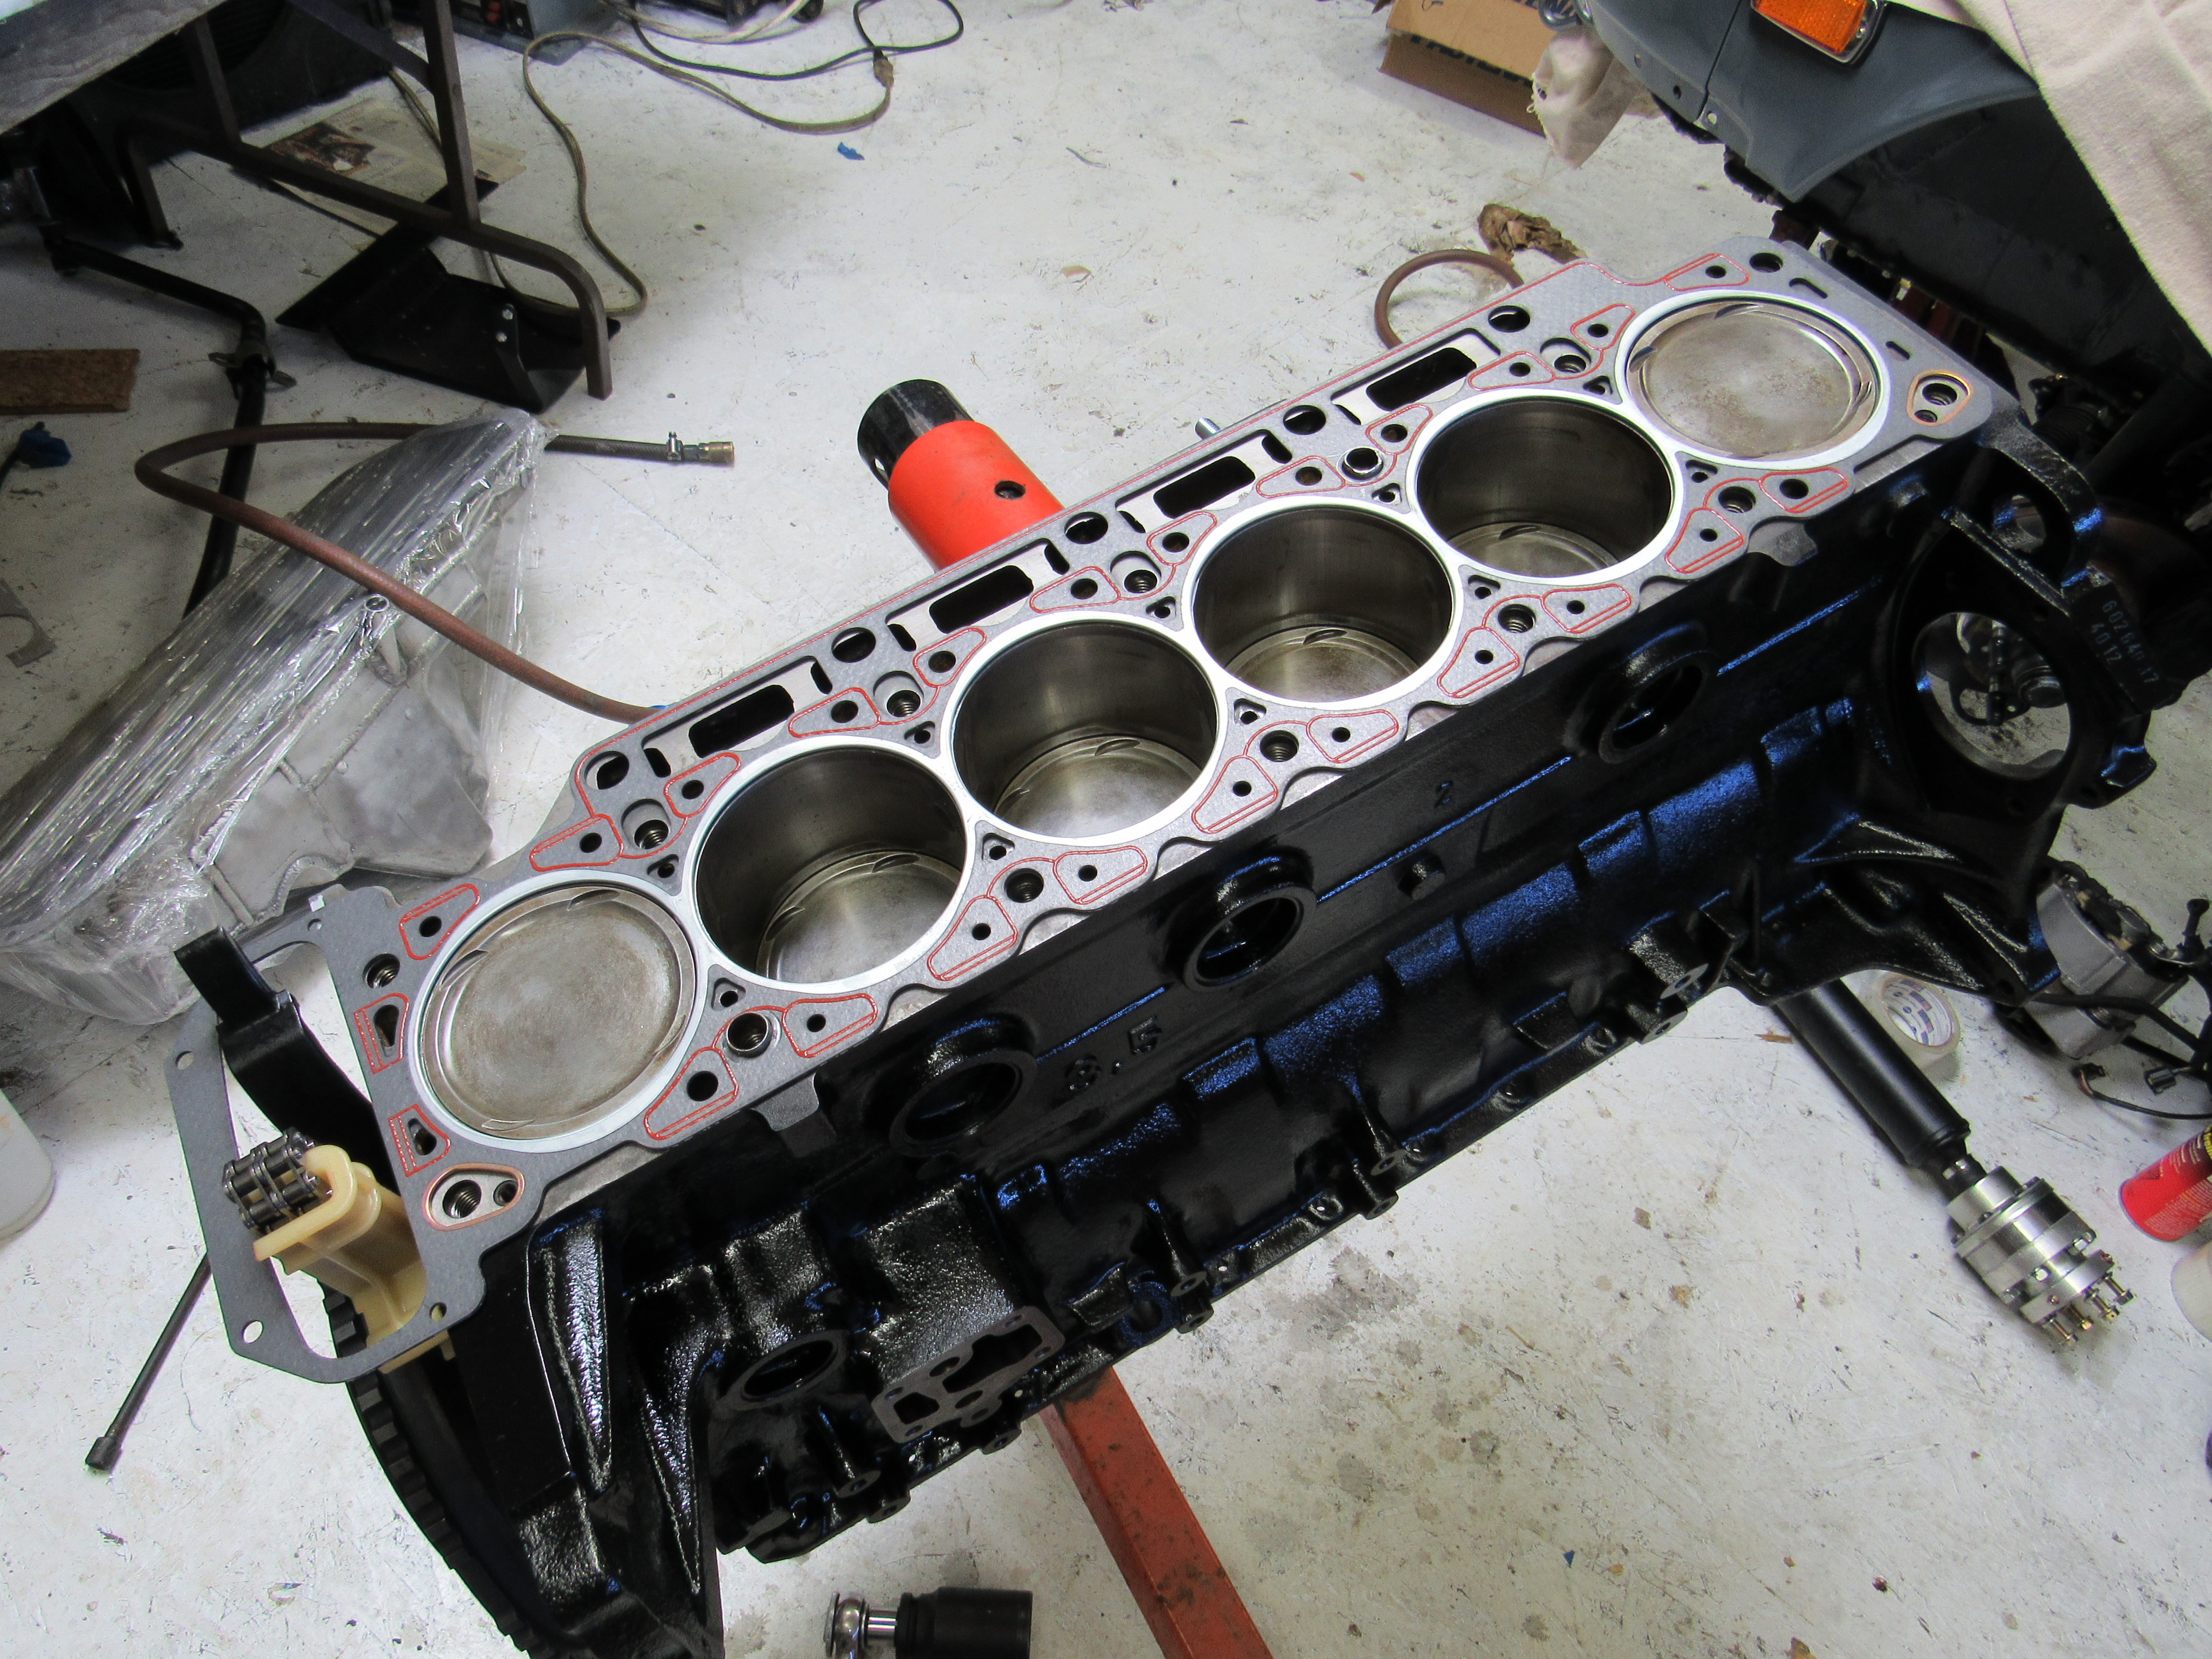
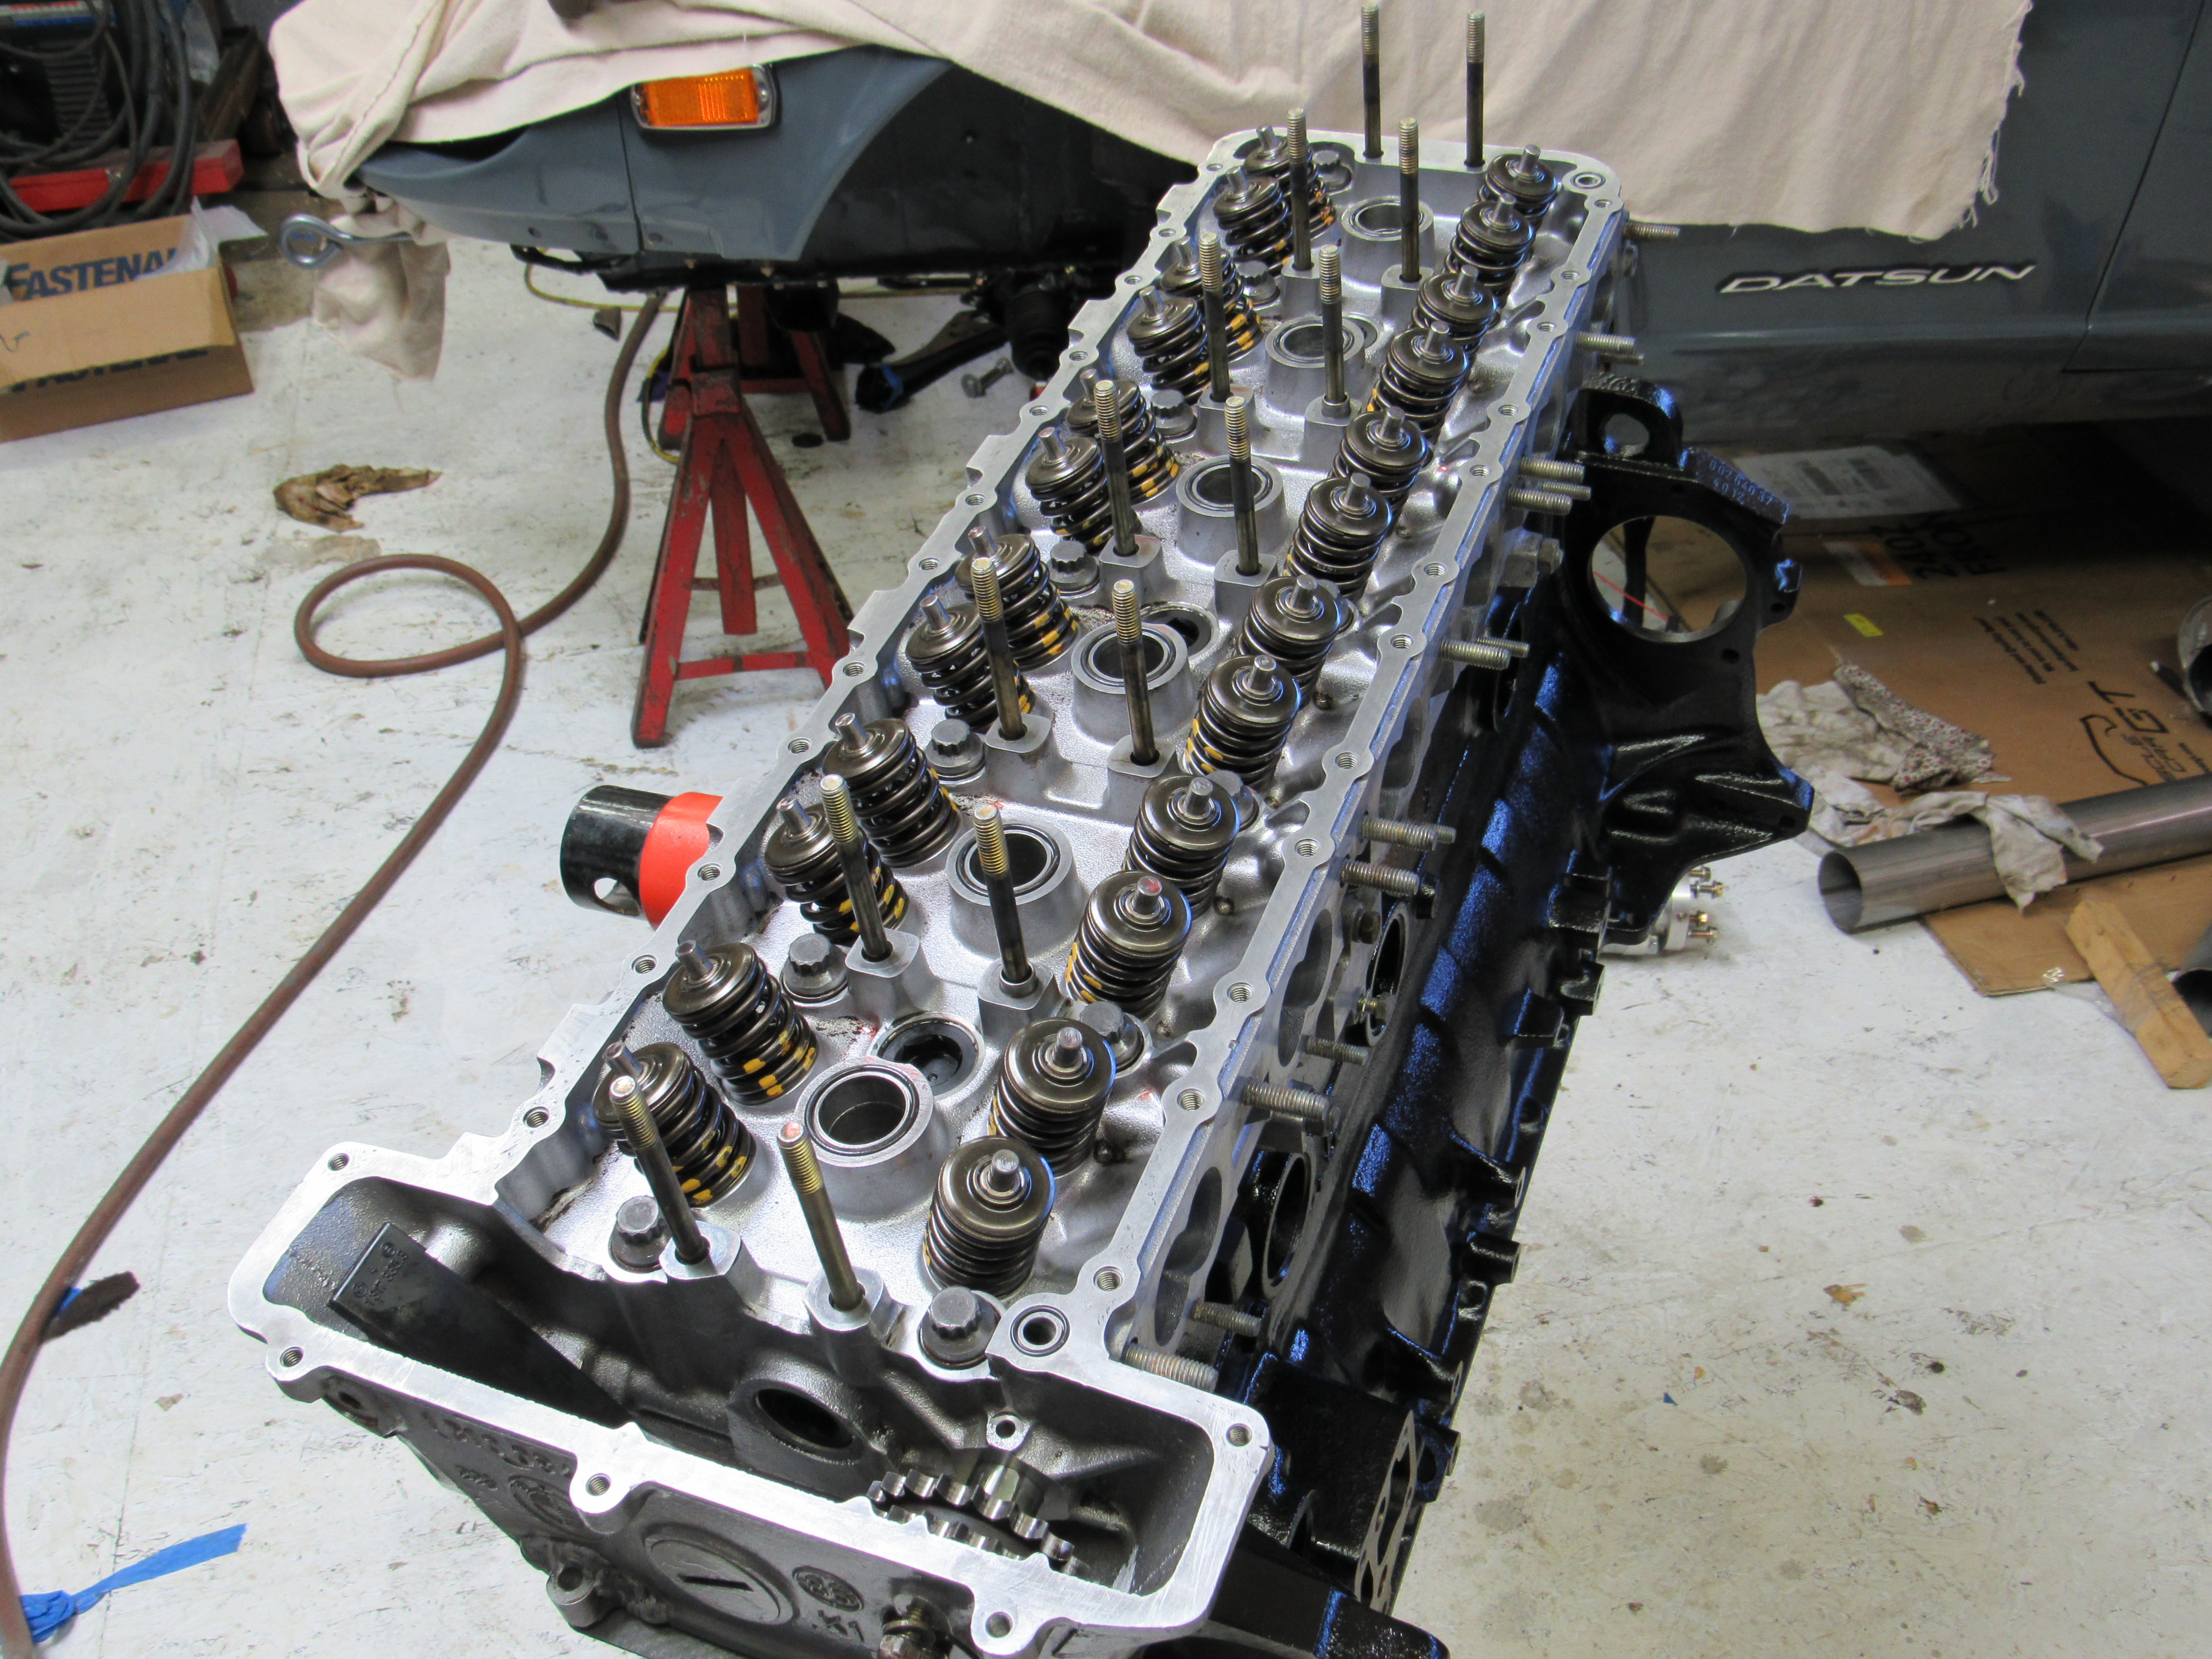
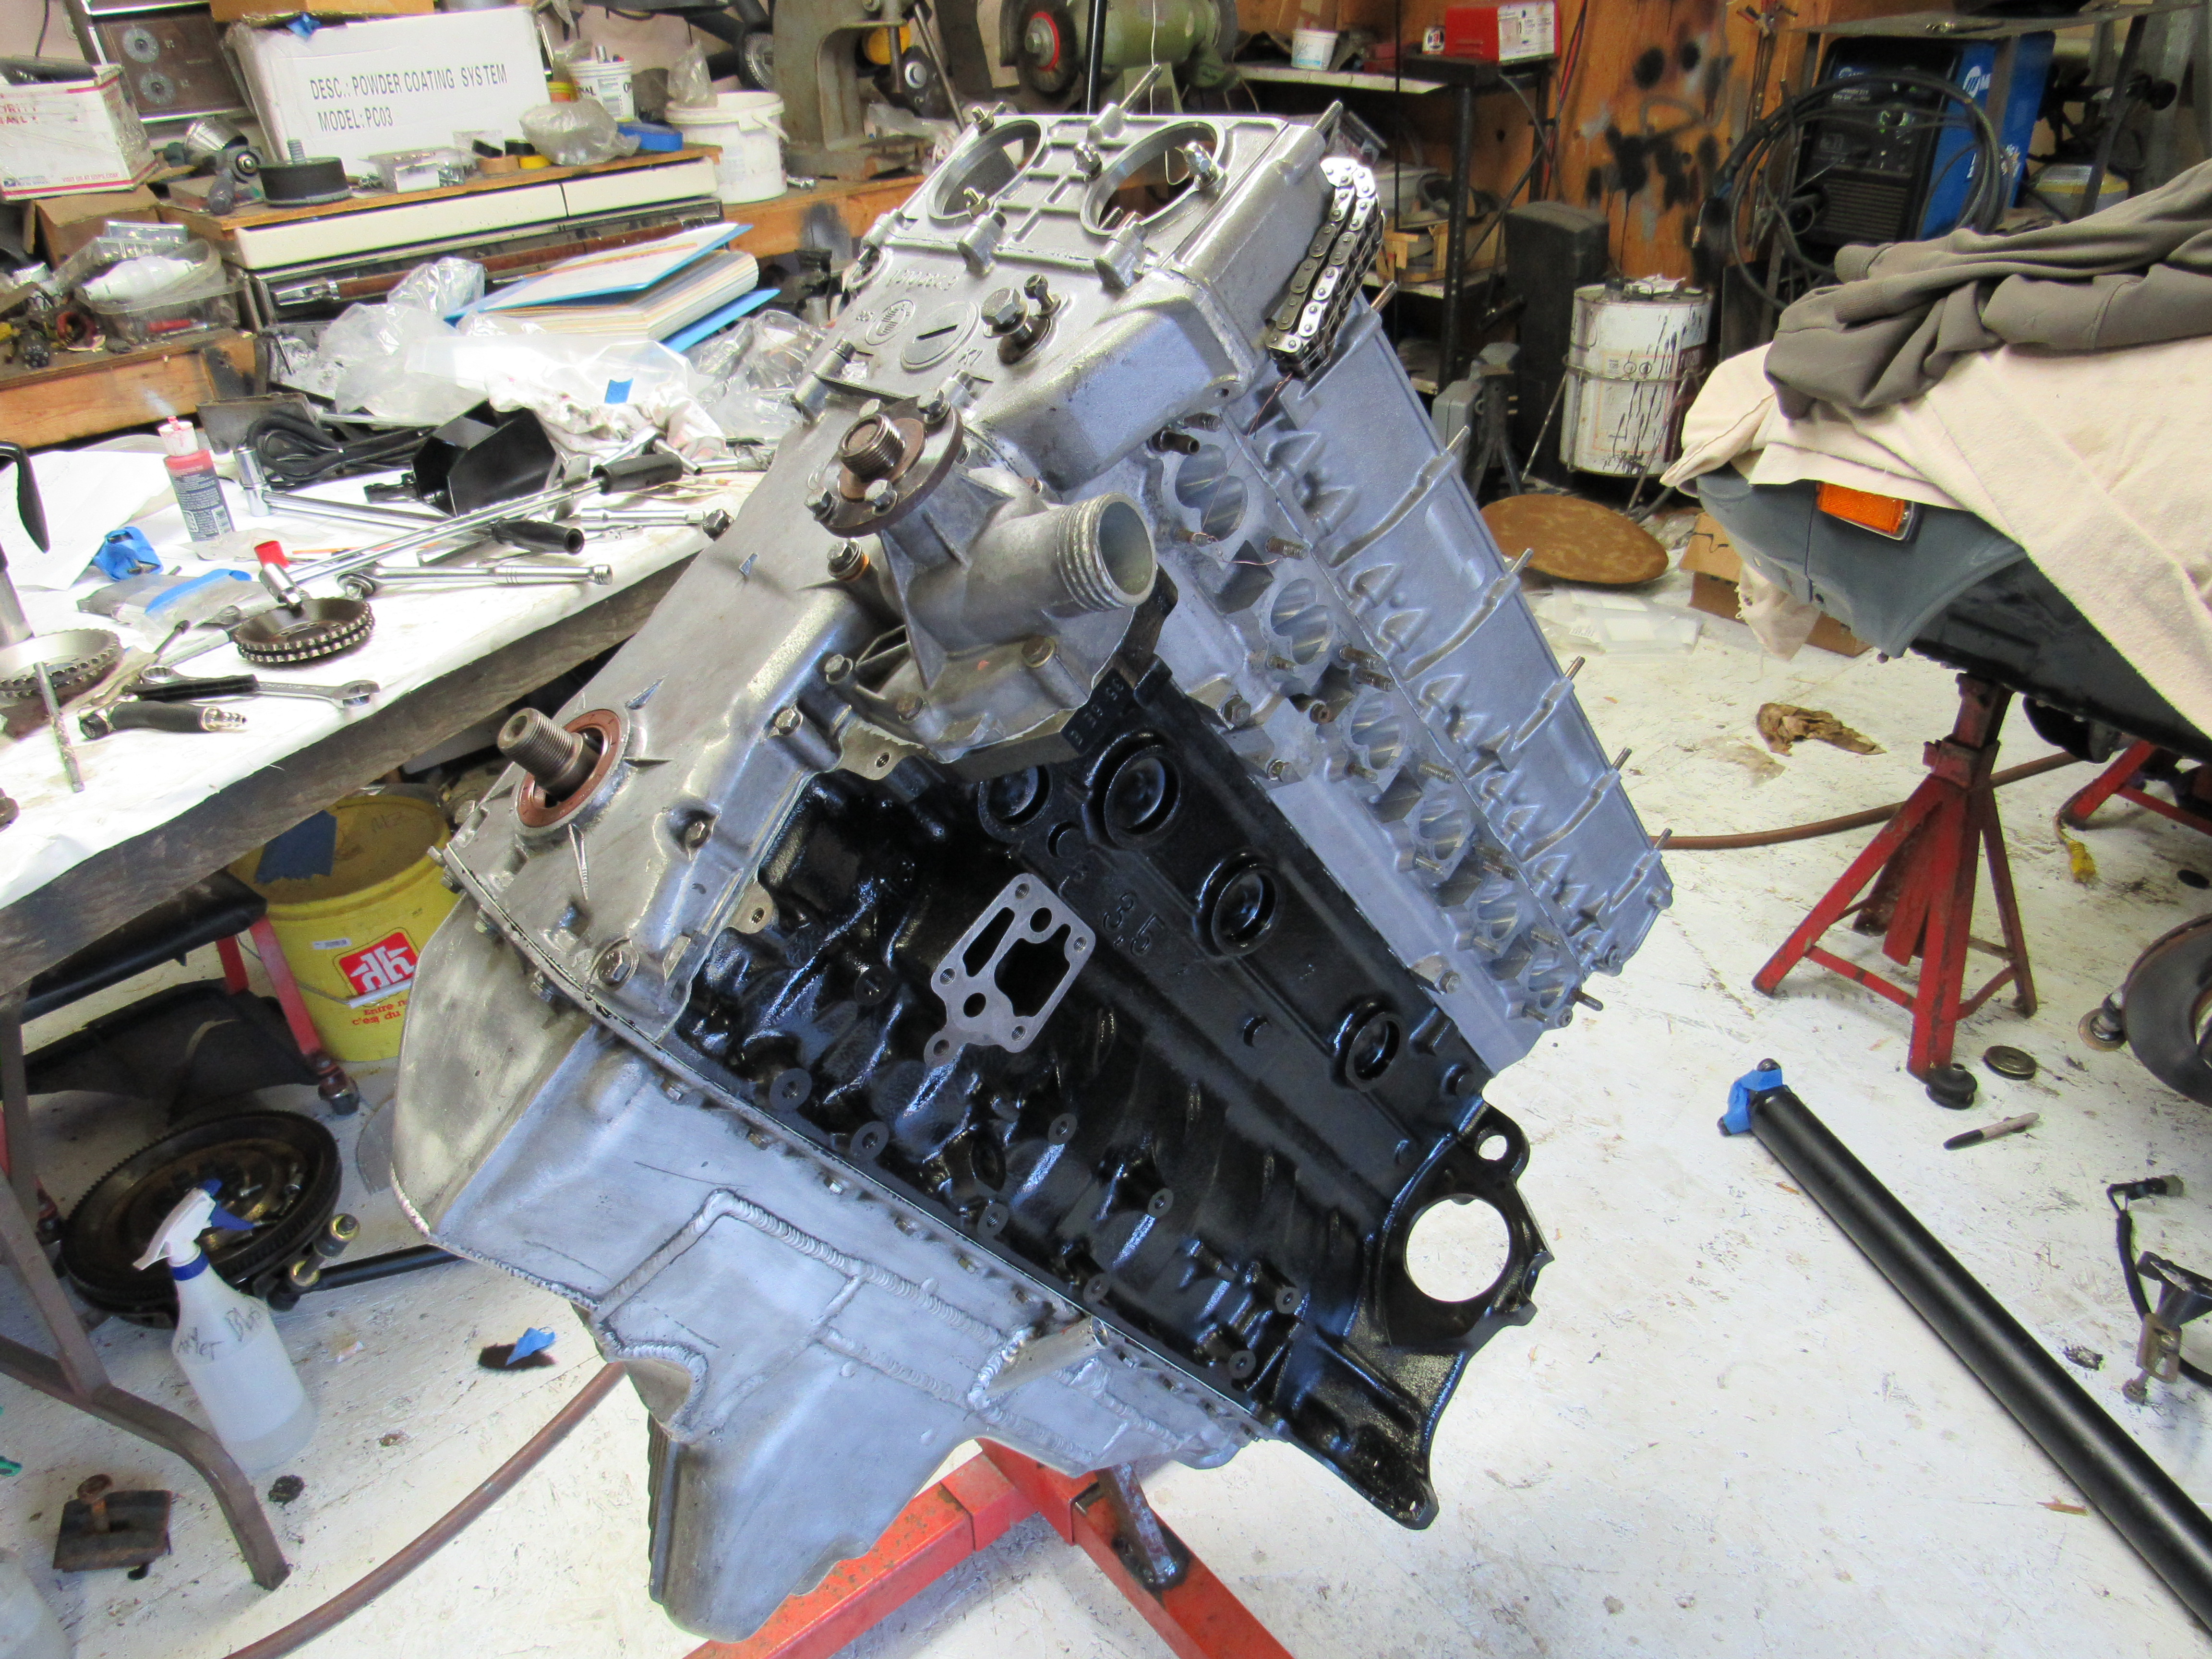
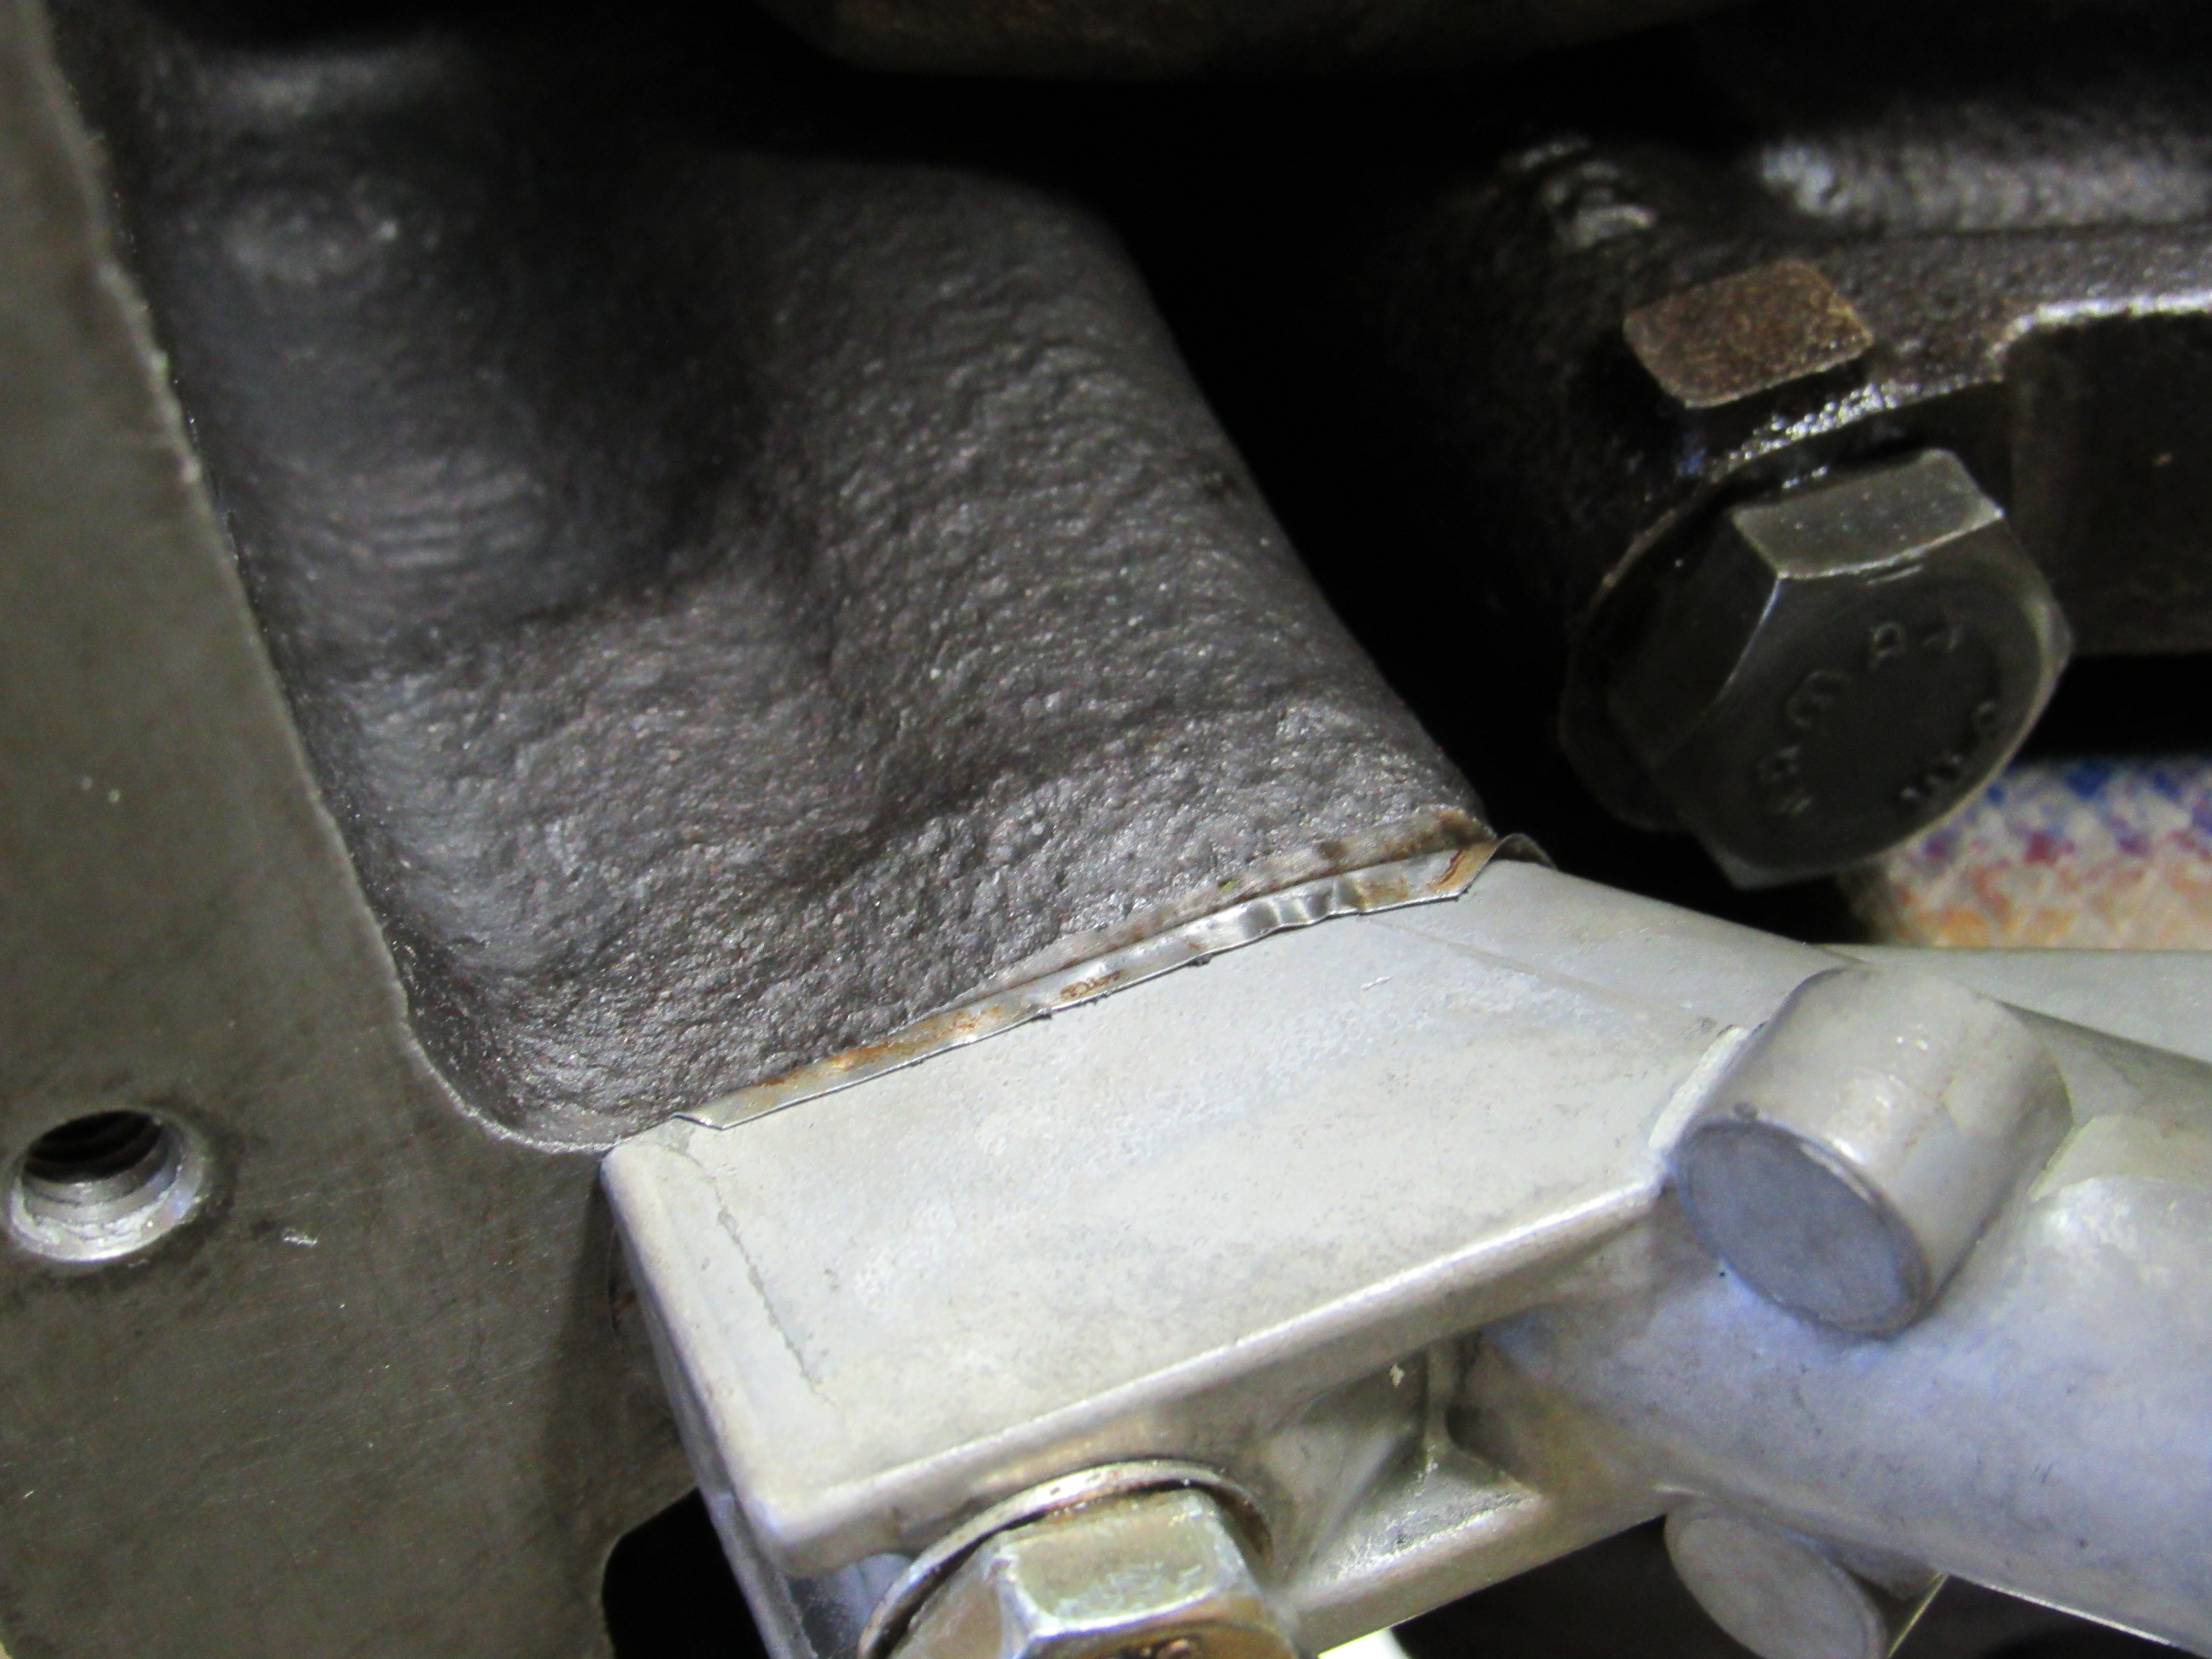
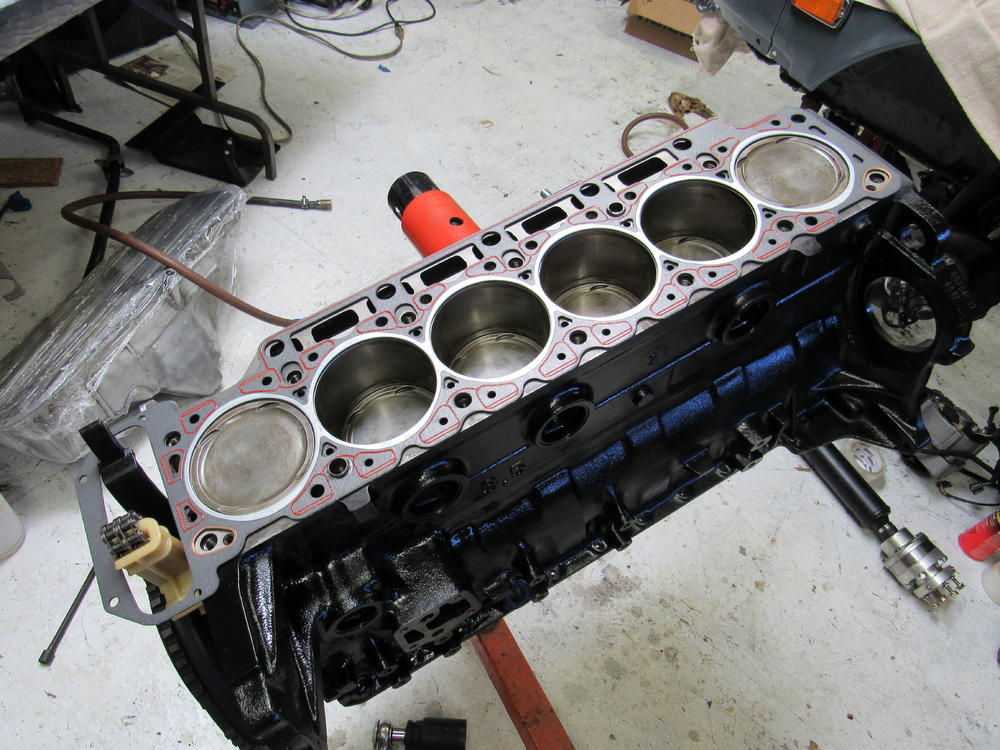
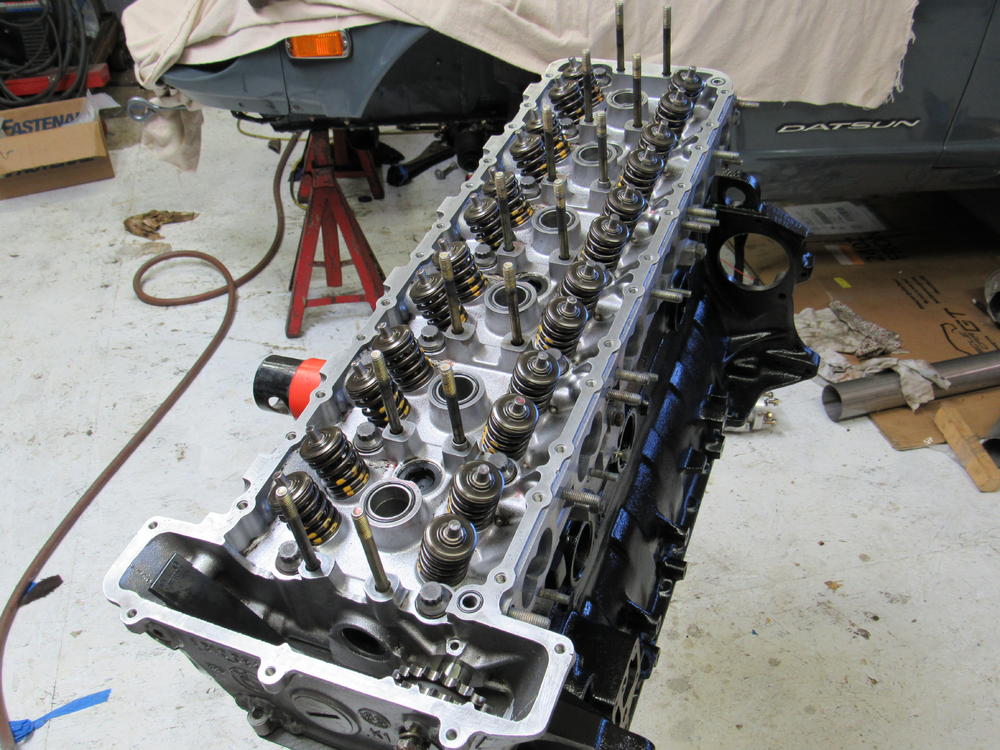
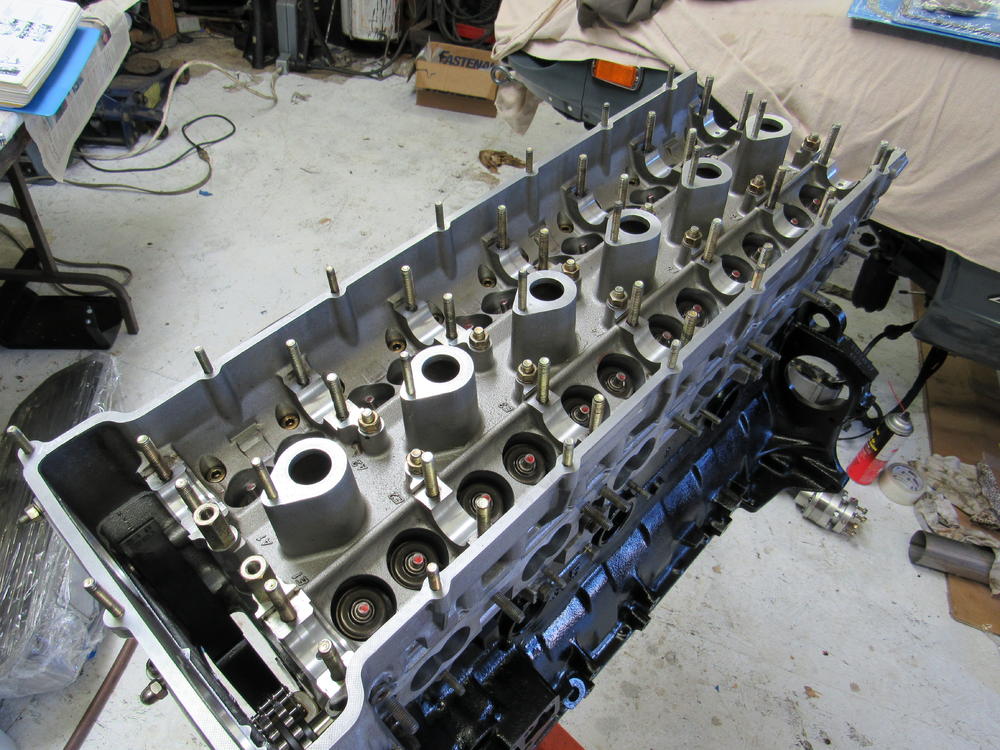
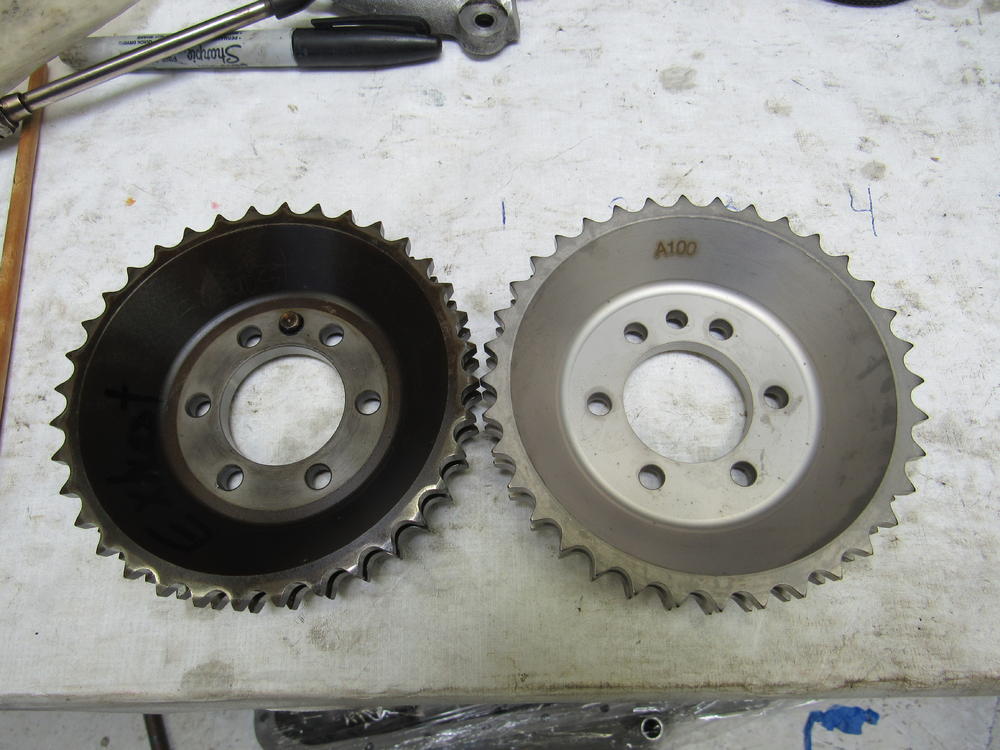
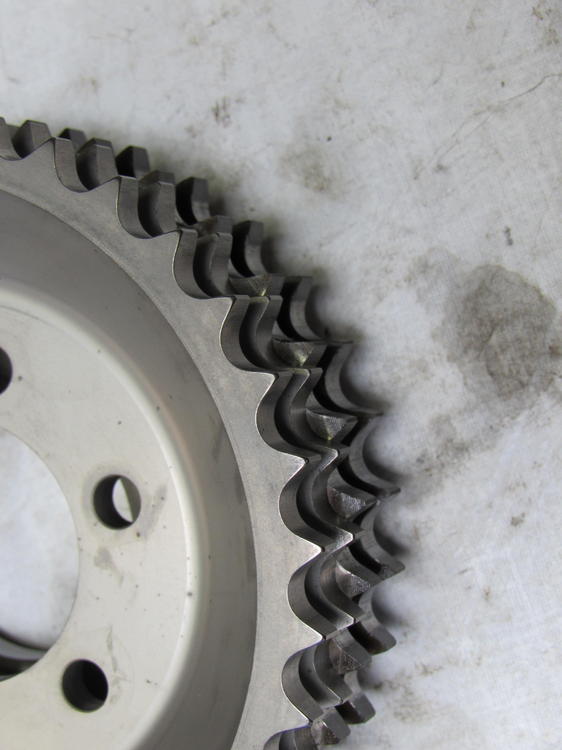
Got all of the threads chased and a new coat of paint on the block, a lot of reassembly done today, will start on the cams tomorrow. This is the exhaust EVO cam gear from the E30 M3, almost identical to the stock exhaust cam gear on my engine but it retards the opening and closing of the valves which is suppose to gain me another 22lbs of torque at 3000 rpm, I have been meaning to install one of these for years. Here is the offending, evil oil pump shim firmly bent into position.

 2 points
 -
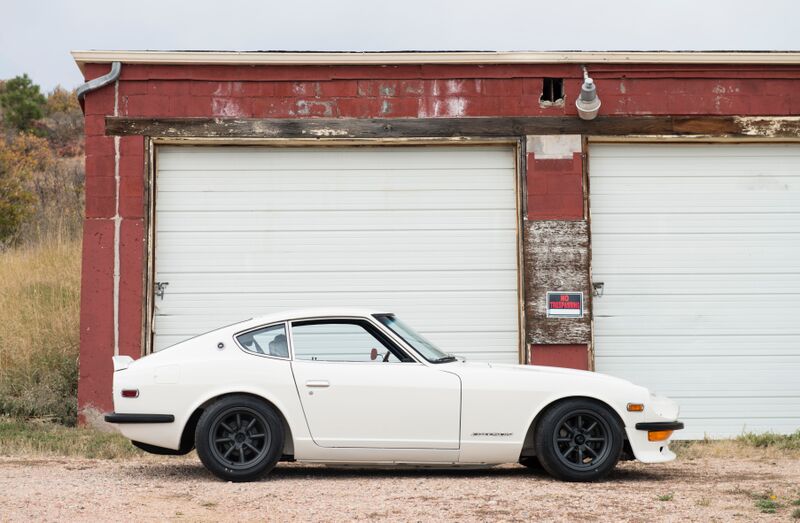
Routine fall leaves check in my new to me 71 at nearby Bear Mountain State Park NY. 12/71 2.6 block E88 heads triple weber 3/2 Mallory Abarth Tokico 1-3/4 sways2 points
-
At the risk of sounding redundant, I wanted to put together a coilover list. There are a few of these threads/topics around the internet already, but lots of them are from years towards 2006 (I didn't even have my driver's license yet) and have old, outdated links, or are not very comprehensive and easy to read. I am looking at coilover sets for my '78 280z so these links will be specific to that (mainly so I can reference it later). Assume that all are ride-height adjustable. I didn't look super hard for lowest price, so the options may be cheaper somewhere else. Order: Expensive --> Least Expensive Format: Name | Cost | Colors/Special Notes | Link TechnoToyTuning Coilovers | $2040 | Maroon/gold, NO-WELD (send in your cores) | https://technotoytuning.com/nissan/280z/front-coilover-conversion-datsun-240z-260z-and-280z + https://technotoytuning.com/nissan/280z/rear-coilover-conversion-datsun-240z-260z-and-280z Arizona Z Car Coilover Set | $1600 | Red\Silver, camber plates | http://arizonazcar.com/coil.html Stance USA Coilover kit | $1295 | Black/Bronze, Camber Plates and Swift Springs @ +$300 each | http://sakuragarage.com/products/datsun-suspension/ BC Racing Coilovers - BR Series | $1200 | Black/Gold, camber plates | https://coiloverdepot.com/products/74-5-78-nissan-260z-s30-bc-coilover-br-type?variant=16741482757 KSport Control Pro Fully Adjustable Coilover Kit | $1080 | Black/Orange, Pillowtop Camber Adjustability | https://www.andysautosport.com/products/ksport__cns361-kp.html D2 Coilovers - RS Series | $1000 | Black/Purple, camber plates | http://www.sparktecmotorsports.com/d2-d-ni-01.html Megan Racing Coilovers | $900 | Black/Red, Pillowtop Camber Adjustablity | https://www.andysautosport.com/products/megan_racing__mr-cdk-280z.html CX Racing | $869 | Black/Red, Pillowball mount & Camber plate adjustable | https://www.cxracing.com/coilover/coilover-nissan-infinity/CO-B-280Z-0405-PB Ground Control Coilover Kit | $429 | Maroon\Yellow, No adjustability | https://www.andysautosport.com/products/ground_control__6020.01.html Other Evolved Front Coilovers (FRONT ONLY) | $1290 | Maroon/Gold, camber plates, NO-WELD (send in your cores) - Don't seem to list a matching rear set | https://technotoytuning.com/nissan/280z/evolved-front-coilover-conversion-datsun-240z-260z-and-280z Intrax | $??? | There are 4 options on their site. Can't find any pricing. Made in Holland. | http://en.intraxracing.nl/merken/datsun/ If I missed any, let me know and I can add them.1 point
-
1 pointroger that. After posted I did some research, seems gas fusion (oxy/ace torch and just heat up ant fuse) is discussed a lot for thin sheet metal (not as hard as mig). I am sure welding is an art form that takes a lot of practice to get really good at. Hope to give that a go some day.1 point
-
Yup. The way you had it (not) blocked off before was definitely a problem. If you were to blow into the nipple on that last block you took off, that air would come right out the center hole back atcha. It's not blocked off. And yes, now that you have taken that other block piece off, you should be able to slap a simple plate across the hole on the underside of the intake manifold to block the flow. Remove the hose and cap the nipple that used to feed the BCDD and you should be on to the next issue. If you are thinking you want to put the BCDD back on at some point, here's a recent thread that talked a bunch about the guts inside. Might help with getting yours back into usable condition: http://www.classiczcars.com/topic/58748-info-on-bcdd-boost-controlled-deceleration-device/ I've never messed with one, but I'm assuming the basic design for the newer one you have is very similar to the older ones pictured in that thread. I suspect yours is a little simpler and doesn't have an altitude corrector bellows on the underside (unless your car came from CA). Good luck with the rest of the project!1 point
-
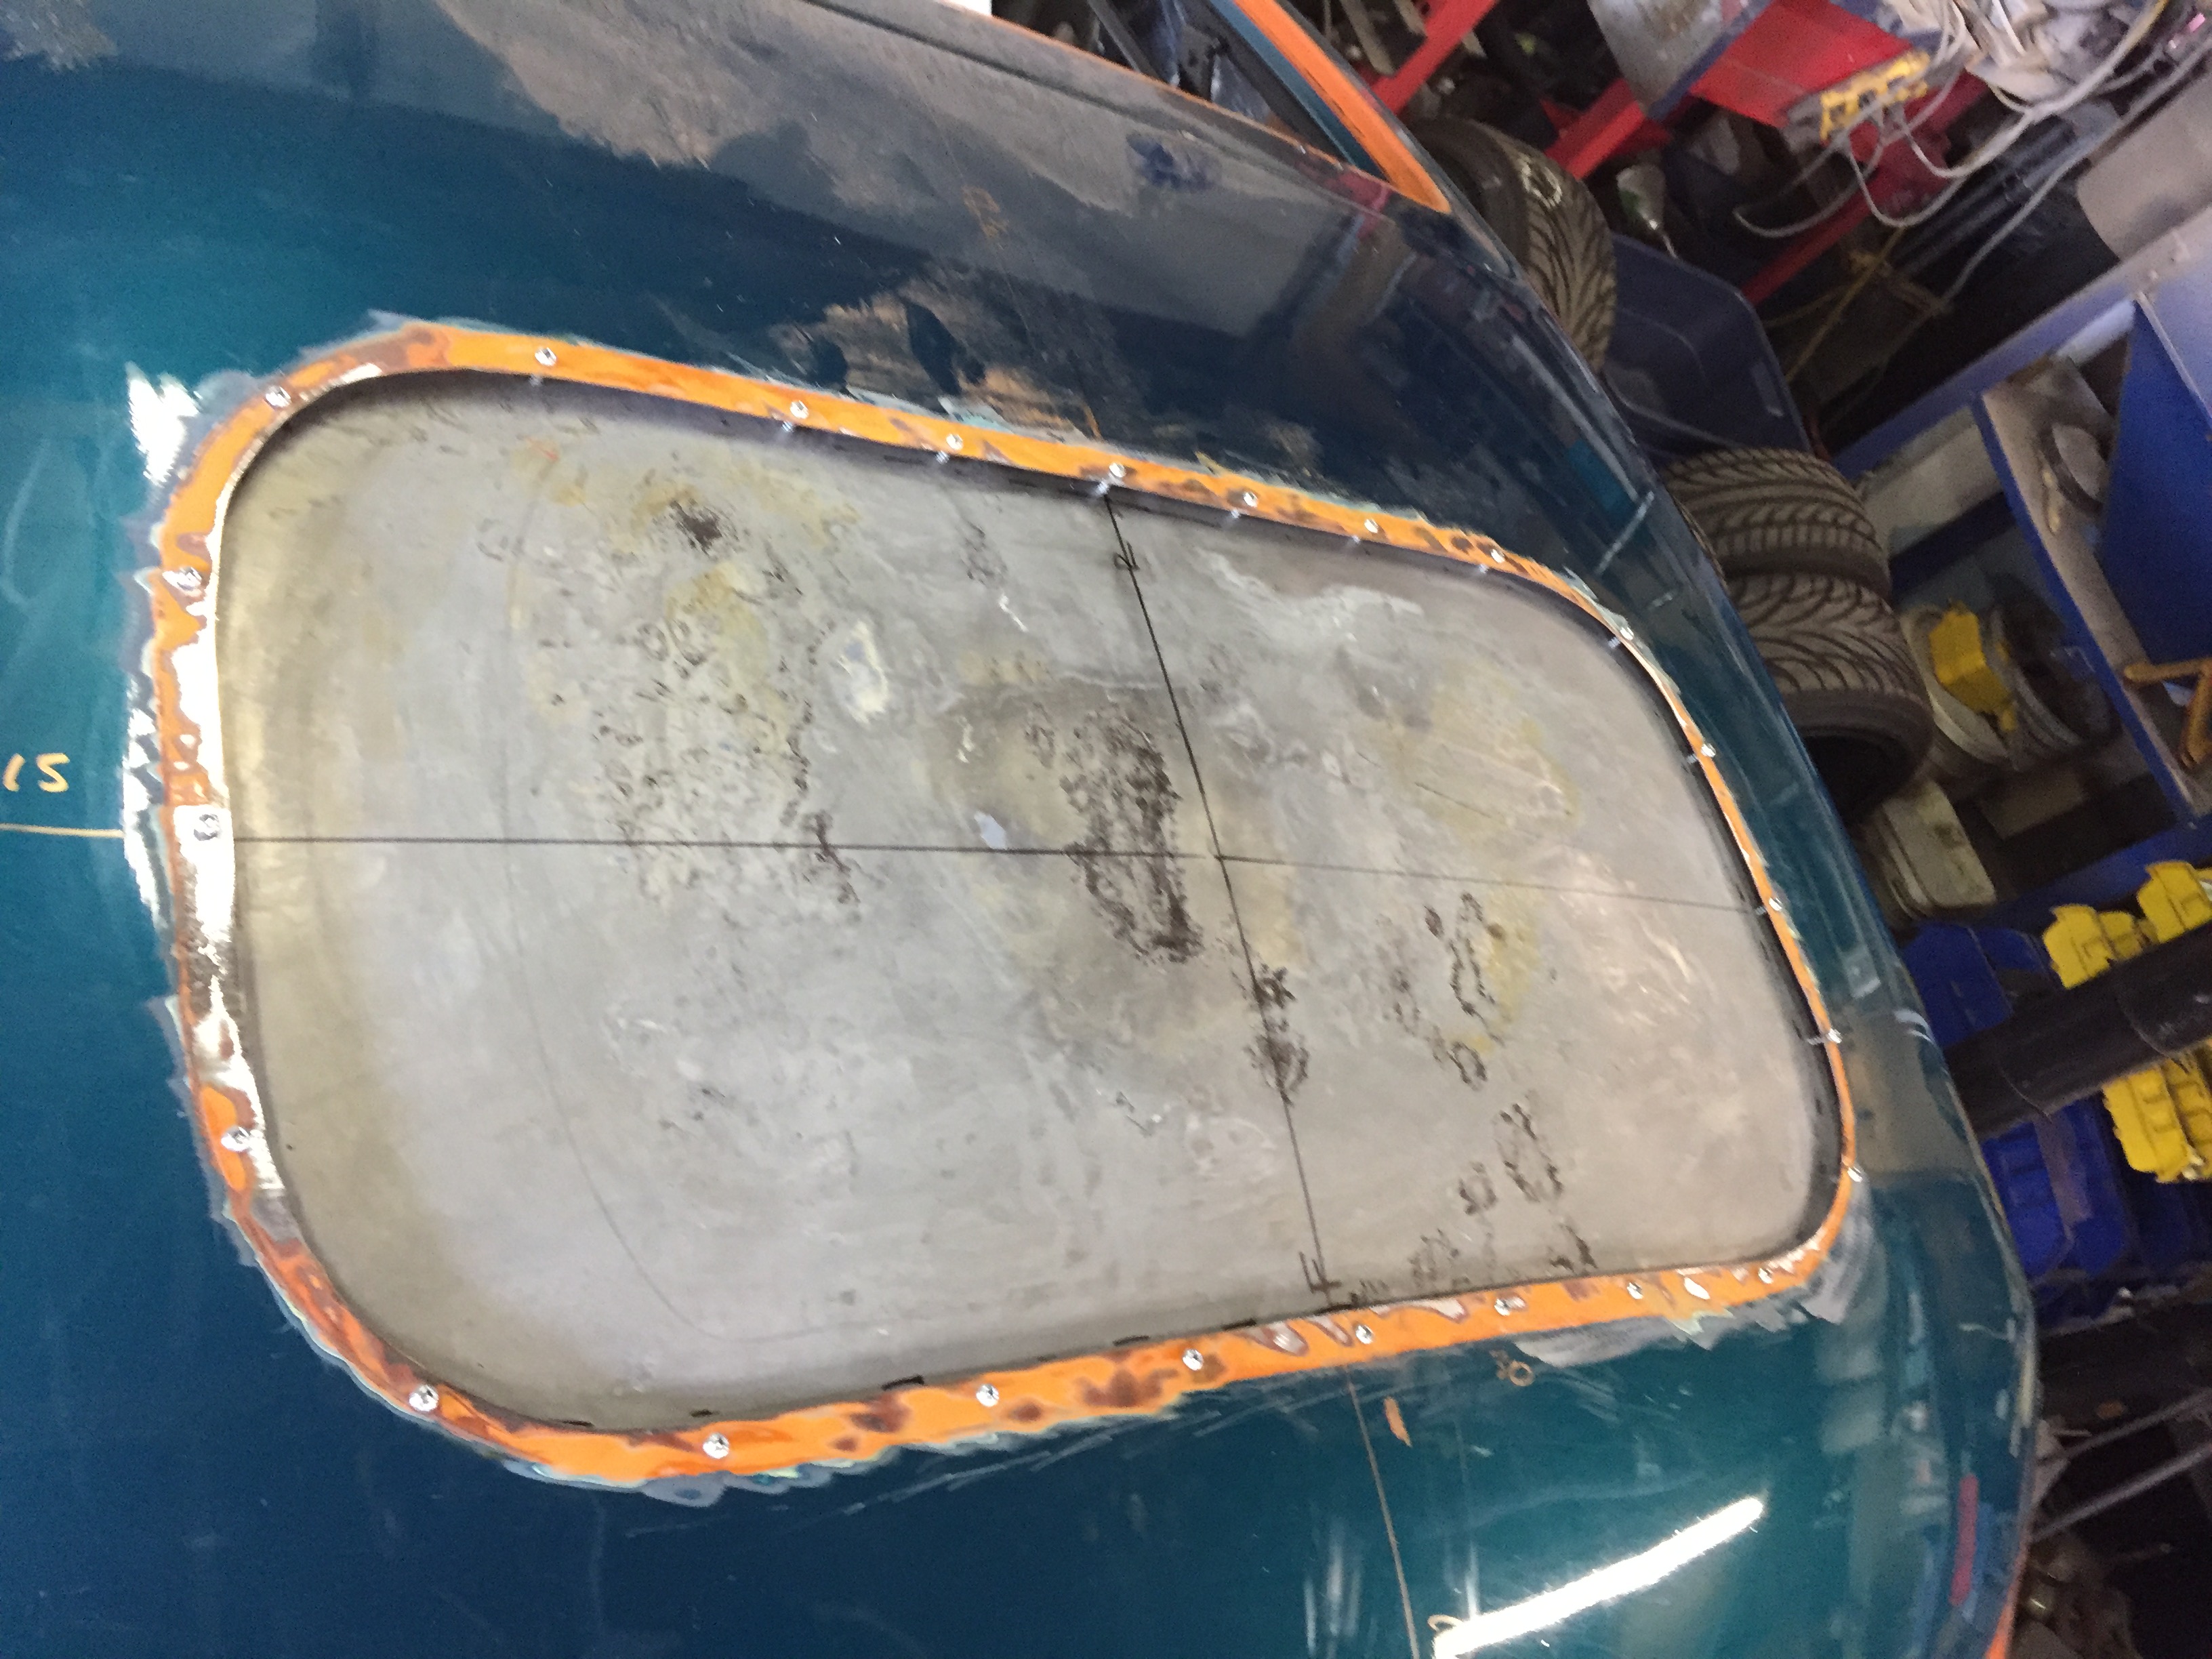
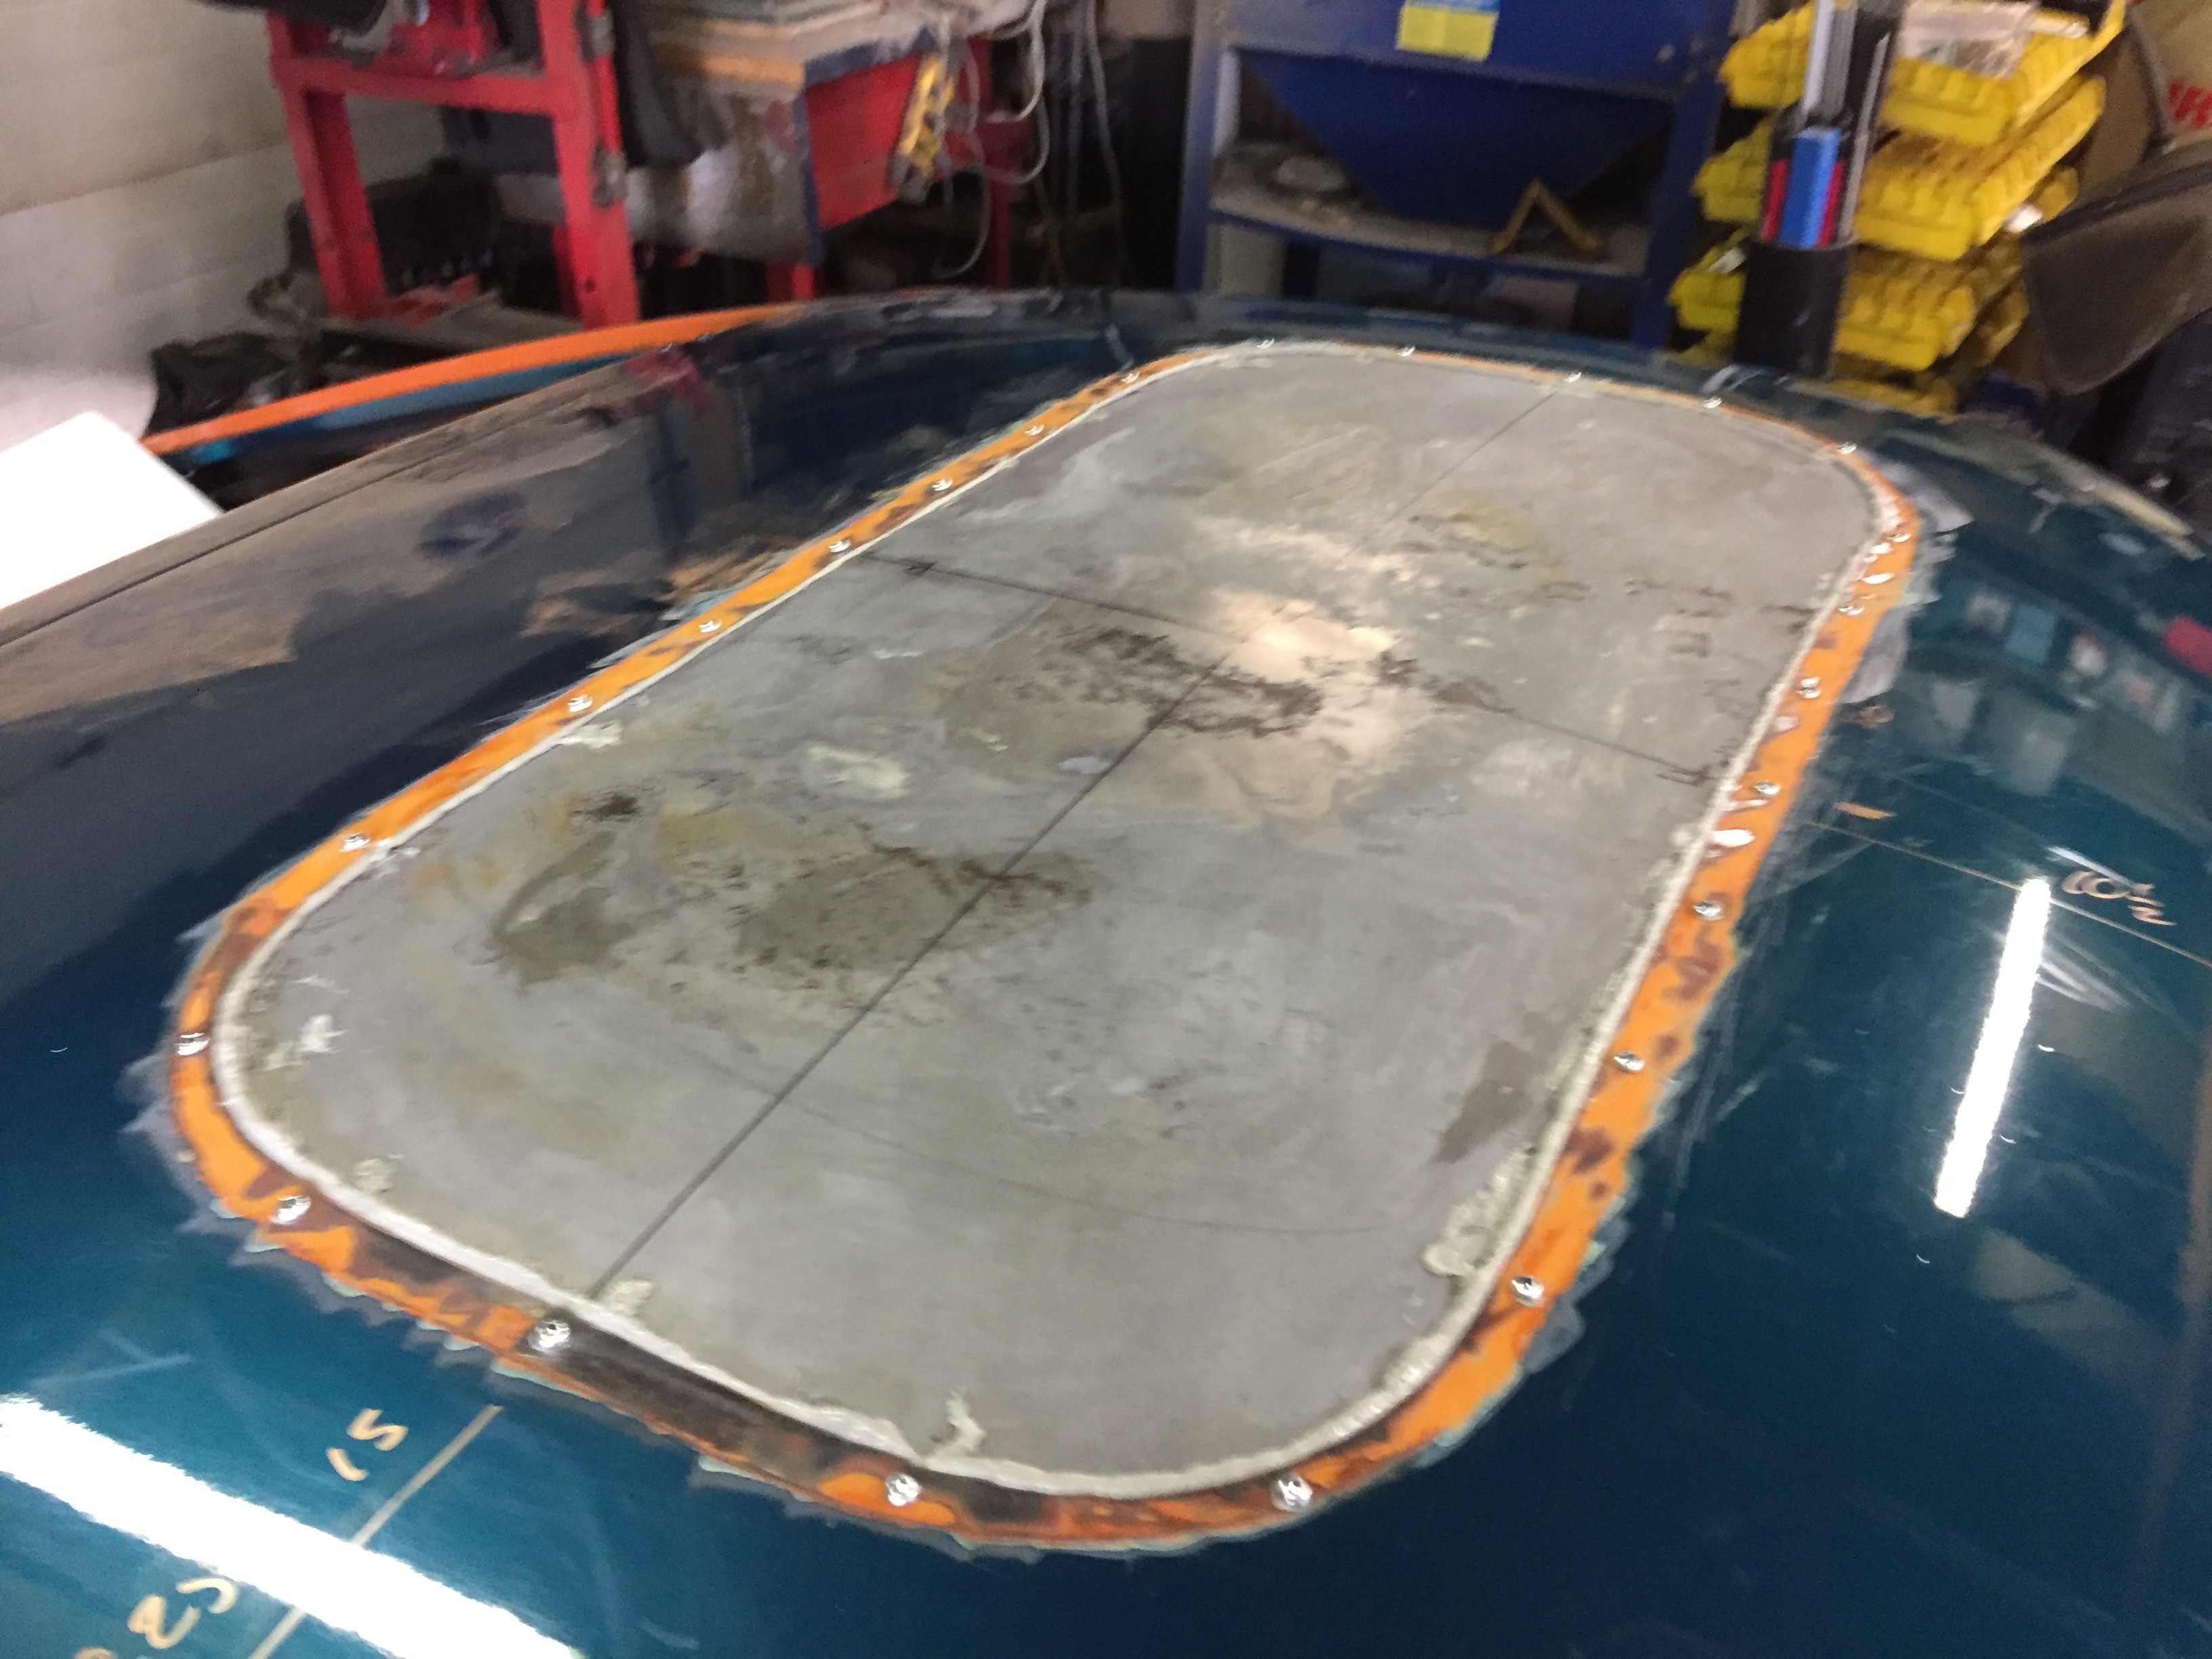
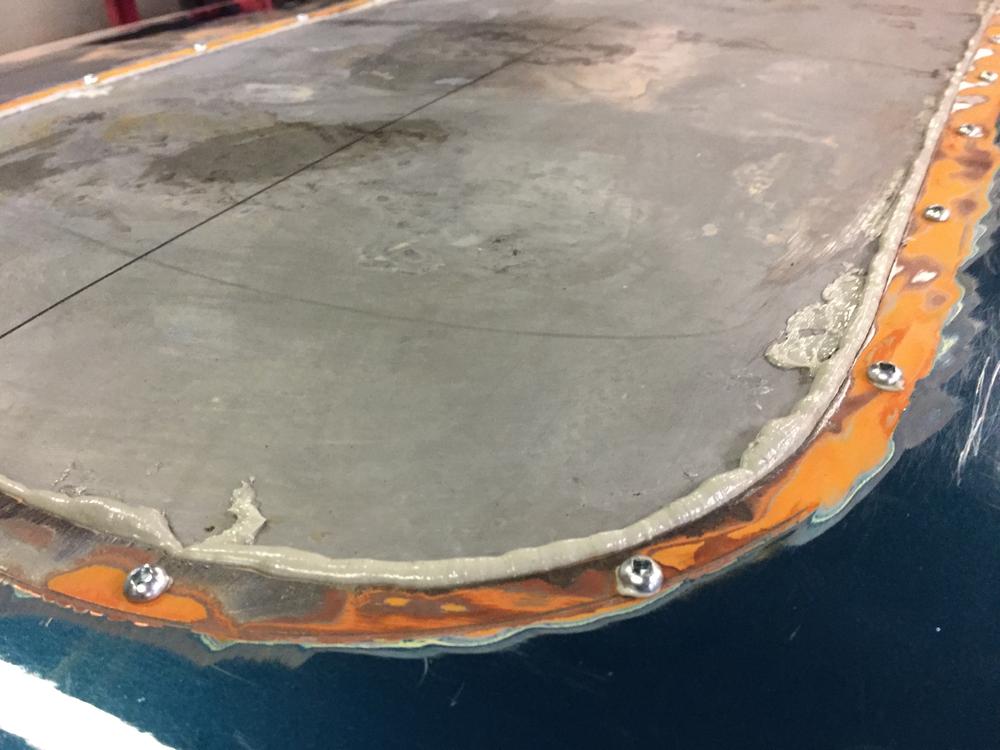
Well that went well. Love that body epoxy/urethane bonding stuff. Cut the new roof patch panel (after very careful measuring to get the right section and section) 1" larger than the opening, clamp it in place, drill 24, 1/8" holes and put 3/4" sheet metal screws in to secure. At this point the whole roof should feel nice and taut. Remove screws one at a time, and drill each top original roof hole to 11/64 so the screw won't bite in the roof hole, then put the screws back just biting 1-2 threads in the patch panel so the new patch panel leaves a lovely 1/4 or 3/8 gap all around. Squeeze in a nice bead of the adhesive into that gap (about a 1/4 bead or so, too much is fine), and tighten the screws in sequence to pull the two together. Not too tight. Squish goes the glue, look for squeeze out all the way around (inside too!) . Clean up the excess. Wait 8 hours. Add a very thin coat of bondo to fill the low spot where the roof patch is located, exactly the thickness of the roof. Sand and prime. Enjoy a nice tight and proper shaped roof. Don't forget proper prep, coating bare metal with primer or zinc phosphate treatment. Don't leave Have done this with welding, but between the hours and trouble of slowing welding that patch in to prevent heat distortion, I can tell you this method is very strong and much simpler. Not as good as replacing the entire roof, but as long as the tension and shape is retained, then my method is a reasonable alternative. Here is a few pics of the process. Screws in, just catching the patch, nice gap to fill with goo Side view of the gap being closed at the left, still open at the right All screws snug, nice even bead of squeeze out. Full view. You can poke the patch all over with your finger and the roof and it all feels tight. Low angle viewing from all angles shows me the overall shape of roof is totally right. Nothing funky. Just have to be really meticulous when laying out the patch to get the exact same piece from the doner and positioned perfectly. The car is a 72, the roof patch is from a 78.

 1 point
 -
1 pointWhat about me and my poor dog? He's wearing a diaper with an ice cream sandwich on his brown eye and I've gone nose blind. But (butt) he'd eat one right now if I gave him one. Damn dog, I love that rascal so much!1 point
-
I would be so all over that. We were looking a property up in NE Alabama, oh my there was a 40*60 climate controlled shop with what looked like at least 12ft ceilings. Get this there was a body shop and alignment shop down the street. I told her I can retire and go get an apprentice job a the body shop, rest of the time I will be in my shop. she can have the house to herself!1 point
-
1 pointSorry, guys. The search didn't work but a simple scroll down the page did. I see that it is reverse threaded.1 point
-
1 pointI have mixed feelings of my BC coilovers. I did the standard drop, not the Extreme low. It sits just right, but the front is as low as I can go. The issue I am having is the stiffness. I ordered the 5k-7k kit which was recommended by the distributor. He said it would have a factory ride. Not really the case. It's not teeth shattering stiff but since I dont race or autoX this car I wanted a more comfortable ride. So with the conversion, I have 280 lb springs up front and 336 lb springs in the rear. I think this is still too much. I may try and order some custom springs with a lighter spring rate and see if that helps. I'm thinking 200lb front and 250lb rear. I also have the Polyurethane bushings so that probably adds to the stiffness, but when I had the Eibach lowering springs it rode really nice....just not low enough. Anyways overall I'm pretty happy with them, just wish it was a little smoother ride. The install wasn't bad. It would have been easier if I would've gone with these the first time when everything was already apart. Just need to remove strut housing, cut off all but 2" of perch, slide on coilover, weld around the base.
 1 point