


Leaderboard
-
Captain Obvious
Free Member7Points10,081Posts -
chris76114
Free Member3Points14Posts -

siteunseen
Free Member2Points15,115Posts -
Patcon
 Subscriber
 2Points11,142Posts


Popular Content
Showing content with the highest reputation on 07/23/2017 in all areas
-
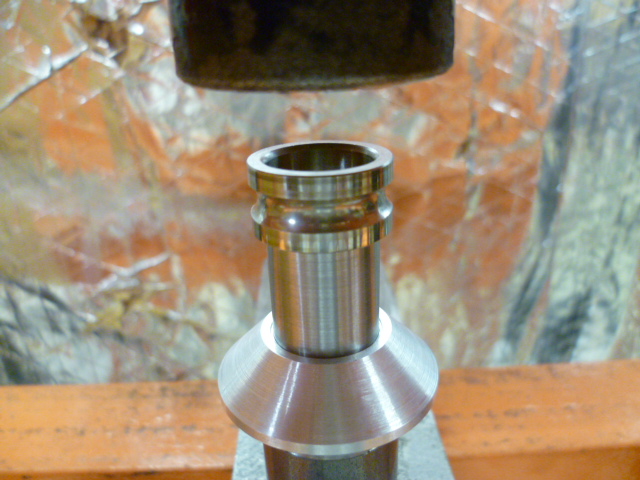
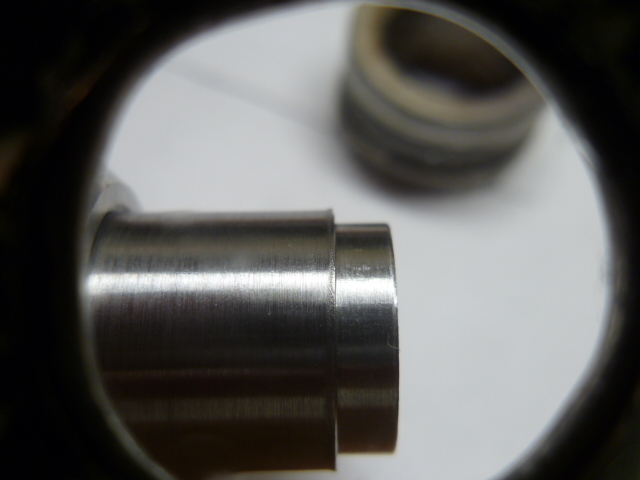
4 pointsHi Kats, I got some time to work on a proof of concept for the retaining collar. Since this is just proof of concept, I took several shortcuts. For example, I did not drill and thread the center and I made the taper collar out of aluminum instead of steel because it is easier to work with. I also made the angle 45 degrees instead of 60 degrees because that is how my lathe was set-up and I didn't want to change it. None of those affect the viability of a test of the retaining feature. So here is my test rig: I included a slight undercut on the shoulder and a small counterbore on the taper to provide material to forge into place to retain the collar. I'm not sure it was really necessary, but I'm just making this up as I go: I tested the viability first with the portion through the ring longer than necessary so I could see the change in material from the forging operation. Here is the first forging on the press, using a hardened bearing race as the forging tool: It worked quite well to retain the tapered ring. Here's the displaced material. Under magnification, you can see a small amount of flared out material at the corner of the shoulder: And here's the part after the second forge test. I cut off the original forged area and did it again with the shoulder cut off closer to the ring. It's not perfect as the surfaces don't line up exactly, but I believe someone who really knows what they are doing could adjust a couple dimensions and hit it spot on. Maybe even I could hit it after one or two more test parts:


 4 points
 -
3 pointsAnd since motion is such an important part of the concept, here's a video of the prototype rig:3 points
-
2 pointsUsing Harmonic Balancer Removal tool to keep flywheel from moving. Sent from my SM-G920T1 using Classic Zcar Club mobile2 points
-
2 pointsthere is only one u joint in the steering shaft. Box is on the rear of the cross member and there is not much room there The joint looks good. All the slop looked like it was in the box itself. We already pulled the hubs and greased them. They had a little play too. This is the way I adjusted the box.: Roll the car forward a few feet, to make sure the wheels are pointing forward. Then, take a wrench and loosen the jam nut on the top of the steering box, AT THE SAME TIME, put a slotted screw driver into the slot in the top of the screw, AND HOLD IT IN THAT POSITION! Now, carefully screw the screw down in the box, till you feel some resistance. ( you may have to back the nut off a hair more, to keep it from tightening up) Then, go grab the steering wheel and wiggle it back and forth, WHILE WATCHING THE WHEELS. You want to see the wheels move, with the steering wheel movement. IF not, tighten a bit more. When it seems ok, hold the screw in that EXACT position, and then you tighten the jam nut! Now, this is whre you find out if your worm and sector gears are bagged beyond adjustment. You have to drive the car, to see if it wants to return to center, AFTER you try to turn a corner. IF it is sluggish, or just plain TOO TIGHT, you have to back OFF the adjustment, till it turns ok, but, if you loose the on-center tightness...YOUR BOX is dead. You will either have to live with that vague steering, try and find a better box, or, try to find a good HL510 box and put that on. So try a few points , test drive.....GOOD LUCK! While you can turn the wheels statically, I do recommend you actually drive the car to really see how it's working, and BECAREFUL when you first turn, as you may be surprised at how tight the box can become, past the on-center feel. We did all this with the car in the air. Now time for a test drive...2 points
-
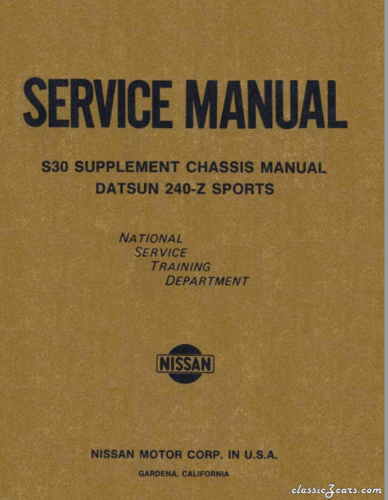 Don't know exactly where I found them. They don't seem to be on nicoclub or xenon or atlanticz. Has some good stuff. 2 supplements. Wiring diagram at the end of each.Free1 point
 -
You're right! Hadn't thought about it but it's a Kubota 853 and darn close. You just made my miserable bush hog a little less miserable. Thank you. Kubota one day, Datsun the next. Life's funny like that.1 point
-
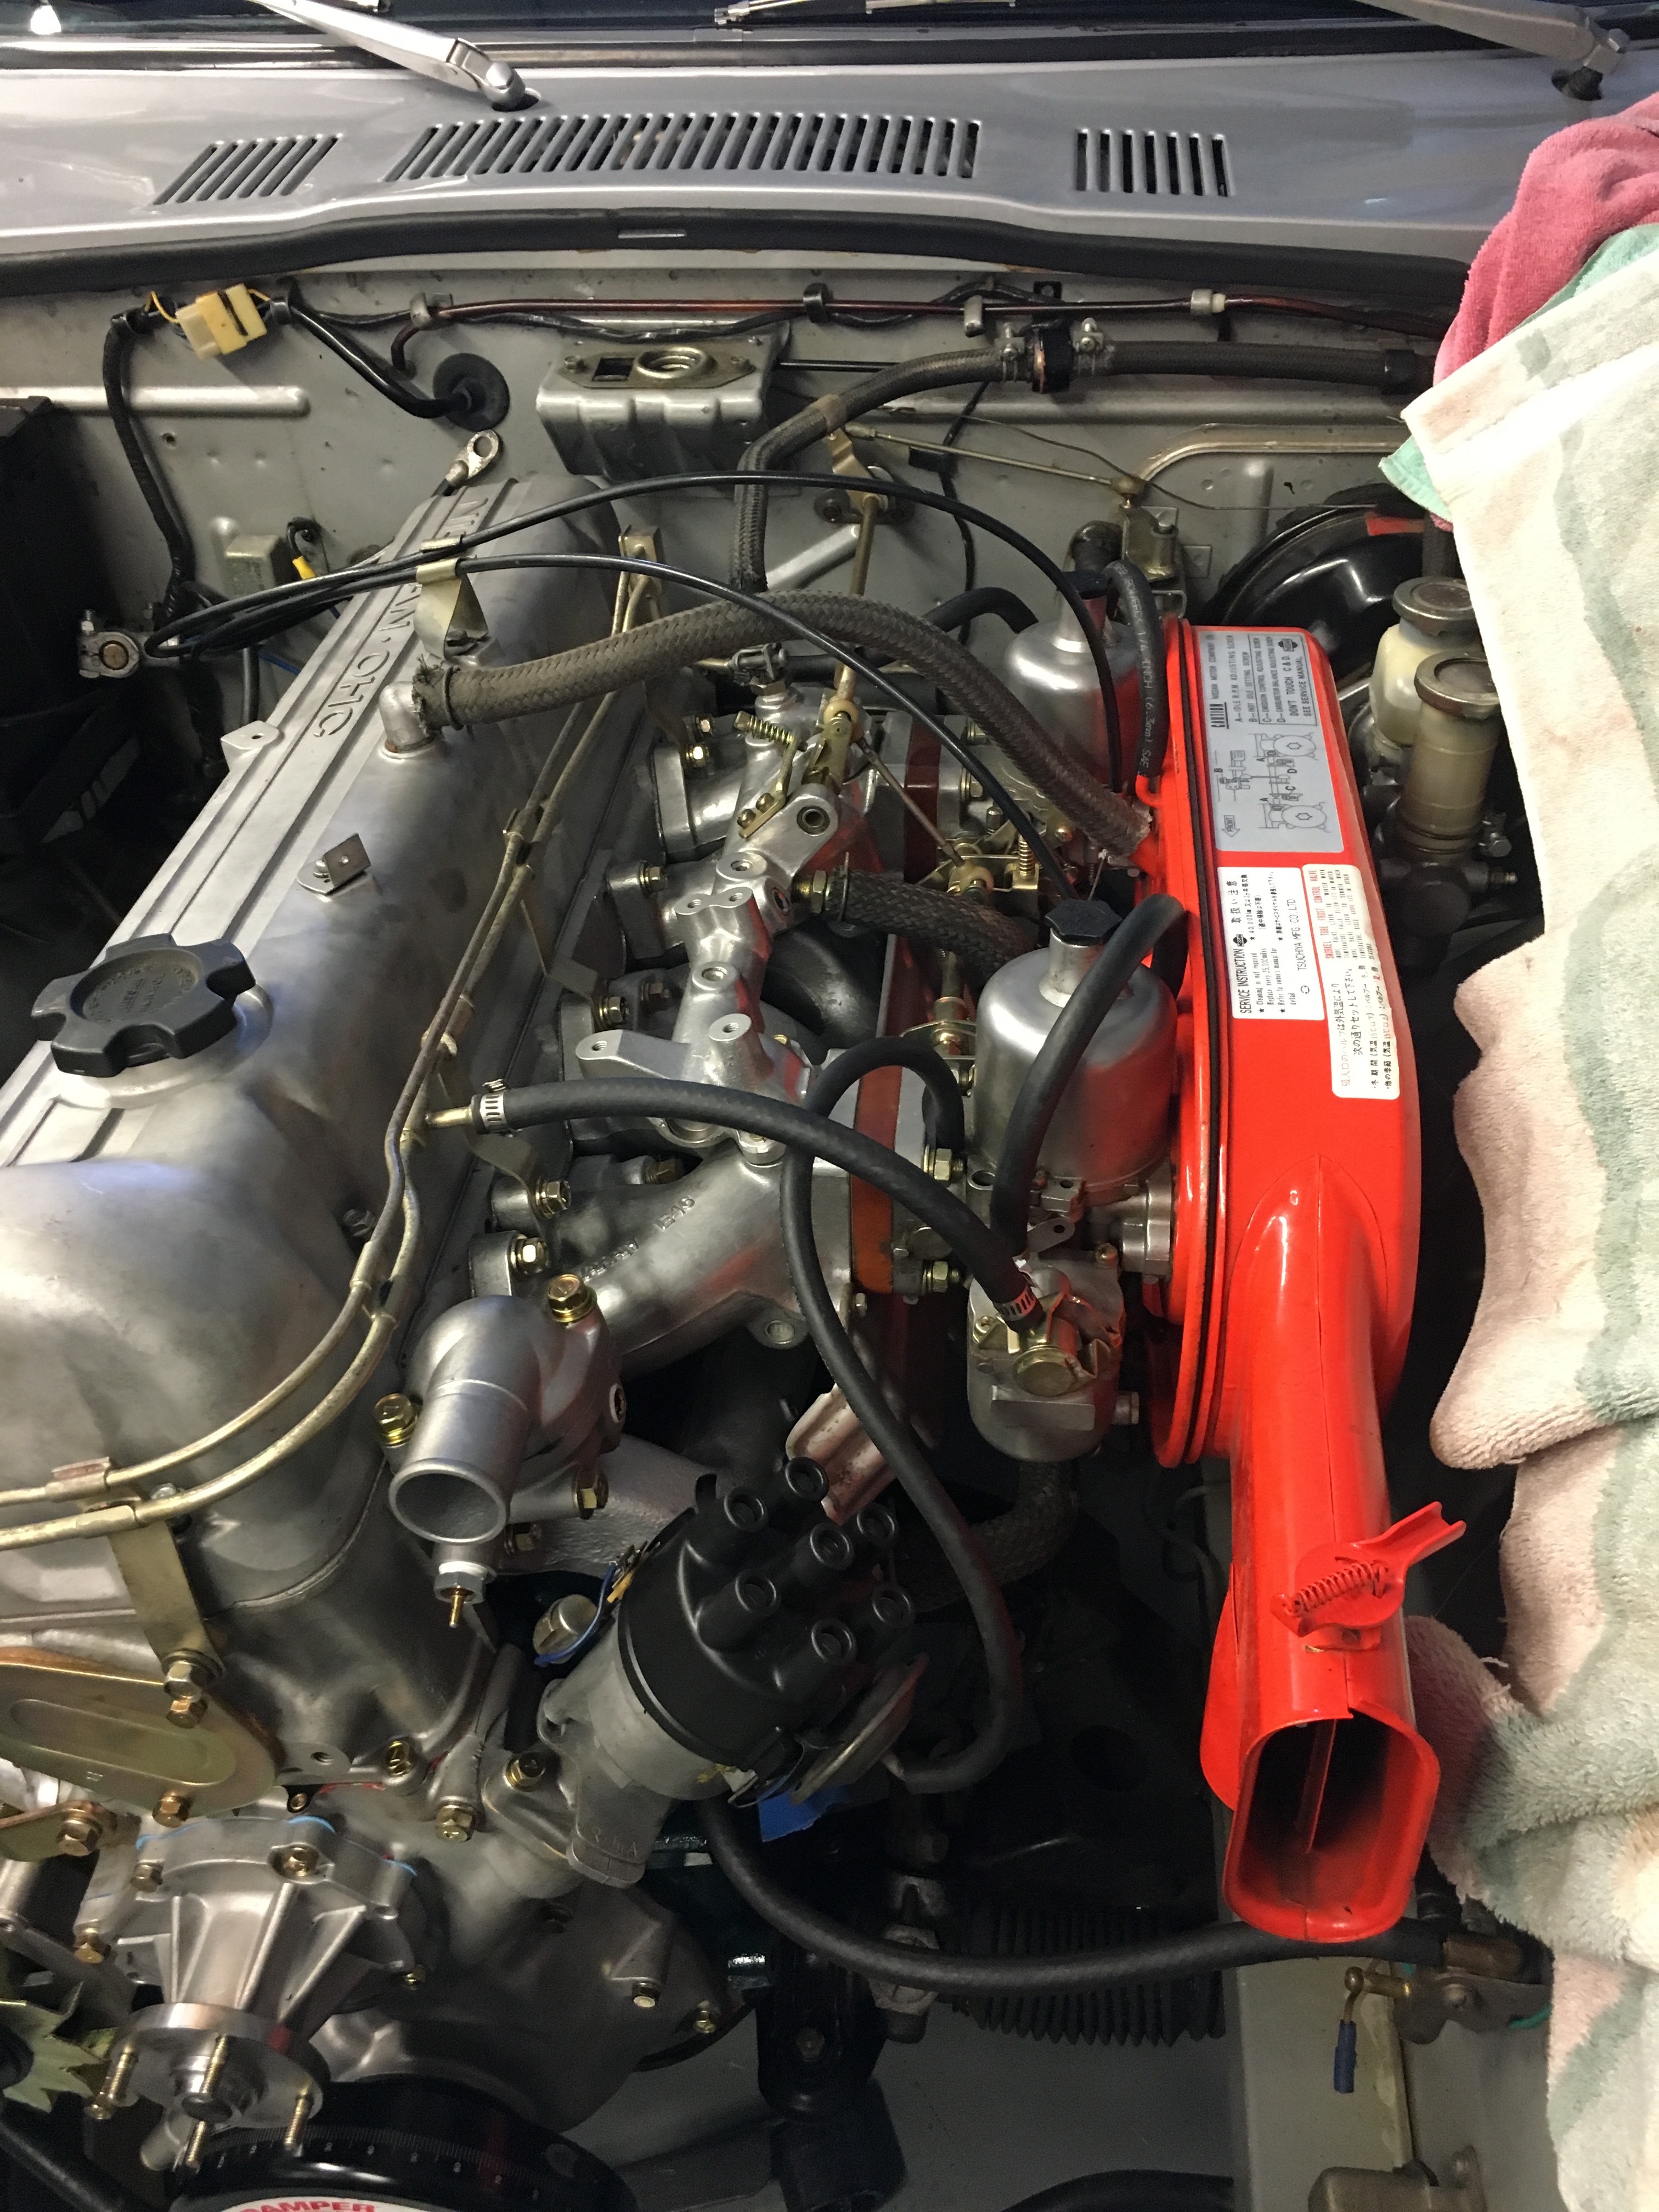
Yes! I bought a 240 that had 3/16" from the float bowls to the nozzles where the molded fuel hose should be. He had a zip tie to make the bend but was actually binding up the nozzles dropping action. Big mess! I haven't read the entire thread but are your valves in spec? If they get way off weird things happen that you chase to end up being the valve adjustment.1 point
-
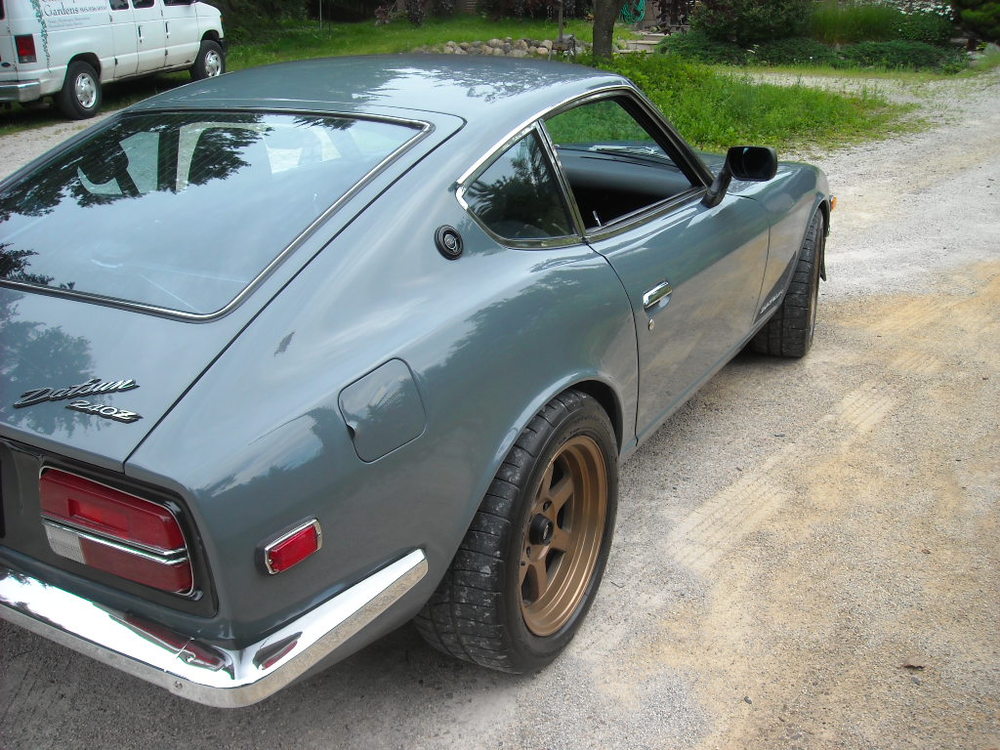
On my Phone the machine looks to have paint cod 918 ; )1 point
-
Too much fuel can be caused from excessive fuel pressure, floats set too high, sticking floats, stuck needle and seat or crud in it holding it open, for openers. Two other things, when the choke is in the off position, reach under the carbs and push up on the nozzles. They can stick down (more choke) even when the handle is pushed forward and be sure that the choke cables are adjusted at the carbs to be sure the nozzles are all the way up (up being resting against the mixture nut which is about 2 1/2 turns down) when the choke is off. When the suction chambers and pistons are removed, you can look down and see the top of the nozzle. Set at 2 1/2 turns down, the fuel level should be about 1/16" below the top of the nozzle.1 point
-
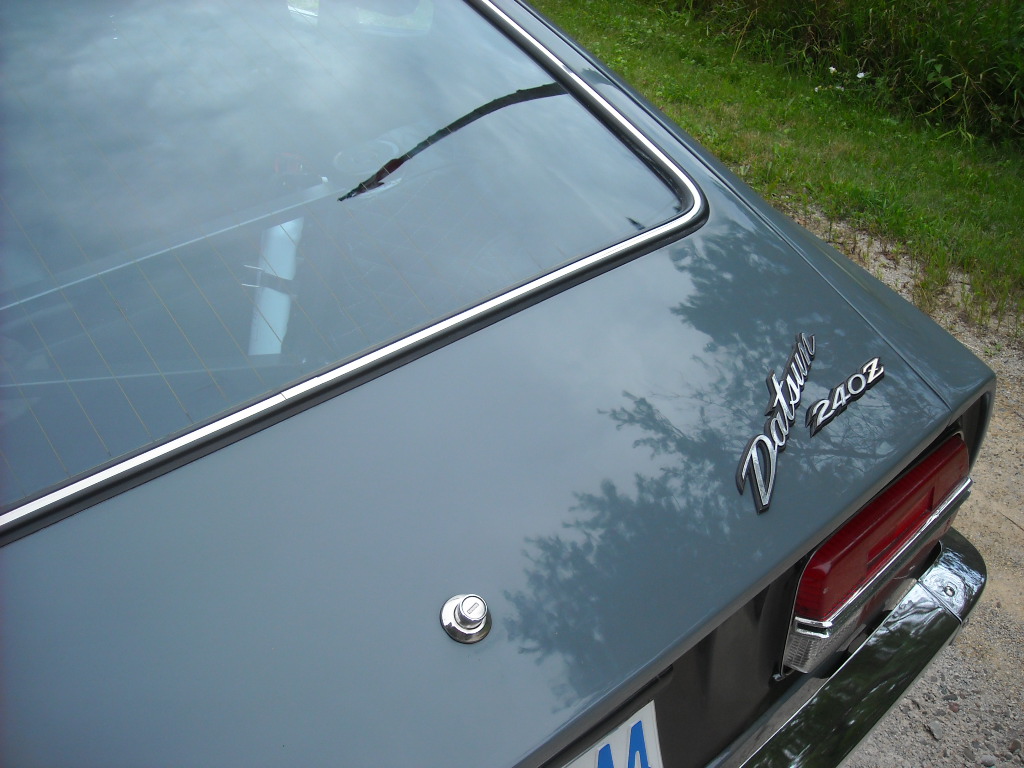
1 point1 point1 pointBest 280zx Shop Manual by Clymer I figured I'd ad this because out of all of the manuals I habe this has the most information. If you can find one grab it. I got this one off eBay. If you can't find information message me with what you need and I'll see if I have it. Sent from my SM-G920T1 using Classic Zcar Club mobile1 point1 pointOkay, here is what I'm taking to Zfest, spent the past couple of days compound buffing wet sanding scratches out of it and installing the bumpers. There is still a few things to do but there will only be a few guys there at the show that will notice.


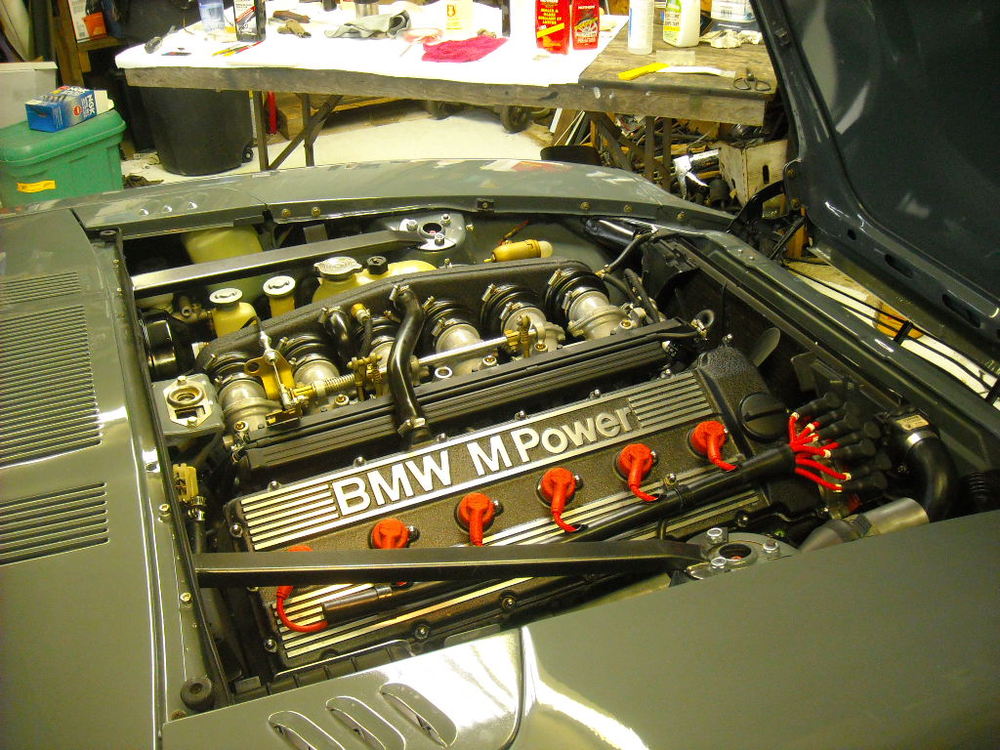


 1 pointI was hoping one in each 'bank' would be sufficient. My header is a 6-2-1, so I have cylinders 1-3 and 4-6 collected separately before the firewall. Other than spark plug adjustment, what could be done to even out a cylinder that is running slightly leaner than the other two, other than richening up the mix for all 3, or degrading spark to that hole?1 point


Important Information
By using this site, you agree to our Privacy Policy and Guidelines. We have placed cookies on your device to help make this website better. You can adjust your cookie settings, otherwise we'll assume you're okay to continue.