


Leaderboard
-
.JPG.cfcada9cf1c1b502df3f5f2f2ca3ff36.JPG)
SteveJ
Free Member3Points9,641Posts -
Patcon
 Subscriber
 2Points11,060Posts
 -
Zedyone_kenobi
Free Member2Points3,438Posts -

240260280
Free Member2Points4,442Posts


Popular Content
Showing content with the highest reputation on 03/28/2017 in all areas
-
2 points
-
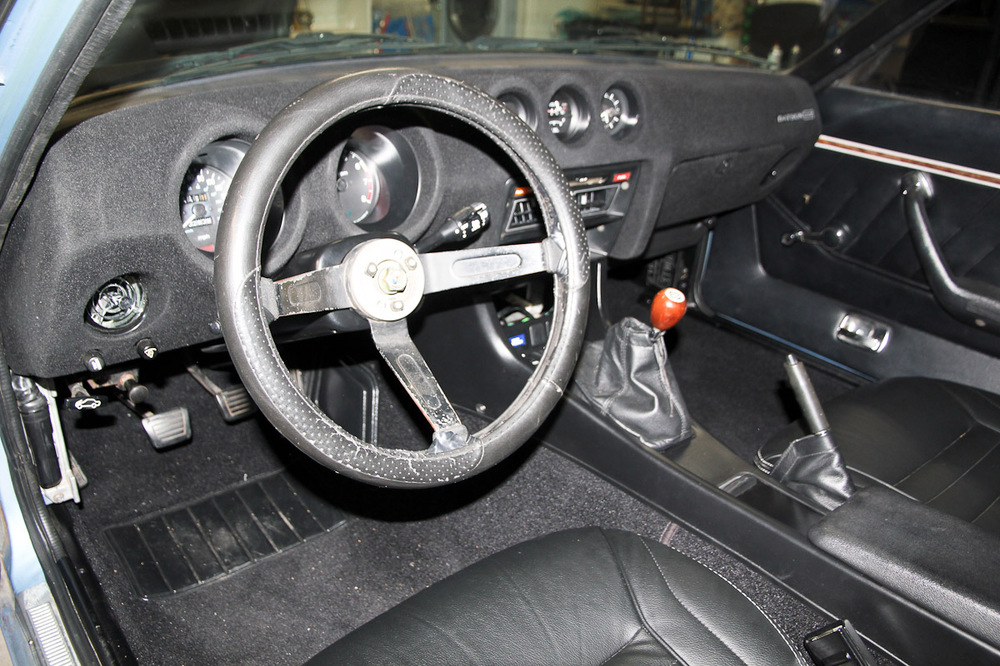
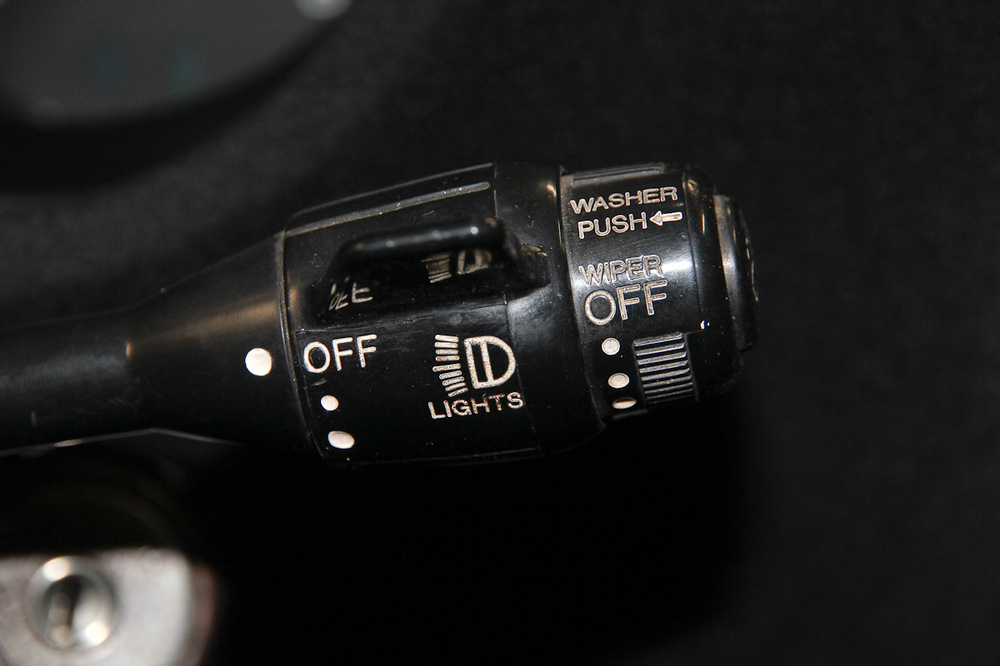
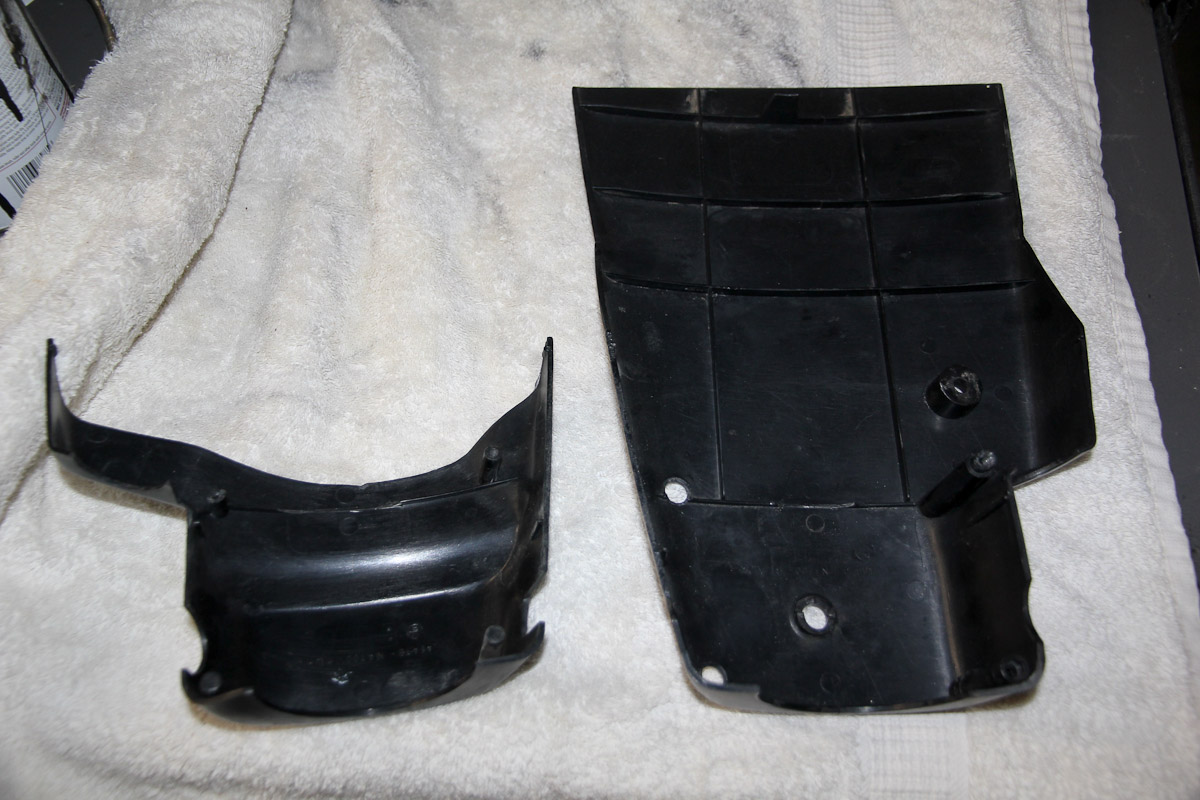
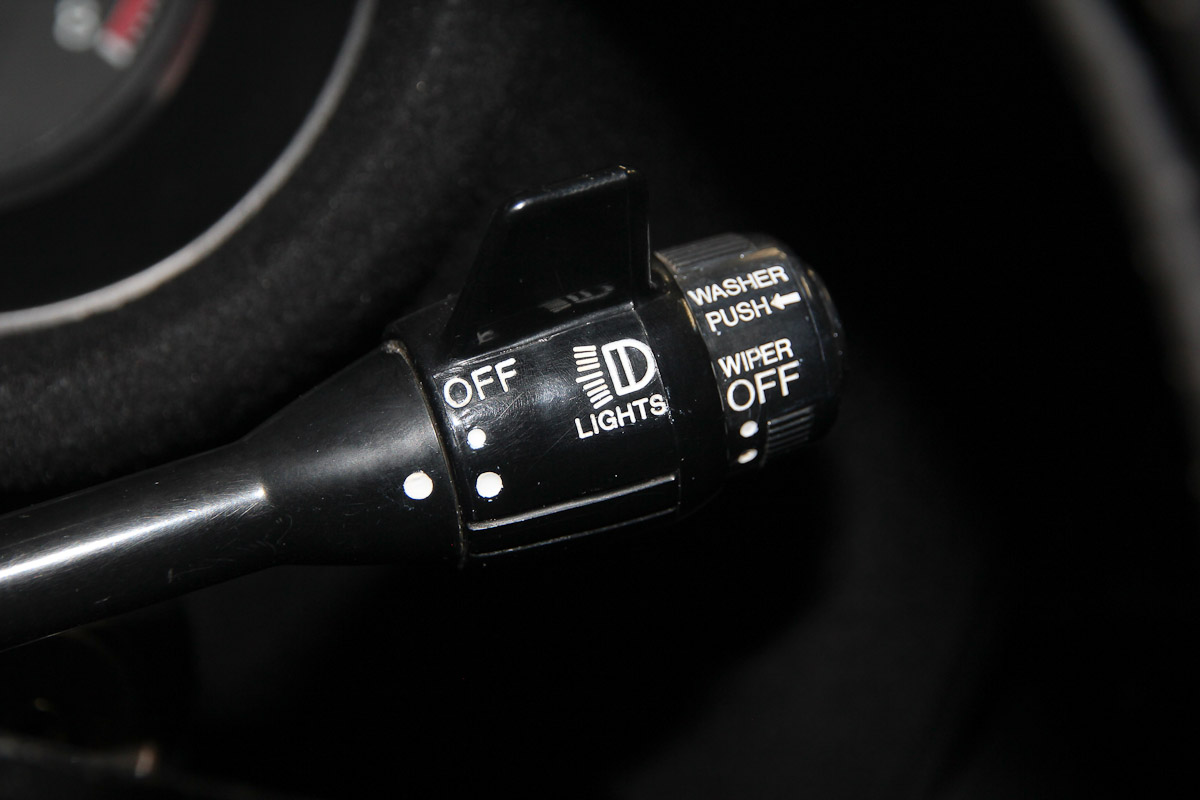
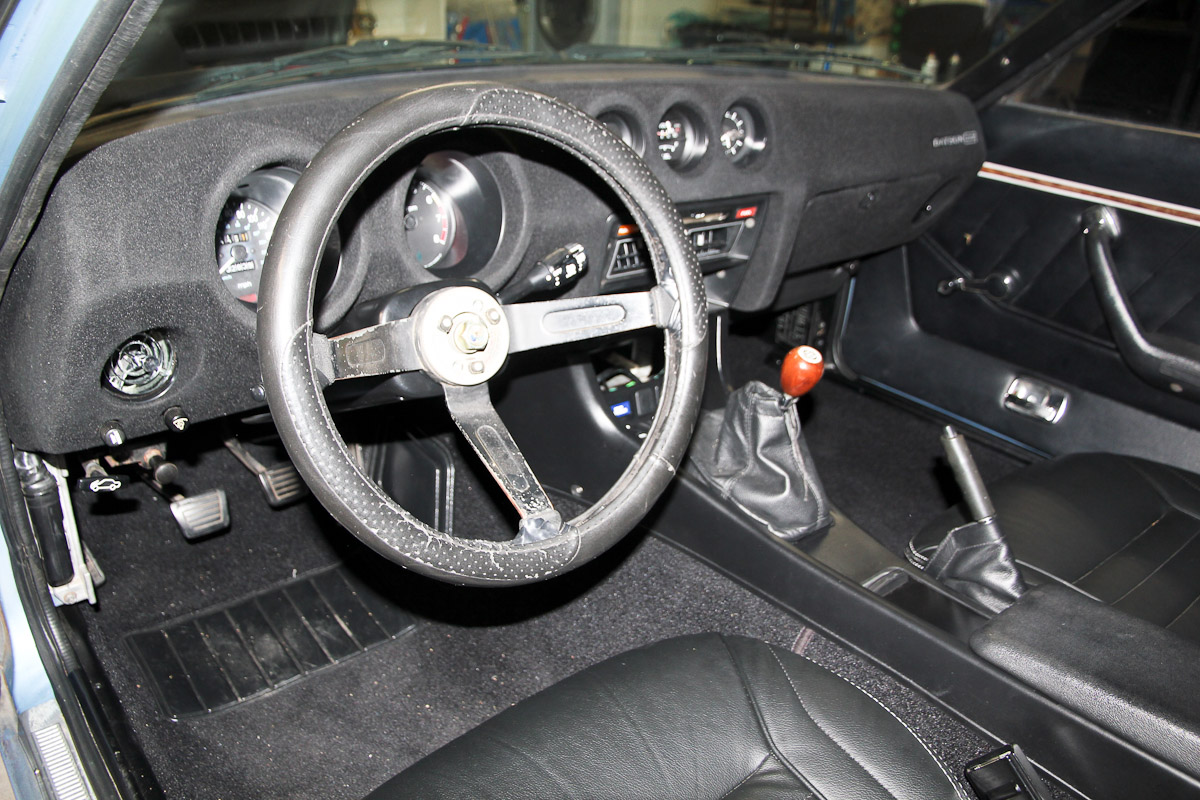
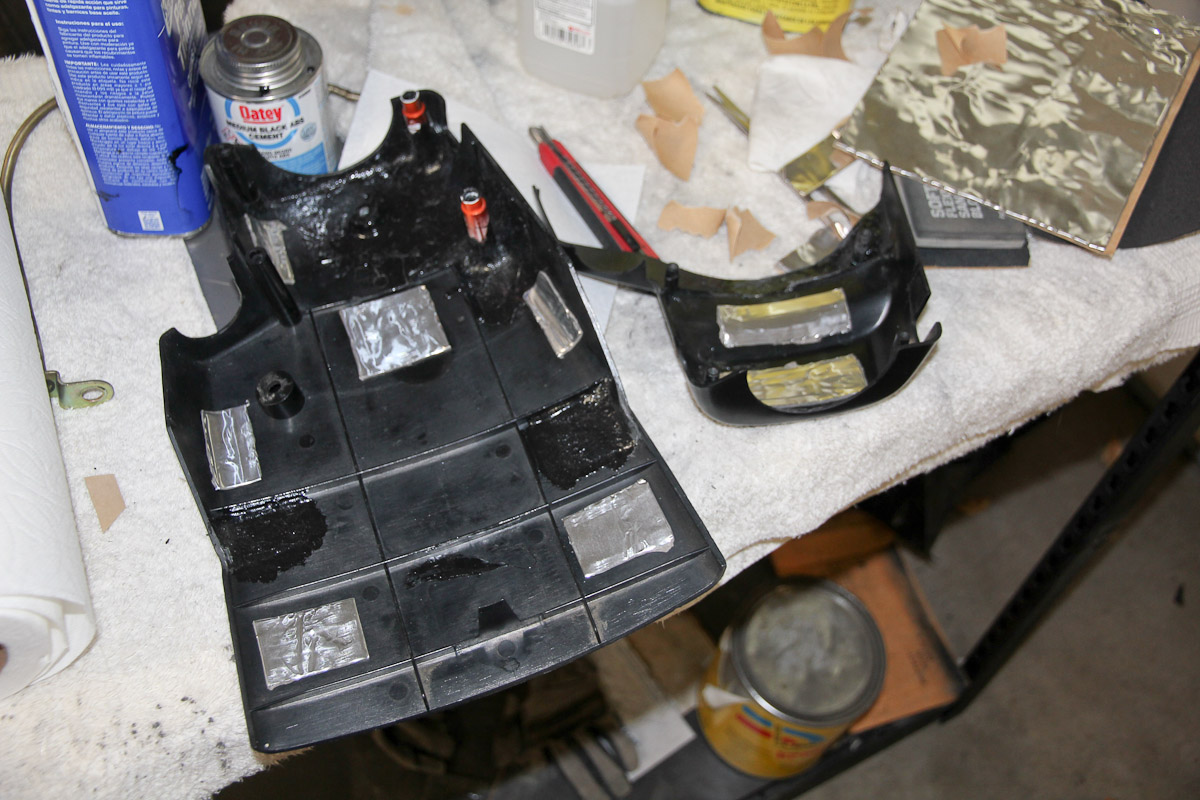
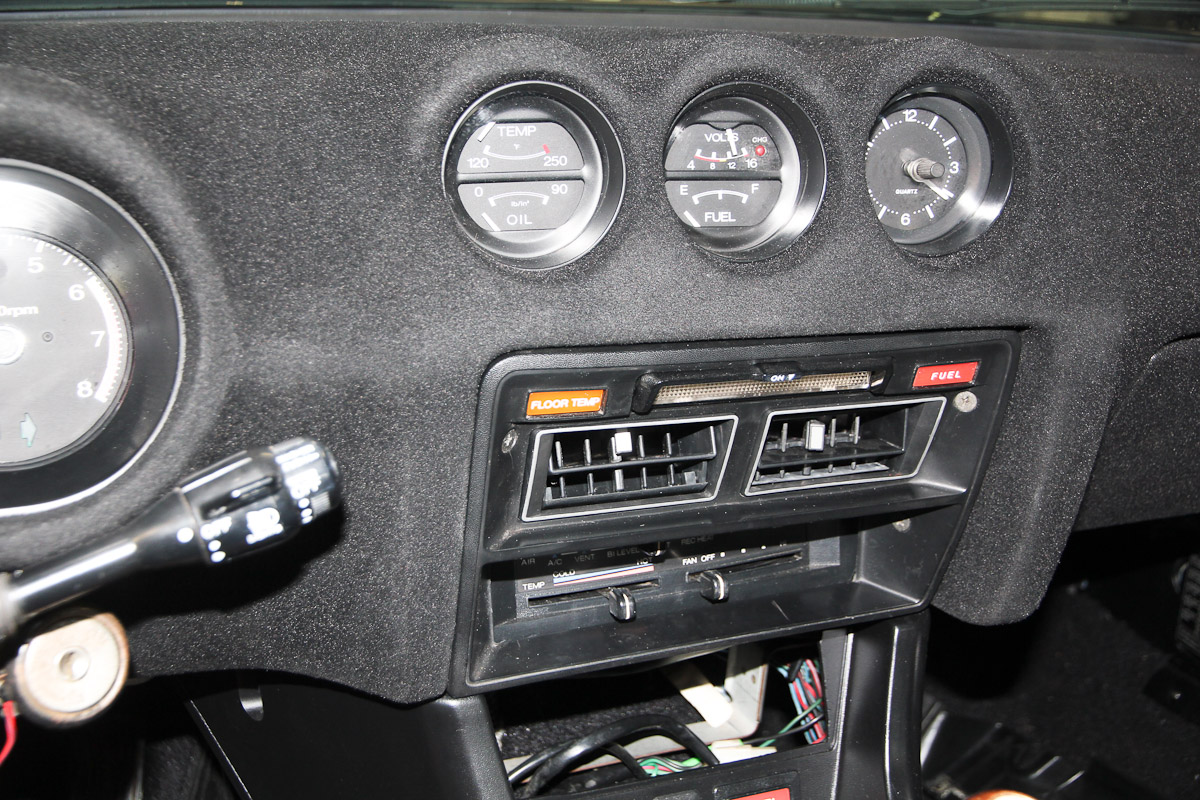
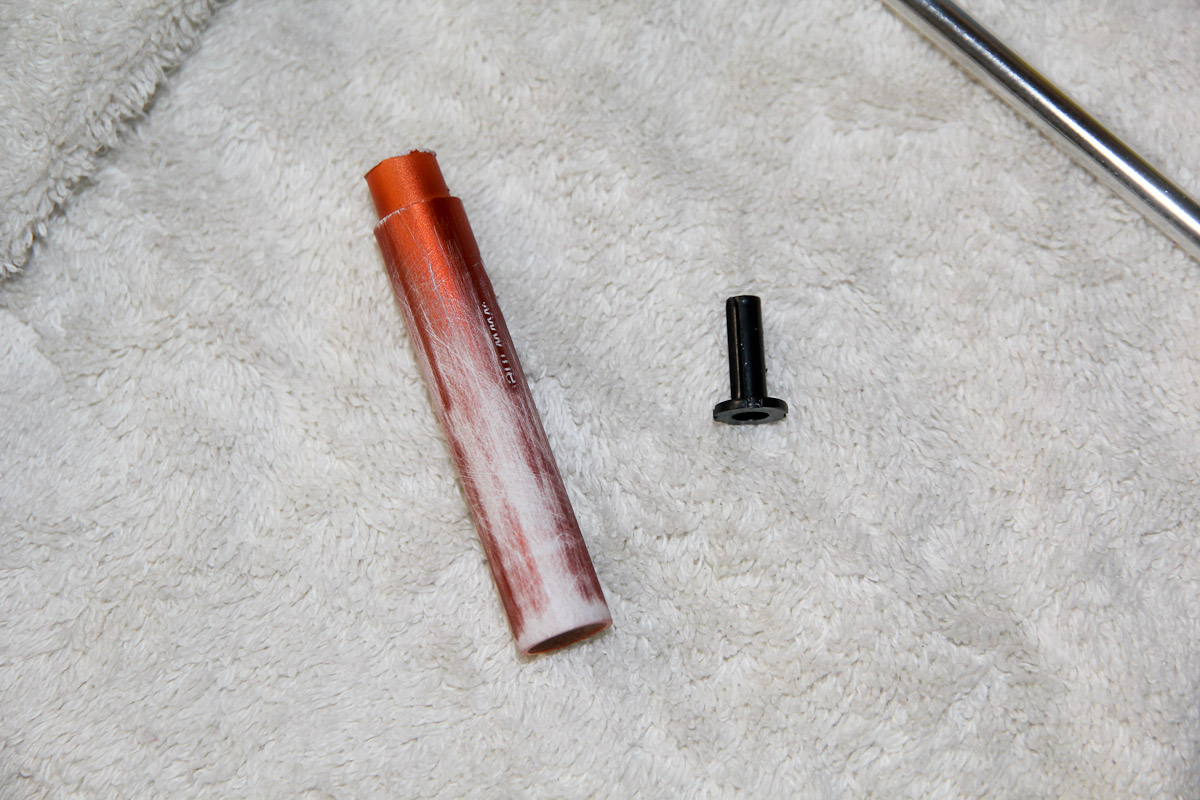
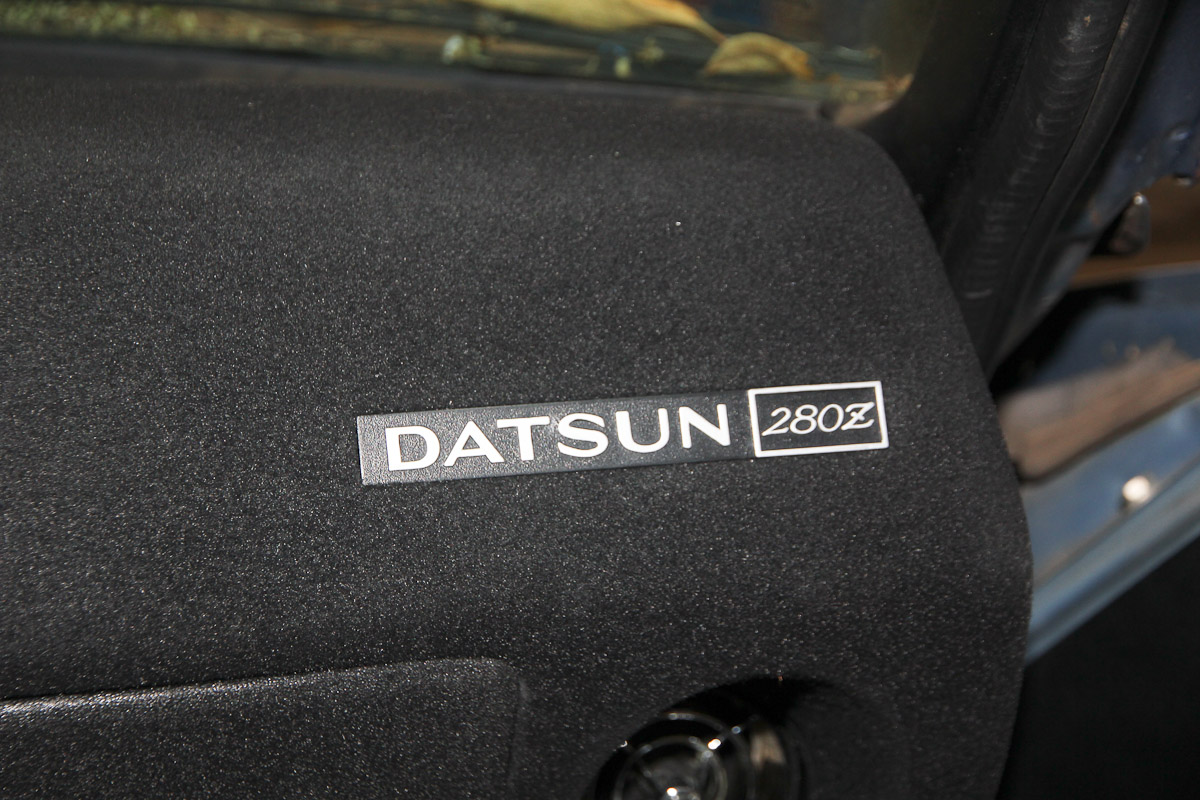
Fixed up some of the interior pieces this weekend. Biggest project was the steering column clamshell, where two of the screw "thingies" (pretty sure that's what they're called) on the side were broken off, as well as the one in the middle. Turns out that the promo pens we got at the office a while back can be cobbled into a very suitable replacement and are made of a plastic that ABS cement will bond to. The clicky part of the pen even worked as a stopper for the male end on the top of the clamshell. Fiberglass reinforcement on all the new bits and over the cracked areas. Then everything sanded smooth and painted with Krylon Fusion to match the center console and applied some Raammat to give the pieces a bit of solidity. I was unreasonably pleased with how well it all came together. I also fixed the coloring on the dashboard badge and on the edges of the center vents using a silver Sharpie; I think that was a trick someone around here mentioned. Worked great! And finally freshened up the lettering on the combination switch and on the floor temp, fuel and map lights. The interior -- finally! -- is halfway presentable. That abomination of a steering wheel and new door cards ought to be the last big things I take on in here.


 2 points
 -
1 pointPurchased a 72 race car that had been using the original Z wiring. I am in the process of rewiring by removing all original wires and replacing with new. My only elec. components are elec. fan behind the radiator, gauges, rear lights, fuel pump, ignition, cool suit and the original defrost/heater blower. So far three questions: 1. There is a single wire attached to the center of the brake pressure differential located just below the front brake booster. Is this needed? 2. I believe the car still has the original alternator. One wire from a elec. post labeled "E", one wire from a post labeled "A" and a T plug with two wires. Is all I need to do is attach the "E" wire to a ground, "A" wire to the positive post on the starter and the T plug disregard? Should I replace the alternator with an upgrade? 3. Do I need the voltage regulator? Thanks for any help.1 point
-
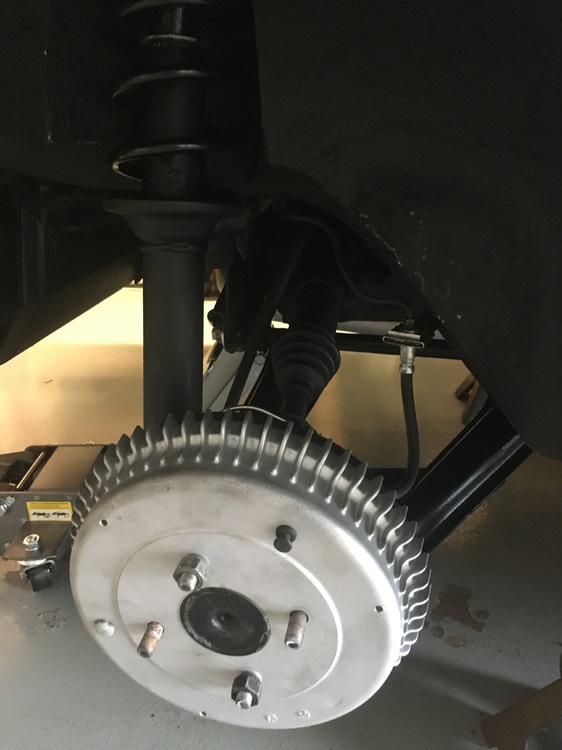
Finished up installing Tokicos, Eibachs and brake parts for the rear of the 73. Just bled the rear brakes. Now on to shocks, springs and new Willwood brakes for the front.
 1 point
 -
1 pointThe white/blue 70 is mine. This was the 2nd time running it on Ebay with the first time meeting reserve at $18K. The highest bidder was a pretty known Z parts seller on ebay who said he was trying to do me a favor by bidding on it but had no intentions of buying it. Stupidest thing I've ever heard. He ruined the auction because the 2nd highest bidder at $17.9K had already moved on to another Z listed on Ebay and my 2nd chance offer to him was not accepted. The 2nd time around with the reserve lowered a bit, it didn't meet reserve and peaked near $14k as mentioned above.1 point
-
1 pointI checked the GCR. Looks like you have to stay with the stock alternator and voltage regulator. The only mention of alternator for IT is - "n. Alternate water pump, alternator, power steering, and crankshaft pulleys of any diameter or material may be used. Type of accessory drive (e.g., V-belt, toothed belt, etc.) shall remain as stock." Chuck1 point
-
1 point
-
1 point
-
1 pointVery good. that should work. By the way thanks for your service!!!!1 point
-
1 point@P the Z Be very careful blasting the car yourself. It is very easy to ruin these cars if you aren't careful! The metal is exceedingly thin in some areas. You can also cause work hardening or oil canning if you over heat the metal. You need a large compressor to do this right and a lot of media! Also you should be wearing a respirator!!! The dust can cause silicosis much less the nasty stuff you are blasting off in the paint1 point
-
1 pointI think you're may be on to something, Jim. However, the 'bolt' (actually more like a long stud) is non-rotational because it's designed to be firmly tightened into the blind threaded hole in the float bowl casting. That means that you wouldn't be able to rotate it to a new position (to take advantage of the eccentricity you're proposing) unless you were prepared to leave the threaded stud-to-casting joint 'loose' after you'd found the bolt orientation position you want. Maybe a thin jamb nut? If that would work (and I'm sure that one or all of Capt Obvious, Blue, Patcon, Grannyknot and maybe even Z Therapy are about to start work on this ), then it would seem that the final touch would be to slot the other end of the 'bolt' (where the lock nut) to allow use of a screwdriver to turn the bolt to make adjustments. Adjusting sequence would be: loosen lock nut on end of bolt loosen jamb nut where bolt fits into float casting turn bolt until desired fuel level is observed inside carb nozzle tighten jamb nut tighten lock nut job done One additional thought: I don't think the bolt offset needs to be more than 5mm. That would provide an up-down adjustment of +/- 5mm for the float bowl. If you set the float 'tang' adjustment to the FSM-recommended setting to start with, an additional +/- 5mm of adjustment should be more than enough to zero in on the desired fuel height in the carb nozzle. Gentlemen: Start your lathes. Report back here in a week, with pictures (to prove that it really happened). Whoever wins owes me two finished prototype eccentric bolts.1 point
-
1 pointTurn your head to the right. Then you can see it says Delco-Remy. It's definitely a GM alternator. I believe it has connectors for Sense and Lamp, but it won't be a T connector. I would have to see the alternator to tell you where those connectors are exactly. I've only touched two GM alternators in the last 30 years, and I don't have a lot of knowledge on the placement of the connectors.1 point
-
1 pointBasic question I know but basic's where I'm at. It should be about 8 volts across the coil right ? I'm getting about 4 volts across the ballast resistor which seems about right, but only 4 to 4.5 volts max across the coil. If it's supposed to be 8 there must be a resistance somewhere that's hogging about 4 volts. Not the only electrical problem of course. One time, got zero volts across coil. Cranked the starter accidentally and turned the key back to "on" engine still off, then I got the 4 volts again.And with the engine running, still got the 4 volts or slightly less, but every 5 seconds or so it dropped to about 1 volt. Maybe there's a vibration-related intermittent resistance too. Wish the engine harness drawings in the FSM were drawn better, and showed clearly what wire went to what component.1 point
-
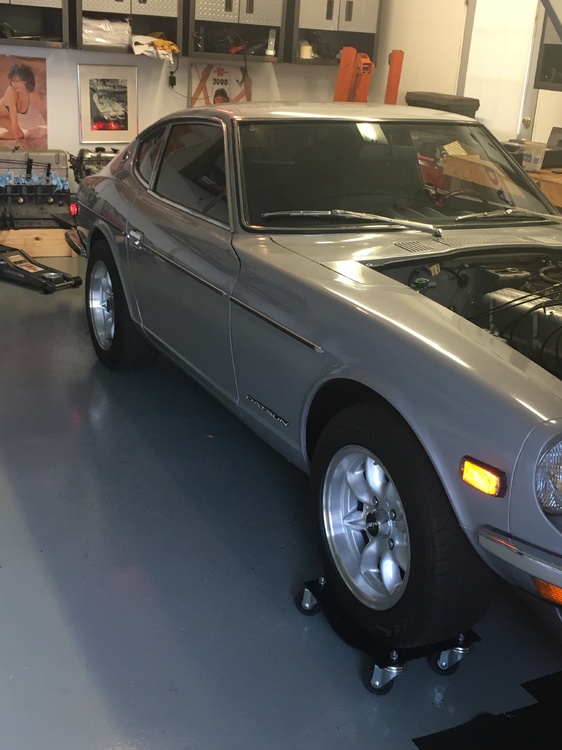
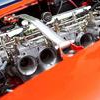
1 pointI need to get a new gasket for the firewall. But took my first drive today. The gas pedal travel is truncated a bit compared to my throttle cable, but the feeling is direct and so smoooooooth. My throttle cable never felt 'right'. It worked okay, but it hung up and did not return to zero so to speak so often. I also after driving with this manifold I think I was only ever getting 75% throttle for the longest time. I gave her a good romp in first and second, and my car has never revved that hard and that fast ever. I do not think it was the manifold with it larger runners, but that may have helped. I know my L28 likes the added flow and seems to respond to it immediately if not sooner. Makes me think DCOE45's would be even better. But that is another story. Idle is spot on perfect at 1000 rpm and I cannot even feel the engine running. Overall, I am thrilled with this swap. I also finished my fluid flush on the roadster and fixed an oil leak on the oil pan drain plug on the roadster as well. Overall a Very productive day. Now to kick back, and have brew, as I have earned it. Some pics of the stable. Oh, I picked up a set of genuine Coco mats for the roadster. They look the business, I think the Z may getting a set soon.1 point
-
1 point1 point1 pointJust an update for anybody keeping up with this install or thinking of installing Mukini's. With all the beautiful weather we have had this March I've had my car out a lot enjoying the early spring in the Western North Carolina mountains. I filled my car up a couple of weeks ago (when I fired it up for the first time this calendar year) and have driven a couple hundred miles - topped off my gas this afternoon and getting right at 21 MPG. I have had a few spirited drives and some easy town crusing but overall 21 MPG is great with triples and a modified L28. I have seen some threads with folks reporting 8MPG. I really think a lot of folks try to go too big for the cars based on their engine size and then spend forever tuning, adjusting, tweeking, changing jets due to the carbs are too big for the engine. My Mikiuni's have been spot on since day one (with very little fine tuning). I did add an air/fuel gauge inside my glovebox to monitor things. I'll try to post a picture later this week.1 point


Important Information
By using this site, you agree to our Privacy Policy and Guidelines. We have placed cookies on your device to help make this website better. You can adjust your cookie settings, otherwise we'll assume you're okay to continue.