


Topics Last 30 Days
Showing topics, images, events and files posted in for the last 28 days.
- Past hour
-

 I am about to start on the task of adjusting the profile my Hitachi SU needles (I have SM needles installed). I read this thread in preparation: https://www.classiczcars.com/forums/topic/59153-modified-su-carb-needles-for-l28/ @240260280 has detailed knowledge on the subject which is impressive! I wish I had the tools and knowledge to do what he knows should be done. Instead, I am thinking about rigging up a camera to record a video of the piston movement under certain real world scenarios. For that recording, I am thinking of putting black marker lines on the piston that equate to the station positions on the needle. For the real world scenarios, I would like to record a series of various part throttle applications. I am hopeful that I can locate a specific range of the needle that will need to be modified. Very generally, I believe I have good AFRs at idle, and cruise (at 50 mph for example), and at wide open throttle. On the other hand, I have lean or very lean conditions at part throttle and during closed throttle deceleration (accompanied by popping in the exhaust). I will be making some more AFR reference runs before I attempt to modify the needles to confirm. But then, I am hoping to record the videos, and remove a miniscule amount of material from the "pick up" needle stations. The segment of the needle I need to modify should be confirmed by reviewing the video. Anyone have additional recommendations or thoughts?
- Today
 Well apparently bypassing the filter and sucking dirty air into the clean side of the air filter is a thing. Wonder how long THAT engine has been breathing dirty air. Also a whole bunch of hokey-ness going on here. ☺️ Hahaha!! :
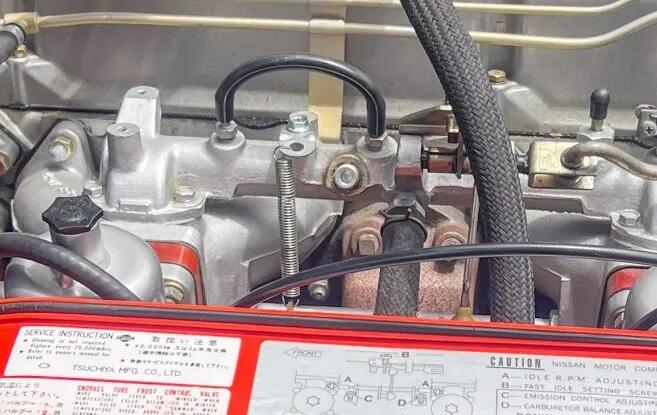 Looks like I never finished this thread. I replaced the front yoke and took the propeller shaft to a local shop for balancing. It was there opinion that the shop that did the shortening of the prop shaft did not balance it. When I went to install the shaft into the transmission, the "slop" (the amount I could push the yoke radially) was a lot. As an estimate from looking, I'd say I could move the yoke in any direction about .020". So, that is about a mm of movement radially. It might have been a bit more than that. So, I decided to replace the bushing that is in the tail shaft of the transmission. Looking back on it, I think the bushing developed wear because of the driveshaft being out of balance for the first 500 or so miles I put on the car. I think that the bushing was sacrificial - meaning made of softer material than the yoke. Anyway, after putting the new bushing in (removal and reinstallation of the transmission was required), the new yoke was tight (no discernable movement at all radially). With everything back together, the vibration that caused me to start this thread is gone!
You've got to be kidding!!! Five minutes after wearing that, my wrist would look like this:
Looks like I never finished this thread. I replaced the front yoke and took the propeller shaft to a local shop for balancing. It was there opinion that the shop that did the shortening of the prop shaft did not balance it. When I went to install the shaft into the transmission, the "slop" (the amount I could push the yoke radially) was a lot. As an estimate from looking, I'd say I could move the yoke in any direction about .020". So, that is about a mm of movement radially. It might have been a bit more than that. So, I decided to replace the bushing that is in the tail shaft of the transmission. Looking back on it, I think the bushing developed wear because of the driveshaft being out of balance for the first 500 or so miles I put on the car. I think that the bushing was sacrificial - meaning made of softer material than the yoke. Anyway, after putting the new bushing in (removal and reinstallation of the transmission was required), the new yoke was tight (no discernable movement at all radially). With everything back together, the vibration that caused me to start this thread is gone!
You've got to be kidding!!! Five minutes after wearing that, my wrist would look like this: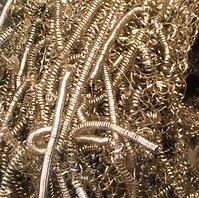
- Last week
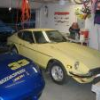
 What a fantastic shot! That could be a poster.
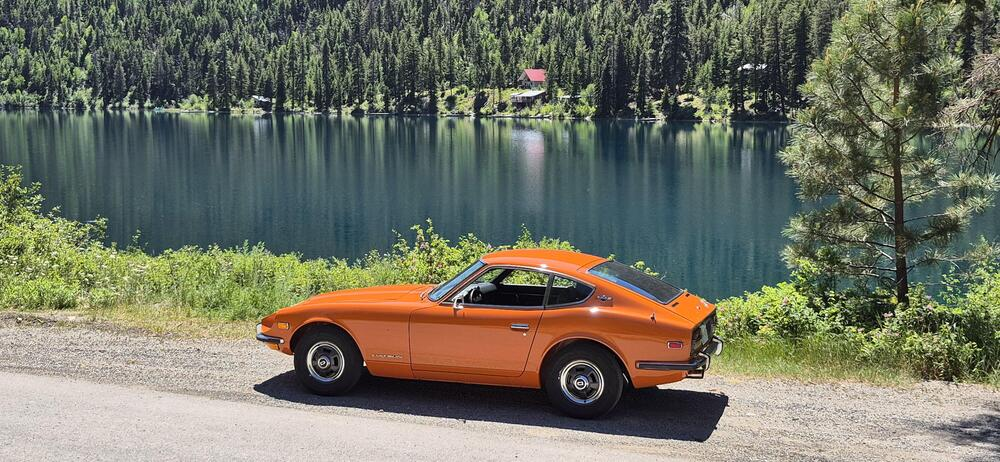
 Thanks... the New Z is awesome to drive... however I only have 800miles and need 400 more miles to brake it in. Once broken in , I can rev above 4000 RPM and drive it in a more spirited fashion.
 Yes I know. I started tearing mine apart in in 2016 and finally started reassembly about a year ago. I still have a lot to do though. John
 Lost on me but if its a horror movie, life is scary enough...;)
Namerow, thanks for the input, and also thanks for the work you had done previously with the wiring. Your previous work helped me with the diagram that I've been working on. So for the comments above... First, the horn. I understand the desire to have an actual switch depicted on the diagram. And in one of my earlier revisions, I actually did have one in there. But then I took it back out because I decided that I wanted to conform more closely to the original scheme depicted in the other areas of the combo switch. By that, I mean... There aren't any actual switches shown for any of the combo switch functions. Not for the headlights, the wipers... No switches for anything. Instead, "connection" is indicated by the existence of the dot. I though it would be closer to Datsun's original scheme to have a dot connection to ground when the horn is pushed. Next, the wipers. I haven't dug into that system at all, and I'm kinda hoping that I never have to. I turned mine on and the arms move, and that's hopefully all I need to know. So, with that said... Are you confident in the switch connections you have laid out? If you are sure, I'll change the diagram to what you indicate. As for the letters in the second column, I'm in the same boat as you... I think I knew at one point, but don't remember. I'll look into it. And lastly, you are correct about the change of wire colors on the combo switch side of the connectors. Problem is that situation exists all over the car. They got better with that in the diagrams for the later years, but for the early cars, the colors on the diagrams are the "colors of the harness". I'm sorry, but I'm in no position to add all the connectors for all the devices that plug into connectors and indicate the wire colors on both sides of those connectors. Haha!!! Thanks for the help!
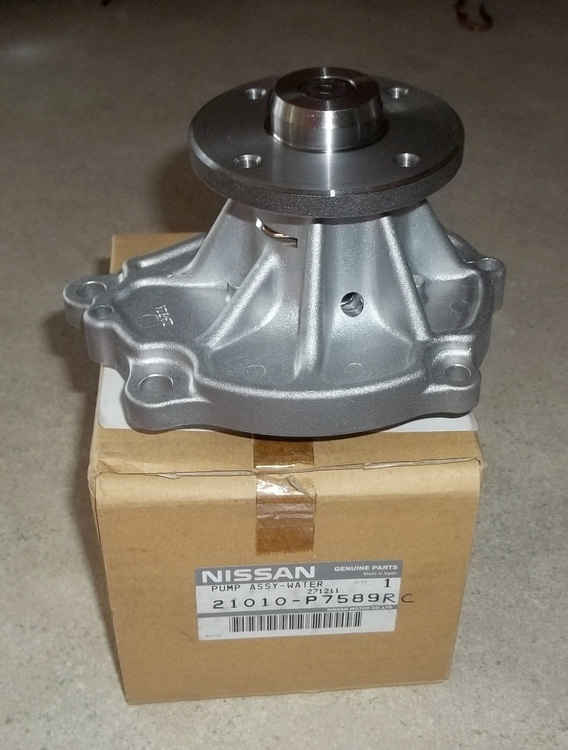
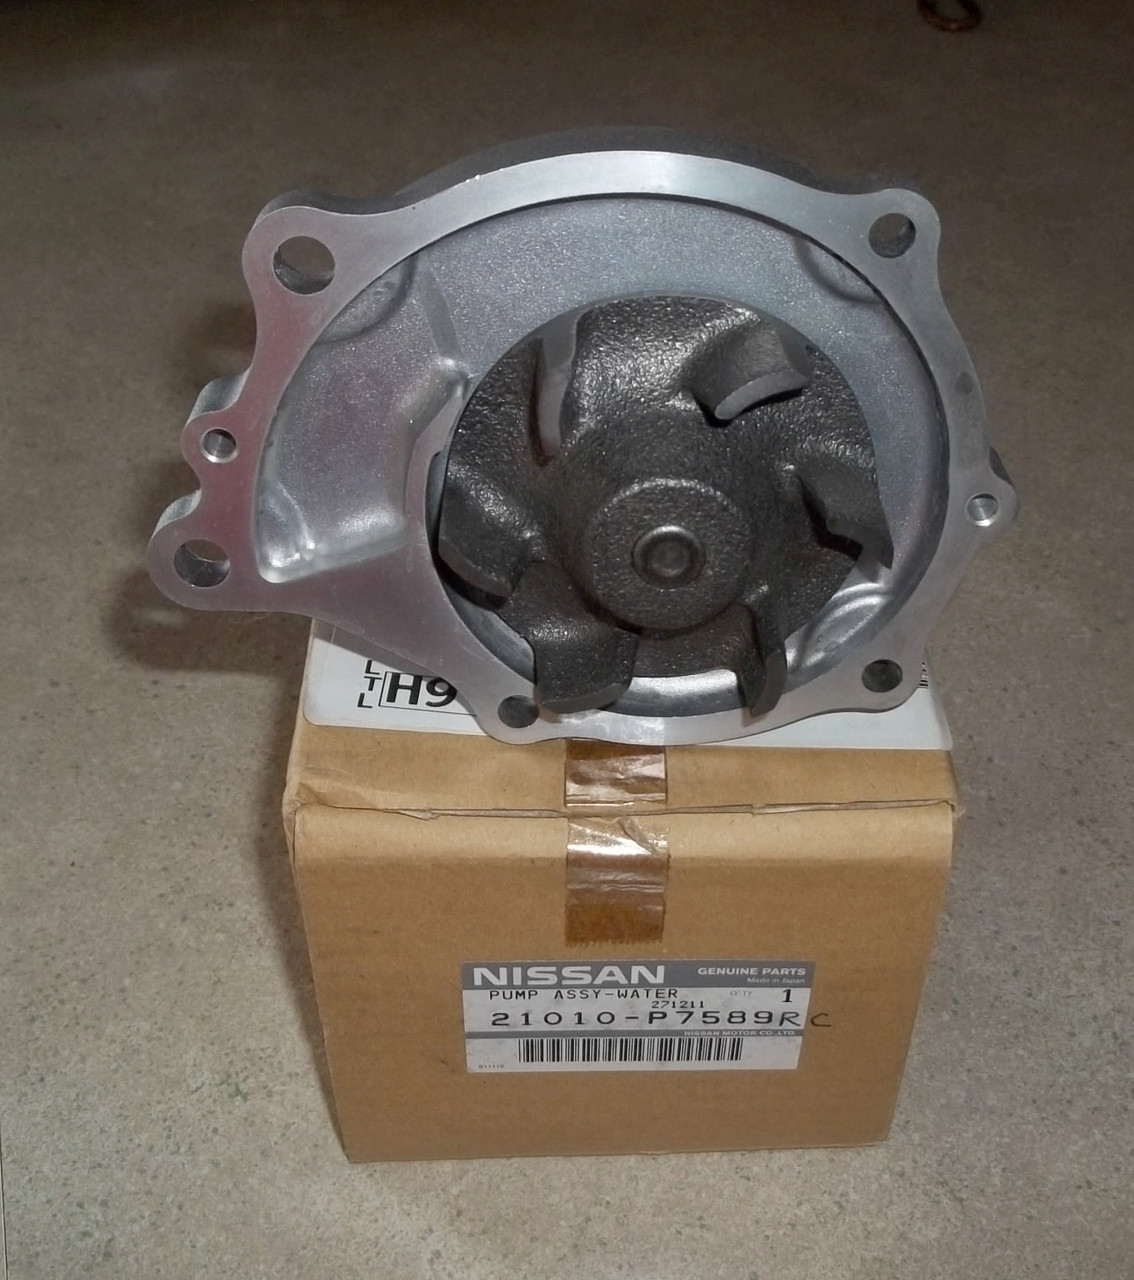
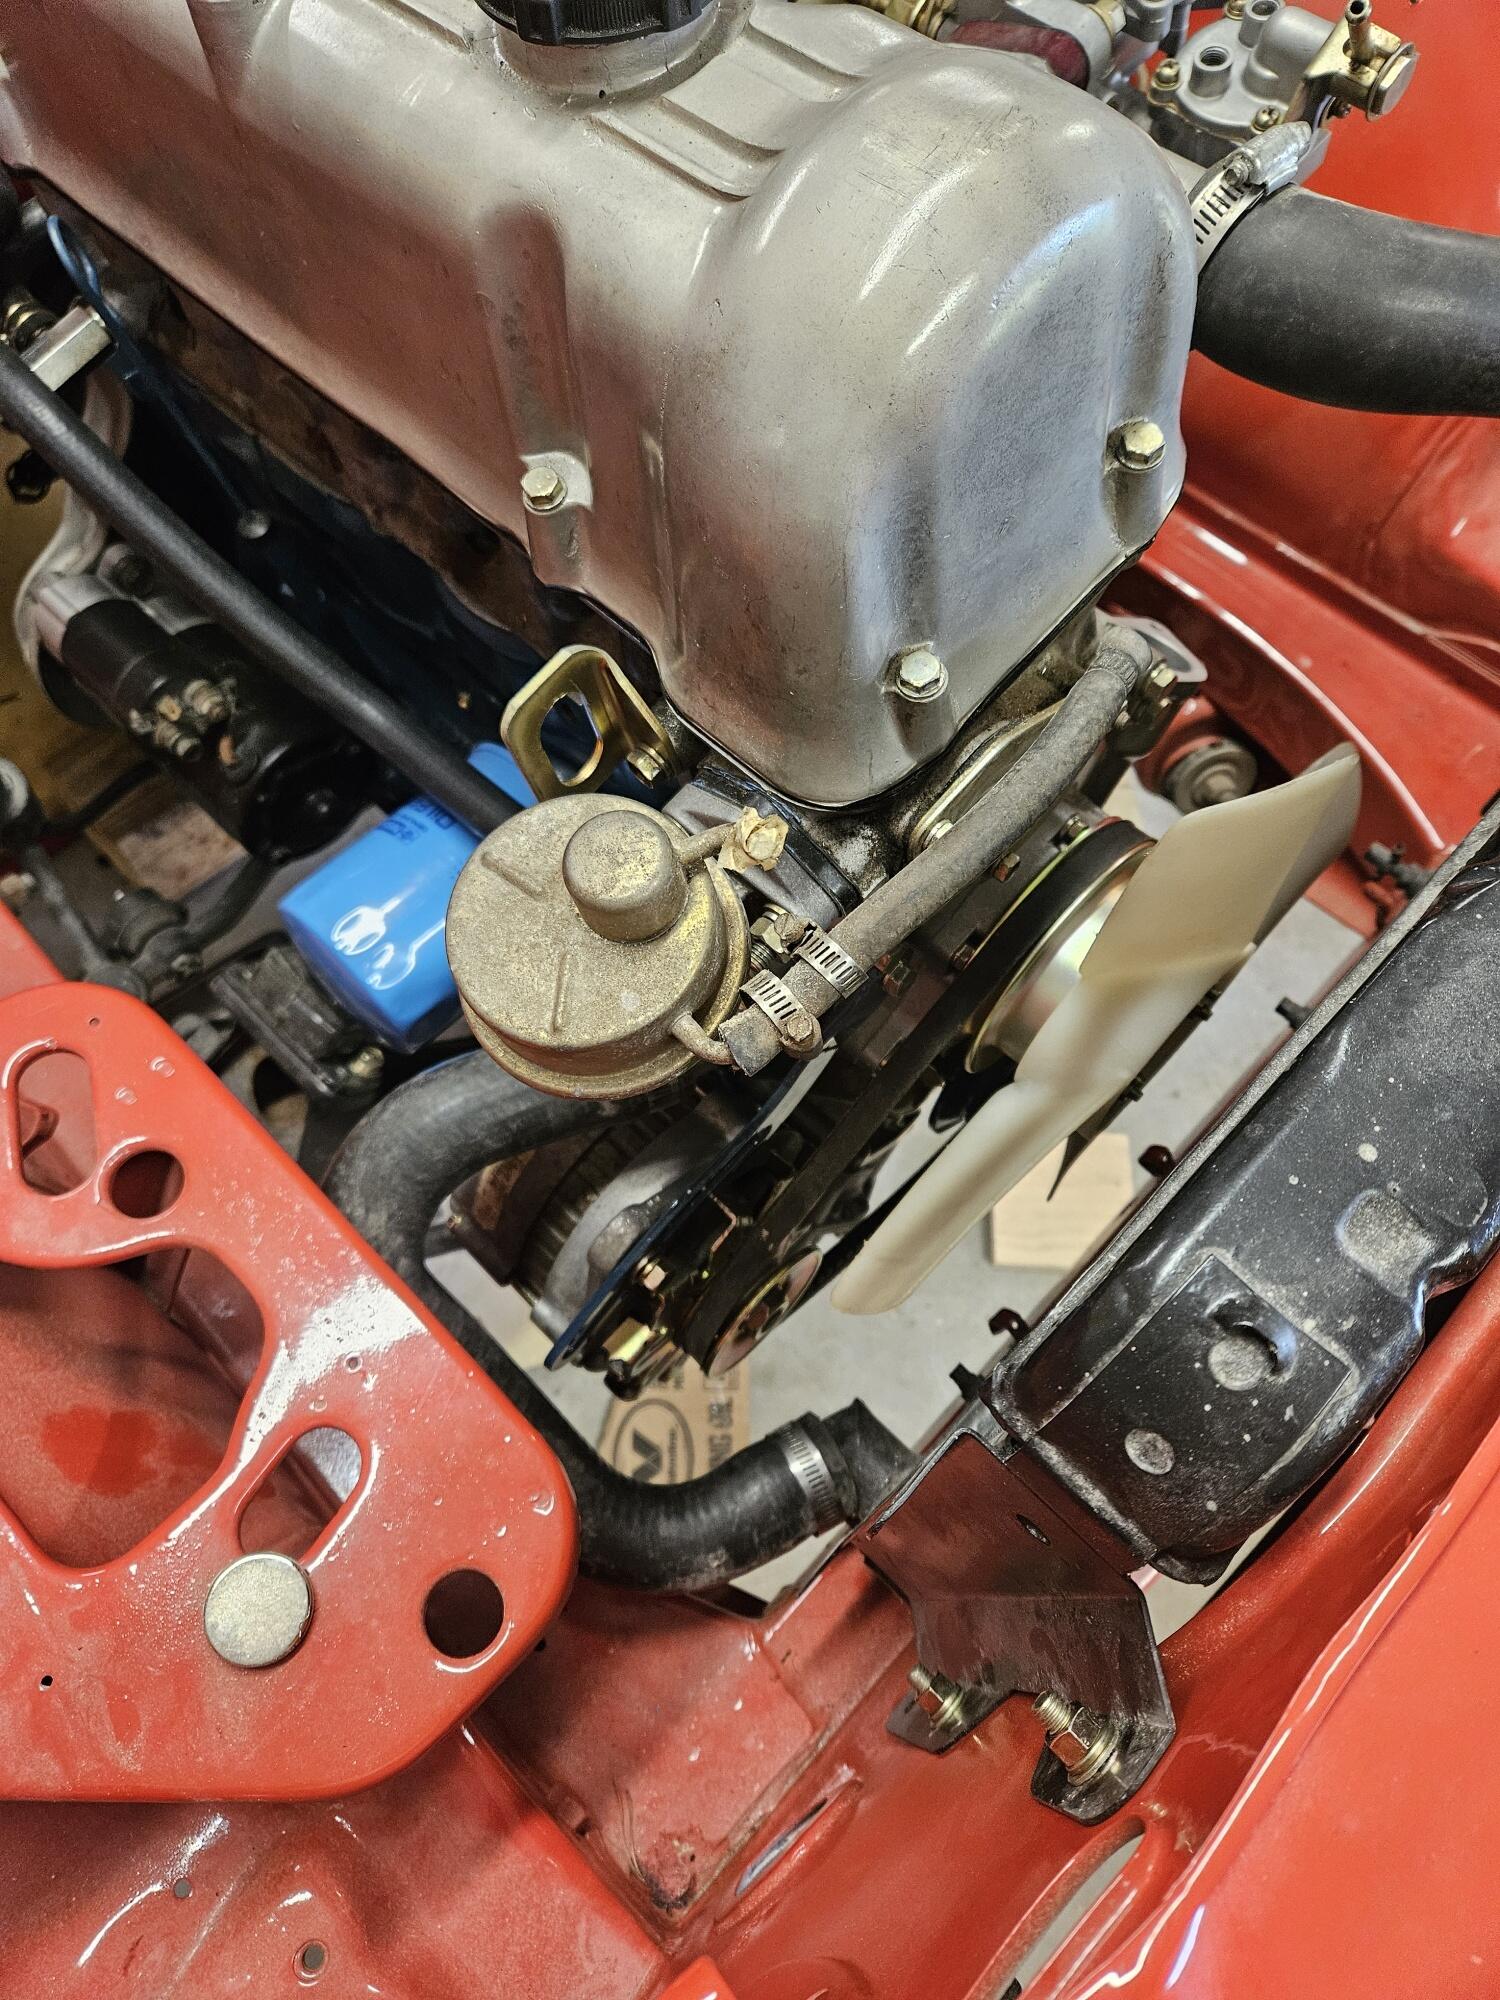
I think both those GMBs are aftermarket and agree that an Aisin with the cast iron impeller will be as close to OE that you'll find today unless you can find one using the part number on this box.
Lost on me but if its a horror movie, life is scary enough...;)
Namerow, thanks for the input, and also thanks for the work you had done previously with the wiring. Your previous work helped me with the diagram that I've been working on. So for the comments above... First, the horn. I understand the desire to have an actual switch depicted on the diagram. And in one of my earlier revisions, I actually did have one in there. But then I took it back out because I decided that I wanted to conform more closely to the original scheme depicted in the other areas of the combo switch. By that, I mean... There aren't any actual switches shown for any of the combo switch functions. Not for the headlights, the wipers... No switches for anything. Instead, "connection" is indicated by the existence of the dot. I though it would be closer to Datsun's original scheme to have a dot connection to ground when the horn is pushed. Next, the wipers. I haven't dug into that system at all, and I'm kinda hoping that I never have to. I turned mine on and the arms move, and that's hopefully all I need to know. So, with that said... Are you confident in the switch connections you have laid out? If you are sure, I'll change the diagram to what you indicate. As for the letters in the second column, I'm in the same boat as you... I think I knew at one point, but don't remember. I'll look into it. And lastly, you are correct about the change of wire colors on the combo switch side of the connectors. Problem is that situation exists all over the car. They got better with that in the diagrams for the later years, but for the early cars, the colors on the diagrams are the "colors of the harness". I'm sorry, but I'm in no position to add all the connectors for all the devices that plug into connectors and indicate the wire colors on both sides of those connectors. Haha!!! Thanks for the help!
I think both those GMBs are aftermarket and agree that an Aisin with the cast iron impeller will be as close to OE that you'll find today unless you can find one using the part number on this box.
 What numbers are you looking to see? I do not know how to decipher the numbers on the glass. Thanks, Dennis
 Sorry for the delay in getting back to you. JE Piston Manufacturing started business in the early 1900's. They are known for their exceptional forging and machining quality. Thank you for your response. Mike.......datsun79z@aol.com
Very creative! Have you tried it to see how well it holds fluid?
Sorry for the delay in getting back to you. JE Piston Manufacturing started business in the early 1900's. They are known for their exceptional forging and machining quality. Thank you for your response. Mike.......datsun79z@aol.com
Very creative! Have you tried it to see how well it holds fluid? In other caliper rebuilds mainly on the Toyota big brake option for Z’s. I went and found plugs that would block ports that were letting air disperse in order for the piston to blow out. If I may ask have the pistons been removed?
The stop screw catches the front piston like this: And the rear piston position is established by the retainer clip in the back: So the distances between those two reference locations and the "forward-most" seals on each piston is what's important. It looks like the front piston is really close, but the rear one is not. Might be "close enough", might not.
In other caliper rebuilds mainly on the Toyota big brake option for Z’s. I went and found plugs that would block ports that were letting air disperse in order for the piston to blow out. If I may ask have the pistons been removed?
The stop screw catches the front piston like this: And the rear piston position is established by the retainer clip in the back: So the distances between those two reference locations and the "forward-most" seals on each piston is what's important. It looks like the front piston is really close, but the rear one is not. Might be "close enough", might not.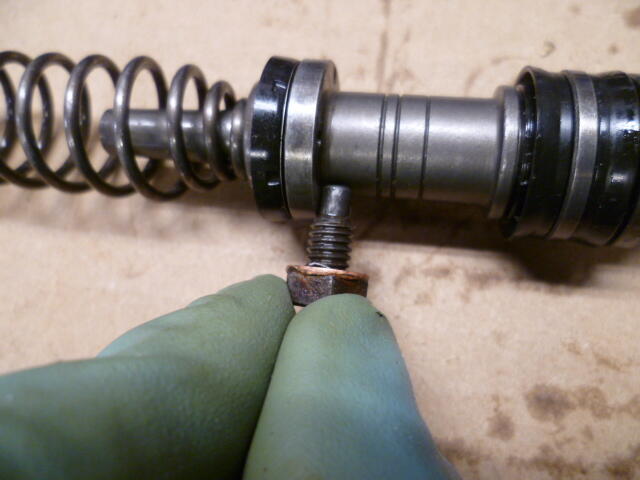
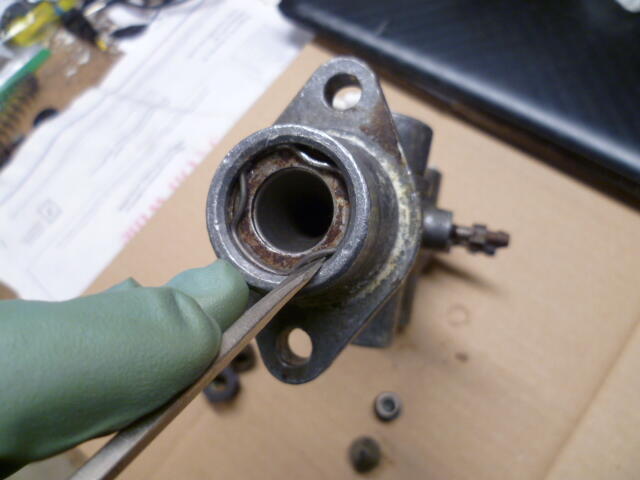
 I was able to get these out with a small hook. I think the corrosion was holding them in. Once I got it open I found out I have the wrong rebuild kit. I have 46020-C6126, which is for the Tokico . This is a Nabco, which uses totally different residual valves. I think the kit part number is 46011-P6525.
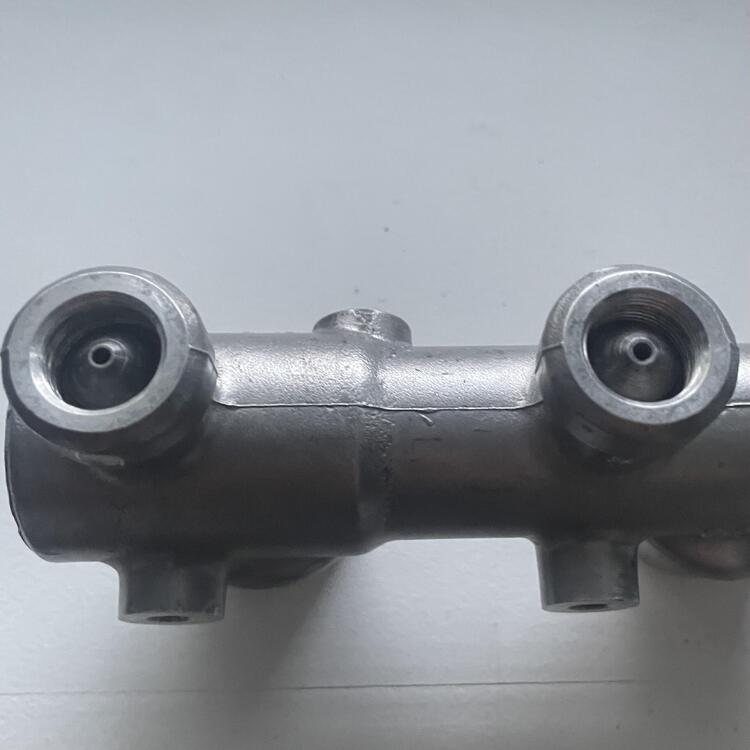
 Find a weather resistant maxi fuse (or ANL fuse) holder if you are planning to mount the fuse holder where the current fusible link holders reside. I also suggest using ferrules on the wire ends to improve clamping force on the wires. You will need to find a ferrule crimper that can handle the wire sizes (relatively easy to find on Amazon). Here is an example of a marine ANL fuse holder: https://www.crutchfield.com/p_867FUSEDIS/Wet-Sounds-WWX-FUSE.html
- Earlier
Good luck, and just let us know if there are still unanswered questions.
Perfect. I just couldn't see the bottom washers in the other pics. Looks great. http://www.zcarblog.com/wp-content/uploads/2023/06/IMG_5209-1024x768.jpeg Join us on Sunday, June 8 for the Z Owners of Northern California (ZONC) gathering at the Blackhawk Museum! See flyer below for more details: http://www.zcarblog.com/wp-content/uploads/2025/05/499860045_10236740117827575_7586398421903317342_n-scaled.jpg We had a blast at last year’s ZONC event with a fantastic turnout. See our report from the 2023 event HERE, and Z you at Blackhawk! http://www.zcarblog.com/wp-content/uploads/2023/06/IMG_5176-1024x768.jpeghttp://www.zcarblog.com/wp-content/uploads/2023/06/IMG_5284-1024x768.jpeg http://www.zcarblog.com/wp-content/uploads/2023/06/IMG_5194-1024x768.jpeghttp://www.zcarblog.com/wp-content/uploads/2023/06/IMG_5250-1024x768.jpeg View the full article
Here's a good read on installation for a '72. Dave's 1972 Datsun 240z: Electri...Electric Fuel Pump InstallationIn an effort to make the 240z more reliable, I've decided to upgrade to an electric fuel pump and then retire the mechanical pump. By using...
I don't know if it's the ONLY reason for it's existence (seems unlikely), but that is where they printed the identifying markings:
http://www.zcarblog.com/wp-content/uploads/2023/06/IMG_5209-1024x768.jpeg Join us on Sunday, June 8 for the Z Owners of Northern California (ZONC) gathering at the Blackhawk Museum! See flyer below for more details: http://www.zcarblog.com/wp-content/uploads/2025/05/499860045_10236740117827575_7586398421903317342_n-scaled.jpg We had a blast at last year’s ZONC event with a fantastic turnout. See our report from the 2023 event HERE, and Z you at Blackhawk! http://www.zcarblog.com/wp-content/uploads/2023/06/IMG_5176-1024x768.jpeghttp://www.zcarblog.com/wp-content/uploads/2023/06/IMG_5284-1024x768.jpeg http://www.zcarblog.com/wp-content/uploads/2023/06/IMG_5194-1024x768.jpeghttp://www.zcarblog.com/wp-content/uploads/2023/06/IMG_5250-1024x768.jpeg View the full article
Here's a good read on installation for a '72. Dave's 1972 Datsun 240z: Electri...Electric Fuel Pump InstallationIn an effort to make the 240z more reliable, I've decided to upgrade to an electric fuel pump and then retire the mechanical pump. By using...
I don't know if it's the ONLY reason for it's existence (seems unlikely), but that is where they printed the identifying markings: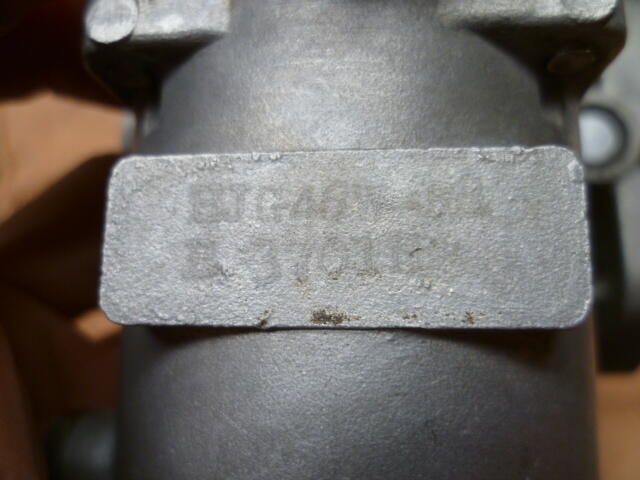


Important Information
By using this site, you agree to our Privacy Policy and Guidelines. We have placed cookies on your device to help make this website better. You can adjust your cookie settings, otherwise we'll assume you're okay to continue.