


Hi all,
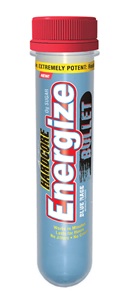
I made a new engine bay light lens out of an empty nutrition drink tube that looks like a large translucent white test tube with a tube DIA of 33.8 MM, though it does not have to be exactly that to work. The nutrition drink is called Energize and has the words "Hardcore Energize bullet" on it with the word "Energize" much larger than the other words (Thank you to SteveJ for identifying the brand of drink for me since I had thrown away the wrapper). It is sold by Wall Mart here and I have read Walgreens sells it though not in the Walgreens we have (try eBay). There is a colored shrink wrap covering on the Energize tube but the tube itself is translucent white. Another brand of tube that might work is the Profect brand tube though its color appears more neutral if the color at the top just under the lid isn't from shrink wrap:
Energize Hardcore Bullet:_____Profect Protein Beverage:
 ........................
******EASY WAY****** (see further down for how I did this the hard way)
1. Cut off the rounded end of the nutrition tube so it is the same length as the original lens (33MM or 1 5/16" or 1.29") and scrape off any plastic burrs.
2. Sand off open end on the side of a bench grinder disk or on a sidewalk to remove irregularities if any.
3. Push into the light housing. You are done.
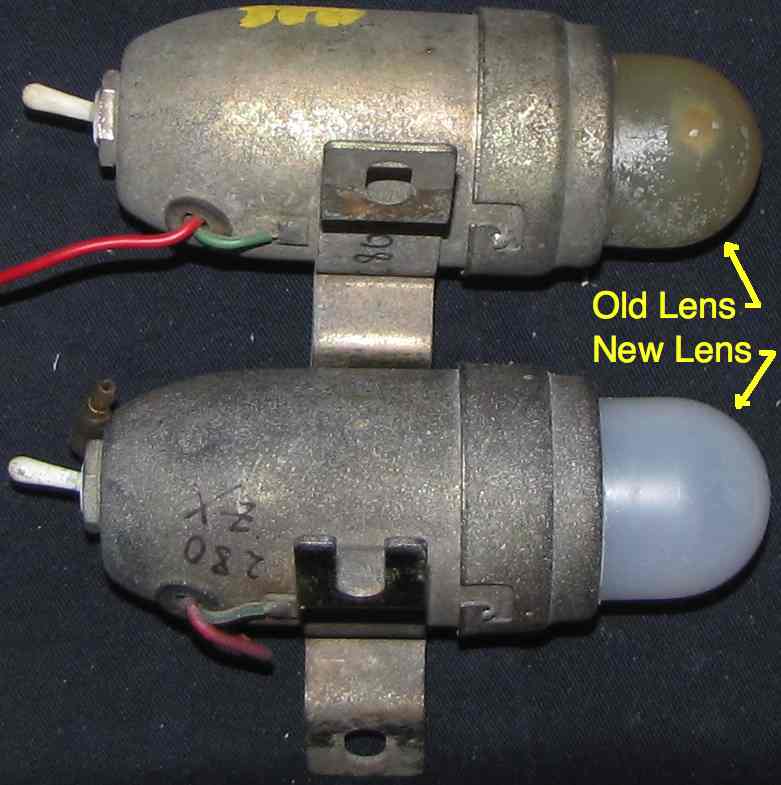
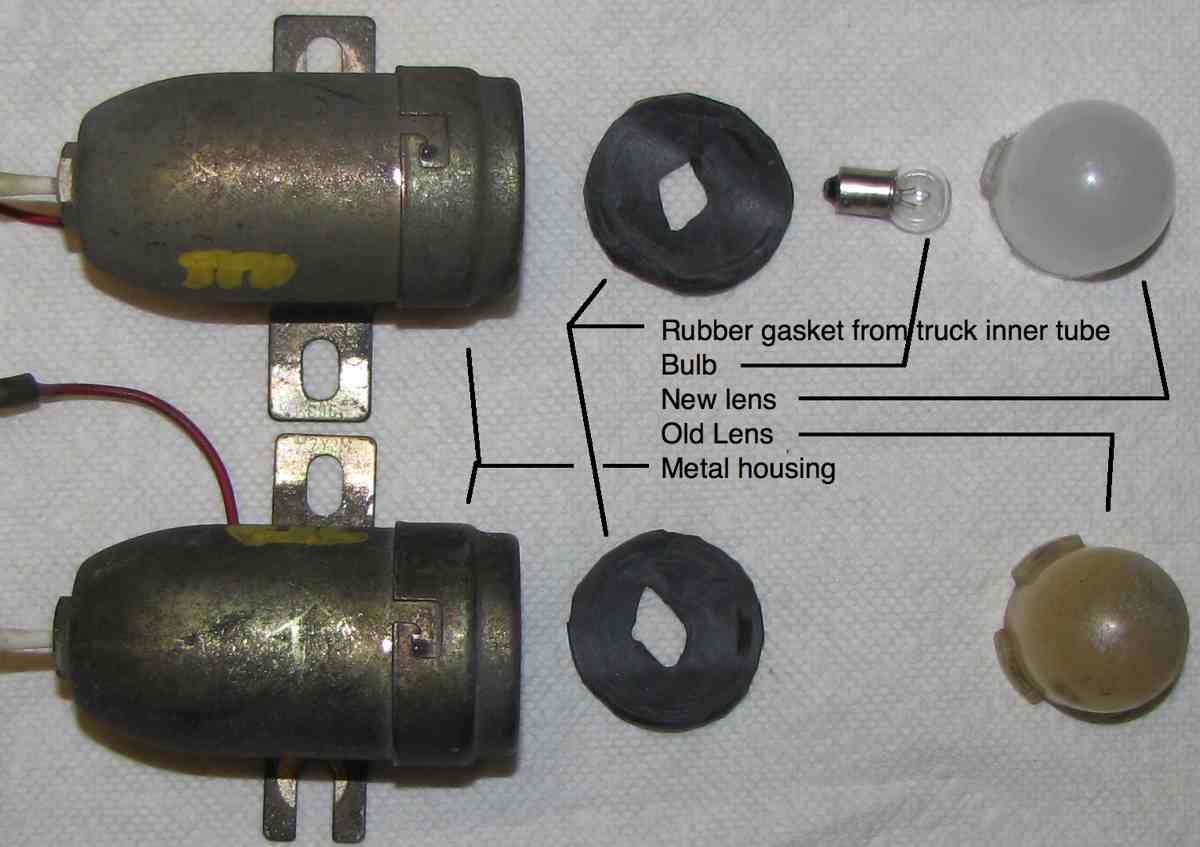
Pushing the new tube into the housing will take some hand force if you use the same size drink tube I did and will likewise take some force to pull it back out to replace the bulb however the engine bay light bulb will typically last for decades as it isn't often used. This easy approach will result in the best looking light lens as you won't see any cut/grind marks needed to make the new lens twist into place like the old one did if you try the same thing I did. Note that I also made two new rubber gaskets out of a truck tire inner tube to be a weather seal between the lens and metal housing as the existing rubber seals in the metal housings I have had deteriorated.
OLD lens/NEW Lens:....................Rubber gaskets:
 ......
The three pictures immediately below are also on this related thread:
http://www.classiczcars.com/forums/open-zcar-discussion/48344-240z-inspection-light-source.html
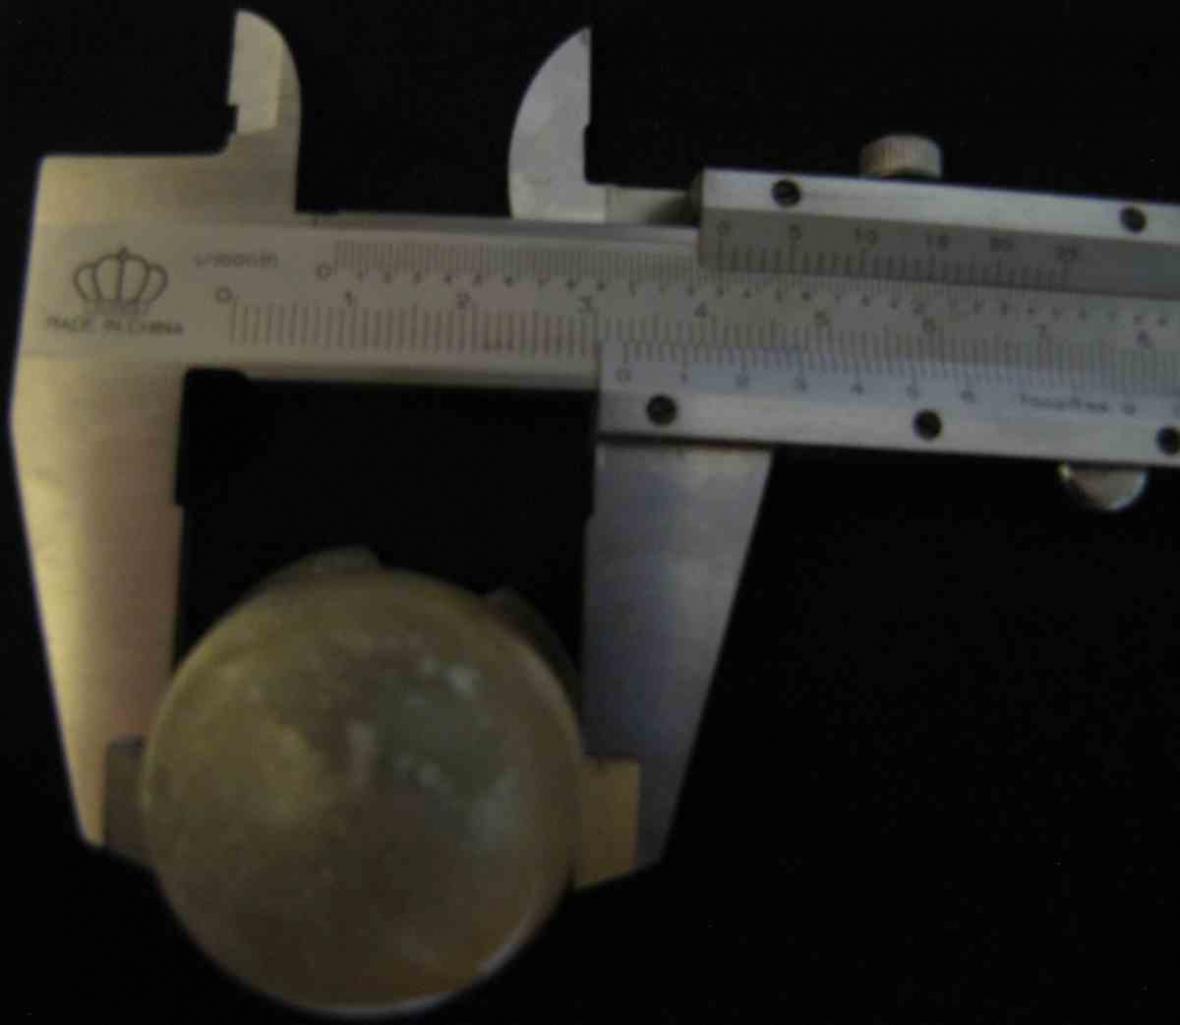
White translucent tube for new lens material:

DIA of new lens material 33.78 MM:..DIA of original lens 32.52 MM:
..........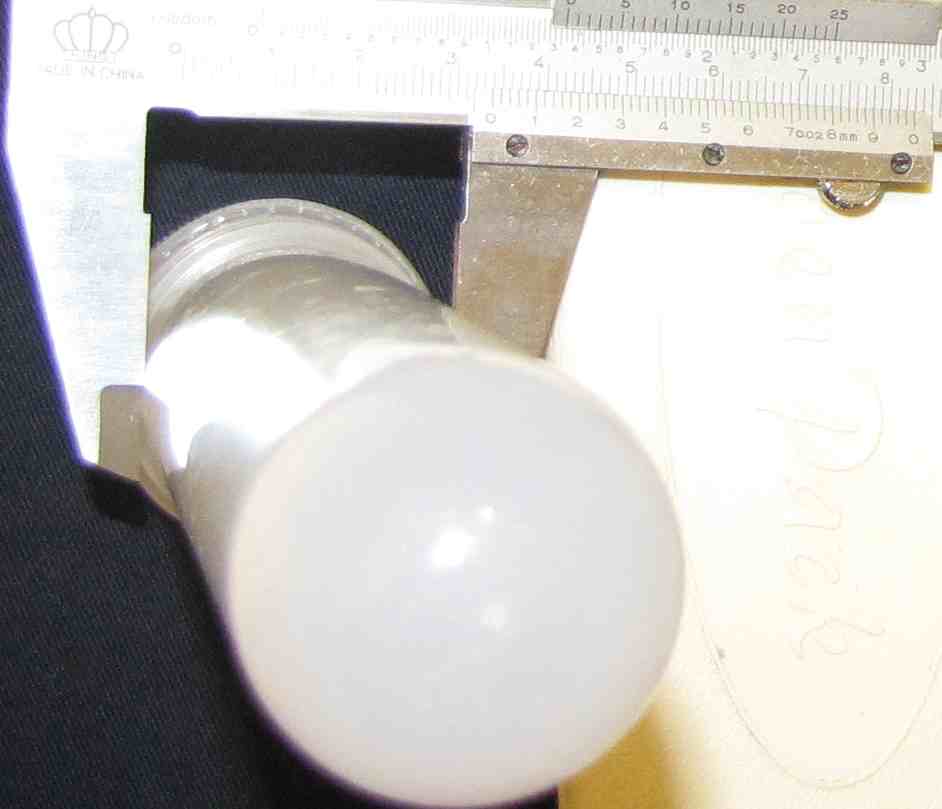 ....
....
******HARD WAY****** (see above for easy way to do this)
The goal of doing this the hard way was to duplicate not only the look of the original but the way it twists on.
1. Be sure any old rubber gasket or freshly made one is in place before doing this. I pushed the new lens into the bay light metal housing after cutting it off from the nutrition tube and put masking tape on it right up to the metal housing.
2. I drew a line across the top of the four tabs and extended this line the width of each tab in a counterclockwise direction from each tab as viewed from the rounded end. Each tab will slide in its own slot as the lens is twisted on. I also put a dot where each side of the four tabs were to be used in the next step.
3. I pulled out the lens and drew a straight line from each dot to the open end of the lens as a guide for grinding with the dremel small cylinder grinding tool.
4. I ground the area down between the three lines for each tab so the tabs will slide over that area easily.
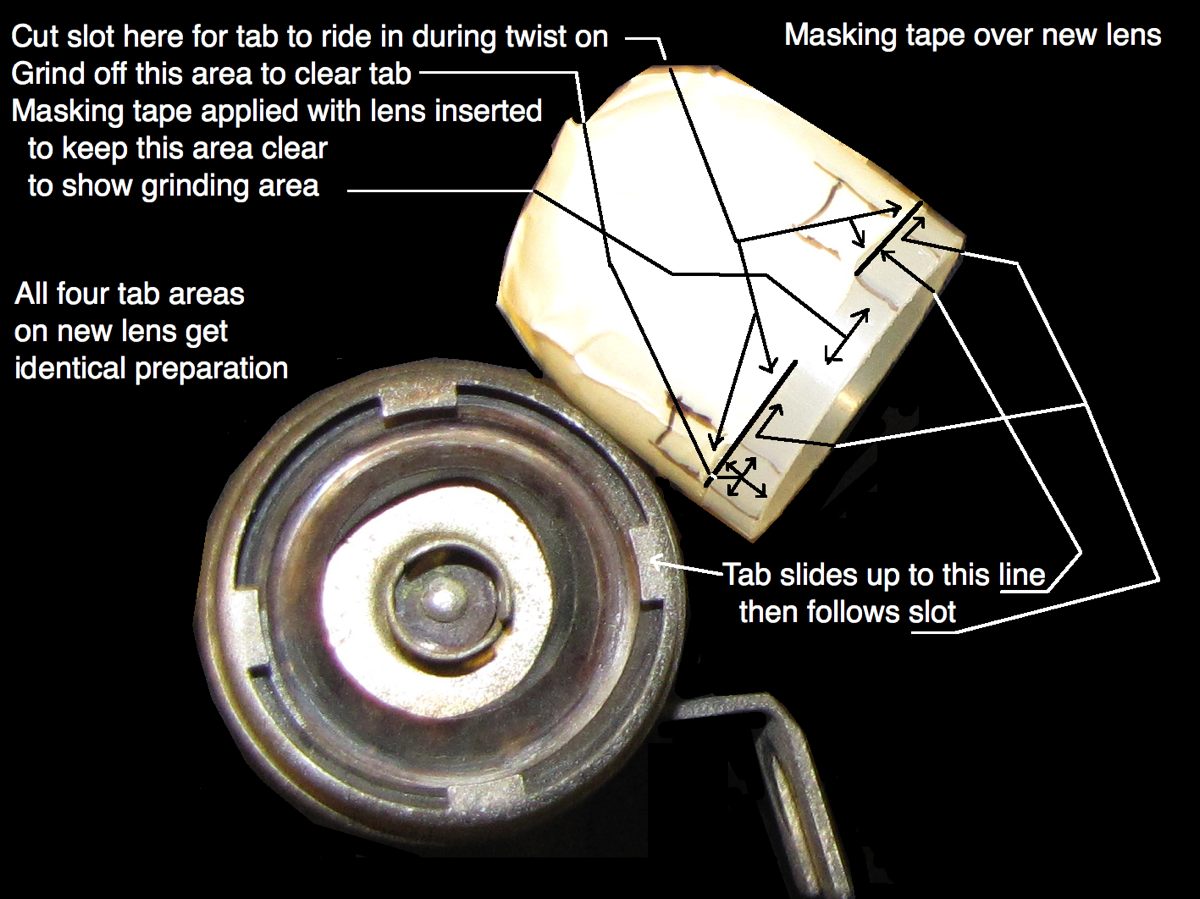
5. Using a dremel thin cutting disk, I cut the slotted line I marked earlier. NOTE: Don't do like I did, take time to cut a little at a time and then test to make sure you didn't cut the slots too deep. You want a firm effort to twist the lens into place so it doesn't come off. If the slots are too deep the lens will be loose and can be cocked over at an angle which doesn't look good.
Dremel tools I used:
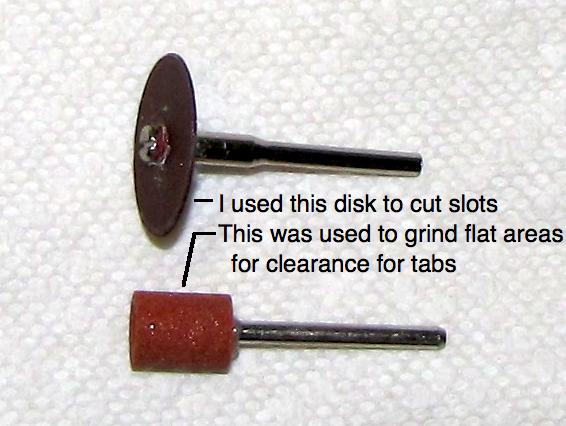
Note:
As the drink tube is much longer than needed it is possible to practice several times to get the plastic cut/ground off right. I cut off each practice session to give new plastic to practice with before cutting the tube to final length. Plastic slivers from the tube can be melted on with a soldering gun while positioned next to the slot towards the open end of the tube if needed to get rid of any looseness if the slots get cut too deep.

Recommended Comments
There are no comments to display.
Create an account or sign in to comment
You need to be a member in order to leave a comment
Create an account
Sign up for a new account in our community. It's easy!
Register a new accountSign in
Already have an account? Sign in here.
Sign In Now