madkaw
Community Member
-
Joined
-
Last visited
Everything posted by madkaw
-
I'll make note that we think error is with Isky because he did the same to me as far as supplying the incorrect cam card with the cam. I have dialed in my cams using the retainer as the measuring point. Schneider had no issue with this method but warned of faulty numbers because of the inconsistent rocker arm ratios . I try to be careful to get the dial indicator in line with the angle of the valve . Reading are only done at .050 valve lift which in my understanding is the standard to method so help deter the ramp effect . The other problem we are seeing is that cam lobe center numbers don't add up to the card based on my math, but I am truly a novice at this . Sent from my iPhone using Classic Zcar Club
-
Lumens , I like this diagram since it puts the tach back in series with the coil. I will try it Sent from my iPhone using Classic Zcar Club
-
Certain combos caused some twitching of the tach but usually the engine wouldn't start . I can wire a complete MS 3 unit in my car but this is messing with me.
-
My understanding is that the 3ohm coil eliminates the need for the resistor. I could wire it back in but have doubts that's the issue
-
Just did a Pertronix ignition swap on a 72 automatic trans. It had the dual points dizzy but I swapped out with a single point before doing ignition swap. Engine runs fantastic, but I've lost the tach somewhere in this . The auto has additional wires that might be part of my issue. I did away with the ballast and tied those wires together . They seem to have no bearing on whether the engine runs or the tach works- which kind of confused me. The autos also had this relay set up for the secondary points, not sure if they are tied in somehow to the tach . Any insight would be appreciated
-
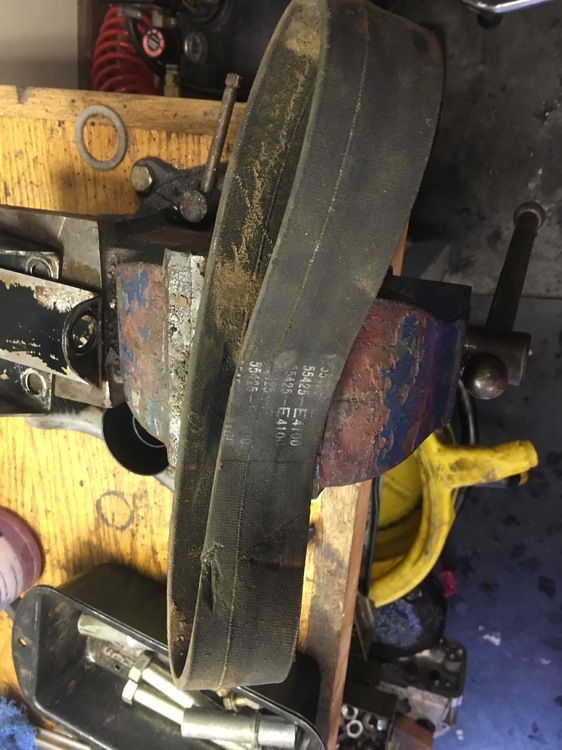
It's like tire material -steel belted radial type. Thicker than the original
-
I fixed my ears on my front carb- pierced them with new holes. Tired of trying to set the float tang for the wrong size needle and seat. Got out the drill and punched new holes- didn't even measure - I was pissed it was taking this long to set flit levels. I have been using the "Float Sync " tool I bought but had a few issues with them too. They don't like gas in them too long I guess - but other than that- pretty handy Sent from my iPhone using Classic Zcar Club
-
Blue stuff looks a little weak compared to what I just installed from Z car depot or the stock one I took out. Sent from my iPhone using Classic Zcar Club
-
I can see it right now in this thread? Sent from my iPhone using Classic Zcar Club
-
I just installed the stock strap ( new) with new mount on the 72 . I saw the strap mount bolts ( large ones) were going to be a PITA with the amount of tension on that strap. I had the diff out and had the diff mount mounted-( mouthful). I pulled the crossmember and bolted it to the diff mount and jacked everything in place at once. I used a trans jack and it was quite effortless . I didn't see anyway I was going to get that strap in with the diff there. I was actually impressed how snug and well it all fit and thought - why the hell I did the RT mount. Sent from my iPhone using Classic Zcar Club
-
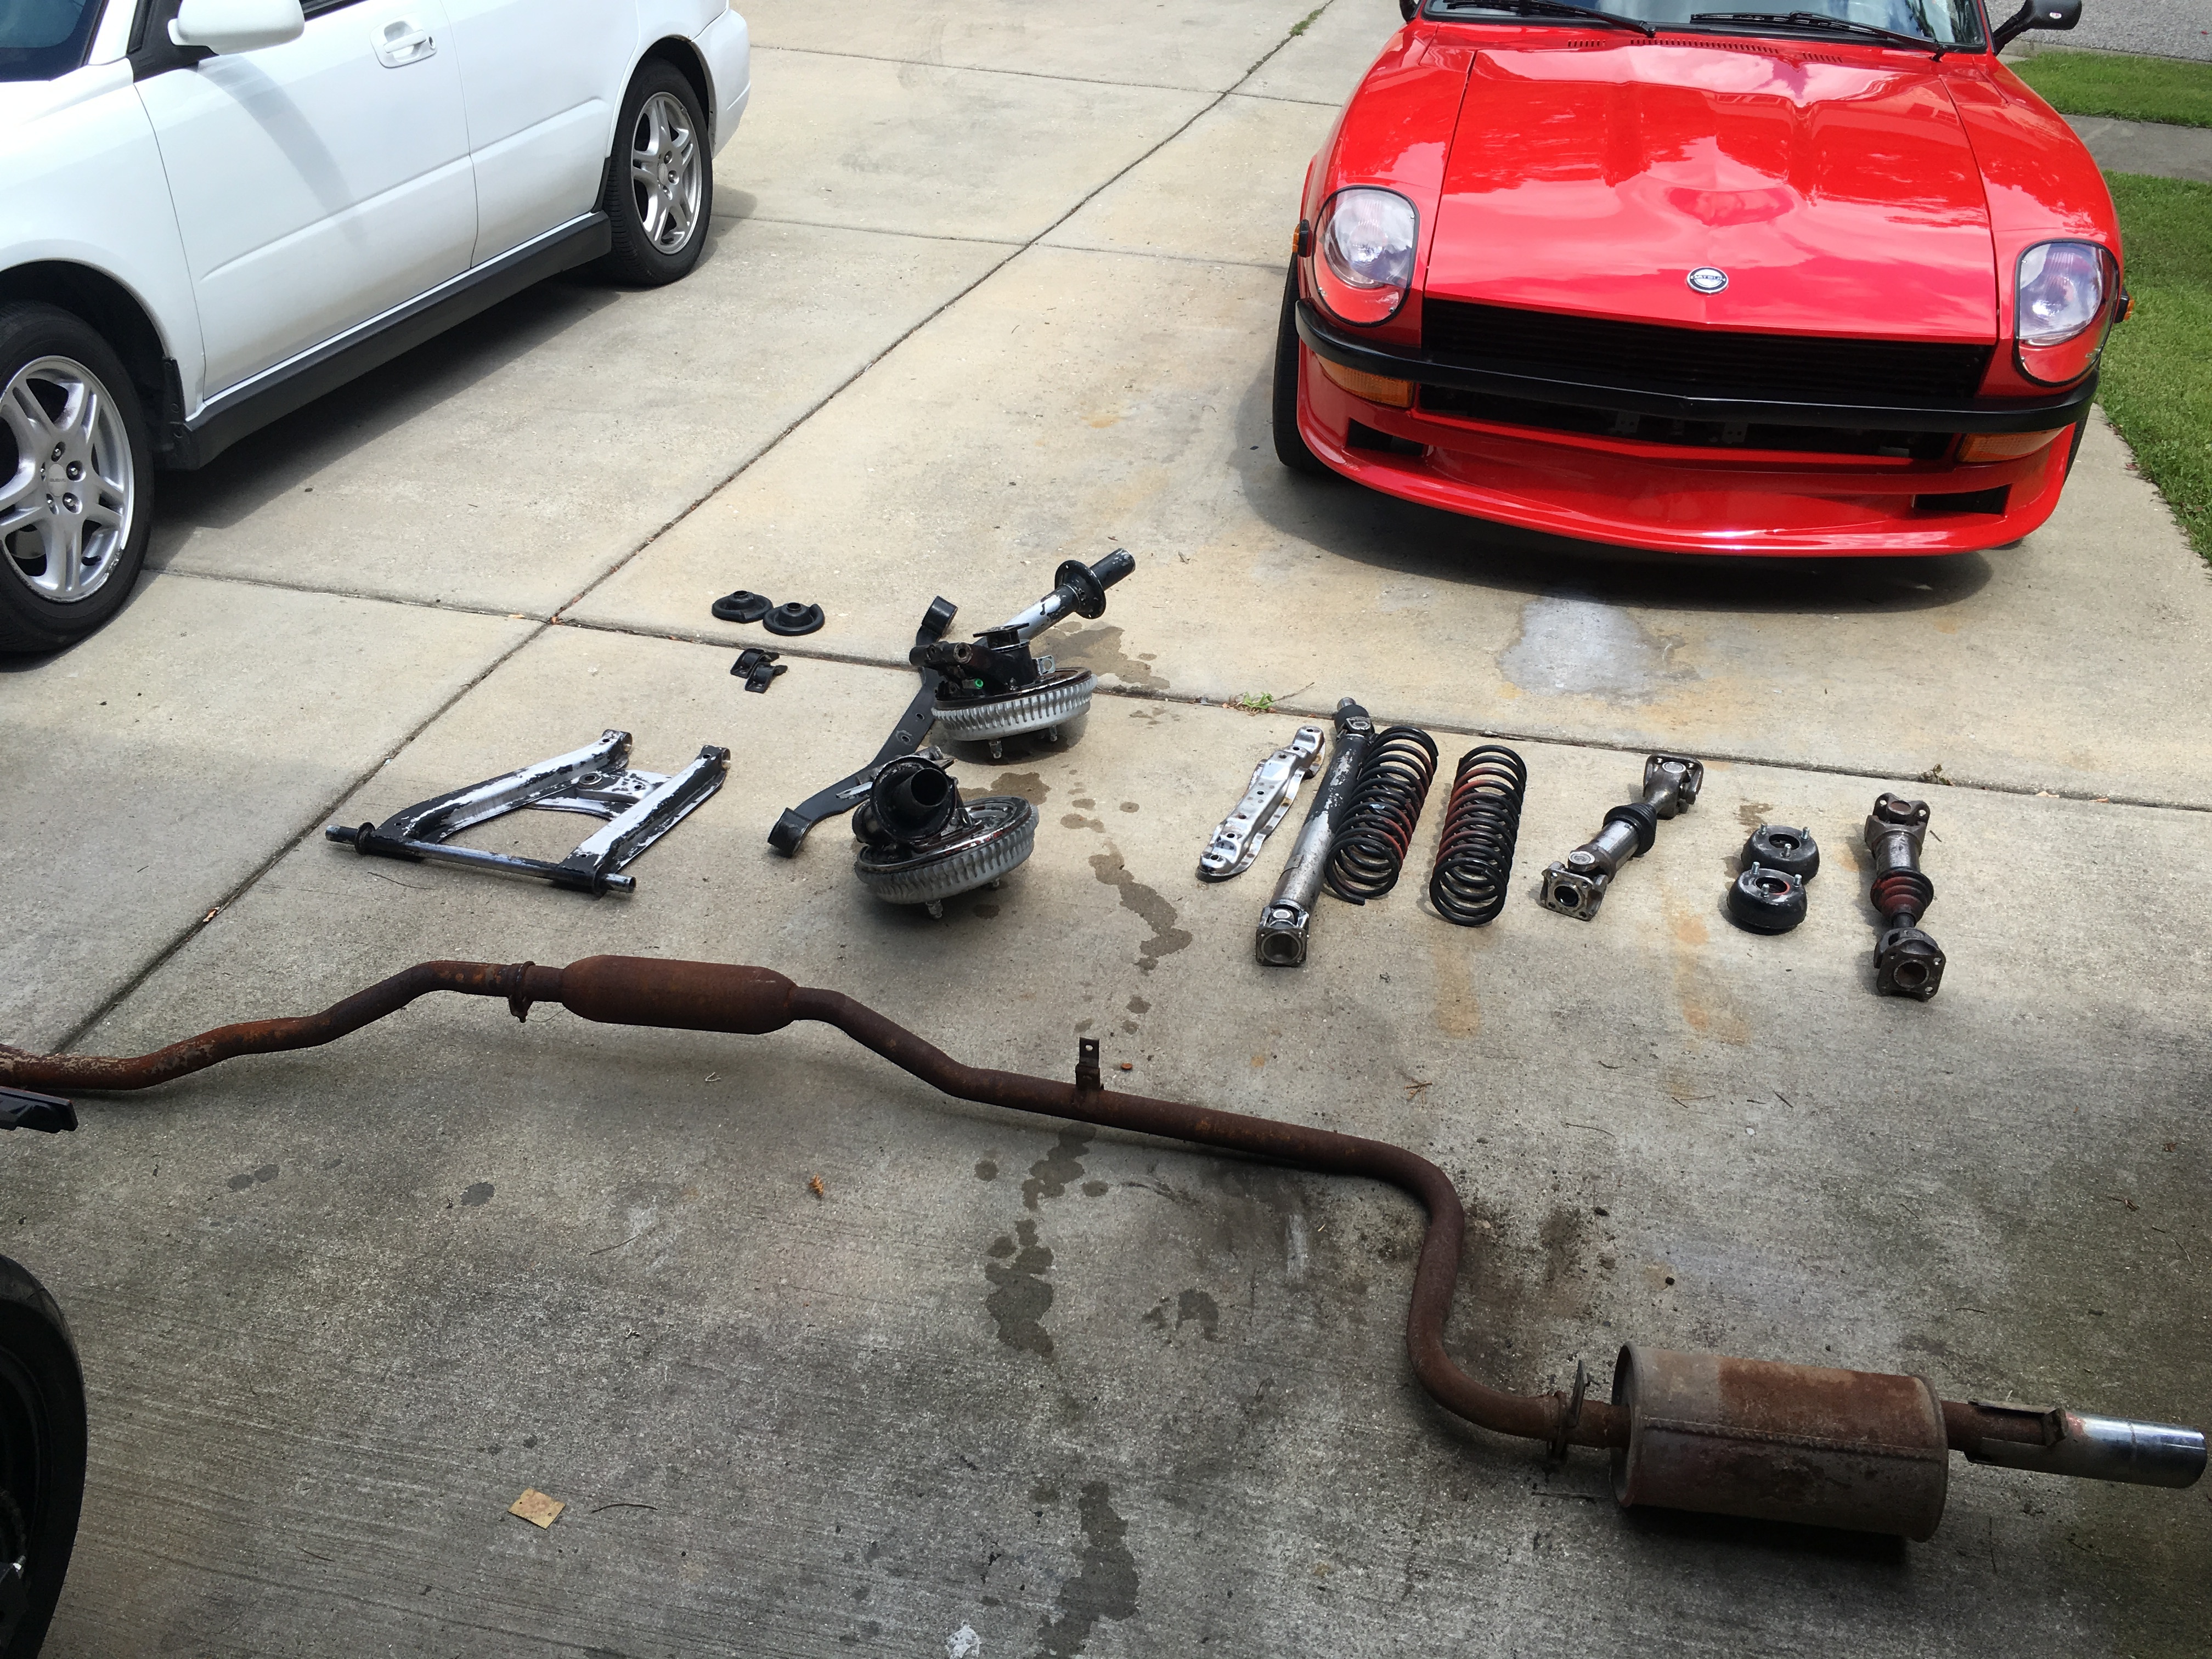
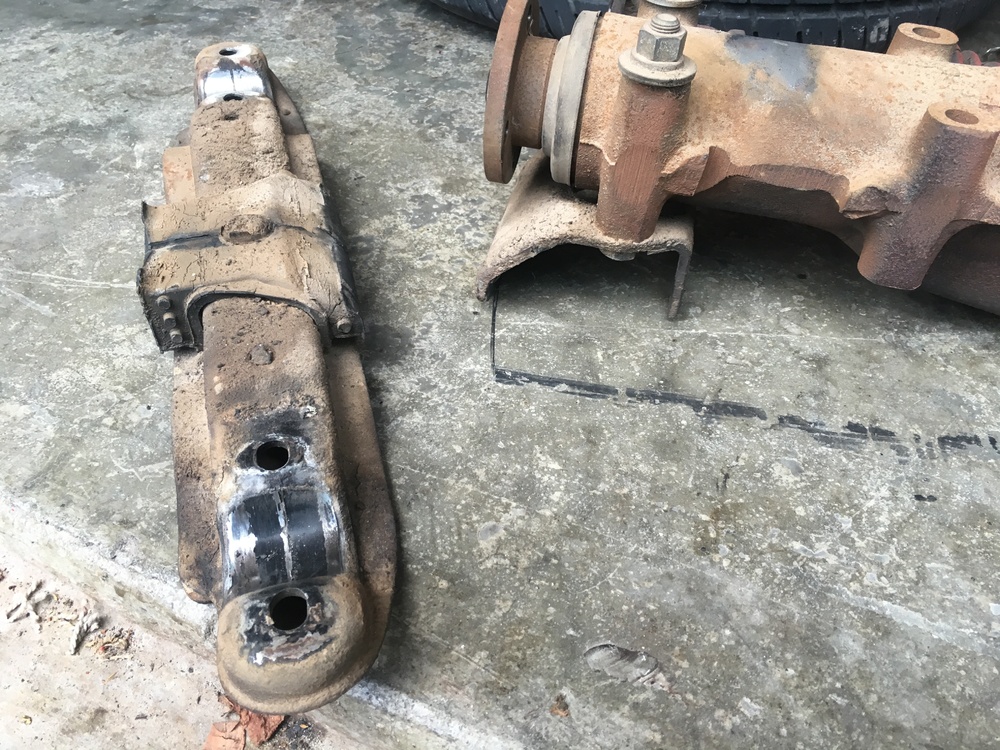
Well the front suspension is done and moved on to the rear . Same story as up front with dry poly bushings, and throw in there a totally separated front diff mount . The original arrestor strap did its job and kept the diff at bay. Found a few bolts not torqued and a bad spindle pin, but everything is repairable - and almost done. All new rubber bushings back in and stock mount and strap for the diff. New spindles all around . Hope to have it her own her own legs today, but will see. Half shafts getting new universals and boots with the main driveshaft also with new joints. Can say enough about how nice it is to work in a rust free machine. We haven't had to replace hardly any hardware and it still looks good too

-
Just looked it up and looks the same for both versions- get er done:)
-
Though there are different versions , I believe most need a pull up resistor for a VR sensor. There are also pots to adjust inside on the board . It's a steep learning curve but you'll get it . I've been told the ignition is the hard part with MS , fuel is easier .
-
-
Just noticed that link went to just the manual . Go to section 5.2.2
-
Not sure what version you have , but it needs to be set up for a VR sensor to read your crank sensor. Both hardware and software needs to be addressed . http://www.msextra.com/doc/pdf/html/MS3XV30_Hardware-1.4.pdf/MS3XV30_Hardware-1.4.html this might get you started . It's a steep learning curve and I have to review it myself. I set mine up years ago it seems, but going strong. You might have to play with the air gap to. I run a hall sensor which may be a bit different , but I think the board is set up the same . Just noticed this thread , sorry I didn't chime in earlier - trying to restore a 72 in my spare time- lol. Feel free to PM me . I haven't touched my MS for a long time, but it's been dam reliable I guess
-
-
The booster repair shop I talked to said the Bendix boosters were pretty good about getting parts for. All I did was tell him what part was bad and measured for a replacement . You might be able to do the same.
-
Is yours repairable ? A lot of boosters the vacuum seal on the rod goes bad and it won't seal. I called around and found a replacement seal for 7.50$ . The rest was just cosmetics Sent from my iPhone using Classic Zcar Club
-
Sent a PM, never got a response Sent from my iPhone using Classic Zcar Club
-
Love everything but that spoiler - no pun intended - . It needs color. Sent from my iPhone using Classic Zcar Club
-
Regular pump gas? So you willing to run premium grade?
-
I am going with Rebello plan just for all these reasons. Better rod angle and Pistons choices. He seems to cover both by offset grinding which gives a journal size for eagle rods. Too much sciencing for me , so I will leave to the experts. I am happy to put all the pieces together which will save me some monies:) Your CR seems a little conservative especially if you go bigger cam- which I would assume you will. I'd bump it up a whole point if that's the case-
-
Yes I was referring to piston height , but sounds like you have it covered . So these will be custom Pistons or did you find some that worked from another engine to get that pin height?
-
How are dealing with the 3mm