madkaw
Community Member
-
Joined
-
Last visited
Everything posted by madkaw
-
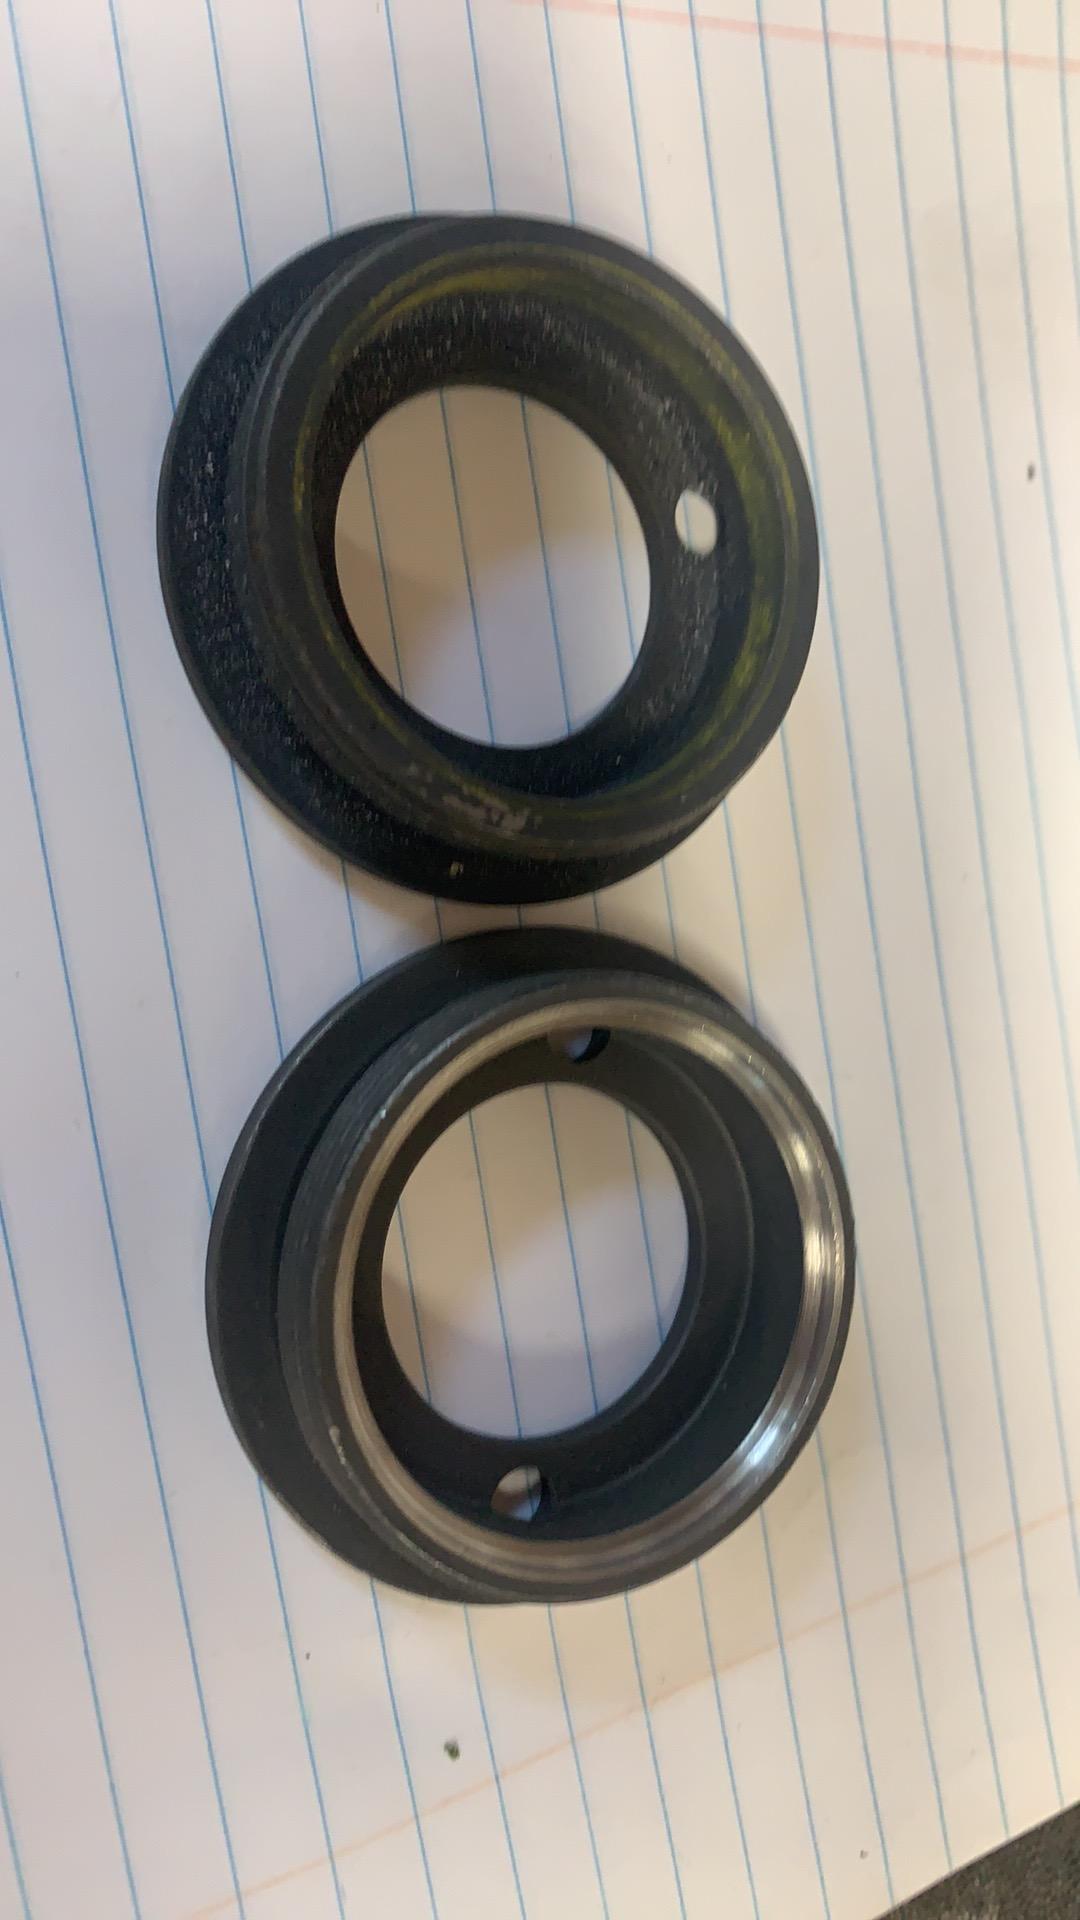
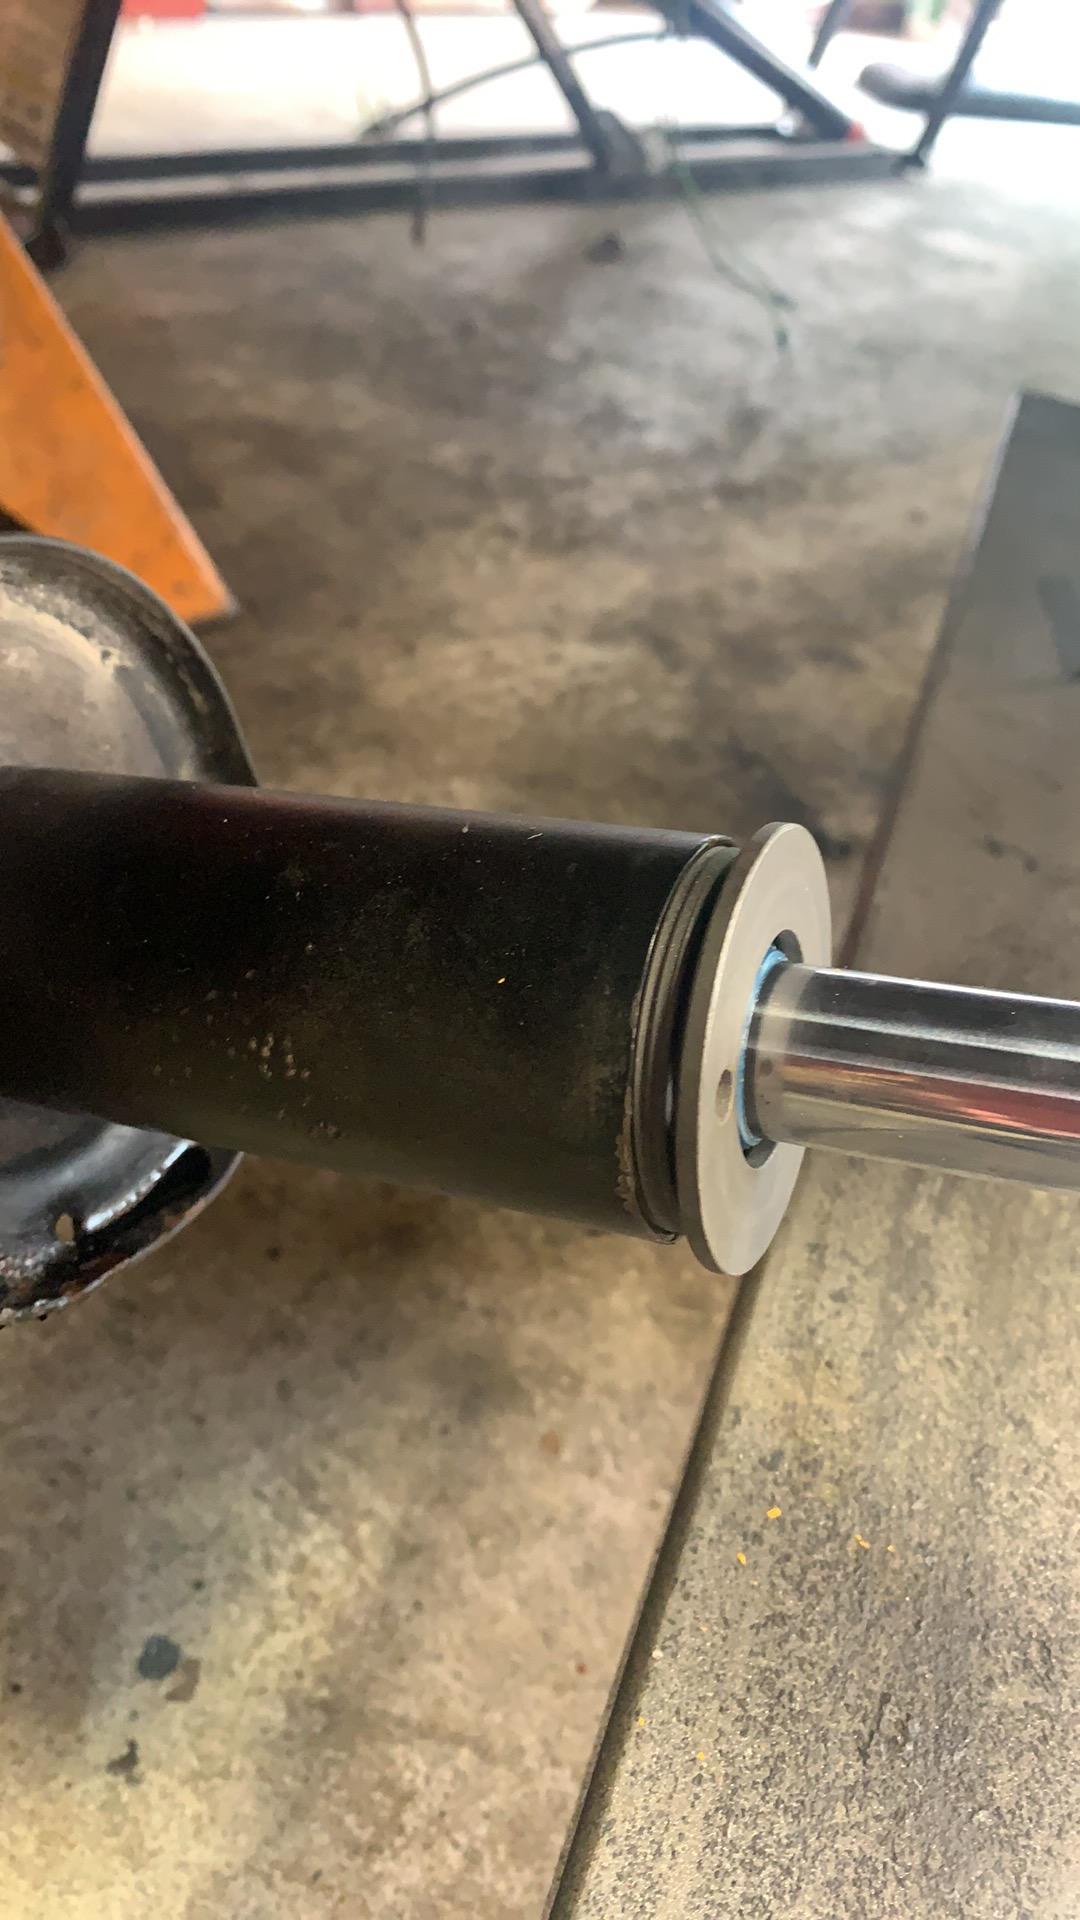
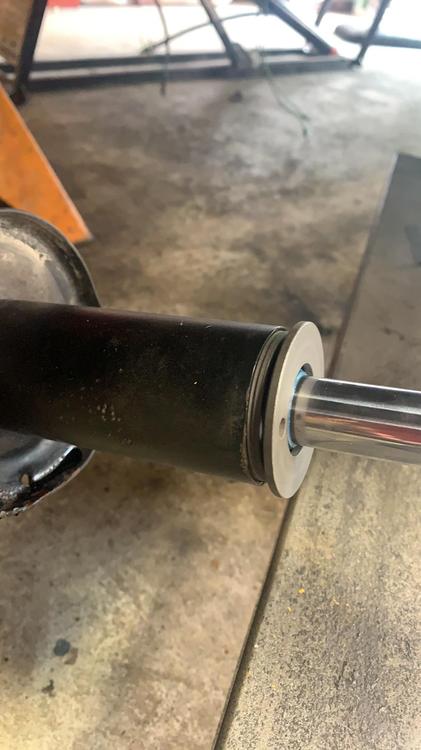
So disappointed that the modified gland nuts do not get the job done . Even modified I only have 1-1/2 turns on the gland nut . Still showing 6mm of nut . They only machined off 2mm when they should have done 4. Called MSA - and it’s basically my problem . It’s my fault that the strut tube has a factory weld bead at the bottom . I could somehow grind the weld down at the bottom of the tube - yeah . So these modified glands are not a guarantee that these will fit your early Z . My car being a 9/71 isn’t that early - but early enough I guess . Now I get to pay a machinist to modify the modified gland nuts that are supposed to fit my year car - woohoo. Not much sympathy from MSA , they just sell the shocks .

-
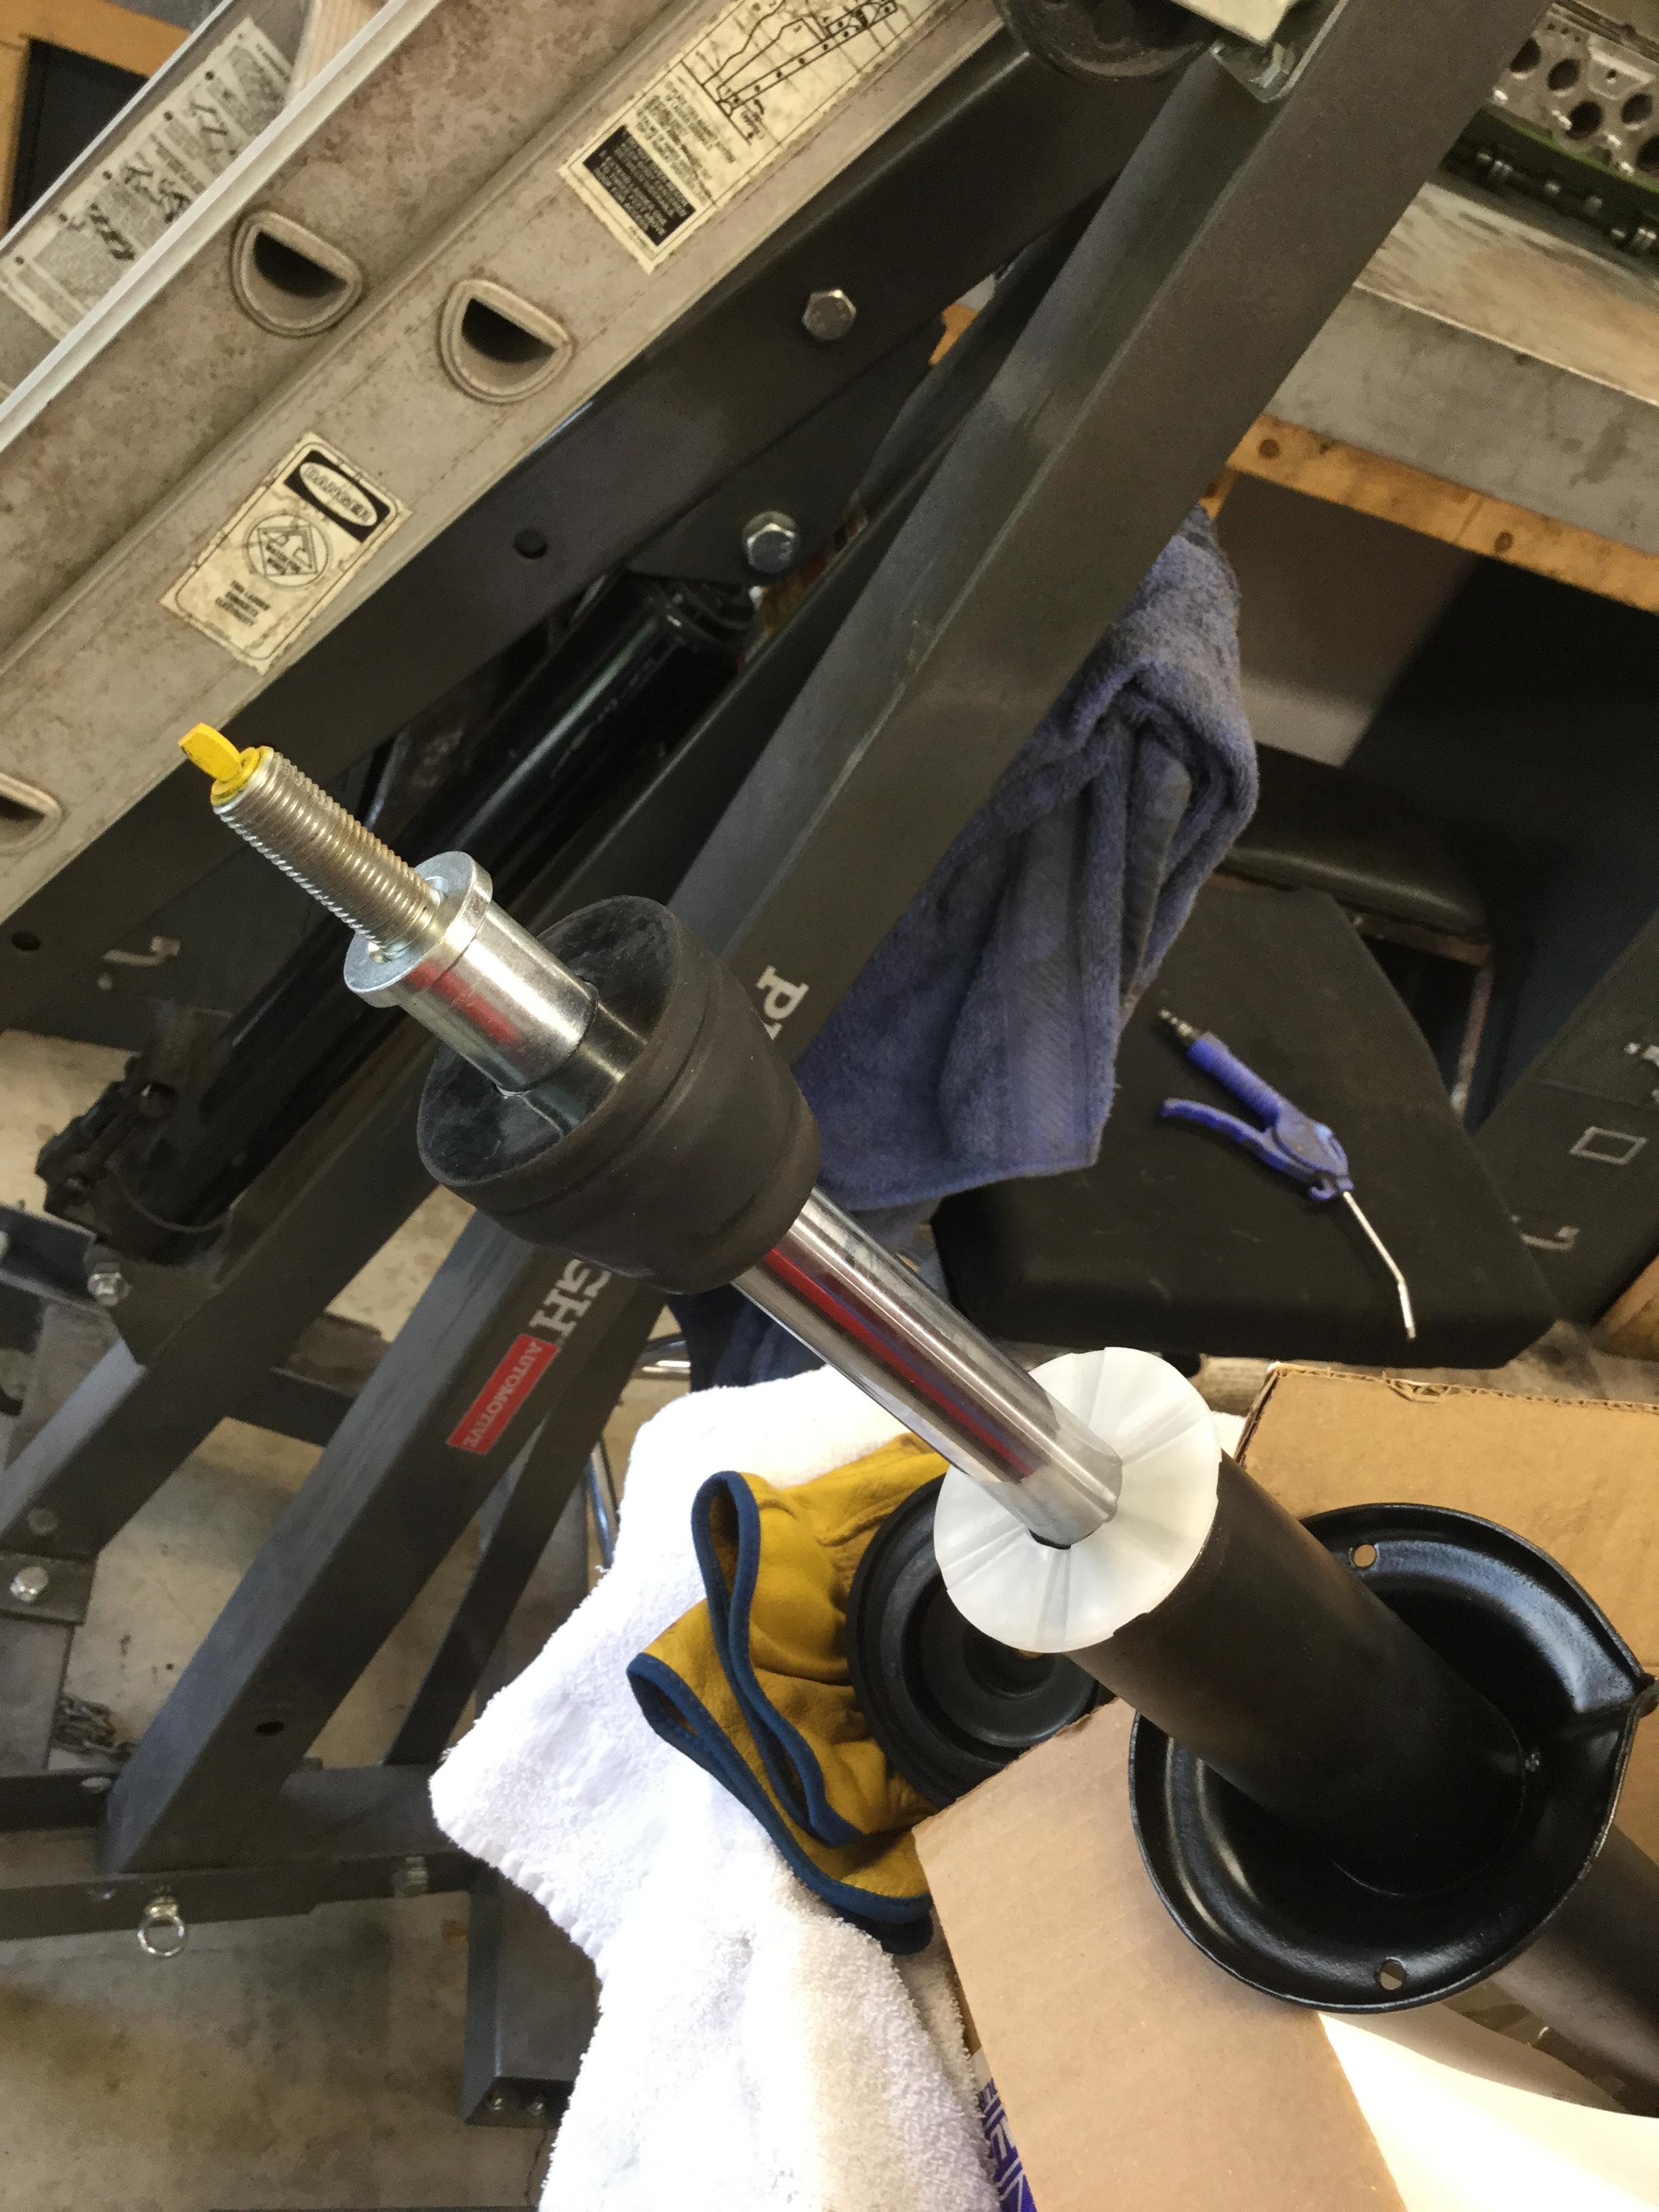
The steel bushing orientation was not discussed earlier in this thread , that’s why I posted the question . AK260 showed what he did for orientation , which seemed to make sense , but now you show the bushing flipped the other way . It would seem to me that AK260 has it correct to extend travel of the bump stop . It would be nice to get some clarity from KONI .
-
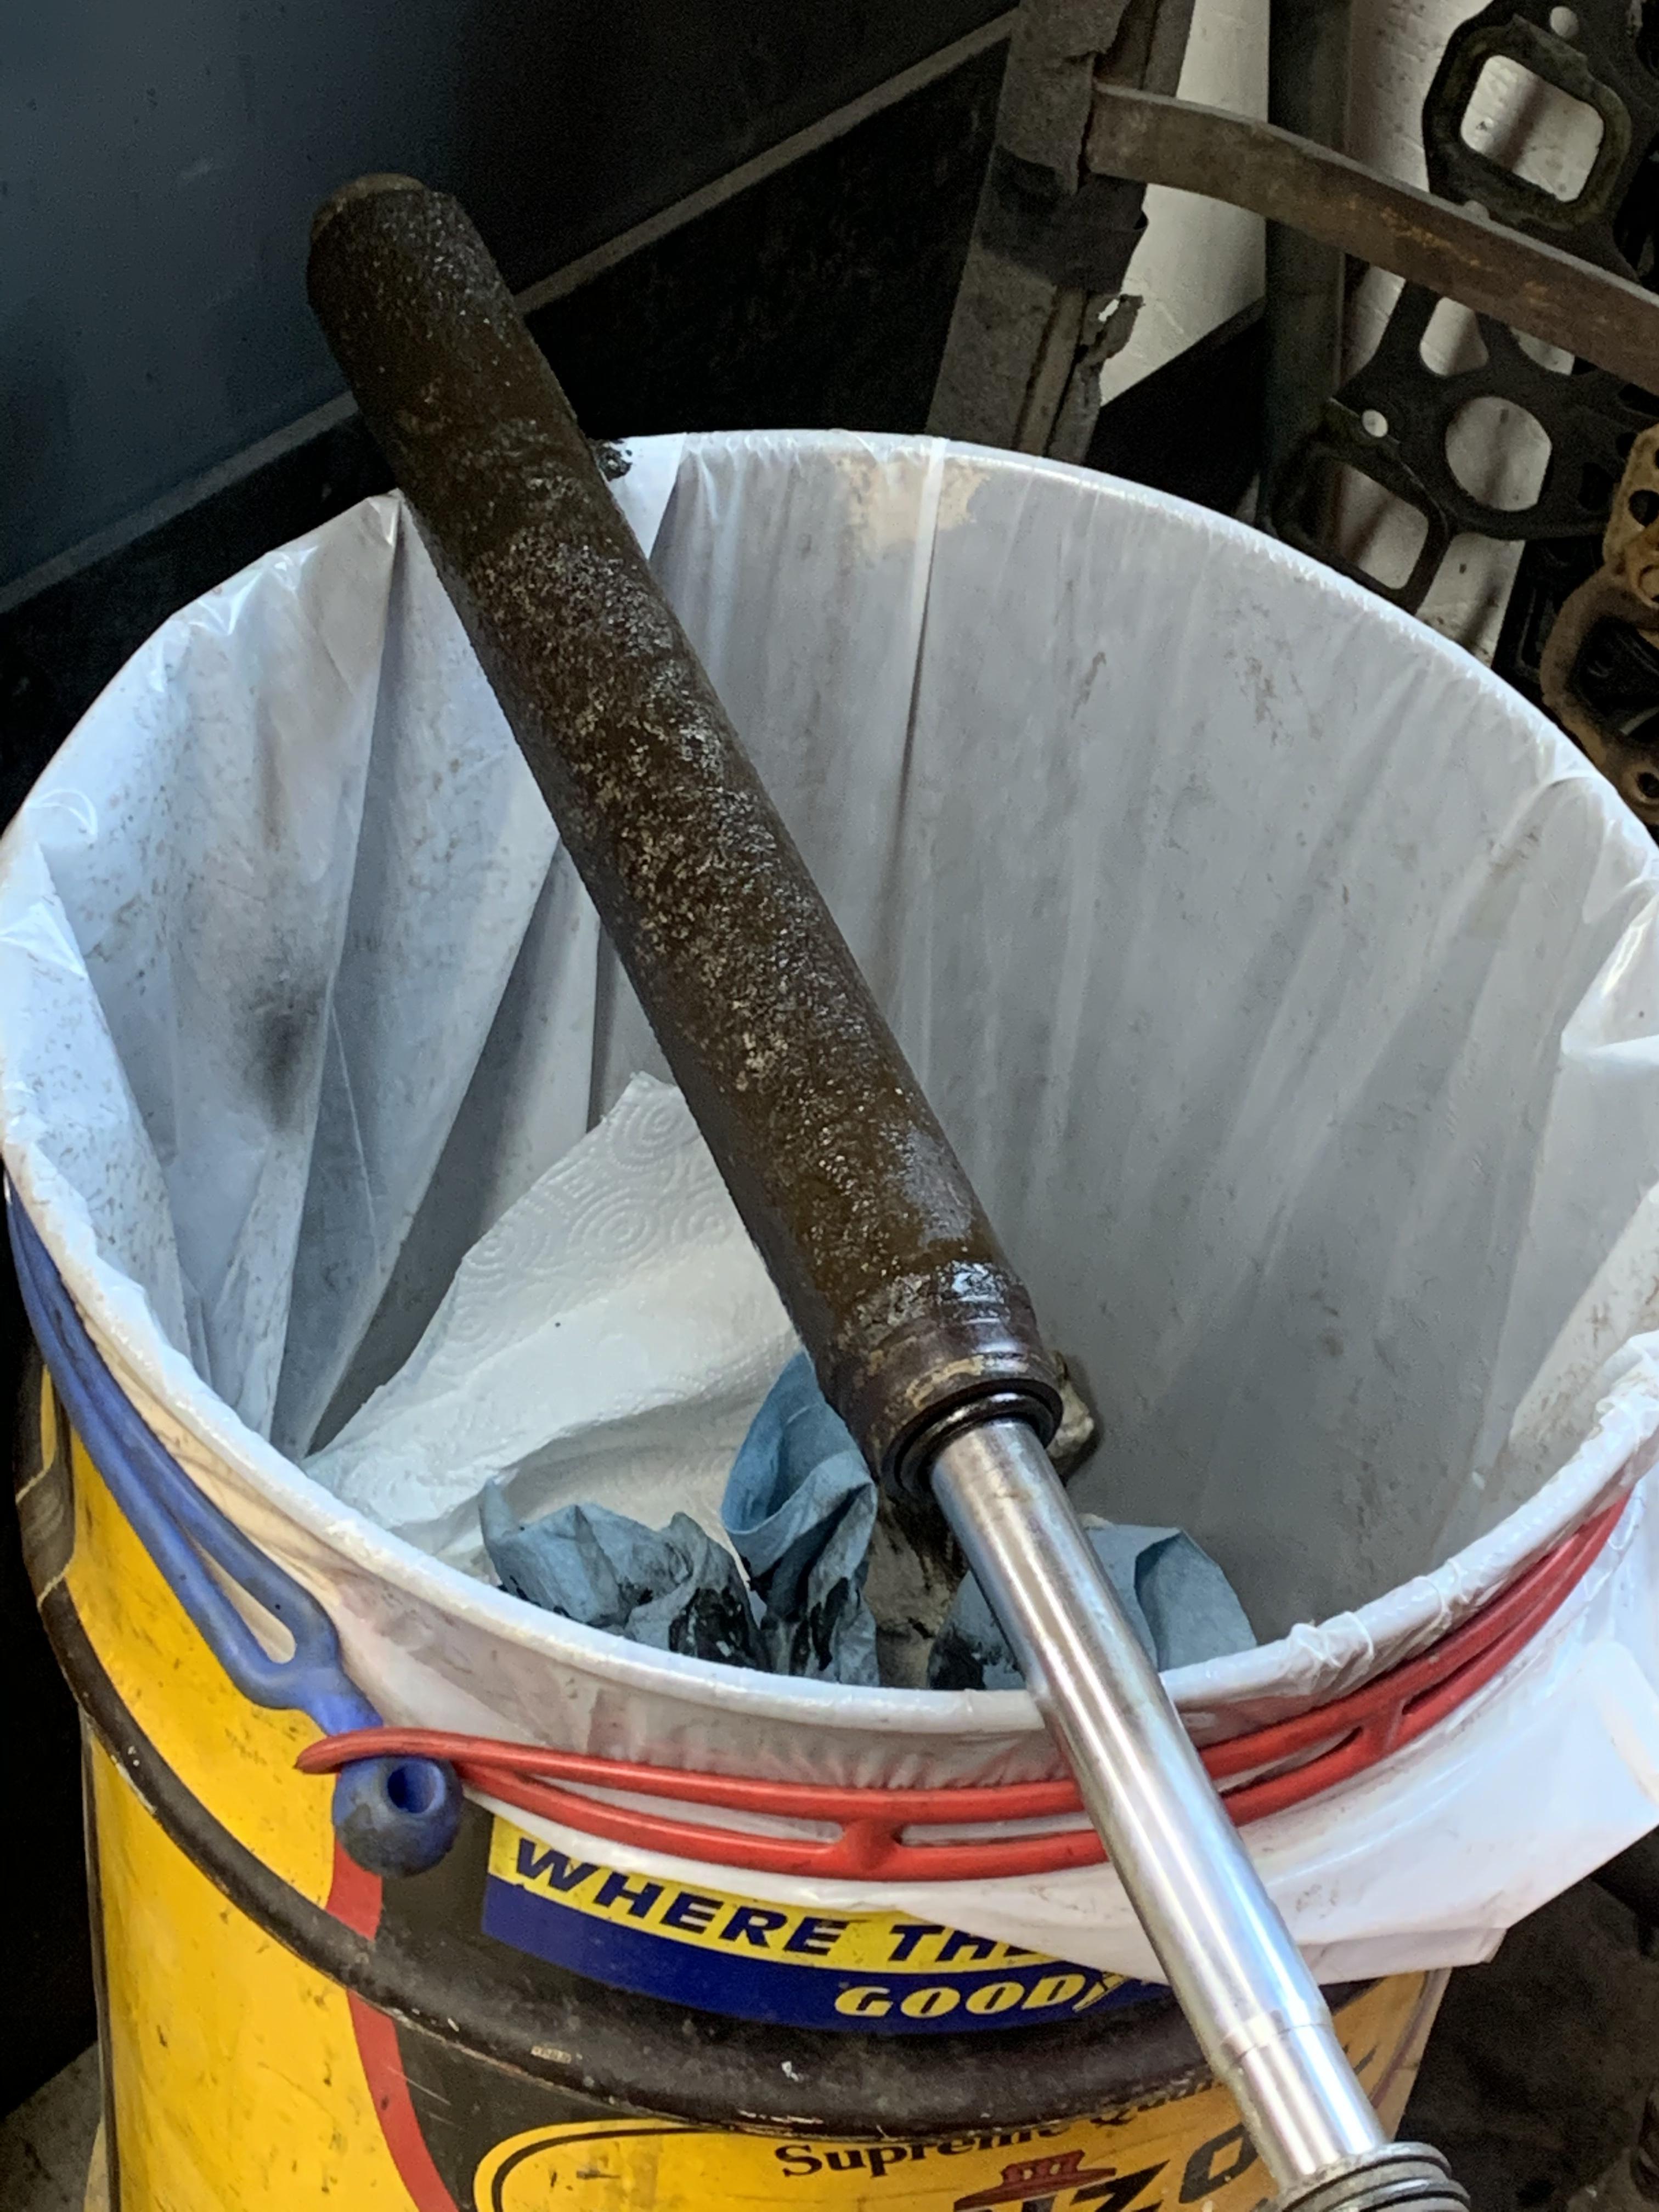
KYB’s . It looks like a hefty weld bead on the bottom of the strut assembly . The KONI is wider at the bottom of the cartridge, and I believe the cartridge is hitting the weld bead . KYB’s also have that small pedestal on the bottom of its . The cartridge should have been shorter . The last red Koni’s I took out of my 70 had the gland nut integral with the cartridge .
-
MSA is sending me different gland nuts - probably as in the previous post - chamfered so they will fit .
-
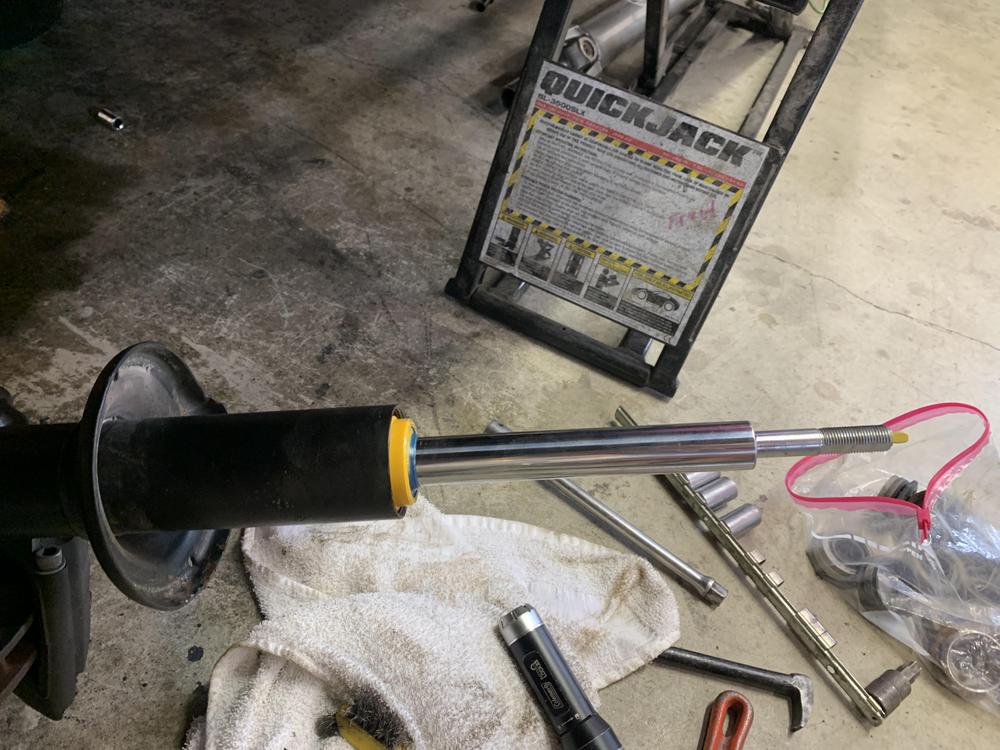
Looks like I’m in the same boat with the fronts too tall for the gland nuts - 9/71 Almost didn’t get one out too! Well I didn’t have much hope for Zcon - but all hope is gone . Not enough time in the day

-
That’s what I thought -but wanted to make sure
-
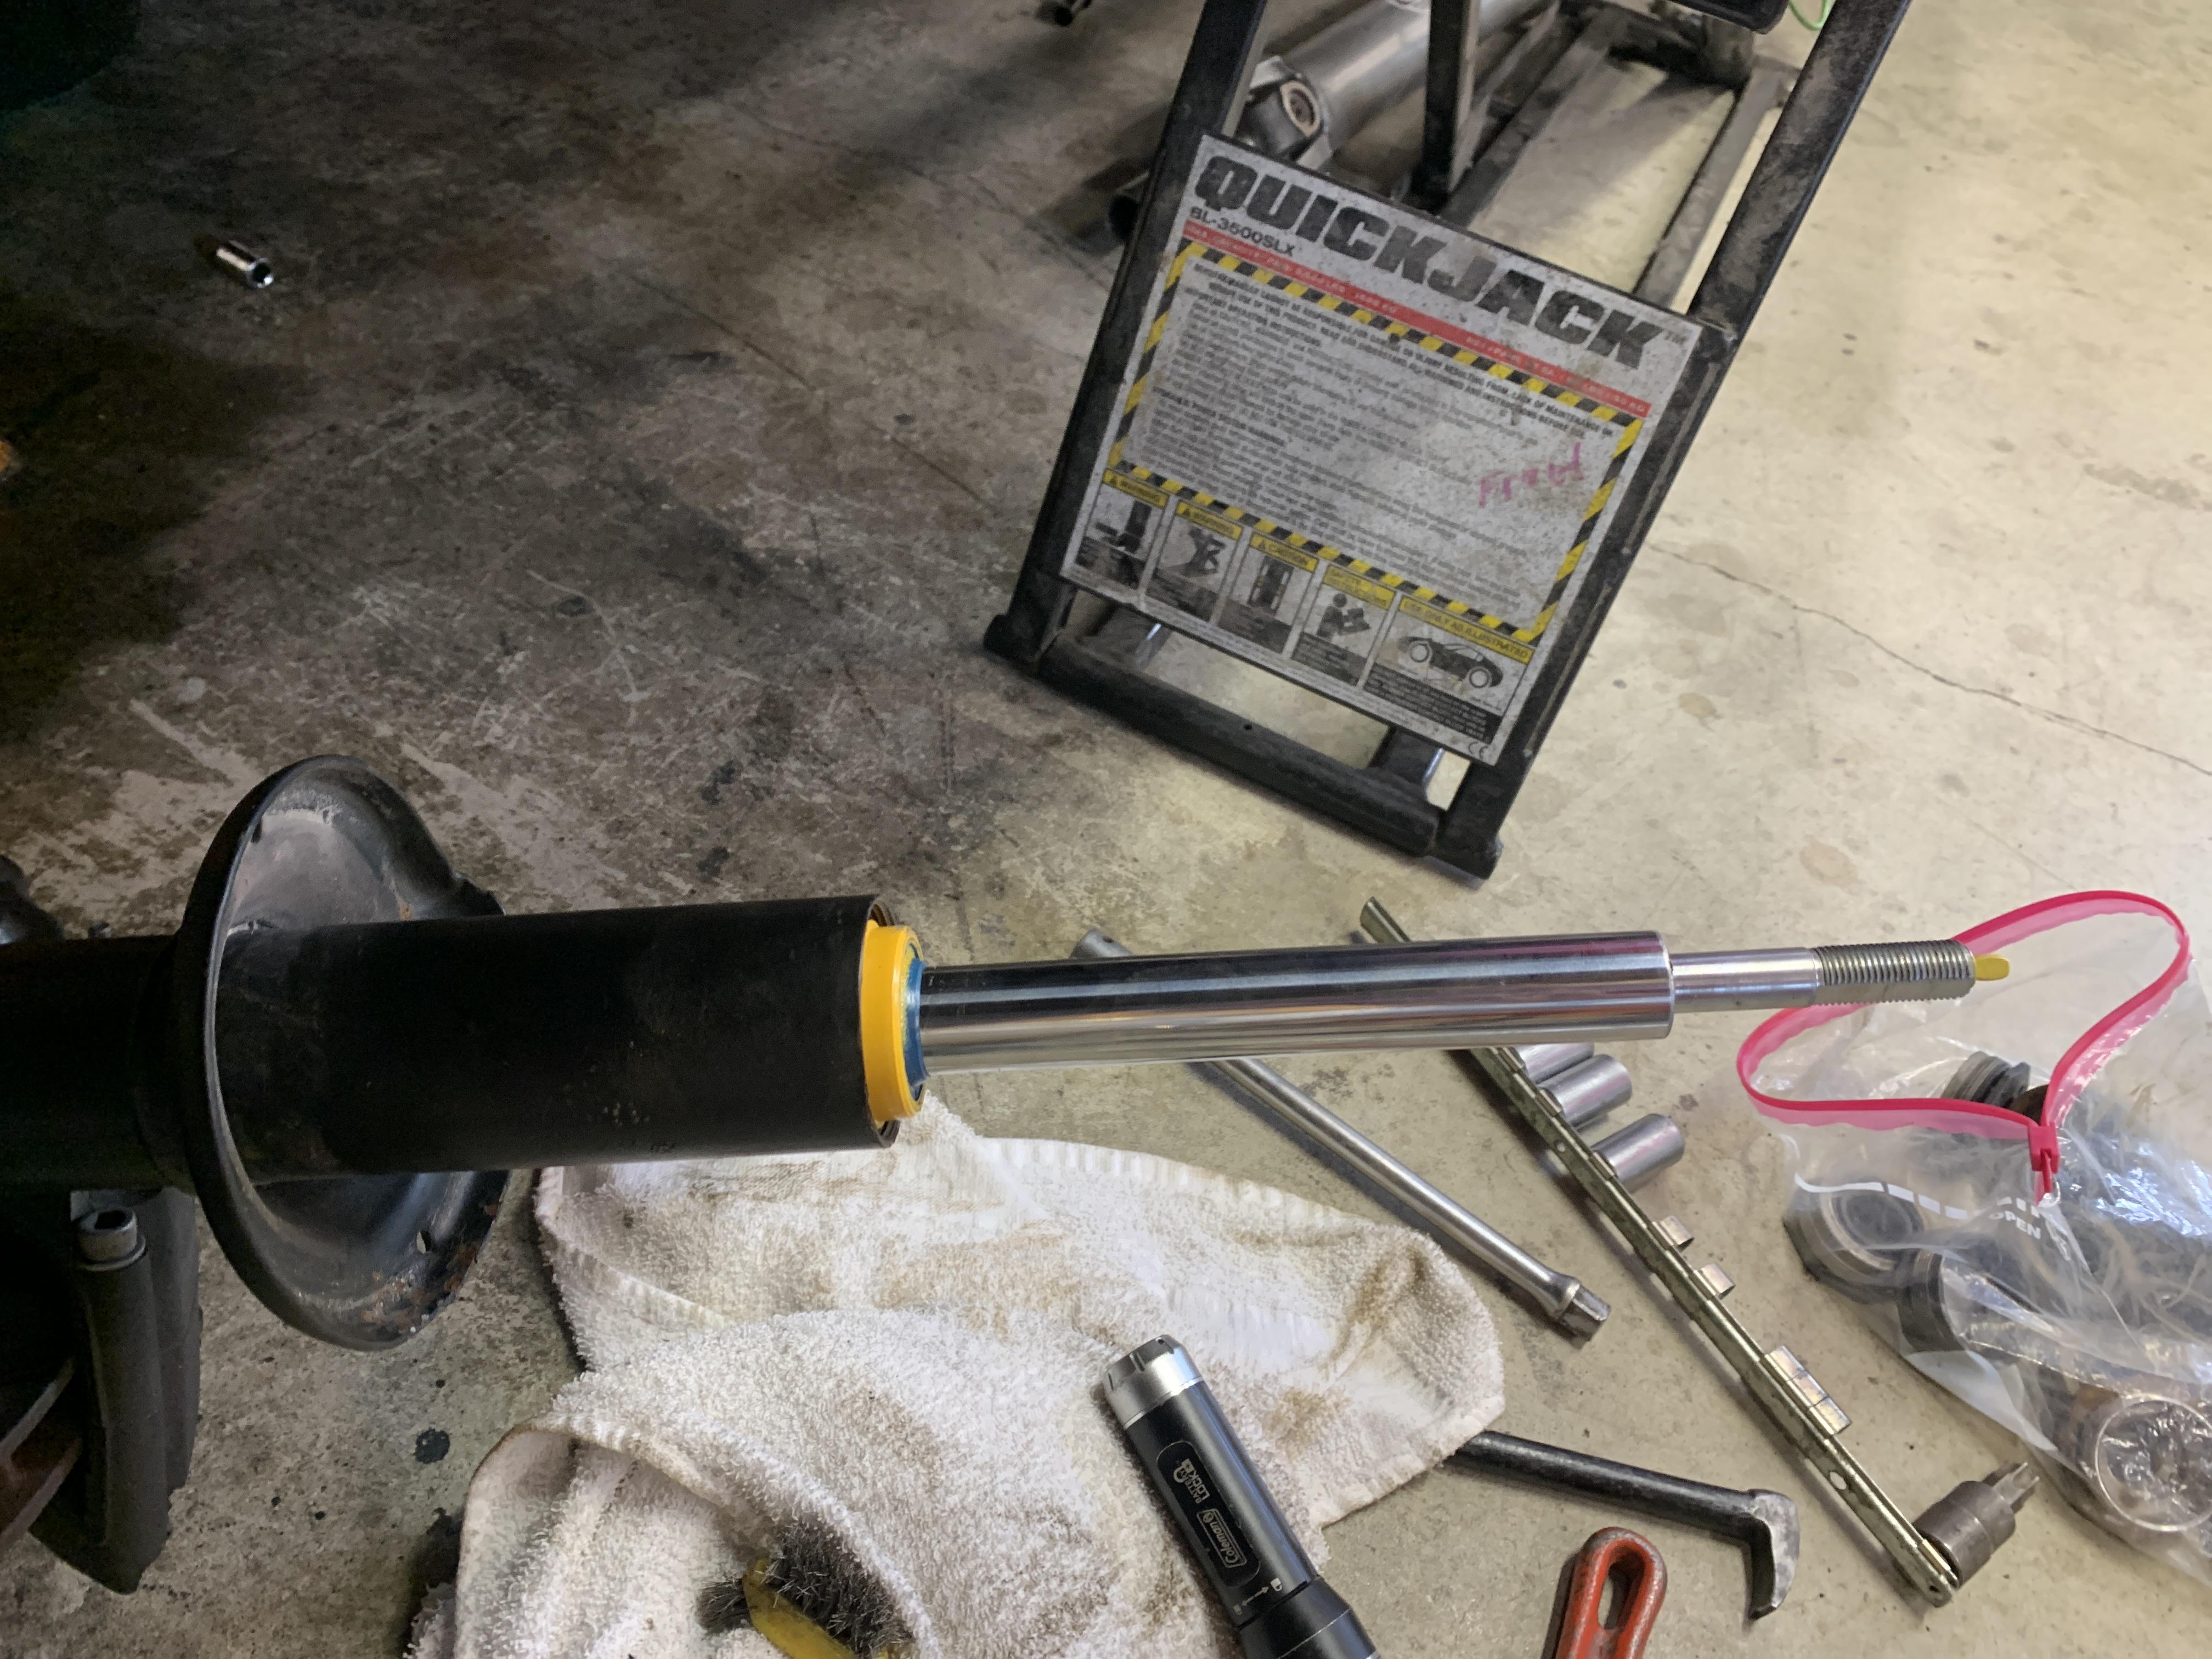
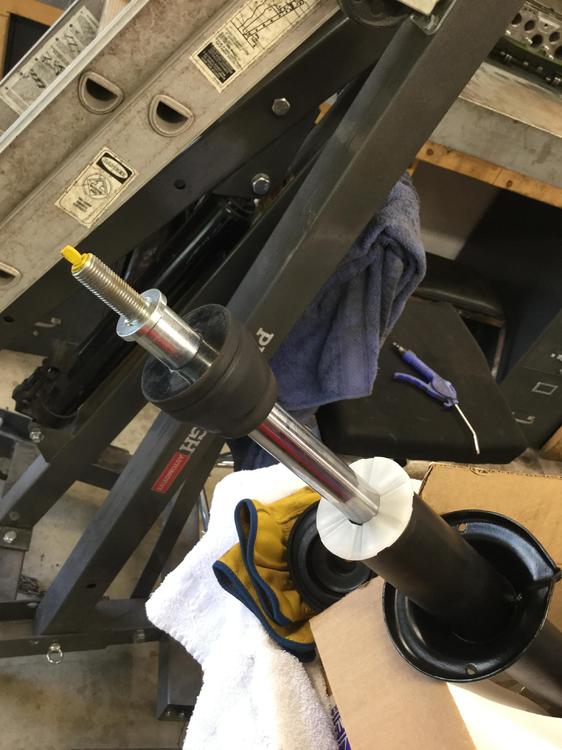
Steel bushing guys - on top of strut piston ! Is that on correctly ? What is it’s purpose? My KYB’s do not have this . Anyone ?
-
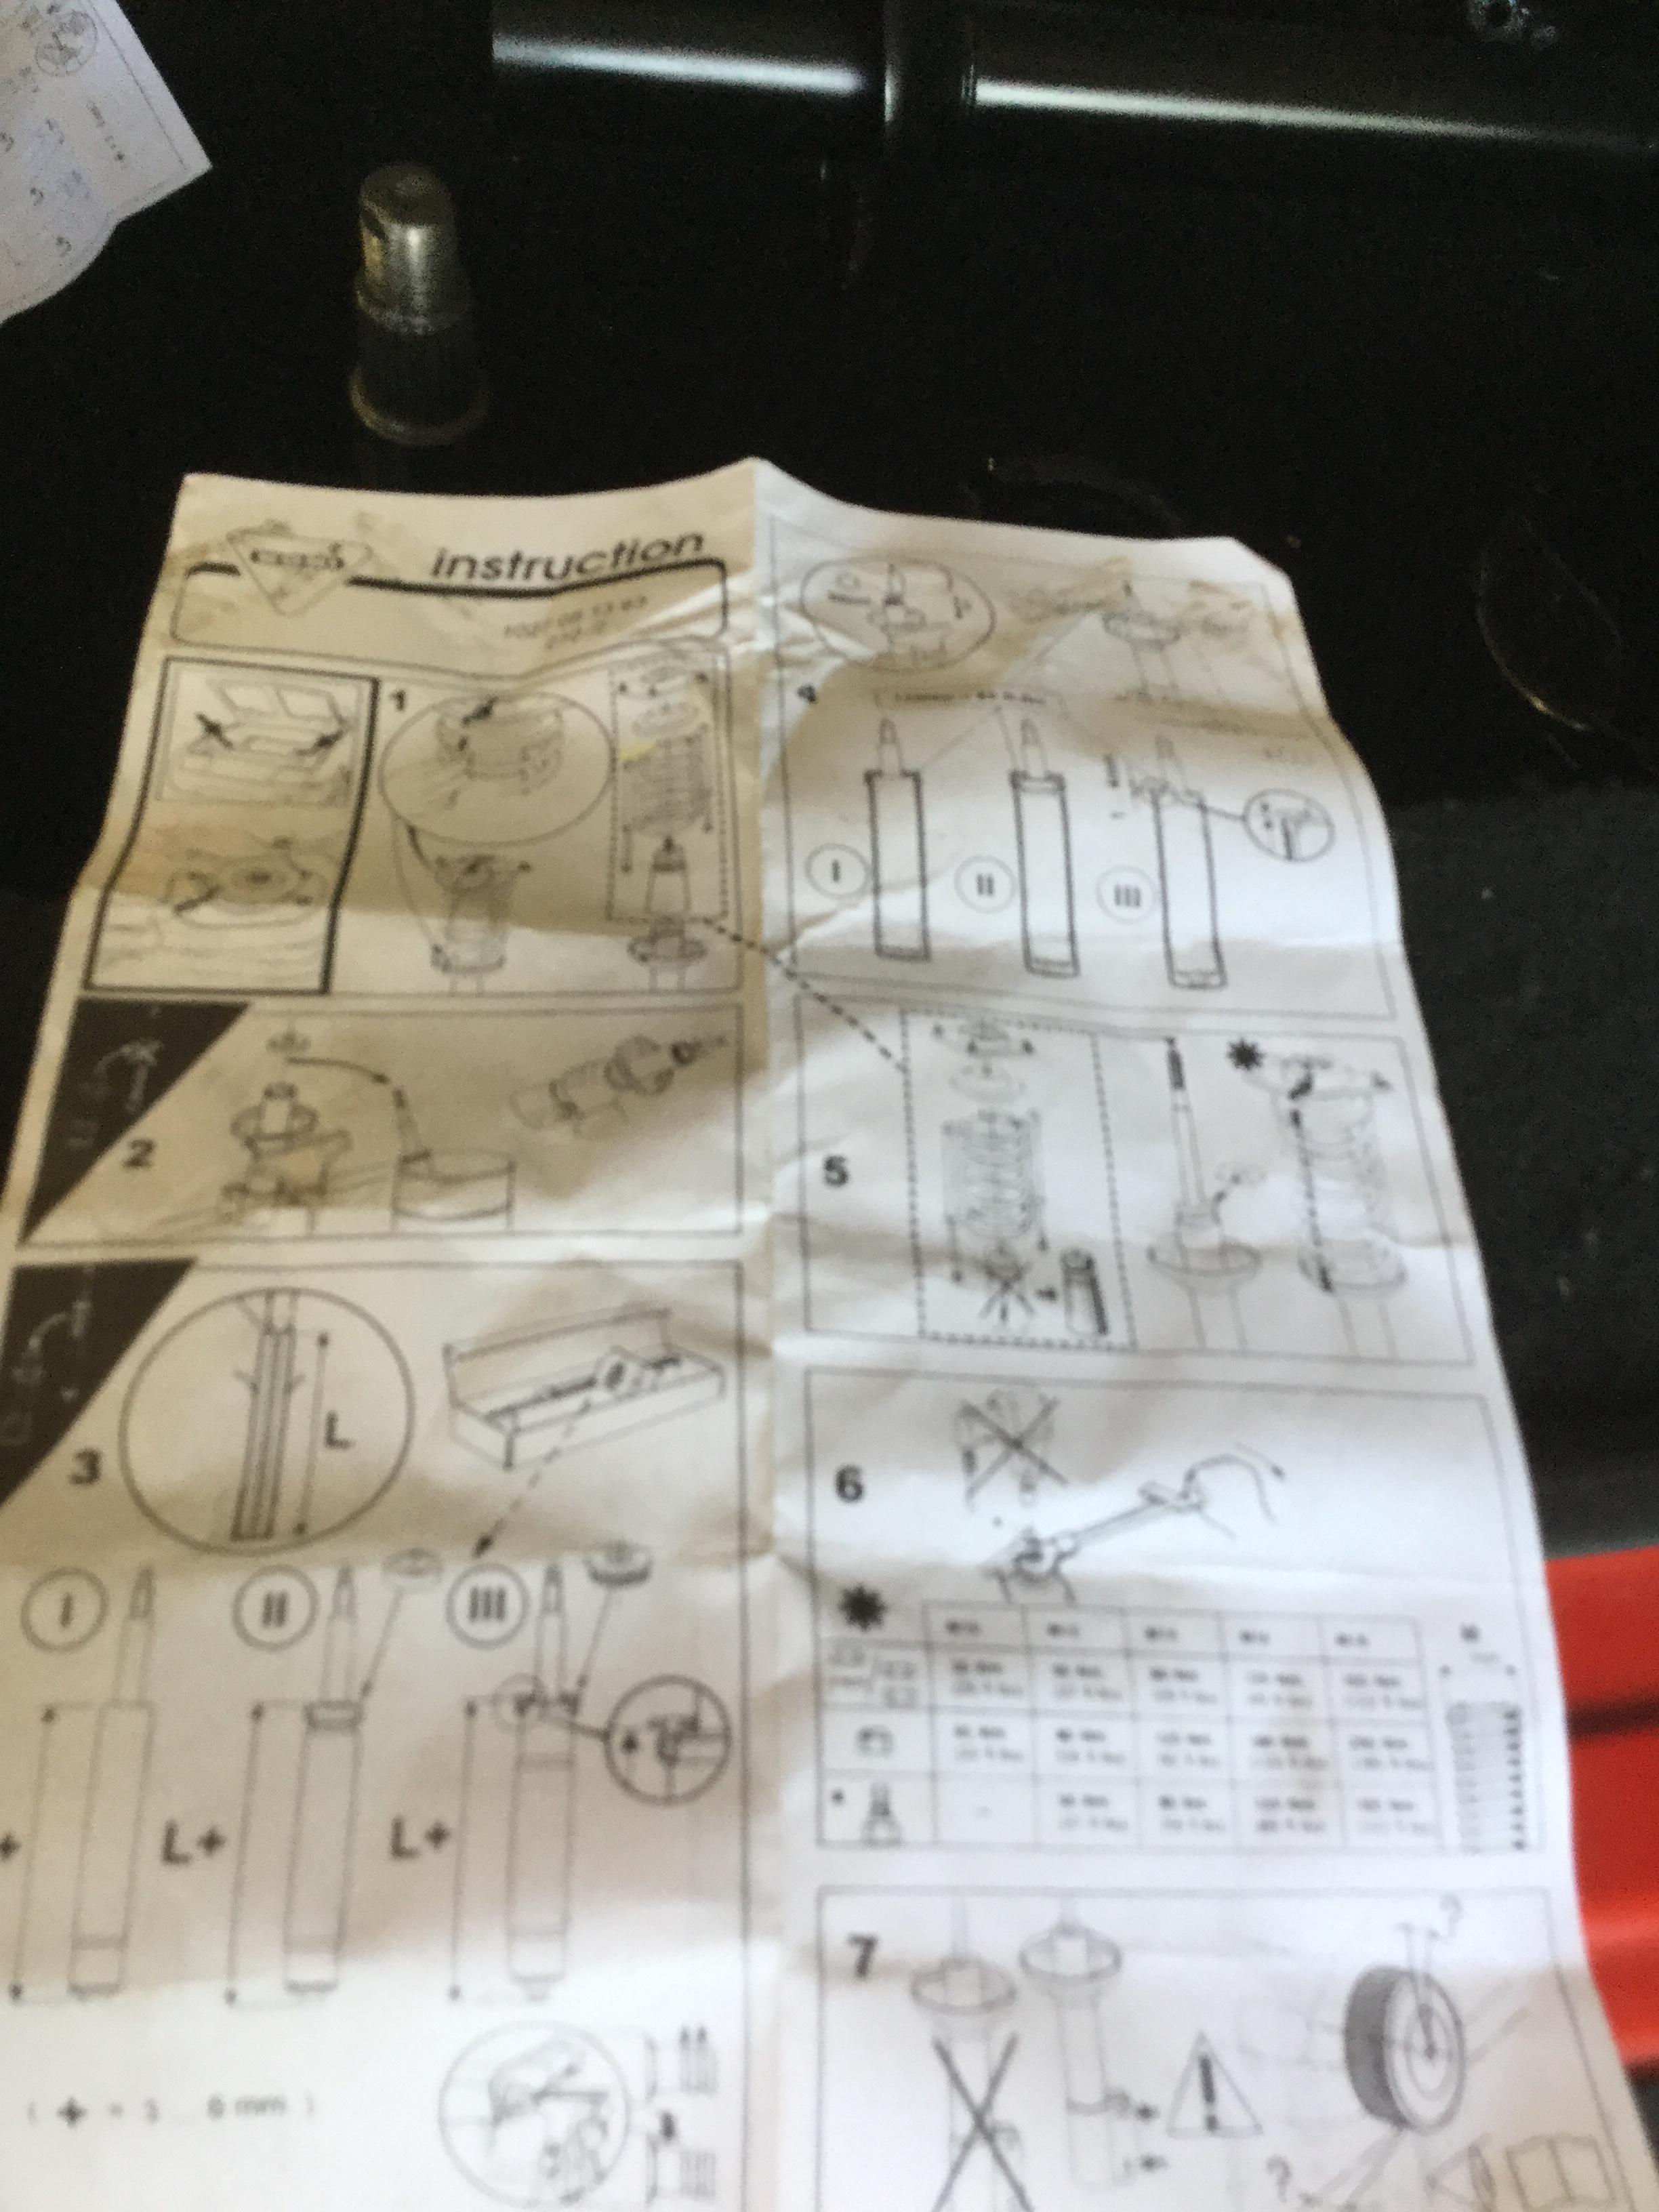
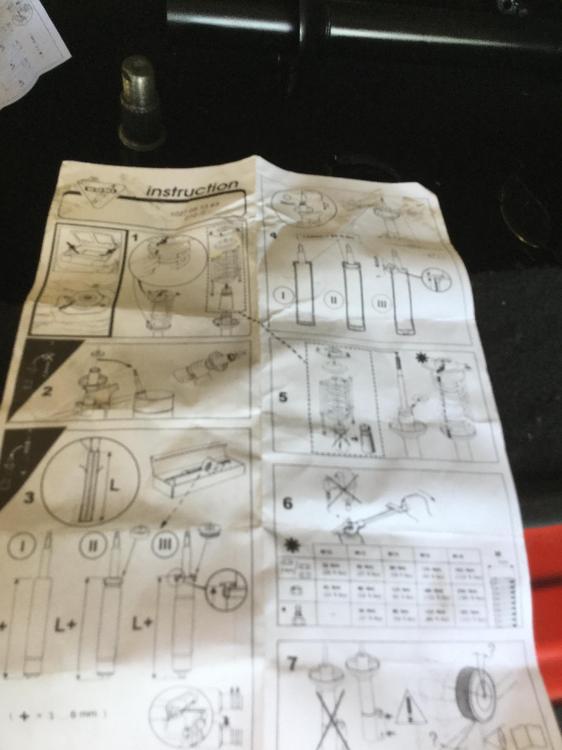
I was referring to the steel bushing . My KYB’s didn’t have this . I don’t see it in the instructions
-
Freaking IKEA instructions - give me a break . what about the spacer ? I can’t find it in the instructions .
-
I would have been besides myself -pissed if I had to do that with a brand new set up (lock nut) . I will take your advise seriously . I wonder if my old KYB nylon lock nuts will work? I hope you do give them some feedback . That shouldn’t have been overlooked . Makes me wonder if they actually have a test vehicle to mock this stuff up on . I’d be happy with a T handle that fit the slot . Since there is two full turns of adjustment , having marks on a dial is kind of worthless. Kind of like a carb mixture screw - can’t remember how many turns out , so you dial it in while counting and dial it back out .
-
You say it wouldn’t get deep enough ? To fit under the strut tower cap ?
-
Ordered mine !
-
I’m hoping things settle down as far a as Covid by the time the show happens . It’s only a 4 hour drive for me , so I don’t have to stay anywhere on the way . I having booked yet because I think there will be openings at the hotel with all the cancellations. I am concerned about Covid, but I think with precautions the show could go on. Folks with preconditions should think twice about going anywhere . I’ll be masked up and ready and hopeful
-
Thanks for the feedback guys . I think I’m going to run it and acquire all the bits to redo the rear bearings . Maybe a winter project .
-
I reached out to someone that has a Z shop, and he said it’s probably fine for a street car. If I was going to race the car , I should look at it . I’d have to wait until I got it on my lift to get enough leverage arm to move that nut anyways . I don’t have a FSM - but my Hanes says 180-240lbs tolerances . Grunt !
-
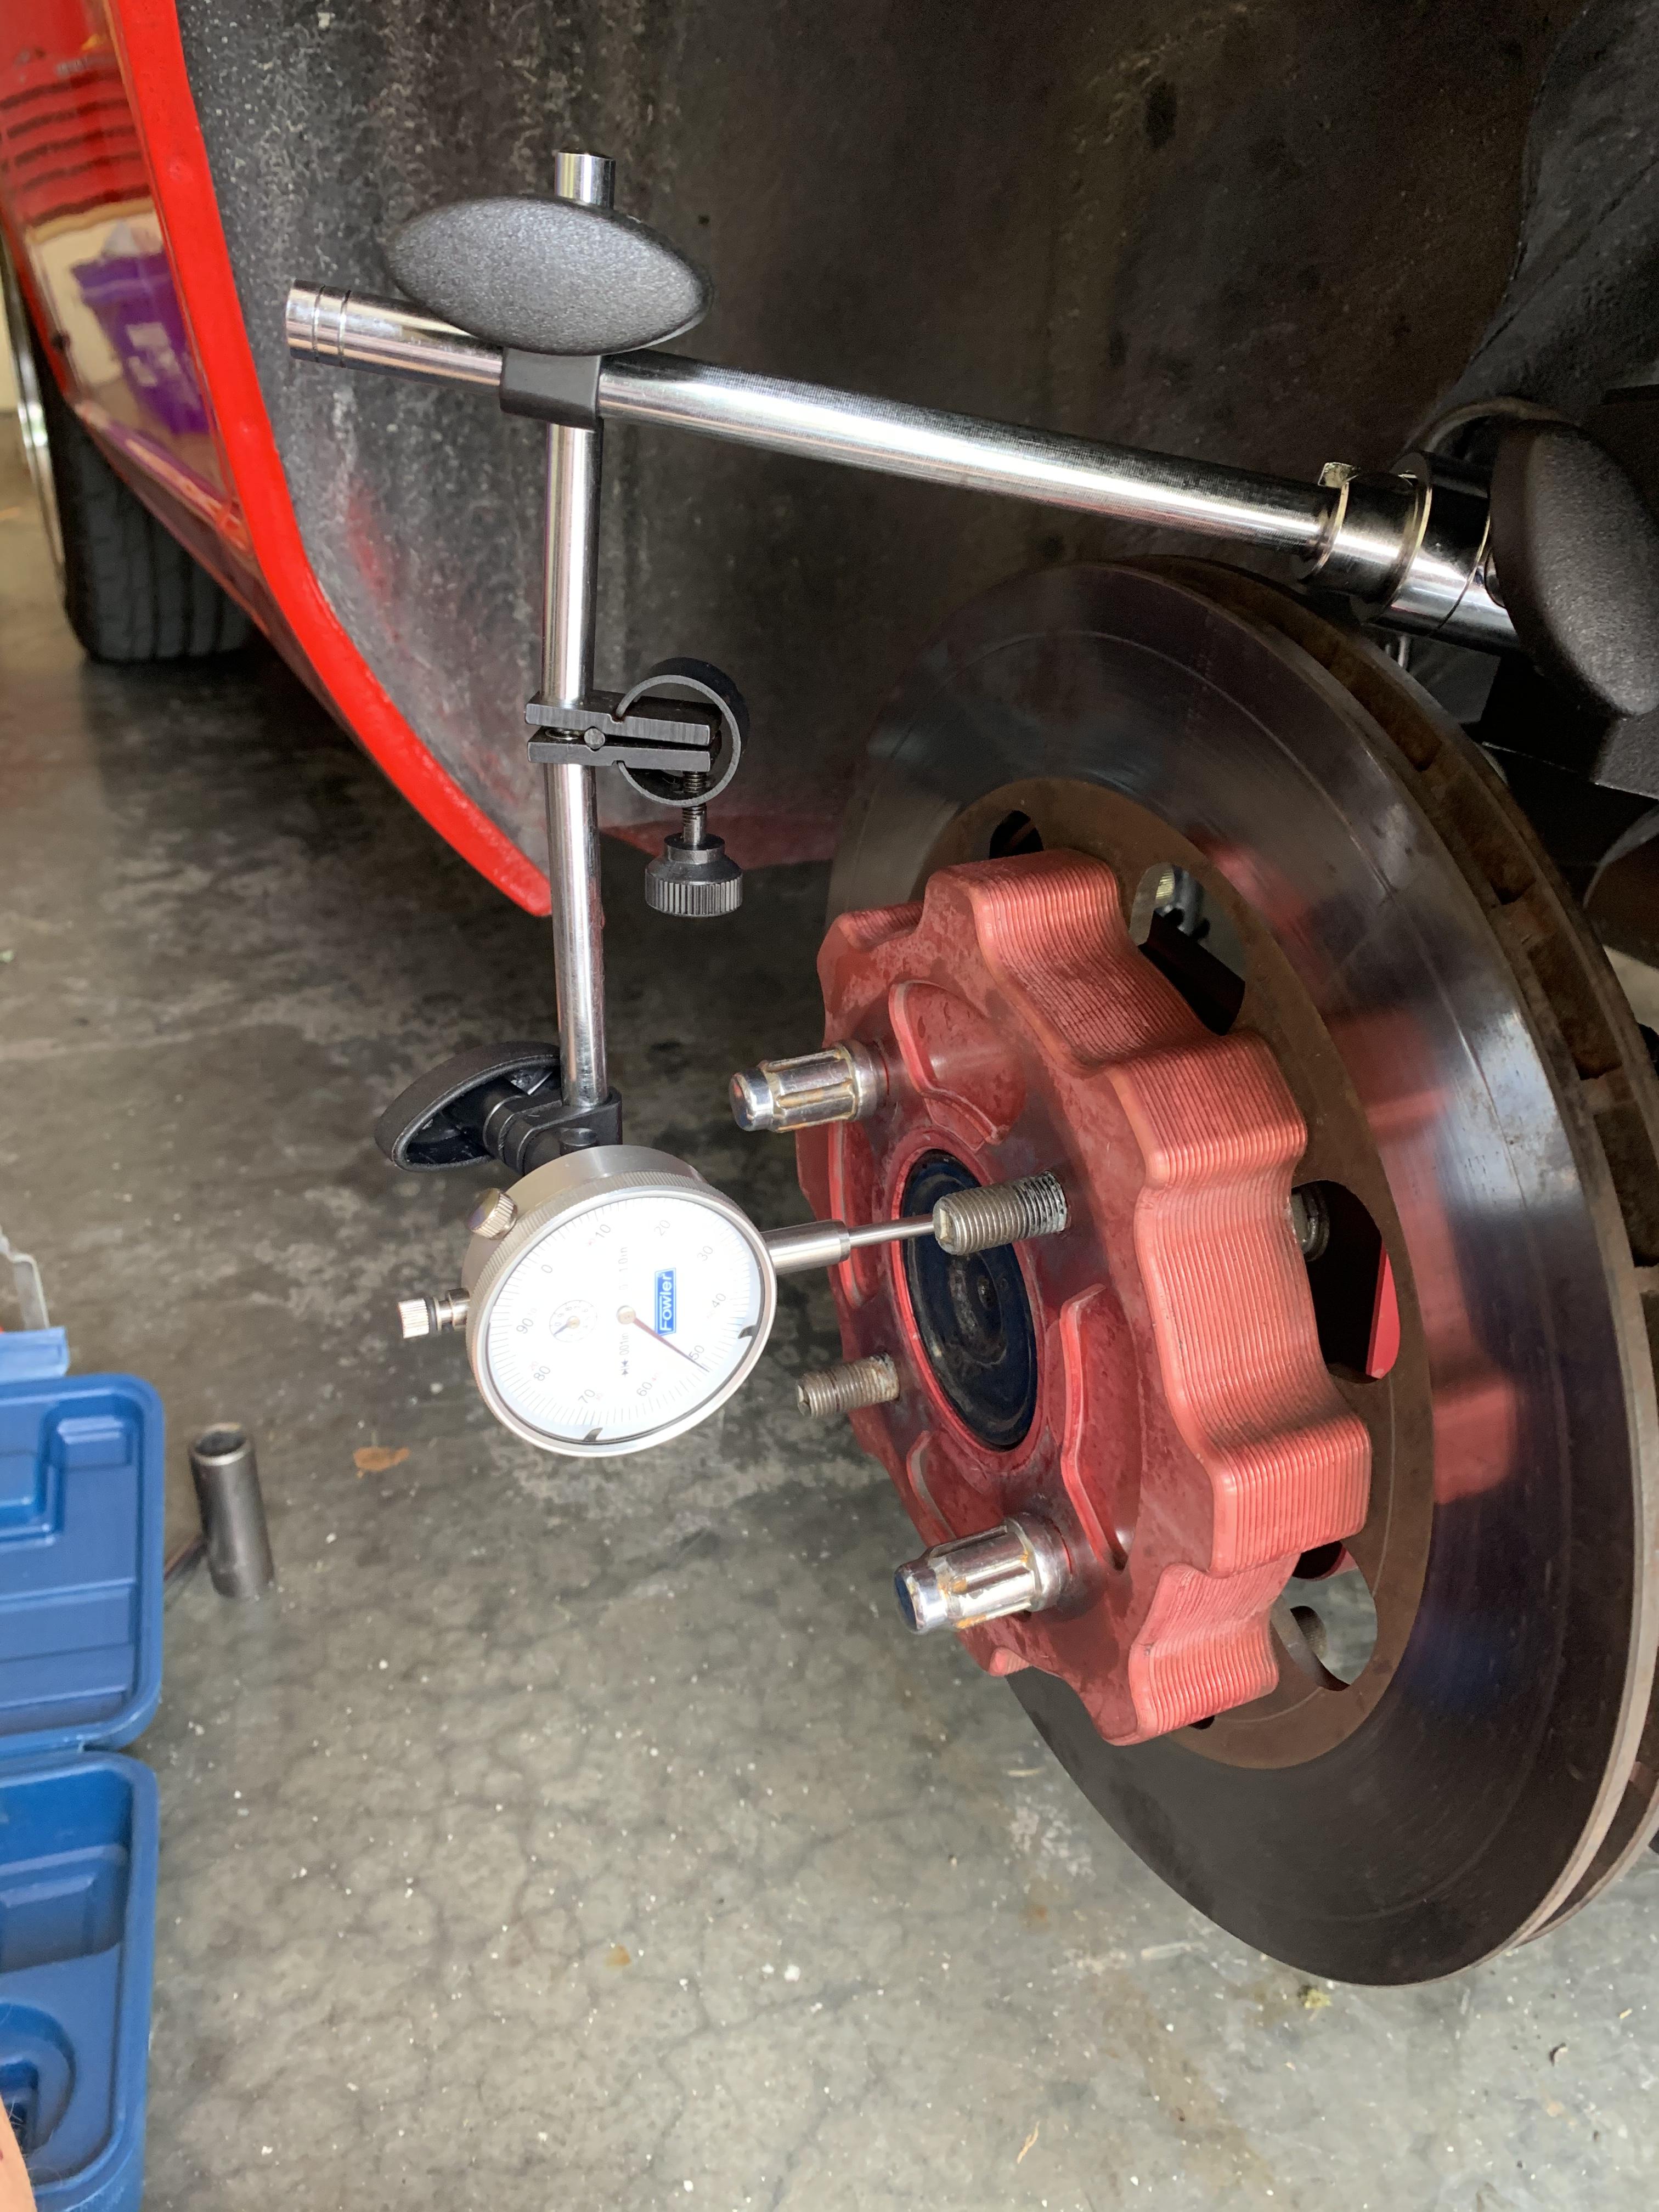
Confirming info I found on this and my methodology . I measured about .0065 pulling in and out on the rotor assembly . Book says .0057 max . We all know how hard it is to torque these . Would you torque an older assembly the same as installing a new one if it didn’t make spec ? Trying to find my fish scale to measure that spec. I do have the slightest vibration I can see in the mirror. I’m pretty sure I redid these when I did my Wildwoods and that was 20k miles .

-
-
Wasn’t me . I made a thread here many years ago about this subject of dual oiling systems , but I think it’s lost . There’s been man stories of lost cams . With all the variables , it’s hard to attribute a wiper lobe to one thing . Spray bars -to me - are problems just waiting to happen
-
I’ve never lost a cam - but heard many stories
-
I would NOT recommend running both . Just stick with a internally oiled cam . It’s hard for the system to put out enough volume for both . I think the cam spray bar is ineffective when using both . The oil barely reaches the lash pads - at least the tests I did. Maybe with my Kameari pump it might work . Simple test is to drop out your drive spindle on the dizzy and drop in a drill with something to drive the pump . Get your mechanical oil pressure gauge hooked up where you can see it . Fire up your drill and watch your pressure and your oil flow . I made a valve cover with a cut off top to watch without oil getting everywhere . Ive done this test using the modified valve cover while the motor was running . I wouldn’t , and haven’t started a motor without performing this test . I’ve have never lost a cam yet . I’ve had a Schneider , ISKY , and now a Bonk cam . And I use Rotella truck oil - nothing fancy
-
So I got my 12si alternator and didn’t have my mount modified yet , so I did the sketchy mount where you flip the clocking . The beauty is that it bolts right up with one spacer , flipping the adjuster bracket and a longer 8x1.25 bolt . Sucker charged right from idle , which I read might not happen . Might be the way I wired it , but it’s still a one wire set up basically . Drove it around and it showed 14.5 volts pretty consistently with electric fan and all my other goodies . Haven’t driven at night , but will try that tonight . I did get the proper mount modified , so about to try it . I’ll be watching for drains on the battery .
-
Yes - my 9/71 is titled 71 . Transition month for sure
-
well I was thinking about doing the AC Delco swap but using the 12S. I was going to ask for one of the mounting brackets from you @zKars, but now I read about the drain and wonder if I made a mistake . the original reason for coming to this thread was ask about the wiring. in every thread I've found on 1 wire, I've not seen a schematic. Sounds silly for a 1 wire, but I've read you should upgrade to 8 gauge wire directly to the battery? I've also read that these do better with the sense wire connected . I actually have read that 3 wire is best. How does this wire work with the original wiring running to the inside of the car and the amp meter? Any examples I can see? As far as why GM alternator. New sent to my house is 70$ -thats not a reman. Oriellys couldn't find a zx anywhere . I run electric fans and EFI and a 200watt stereo. I've read both the stories of battery drain and those that never have had issues.
-
Z car depot is correct . So you have the studs and you just need nuts . I like the copper ones ZCD sells . Or some good ole nut and washers
-
I run OEM studs . I’ve used the SS stud kit from ZCD - I believe - also . I have also used there copper flanged nuts - and they do stay tight . Tight enough to bring the stud out sometimes . But no washers to fiddle with .