.JPG.cfcada9cf1c1b502df3f5f2f2ca3ff36.JPG)
SteveJ
Community Member
-
Joined
-
Last visited
Everything posted by SteveJ
-
Tuning carburetors - There are videos for that: https://ztherapy.com/videos/ Look for Just SUs and 240Z-280ZX Tune Up. Now, clarify "only creeps regardless of RPM". If the car is creeping along, the RPMs should be low. If the car barely moves and the RPMs are high, that could be the clutch slipping. Either the clutch is worn out and needs to be replaced, or the clutch hydraulics need to be replaced, or both. If the engine bogs down under load, it's a fuel delivery problem. The carburetors could be dirty or not adjusted right. There are plenty of threads on this board about getting Z cars back on the road. Here's one I did on my 73: https://www.classiczcars.com/forums/topic/65643-getting-the-73-back-on-the-road. You can see some of the things I went through with the carburetors and clutch master/slave cylinders.
-
The hose circled in red is a vent hose for the float bowl. It does not pressurize the float bowl. If the hose is disconnected from the air cleaner, it means you were pulling in some unfiltered air. The hose circled in blue goes down to the exhaust manifold, but it is open to the air, not connected to the manifold. When the flap is in Winter position, it blocks most of the air coming in from the front of the air cleaner, causing more of the air going into the air cleaner to pass over the exhaust manifold. It basically helps with drivability in cold weather. Have you downloaded the factory service manual for your car? They are available on this website in the Resources section. Also you can find owner's manuals here: https://www.xenonzcar.com/s30/ownersmanuals.php Both can help you on your path to get your Z running better.
-
I drained the old gas out of the 240Z last week. Today, I got back to work on her. First, I installed a new battery. Then, I removed the valve cover and spark plugs so I could put oil in the cylinders and on the cam before turning the engine over. After that, I put a gallon or so of fresh gas in the tank and used a syringe to add gas to the float bowls and to the fuel line between the filter and fuel pump. After a spray of starting fluid to make sure combustion could happen, I tried to start the car. She fired right up and purred like a kitten. I'm looking forward to moving her to my new shop so I can do the rest of the work she needs: new vent hoses, springs & struts, and new rear brakes.
-
I think he did. https://www.homedepot.com/s/3%20inch%20rubber%20cap?NCNI-5
-
There is an issue with the VR in the alternator.
-
No charge indicator light. What is the voltage at the battery when the car is running? I'm wondering if there might be an issue with the internal voltage regulator. Remember that new does not always mean good.
-
Two wires were tapped: the neutral (yellow) wire between the VR & alternator for the fuel pump relay with the normally open contacts and the black/yellow wire for the starter solenoid was for the fuel pump relay with the normally closed contacts. The tap for the neutral was actually small harness Nissan designed to go between the VR and engine harness. I pulled it out of my 73 a long time ago.
-
Unfortunately, the 73 wiring diagram won't show it, either. It was added on later. Download this file and look at the mounting points for the relays: https://www.classiczcars.com/files/file/60-fuel-system-modification-plus-73-74/ Also, is the hazard switch a pull switch or a toggle switch. 73 was the only year for the pull switch.
-
Actually if you suspect an air leak, replacing the rubber lines would be a good start and could alleviate the need for a check valve in the engine bay. If the rubber lines are allowing air in, they can allow fuel out in the future.
-
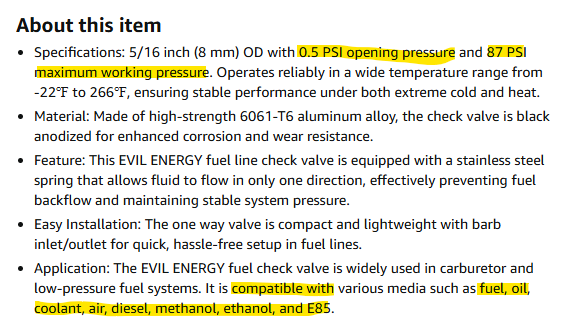
I learned from @Captain Obvious that one of the things to consider on a check valve is cracking pressure. Most likely the fuel pump will overcome the cracking pressure on the check valve, but I couldn't find the cracking pressure listed on the Amazon page. For instance, these Evil Energy check valves have the specs listed on the page: https://www.amazon.com/dp/B0FQHSSLN5
-
That build date would typically indicate a 73, though some states may have titled an 8/72 as a 72 back then. https://jdm-car-parts.com/blogs/news/vin-verification-of-us-datsun-240z-260z-280z-280zx?srsltid=AU7gw4VZKuT31B6faCZYskqAm_f9DiAZx3ONK3Xsnn_scBm8EpKTCGA-
-
What is the build date of the car? Can you have someone else unplug and plug in the T connector on the alternator while you listen for a relay clicking in the passenger footwell?
-
I have a habit of researching parts when I hear of people having problems in case I have that problem later or to come up with improvised fixes should original style parts not be available. Recently I was researching vacuum solenoids in case someone with factory AC in a 260Z or 280Z needs replacements. I saw some Infiniti vacuum solenoids that may be adaptable for that.
-
If you decide you want a new radiator, this one is closer to stock than an aluminum radiator. https://www.rockauto.com/en/moreinfo.php?pk=8609984&cc=1209170&pt=2172&jsn=575
-
Can you not locate the fill plug? It's a little above the drain plug at the red arrow. You should be able to get an open end wrench on it. I'm not sure if it's 17mm or 19mm. There is the chance someone installed the later fill plug. Those might take a 1/2 square drive. The problem there is the cross member could be in the way of accessing it. You should be able to fit a short extension from a ratcheting wrench into the square plug to remove it.


-
Does your air cleaner look like this: Or this: The air filters for the top one are pretty hard to track down anymore.


-
I remember you mentioning that, and while I suggested it to my friend, he wanted the pad instead. 😆
-
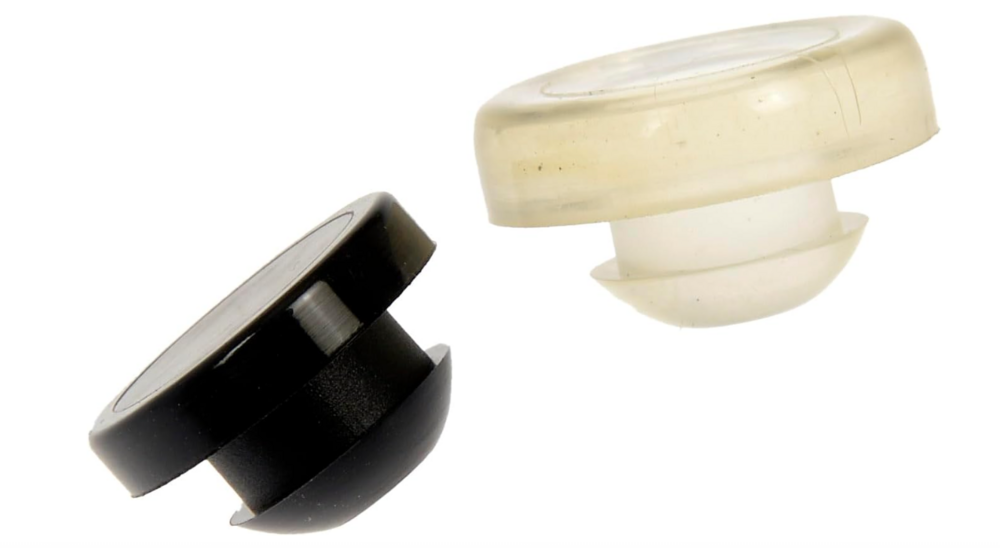
A friend called me saying his brake lights would not turn off. Long-time members of this board are probably thinking that it's the the brake light pad at the pedal. That's what I guessed, too. And all of you would be right. Since he's an older gentleman, he asked if I could fix it for him, but he couldn't bring me his car for a couple of days. With that delay, I decided I could do an experiment. I bought a Dorman 74025, brake pedal stop pad kit from Amazon because it's designed for Nissans. I wasn't too worried about Amazon saying it wouldn't fit. My friend drove up to see me this morning, and I had the clear pad in my hand. As soon as he got out of the car, I leaned under the steering wheel to press the brake pedal and pushed the clear pad into the hole. I picked up the remnants of the old pad off the floor mat and handed it to him to show him that it basically rotted and fell apart. The nice thing about the Dorman 74025 is that I verified that it's frequently in stock at O'Reilly's, Auto Zone, and Advance Auto Parts. Napa has the part number 74025, but I don't know if they use the Dorman packaging. If you have Amazon Prime, you can probably get it overnight or the day after if you can't make it out to the parts store.
-
Thank you for caring enough to try to get it right.
-
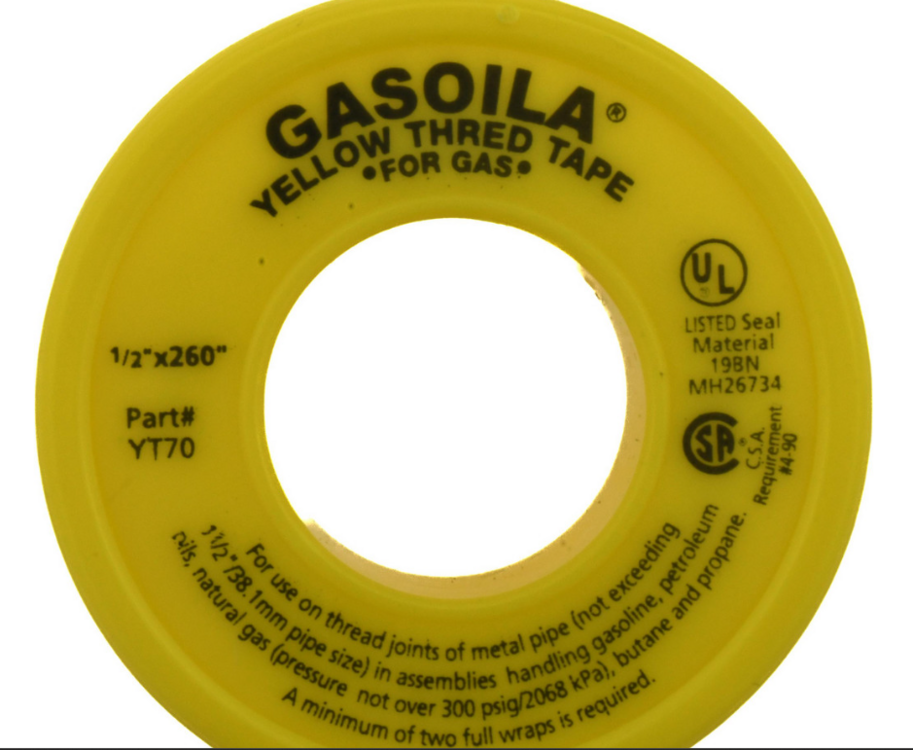
@LeonV I agree with you about crush washers being better than teflon tape, but there is teflon tape designed for use with gasoline and oil, such as Gasoila YT70.
-
-
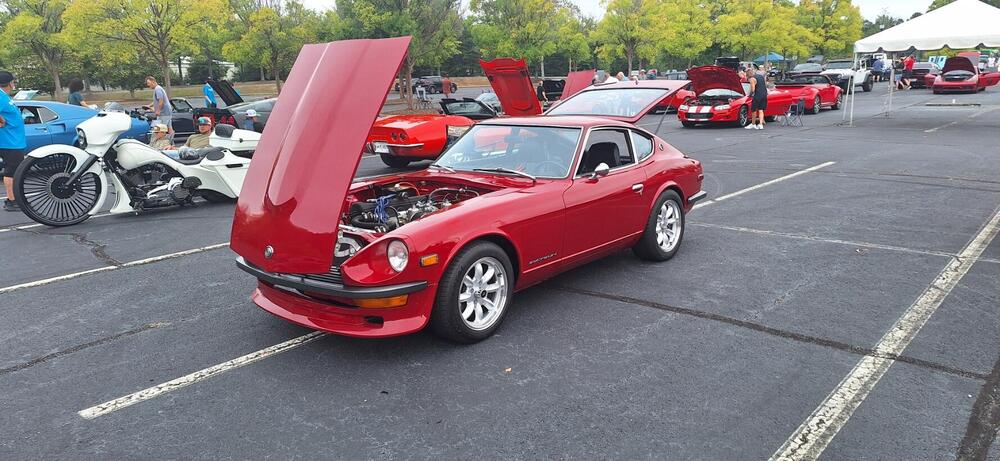
Several members of the Georgia Z Club went to a charity car show. It turns out we were a significant percentage of the cars that showed up. Unfortunately, no one brought a Z31 or Z34, but we had good representation otherwise.
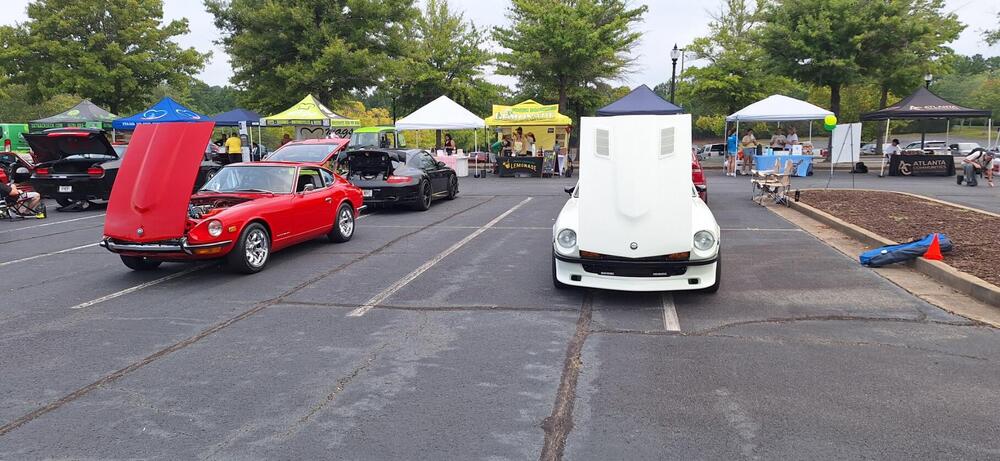

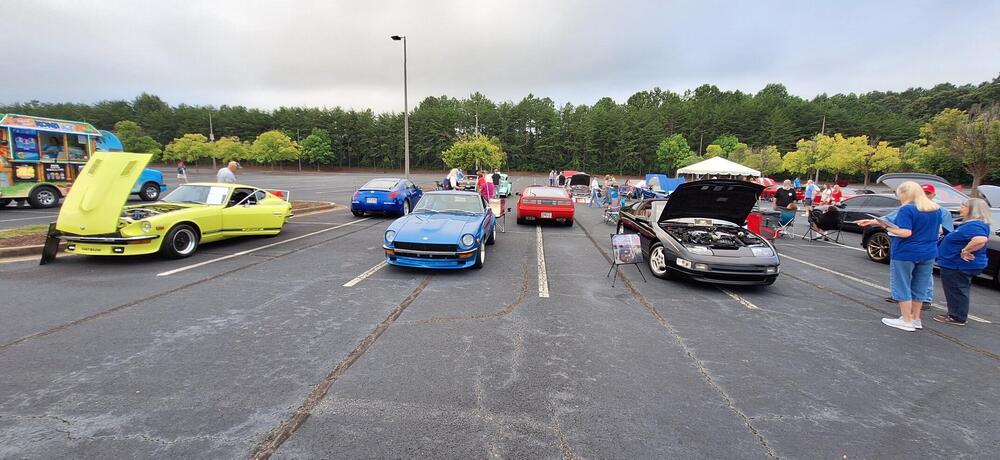
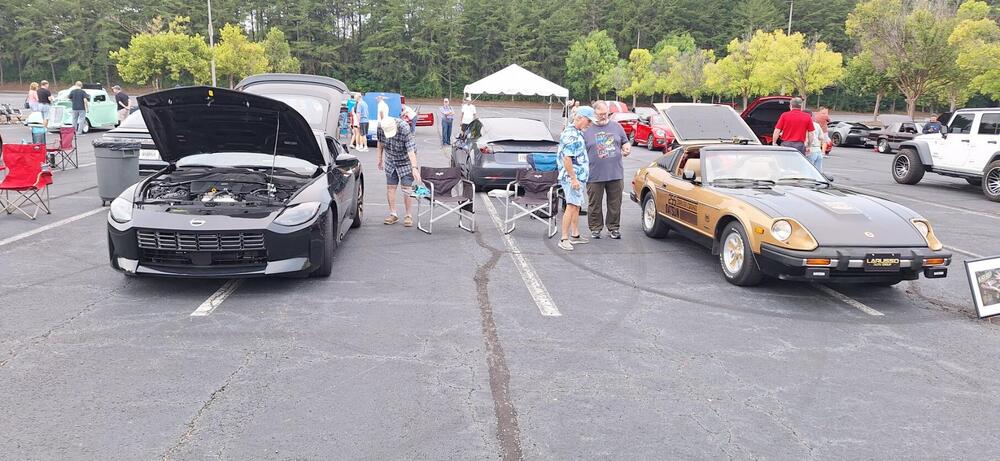
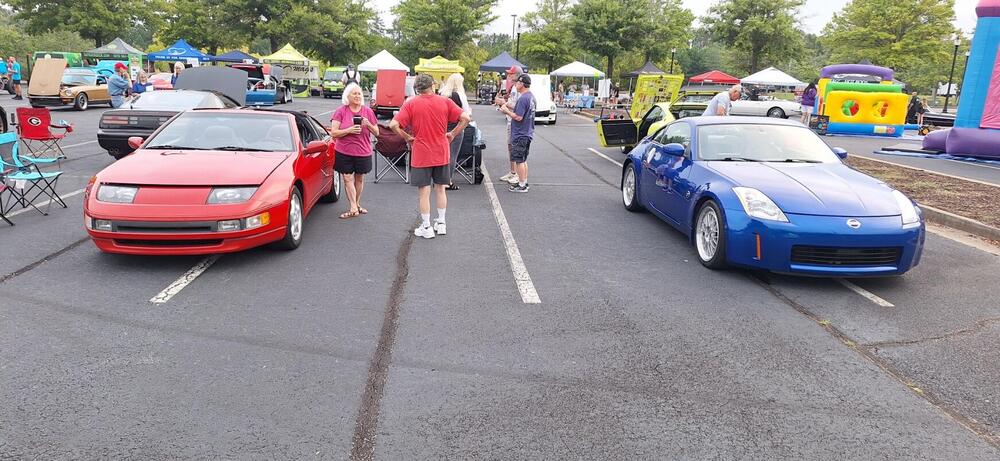
-
No, we secretly decided you're the guinea pig.
-
Yes. These circuits are powered off the ignition relay.


-
Did you install new calipers? If so, make sure the bleed screws are at the top of the caliper. It wouldn't be the first time someone swapped left and right calipers.