EuroDat
Community Member
-
Joined
-
Last visited
Everything posted by EuroDat
-
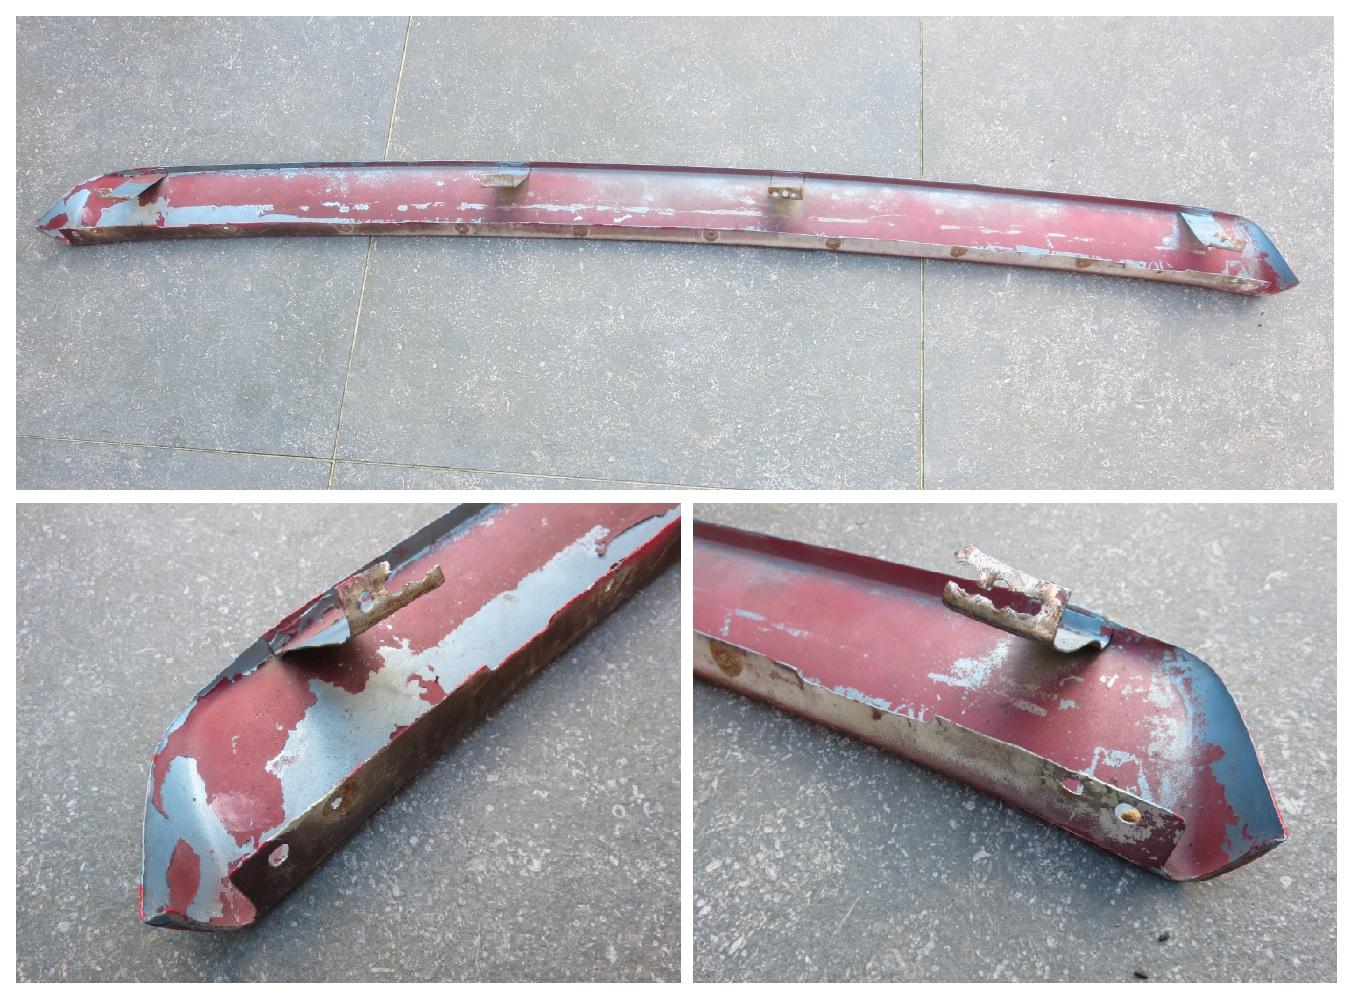
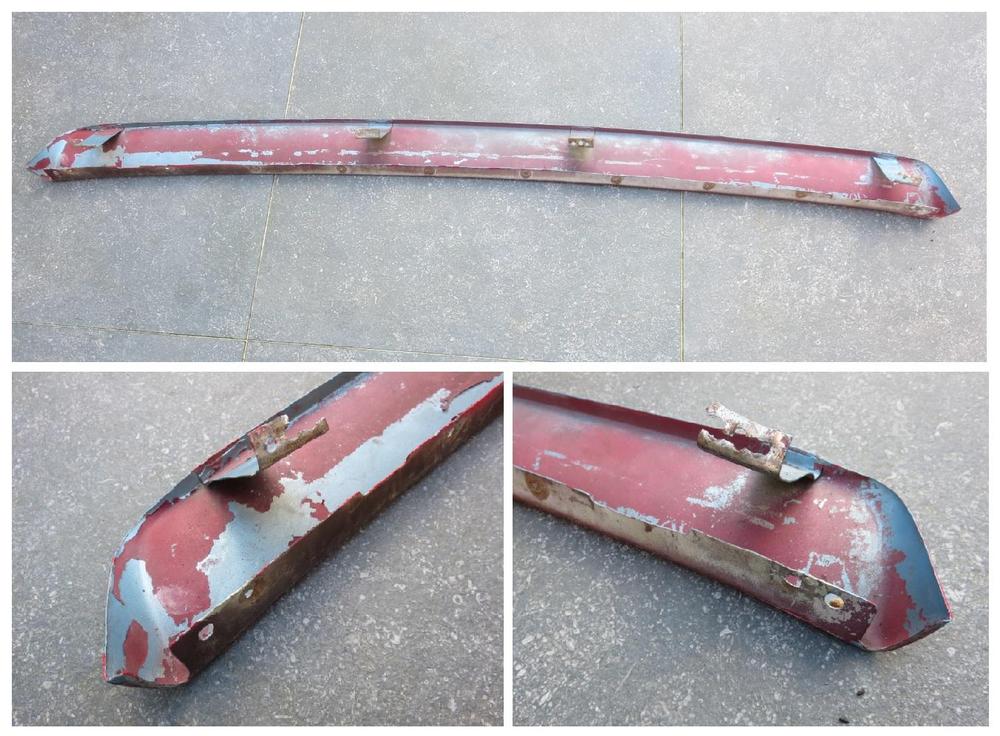
Dito with the welcome. Looks like a really nice find. My advice on the bumper swap. Be carefull and take your time removing the rear bumper gap shield. It is spot welded to the body and easy to destroy while removing it. If you decide later to restore it to original, you will need it. Mine is stored away for one of those "you never know" moments. 280Z's aren't the collectors items the 240Z's are, but as time goes on you never know. The collectability factor will depend on its originality.
-
Sounds like the bolt has rusted solid to the inner sleeve. They generally do, but your case is extreme. Reading your post, sounds like you have tried most things possible. Heat could help release it, but you can't get enough heat into the sleeve section. It will just dissipate into the control arm and burn the rubber in the process. I think your bolt is a gonna. You have a new bolt and rubber bush. I think your best option is cut through the bolt and sleeve on both sides of the control arm with a saw. Once it is out, heat the control arm and remove the rubber section with the remaing inner sleeve and bolt. Tip: I see a lot of people litterally burn out the rubber section. This creates a lot of toxic fumes and smoke. I heat the outside section until the heat penetrates through to the rubber and the rubber release. Grab the bushing with a pair of pliers or vice grips and keep trying to turn the bush while heating the outside. When it's hot enough it will release and slide out with a minimum of smoke and fumes. You can then push out or cut through the outer sleeve.
-
Clearly an aussie accent???
-
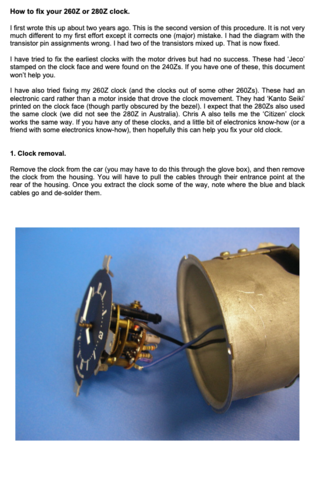 A number of people refer to this document for repairing the 280Z clock. The thread where it was originally posted is no longer available so I'm posting it here in the tech articles. This is where is should be. No credit on my part. That goes to E. Bettio for writing the article and Monkey Man for posting itFree
 -
I couldn't find the thread either, but here is the document. I'll post in the tech articles as well. Like Ron said, all credit goes to E. Bettio. Nov 2013, looks like I have had it for a while How to fix your 260Z or 280Z clock - rev 1.pdf

-
If I look at the design, the Skillard system does have an interesting approach at solving the vertical brackets being in the way of the 240Z grill bars. When I made mine, almost 8 years ago, there wasn't much out there and what was available was poor quality. Now there are several vendors making the brackets. Skillards design is different in the way that it does give you the opportunity to fit the 240Z grill or their Skillad grill. I like their out of the box thinking, but I do wonder how much flex the horizontal brackets will have?
-
For a fleeting moment I thought, "could the disc be backwards", but then I thought, No Chris wouldn't do that. Looking at the photos I can understand why it happened. That is not playing by the rules of common sense. Bad move on the manufactures part. It's not even a special letter type, just a standard F.
-
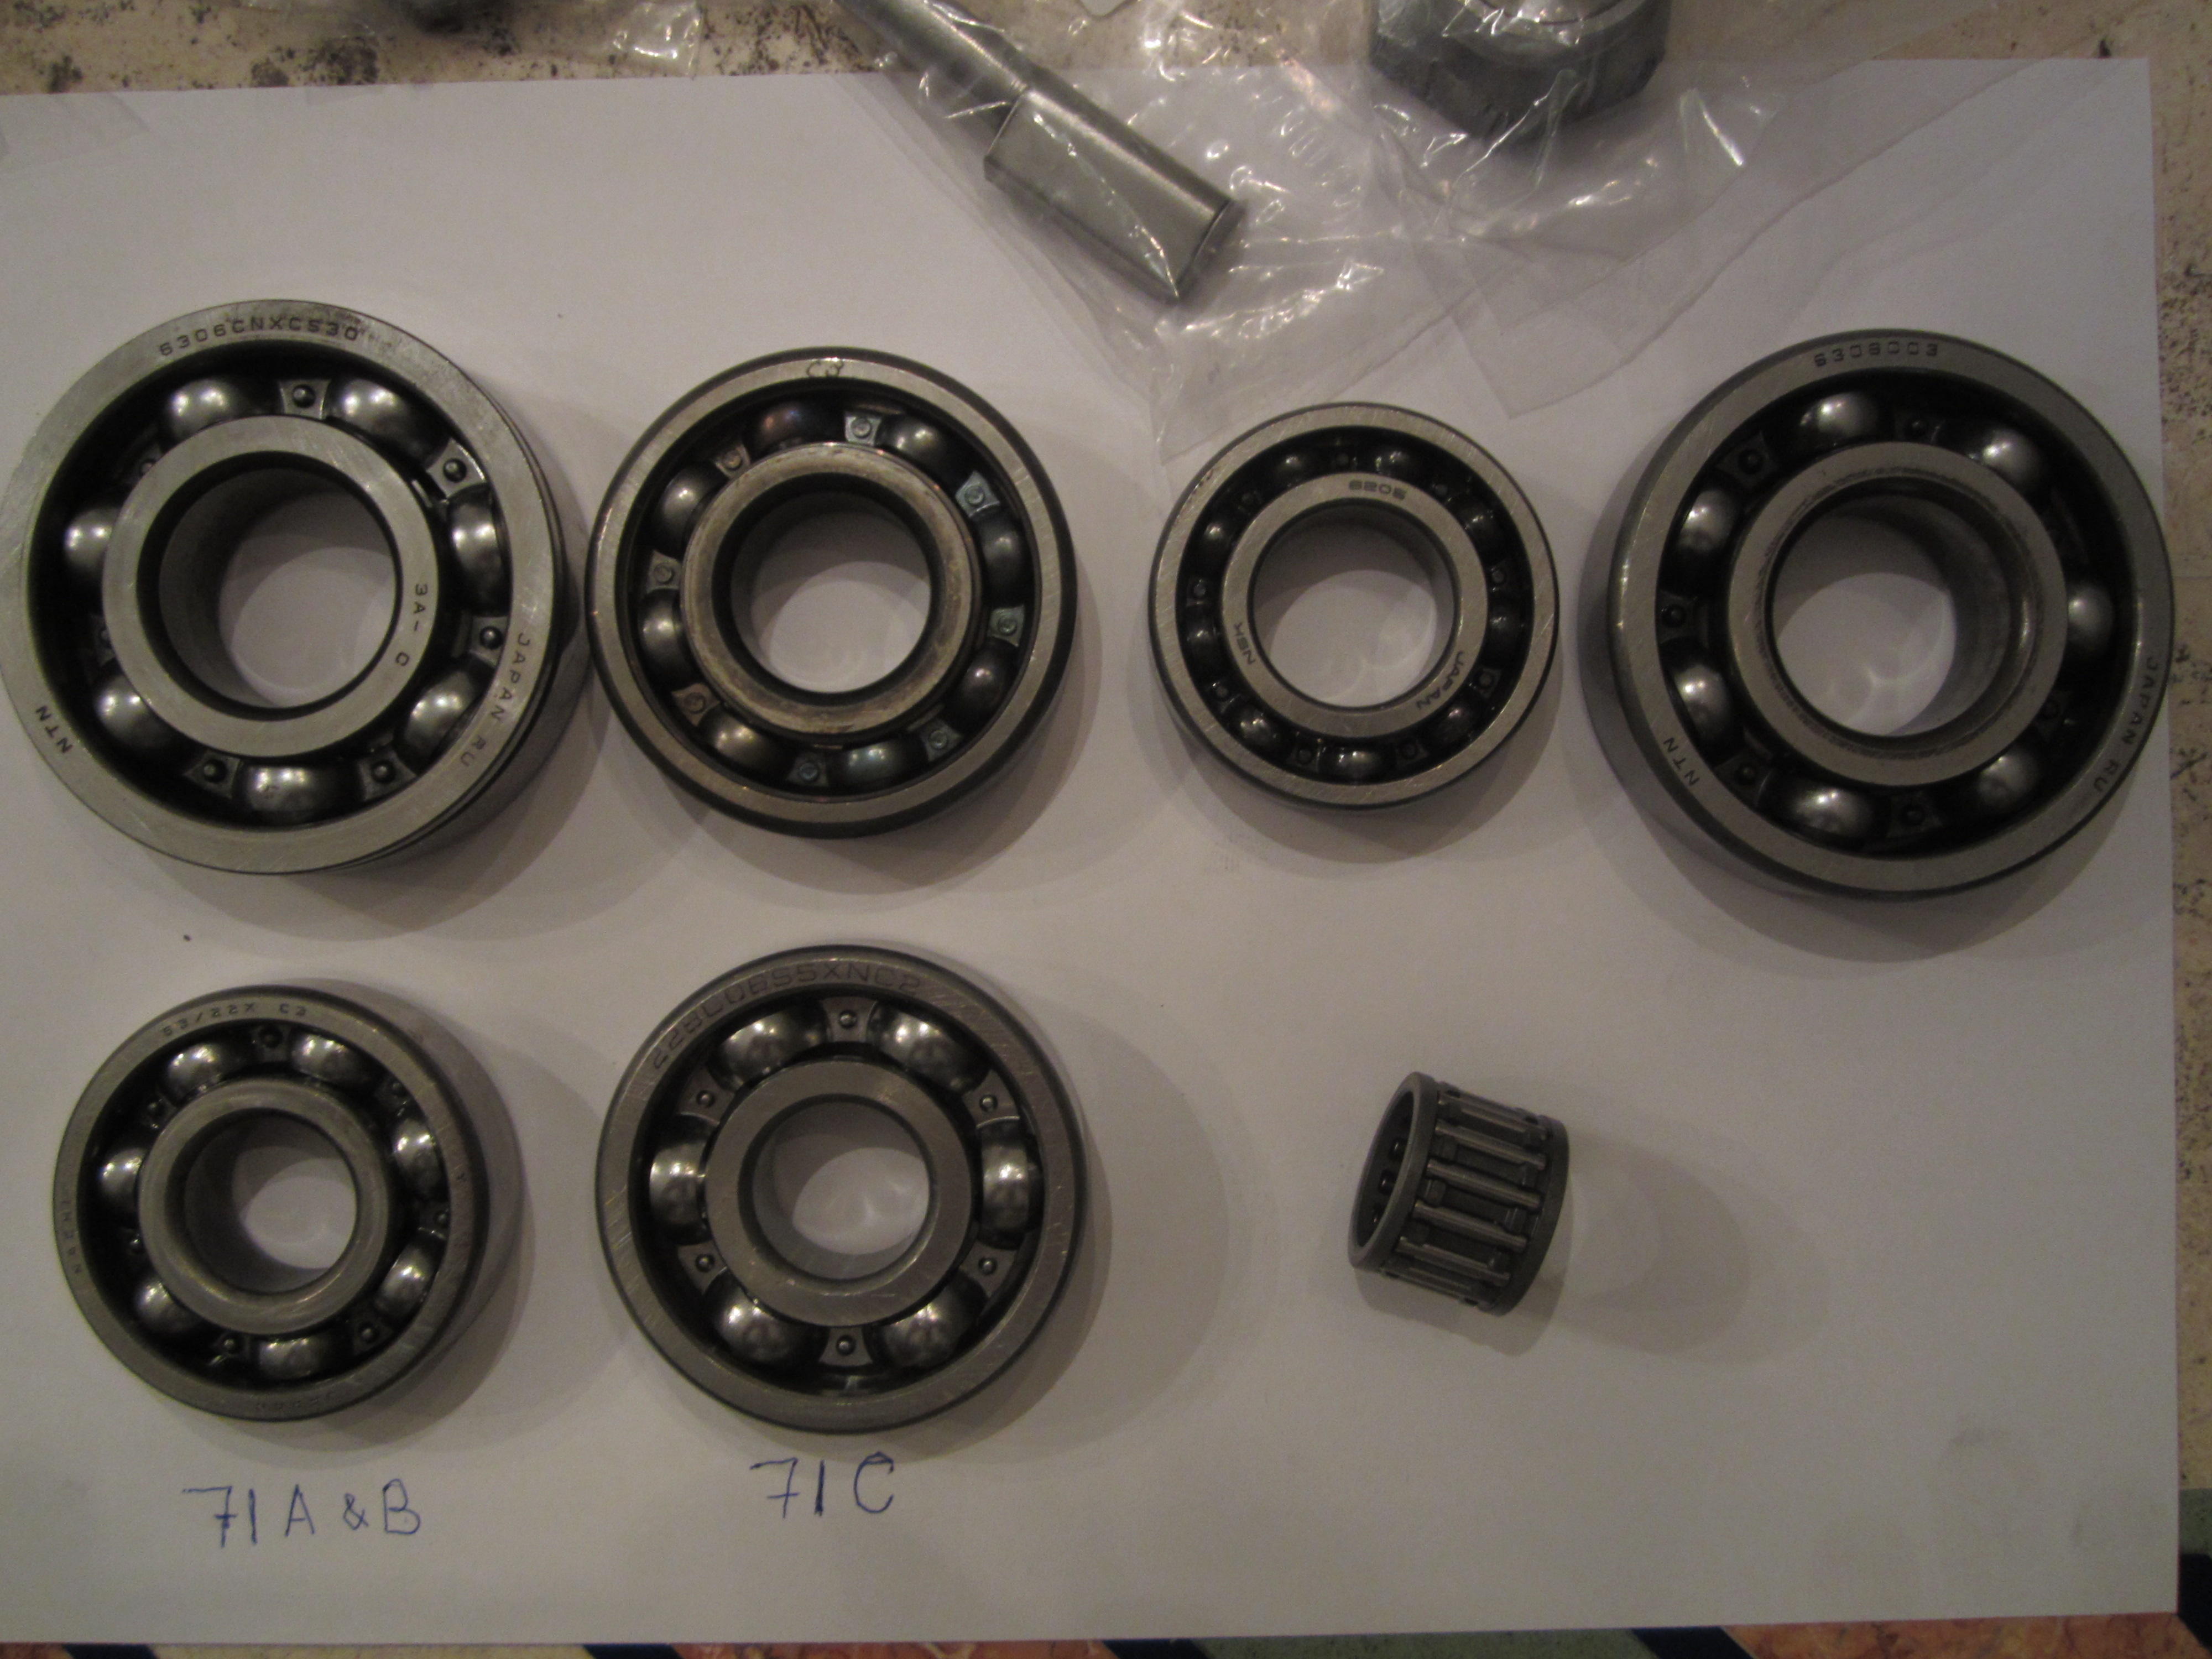
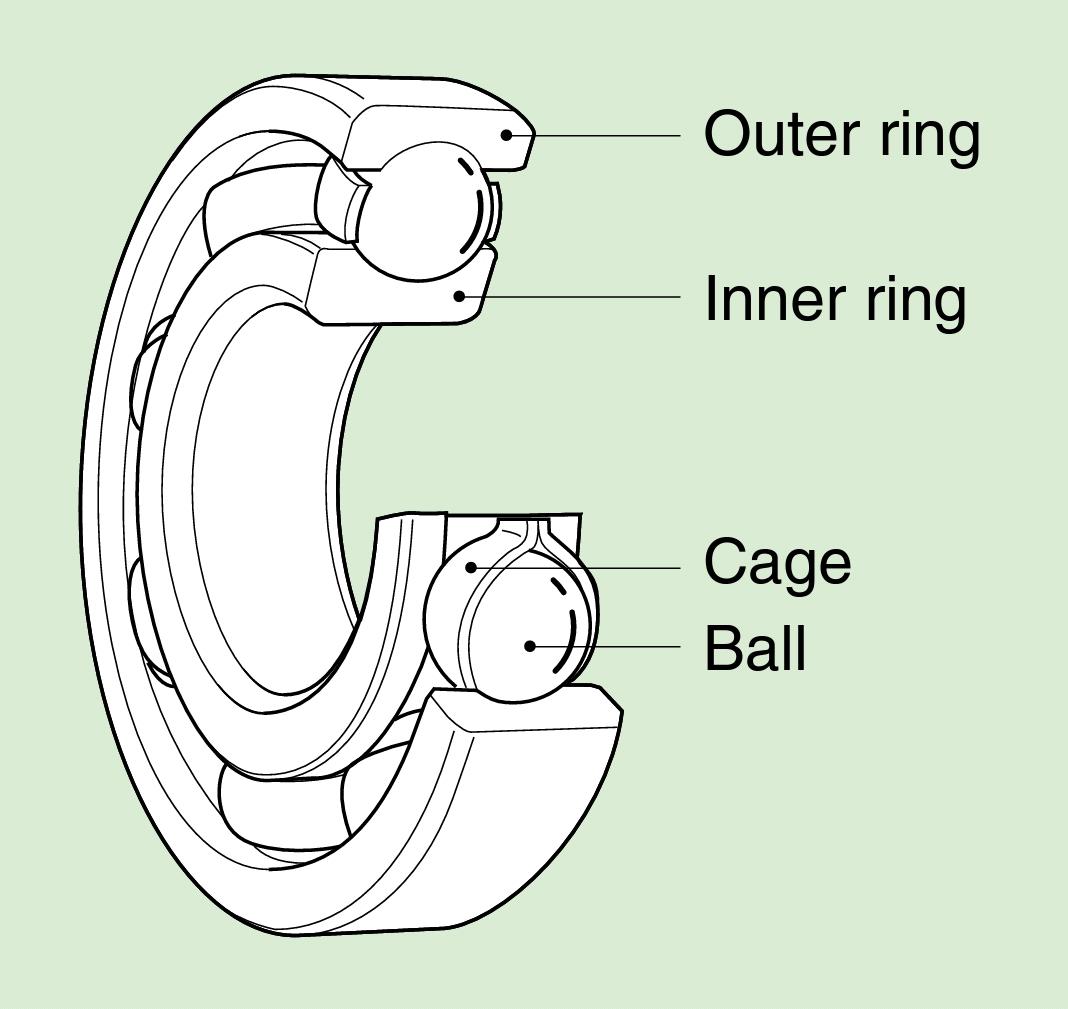
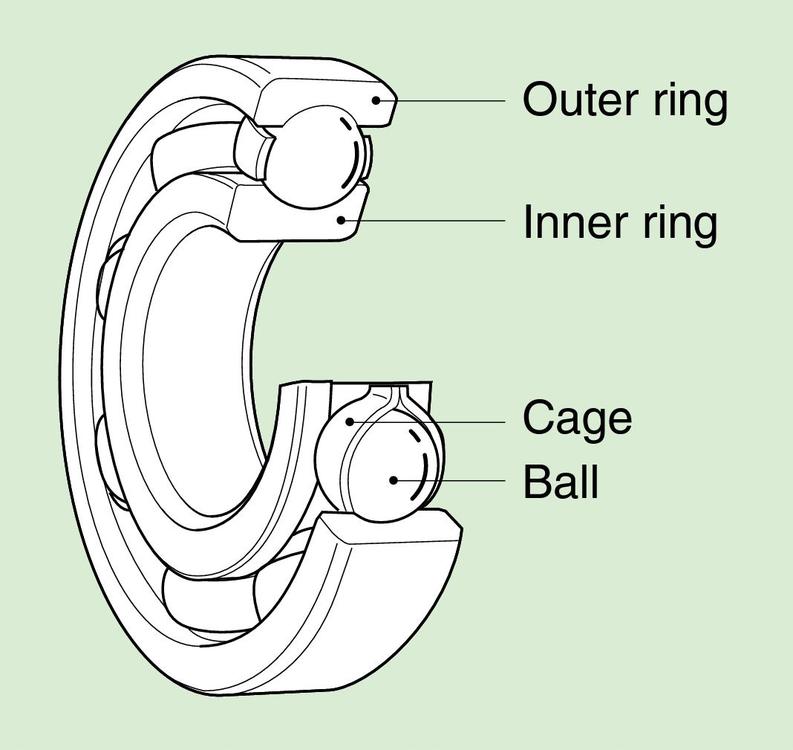
Looks like what is left over from a failed bearing cage (retainer cage) That happens often when some foreign material gets lodged between the balls and the inner or outer ring (sometimes called race). The ball or balls jam and stop for a moment, but the cage is pushed further by all the other balls. This splits the cage open and then it fails shortly after. The top left bearing in my photo shows the rivits clearly in your last photo. I would advise at least replacing the bearings. You wont know all the damage until you strip it down.

-
Looks like the diaphragm spring is broken and most probably more than one crack. If it does that, loose section can lodge between the pressure plate cover and the pressure plate hub. The pieces can get thrusted outwards by centrifugal force and jam the hub.
-
Yeah, I have to give it to the french. They managed to pull that off and get the plane back on the ground in one piece.
-
When a joy flight goes wrong. https://www.theguardian.com/world/2020/apr/14/man-accidentally-ejects-himself-from-fighter-jet-during-surprise-flight
-
I'm with Captain. The synchros ard doing exactly what they should do and it's clear you have a synchronised reverse gear. I don't think your problem is in the transmission. Love the gadgets you create to test stuff. Can you fabricate one to push the clutch fork in and measure how far it goes while someone tries to rotated a rear wheel? The rear wheel off the ground and free to spin ofcource. If it does disengage then you can measure how far you need to depress the fork to disengage the clutch. Then you have the data to work out what ratio master/slave movement is needed. Do you still have the orriginal M6 master cylinder? I think you might have a ratio problem with the master and slave. Maybe the M6 master is a lot larger diameter or has a much longer stroke.

-
Can you start the engine with the transmission in gear and the clutch pedal fully depressed (clutch disengaged)? If the car wants to take off when you hit the starter, then your clutch is not disengaging. You have 1 inch clutch fork travel and it takes off when you start it, your problem is in the clutch area. Another thing to try with engaging gears with the clutch engaged. Try jacking up the back wheels so at least one is free to spin. I take it you do not have an LSD, then both wheels need to spin freely. This will allow the main shaft to move freely an you should notice it goes into gear slightly easier. If someone rotates the rear wheel by hand it should make it easy to go in gear. What is happening when you try to push it into a gear? Your sliding hub is hitting the spurred gear section of the helical gear. If the spurrsd gears are a little rounded it will worsen the situation. The synchro rings don't do anything when the shafts a not rotating so the hub keeps hitting the spur gear.
-
You have a close ratio 5 speed transmission. You mentioned "one exhaust hanger" in your first post. The close ratio has the reverse lock out so you don't hit reverse when shifting down.
-
This is normal if the clutch doesn't disengage. If you try and change gear without using the clutch you will find it difficult until the engine is running. When you try to engage with yhe engine running? What happens with reverse? Does it grind or it just won't engage?
-
If your slave cylinder is travelling 25mm then your problem is not in the master/slave cylinder. It could be one or more issues: 1. A cracked clutch fork. The fork flexes and doesn't transfer all the movement to the pressure plate. 2. Dryed out input shaft slines or the splined section of the input shaft wasn't lubricated when installed and now dry. This can happen if it has been sitting for a long time. The clutch disc can not move freely away from the flywheel and remains semi-engaged. 3. Seized spigot bearing. That is the bearing in the flywheel that supports the front of the input shaft. It is actually fitted in the crankshaft. If it seizes then the input shaft keeps rotating with the input shaft. All three means you unfortunately will need to drop the transmission to identify and solve the problem.
-
The normal 280Z slave cylinder travels about 15mm +/- 2mm. That is depending on the clutch pedal adjustment.
-
Hi Chris, A couple of questions, might sound obvious, but you never know until you ask. Before you drop the trany, get someone to push the peddle to the floor and check the movement at the slave cylinder and measure its travel. What do you see? Is the clutch throwout bearing up against the pressure plate and the free play (if it's adjustable) on the slave cylinder rod adjusted correctly? Is the clutch disc stuck to the flywheel? After sitting for a long time it could be stuck to the flywheel. You could try starting it in 5th gear to see if it breaks loose. If that is all good, it could be a disc plate not moving freely on the input shaft splines. When you depress the clutch, the disc will move slightly away from the flywheel. Or a spigot bearing grabbing the input shaft. Either way you will need to drop the tranny. Chas
-
I think SteveJ is refering to these morrors from MSA P/N: 50-1160 https://www.thezstore.com/page/TZS/PROD/classic02e03/50-1160 I have been looking at the Bullet II mirrors on their site, but they look like they sit very close to the door which would probably have the same poor rear vision.
-
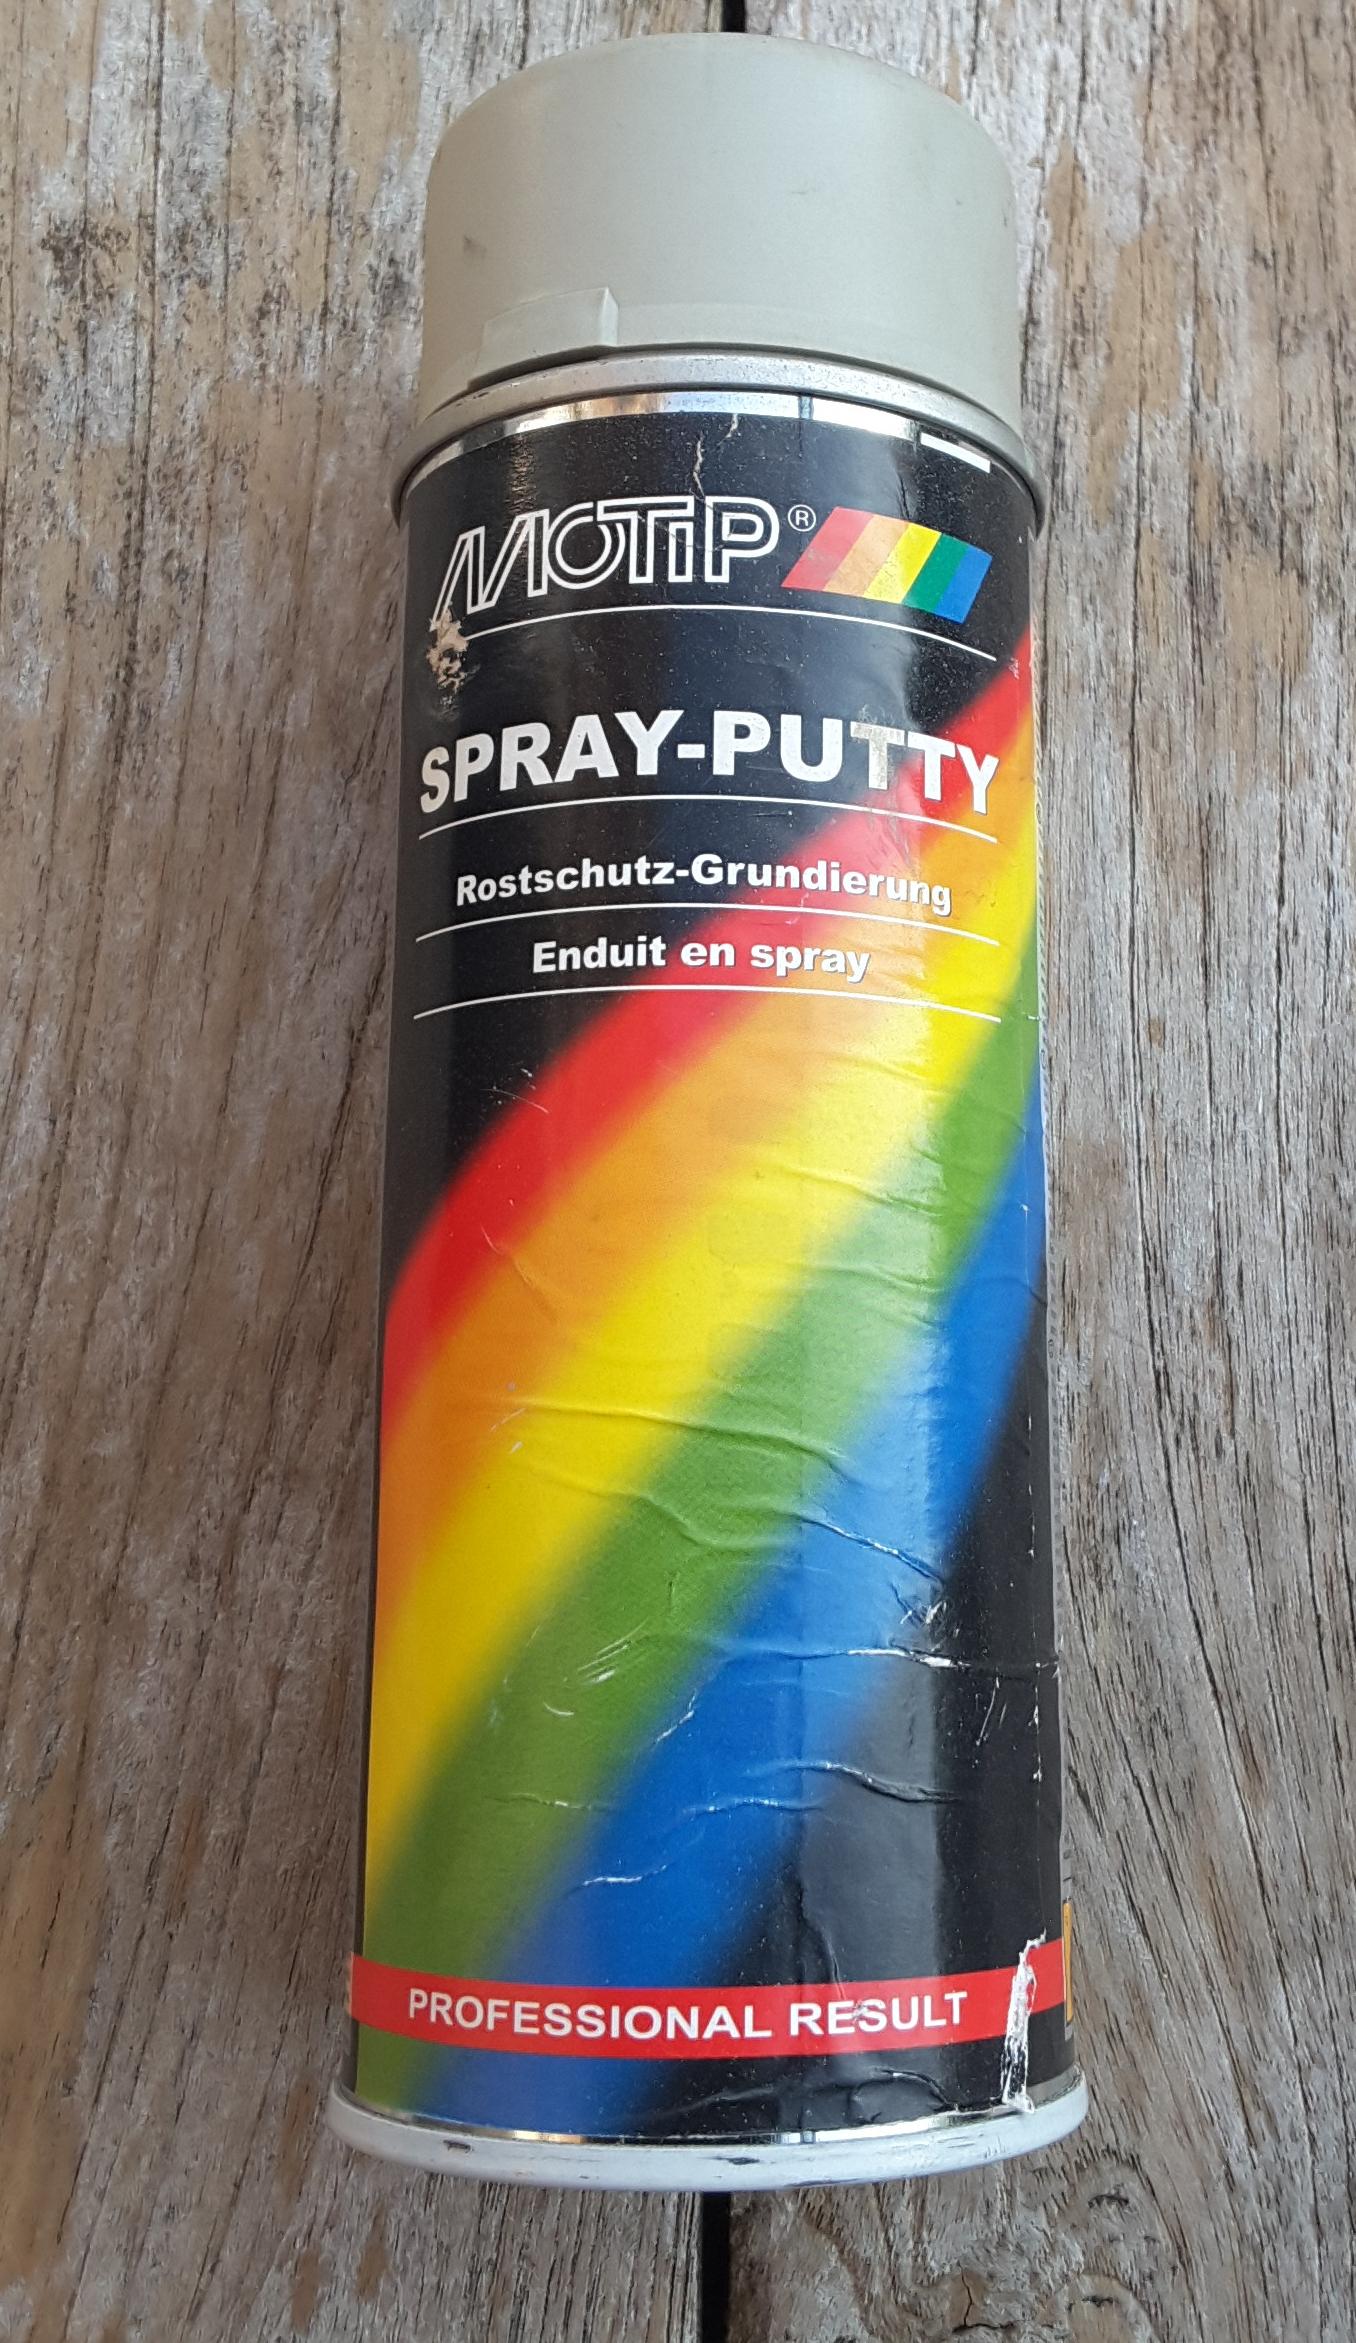
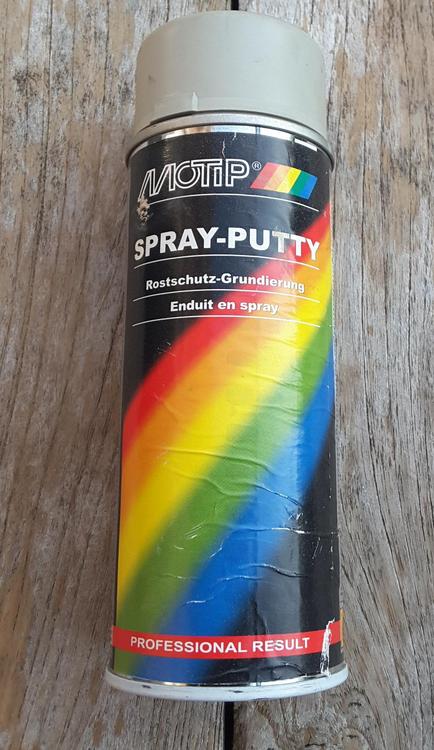
The spray filler is not as thick as the spray puty. Motip make both. The filler is for light sanding scratches.
-
It seems to spray on thicker than any primer I have used, rattle can or gun. A trick used with this spray putty was to spray the area and than directly after a very quick wave over with black primer. The idea is not to coat it with black, but to give it a speckle so when you block sand you can quickly see the low spots. Those spots gef a recoat and again with black primer.
-
The product I use is the brand Motip https://www.ts24.nl/product_info.php/info/141299/MoTip-Spuitplamuur/?pla_source=14&gclid=CjwKCAjw7LX0BRBiEiwA__gNw2FhZ5mUh_K5KI3XxirtSWVF8Ho3S-RaN6UBna96oFDzaxyvTTp8rhoChWIQAvD_BwE There are other brands https://www.nonpaints.com/en/1k-spray-putty-in-aerosol-spraymax
-
This was an insurance ad in the netherlands
-
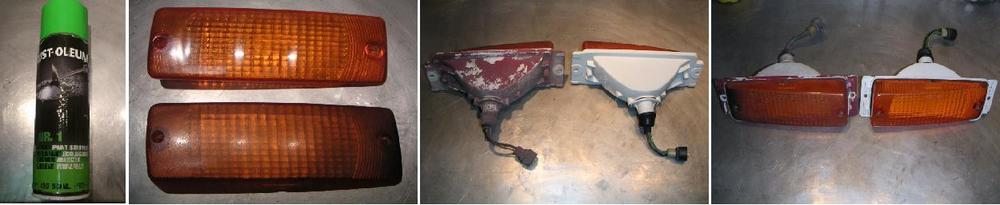
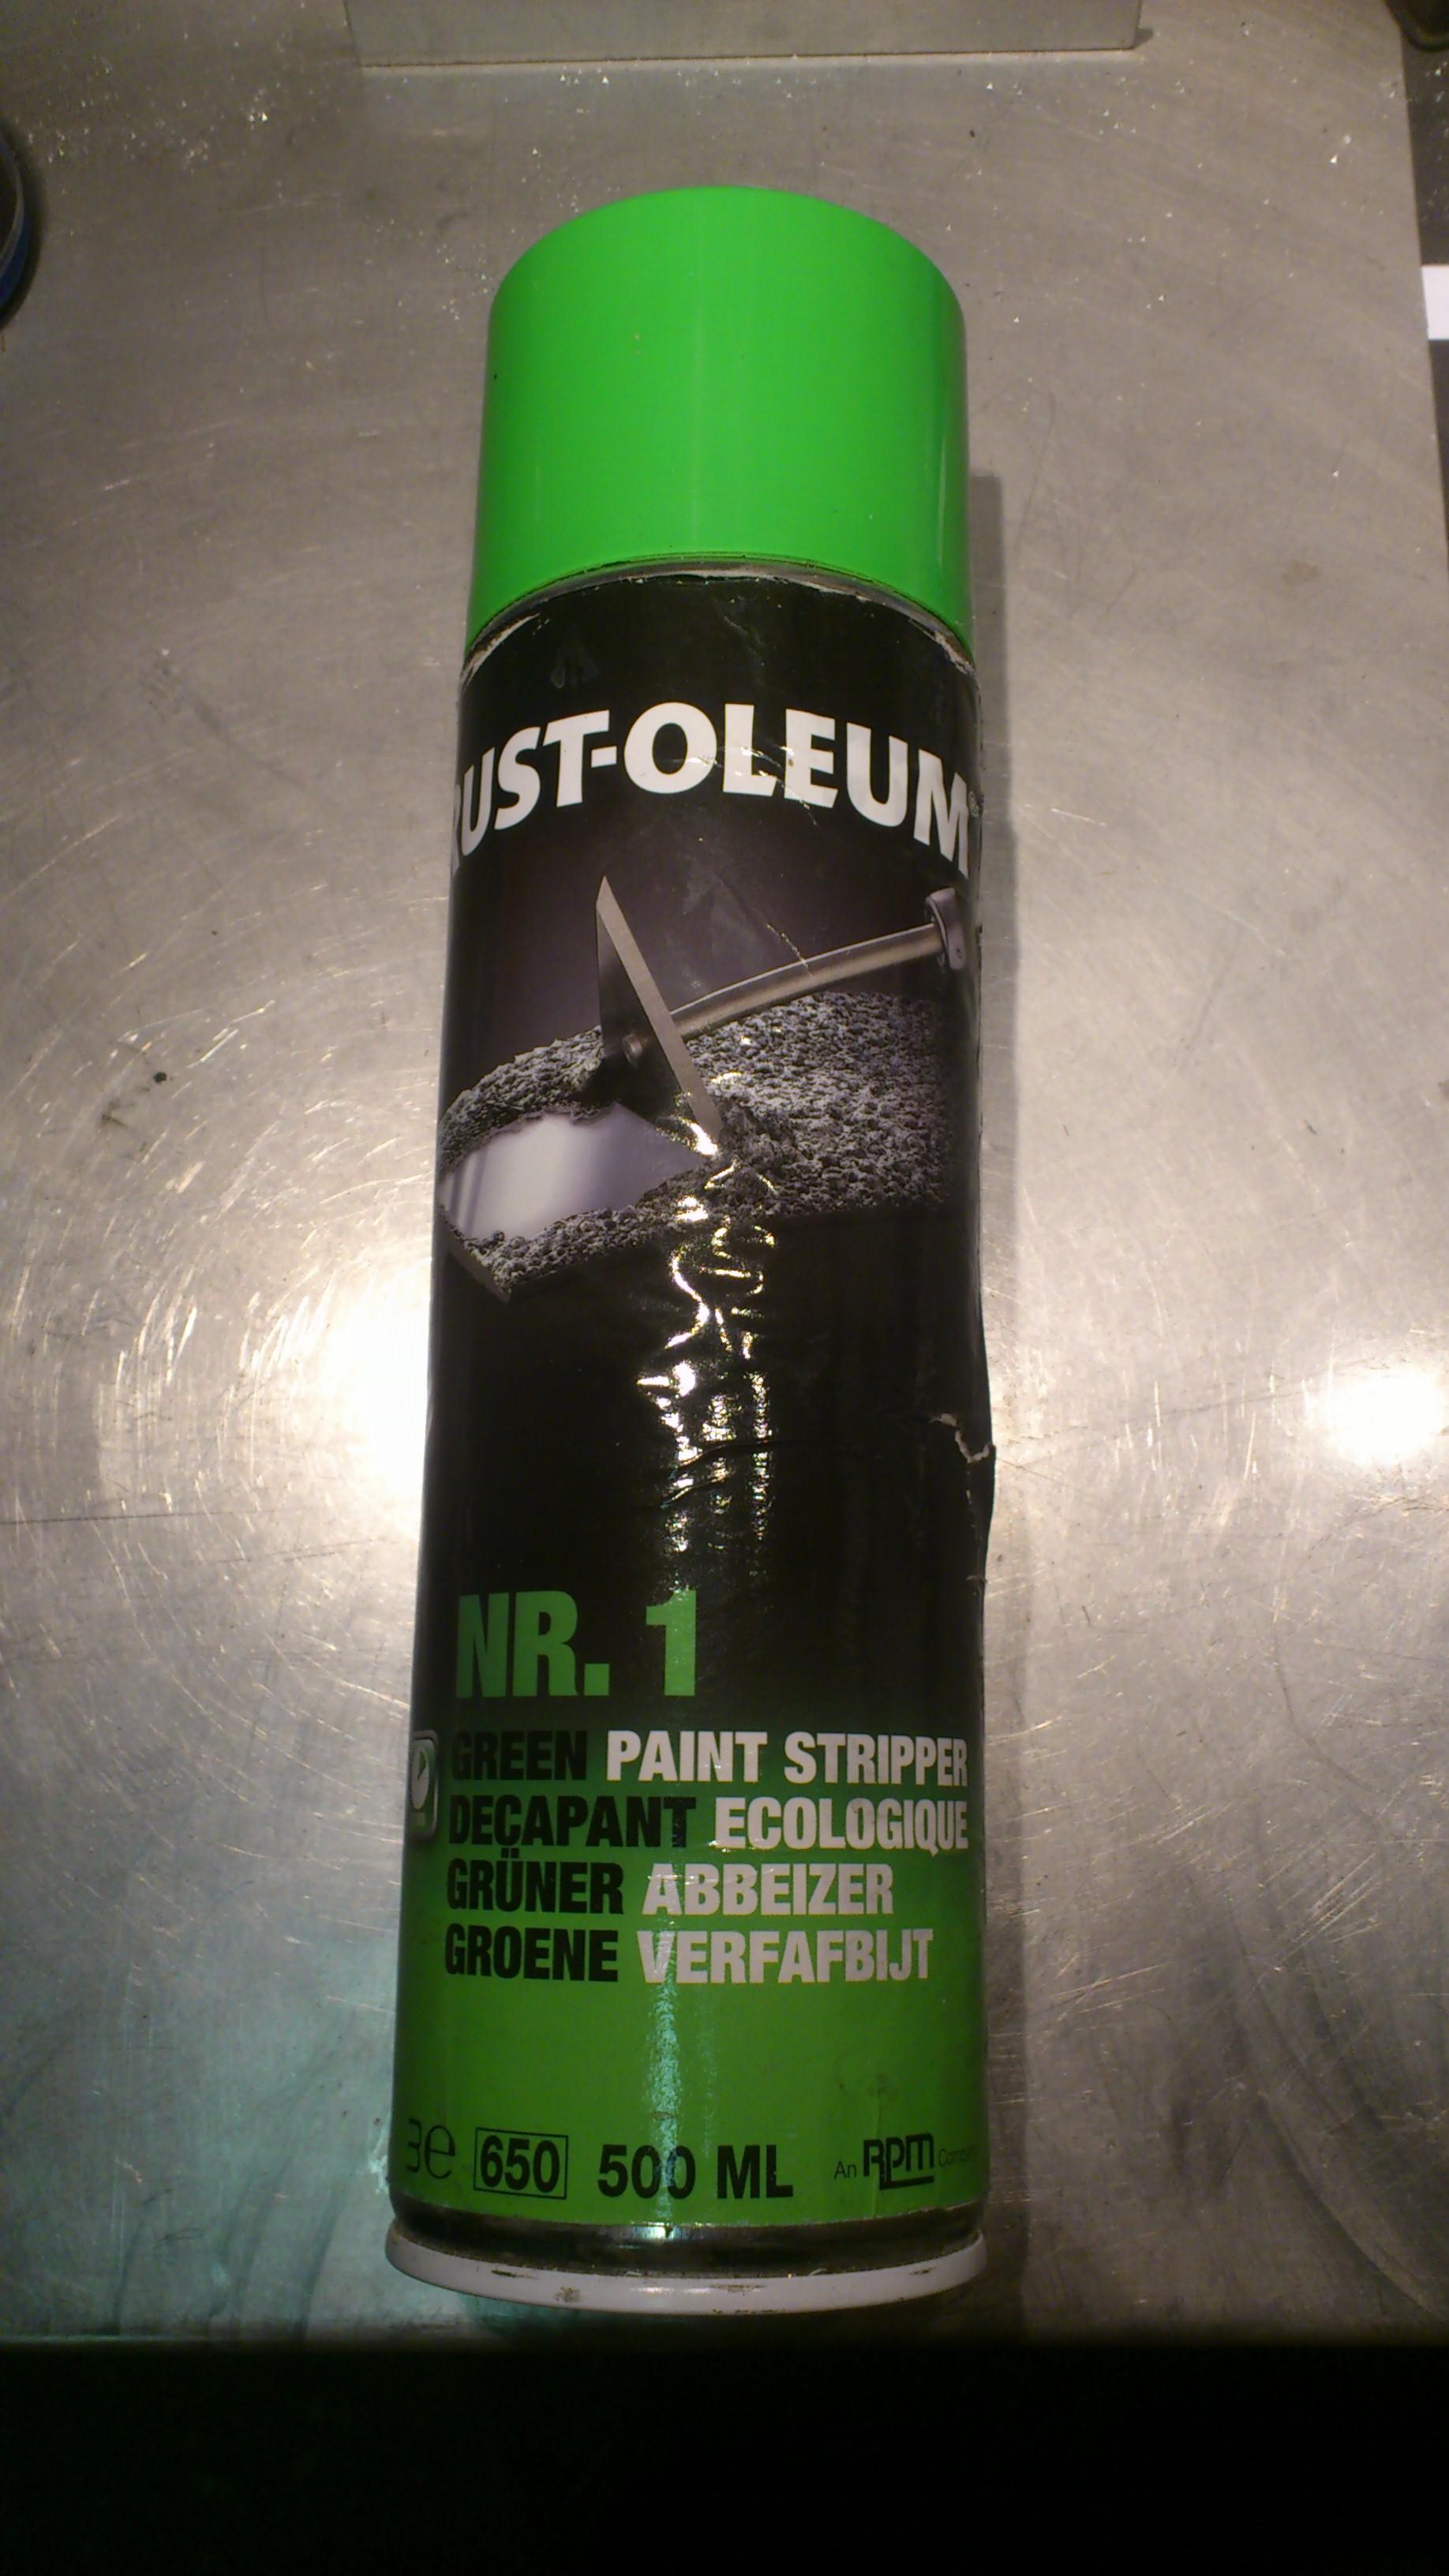
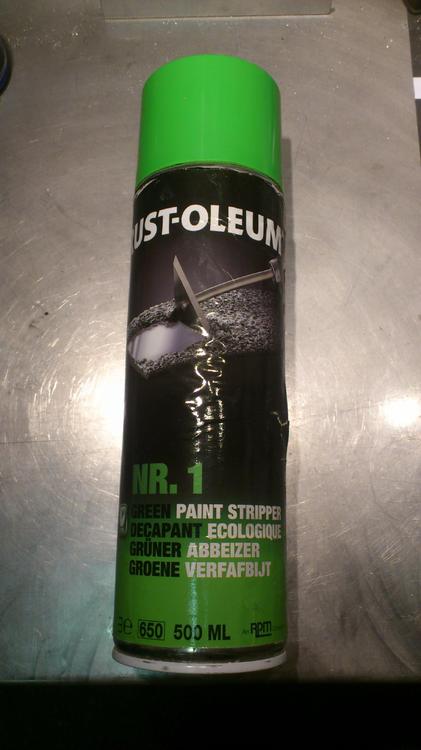
It is Rust-Oleum paint stripper. The enviromentally friendly version which is not as agressive as the normal variant.
-
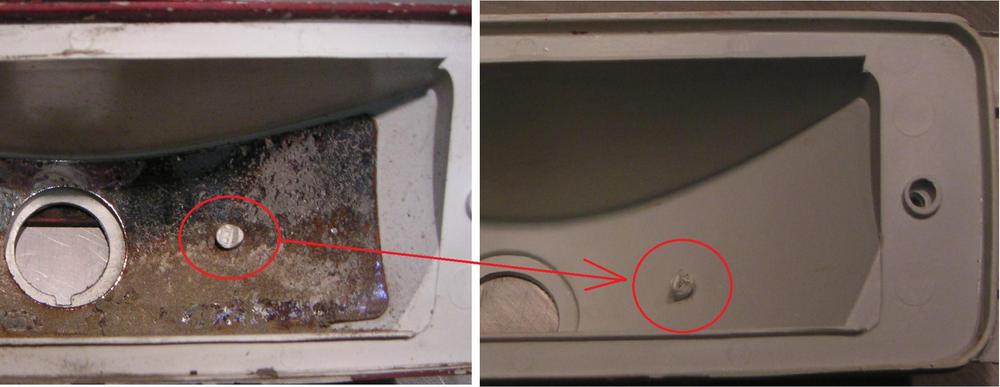
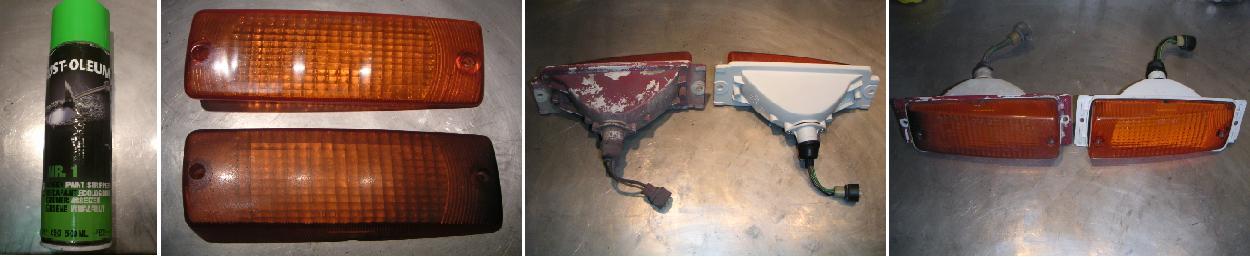
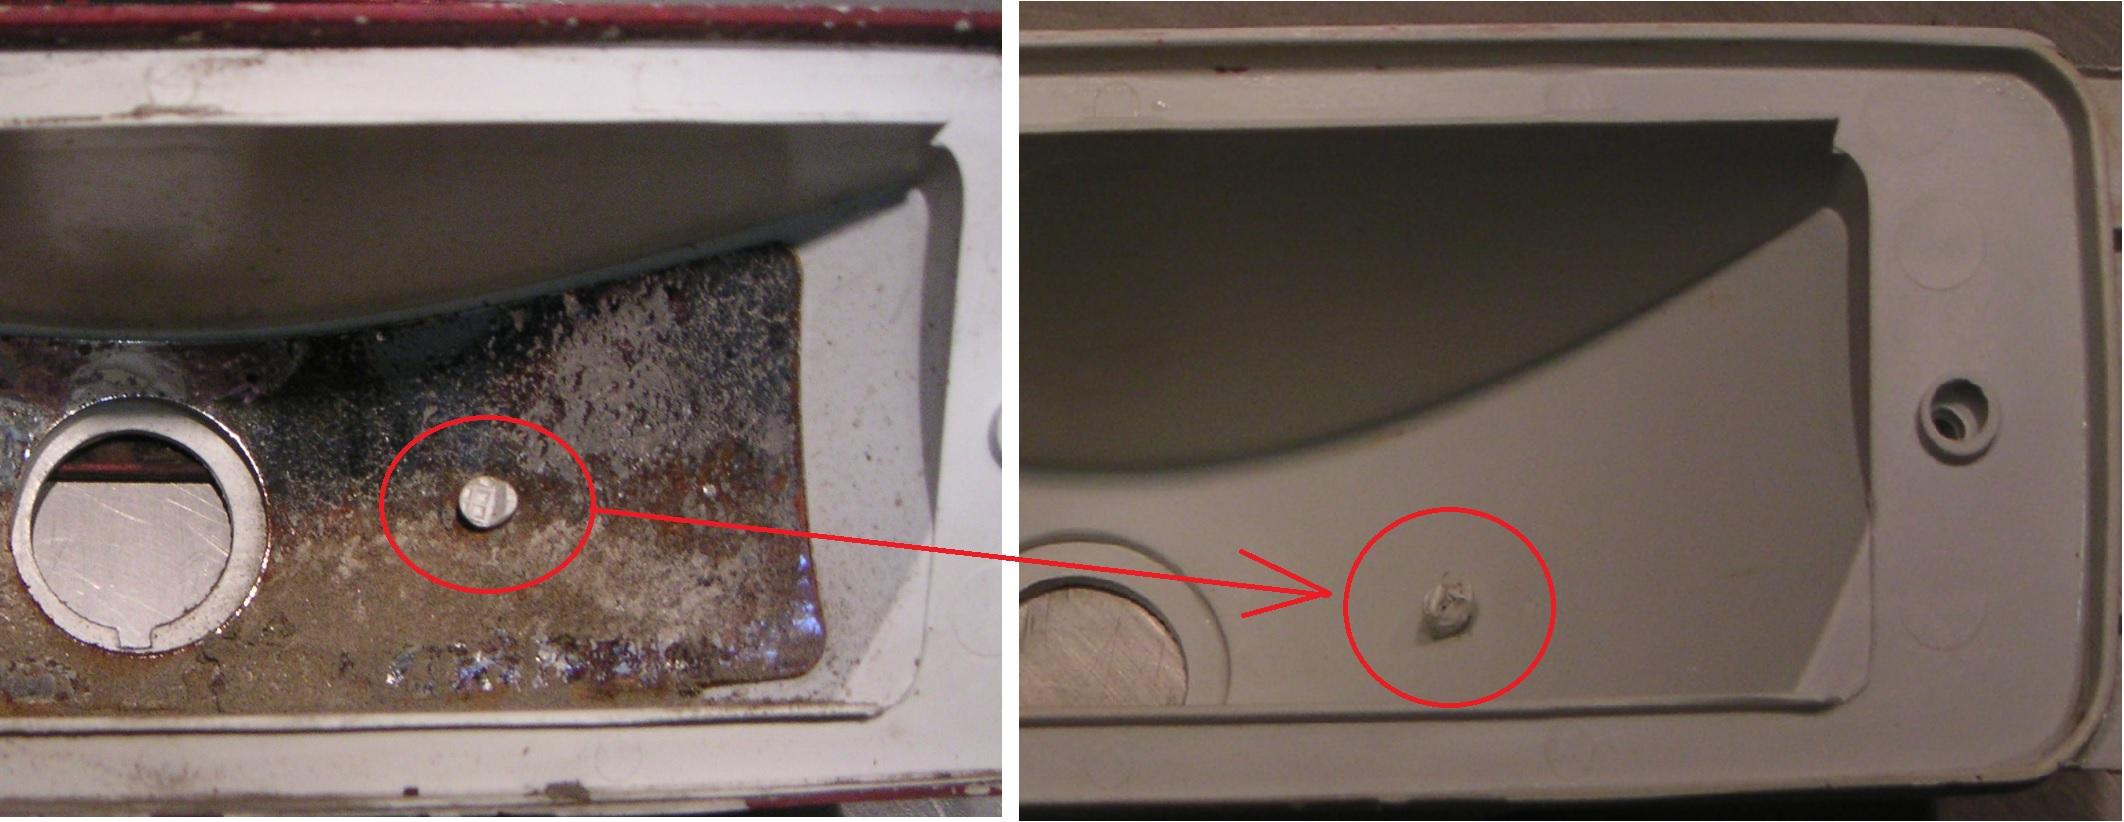
The "procedure" I used is so: 1. Warmed the lens in the refelctor area with a hair dryer to make the white plastic plyable. Not to the point that it would melt, but enough to help it deform instead of breaking off. 2. Used a pair of plyers to squeeze the white plastic "pins" that protude through the reflector. Keep squeezing and moving around the pin and reheating until the plastic reduces enough the pull the refelctor over it. 3. Once you have the reflector off, clean it with a small wire wheel, 40 or 60 grit sandpaper until all the rust is gone. Treat it with rust convertor, prime it and then two coats of spray putty. Sand with emery and add another coat of spray putty. Repeat until smooth. 4. Apply aluminium tape and cut off excess with stanley knife. 5. Fit the reflector over the white plastic pins and use a soldering iron to melt the plastic pins and secure the reflector. Unfortunately I didn't take many photos, but I do have some more of the 280Z turn signal lenses I restored.