Patcon
 Subscriber
-
Joined
-
Last visited
Everything posted by Patcon
-

-
-
I like the 280z in front of the Harden Foundation, but I think I like this second one better. Base clear isn't that hard and in some ways is more forgiving. It is easier to touch up mistakes or blend panels with BC/CC. I don't catalyze my base coat so it needs to be top coated in 24hrs and you can't sand it. If you were to catalyze it you could wait indefinitely to top coat it and I believe it would be sandable.
-
Zed, do you have a link to that thread?
-
So many color options. So few cars... I don't have a recommendation, but I was going to look at the p-sheet for whatever you pick. "reasonable cost" and automotive paint are mutually exclusive!
-
-
What single stage are you looking at? Yes, you do not want your finish coats to dry that fast. They won't level out and any over spray or misting won't melt back in
-
Basically every metal part on the car that was not painted body color, black or blue was finished some how, excluding aluminum pieces. Most were plated yellow and "yellow zinc" is used for that. I believe a couple of parts were plated black and some parts were plated shiny silver or "clear zinc" Even the parts inside the brake booster, the heater hardware, window regulators and latches were all plated yellow zinc. Most don't go to those extremes but I know a few that have...
-
Does the temperature gauge work? What did it read? Yes they can overheat quickly if there is a problem. Overheating these aluminum headed engines is a no-no.
-
Some products have different speed reducers based on the temperature. I don't know exactly how that is done with epoxy. Nason's epoxy has no provision on the P-sheet for slowing it down and there is not another catalyst listed. I guess smaller batches...
-
That's a nice straight looking splash pan! They are usually beaten up or rusted out.
-
All of these paints are heat sensitive. Especially the epoxy paints. If it's warm in your booth they will set up faster. Also these paints can be sensitive to tip size. The P-sheets will have the recommended tip size which can greatly influence feed issues. Also are your straining all of your paint into the cup?
-
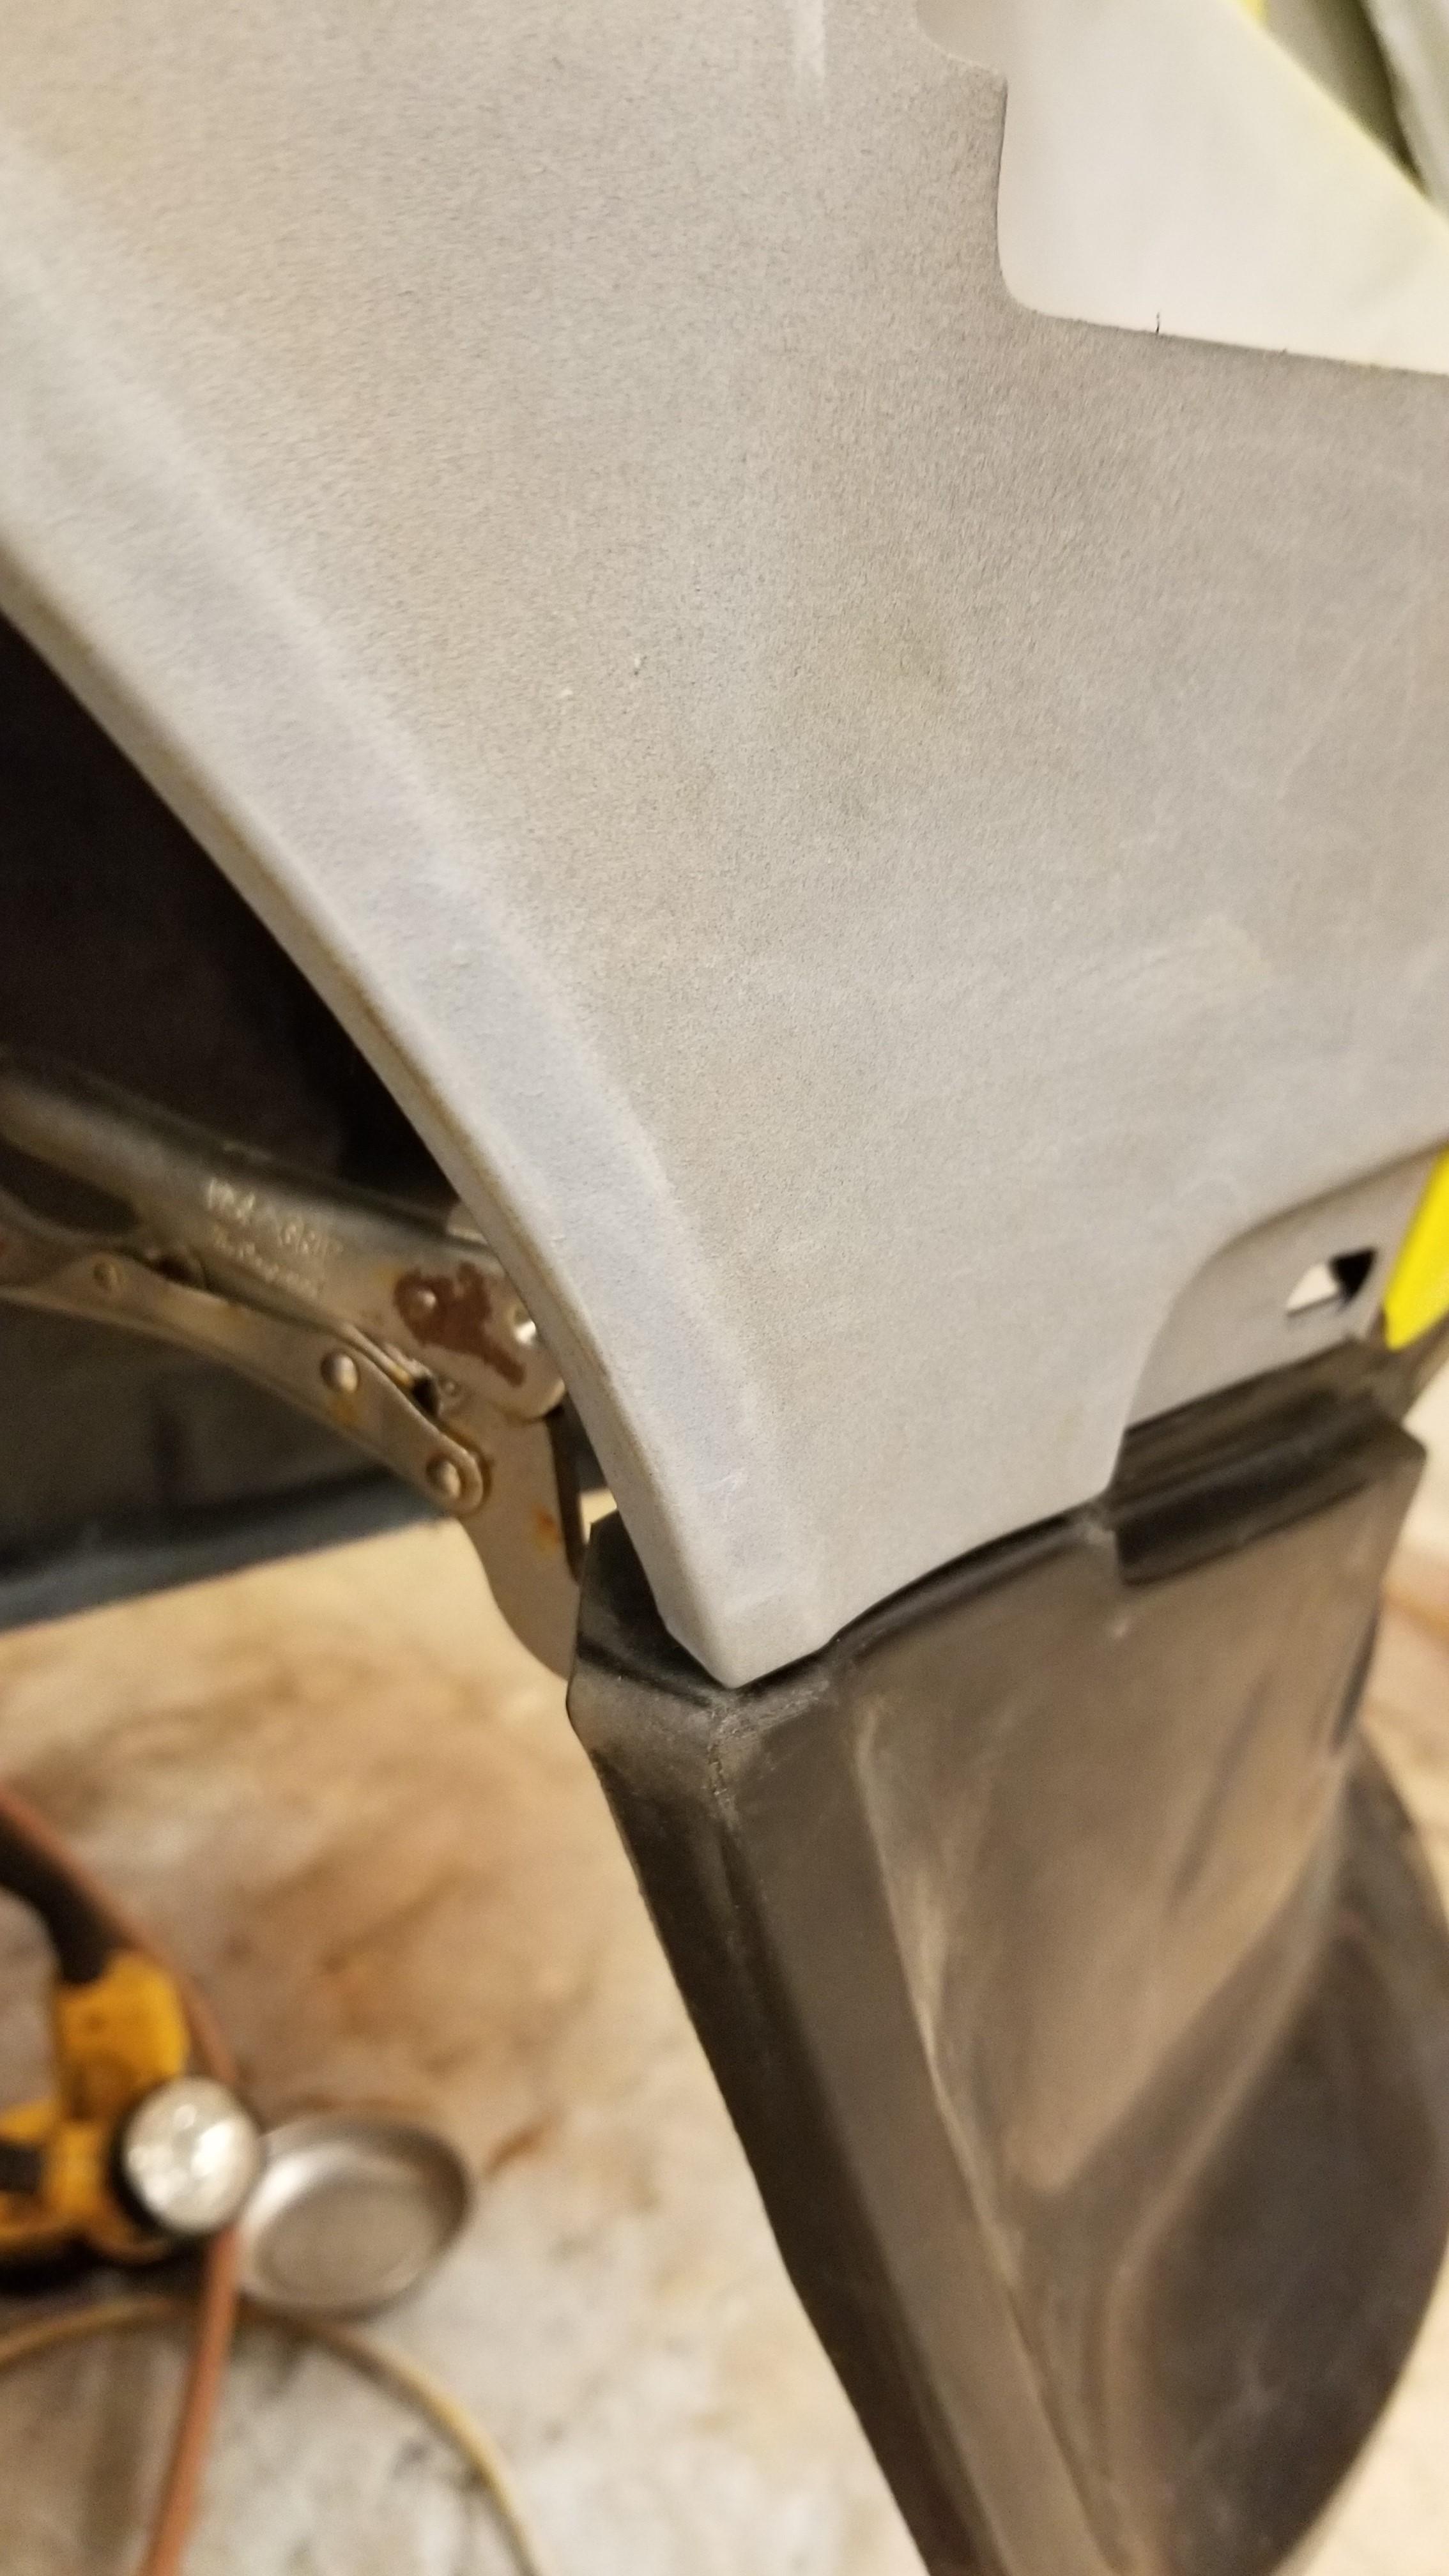
I could also do that with the edge of the wheel arch where it's too wide. Good idea! Thanks Chris! Where the air dam curves around the front at the turn signals, did you put the air dam on the inside or the outside of the sugar scoop? I have it on the inside currently...
-
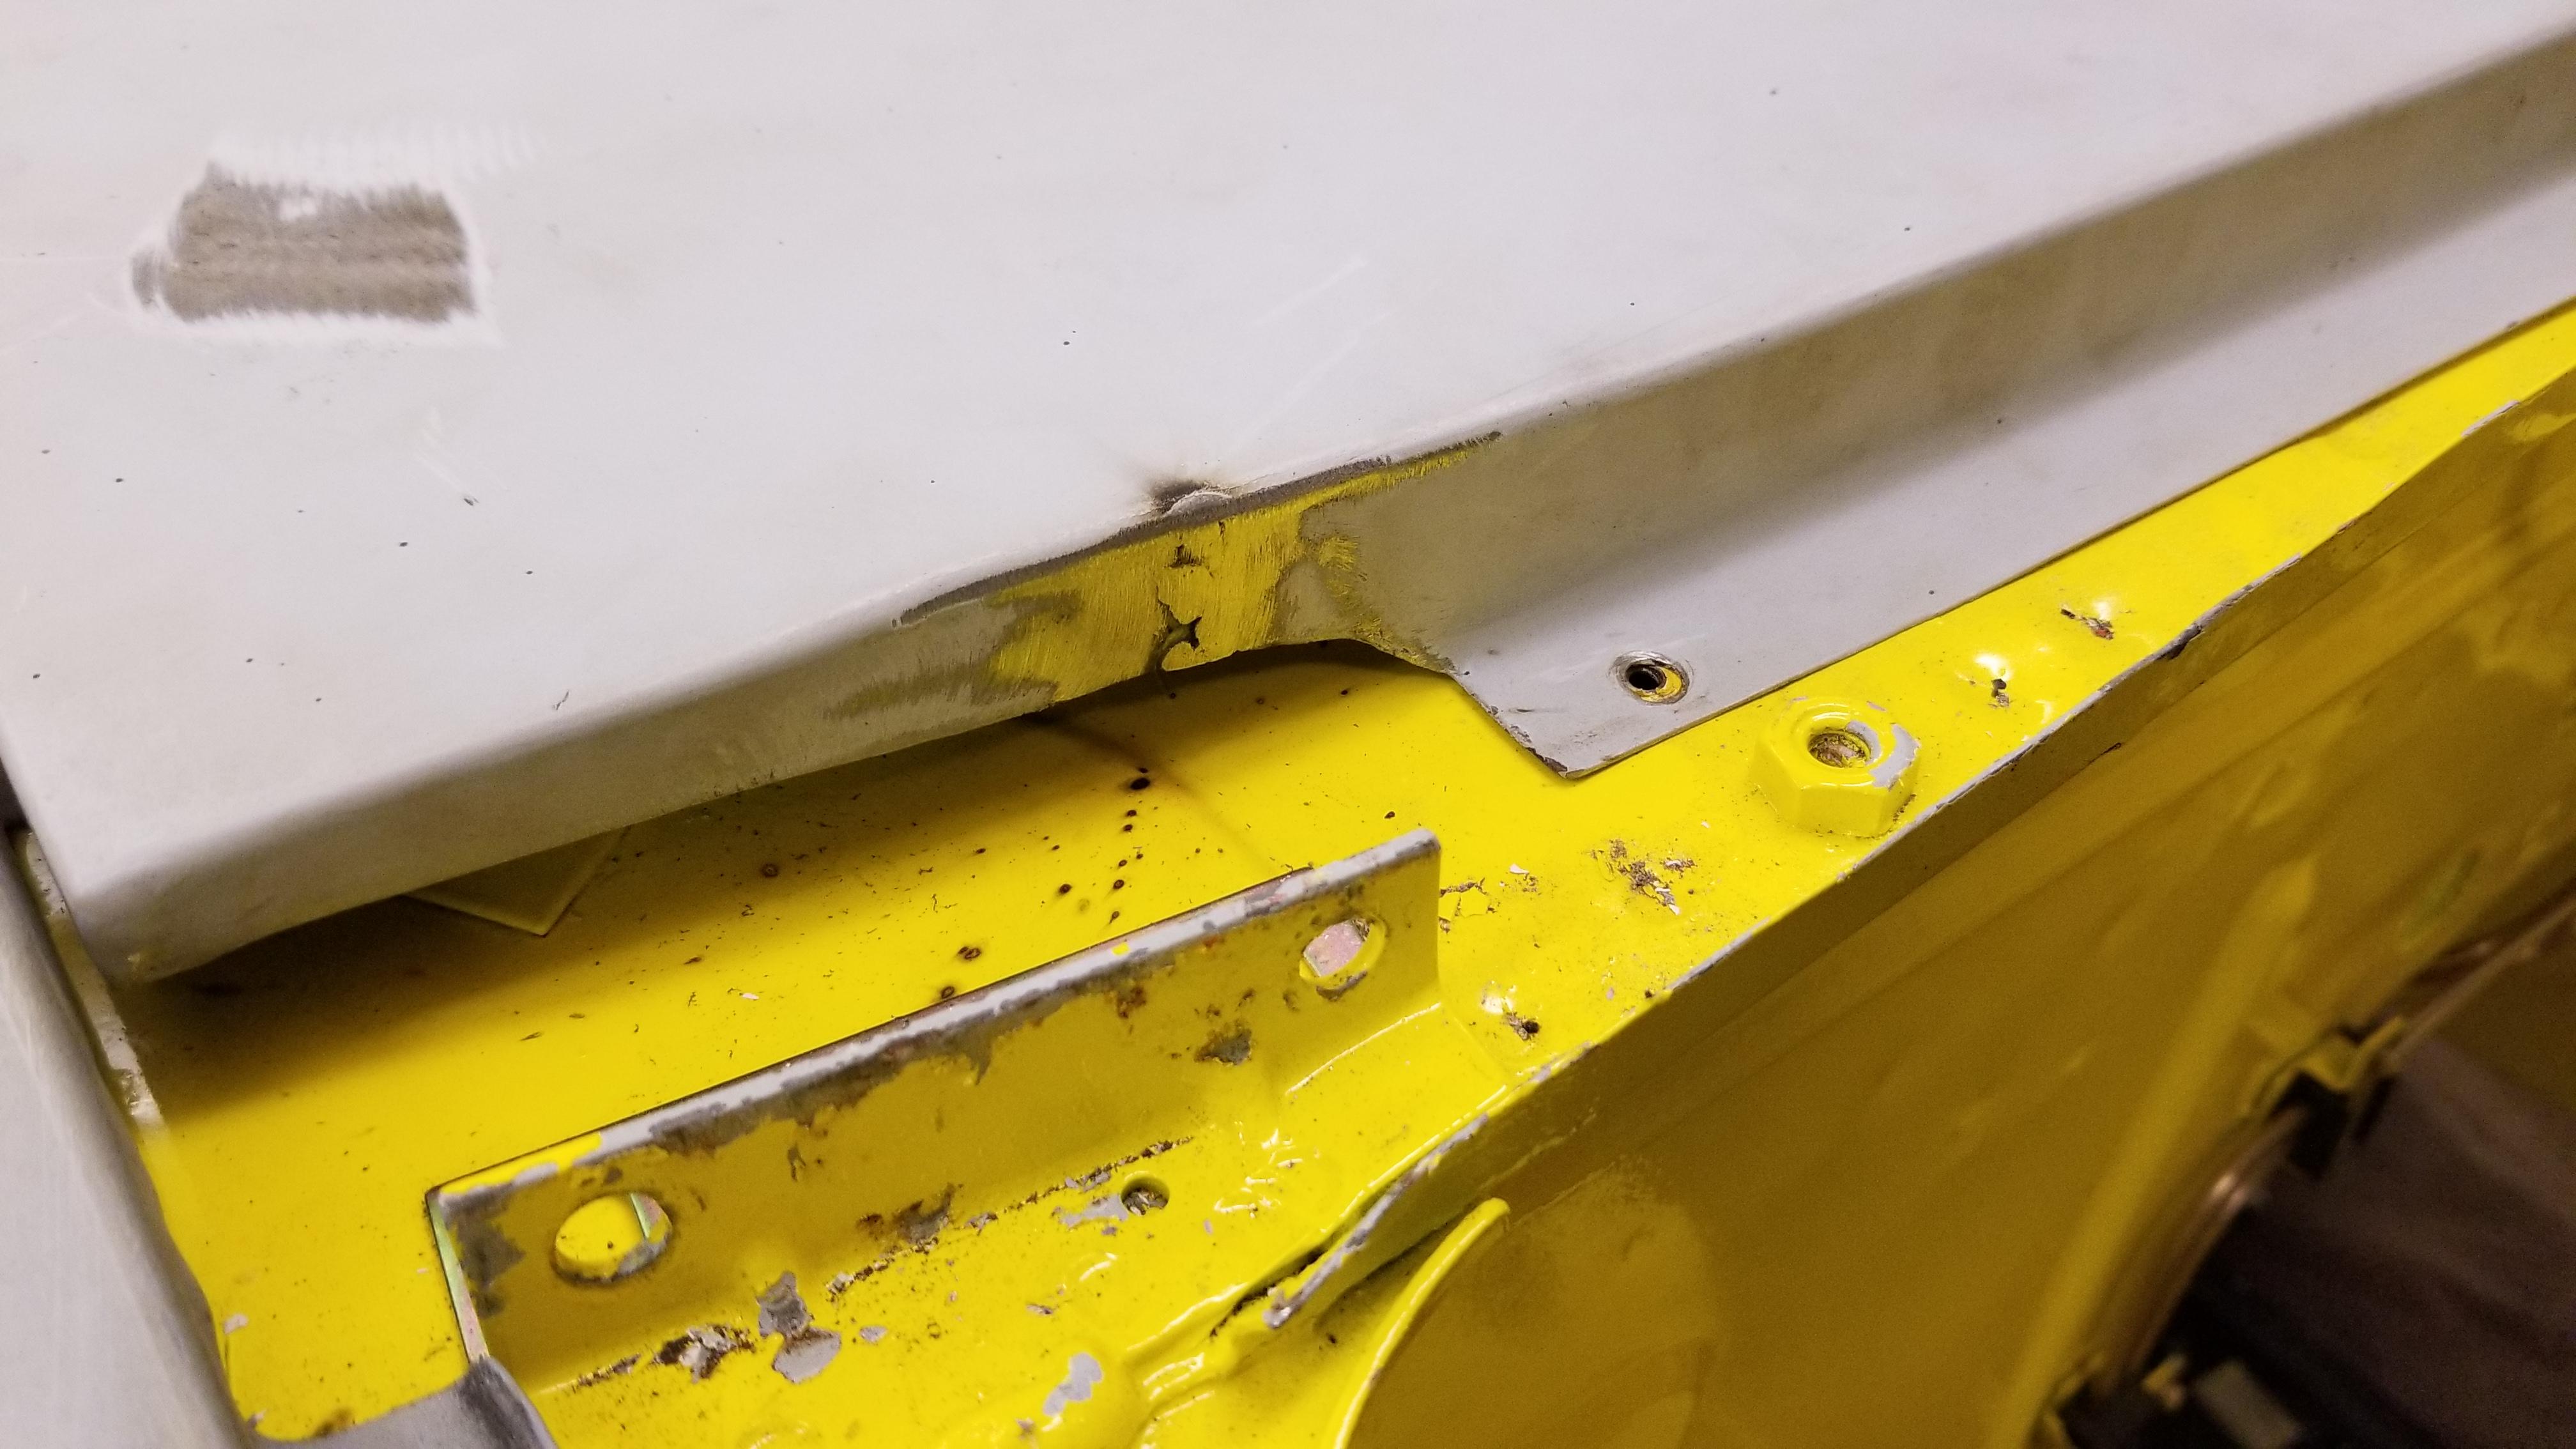
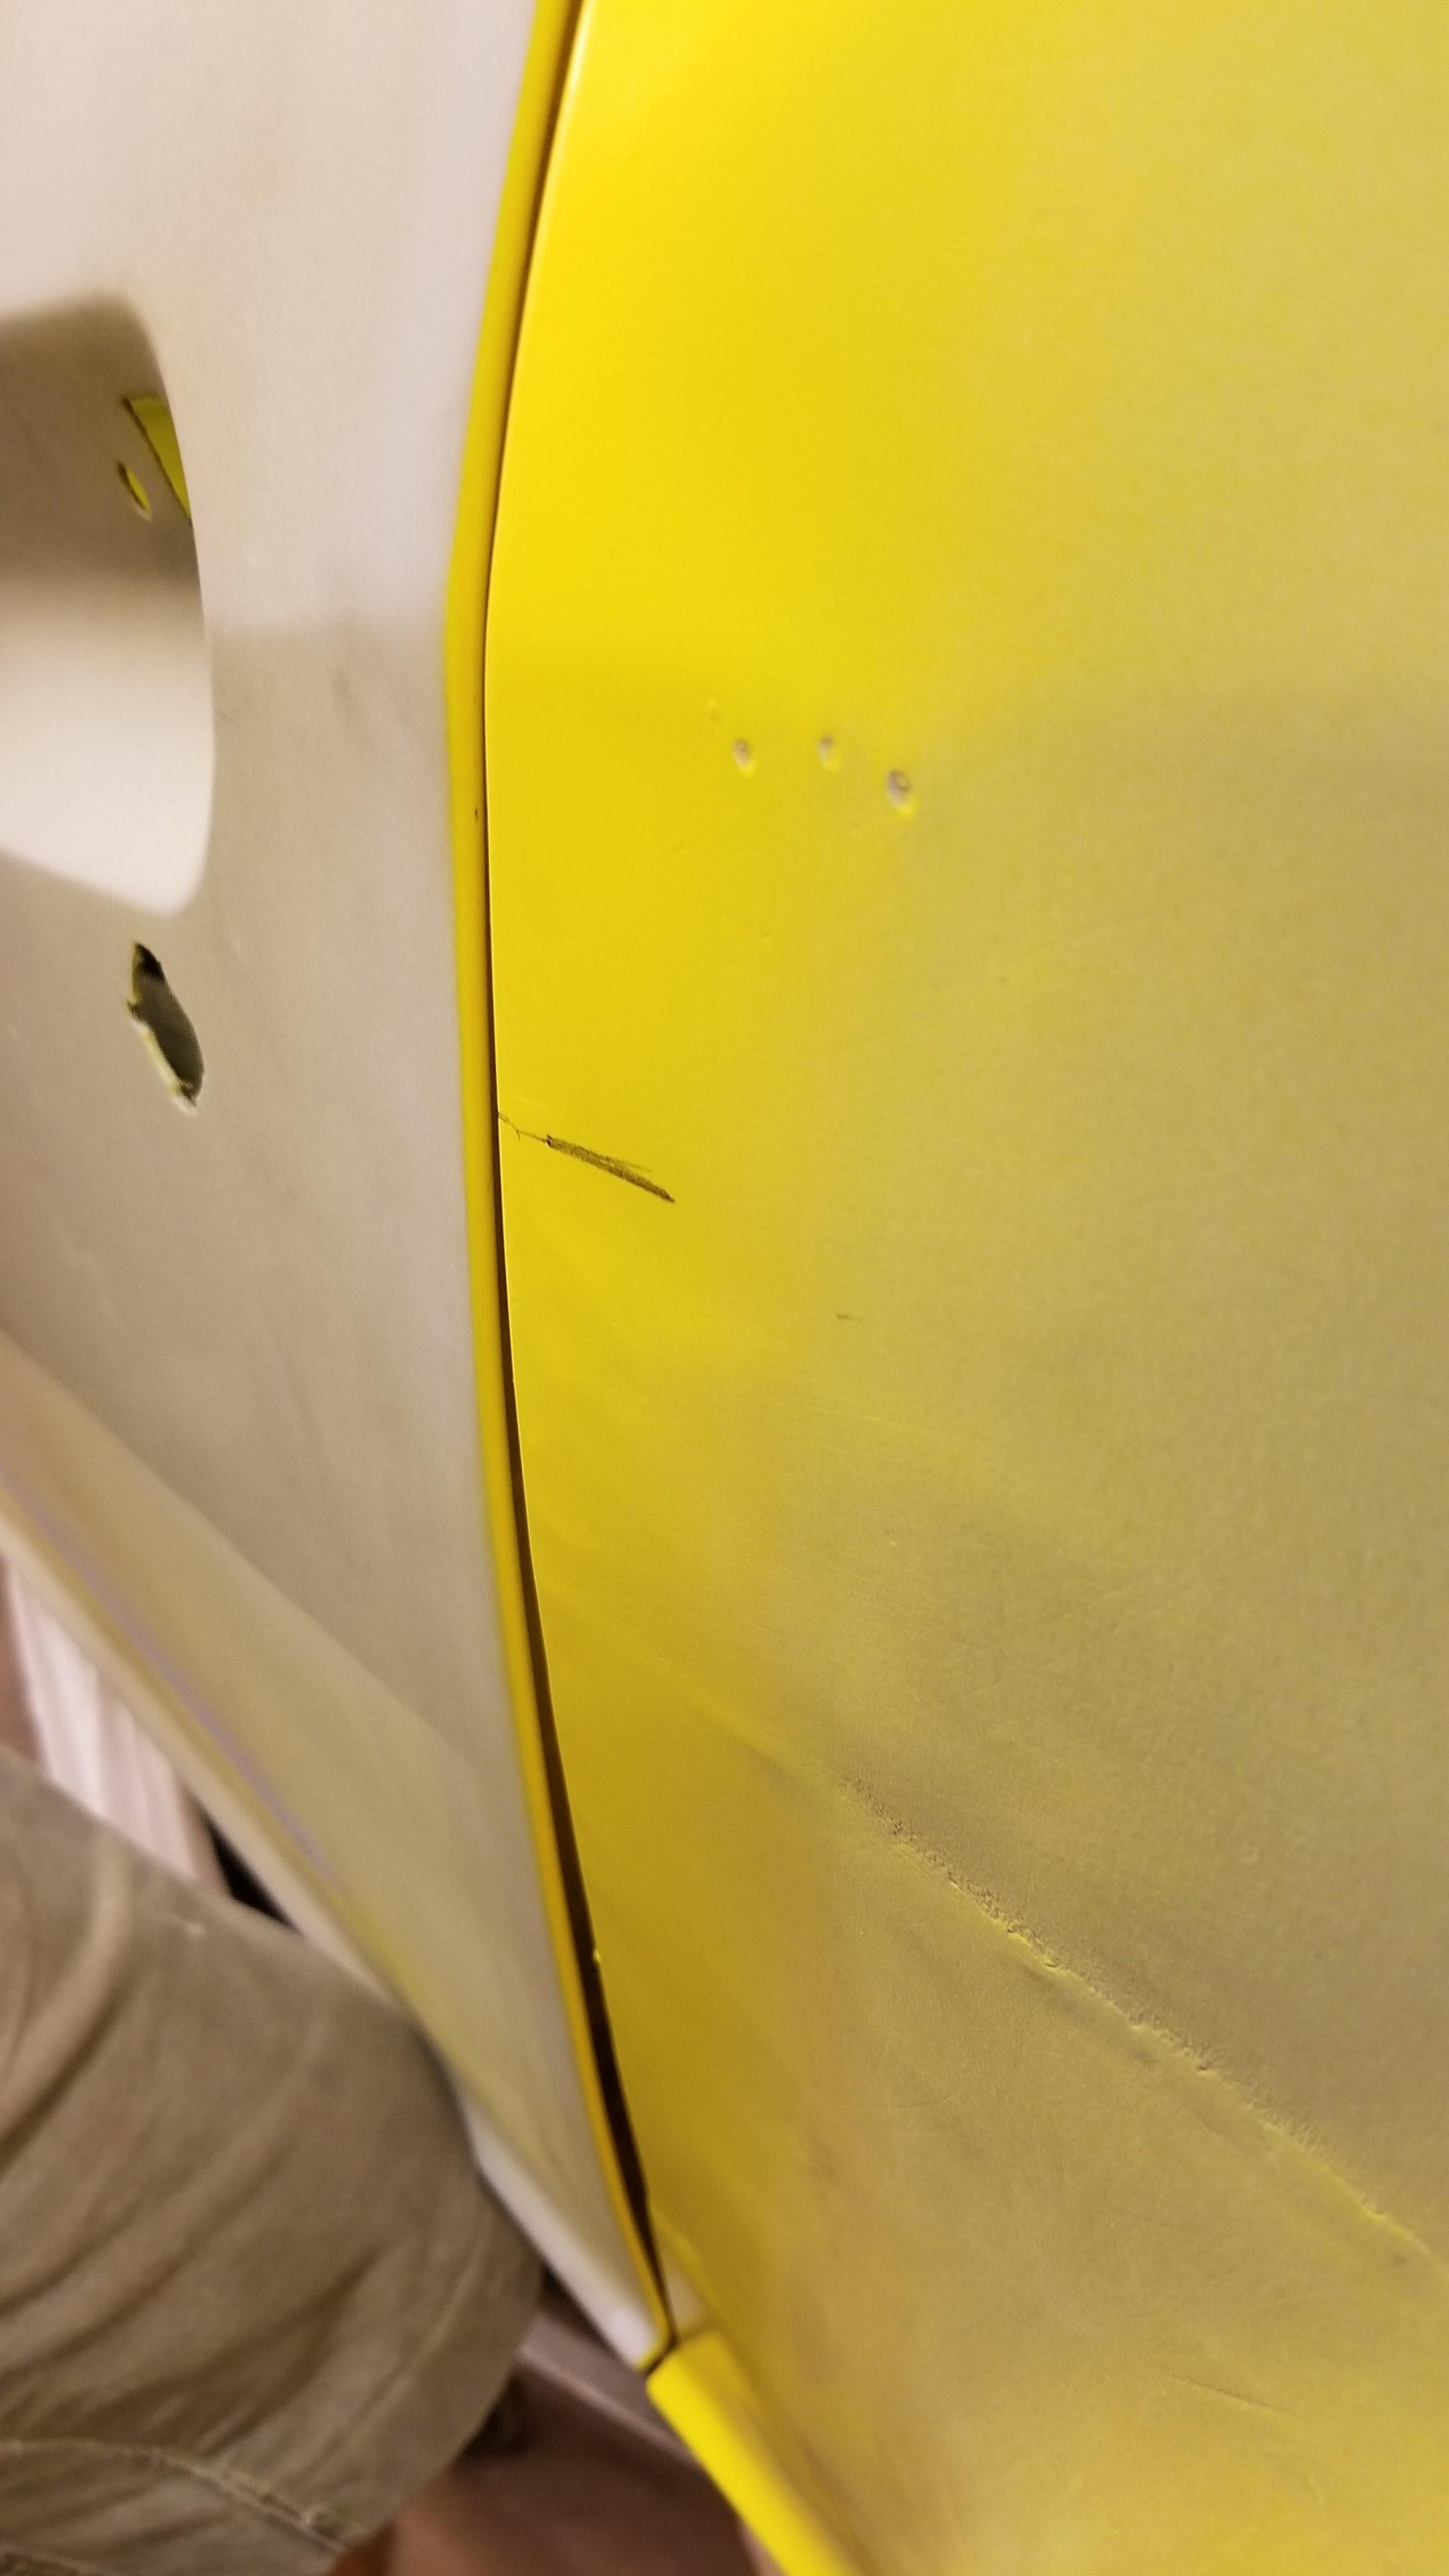
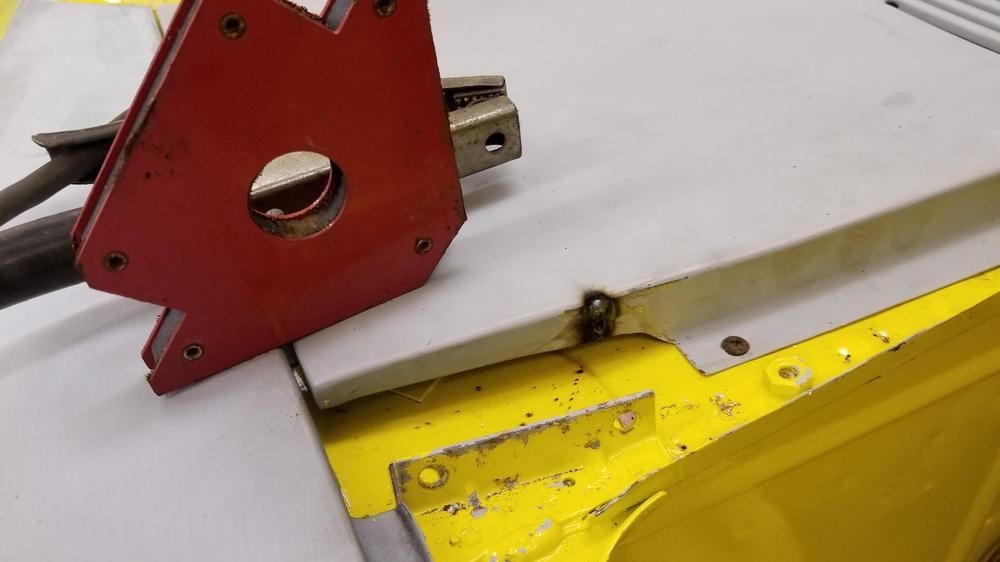
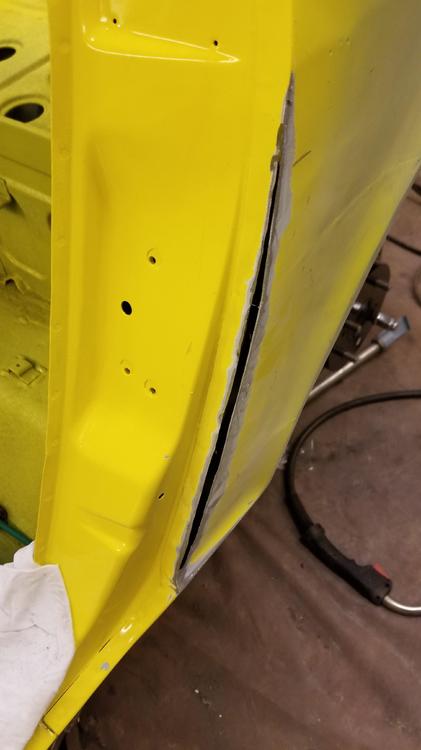
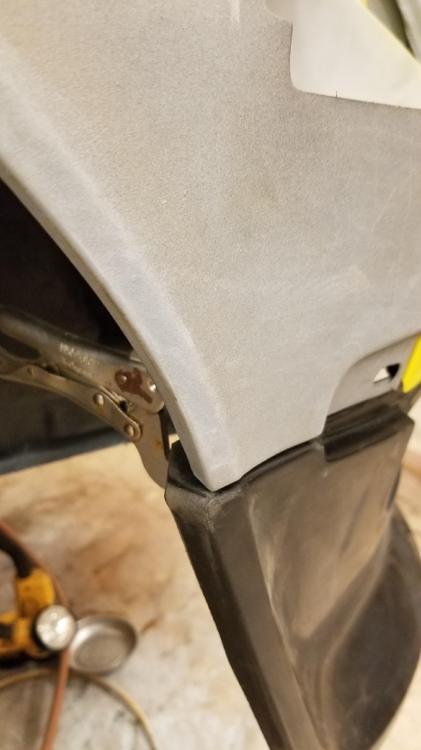
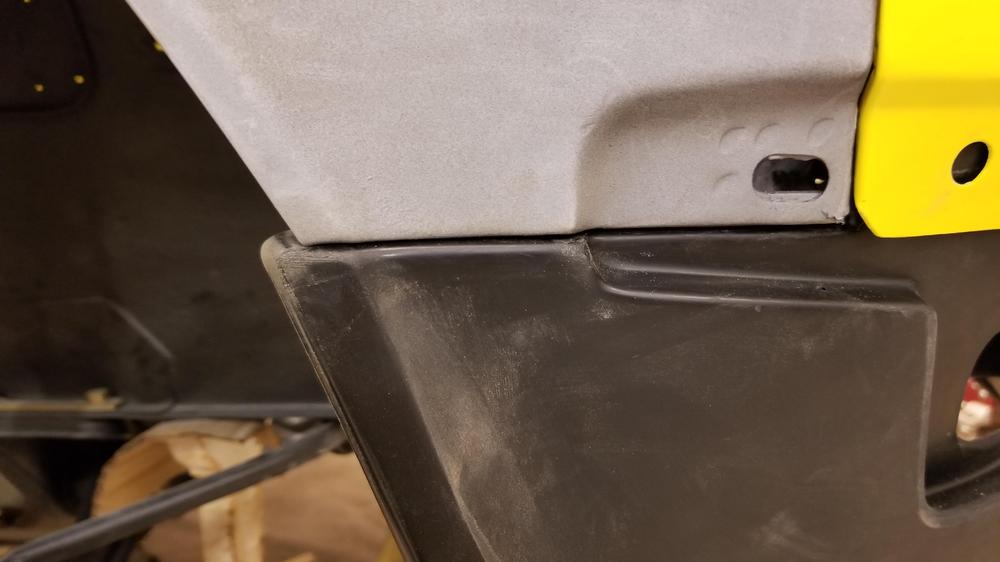
Worked on getting panel gaps right on the front panels some today. I think I got the hood pretty close. It sits just forward of the head light buckets, but they are pretty close. I also re-arched the hood using Jeff's method. It works good but be careful. It is easy to over arch the hood! The cowl panel was sitting a little high compared to the fenders. I had crimped it when adjusting it. So out came the body saw and I added a slit. Got it flush and welded it back. As a word of caution it ended up too low after it cooled. I should have held it up just a hair to make it better when it cooled. I dollied it some and got it back to where it needed to be. I did both sides this way. Then I moved around to the drivers door. The car had clipped something before I got it on the door and creased it right through the wheel arch. So I patched it in with a tabco panel a number of years ago. Well when I got the door on the car the tabco panel doesn't arch the same way the door does. So out comes the cut off tool I started filling this back in when I stopped for today Also I hung the new air dam on the front. It's a Xenon urethane dam I have had for a while. I don't like the way it meets the front fenders. Has anyone else had this issue? How did you deal with it?


-
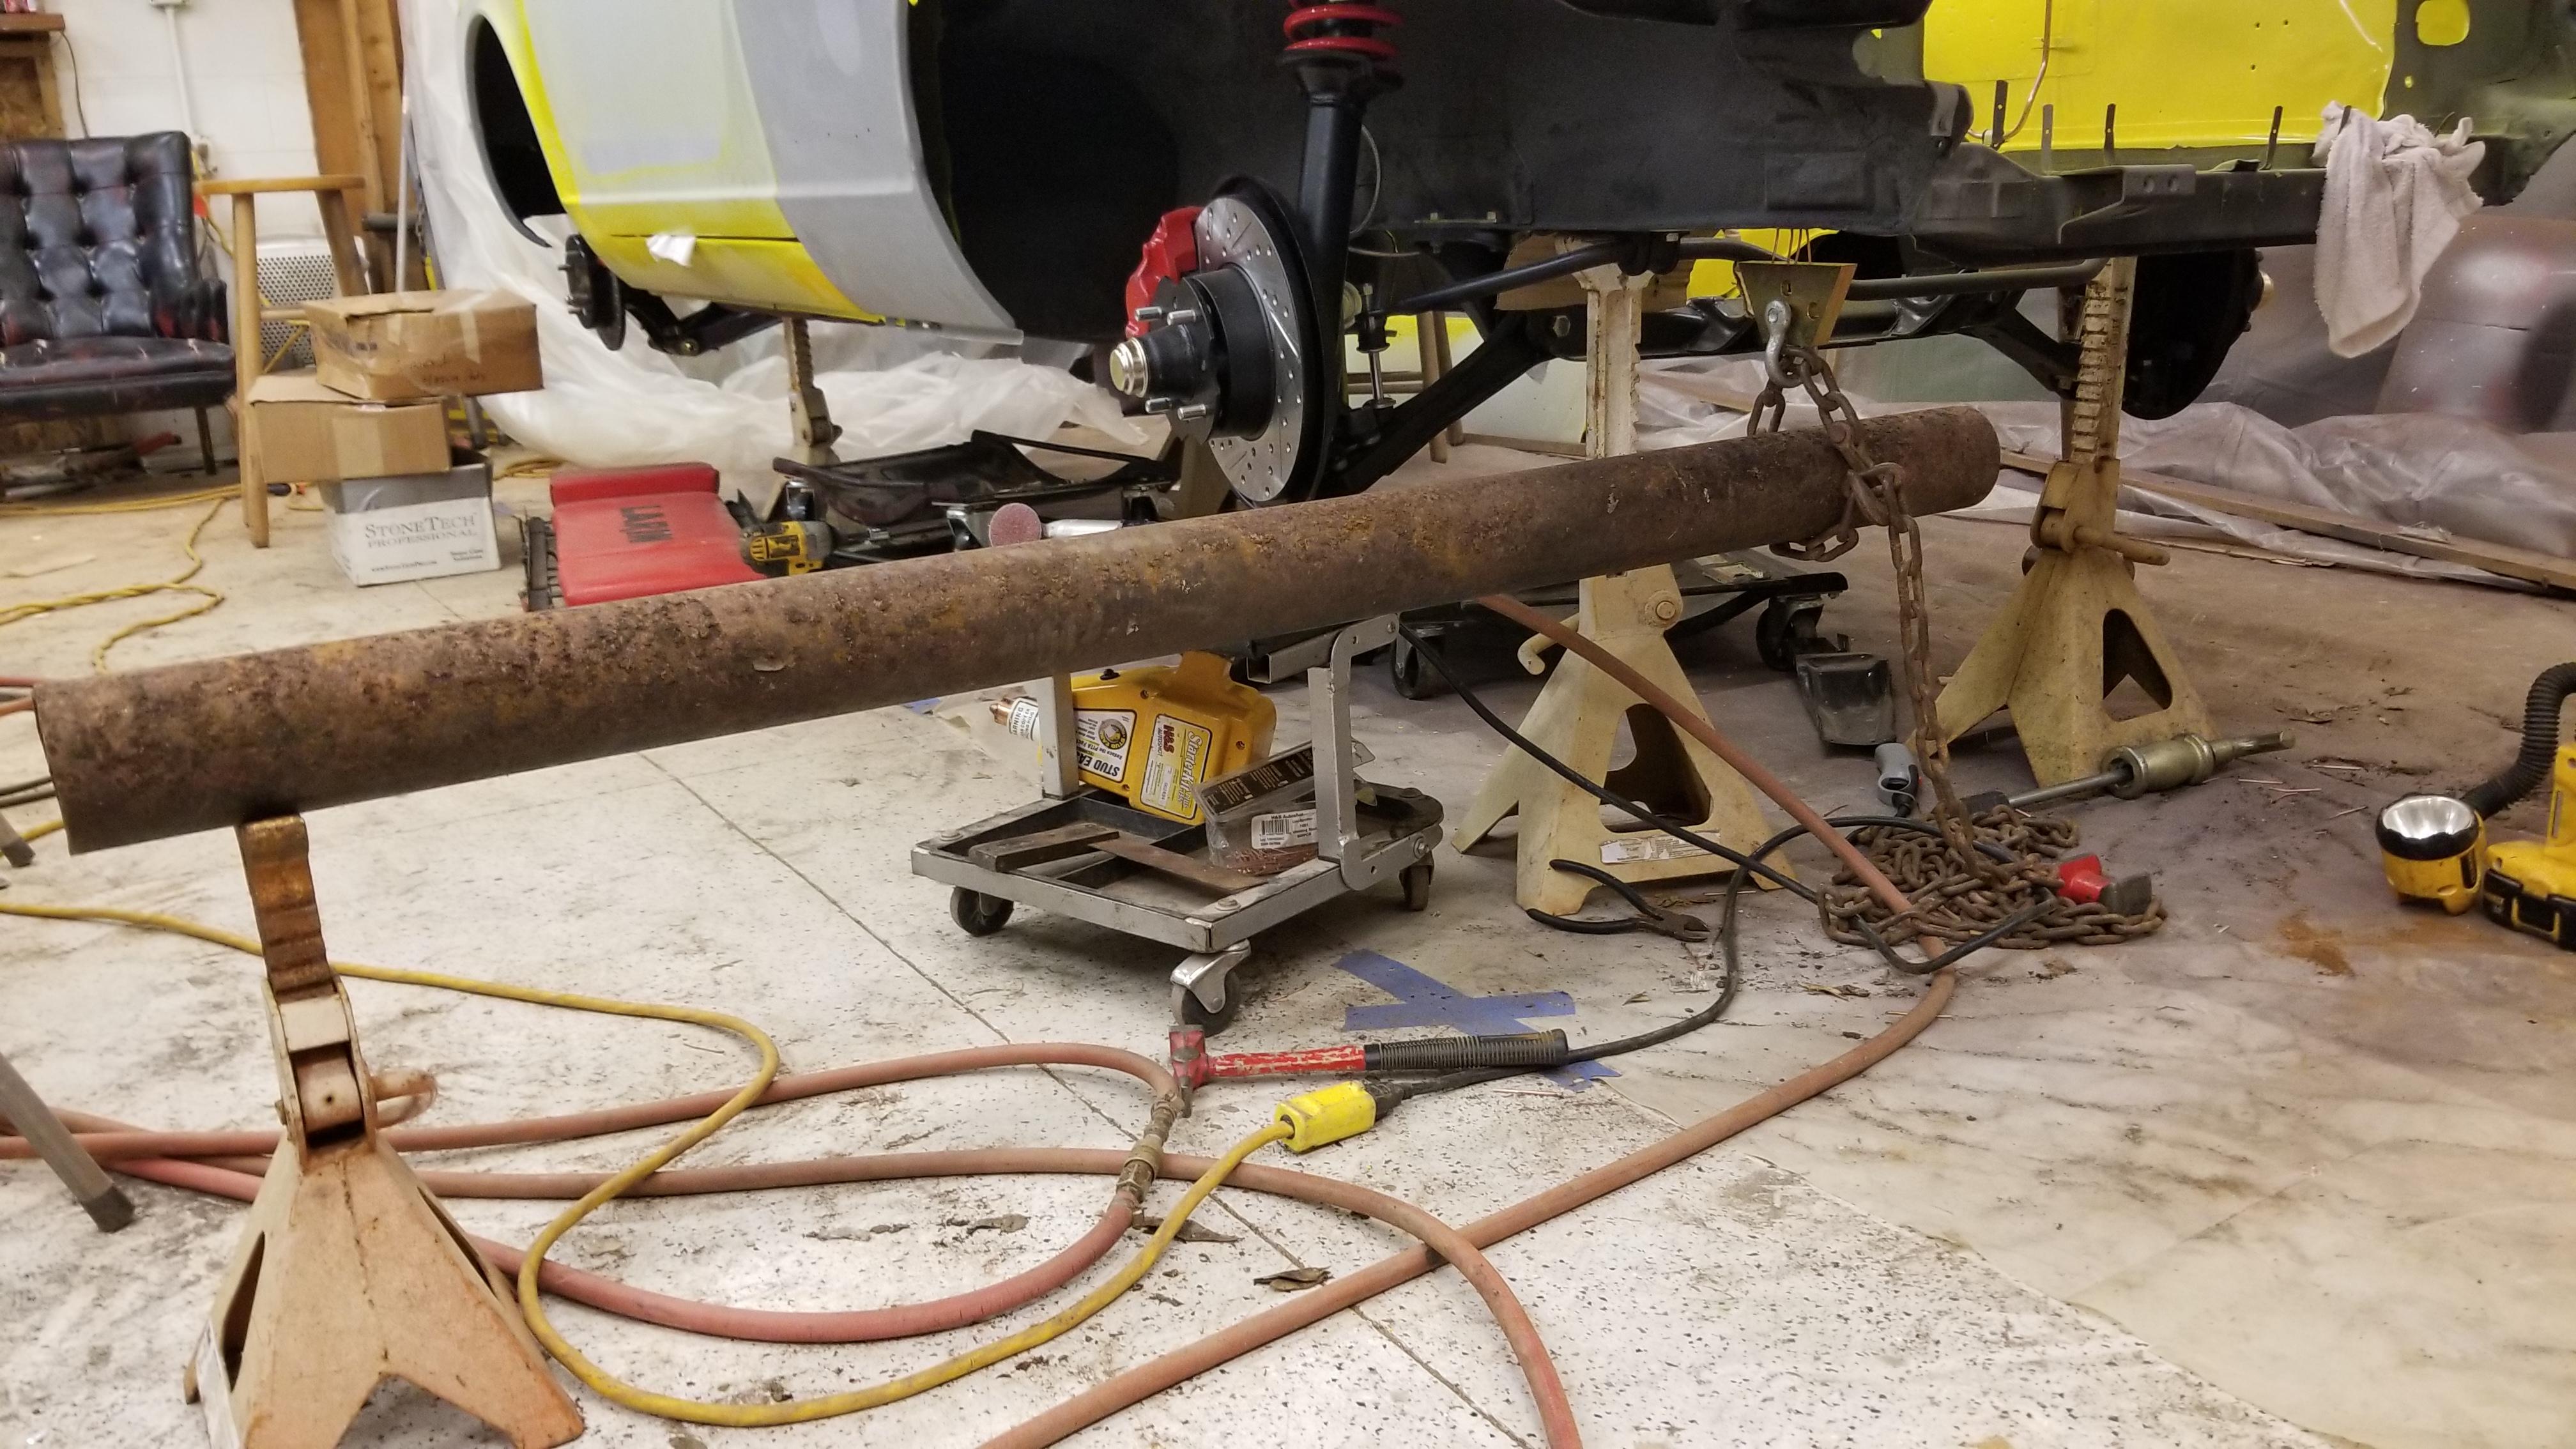
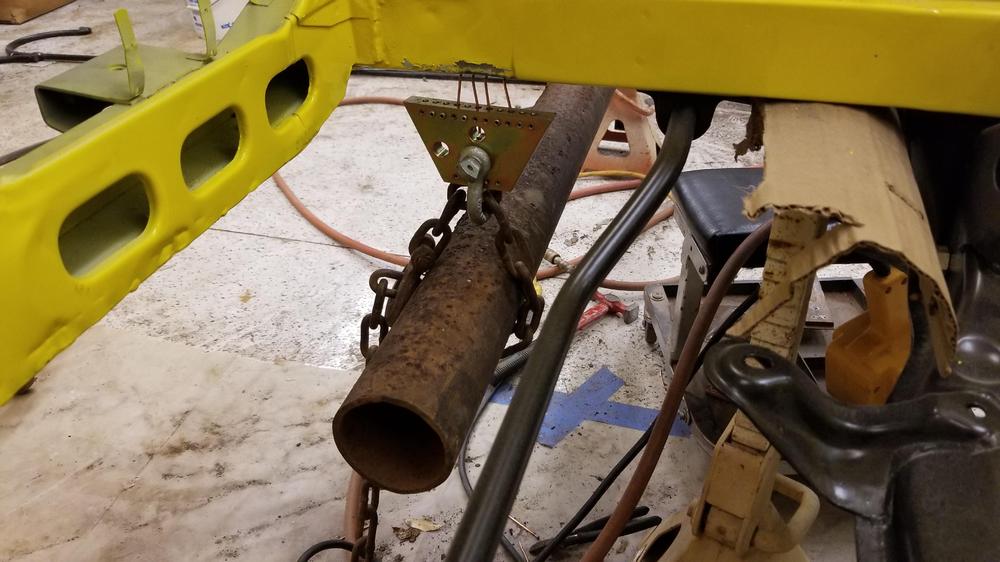
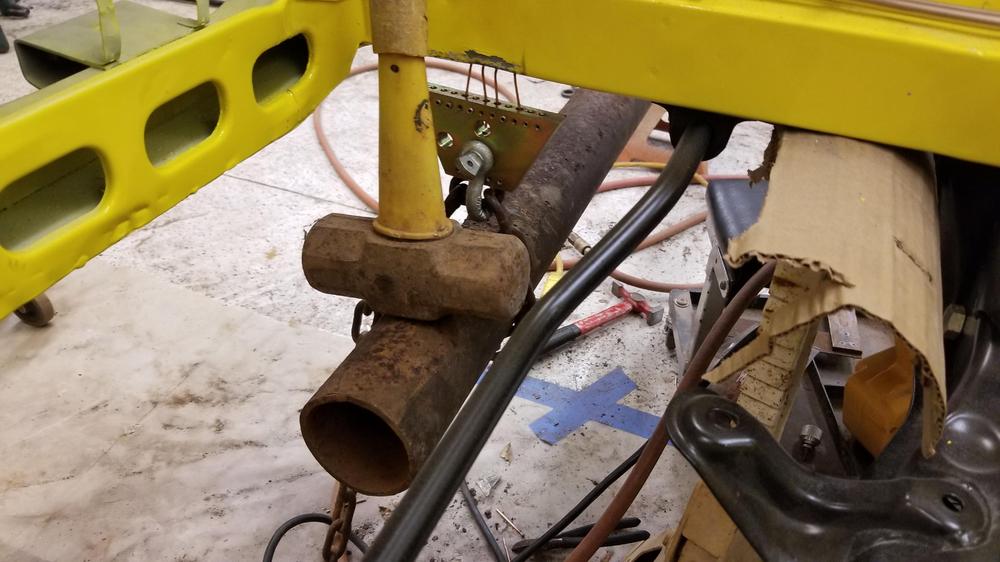
I came up with this. I believe there are a couple of layers of metal in the frame rail there. So a jack stand, a section of pipe, some chain and some studs welds and you get this Add a big hammer It worked pretty well but I will still dress them up a little bit with a thin layer of fiberglass

-
It was interesting that the Por15 and the Eastwood were near the bottom. I would have liked to have seen them use the Eastwood internal frame coating to get a point of reference on that against the other internal coatings
-
The piece I am remembering was a piece of flat metal 3/16's or so.Maybe 2" long, had a hole on each end. One hole gets mounted to the ebrake cable bracket that you have shown. The other hole fits into the maxima caliper and gets a pin in it too.
-
Somebody did. Does anyone remember who did? It was a little metal plate that joined the ebrake cable with the caliper using clevis pins
-
Some times you just have to punt. I think I can make this one work if I elongate the holes some in the hood. This is an aftermarket hood I bought 25 years ago after I t-boned a post. It's close to working now. I will probably tinker with it some today
-
Some on ebay but they can get expensive
-
Just be sure there is enough metal there to take the re-threading. These are fine thread bolts, which implies they have a lot of load on them
-
That is probably where the seal rides. They make seal saver sleeves. You can probably find one that would fit. That provides a new surface for the seal with no groove
-
That's split pretty good. If you can afford to do it, I would Where is the groove?
-
Pretty fall color
-
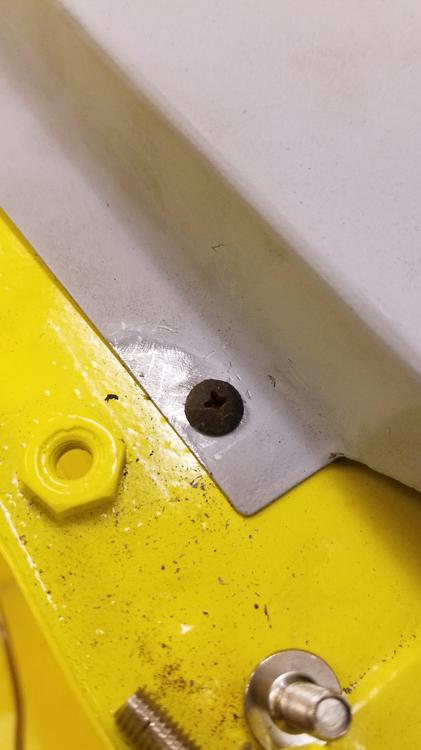
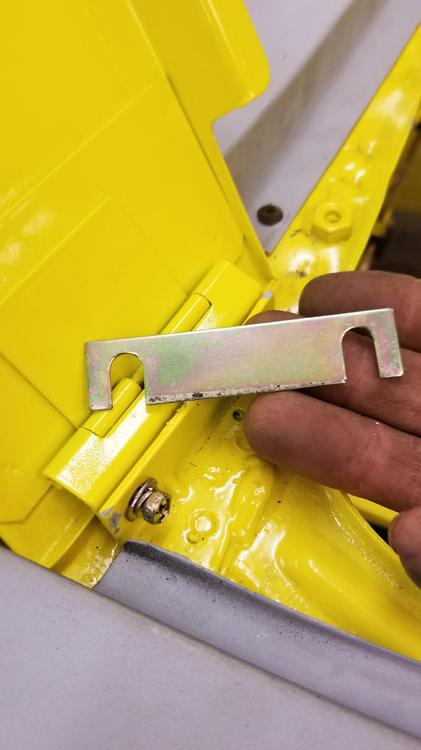
I was able to locate 4 cowl screws in my bolt boxes. What is the correct finish. Yellow zinc or clear? Also, does anybody have one of these inspection door shims. I have one on the car. I really need another or I could probably bent the bracket...