Leaderboard
 Subscriber


Popular Content
Showing content with the highest reputation on 07/14/2016 in all areas
-
 4 points
 -
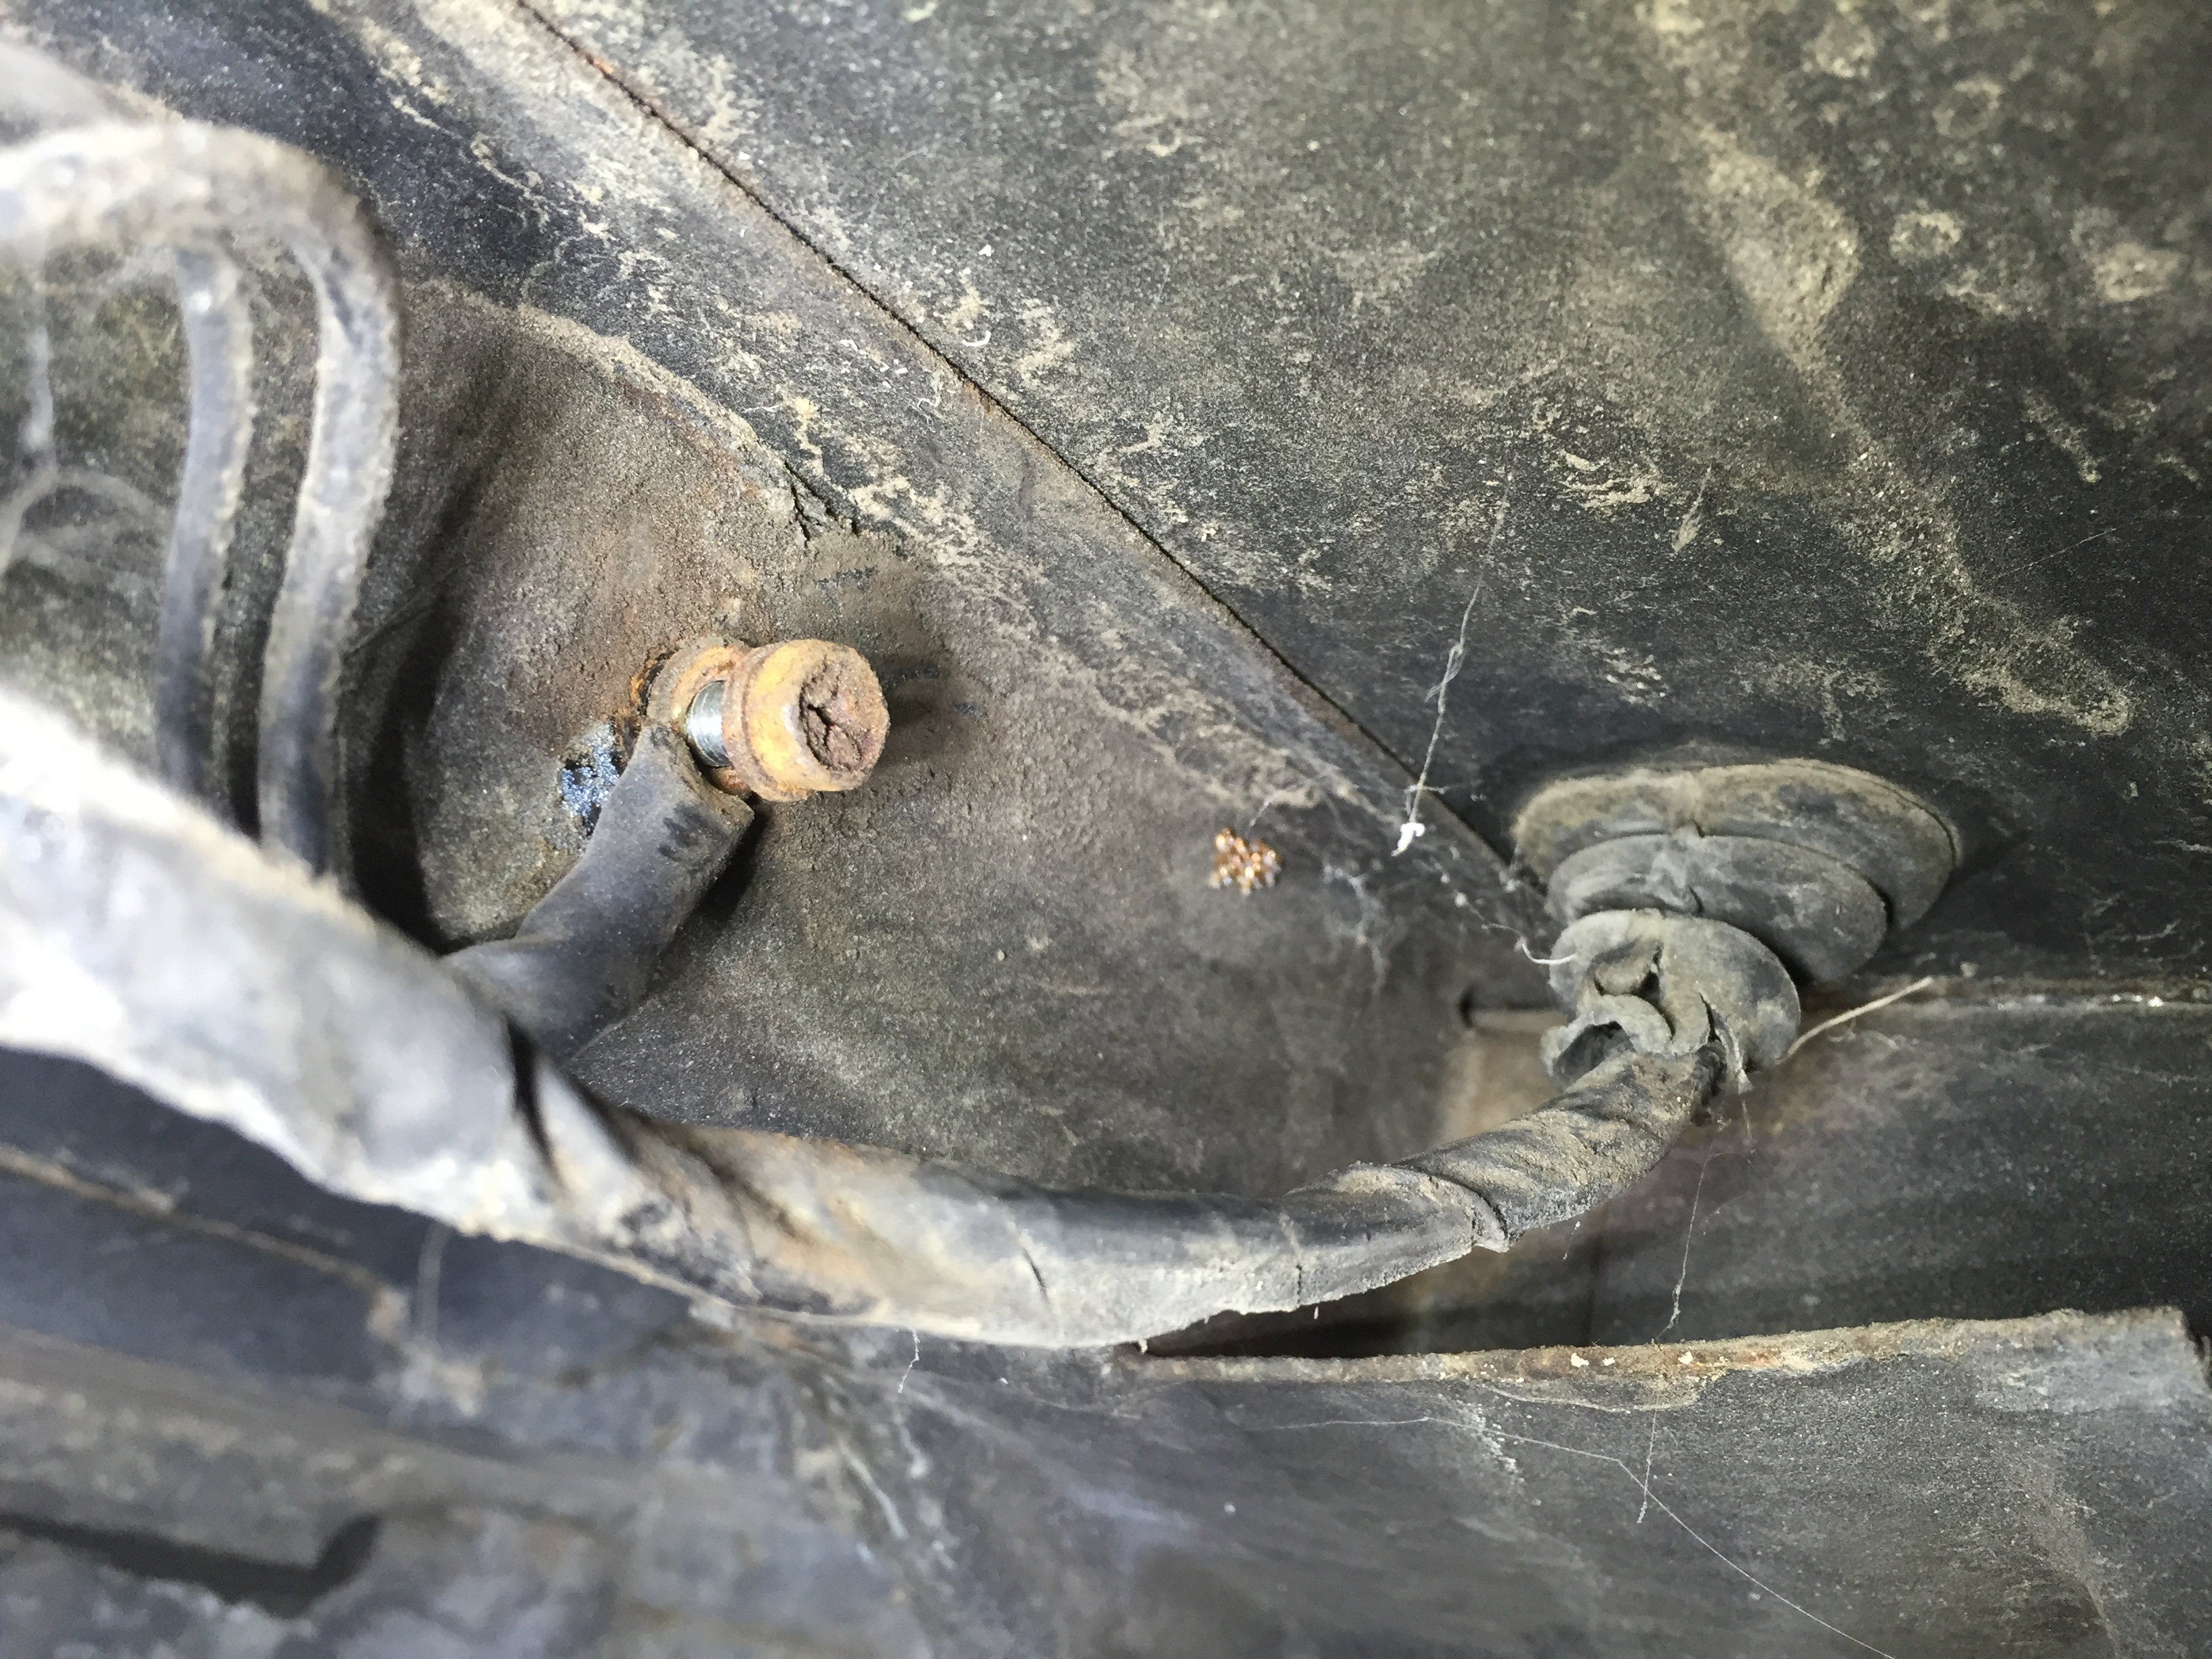
 3 pointsSo I happen to have the gas tank out of the 71 I'm working on (a whole nother post on its own....) and remembered to clean the ground point in the wiring harness that is only accessible when the tank is out. Perhaps some of you don't even know it's there. Thought I'd show it's location and how to service it. The wiring harness that runs from the hatch through the floor to the fuel level sending unit and fuel pump is the one we are talking about. After it goes through the floor, the ground wires terminate at a 5mm ring terminal that attaches to a threaded hole on the side of a frame member on the right side. The bolt is a 5mm hex head. Remove it, clean the face of the ring terminal with a wire brush until it shines. My suggestion is to use a new clean bolt and lock washer, stainless if possible, but you can clean and re-use the stock one. Paint it or smear seam sealer over it once you get it backtogether and tight. No more bad ground. Now on to the "while you're at it...." department Exhaust leaks. You have a chance with the tank out to take car of some exhaust leak areas. Notice the state of the rubber grommet where the harness passes through. Repair or replace as needed. Clearly I need to do some maintenance on mine. Run a bead of seam sealer along the seam where the horizontal hatch floor meets the vertical rear valence at the very back. There may be some there now, but on my 73, and on this 71, the factory bead does not run far enough to each side. Others have reported exhaust leaks through this seem in the past, maybe you remember the thread about the smoke machine. I think you can add sealer from the top too, but's real hard to get into the two side pockets from the top. Piece of pie (I prefer pie over cake) from the bottom.
 3 points
 -
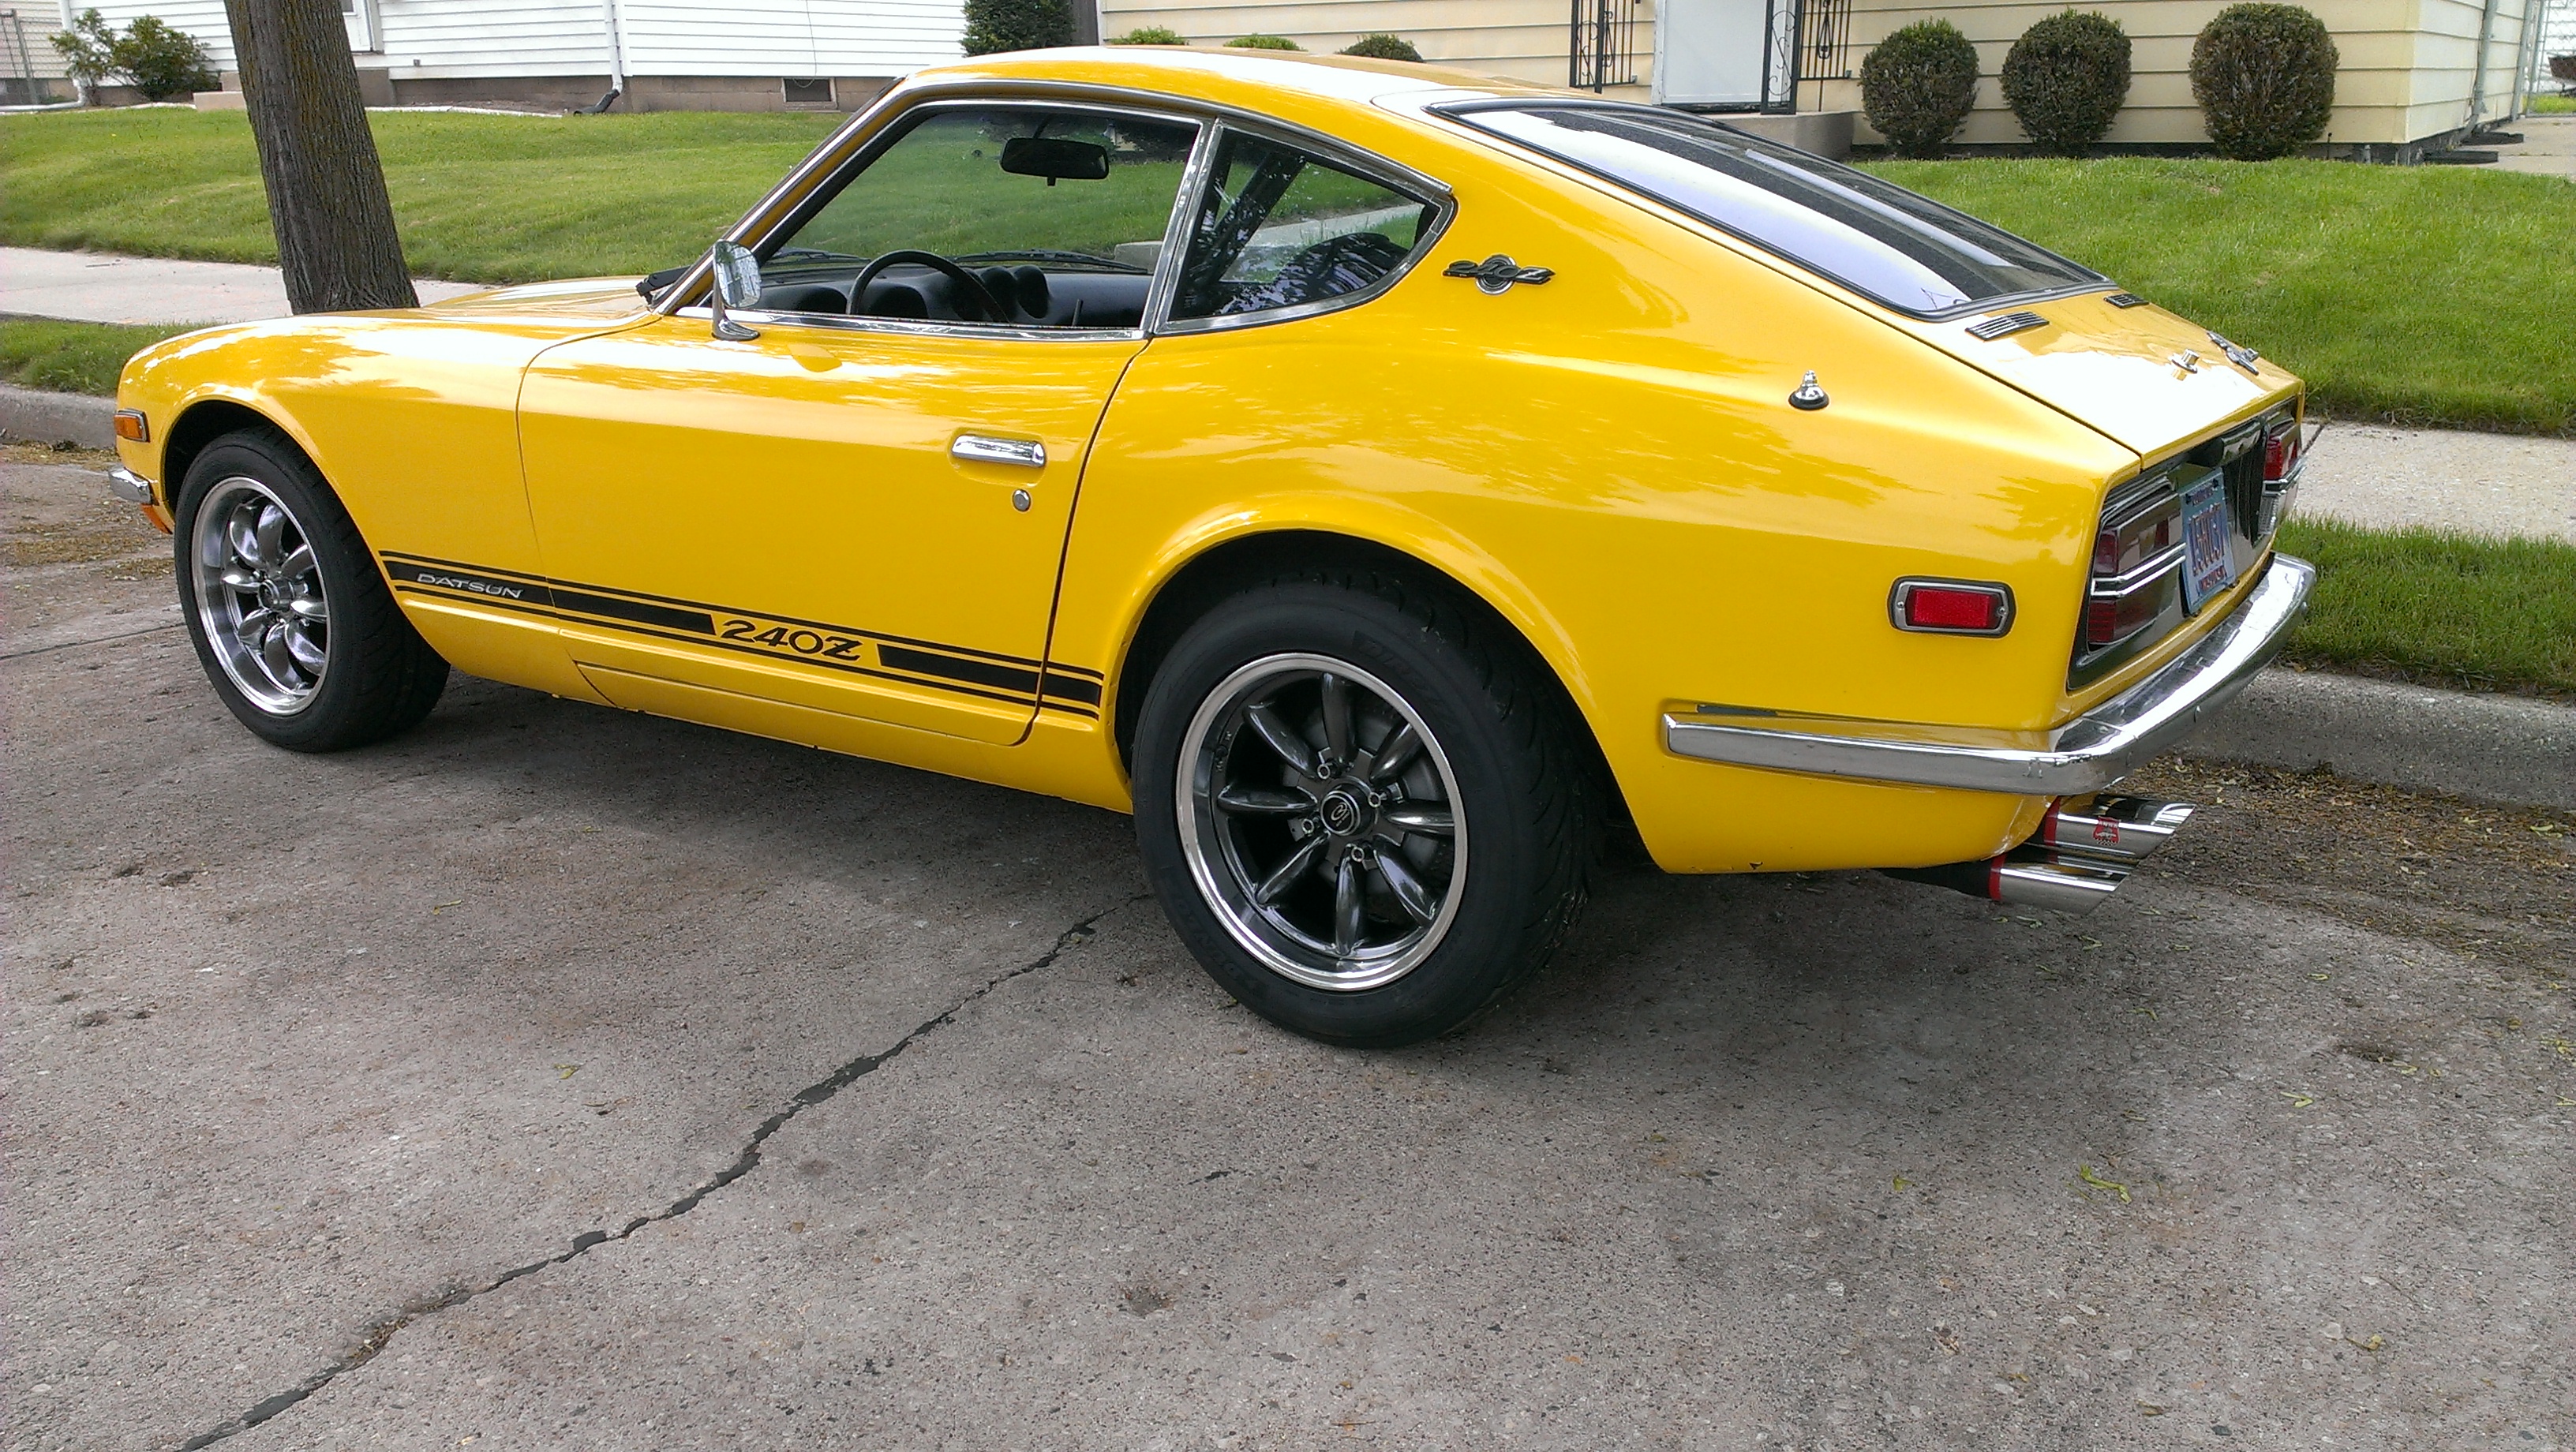
 1 point1970 240z hls3001300 Lots of recent upgrades, A solid Southern California car now in Milwaukee, WI. gm 1 wire alternator, upgraded fuse box, h4 headlights, center force dual friction clutch, aluminum flywheel, 5 speed out of a 79 280, bronze shifter bushings, new heater core, bead blasted heater box painted, Honda blower motor upgrade, schneider performance cam, 6-into-1 alumacoated header, custom ansa exhaust 4 row radiator, billet water pump, triple weber DCOE40MM, Mallory fuel pump, return type regulator, quick steer steering arm knuckles sway away strut bars front and rear, kyb struts, new rear axle u-joints, new brakes, new wheels, new tires Dunlop Direzza zII 205/50r16 225/50r16 4X 4" clarion speakers wired to center console brand new JVC cd player in box Runs and drives great. $22500.00 obo. hotroder502@hotmail.com 414-403-1687 Mike
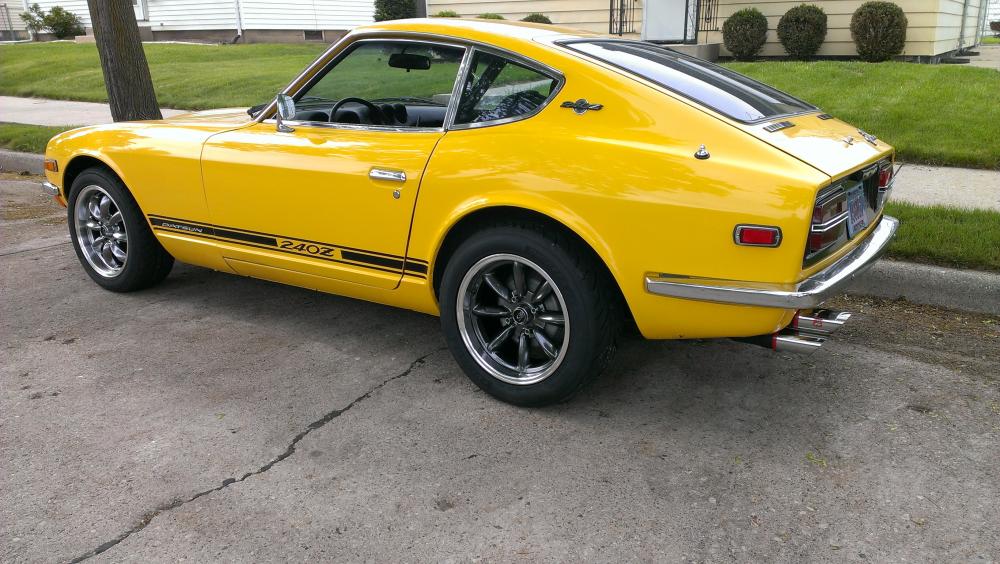

 1 point
 -
 1 point
 -
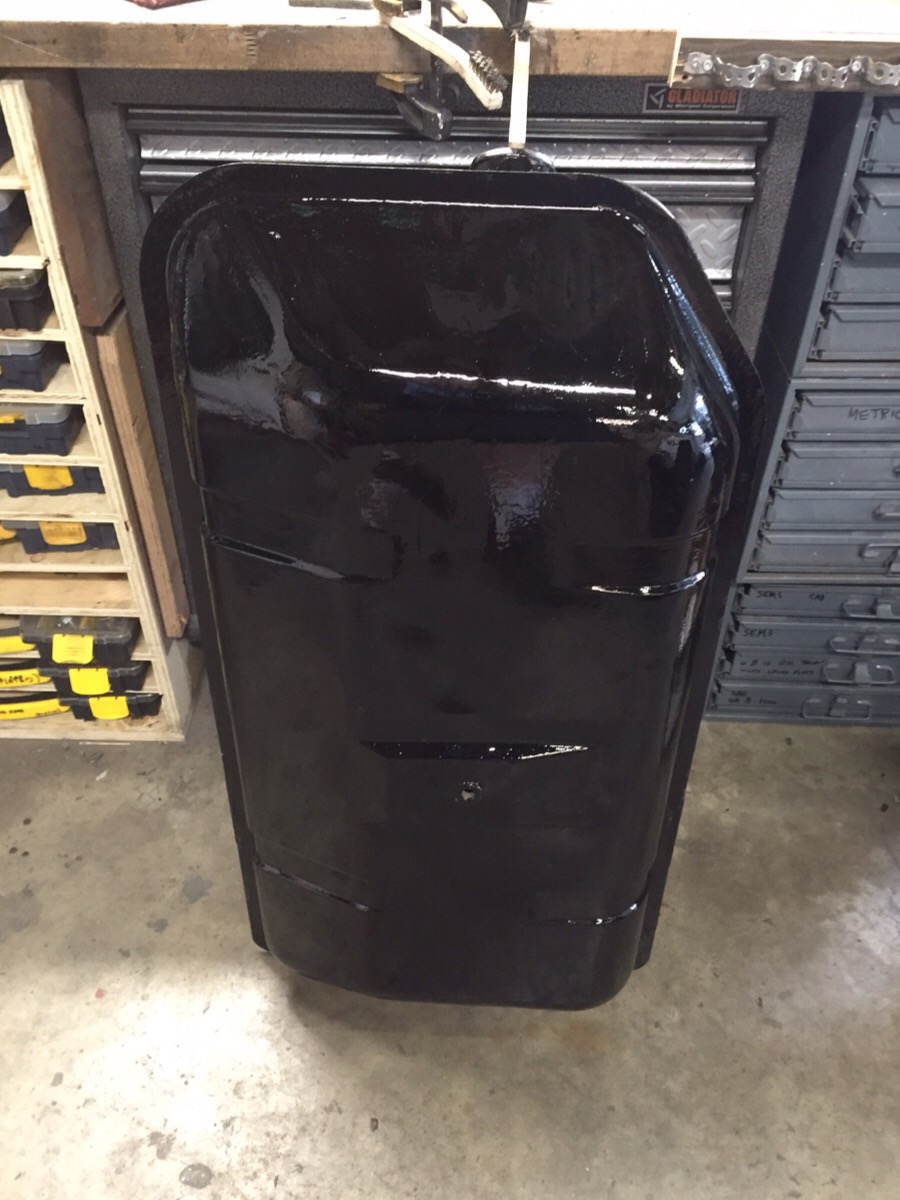
I absolutely agree its worth fixing. I haven't removed all the old epoxy to see just how bad the situation is, but even if I have to weld in a new plate that holds the two tubes, no biggy. We have the technology. I'm just lucky I have spare tanks to use instead. Had to strip this one and put a deleted return line back in (which is a breeze to solder as noted above BTW) and do a wee bit of dent repair, but other wise lovely. Here she is with a fresh coat of Chassis Saver.
 1 point
 -
 I agree, I would resweat the pickup line in or use a sealant. It seemed to work pretty well as you didn't seem to have symptoms from the original patch. Clean tanks are getting harder to find...1 point
 -
1 point
-
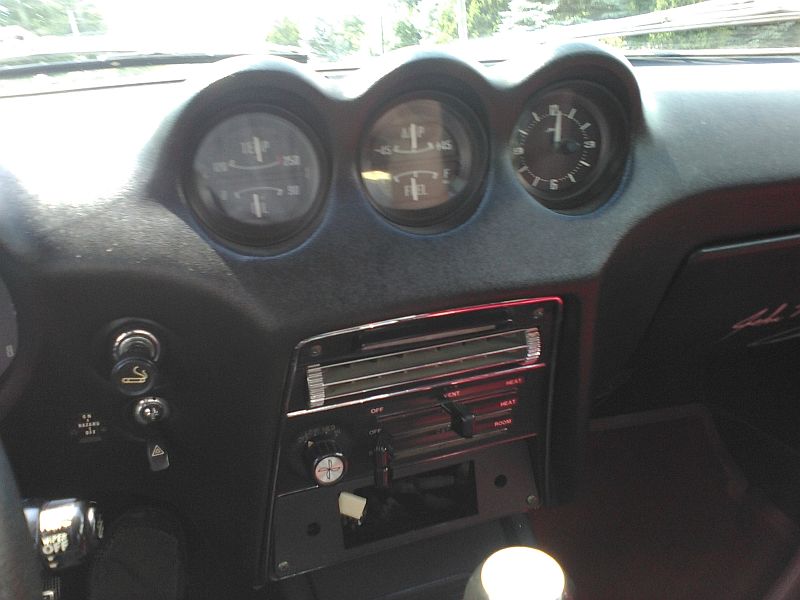
Took the Z out on the road for first test. Its running pretty good. Brought it back and pulled the plugs. Looks like its a little lean yet. Put one size larger pilot in. Will road test again tomorrow. Rain storms rolled in before I could go any further. Gauges look normal. Clock even works too!
 1 point
 -
 240 nm (nanometer) wheels just wouldn't look right on a Zed1 point